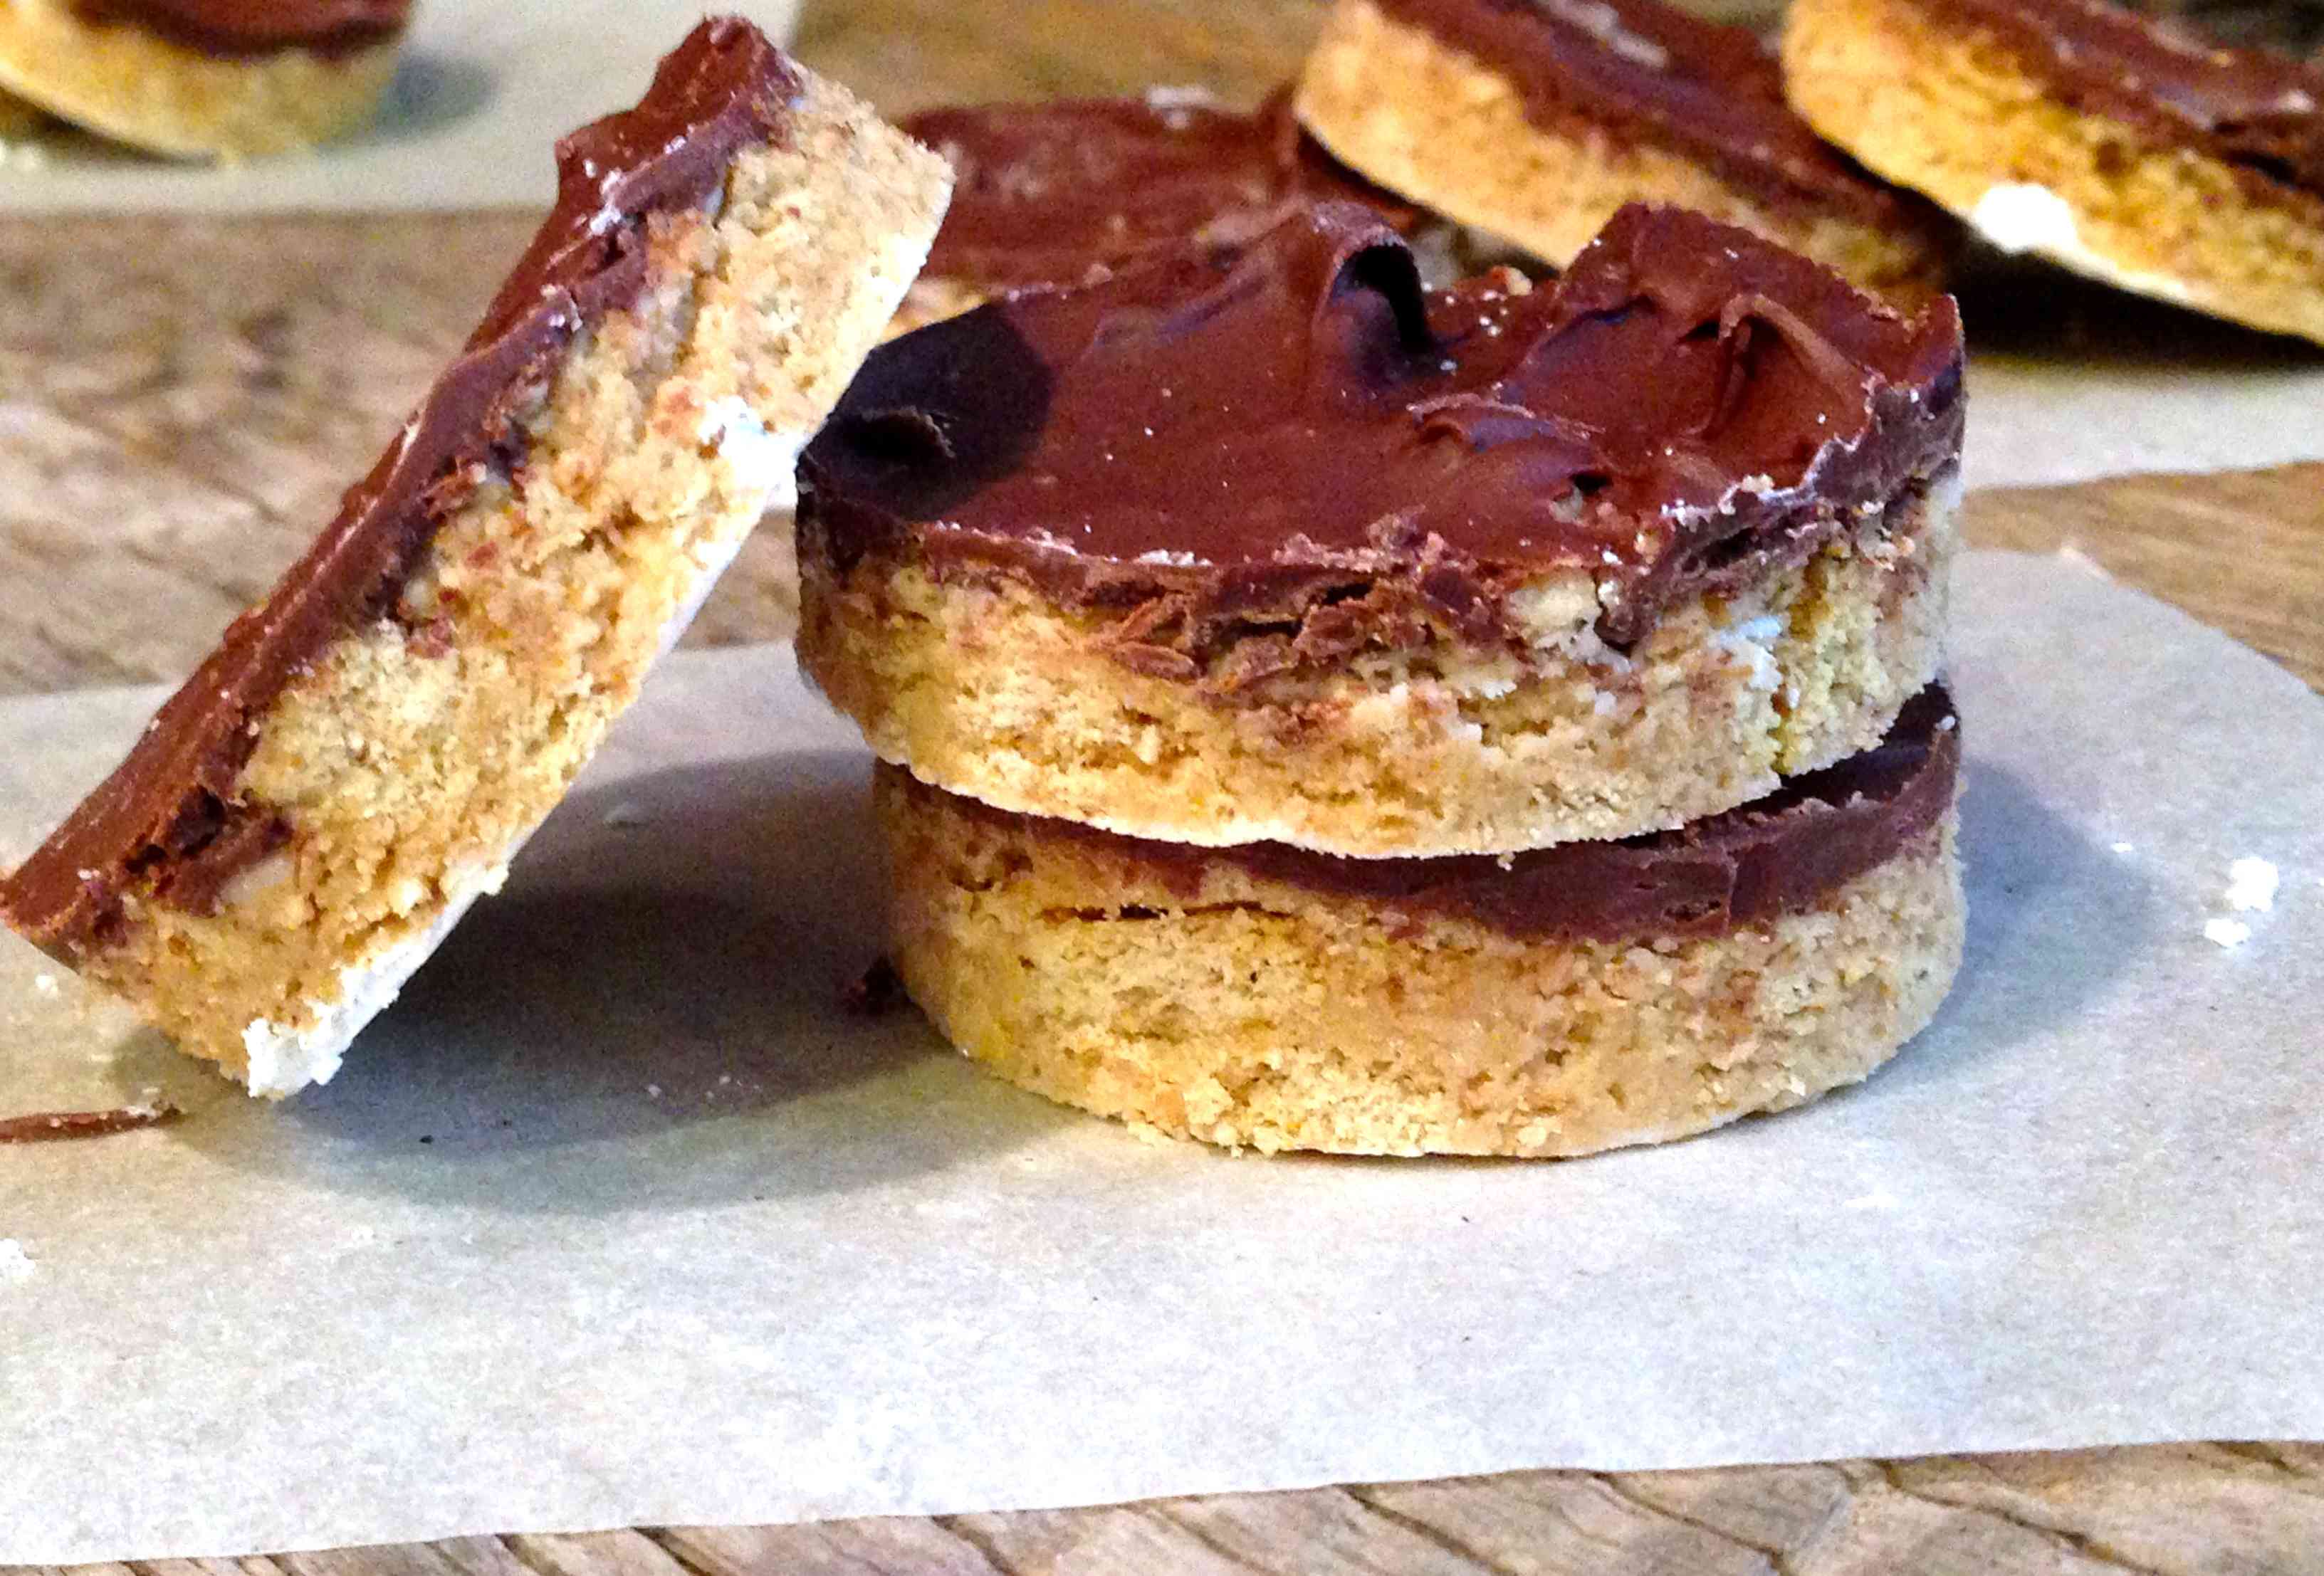
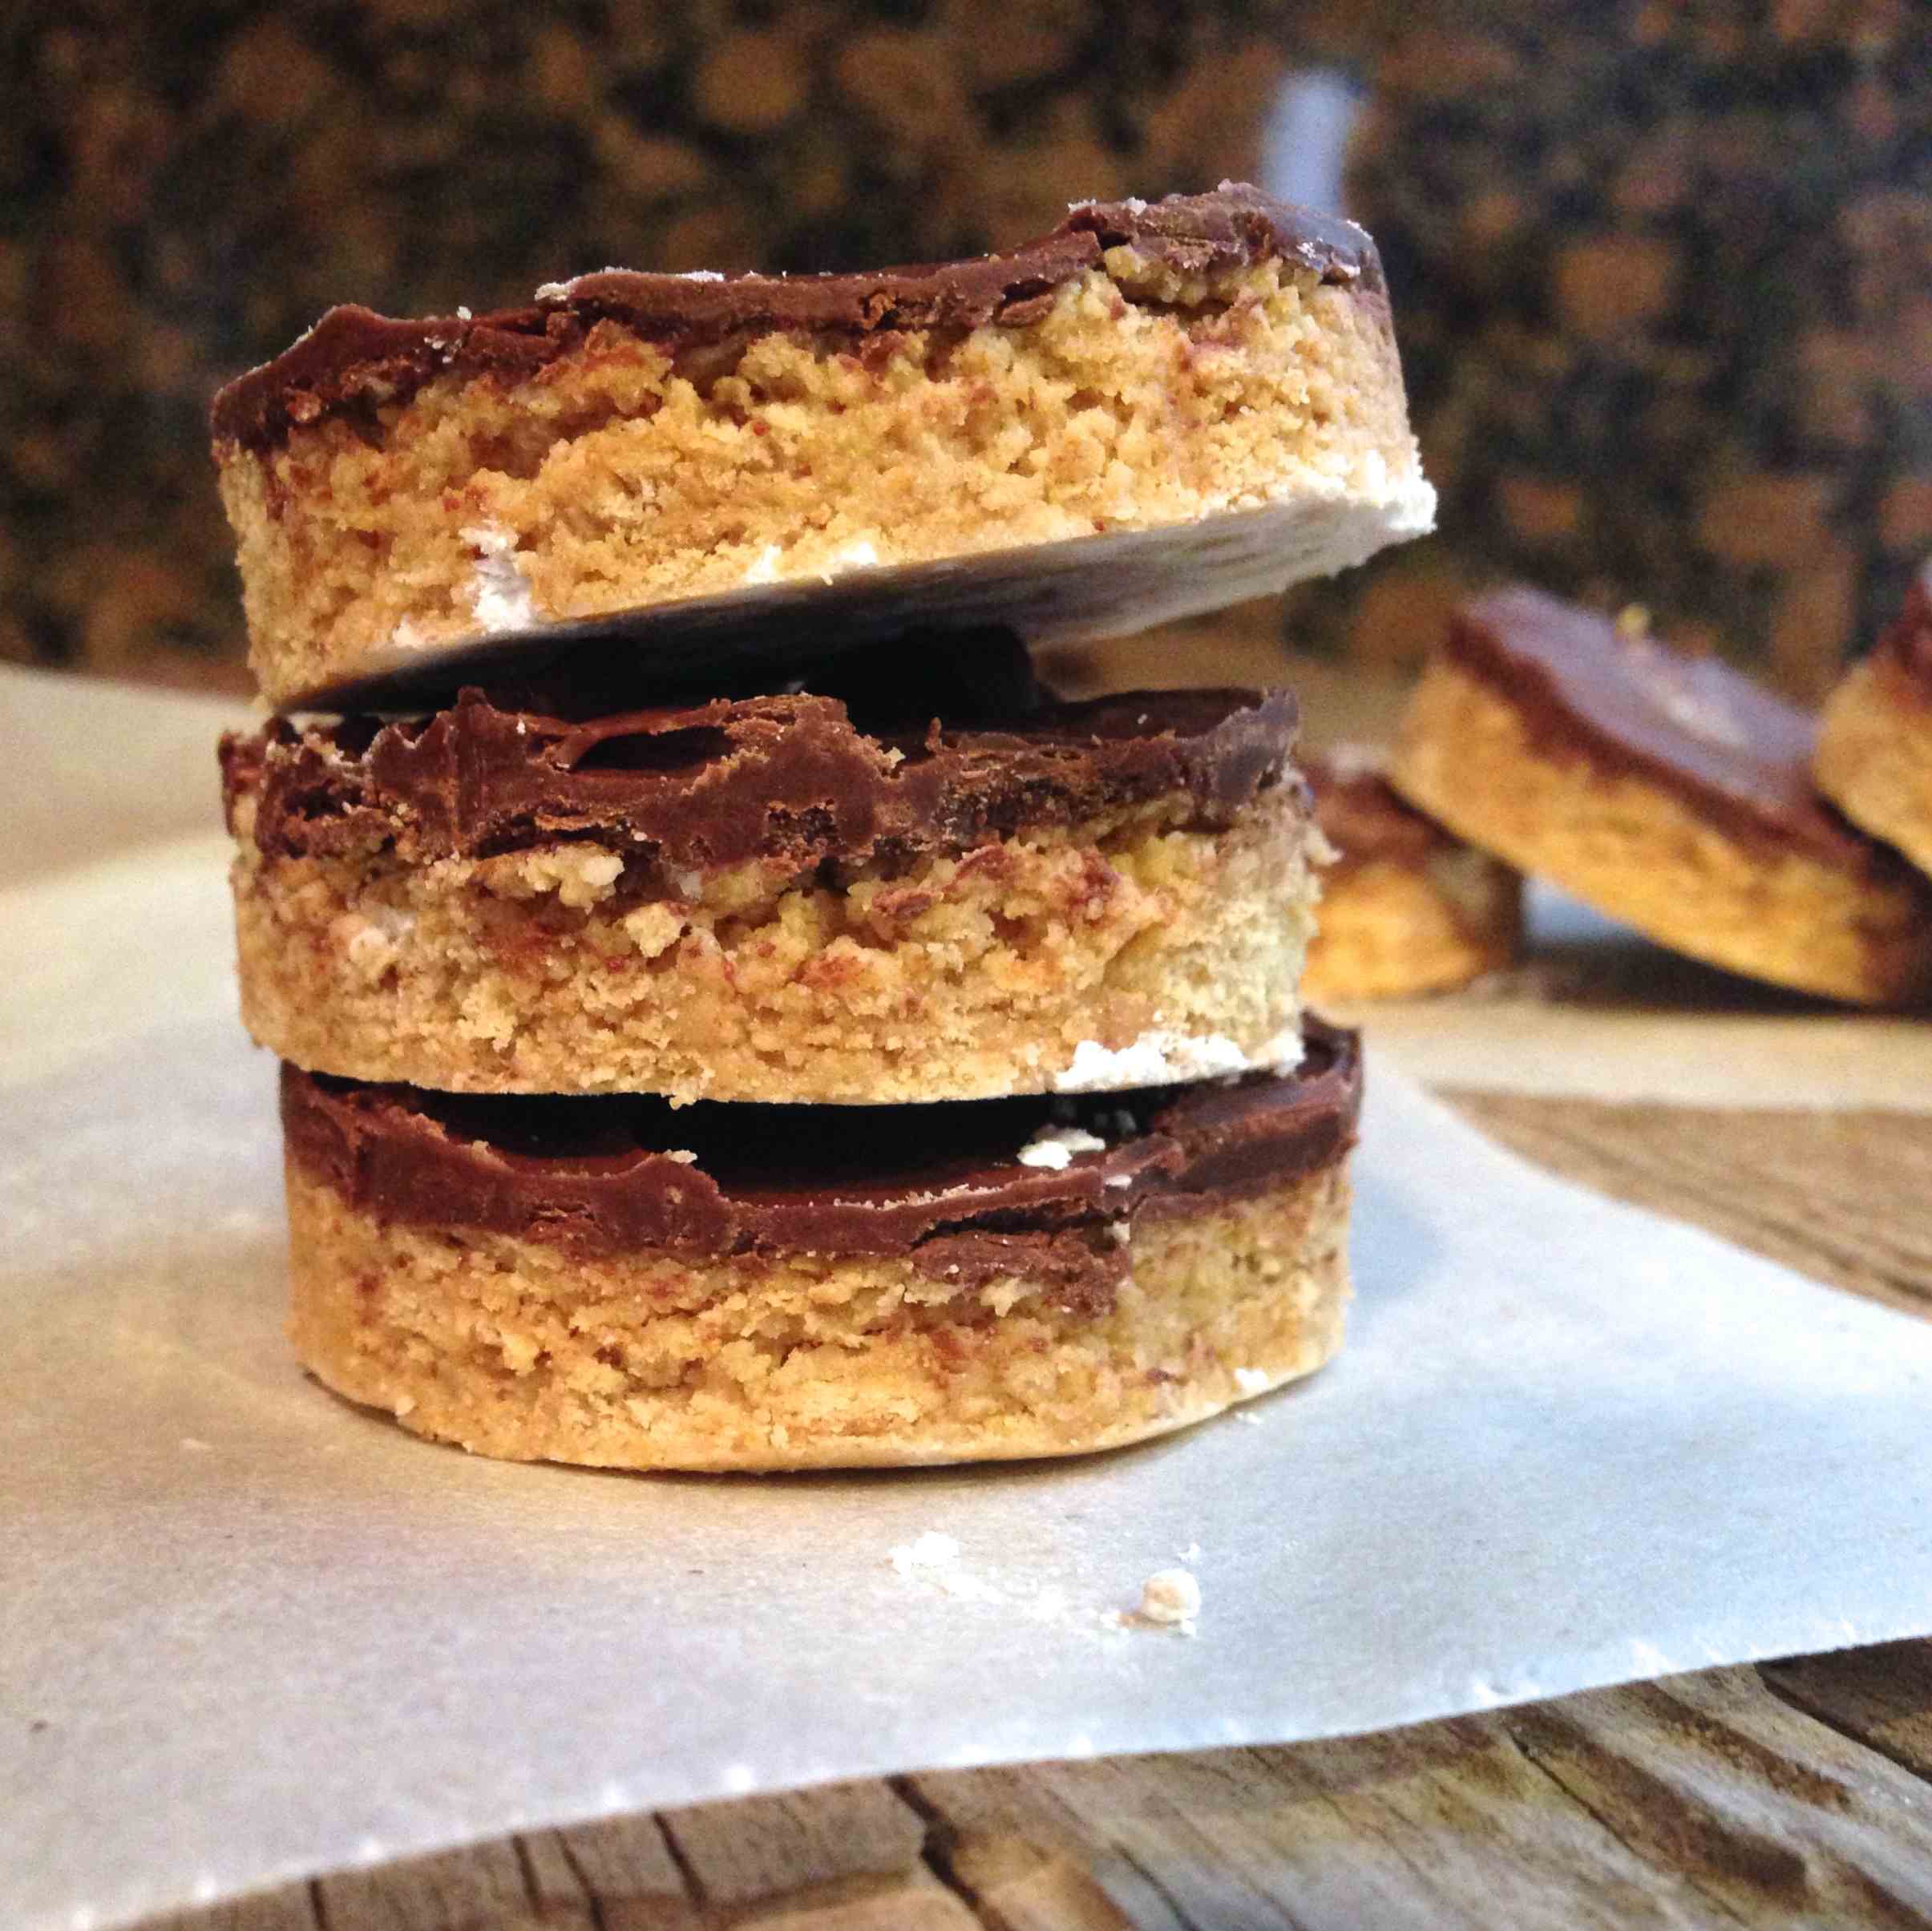
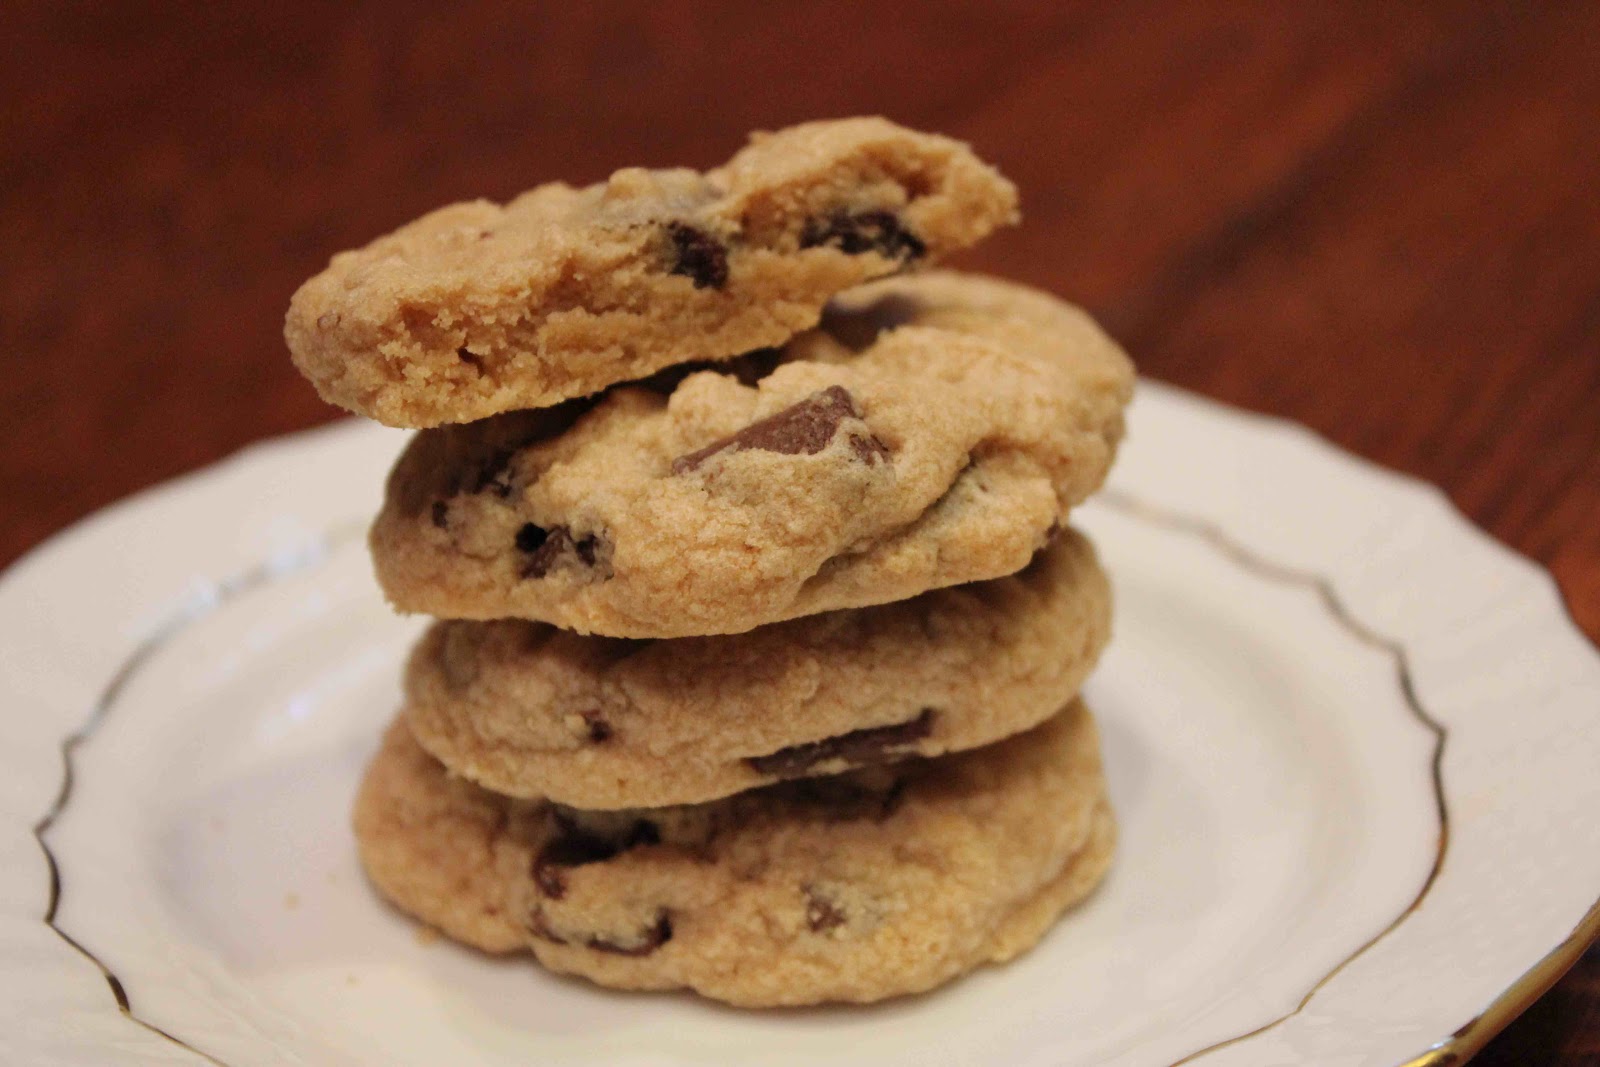
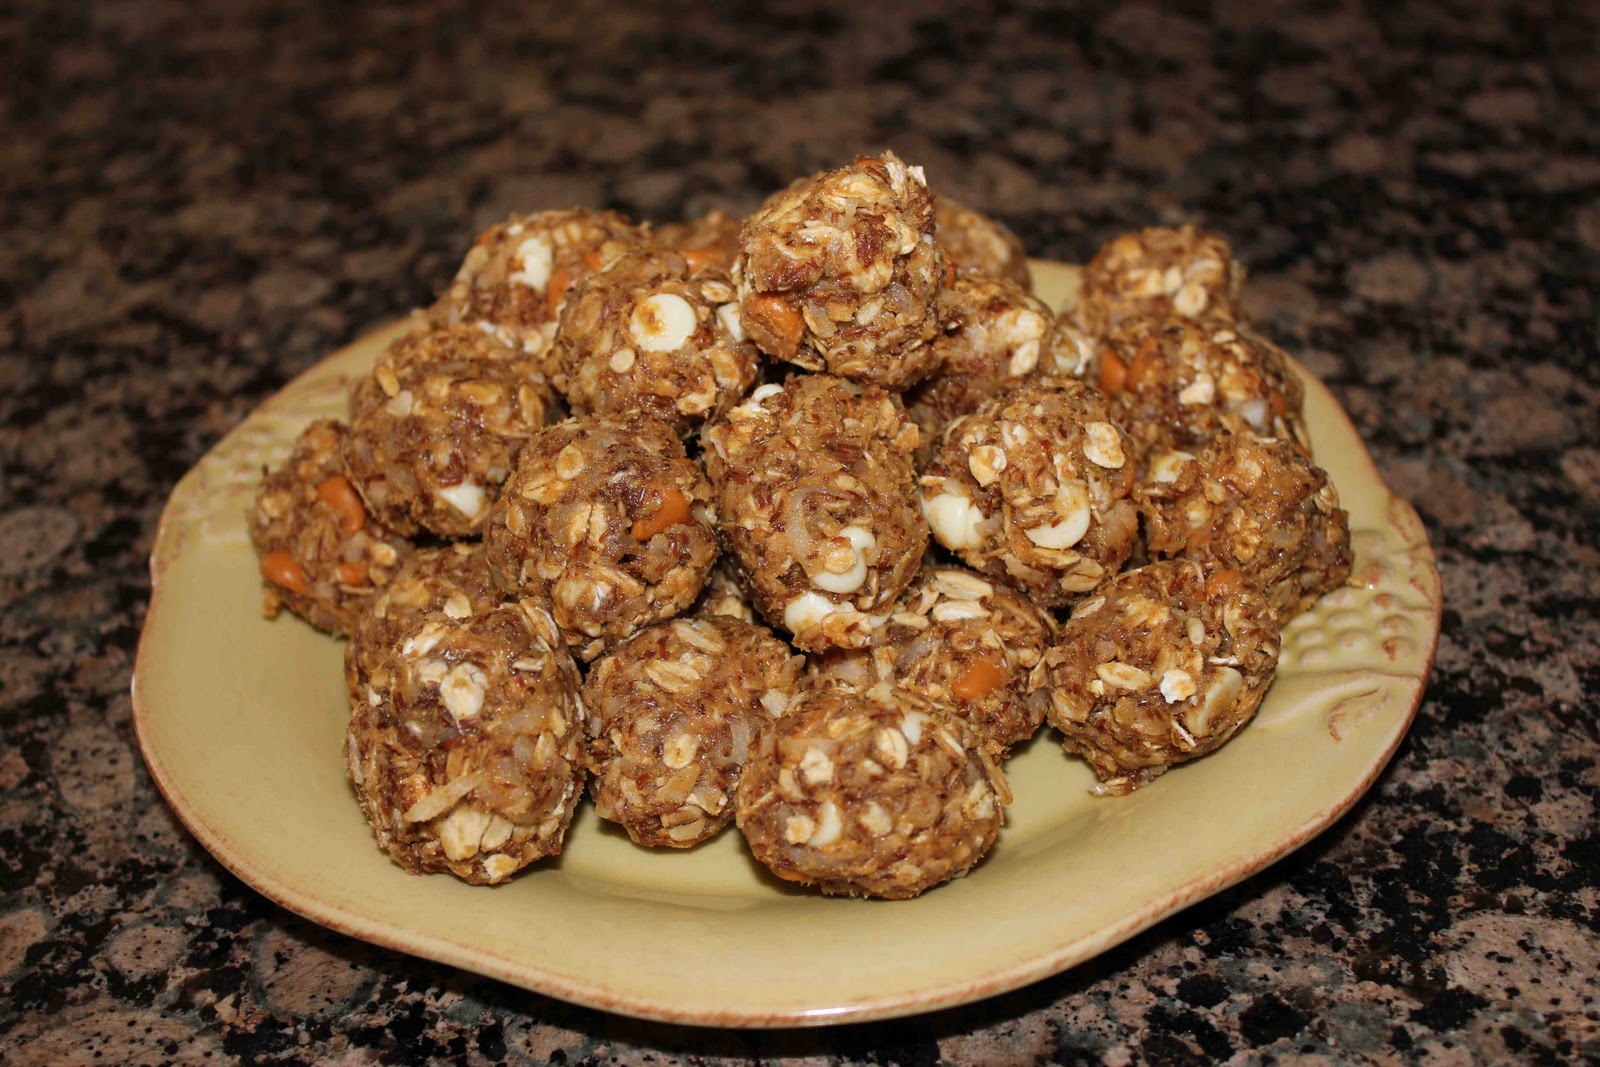
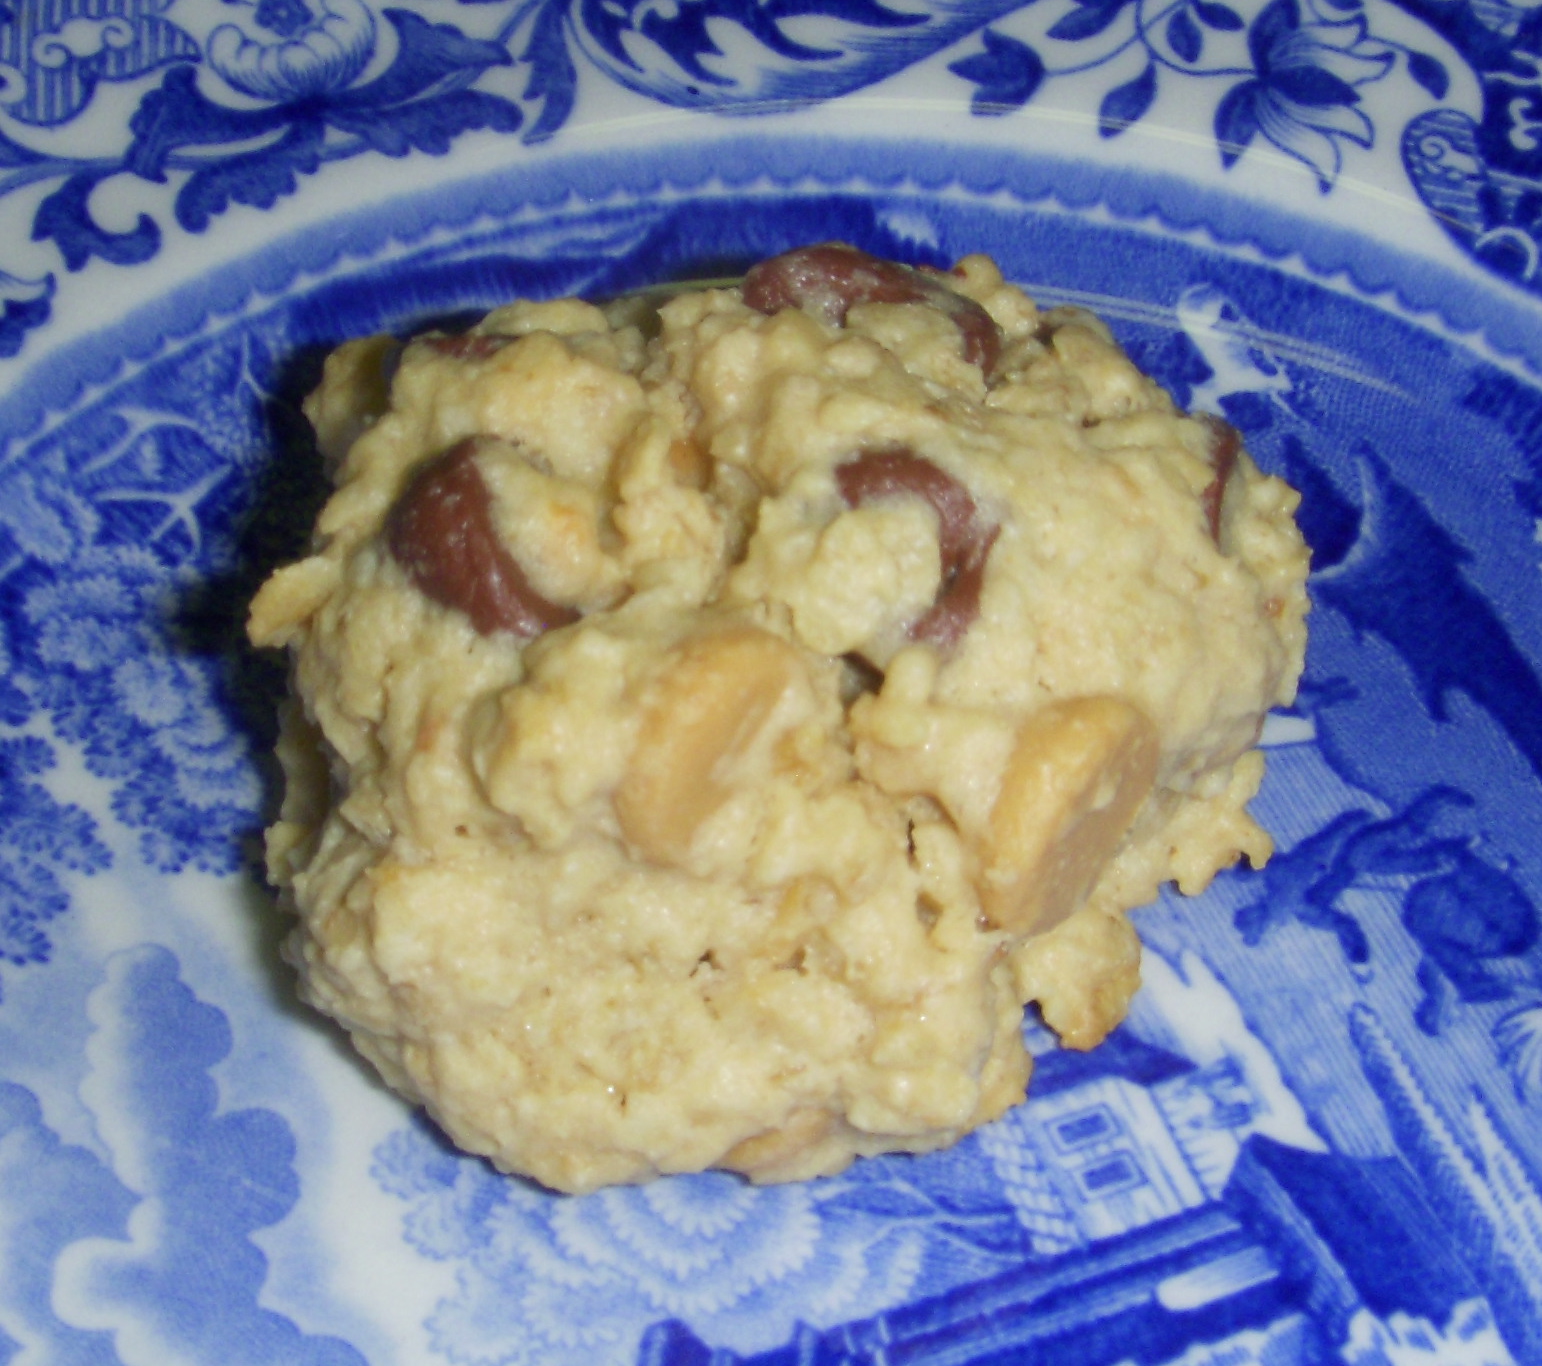
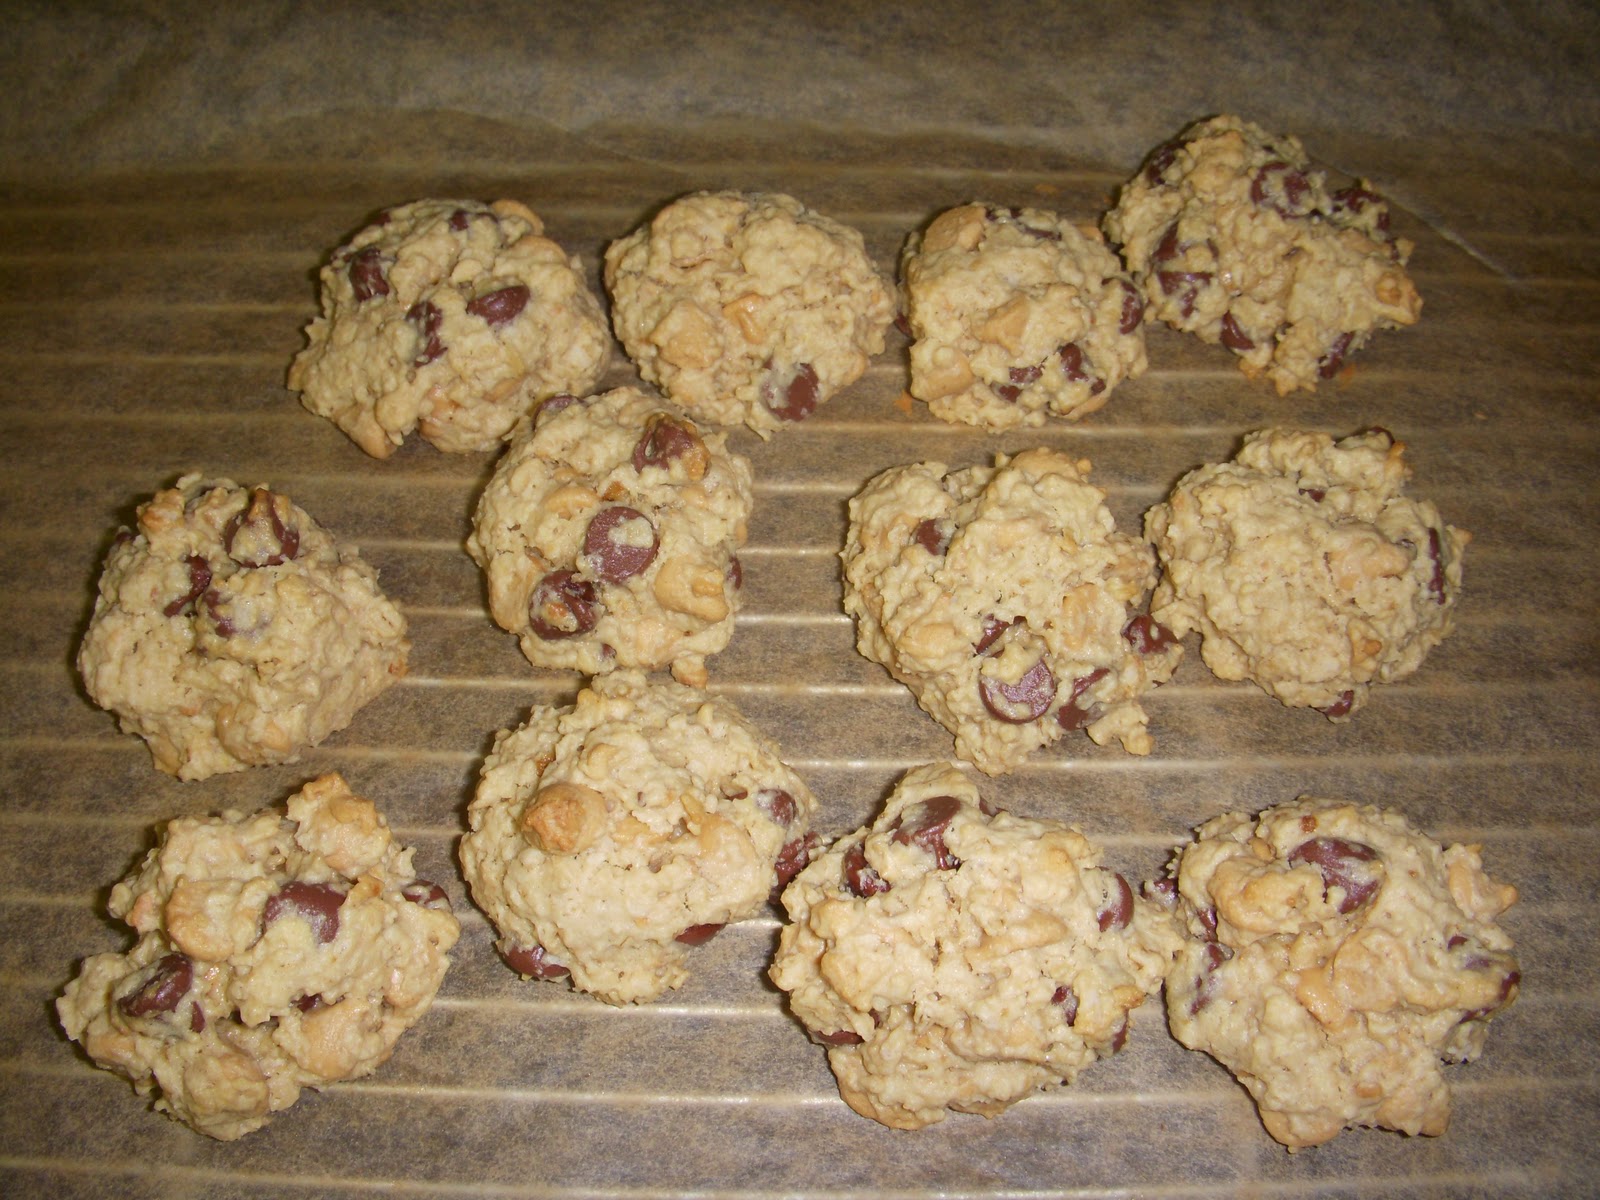
Here’s another cookie recipe we stumbled across called Peanut Butter Oat Chippers. As you know, my family and I LOVE cookies, and we LOVE trying new cookie recipes. If you like peanut butter and chocolate, these “golf ball” sized cookies will be a wonderful treat for you to try. My sister and I both made these this week. She gave hers to the Oklahoma State cross country team after their race, and they devoured them. I took mine to work and they had “disappeared” by 11:00 am!
This recipe comes from Linda J. Amendt’s “400 Sensational Cookies” cookbook. Enjoy!!
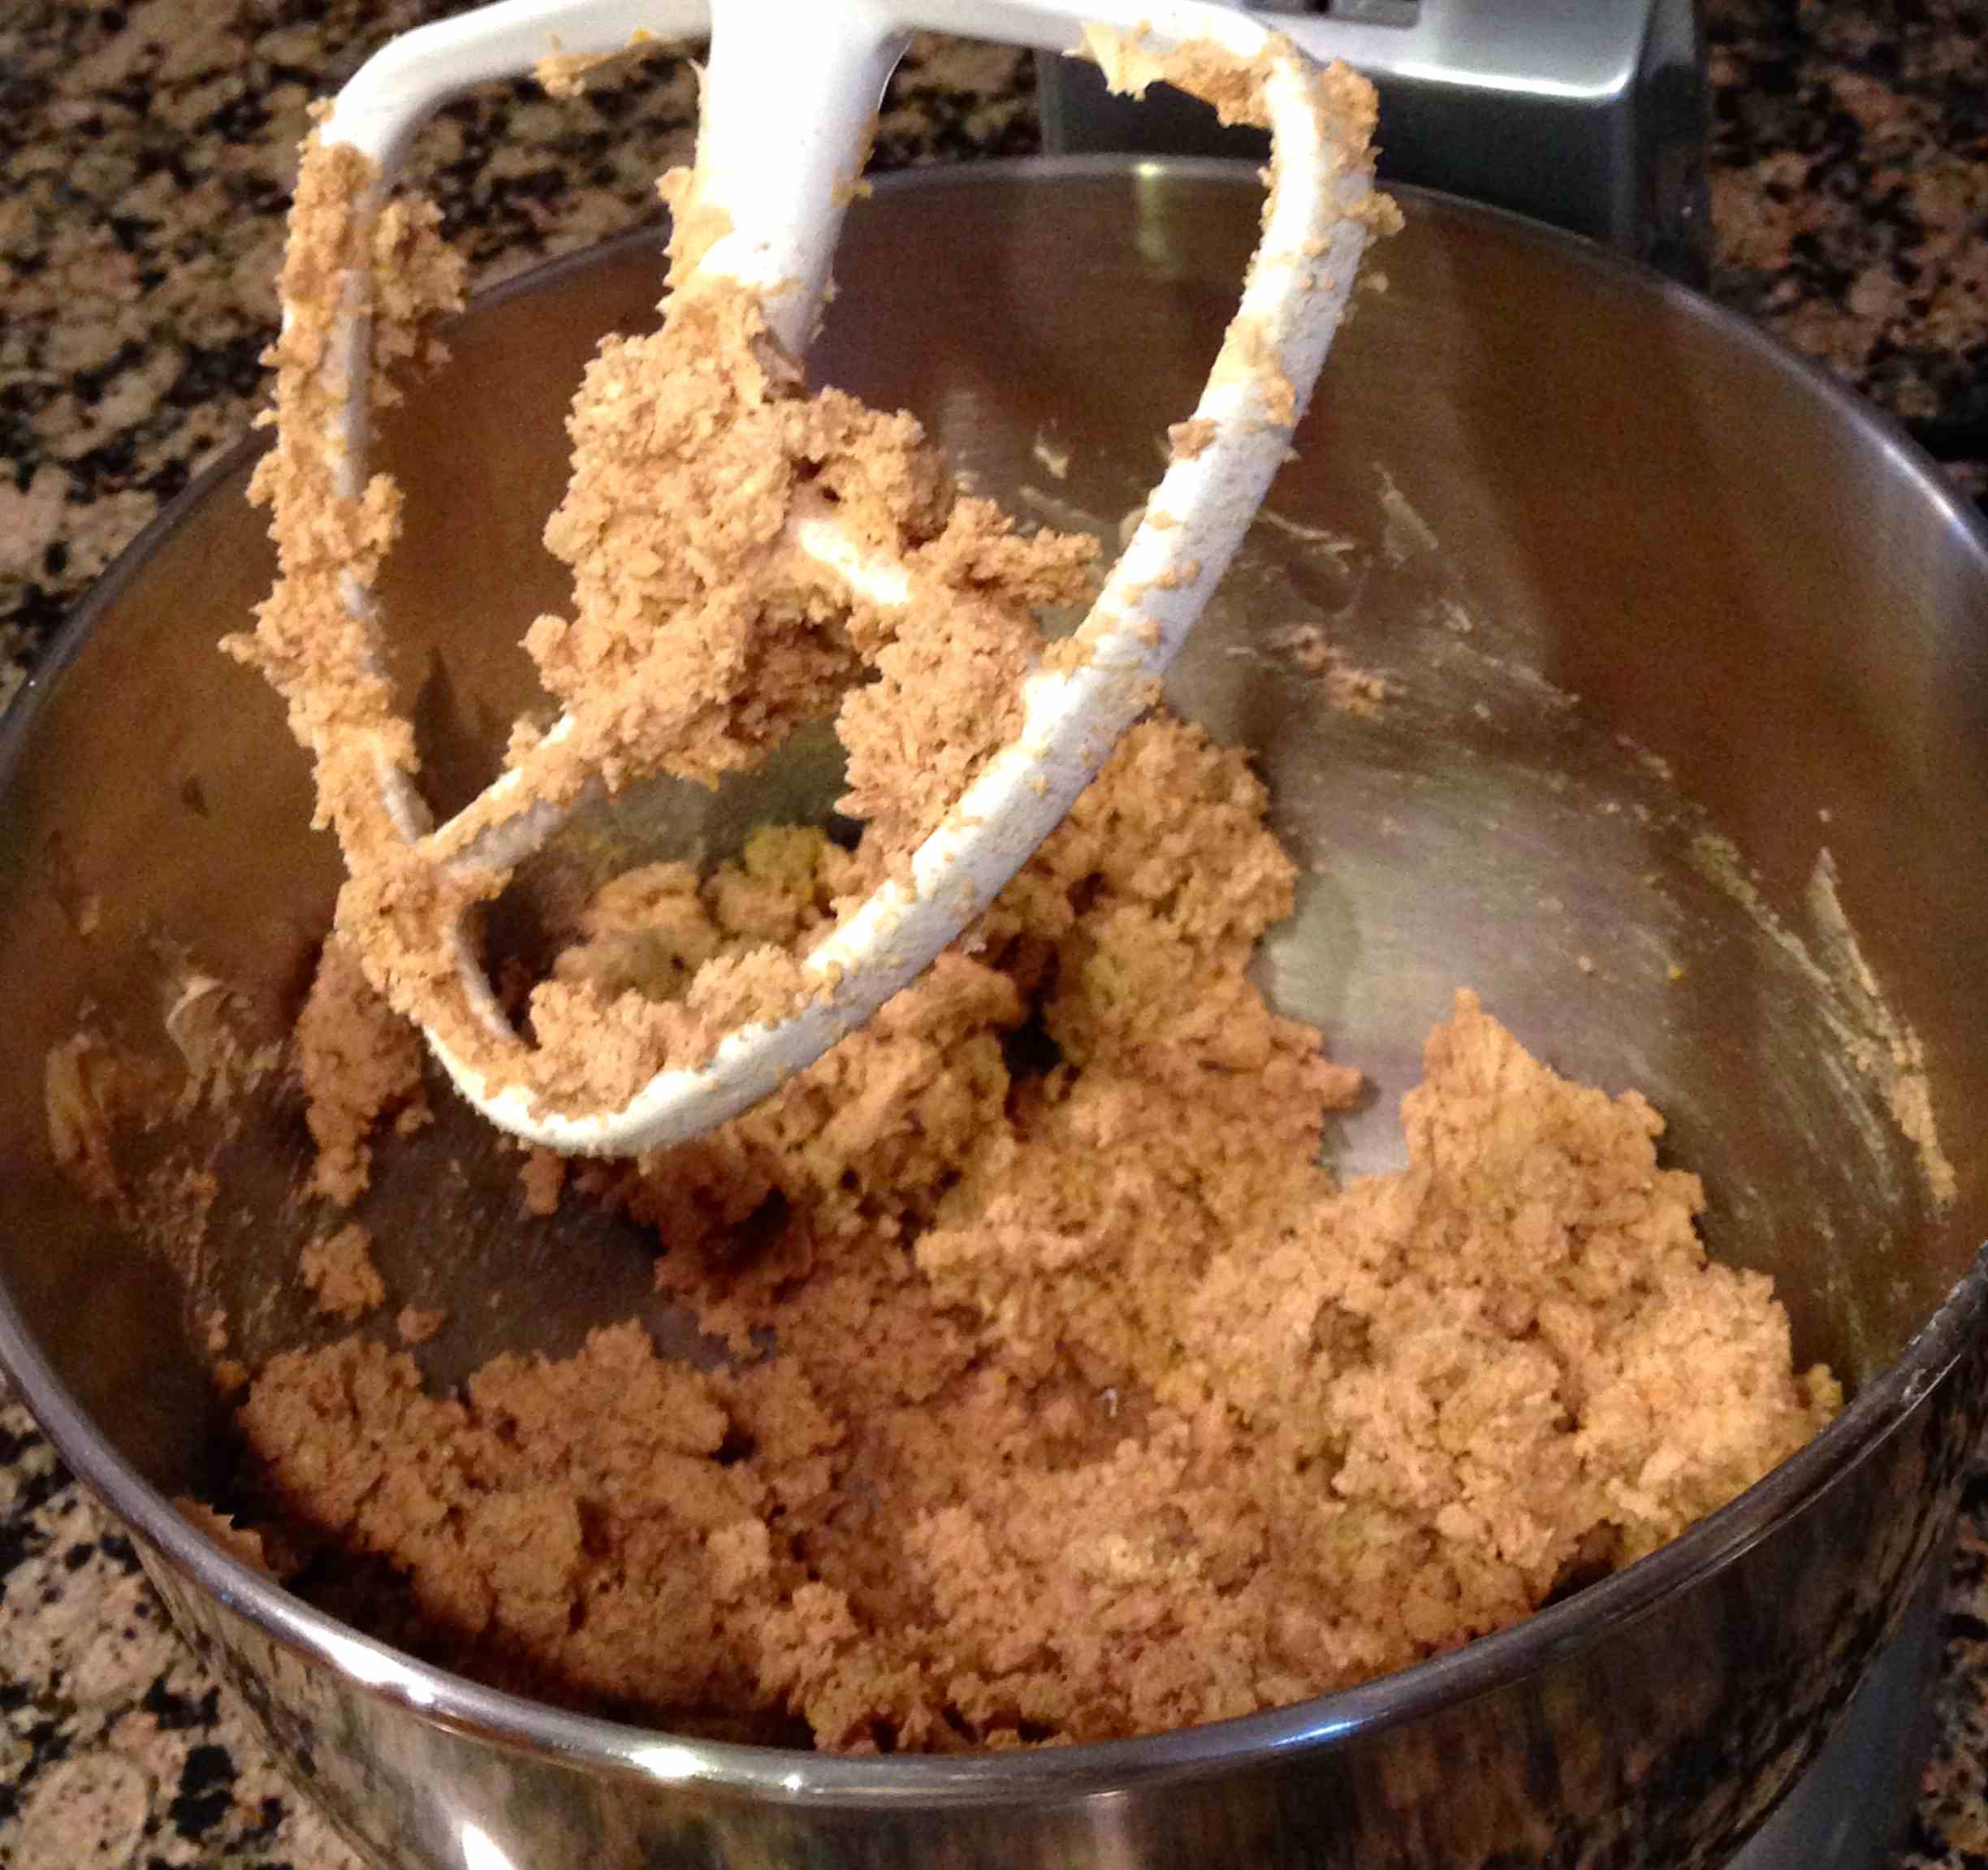
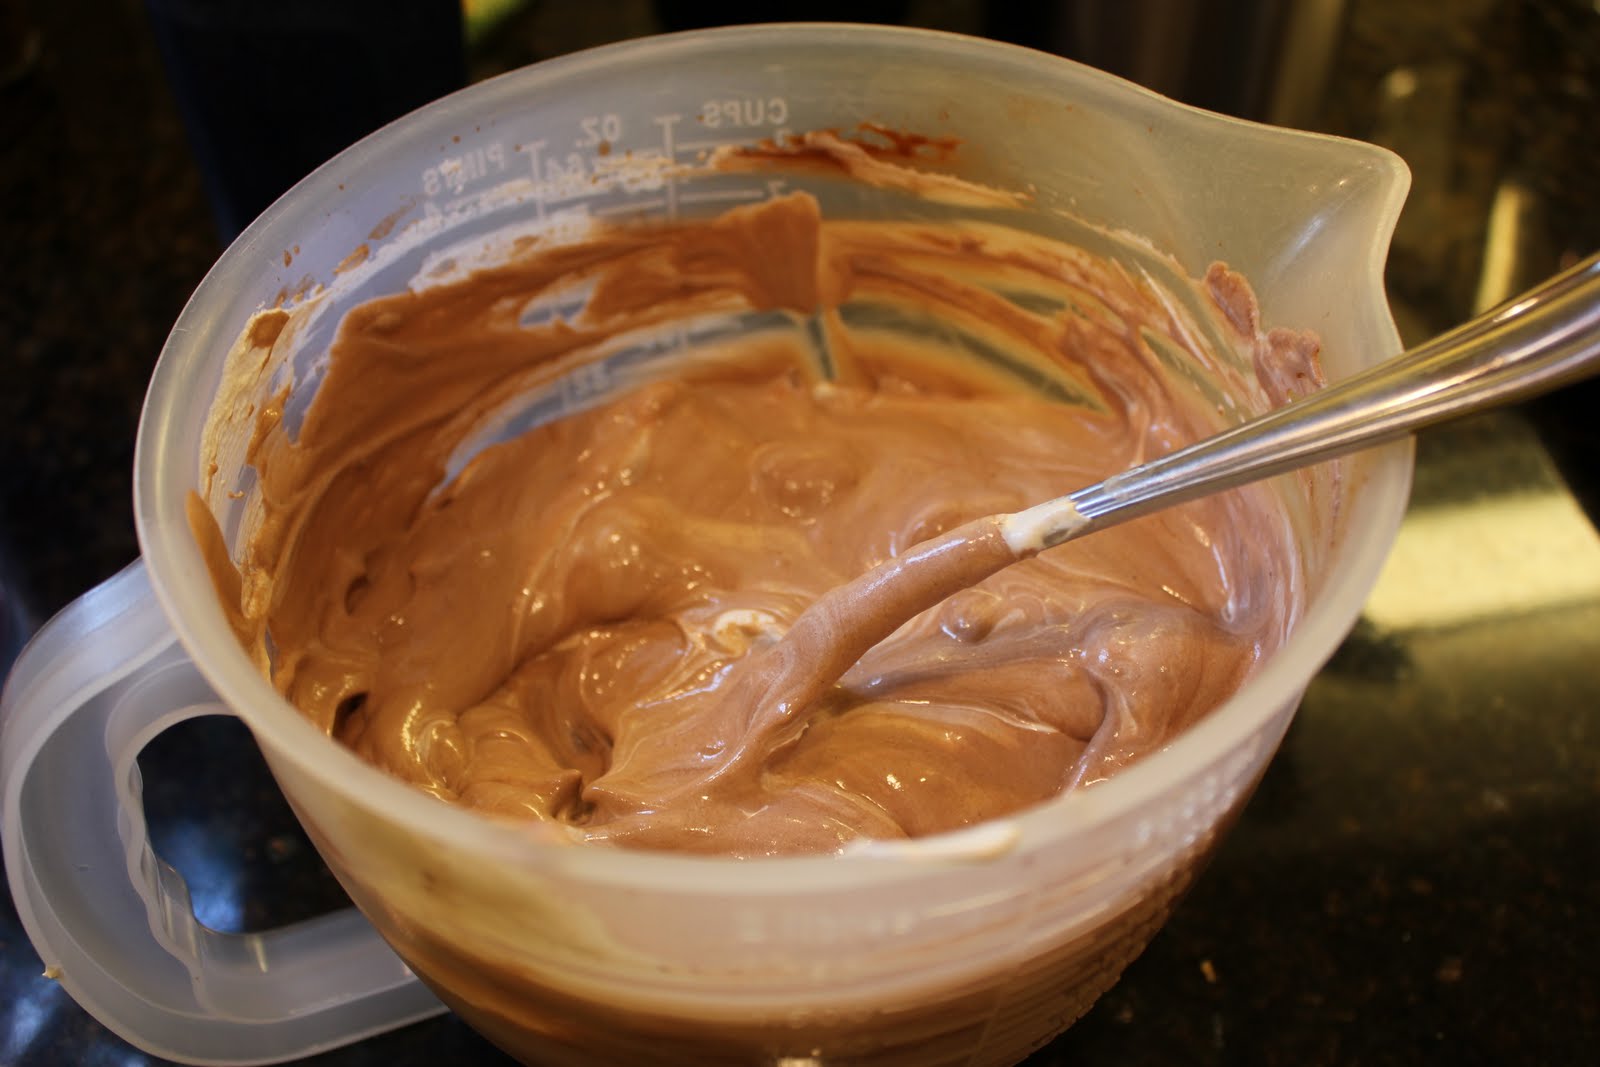
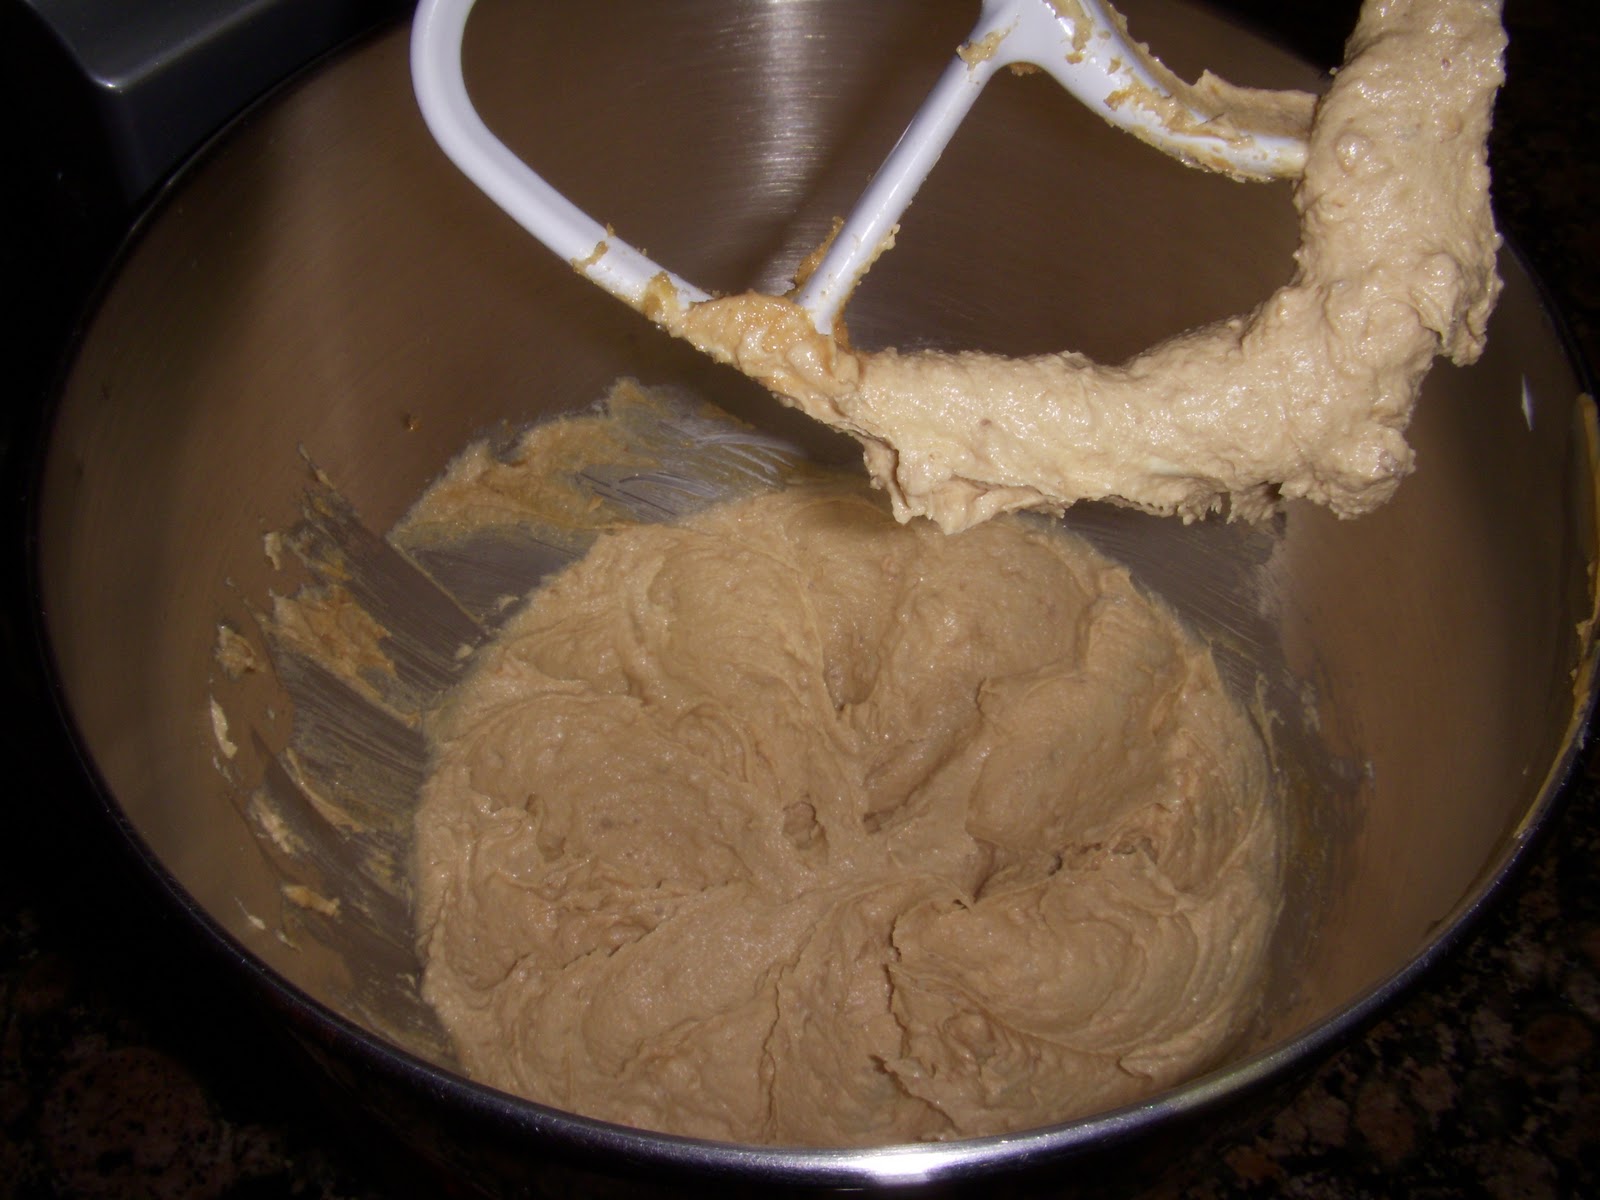
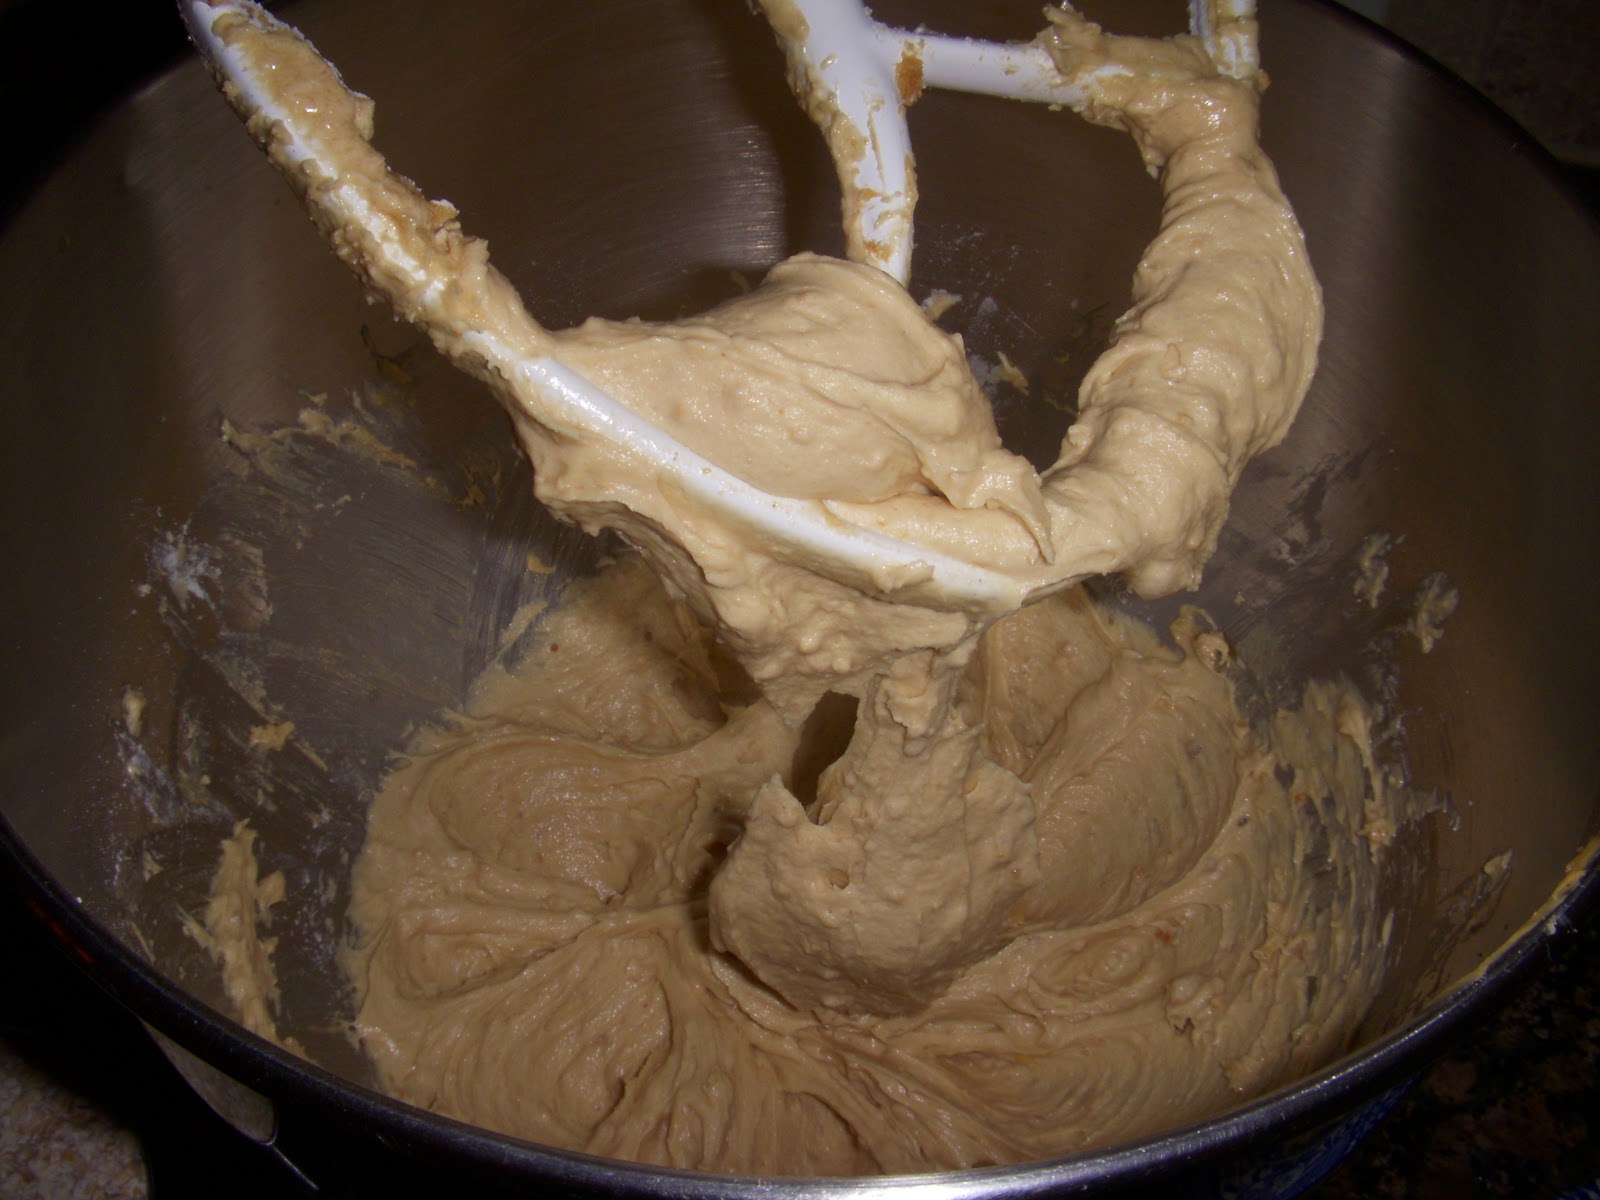
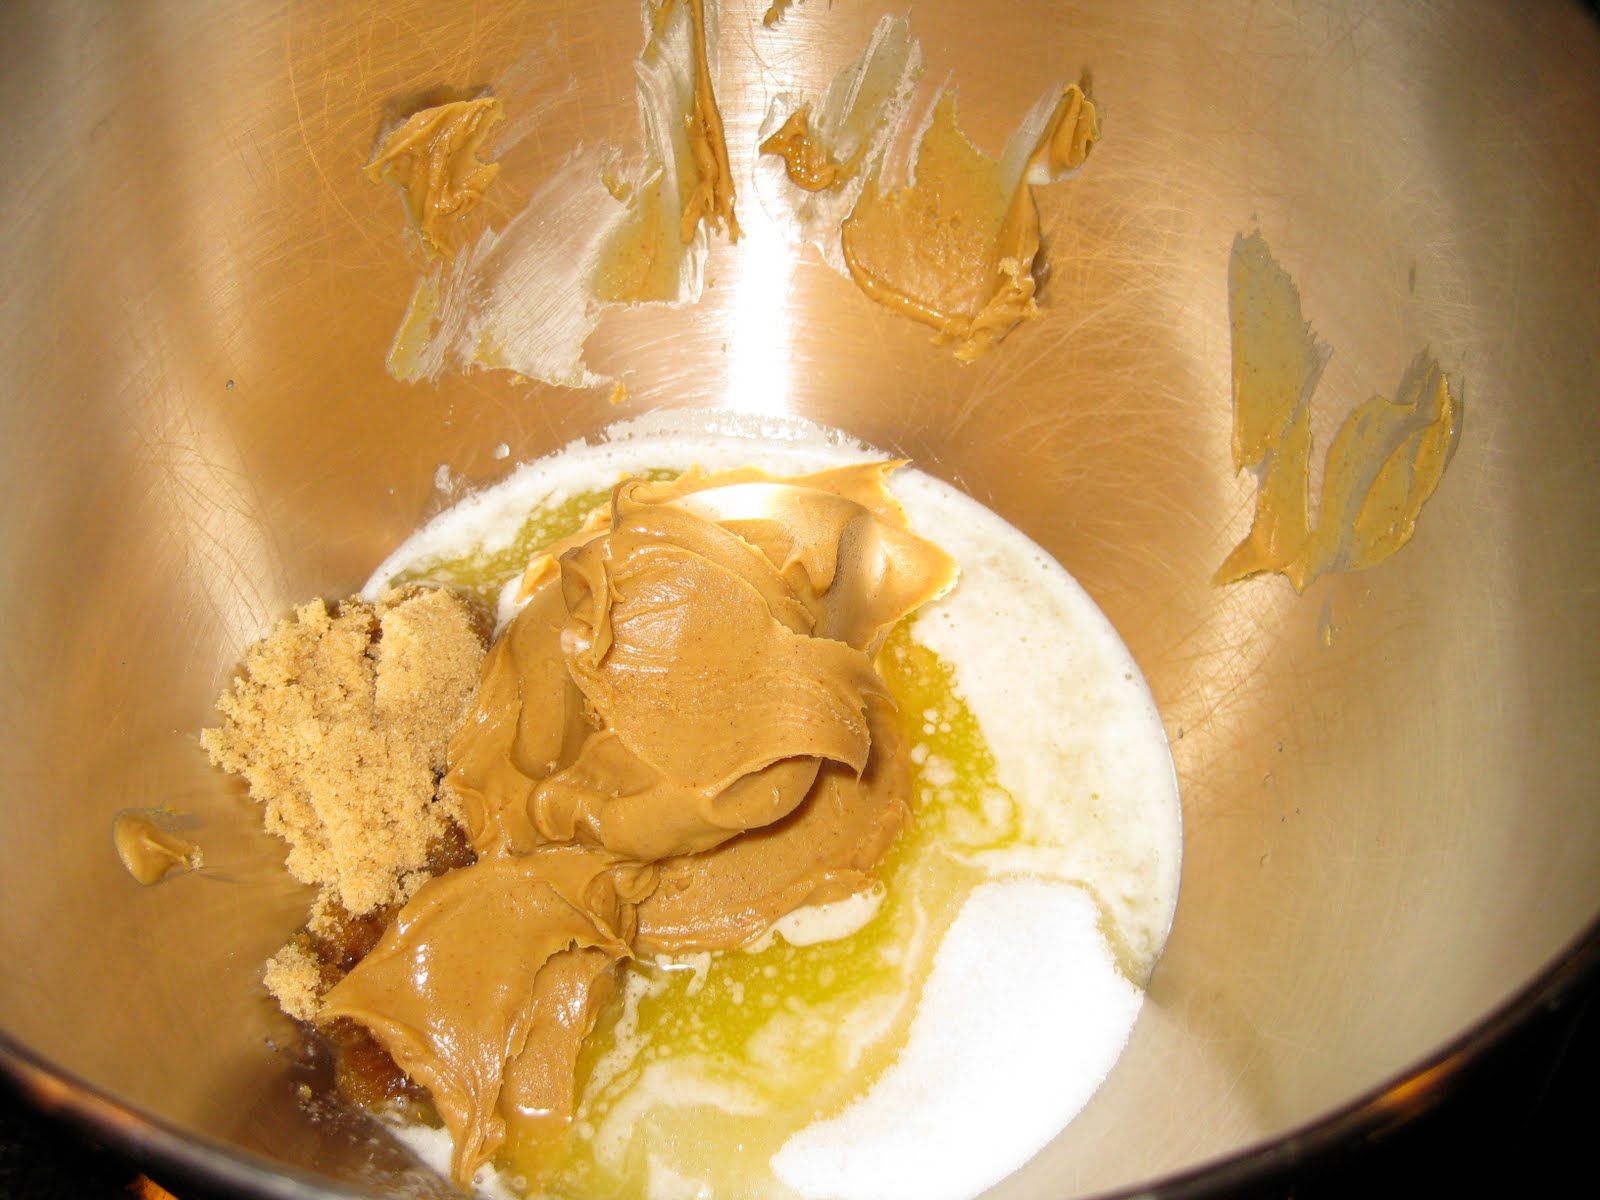
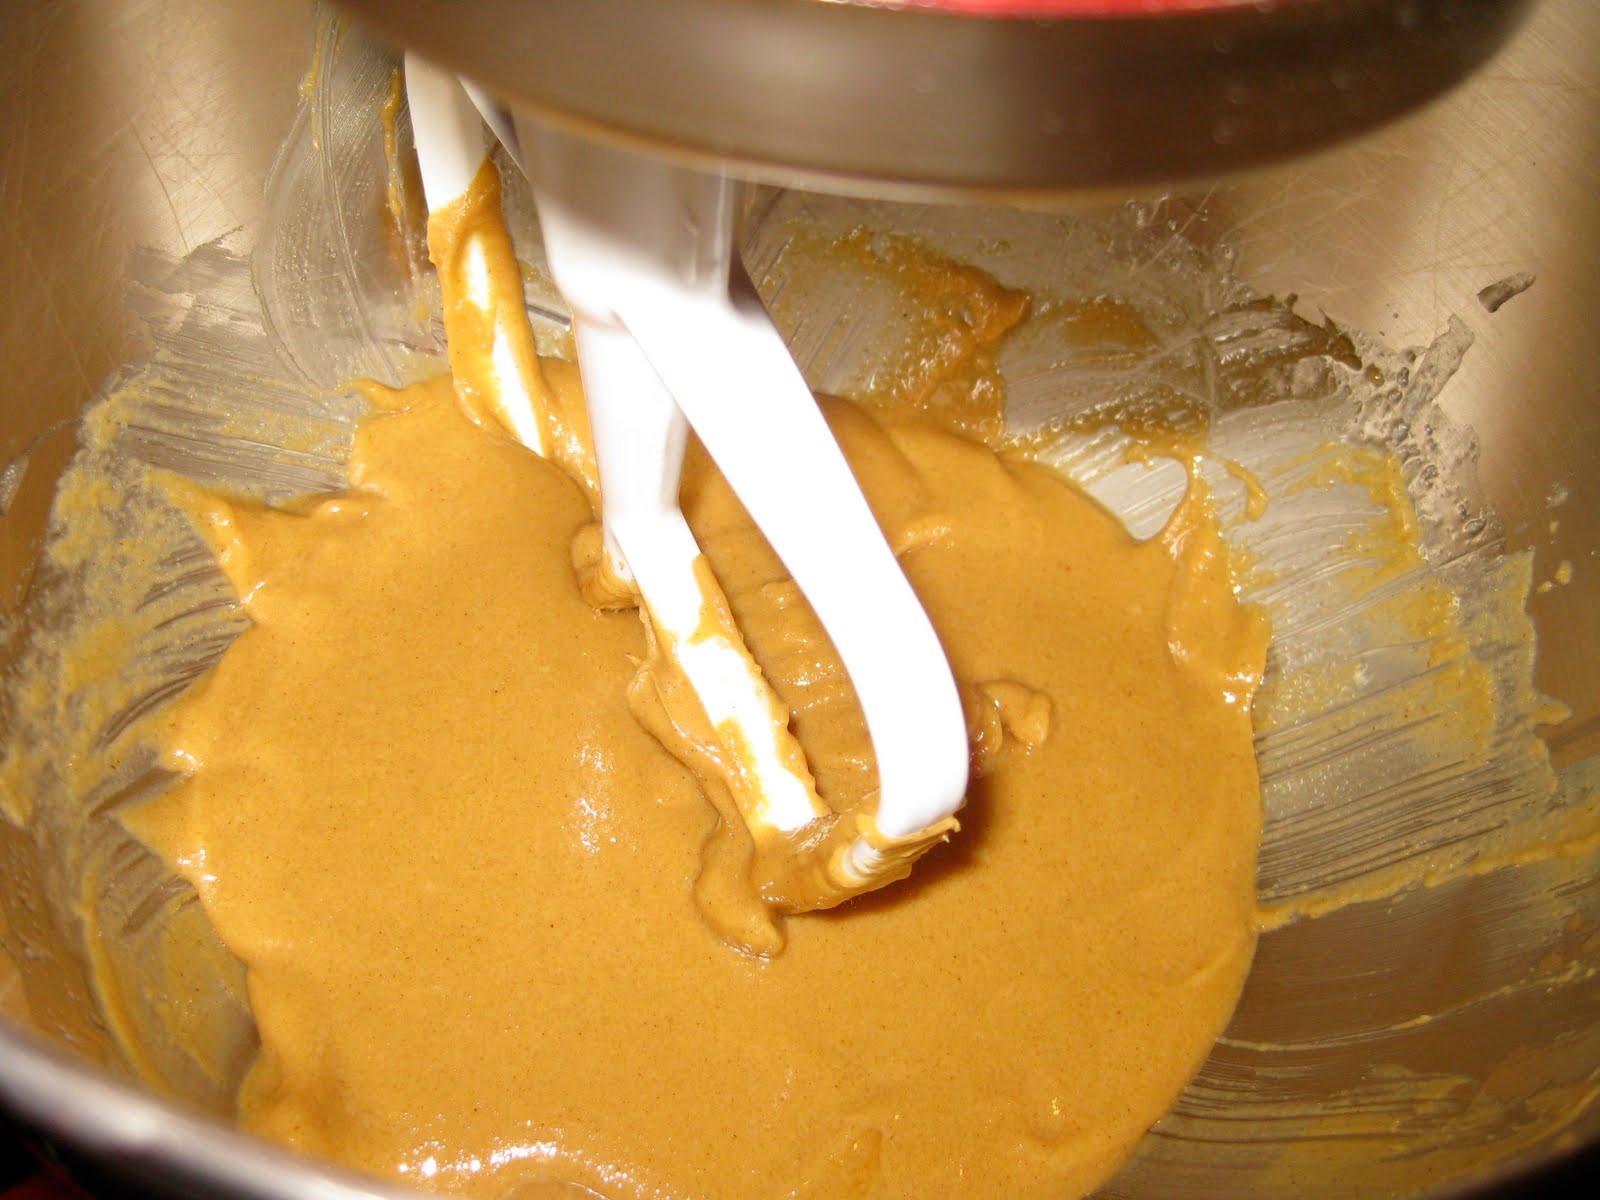
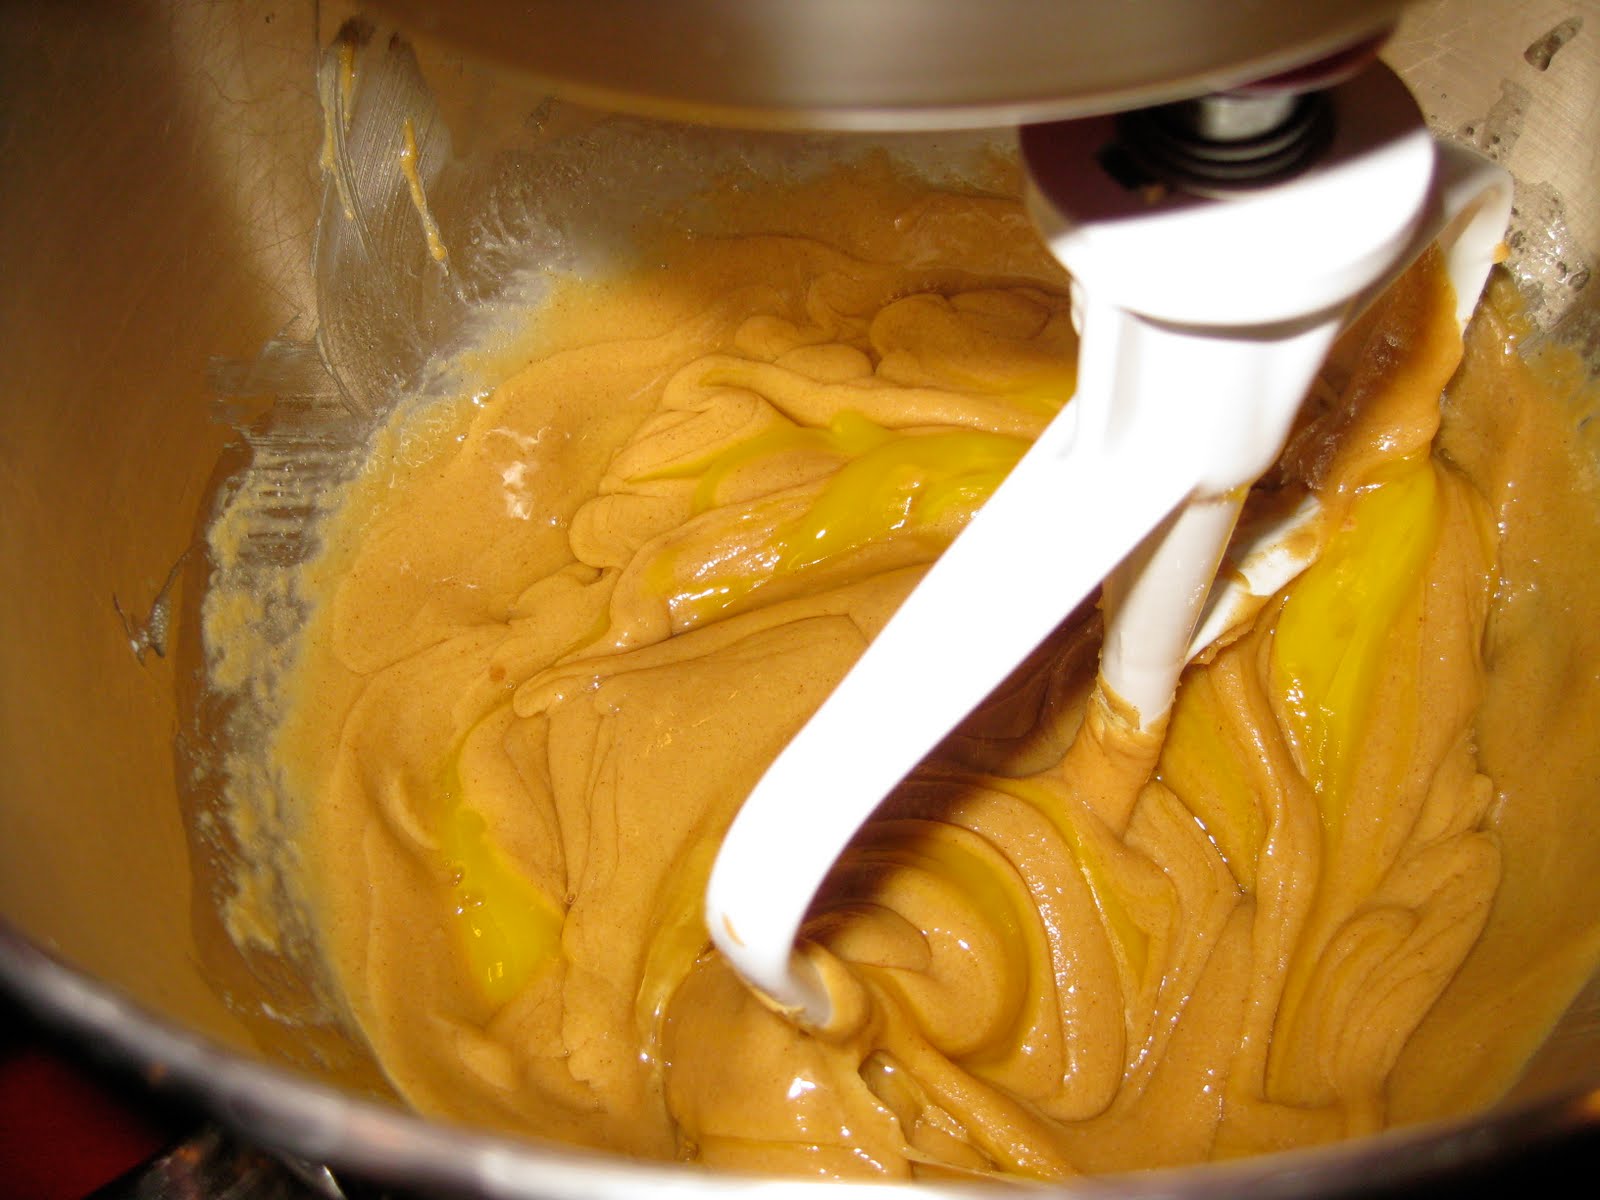
Cream together butter, peanut butter, and sugars, until fluffy. Add eggs one at a time, beating after each addition. Then beat in vanilla.
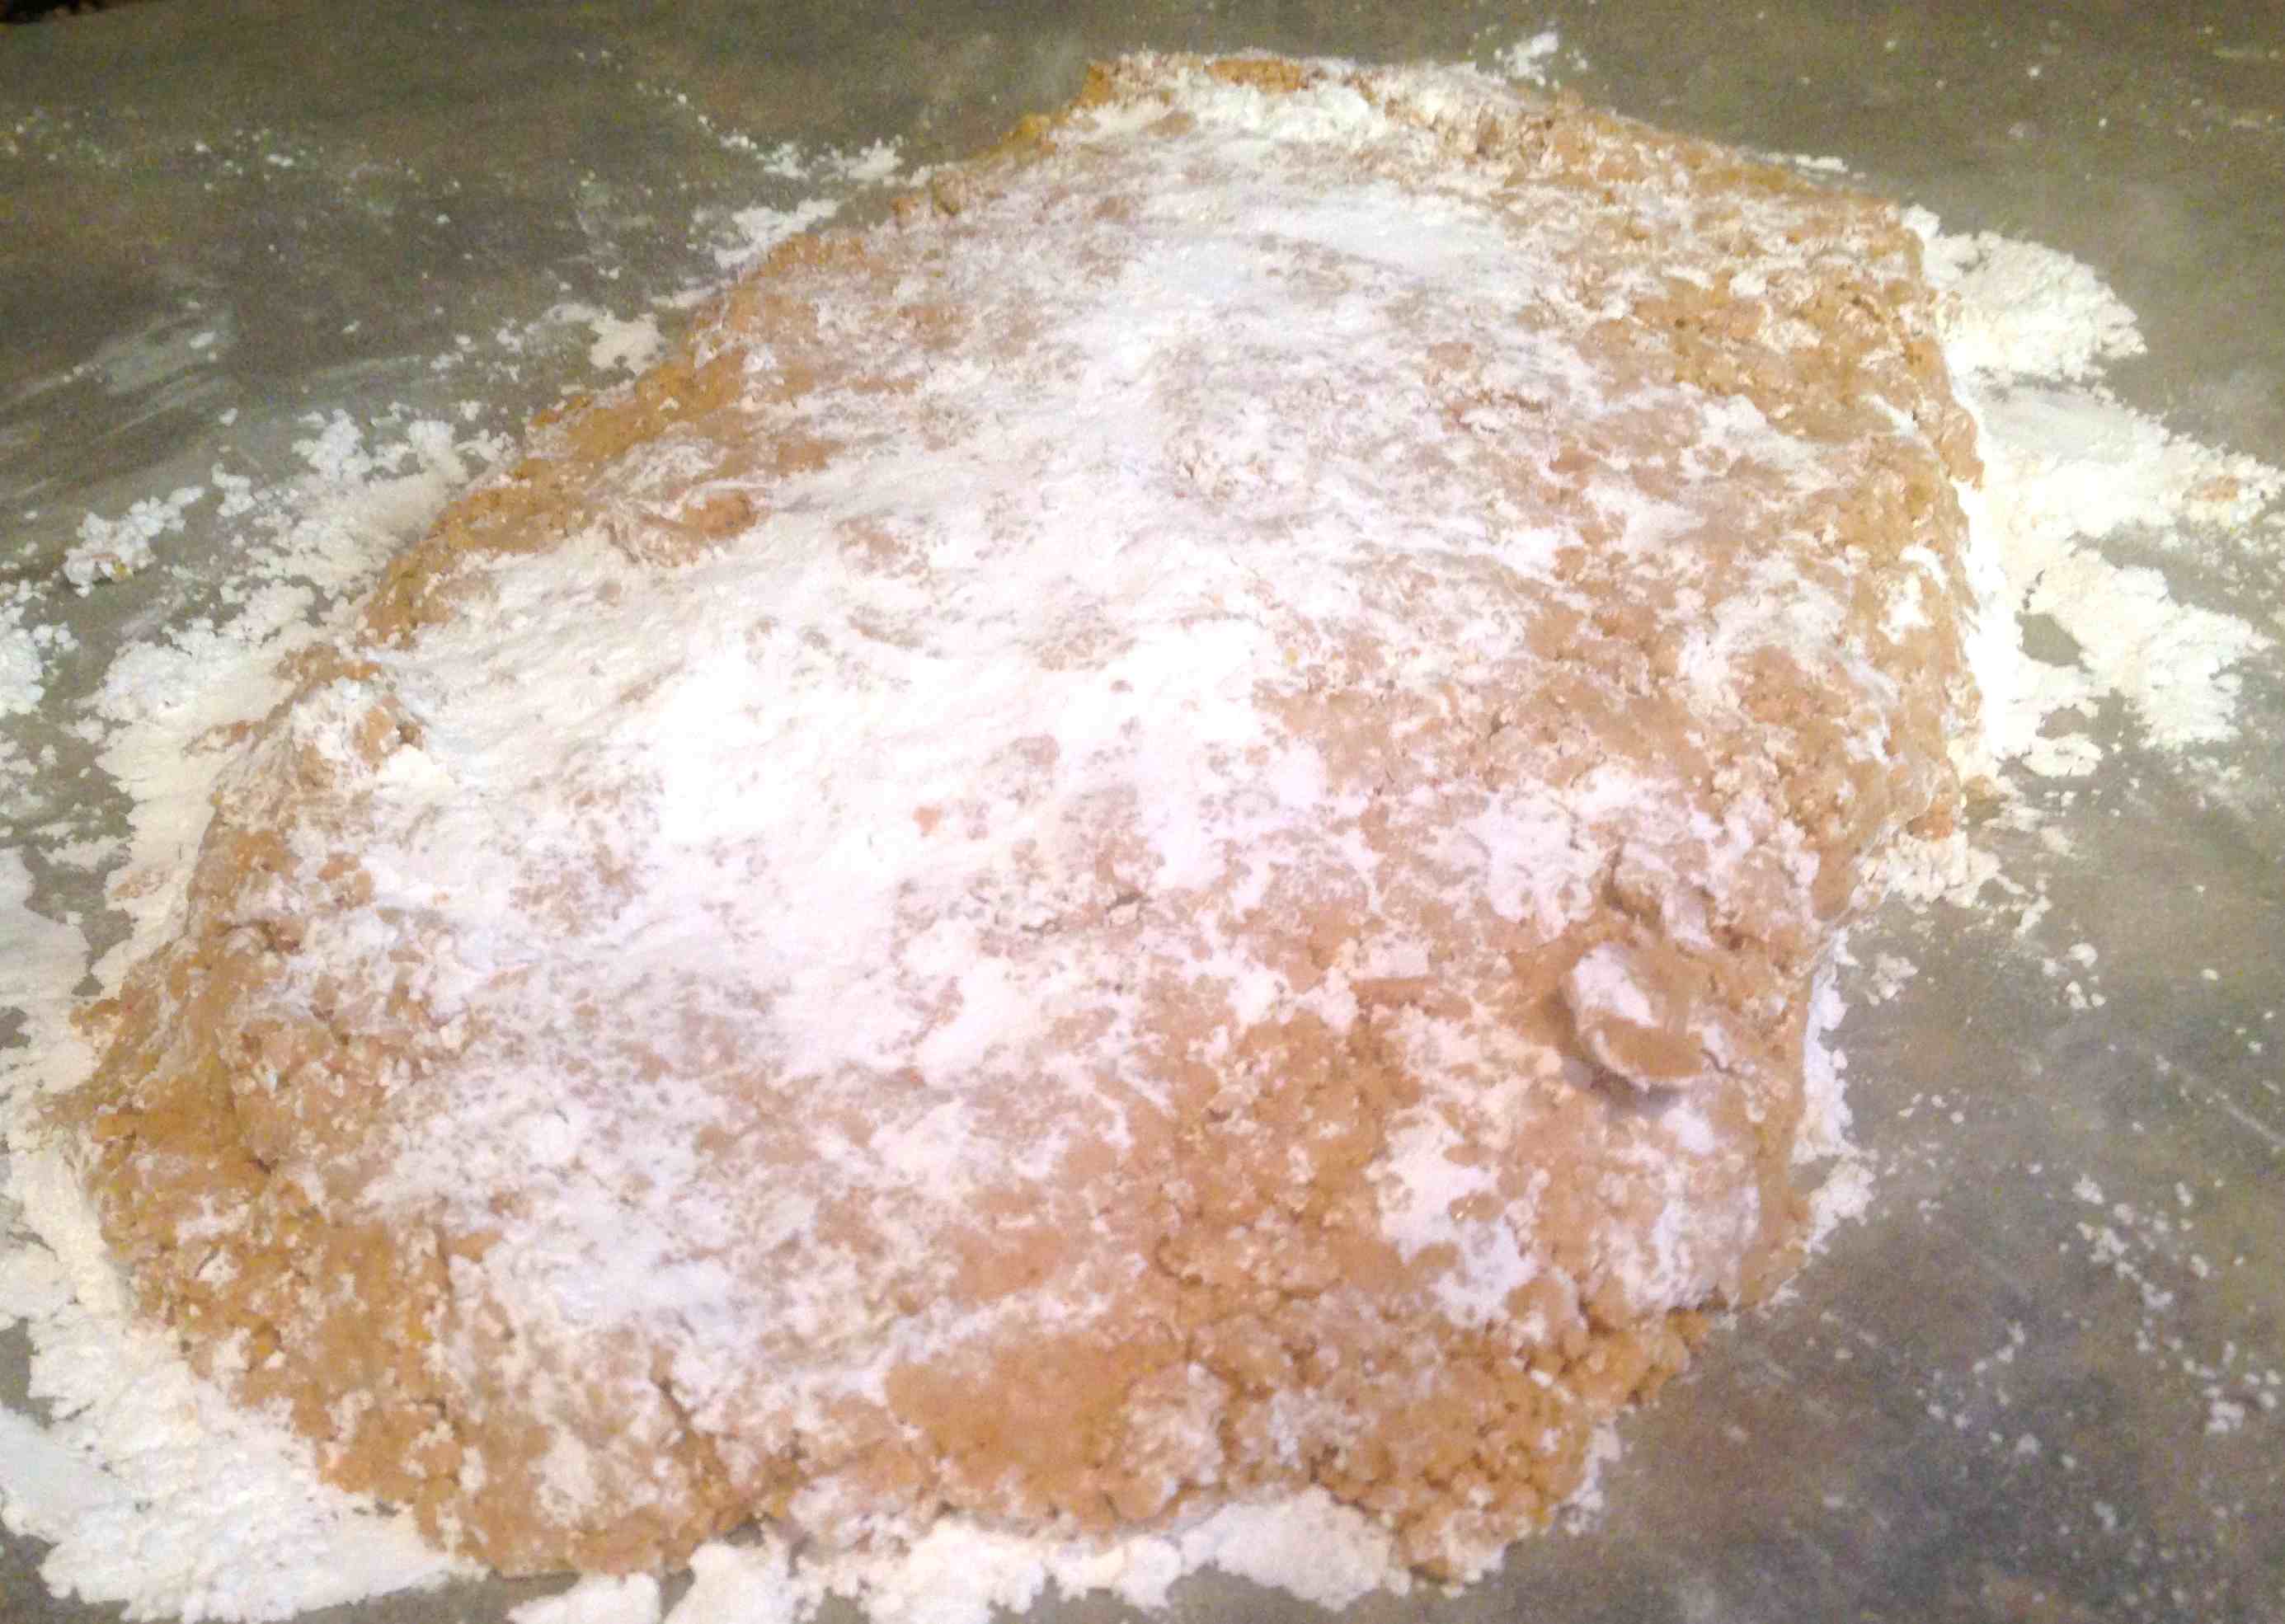
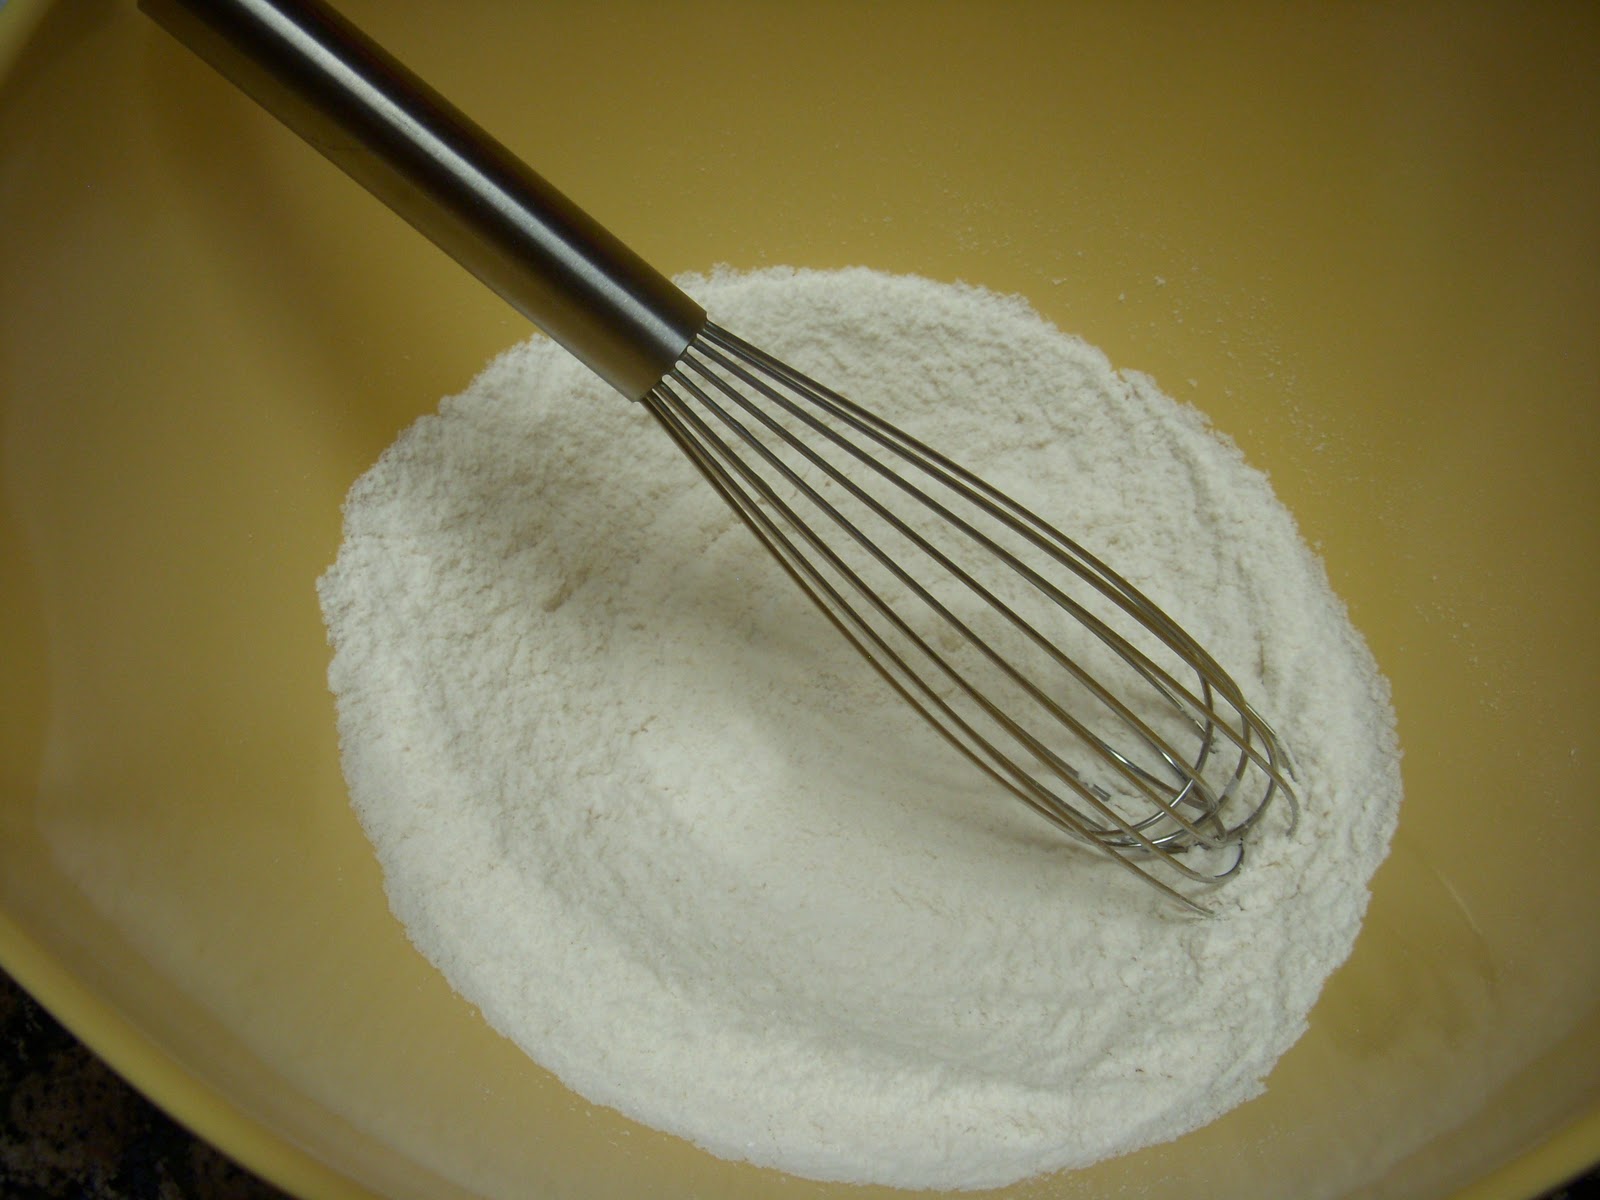
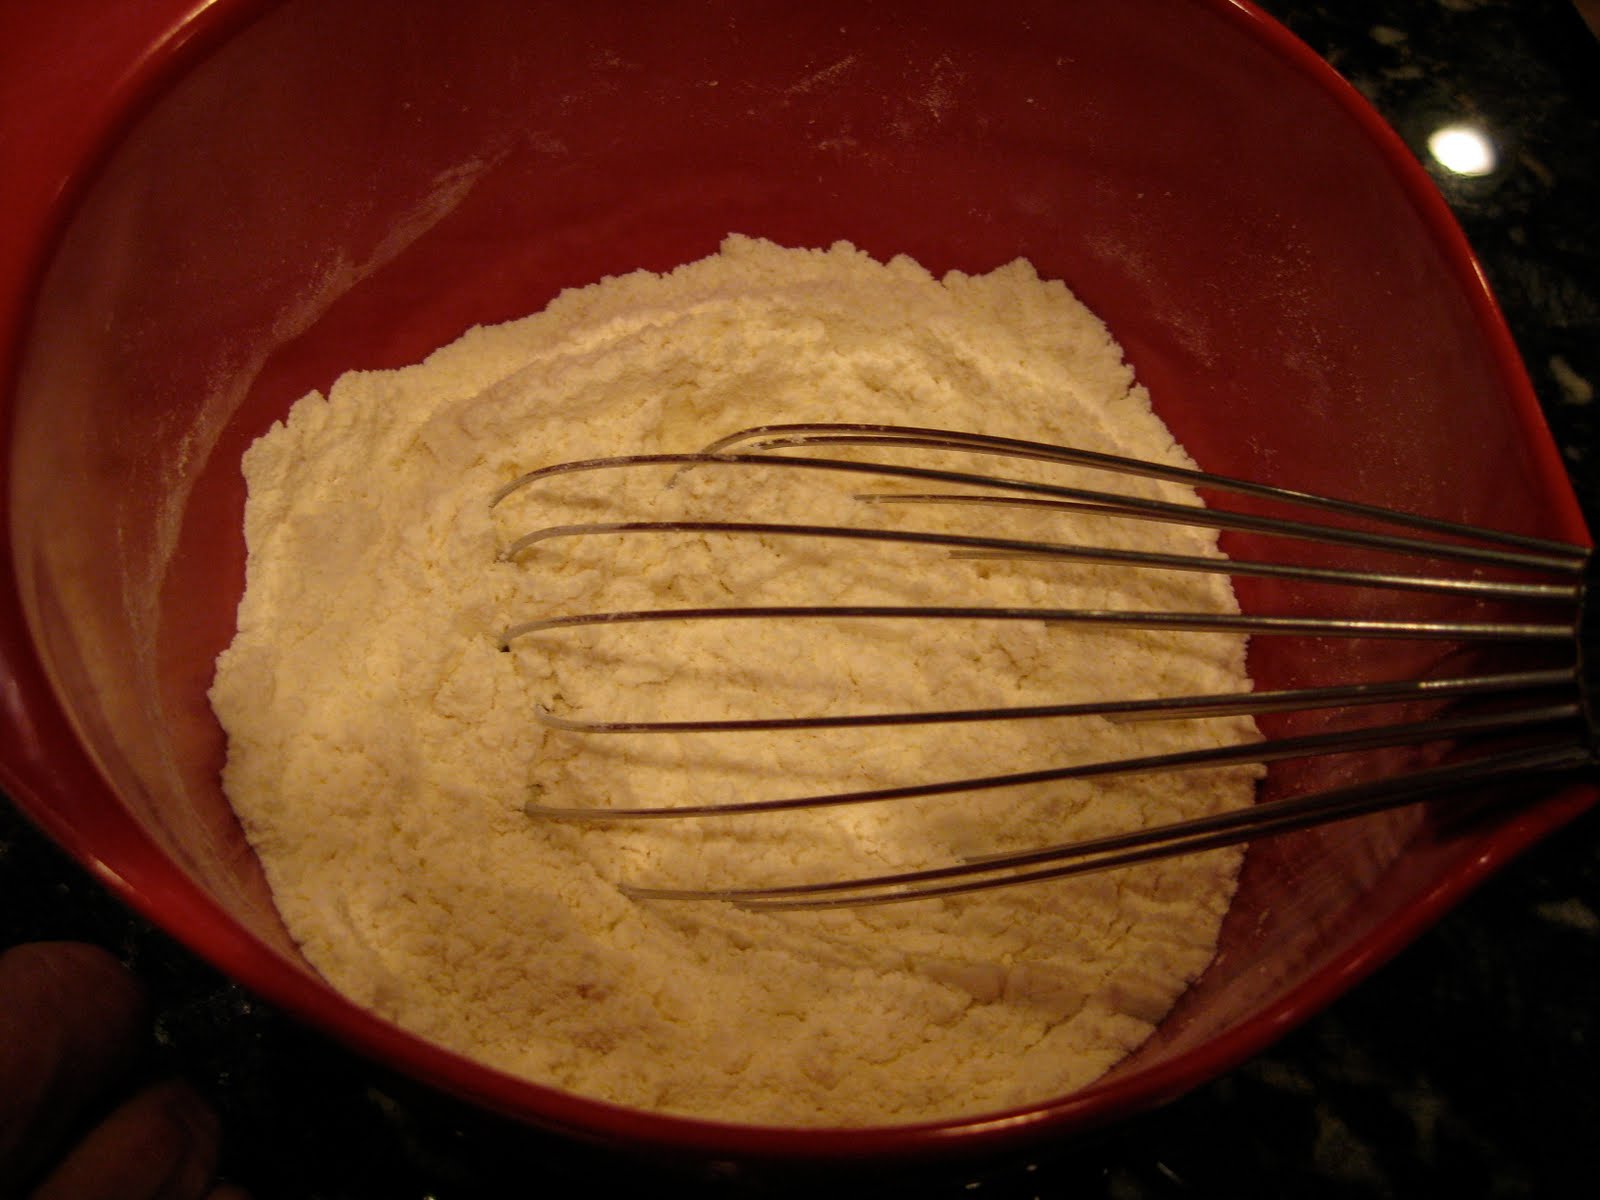
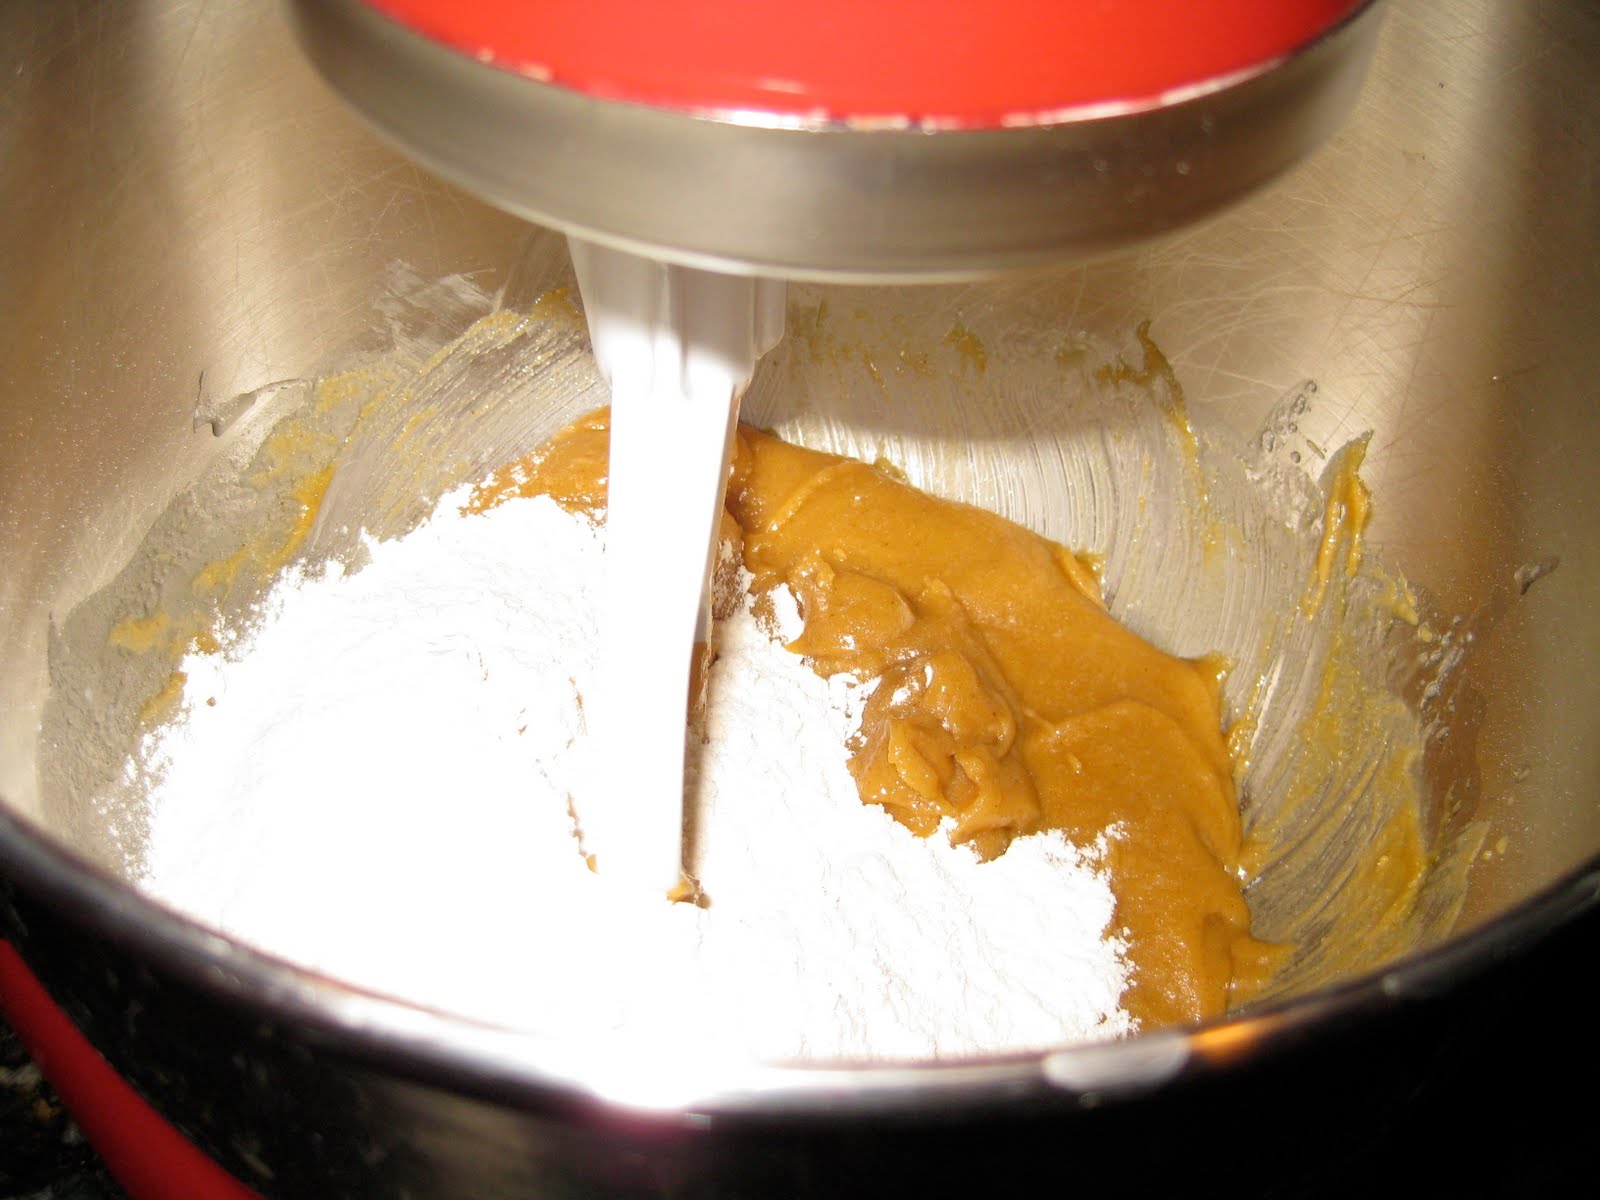
In a large bowl, whisk together flour, baking powder, and salt.
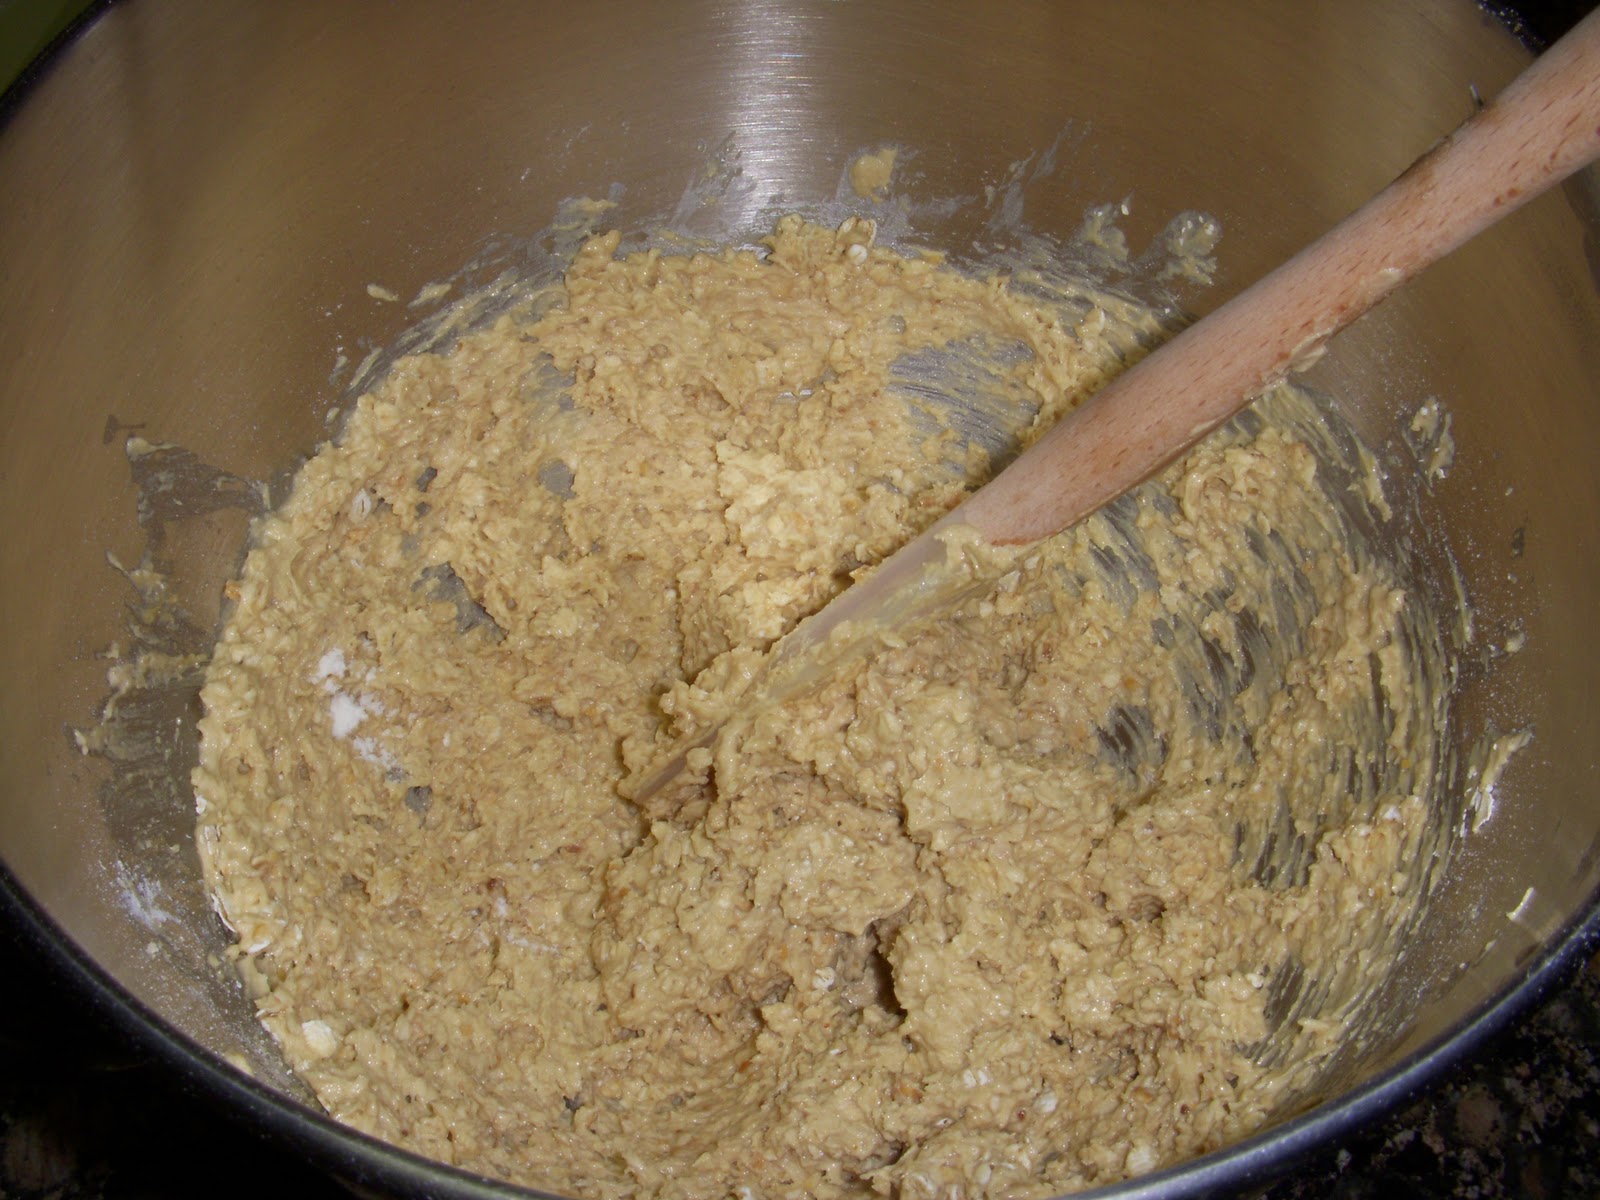
On low speed, gradually beat in the flour mixture.
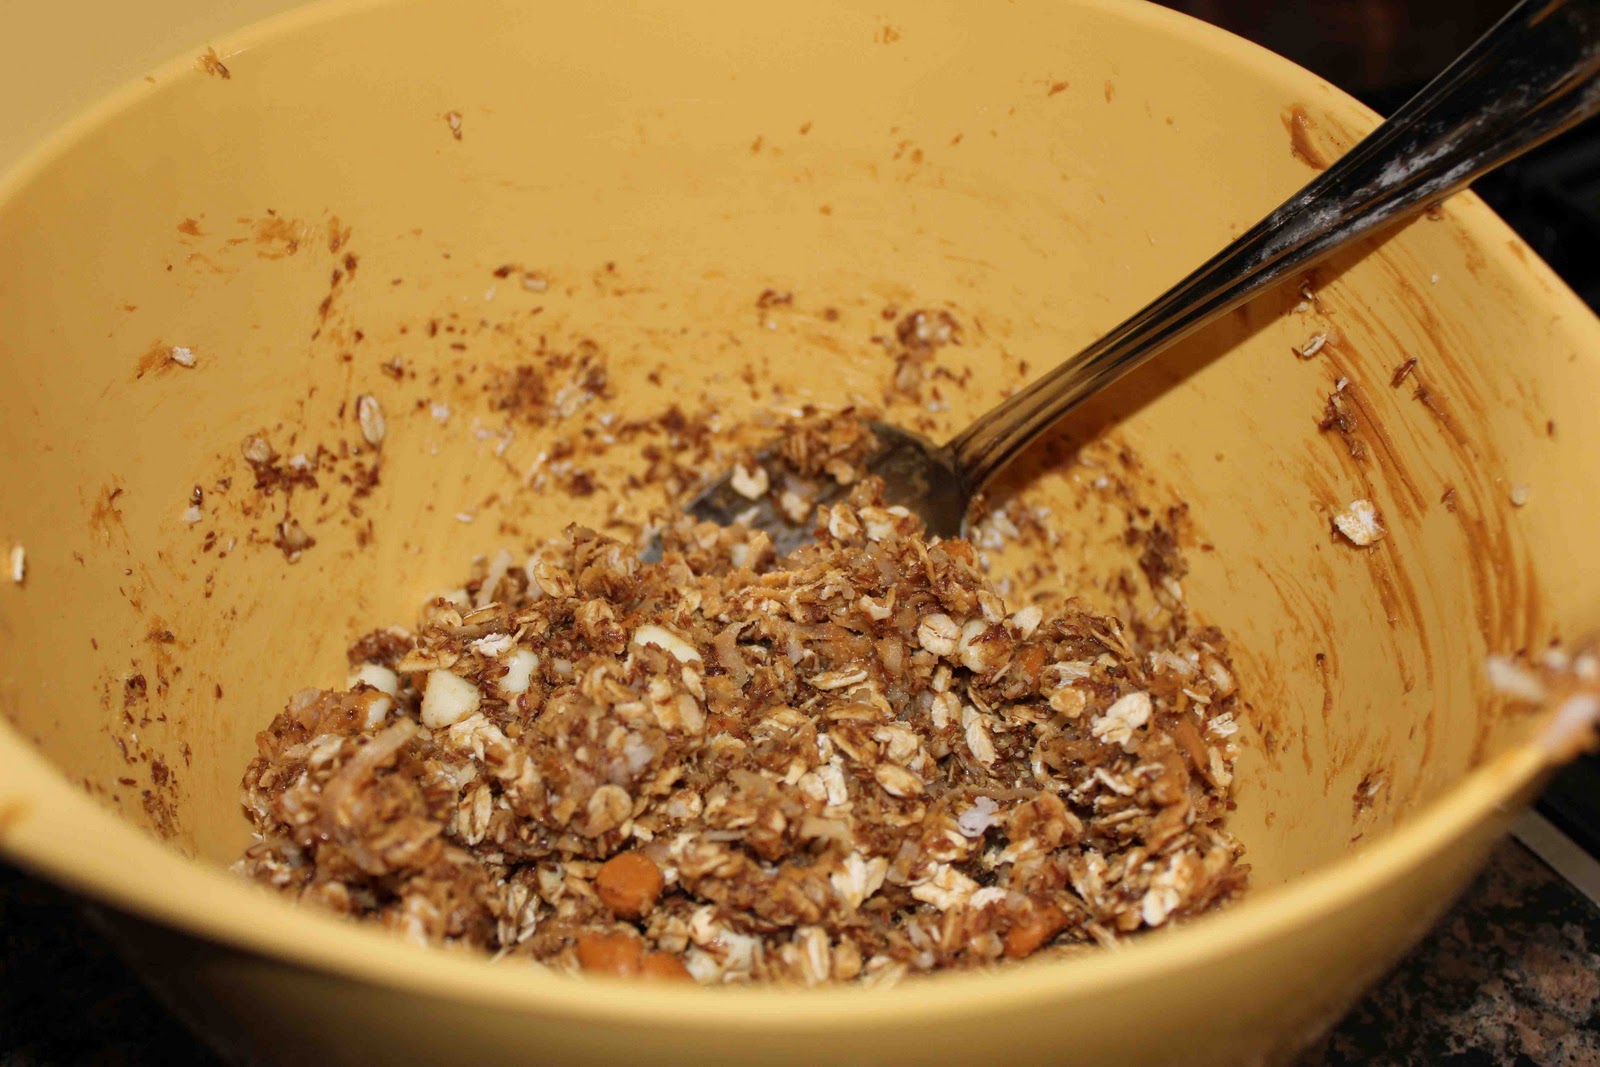
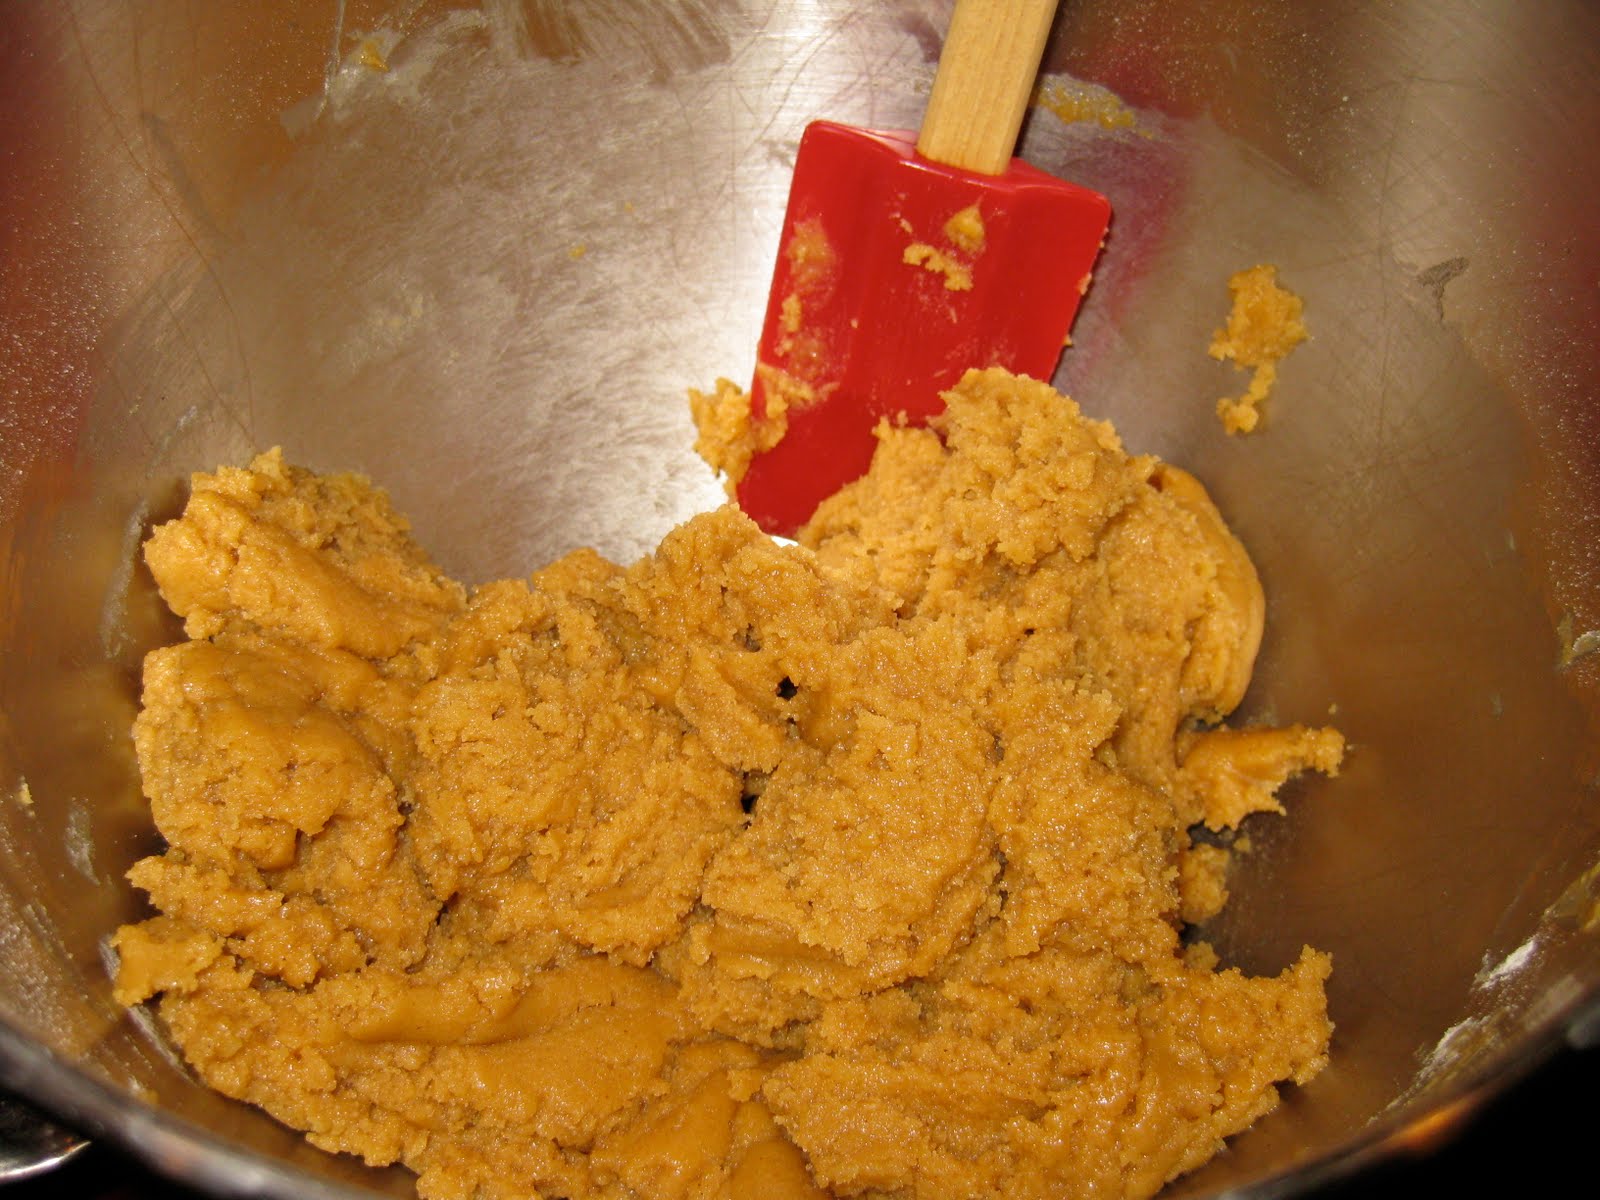
Gradually stir in oats.
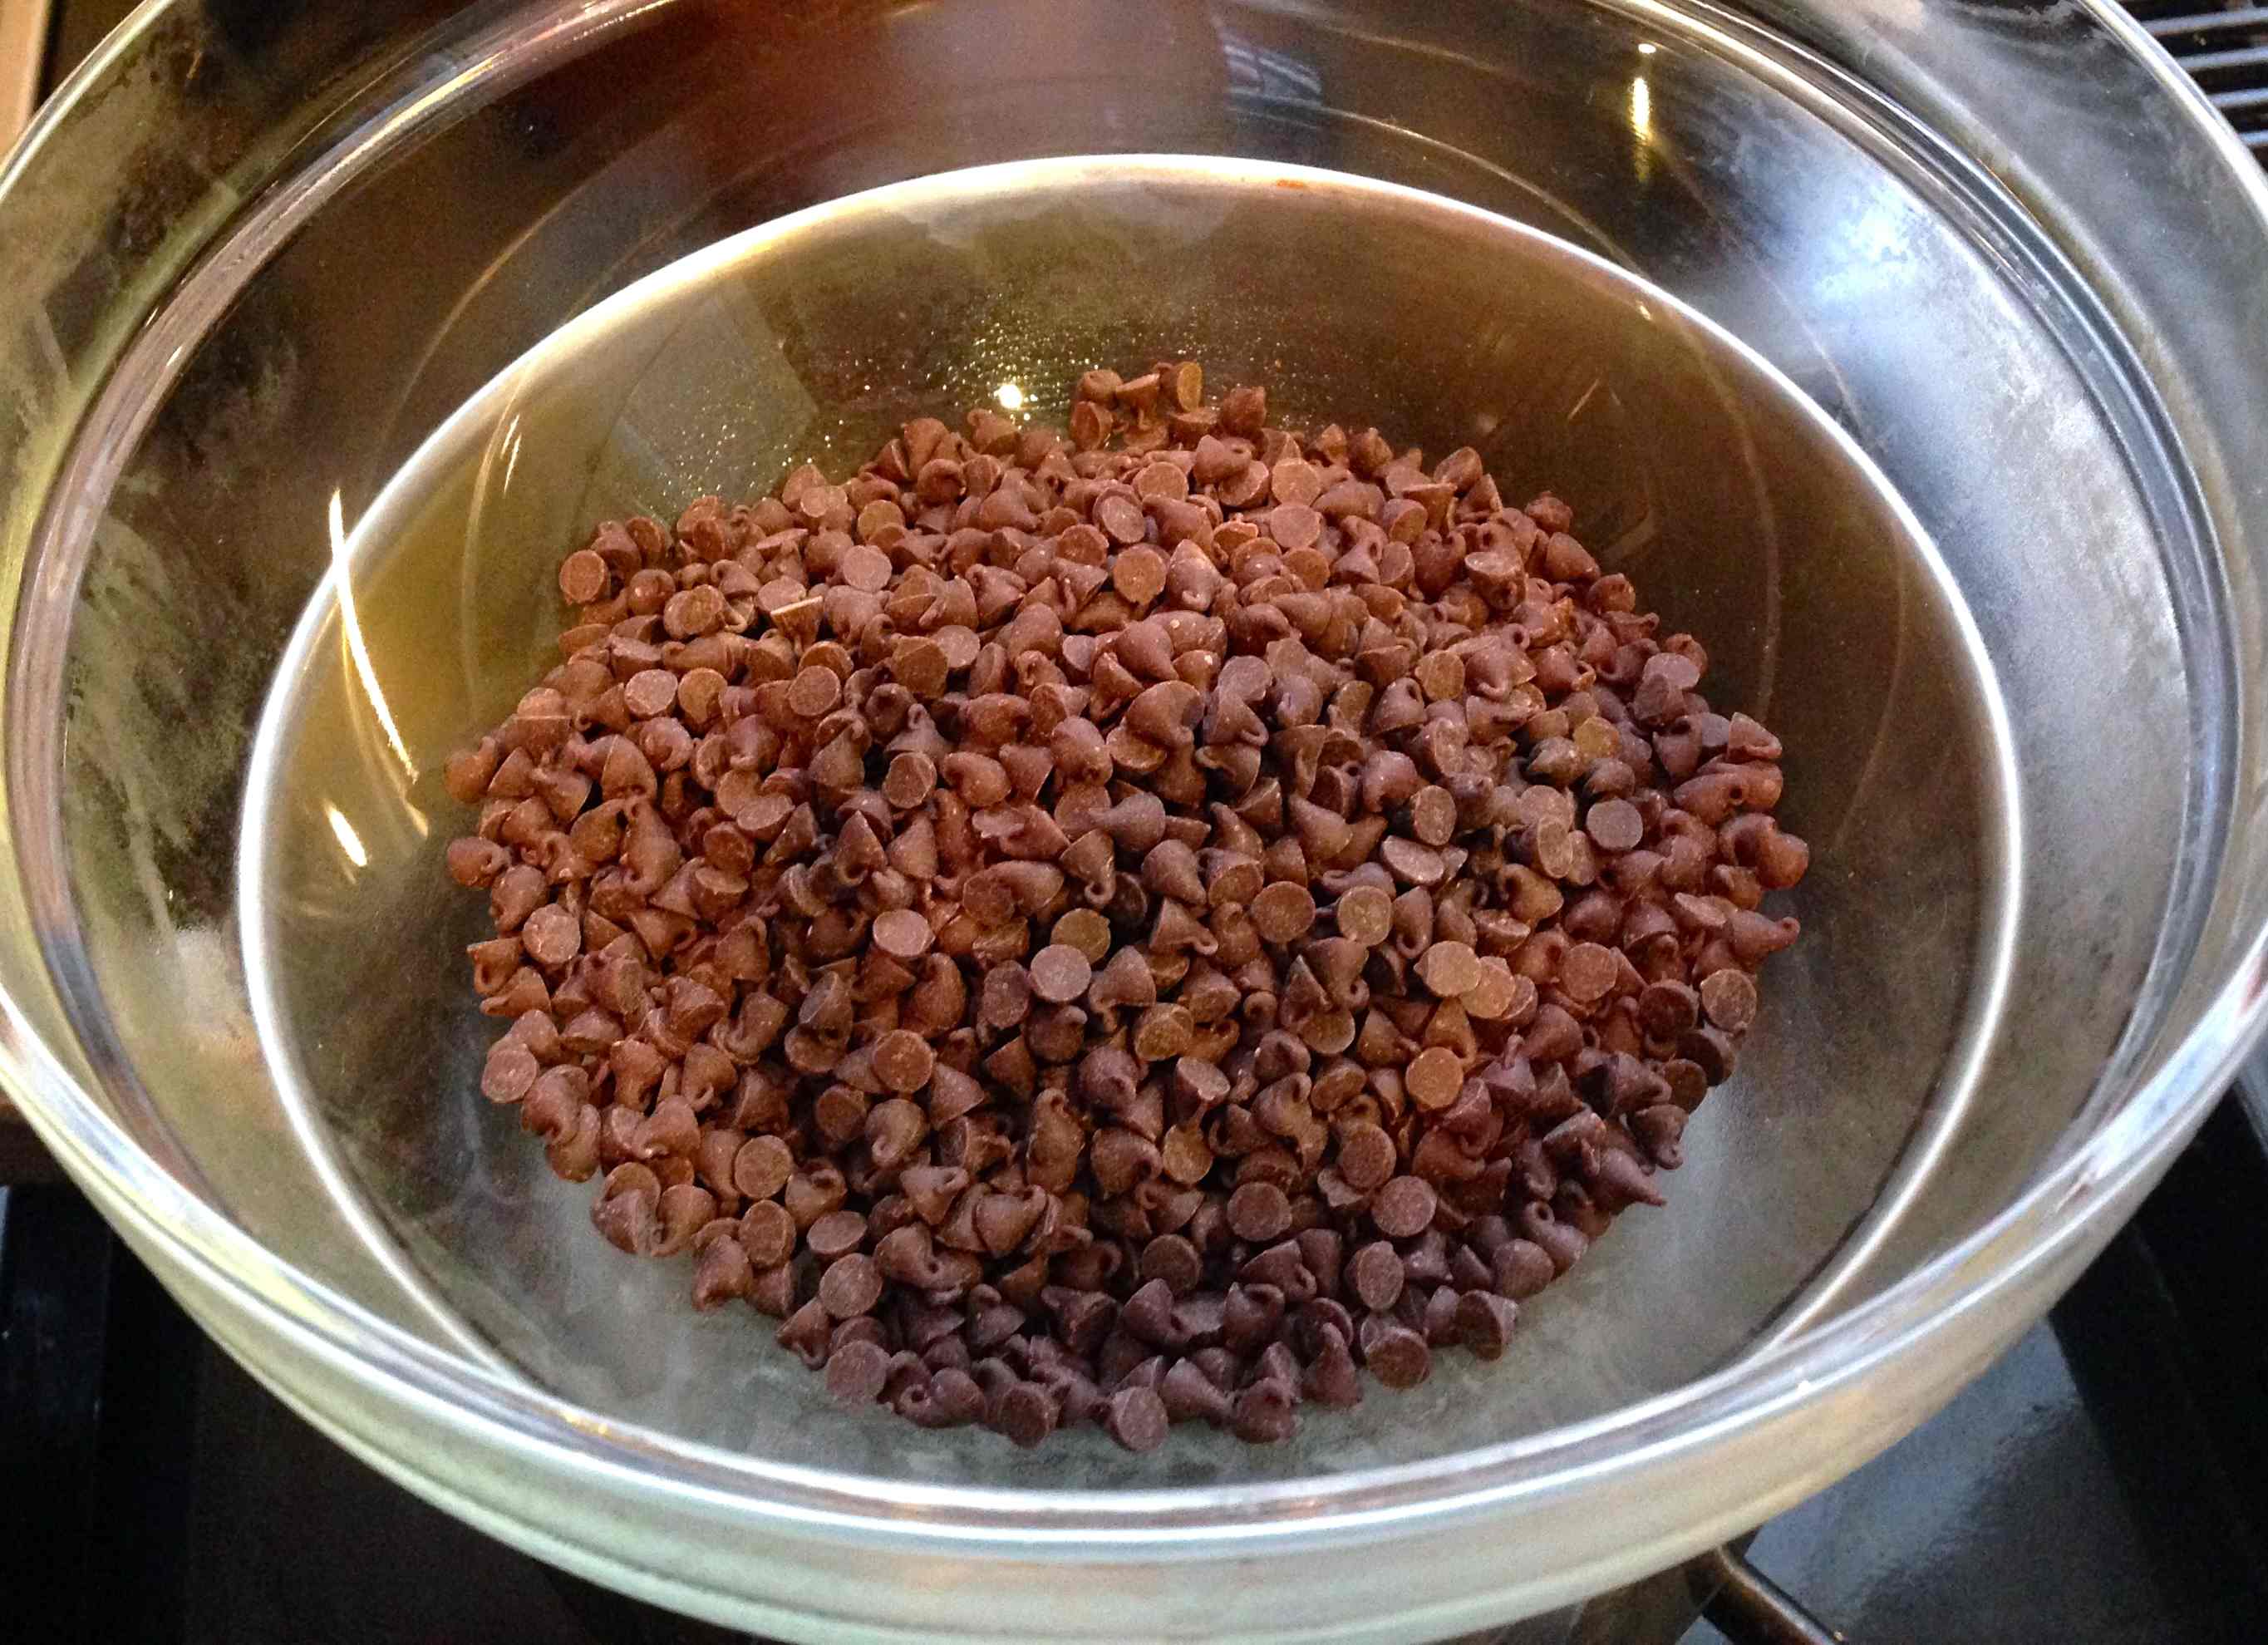
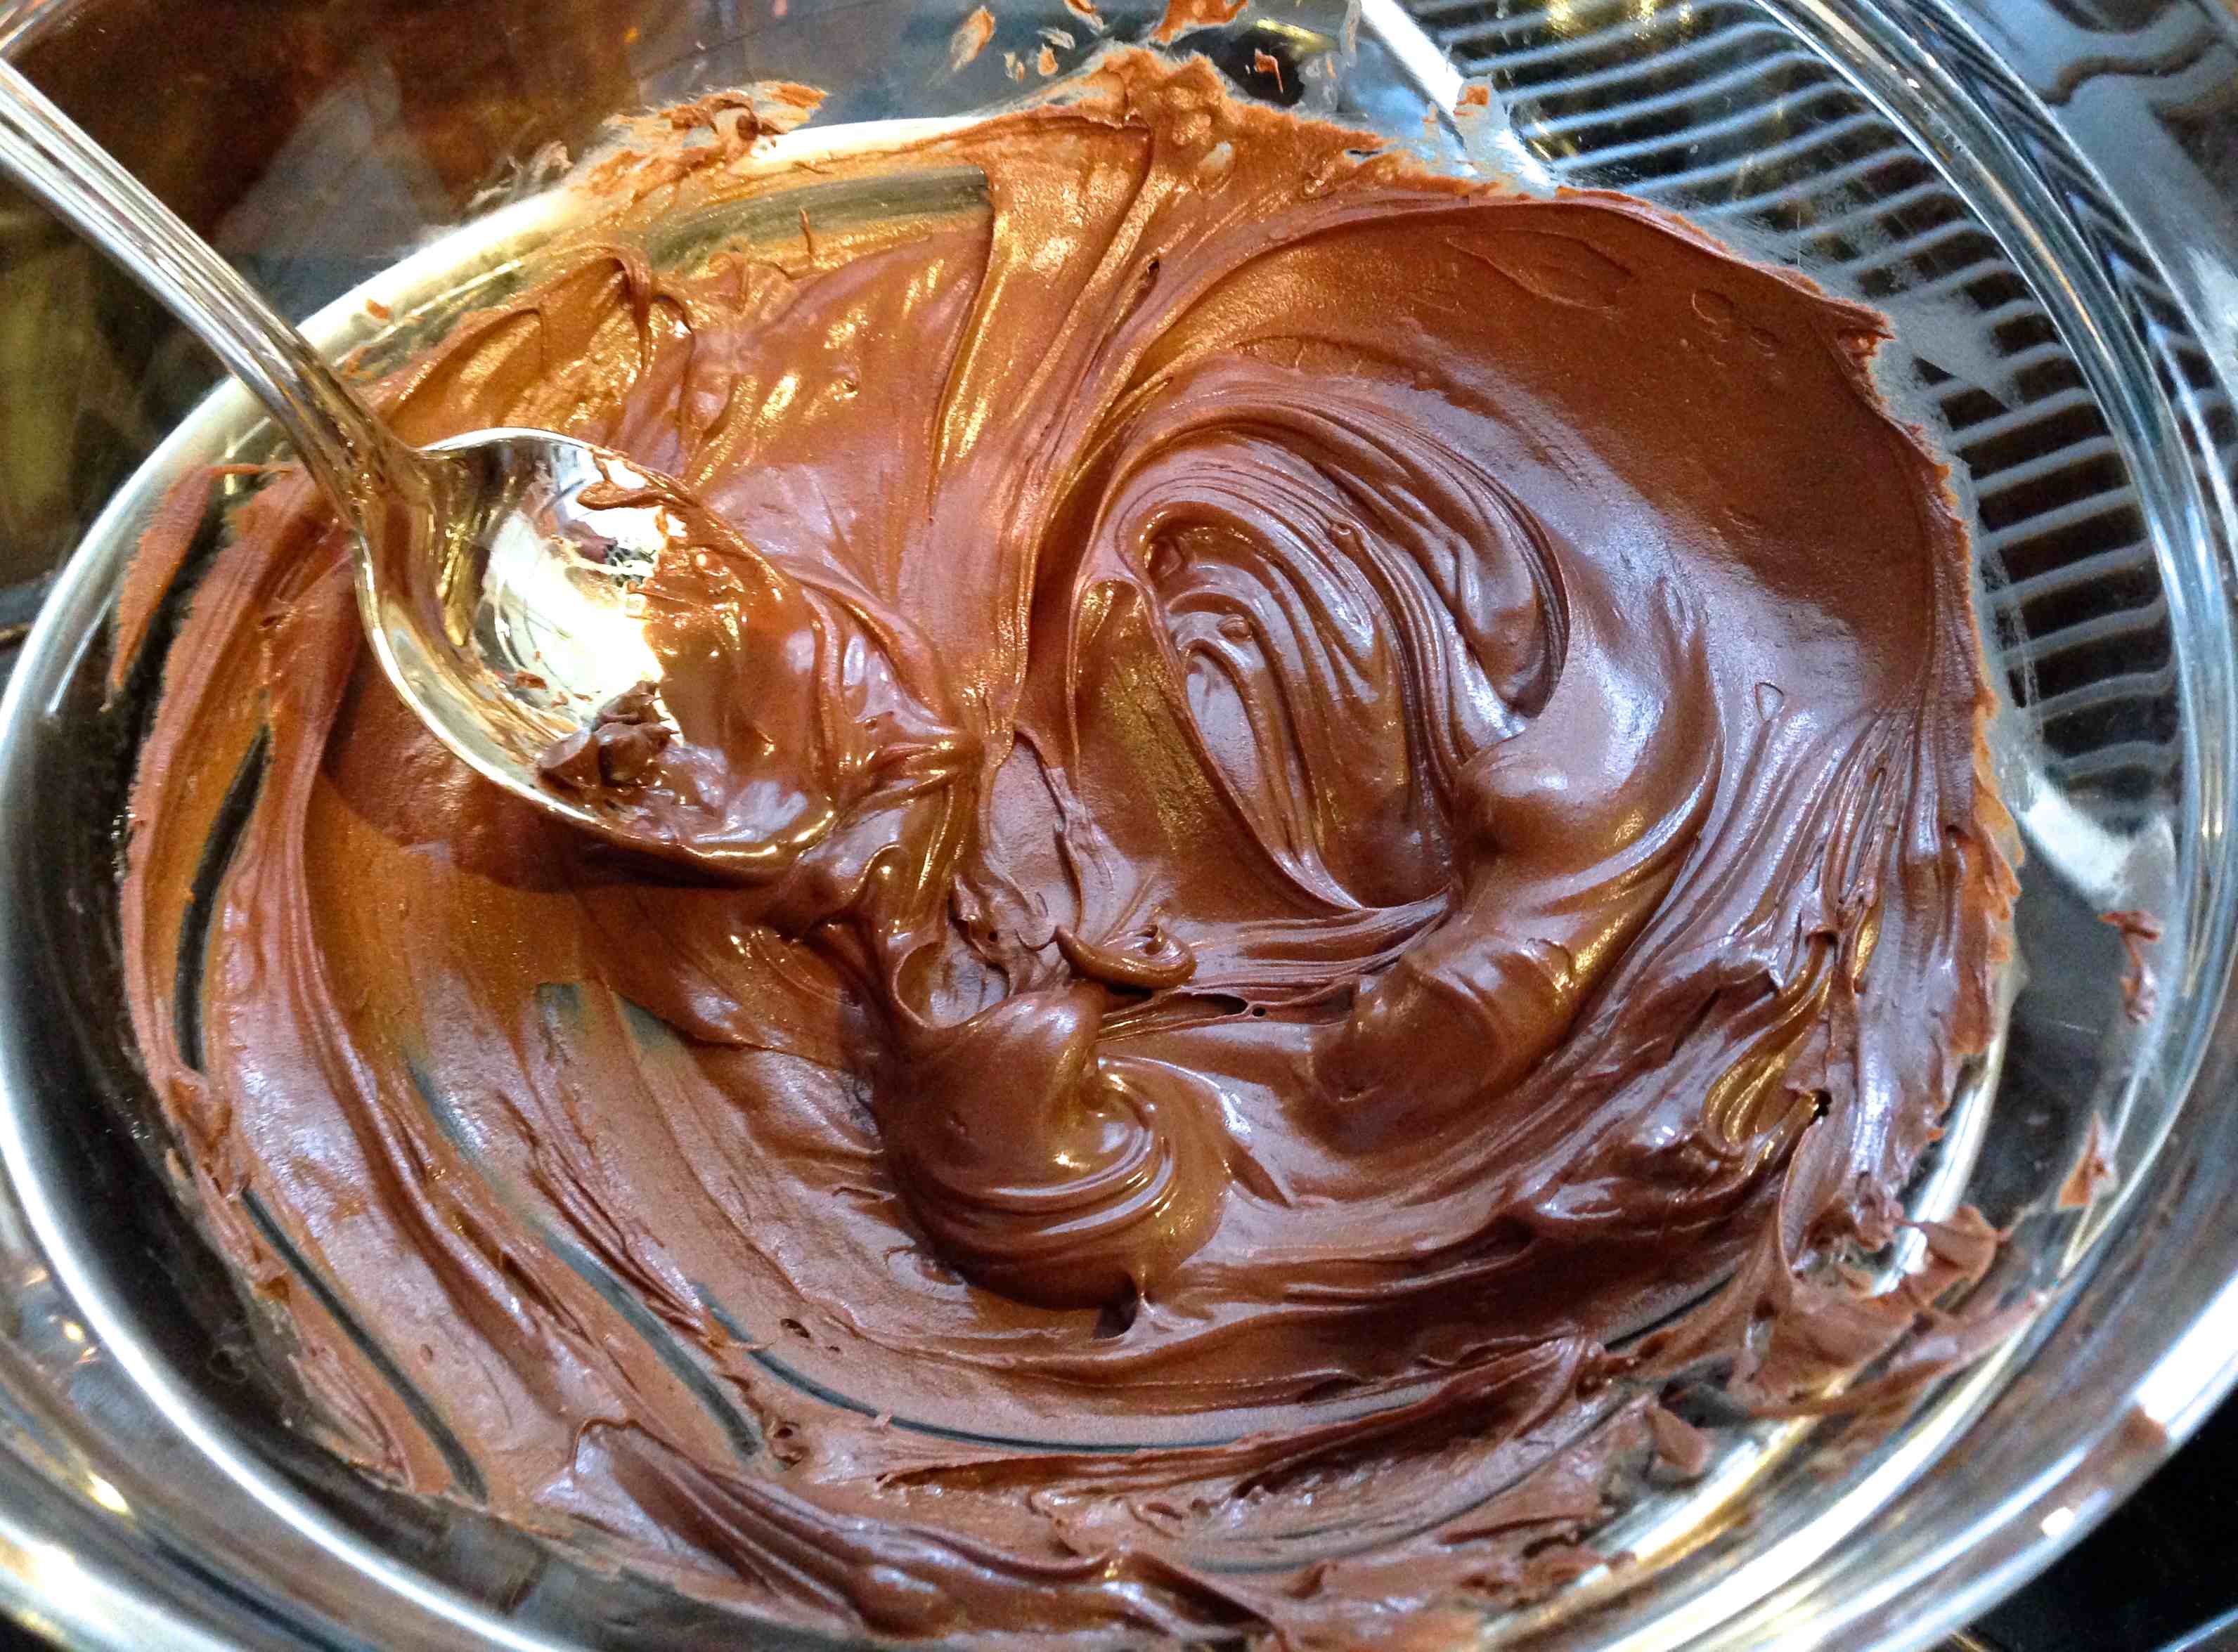
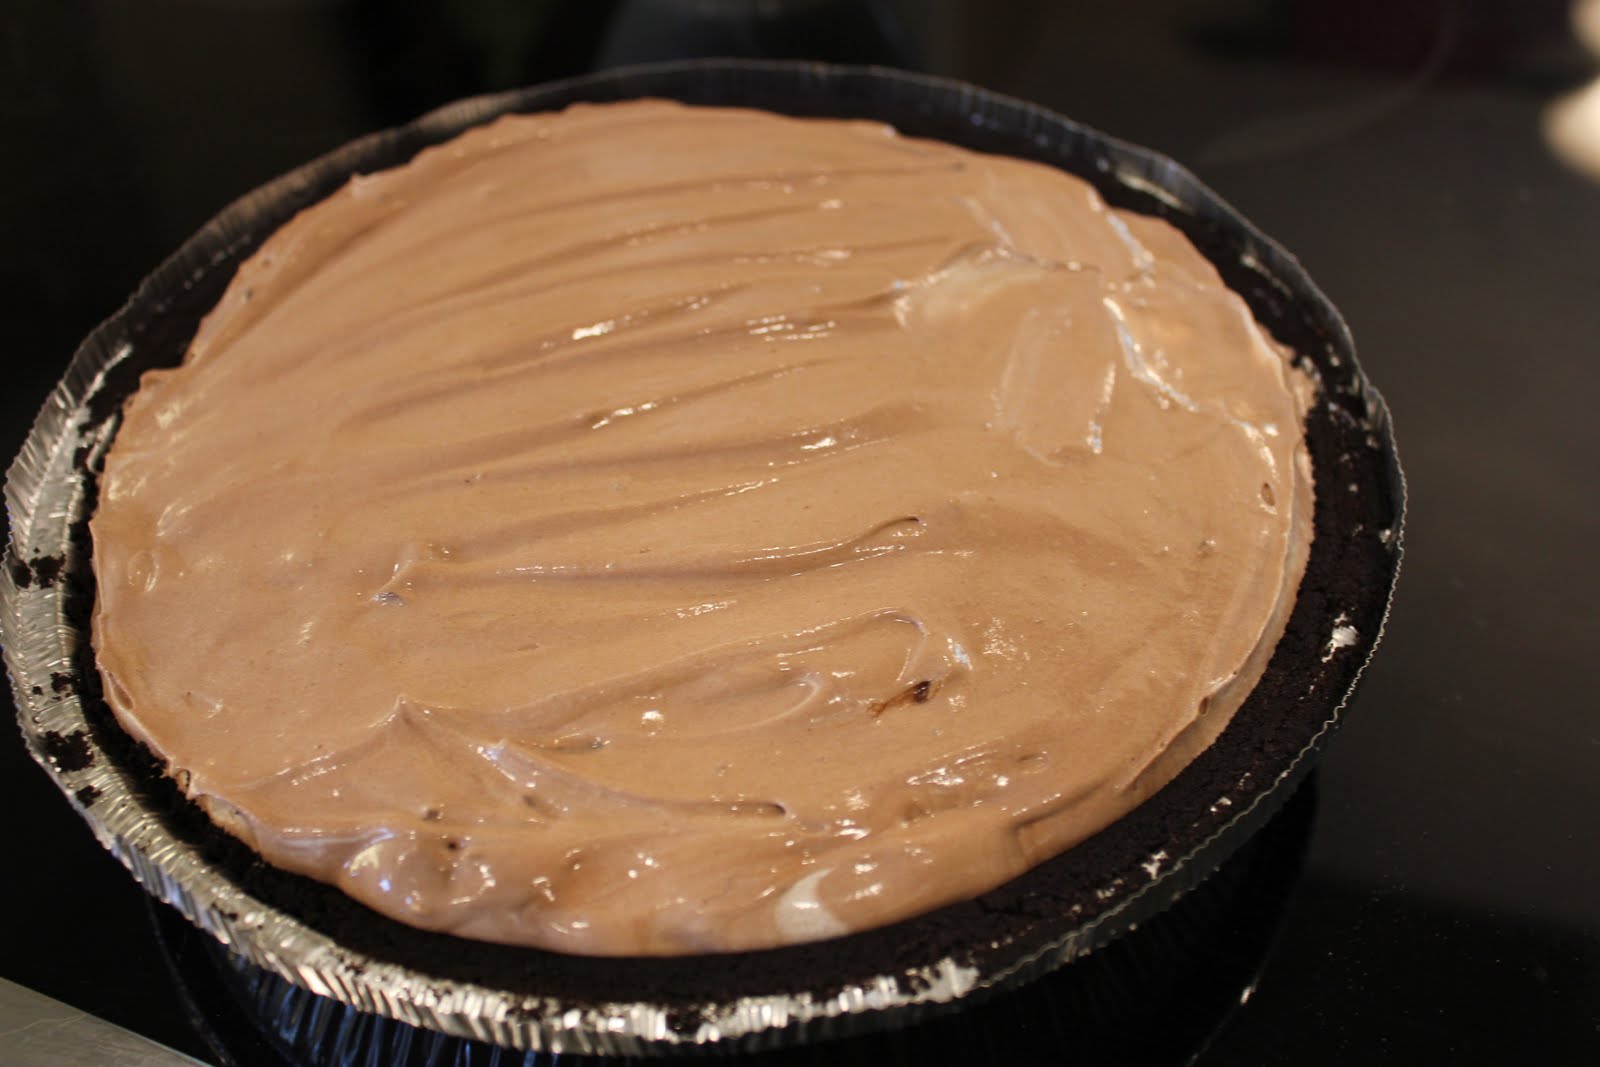
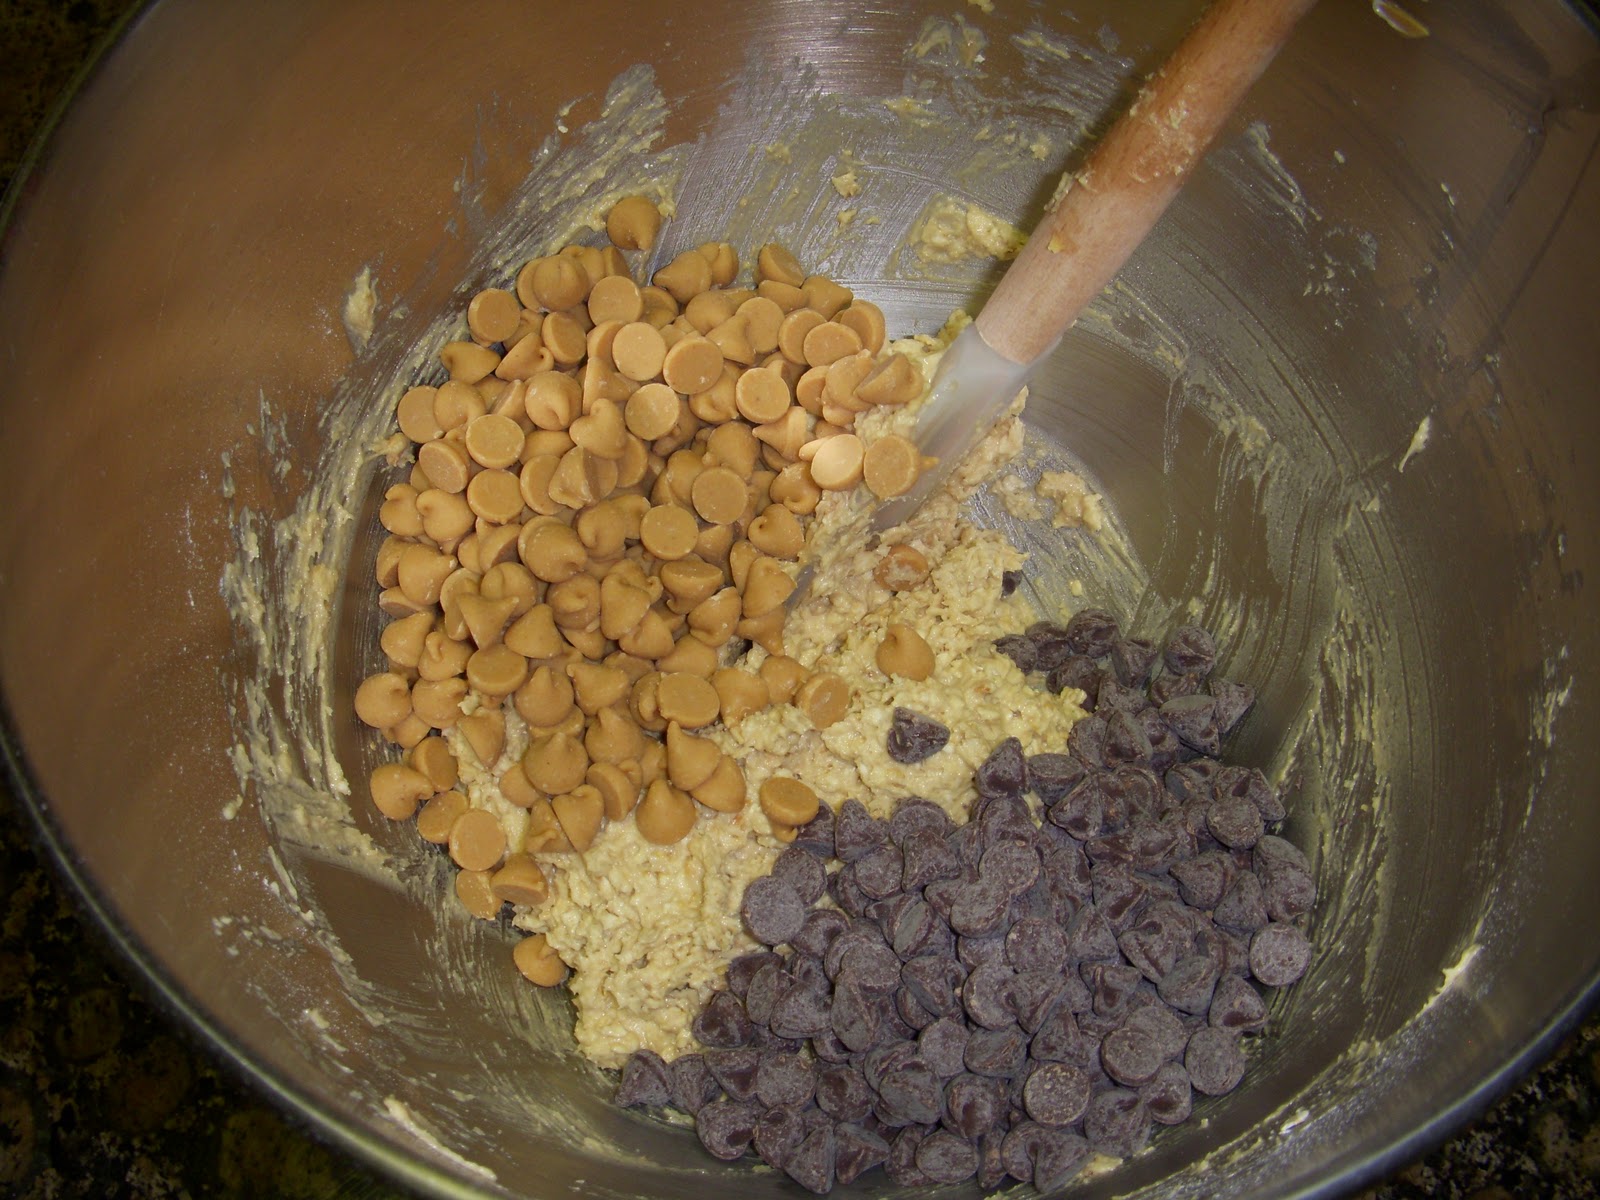
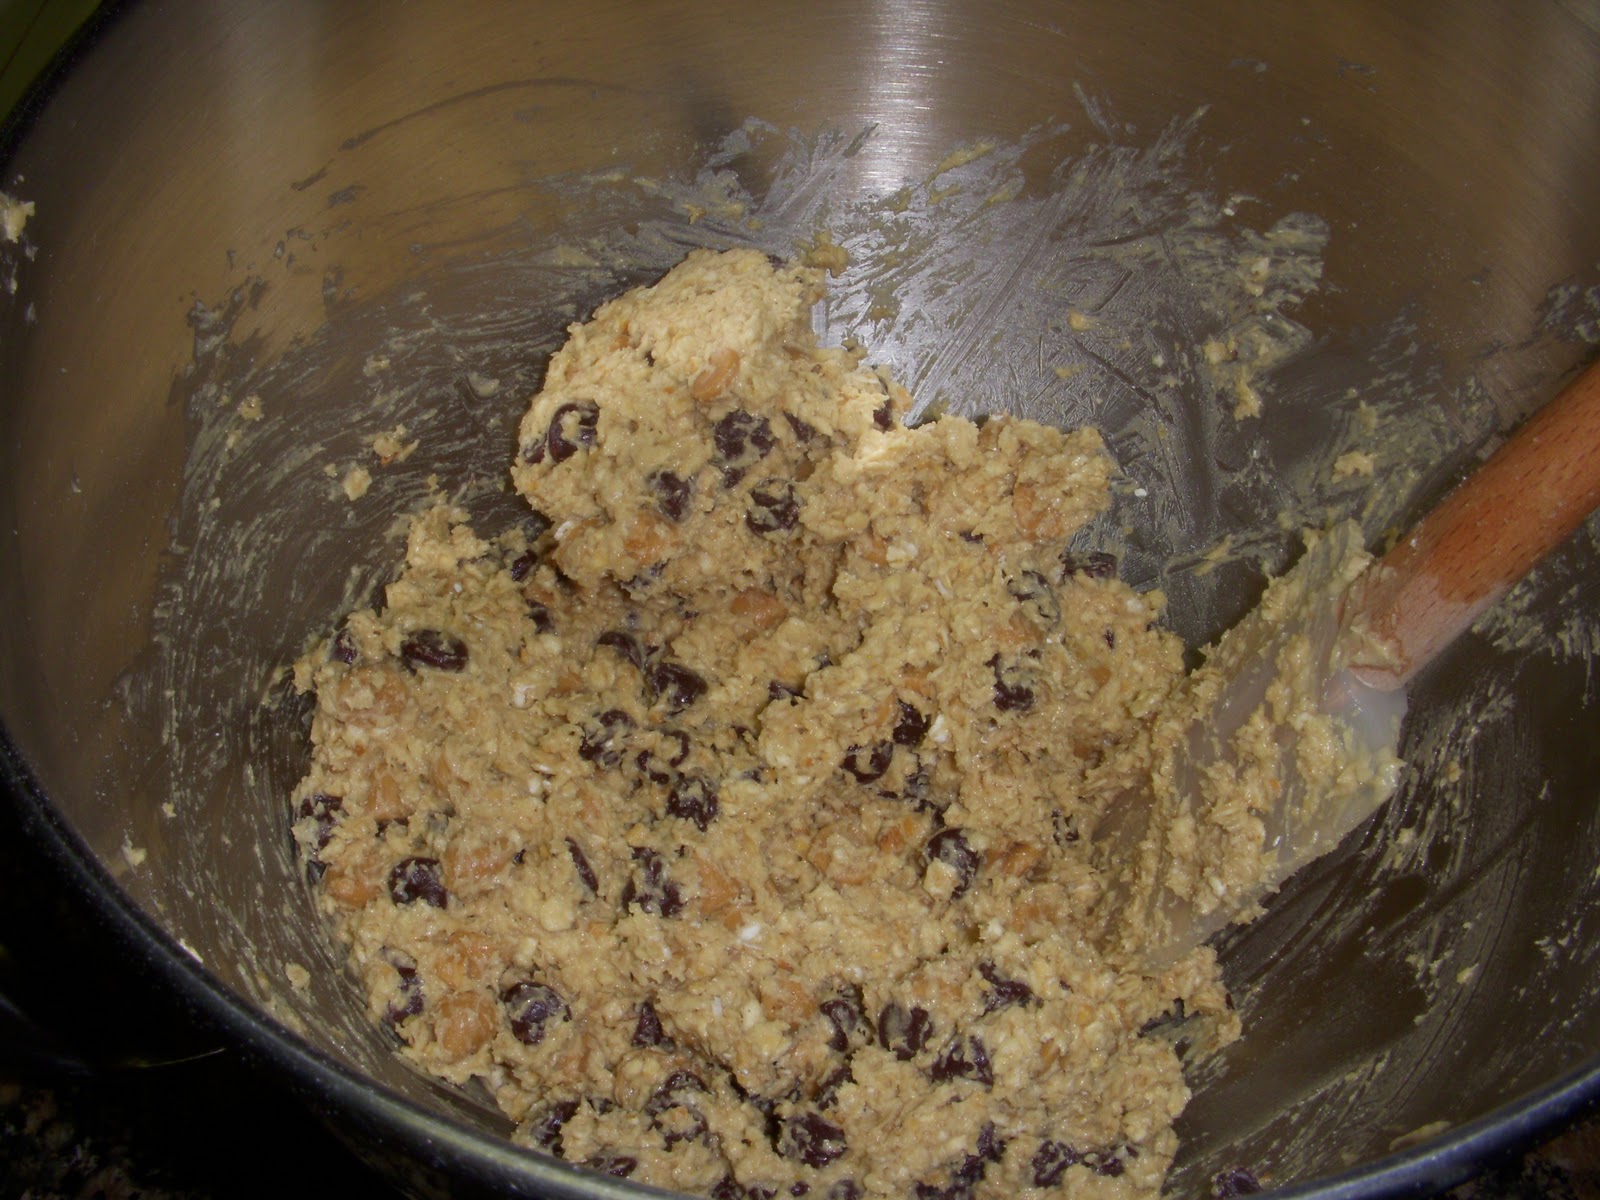
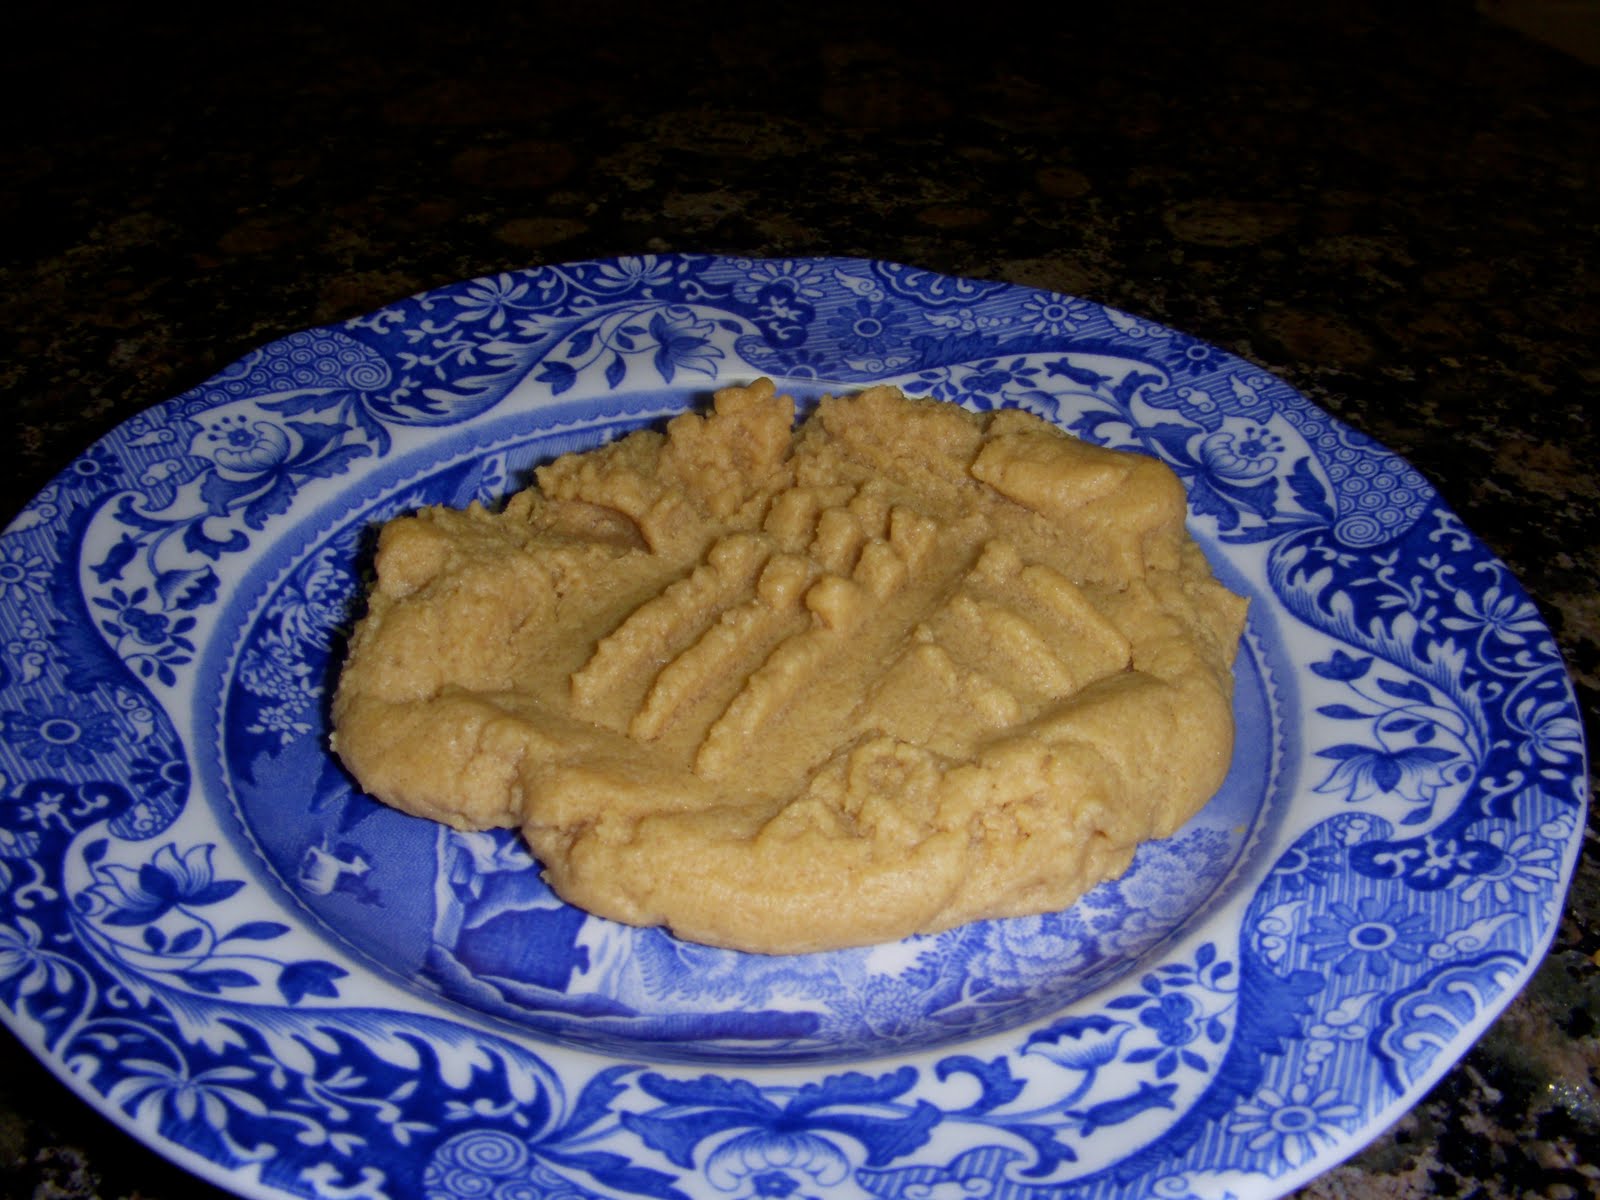
By hand, fold in chocolate and peanut butter chips.
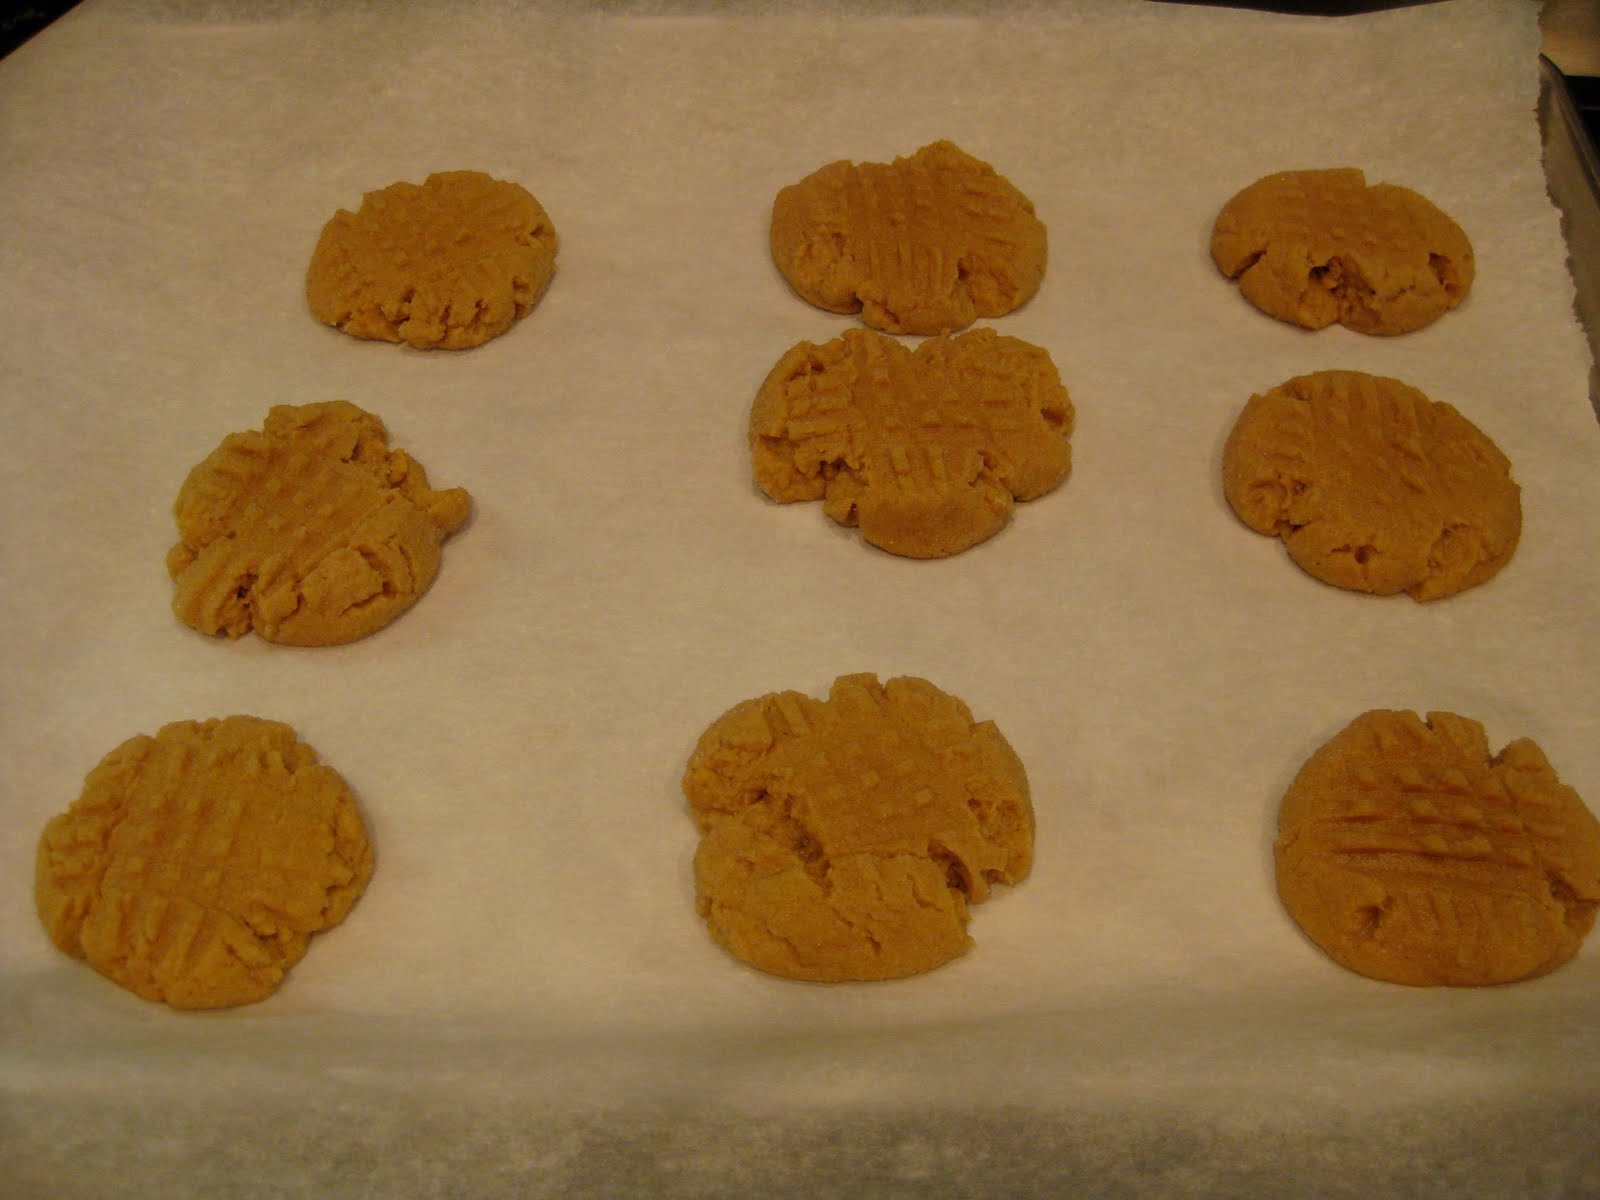
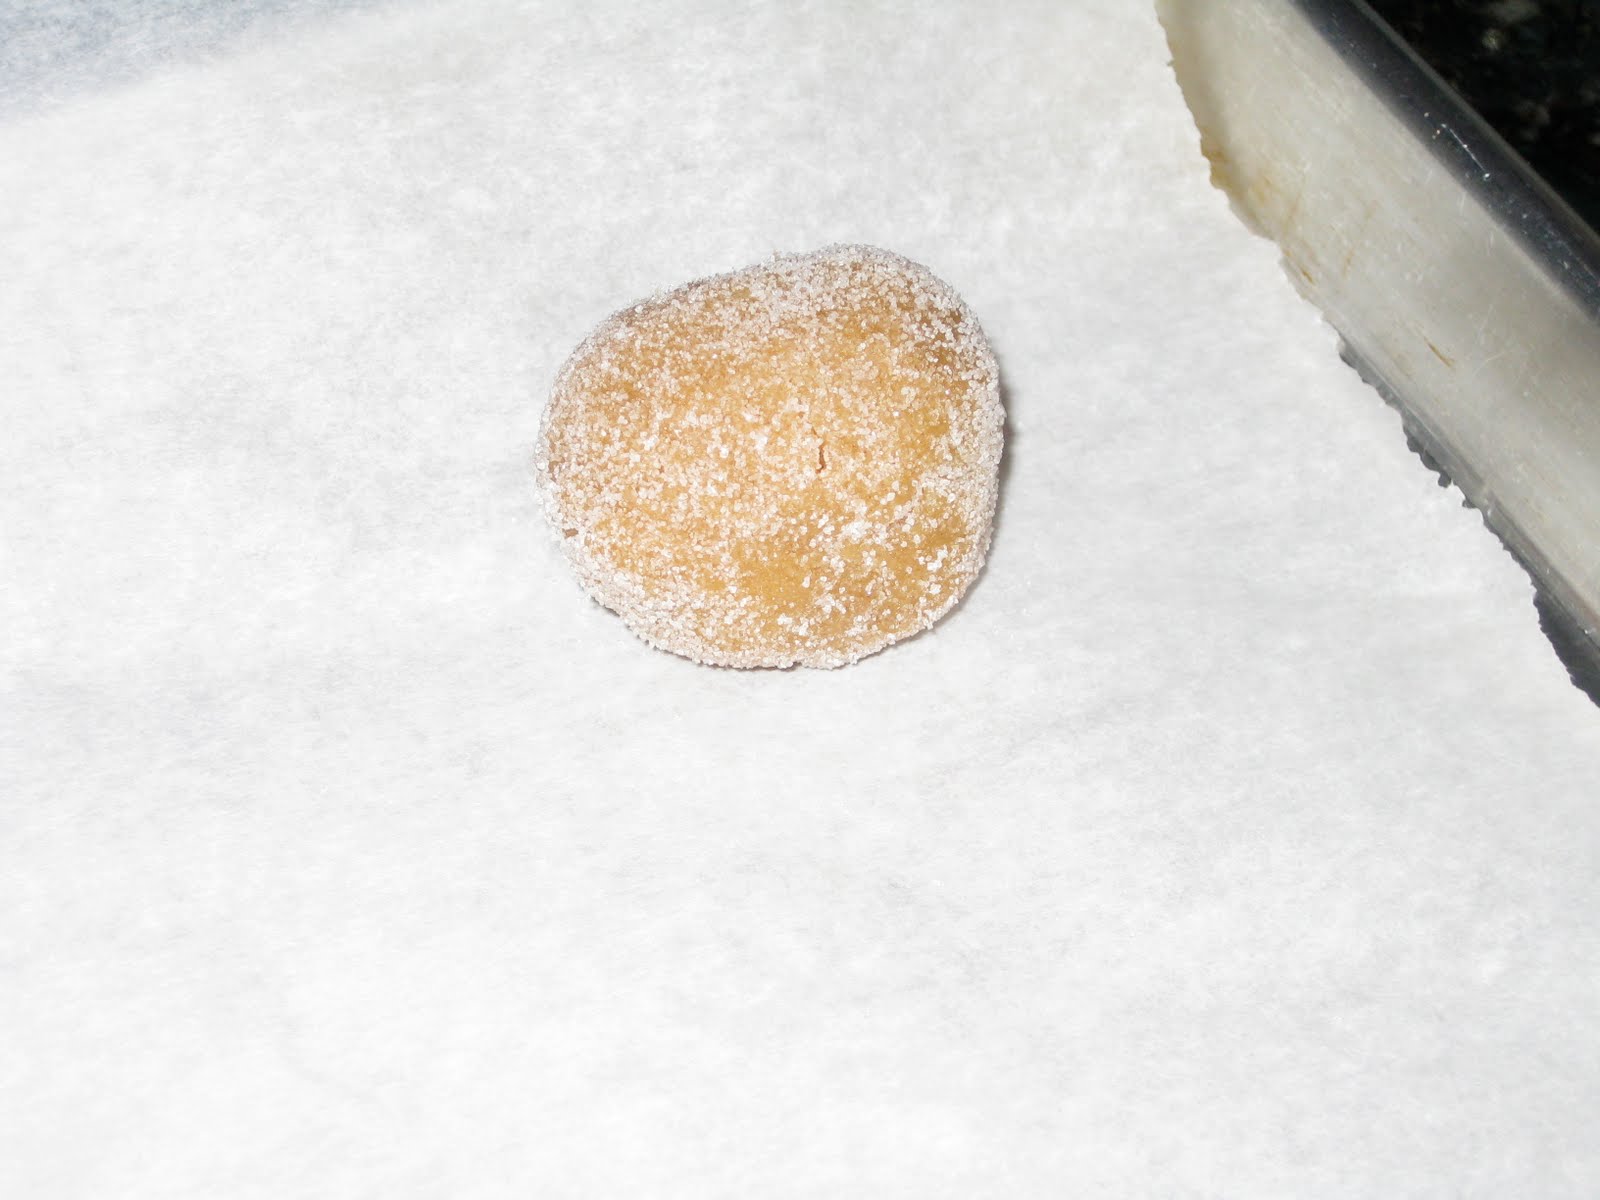
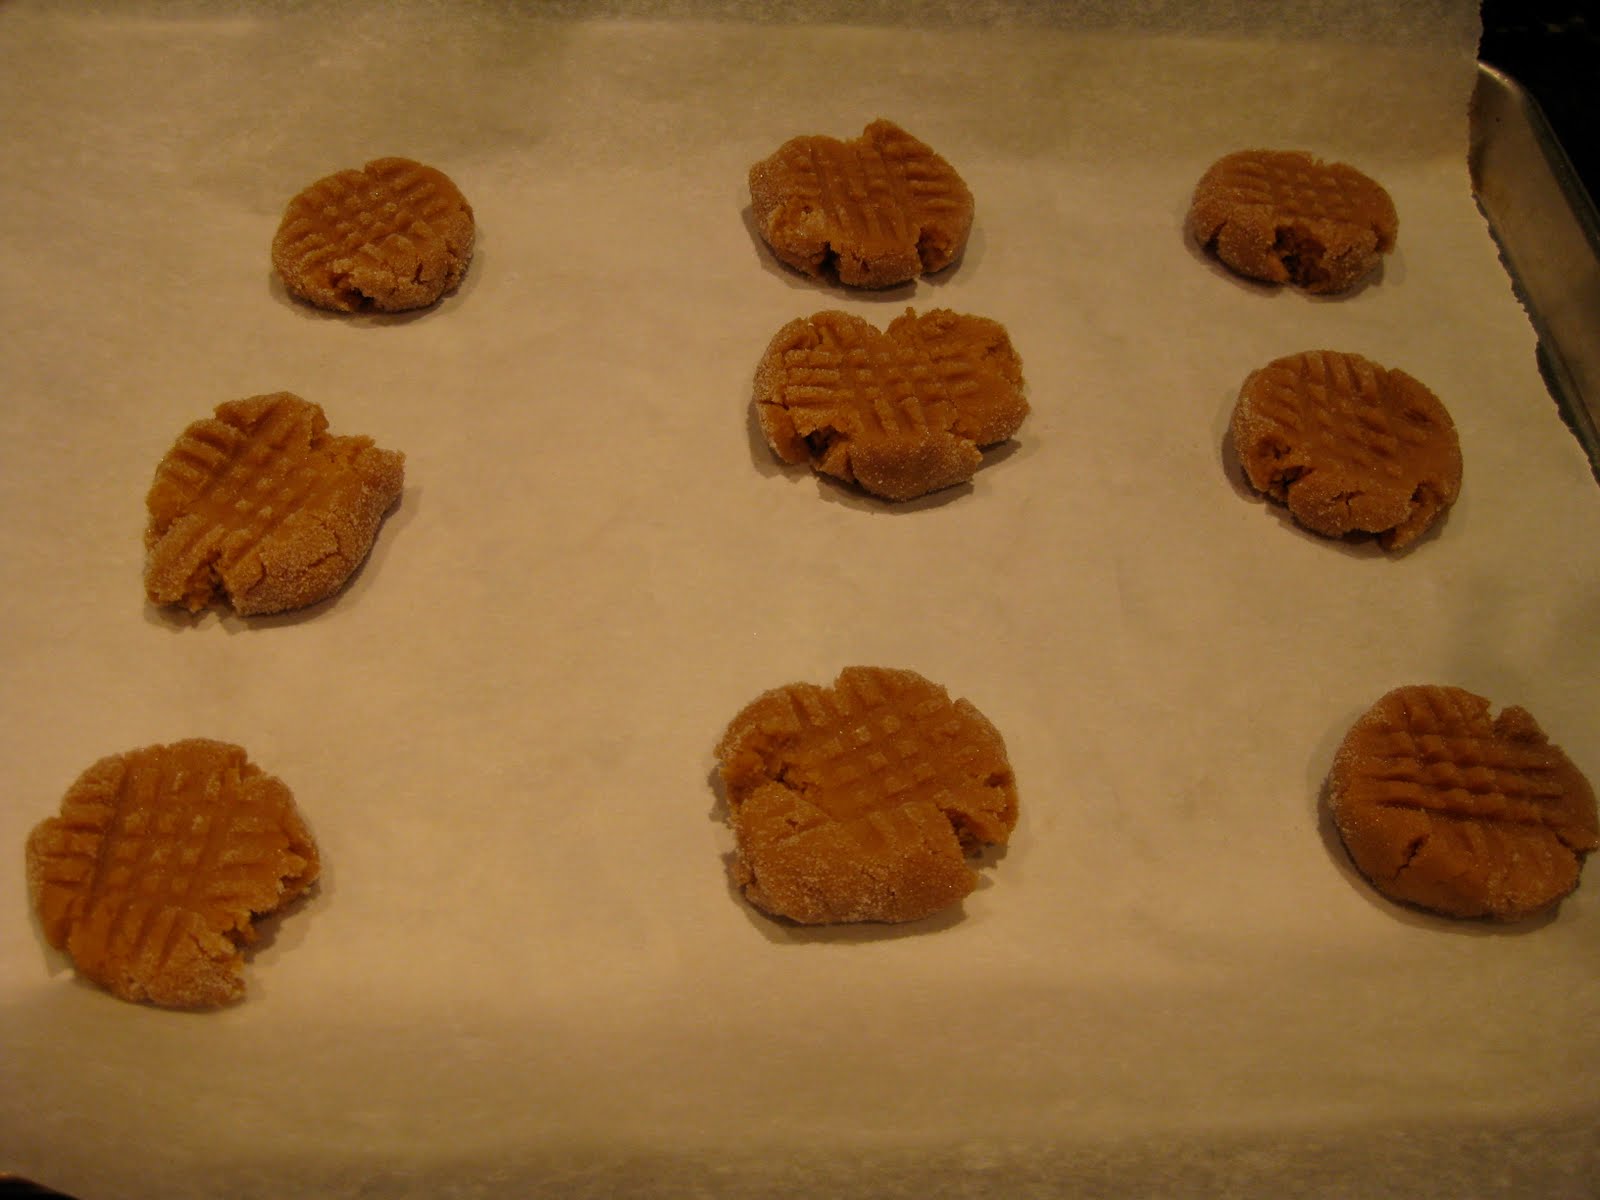
Using a cookie scoop, drop tablespoonfuls onto cookie sheet lined with parchment paper.
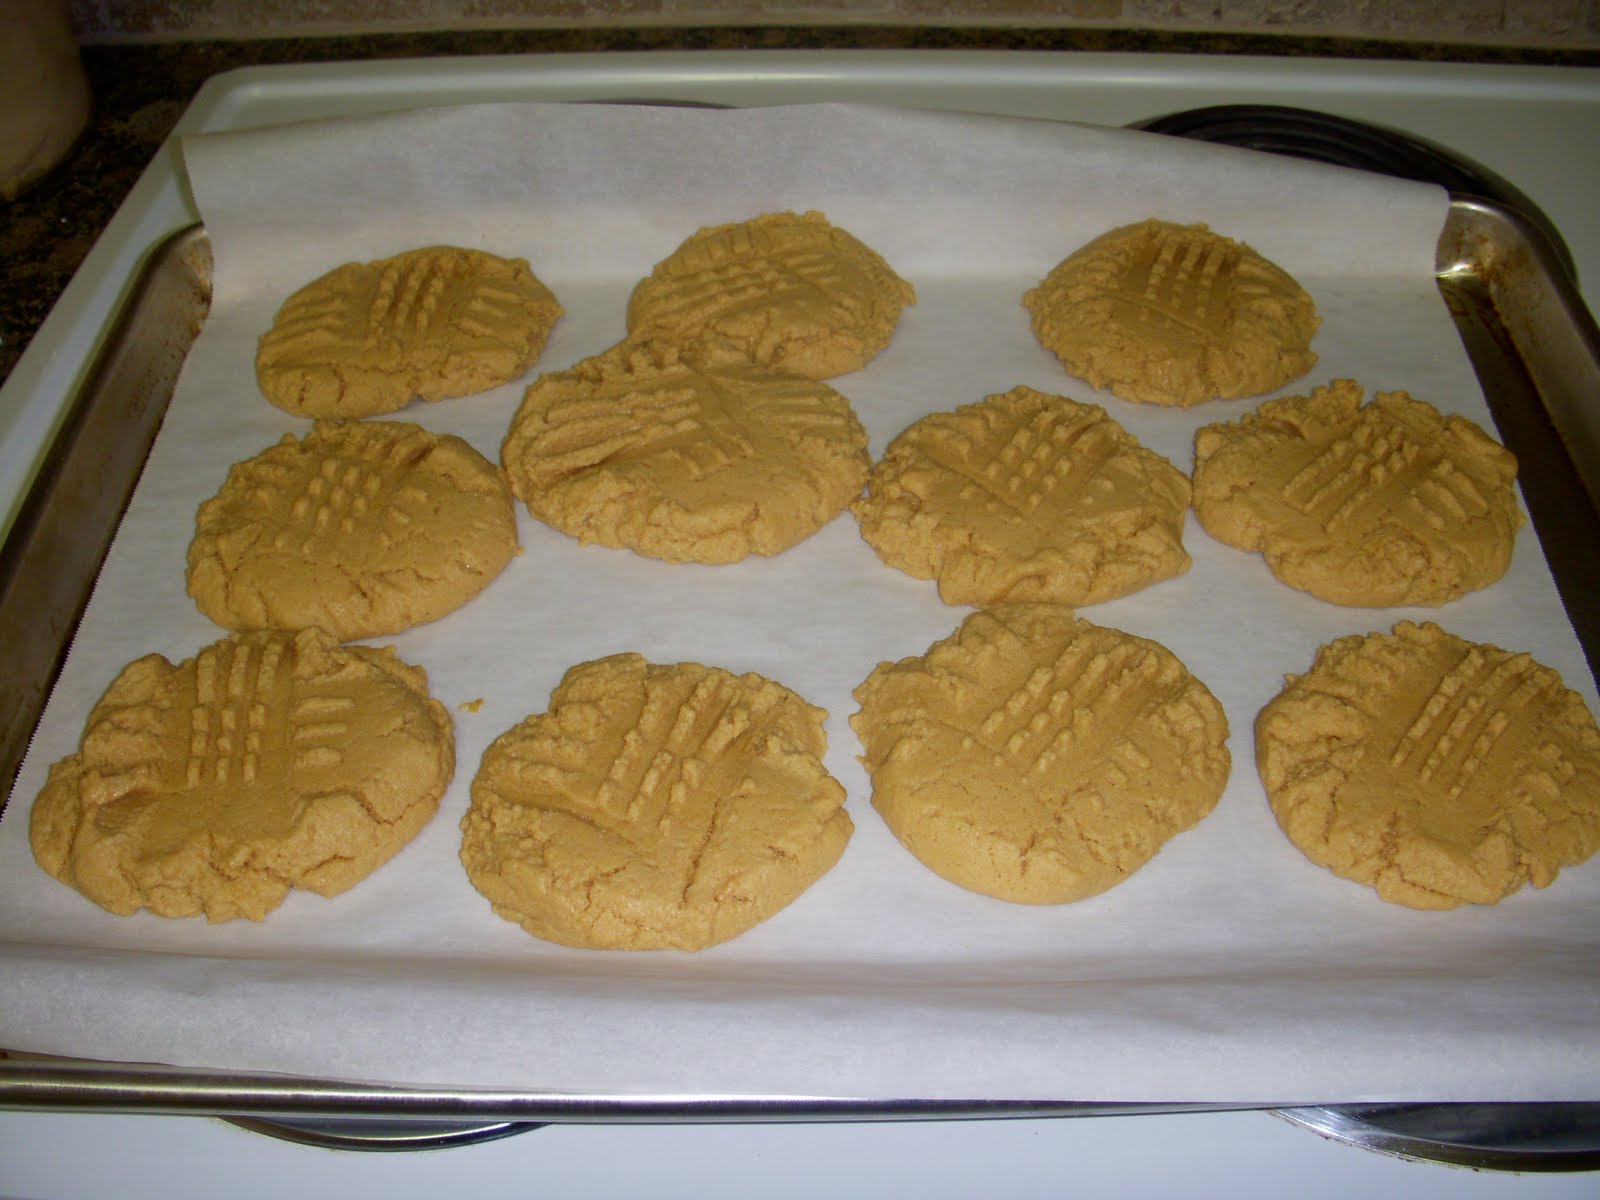
Bake in 350 degree oven for 12 minutes, or until edges start to turn lightly golden. Slide parchment paper on cooling rack to cool. After 5 minutes, transfer cookies from parchment paper to cooing rack and cool completely.
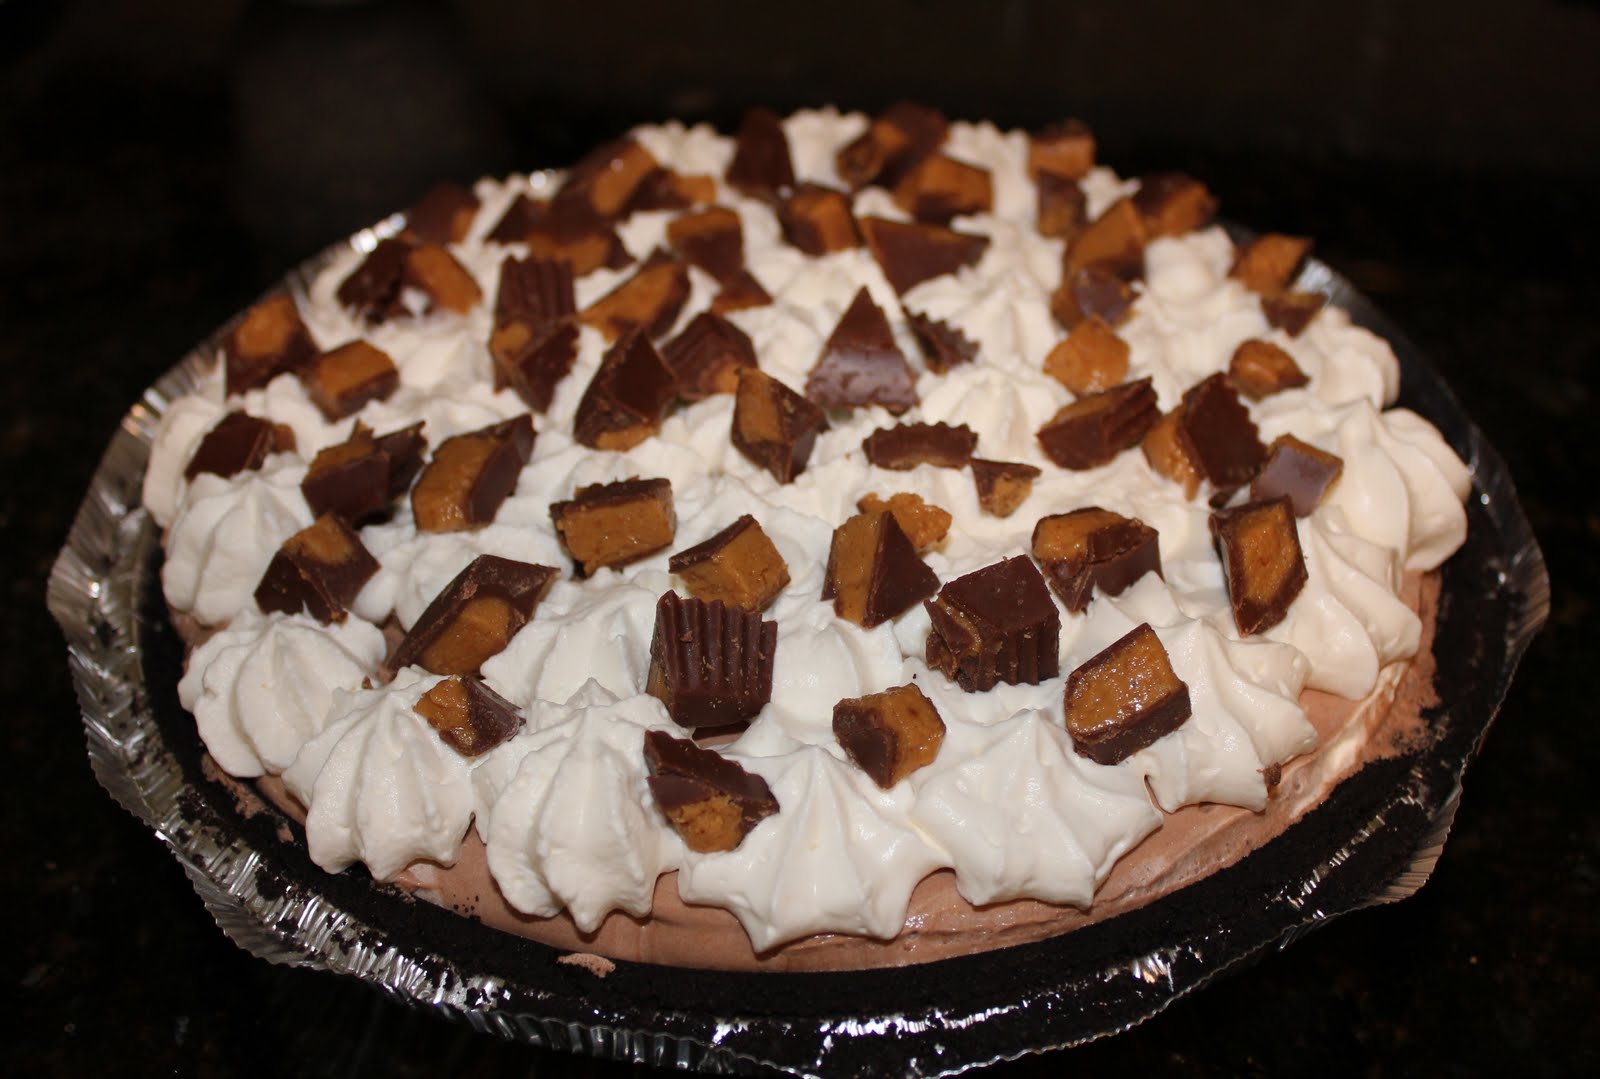
Serve with a glass of cold milk.
Peanut Butter Oat Chippers
Ingredients
1 1/2 cups all-purpose flour
1 tbsp baking powder
1/2 tsp salt
3/4 cup unsalted butter, softened
3/4 cup chunky peanut butter
2/3 cup granulated sugar
2/3 cup packed light brown sugar
3 eggs
2 tsp vanilla extract
3 1/2 cups quick-cooking rolled oats
1 1/2 cups chopped semisweet chocolate or semisweet chocolate chips
1 1/2 cups peanut butter chips
Directions
1. Preheat oven to 350 degrees. Line cookie sheets with parchment paper.
2. In a large bowl, whisk together flour, baking powder and salt until well combined. Set aside.
3. In a large bowl, using an electric mixer on medium speed, cream butter, peanut butter, granulated sugar and brown sugar until light and fluffy, about 3 minutes. Add eggs one at a time, beating well after each addition. Beat in vanilla. Scrape down sides of bowl. On low speed or using wooden spoon, gradually add flour mixture, beating until just blended. Gradually stir in oats. By hand, fold in chocolate and peanut butter chips.
4. Using a cookie scoop or spoons, drop tablespoonfuls (15 mL) of dough about 2 inches apart on prepared cookie sheets. Bake one sheet at a time in preheated oven for 12 minutes or until edges start to turn lightly golden.
5. Immediately slide parchment paper onto a wire cooling rack. Cool cookies for 5 minutes, then transfer from parchment paper to cooking rack and cool completely.
Makes about 5 dozen cookies