Featured

Shredded Brussels Sprouts Salad

shredded brussels sprouts salad

Fresh, savory, crunchy, and crispy. Isn’t that just what you want in a salad?

I discovered this easy, no-cook brussels sprouts salad via Iowa Girl Eats and just had to try it. It took me 26 years before I took my first bite of brussels sprouts and since then I have been addicted ever since. My first time to try them was at the A&M vs. Arkansas game at Jerry World (The Dallas Cowboy’s AT&T Stadium in Arlington) last October 2014. The food at Jerry World was amazing, but so was the stadium, so I guess I shouldn’t be shocked. 🙂

Since then, I usually roast my brussels sprouts in a 400 degree F oven drizzled with garlic olive oil, salt and pepper for about 30 minutes.

So when I saw a salad where you didn’t have to cook the brussels sprouts, I was intrigued!

shredded brussels sprouts salad

I typically HATE with a capital “H” raw vegetables. Carrots, celery, broccoli, cauliflower, you name it… I don’t like it raw. You take those same veggies and pop them in the oven and give them a little roast, or sauté them in a little olive oil, and you’d think they turned into candy. I love them!

I guess we all have our quirks, but this salad is the exception. The brussels sprouts are uncooked, washed, and shredded, and tossed together with feta, pecans, olive oil, shallots, craisins, balsamic vinegar, maple syrup, and a little bit of dijon mustard. The combination is just perfect.

I actually made this salad the day after Thanksgiving. Had I known it was this easy to make, I would have made it for everyone else to try. Well, there’s always Christmas dinner!

cousins
Cousin love at their great grandparent’s house for Thanksgiving.
cousins
Aren’t they just the cutest?

Enjoy!

Shredded Brussels Sprouts Salad
Prep time:
Cook time:
Total time:
Serves: 4-6
Source: Adapted from Iowa Girl Eats
Ingredients
  • FOR THE SALAD
  • 12 oz brussels sprouts, tough outer leaves pulled away
  • 1/4 cup dried cranberries
  • 1/4 cup chopped pecans
  • 1/4 cup feta cheese
  • 1 pear, chopped
  • 2 jumbo shallots, thinly sliced
  • 3 Tbsp. extra virgin olive oil
  • FOR THE MAPLE-BALSAMIC VINAIGRETTE
  • 2 Tbsp. extra virgin olive oil
  • 2 Tbsp. balsamic vinegar
  • 1 Tbsp. maple syrup (not pancake syrup)
  • 1 tsp. Dijon mustard
  • salt and pepper
Instructions
  1. Using a very sharp knife, thinly shred brussels sprouts while holding onto the core end then discarded cores and add shredded sprouts to a large bowl with dried cranberries, pecans, feta, and chopped pears. Set aside.
  2. Heat olive oil in a skillet over medium-high heat. Add half the shallots then fry until light golden brown, 1-2 minutes. Scoop onto a paper towel-lined plate to drain then repeat with remaining shallots. Sprinkle with salt and let cool slightly.
  3. Add ingredients for Maple Balsamic Vinaigrette together in a jar then shake to combine. Pour over salad then toss to coat. Add fried shallots then toss to combine, and then serve.


Featured

Cracker Barrel Chicken n’ Dumplings

cracker barrel chicken n' dumplings

I love Cracker Barrel. Always have. The first time I remember eating there was in Tyler, Texas off the loop and I-20 with my grandfather Poppy. Poppy lived in Tyler and would always meet us at Cracker Barrel on our way into Tyler from Dallas or as we were leaving Tyler to go back home to Dallas.

As I kid I loved playing with the little triangle peg game at the table, and you can’t beat Cracker Barrel’s county store with stuffed animals and candy!

cracker barrel chicken n' dumplings

Even though my grandfather is no longer with us, we still visit Cracker Barrel regularly with my in-laws Tony and Paula. They have a lake house on Cedar Creek Lake, so we always stop at the Cracker Barrel on Interstate 635 on our way back home to Dallas.

Even though I’ve never had their Chicken n’ Dumplings, I’ve heard they are amazing and found this recipe on Pinterest. Honestly I don’t even remember eating chicken n’ dumplings as a kids growing up, but when I was pregnant I craved it like no other. Something about comfort food when you’re pregnant sounds amazing!

cracker barrel chicken n' dumplings

While I love to cook, I love easy-to-make, ready in 30 minute meals. I think everyone can agree whether you’re working full-time and don’t get home from work until late, or have an active baby or toddler running around, it’s nice to have a home cooked meal that’s quick.

What’s great about this recipe is the easy prep time. I made, rolled out, and cut the dumplings all while Harper was taking a nap. It took no more than 15 minutes to prepare, and once she was awake, I simply boiled some chicken stock, tossed in the dumplings to simmer, and added  shredded rotisserie chicken once the dumplings were no longer doughy.

cracker barrel chicken n' dumplings

cracker barrel chicken n' dumplins

So simple and so good! The Cracker Barrel recipe didn’t call for celery, but I like a little green on my plate, and I probably would have added diced carrots if I had any for more color and nutrition.

By the way, can you believe this little one is already 9 months old! Time sure does fly. 🙂

baby

Enjoy!

Cracker Barrel Chicken n’ Dumplings
Prep time:
Cook time:
Total time:
Serves: 6-8
Ingredients
  • 2 cups flour
  • 1/2 tsp. baking powder
  • 1 pinch salt
  • 2 Tbsp. butter
  • 1 cup buttermilk, a bit less than a full cup (I used skim milk)
  • 2 quarts chicken broth
  • 3 cups cooked chicken
  • 1 cup celery, diced
Instructions
  1. In a bowl, combine the flour, baking powder and salt. Cut the butter into the dry ingredients with a fork or pastry blender. Stir in the milk, mixing with a fork until the dough forms a ball.
  2. Heavily flour a work surface. Roll the dough out thin with a heavily floured rolling pin. Dip a biscuit cutter in flour and cut the dumplings in squares about 2″x2″. It’s okay for them not to be exact.
  3. Transfer cut dumplings to a floured plate. Keep flouring between layers of dumplings.
  4. To cook them, bring the broth to a boil. Drop the dumplings in one at a time, stirring while you add them. The extra flour on them will help thicken the broth. I also added the diced celery at this time. Cook the dumplings for about 15-20 minutes or until they are not doughy. Add the cooked chicken to the pot and you’re done.


Featured

Joey’s Favorite Chocolate Chip Pudding Cookies

Chocolate Chip Pudding Cookies

Two weeks ago my sister ran her first sprint Triathlon in Lubbock, Texas in preparation for the Ironman 70.3 Buffalo Springs Lake. She’s really serious about her training and finished 1st place in her age division, and 8th place overall for females. Did I mention this was her first triathlon? Wow!

Our cousins Brooke and Joey live out in Lubbock and let Brit stay with them for the race. Brit and my mom made these chocolate chip pudding cookies, and Brooke and Joey fell in love with them, especially Joey!

triathlon
Doghouse Sprint Triathlon at Buffalo Springs Lake in Lubbock, Texas

I just love it when someone raves about something sweet. It’s probably the biggest compliment ever when that whole batch of cookies or whole pan of cake is gone in just a few hours.

Half kidding/half dead-serious, Joey told us to bring these cookies with us when we came to Gordon that next weekend for Nanny’s 93rd birthday.

These cookies are so good, you’ll have a hard time burning out on them so even though we just made them, we were more than happy to whip up another batch. Only bad thing for Joey was that this time, he had to share the cookies with all our family in Gordon. In fact, after just 2 hours there were only 3 cookies left!!

cousin
Harper with her cousin Brooke
horse
My Dad, Joey, and Harper petting this pretty white horse at the stables.

As always, it was great to see close family and celebrate another milestone as Nanny turned one year older. Despite being such a huge state, it’s nice to have nearly everyone in our family live in Texas!

If you like these pudding cookies, you’ll also probably like our Chocolate Chip Dreams recipe. The dream cookies also have instant vanilla pudding to keep the cookies soft, but the only difference is that the dreams have shortening and nuts, whereas these do not. These cookies also bake at a slightly cooler temperature and for a little bit longer.

Which do I like better: Joey’s pudding cookies or the Dream cookies? That’s a tough call. Dreams have always been a favorite of mine, but I may end up calling these a tie-breaker.  I feel like Joey’s are crispier on the outside and chewier on the inside. The dreams are just chewier and softer throughout. Half the time I don’ have shortening on hand, so I’ll probably end up making Joey’s cookies more.

P.S. Joey – We’ve dedicated these cookies to you, “Joey’s Chocolate Chip Pudding Cookies” since you love them so much!

Enjoy!!!

Chocolate Chip Pudding Cookies

Chocolate Chip Pudding Cookies

Chocolate Chip Pudding Cookies


Joey’s Favorite Chocolate Chip Pudding Cookies
Prep time:
Cook time:
Total time:
Serves: 30
Ingredients
  • 3/4 cup unsalted butter, softened (1 1/2 sticks)
  • 3/4 cup light brown sugar, packed
  • 1/4 cup granulated sugar
  • 1 large egg
  • 1 tsp. vanilla extract
  • 1 tsp. baking soda
  • 2 cups all-purpose flour
  • 1 (3.5 oz) packet instant vanilla pudding mix
  • pinch of salt
  • 1 (11.5 oz) bag (2 cups) semi-sweet chocolate chunks
Instructions
  1. Preheat 350 degrees F. Line a baking sheet with parchment paper or silpat.
  2. To the bowl of a stand mixer fitted with a paddle attachment combine the butter, sugars, egg, vanilla, and beat on medium-high speed until creamed and well combined, about 4 minutes.
  3. Stop, scrape down the sides of the bowl, and add the flour, pudding mix, baking soda, salt, and beat on low speed until just combined, about 1 minute.
  4. Stop, scrape down the sides of the bowl, and add the chocolate chunks, and beat on low speed until just combined, about 30 seconds.
  5. Using a small cookie scoop, roll into balls and place on prepared cookie sheet. Bake for about 10-11 minutes, or until edges have set and tops are just set. Even if slightly undercooked, pale, and glossy in the middle, don’t overbake. Immediately slide parchment paper onto a wire cookie rack or the countertop and let cool for 5 minutes. Then transfer the cookies to a wire rack to finish cooling.


Featured

Orange-Cranberry Yoghurt Bread

Cranberry Orange Yoghurt Bread

Bring out the Christmas lights, tree, presents and wrapping paper because now that Thanksgiving is over, the holiday season is in full swing! Actually I think I saw Christmas trees already being displayed in Michaels in September, but now we can officially focus on the season!

To celebrate all the festivities, each year we like to make a dish using cranberries such as cranberry scones, or cranberry nut bread. This year I decided to jazz up our cranberry quick bread by adding an orange syrup glaze and yummy Noosa Yoghurt!

Noosa Yoghurt reached out to me with some of their Aussie style yoghurt to try, and let me tell you… it’s amazing! Their yogurt is thick, creamy and velvety, and in addition to eating it straight from the container, I wanted to create a recipe with the delicious yoghurt.

Noosa Yoghurt

Orange-cranberry yoghurt bread is just the recipe. I used plain flavored Noosa yoghurt, but a list of all Noosa flavors are HERE and include pumpkin, blueberry, mango, strawberry rhubarb, coconut, and more!

If you’ve ever sunk your teeth in a piece of dry, plain, unflavorful bread, I feel your pain. This bread is extremely moist as sweet, as delectable orange flavored syrup is drizzled over the bread for a wonderful combination of sweet and tart cranberries.

I’m a sucker for sweets, so I drizzled fresh local honey on top as well. I know… sugar is my weakness. But hey, local honey builds immunity, right?!!

Seriously though, I think I demolished this bread is less than 48 hours. Soo good! My whole family enjoyed it, and it will be on our holiday menu each year.

Enjoy!
Cranberry Orange Yoghurt Bread

Cranberry Orange Yoghurt Bread

Cranberry Orange Yoghurt Bread

Plain-Orange-Cranberry-Yoghurt-Bread-Dallas-Duo-Bakes

Orange-Cranberry Yogurt Bread
Prep time:
Cook time:
Total time:
Serves: 1 loaf
Ingredients
  • BREAD
  • 1 1/2 cups + 1 Tbsp. all purpose flour, divided
  • 2 tsp. baking powder
  • 1/2 tsp. kosher salt
  • 1 cup plain Noosa yoghurt
  • 1 cup sugar
  • 3 large eggs
  • 2 tsp. grated orange zest
  • 1/2 tsp. pure vanilla extract
  • 1/2 cup vegetable oil
  • 1 1/2 cups fresh cranberries, rinsed, and chopped in half
  • 1/2 cup chopped pecans
  • ORANGE SYRUP
  • 1/4 cup fresh orange juice
  • 1/4 cup sugar
Instructions
  1. Preheat the oven to 350 degrees F. Grease and flour a 9 x 5-inch loaf pan.
  2. FOR THE BREAD: In a medium bowl, sift together the flour, baking powder and salt. Set aside.
  3. In a large bowl, whisk together the yoghurt, sugar, eggs, orange zest, vanilla and oil. Slowly whisk the dry ingredients into the wet ingredients. In a separate bowl, mix the cranberries with the remaining tablespoon of flour, and fold gently into the batter. Fold in the chopped pecans.
  4. Pour the batter into the prepared pan and bake 50 to 55 minutes, or until a toothpick inserted into the center of the loaf comes out clean or with a few moist crumbs attached. Let cool in the pan for 10 minutes before removing the loaf to a wire rack on top of a baking sheet.
  5. FOR THE ORANGE SYRUP: While the loaf is cooling, stir together the orange juice and sugar over medium heat in a small saucepan. Stir until sugar is dissolved, and then continue to cook for 3 more minutes. Remove from heat.
  6. Use a toothpick to poke holes in the tops of the warm loaf. Brush the top of the loaf with the orange syrup. Let the loaf cool completely then slice and serve.


Featured

Blueberry Sweet Muffins

blueberry muffins

Taking advantage of summer blueberries, I finally got around to making these blueberry sweet muffins, a recipe I had been eyeing out of Southern Living Comfort Food: A Delicious Trip Down Memory Lane.

But before I get to the muffins, somebody pinch me!! 63 degrees in Dallas, TEXAS in the middle of August???? I couldn’t believe it! So, instead of sleeping in late on this Saturday morning, I figured I better take advantage of the nice weather and go for a run.

Morning runs are the best despite getting up at the crack of dawn. 🙂 However, once I’m up, I’m good to go for the rest of the day!

texas sunrise
Enjoying the cool weather and sunrise. Gorgeous view except for the power lines!

The great thing about these muffins is that they are a cinch to whip up. After running, I didn’t have much patience for waiting around for breakfast, and was able to get these on the table in under 30 minutes from start to finish!

The recipe is almost effortless, plus I can almost guarantee you’ll have all the ingredients in your pantry.

IMG_4141
Start by whisking the egg, milk and oil together in a small bowl.
blue
Combine the flour, soda, sugar and salt together in a medium bowl.


I actually substituted white whole wheat flour for the all-purpose flour. I think using 100% all-purpose would taste better, but they say white whole wheat is better for you, thus I wanted to try it out.

So what’s the difference between whole wheat flour and white whole-wheat flour? It’s the type of wheat used. White whole wheat flour is made with white wheat, which lacks bran color. It is milder in flavor and lighter in color. Nutritionally it is the same. Think of white whole wheat flour as a sort of albino version.  To learn more, click HERE. 

To finish making the muffins, you’ll pour the wet ingredients into the dry ones, and stir until just combined. Then you’ll fold in your blueberries. That’s it! Then just scoop the batter into lined muffin cups and bake for 20 minutes.

IMG_4143
Bake at 400 degrees F for 20-25 minutes.


Let the muffins cool slightly in the pan, then transfer them to a wire rack and let them cool completely.

I like mine hot so that I can drizzle them with some Colorado honey. Enjoy!!

blueberry muffins

blueberry muffins blueberry muffins

  • For those living in Dallas, did you enjoy the cooler weather this morning? What is your favorite breakfast muffin?


Blueberry Sweet Muffins
Prep time:
Cook time:
Total time:
Serves: 10
Recipe adapted from Southern Living Comfort Food: a delicious trip down memory lane
Ingredients
  • 1 1/2 cups all-purpose flour (I used white whole wheat flour)
  • 1/ 2 cup sugar
  • 2 tsp. baking powder
  • 1/2 tsp. salt
  • 1/3 cup milk (I used skim)
  • 1/4 cup vegetable oil
  • 1 large egg
  • 1 cup fresh or frozen blueberries
  • 1 Tbsp. sugar
Instructions
  1. Preheat oven to 400 degrees F. Combine first 4 ingredients in a large bowl; make a well in center of mixture.
  2. Stir together milk, oil, and egg; add to dry ingredients, stirring just until moistened. Fold in blueberries.
  3. Spoon into greased or paper-lined standard muffin pans, filling two-thirds full. Sprinkle batter with 1 tablespoon of sugar.
  4. Bake for 20-25 minutes or until muffins are golden. (I baked mine at 375 degrees F in a convection oven for 20 minutes). Remove from pans immediately and cool on wire racks.


Featured

Tiramisu Trifle

Tiramisu Trifle

Kudos to my amazingly talented neighbor, Carmen, who made this wonderful tiramisu trifle for me and my family.

Two weeks ago, I interviewed Carmen as part of the resident recipe article I write for our monthly neighborhood magazine. I was so impressed with her delicious creation, that I had to share it with you sooner than later!

Carmen’s family loves tiramisu but she has never been a real fan. After experimenting with a lot of recipes, she finally came up with one that all of her family liked!

She started to make it the traditional way with lady fingers, but found they are really hard to find in a regular grocery store. One day, when Carmen couldn’t find lady fingers, she had some homemade biscotti and decided to try using them instead of the lady fingers. That inspired her to make many other “twitches” in the recipe! It instantly became a crowd favorite!!

Tiramisu Trifle

This tiramisu is the ultimate, most decadent and delicious dessert. It’s perfect for a crowd, and while it takes a little patience to make, it’s definitely worth it. I give Carmen’s Tiramisu Trifle two thumbs up… I’d give it more if I had more thumbs!!

Enjoy!!!


Carmen’s Tiramisu Trifle
Serves: 12+
Ingredients
  • MASCARPONE CUSTARD
  • 1 1/3 cups sugar
  • 1/2 cup water
  • 1 tsp. vanilla extract
  • 12 large egg yolks
  • 4 (8-ounce) containers mascarpone cheese
  • 2 cups chilled whipping cream
  • 2 tsp. almond extract
  • DIPPED BISCOTTI
  • 1 shot of expresso
  • 1/4 cup coffee liqueur
  • 1 cup water
  • 2 Tbsp. sugar
  • 30-40 almond homemade or store bought biscotti
  • FOR LAYERING
  • 1 cup semisweet chocolate chips, finely ground in processor
  • CHOCOLATE LEAVES
  • 1 cup semisweet chocolate chips
  • about 40 leaves of assorted sizes
Instructions
  1. FOR THE MASCARPONE CUSTARD: Whisk sugar, water, vanilla extract and egg yolks in a metal bowl. Set bowl “a bain marie” – over simmering water. Whisk until mixture thickens for about 5 minutes. Remove bowl from over water. Whisk mascarpone, 1 container at a time, into warm custard until blended.
  2. Beat whipping cream with almond extract until cream forms soft peaks. Fold in mascarpone custard.
  3. FOR DIPPED BISCOTTI: Mix warm water, expresso and coffee liqueur. Dip biscotti in coffee mixture to coat on both sides.
  4. FOR CHOCOLATE LEAVES: Wipe and dry leaves. Melt chocolate in microwave 30 seconds at a time, mixing after each 30 seconds, until chocolate is completely melted.
  5. Brush chocolate over the bottom side of the leaves until coated.
  6. Place leaves on a baking sheet covered with parchment paper. Chill until firm.
  7. Carefully peel chocolate from leaves.
  8. TO ASSEMBLE: Cover bottom of trifle dish with dipped biscotti. Spread about 2 cups of the mascarpone custard to cover biscotti. Sprinkle with ground chocolate chips. Repeat layers until you reach top of dish. Cover and chill for a couple of hours or until ready to serve.
  9. When ready to serve, decorate with chocolate leaves.

Jalapeno Cheddar Cornbread Muffins

jalapeno cheddar corn muffins

My neighbor Katie is a wonderful cook! One time when Matt was out of town, she invited Harper and me over for dinner. Everything she cooked was awesome, including her sweet cornbread muffins.

I asked her how she made them, and she said she used a box of Jiffy corn muffin mix, and then tweaked it with some honey and sugar. I tried doing what she said, but mine just didn’t taste like hers. Not having a recipe to follows yields poor results for me. 😦

Since I needed a recipe, I got on Pinterest and searched for corn muffins using Jiffy corn muffin mix. Instead of the sweet version Katie made, I found these savory jalapeño cheddar cornbread muffins from Love+Butter.

jalapeno cheddar corn muffins 
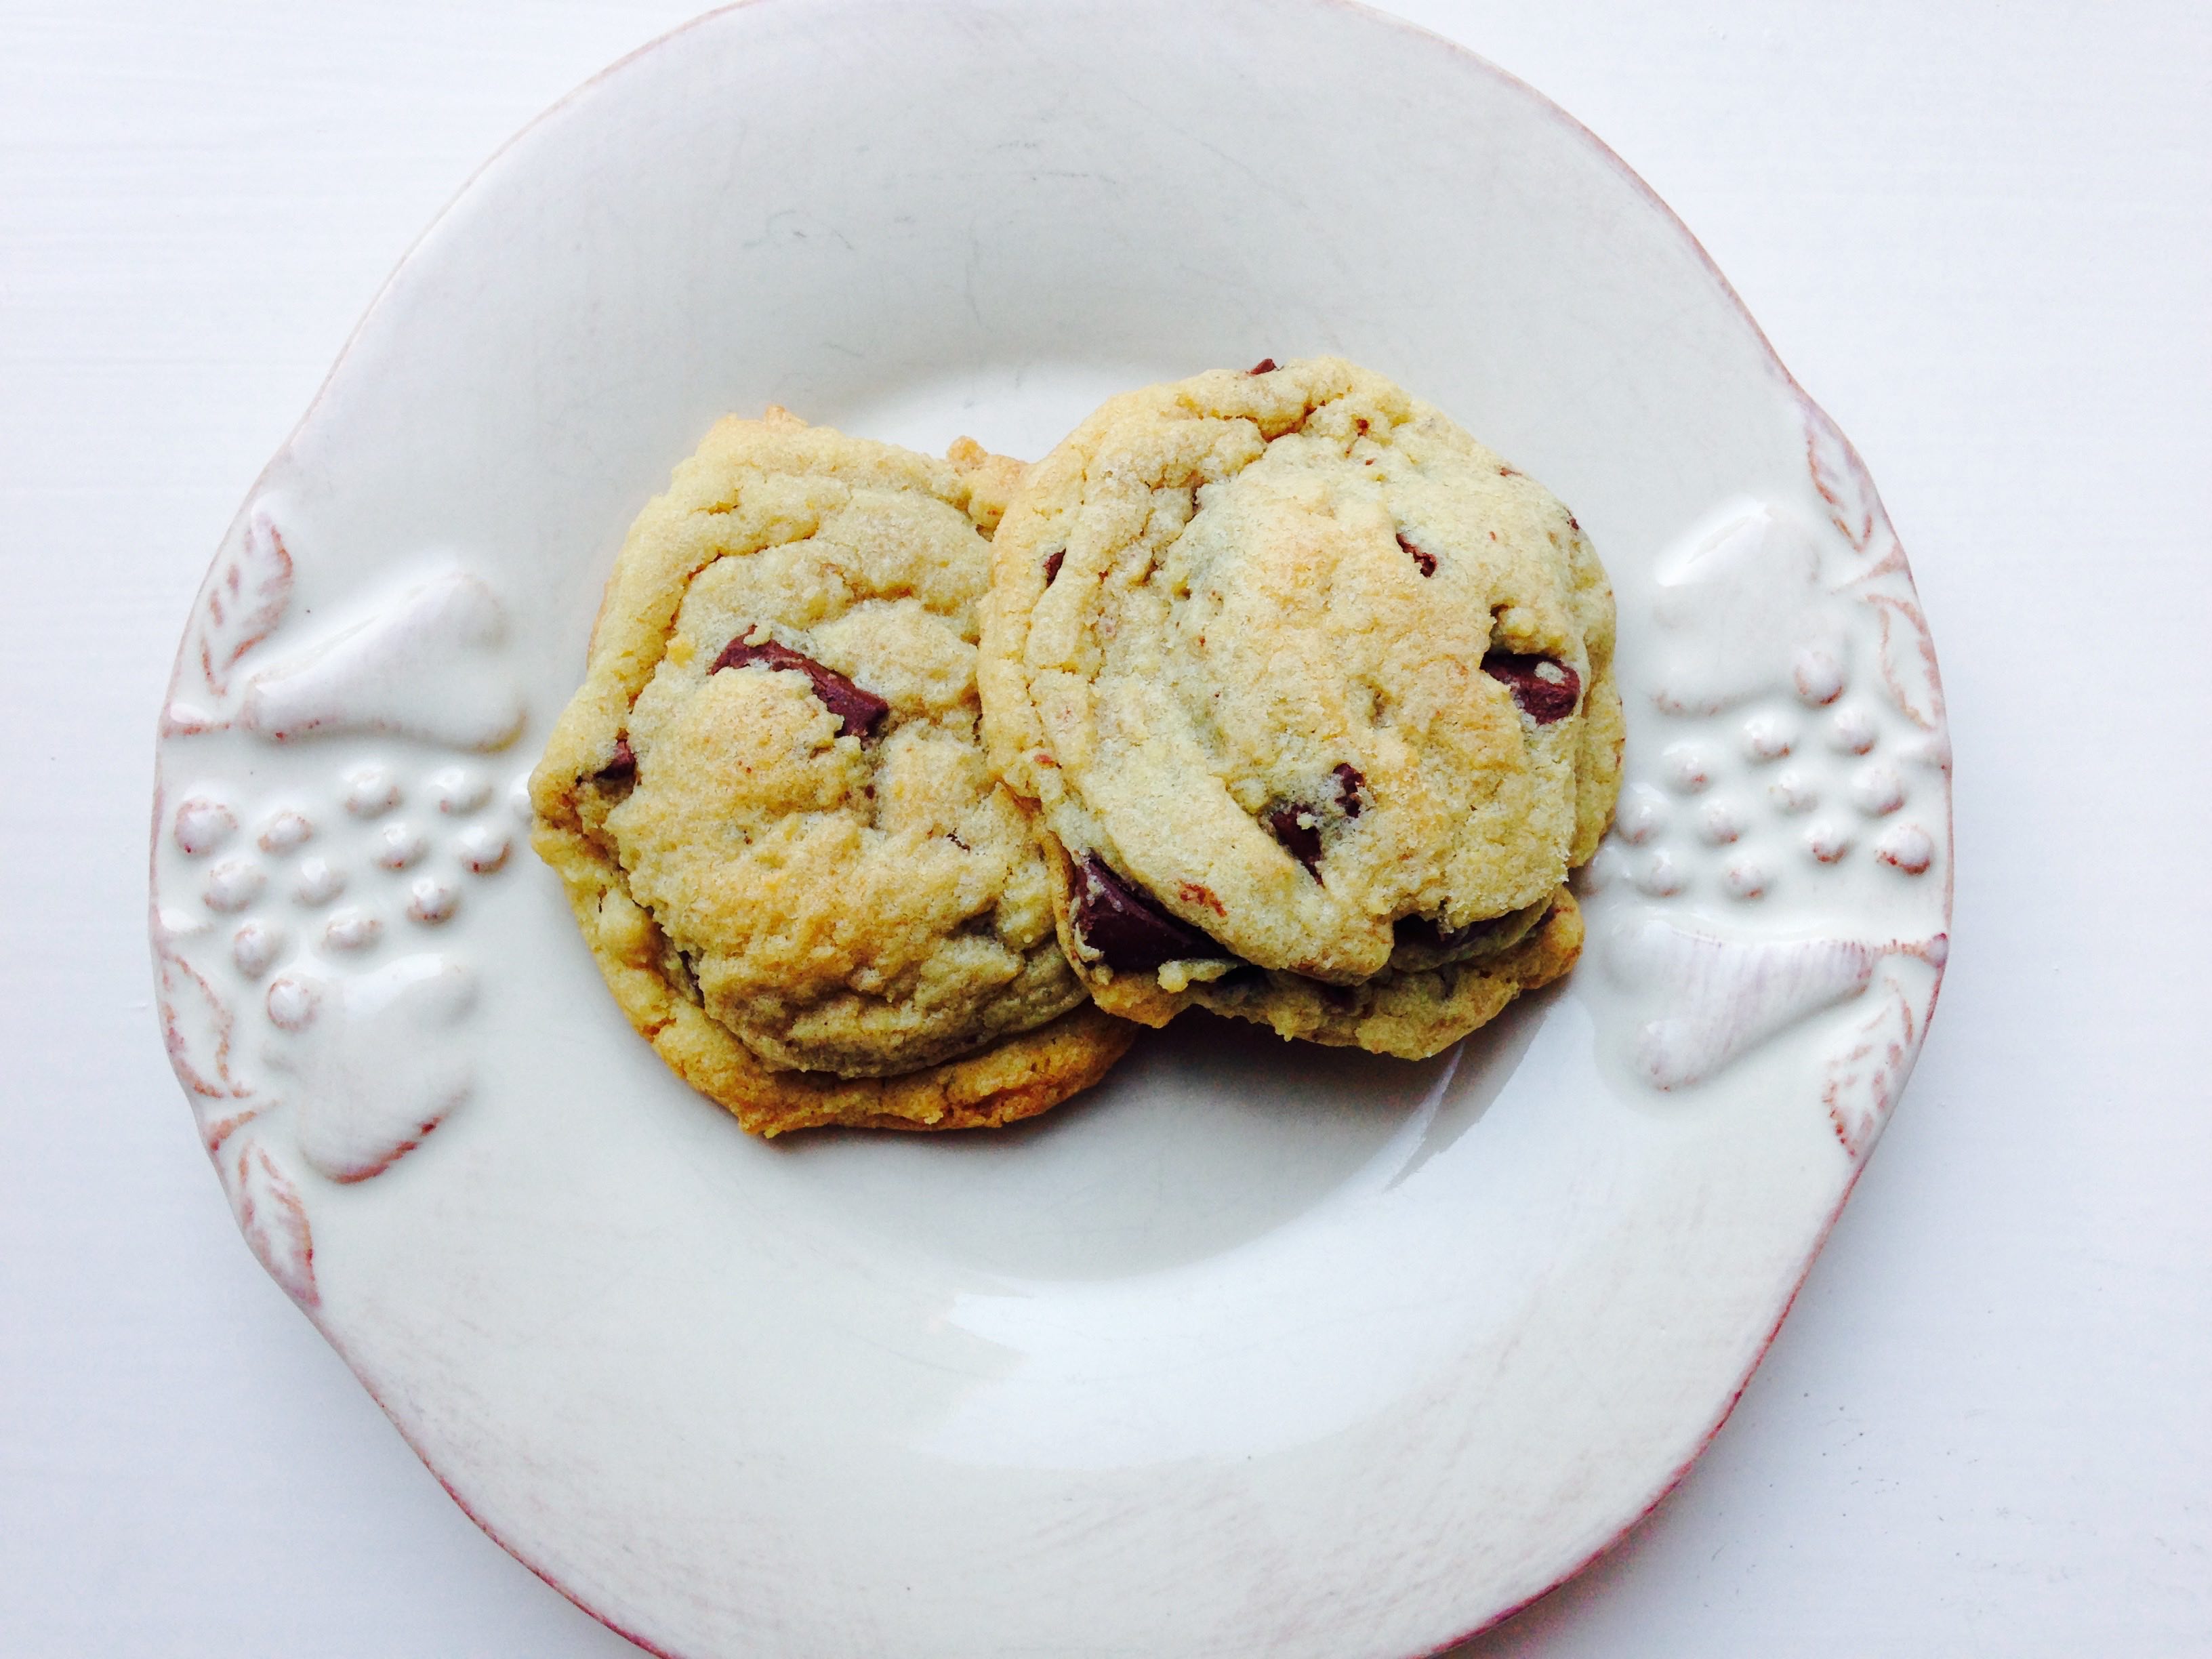
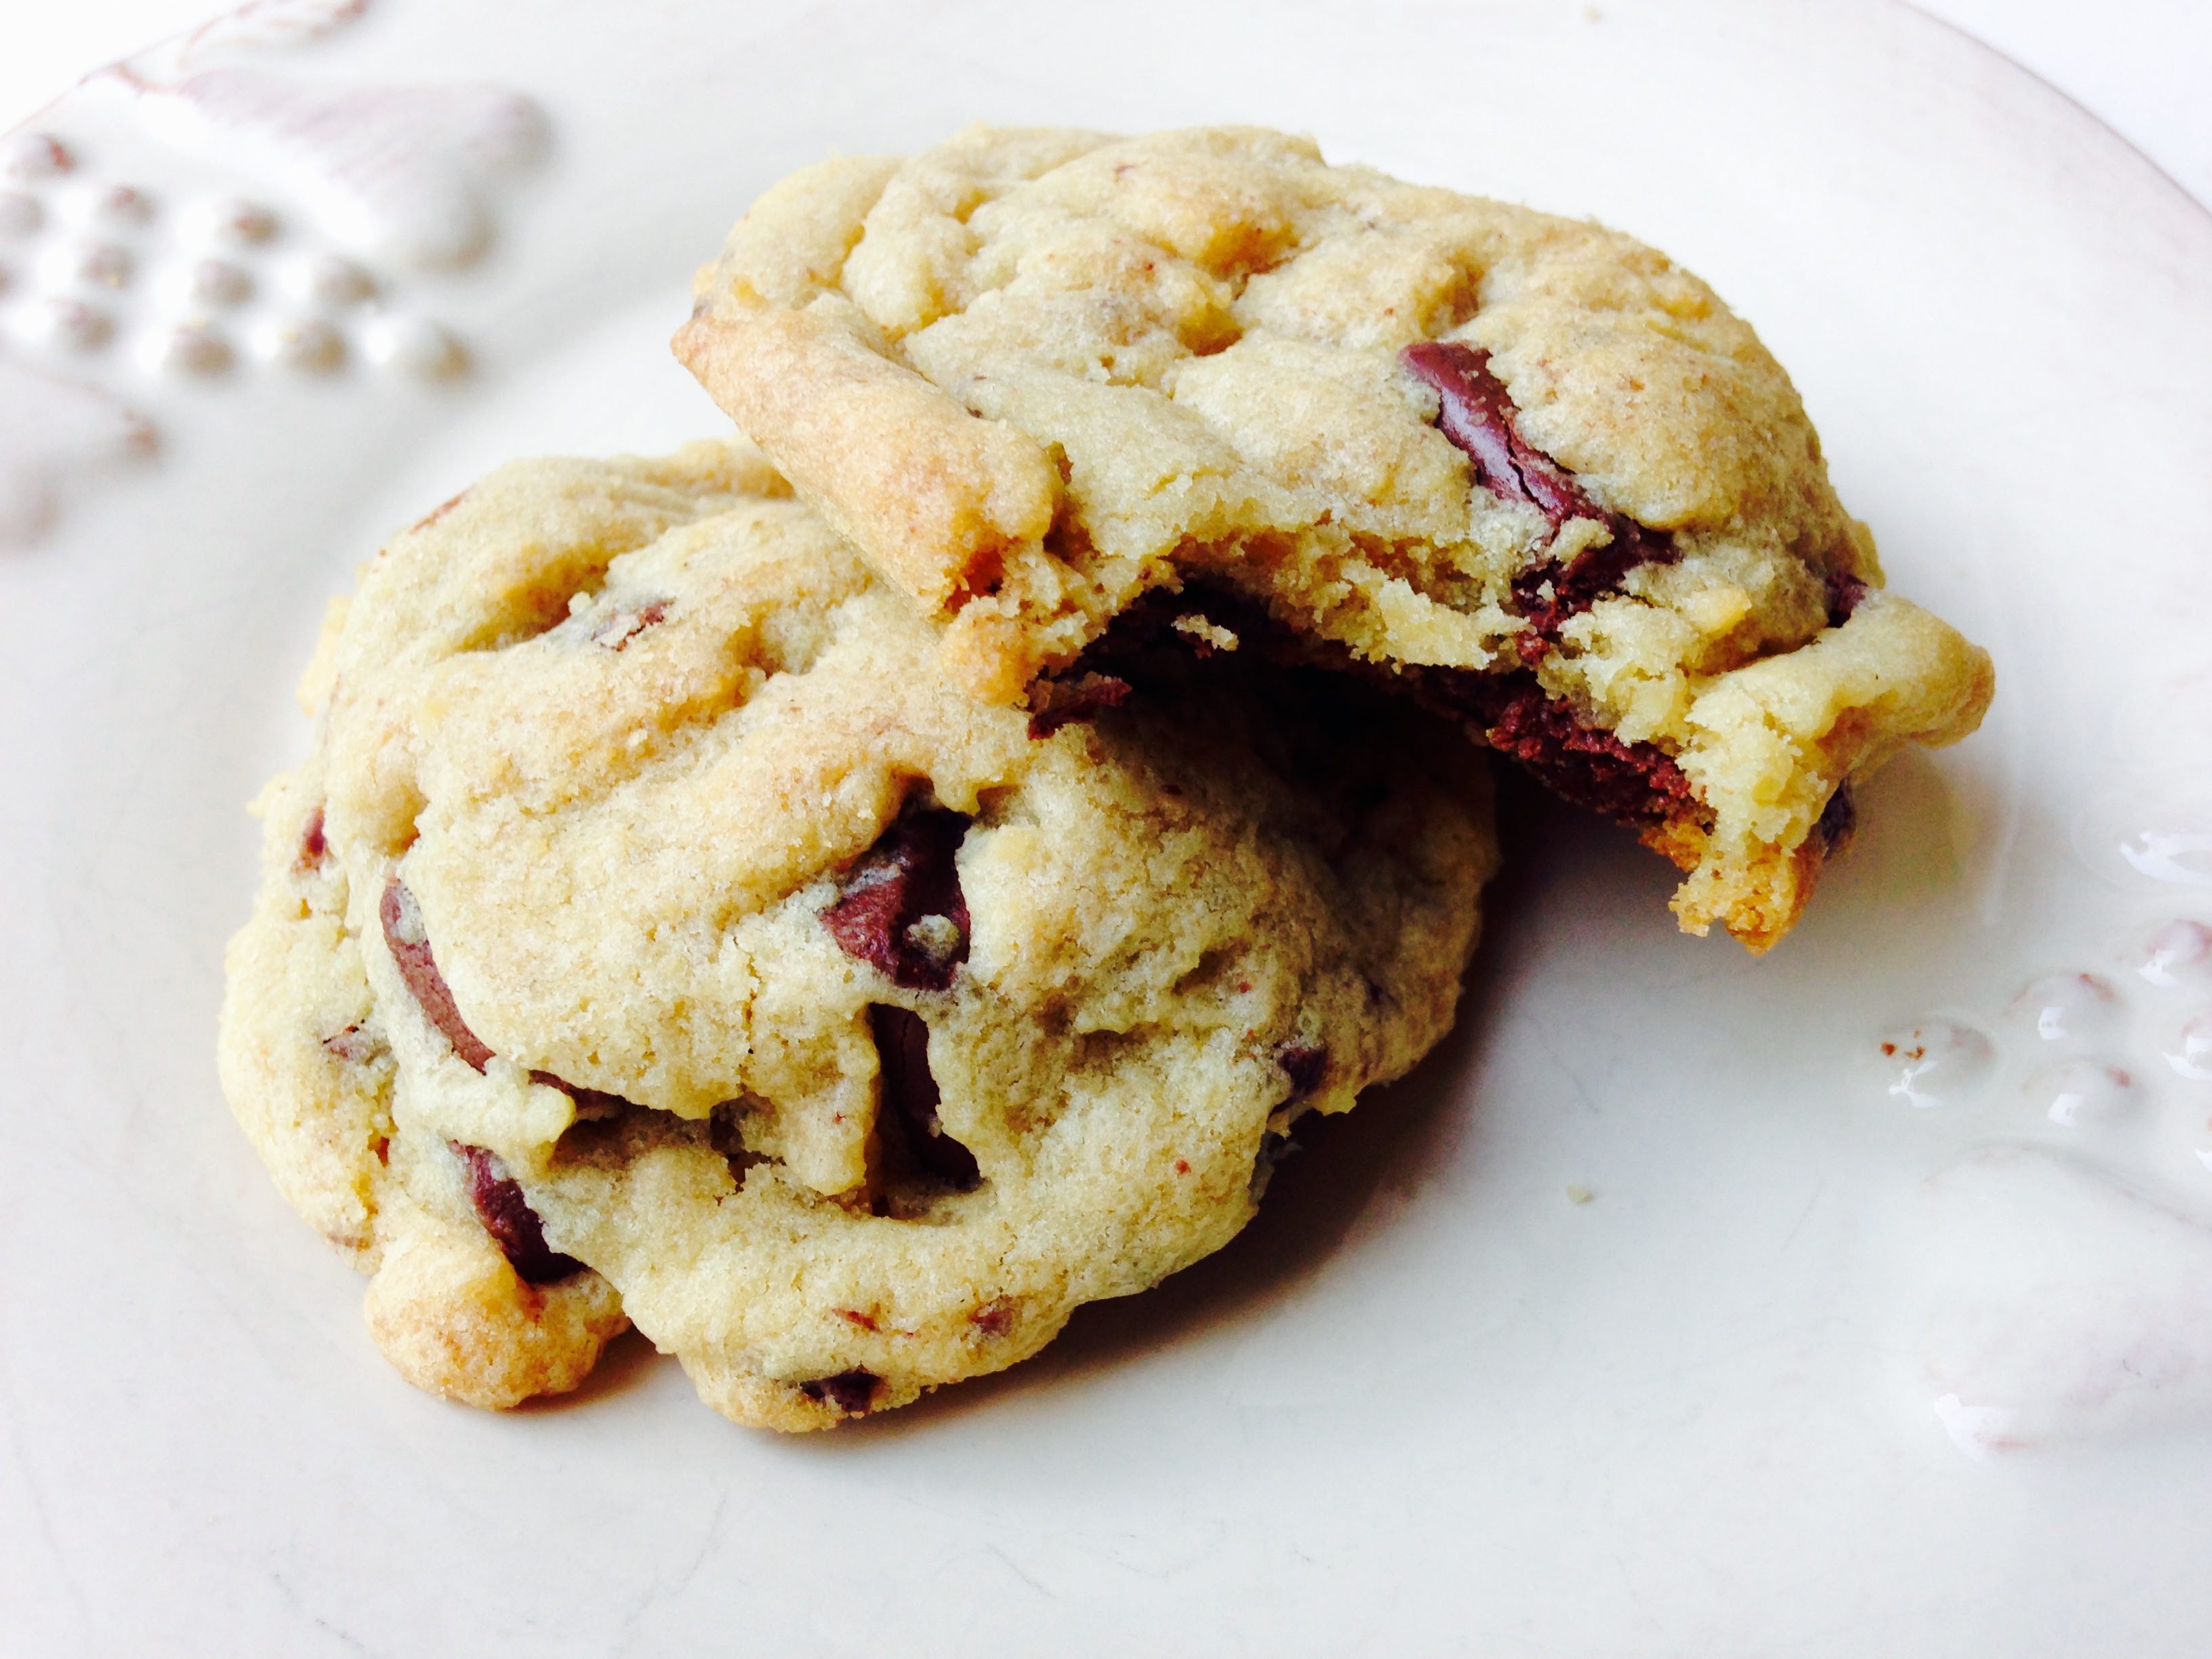
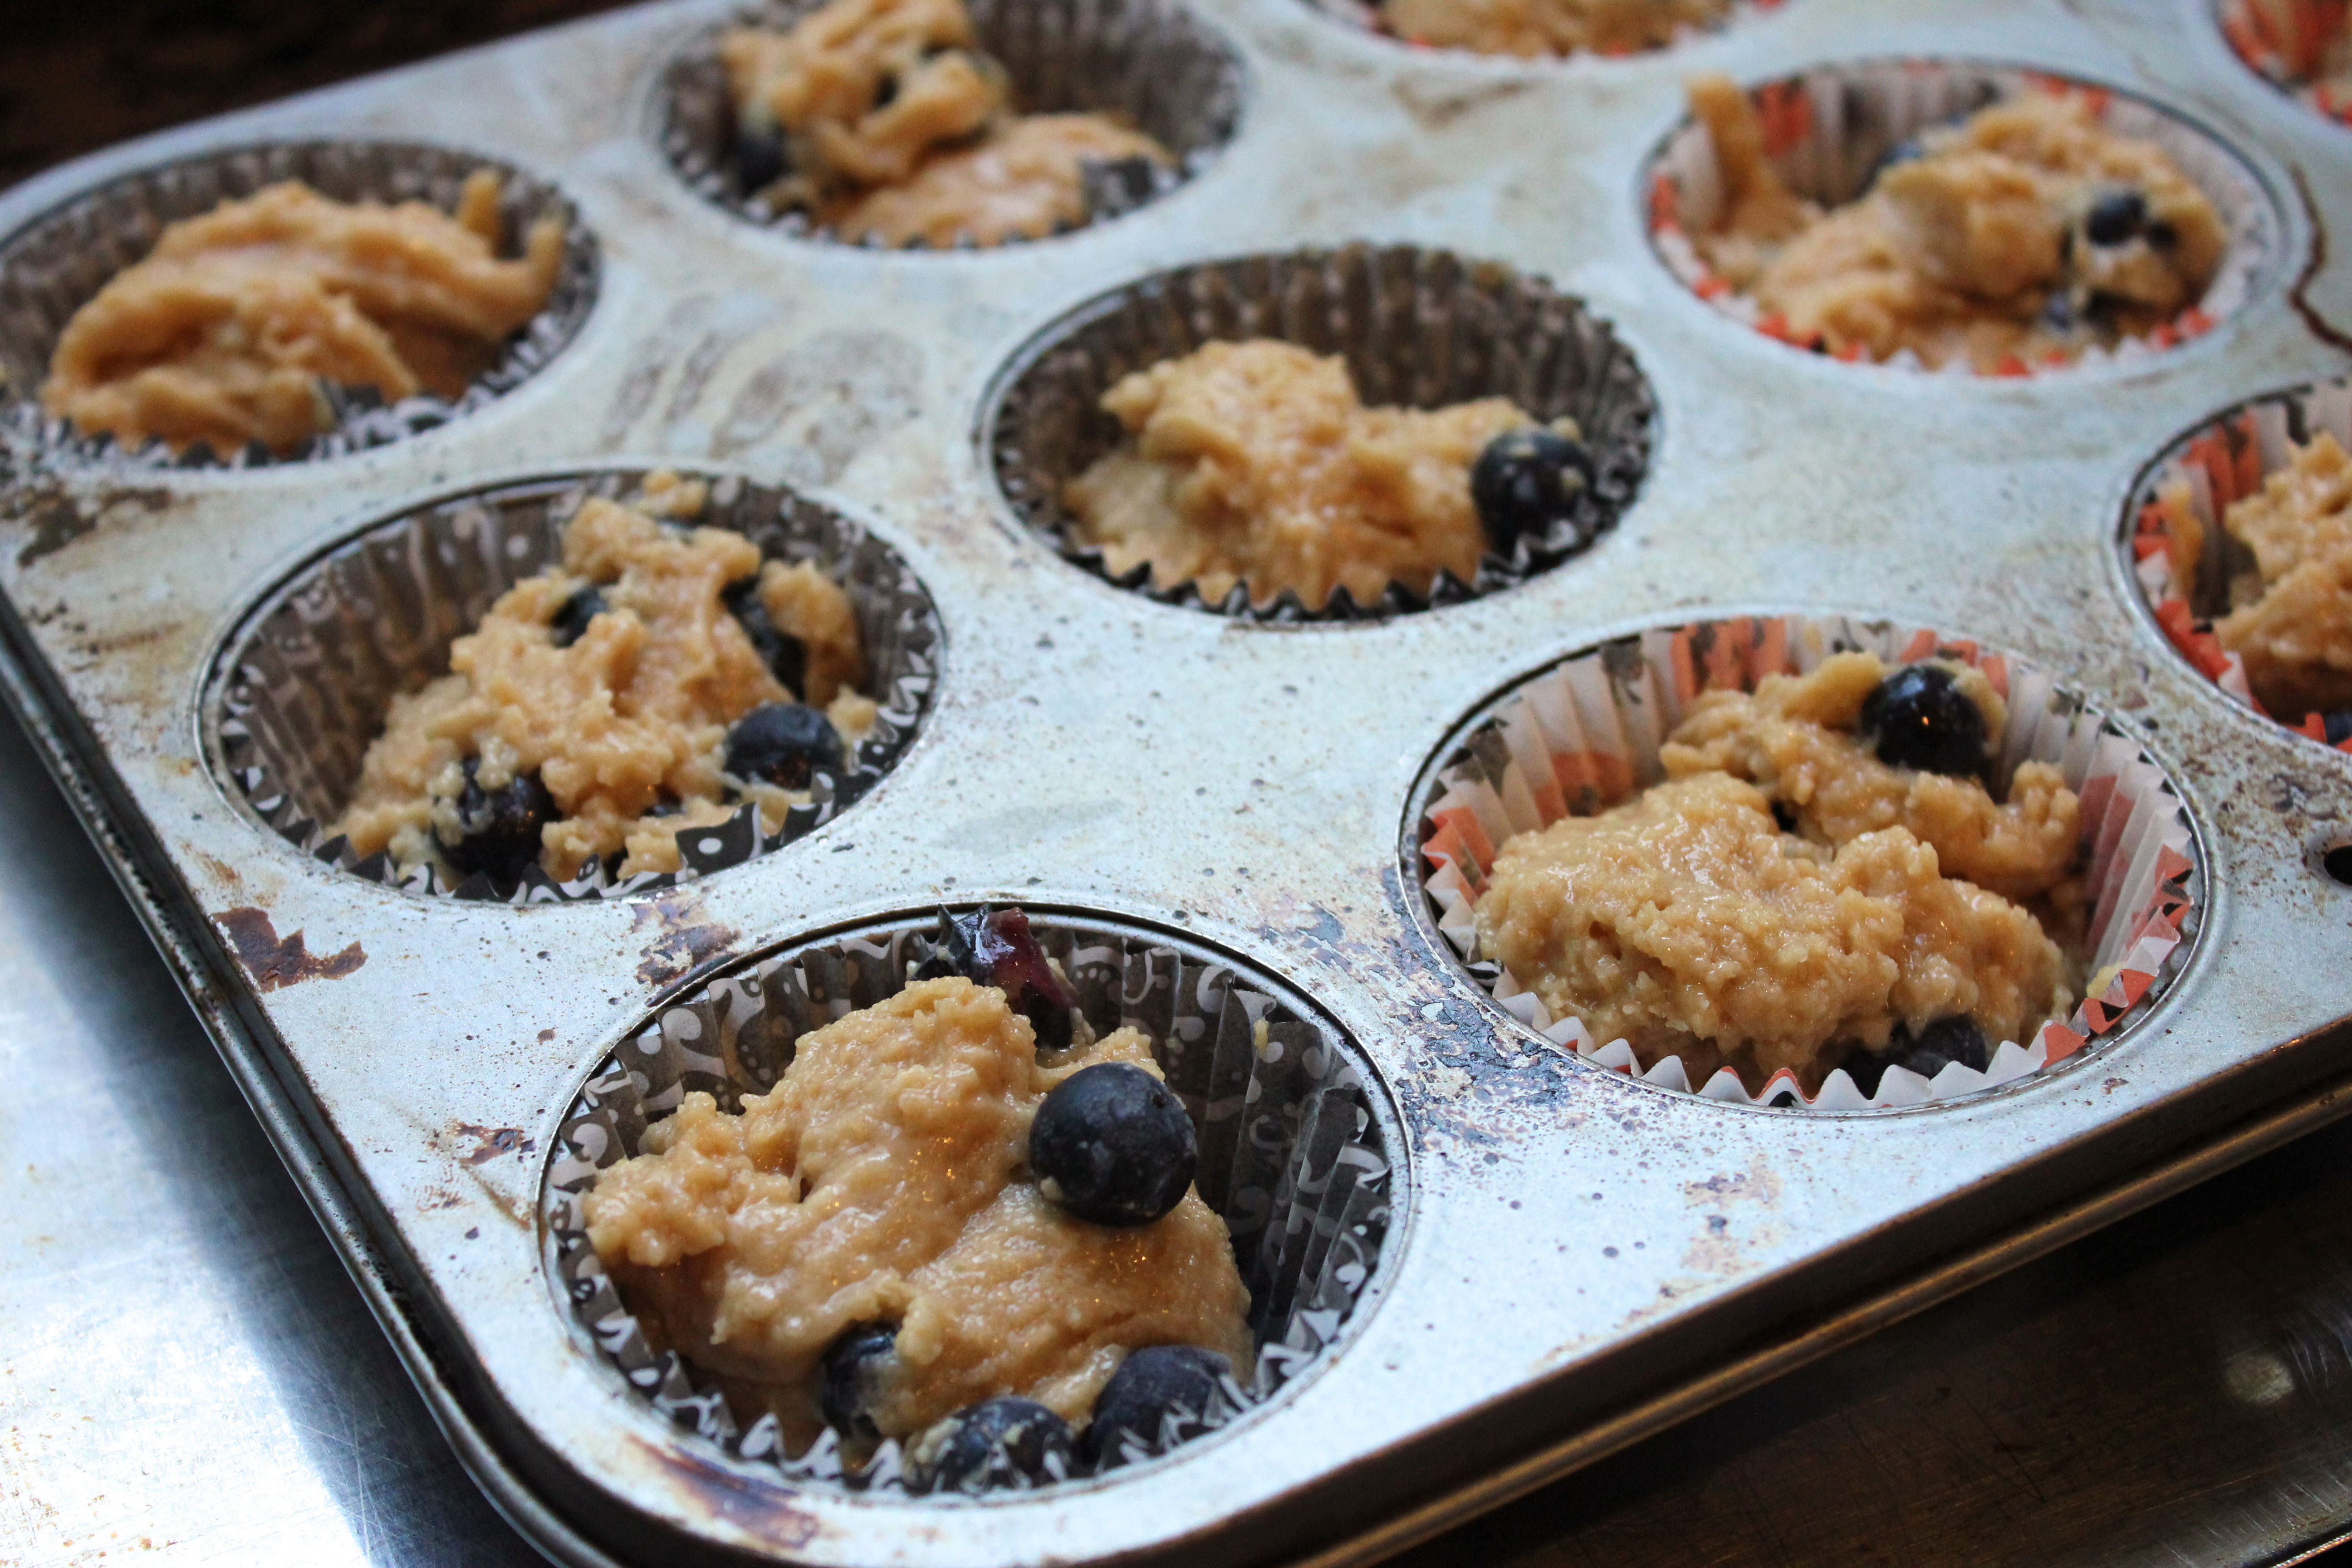
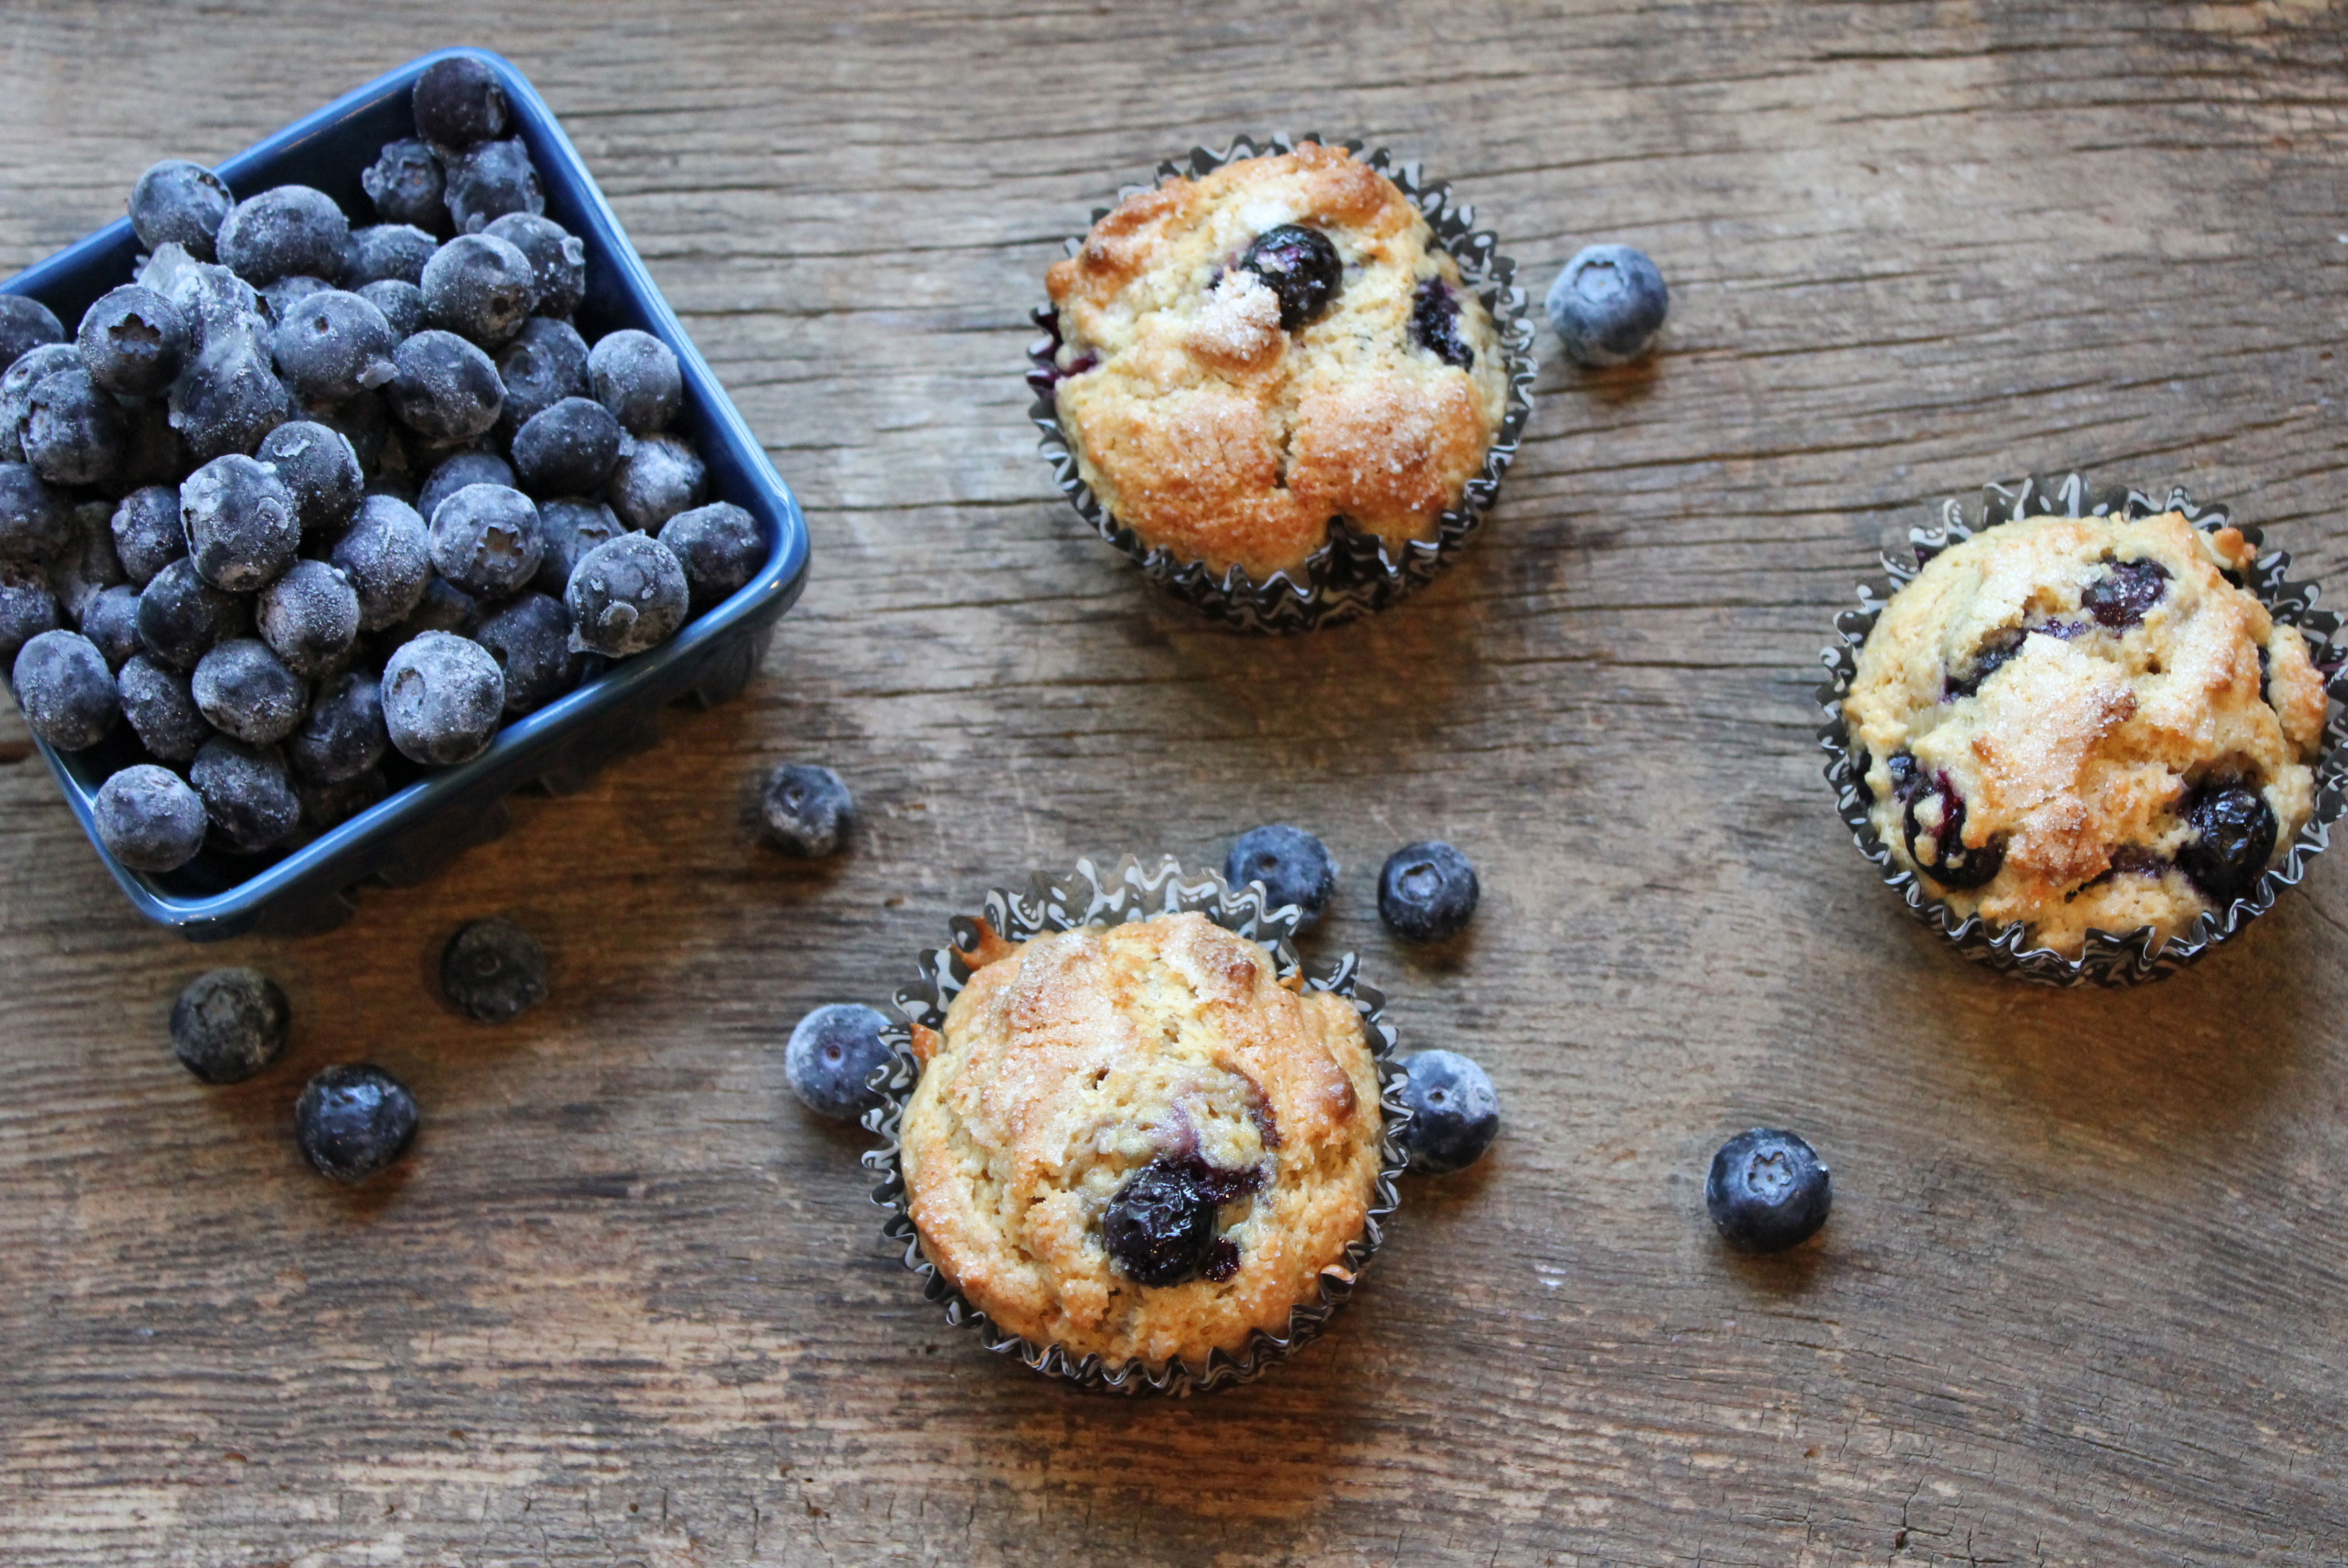
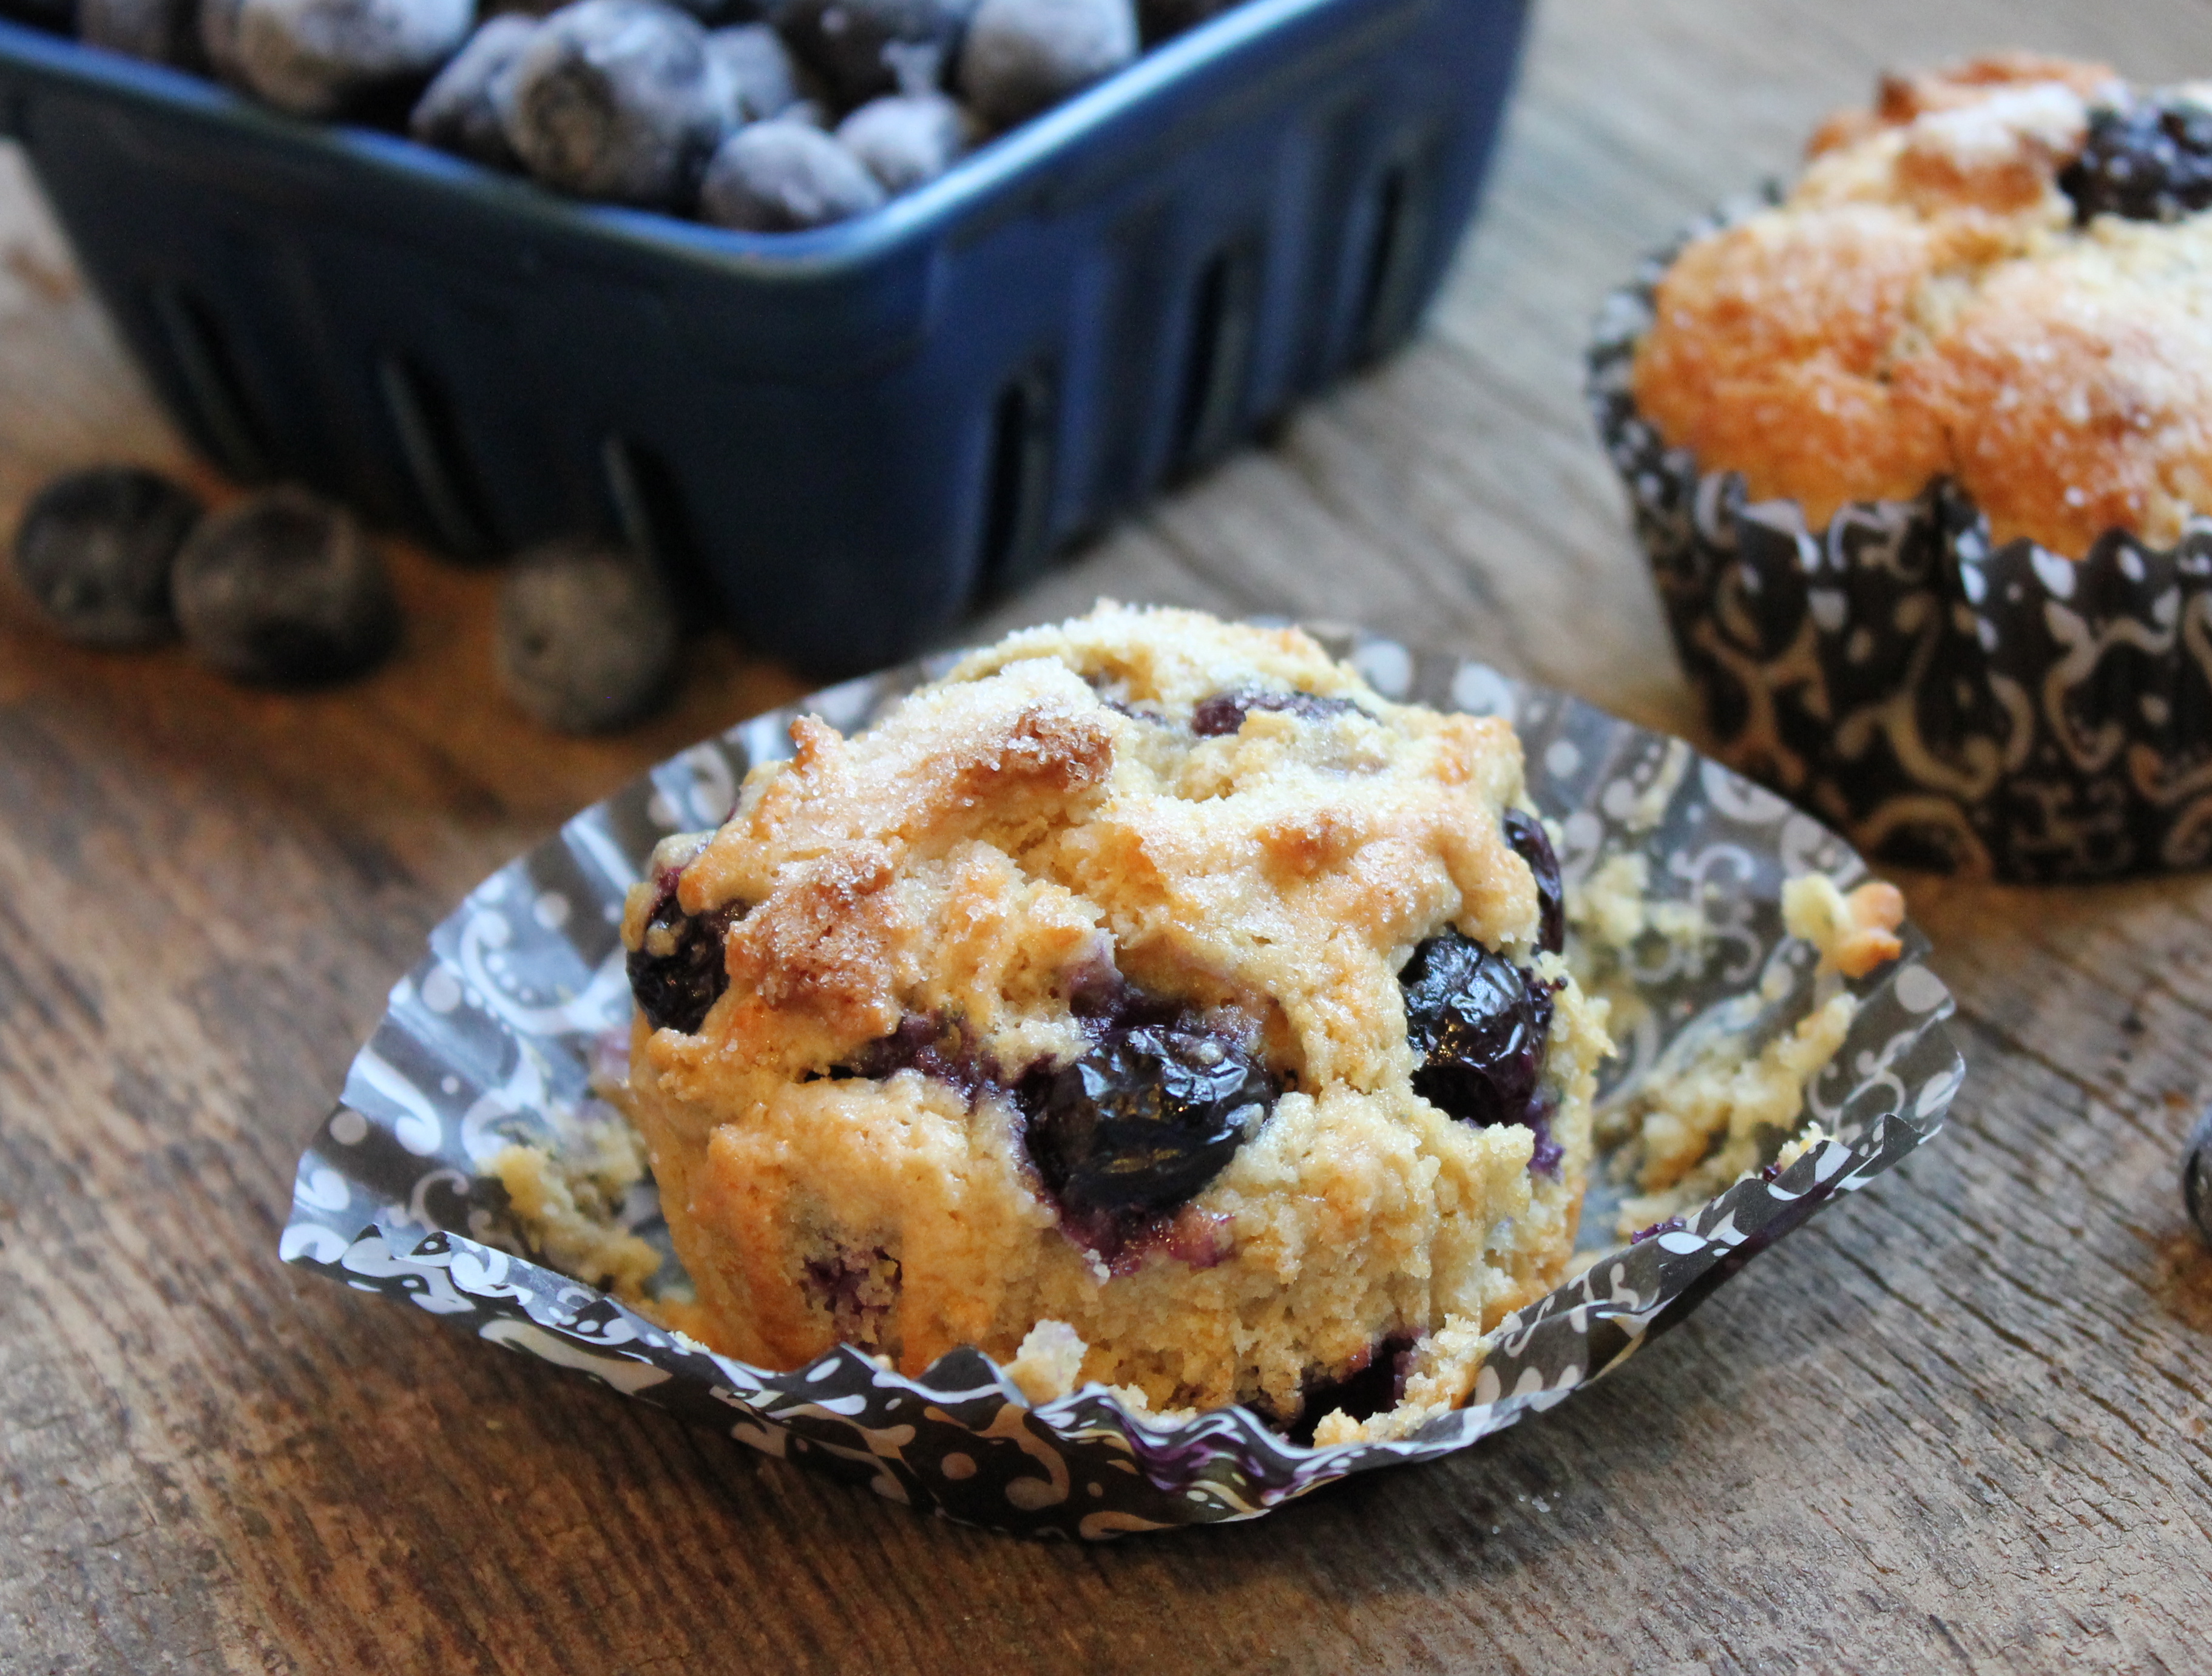
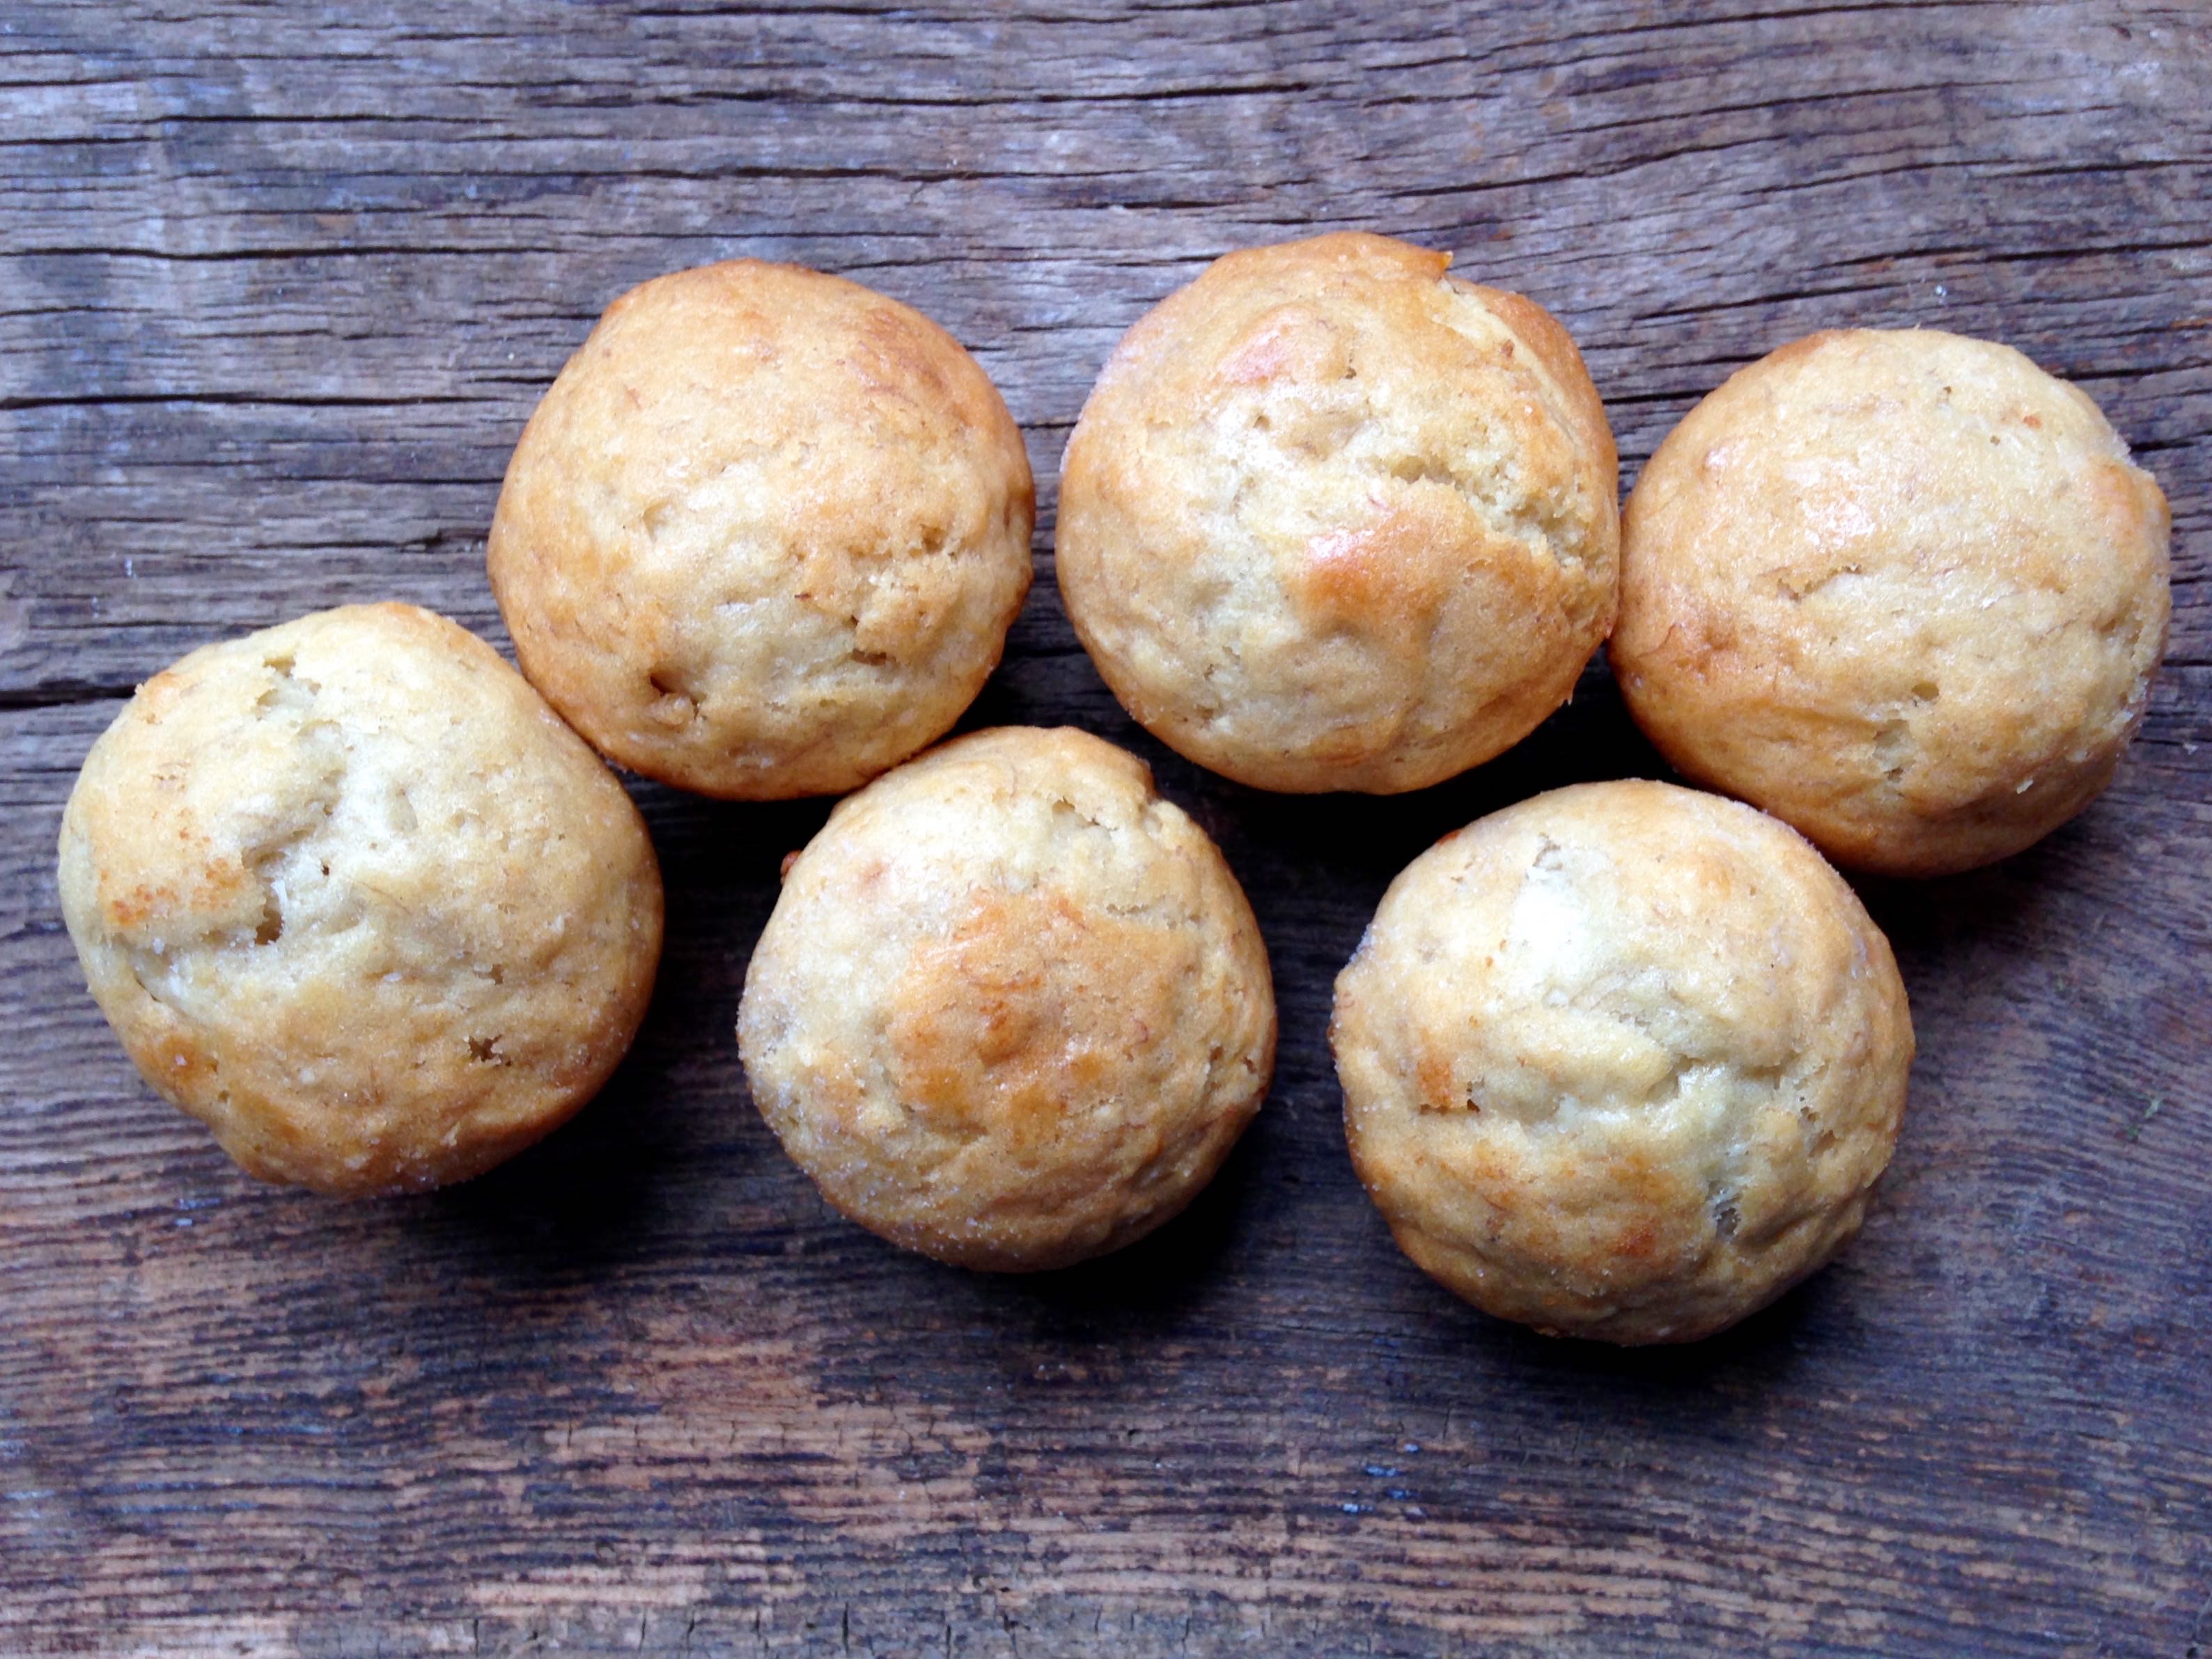
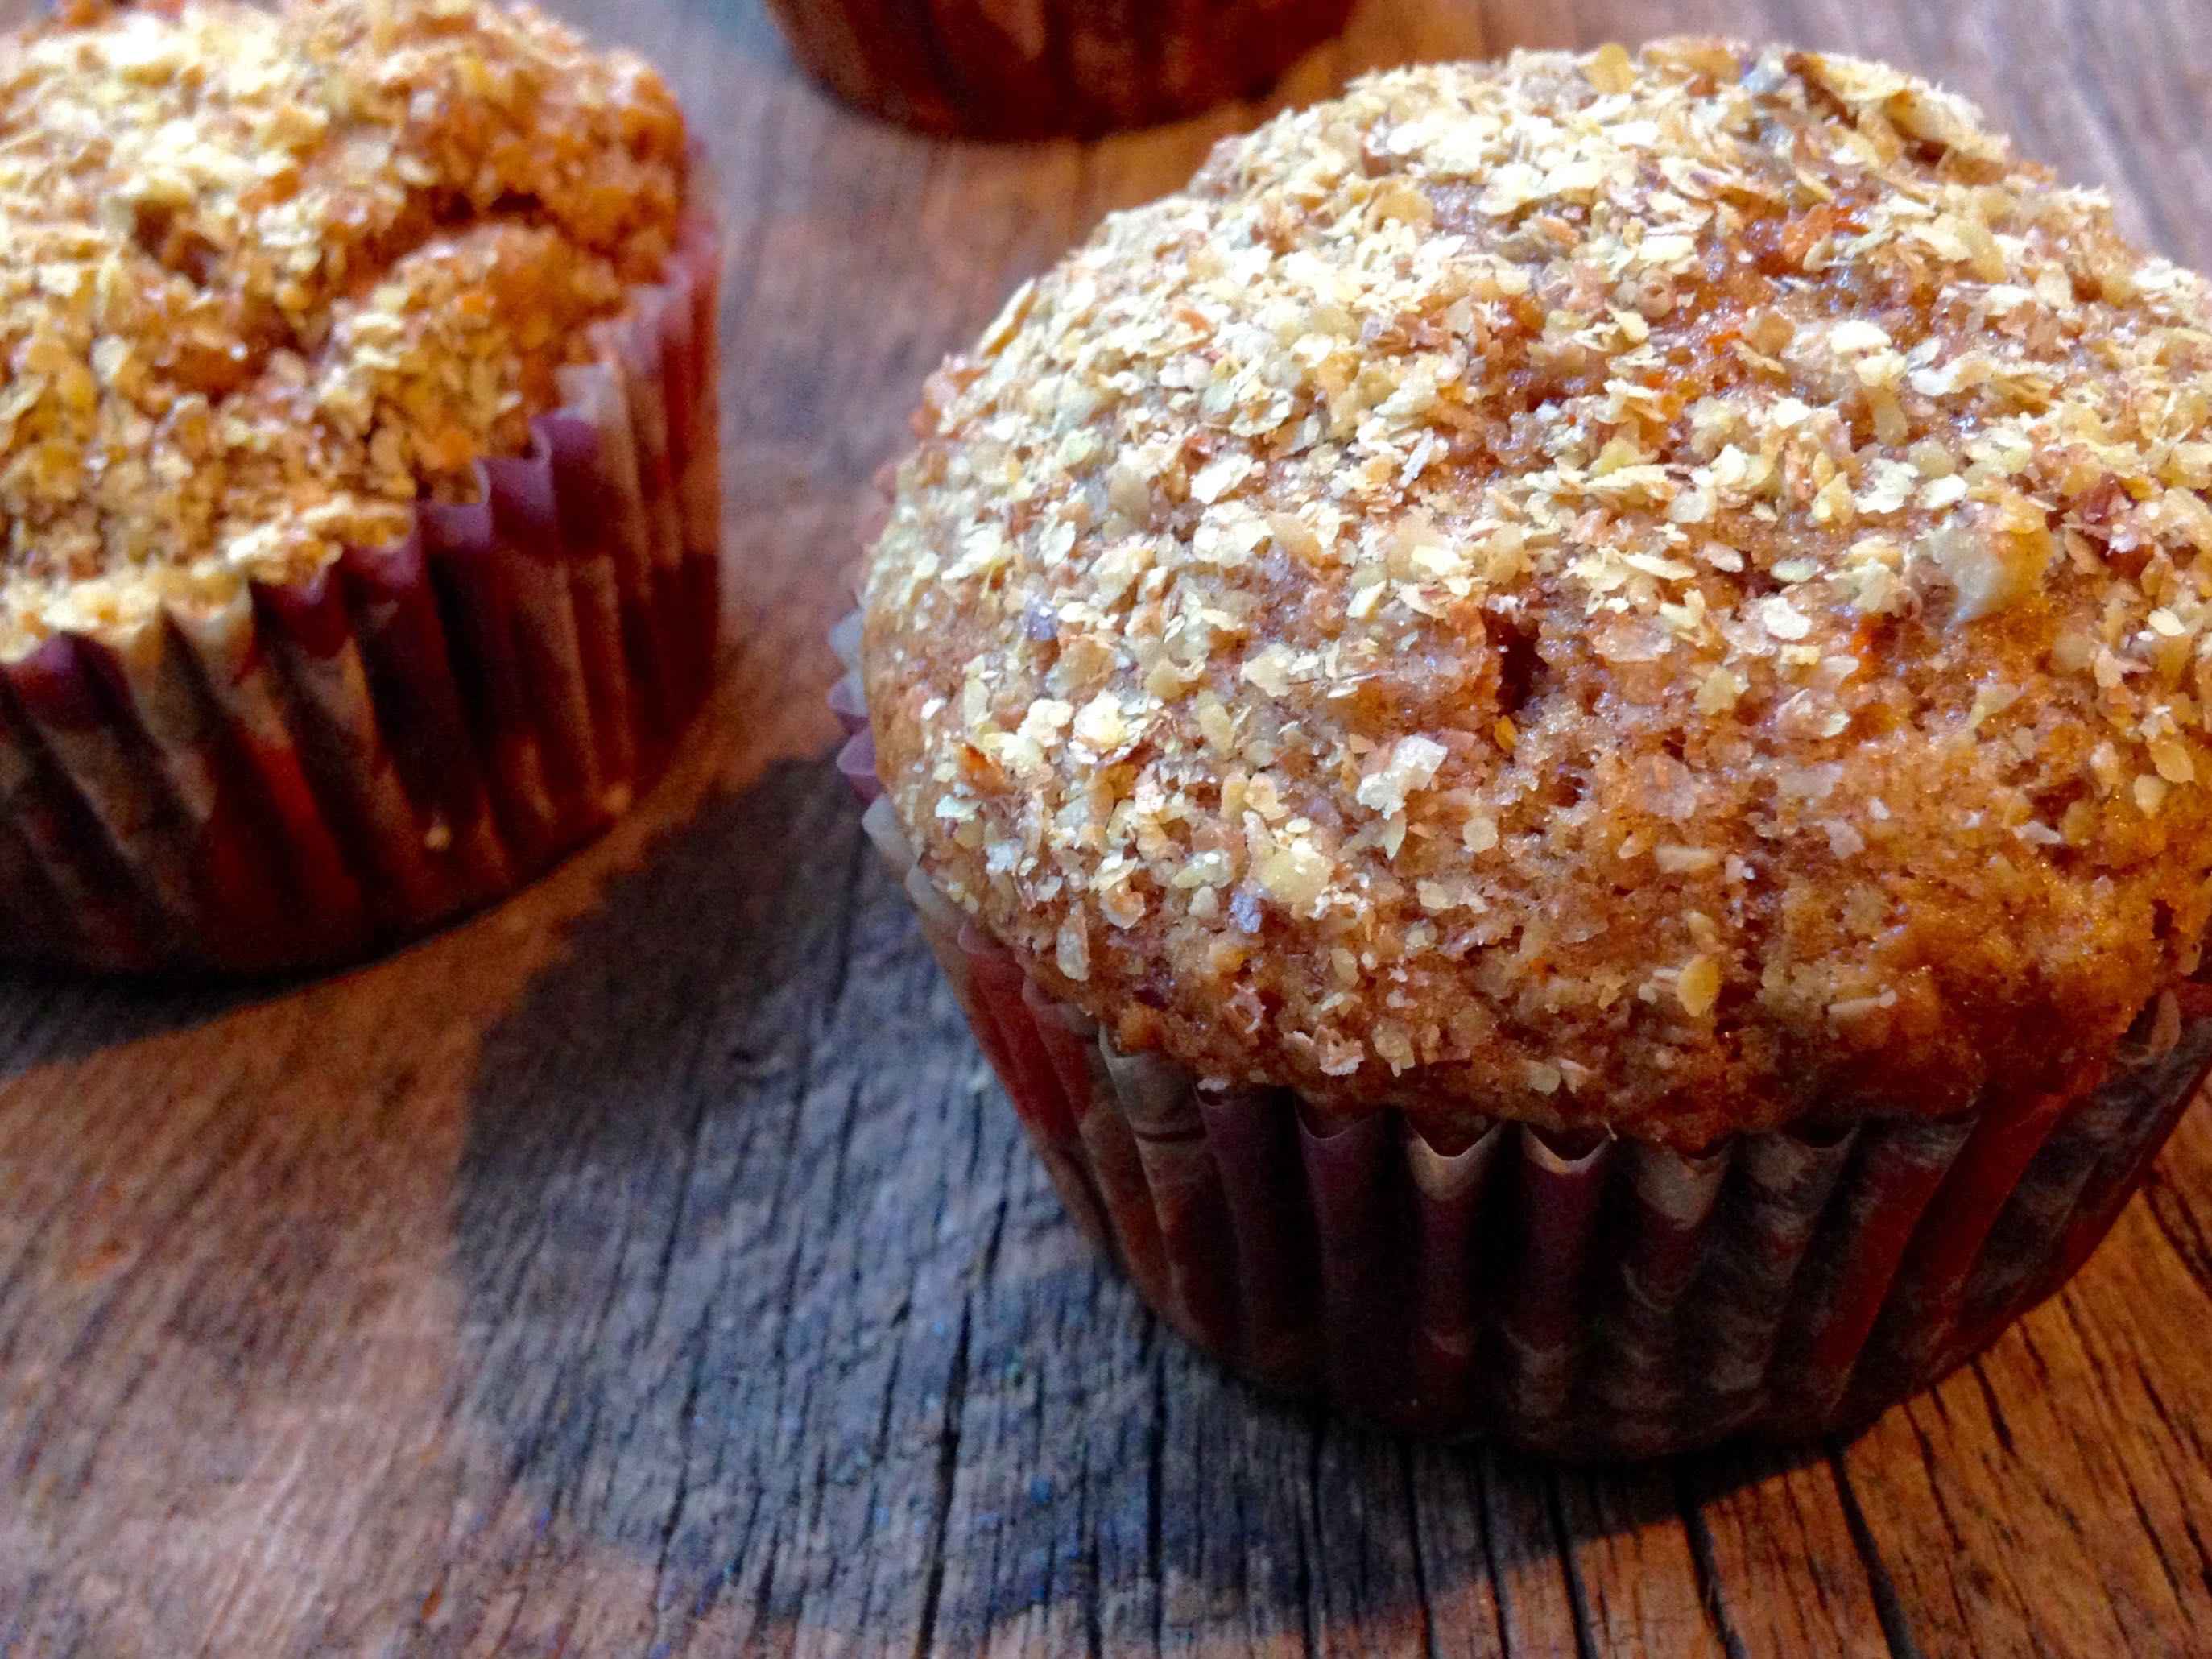
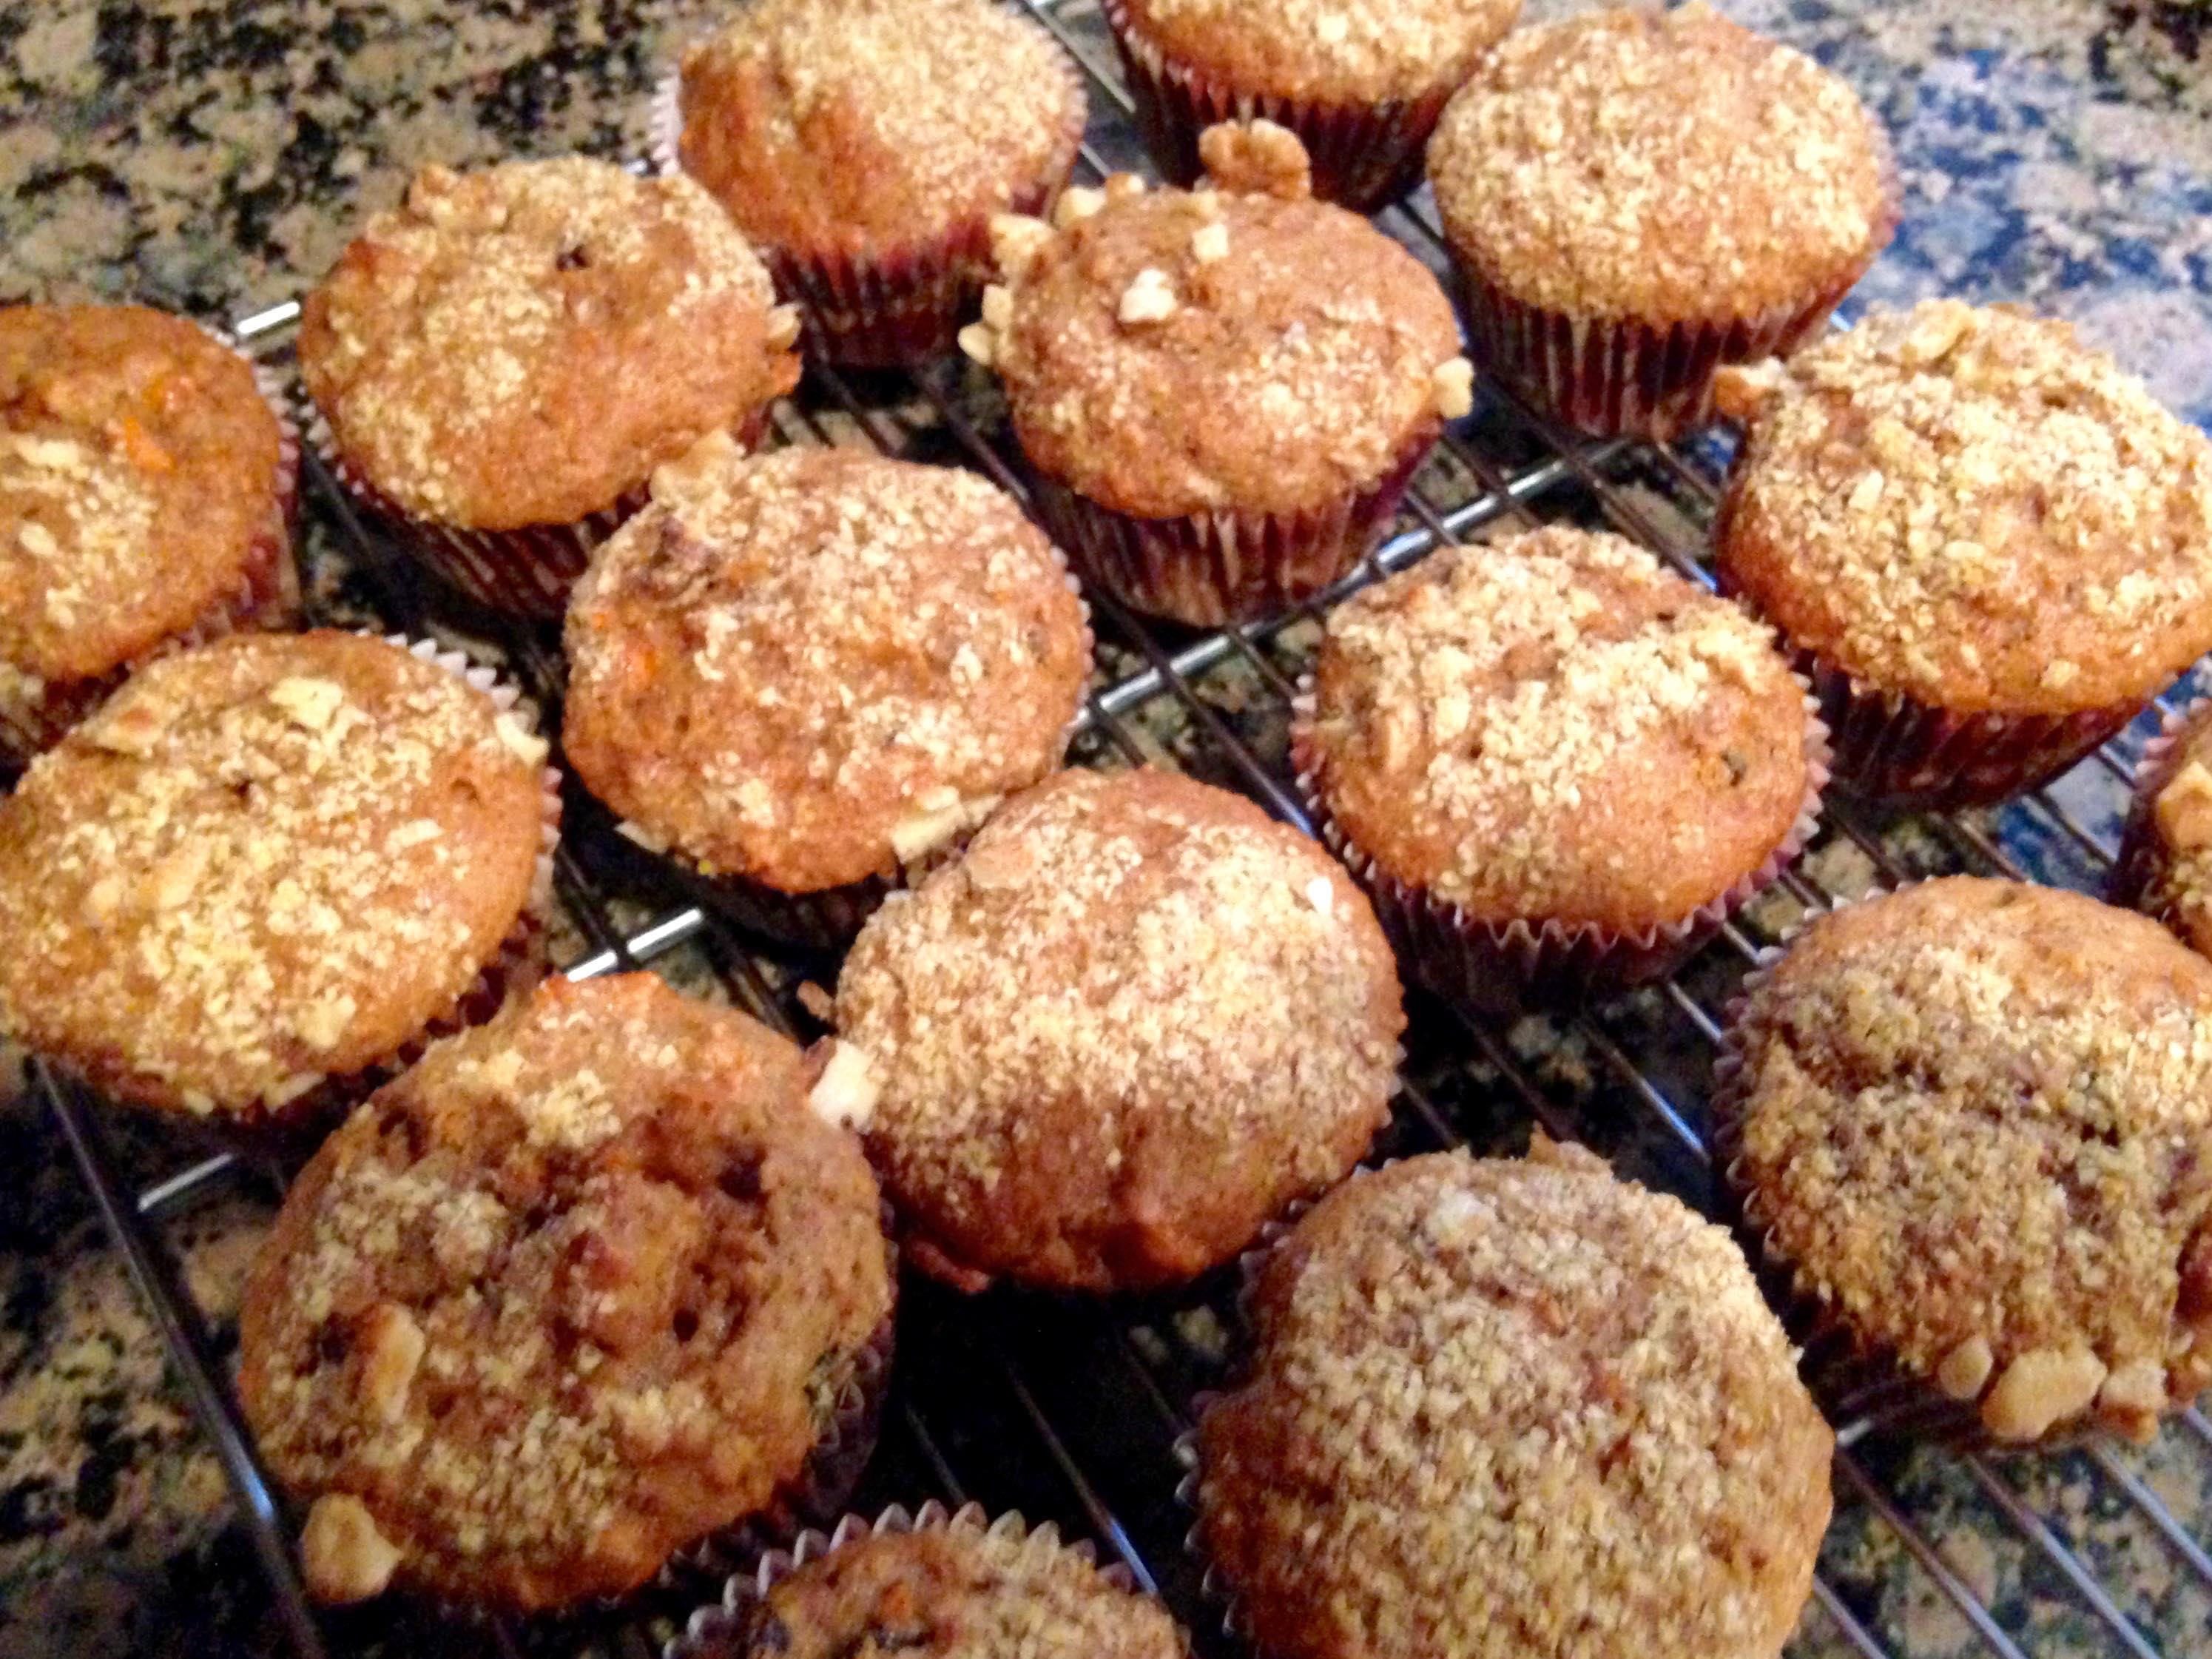
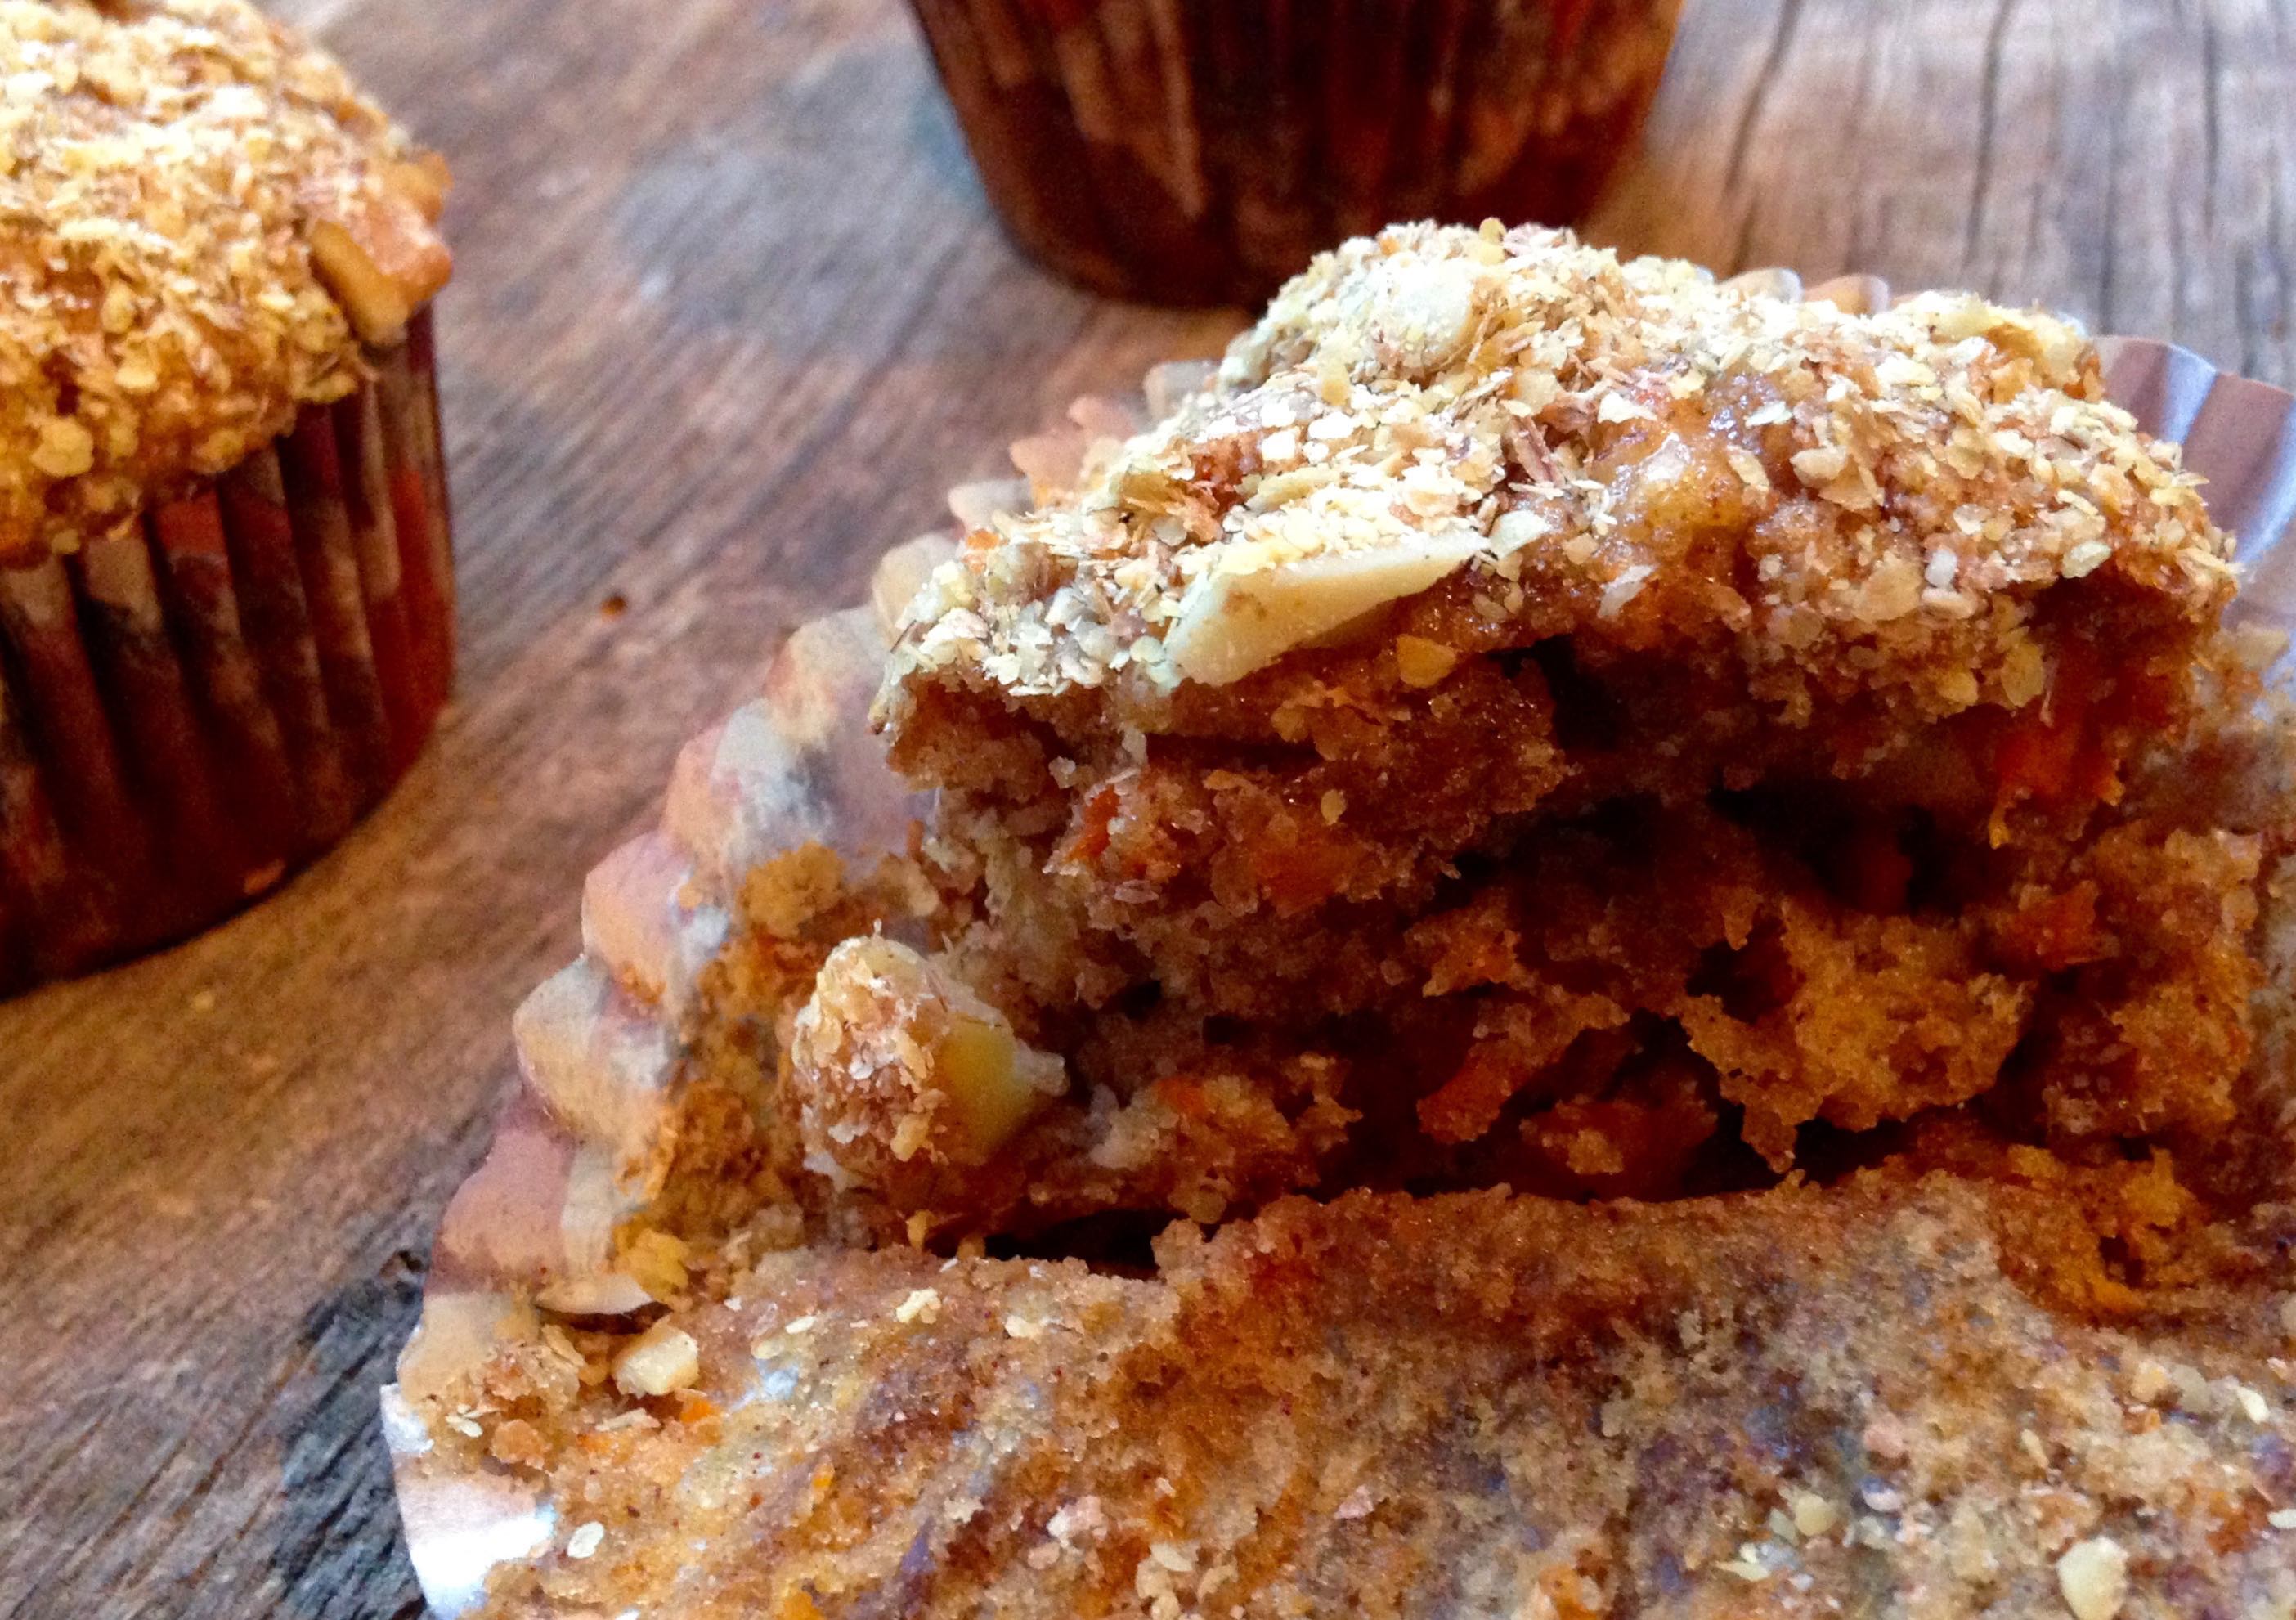
They are really good! Matt loves them, and I love how easy they are to make. They kind of remind me of my summer bounty corn casserole in muffin form, and with a kick due to the jalapeños and chopped green chilies.

I like to make these with chili or sloppy joes. Sooo good!
jalapeno cheddar corn muffins

jalapeno cheddar corn muffins

jalapeno cheddar corn muffins

jalapeno cheddar corn muffins jalapeno cheddar corn muffins

Harper loves corn, but doesn’t really like these due to the jalapeños and green chilies. She can’t handle spicy. (She’s crazy, right!) Not a true Texan you ask? We’ll continue to work on her. Lol.

My dad is from Kentucky, and hated salsa and Mexican food when he first moved to Texas. Now Mexican food (Mexican food in Texas is actually called Tex-Mex), is one of his favorites!

Harper says, “I’ll just stick to plain ole corn on the cob or canned corn, thank you very much!”

toddler

Enjoy!

Cheddar Jalapeno Cornbread Muffins
Prep time:
Cook time:
Total time:
Serves: 24
Ingredients
    • 1 jalapeno, seeded and diced
    • 1 cup shredded cheddar cheese
    • 1 egg
    • 4 1/2 oz can chopped green chiles
    • 8 oz cream style corn
  • 8.5 oz box Jiffy corn muffin mix
Instructions
    1. Preheat oven to 400 degrees F.
    1. In a medium bowl, mix egg, chopped green chiles, and cream style corn. Add cheese and diced jalapeños and mix again.
    1. In a large bowl, empty the box of Jiffy corn muffin mix into a large bowl. Form a well in the center. Add the wet ingredients and stir until just combined.
    1. Spray a 24-mini muffin pan with nonstick cooking spray and spoon in the batter.
  1. Bake for 15 minutes, or until toothpick inserted in the middle comes out clean. (If you are using a standard 12-cup muffin pan, increase your bake time to 20 minutes.) Let cool on a rack, then serve.

Healthy Peanut Butter Cookies

Healthy peanut butter cookies

For real…. these truly are HEALTHY peanut butter cookies! Didn’t think there was such a thing? Does no butter, no eggs, no flour, and no oil sound healthy to you?

Made with skim milk, peanut butter, a cup of whole oats, and a touch of sugar, you really can’t get much better than this. I ran out of Harper’s favorite organic kids Clif Z Bars, and didn’t feel like making a trip to the grocery store to buy more, so instead I thought I’d make a homemade granola bar/cookie for her.

With all the stuff online about eating healthy, and the dangers of processed foods, and plastic water bottles, anything wrapped up and sold in a box is probably not the best thing for you to eat or drink.

Healthy peanut butter cookies

I love that these cookies look and taste like cookies, but have the nutrition of a non-processed granola/energy bar.

You get protein from the peanut butter, hearty whole grains from the oats, and a bit of calcium from the milk. If you want to get creative, have fun substituting almond butter or cashew butter for the peanut butter. You could even add dark chocolate chips for some added sweetness.

Healthy peanut butter cookies

Healthy peanut butter cookies

Healthy peanut butter cookies

Fruit and cheese is my snack choice of preference for Harper, but I don’t always keep an ice pack on me to keep it cool. Lol. Granola bars and room temperature snacks are always easiest. Sure enough, while at the mall Harper got hungry and these peanut butter cookies came to the rescue.

Healthy peanut butter cookies
Harper and her little friend going for a stroll through the mall.

Healthy peanut butter cookies
“More!!” That or she’s pointing at something 🙂

Enjoy!

Healthy Peanut Butter Cookies
Prep time:
Cook time:
Total time:
Serves: 1 1/2 dozen
Ingredients
  • 1 cup peanut butter (I used smooth Jif)
  • 1/3 cup sugar
  • 1 tsp. vanilla extract
  • 1/3 cup skim milk
  • 1 cup ground up oats (in the food processor)
  • 1 tsp. baking soda
  • 1/4 tsp. kosher salt
Instructions
  1. Preheat oven to 350 degrees F. Line a baking sheet with parchment paper or Silpat. Set aside.
  2. In a stand mixer, beat the peanut butter, sugar, vanilla, and milk on low until creamy and smooth.
  3. In a food processor, process the oats until a flour mixture is achieved. Whisk together the oats, salt, and baking soda. Add the dry ingredients to the wet ingredients. Beat until just combined.
  4. Scoop out equal portions of dough onto prepared cookie sheet. Press a fork down onto each cookie in a criss cross pattern.
  5. Bake for 18 minutes or until golden. Remove and let cool before serving. Store in an airtight container.


Peanut Butter Cheerio Bars

peanut butter cheerio bars

If you’re looking for a quick, easy recipe that’s toddler friendly, then look no further. With just three ingredients, and no baking required, you can almost make these Peanut Butter Cheerio Bars blindfolded.

Okay, blindfolded may be a bad example; you’ve got to measure the ingredients right! Lol. But seriously, they are super easy. This would be a great “first” recipe for your toddler to HELP you make if they are into cooking with you. 🙂

For those without kids, bring out the inner-kid in you, and feel free to whip these up for yourself. Who says you have to be a kid to eat Cheerios and peanut butter? Any age can enjoy these!

peanut butter cheerio bars

peanut butter cheerio bars

peanut butter cheerio bars

peanut butter cheerio bars
Say cheese!

Enjoy.

Peanut Butter Cheerio Bars
Cook time:
Total time:
Serves: 12 bars
Ingredients
  • 3/4 cup smooth peanut butter (I used Jif)
  • 1/2 cup honey (I used Nature Nates from McKinney, TX)
  • 3 cups Honey Nut Cheerios
Instructions
  1. Heat peanut butter and honey in a sauce pan over medium-low heat until combined.
  2. Stir in Cheerios.
  3. Press into greased 8-inch square pan lined with foil. Refrigerate for an hour, then cut into bars.


Levain Bakery Chocolate Chunk Cookies

Levain Bakery Chocolate Chunk Cookies

Call me the chocolate chip cookie lady, because for every small group, family get together, or anytime I want a dessert, I make chocolate chip cookies.

Supposedly the Levain Bakery chocolate chip walnut cookie is all the rage. Located in New York, the bakery was founded in 1994 by two friends Connie McDonald and Pam Weekes. Both women were competitive swimmers and had trained for the Ironman, and not surprisingly, were left starved for food after their tireless workouts. One day they began a passionate conversation about creating the world’s greatest chocolate chip cookie…. and they did!

To this day, they ship their world famous cookies to happy customers around the globe. I have yet to try their cookies, but I saw several other bloggers post copy cat Levain Bakery chocolate chip cookies that they say tasted similar to the real thing.

A few tweak’s to Brown Eyed Baker’s copy cat recipe yielded this…..

Levain Bakery Chocolate Chunk Cookies

THE MOST BEAUTIFUL CHOCOLATE CHIP CHUNK COOKIE I HAVE EVER SEEN! (We used chunks instead of chips.) No really, isn’t it pretty?

Piled up high, at least an inch tall, these cookies are heaven. The key is the baking time. Please please please make sure you DO NOT overbake these!

The first batch of cookies we made cooked for 15 minutes. While they didn’t look done when we pulled them out of the oven, they do cook some more on the baking sheet. After the cookies cool and set, you get a nice bite of chewy, chocolatey gooey-ness in the middle.

Levain Bakery Chocolate Chunk Cookies

The second batch we made were cooked for 20 minutes. While these looked more done when we pulled them out of the oven, they didn’t have the gooey centers like the first batch. In addition, the bottoms of the cookies were significantly brown.

They were still good, but the first batch was ten times better.

Lesson learned and word to the wise. It’s better to have a slightly under-baked cookie than an over-baked one.

Levain Bakery Chocolate Chunk Cookies

Miss Harper was a fan too. She loves sweets, and now at 16 months can repeat the word, “cookie”. What’s even crazier is that she knows what a cookie is. Maybe that’s poor parenting on my part. We need to be eating more broccoli. Lol.

IMG_0044 IMG_0048

Enjoy!

Levain Bakery Chocolate Chunk Cookies
Prep time:
Cook time:
Total time:
Serves: 12 cookies
Adapted from Brown Eyed Baker
Ingredients
  • 3 cups (13.5 oz) bread flour
  • 1 tsp. baking powder
  • 1/4 tsp. baking soda
  • 3/4 tsp. kosher salt
  • 1 cup unsalted butter, cold and cut into cubes
  • 3/4 cup + 4 tsp. (6 oz) light brown sugar
  • 1/2 cup granulated sugar
  • 2 eggs, cold, lightly beaten in a separate bowl
  • 1 tsp. vanilla extract
  • 1 1/2 cups semi-sweet chocolate chunks
  • 1 cup walnuts, toasted and coarsely chopped
Instructions
  1. Line a baking sheet with parchment paper or silpat; set aside.
  2. In a medium bowl, whisk together the flour, baking powder, baking soda, and salt; set aside.
  3. Using an electric mixer, beat the butter on medium speed until it comes together in one cohesive mass, about 1 minute. Add both sugars and continue to beat for another 1 to 2 minutes, until all of the sugar has been incorporated into the butter. Gradually add the eggs and vanilla and continue beating on medium speed until mixed, scraping the sides of the bowl once (the batter will appear lumpy).
  4. Reduce the speed to medium-low and gradually add the flour mixture until just a little bit of flour still remains. Stir in the chocolate chunks and nuts with a rubber spatula.
  5. Divide the dough into 12 portions about 4 ounces each. Keep cookies in rough mounds (as opposed to flattening them out of trying to smooth them) and refrigerate 30 minutes before baking.*
  6. Meanwhile, preheat the oven to 375 degrees F.
  7. Bake for 15-18 minutes, or until cookies are light golden brown and just barely cooked in the middle.** Let cool on baking sheet for 5 minutes, then transfer to a wire rack to finish cooling.
Notes
*Popping the cookie dough in the fridge before baking helps them keep their tall shape.[br]**Err on the side of under baking – these are best when they’re gooey in the center!


Harper’s Favorite Banana Muffins

Harper's favorite banana muffins

If anyone knows Harper, you’ll know she has a HUGE sweet tooth! Uhhh… I wonder where she got that from?? 🙂

When she was younger and wasn’t talking yet, she’d sign “more” in sign language. With that said, “more” was one of her first few words. I guess she figured saying “more” might add a little emphasis to the sign language. Smart cookie she is!
Harper's favorite banana muffins

A few weeks ago, Harper and I were at Grammy’s house (my mom/Harper’s grandmother). Grammy saw these quote-on-quote “healthy” muffins on feedly and was dying to try them. Technically, they are considered healthy since they have Greek yogurt and bananas in them, but with 1 1/4 cups of sugar, and 1 1/4 cups of canola oil, you be the judge on that one. Lol.

Healthy or not, Harper adored these muffins! She ate an entire mini muffin in a matter of minutes, and couldn’t stop asking for more! These muffins are very sweet, and almost taste like a cross between cake and a muffin. Go figure she liked them!!

Harper's favorite banana muffins

If you’re needing some chocolate in your life, feel free to add 1 cup mini chocolate chips. I may try that next time to change it up. You can also add chopped walnuts or pecans, but if you’re making these for a toddler, you may want to leave the nuts out.

toddler

Enjoy!

Harper’s Favorite Banana Muffins
Prep time:
Cook time:
Total time:
Serves: 24
Source: Adapted from Leite’s Culinaria
Ingredients
  • 3 large eggs
  • 1 1/4 cups (10 oz or 315 g) granulated sugar
  • 1 1/4 cups (10 fluid oz or 310 milliliters) canola oil, plus more for the pan
  • 2 tsp. vanilla extract
  • 3 cups (13.5 oz or 360g) all-purpose flour
  • 1 tsp. baking soda
  • Kosher salt
  • 3 ripe, brown bananas, peeled and cut into chunks (about 1 lb.)
  • 1/2 cup (2 oz or 60g) unsweetened shredded coconut
  • 1/2 cup (4 oz or 125g) plain Greek yogurt
  • 1 cup (5 oz or 150g) chopped chocolate or mini chocolate chips, optional
Instructions
  1. Preheat oven to 350 degrees F. Spray two 12-cup standard muffin pans or two 24-cup mini muffin pans with nonstick cooking spray or butter them with oil.
  2. In a stand mixer fitted with a paddle attachment, beat the eggs, sugar, oil, and vanilla on high speed until well combined, about 2 minutes. Reduce the speed to low, add the flour, baking soda, and 1/2 teaspoon of salt, and beat again until well combined, about 2 minutes.
  3. Increase the speed to medium, add the bananas, coconut, and yogurt, and beat for 1 minute. Reduce the speed to low or switch to a spoon, and add the chocolate chips. Mix until well combined.
  4. Pour the batter into the prepared muffin cups, filling each 2/3 to 3/4 full.
  5. Bake until a toothpick inserted in the center of a muffin comes out without any crumbs or wet batter clinging to it, 20-25 minutes for standard muffins or 15-20 minutes for mini muffins.
  6. Turn the muffins out onto a wire rack and let cool for at least 10 minutes. (Muffins will keep in an airtight container at room temperature for up to 1 week or in the freezer for up to 1 month).


Morning Glory Muffins

morning glory muffins

We’re not even close to being done with winter, but I’m ready to start spring cleaning. Maybe it’s the fact that we all got some new Christmas outfits, or I just had to clean the attic up to fit the Christmas tree back in there, but I’m ready to do some cleaning out, throwing away, and giving away of some items.

A few weeks ago I decided to tackle the downstairs den and organize some shelves by our TV. In the shelves, I keep all our wedding pictures, birthday cards, sweet notes from Matt and other little keepsakes.

As I was going through our wedding stuff, I found several nice cards, and even a TWENTY DOLLAR gift card to Target!!! Who-hoo! Let’s hope after seven years the gift card is still good! 🙂

wedding
Walking down the aisle as husband and wife.

wedding
Can’t believe this was almost seven years ago!

wedding
Rose petals!!

In another wedding card, I found this recipe for Morning Glory muffins from my dad’s coworker named Sandra Winfield. The recipe sounded delicious, so the next day I decided to whip these up.

I’ve tried a bunch of quick breads and muffins over the years, and by far, this is my FAVORITE morning glory muffin recipe ever! Not only is it the best of all the morning glory muffins, it will now be my go-to recipe for whenever I want a muffin!! They are that good.

morning glory muffins

The apple butter is the secret ingredient. It makes the muffins light, flavorful, sweet and super moist. With two whole cups of carrots, an apple, whole wheat flour, walnuts, and wheat germ sprinkled on top, you’ve got a hearty and pretty healthy muffin at that.

Sandra – thanks for sending over the recipe. We all loved these and will be making them again!

morning glory muffins

morning glory muffins morning glory muffinsmorning glory muffins

So, next time you dread spring cleaning…. think of the positives.  Like a treasure hunt, who knows what you may find. It may be cash, old photos, or even a new recipe to try!  Enjoy.

Morning Glory Muffins
Prep time:
Cook time:
Total time:
Serves: 18 muffins
From: Sanda Winfield
Ingredients
  • 1 1/2 cups all-purpose flour
  • 1/2 cup whole wheat flour
  • 1 1/4 cups white sugar
  • 1 Tbsp. ground cinnamon
  • 2 tsp. baking powder
  • 1/2 tsp. baking soda
  • 1/2 tsp. salt
  • 2 cups grated carrots
  • 1 apple – peeled, cored and and chopped
  • 1 cup raisins
  • 2 eggs
  • 1/2 cup apple butter
  • 1/4 cup vegetable oil
  • 1 Tbsp. vanilla extract
  • 2 Tbsp. chopped walnuts
  • 2 Tbsp. toasted wheat germ
Instructions
  1. Preheat oven to 375 degrees F. Lightly oil 18 muffin cups or coat with nonstick spray.
  2. In a medium bowl, whisk together eggs, apple butter, oil and vanilla.
  3. In a large bowl, stir together flours, sugar, cinnamon, baking powder, baking soda and salt.
  4. Stir in the carrots, apples and raisins. Stir in apple butter mixture and mix until just moistened. Spoon the batter into the prepared muffin cups, filling them about 3/4 full.
  5. In a small bowl, combine walnuts and wheat germ; sprinkle over the muffin tops.
  6. Bake for 20 minutes, or until tops are golden and spring back when lightly pressed.


Maple Pecan Banana Bread

maple pecan banana bread

If you’re looking for a super sweet banana bread recipe, look no further than this one. Between the maple syrup and maple pecan topping, this bread is sure to satisfy your sweet tooth.

Or if you’re Harper, nothing can satisfy a sweet tooth as much as a donut hole can! Every Sunday our church has donuts in the kitchen and Matt and Harper go get some after church service. Each Sunday she seems to be eating more.

I remember when she was only a few months, I found out Matt gave her a couple of licks. Then it became a few bites. Then it became a whole donut hole. Then two. Then three. Today she ate THREE AND A HALF donut holes!! Don’t worry, she washed it down with a cup of milk. Lol.

toddler and donut

So as I said, this maple pecan banana bread may not be as sweet as a donut, but it’s pretty good. The crumb topping is the best part. To satisfy my sweet tooth, I might just eat the topping of the bread, and leave the bottom part for later.

Haha. Enjoy!

maple pecan banana bread maple pecan banana bread


Maple Pecan Banana Bread
Prep time:
Cook time:
Total time:
Serves: 12
Source: Tutti Dolci
Ingredients
  • BREAD
  • 1 1/2 cups flour
  • 1/4 cup white whole wheat flour
  • 1 tsp. baking powder
  • 1 tsp. baking soda
  • 1/2 tsp. salt
  • 1 tsp. cinnamon
  • 1/8 tsp. nutmeg
  • 1 1/2 cups mashed banana
  • 1/3 cups maple syrup
  • 3 Tbsp. maple sugar
  • 1/4 cup coconut oil, melted and slightly cooled
  • 1/2 cup low-fat buttermilk, at room temperature
  • 1 large egg, at room temperature
  • 1 tsp. vanilla extract
  • MAPLE PECAN TOPPING
  • 1/3 cup pecans, halved
  • 3 Tbsp. maple sugar
  • 3 Tbsp. flour
  • pinch of cinnamon
  • 1 1/2 Tbsp. coconut oil, melted
Instructions
  1. Preheat oven to 350 degrees F and spray a 9×5-inch loaf pan with nonstick spray.
  2. FOR THE BREAD: Whisk together flours, baking powder, baking soda, salt, cinnamon, and nutmeg in a large bowl. Make a well in the center of the mixture.
  3. Combine banana, maple syrup, maple sugar, coconut oil, buttermilk, egg, and vanilla in a medium bowl; add to flour mixture and fold in just until combined. Spoon batter into prepared pan and smooth top with an offset spatula.
  4. FOR THE TOPPING: Combine pecans, maple sugar, flour, and cinnamon in a small bowl. Add coconut oil and toss mixture with a fork until crumbly.
  5. Sprinkle over batter and bake for 30 minutes; rotate pan and cover with foil to prevent over browning. Continue baking another 31 to 33 minutes. Bread is done when golden and a toothpick inserted in the center comes out clean or with a few moist crumbs attached. Cool in pan on a wire rack for 15 minutes; carefully remove bread from pan and cool completely before slicing and serving. Store leftovers in an airtight container at room temperature up to 2 days.
Serving size: 1 Calories: 225


King Arthur Flour Monster Cookies

monster cookies

I don’t know about you, but I’m glad the holidays are over. Back to the real world! We had a wonderful Christmas, but I’m ready to get a good, solid schedule back in order.

With all the festivities, I hadn’t had a chance to post these delicious monster cookies yet.

My sister made them for a party she went to, and then my mom made some because they were that good! Harper and I both loved them as well.

monster cookies

I’ve blogged monster cookies before, but ended up deleting them from the blog because they are not even in the same ballpark as this monster cookie recipe.

Almost 5 cups of rolled oats, peanut butter, mini M&M’s, chocolate chips, butterscotch chips, what’s not to like? They are loaded with so much good stuff, there’s only 1/2 cup of flour in the whole recipe!!

Now that Christmas is over, instead of red and green M&M’s, you could use pink and red for Valentine’s Day, pastels for Easter, red, white and blue for the 4th of July… you get the idea.

Feel free to add in any of your favorite additions like white chocolate chips, milk chocolate, raisins, etc. to make them your very own. I will say, they are pretty much perfect just as the recipe states below. 🙂

monster cookies

santa
Harper met Santa for the first time. The picture doesn’t do it justice because she was actually smiling! Not a single tear for this brave girl!

santa
“Hey Santa, can I have a cookie please!”

Enjoy!!

King Arthur Flour Monster Cookies
Prep time:
Cook time:
Total time:
Serves: 26 large (4 1/2-inch) cookies
Source: The King Arthur Flour Cookie Companion cookbook
Ingredients
  • 3 large eggs
  • 1 cup (8 oz) brown sugar
  • 1 cup (7 oz) granulated sugar
  • 1 tsp. vanilla extract
  • 1 tsp. corn syrup
  • 2 tsp. baking soda
  • 1 tsp. salt
  • 1/2 cup (1 stick, 4 oz) unsalted butter, melted
  • 1 1/2 cups (14 1/4 oz) chunky peanut butter (don’t use organic, use the regular kind)
  • 4 1/2 cups (15 3/4 oz) rolled oats
  • 1/2 cup (2 oz) unbleached all-purpose flour
  • 3/4 cup (4 1/2 oz) chocolate chips
  • 3/4 cup (4 1/2 oz) butterscotch chips
  • 3/4 cup (5 1/2 oz) mini M&M’s*
Instructions
  1. Preheat oven to 350 degrees F. Lightly grease (or line with parchment) two baking sheets.
  2. In a large mixing bowl, combine the eggs, sugars, vanilla, corn syrup, baking soda, and salt. Stir in the melted butter, then the peanut butter, oats, and flour, mixing until thoroughly combined. Stir in the chips and M&M’s.
  3. Let the dough rest for 30 minutes so the oats can absorb some of the butter.
  4. Drop the dough by 1/4-cupfuls onto prepared baking sheets. Use your fingers to flatten the cookies slightly then bake them for 12 minutes, until they’re a light golden brown. Remove them from the oven and cool on a rack.
Notes
*Use mini M&M’s. If you can’t find mini M&M’s, substitute 3/4 cup (4 1/2 oz) regular M&M’s.