Maple Pecan Banana Bread

maple pecan banana bread

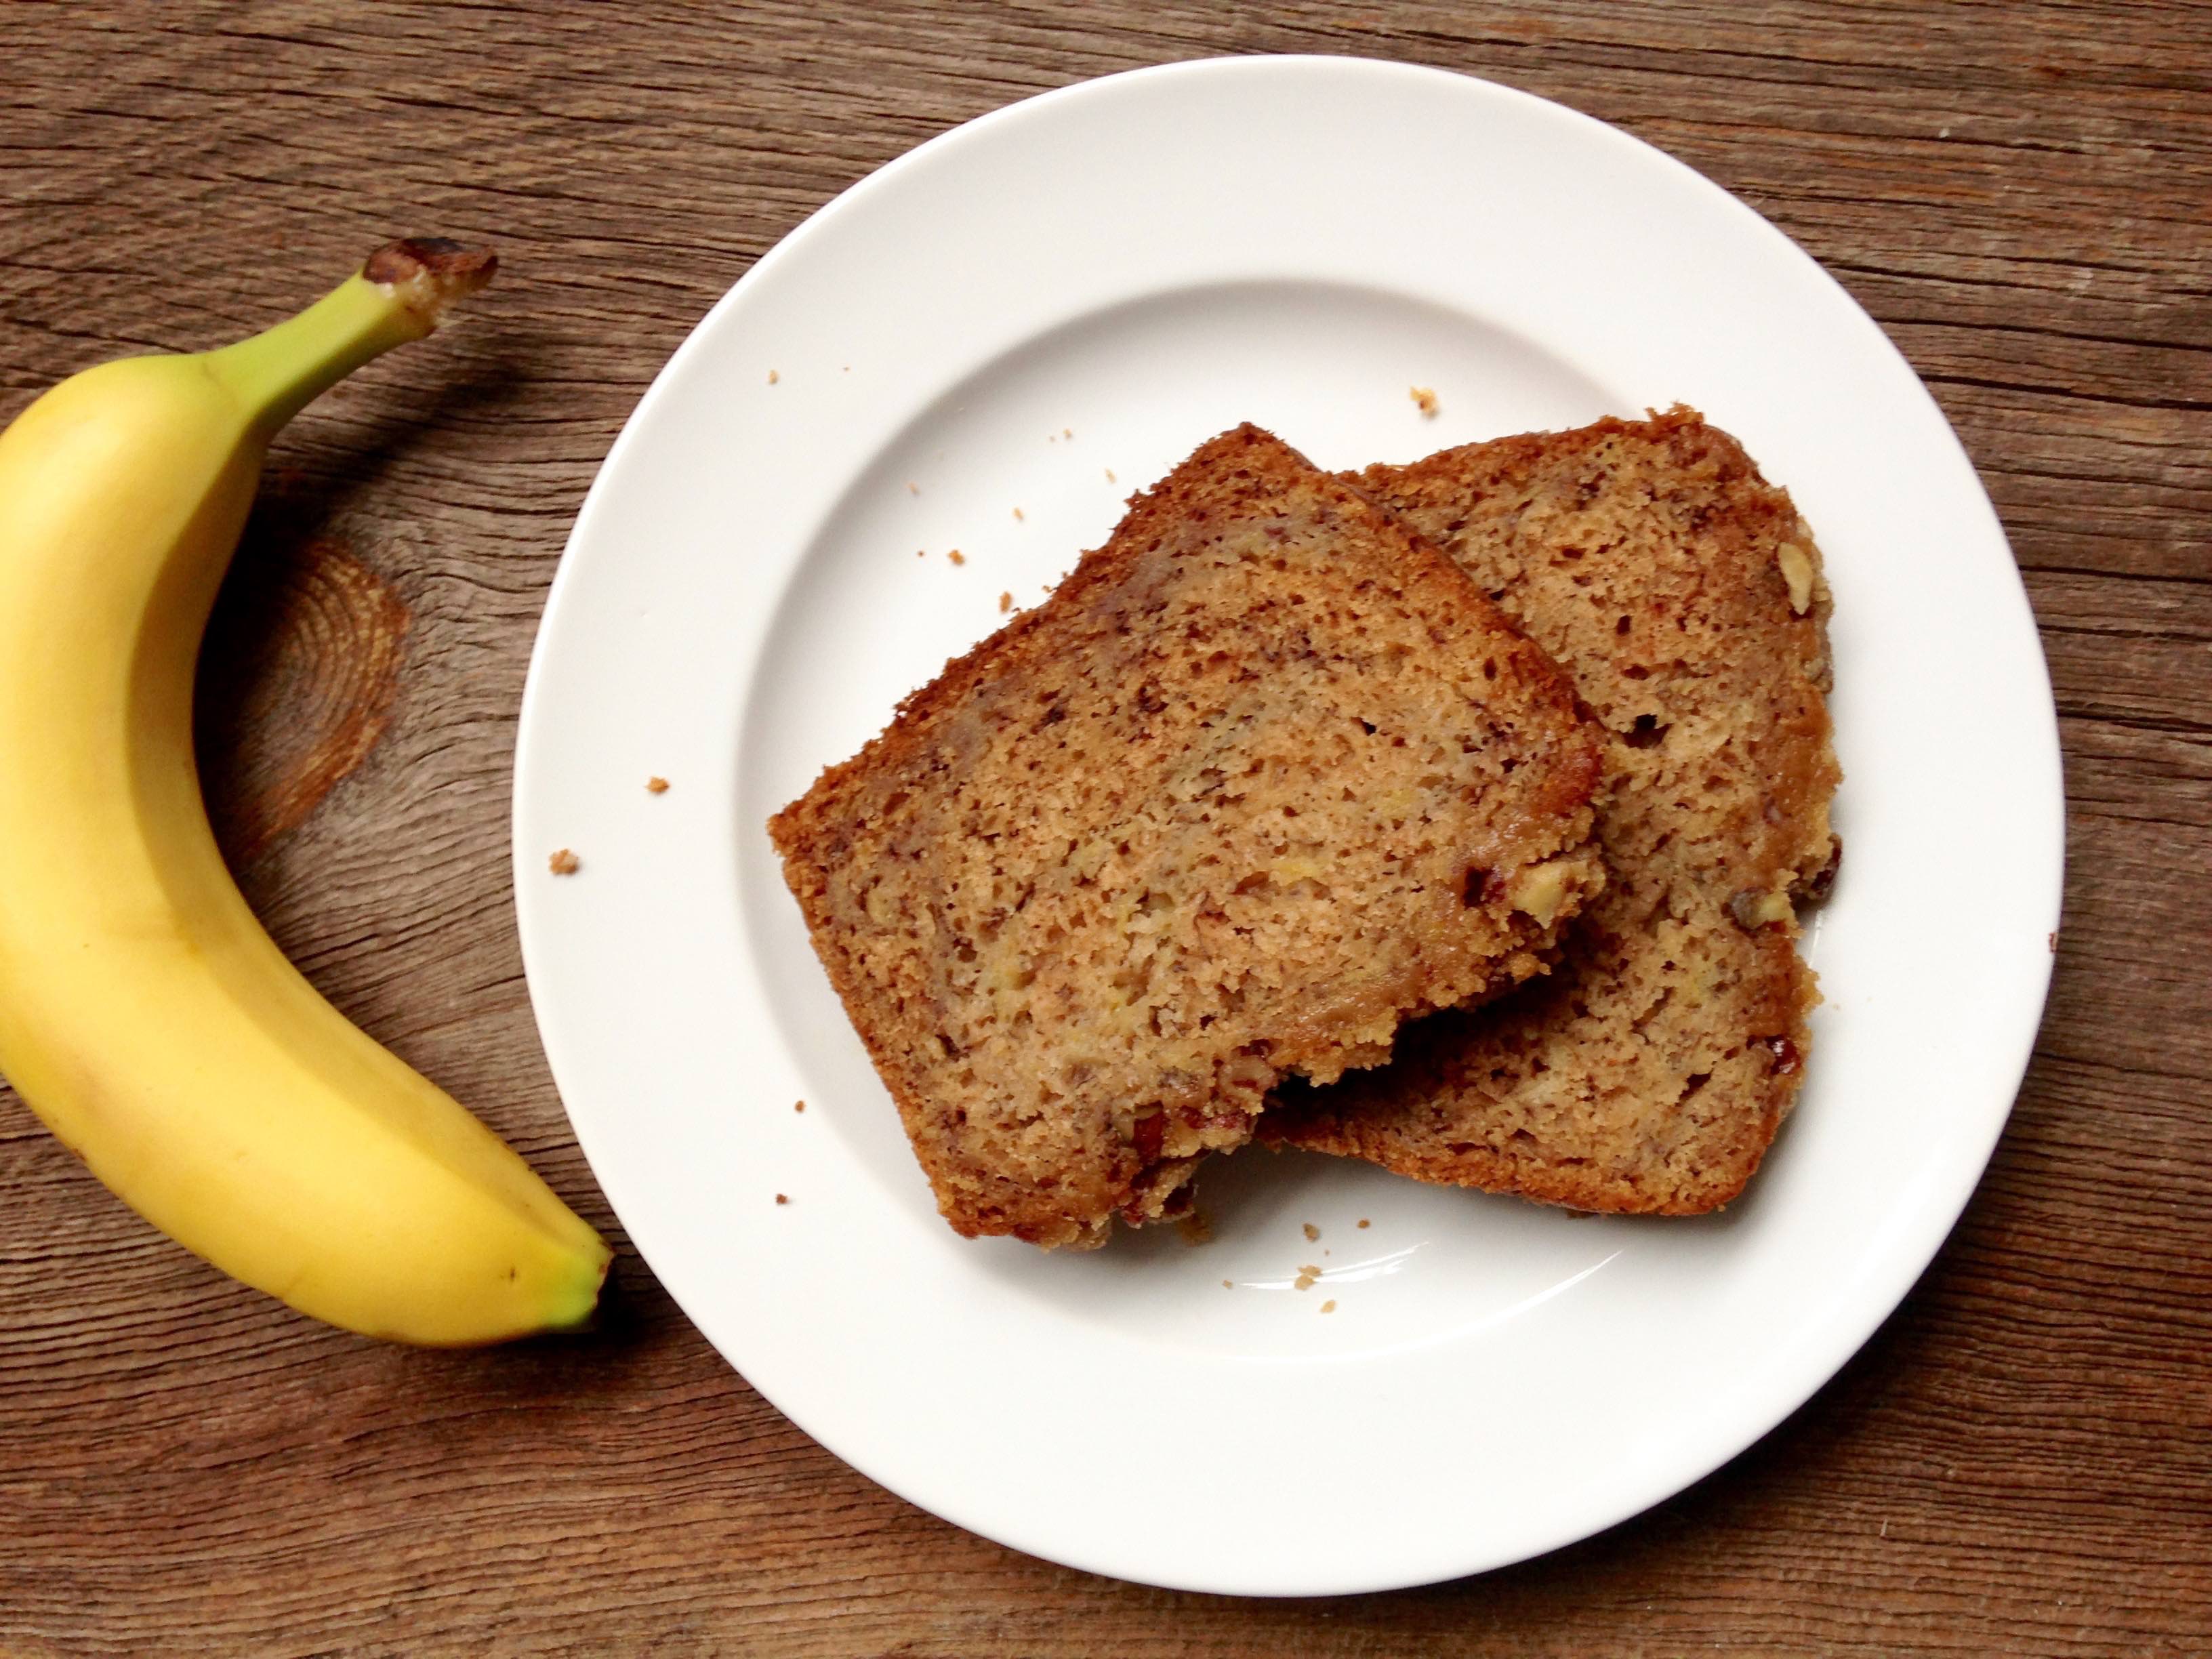
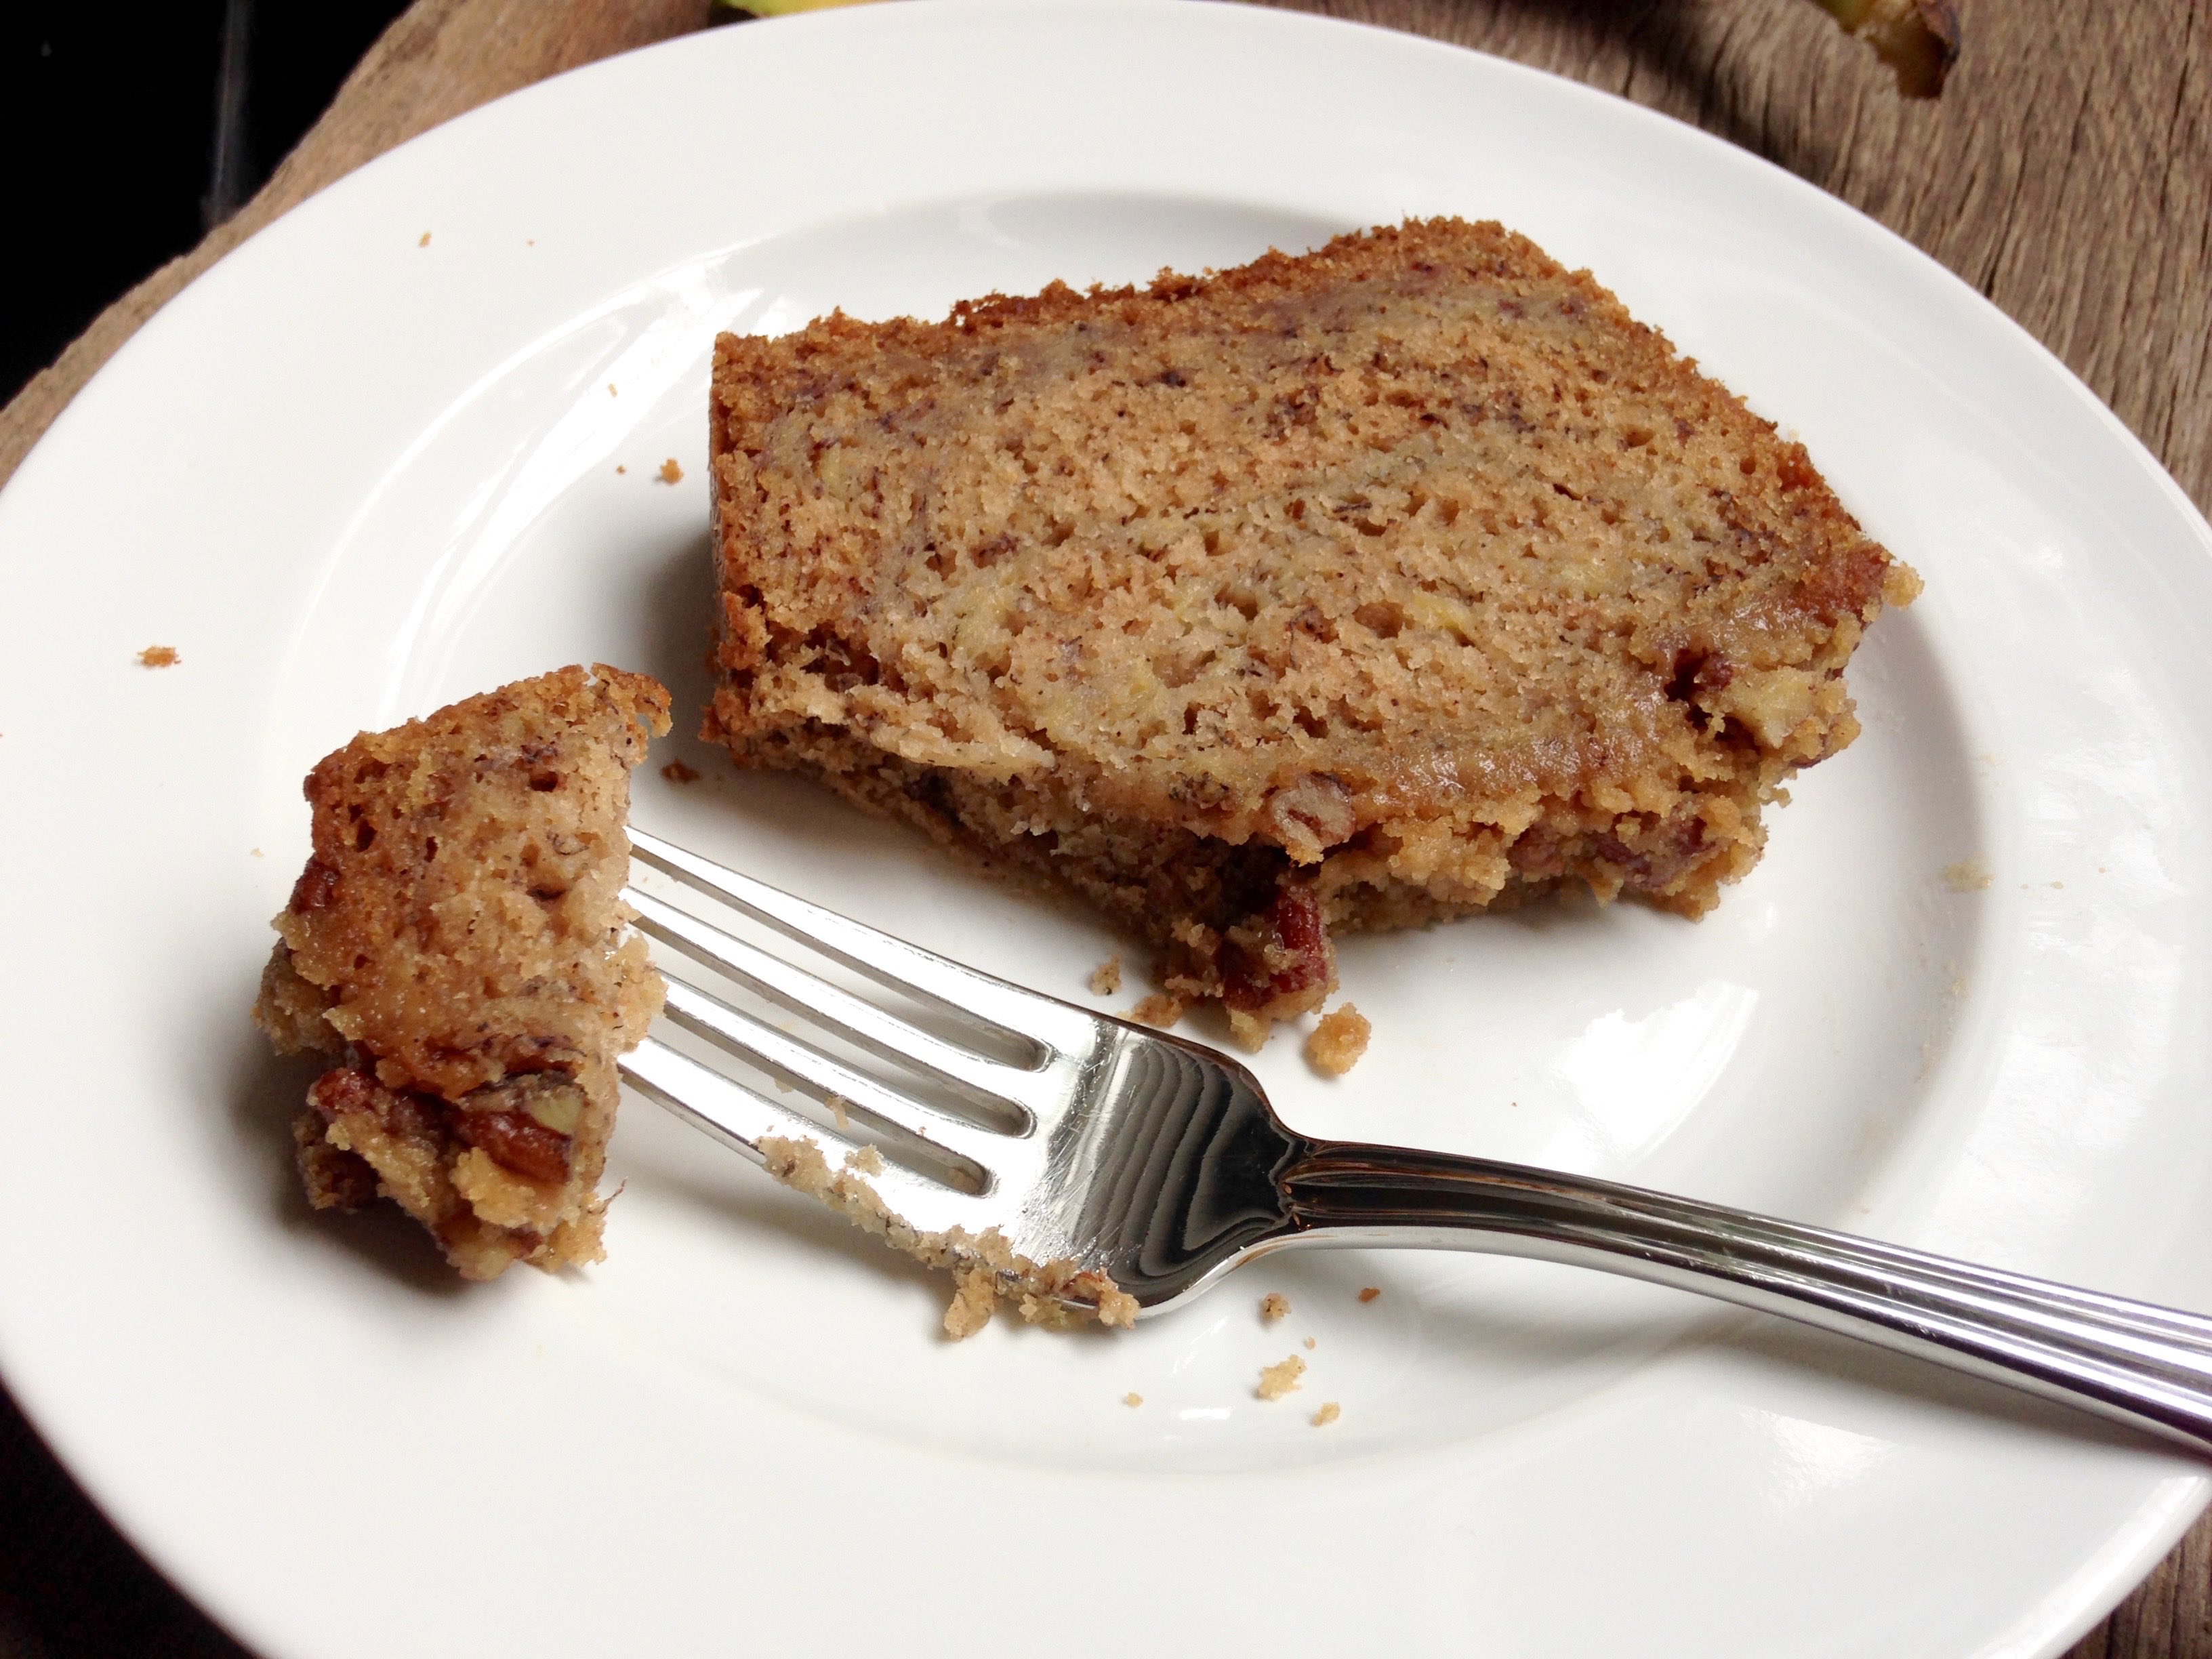
If you’re looking for a super sweet banana bread recipe, look no further than this one. Between the maple syrup and maple pecan topping, this bread is sure to satisfy your sweet tooth.

Or if you’re Harper, nothing can satisfy a sweet tooth as much as a donut hole can! Every Sunday our church has donuts in the kitchen and Matt and Harper go get some after church service. Each Sunday she seems to be eating more.

I remember when she was only a few months, I found out Matt gave her a couple of licks. Then it became a few bites. Then it became a whole donut hole. Then two. Then three. Today she ate THREE AND A HALF donut holes!! Don’t worry, she washed it down with a cup of milk. Lol.

toddler and donut

So as I said, this maple pecan banana bread may not be as sweet as a donut, but it’s pretty good. The crumb topping is the best part. To satisfy my sweet tooth, I might just eat the topping of the bread, and leave the bottom part for later.

Haha. Enjoy!

maple pecan banana bread maple pecan banana bread


Maple Pecan Banana Bread
Prep time:
Cook time:
Total time:
Serves: 12
Source: Tutti Dolci
Ingredients
  • BREAD
  • 1 1/2 cups flour
  • 1/4 cup white whole wheat flour
  • 1 tsp. baking powder
  • 1 tsp. baking soda
  • 1/2 tsp. salt
  • 1 tsp. cinnamon
  • 1/8 tsp. nutmeg
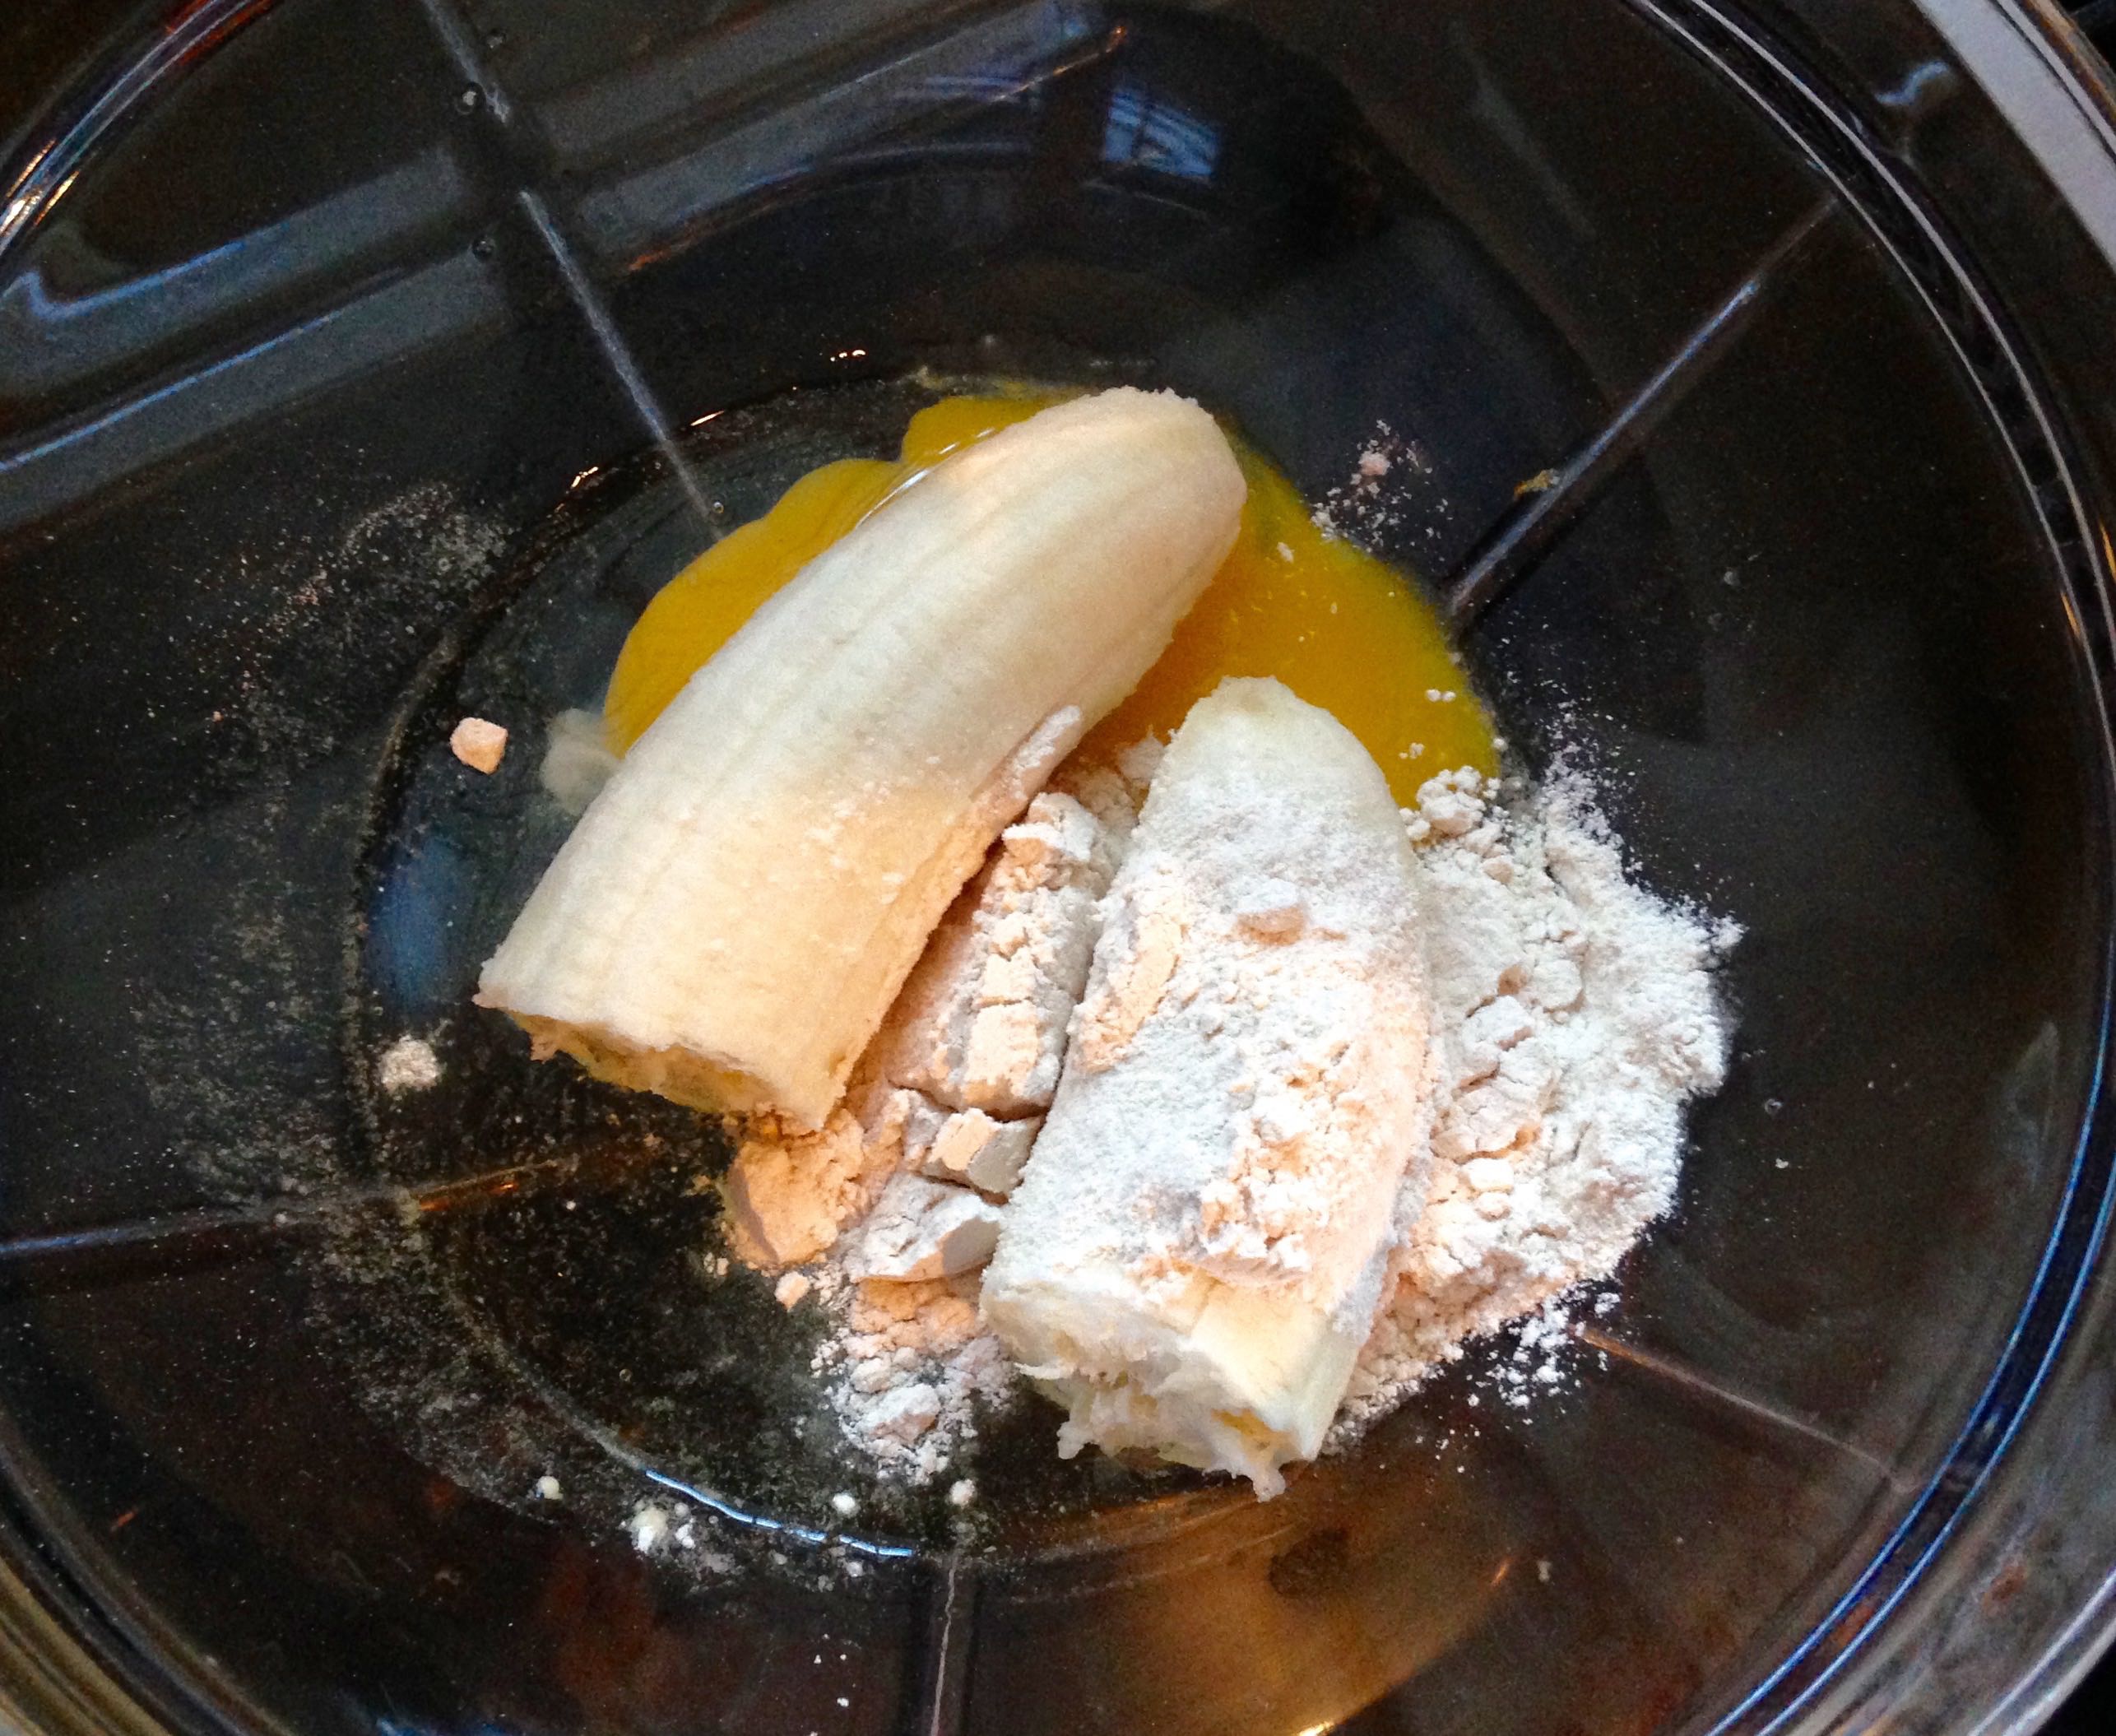
  • 1 1/2 cups mashed banana
  • 1/3 cups maple syrup
  • 3 Tbsp. maple sugar
  • 1/4 cup coconut oil, melted and slightly cooled
  • 1/2 cup low-fat buttermilk, at room temperature
  • 1 large egg, at room temperature
  • 1 tsp. vanilla extract
  • MAPLE PECAN TOPPING
  • 1/3 cup pecans, halved
  • 3 Tbsp. maple sugar
  • 3 Tbsp. flour
  • pinch of cinnamon
  • 1 1/2 Tbsp. coconut oil, melted
Instructions
  1. Preheat oven to 350 degrees F and spray a 9×5-inch loaf pan with nonstick spray.
  2. FOR THE BREAD: Whisk together flours, baking powder, baking soda, salt, cinnamon, and nutmeg in a large bowl. Make a well in the center of the mixture.
  3. Combine banana, maple syrup, maple sugar, coconut oil, buttermilk, egg, and vanilla in a medium bowl; add to flour mixture and fold in just until combined. Spoon batter into prepared pan and smooth top with an offset spatula.
  4. FOR THE TOPPING: Combine pecans, maple sugar, flour, and cinnamon in a small bowl. Add coconut oil and toss mixture with a fork until crumbly.
  5. Sprinkle over batter and bake for 30 minutes; rotate pan and cover with foil to prevent over browning. Continue baking another 31 to 33 minutes. Bread is done when golden and a toothpick inserted in the center comes out clean or with a few moist crumbs attached. Cool in pan on a wire rack for 15 minutes; carefully remove bread from pan and cool completely before slicing and serving. Store leftovers in an airtight container at room temperature up to 2 days.
Serving size: 1 Calories: 225


Playground Granola Bars

Playground granola barsI guess what they say is true about picky toddlers. One day Harper will eat something, and the next day she won’t touch it. Her tastes and what she likes and doesn’t like changes on a daily basis.

One thing is for sure, and that is Harper LOVES sweets! Uh-oh!!!

I also feel like she loves processed foods, but who doesn’t? As a general rule, I try to give Harper fresh fruit, veggies, and home-cooked meals that Matt and I will eat. However, that’s not to say that she hasn’t been slipped a bite of donut or processed granola bar or cracker on occasion.

For snack time, I usually spoon-feed Harper some greek yogurt and give her fresh berries that she can pick up herself. While I was giving her a snack yesterday, I was eating a kids Clif Zbar (I know I’m not a kid, but they are good!) Harper pointed and grunted to the bar, saying “Give me some Mom!” (if she could talk). I ended up sharing some of my Zbar and Harper loved it.

Playground granola bars
Mix ingredients together with your hands.

With that said, I want to limit processed foods with her as much as possible, so that’s why I created these playground granola bars. It’s a recipe I came up with 100 percent on my own, and they are really tasty!

They are great because they are freshly made, and have 2 whole cups of rolled oats, 1/2 cup wheat germ, whole wheat flour, and unsweetened applesauce.

I may experiment with cutting out the brown sugar next time and substituting maple syrup. Or I might cut sugar completely and maybe use some cinnamon applesauce. The possibilities are endless!

Feel free to also add in raisins or chocolate chips. For a fall treat, add some pumpkin puree and pumpkin spice instead of cinnamon. Be creative!

Playground granola bars
Pat into an aluminum foil-lined 9×13-inch pan.
Playground granola bars
Bake for 20 minutes at 350 degrees. Let cool and cut into bars.

Playground granola bars playgroundWhile Harper hasn’t shared any of these granola bars with her playground friends, we plan on doing so in the future!

Enjoy.

Playground Granola Bars
Prep time:
Cook time:
Total time:
Serves: 12
Ingredients
  • 2 cups rolled oats
  • 1/2 cup packed brown sugar
  • 1/2 cup wheat germ
  • 1 cup whole wheat pastry flour
  • 3/4 tsp. ground cinnamon
  • 3/4 tsp. salt
  • 1/2 cup honey
  • 1/2 cup plain, unsweetened applesauce
  • 1 egg, beaten
  • 1/2 cup vegetable oil
  • 1 tsp. vanilla extract
Instructions
  1. Preheat oven to 350 degrees F. (If using convection oven, decrease the temperature to 325 degrees F.) Line a 9×13 in pan with aluminum foil and spray with nonstick spray.
  2. In a large bowl, mix together the oats, brown sugar, wheat germ, flour, cinnamon and salt. Make a well in the center and pour in the honey, applesauce, egg, oil, and vanilla. Mix well using your hands.
  3. Pat the mixture evenly into the prepared pan. Bake for 20 minutes or until the bars begin to turn golden at the edges. Cool for 5 minutes, then cut into bars.


3 Ingredient Whole Wheat Banana Pancakes

3 ingredient whole wheat banana pancakes

These aren’t your traditional pancakes like the ones you’d expect from an iHOP or somewhere similar. Instead they are healthy pancakes packed with 10g of protein. Even better, they serve one person and contain just three ingredients:

  1. a banana
  2. flour
  3. an egg

Seriously, can a pancake recipe get any easier than this and NOT be from a box? Win-win for sure!

As I said, these are not your typical pancakes, so don’t expect them to taste like regular ones. With that said, they are still good. The texture and taste kind of remind me of the sweet, eggy-inside of french toast. They are denser, and not as fluffy or billowy like the boxed version.

3 ingredient whole wheat banana pancakes
Combine banana, flour and egg. Make sure the banana is completely mashed.
3 ingredient whole wheat banana pancakes
Heat a griddle to medium-high with a little coconut oil (it’s a much healthier option than vegetable oil) and cook pancakes for about 2 minute on each side.
3 ingredient whole wheat banana pancakes
Top with fresh blueberries, flaxseed, and pure maple syrup, if desired.

These three-ingredient pancakes also get the stamp of “kid-approved”. While they aren’t Harper’s favorite pancake recipe (these banana protein pancakes are her favorite), she still enjoyed them.

If desired, top your pancakes with a little little wheat germ, flaxseed, fresh berries and pure maple syrup. Or top with a pat of butter if you just don’t care. 🙂

halloween baby
Harper taking in the pretty fall weather.

Enjoy!

3 Ingredient Whole Wheat Banana Pancakes
Prep time:
Cook time:
Total time:
Serves: 1
Source: Cooking Light
Ingredients
  • 1 medium ripe banana
  • 1 egg, lightly beaten
  • 2 Tbsp. whole wheat flour
Instructions
  1. Mash banana with a fork until smooth. Add flour and egg; stir well with a whisk.
  2. Heat a few teaspoons of coconut oil in a large skillet or griddle over medium-high heat. Spoon pancake batter onto skillet, using one third of batter for each pancake. Cook 2 minutes or until tops are covered with bubbles and edges look cooked. Carefully turn pancakes over; cook 1 to 2 minutes or until bottoms are lightly browned.
Serving size: 1 Calories: 228 Fat: 5.5g Carbohydrates: 38g Sodium: 72mg Fiber: 5g Protein: 10g Cholesterol: 186mg


Healthy Lasagna with Turkey, Pesto and Peppers

healthy turkey lasagna

Let me first preface this post by saying that not everyone will like this lasagna. If you grew up like my husband and his family with down-home, butter-filled cooking, you definitely won’t like this healthy turkey lasagna, because for starters it has turkey instead of ground beef.

Meat and potatoes people, you can just skip this post, and instead visit my one for traditional lasagna (also called The World’s Best Lasagna) here.

HOWEVER, if you’re like my family and me, and don’t mind trying new foods or eating healthy, this is probably the healthiest lasagna you’ll ever make; and it doesn’t taste like cardboard. Yay!

What makes it so healthy you ask? You ought to get an idea just by scrolling through the colorful pictures.

healthy turkey lasagna

For one, whole wheat lasagna noodles are used instead of traditional white ones. Lean ground turkey is used instead of ground beef. There are THREE bell peppers – yellow, red, and orange – all of which pack the most nutrients and vitamin A.

We also used basil and low fat ricotta cheese. Marinara sauce is already low it fat, and instead of mozzarella, this recipe uses Parmesan cheese.

I seriously don’t feel bad pigging out on this colorful lasagna. Feed your body the good stuff this time! #cleaneating

healthy turkey lasagna

healthy turkey lasagna

healthy turkey lasagna

healthy turkey lasagna

healthy turkey lasagna

healthy turkey lasagna

healthy turkey lasagna

baby

How can you not smile by looking at that sweet face? 🙂 Enjoy!

Healthy Lasagna with Turkey, Pesto and Peppers
Prep time:
Cook time:
Total time:
Serves: 10
Adapted from: Cookin Canuck
Ingredients
  • 1 package (14 oz.) whole wheat lasagna noodles
  • 2 tsp. olive oil, divided
  • 1/2 yellow onion, diced
  • 2 cloves garlic, minced
  • 1 1/2 lbs. ground turkey
  • 1/2 tsp. kosher salt
  • 1/2 tsp. freshly ground black pepper
  • 1/2 tsp. dried chile flakes
  • 1 red bell pepper, diced
  • 1 yellow bell pepper, diced
  • 1 orange bell pepper, diced
  • 15 oz. low fat ricotta cheese
  • 6 Tbsp. pesto
  • 5 cups marinara sauce (your favorite kind)
  • 2/3 cup finely grated Parmesan cheese
  • 8 basil leaves, thinly sliced
Instructions
  1. Preheat oven to 350 degrees F.
  2. Prepare lasagna noodles per package instructions, rinse with cold water and lay in a single layer on kitchen towels.
  3. Heat 1 teaspoon olive oil in a large skillet set over medium heat. Add onion and cook, stirring occasionally, until onion begins to soften, about 4 minutes. Add garlic and red chile flakes, and cook for 1 minute.
  4. Turn the heat to medium-high and add ground turkey meat. Cook, breaking up the turkey meat with a wooden spoon. Season with salt and pepper. Pour off and discard juices. Transfer the onion/turkey meat mixture to a bowl and set aside.
  5. Warm 1 teaspoon olive oil to the same skillet, set over medium heat. Add diced bell peppers and cook until beginning to soften.
  6. Mix ricotta cheese and pesto.
  7. Spread 1 cup of the marinara sauce in the bottom of a 9×13-inch baking dish.
  8. Lay a few lasagna noodles in a single layer, slightly overlapping, over top of the sauce. When fitting in the lasagna noodles, it may be necessary to cut some in half lengthwise or crosswise so that they fit properly.
  9. Spread 1/3 of the ricotta cheese mixture over the noodles. Top with 1/3 of the turkey mixture, 1/3 of the pepper mixture, 1/3 of the sliced basil, and additional 1 cup of marinara sauce and 1/4 of the Parmesan cheese.
  10. Repeat these layers 2 more times, starting with the lasagna noodles. End with an additional layer of lasagna noodles and the remaining marinara sauce and Parmesan cheese.
  11. Cover with foil and cook until the lasagna is bubbling, 55 to 60 minutes. Remove the foil and bake for an additional 10 minutes, or until the cheese on top is melted and just beginning to brown.
  12. Let rest for 10 minutes, cut into squares and serve.
Serving size: 1/10 Calories: 386 Fat: 14 Saturated fat: 4.3 Carbohydrates: 37.7 Sugar: .5 Sodium: 1066.6 Fiber: 5.5 Protein: 27.8


Spicy Spaghetti with Beef & Vegetables

Spicy Spaghetti with Beef & Vegetables

While the pictures I took don’t do it justice, this is the perfect pasta recipe to make this summer. Loaded with freshly picked cherry tomatoes from our garden and diced zucchini, you can’t get much healthier than this twist on the traditional spaghetti with bolognese sauce.

Our family likes to eat healthy, buy organic, and cut out as much processed foods as we can. This day and age, our meat is injected with hormones, and our produce is sprayed with insecticide and chemicals; it’s just downright scary.

I used to buy the jarred marinara sauce to make my spaghetti sauce, but the more and more I ate it, it tasted sugary and somewhat “old”. I’ve been making my own meat sauce using The Meat Ball Shop’s classic tomato sauce recipe and I’ll never go back.

This is another great recipe for homemade meat sauce from Taking on Magazines blog, but  it has a bit of heat from the red pepper flakes, and is loaded healthy summer vegetables.

IMG_7541 Spicy Spaghetti with Beef & Vegetables

If Harper could eat adult food, she’d give it two thumbs up! lol. Enjoy!

baby

Spicy Spaghetti with Beef & Vegetables
Prep time:
Cook time:
Total time:
Serves: 6
Source: Ground Beef Cooking 2015
Ingredients
  • 8 ounces dry spaghetti, uncooked
  • 1/2 pound ground lean sirloin beef
  • 1/4 cup chopped onion
  • 1 can (15 oz) tomato sauce
  • 1 Tbsp. red wine vinegar
  • 1 tsp. Italian seasoning
  • 1/2 tsp. granulated sugar
  • 1 clove minced garlic
  • 1/4 tsp. crushed red pepper flakes
  • 1 medium zucchini, thinly sliced (1 med = about 1 cup)
  • 2 medium tomatoes, seeded, chopped (2 med = about 1 cup)
  • 3 Tbsp. chopped fresh parsley
Instructions
  1. Cook pasta according to package directions, omitting salt. Drain; set aside.
  2. Combine meat and onions in medium nonstick skillet. Cook over medium heat 4 to 5 minutes, or until meat is no longer pink; stirring frequently. Drain, if necessary.
  3. Stir in tomato sauce, vinegar, Italian seasoning, sugar, garlic and red pepper. Cook 3-4 minutes, or until heated through, stirring occasionally.
  4. Add pasta and zucchini; mix well. Cook 2-3 minutes, or until heated through, stirring occasionally. Stir in tomatoes and parsley; heat through.


Cherry Orange LARA Power Balls

Cherry Orange LARA Power Balls

I love protein/power ball recipes. They are almost always no-bake, easy recipes that are a whole lot healthier than the prepackaged stuff you buy at the grocery store. Plus, all the ingredients are all-natural… you know what’s going in them….  so there’s no preserves. 🙂

These taste just like the LARABARs you find at the store. Feel free to make substitutions for different flavor combinations. For example, instead dried cherries, use dried blueberries, appricots or cranberries. Instead of peanuts, use cashews. Just make sure you use the same ratio of fruit/date mixture to nut mixture.

My next combo will be “blueberry muffin” with dates, dried blueberries, cashews, and lemon zest. Yum! Or you could do a “PB&J” version with dates, fresh cherries, peanuts, and 1-2 tablespoons of creamy peanut butter. The flavors are endless!

Let me know your favorite and enjoy!

Cherry Orange LARA Power Balls
Process your dates and cherries in a food processor.
Cherry Orange LARA Power Balls
Remove the dates and cherries, and process the nuts.
Cherry Orange LARA Power Balls
Combine all ingredients together in a bowl.
 Cherry Orange LARA Power Balls
Press together with your hands and roll into one inch balls.

Cherry Orange LARA Power BallsCherry Orange LARA Power Balls

baby
One of my favorite pictures. She loves to swing!


Cherry Orange LARA Power Balls
Prep time:
Total time:
Serves: 15-20 balls
Ingredients
  • 1/2 cup dried cherries
  • 1/2 cup seedless/pitted whole dates
  • 1 cup peanuts
  • 1 tsp. finely grated orange zest
  • 1/2 tsp. cinnamon
Instructions
  1. Place the dates and cherries in a food processor. Blend until it becomes like a paste. Transfer the blended dates and cherries to a bowl.
  2. Add the nuts to the food processor and pulse until chopped fairly small (but not too much, not nut flour. You want texture). Add the nuts, along with the cinnamon and orange zest to the fruit paste. Use your fingers to knead the nuts into the paste.
  3. Roll into one-inch balls or you can mold them into individual bars wrapped in cling wrap. Refrigerate the balls after making to maintain freshness and let the form set. If you find your Lara bars are a bit crumbly add a few tablespoons of warm water and process again.


Whole Grain Morning Glory Muffins

Whole grain morning glory muffins

Good morning!! If you’re looking for a healthy muffin with EVERYTHING in it, you’ve met your match.

My sister found this recipe via Cookie Monster Cooking for these hearty whole grain morning glory muffins and we all just fell in love with them. Brittany lives a lifestyle of eating wholesome ingredients and zero processed foods, and these passed her test!

Honestly I can say that these are the best tasting “healthy” muffin I’ve ever eaten. Loaded with shredded carrots, grated apple, coconut oil, pure maple syrup and honey for sweetness, cinnamon, ginger and nutmeg for flavor, unsweetened coconut, walnuts, and raisins; these muffins aren’t lacking in the ingredient list.

While they are a bit time intensive to shred the carrots, grate the apple, and measure out the long list of ingredients, they are well worth it. Feel free to double the recipe and freeze some for later; they still taste delicious.

Enjoy!

Whole grain morning glory muffins

Whole grain morning glory muffins

Whole grain morning glory muffins

Whole Grain Morning Glory Muffins
Prep time:
Cook time:
Total time:
Serves: 12
Source: Cookie Monster Cooking
Ingredients
  • 1 cup white whole wheat flour
  • 1/4 cup oat bran
  • 1/2 cup all-purpose flour
  • 2 1/2 tsp. baking powder
  • 1/2 tsp. sea salt
  • 3/4 tsp. ground cinnamon
  • 1/4 tsp. ground ginger
  • 1/4 tsp. ground nutmeg
  • 1 large egg
  • 1/3 cup melted coconut oil
  • 2/3 cup milk or almond milk
  • 1/4 cup honey
  • 1/4 cup pure maple syrup
  • 1 1/2 tsp. vanilla extract
  • 1 Tbsp. orange zest
  • 1/2 cup shredded carrot
  • 1/2 cup grated apple
  • 1/2 cup raisins
  • 1/4 cup unsweetened coconut flakes
  • 1/4 cup chopped walnuts, plus more for sprinkling on tops
Instructions
  1. Preheat oven to 375 degrees F. Line a muffin pan with liners. Set aside.
  2. Whisk together the white whole wheat flour, oat bran, all-purpose flour, baking powder, salt, cinnamon, ginger, and nutmeg in a medium bowl. In another medium bowl, whisk together the egg, coconut oil, milk, honey, maple syrup, vanilla extract, and orange zest. Add to the bowl with the dry ingredients and mix until just combined. Gently fold in the carrot, apple, raisins, coconut, and walnuts.
  3. Divide the batter evenly in the prepared muffin tins, filling each about 2/3 to 3/4 of the way full. Sprinkle the tops with additional chopped walnut, if desired.
  4. Bake for about 15-17 minutes, or until toothpick inserted into middle comes out clean. Let cool for about 5 minutes, then remove the muffins to a wire rack to cool completely.


Meatless Mondays: Chickpea and Edamame Salad

Chickpea and Edamame Salad

If you participate in Meatless Mondays (we don’t, but I like the concept), you’ll love this easy to make Chickpea and Edamame Salad.

Last summer my mom discovered an amazingly healthy and conveniently prepackaged Mediterranean Salad called Cedar’s Chickpea Salad at Central Market.

The great thing about this salad is not only is it healthy (it’s packed carrots that loaded with vitamin A, edamame which contains fiber, protein and vitamins, olive oil for healthy fats, and low-fat chickpeas for protein, energy-providing complex carbs and fiber), it’s also goes great with anything!

Serve it as a salad with leafy greens such as arugula, pile it in a pita with shredded chicken, lettuce and hummus, or eat it as a snack with Central Market’s all-natural hummus (Spicy Texas Hummus is my favorite), or with Baked Lentil Chips with sea salt. Yum!!!

IMG_2720
Toast chickpeas with a little olive oil over medium-high heat in a medium-sized skillet.


Since the nearest Central Market is about 20 minutes away, in addition to have to pay a ridiculous amount of tolls, I was only able to get this chickpea salad when I visited my parent’s house on occasion. (Central Market is just 5 minutes from my parent’s house, and with no tolls).

Since I don’t have time to drive so far to a grocery store, I decided to made my own version of Cedar’s Chickpea Salad so I could have it anytime I wanted. Plus, I found out that the homemade version is waaaay cheaper and super simple to make!

IMG_2721
Add the edamame. You can use frozen edamame beans if you wish.


Cedar’s Chickpea Salad is all natural, so it wasn’t very difficult to figure out the ingredients I needed to make this salad. “A fresh blend of chickpeas, edamame beans, red and green peppers, carrots, a sweet touch of dried cranberries, and dressed lightly with olive oil and spices”, was the description according to Cedar’s packaging.  I could definitely make this!

While my recipe omits the green and red bell peppers, I have pretty much everything else that makes this salad so tasty. I went light on the dressing, only using 2 tablespoons of olive oil. If you want more oil, it’s easy to add and doesn’t involve cooking.

I also added Parmesan cheese, which gives the salad a slightly cheesy and subtle nutty taste that I love.  Italian seasoning was also added, but you could substitute oregano and/or basil if you wish.

IMG_2722
Finely chop the carrots.


After chopping up the carrots, and combining all the ingredients, you are done. Enjoy!!!

Chickpea and Edamame Salad
Once the edamame-chickpea mixture is toasted, combine all the ingredients in a large bowl.
Chickpea and Edamame Salad
Serve immediately or chill in the refrigerator until ready to serve.

Chickpea and Edamame Salad


Chickpea and Edamame Salad
Prep time:
Cook time:
Total time:
Serves: 4
Ingredients
  • 1 (15-ounce) can chickpeas, drained and rinsed
  • 1 cup edamame beans
  • 1/2 cup finely diced carrots
  • 1/4 cup dried cranberries
  • 2 Tbsp. olive oil, divided
  • 2 tsp. Italian seasoning
  • 2 tsp. Parmesan cheese
  • Salt and pepper, to taste
Instructions
  1. Heat a medium-sized skillet with 1 tablespoon of olive oil over medium-high heat. Add chickpeas and edamame. Season with salt and pepper and cook until slightly toasted and chickpeas are golden, about 5 minutes. (You may want to use a splatter screen because the chickpeas will start to pop).
  2. In a large mixing bowl, add chickpea and edamame mixture, carrots, dried cranberries, remaining 1 tablespoon of olive oil and Parmesan cheese.
  3. Serve immediately or chill in the refrigerator until ready to eat.


Cherry and Hazelnut Granola with Clusters

cherry and hazelnut granola with clusters

There’s not really a unique story about this granola other than the fact that homemade granola is one of my biggest weaknesses.

My sister discovered this recipe via The Vintage Mixer not too long ago and made it when she came home from Michigan over the holidays.

Homemade granola is actually super simple to make and well-worth the time, especially over the boxed kind. All you have to do is mix up the ingredients, bake it on a cookie sheet for 40-45 minutes, let it cool, and then break into large clusters or chunks of granola.

It makes for a quick breakfast in the morning served atop plain greek yogurt or simply by itself for a snack.

Enjoy!

syrup in granola
Mix coconut oil, maple syrup, molasses and brown sugar in a pot over medium heat. Stir in vanilla after removing from heat.
granola mixture
Mix together oats, pumpkin seeds, coconut, hazelnuts, cinnamon and salt.
granola mixture
Pour syrup mixture over the oats.
granola before baking
Fold egg whites into the oat mixture and pour out onto the baking sheet.
cherry and hazelnut granola with clusters
Bake at 325 degrees for 40-45 minutes or until golden.
cherry and hazelnut granola with clusters
Let cool completely, break into large clusters, then add in cherries/dried fruit.


Cherry and Hazelnut Granola with Clusters
Prep time:
Cook time:
Total time:
Serves: 5 cups
Adapted from: The Vintage Mixer
Ingredients
  • 3 1/2 cups thick rolled oats
  • 1/4 cup pumpkin seeds
  • 1/2 cup coconut flakes, unsweetened
  • 1 cup hazelnuts, roughly chopped
  • 1 1/2 tsp. cinnamon
  • 1 tsp. sea salt
  • 1/2 cup coconut oil
  • 1/2 cup pure maple syrup
  • 1 Tbsp. molasses
  • 1 Tbsp. brown sugar
  • 2 tsp. vanilla extract
  • 1 egg white
  • 1 cup dried cherries, blueberries or other dried fruit
Instructions
  1. In a pot over medium heat, mix together coconut oil, maple syrup, molasses and brown sugar. Remove from heat and stir in vanilla extract.
  2. Meanwhile, in a large bowl mix together oats, pumpkin seeds, coconut, hazelnuts, cinnamon and salt. Pour the hot oil syrup mixture over the oats. Then, using a whisk, whip the egg white until its frothy. Fold the egg white into the oat mixture.
  3. Line a large baking tray with foil then pour out the oats onto the baking sheets. Bake at 325 degrees for 40-45 minutes or until golden. Don’t stir this during baking or the clusters will break up.
  4. Let cool completely, then add in cherries/dried fruit and store in a large jar.
Notes
The secret to making clusters in your granola is folding in an egg white before cooking, then not stirring the oats during baking. Also, do not toss the granola or break it up until after it has completely cooled.


Lighter Chicken Enchiladas

lighter chicken enchiladas

Homemade enchiladas are one of my favorite dinners. Up until now, my go-to recipe has been aunt Jolene’s sour cream chicken enchiladas, which are outstanding.  However, flour tortillas, Monterey Jack and Cheddar cheese, sour cream, and butter aren’t exactly calorie friendly.

A few weeks ago my sister and mom discovered a new, lightened-up chicken enchiladas recipe that I just had to try.

While there’s no butter or sour cream in these, they definitely do NOT lack flavor.  Two tablespoons of chipotles in adobo (dried chiles from smoked jalapeños) don’t sound like much, you’d be surprised! If you’re not very tolerant of spicy foods, you might want to scrape out the ribs and seeds. With that said, the chipotles in adobo add a wonderfully rich smokey flavor that create an authentic-tasting Tex-Mex chicken enchilada dish.

If you have a Central Market anywhere near you, you MUST try their homemade corn tortillas for these enchiladas. I’m not a huge fan of corn tortillas (I’d take flour over corn any day of the week), but Central Market’s corn tortillas blew me away! Not only are they fresh out of the oven, they are slightly larger than your typical corn tortilla and they don’t crack like the regular pre-packaged ones. I really think these tortillas “made” the dish for me!

Matt loved these lightened-up enchiladas and even liked them better than the sour cream enchiladas I always have made. This recipe tastes more authentic, like something you’d expect from a Mexican or Tex-Mex restaurant, sans the grease. 🙂

Enjoy!

lighter chicken enchiladas
Bake at 400 degrees F for 15-20 minutes.
lighter chicken enchiladas
Serve hot and enjoy immediately.  To brown the cheese a little more, you can set these under the broiler on high for about 30 seconds to 1 minute.


Lighter Chicken Enchiladas
Serves: 4
Source: Martha Stewart
Ingredients
  • Course salt and ground pepper
  • 3 boneless, skinless chicken breast halves (6-8 ounces each)
  • 2 Tbsp. vegetable oil
  • 2 garlic cloves, minced
  • 1/4 cup all-purpose flour
  • 1 tsp. ground cumin
  • 1-2 Tbsp. minced canned chipotles in adobo
  • 1 can (14 1/2 ounces) reduced-sodium chicken broth
  • 8 corn tortillas (6-inch) from Central Market
  • 1/2 cup grated Monterey Jack cheese (2 ounces)
Instructions
  1. In a large skillet with a tight-fitting lid, bring 1 inch salted water to a boil. Add chicken. Cover; reduce heat to medium-low. Simmer 5 minutes; remove skillet from heat. Let chicken steam, covered, until opaque throughout, 12-14 minutes. Transfer chicken to a medium bowl; shred with two forks. Set aside.
  2. While chicken is cooking, make sauce: In a medium saucepan, heat oil over medium. Add garlic; cook until fragrant, 1 minute. Add flour, cumin, and chipotles in adobo; cook, whisking 1 minute.
  3. Whisk in broth and 1/2 cup water; bring to a boil. Reduce to a simmer, and cook, whisking occasionally, until sauce has thickened slightly, 5-8 minutes; season with salt and pepper.
  4. Transfer 1 cup sauce to bowl with chicken; toss to combine.
  5. Preheat oven to 400 degrees F. Pour 1/4 cup sauce into bottom of an 8-inch square baking dish; set aside.
  6. Stack tortillas, and wrap in a double layer of damp paper towels; microwave until hot, about 1 minute.
  7. Fill each tortilla with chicken mixture; roll up tightly, and arrange, seam-side down, in baking dish. Cover with remaining sauce, and top with cheese. Bake until hot and bubbling, 15-20 minutes. Let cool 5 minutes before serving.
Notes
Chipotles in adobo (smoked, dried jalapeños in sauce) are spicy – for less heat, scrape out the ribs and seeds. You’ll find them in the international aisle.