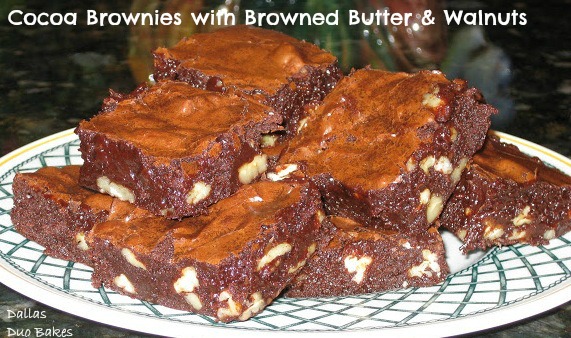
My dad took these brownies to work, and one of his coworkers said, “This is the best brownie I’ve ever eaten!” These Cocoa Brownies with Browned Butter and Walnuts came from the February 2011 issue of Bon Appetit magazine. We definitely agree with their quote that “these are some of the best brownies I’ve ever had — fudgy in the middle, and chewy on the outside with a shiny, crackly top. The browned butter adds a rich, nutty flavor.” In addition, these are super easy to make. The entire recipe is made in just one pan…very easy cleanup if you ask me! The only negative is that these brownies only make enough for an 8-inch square baking pan. If you want more, you’ll have to double the recipe! haha 🙂 Actually maybe this is a good thing…if you are trying to retain some self control in the sweets you eat! Enjoy!
P.S. My husband wants you all to know that these brownies make for a wonderful, on-the-go breakfast! haha 🙂
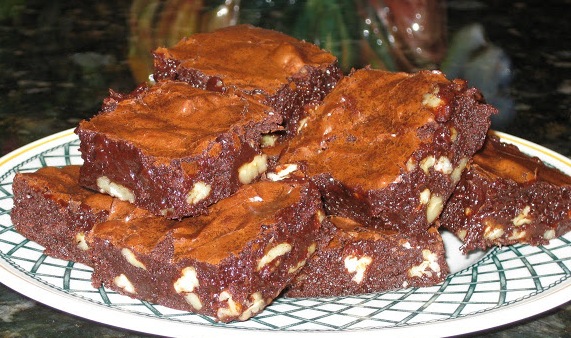
Cocoa Brownies with Browned Butter and Walnuts
Ingredients
Nonstick vegetable oil spray
10 Tbsp. (1 1/4 sticks) unsalted butter, cut into 1-inch pieces
1 1/4 cups sugar
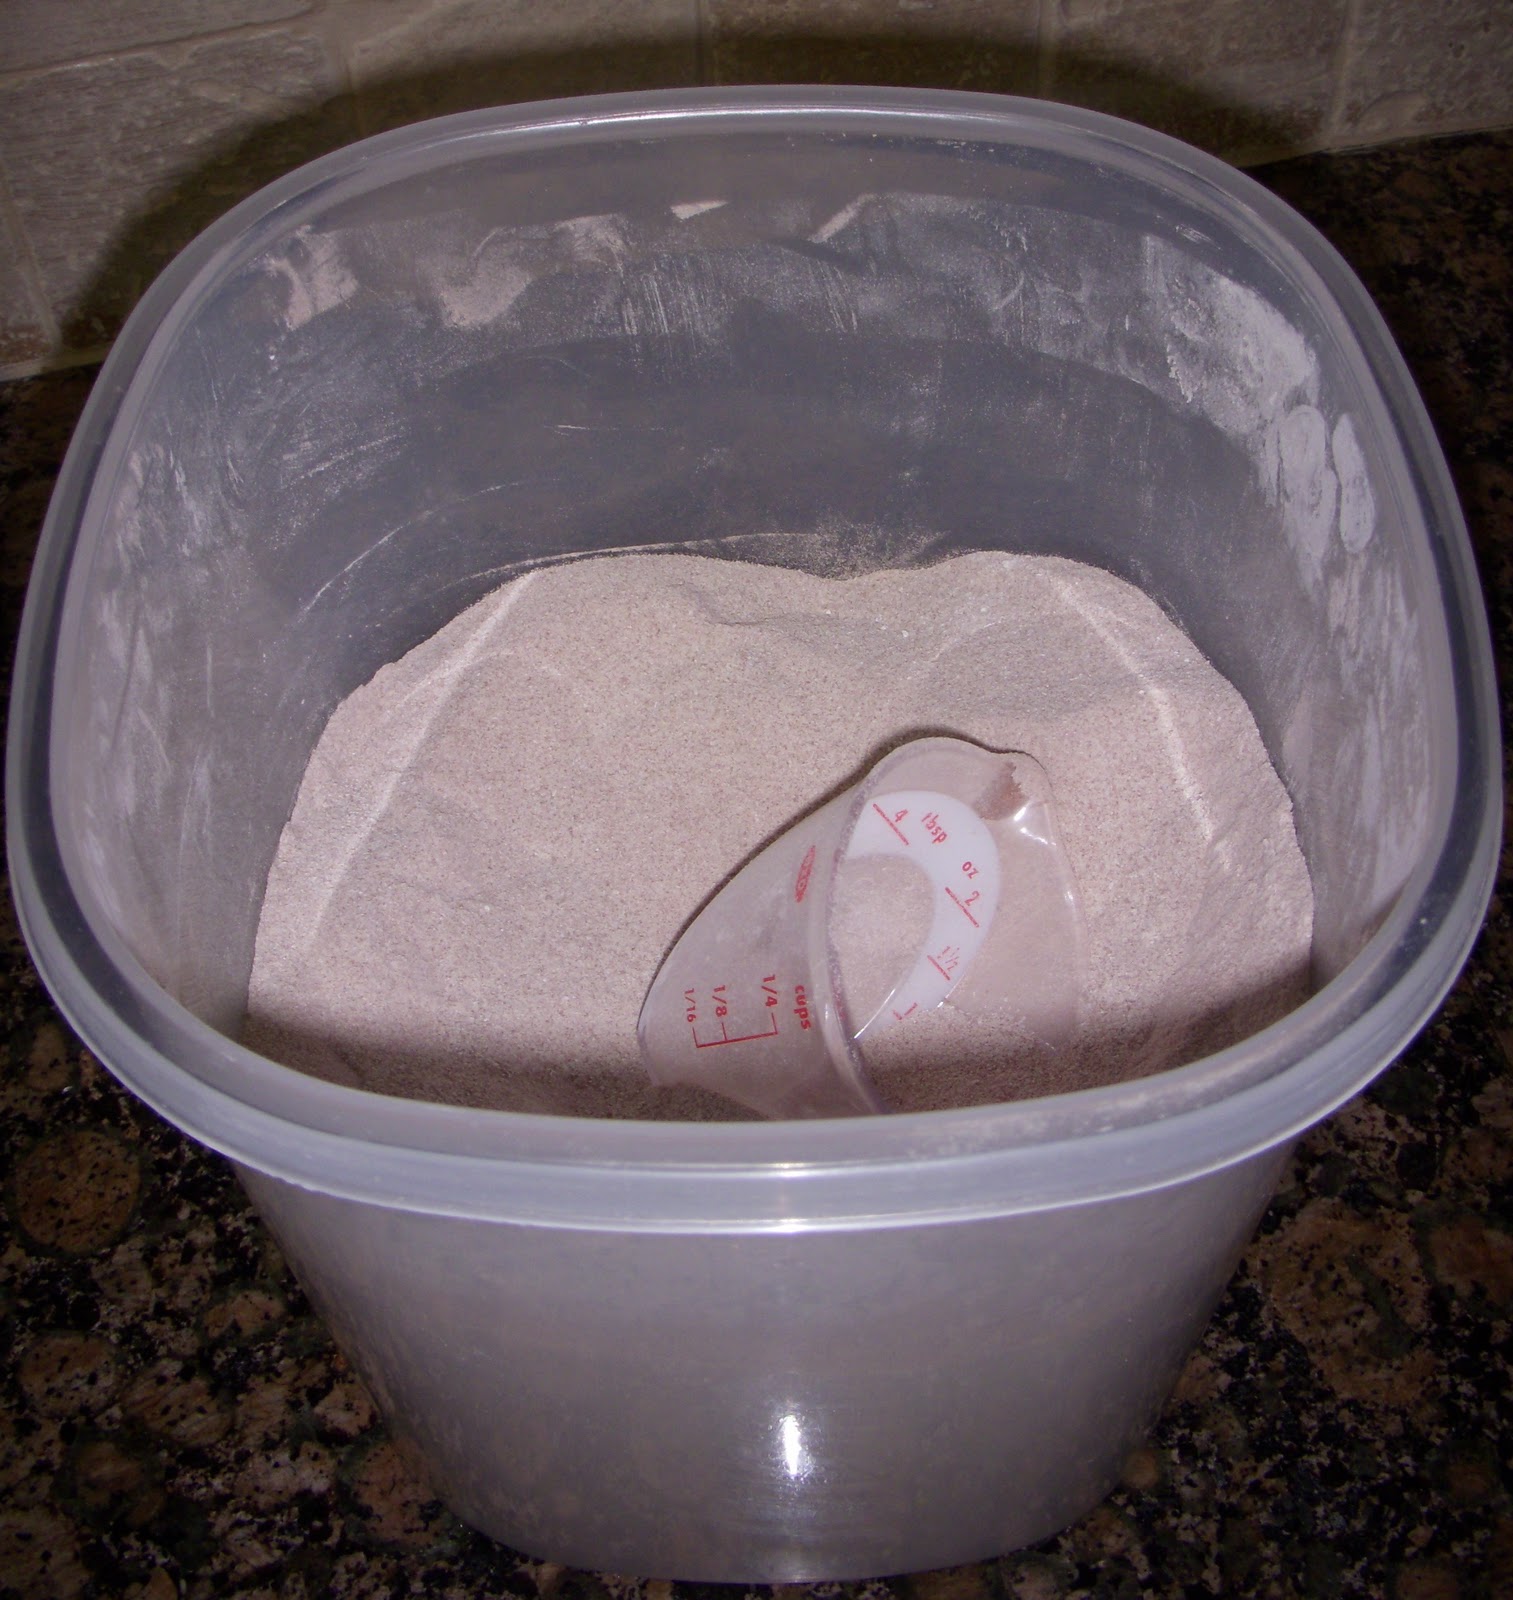
3/4 cup natural unsweetened cocoa powder (spooned into cup to measure, then leveled)
1 tsp. vanilla extract
2 large eggs, chilled
1/3 cup plus 1 Tbsp. unbleached all-purpose flour
1 cup walnut pieces
Directions
1. Position rack in bottom third of oven; preheat to 325 degrees F. Line a 8 x 8 x 2-inch metal baking pan lined with foil, pressing foil firmly against pan sides and leaving 2-inch overhang. Coat foil with nonstick spray.
2. Melt butter in medium saucepan over medium heat. Continue cooking until butter stops foaming and browned bits form at bottom of pan, stirring often, about 5 minutes. Remove from heat; immediately add sugar, cocoa, 2 teaspoons of water, vanilla, and 1/4 teaspoon (generous amount) of salt. Stir to blend. Let cool for 5 minutes (mixture will still be hot).
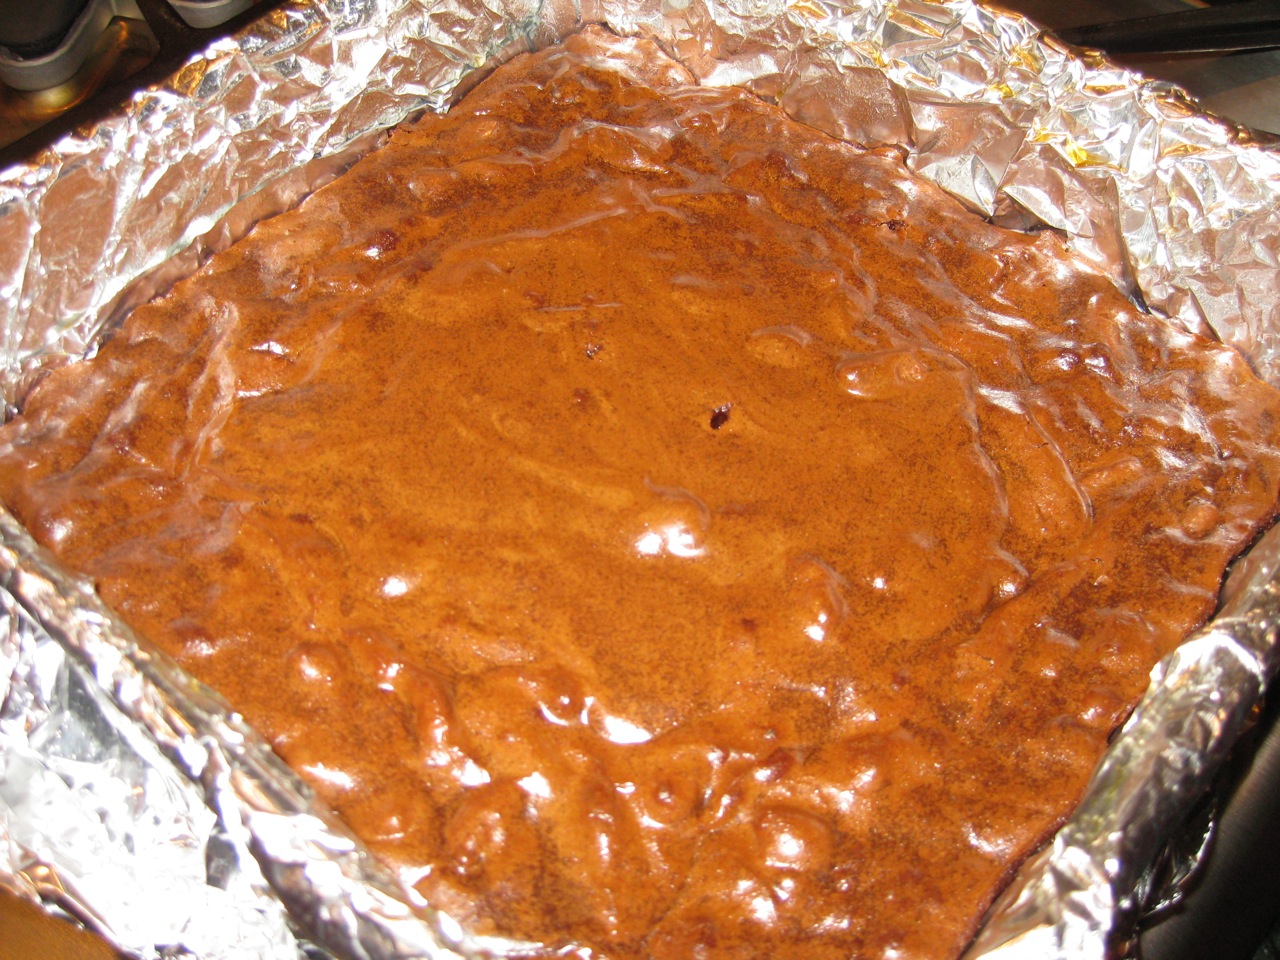
3. Add eggs to hot mixture 1 at a time, beating vigorously to blend after each addition. When mixture looks thick and shiny, add flour and stir until blended. Beat vigorously 60 strokes. Stir in nuts. Transfer batter to prepared pan.
4. Bake brownies until toothpick inserted into center comes out almost clean (with a few moist crumbs attached), about 25 minutes. Cool in pan on rack. Using foil overhang, lift brownies from pan. Cut into 4 strips. Cut each strip crosswise into 4 brownies.
Do ahead: Can be made 2 days ahead. Store airtight at room temperature.
Yield: 16 brownies
Bon Appetit, February 2011