Better-Than-Crack Brownies (Peanut Butter Cup Crunch Brownies)

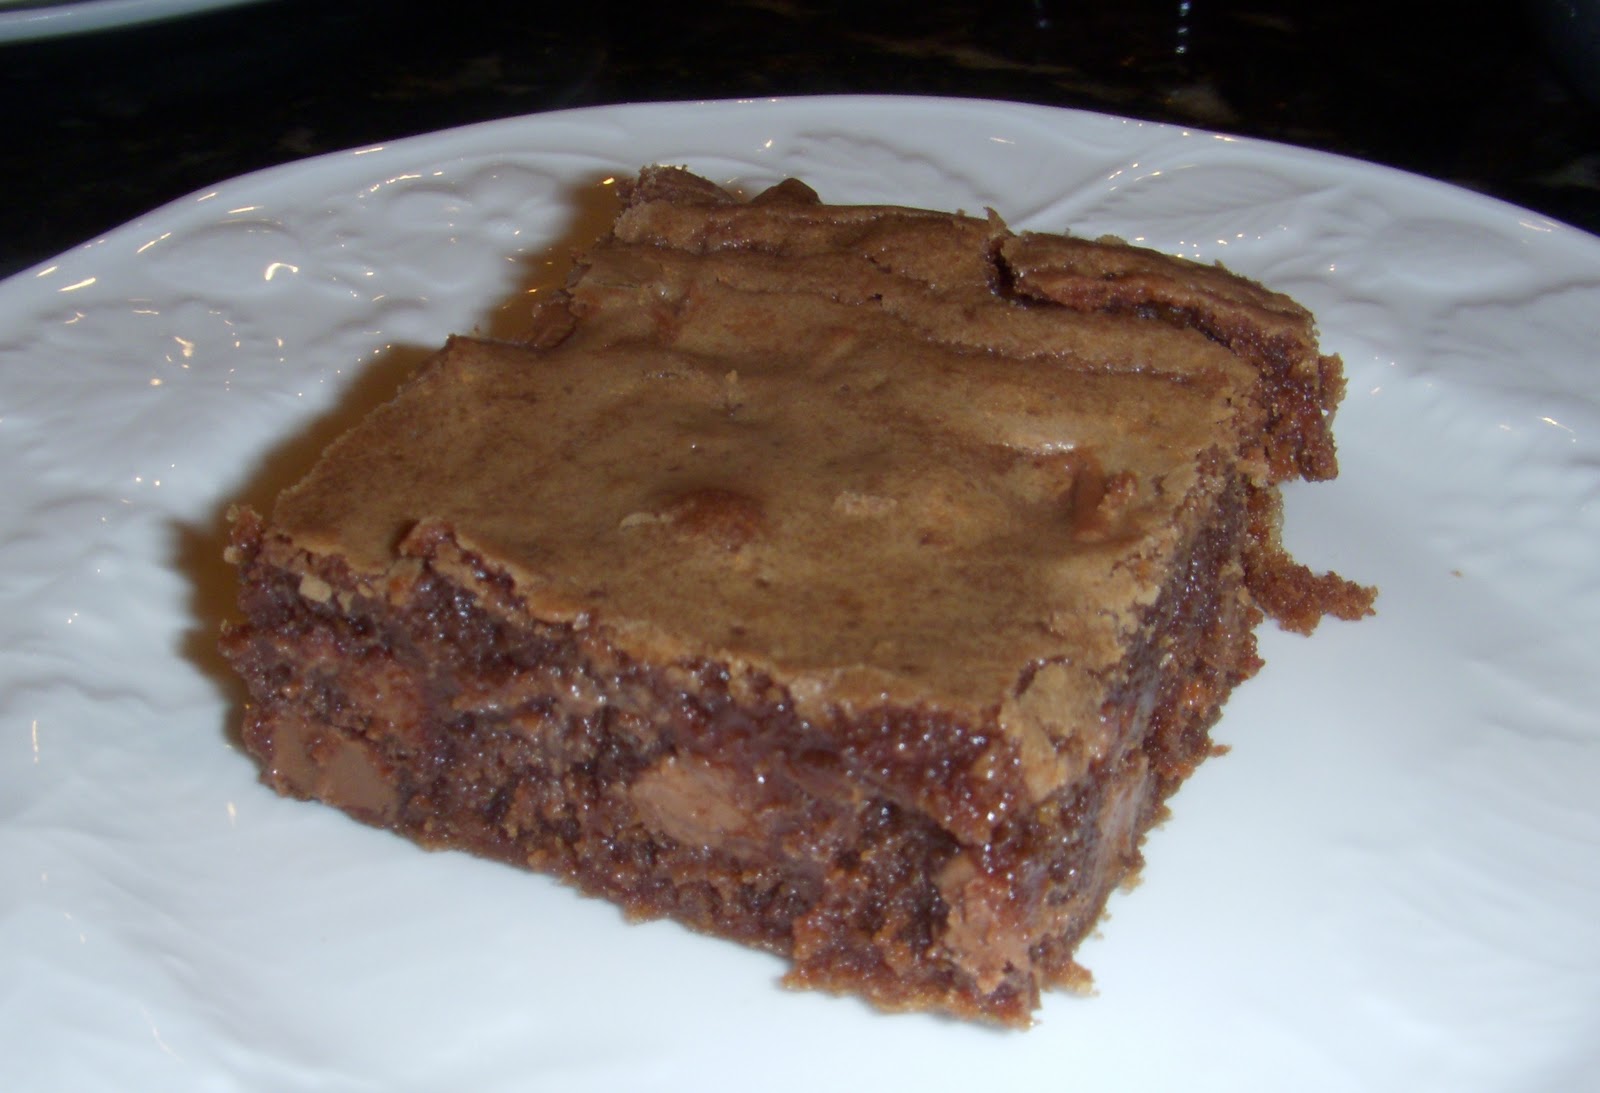
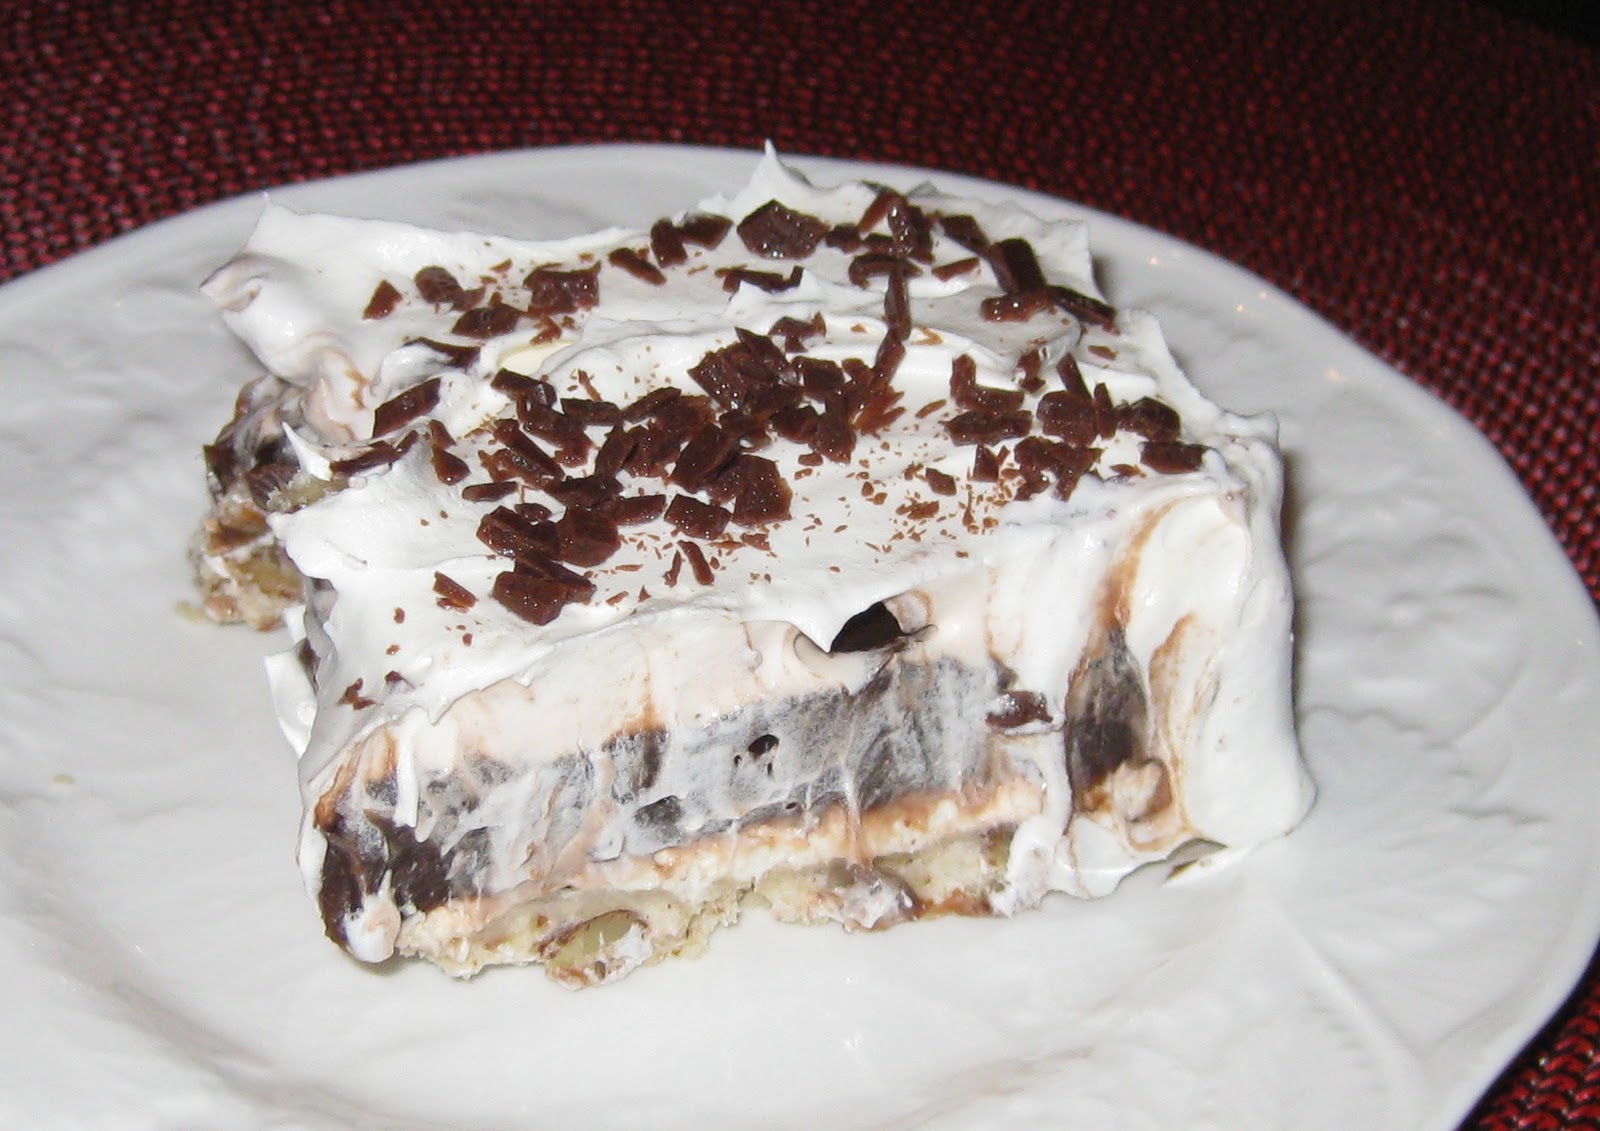
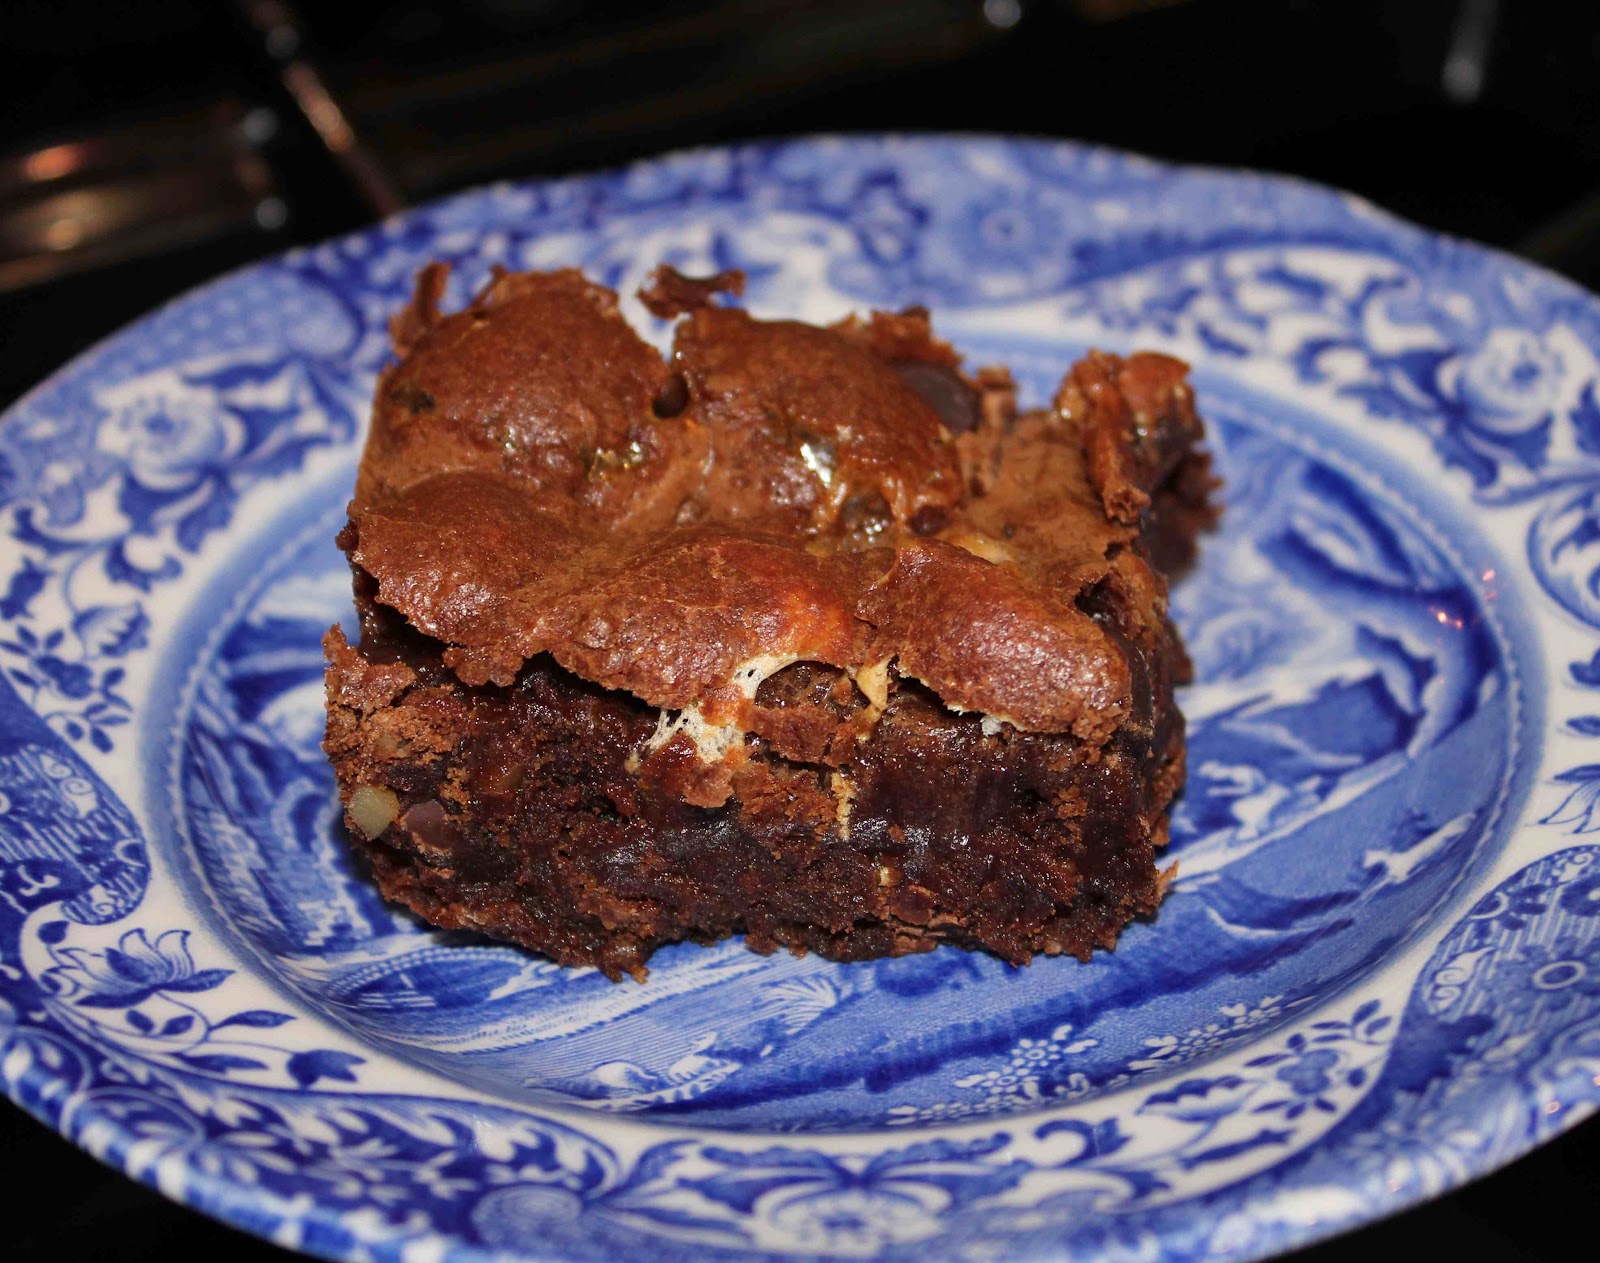
My sister is a wonderful cook.  She made these “Better-Than-Crack Brownies” for her boyfriend, Colby, and his best friend, Prentice, for another one of their pre-race desserts.  (Both guys run cross country and track for Oklahoma State University.  The OSU Cross Country team has been NCAA Champions for the past two years in a row.)  
These brownies are actually referred to as Peanut Butter Cup Crunch Brownies (on Brown Eyed Baker’s blog, where she got this recipe), but they also can be called the other name above, which I think is hilarious.  I’ve never had crack before, nor do I know anyone who has, so I don’t know how these brownies can be better … but the name sure is funny though!
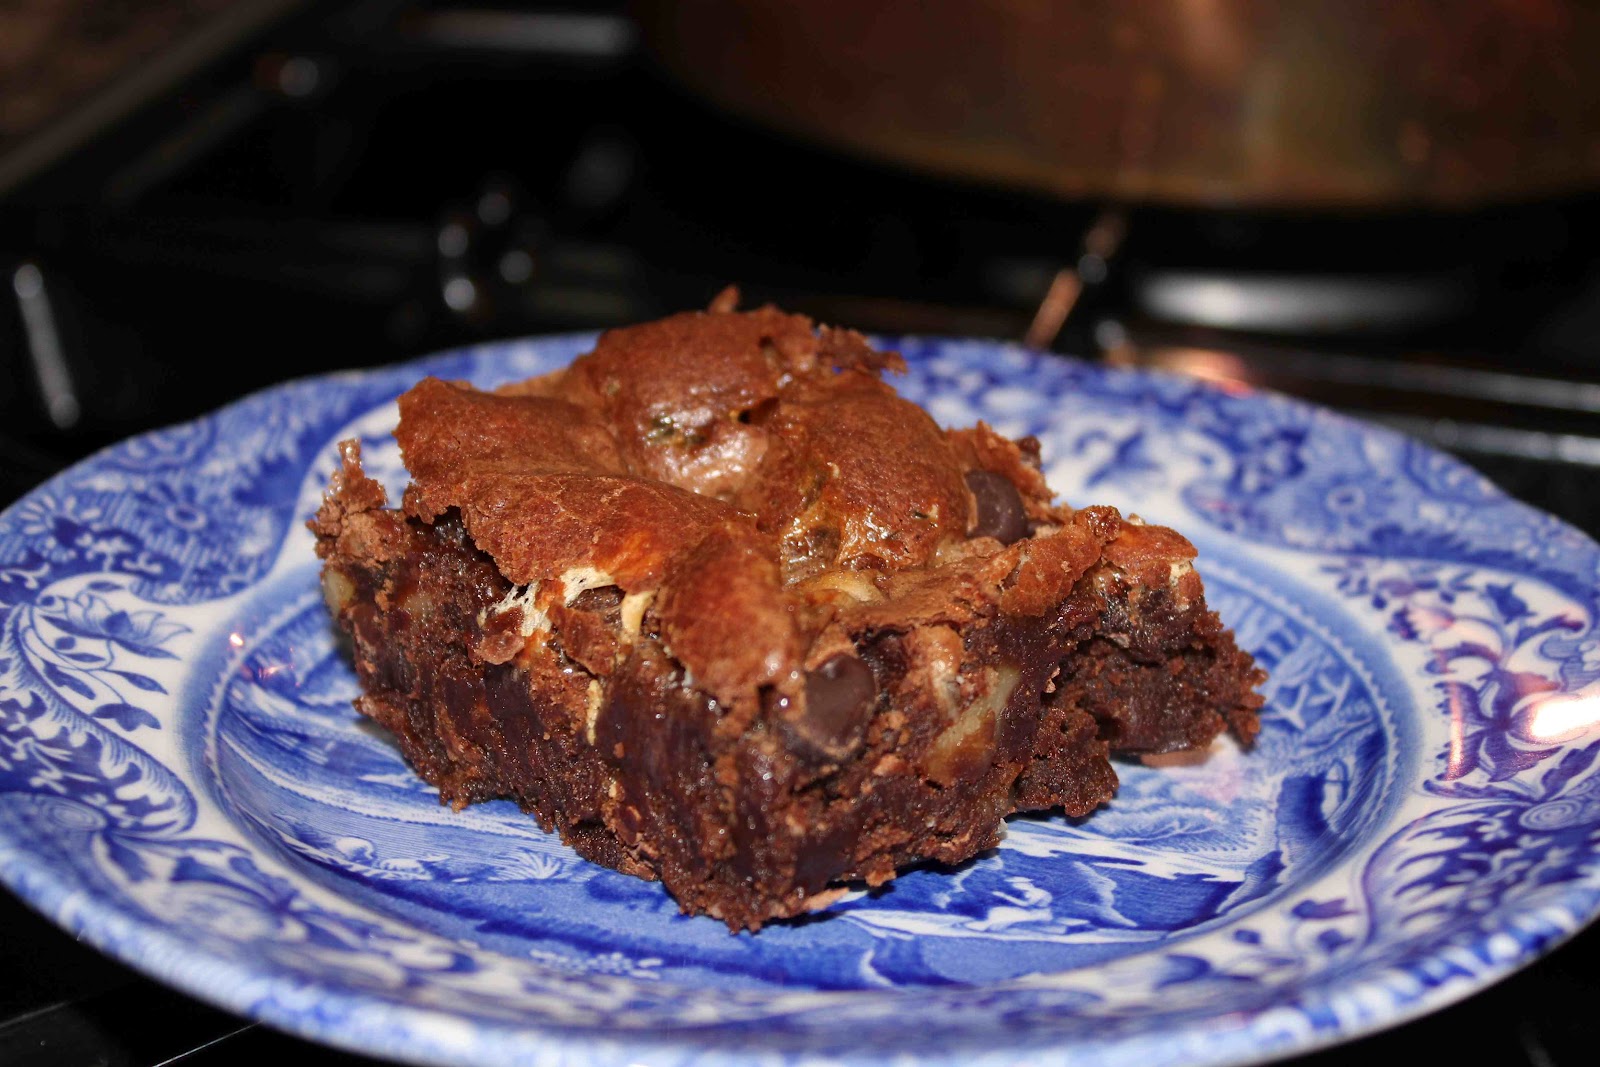
My sister said that Prentice took one bite of these and made a face like he had died and gone to Heaven.  I cannot wait to try these myself because they look sinfully delicious! Be forewarned though, these brownies are insanely rich, so you probably should just eat one…if you have self control!  Enjoy!
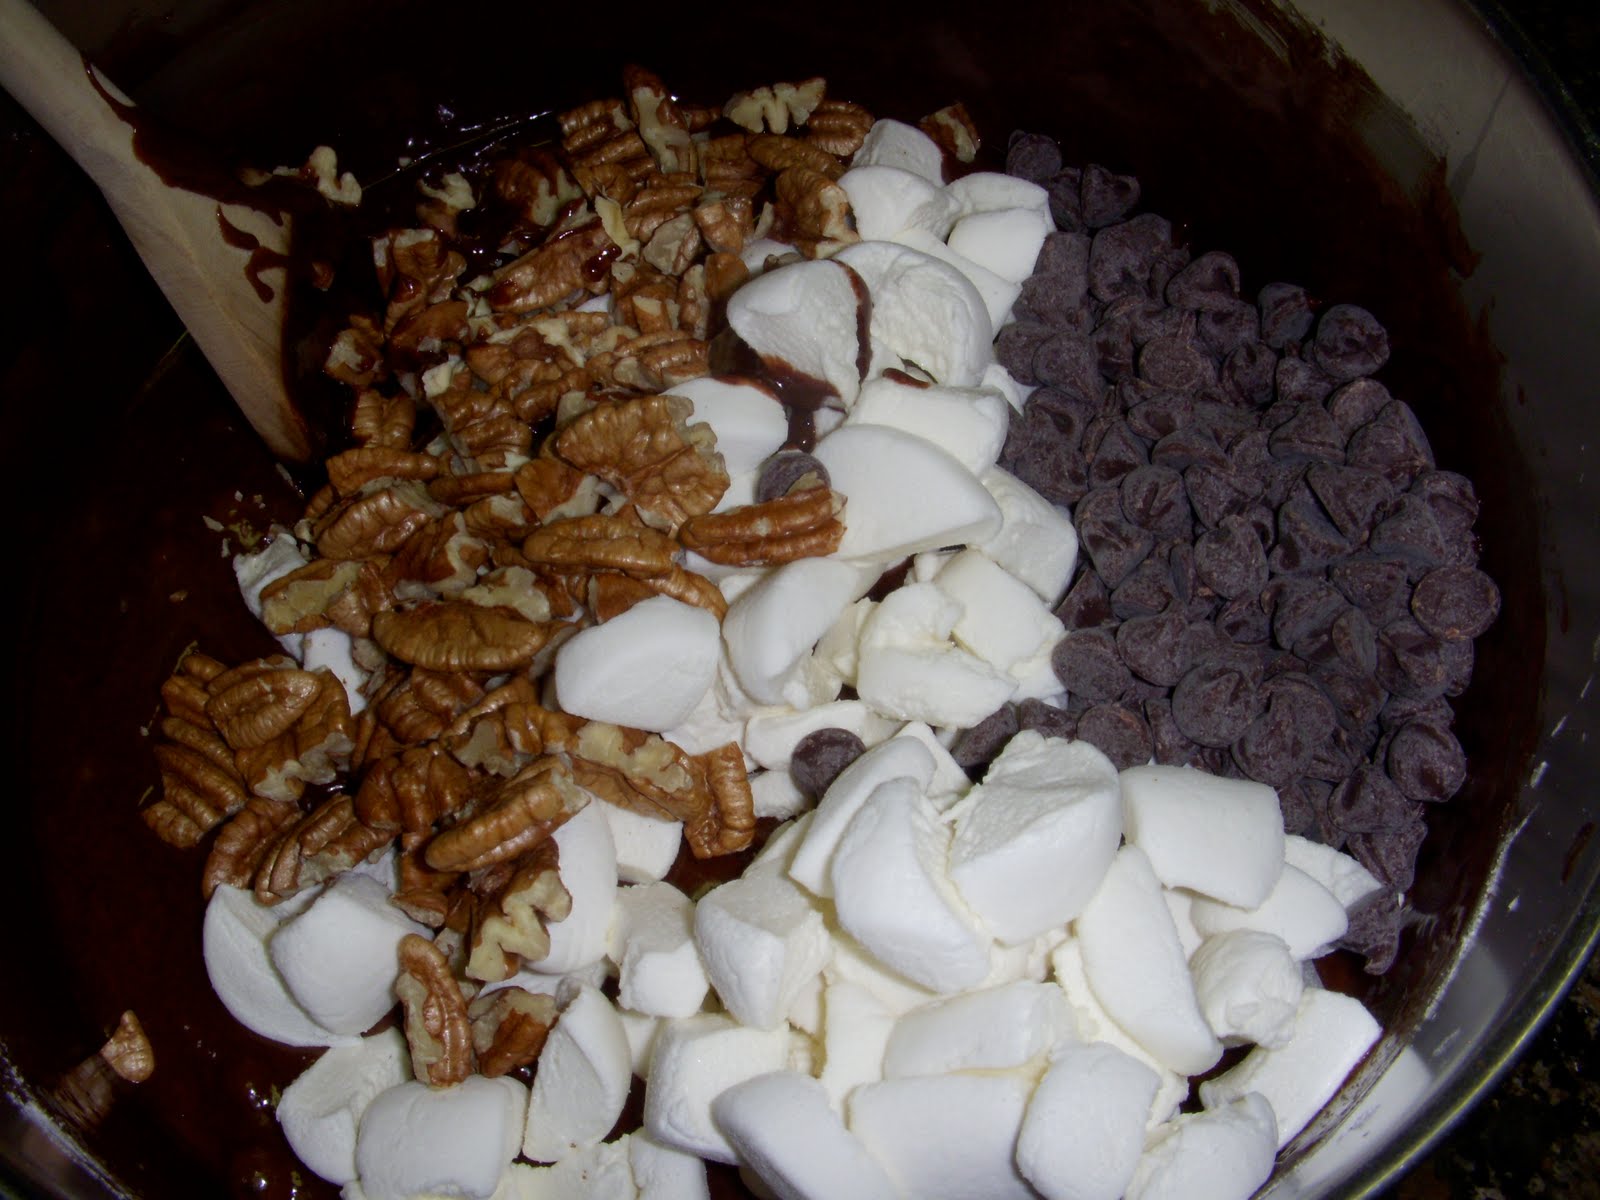
Lay out 8 Reese’s Peanut Butter cups.
Roughly chop into pieces.
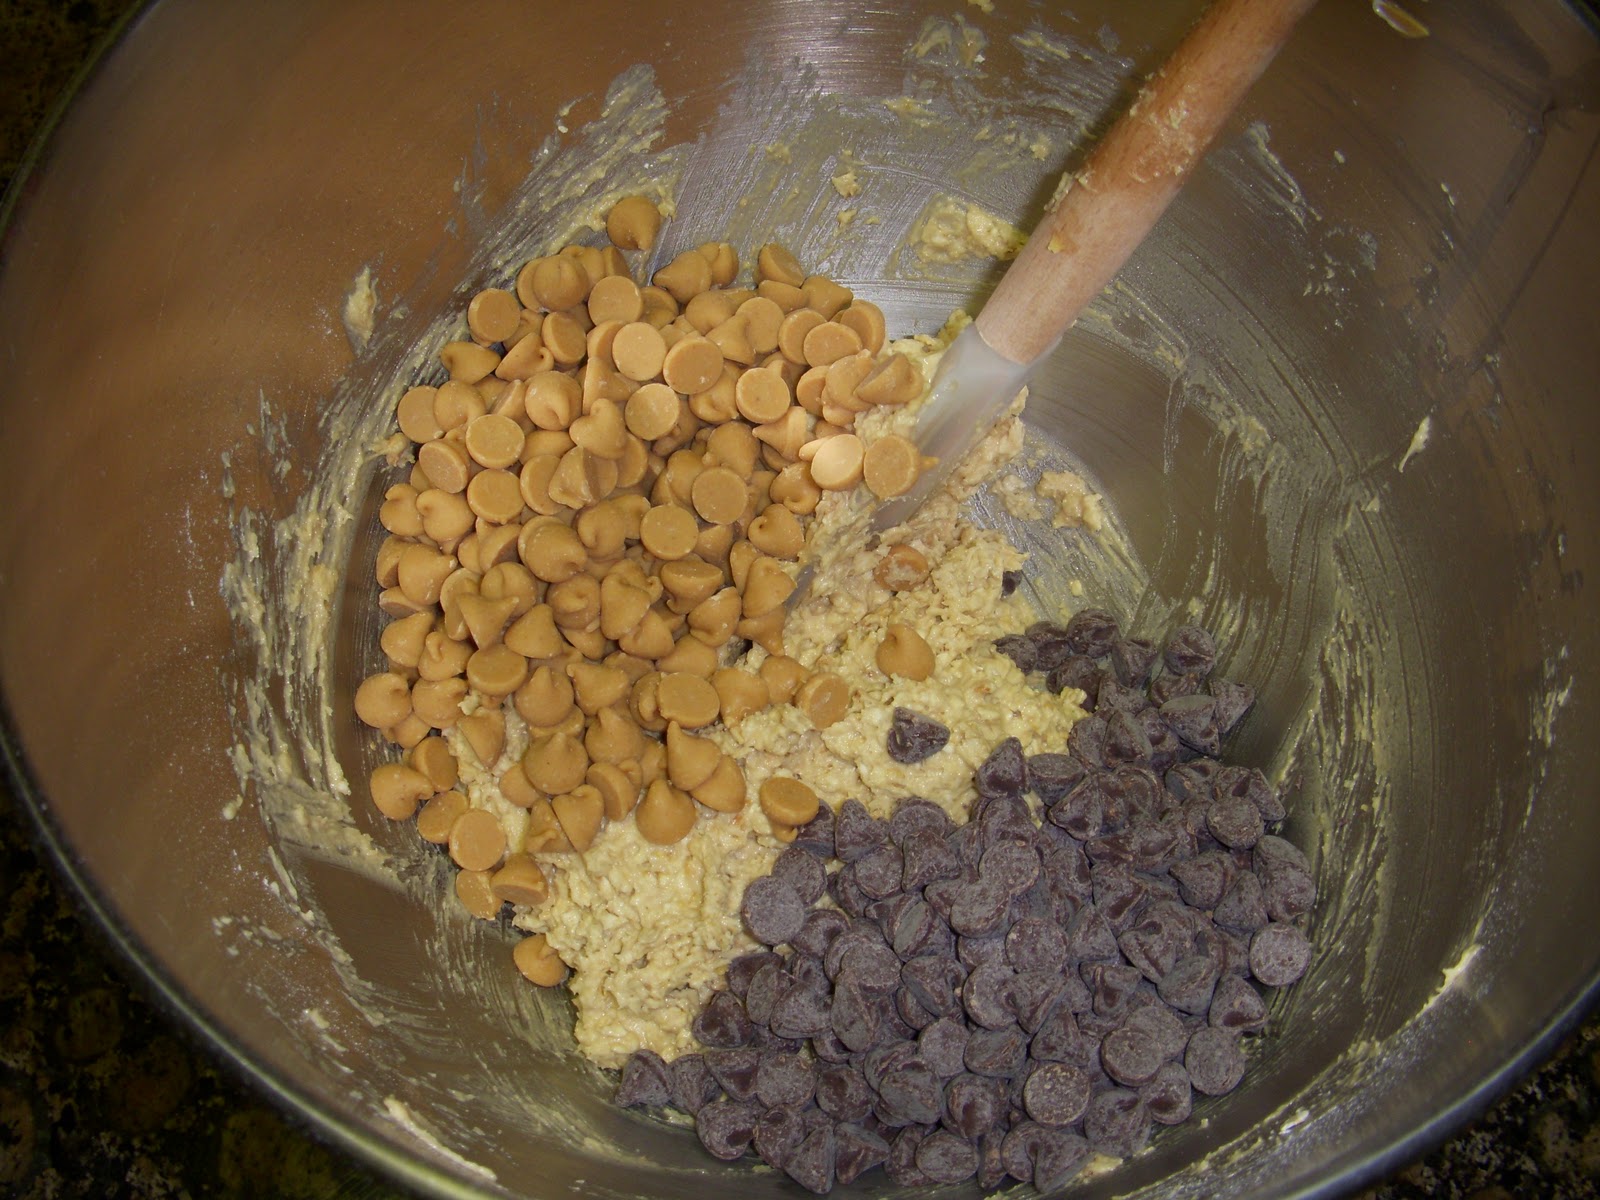
Measure out 1/2 cup of salted peanuts.
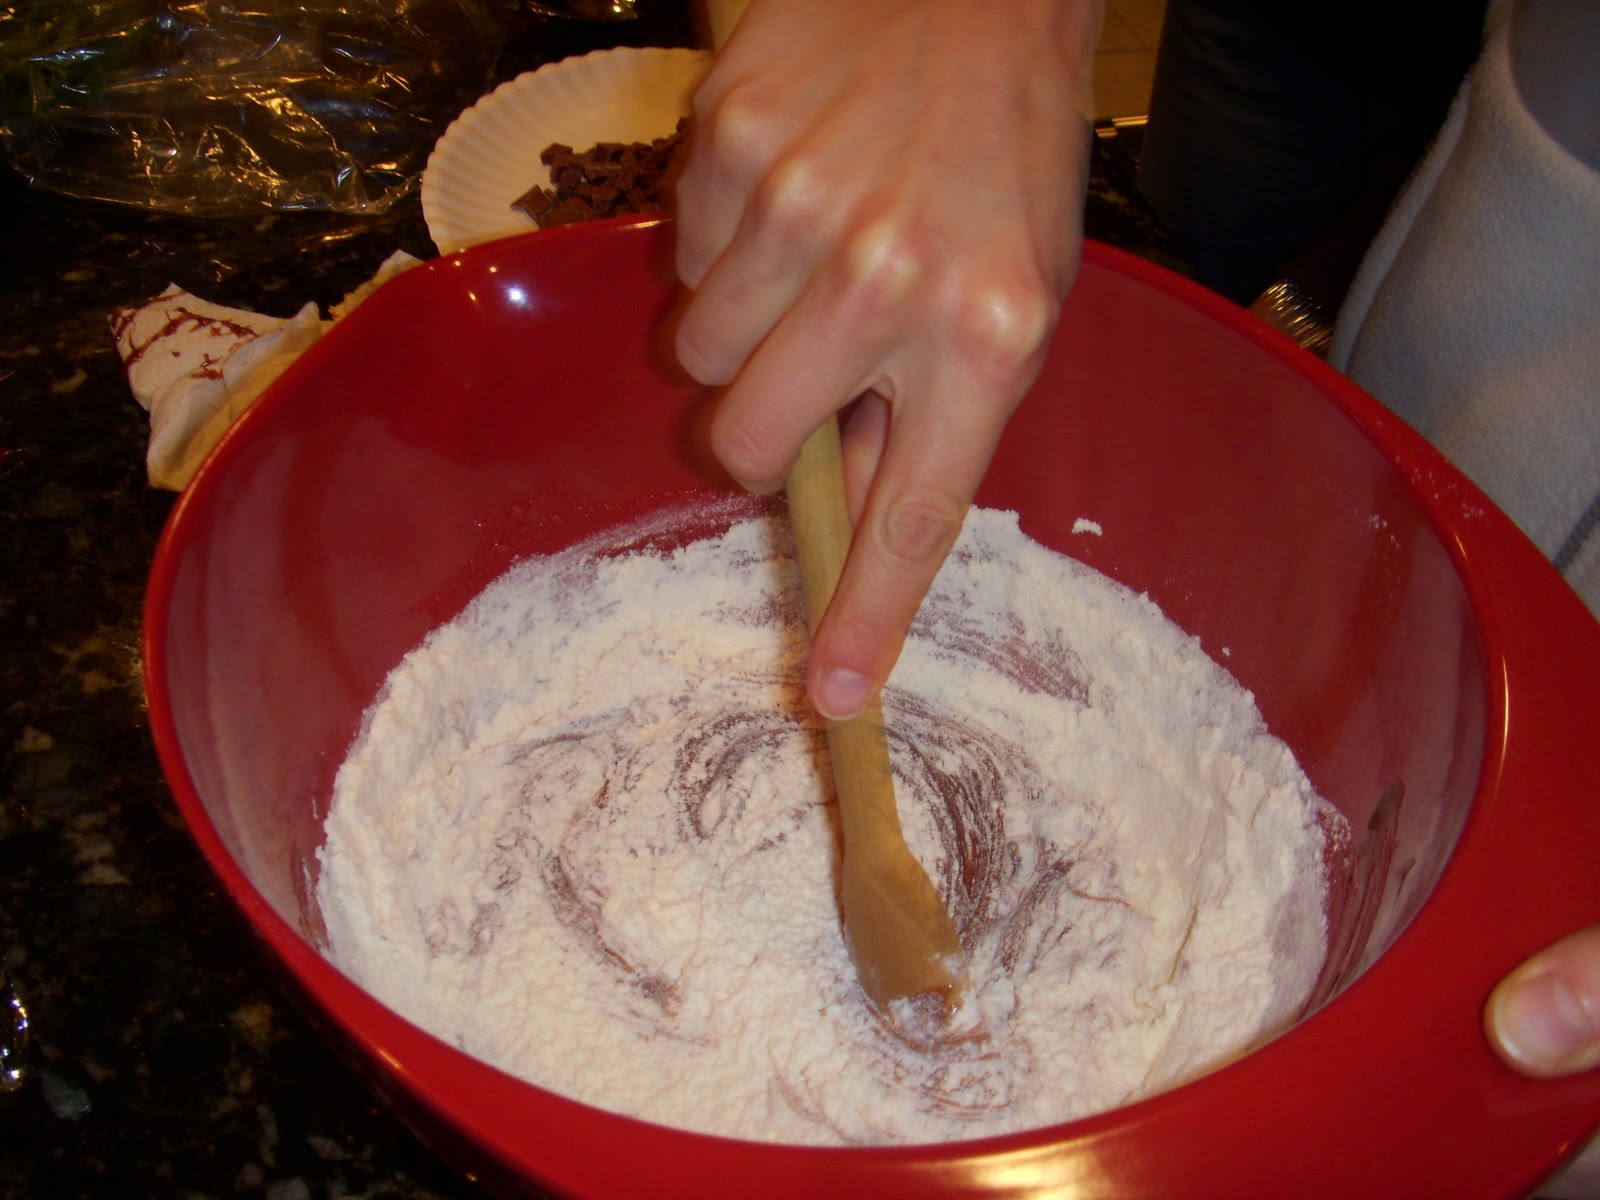
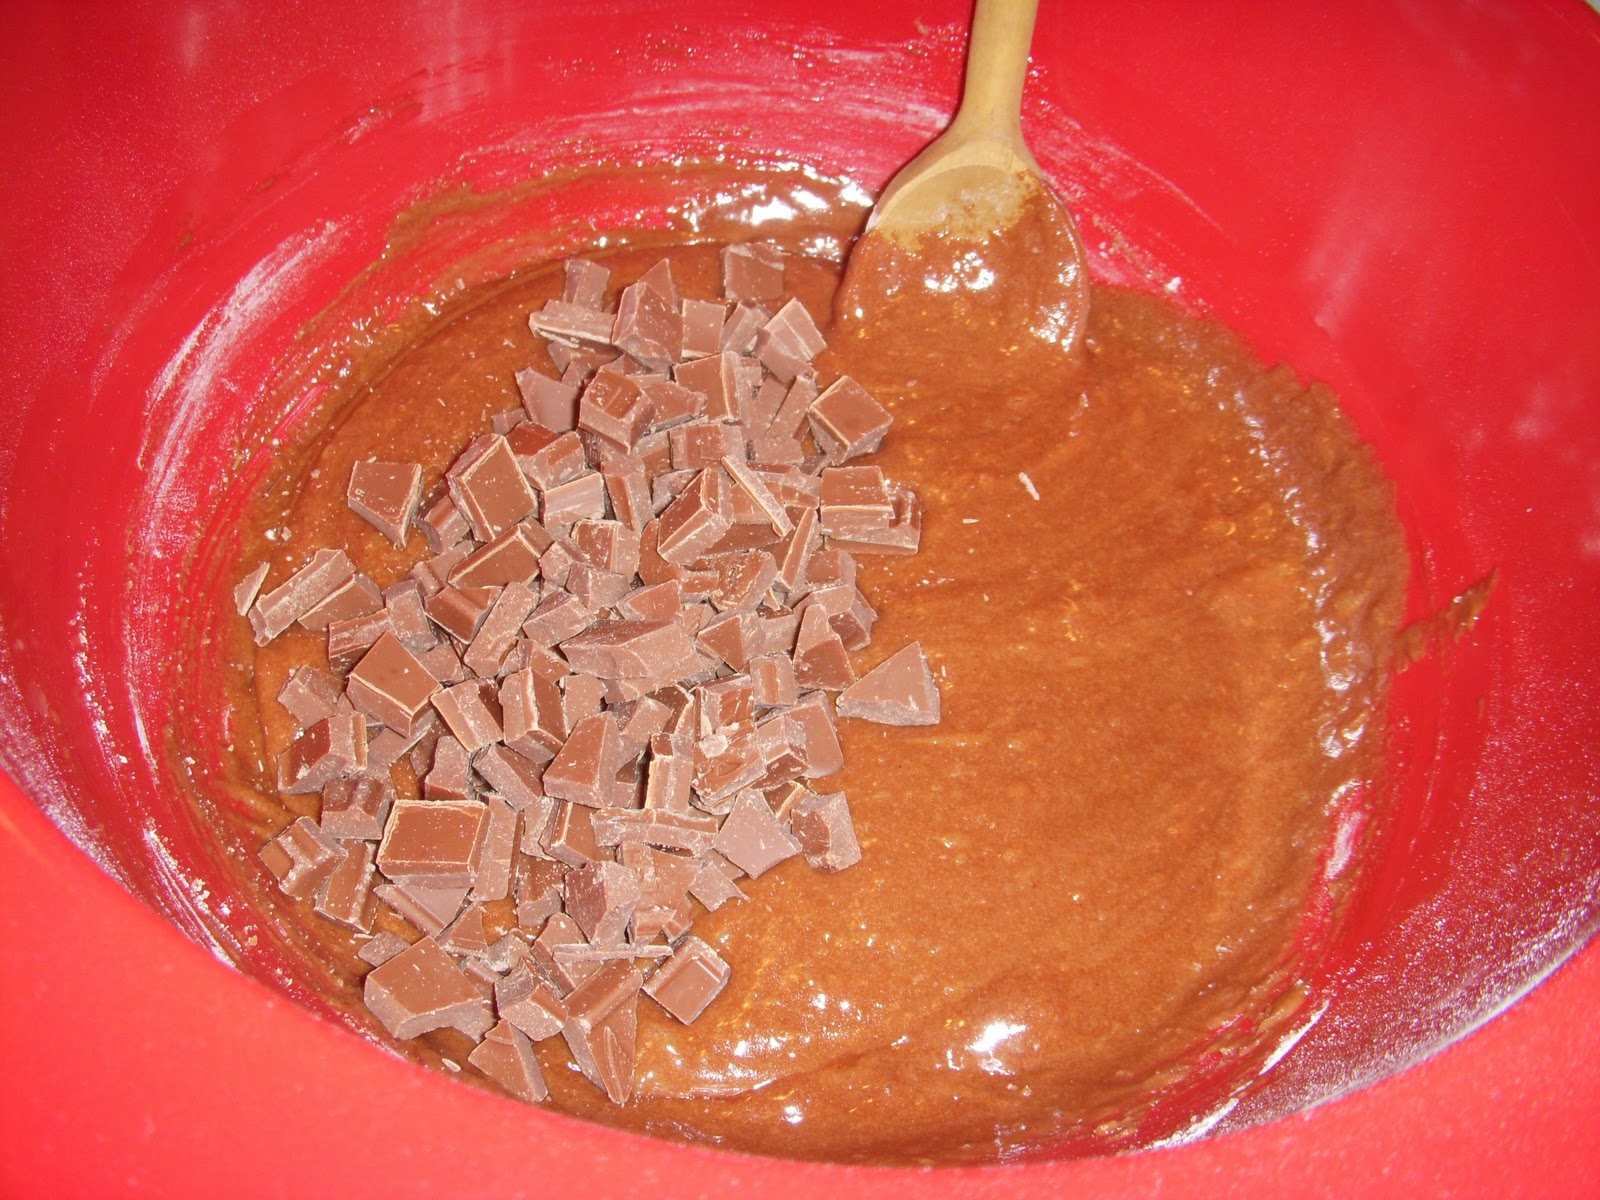
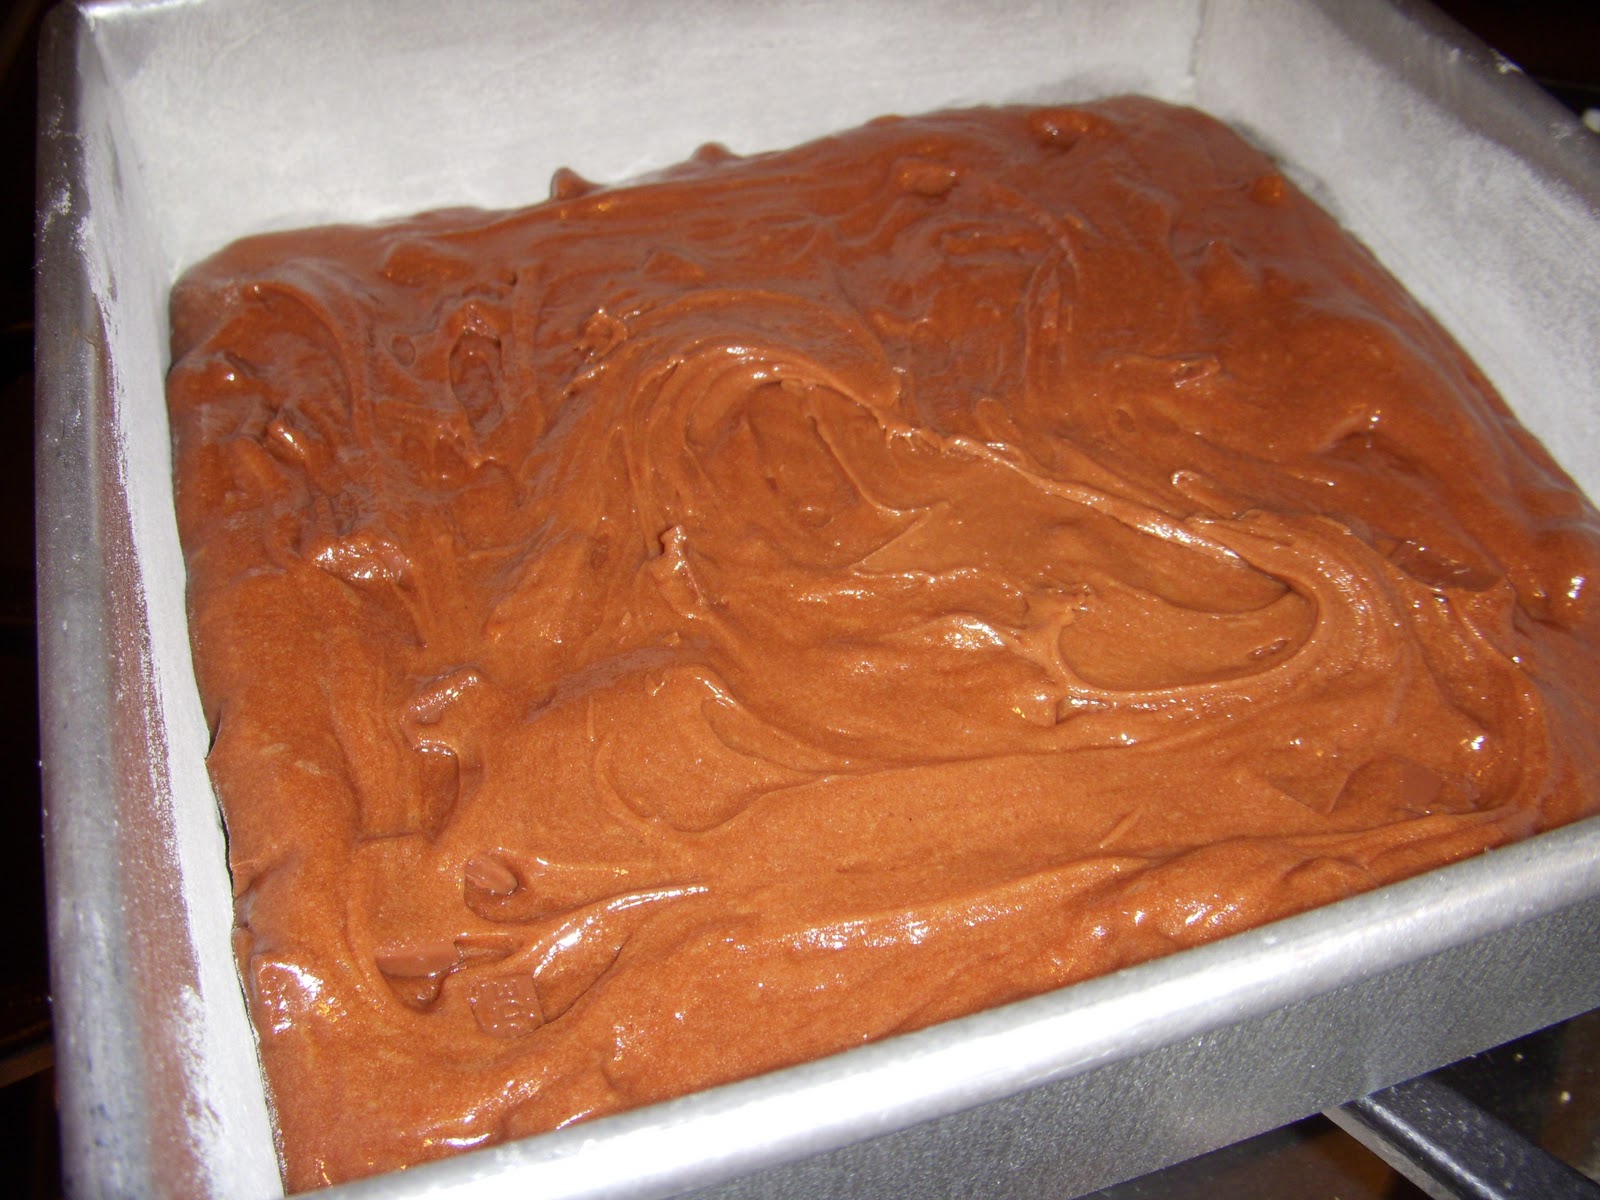
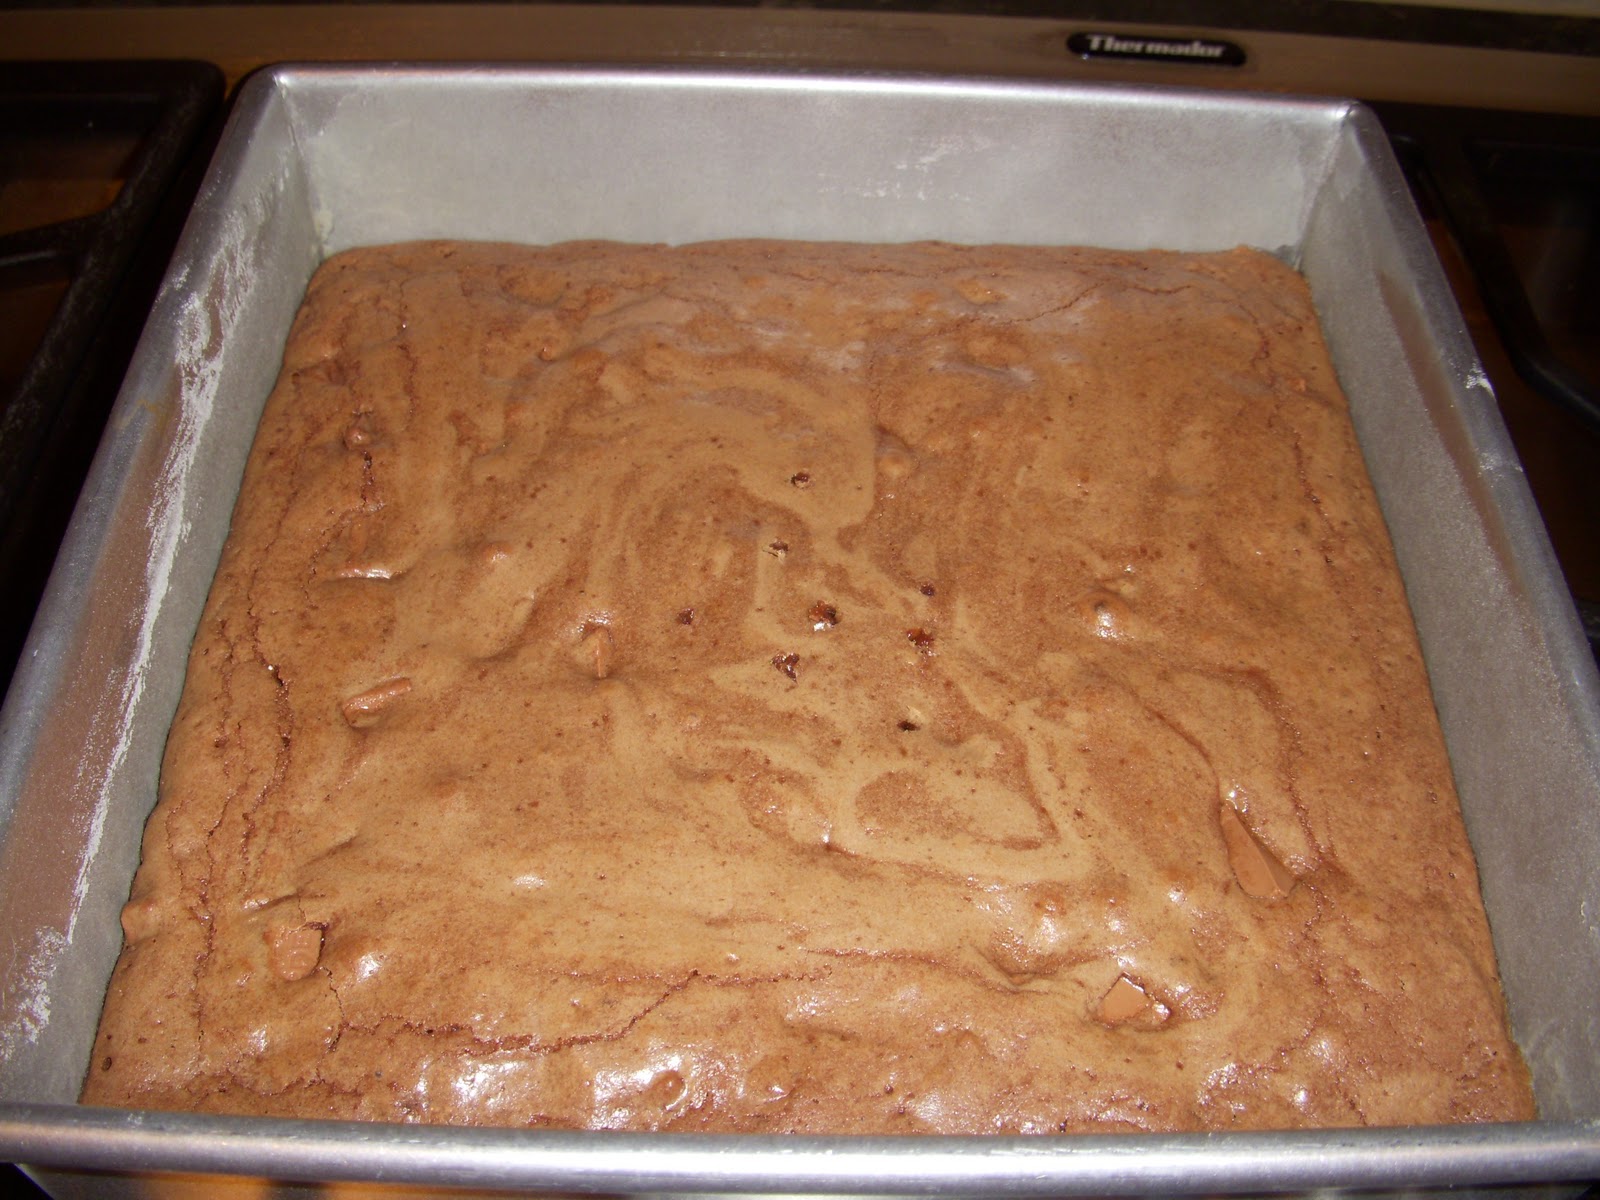
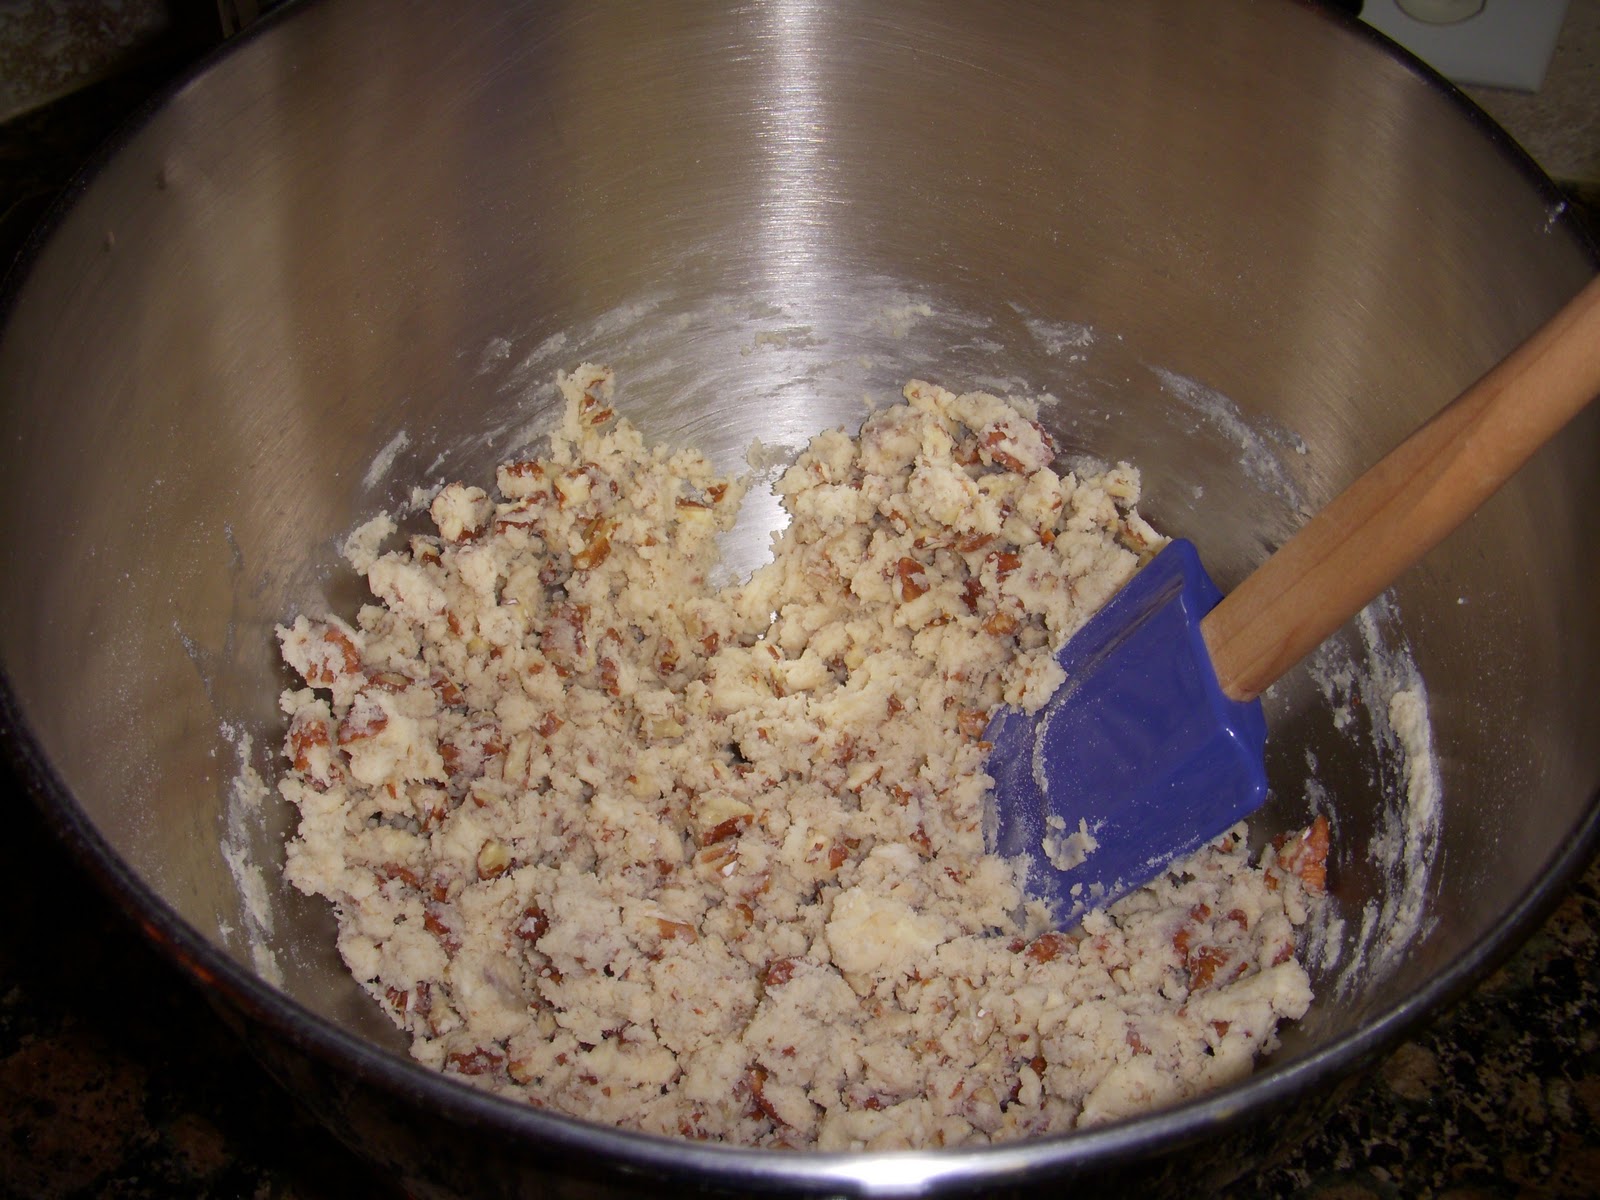
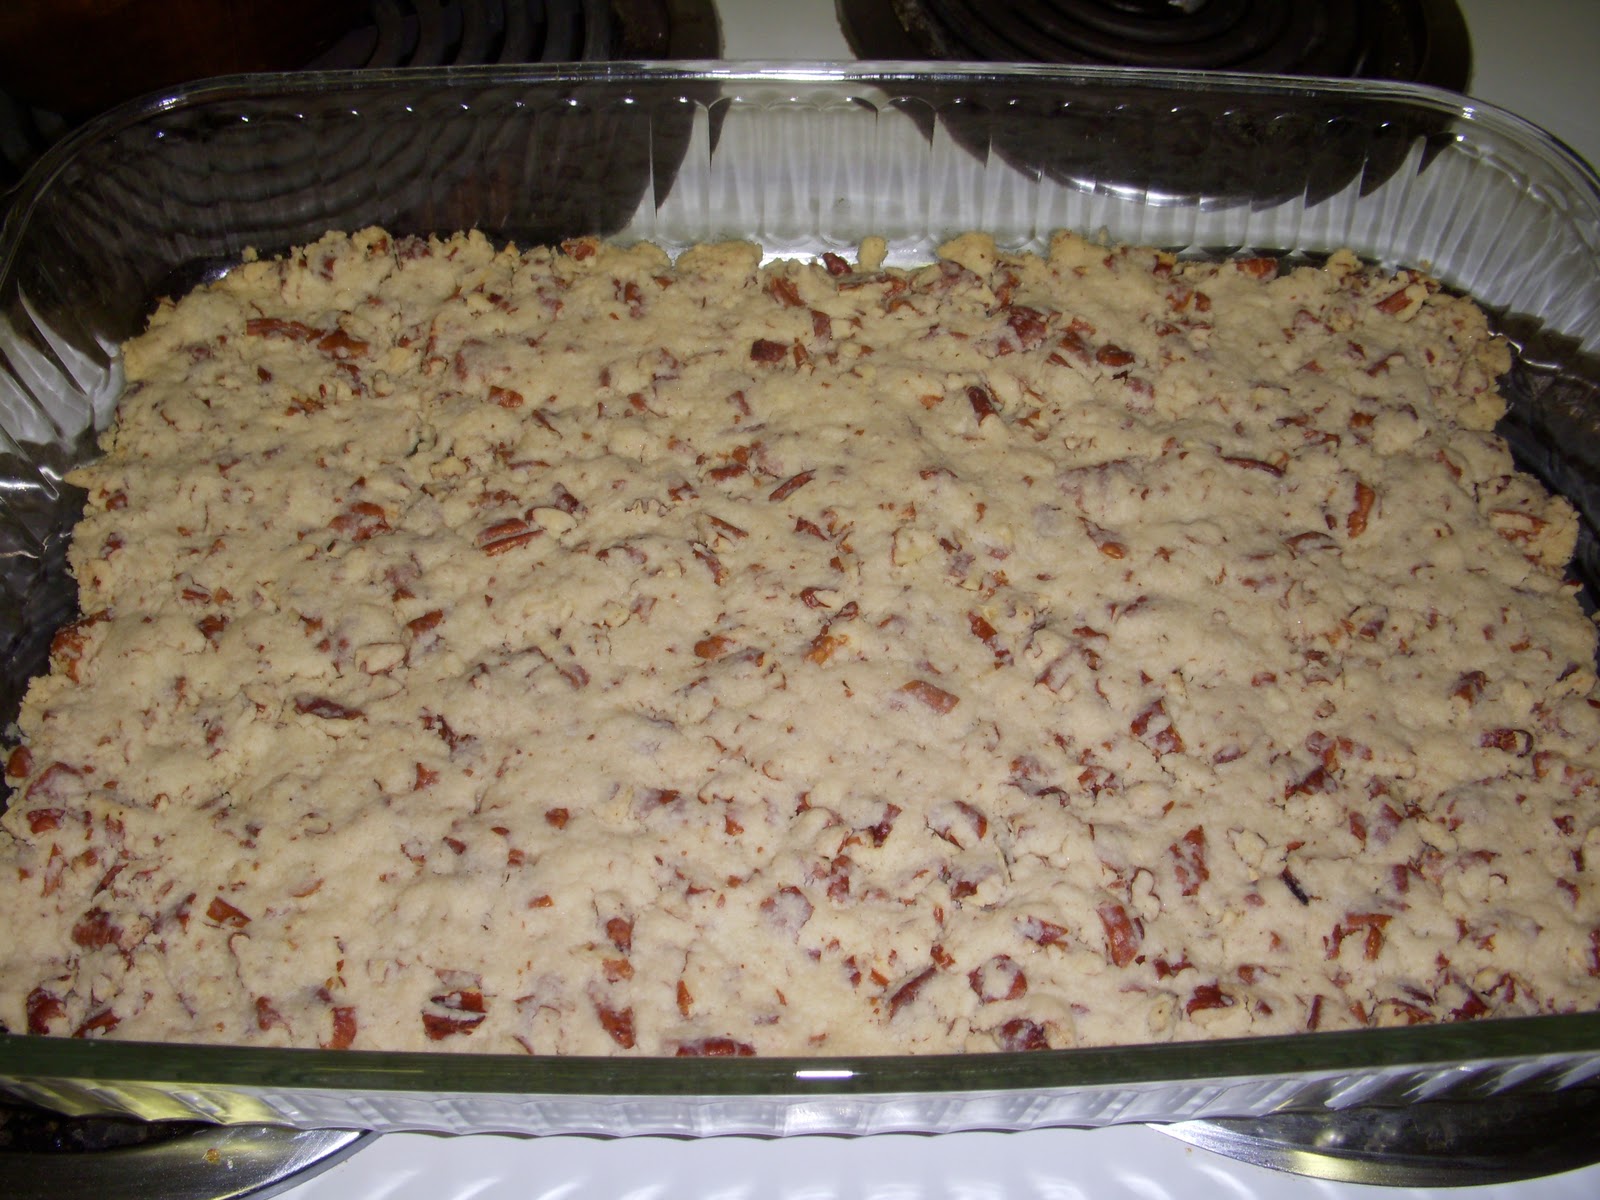
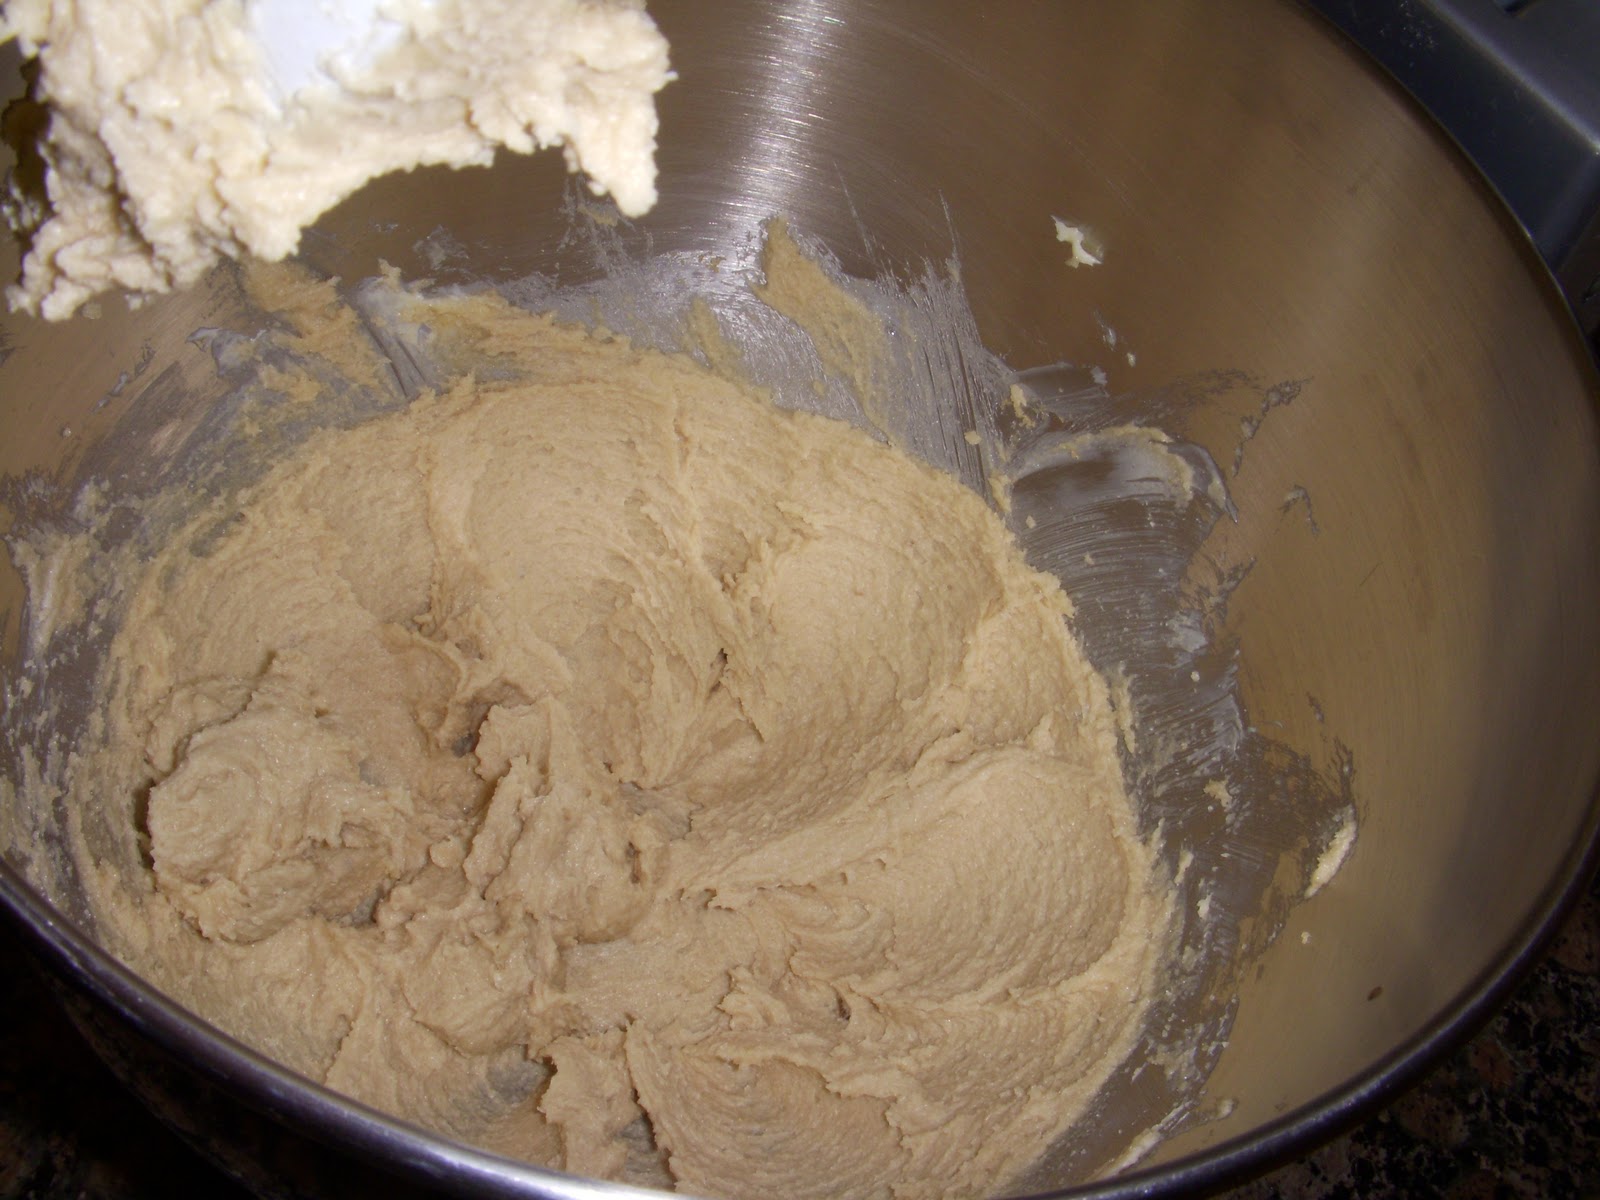
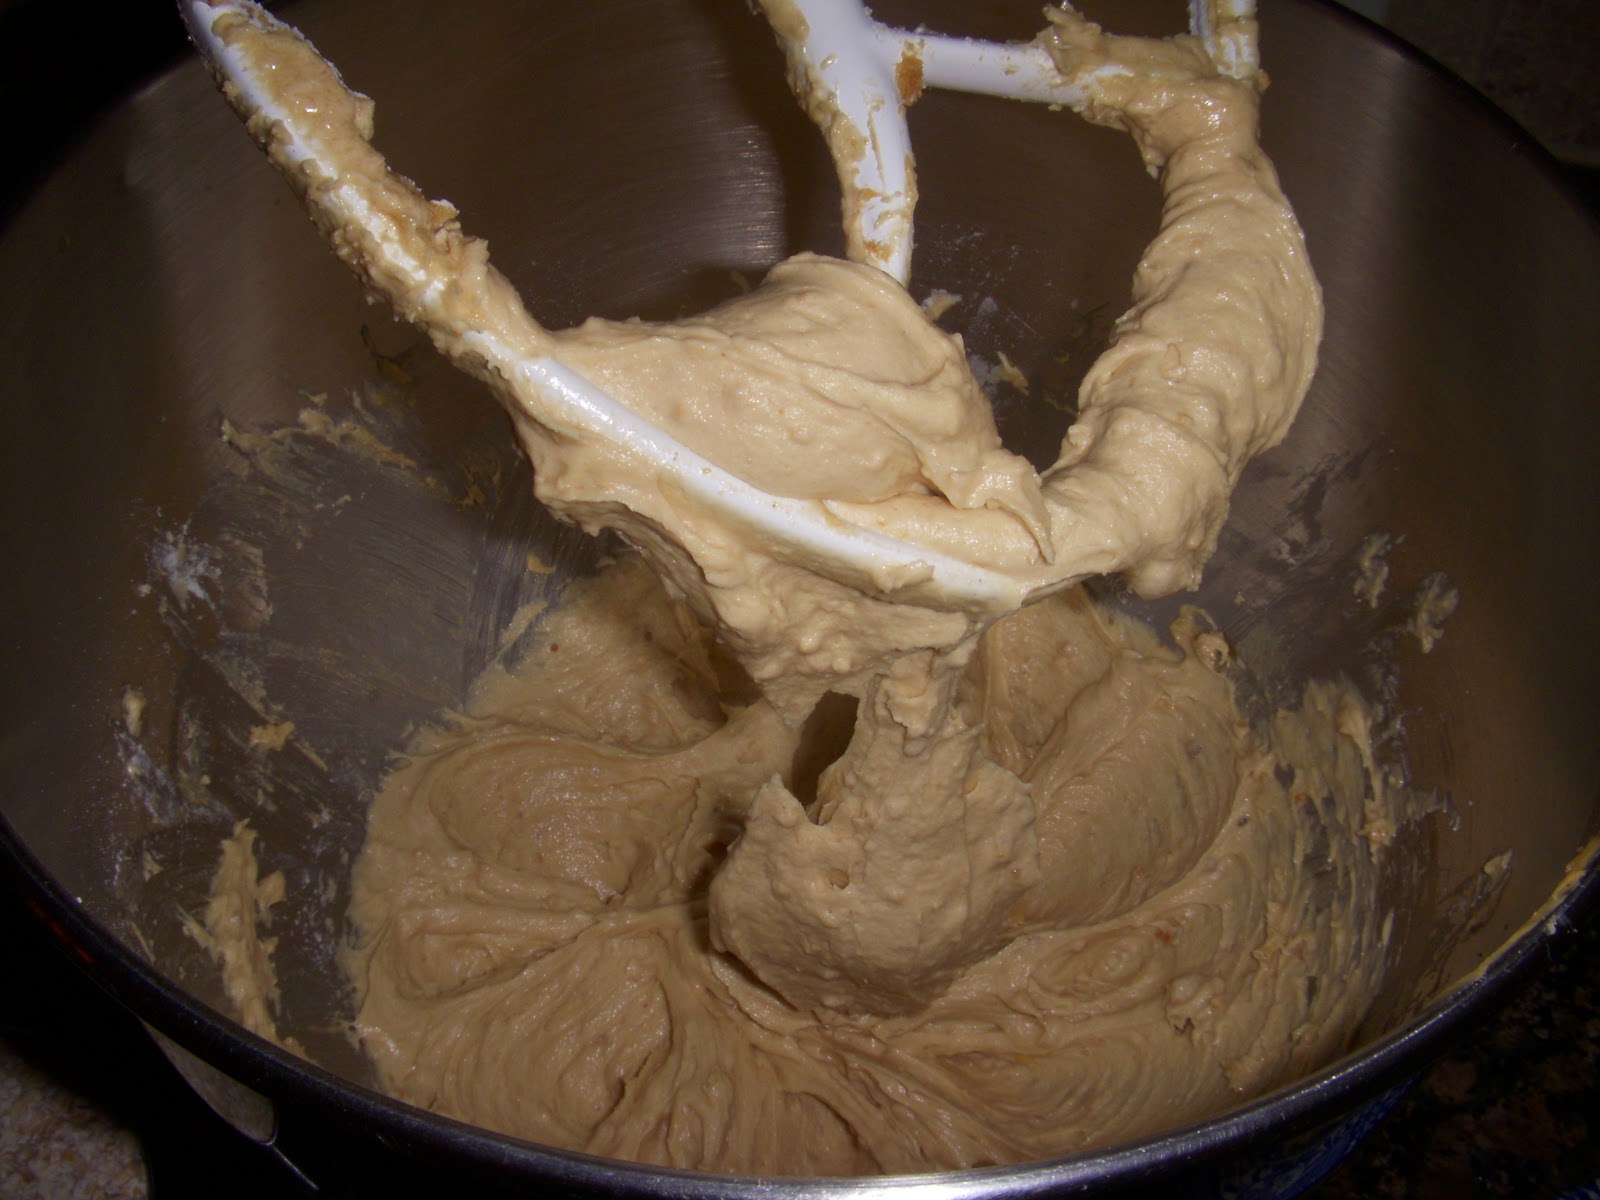
Prepare your favorite brownie recipe for a 9 x 13-inch pan.  Bake 5 minutes less than baking time.
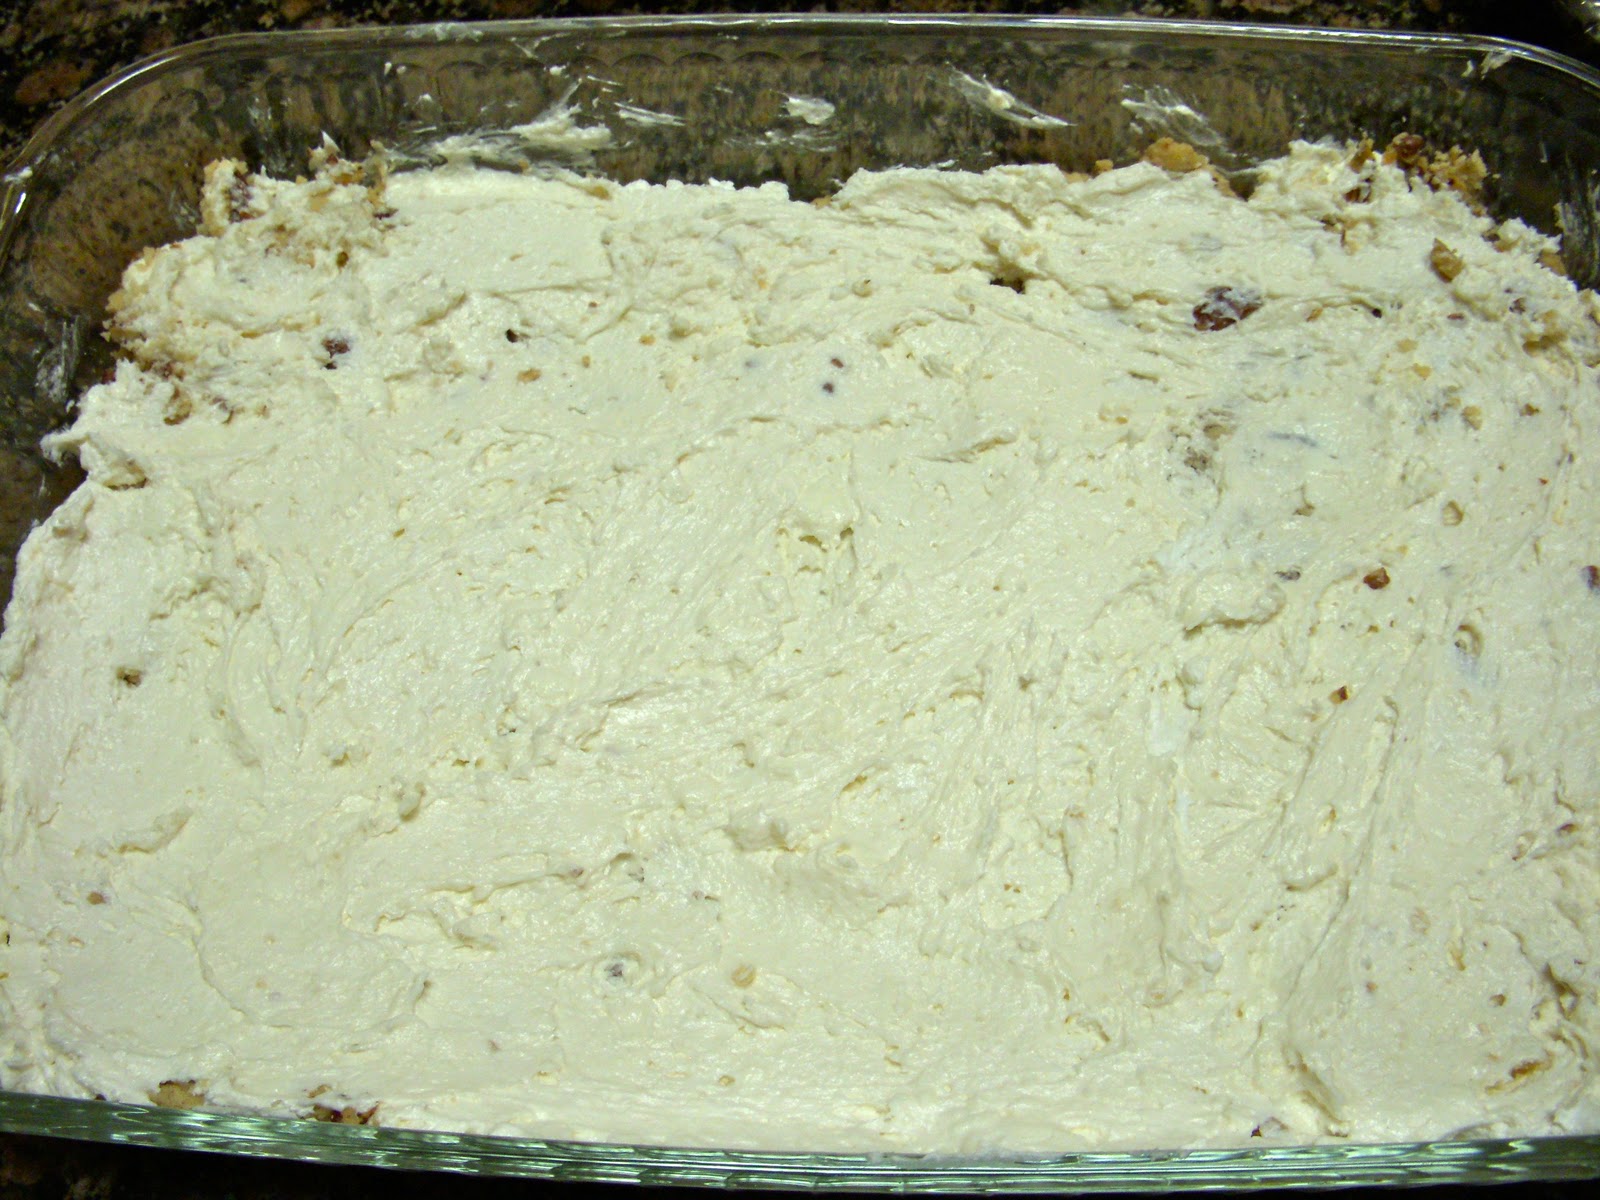
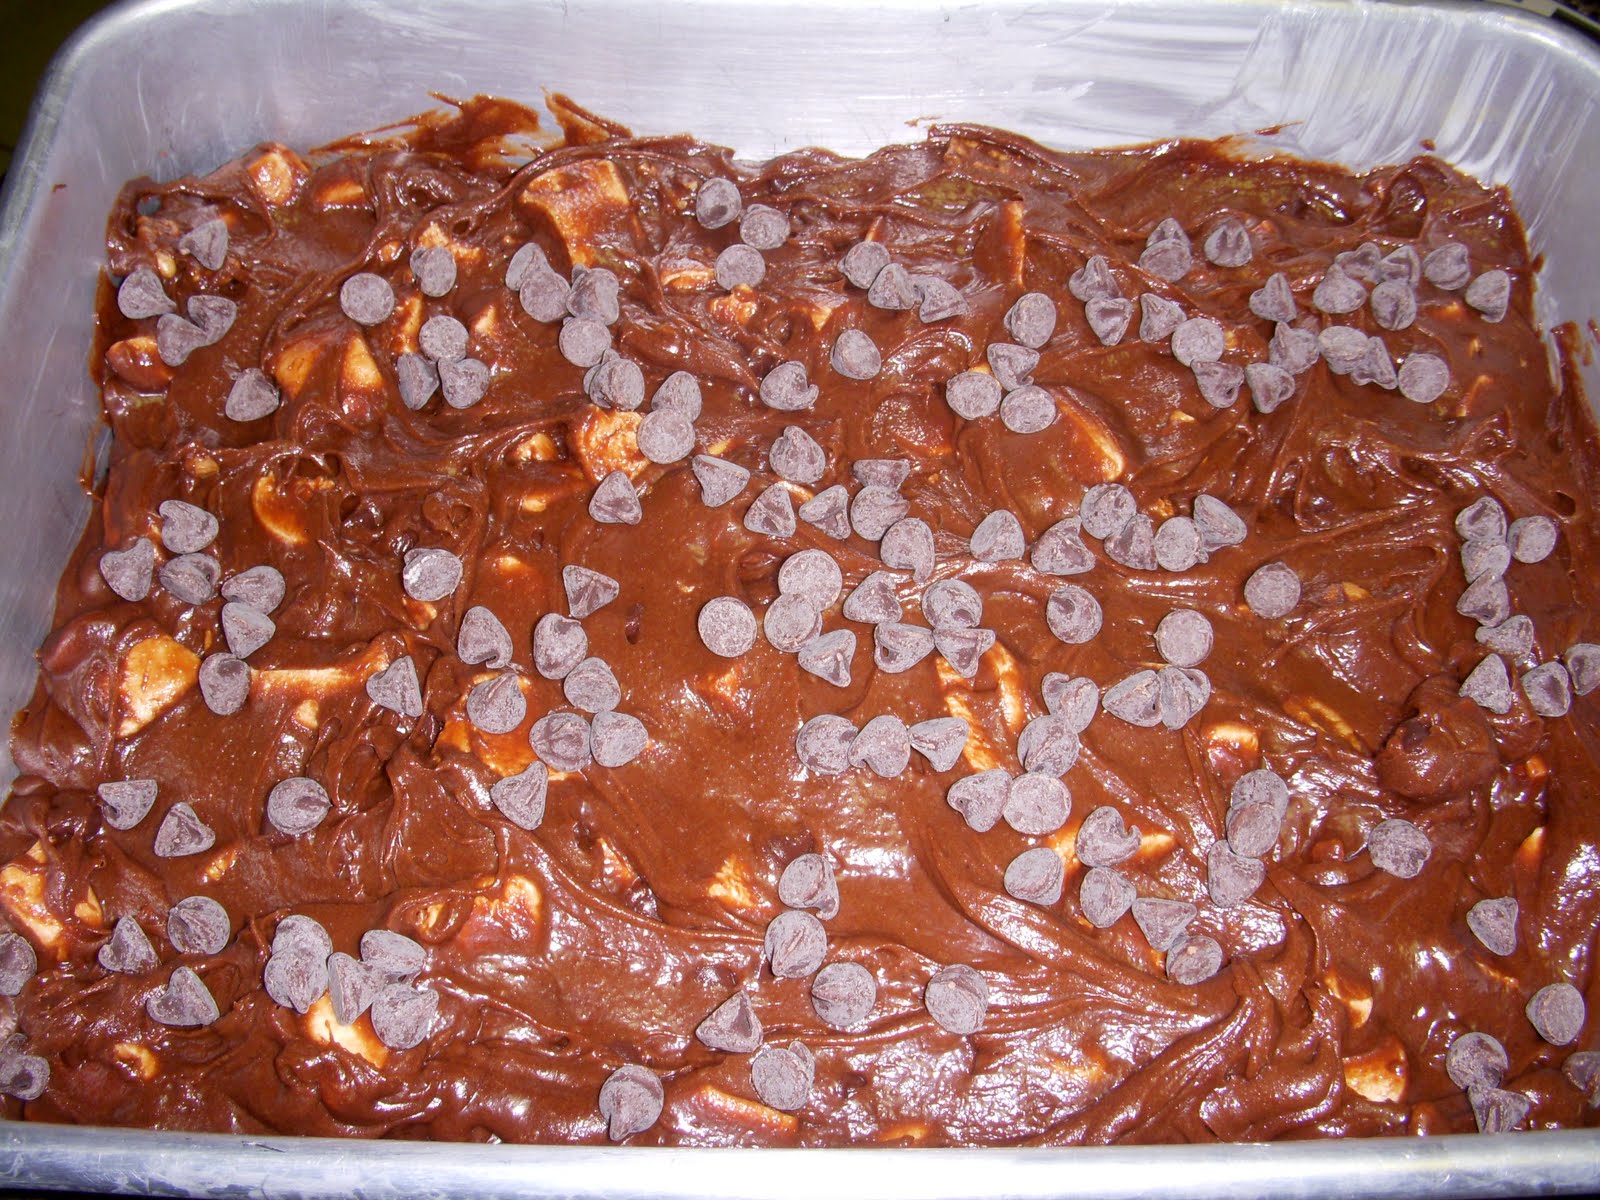
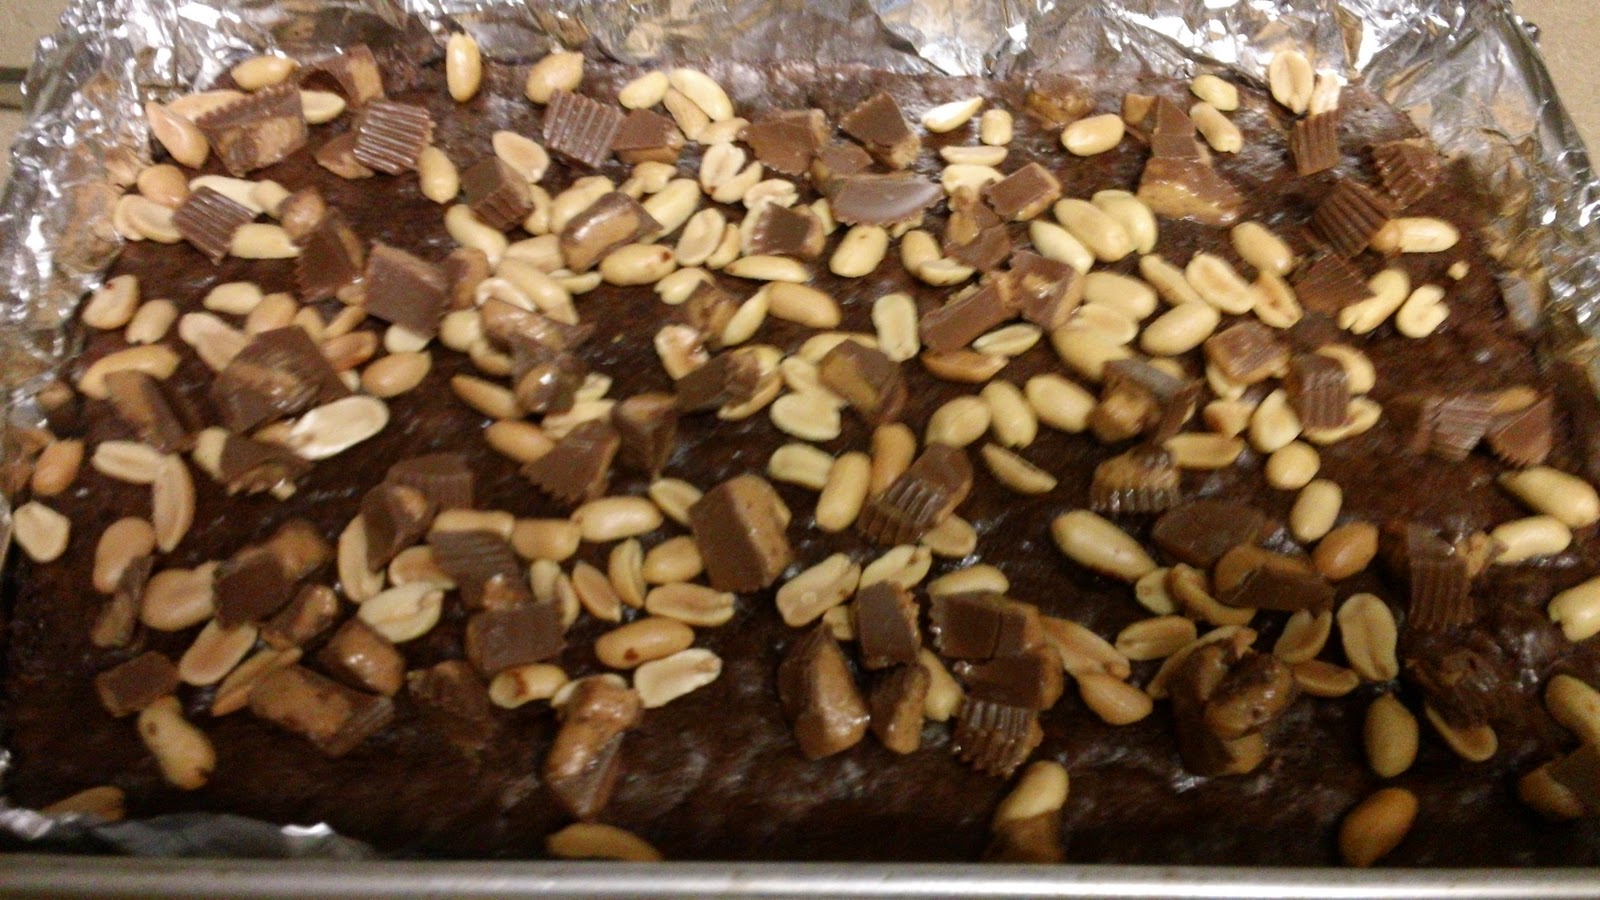
Remove brownies from oven and sprinkle with peanuts and chopped Reeses.  Bake for another 5 minutes.
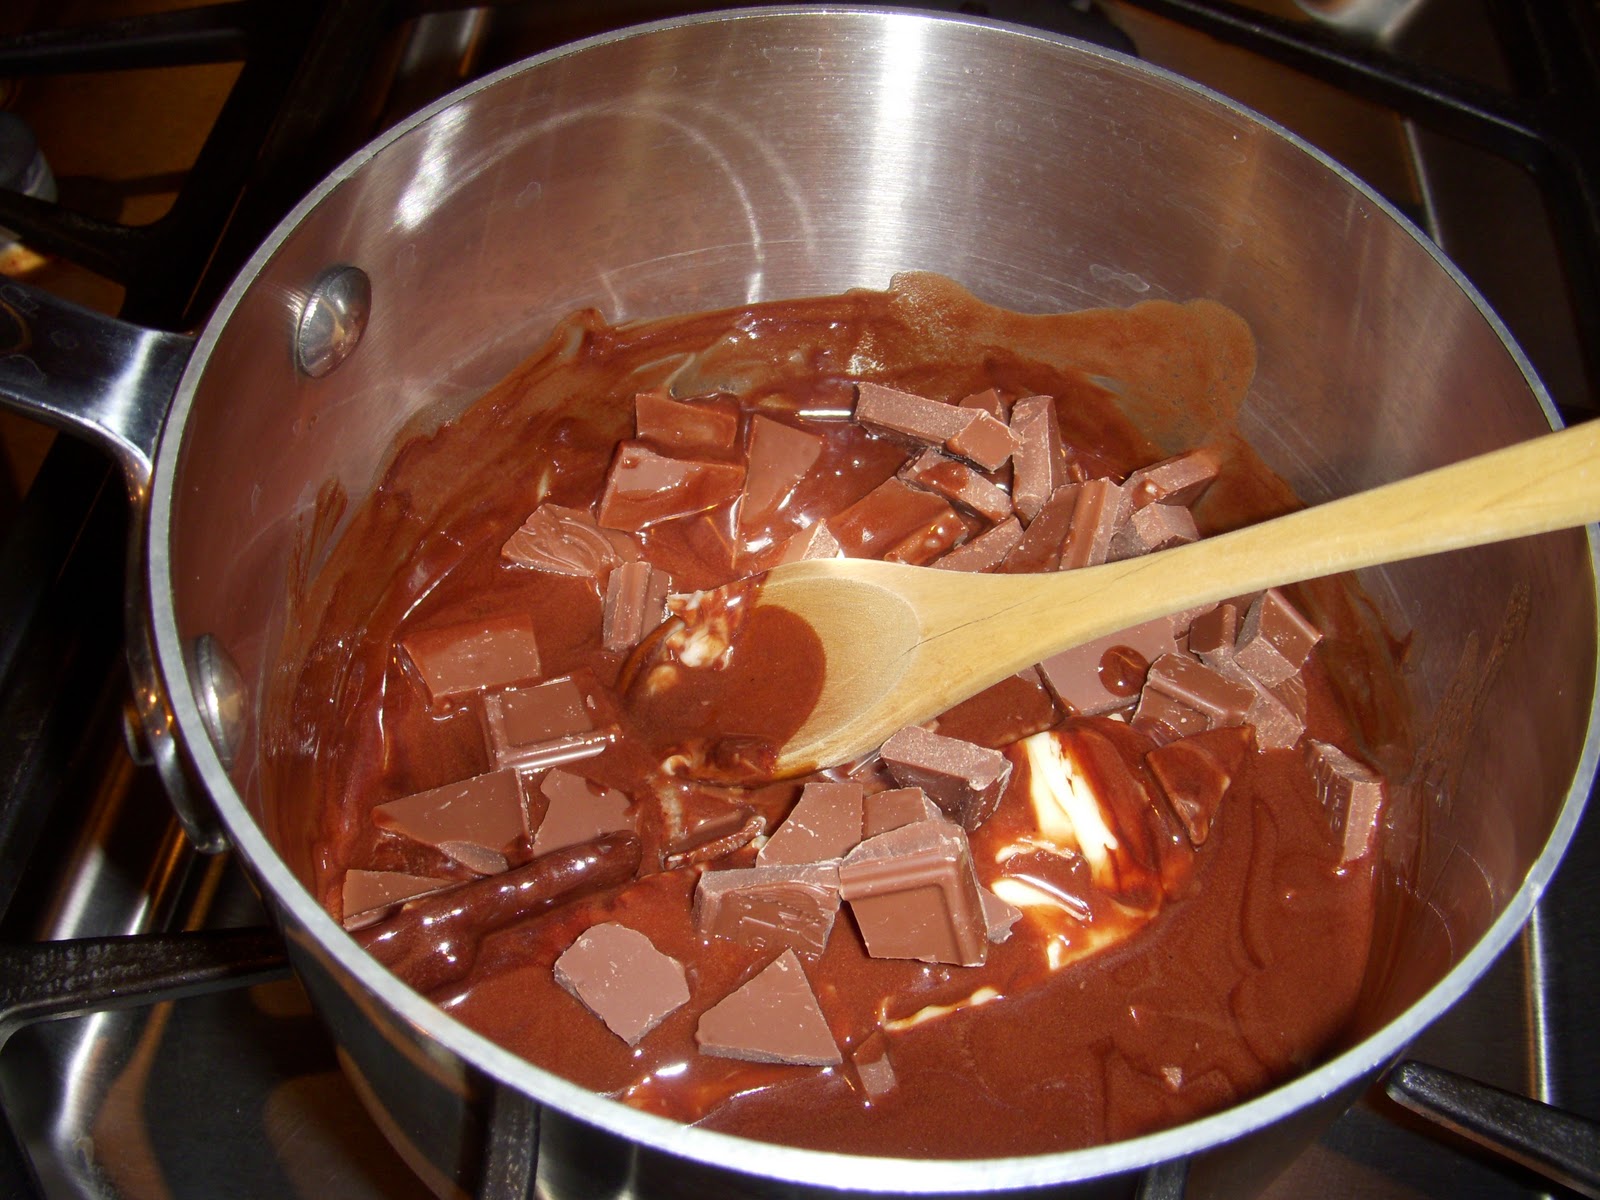
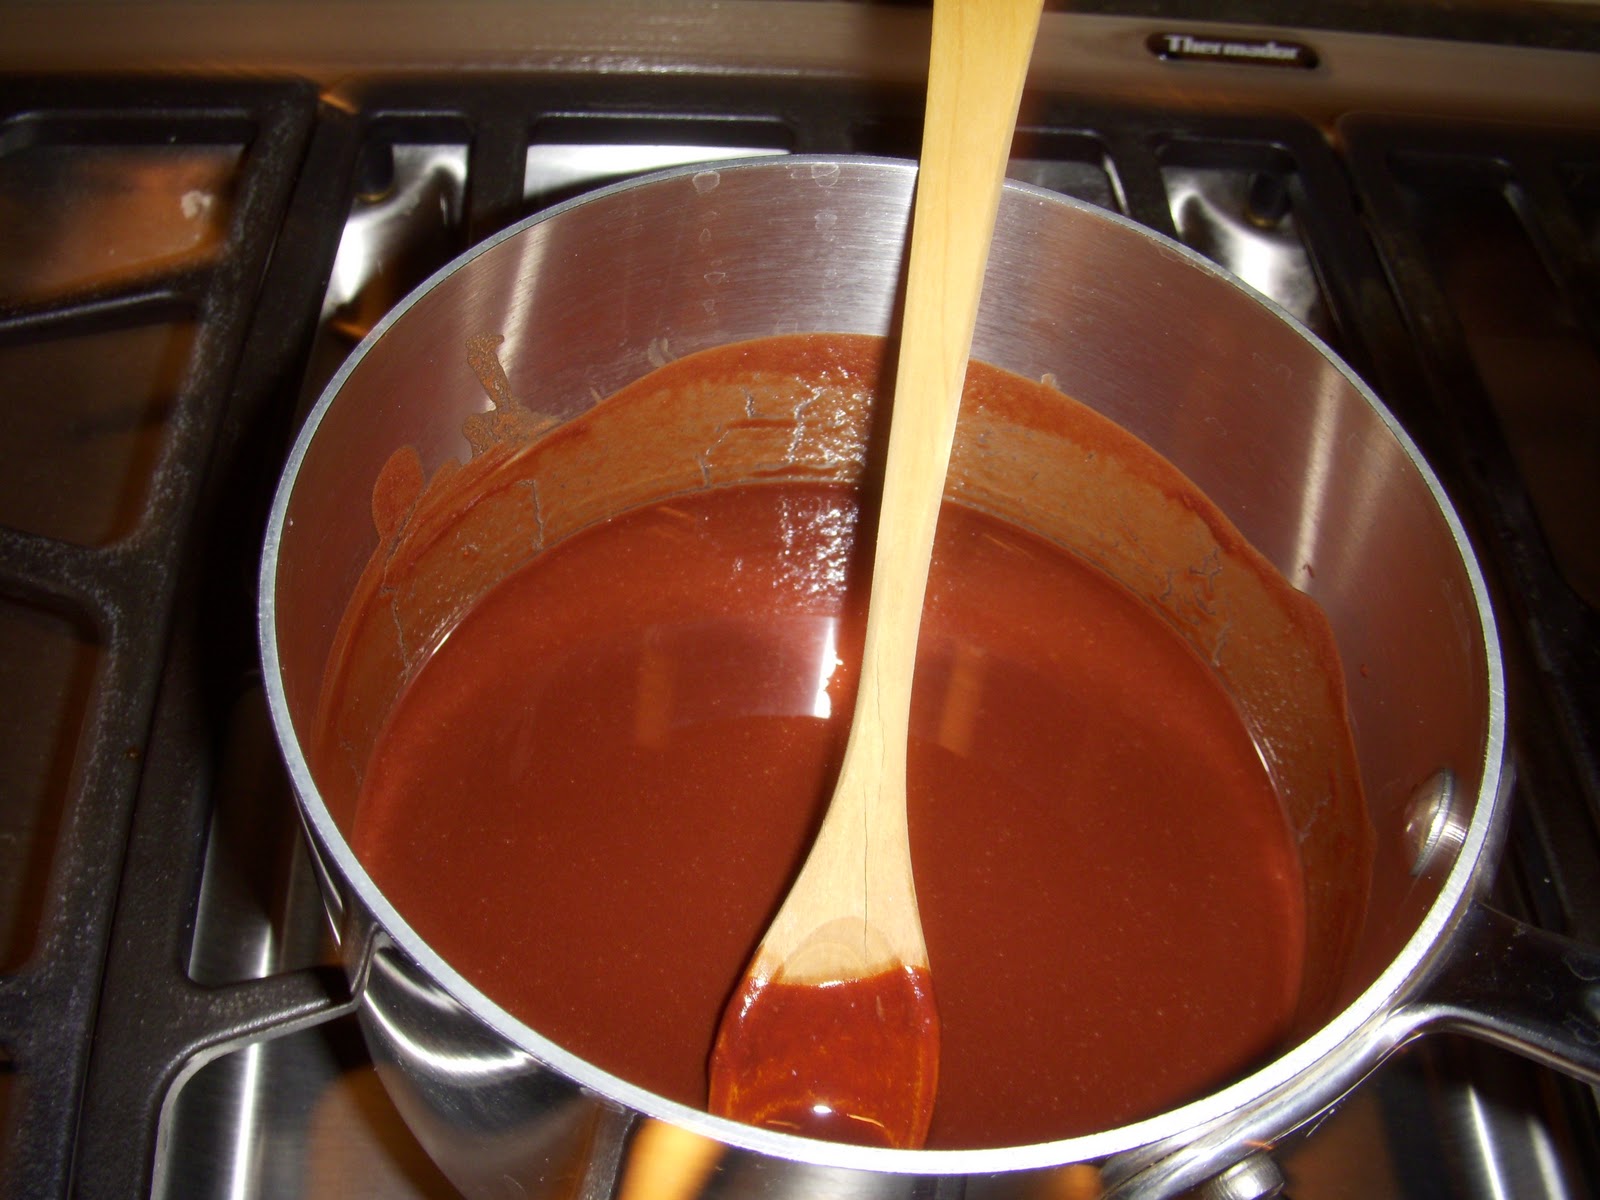
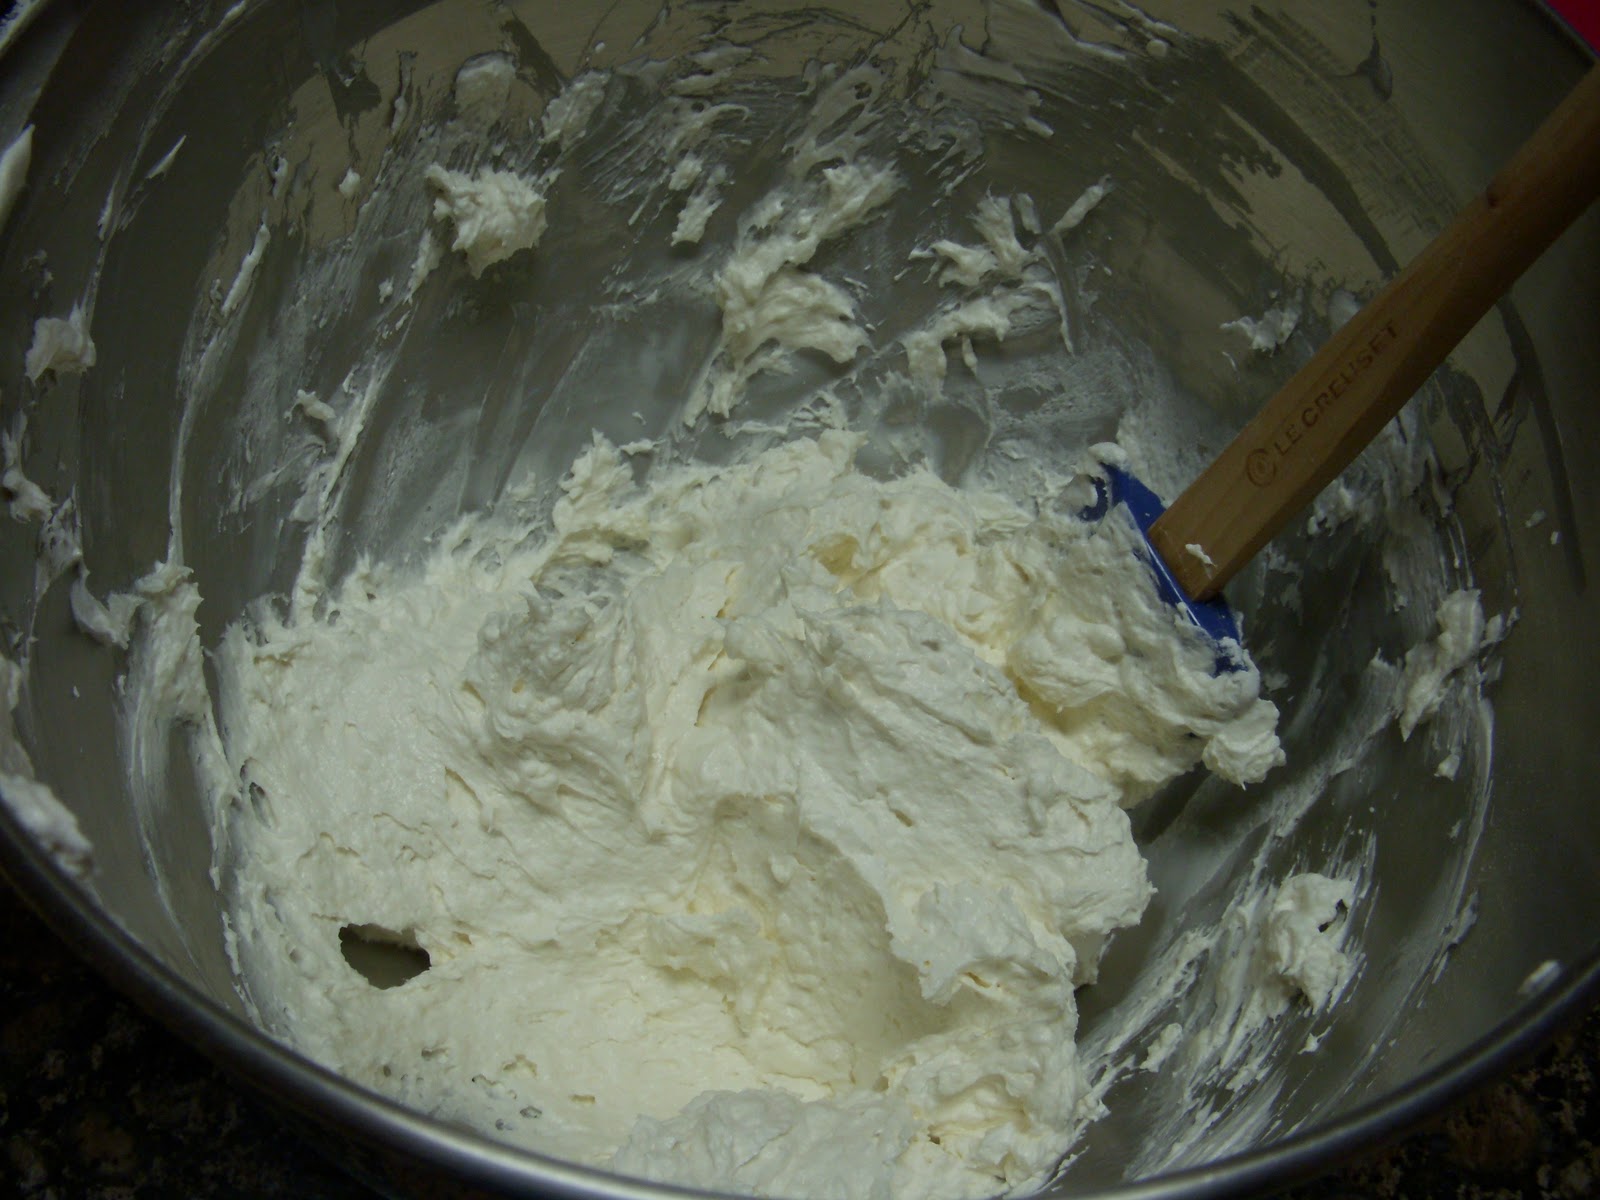
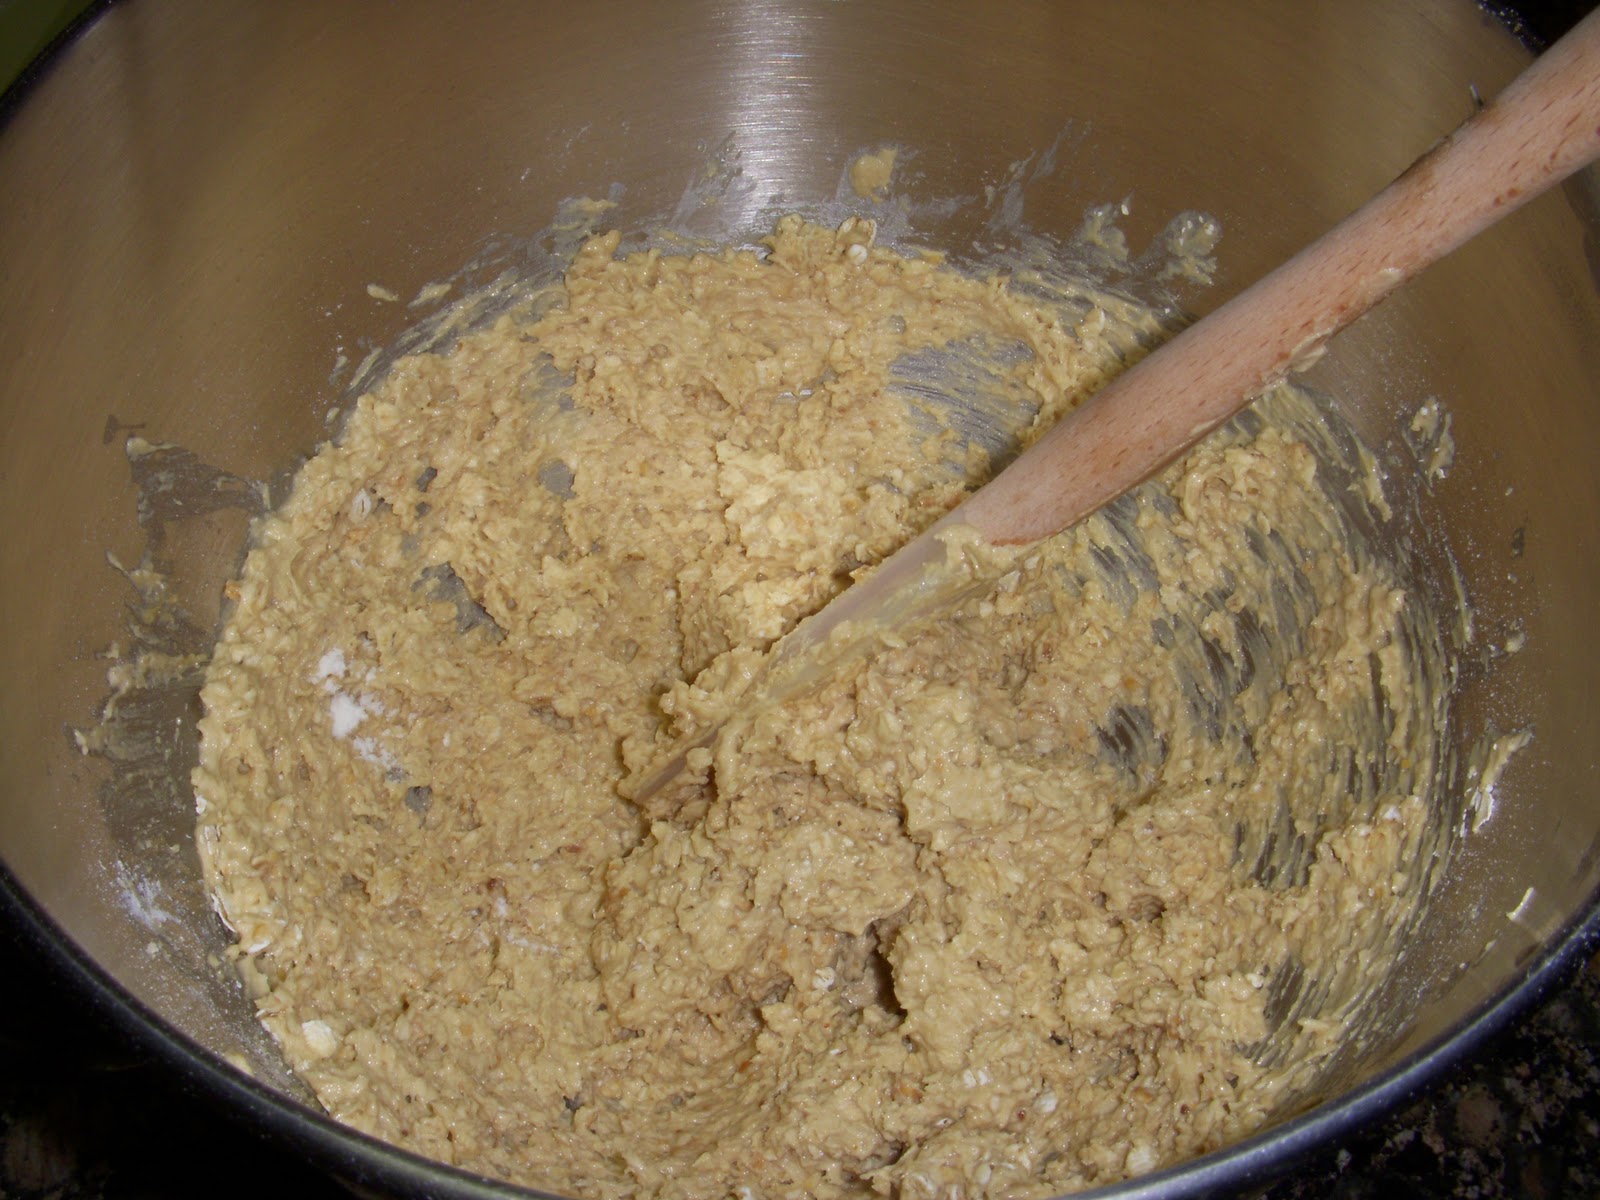
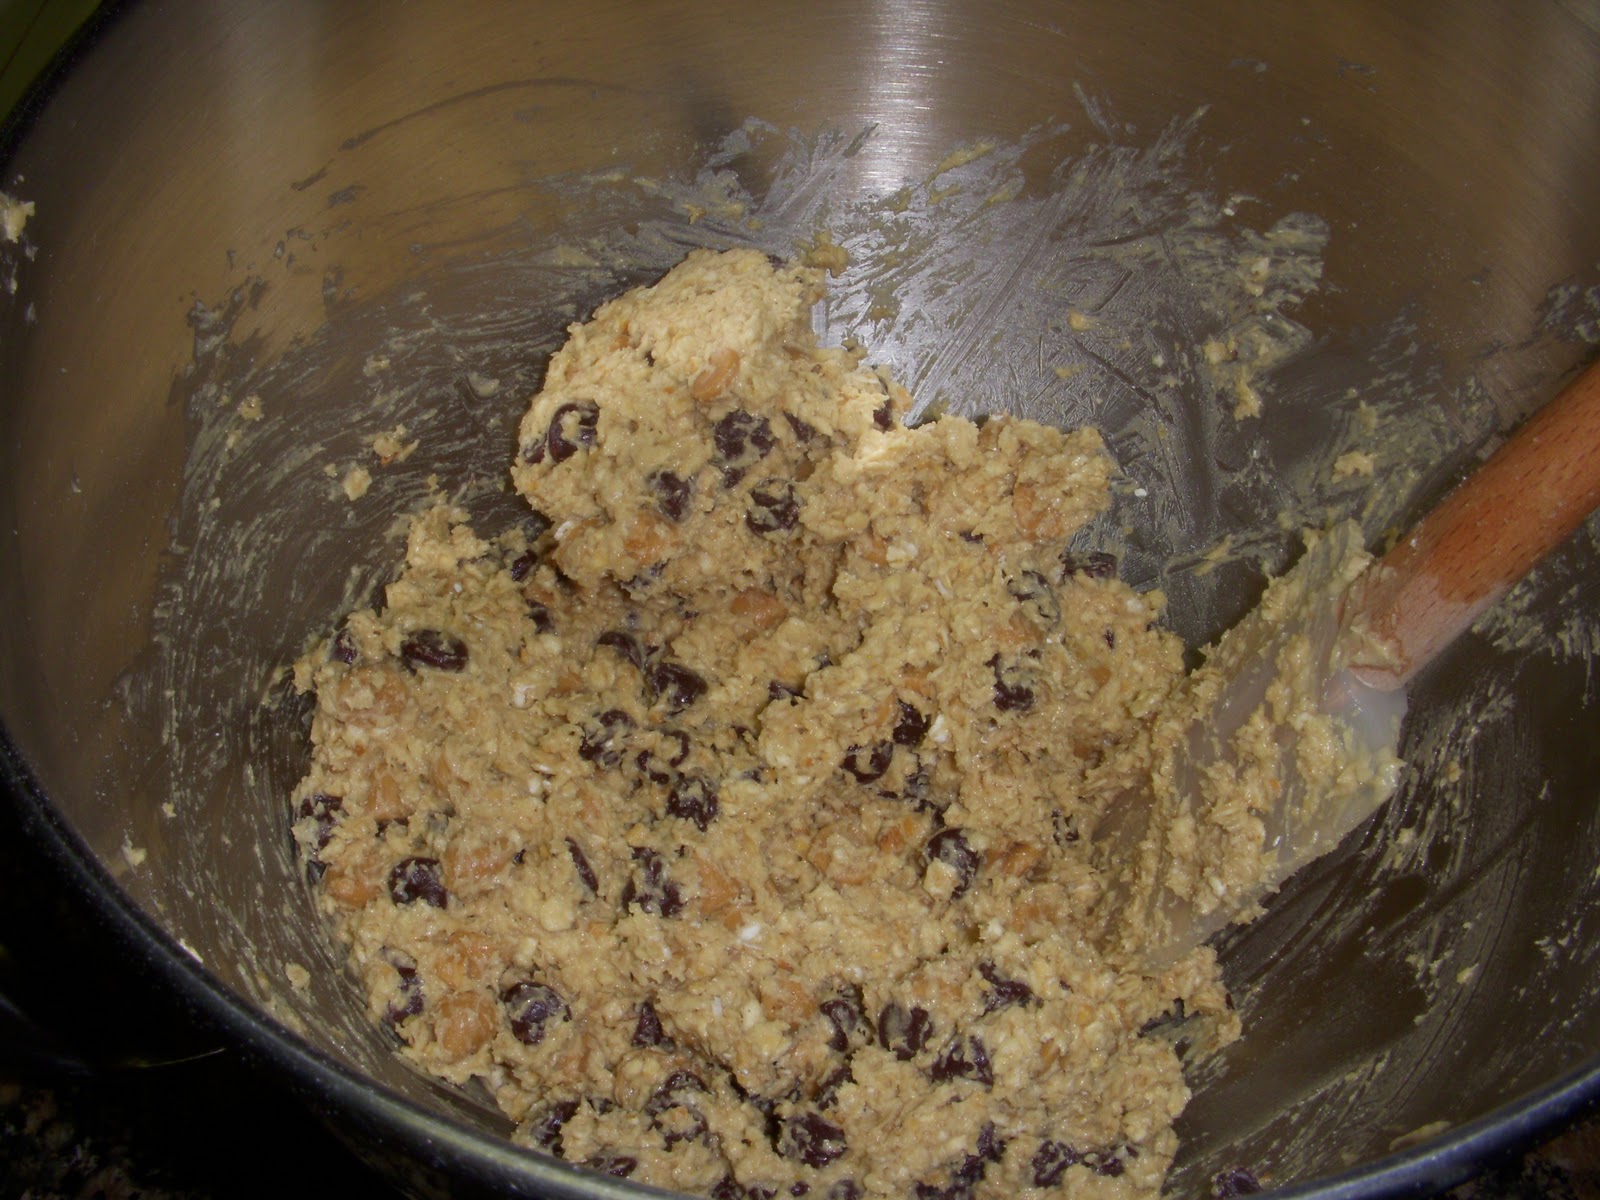
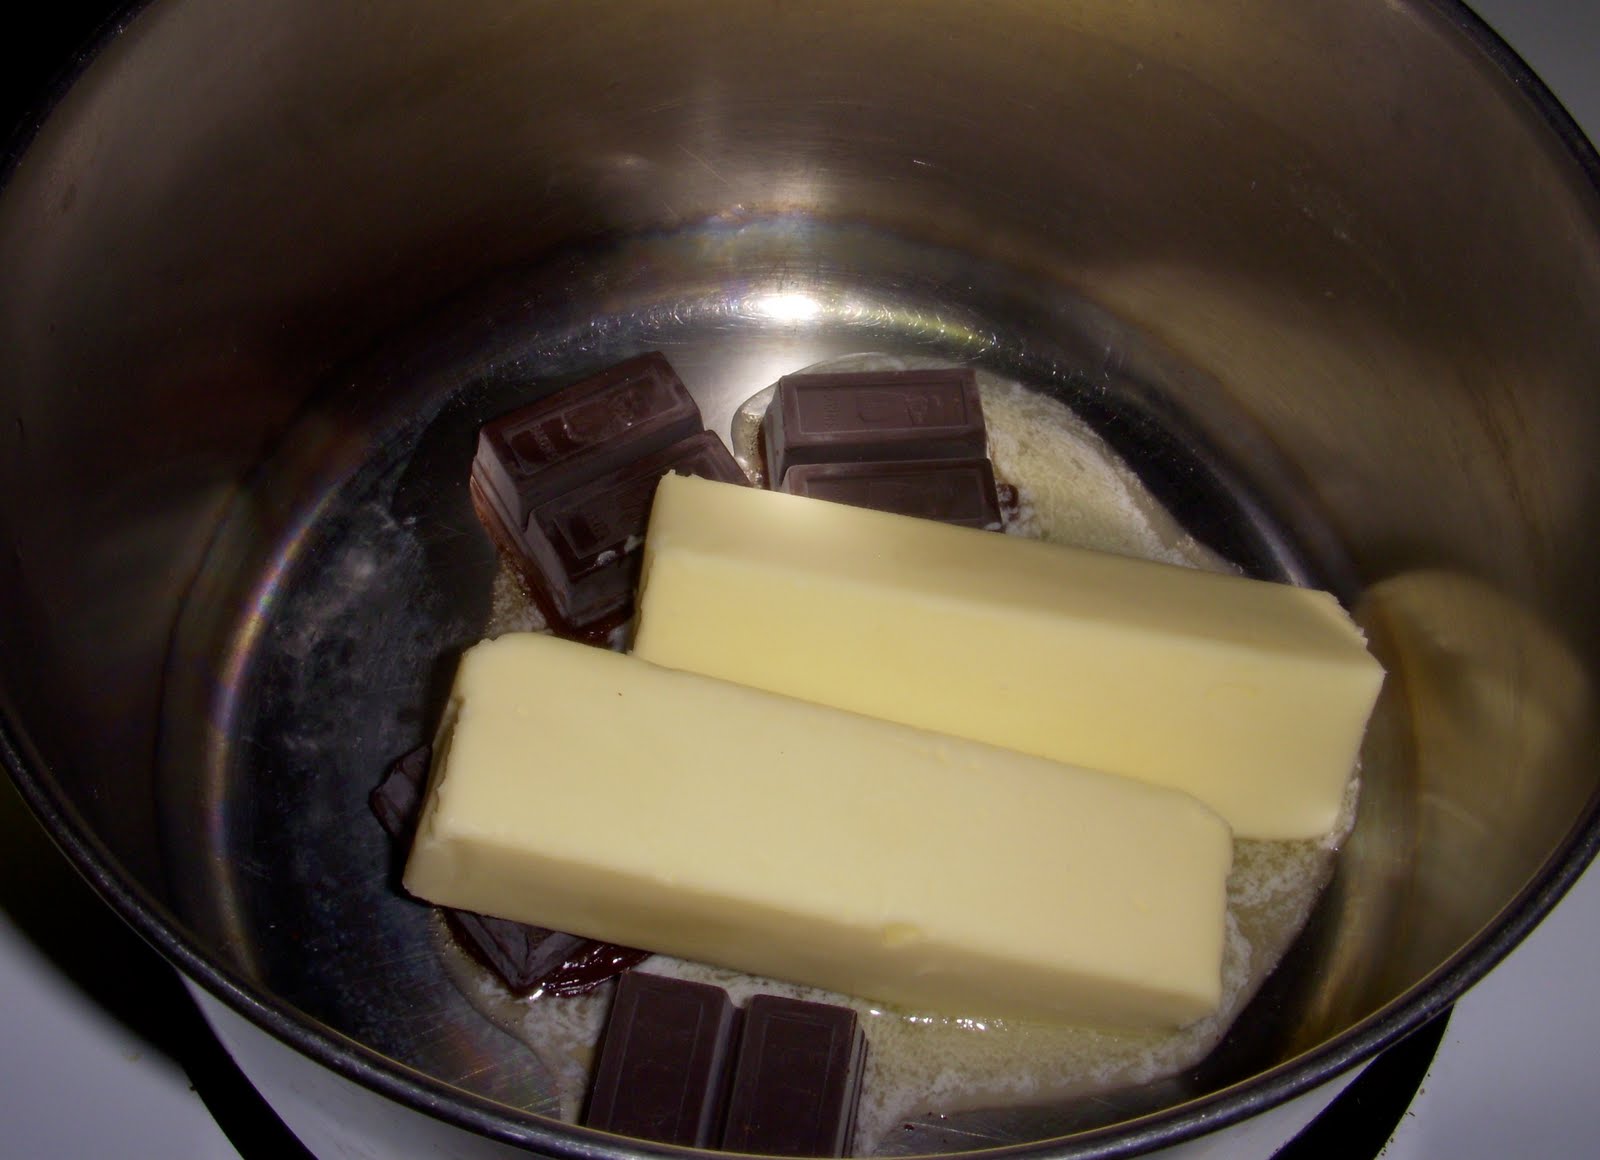
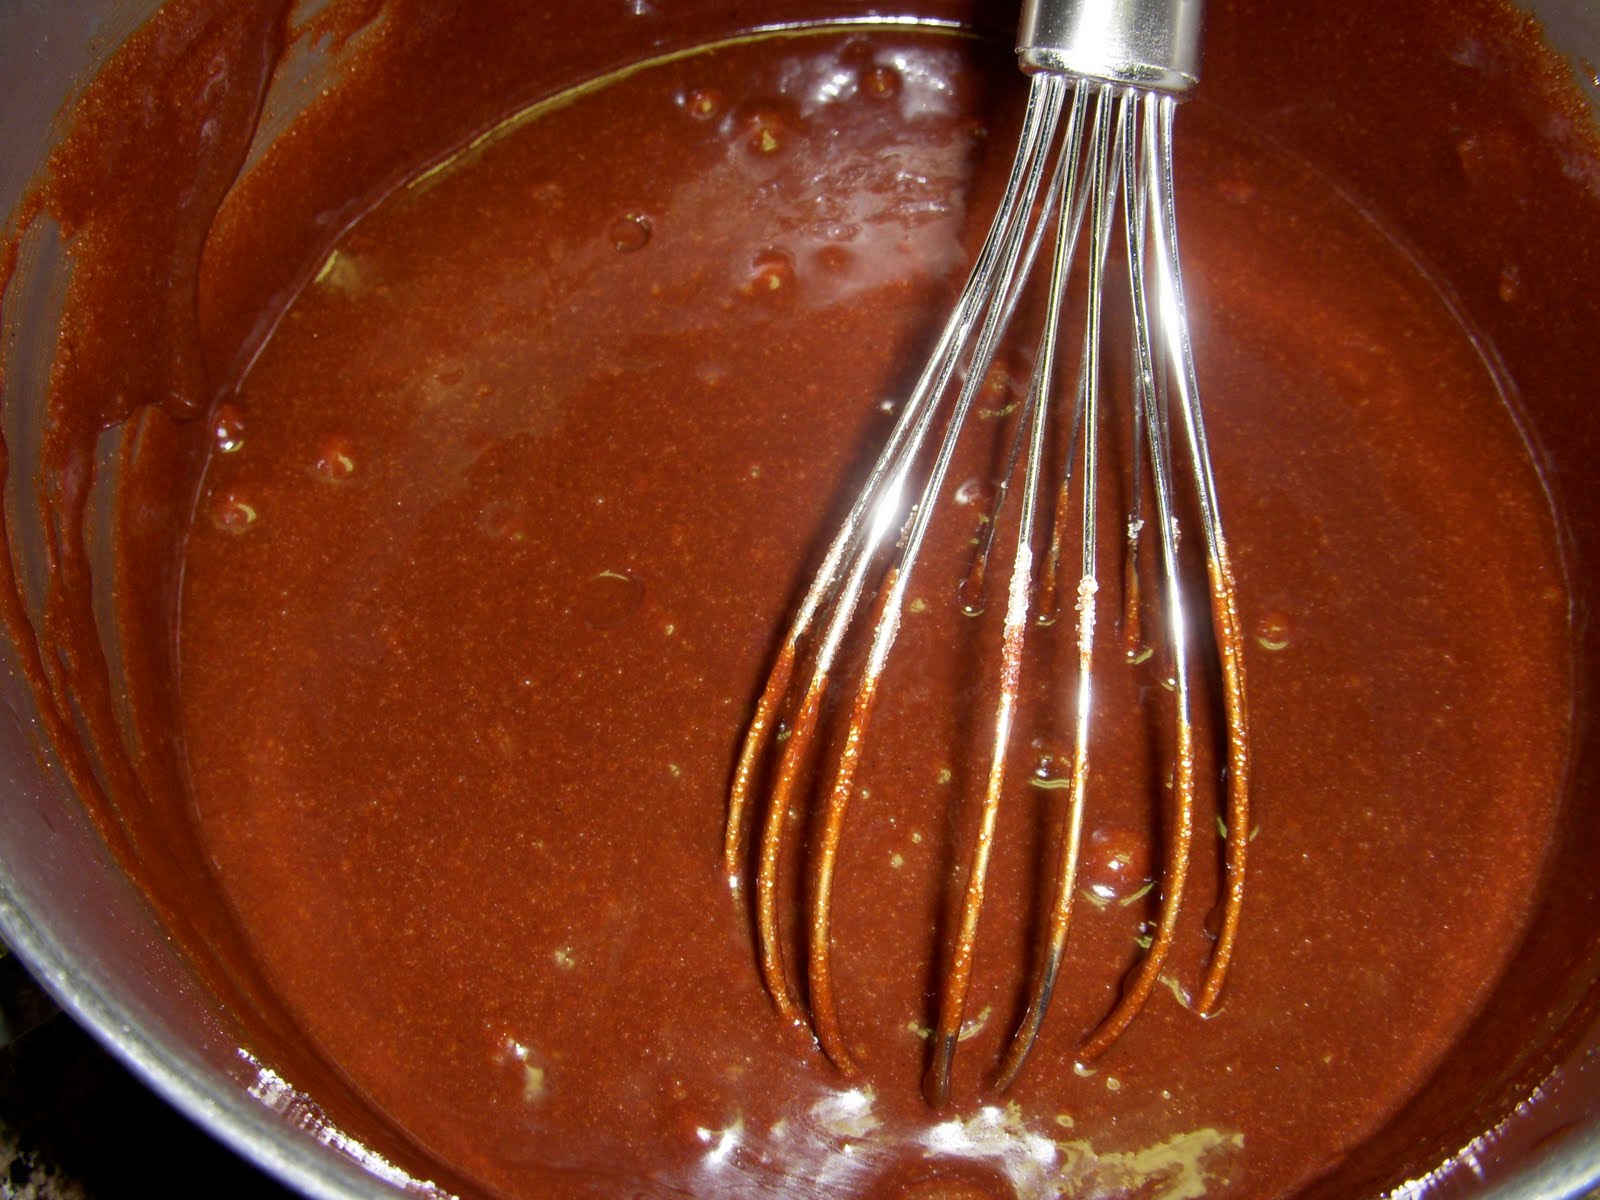
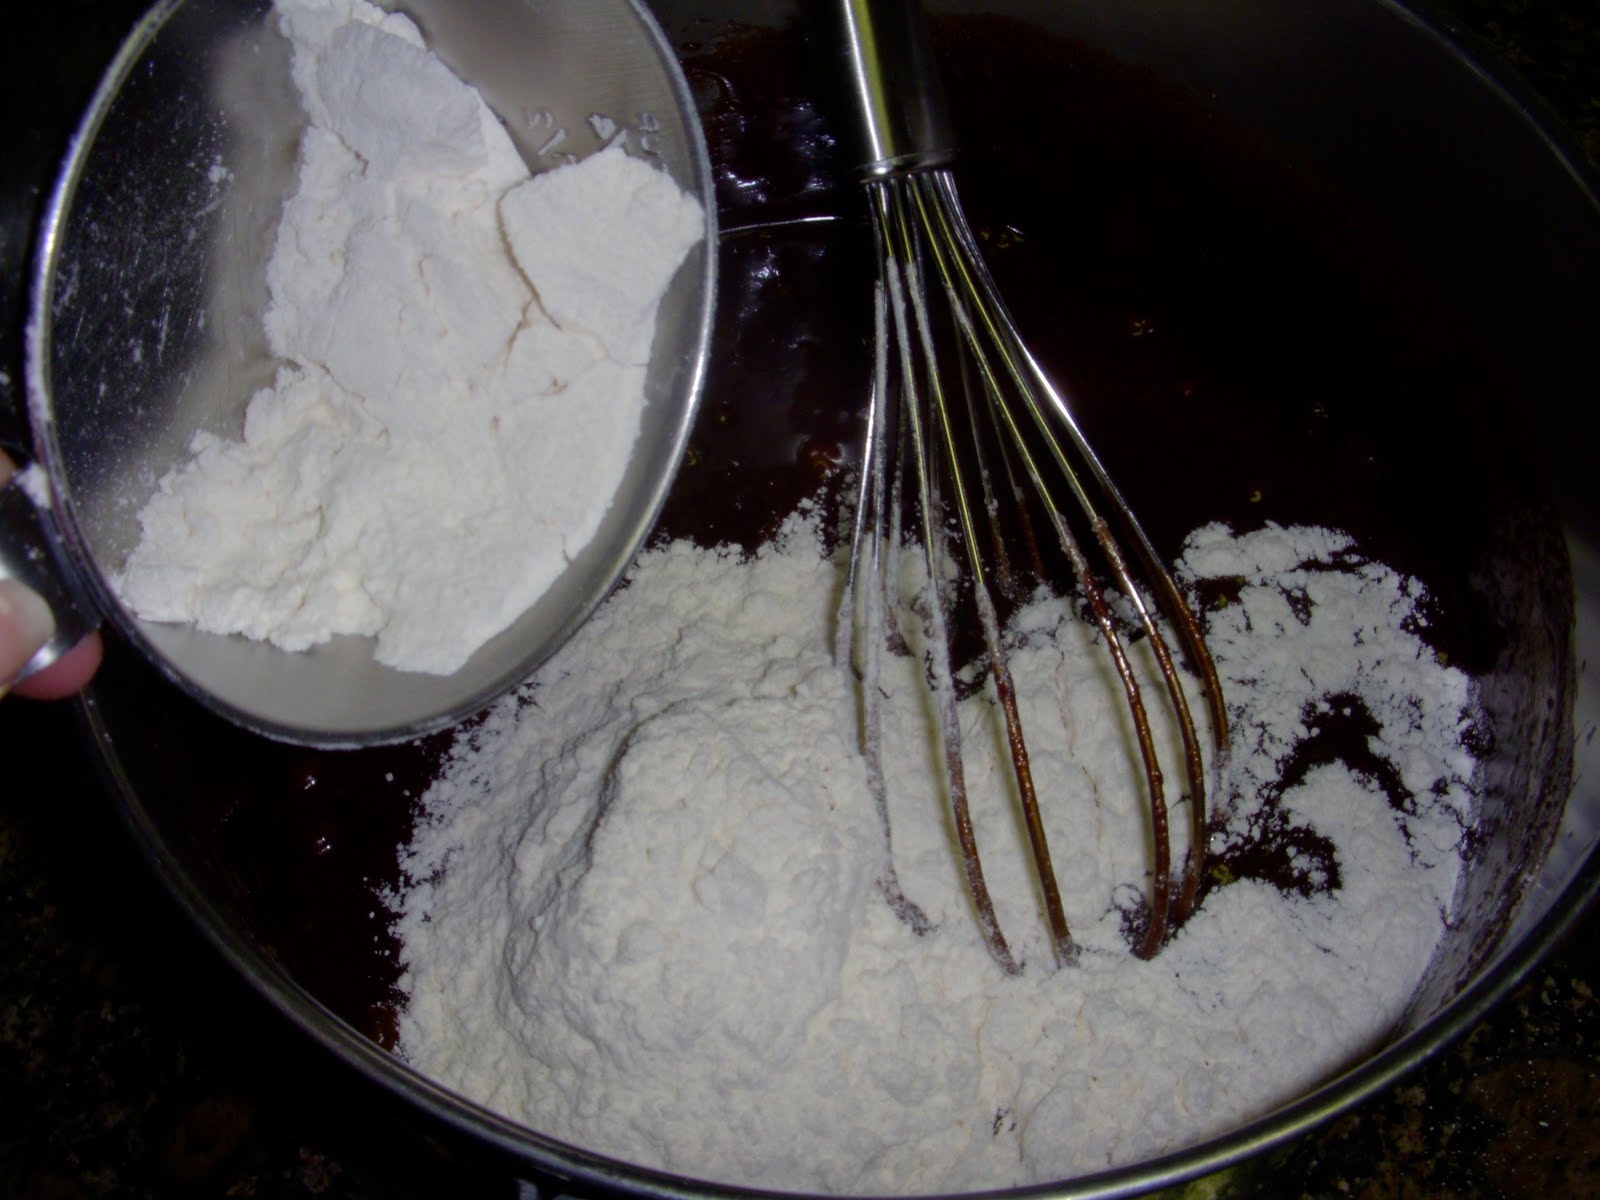
Meanwhile, melt chocolate chips, peanut butter, and butter in a medium saucepan over medium-low heat.  Stir in the cereal to evenly coat.
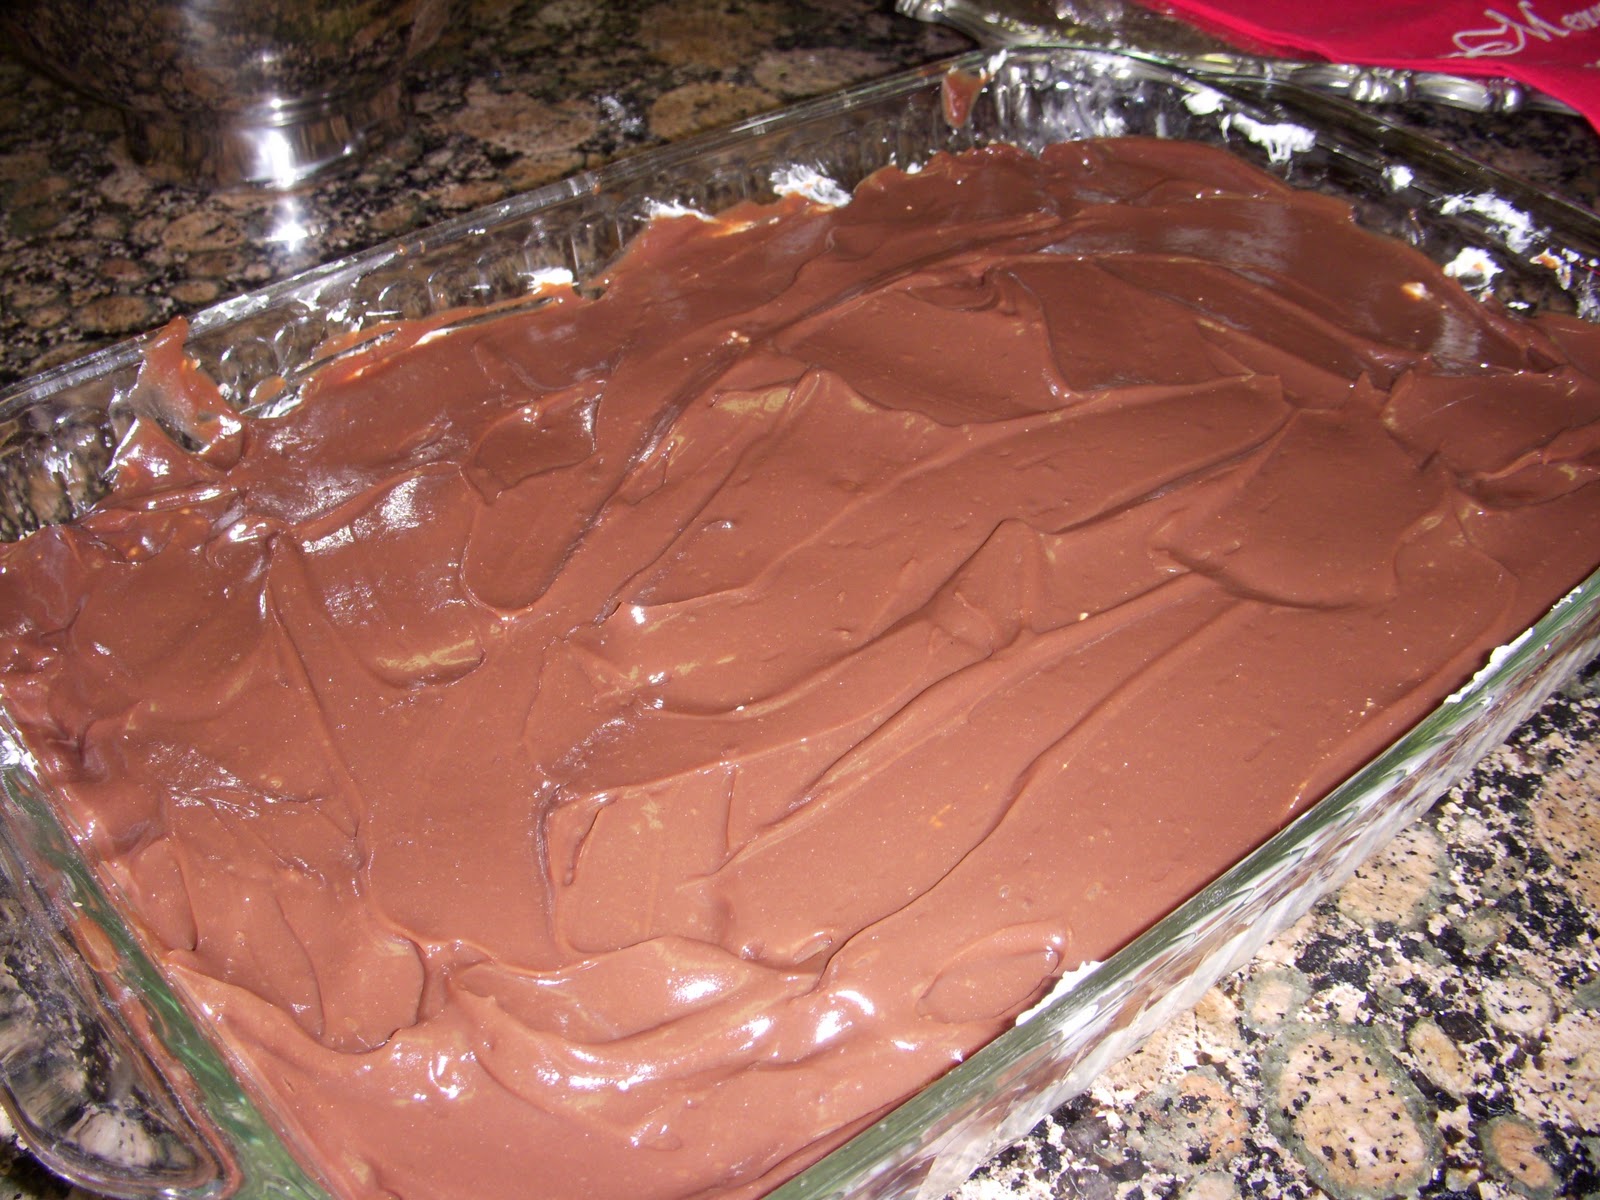
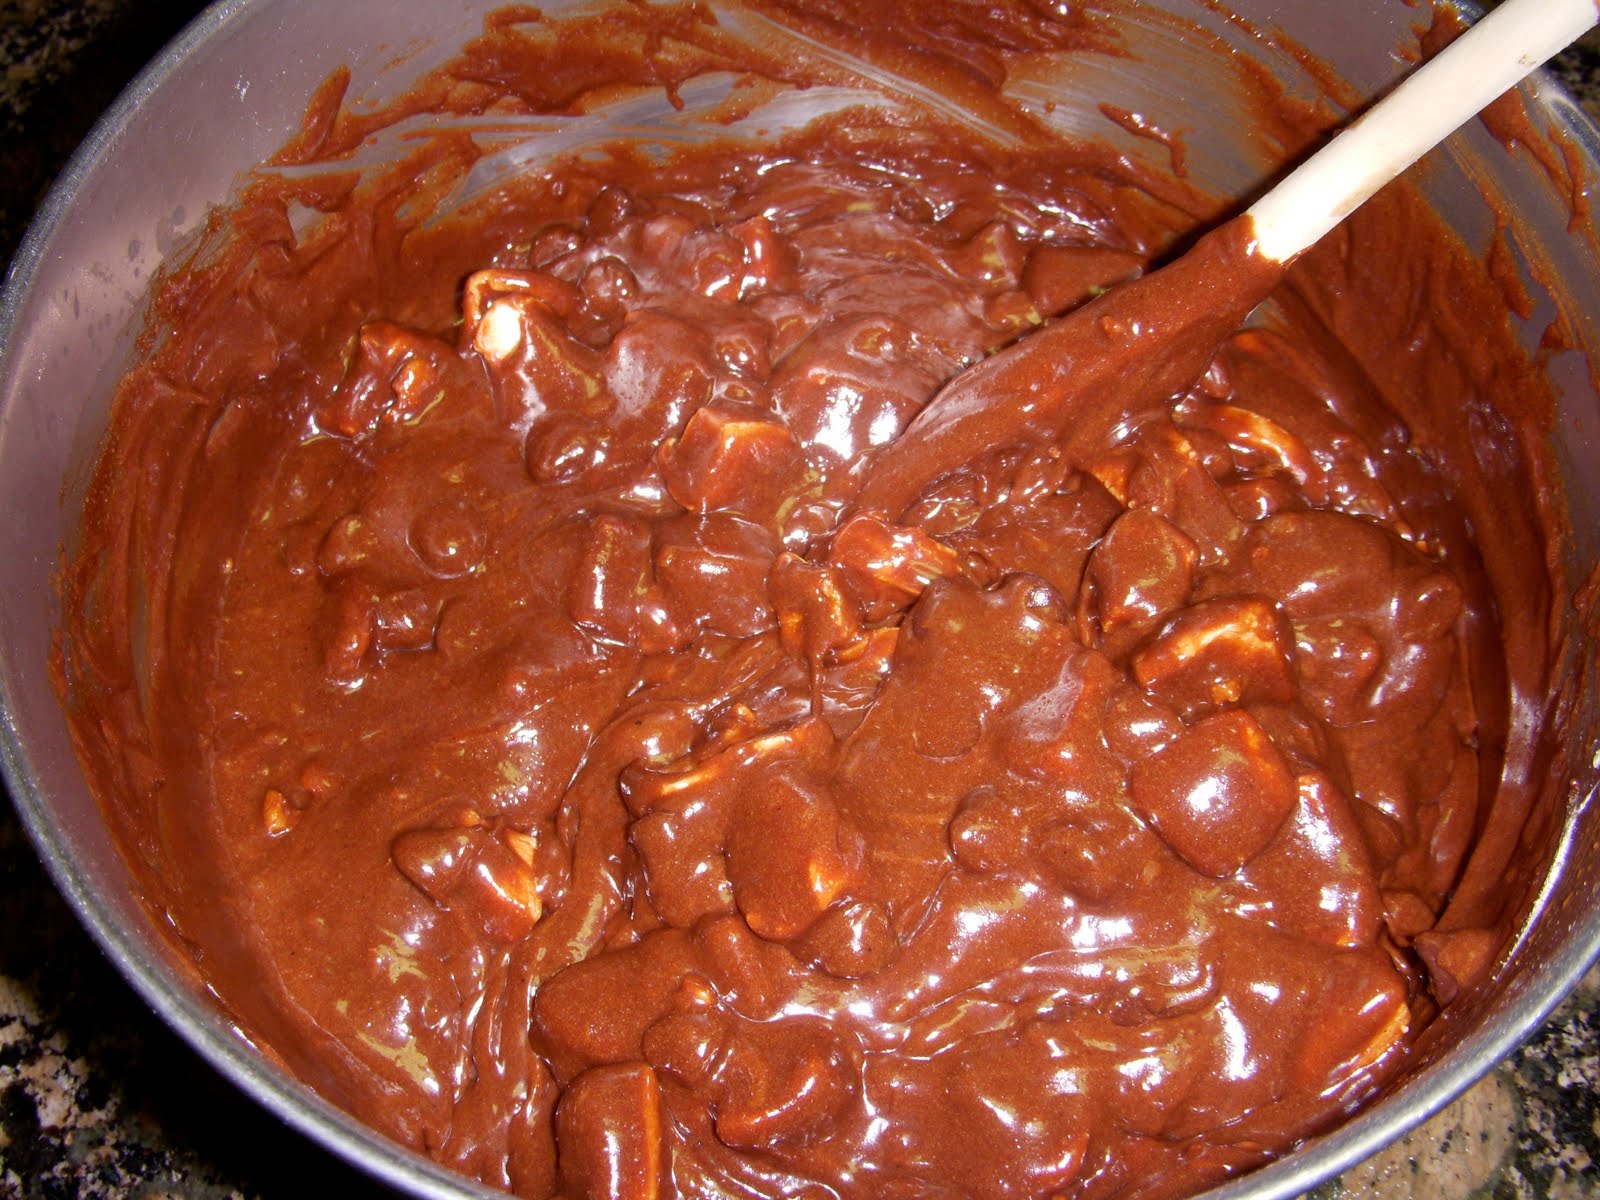
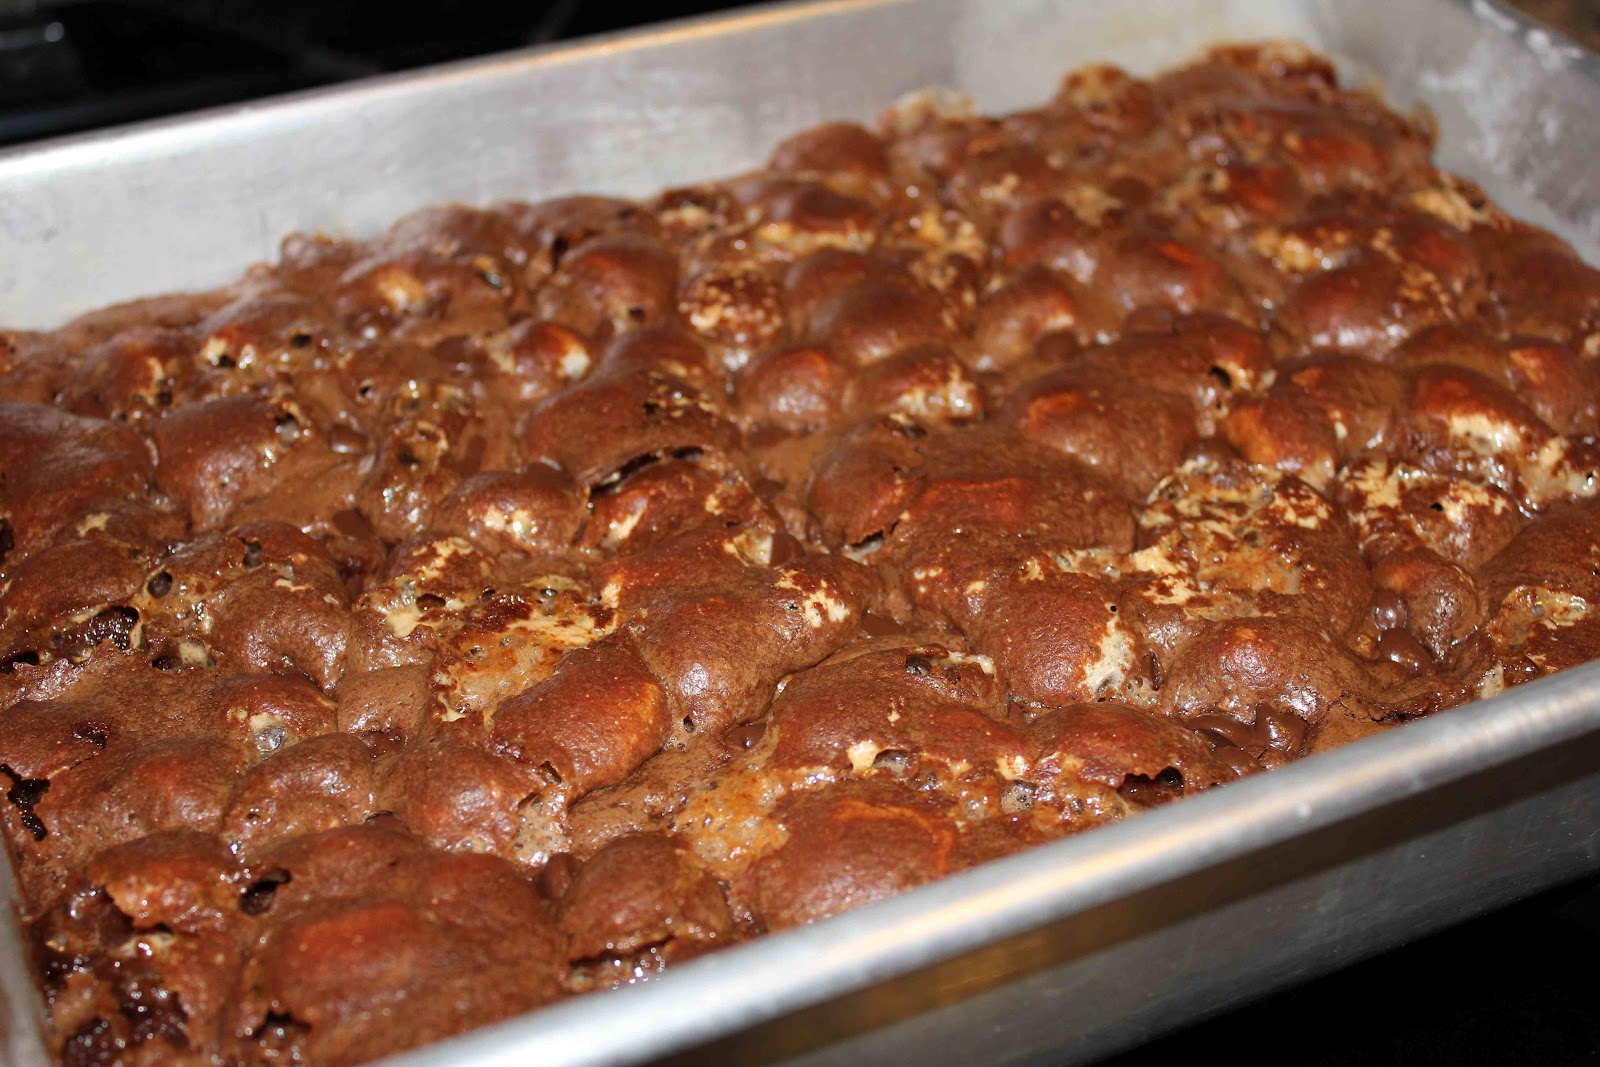
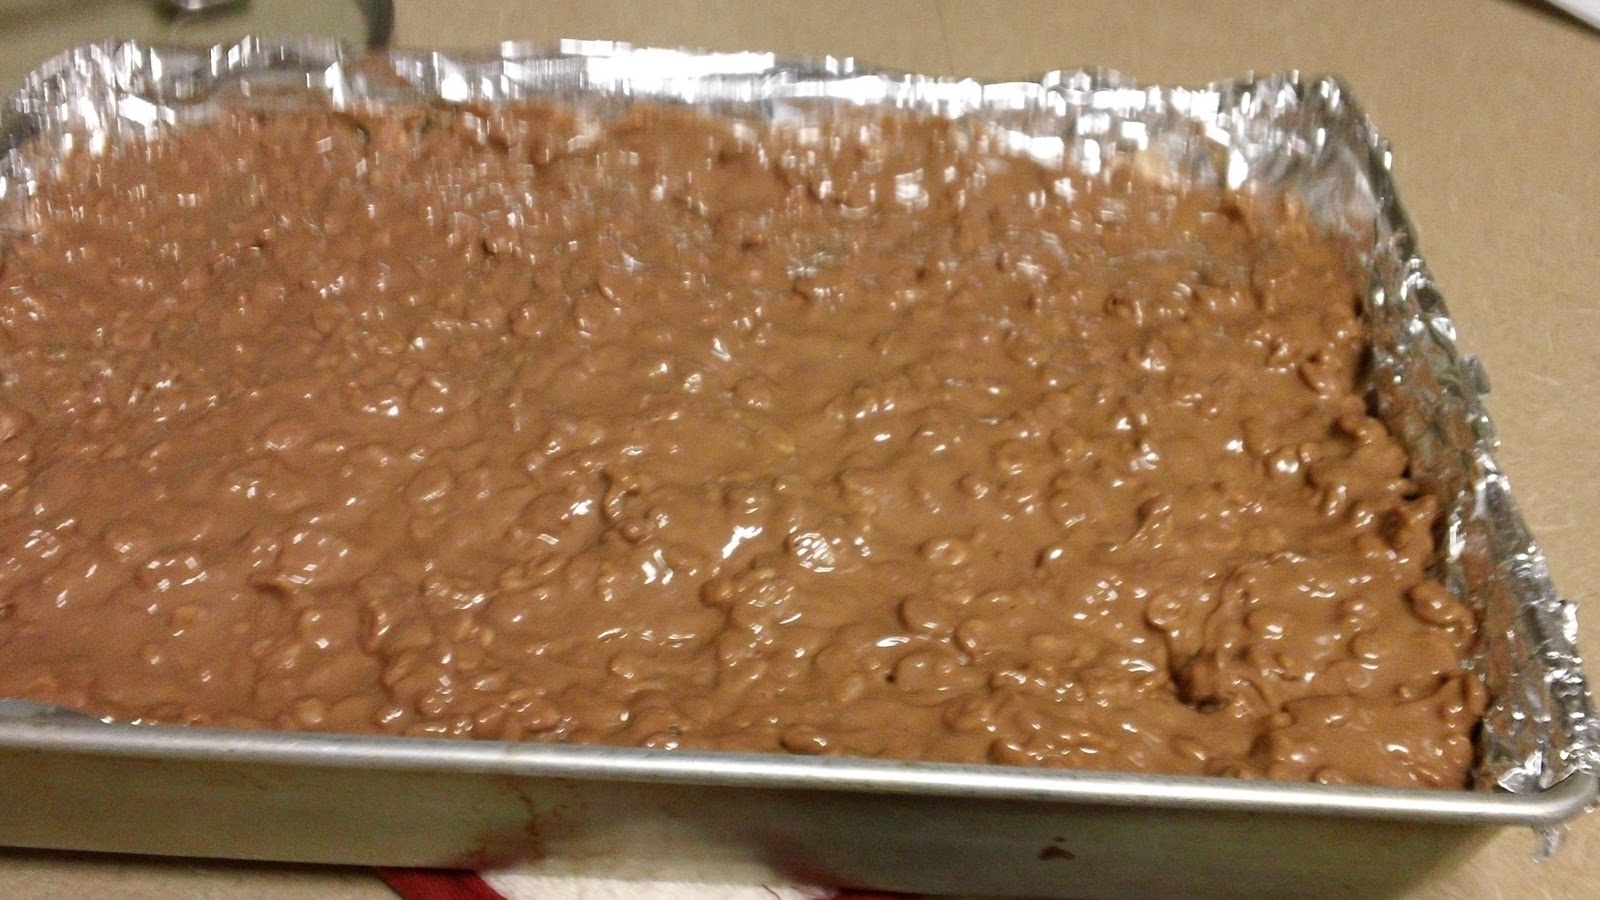
Remove the brownies from the oven and pour the chocolate and peanut butter mixture over the top.  Spread evenly.  
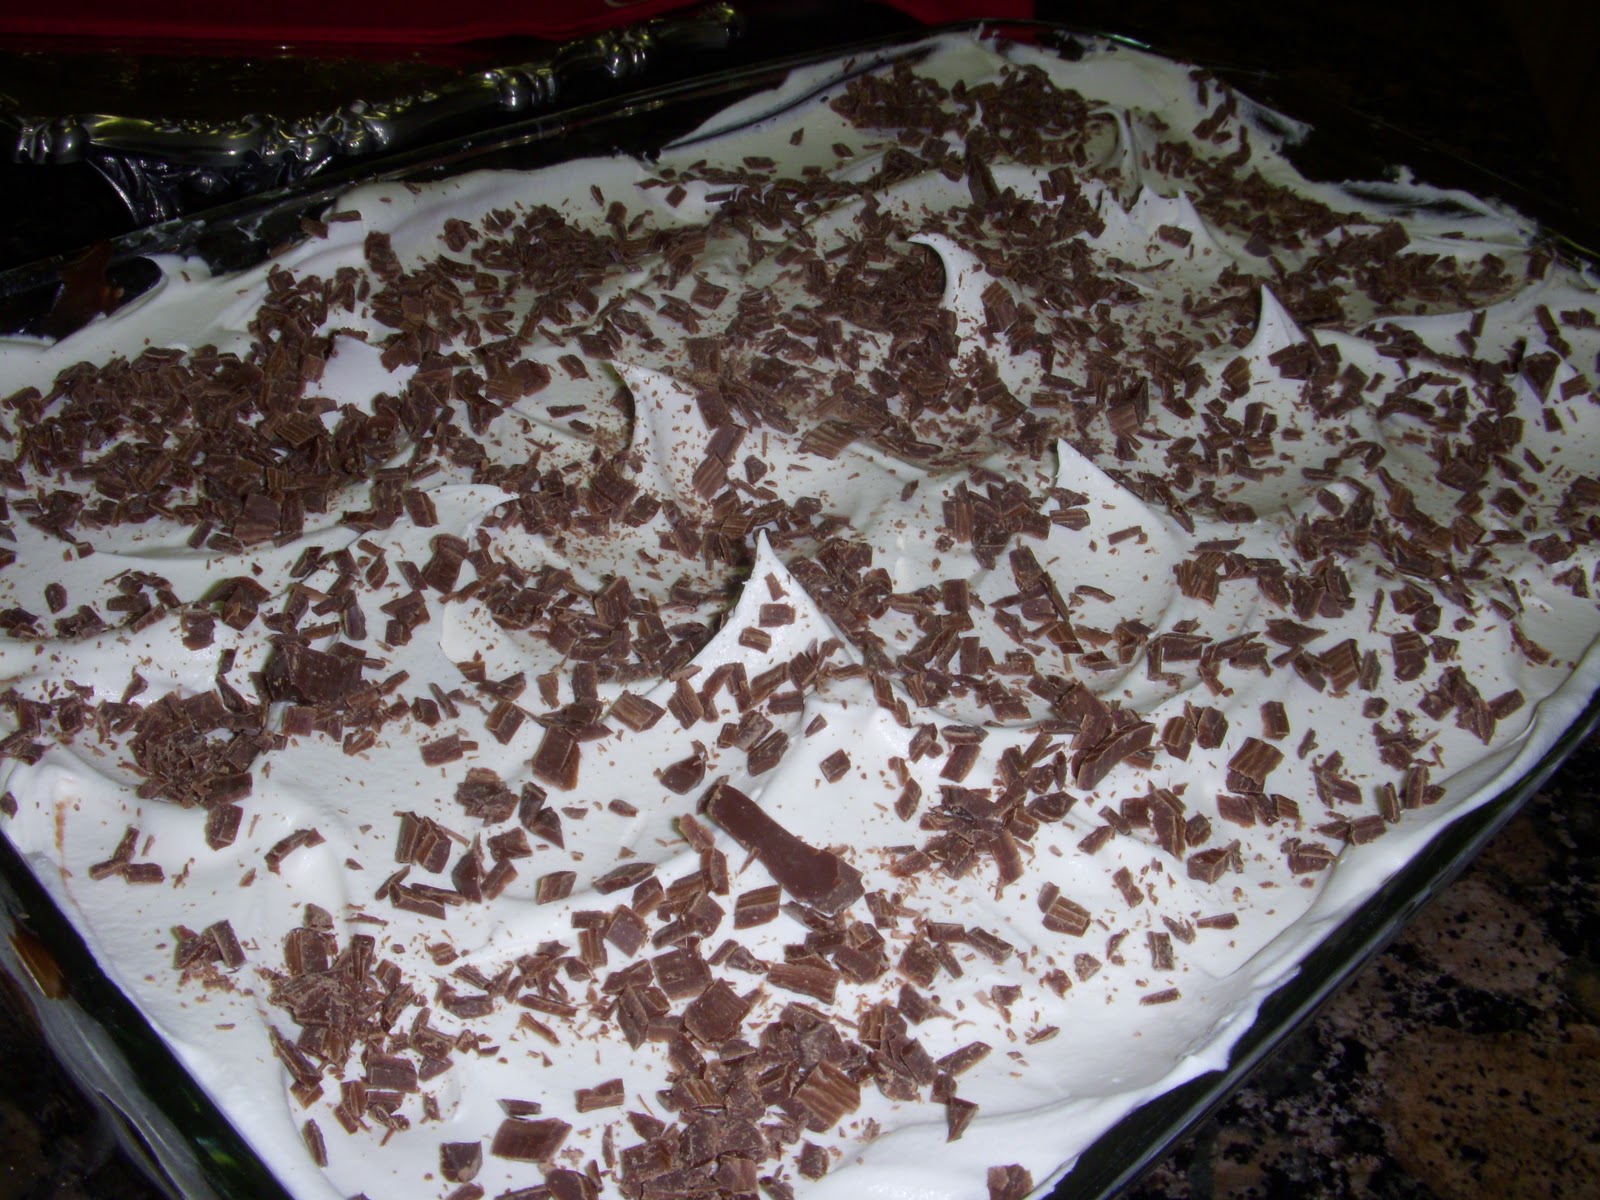
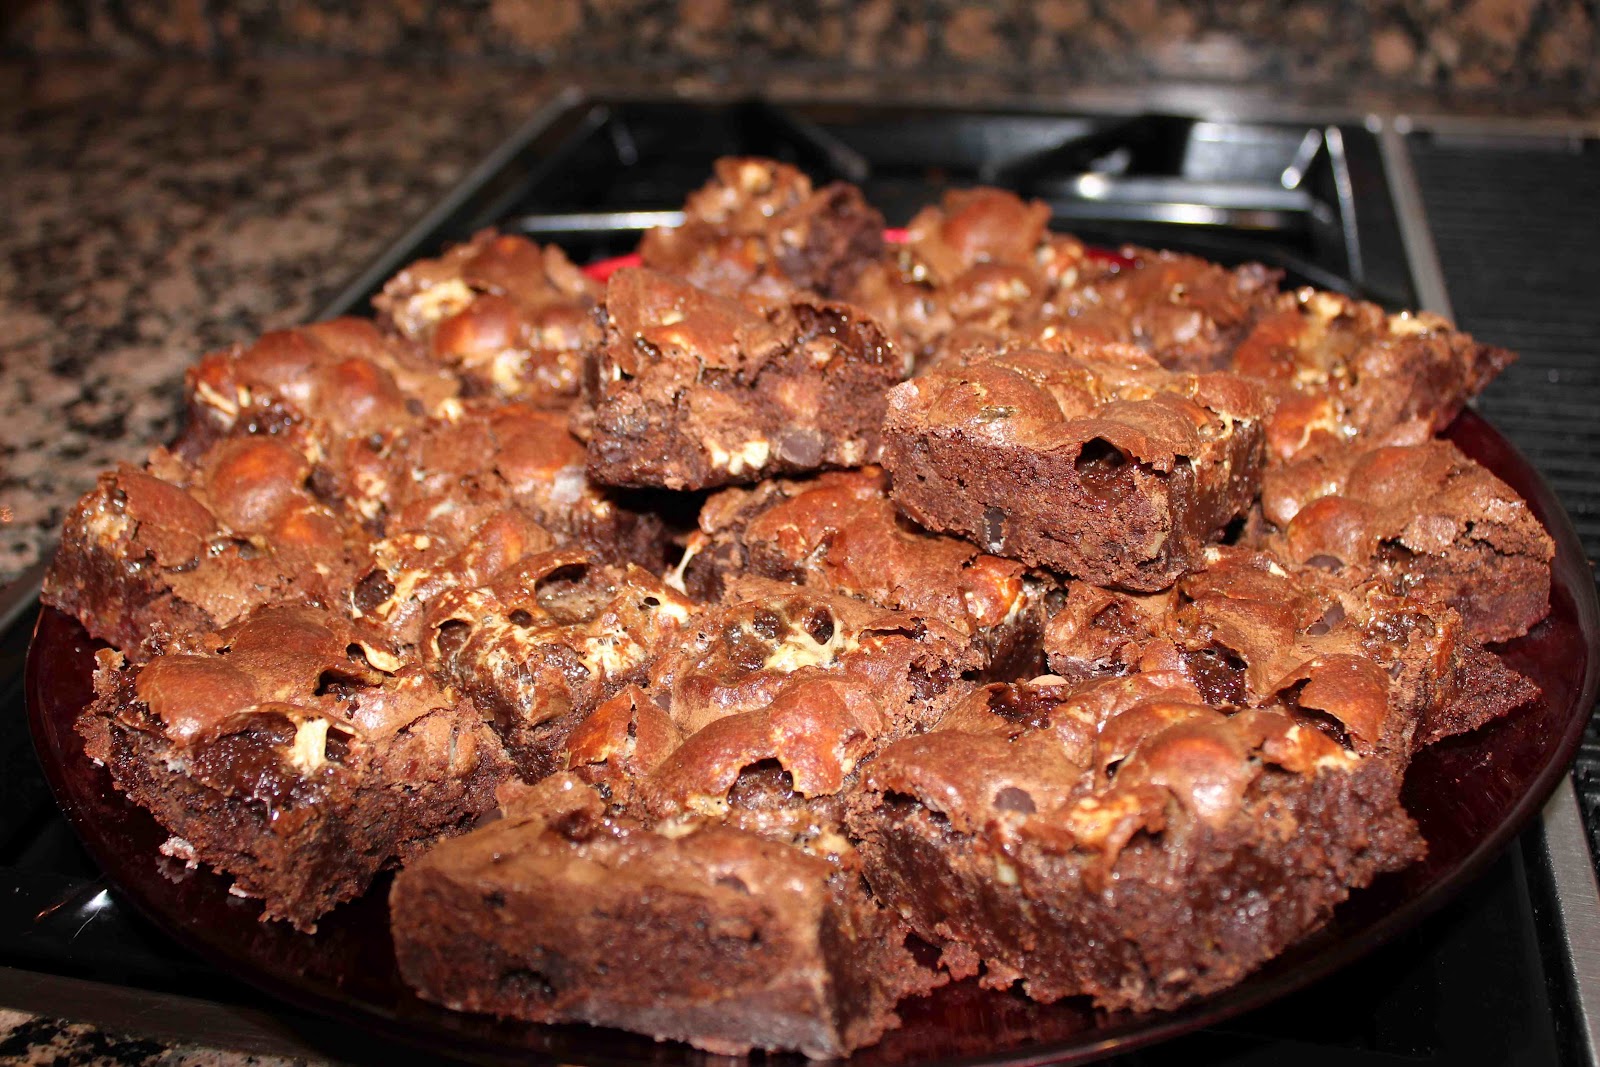
Refrigerate for 2 hours before cutting and serving.  Yum!
Better-Than-Crack Brownies (Peanut Butter Cup Crunch Brownies)
Ingredients
1 batch of your favorite brownie recipe for a 9 x 13-inch pan (I recommend Chewy Brownies)
1/2 cup salted peanuts
8 Reese’s peanut butter cups, chopped
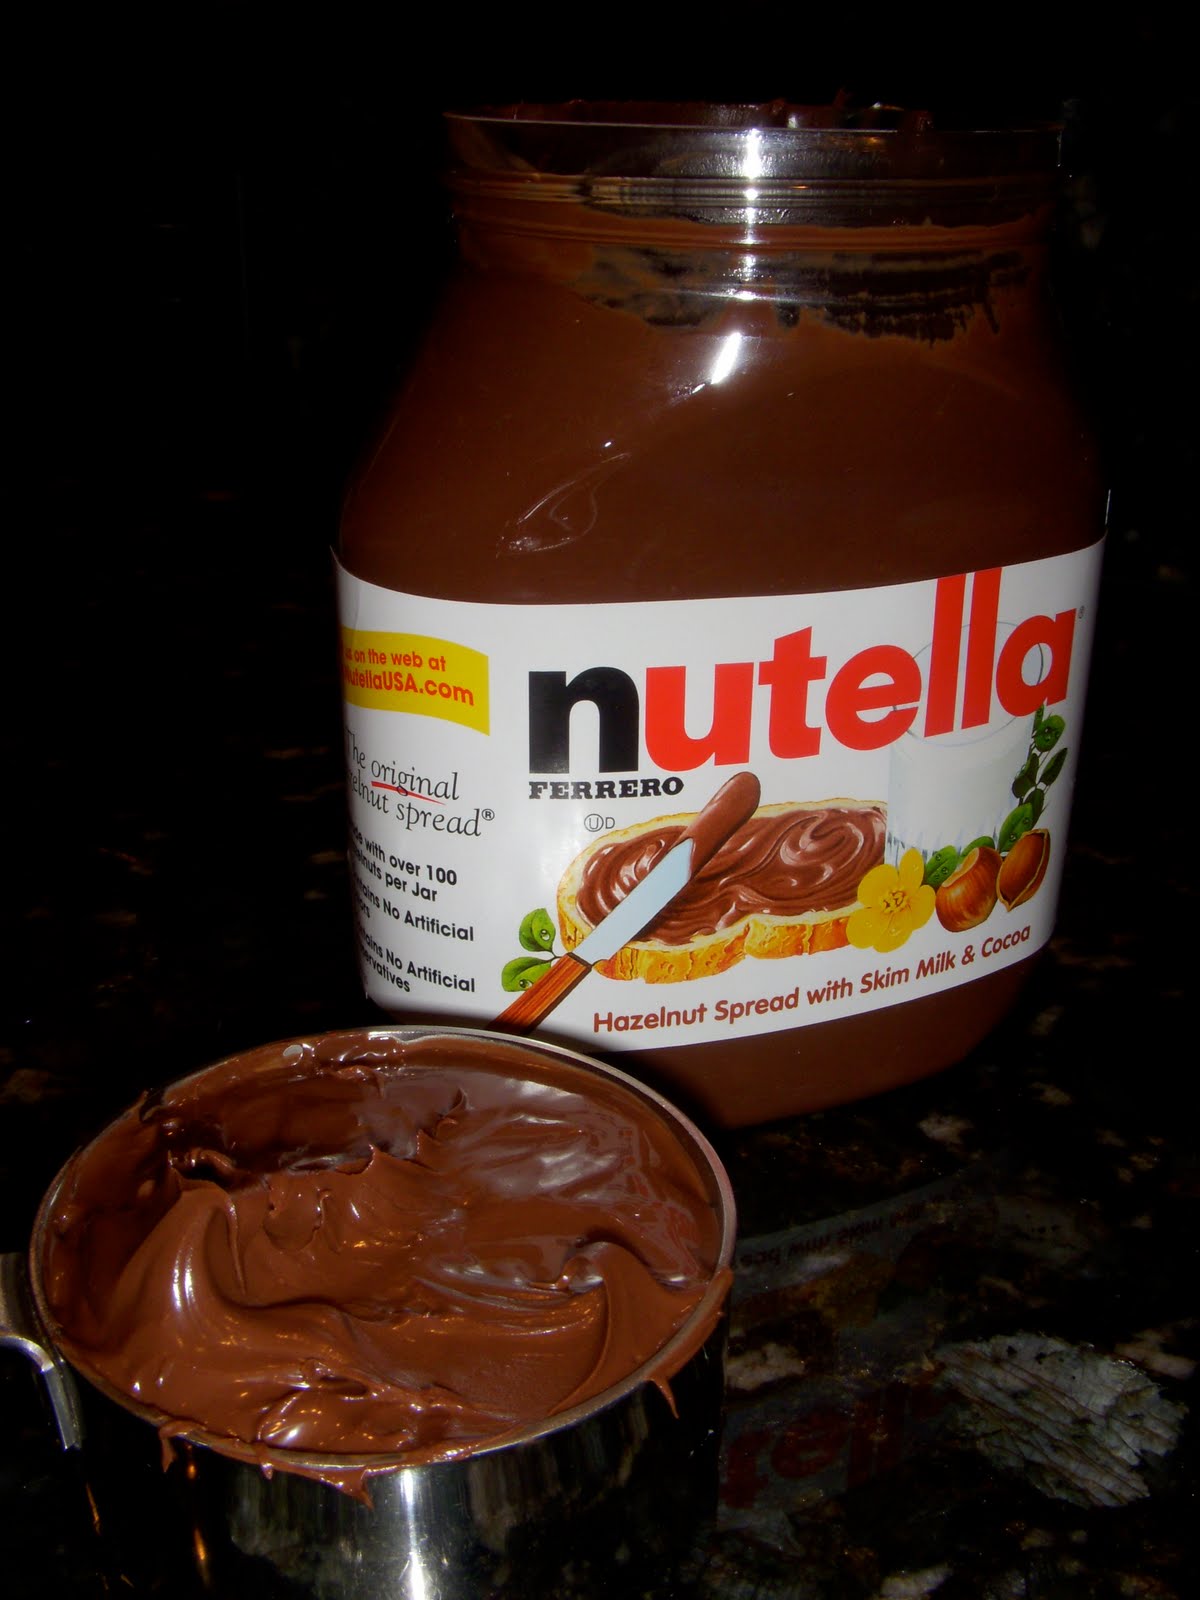
1 1/2 cups milk chocolate chips
1 1/2 cups creamy peanut butter
1/2 Tbsp. unsalted butter
1 1/2 cups Rice Krispies cereal
Directions
1.  Prepare the brownies according to the directions and bake for about 5 minutes less than the recipe states.  Remove from the oven and sprinkle the top with the peanuts and chopped peanut butter cups.  Return to the oven and bake for 5 additional minutes.
2.  While they are finishing baking, melt the chocolate chips, peanut butter and butter in a medium saucepan over medium-low heat.  Stir in the cereal to evenly coat.  Remove the brownies from the oven and evenly pour the chocolate and peanut butter mixture over top.  Spread to cover evenly.  Refrigerate for 2 hours before cutting and serving.  Store in airtight container in the refrigerator.
Yield: 24 brownies

Cocoa Brownies with Browned Butter and Walnuts

get-attachment.aspx

My dad took these brownies to work, and one of his coworkers said, “This is the best brownie I’ve ever eaten!”  These Cocoa Brownies with Browned Butter and Walnuts came from the February 2011 issue of Bon Appetit magazine.  We definitely agree with their quote that “these are some of the best brownies I’ve ever had — fudgy in the middle, and chewy on the outside with a shiny, crackly top.  The browned butter adds a rich, nutty flavor.”  In addition, these are super easy to make.  The entire recipe is made in just one pan…very easy cleanup if you ask me!  The only negative is that these brownies only make enough for an 8-inch square baking pan.  If you want more, you’ll have to double the recipe! haha 🙂  Actually maybe this is a good thing…if you are trying to retain some self control in the sweets you eat!  Enjoy!
P.S.  My husband wants you all to know that these brownies make for a wonderful, on-the-go breakfast! haha 🙂
get-attachment.aspx
 
Cocoa Brownies with Browned Butter and Walnuts
Ingredients
Nonstick vegetable oil spray
10 Tbsp. (1 1/4 sticks) unsalted butter, cut into 1-inch pieces
1 1/4 cups sugar
3/4 cup natural unsweetened cocoa powder (spooned into cup to measure, then leveled)
1 tsp. vanilla extract
2 large eggs, chilled
1/3 cup plus 1 Tbsp. unbleached all-purpose flour
1 cup walnut pieces
Directions
1.  Position rack in bottom third of oven; preheat to 325 degrees F.  Line a 8 x 8 x 2-inch metal baking pan lined with foil, pressing foil firmly against pan sides and leaving 2-inch overhang.  Coat foil with nonstick spray.
2.  Melt butter in medium saucepan over medium heat.  Continue cooking until butter stops foaming and browned bits form at bottom of pan, stirring often, about 5 minutes.  Remove from heat; immediately add sugar, cocoa, 2 teaspoons of water, vanilla, and 1/4 teaspoon (generous amount) of salt.  Stir to blend.  Let cool for 5 minutes (mixture will still be hot).
3.  Add eggs to hot mixture 1 at a time, beating vigorously to blend after each addition.  When mixture looks thick and shiny, add flour and stir until blended.  Beat vigorously 60 strokes.  Stir in nuts.  Transfer batter to prepared pan.
4.  Bake brownies until toothpick inserted into center comes out almost clean (with a few moist crumbs attached), about 25 minutes.  Cool in pan on rack.  Using foil overhang, lift brownies from pan.  Cut into 4 strips.  Cut each strip crosswise into 4 brownies.
Do ahead: Can be made 2 days ahead. Store airtight at room temperature.
Yield:  16 brownies
Bon Appetit, February 2011

Milk Chocolate Brownies

This will kill your New Years Resolution diet, but I have to tell you, they may be worth it! We made these for our New Years dinner with my family and everyone loved them!  Personally, I am not a huge brownie fan because in my opinion, most brownies are too rich and taste too much like dark chocolate (I like milk chocolate only).  However, I can get by with a dumping a large scoop of vanilla ice cream over my brownie to calm the richness of the chocolate.
That being said, these brownies are sooo much better than your typical brownie because of the milk chocolate!  I have a huge sweet tooth, and these are nothing but sweetness in your mouth!  They taste like a cakey Hershey’s bar with the creamy and fudgy flavors creating a bliss of a dessert.  The secret ingredient is 1 ounce of unsweetened chocolate, which adds depth of flavor to the milk chocolate bar and milk chocolate chips.  You can serve them topped with vanilla ice cream and (what else?) maybe a drizzle of chocolate syrup, however I could even eat these brownies on their own.
This recipe is from one of my favorite cookbooks, “Fat Witch Brownies:  Brownies, Blondies, and Bars From New York’s Legendary Fat Witch Bakery” by Patricia Helding.  Fat Witch Bakery is a legendary bakery in New York City that I vow to visit someday!  I’ve made their Snow Witches (white chocolate brownies), which are on the top 10 list of Dallas Duo’s recipes for 2010.  Enjoy!
Melt chocolates and butter in a saucepan over low heat.

Remove from heat, and let cool.

Beat eggs, sugar, and vanilla in a large bowl.

Add cooled chocolate to egg mixture.

Add flour and salt and mix until just combined.

By hand, stir in milk chocolate chips/chunks.

Pour into a greased and floured 9 x 9-inch baking pan.

Bake for 25 minutes in a 350 degree oven, or until a toothpick comes out clean or with only crumbs, not batter on it.

Let cool for 1 hour.  Cut just before serving.

H-E-B’s Creamy Creations, Vanilla Ice Cream on top… YUMM!!!

Milk Chocolate Brownies
Ingredients
8 tbsp (1 stick) unsalted butter
1 ounce unsweetened chocolate, coarsely chopped to same-sized pieces
1/2 cup milk chocolate, coarsely chopped to same-sized pieces
2 large eggs
3/4 cup granulated sugar
1 tsp pure vanilla extract
1 cup unbleached flour
1/4 tsp salt
3/4 cup milk chocolate chips (we didn’t have chips, so we chopped a milk chocolate bar)
Directions
1.  Grease a 9-inch x 9-inch baking pan with butter.  Dust with flour and tap out the excess.  Preheat the oven to 350 degrees F.
2.  Melt the butter and the coarsely chopped milk and unsweetened chocolates in a small saucepan over low heat, stirring frequently.  Set aside and let cool to room temperature.
3.  Cream the eggs, sugar, and vanilla in a large bowl until smooth.  Add the cooled chocolate mixture and continue mixing until well combined.
4.  Measure the flour and salt and then sift together into the batter.  Mix gently until well combined and no trace of the dry ingredients remains.  Stir in the milk chocolate chips by hand.
5.  Using a spatula, spread the batter evenly in the prepared baking pan.  Bake for 25 minutes or until a toothpick inserted in the center comes out clean or with only crumbs, not batter, on it.
6.  Remove from the oven and cool on a rack for 1 hour.  Cut just before serving.
Yield:  12 to 16 brownies
“Fat Witch Brownies:  Brownies, Blondies, and Bars From New York’s Legendary Fat Witch Bakery” by Patricia Helding

4 Layer Pudding Dessert

Merry Christmas!!! I made this 4 Layer Dessert for Christmas and it was a hit in our family.  My parents had never tried this before, but loved it.  My sister, who is very strict in what she eats even had a slice!  Below, is a funny story about how this dessert means so much to my husband, Matt.

Paula’s 4 Layer Dessert is one of Matt’s all-time favorites!  When Paula, Matt’s mother, would come down to watch him play football at Texas A&M, she would bring this dessert for him and his two roommates, Chance and Trevor.

After a couple of trips to College Station, Trevor started craving Paula’s dessert and requested the recipe.  Trevor then started making this dessert for the three roommates.  One evening after Trevor made the 4 Layer Dessert, he and Matt went to lift weights.  By the time they arrived back home, Chance, the other roommate, had eaten the entire 9 x 13-inch pan, washed it, dried it, and put it back in its place.

When Matt and Trevor returned, they looked all over the kitchen for the dessert.  They had no clue where it had gone!  Eventually they found out what Chance had done, and were furious!  Still to this day the story is told over and over again.  Chance is quite a bit larger than Matt and Trevor, so they choose their fights wisely.  (Chance went on to play in the NFL for the Houston Texans.)  It is a tradition that whenever Matt’s roommates come visit, Paula’s 4 Layer Dessert is always on the menu!

Enjoy!

Cream together the butter, flour, and chopped pecans.

Press into 9 x 13 inch pan.  Bake for 15-20 minutes in a 350 degree F oven.

Beat together cream cheese, cool whip, vanilla, and powdered sugar.

Pour over cooled crust.

Whisk together instant chocolate and vanilla pudding mix with 3 cups cold milk for 2 minutes, until thick.  Pour over cream cheese layer.

Top with a layer of Cool Whip.

Garnish with Hershey’s chocolate bar shavings.

4 Layer Pudding Dessert
Serves: 10-12
Ingredients
  • 1/2 cup (1 stick) butter, softened
  • 1 cup flour
  • 1 cup chopped pecans
  • 8 oz. cream cheese, softened
  • 1 cup powdered sugar
  • 1 to 1 1/2 cups Cool Whip
  • 1 tsp vanilla extract
  • 1 large package (5.9 oz) instant Jell-O chocolate pudding
  • 1 small package (3.4 oz) instant Jell-O vanilla pudding
  • 3 cups cold milk
  • 8 oz Cool Whip
  • chocolate shavings
Instructions
  1. Preheat oven to 350 degrees F.
  2. Combine butter, flour, and pecans together and press into a 9 x 13 inch baking pan. Bake for 15 minutes, then cool.
  3. Combine cream cheese, powdered sugar, 1 to 1 1/2 cups Cool Whip, and vanilla extract together. Pour over cooled crust.
  4. Whip together chocolate and vanilla instant pudding mixes with cold milk according to package directions. Pour over cream cheese layer.
  5. Top pudding layer with Cool Whip.
  6. Garnish with Hershey’s chocolate bar shavings for decoration. Chill and keep refrigerated.

World Peace Cookies

These cookies are called World Peace Cookies.  I made them today for my dad’s Christmas party at work.  For those of you who don’t know, these are called chocolate sables, or French shortbreads because there is more brown sugar than white, and they are more chewy than most shortbreads.  They are light and sandy like a buttery cookie, but midnight chocolatey like you would expect from a fudge brownie.  The hint of fleur de sel, or fine sea salt makes these salty, and a perfect and addictive combination for these chocolatey cookies.
This recipe is from Dorie Greenspan, author of “Baking:  From My Home to Yours” cookbook.  She was given this recipe by Pierre Herme, who created this cookie for a restaurant in Paris called Korova.  Originally Dorie named these sables Korova Cookies, but her neighbor loved these cookies so much that he said, “in our house, we call them World Peace Cookies, because we’re convinced that a daily dose of the cookies is all that’s needed to ensure planetary peace and happiness”.
Enjoy!
Combine the flour, cocoa, and baking soda together.

Cream together the butter and sugars.  Beat until fluffy.

Beat in the vanilla and salt.

Pulse in the dry mixture.  Pulse 5 times.  If there is still flour on top, mix for another 30 seconds.  Stir in the chocolate chips.

Roll into logs.  Refrigerate for at least 3 hours.


World Peace Cookies

Ingredients
1 1/4 cups all-purpose flour
1/3 cup unsweetened cocoa powder
1/2 tsp baking soda
1 stick plus 3 tbsp (11 tablespoons) unsalted butter, at room temperature
2/3 cup packed light brown sugar
1/4 cup sugar
1/2 tsp fleur de sel or 1/4 tsp fine sea salt
1 tsp pure vanilla extract
5 ounces bittersweet chocolate, chopped into chips, or a generous 3/4 cup store-bought mini chocolate chips
Directions
1.  Sift together the flour, cocoa, and baking soda together.
2.  Working wit a stand mixer fitted with a paddle attachment, beat the butter on medium speed until soft and creamy.  Add both sugars, the salt, and vanilla extract and beat for 2 minutes more.
3.  Turn off the mixer.  Pour in the dry ingredients, drape a kitchen towel over the stand mixer to protect yourself and your kitchen from flying flour and pulse the mixer at low speed about 5 times, a second or two each time.  Take a peak- if there is still a lot of flour on the surface of the dough, pulse a couple of times more; if not, remove the towel.  Continuing at low speed, mix for about 30 seconds more, just until the flour disappears into the dough – for the best texture, work the dough as little as possible once the flour is added, and don’t be concerned if the dough looks a little crumby.  Toss in the chocolate pieces and mix only to incorporate.
4.  Turn the dough out onto a work surface, gather it together and divide it in half.  Working with one half at a time, shape the dough into logs that are 1 1/2 inches in diameter.  Wrap the logs in plastic wrap and refrigerate them for at least 3 hours.  (The dough can be refrigerated for up to 3 days or frozen for up to 2 months.  If you’ve frozen the dough, you needn’t defrost it before baking – just slice the logs into cookies and bake the cookies 1 minute longer.)
5.  Center a rack in the oven and preheat the oven to 325 degrees F.  Line two baking sheets with parchment paper or silicone mats.
6.  Using a sharp thin knife, slice the logs into rounds that are 1/2 inch thick.  (The rounds are likely to crack as you’re cutting them – don’t be concerned, just squeeze the bits back onto each cookie.)  Arrange the rounds on the baking sheets, leaving about 1 inch between them.
7.  Bake the cookies one sheet at a time for 12 minutes – they won’t look done, nor will they be firm, but that’s just the way they should be.  Transfer the baking sheet to a cooling rack and let the cookies rest until they are only just warm, at which point you can serve them or let them reach room temperature..
Yield:  36 cookies
“Baking:  From My Home to Yours” by Dorie Greenspan

Double Chocolate Dreams

double chocolate chip dreams

Here is a another “dream” cookie from my favorite cookie cookbook, 400 Sensational Cookies by Linda J. Amendt. Dream cookies are my absolute favorite because they are moist and chewy from the instant pudding mix added to the batter. The instant pudding mix is what I like to refer to as my “secret ingredient”.

My mom made these double chocolate dreams this week and we only have two left….my dad could not keep his hands off them. Loaded with brown sugar, chocolate pudding mix, chocolate  chunks and nuts, these wonderful dream cookies have a full chocolate flavor you will love. Enjoy!

get-attachment.aspx
Use a cookie scoop or spoon and drop tablespoonfuls of dough about 2 inches apart on parchment-lined cookie sheets.
double chocolate chip dreams
Bake in a preheated 375 degree oven for 8-10 minutes, or until set around the edges but slightly soft in the center. Slide parchment paper onto a wire rack and cool cookies for 5 minutes, then transfer from parchment paper to cooling rack and cool completely.
double chocolate chip dreams
Enjoy and serve with a glass of cold milk.
Double Chocolate Dreams
Serves: 3 dozen
Adapted from “400 Sensational Cookies” by Linda J. Amendt
Ingredients
  • 2 1/3 cups all-purpose flour
  • 1 package (3.4 oz) instant chocolate pudding mix
  • 1 tsp. baking powder
  • 1/2 tsp. baking soda
  • 1/4 tsp. salt
  • 1/2 cup unsalted butter, softened
  • 1/2 cup vegetable shortening
  • 1 cup packed light brown sugar
  • 2 eggs
  • 1 1/2 tsp. vanilla extract
  • 1 1/2 cups chopped semisweet chocolate chunks
  • 1 cup chopped walnuts
Instructions
  1. Preheat oven to 375 degrees F. Line cookie sheets with parchment paper.
  2. In a bowl, whisk together flour, pudding mix, baking powder, baking soda, and salt until well combined. Set aside.
  3. In a large bowl, using an electric mixer on medium speed, cream butter, shortening, and brown sugar until light and fluffy, about 2 minutes. Add eggs, one at a time, beating well after each addition. Beat in vanilla. Scrape down sides of bowl.
  4. On low speed or using a wooden spoon, gradually add flour mixture, beating just until blended. By hand, fold in chocolate and walnuts.
  5. Using a cookie scoop or spoons, drop tablespoonfuls (15 mL) of dough about 2 inches apart on prepared cookie sheets. Bake one sheet at a time in preheated oven for 8-10 minutes or until set around the edges, but slightly soft in the center.
  6. Immediately slide parchment paper onto a wire cooling rack. Cool cookies for 5 minutes, then transfer from parchment paper to cooling rack and cool completely.


Chocolate Chip Dreams

All I can say about these, is that they are the best chocolate chip cookie in the whole entire world!  There is a secret ingredient…instant vanilla pudding mix, that makes these cookies extremely moist, chewy and cake-like.  To me, these cookies taste like the inside of giant $2.50 Neiman Marcus chocolate chip cookie you can buy.  The only difference is that the Neimans’ cookie has coffee powder in them.
They are called Chocolate Chip “Dream” cookies in Linda J. Amendt’s “400 Sensational Cookbook”.  Amendt writes in her cookbook, “Dream cookies are a unique type of drop cookie… rich, moist, tender and chewy and loaded with flavor.  The secret to creating these wonderful cookies is the instant pudding mix added to the cookie dough.  It not only adds flavor but gives the cookies their special texture and helps keep them moist…Because the instant pudding in the dough adds to the structure of the cookies, the dough doesn’t need to be chilled before baking…these cookies turn out better if you don’t chill the dough.  They need to go in the oven before the pudding sets, which is what will happen if you chill the dough”.
Amendt also notes that if you slightly under-bake the cookies, they will be chewy and delightfully gooey.  If baked tad bit longer, they will have a moist, cake-like texture.
*Please note… DO NOT use cook-and-serve pudding mix or sugar-free instant pudding mix, as they will significantly alter the flavor and texture of the cookies.  The sugar-free pudding mix will make the cookies tough, flat, and will easily burn.
Again, I LOVED these cookies and definitely plan on making more…. you will see!  Enjoy!


Chocolate Chip Dreams
Ingredients
2 1/3 cups all-purpose flour
1 package (3.4 oz of 102 g) instant vanilla pudding mix
1 tsp baking powder
1/2 tsp baking soda
1/4 tsp salt
1/2 cup unsalted butter, softened
1/2 cup vegetable shortening
2/3 cup packed light brown sugar
1/3 cup granulated sugar
2 eggs
2 tsp vanilla extract
2 cups chopped semisweet chocolate or semisweet chocolate chips
1 cup chopped walnuts

Directions
1.  Preheat oven to 375 degrees.  Prepare cookie sheets lined with parchment paper.
2.  In a bowl, whisk together flour, pudding mix, baking powder, baking soda and salt until well combined.  Set aside.
3.  In a large bowl, using an electric mixer on medium speed, cream butter, shortening, brown sugar and granulated sugar until light and fluffy, about 2 minutes.  Add eggs one at a time, beating well after each addition.  Beat in the vanilla.  Scrape down sides of bowl.  On low speed or using a wooden spoon, gradually add flour mixture, beating just until blended.  By hand, fold in chocolate and walnuts.
4.  Using a cookie scoop or spoons, drop tablespoonfuls (15 mL) of dough about 2 inches (5 cm) apart on prepared cookie sheets.  Bake one sheet at a time in preheated oven for 8 to 10 minutes or until edges start to turn lightly golden.
5.  Immediately slide parchment paper onto a wire cooling rack.  Cool cookies for 5 minutes, then transfer from parchment paper to cooling rack and cool completely.

“400 Sensational Cookies” by Linda J. Amendt

Yield:  3 1/2 dozen cookies

Peanut Butter Oat Chippers


Here’s another cookie recipe we stumbled across called Peanut Butter Oat Chippers.  As you know, my family and I LOVE cookies, and we LOVE trying new cookie recipes.  If you like peanut butter and chocolate, these “golf ball” sized cookies will be a wonderful treat for you to try.  My sister and I both made these this week.  She gave hers to the Oklahoma State cross country team after their race, and they devoured them.  I took mine to work and they had “disappeared” by 11:00 am!

This recipe comes from Linda J. Amendt’s “400 Sensational Cookies” cookbook.  Enjoy!!

Cream together butter, peanut butter, and sugars, until fluffy.  Add eggs one at a time, beating after each addition.  Then beat in vanilla.

In a large bowl, whisk together flour, baking powder, and salt.

On low speed, gradually beat in the flour mixture.

Gradually stir in oats.

By hand, fold in chocolate and peanut butter chips.

Using a cookie scoop, drop tablespoonfuls onto cookie sheet lined with parchment paper.

Bake in 350 degree oven for 12 minutes, or until edges start to turn lightly golden.  Slide parchment paper on cooling rack to cool.  After 5 minutes, transfer cookies from parchment paper to cooing rack and cool completely.

Serve with a glass of cold milk.


Peanut Butter Oat Chippers
Ingredients
1 1/2 cups all-purpose flour
1 tbsp baking powder
1/2 tsp salt
3/4 cup unsalted butter, softened
3/4 cup chunky peanut butter
2/3 cup granulated sugar
2/3 cup packed light brown sugar
3 eggs
2 tsp vanilla extract
3 1/2 cups quick-cooking rolled oats
1 1/2 cups chopped semisweet chocolate or semisweet chocolate chips
1 1/2 cups peanut butter chips

Directions
1.  Preheat oven to 350 degrees.  Line cookie sheets with parchment paper.
2.  In a large bowl, whisk together flour, baking powder and salt until well combined.  Set aside.
3.  In a large bowl, using an electric mixer on medium speed, cream butter, peanut butter, granulated sugar and brown sugar until light and fluffy, about 3 minutes.  Add eggs one at a time, beating well after each addition.  Beat in vanilla.  Scrape down sides of bowl.  On low speed or using wooden spoon, gradually add flour mixture, beating until just blended.  Gradually stir in oats.  By hand, fold in chocolate and peanut butter chips.
4.  Using a cookie scoop or spoons, drop tablespoonfuls (15 mL) of dough about 2 inches apart on prepared cookie sheets.  Bake one sheet at a time in preheated oven for 12 minutes or until edges start to turn lightly golden.
5.  Immediately slide parchment paper onto a wire cooling rack.  Cool cookies for 5 minutes, then transfer from parchment paper to cooking rack and cool completely.

Makes about 5 dozen cookies

Mom’s Secret Ingredient Brownies

This is my mom’s “famous” brownie recipe.  She has made them ever since I can remember and everyone at my dad’s work requests her to make these for company luncheons. My husband Matt is also a huge fan. One time he requested I make them three weekends in a row! By then, I was a little sick of them. 🙂

I’ve got lots of stories revolving around these brownies. One time a made these for some friends when I was in college. My best friend at the time told me that she had never heard of nor eaten “homemade” brownies!! WHAT? How is that possible, I thought?  She had always eaten brownies from a box. I of course introduced her to some homemade cookies too. Boy, she was sure missing out! Now she emails me all the time for recipes.

Another time was when Matt and I were at the lake with family. His cousins had just made brownies from a box. Since we were all chocoholics and finished the brownie pan in one night, Matt told everyone that they must try my secret ingredient brownies. We went to the store the next day and I taught Matt’s cousins how to bake using this recipe. I remember his youngest cousin just sitting in front of the oven, starring at it for 35-40 minutes while they cooked because she was so excited to try those brownies!

My dad always has people try and guess the secret ingredient.  Can you guess by the picture?  Well, the secret ingredient is…..MARSHMALLOWS!  During cooking time, the brownies puff up, but once they cool, the marshmallows seem to “disappear” and you are left with a large airy pocket within the brownies.

These are moist, chocolatey, chewy, and our most favorite brownie recipe.  I eat mine with a scoop of homemade vanilla ice cream when they are warm. Enjoy!!

Melt chocolate and butter in a large saucepan over medium-low heat.
When chocolate and butter have melted, let cool for 15 minutes.  Then beat in eggs and then whisk in sugar until combined.
Add flour and vanilla, and stir to combine.
When mixture is combined, fold in mini marshmallows, pecans, and chocolate chips.
Pour into greased 9 x 13 inch baking pan and sprinkle with remaining (1/2 cup) chocolate chips.
Bake at 350 degrees for 30-35 minutes or until brownies start to pull away from the edges of the pan.
Cool in pan and cut into squares.

Cool in pan on a wire rack for 10 minutes.  You can serve warm (with vanilla ice cream), or wait until they cool to room temperature.

Mom’s Secret Ingredient Brownies
Ingredients
4 (1-ounce) unsweetened chocolate squares
1 cup butter
4 eggs
2 cups sugar
1 cup flour
1 tsp vanilla
2 cups mini marshmallows
1 cup pecans, chopped
1 cup chocolate chips (in the batter), plus 1/2 cup to sprinkle on top

Directions
1.  Melt chocolate and butter in large saucepan over medium-low heat, stirring occasionally.  Cool 15 minutes.
2.  Add eggs; stir until blended.  Stir in sugar until combined.  Add flour and vanilla.  Fold in marshmallows, pecans, and chocolate chips.
3.  Pour batter in a greased and floured 9 x 13 inch pan and sprinkle with 1/2 cup chocolate chips over the top.
4.  Bake at 350 degrees for 35 to 40 minutes, or until the edges start to pull from the side of the pan.  Cool brownies in pan on a wire rack for 10 minutes.  Can be eaten warm or at room temperature.

Yield: 24 brownies

Chocolate-Hazelnut Gelato

This is my favorite “chocolate” flavored ice cream/gelato. I usually request vanilla ice cream/gelato or custard with crushed oreos on top. I am not a huge chocolate fan, so this gelato is perfect because the chocolate is not dark or bitter, rather it has a light, milk chocolate, and hazelnut flavor. This is my Dad’s favorite gelato recipe and he requests it all the time! Enjoy!

Heat milk, cream, and sugar over medium heat for about 5 minutes.

Whip the egg yolks and sugar in electric mixer until thick and pale yellow, about 4 minutes.

Pour 1/2 cup of the warm milk mixture into the eggs and stir.

Pour egg mixture back into milk mixture and heat on low until very thick, about 7-10 minutes.

Pour custard mixture through strainer into a large bowl.

Add hazelnut (Nutella) and vanilla and stir completely until it dissolves.

Chill mixture completely before pouring into ice cream maker.

Pour chilled custard into an ice cream/gelato maker and prepare according to manufacturer’s directions. Ours took about 30 minutes.

To serve, scoop into individual bowls and top with chopped hazelnuts, if desired.

Chocolate-Hazelnut Gelato
Ingredients
2 cups whole milk
1 cup heavy cream
1/2 cup sugar, plus 1/4 cup
4 egg yolks
1/2 tsp vanilla extract
1/2 cup chocolate-hazelnut spread (Nutella)
1/2 cup toasted hazelnuts, crushed, for garnish

Directions
1. In a saucepan combine the milk, cream, and 1/2 cup sugar over medium heat. Cook until sugar dissolves, about 5 minutes.
2. Meanwhile, in a medium bowl, whip the egg yolks with the remaining sugar using an electric mixer until the eggs have become thick and pale yellow, about 4 minutes.
3. Pour 1/2 cup of the warm milk and cream mixture into the egg mixture and stir. Add this mixture back into the saucepan. Cook over very low heat, stirring constantly, until the mixture becomes thick enough to coat the back of a wooden spoon, about 7 to 10 minutes.
4. Place a strainer over a medium bowl and pour the custard mixture through the strainer. Stir in the vanilla and hazelnut spread until it dissolves.
5. Chill mixture completely before pouring into an ice cream maker and follow manufacturer’s instructions to freeze.
6. To serve, scoop gelato into serving bowls and top with hazelnuts.

Yield: 6-8 servings (about 4 cups)