Matt, Paula and I were in New York two and a half weeks ago for a quick 4-day trip and had a blast! Of all the touristy things we did from seeing the World Trade Center memorial to watching Fox & Friends and The TODAY Show, to riding the double-decker bus, walking through Central Park, FAO Schwarz, The Plaza Hotel, and our favorite art gallery, one of my favorites was when Paula and I ate lunch at The Meatball Shop.

Next time you guys are in NYC, The Meatball Shop should be one of those places that should be on your restaurants to try list. After walking 30 blocks in the cold, wind, and snow to get in the standby line for LIVE with Kelly and Michael (we were last in line but still got into the show!), Paula and I were starving afterwards, so I suggested we go get meatballs at The Meatball Shop.

My mom and I have made their classic beef meatballs with classic tomato sauce from The Meatball Shop cookbook, so I was super pumped to be in NYC so I could actually try out the restaurant in-person!

Best decision ever! Paula would probably agree with me that this was our favorite place to eat while we were in NYC. While we were the second group of people in line for when The Meatball Shop opened at noon, the quaint and cozy restaurant quickly filled up as all the tables were filled within 15 minutes.

Paula ordered the classic beef meat balls with spicy tomato sauce, but I thought I would venture out and try the veggie balls with classic tomato sauce. The “ball of the day” was shepherd’s pie with savory mushroom sauce… a very unique, but I’m sure tasty combination!

New York City is notorious for being very expensive, and we were pleasantly surprised by the affordable prices at The Meatball Shop. For just $7, you get four large meatballs of your choice (chicken, pork, beef, veggie or daily ball: shepherd’s pie), sauce (classic tomato, spicy tomato, mushroom, etc), and a large slice of focaccia bread to dip in the sauce. For an extra $5, you can get a side of pasta (spaghetti, rigatoni, penne, etc) or greens (arugula salad, green beans, spinach, etc).
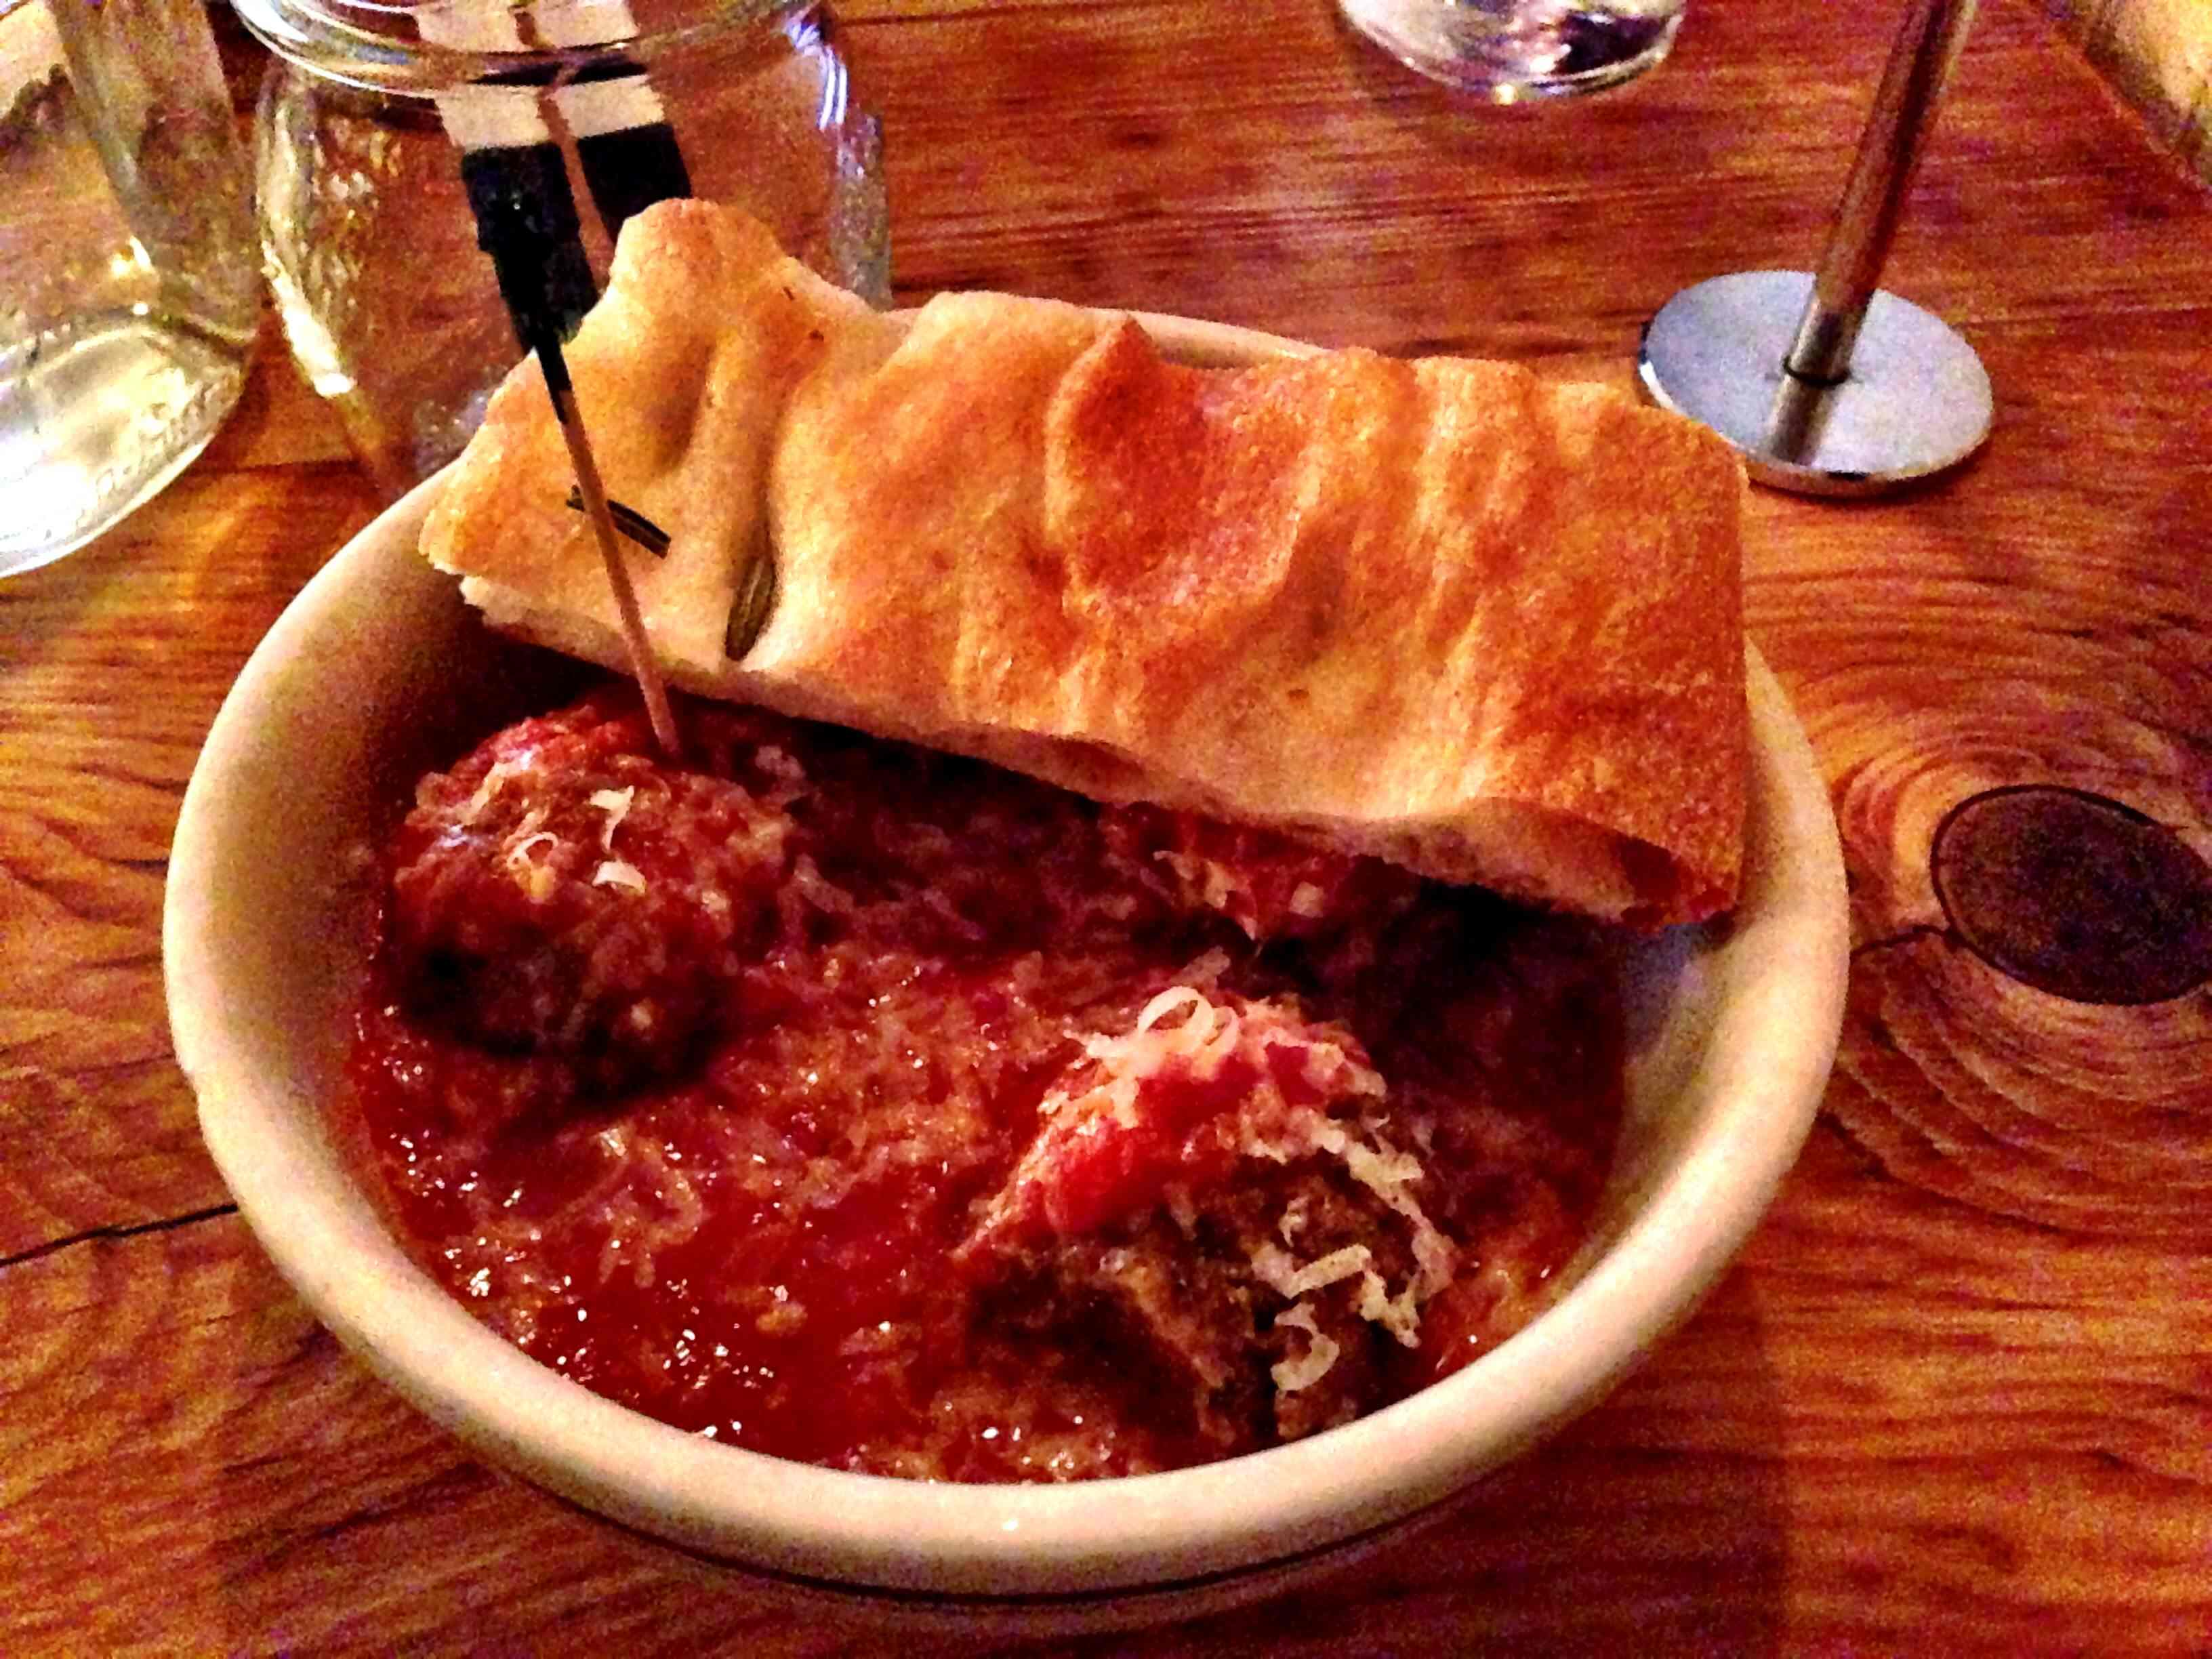
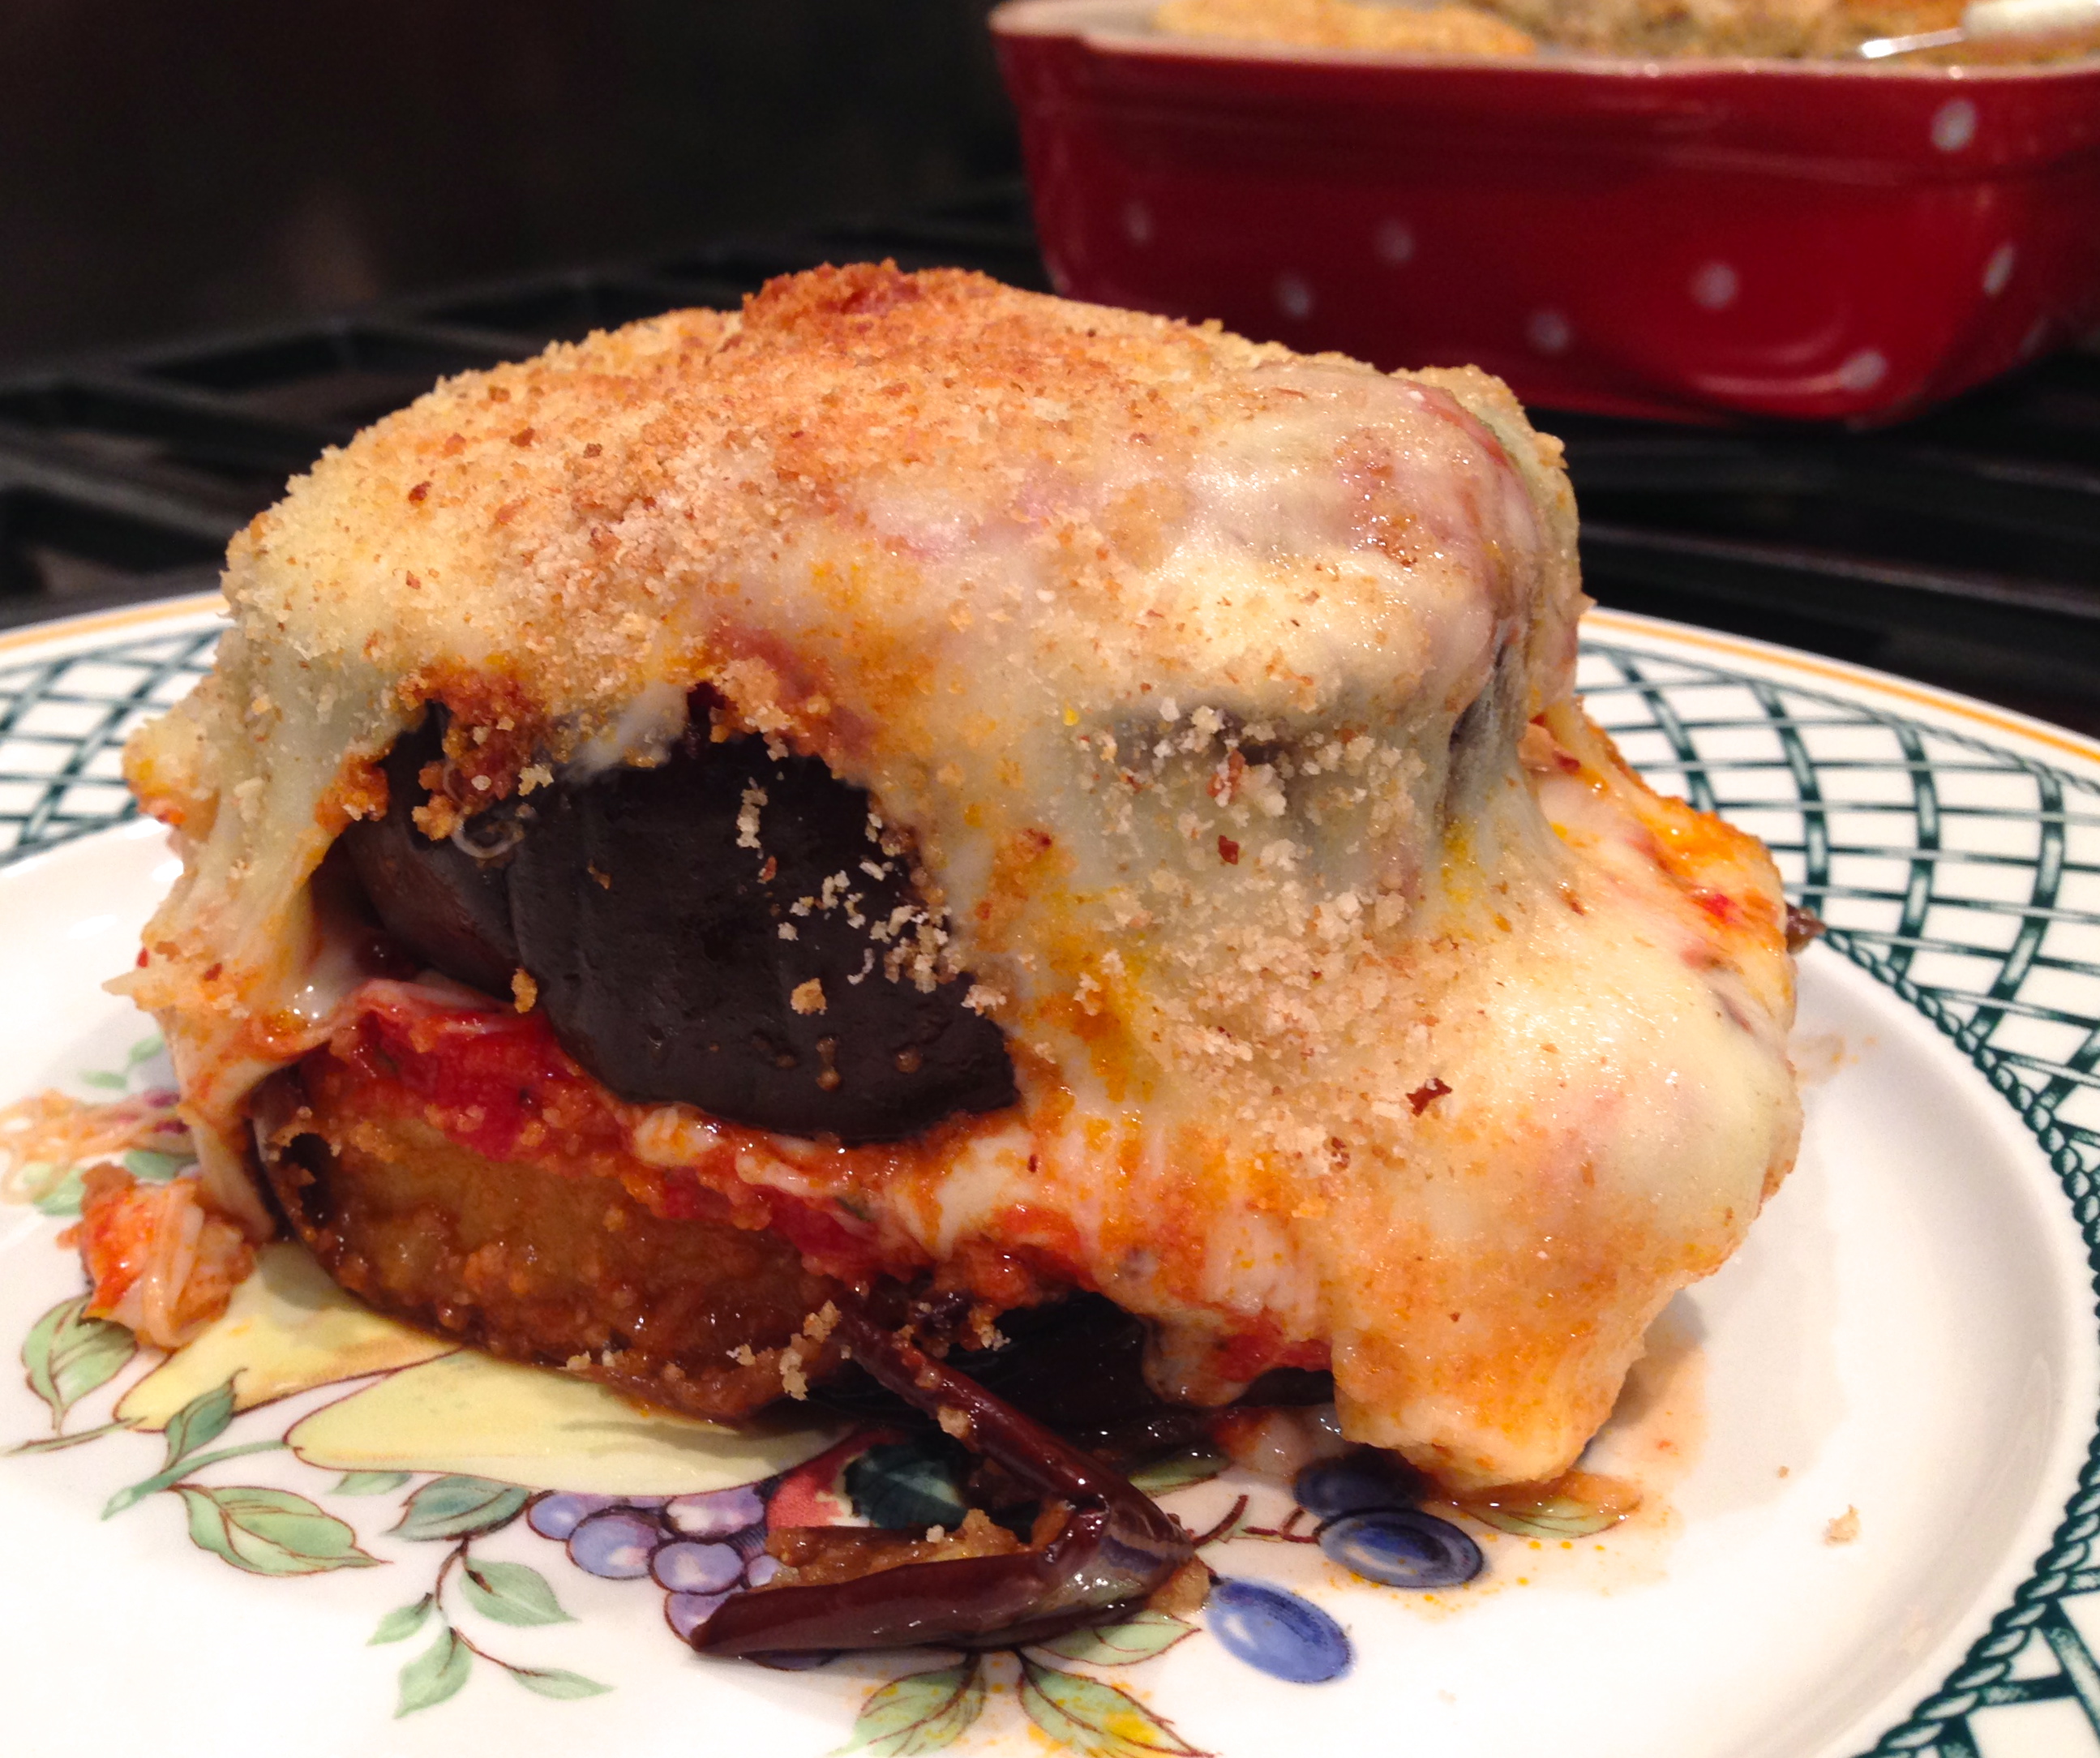
For me, the portion size was perfect. I even had one leftover veggie ball because they were so filling. Paula of course, finished her plate, and the waitress was kind enough to bring extra tomato sauce and focaccia bread for Paula because she enjoyed it so much!
After having walked 30 blocks in the morning from Times Square at 45th Street 77th Street where LIVE with Kelly and Michael was, we were ready to get to The Meatball Shop without have to walk more than 50 blocks this time!! We ate at the Chelsea location at 9th and 22nd Street. So…New York Subway here we come! I was a little nervous about riding the subway since it’s a little scary down there, but Paula and I had a good ride and even met a very nice lady named Caron who used to model for Revlon when she was 14 years old. Now she is a contemporary artist and painter.

If meatballs sound as good to you as they do me right now as I am writing this, below you’ll find the recipe for the Veggie Balls that I ordered. If you’re like Paula and want to eat something more on the classic/comfort side, here’s a link to the recipe for Classic Beef Meatballs with Classic Tomato Sauce.
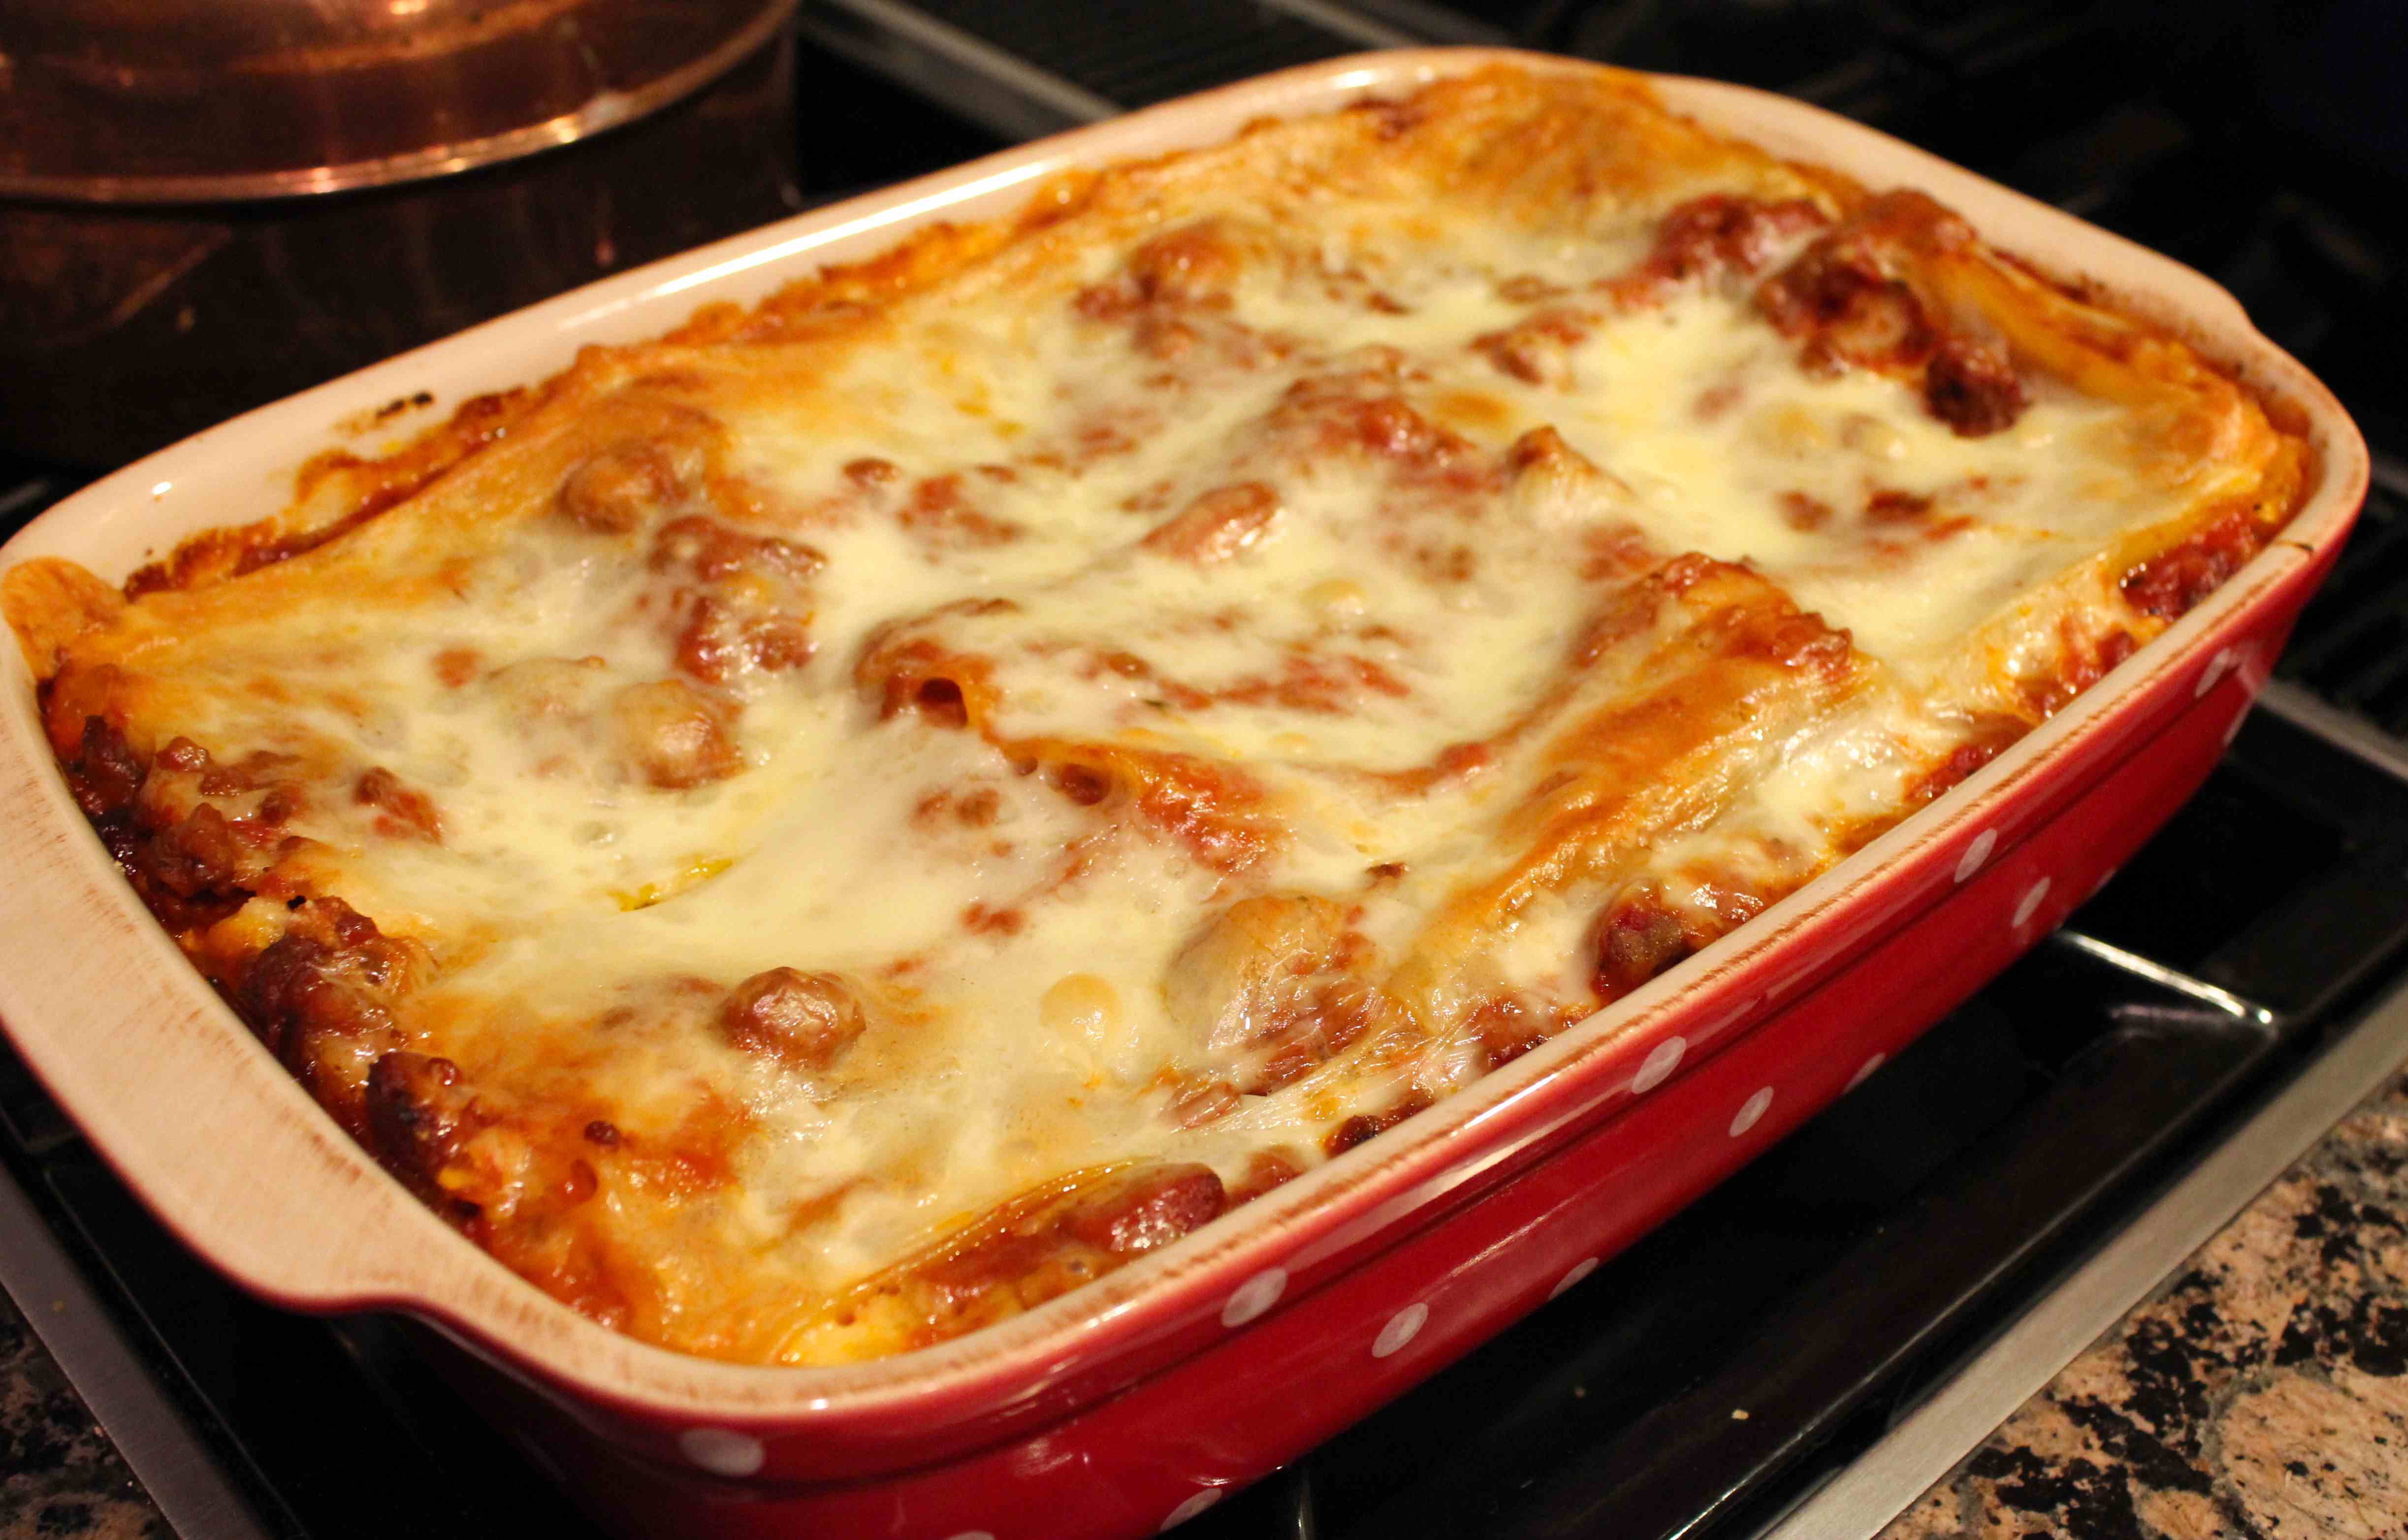
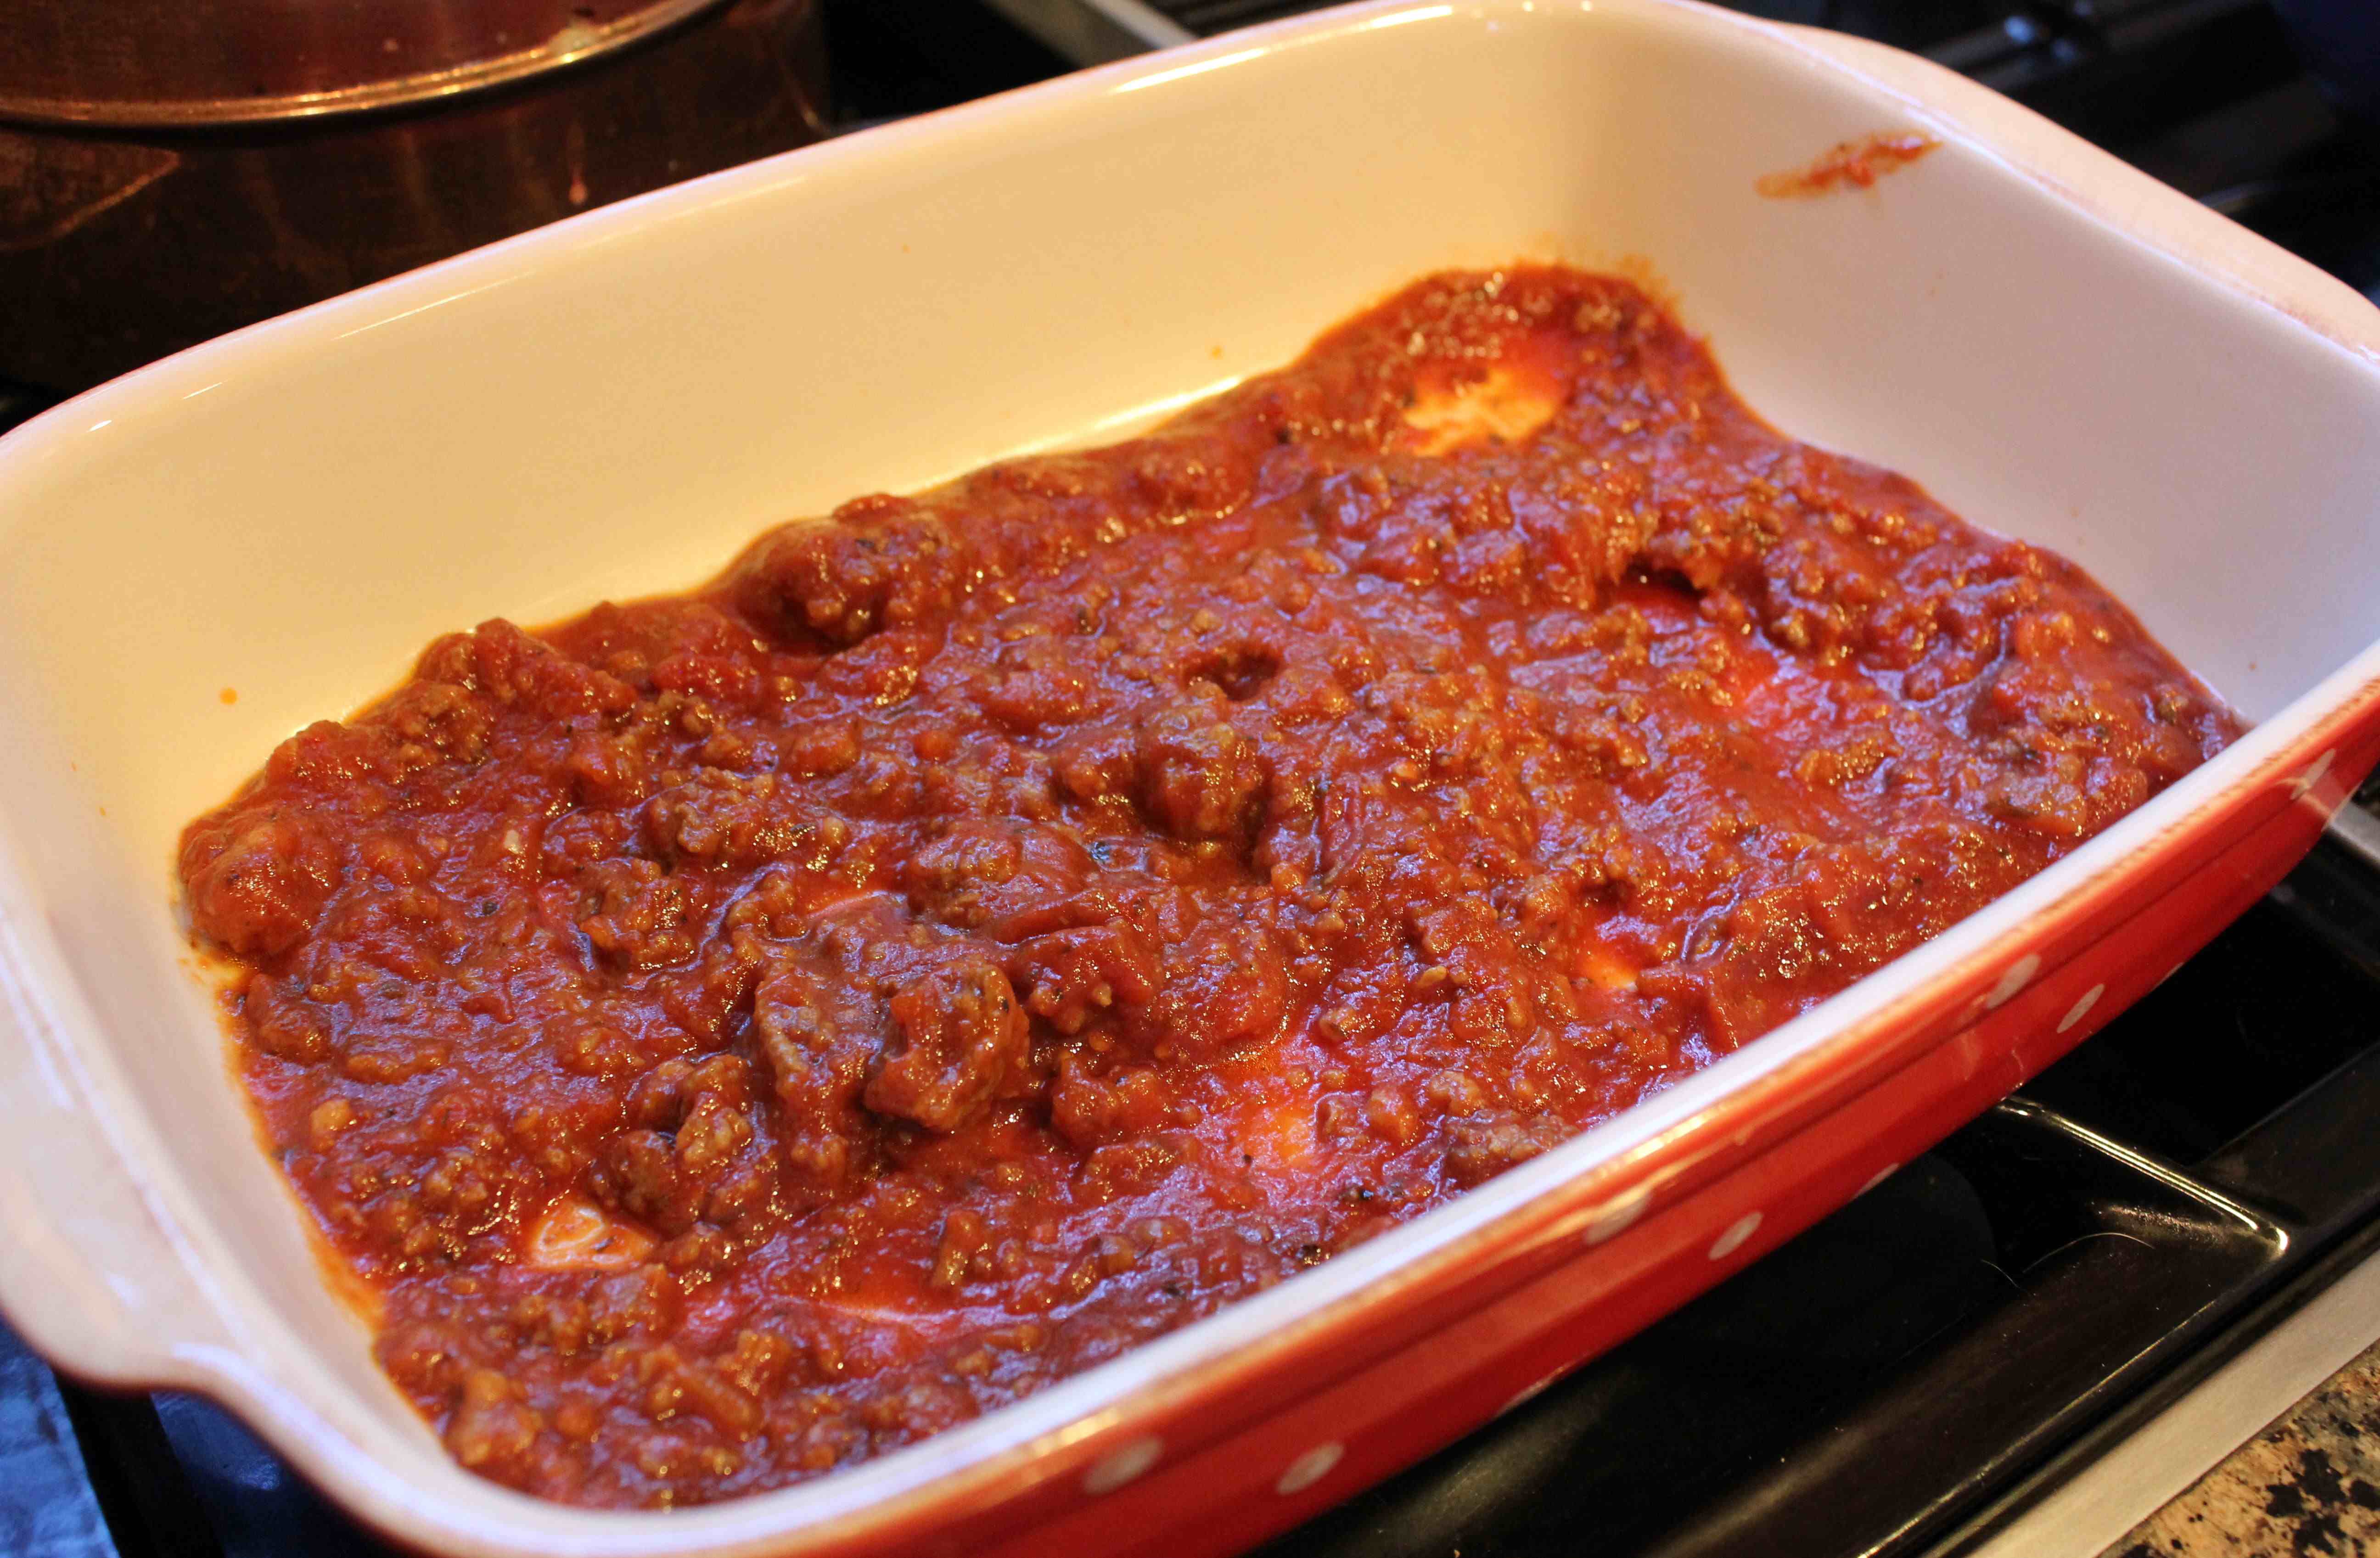
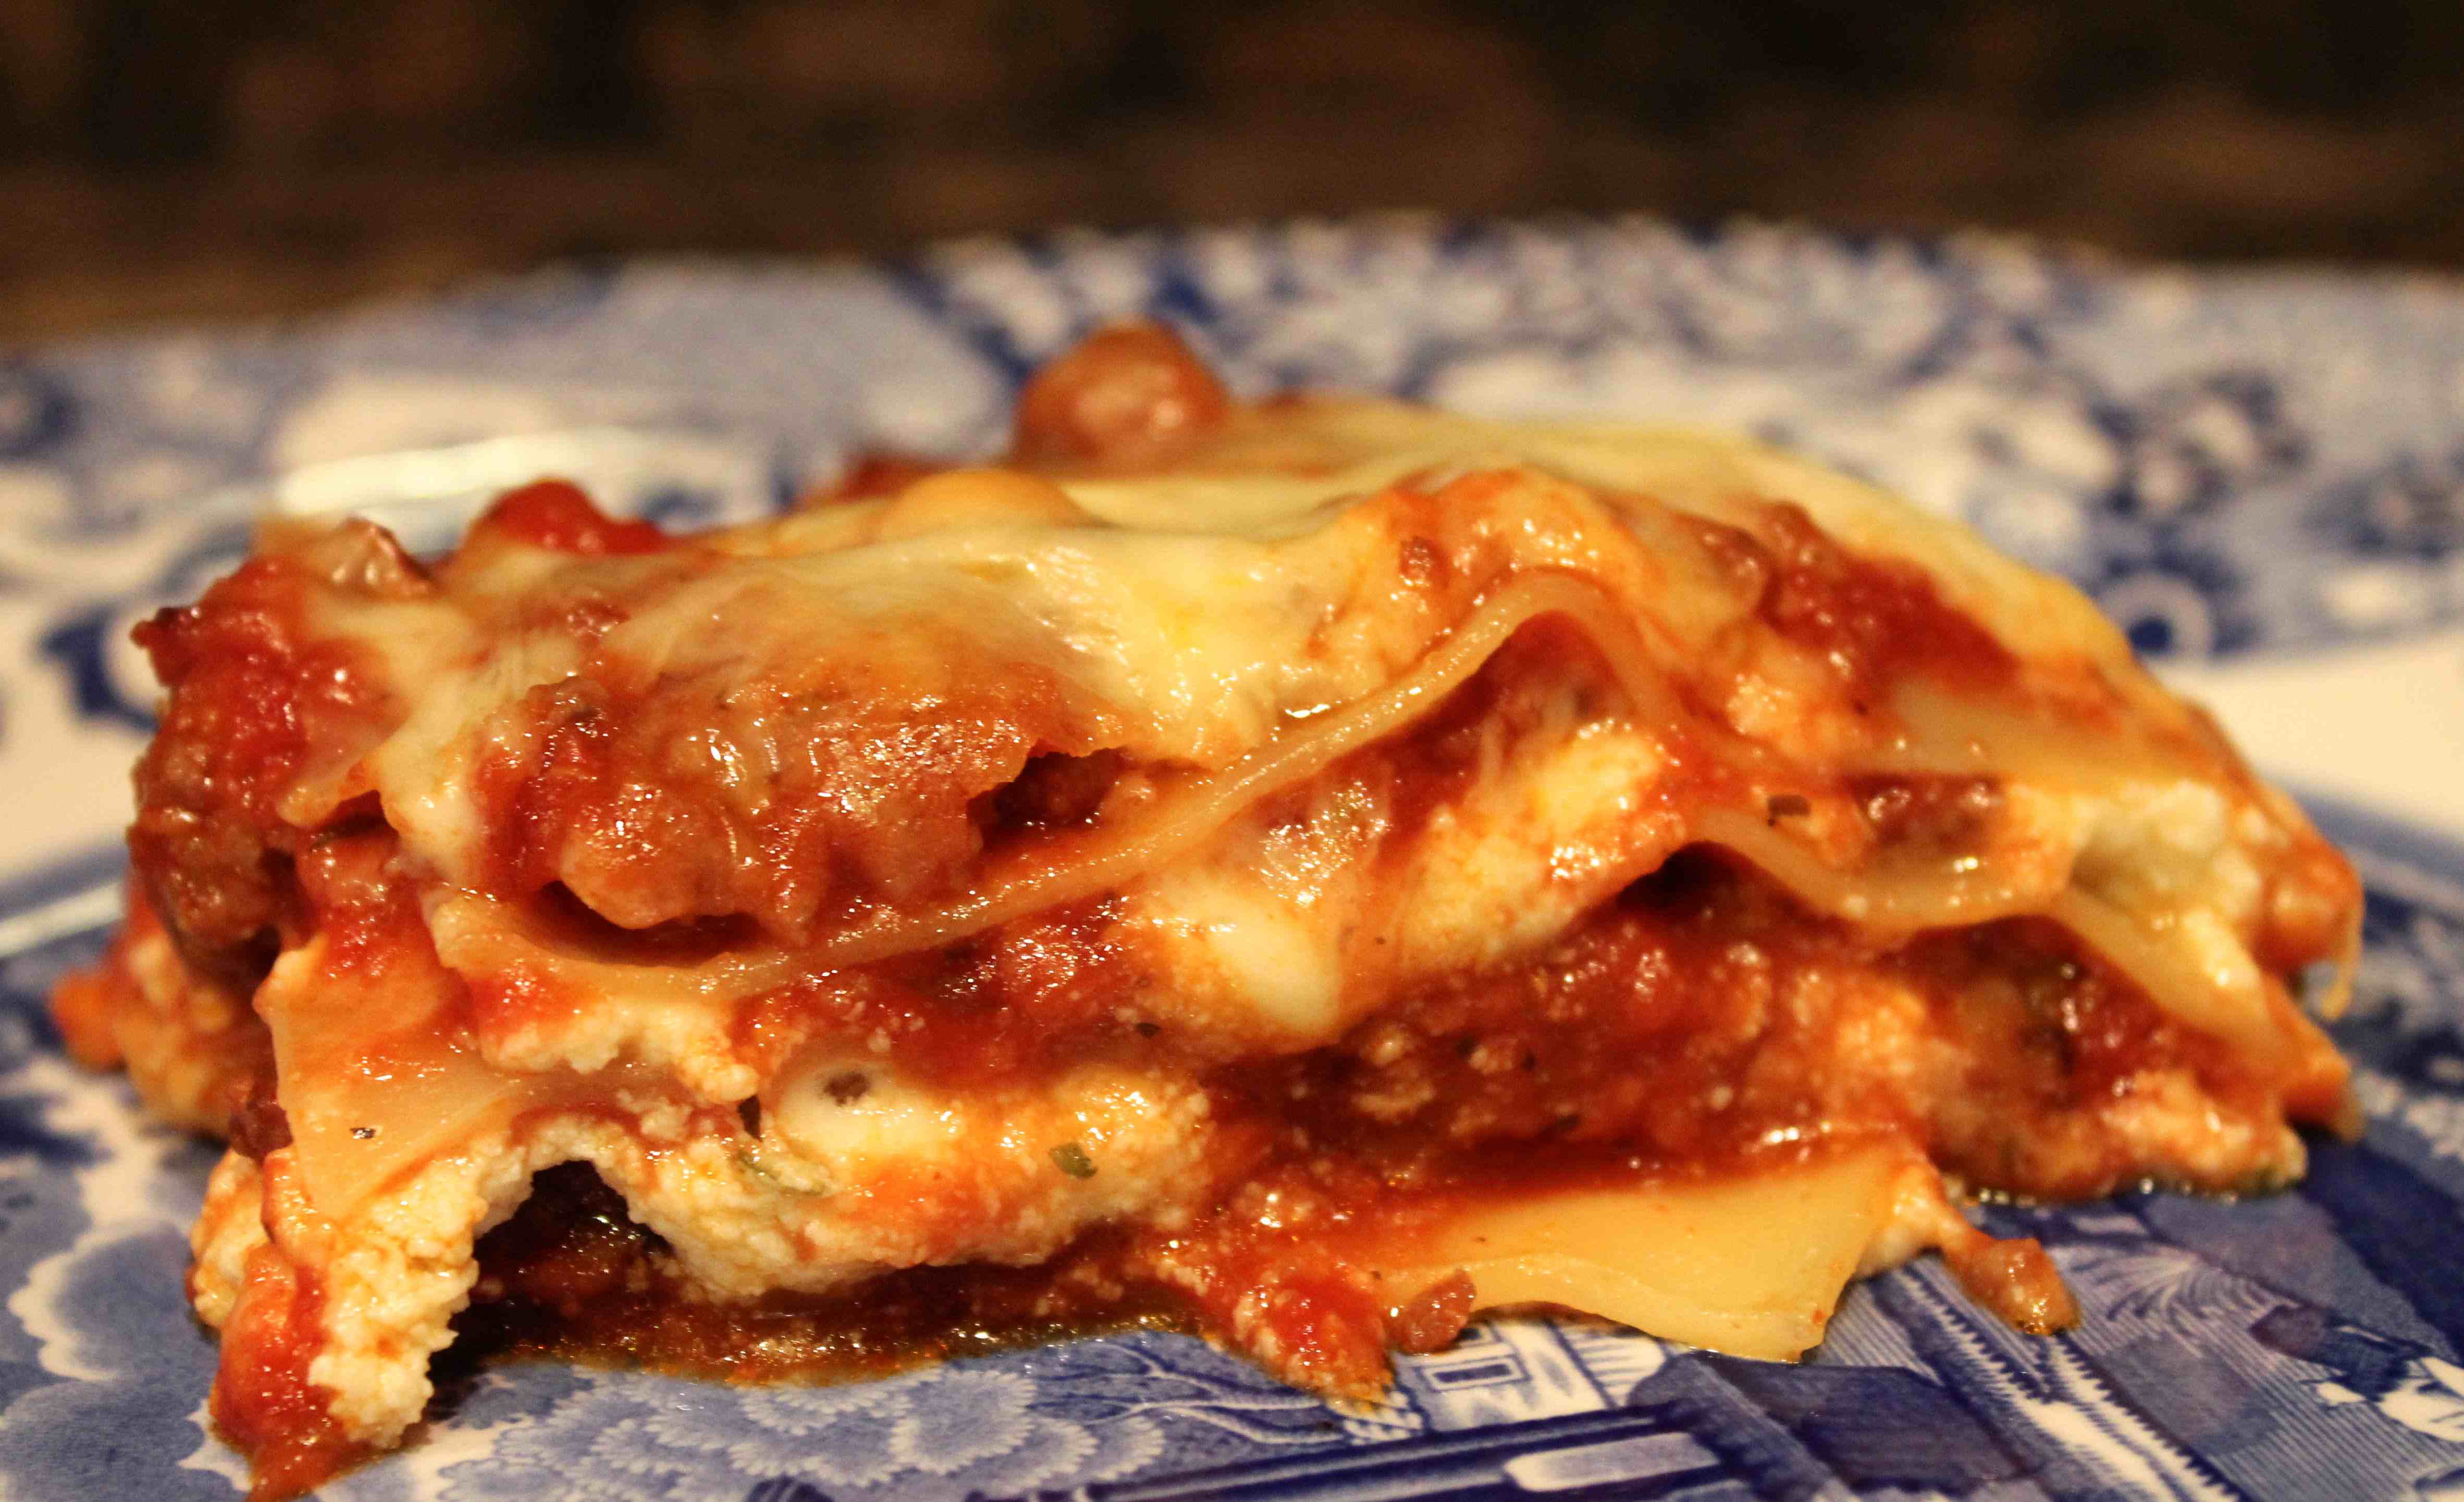
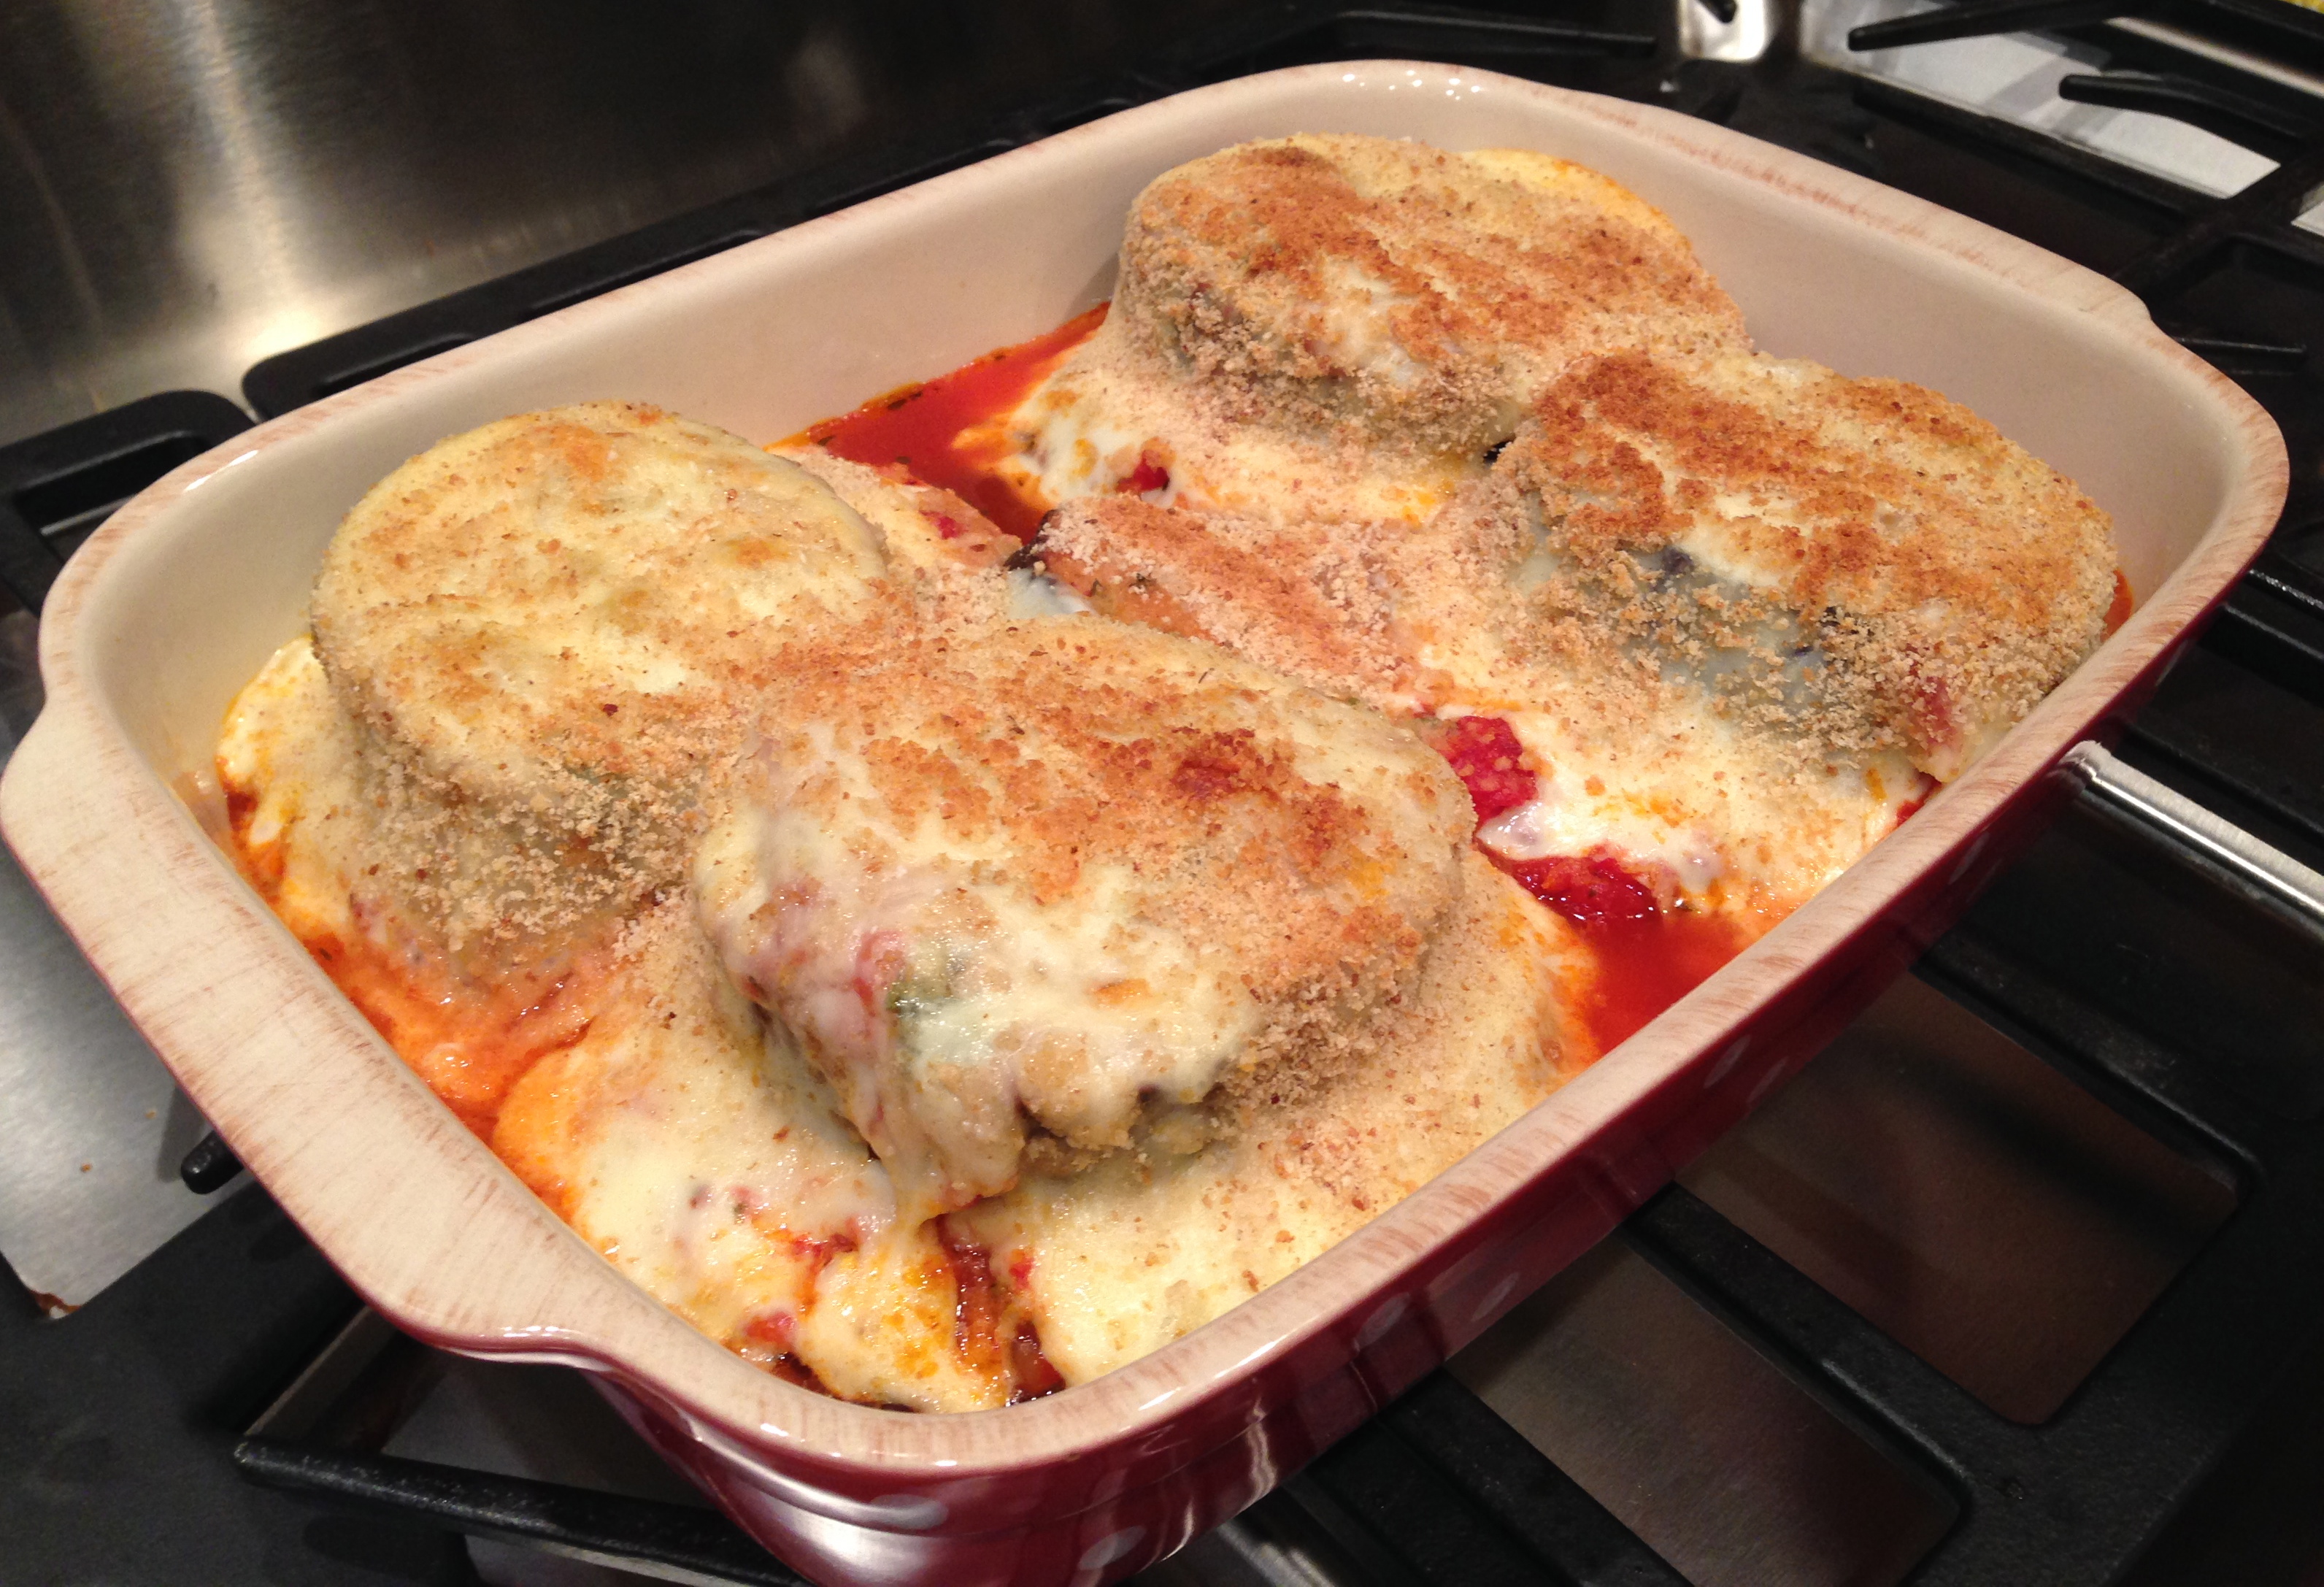
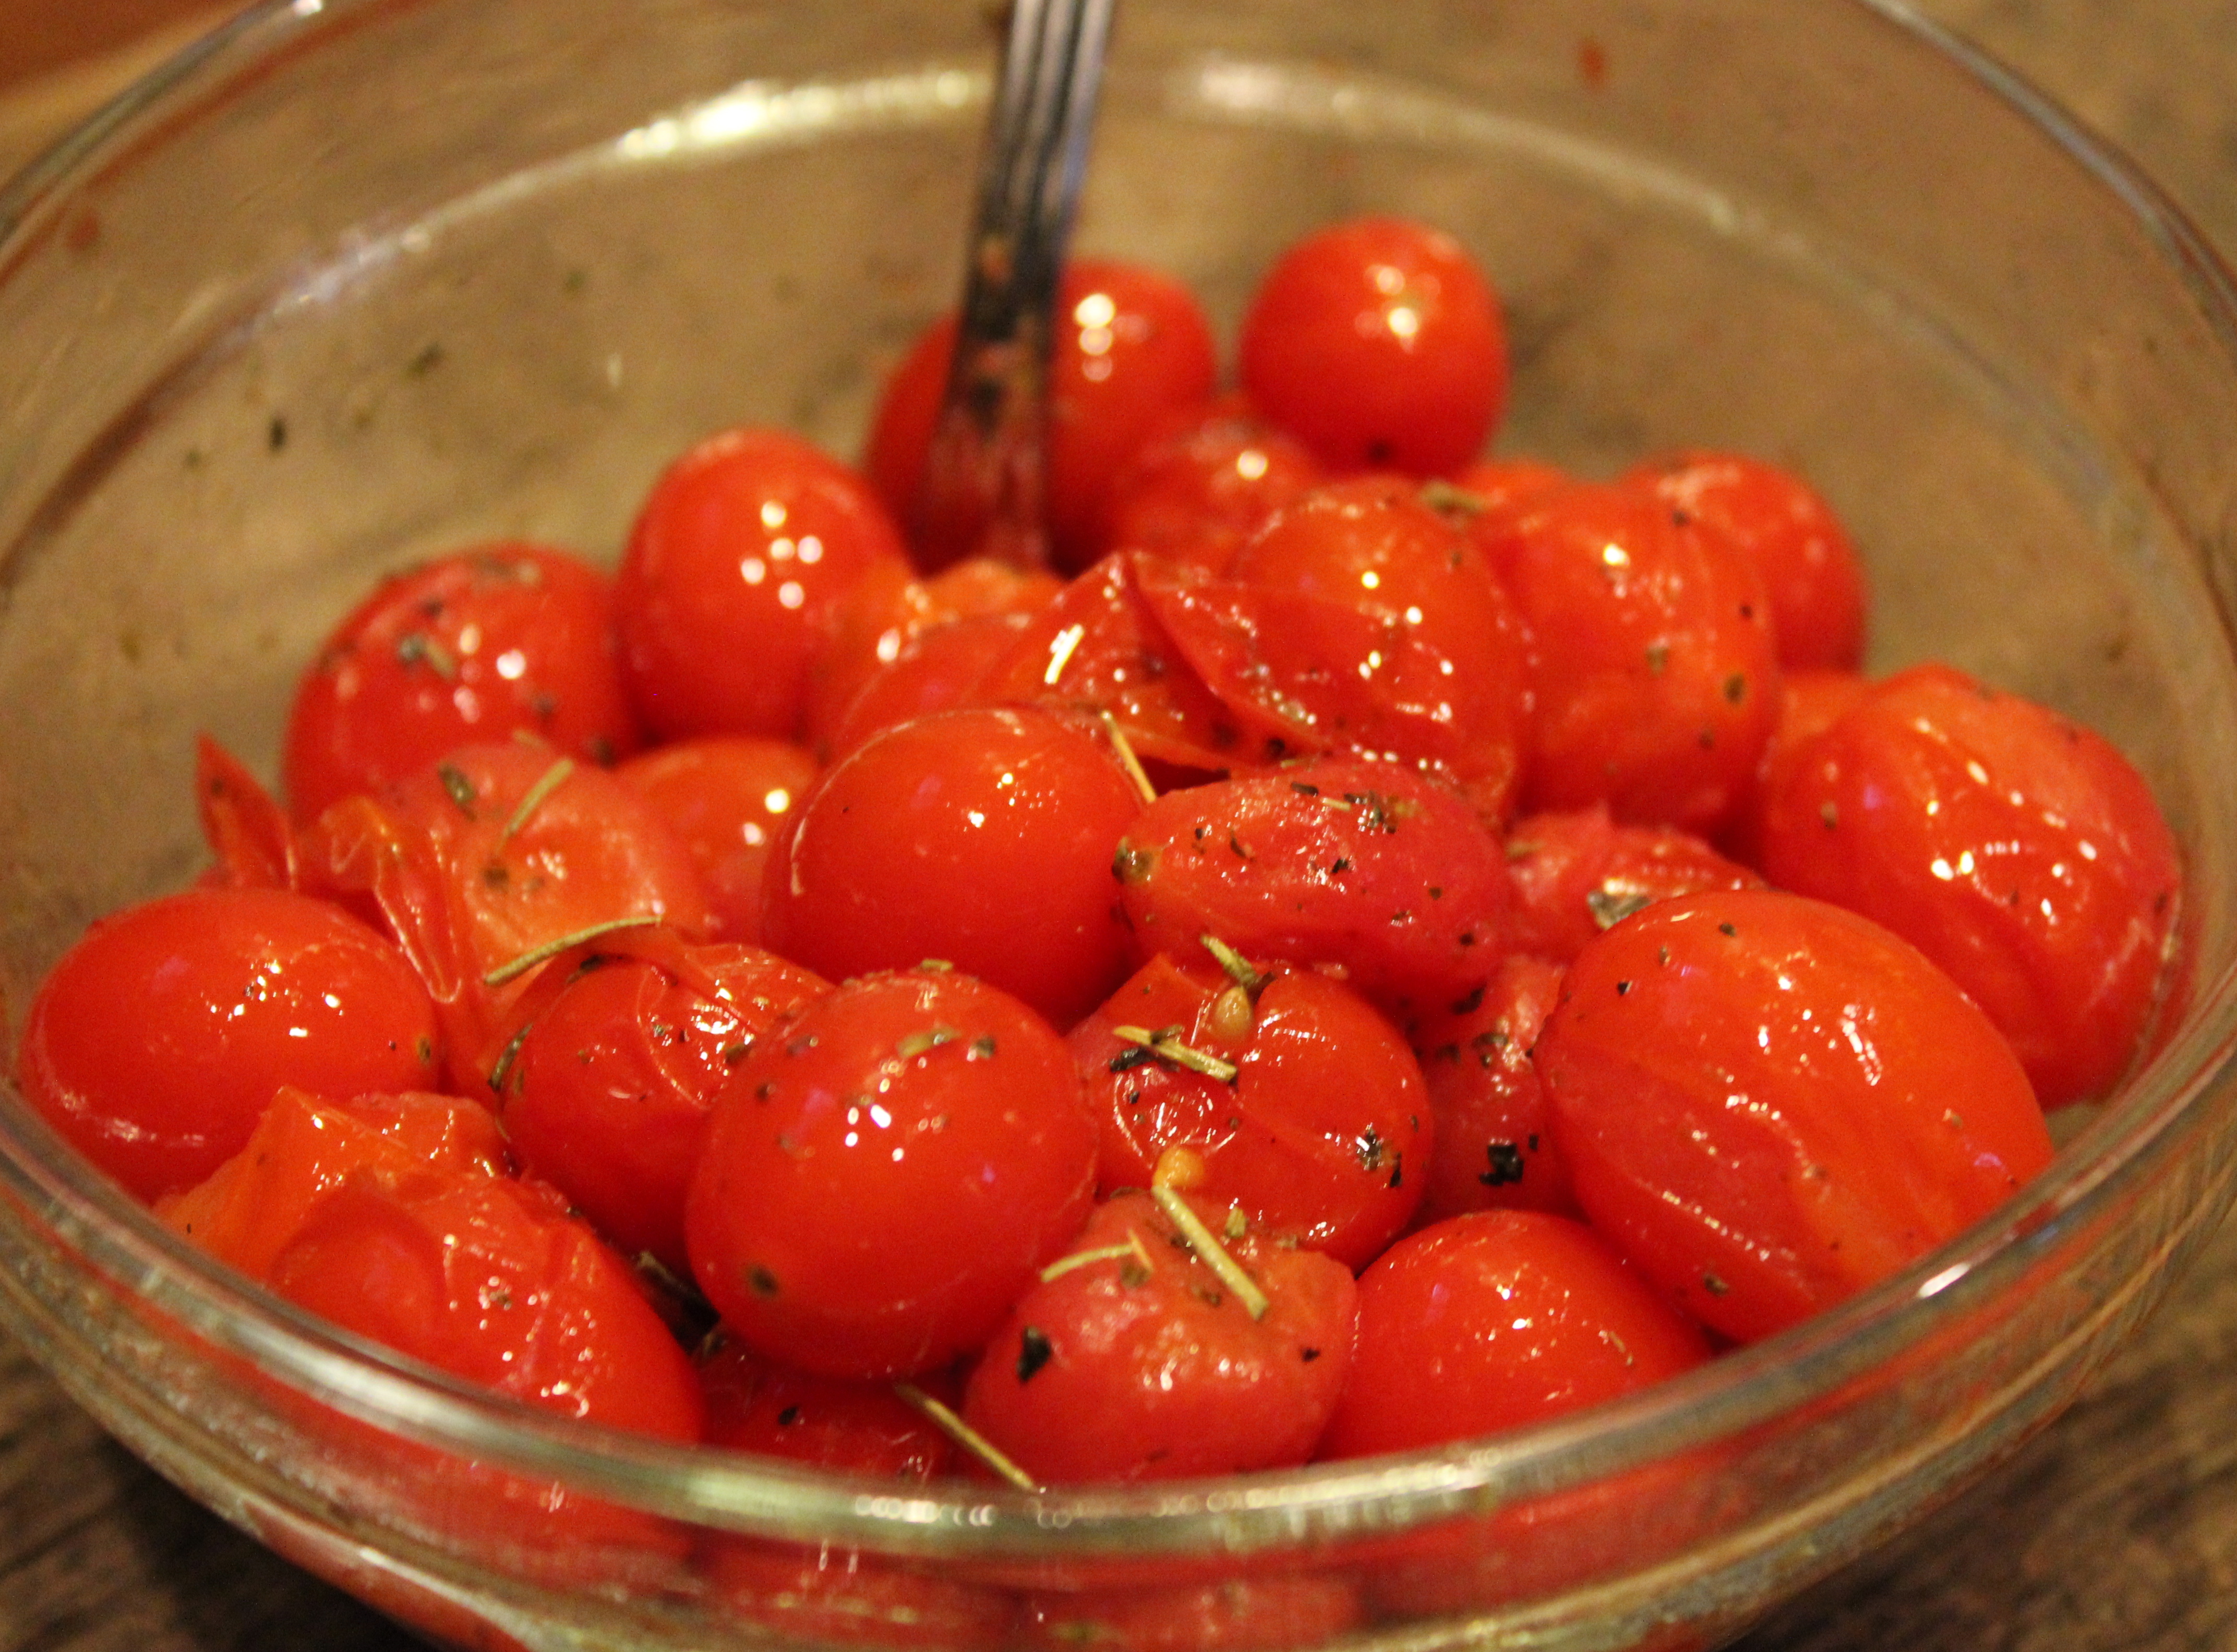
Otherwise, below you’ll find the recipe for the Veggie Balls. I thought they were outstanding. They were savory, meaty, and even had a slightly nutty flavor that I loved! Enjoy!!!
- VEGGIE BALLS
- 2 cups lentils
- 1/4 cup plus 2 Tbsp. olive oil
- 1 large onion, chopped
- 2 carrots, chopped
- 2 celery stalks, chopped
- 1 garlic clove, minced
- 1Tbsp. chopped fresh thyme
- 2 tsp. salt
- 3 Tbsp. tomato paste
- 8 ounces button mushrooms, wiped clean and sliced
- 3 large eggs
- 1/2 cup grated Parmesan cheese
- 1/2 cup bread crumbs
- 1/2 cup chopped fresh parsley
- 1/4 cup finely chopped walnuts
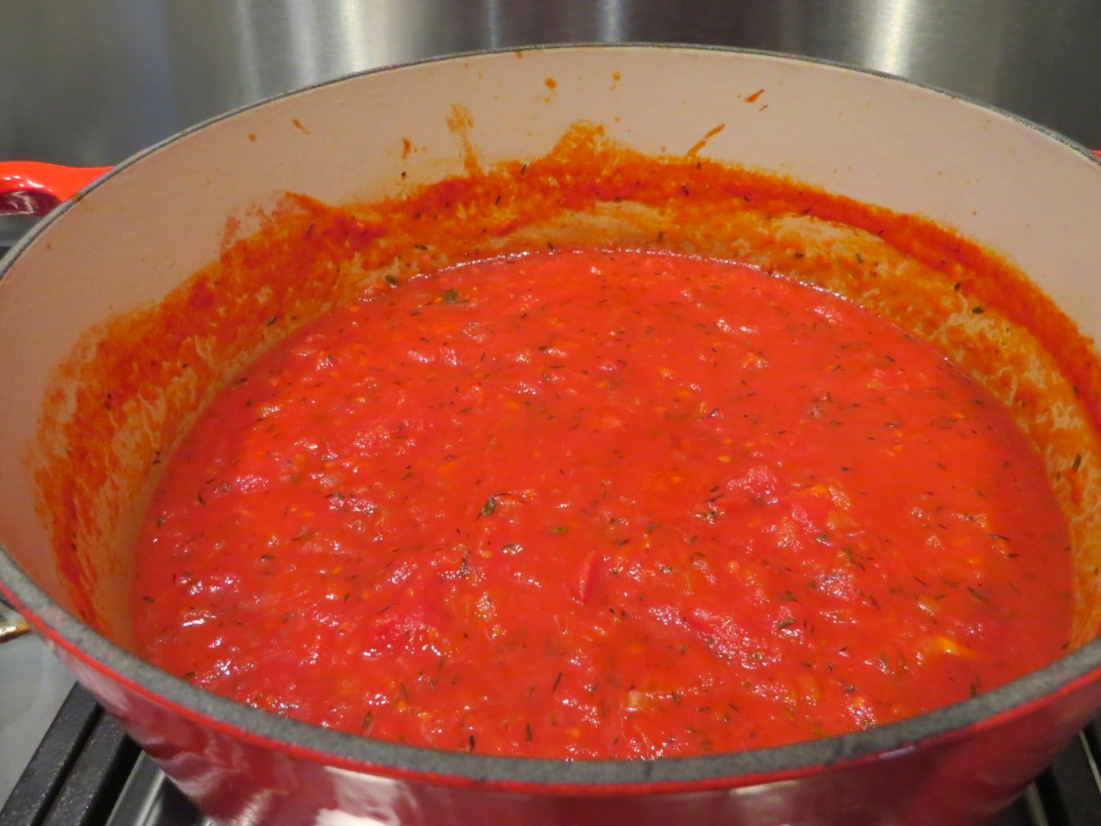
- CLASSIC TOMATO SAUCE
- 1/4 cup olive oil
- 1 onion, finely diced
- 1 bay leaf
- 1 tsp. chopped fresh oregano or 1/3 tsp. dried
- 2 garlic cloves, roughly chopped
- 2 tsp. salt or to taste
- 2 Tbsp. tomato paste
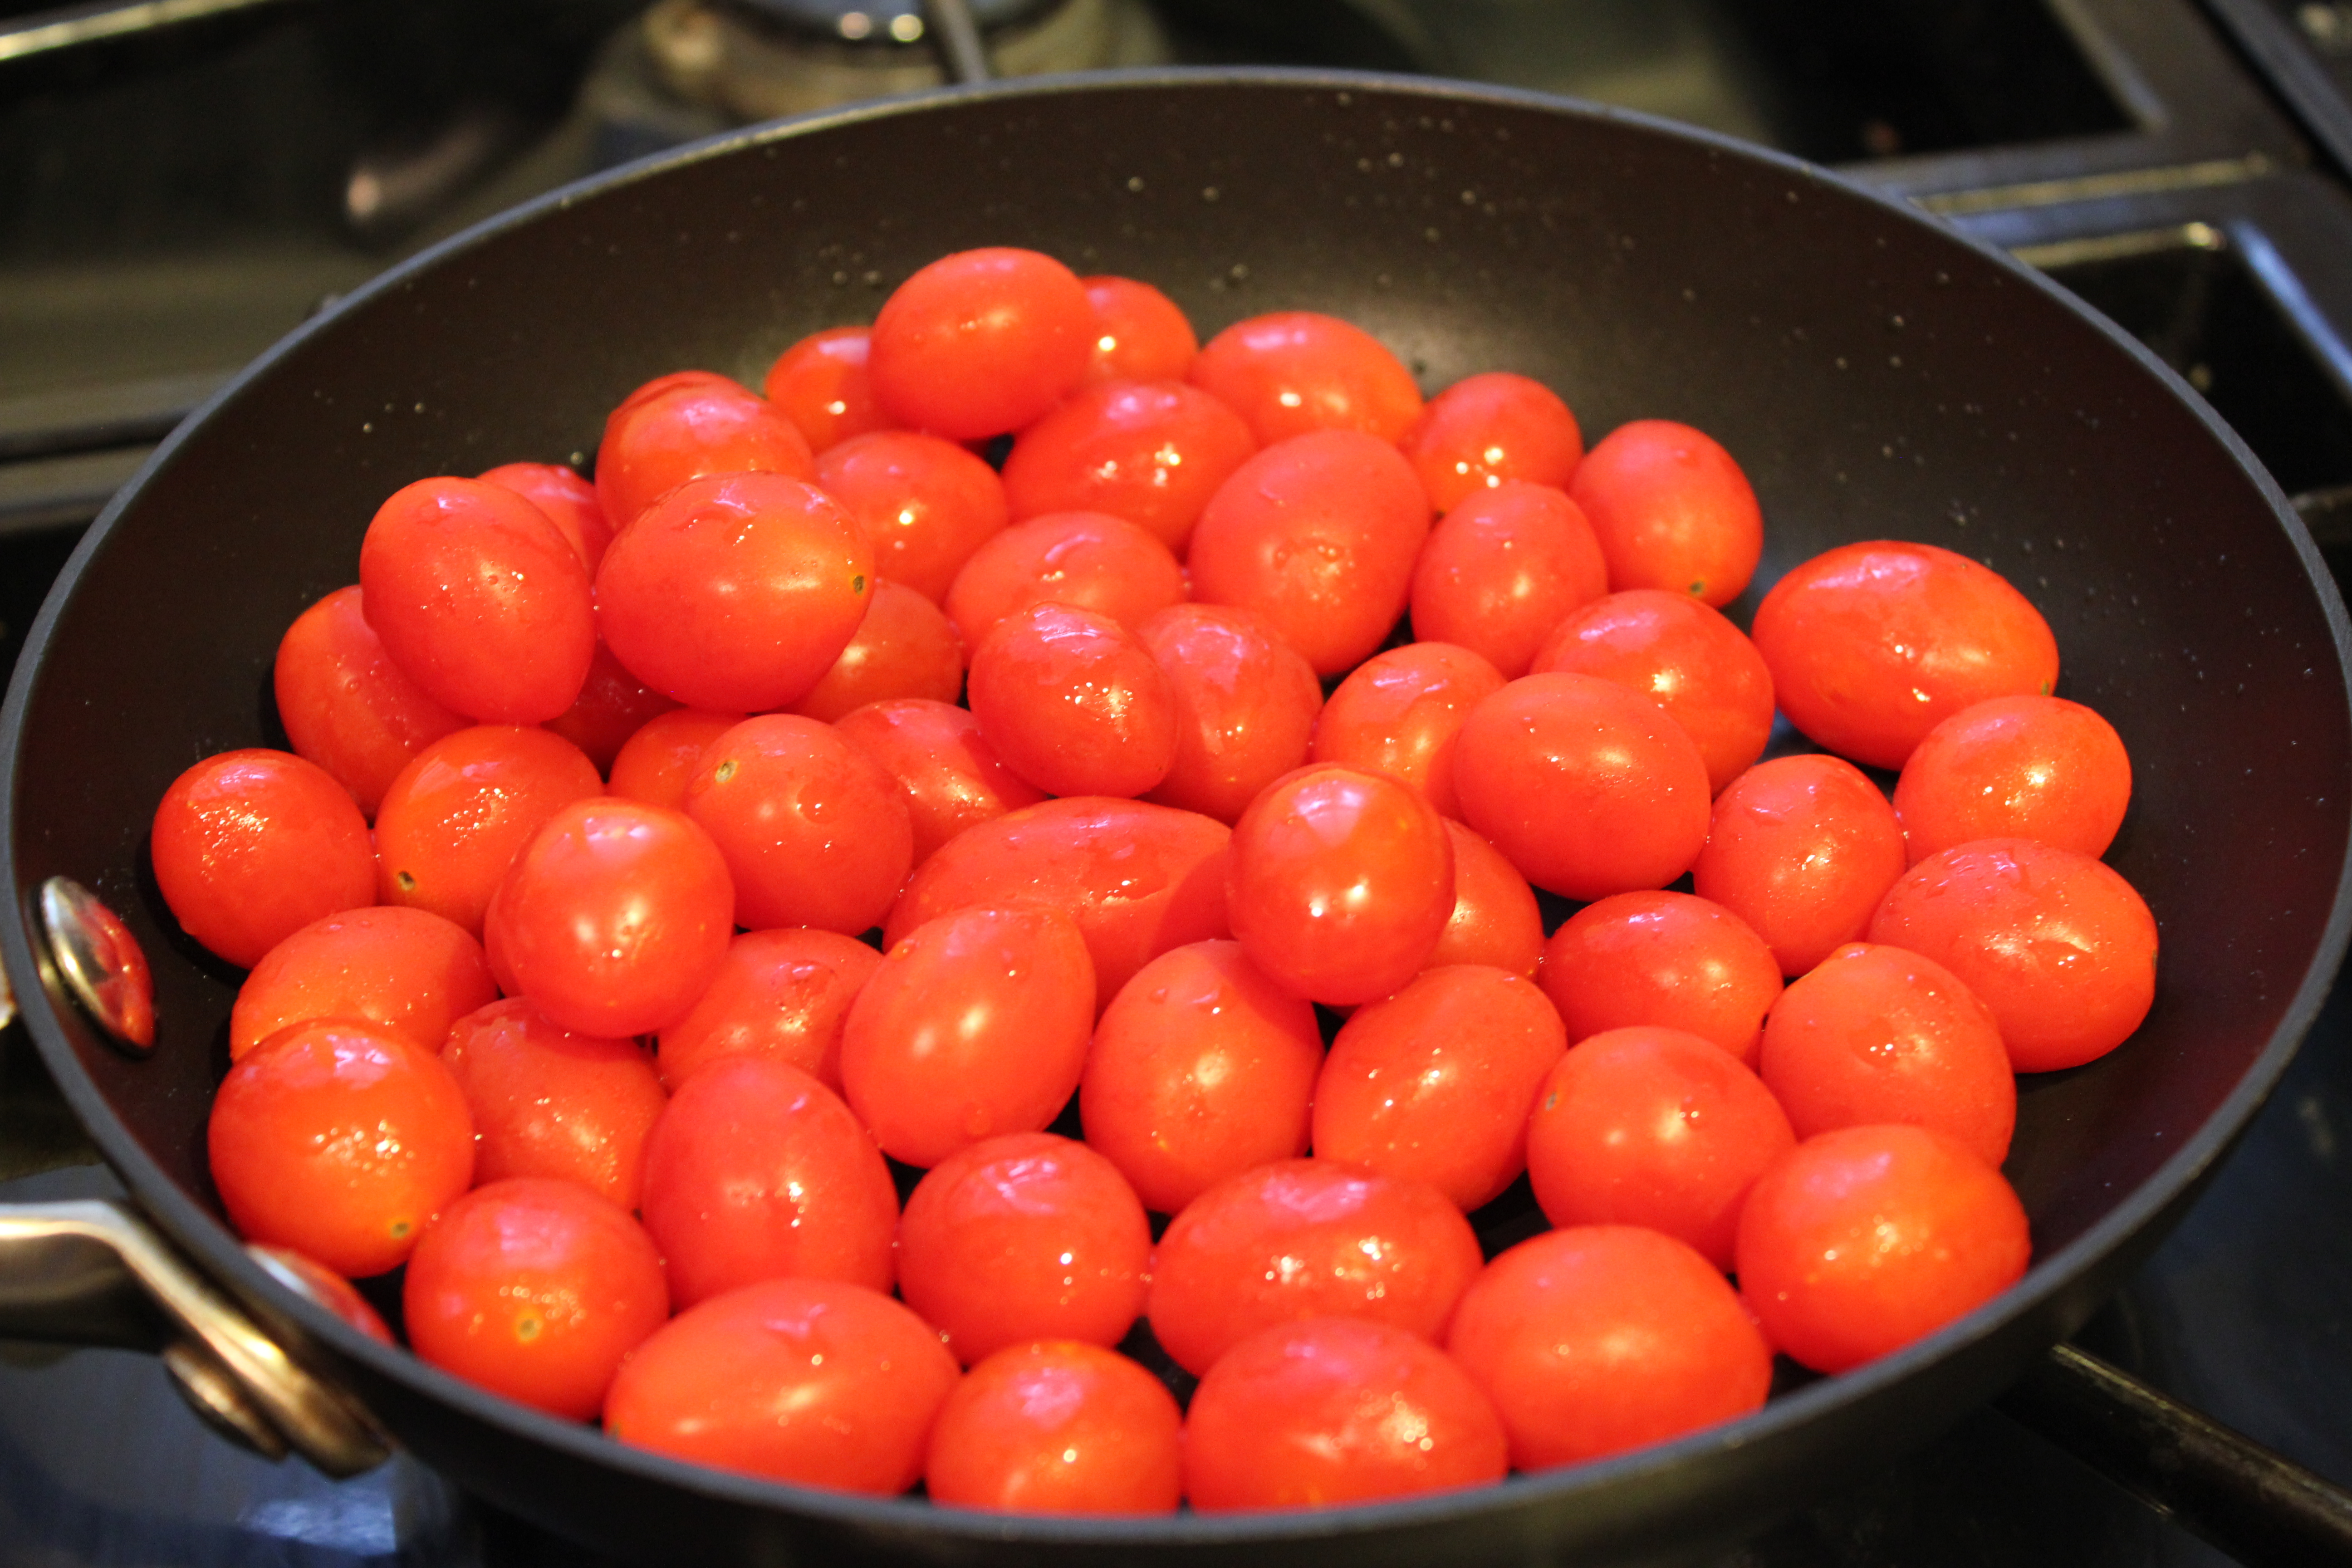
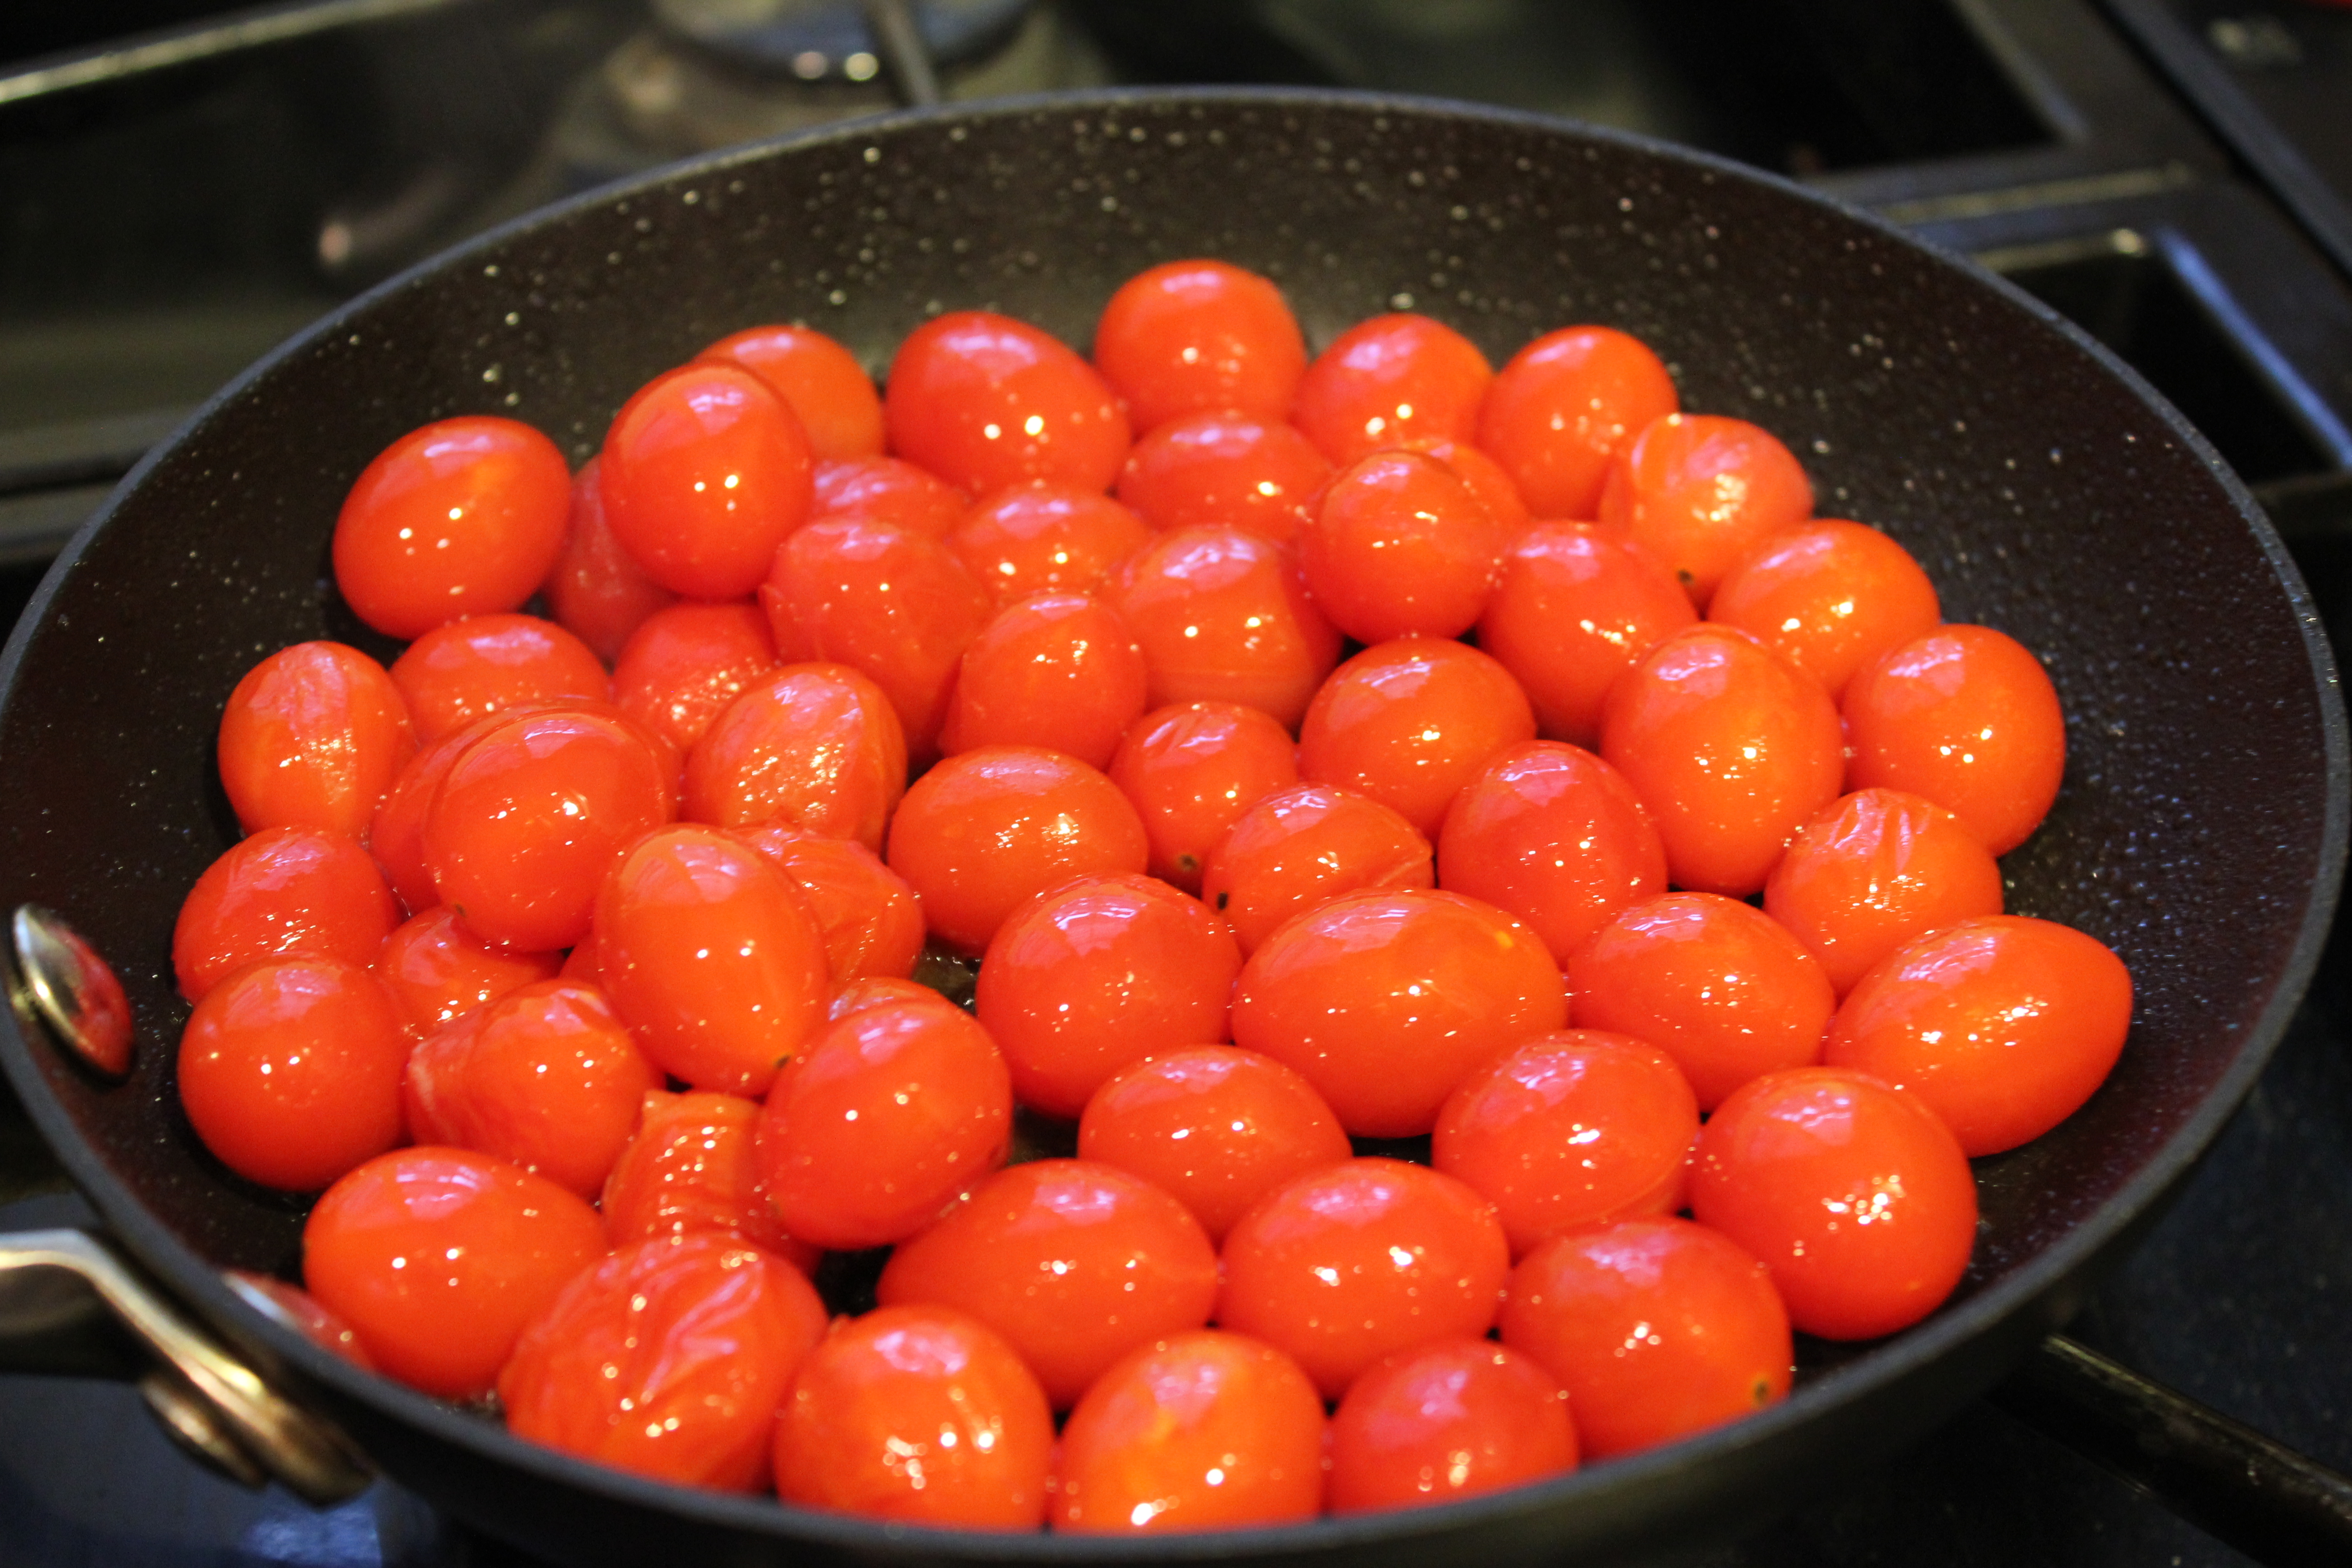
- 2 (28-ounce) cans whole plum tomatoes, chopped with their liquid (I used one 14.5 oz can crushed tomatoes and one 14.5 oz. can diced tomatoes)
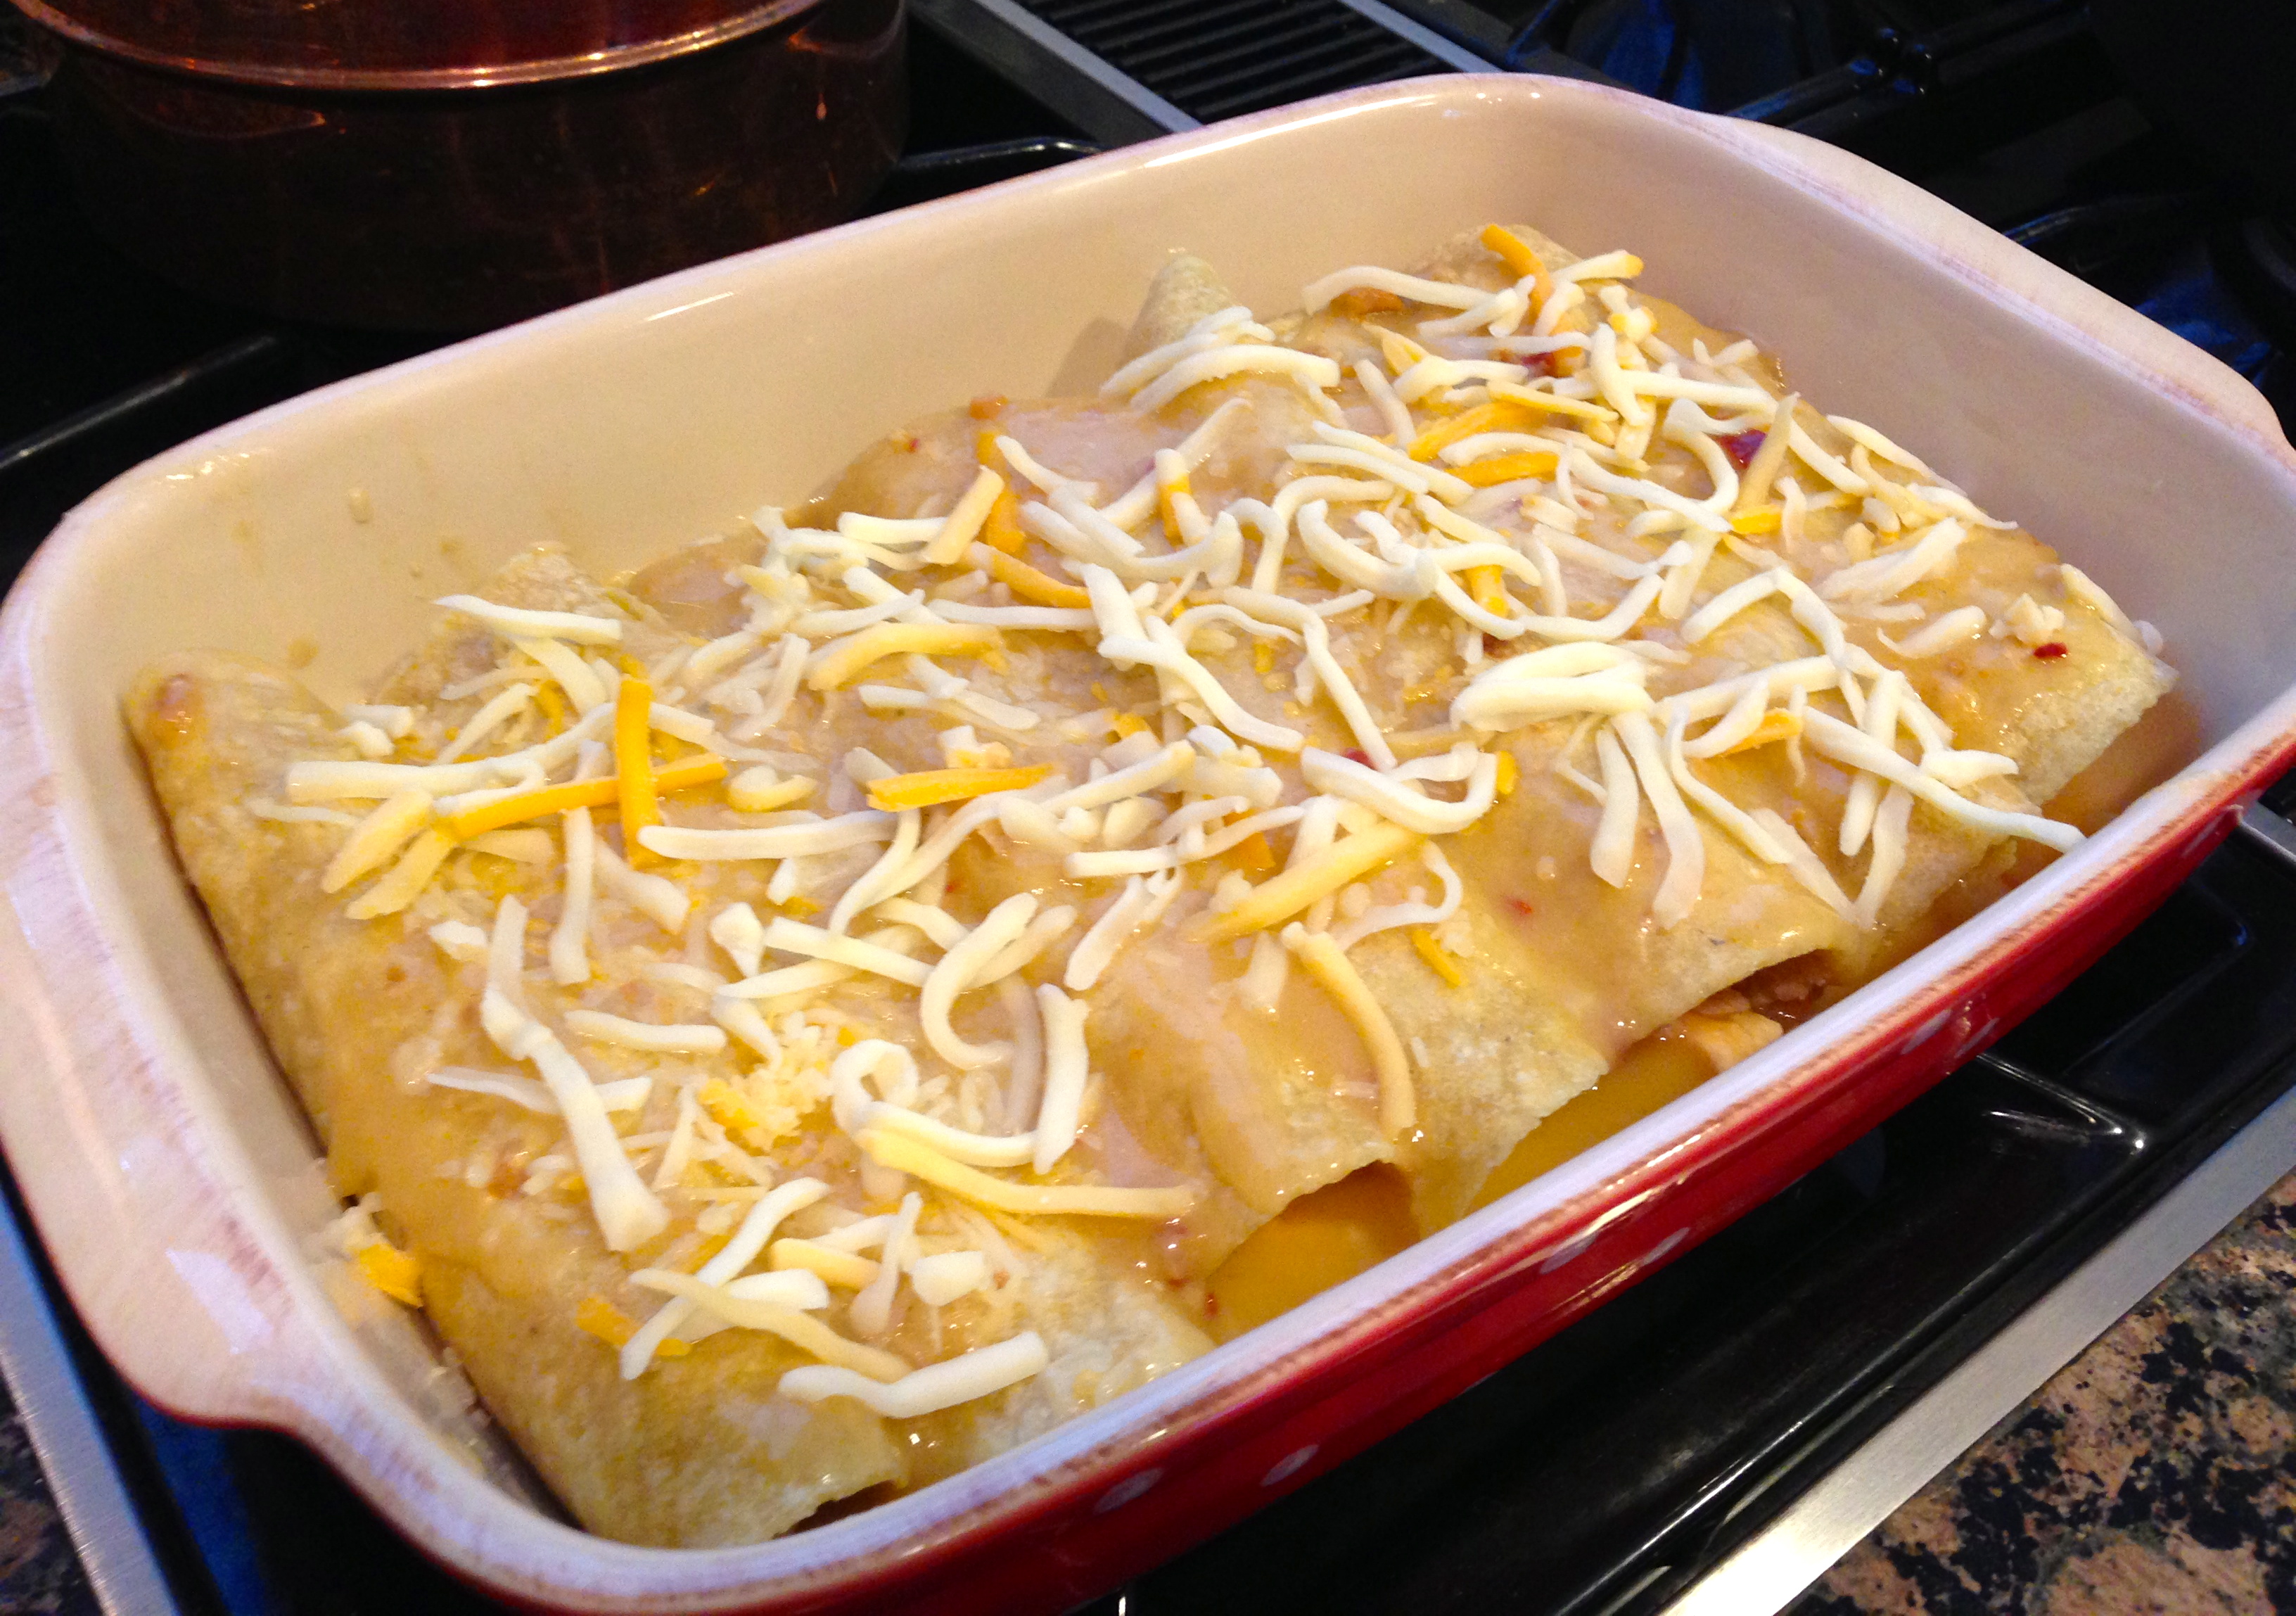
- FOR THE VEGGIE BALLS: Combine the lentils and 2 quarts water in a medium stockpot and bring to a boil over high heat. Reduce the heat to low and simmer until lentils are soft (but not falling apart), about 25 minutes. Drain the lentils and allow to cool.
- Add 1/4 cup of the olive oil to a large frying pan and saute the onions, carrots, celery, garlic, thyme, and salt over medium-high, stirring frequently, for about 10 minutes, until the vegetables are tender and just beginning to brown. Add the tomato paste and continue to cook, stirring constantly, for about 3 minutes. Add the mushrooms and cook, stirring frequently, for 15 more minutes, or until all liquid is absorbed. Transfer the mixture to a large bowl and allow to cool to room temperature. When cool, add the lentils to the vegetable mixture.
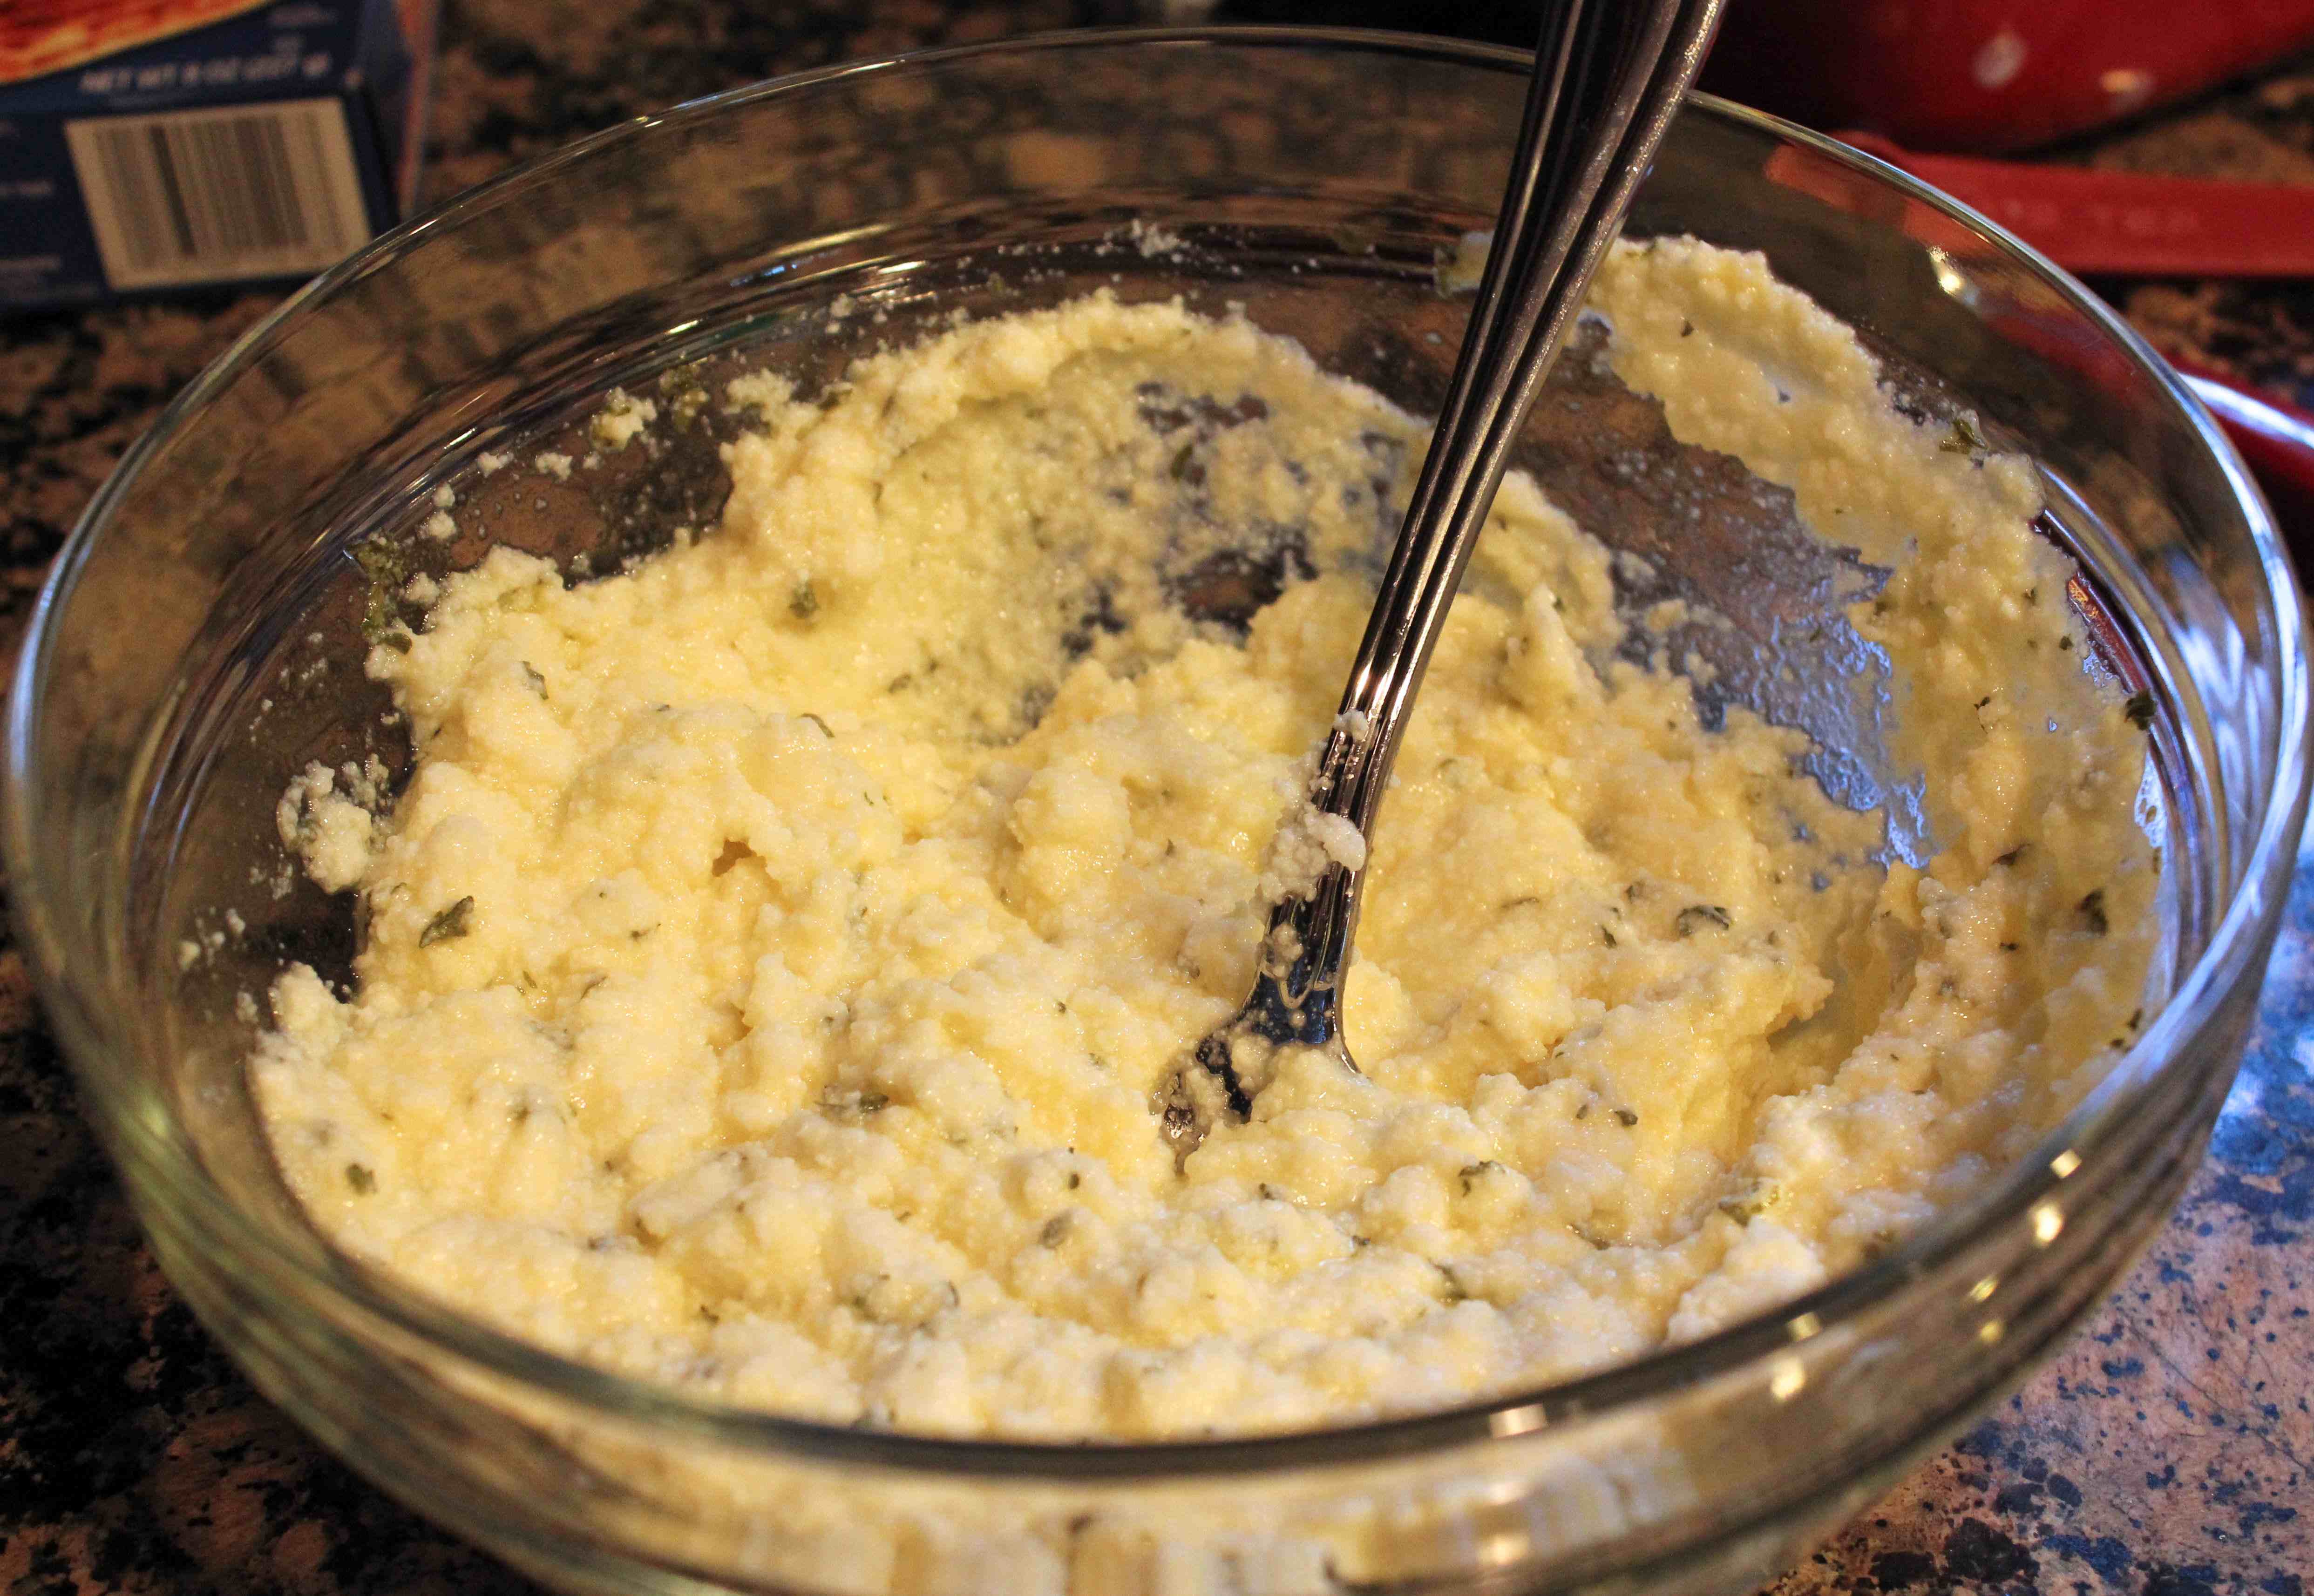
- Add the eggs, Parmesan, bread crumbs, parsley, and walnuts to the cooled vegetable mixture and mix by hand until thoroughly incorporated. Place in the refrigerator for 25 minutes.
- Preheat the oven to 400 degrees F.
- Drizzle the remaining 2 tablespoons olive oil into a 9 x 13-inch baking dish and use your hand to evenly coat the entire surface. Set aside.
- Roll the mixture into round, golf ball-sized meatballs (about 1 1/2 inches), making sure to pack the vegetable mixture firmly. Place the balls in the prepared baking dish, allowing 1/4-inch space between the balls and place them in even rows vertically and horizontally to form a grid.
- Roast for 30 minutes, or until the meatballs are firm and cooked through.
- Allow the meatballs to cool for 5 minutes in the baking dish before serving.
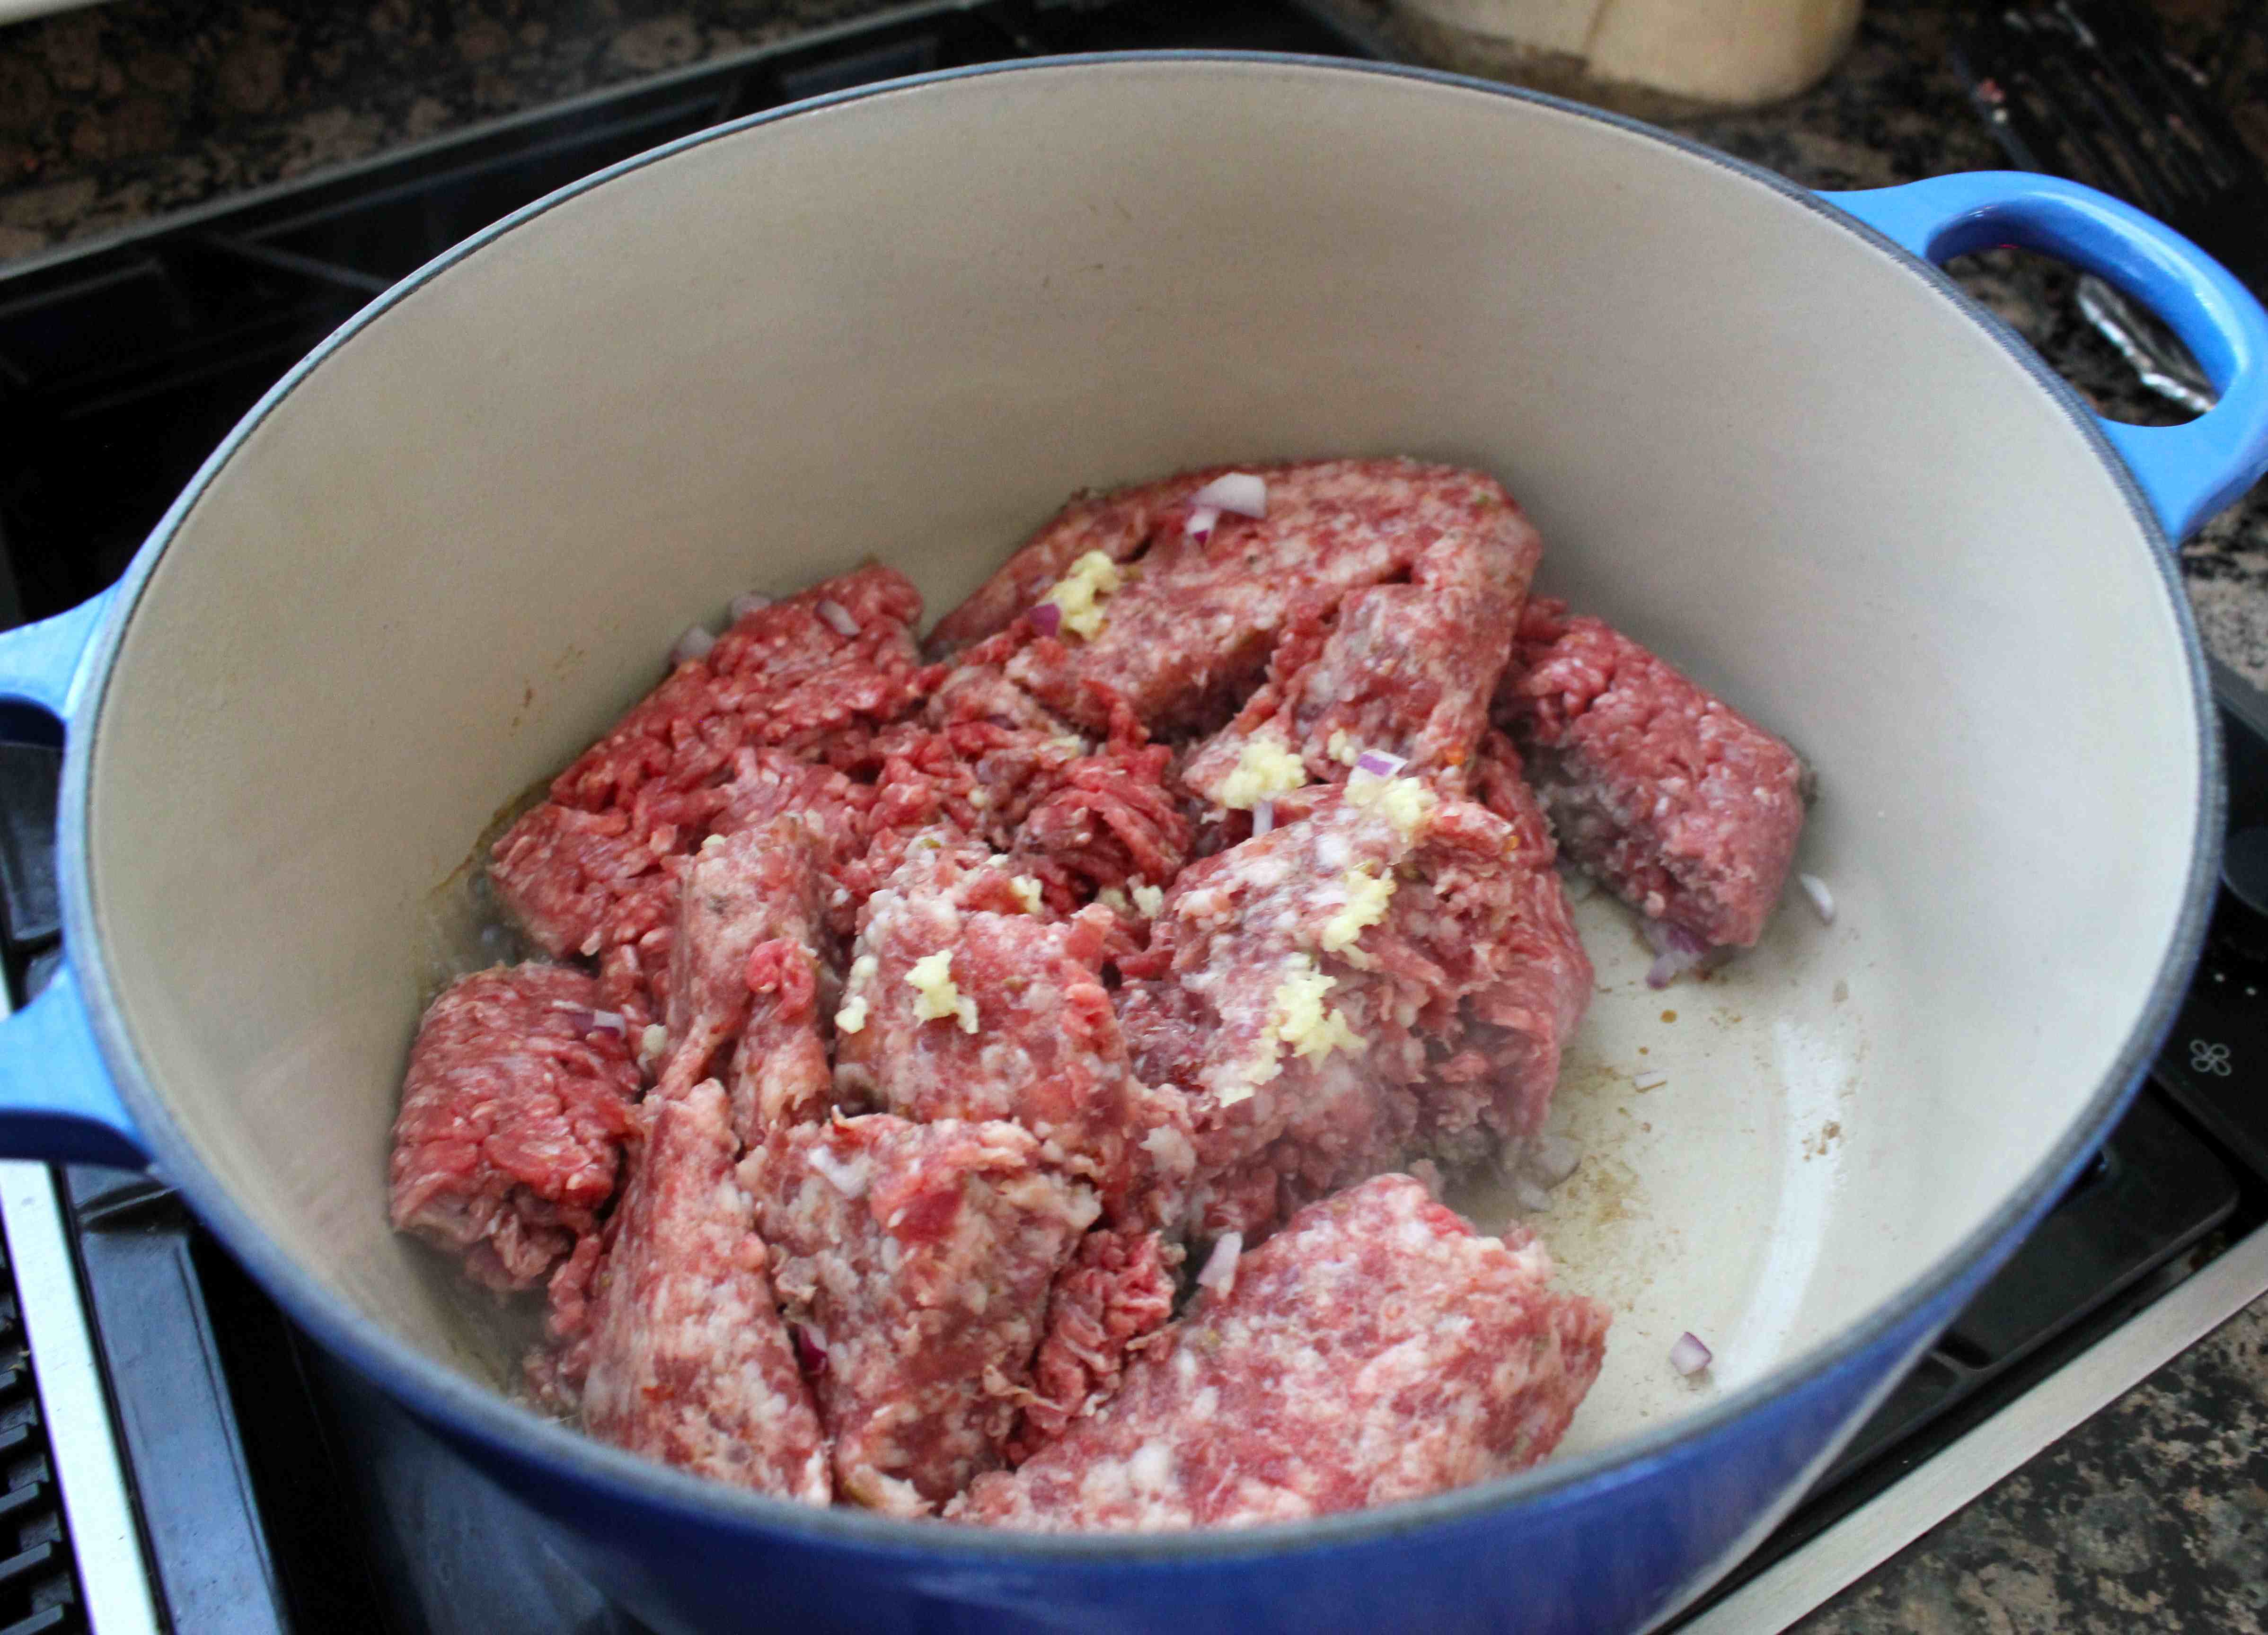
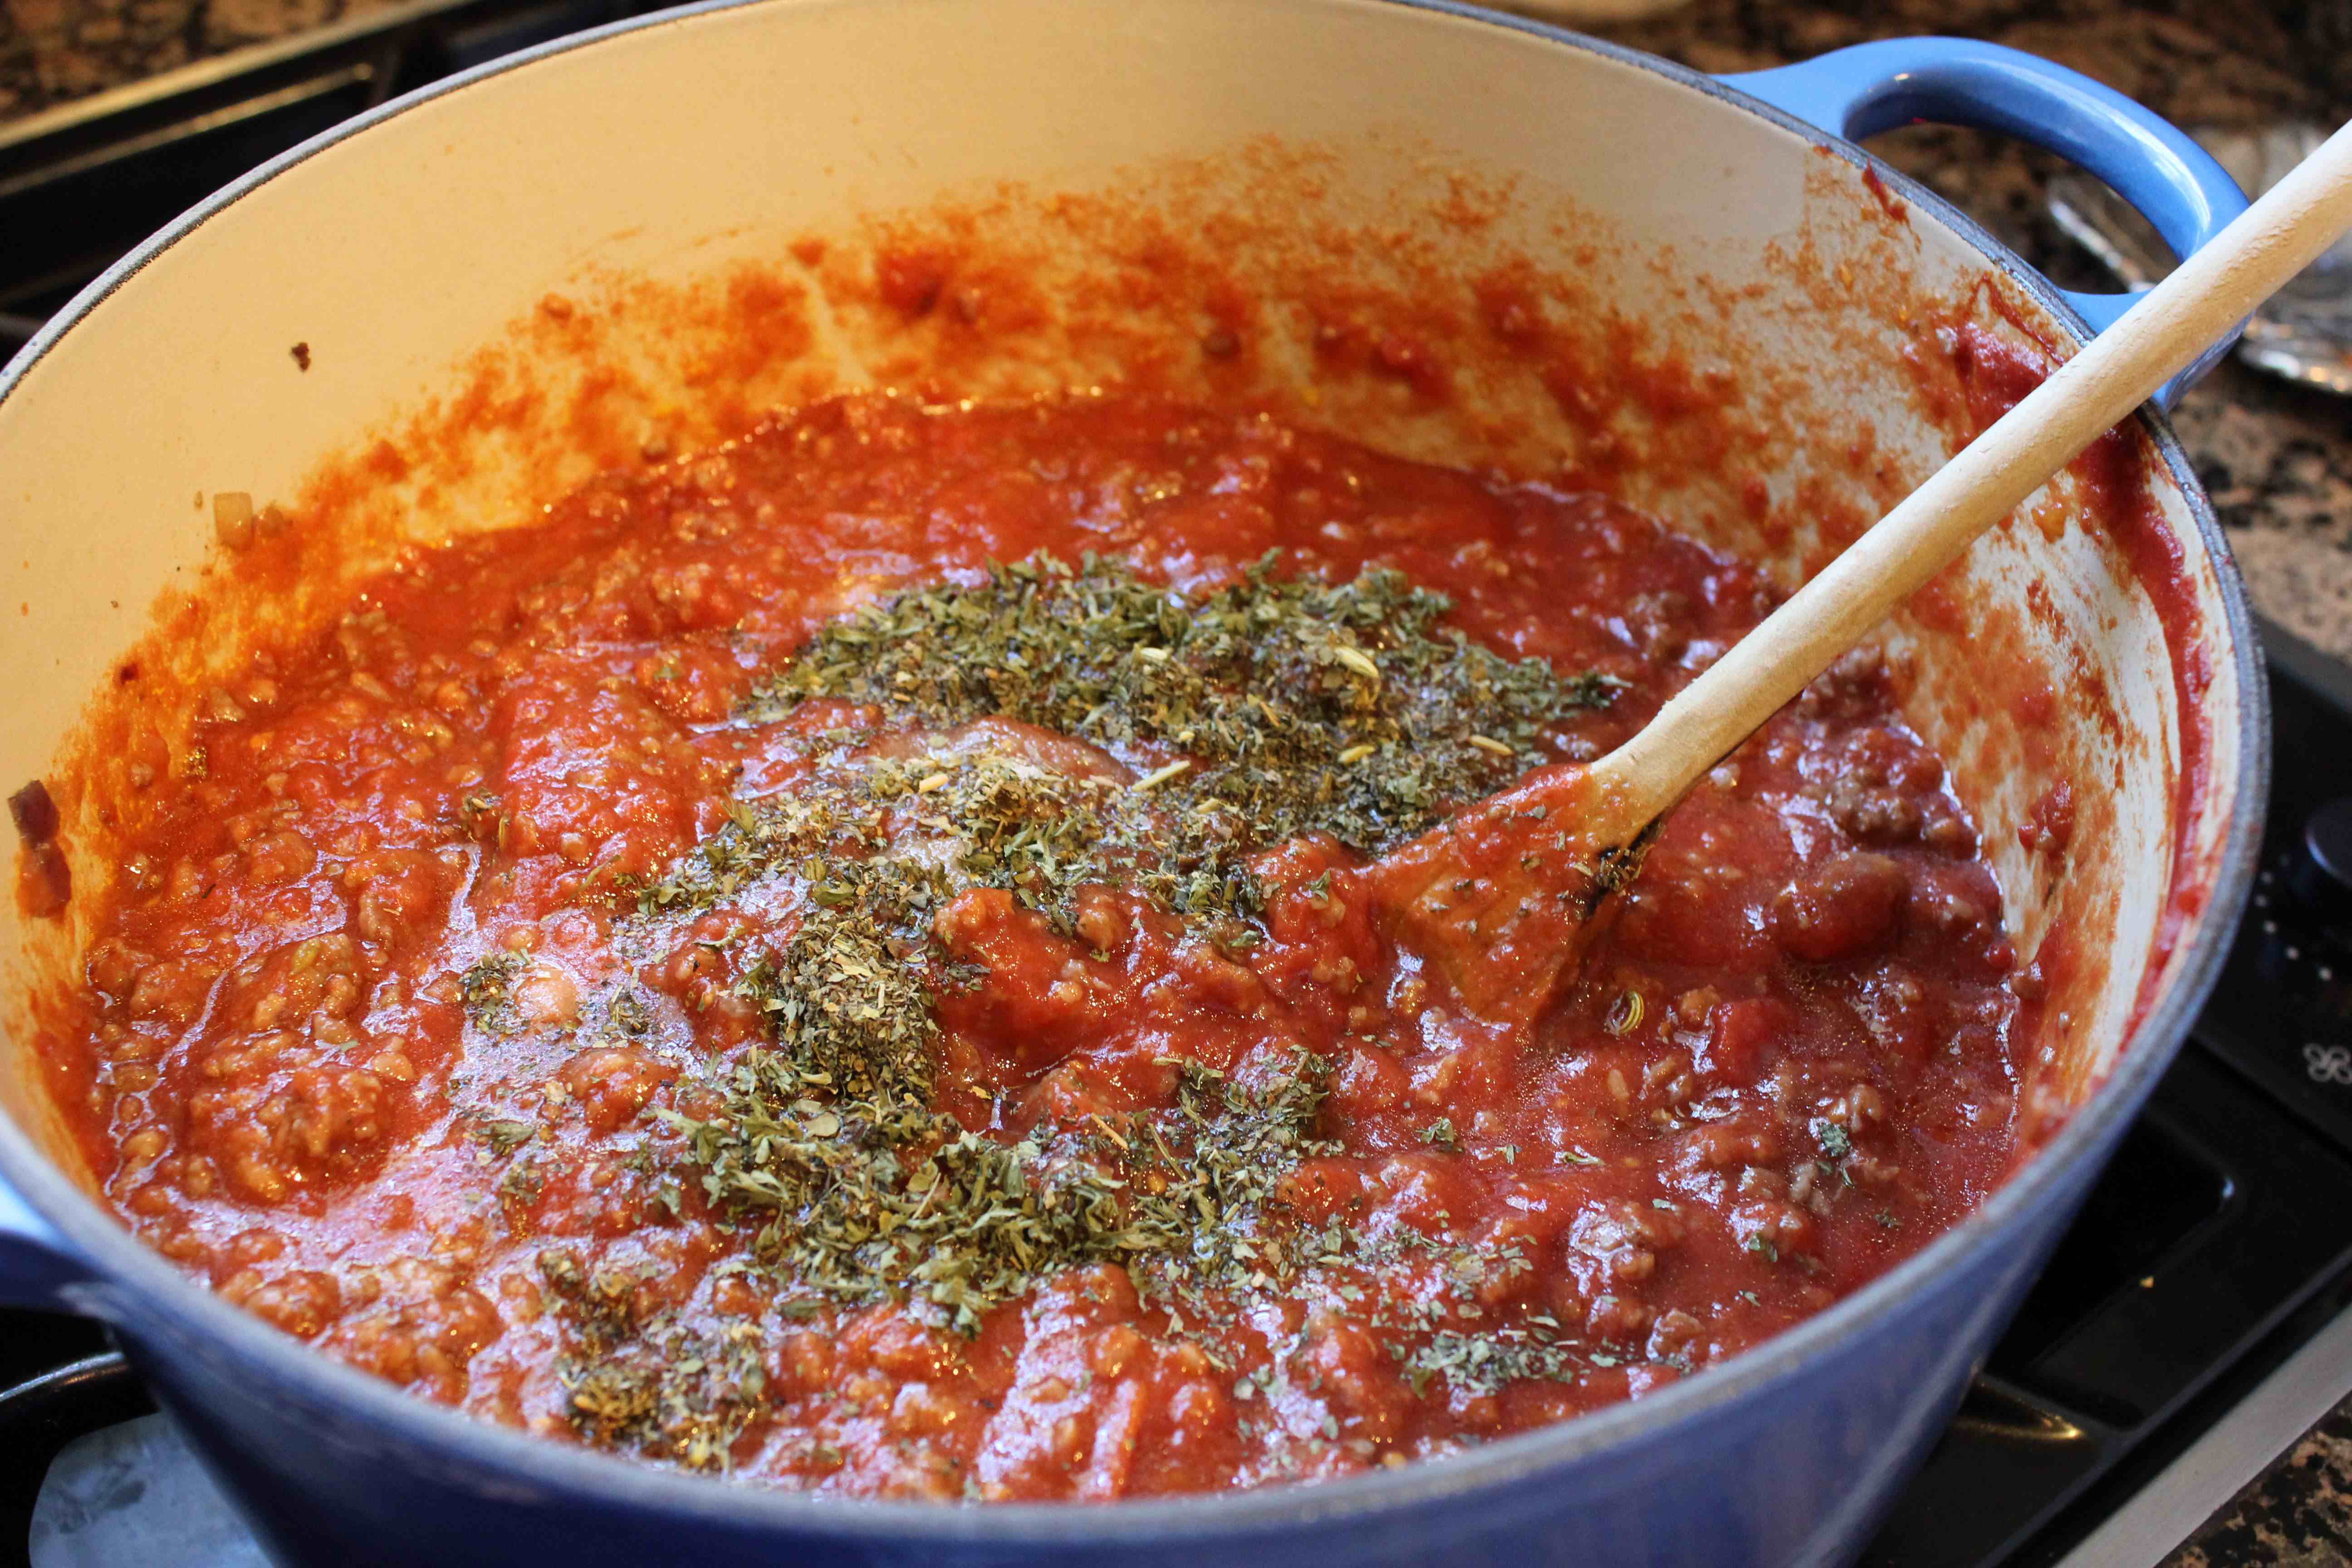
- FOR THE CLASSIC TOMATO SAUCE: Heat the olive oil in a large pot over medium heat. Add the onions, bay leaf, oregano, garlic and salt, and cook, stirring often, until onions are soft and translucent, about 10 minutes.
- Add the tomato paste and continue cooking for 5 minutes. Add the tomatoes and stir constantly until the sauce begins to boil. Lower the heat and simmer for 1 hour, stirring every 5 minutes or so to prevent the sauce on the bottom of the pot from burning. Taste and season with additional salt, if desired. Remove the bay leaf before serving.