Christmas All Through the South and Peanut Butter Blossom Cookies

Peanut Butter Blossom Cookies

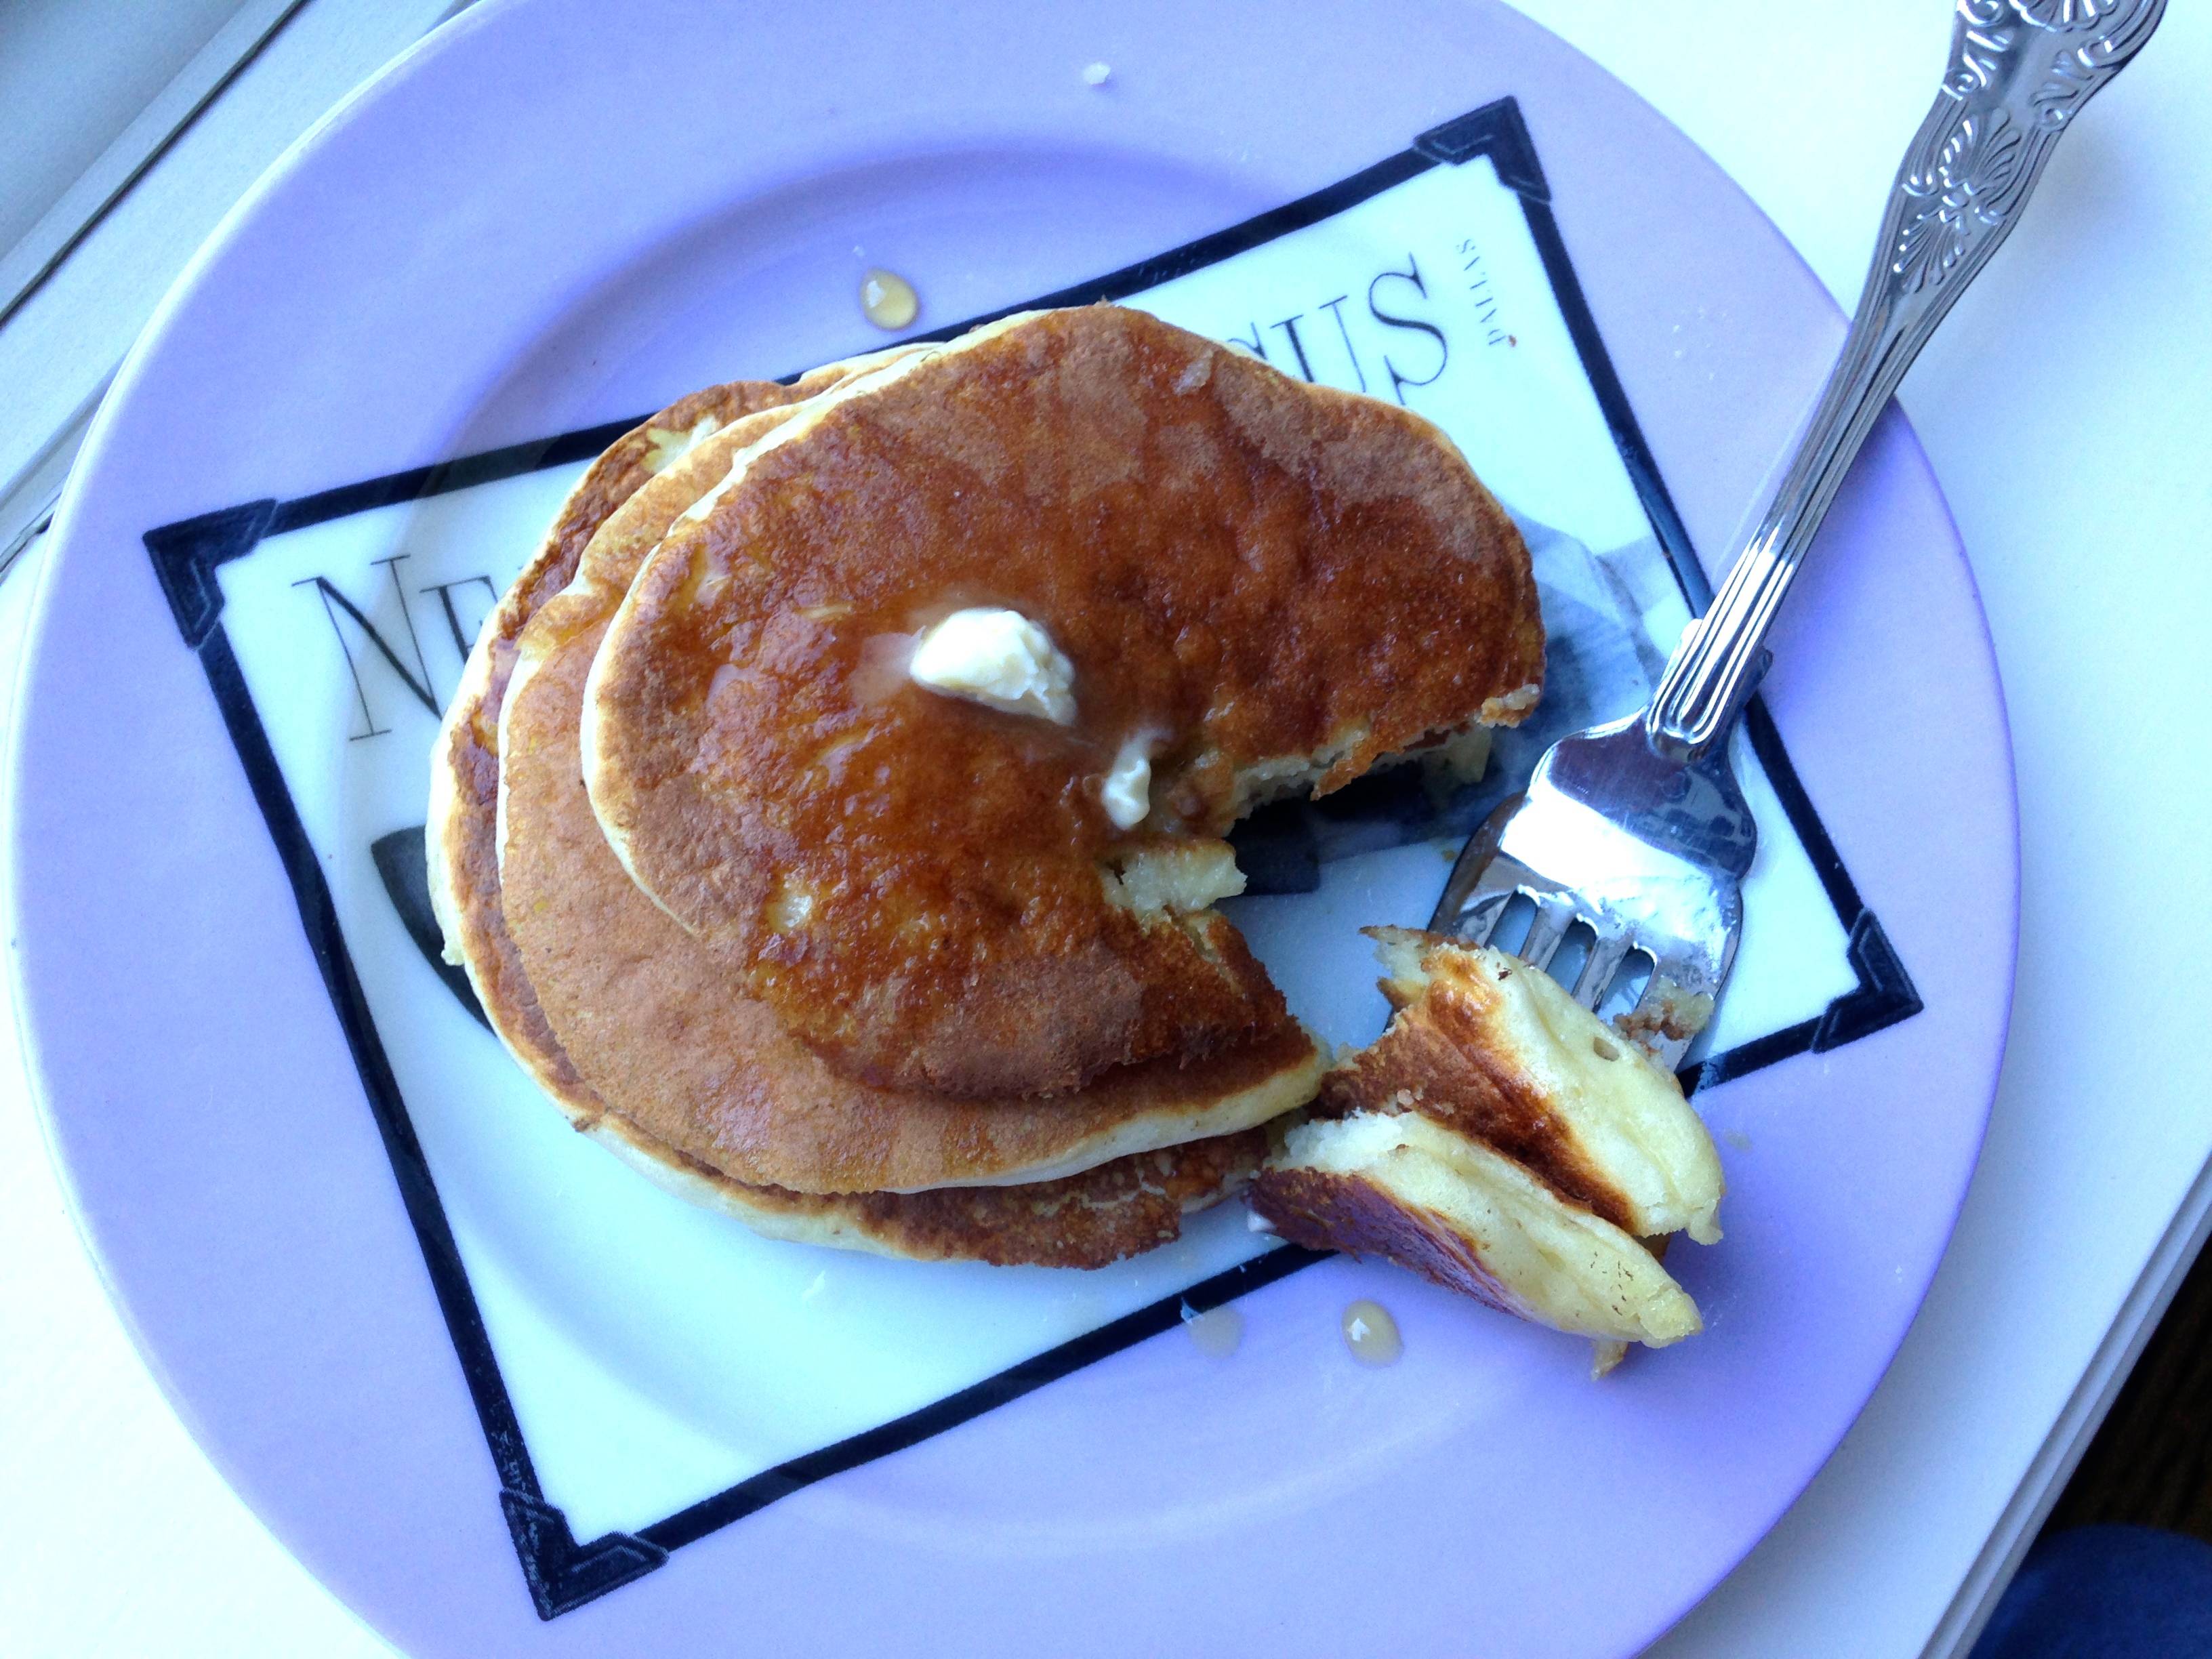
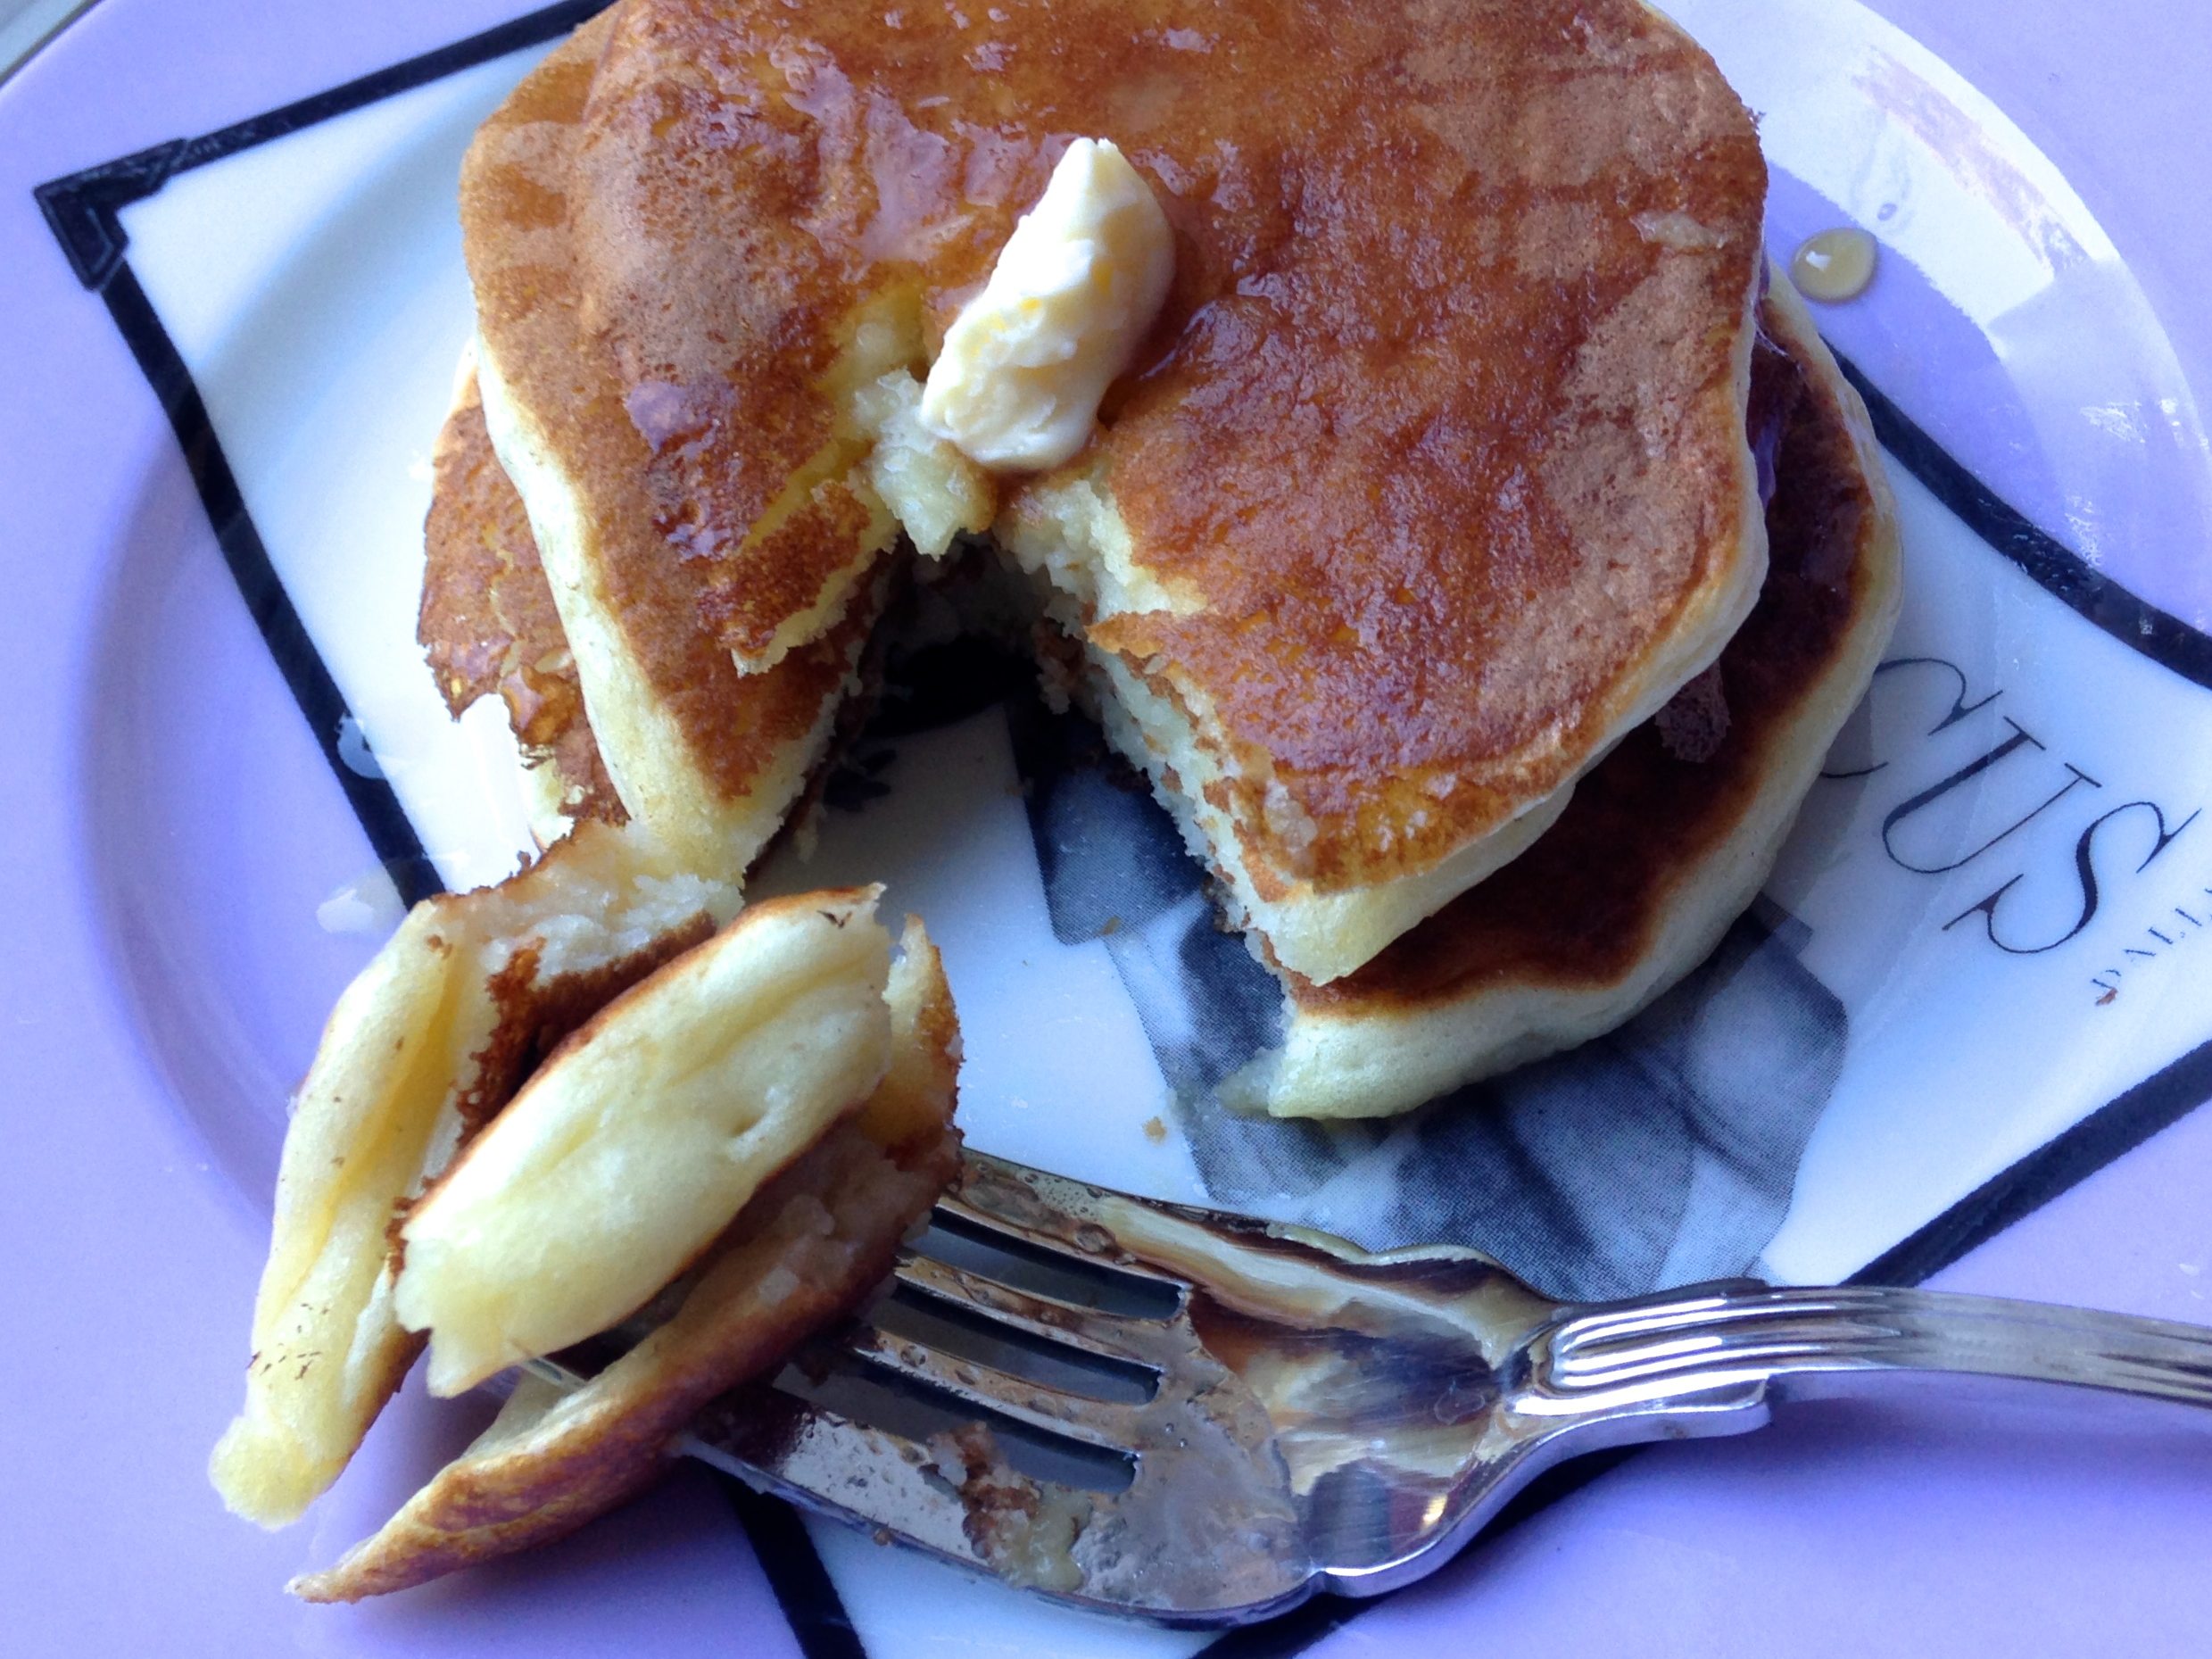
From ornament exchange and white elephant gift parties, to driving around looking at Christmas lights, the holidays are definitely something we look forward to. If you’re looking for inspirational ideas to decorate your mantel with holiday trimmings, or recipes for enjoying a Christmas morning brunch centered around red velvet pancakes, Southern Living’s “Christmas All Through The South:  Joyful Memories, Timeless Moments, Enduring Traditions” is one to impress!

CATTS_jacketFINAL_0616.indd

Woven throughout this stunning 400-full color book are stories of Christmas traditions in the south, like finding the perfect tree at a North Carolina tree farm, enjoying the sparkling lobby of the Roosevelt Hotel in New Orleans, decorating ideas from gorgeous southern homes, and menu ideas for every festive occasion.

Southern Living’s “Christmas All Through The South” would make a perfect keepsake for your friend or family member wanting that inspiration, or even as a gorgeous coffee table book. You can purchase the book via Amazon HERE.

While my family doesn’t have a ‘set’ tradition of picking out a tree at the tree farm, we do have a Christmas tradition of driving around the metroplex looking at lights. Whether it’s looking at the gorgeous homes in Highland Park adorned with Christmas lights, or looking at lights at The Shops of Legacy in Plano, Southlake Town Square, or Frisco Square – my personal favorite.

In Texas, you better go big or go home. Our Christmas lights are just one example of that. Below are two videos of lights in the Dallas metroplex, Frisco, that does it up right. One is a house in my old neighborhood that has lights synchronized to music. That same homeowner impressed so many people that he also synchronizes the lights at Frisco Square. Did I mention he’s an Aggie? lol. He even synchronizes his house to the Aggie War Hymn.  Enjoy the videos below:


Shops of Legacy
The Shops of Legacy’s Christmas lights

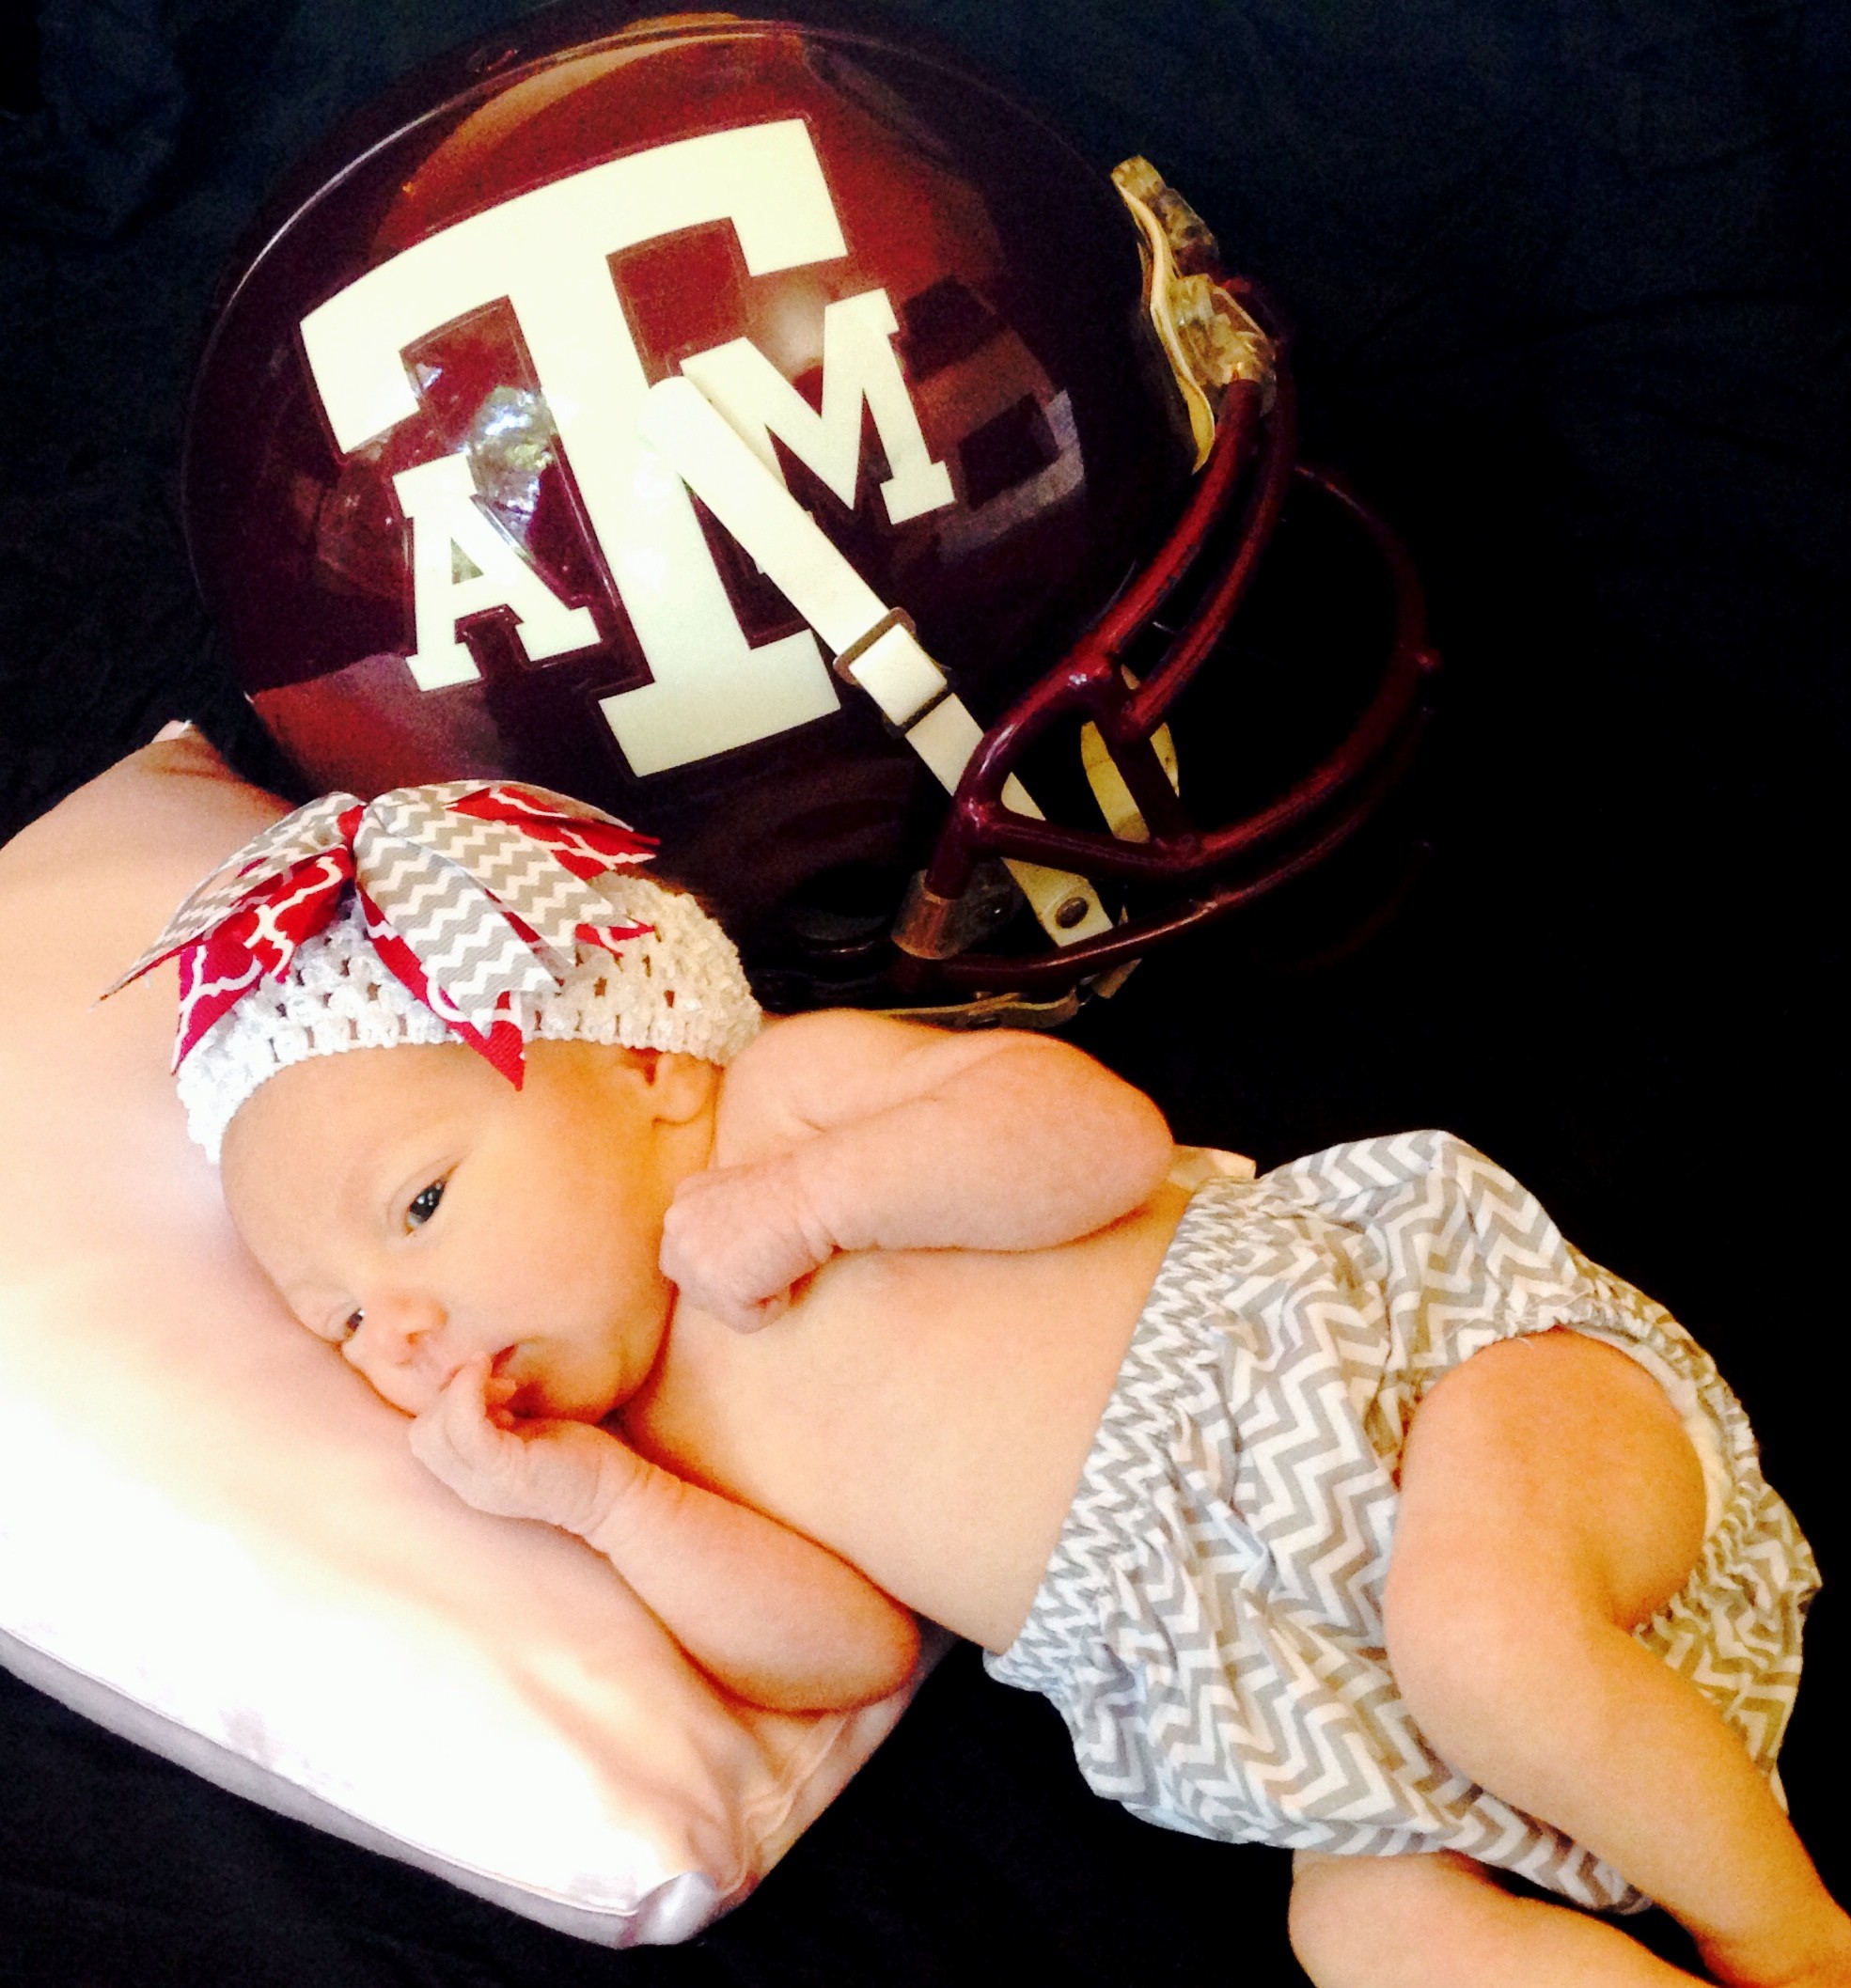
We will have new Christmas traditions with this little one that just arrived in October. She’s our little Christmas present!

baby

baby

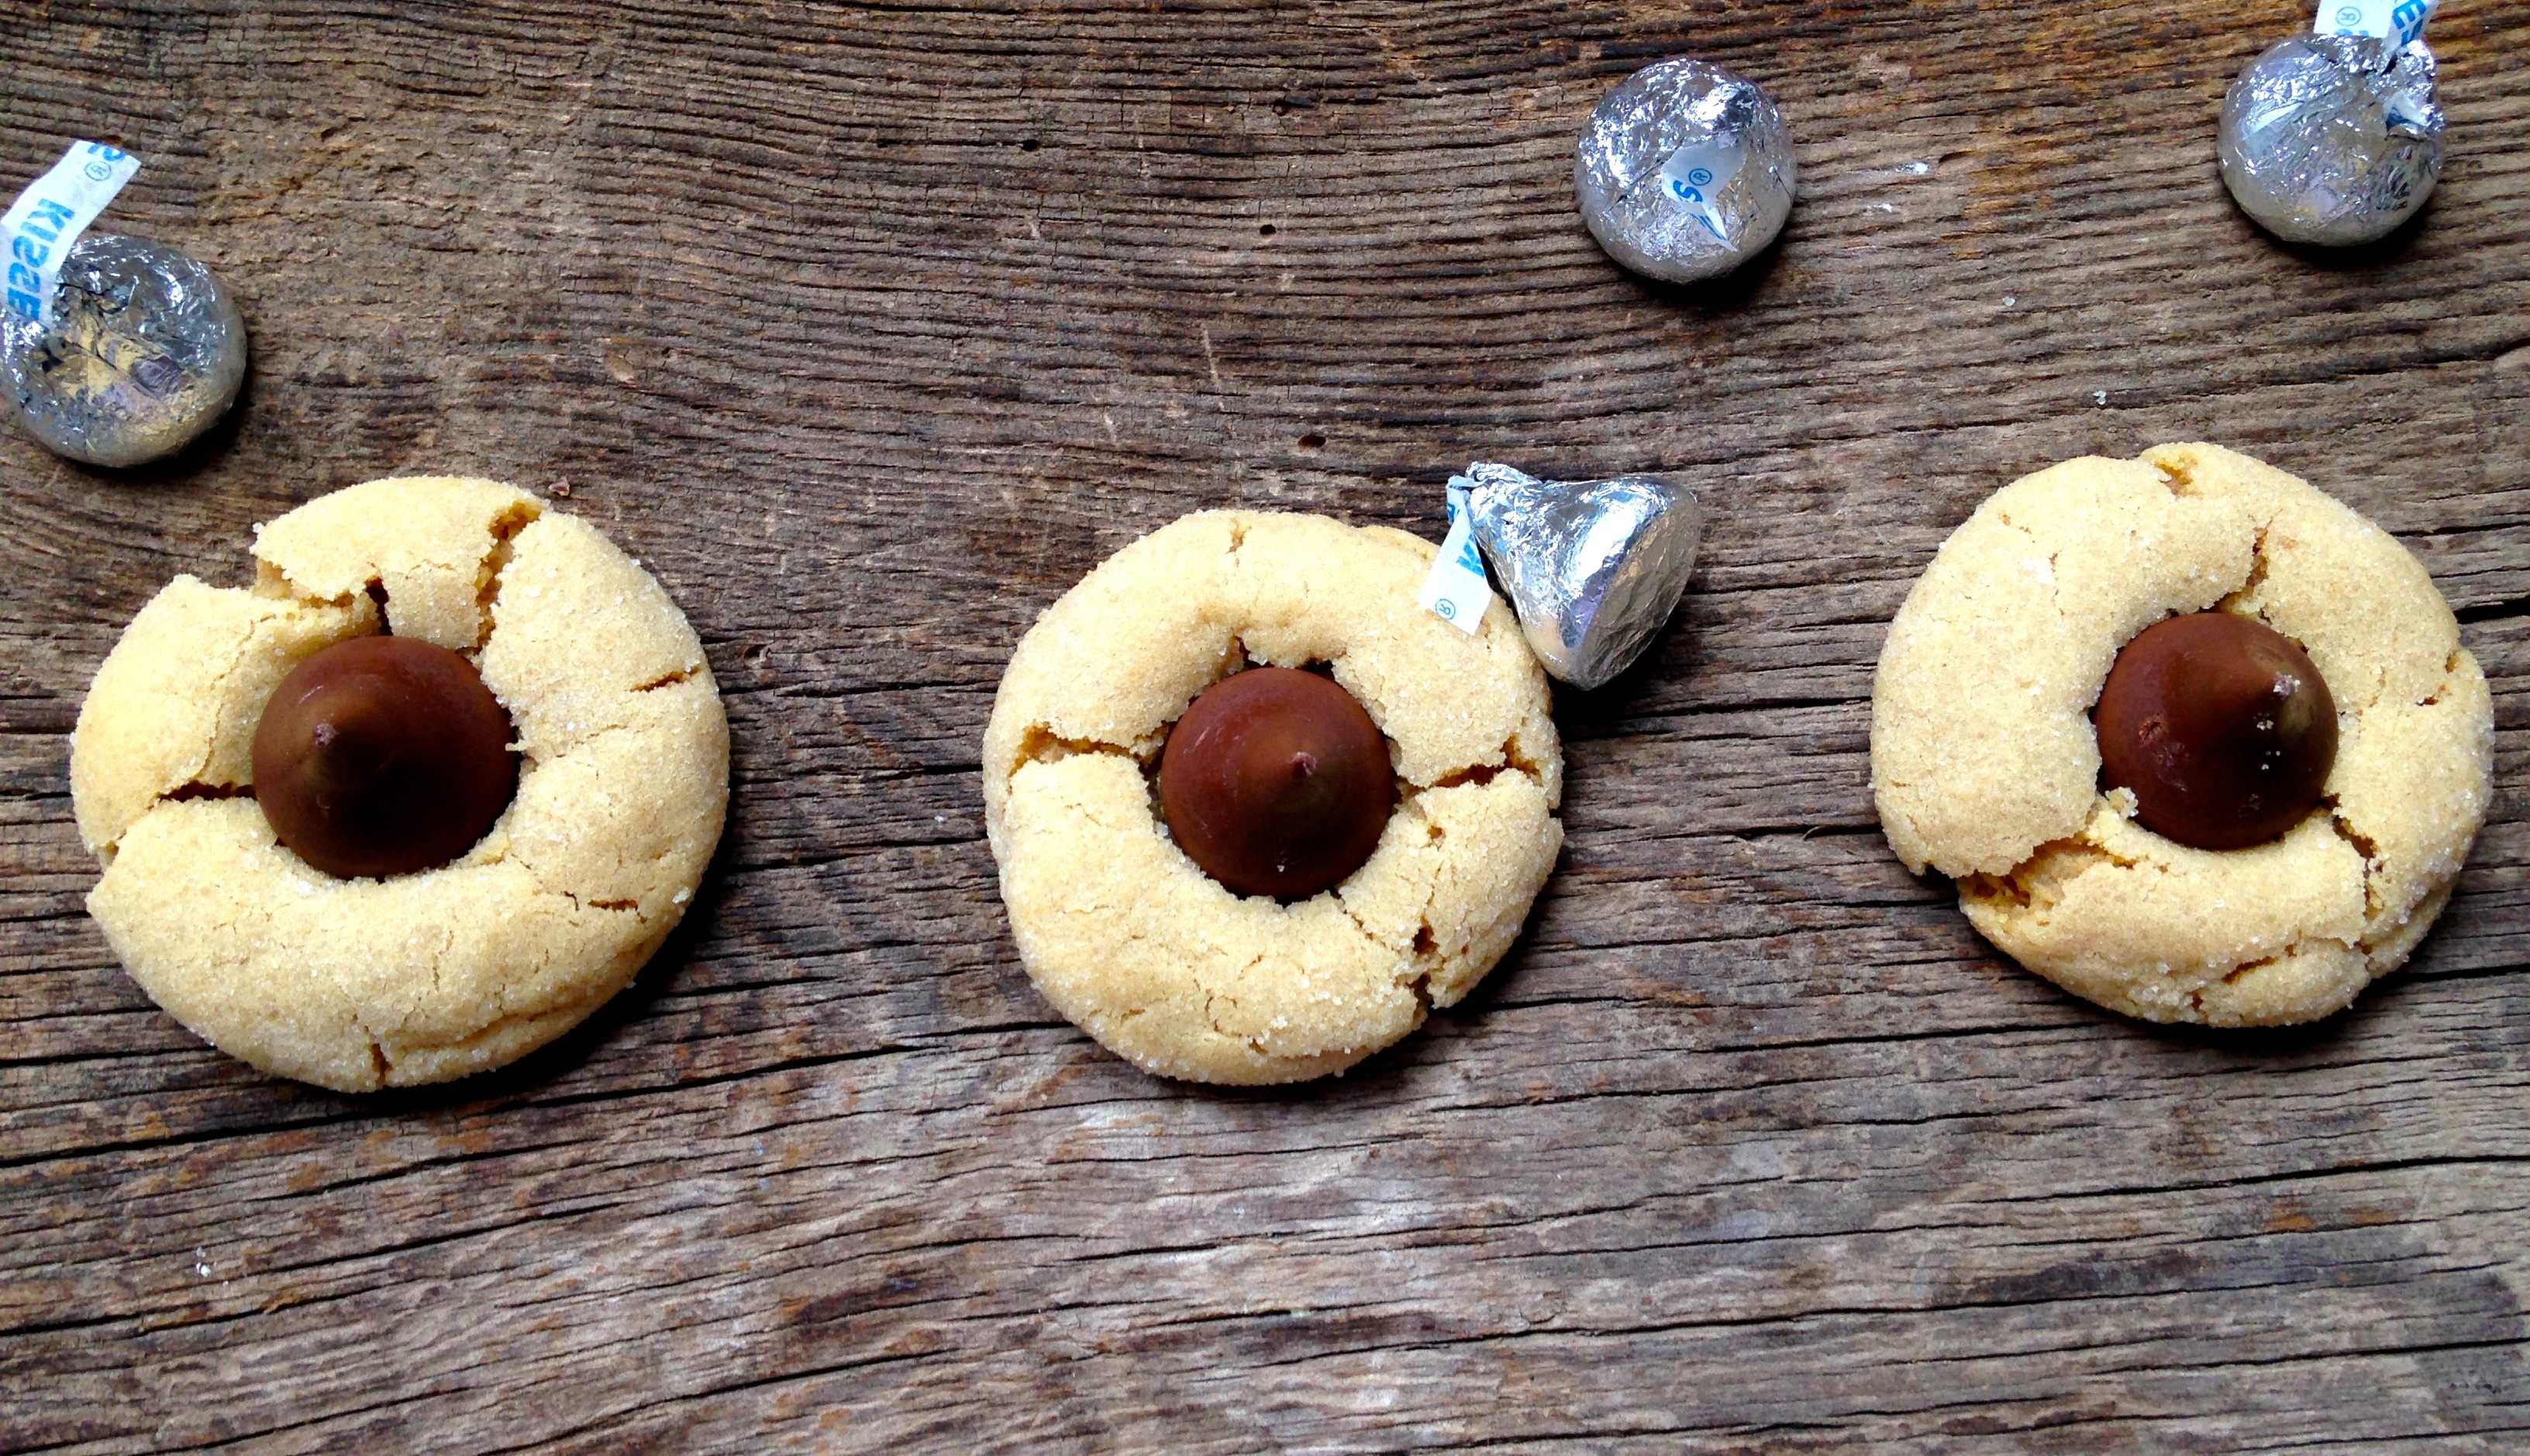
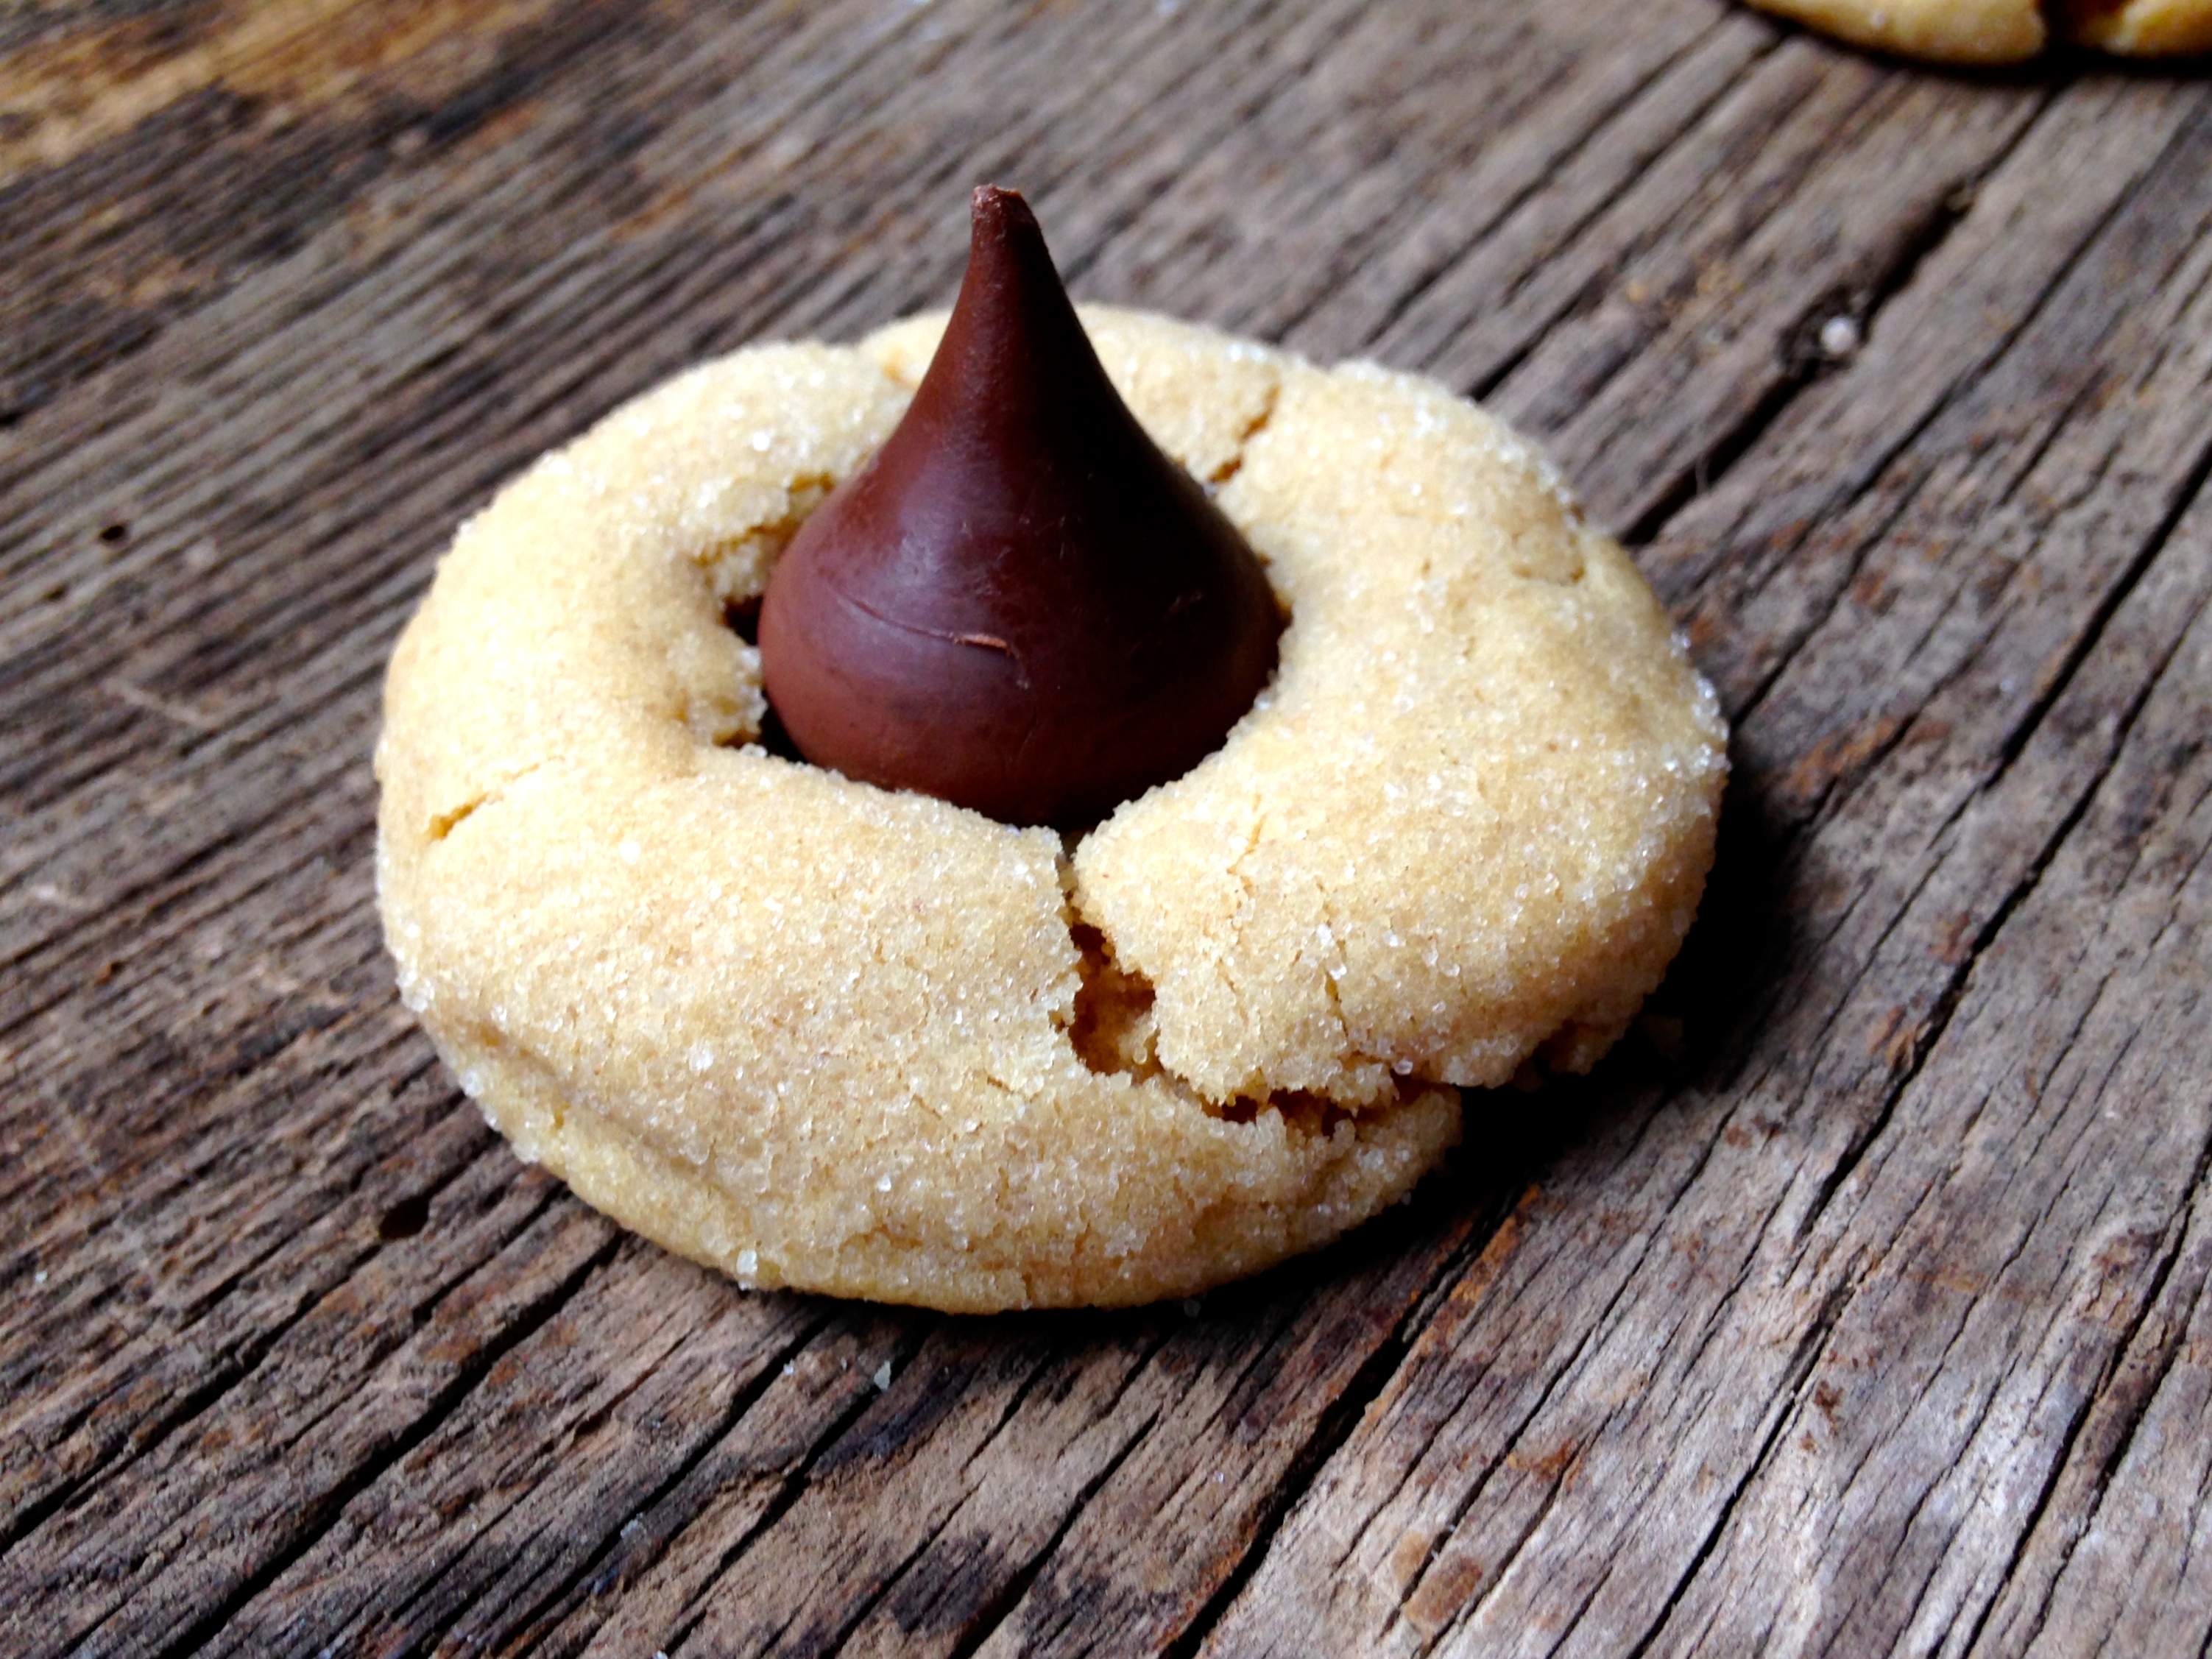
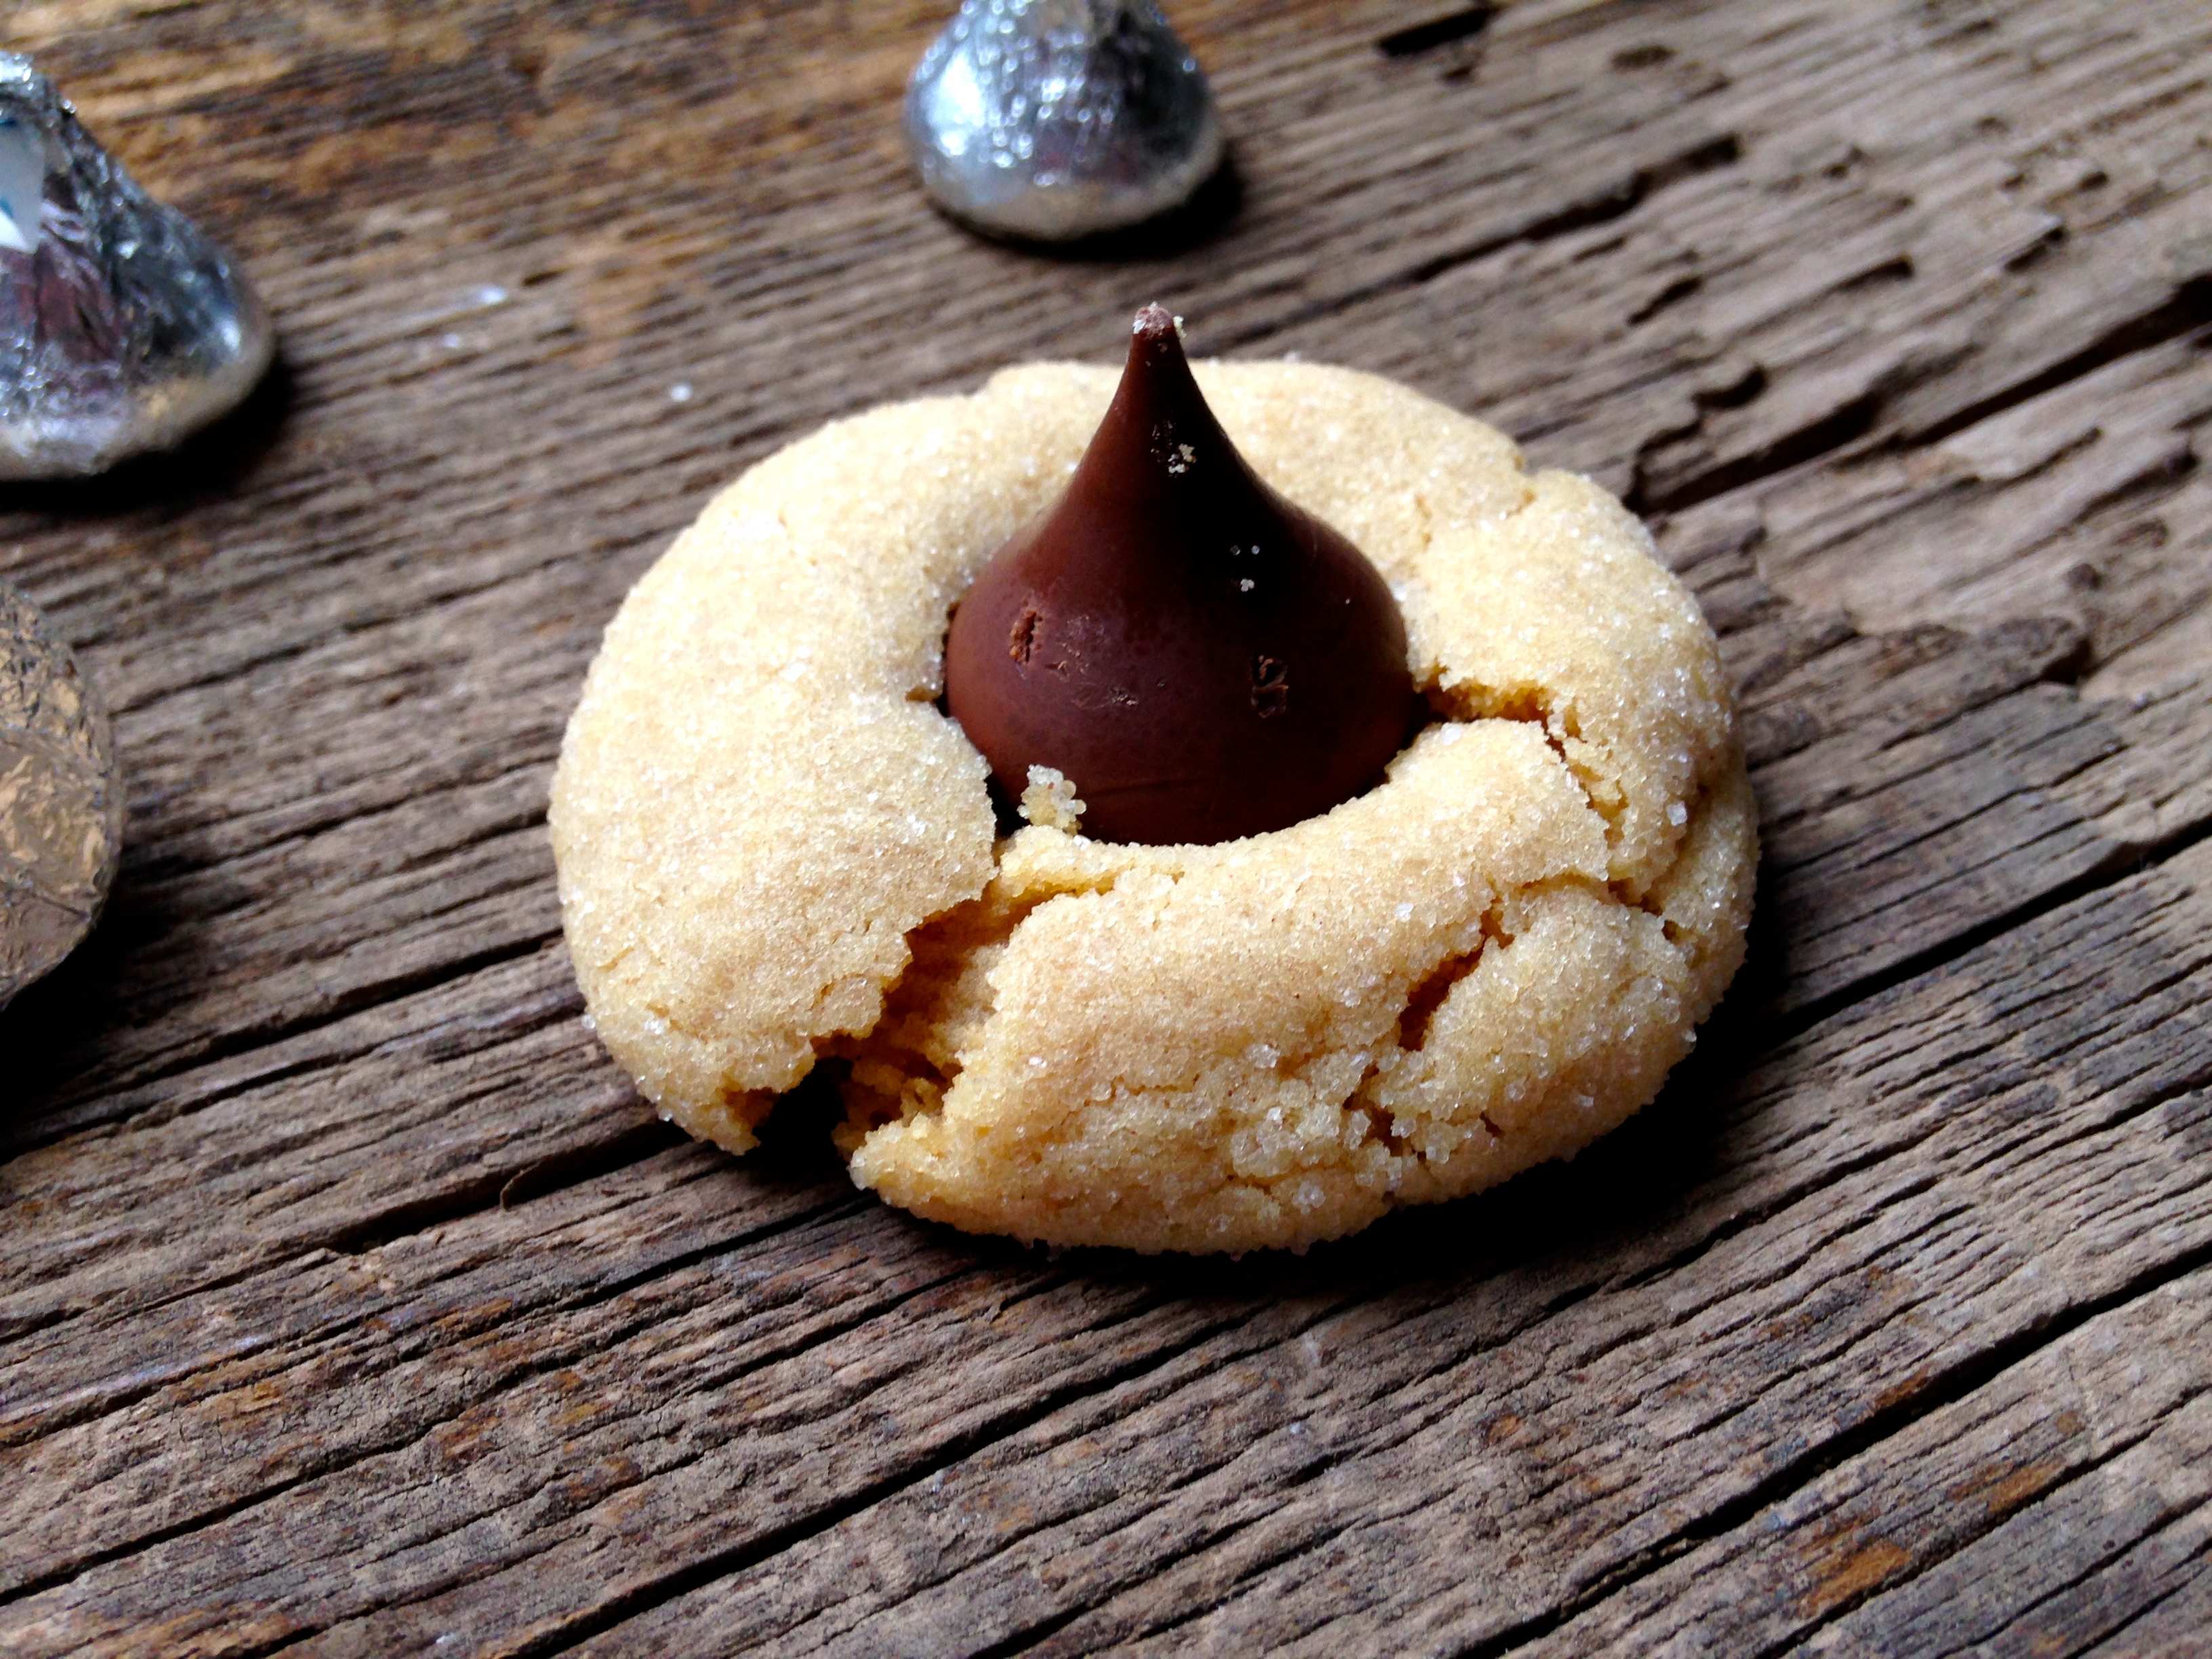
And finally, you can’t enjoy the holidays without cookies! I made these peanut butter blossom cookies for a football watching party we had over at our house. The recipe, credit given to Land O’Lakes, is super easy to follow, and they taste amazing!!

I had some leftover Hershey’s kisses from a baby shower, and wanted to use them in a recipe so I wasn’t continuously munching on them. I’m a sucker for small candies. Only one candy is 22 calories, but before you know it, you’ve eaten like 10, and 22 calories turns into 200+ calories! With these cookies, I’ll eat just one and be done. 🙂

Enjoy!!

Peanut Butter Blossom Cookies

Peanut Butter Blossom Cookies

Peanut Butter Blossom Cookies

Peanut Butter Blossom Cookies
Prep time:
Cook time:
Total time:
Serves: 48
Ingredients
  • 1/2 cup sugar
  • 1/2 cup firmly packed brown sugar
  • 1/2 cup unsalted butter, softened
  • 1/2 cup creamy peanut butter
  • 1 egg
  • 1 tsp. vanilla
  • 1/4 tsp. salt
  • 1 3/4 cups all-purpose flour
  • 1 tsp. baking soda
  • 1/4 cup sugar
  • 48 milk chocolate Hershey’s kiss candies, unwrapped
Instructions
  1. Preheat oven to 375 degrees F.
  2. Combine 1/2 cup sugar, brown sugar, softened butter and peanut butter in the bowl of an electric mixer. Beat at medium speed until light and fluffy. Add egg, vanilla, and salt; continue beating until well mixed.
  3. Add flour and baking soda. Beat at low speed, scraping bowl often, until well mixed.
  4. Shape dough into 1-inch balls. If dough is too soft, refrigerate 30-60 minutes. Roll balls in 1/4 cup sugar. Place 2 inches apart onto ungreased cookie sheets.
  5. Bake 8-10 minutes or until very lightly golden brown. Immediately press 1 Hershey’s kiss in center of each cookie. Remove to cooling racks.
Notes
Source: Land O’Lakes


Yogurt Pancakes

Yogurt Pancakes

Breakfast is one of my favorite meals of the day, especially when pancakes and bacon are involved. If you’re looking for a simple, homemade pancake recipe, this one is for you.

Instead of buttermilk or milk, we used plain Greek yogurt, which adds a ton of protein and makes these pancakes extra thick, and healthy-ish. There’s no whole wheat flour or oats, so that’s why I added the “-ish”.

Plus, when you add butter to them, you are adding some serious calories. Even though we used Smart Balance and 100% pure maple syrup, these actually kind of taste like McDonald’s hotcakes.

Yogurt Pancakes

At least, that’s what my sister and I think. Brittany and I used to go to McDonalds for breakfast with my grandfather Poppy every time we visited him. Don’t worry, he lived 2.5 hours away, so it’s not like we were eating McDonalds for breakfast every day! 🙂 Brittany and I would get a sausage biscuit and orange juice, while Poppy would order the big breakfast with hotcakes.

Brit and I would each try a bite of Poppy’s pancakes, who wasn’t shy about topping them with butter and syrup.

Yogurt Pancakes

Weird as it may sound, I actually never eat pancakes with butter on top, but for the photos in this post, I thought I’d add some. I think I could have added butter and syrup on top of anything, and it would have tasted like those hotcakes just because I wasn’t used to it. I can definitely see why people add butter…. but I probably shouldn’t start that bad habit up!!! Haha.

For now, I’ll continue to simply add fresh fruit to my pancakes and a little wheat germ, and we can continue to call these pancakes “healthy”. lol

Enjoy!!

Yogurt Pancakes Yogurt Pancakes

Yogurt Pancakes
Prep time:
Cook time:
Total time:
Serves: 6
Ingredients
  • 2 cups all-purpose flour
  • 2 Tbsp. sugar
  • 2 tsp. baking powder
  • 1 tsp. baking soda
  • 2 eggs, lightly beaten
  • 2 cups (16 oz) plain yogurt (we used 0% fat Fage Greek yogurt)
  • 1/4 cup water
Instructions
  1. In a small bowl, combine the flour, sugar, baking powder and baking soda.
  2. In another bowl, whisk the eggs, yogurt and water. Stir into dry ingredients until just moistened.
  3. Pour batter by 1/4 cupfuls onto a hot griddle coated with cooking spray. Turn when bubbles form on top. Cook until the second side is golden brown.
Notes
Source: Taste of Home


Orange-Cranberry Yoghurt Bread

Cranberry Orange Yoghurt Bread

Bring out the Christmas lights, tree, presents and wrapping paper because now that Thanksgiving is over, the holiday season is in full swing! Actually I think I saw Christmas trees already being displayed in Michaels in September, but now we can officially focus on the season!

To celebrate all the festivities, each year we like to make a dish using cranberries such as cranberry scones, or cranberry nut bread. This year I decided to jazz up our cranberry quick bread by adding an orange syrup glaze and yummy Noosa Yoghurt!

Noosa Yoghurt reached out to me with some of their Aussie style yoghurt to try, and let me tell you… it’s amazing! Their yogurt is thick, creamy and velvety, and in addition to eating it straight from the container, I wanted to create a recipe with the delicious yoghurt.

Noosa Yoghurt

Orange-cranberry yoghurt bread is just the recipe. I used plain flavored Noosa yoghurt, but a list of all Noosa flavors are HERE and include pumpkin, blueberry, mango, strawberry rhubarb, coconut, and more!

If you’ve ever sunk your teeth in a piece of dry, plain, unflavorful bread, I feel your pain. This bread is extremely moist as sweet, as delectable orange flavored syrup is drizzled over the bread for a wonderful combination of sweet and tart cranberries.

I’m a sucker for sweets, so I drizzled fresh local honey on top as well. I know… sugar is my weakness. But hey, local honey builds immunity, right?!!

Seriously though, I think I demolished this bread is less than 48 hours. Soo good! My whole family enjoyed it, and it will be on our holiday menu each year.

Enjoy!
Cranberry Orange Yoghurt Bread

Cranberry Orange Yoghurt Bread

Cranberry Orange Yoghurt Bread

Plain-Orange-Cranberry-Yoghurt-Bread-Dallas-Duo-Bakes

Orange-Cranberry Yogurt Bread
Prep time:
Cook time:
Total time:
Serves: 1 loaf
Ingredients
  • BREAD
  • 1 1/2 cups + 1 Tbsp. all purpose flour, divided
  • 2 tsp. baking powder
  • 1/2 tsp. kosher salt
  • 1 cup plain Noosa yoghurt
  • 1 cup sugar
  • 3 large eggs
  • 2 tsp. grated orange zest
  • 1/2 tsp. pure vanilla extract
  • 1/2 cup vegetable oil
  • 1 1/2 cups fresh cranberries, rinsed, and chopped in half
  • 1/2 cup chopped pecans
  • ORANGE SYRUP
  • 1/4 cup fresh orange juice
  • 1/4 cup sugar
Instructions
  1. Preheat the oven to 350 degrees F. Grease and flour a 9 x 5-inch loaf pan.
  2. FOR THE BREAD: In a medium bowl, sift together the flour, baking powder and salt. Set aside.
  3. In a large bowl, whisk together the yoghurt, sugar, eggs, orange zest, vanilla and oil. Slowly whisk the dry ingredients into the wet ingredients. In a separate bowl, mix the cranberries with the remaining tablespoon of flour, and fold gently into the batter. Fold in the chopped pecans.
  4. Pour the batter into the prepared pan and bake 50 to 55 minutes, or until a toothpick inserted into the center of the loaf comes out clean or with a few moist crumbs attached. Let cool in the pan for 10 minutes before removing the loaf to a wire rack on top of a baking sheet.
  5. FOR THE ORANGE SYRUP: While the loaf is cooling, stir together the orange juice and sugar over medium heat in a small saucepan. Stir until sugar is dissolved, and then continue to cook for 3 more minutes. Remove from heat.
  6. Use a toothpick to poke holes in the tops of the warm loaf. Brush the top of the loaf with the orange syrup. Let the loaf cool completely then slice and serve.


Blueberry Crumb Muffins

Blueberry streusel muffins

One of Matt’s favorite things in this world are blueberry muffins. He along with his college roommates Chance and Trevor would eat these on a regular basis. Being college kids, and guys for that matter, they would buy the $0.99 muffin mix variety. It was a certain brand too. I can’t remember if it was Duncan Hines or Pillsbury, etc. but Matt knows…. Chance and Trevor once made him return the box one time because he bought the wrong brand!!

Matt was craving blueberry muffins the other day, and since he didn’t specify I buy muffin mix, I thought I would make some from scratch.

Blueberry streusel muffins

There’s something to say for Google, because I did one search for “blueberry muffins” and found a recipe called “To Die For Blueberry Muffins“. While the recipe is the same, I changed the name because I thought Blueberry Crumb Muffins were more fitting due to the topping.

The muffins really are “to die for”, as they very sweet, easy to make, and have a delectable buttery crumb topping. They taste like gourmet muffins you would order at Starbucks or a coffee shop! Plus, more than likely you will have all the ingredients already in your pantry.

These are definitely a good recipe to have when you’re in a bind and need a quick muffin recipe. Even though deep down Matt likes his box muffin mix better (he must associate wonderful college life memories with those muffins lol), he still really enjoyed these and went back for seconds.

Enjoy!

Blueberry streusel muffins Blueberry streusel muffinsBlueberry streusel muffins

Blueberry Streusel Muffins
Prep time:
Cook time:
Total time:
Serves: 8
Ingredients
  • 1 1/2 cups all-purpose flour
  • 3/4 cup white sugar
  • 1/2 tsp. salt
  • 2 tsp. baking powder
  • 1/3 cup vegetable oil
  • 1 egg
  • 1/3 cup milk
  • 1 cup fresh blueberries
  • 1/2 cup white sugar
  • 1/3 cup all-purpose flour
  • 1/4 cup butter, cubed
  • 1 1/2 tsp. ground cinnamon
Instructions
  1. Preheat oven to 400 degrees F. Grease muffin cups or line with muffin liners.
  2. TO MAKE BLUEBERRY MUFFINS: Combine 1 1/2 cups flour, 3/4 cup sugar, salt and baking powder. Place vegetable oil into a 1 cup measuring cup; add the egg and enough milk to fill the cup. Mix this with flour mixture. Fold in blueberries.
  3. Fill muffin cups right to the top and sprinkle with crumb topping mixture.
  4. TO MAKE CRUMB TOPPING: Mix together 1/2 cup sugar, 1/3 cup flour, 1/4 cup butter, and 1 1/2 teaspoons cinnamon. Mix with fork, and sprinkle over muffins before baking.
  5. Bake for 20 to 25 minutes, or until toothpick inserted in the center comes out clean.
Notes
Source: All Recipes

Sweet Potato Pie

Sweet Potato Pie

The countdown has begun! Less than 3 weeks until the big day…. Thanksgiving!!!

If you’re looking for a good pie recipe and are sick of pumpkin pie, a sweet potato pie may be just what you need!

Not only is this a wonderful recipe, it has a humorous story behind it. It was in the late 1960s, and my mom was still in high school when she made two of these sweet potato pies for Thanksgiving.

That Wednesday night, mom and her father Fred (I called him Poppy), decided to go to church while Nila, her mother, stayed at home to finish prepping for the big meal the next day. While I only knew Nila for the first two years of my life before she passed away, I hear she was a hoot, and could be a little ditsy (like myself at times). 🙂

As the story goes, Nila had just made homemade cornbread, and accidentally set it down to cool on a hot burner. Unfortunately the stovetop burner was the electric kind, and was still extremely hot from what she had been cooking earlier.

You can guess what happened next…. the cornbread, which was in a glass pyrex pan EXPLODED due to the heat, and there were shards of glass all over the kitchen and on top of mom’s two sweet potato pies!!!

Mom and Poppy had already given Nila grief for not coming to church with them, and said it was payback for skipping. Haha!  Mom can’t remember if she ate a piece of pie or not, and while Poppy definitely didn’t eat a piece, Nila said “I’m not going to throw away two perfectly good sweet potato pies.” She scraped the top of the pie off with the pyrex glass shards, and thoroughly enjoyed her piece of pie that Thanksgiving!!!

Sweet Potato Pie

Sweet Potato Pie

Enjoy!!!

Sweet Potato Pie
Ingredients
  • 1 Tbsp. butter
  • 1 tsp. salt
  • 1 cup sugar
  • 1 3/4 cup mashed cooked sweet potatoes
  • 1 1/2 cups milk, scalded
  • 2 large eggs
  • 2 tsp. vanilla
  • 1 pie shell, unbaked
Instructions
  1. Preheat oven to 375 degrees F.
  2. In a large bowl, add butter, salt and sugar to the cooked sweet potatoes. Add milk, eggs and vanilla.
  3. Pour mixture into unbaked pie shell.
  4. Bake for 45 minutes. Let cool completely before serving. Garnish with a dollop of cool whip, if desired.
Notes
Source: Garden Club Cookbook – Desserts


Milk Makin’ Cookies


milk makin' cookies

From the title of these cookies, you can guess what new addition was just added to our family. A baby! Actually, a future Aggie class of 2037 if you take a look at the picture below. Whoop!!! We are more than blessed and are super excited to care for and see our new little one grow up!

Aggie baby
Future fightin’ Texas Aggie class of 2037!
baby
Strengthening those neck muscles.
baby
Our little angel.

Matt and I are not only blessed to have a little baby, but we are fortunate enough to live in a neighborhood with such great people who have visited the baby, have brought us meals, and have generously given us baby clothes, pack and plays, etc.

The cookies below were made by our friend Katie who lives just a few doors down from us. She’s a pro when it comes to motherhood as she has a one year old AND is 32 weeks pregnant and due in December! I’m very very impressed!!!

Yesterday she brought over these delicious “milk makin’ cookies” that are designed for mothers that are breastfeeding. They have nothing but wholesome ingredients that are good for the body such as whole wheat flour, whole oats, peanut butter, flax, cinnamon, chopped nuts and brewer’s yeast.

The cookies are AMAZING. I’d say you don’t have to be breastfeeding to eat these, but since I have a husband who likes cookies, I’m going to tell him “hands off!” The cookies are wholesome, sweet, filling, and I will be making these even when my daughter is all grown up!

Enjoy!!

milk makin' cookies milk makin' cookies milk makin' cookies milk makin' cookies

Milk Makin’ Cookies
Prep time:
Cook time:
Total time:
Ingredients
  • 1 1/2 cups whole wheat flour
  • 1 3/4 cups whole oats
  • 1 tsp. baking soda
  • 1 tsp. salt
  • 3/4 cup almond butter or peanut butter
  • 1/2 cup butter, softened
  • 1 cup flax
  • 3 Tbsp. brewer’s yeast
  • 1/3 cup water
  • 1 tsp. cinnamon
  • 1/2 cup sugar
  • 1/2 cup brown sugar
  • 2 tsp. vanilla
  • 2 large eggs
  • 2 cups (12 oz) chocolate chips
  • 1 cup chopped nuts of your choice
Instructions
  1. Preheat oven to 350 degrees F.
  2. In a large bowl, combine flour, baking soda, cinnamon and salt.
  3. In a stand mixer, combine by beating: peanut butter, butter, sugar, brown sugar, vanilla, brewer’s yeast, flax and water until creamy. Then mix in the eggs.
  4. Gradually beat in flour mixture. Stir in nuts and chocolate chips. Slowly add oats, mixing as you go.
  5. Place balls of dough onto greased baking sheets. Press down on each ball lightly with a fork.
  6. Bake 12 minutes.
Notes
Recipe credit: Kathleen Majox


Pasta e Fagioli Soup (Olive Garden copycat)

Pasta e Fagioli

Just as it is pumpkin “everything” season, it’s also soup season!  It’s not often that I would pick soup over lasagna, but when it’s Olive Garden’s Pasta e Fagioli, soup wins every time.

I’ve tried to make a copycat version before (recipe HERE), and while it was good, it just didn’t taste the same. It was missing certain spices that made it taste just like Olive Garden’s.

The recipe below is almost spot-on to the recipe we all love and adore from Olive Garden. If you closed your eyes, I bet you couldn’t taste a difference!

Pasta e Fagioli


While we used ground beef, I would add mild Italian sausage next time, as I think Olive Garden uses a mixture of beef and sausage. Plus, sausage adds that nice kick of flavor that beef doesn’t always provide.

This copycat recipe comes from one of my my favorite blogs, Cooking Classy.  Jaclyn, the blogger, has other copycat Olive Garden recipes that I want to try such their famous Italian breadsticks, minestrone soup, and zuppa toscana soup.

Don’t forget to top with grated Romano or Parmesan cheese, if desired. Enjoy!

Pasta e Fagioli


Pasta e Fagioli Soup (Olive Garden copycat)
Source: Cooking Classy
Ingredients
  • 1 lb lean ground beef or mild Italian sausage
  • 2 Tbsp. extra virgin olive oil, divided
  • 1 cup diced carrots (about 2 medium)
  • 1 cup diced celery (about 3 stalks)
  • 3/4 cup chopped yellow onion (about 1/2 of a large)
  • 1 large clove garlic, finely minced
  • 3 (8 oz) cans tomato sauce
  • 3-4 cups beef broth
  • 1 cup water
  • 1 (15 oz) can diced tomatoes, undrained
  • 1 Tbsp. granulated sugar
  • 1 1/2 tsp. dried basil
  • 1 tsp. dried oregano
  • 3/4 tsp. dried thyme
  • 1/2 tsp. dried marjoram
  • salt and freshly ground black pepper to taste
  • 1 scant cup ditalini pasta, uncooked
  • 1 (15 oz) can dark red kidney beans, drained and rinsed
  • 1 (15 oz) can great northern beans, drained and rinsed
  • Romano cheese (or Parmesan), for serving
Instructions
  1. Heat 1 tablespoon olive oil in a large non-stick saucepan over medium high heat, crumble in ground beef and cook, stirring occasionally until cooked through. Drain beef and pour into a bowl, set aside.
  2. Heat remaining 1 tablespoon olive oil in same large saucepan, sauté carrots, celery and onion over medium high heat until tender, about 4 minutes. Add garlic, and sauté 1 minute longer.
  3. Reduce heat to low, add tomato sauce, beef broth, water, canned tomatoes, sugar, basil, oregano, thyme, marjoram, cooked beef, then season with salt and pepper to taste.
  4. Cover with lid and allow to simmer 30 minutes, stirring occasionally until veggies are soft. Meanwhile prepare ditalini pasta according to package directions, cooking to al dente.
  5. Add cooked and drained pasta to soup along with kidney beans, great norther beans and additional 1 cup of broth if desired to thin soup, and allow to cook 5 minutes longer. Serve warm with grated Romano cheese, if desired.
Notes
The longer the soup rests, the more liquid the pasta will absorb so you can thin it with additional beef broth if desired.

Pumpkin Banilla Bread

pumpkin banilla bread

Where has the time gone? My favorite time of year is fall, not just because of the cooler weather we get here in Texas, but for the fall food. Fall is a time to savor those cozy dinner recipes, warm casseroles, hearty soups, and delectable pumpkin desserts!

My favorite pumpkin bread recipe of all time is Eddie’s Autumn Pumpkin Bread with Pecan Streusel Topping. While it is an excellent pumpkin bread, the recipe here for Pumpkin Banilla bread is not too far behind. 🙂

My mom and I recently bought Jessica Merchant’s first cookbook titled “Seriously Delish“. Merchant, creator of the highly popular food blog that I love reading: How Sweet Eats, creates imaginative recipes that are both delicious and original. One of those recipes includes this  innovative pumpkin banilla bread.

I never in my wildest dreams would have though to combine pumpkin bread with banana bread, but it winning combination and perfect for fall!

I have to give credit to my mom and sister to who baked this bread. I haven’t quite been in the mood to cook since being pregnant and all. 🙂

pumpkin banilla bread

This bread is especially delicious if you add a dollop of Williams-Sonoma Pecan Pumpkin Butter. The grocery store brand just won’t cut it for me, so every October I’ll go and spurge at William-Sonoma.

If you’re a quick bread lover, you should love the ripe bananas, classic pumpkin spice, and premium vanilla bean paste in this tasty bread.

Enjoy!

pumpkin banilla bread

Pumpkin Banilla Bread
Cook time:
Total time:
Source: Simply Delish
Ingredients
  • 1 2/3 cups whole wheat pastry flour
  • 1 tsp. baking soda
  • 1/2 tsp. pumpkin pie spice
  • 1/2 tsp. salt
  • 2 large eggs
  • 2/3 cup loosely packed light brown sugar
  • 1 1/2 cups pumpkin puree
  • 2 very ripe bananas, mashed
  • 1/3 cup canned light coconut milk
  • 4 Tbsp. (1/2 stick) unsalted butter, melted and slightly cooled
  • 2 Tbsp. molasses
  • 2 Tbsp. vanilla bean paste
Instructions
  1. Preheat oven to 350 degrees F. Spray a 5 x 9-inch loaf pan with nonstick spray. In a small bowl, whisk together the flour, baking soda, pumpkin pie spice, and salt. Set aside.
  2. In a large bowl, whisk together the eggs and brown sugar until smooth. Stir in the pumpkin puree and bananas and mix until combined. Stir in the coconut milk, butter, molasses, and vanilla bean paste. Mix until the ingredients come together.
  3. Add the flour mixture to the wet ingredients and mix until just combined. Pour the batter into the loaf pan. Bake until the top of the bread is golden brown and set, 85 to 90 minutes.
  4. Remove the bread from the oven and let cool for 1 hour. Remove the bread from the loaf pan and allow to cool on a cutting board before slicing.


S’mores Cookie Bars

S'mores Cookie Bars

If you like S’mores, you should love these decadent, buttery blondie cookie bars infused with a graham cracker base, gooey marshmallows and sweet milk chocolate chunks running throughout.

My sister or mom found this recipe online via Mel’s Kitchen and bookmarked them to make soon. Of course, church/social functions and potlucks always make for an opportune time to try a new recipe, so my sister and mom baked these up for their most recent potluck.

These were a hit among all the desserts that were brought, and I can see why. These bars are no doubt rich, so a little will go a long way. In addition, the texture was extremely unique due to the magically delicious marshmallow fluff (don’t use real marshmallows or mini marshmallows or else they will disappear after baking). The graham cracker crumbs also added a nice texture, while the milk chocolate make you feel like you are eating one gourmet backyard s’mores!

Enjoy!

S'mores Cookie Bars

S'mores Cookie Bars

S'mores Cookie Bars

S’mores Cookie Bars
Prep time:
Cook time:
Total time:
Serves: 24
Source: Mel’s Kitchen Cafe
Ingredients
  • 2 cups all-purpose flour
  • 2 cups crushed graham cracker crumbs
  • 1 tsp. baking powder
  • 1/4 tsp. salt
  • 16 tablespoons (2 sticks) butter, softened to room temperature
  • 1 1/2 cps packed light brown sugar
  • 1 tsp. vanilla
  • 2 large eggs
  • 2 cups marshmallow topping, like Marshmallow Fluff or Creme
  • 2 cups milk chocolate chips
Instructions
  1. Preheat the oven to 350 degrees F. Line a 9 x 13-inch pan with foil, leaving a 2-inch overhang on the 2 short sides. Grease the foil with cooking spray and set aside.
  2. In a medium bowl, combine the flour, graham cracker crumbs, baking powder and salt. In a large bowl, using an electric mixer on medium speed, beat the butter and sugar until light, about 2 minutes. Beat in the eggs and vanilla until well combined.
  3. Reduce the mixer speed to low and add the flour mixture, mixing until combined. Divide the dough in half.
  4. Press half into the bottom of the prepared pan until the dough is evenly flattened. Dollop the marshmallow topping on top of the cookie base and gently spread into an even layer. Sprinkle the chocolate chips on top. Scatter the remaining dough over the top in climbs. Don’t worry about completely cover the top, the marshmallow and chocolate chips should peek through.
  5. Bake the bars until golden brown, about 30-32 minutes. Cool completely. Remove the bars from the pan using the foil overhangs. Cut into bars and serve.
Notes
Don’t be tempted to substitute mini-marshmallows for the fluff/creme. Mini marshmallows will completely dissolve in the oven. The marshmallow fluff/creme stays gooey and soft in the oven.


Stovetop Chicken Spaghetti

Stovetop Chicken Spaghetti

The first Aggie football game against the South Carolina Gamecocks was this past Thursday, and we couldn’t have been any more pumped!

Since Matt’s dad and uncle were coming over to watch the game at our house, I figured I’d make them a tasty and not necessarily healthy meal. 🙂

Chicken spaghetti is one of those comfort foods that is a crowd pleaser. I’ve made the Pioneer Woman’s chicken spaghetti before, but wanted something a little different this time.

I found this recipe on Pinterest, and liked how only one pot was needed to make this meal, and it didn’t involve the oven.  It was absolutely delicious and made a ton!

Matt, his dad Tony, and his uncle Rusty filled their plates completely with the chicken spaghetti, and even after going back for seconds, we STILL had tons of leftovers. I put one small dish of leftovers in the fridge to eat for the rest of this week, and a larger dish in the freezer for a meal to have later on.

Serve the chicken spaghetti with crusty bread and a salad, and you’ve got yourself a meal! Plus, how could you forget dessert? I made Matt’s all-time favorite 4-Layer Pudding Dessert.

Yum!! Can’t wait for more football and good food to come this fall season!

Stovetop Chicken Spaghetti
Saute onion, bell pepper and butter in a large pan.
Stovetop Chicken Spaghetti
Add Rotel, chicken, and soups and mix thoroughly.
Stovetop Chicken Spaghetti
Add cooked spaghetti and velveeta cheese. Cook until cheese is melted.
Stovetop Chicken Spaghetti
Serve immediately with a side salad and crusty bread.

Stovetop Chicken Spaghetti

Enjoy!

Stovetop Chicken Spaghetti
Prep time:
Cook time:
Total time:
Serves: 10-12
Ingredients
  • 2 – 2 1/2 cups cooked, cubed
  • 1 lb velveeta cheese
  • 1 can Rotel, original
  • 1 lb spaghetti pasta
  • 1 stick butter
  • 1 can cream of chicken soup (I used 98% fat free)
  • 1 can cream of mushroom soup (I used 98% fat free)
  • 1 medium onion, chopped
  • 1 green bell pepper, chopped
  • salt and pepper to taste
Instructions
  1. Boil spaghetti pasta in water according to package directions. Drain pasta after done and discard water. Set aside the pasta. Do not rinse.
  2. Melt the butter in the same (empty) pot and sauté the onion and bell pepper.
  3. Add Rotel, soups, cooked chicken, and spaghetti to the sautéed onion mixture, one at at time, and gently mix together.
  4. Add velveeta and stir together, mixing well. Add salt and pepper to taste.
  5. Heat until cheese in melted thoroughly, stirring occasionally to keep from scorching.
  6. Serve immediately.