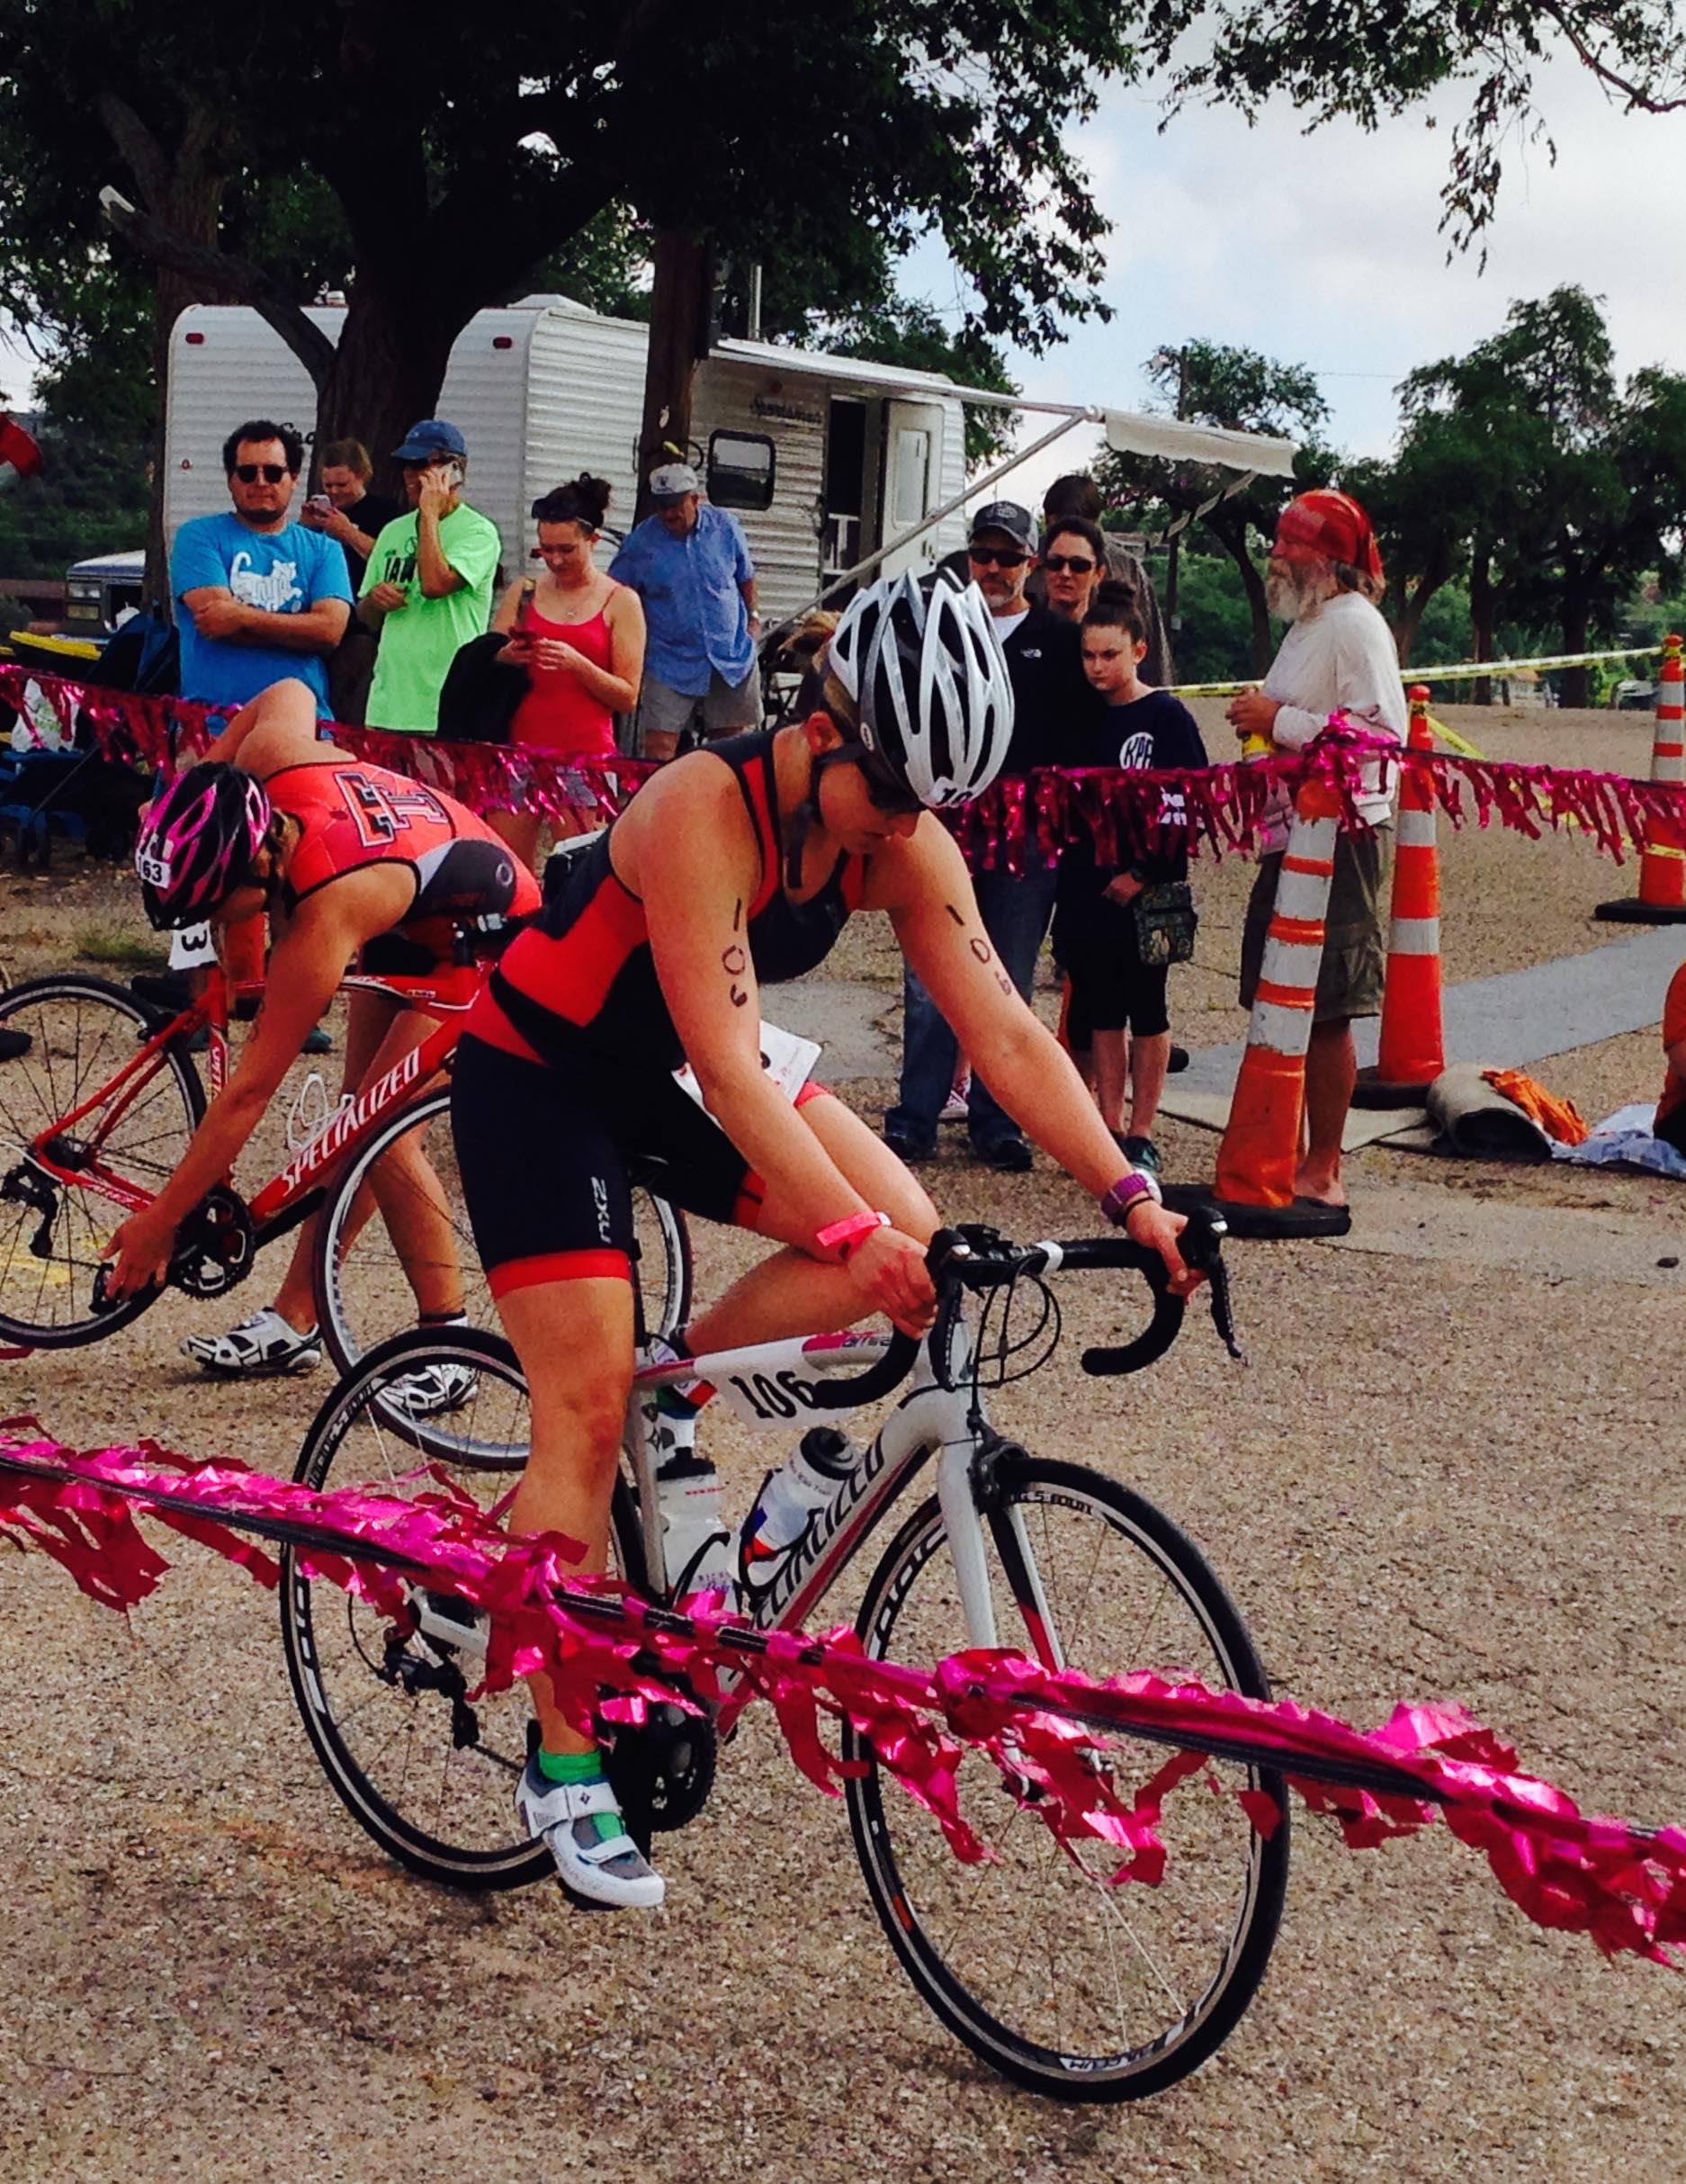
Two weeks ago my sister ran her first sprint Triathlon in Lubbock, Texas in preparation for the Ironman 70.3 Buffalo Springs Lake. She’s really serious about her training and finished 1st place in her age division, and 8th place overall for females. Did I mention this was her first triathlon? Wow!
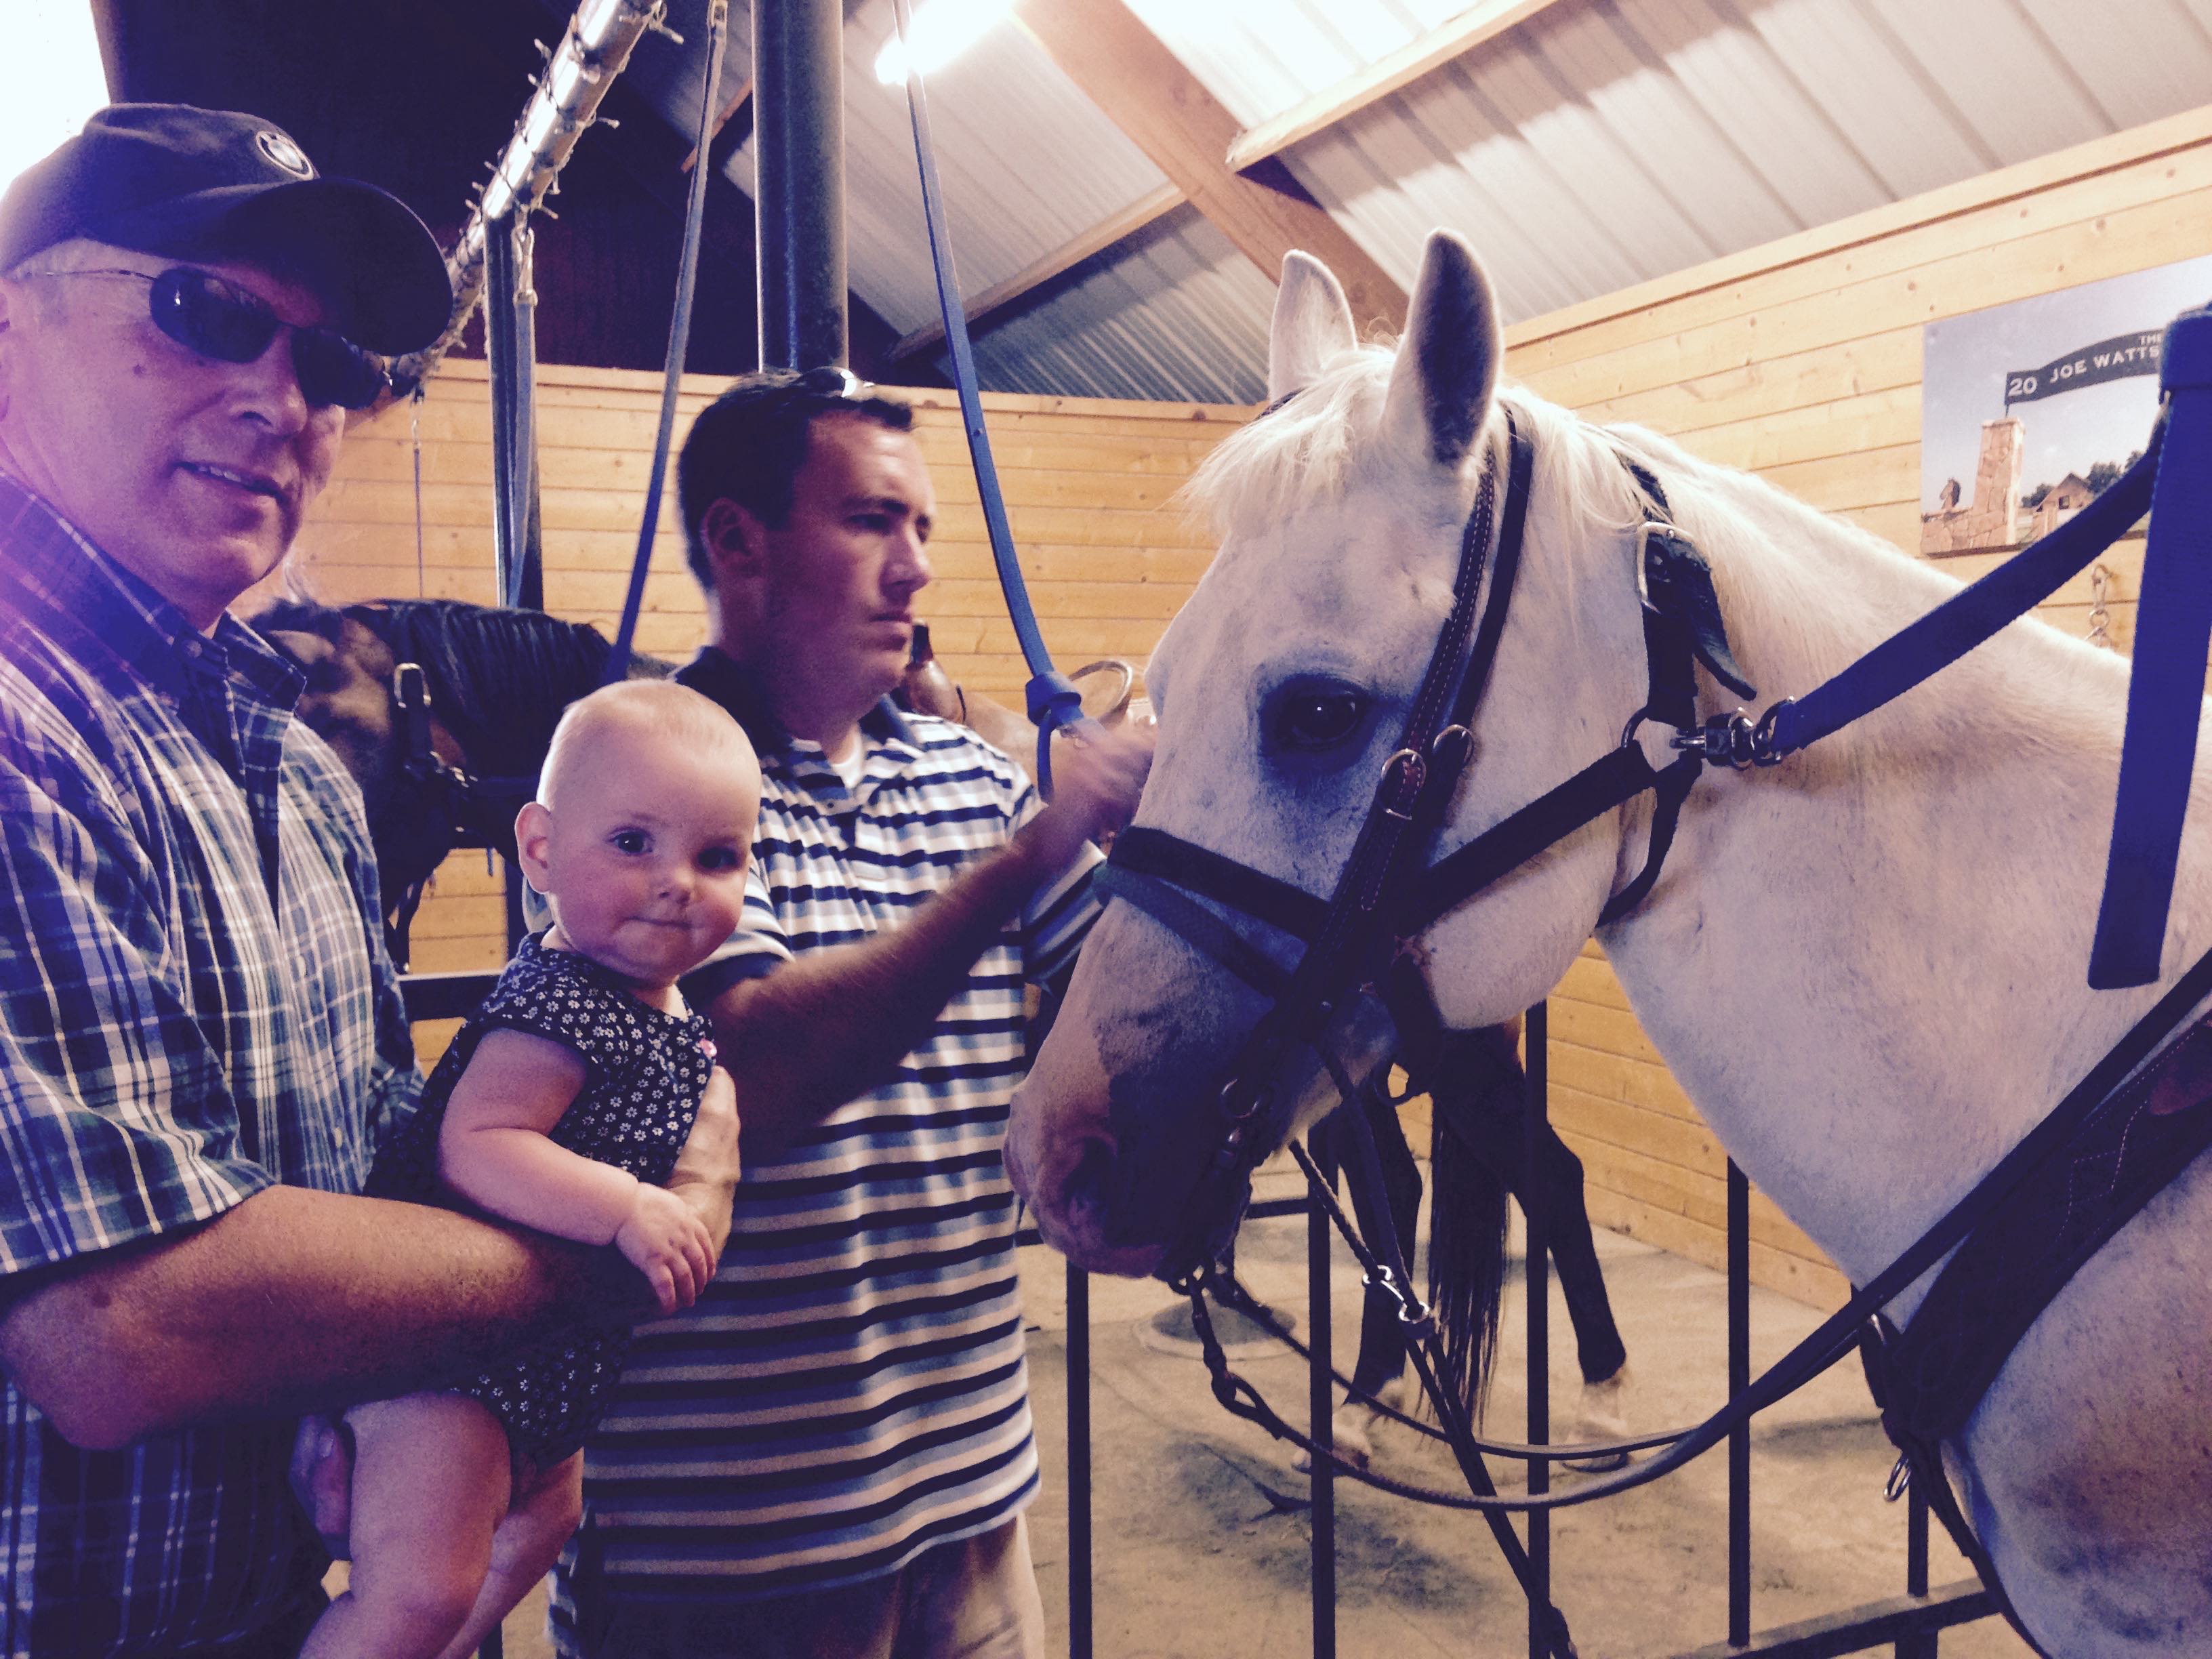
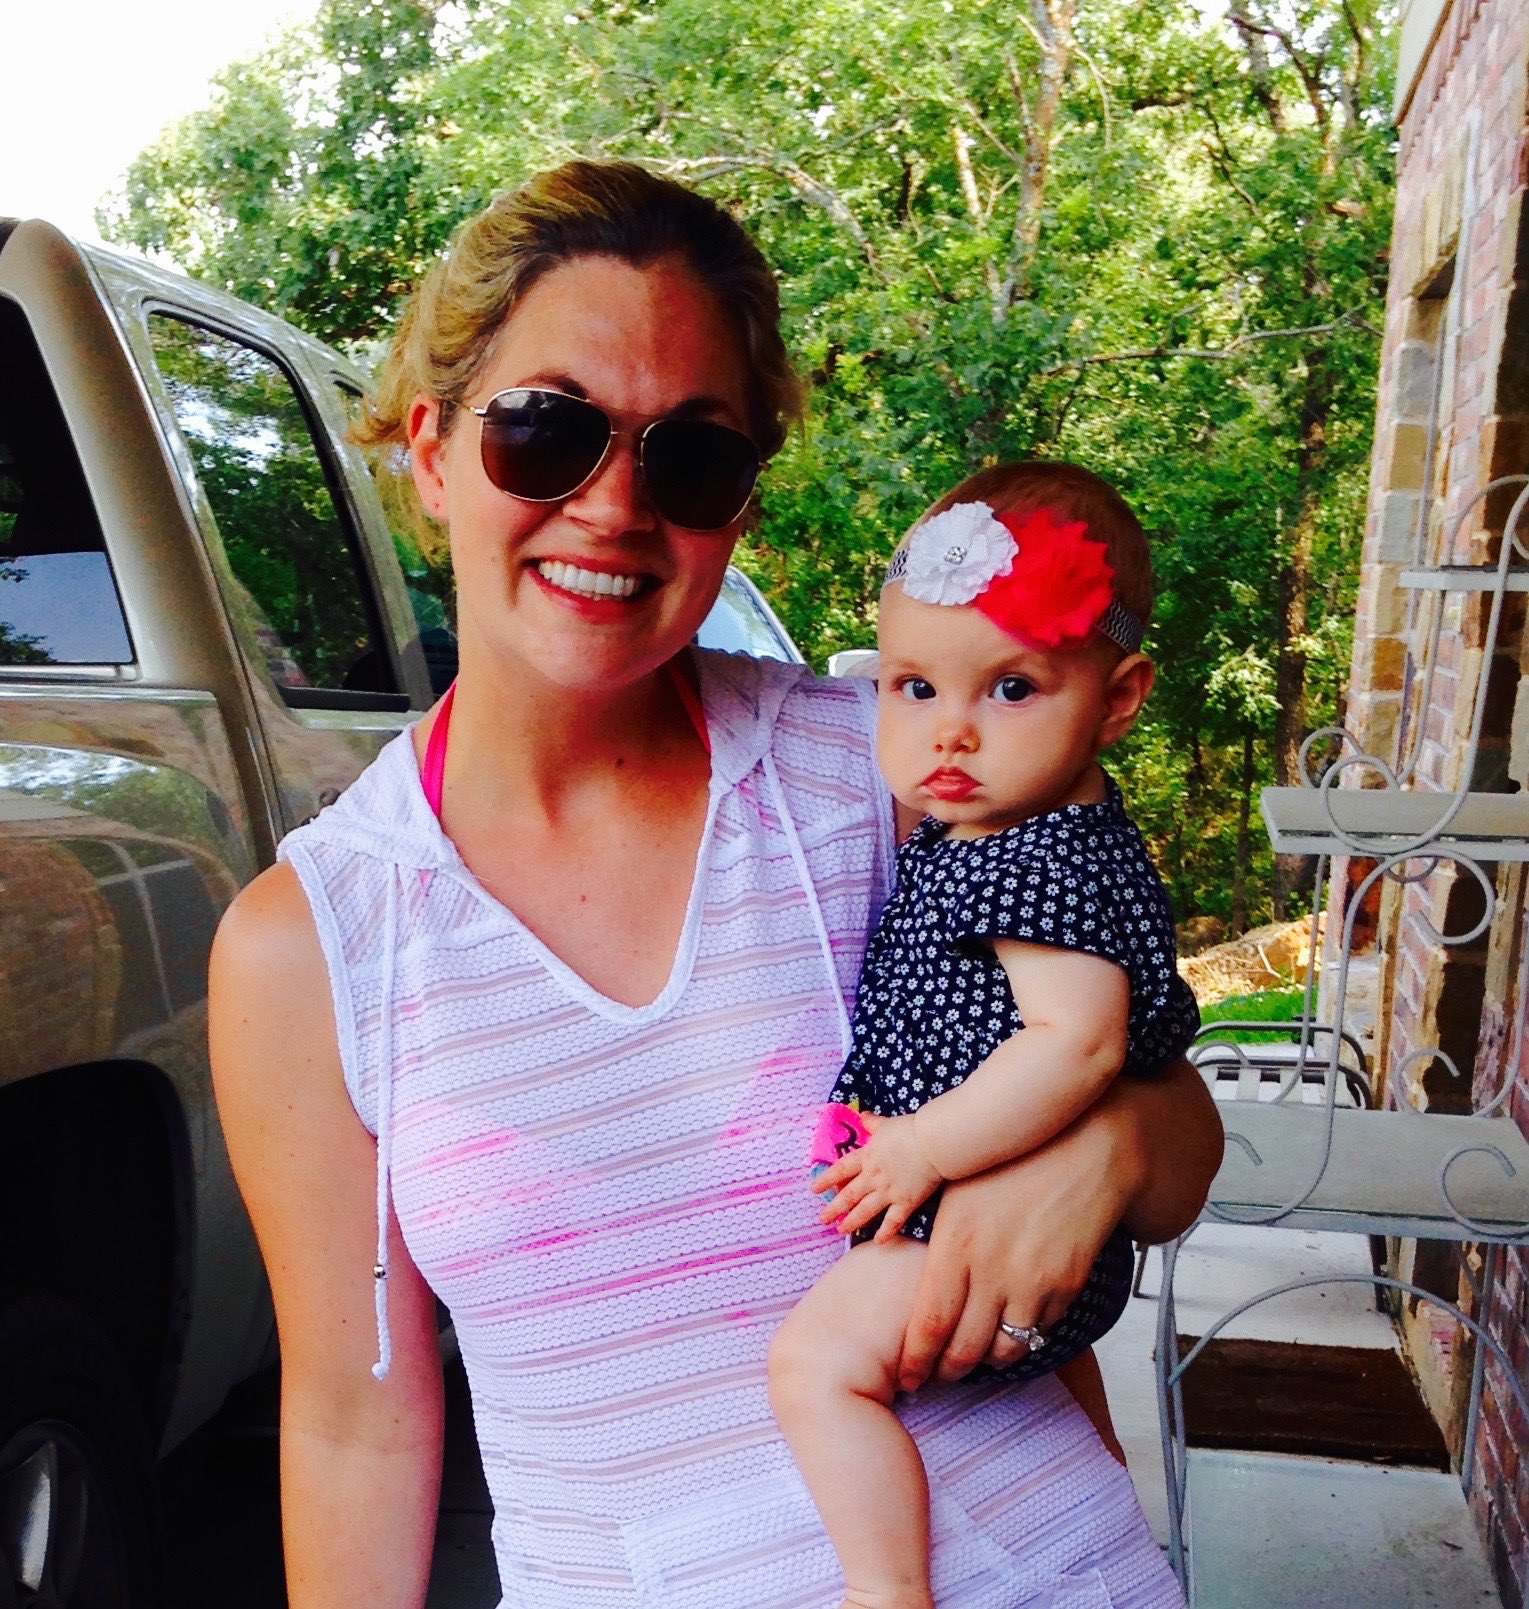
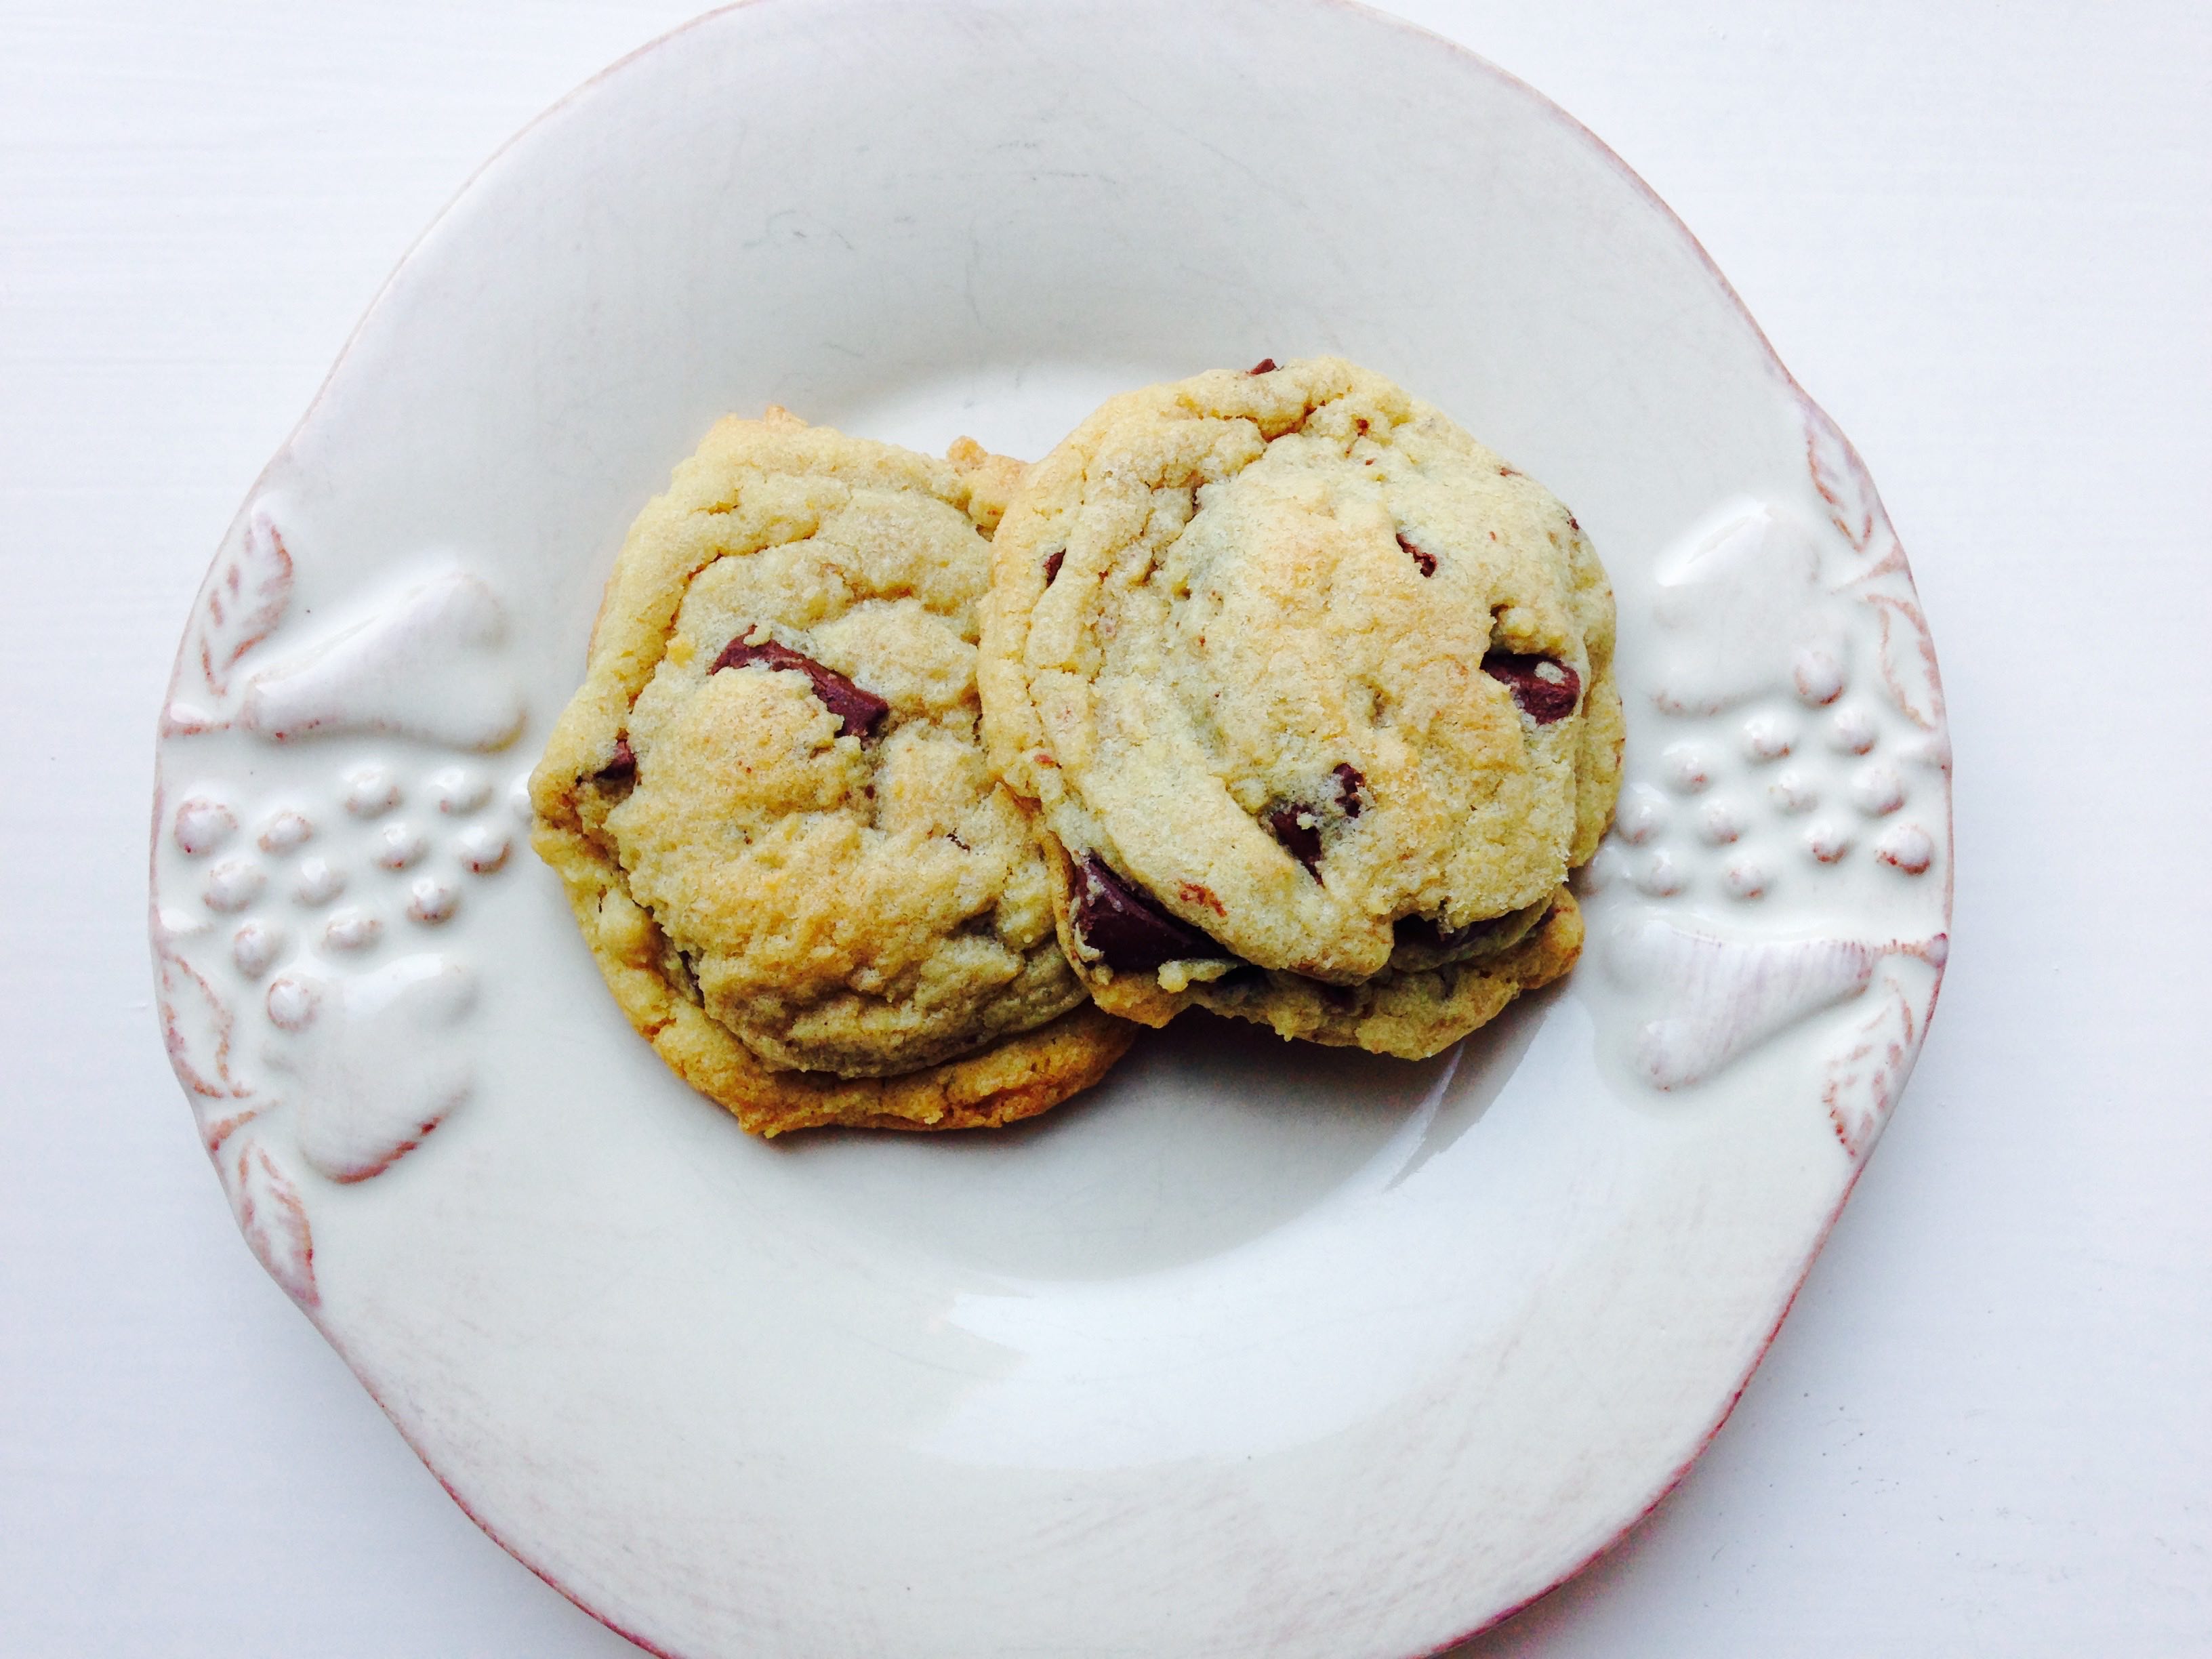
Our cousins Brooke and Joey live out in Lubbock and let Brit stay with them for the race. Brit and my mom made these chocolate chip pudding cookies, and Brooke and Joey fell in love with them, especially Joey!
I just love it when someone raves about something sweet. It’s probably the biggest compliment ever when that whole batch of cookies or whole pan of cake is gone in just a few hours.
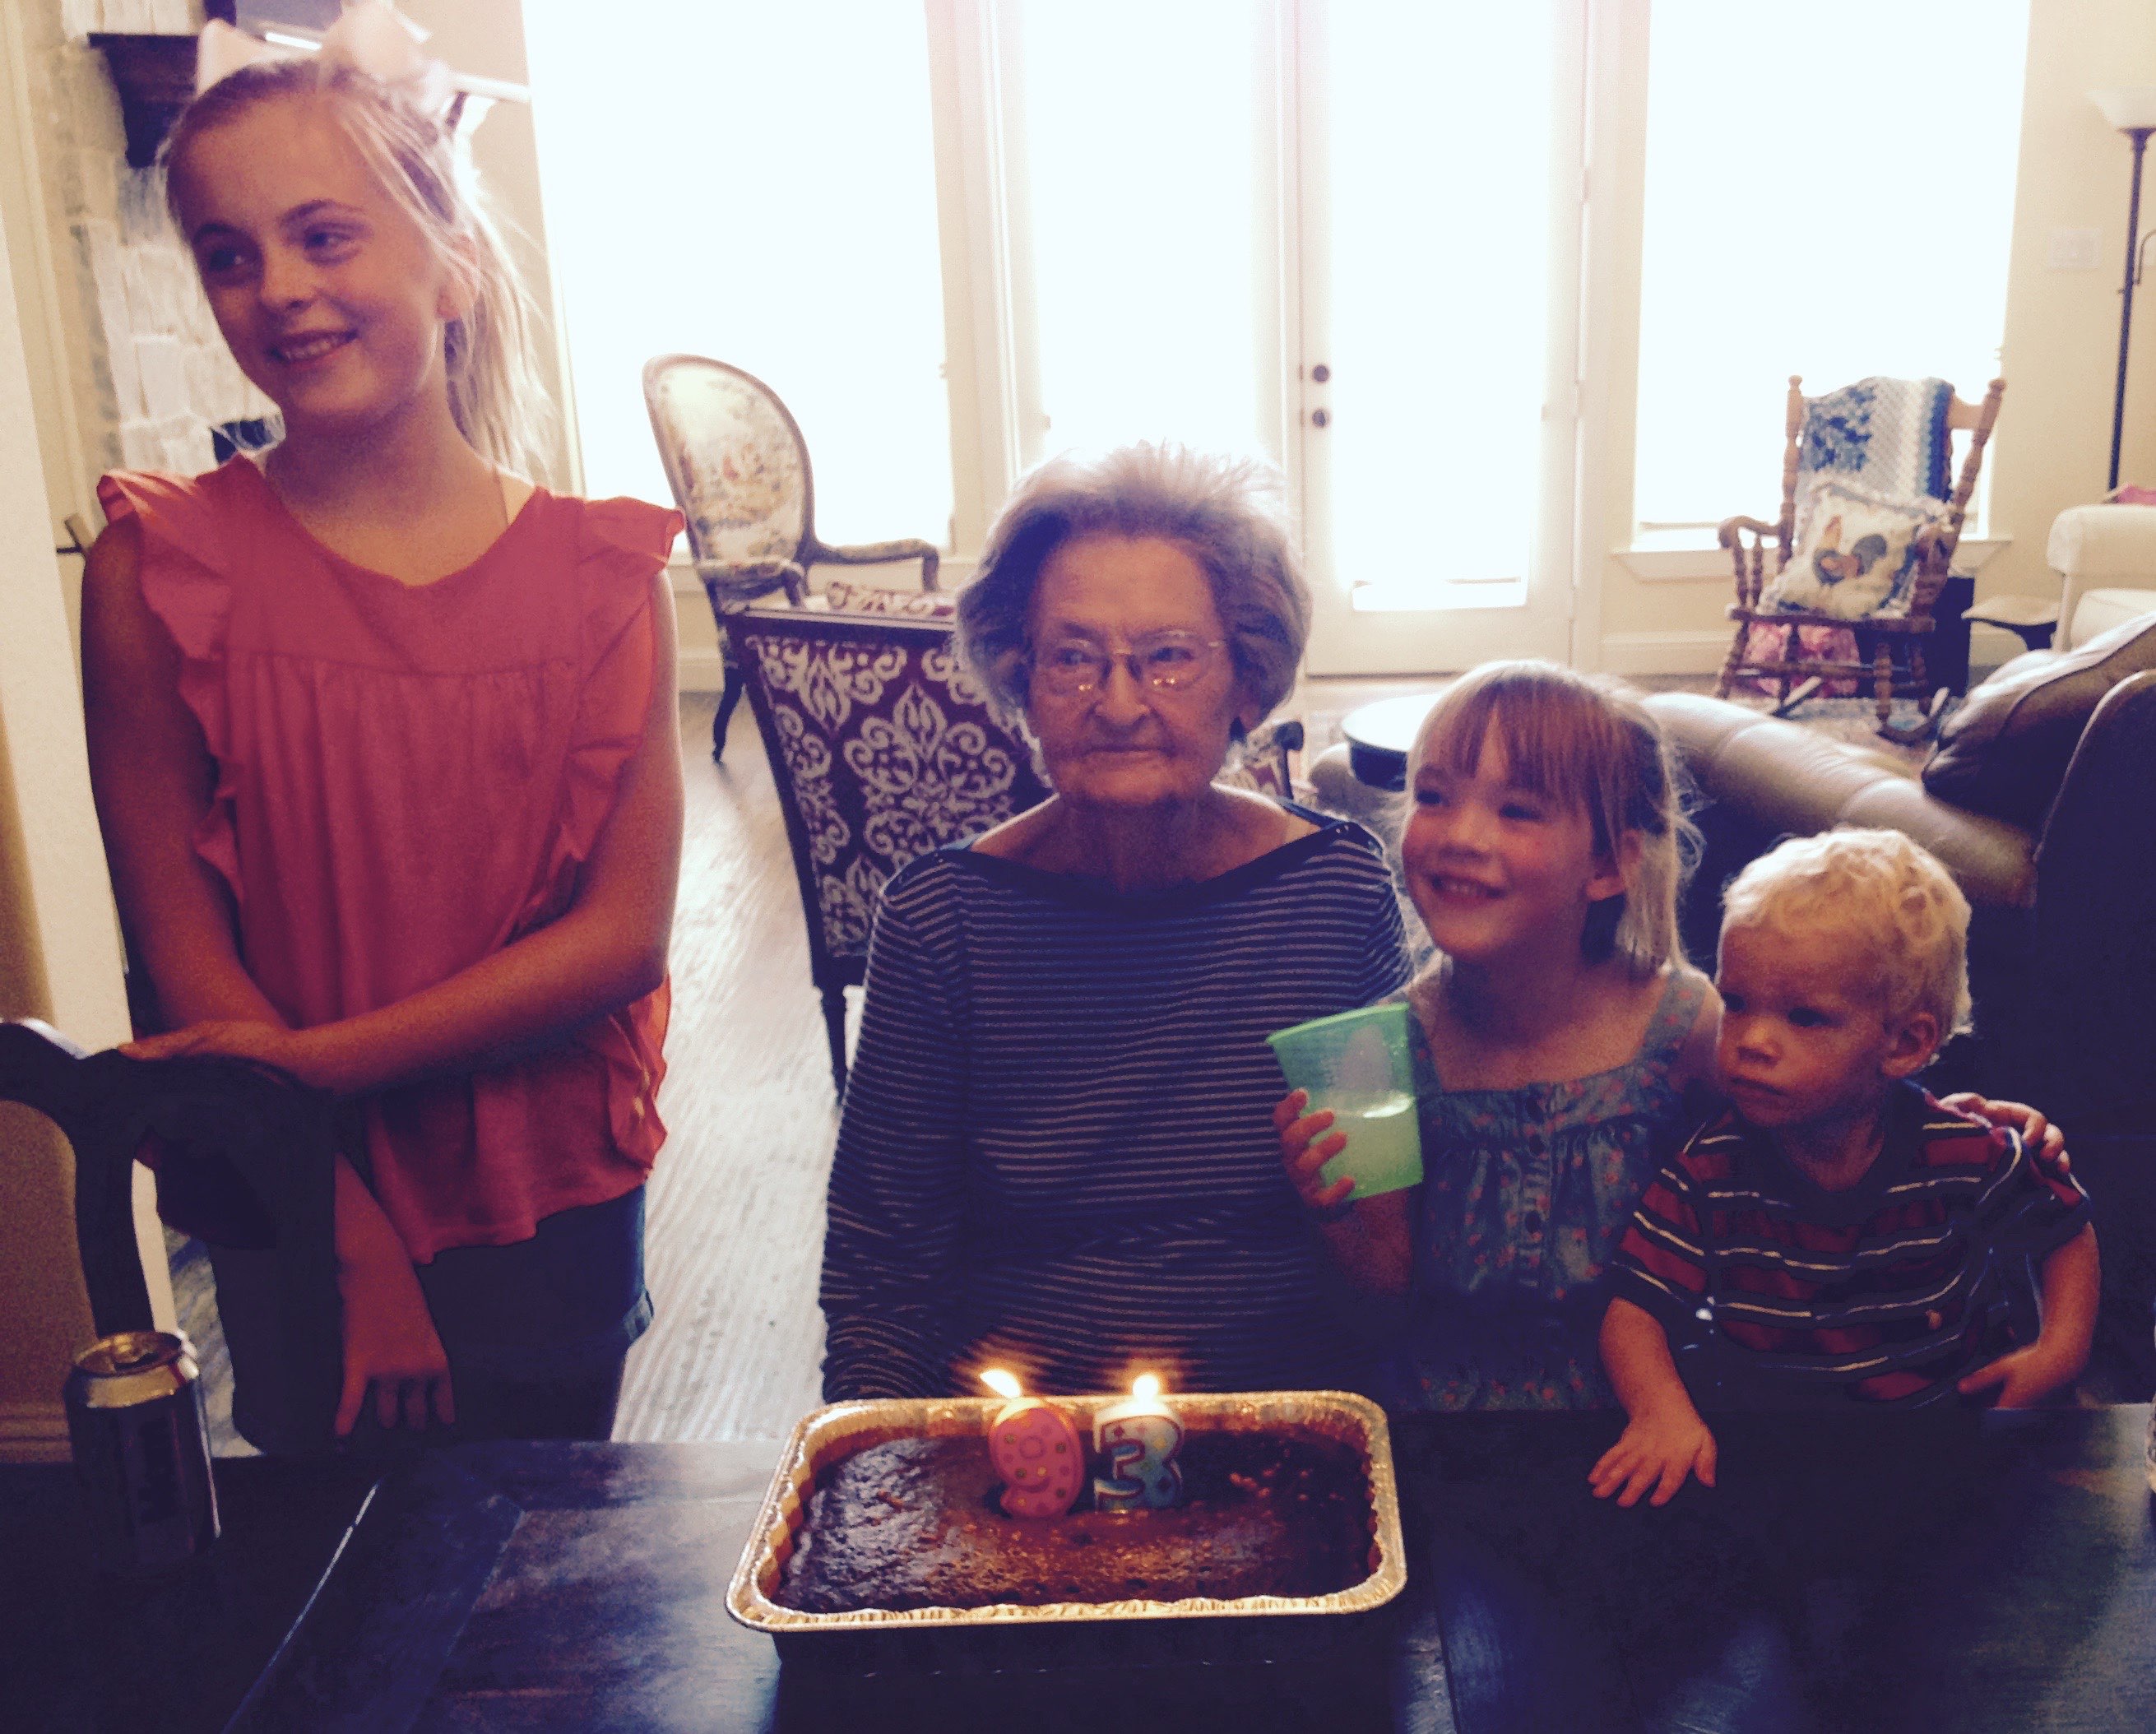
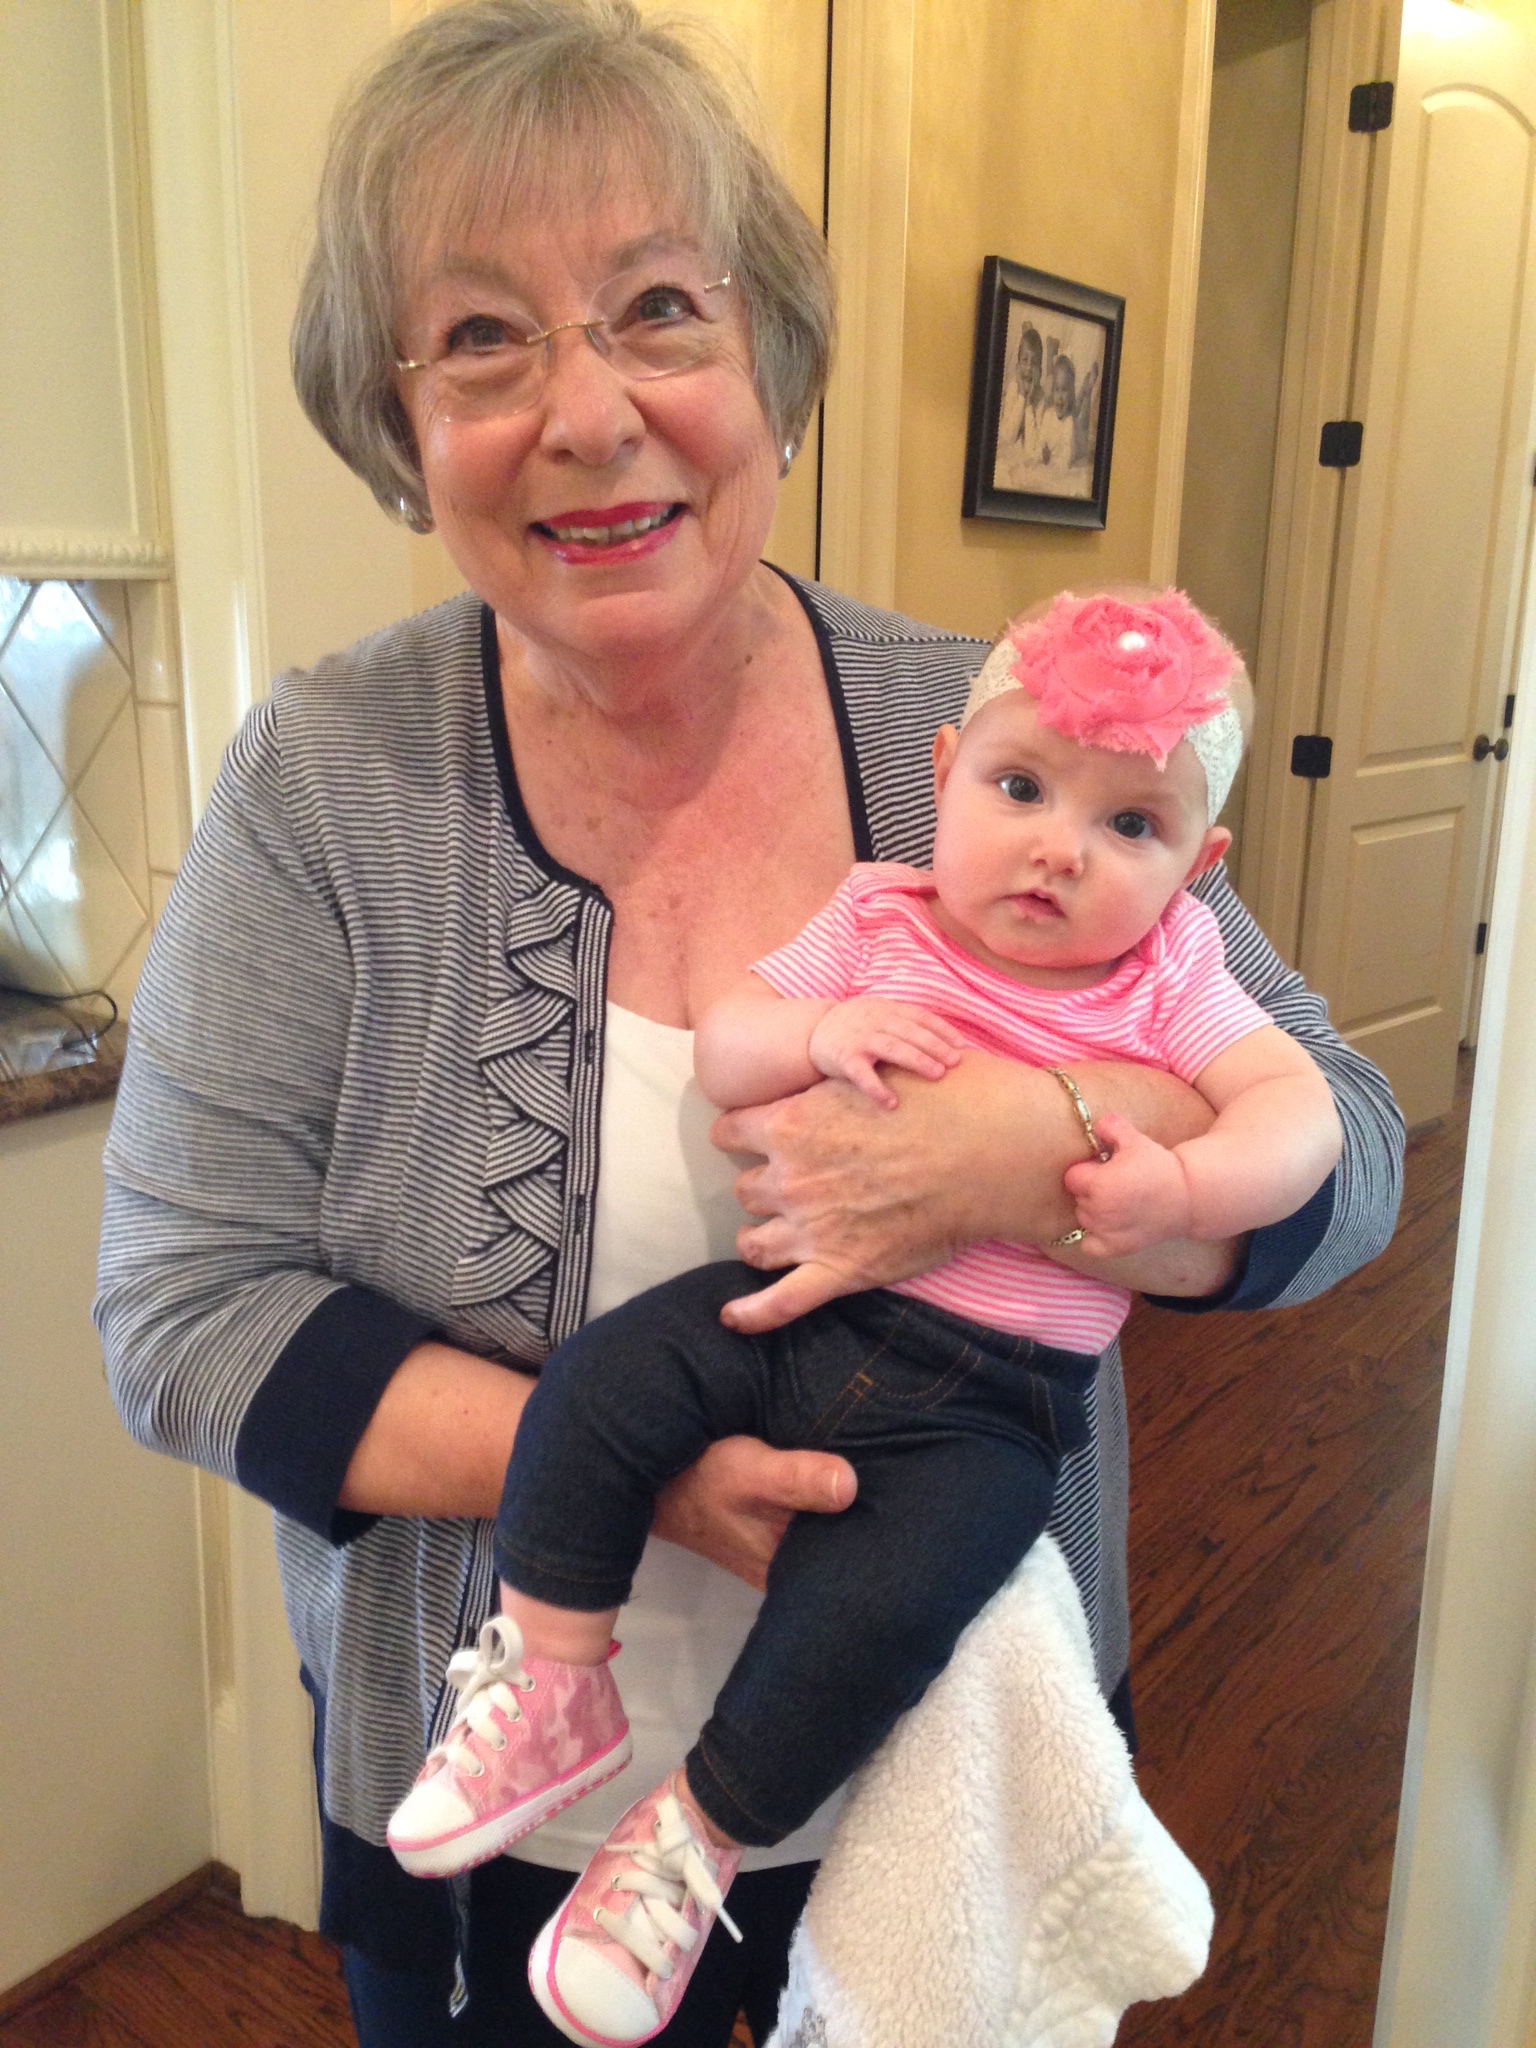
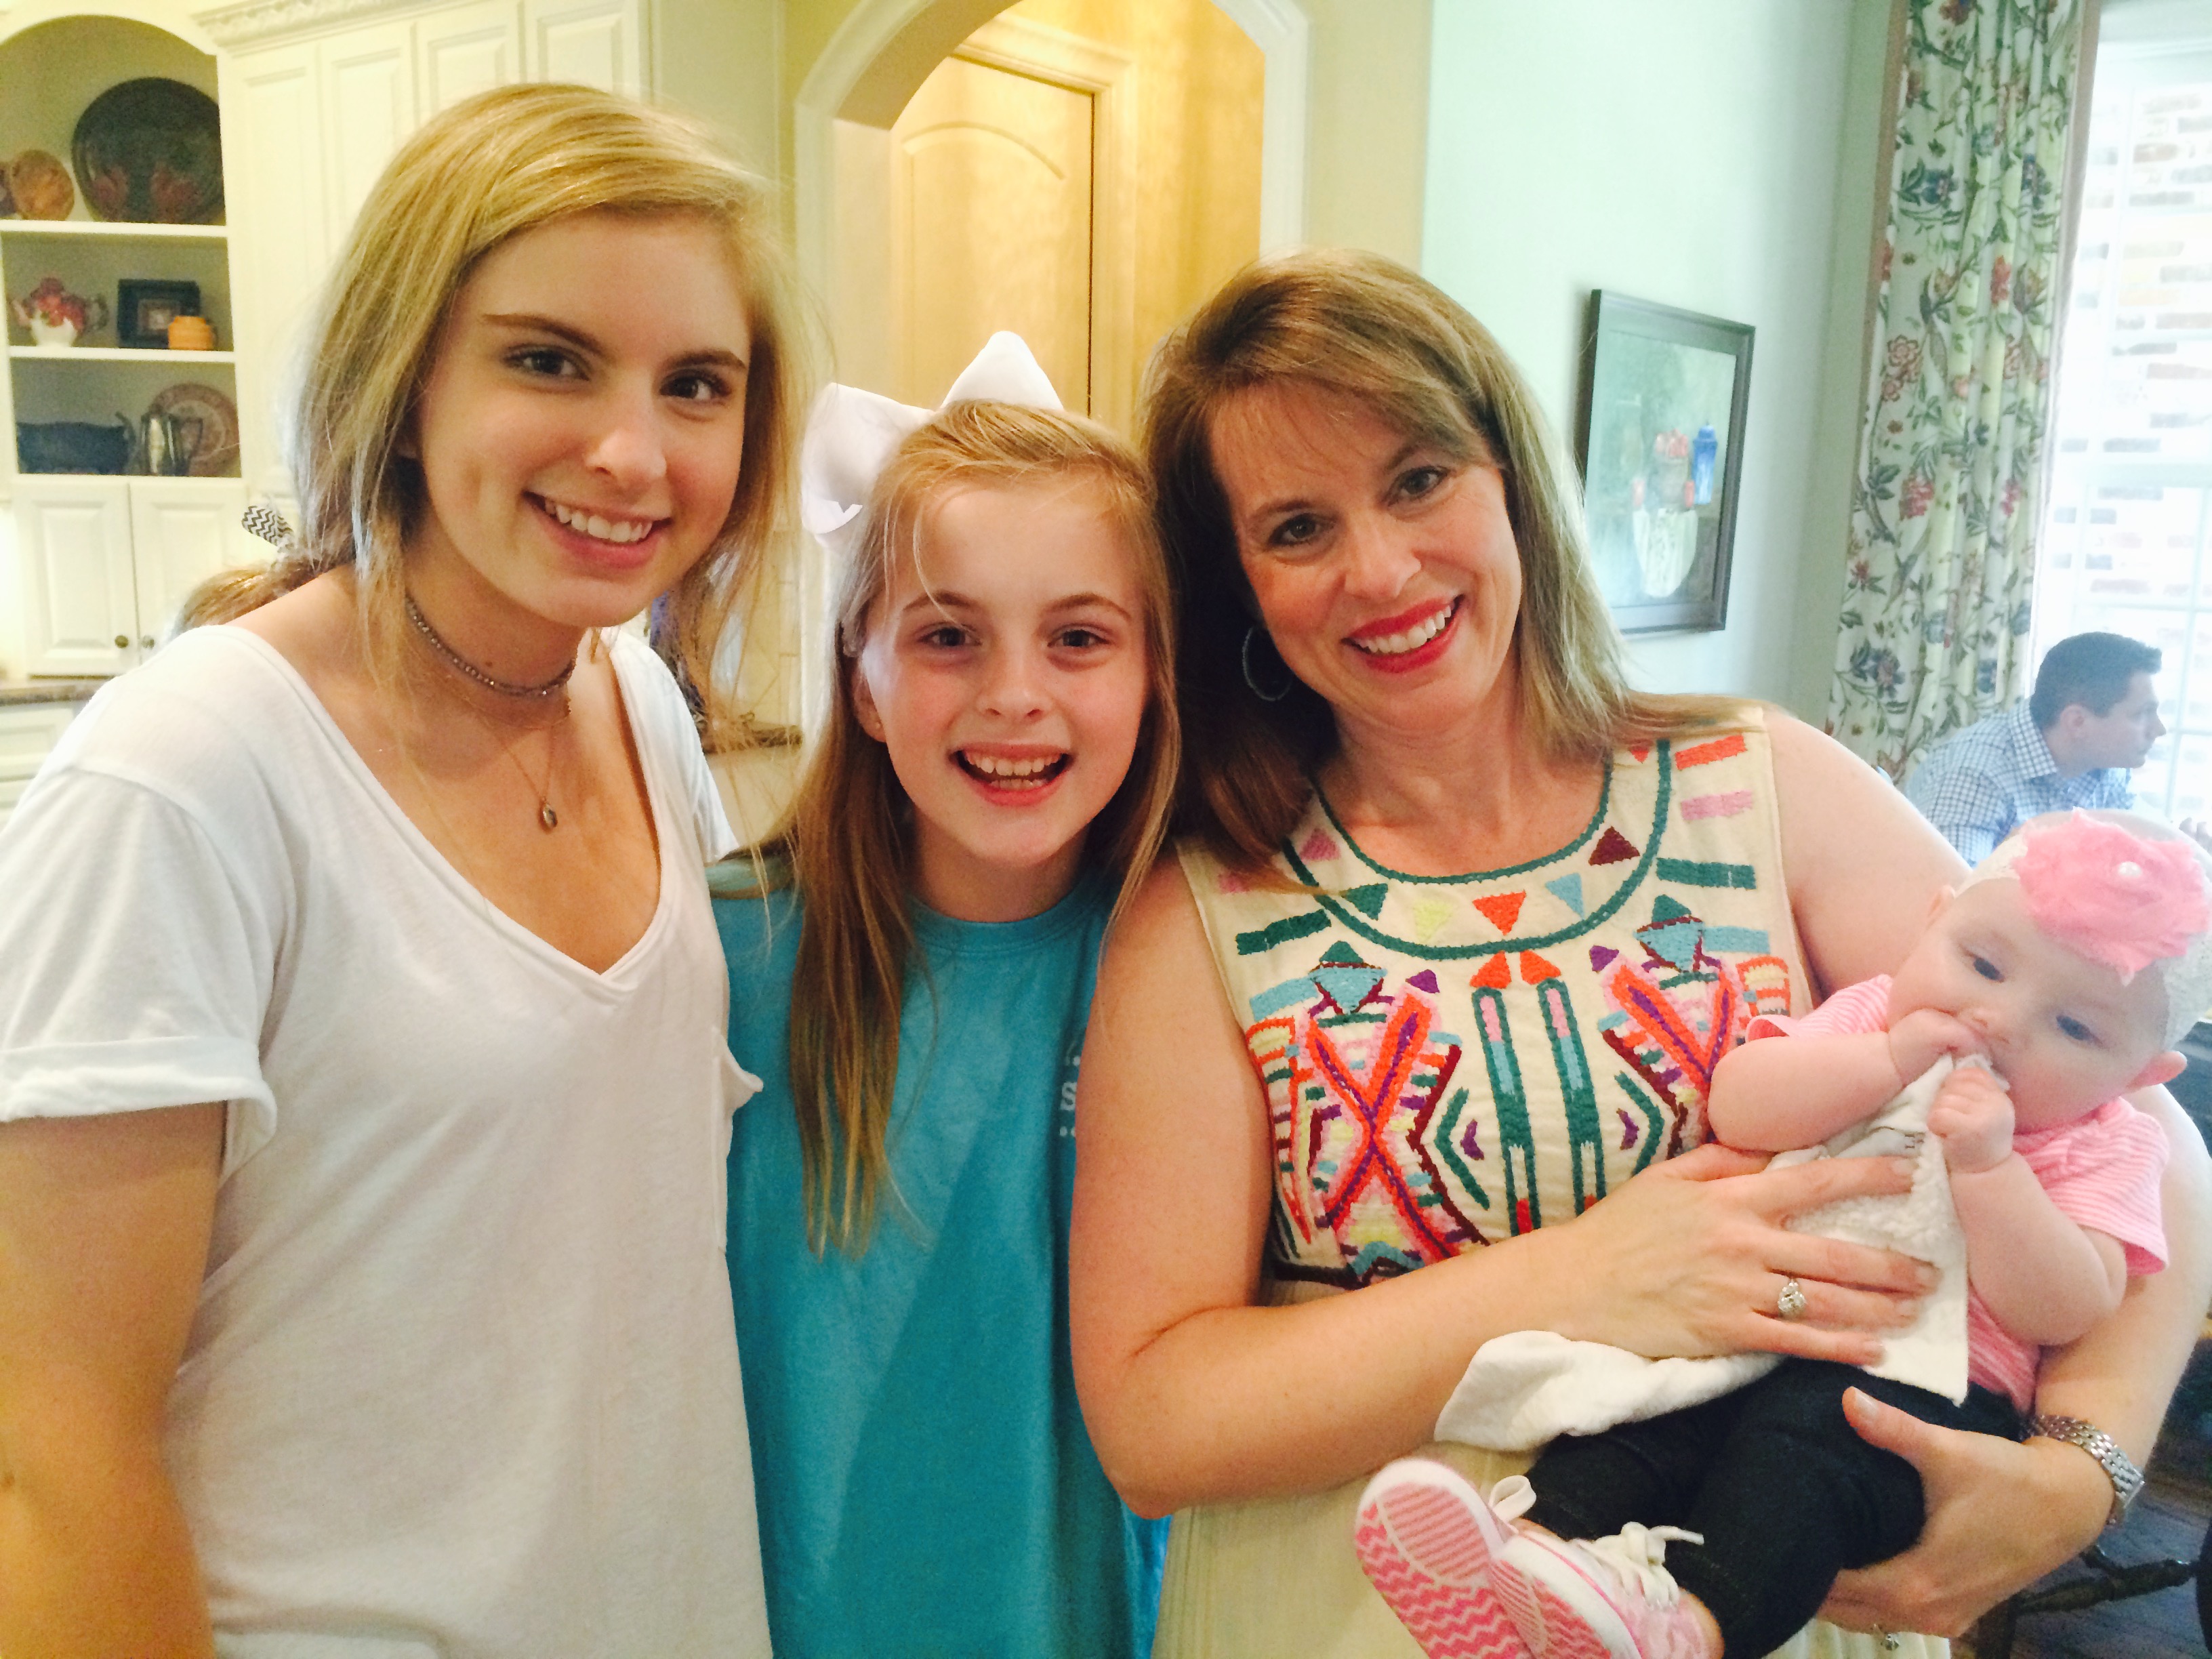
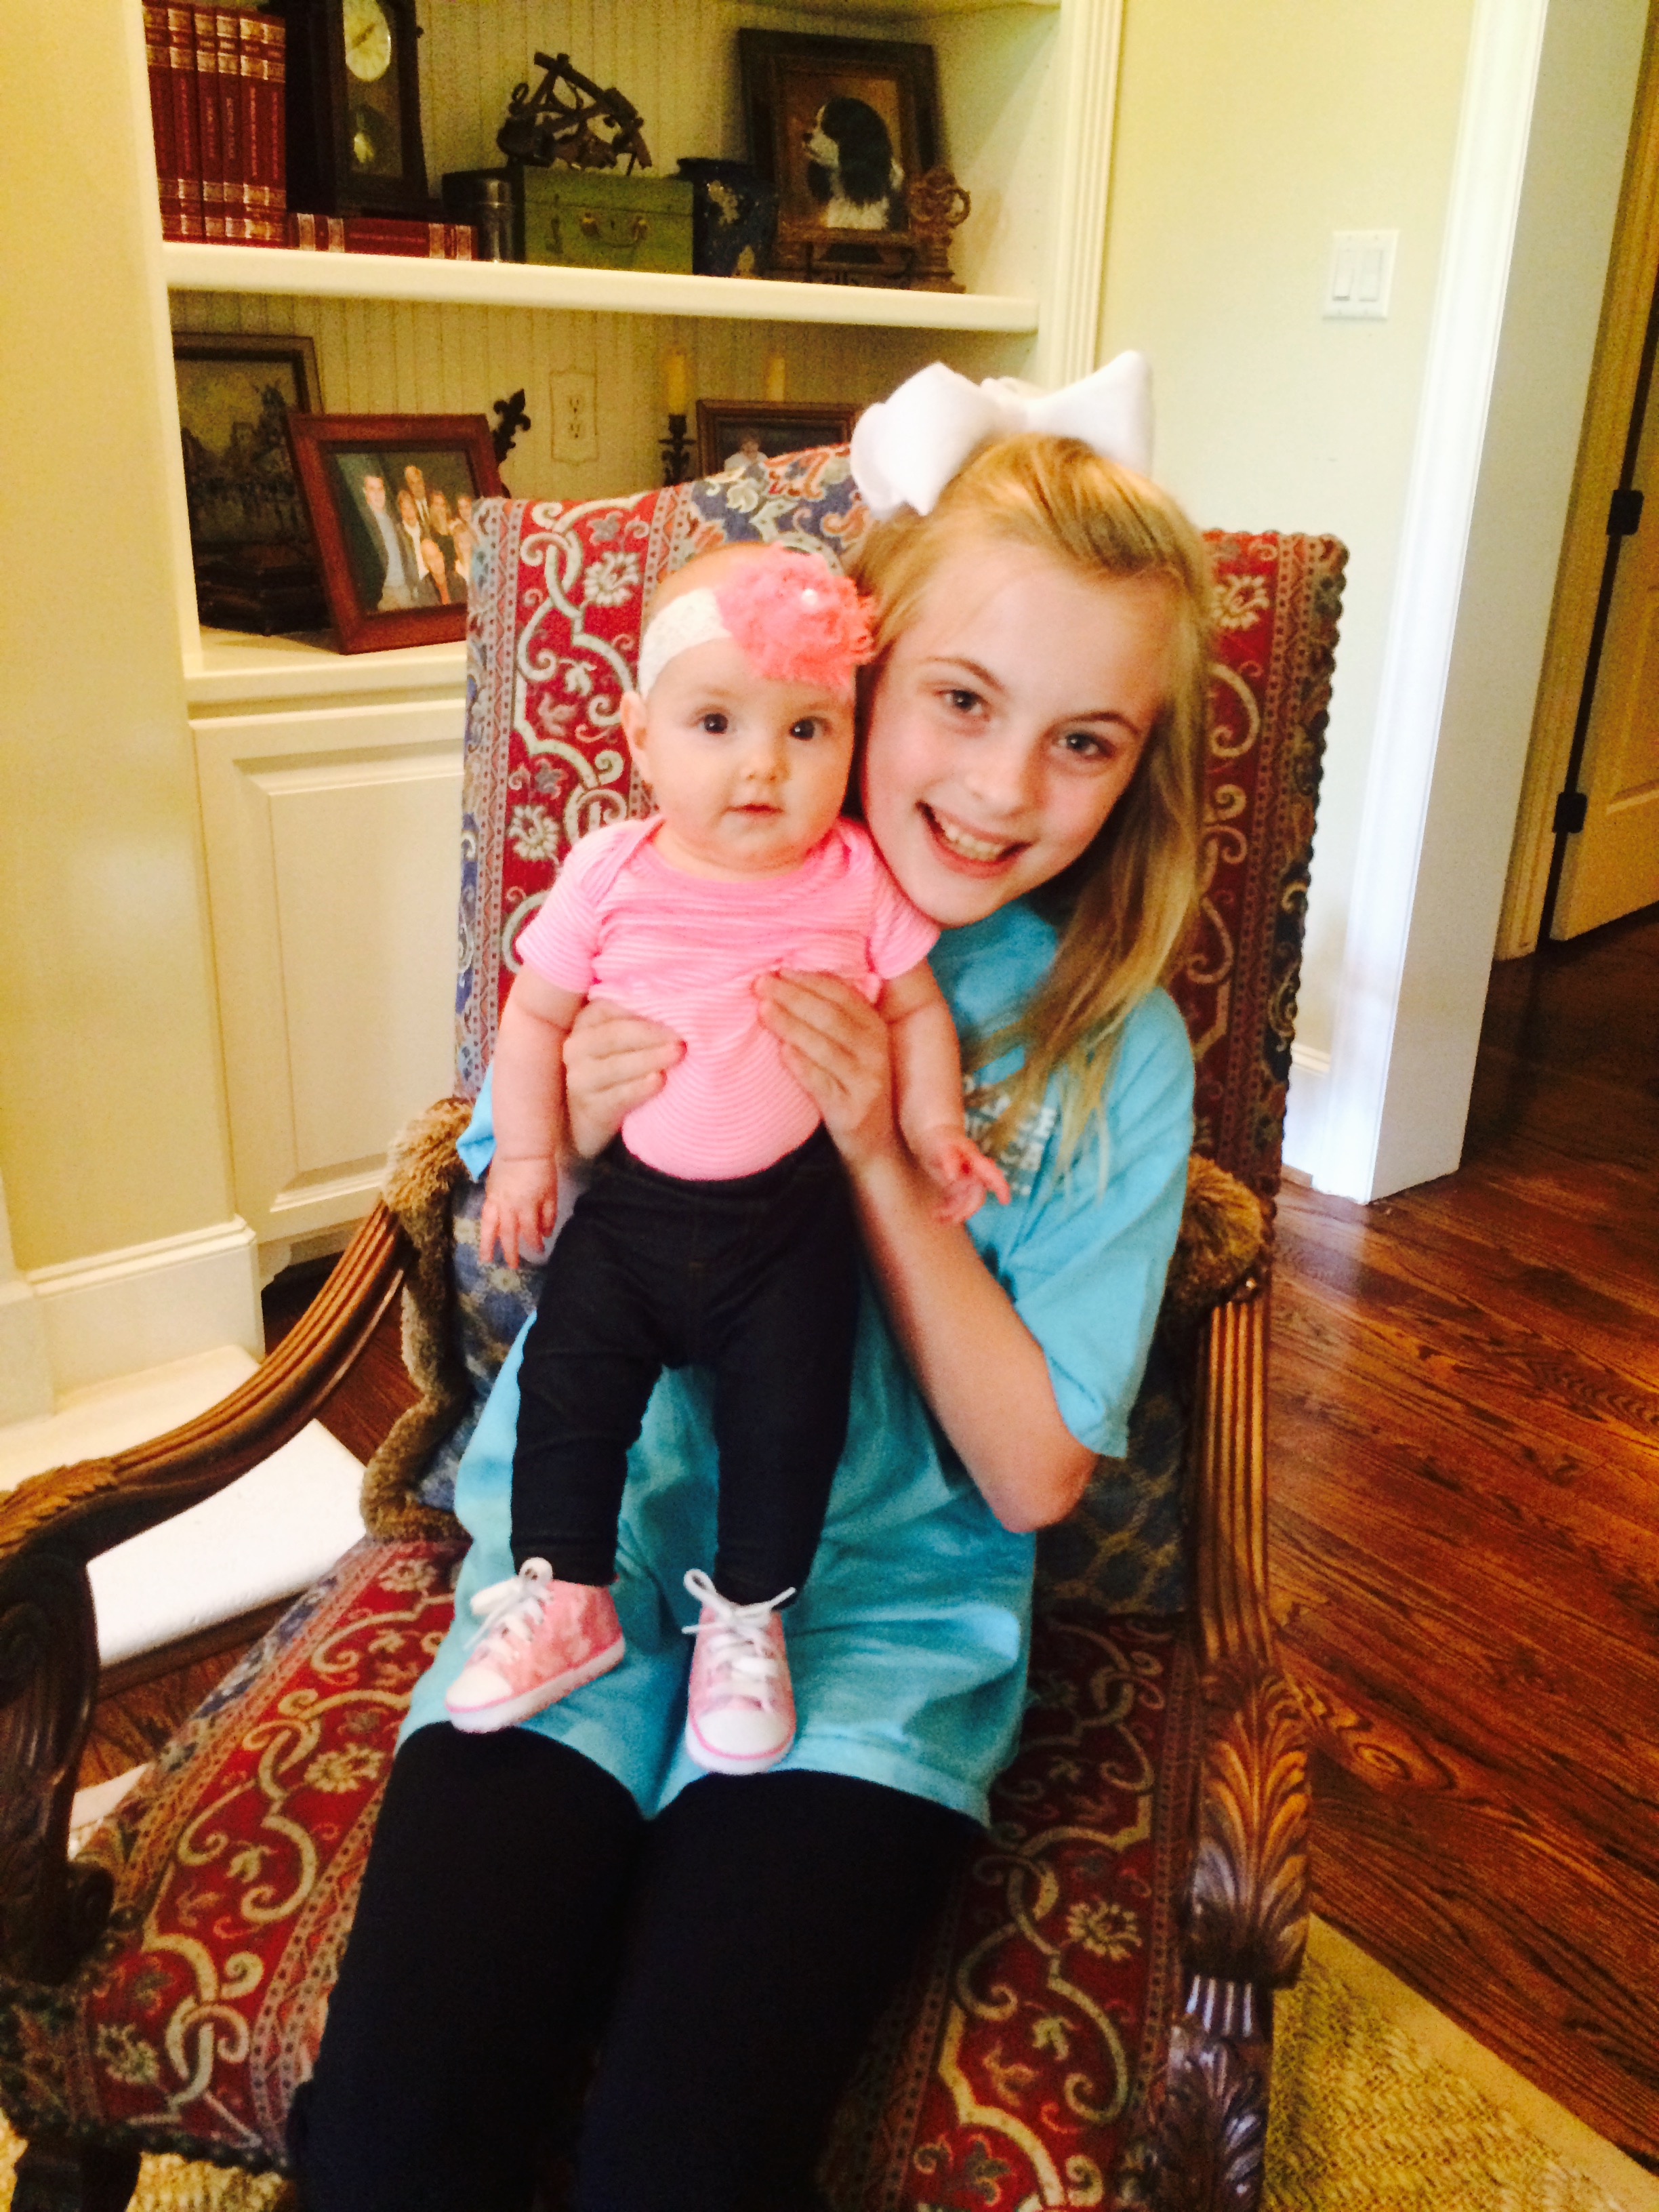
Half kidding/half dead-serious, Joey told us to bring these cookies with us when we came to Gordon that next weekend for Nanny’s 93rd birthday.
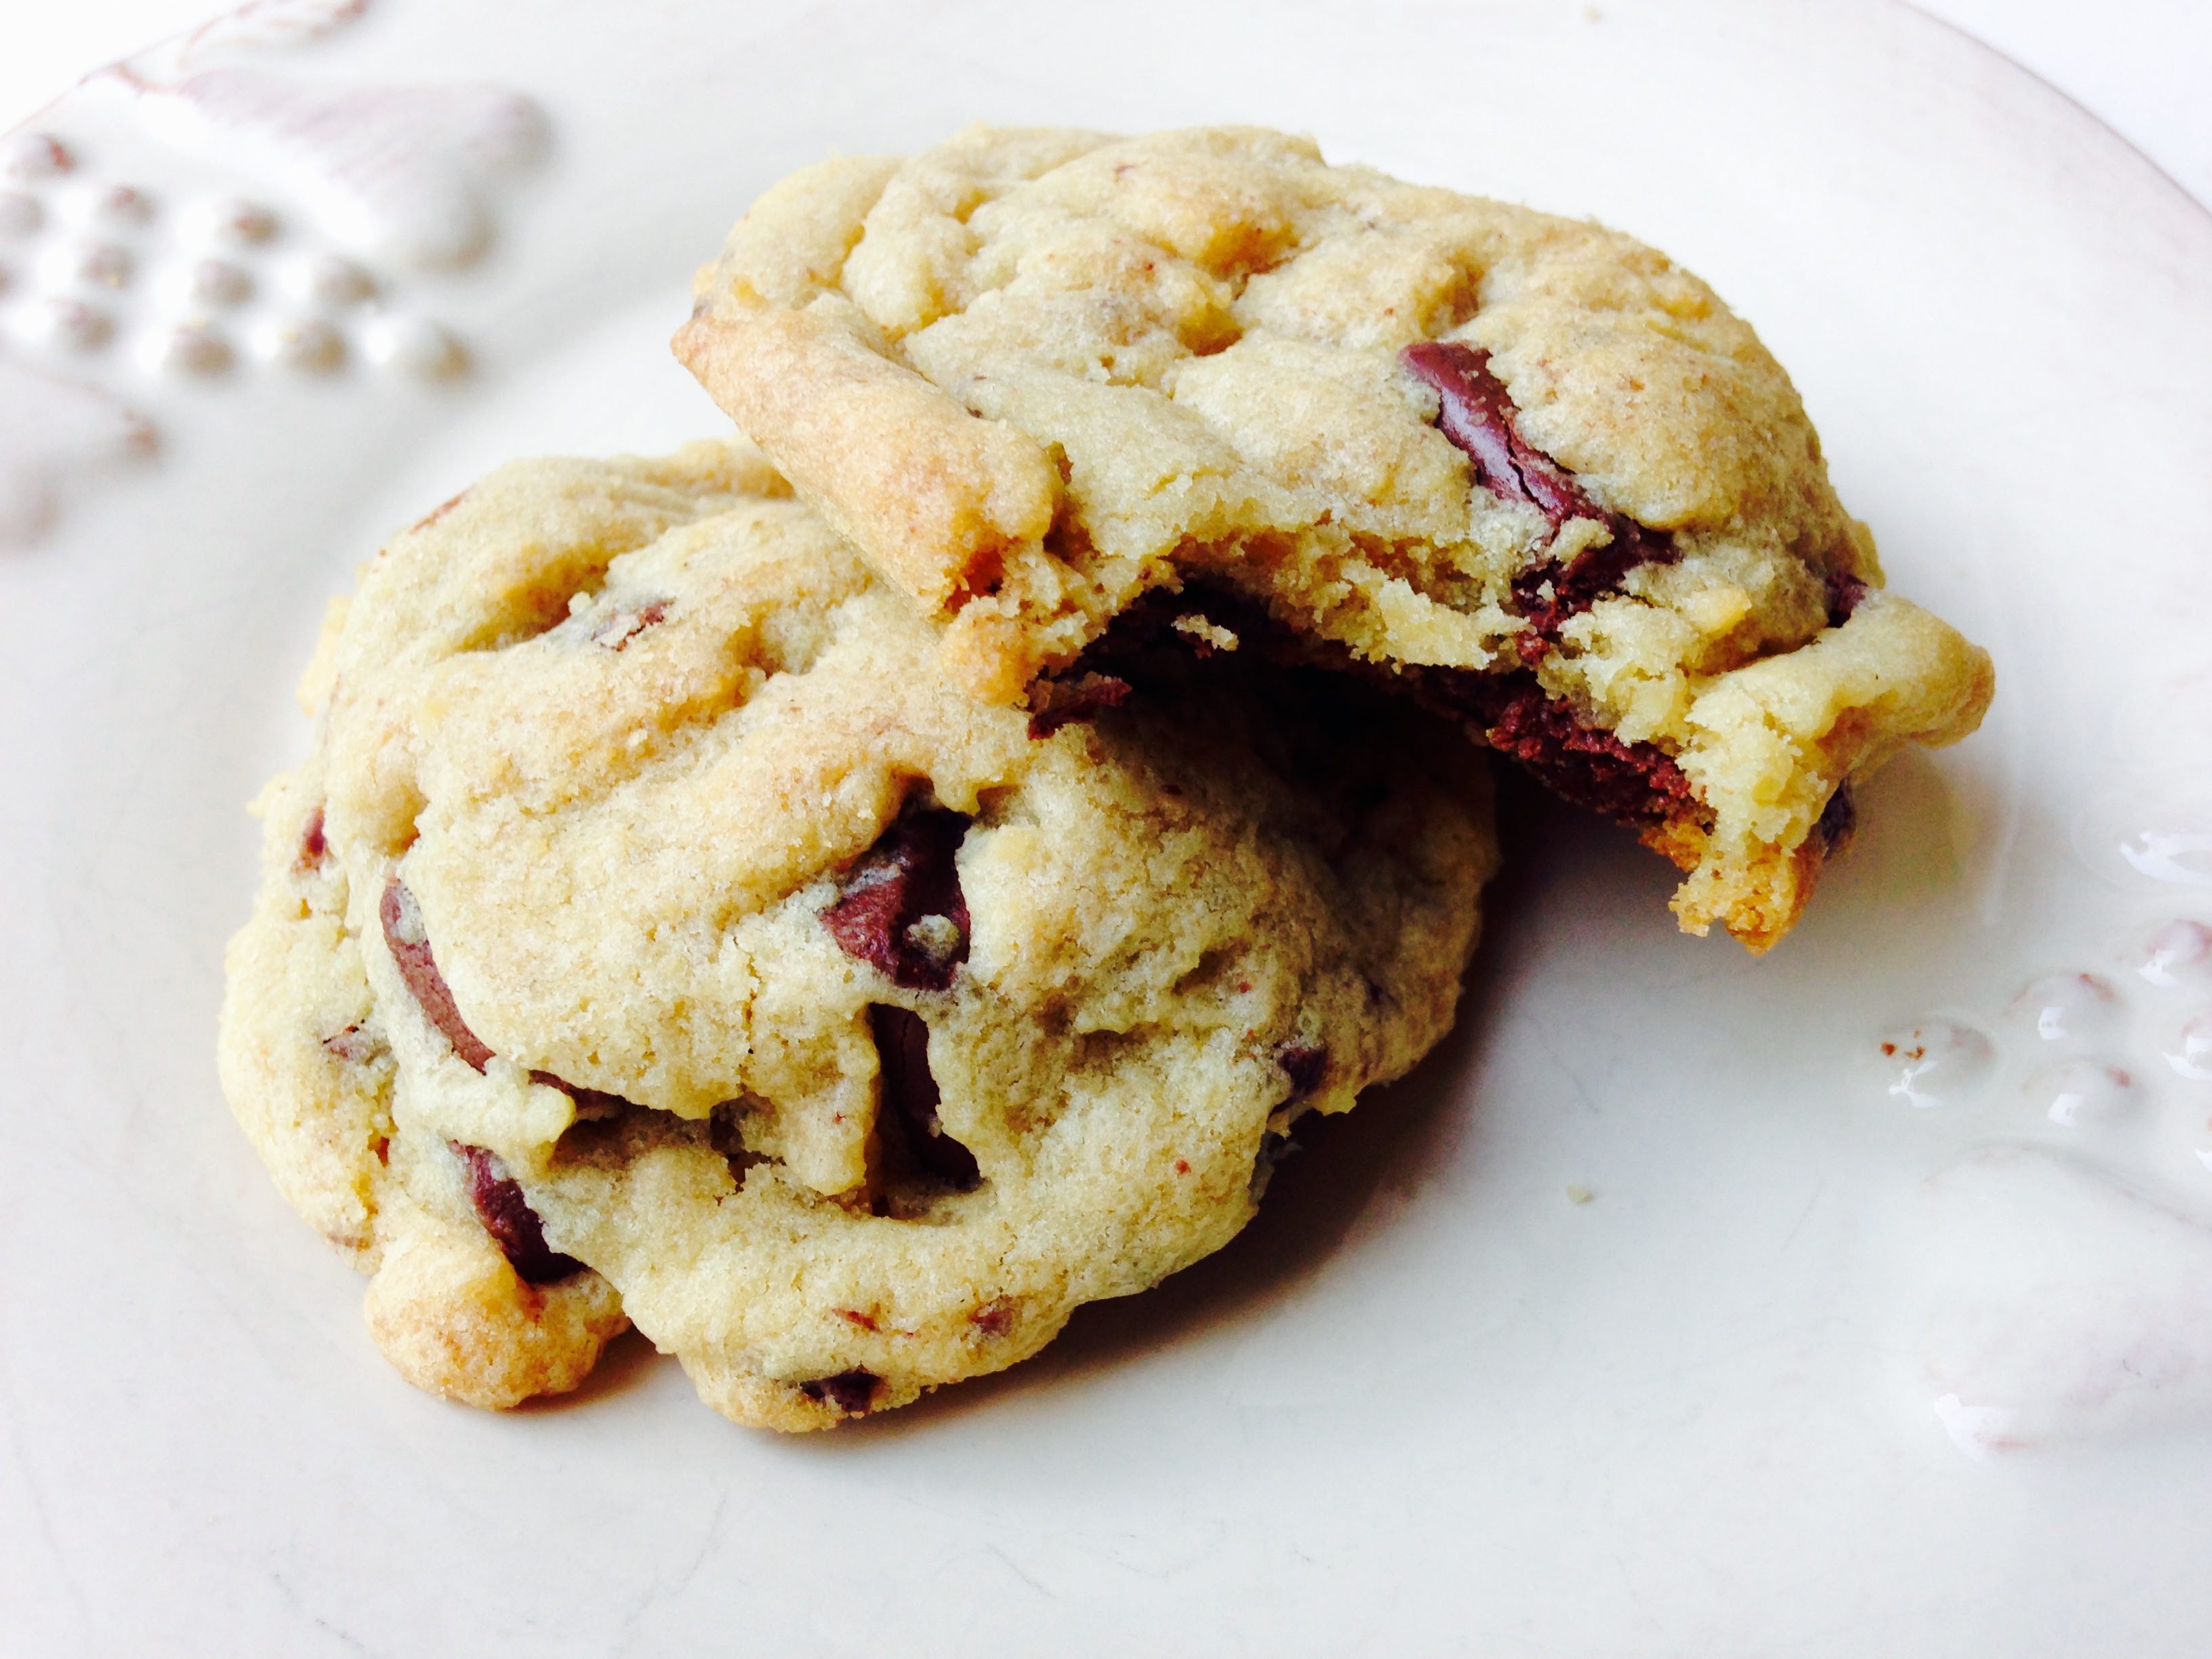
These cookies are so good, you’ll have a hard time burning out on them so even though we just made them, we were more than happy to whip up another batch. Only bad thing for Joey was that this time, he had to share the cookies with all our family in Gordon. In fact, after just 2 hours there were only 3 cookies left!!
As always, it was great to see close family and celebrate another milestone as Nanny turned one year older. Despite being such a huge state, it’s nice to have nearly everyone in our family live in Texas!
If you like these pudding cookies, you’ll also probably like our Chocolate Chip Dreams recipe. The dream cookies also have instant vanilla pudding to keep the cookies soft, but the only difference is that the dreams have shortening and nuts, whereas these do not. These cookies also bake at a slightly cooler temperature and for a little bit longer.
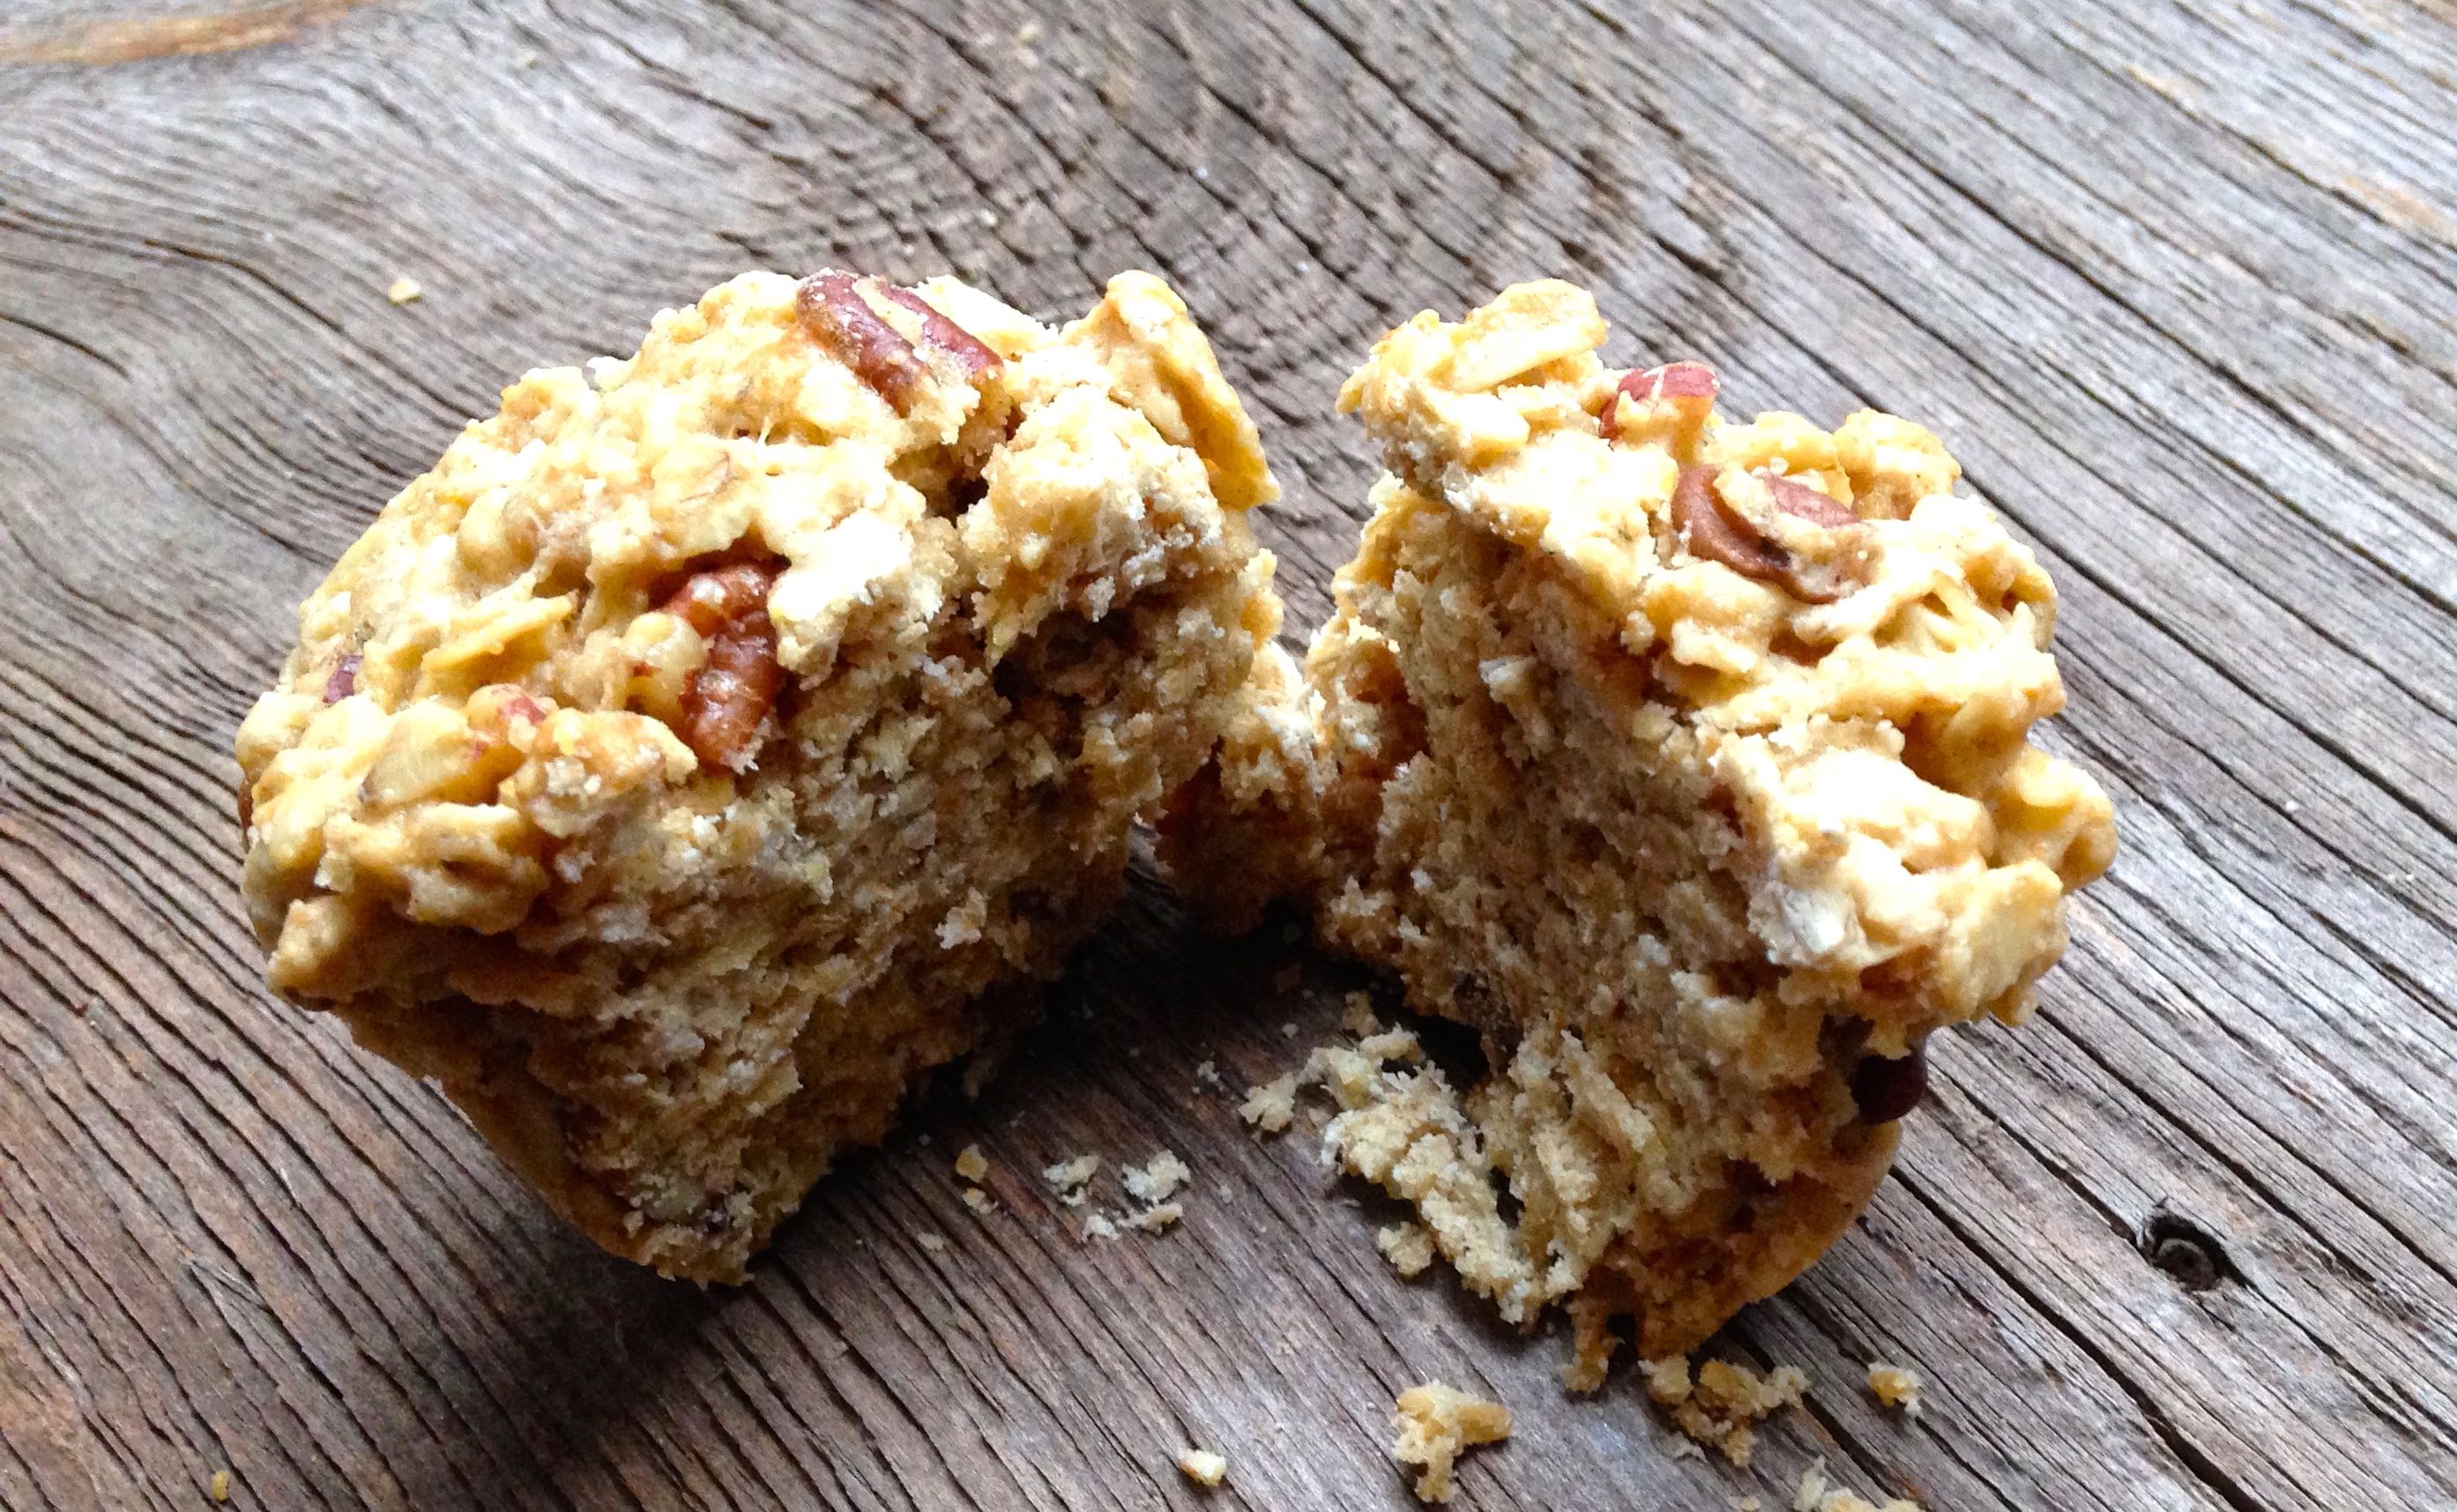
Which do I like better: Joey’s pudding cookies or the Dream cookies? That’s a tough call. Dreams have always been a favorite of mine, but I may end up calling these a tie-breaker. I feel like Joey’s are crispier on the outside and chewier on the inside. The dreams are just chewier and softer throughout. Half the time I don’ have shortening on hand, so I’ll probably end up making Joey’s cookies more.
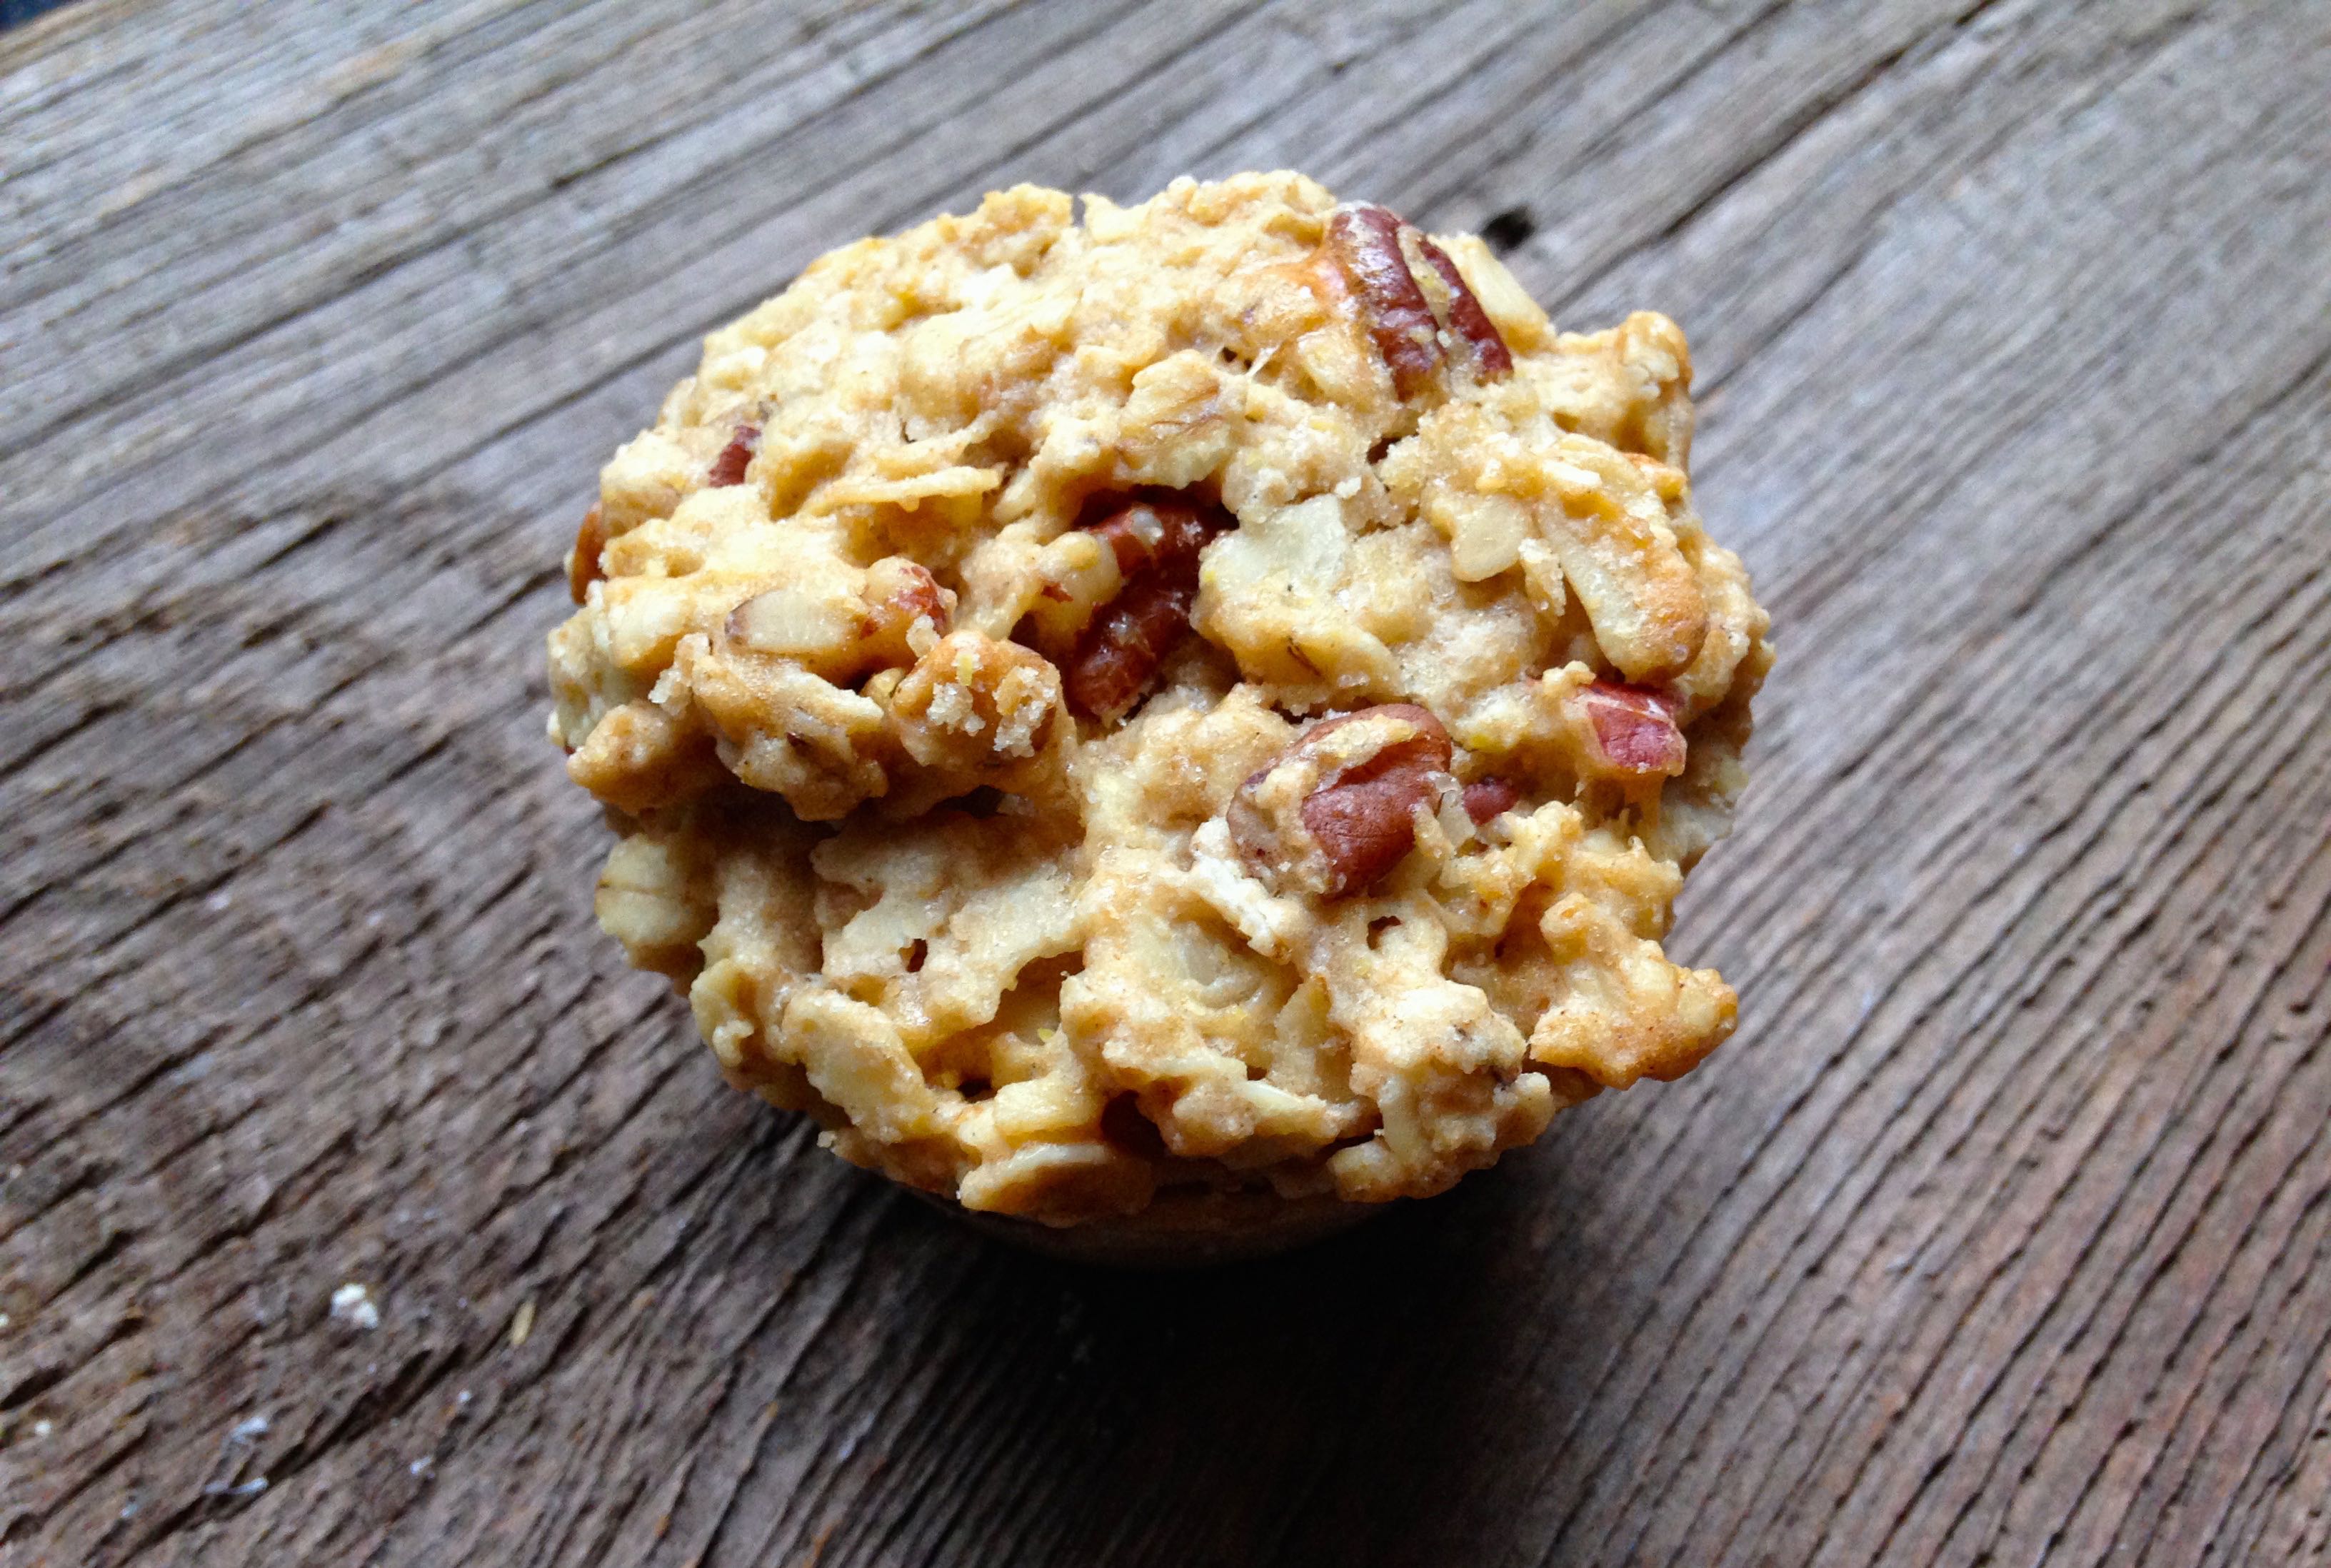
P.S. Joey – We’ve dedicated these cookies to you, “Joey’s Chocolate Chip Pudding Cookies” since you love them so much!
Enjoy!!!

- 3/4 cup unsalted butter, softened (1 1/2 sticks)
- 3/4 cup light brown sugar, packed
- 1/4 cup granulated sugar
- 1 large egg
- 1 tsp. vanilla extract
- 1 tsp. baking soda
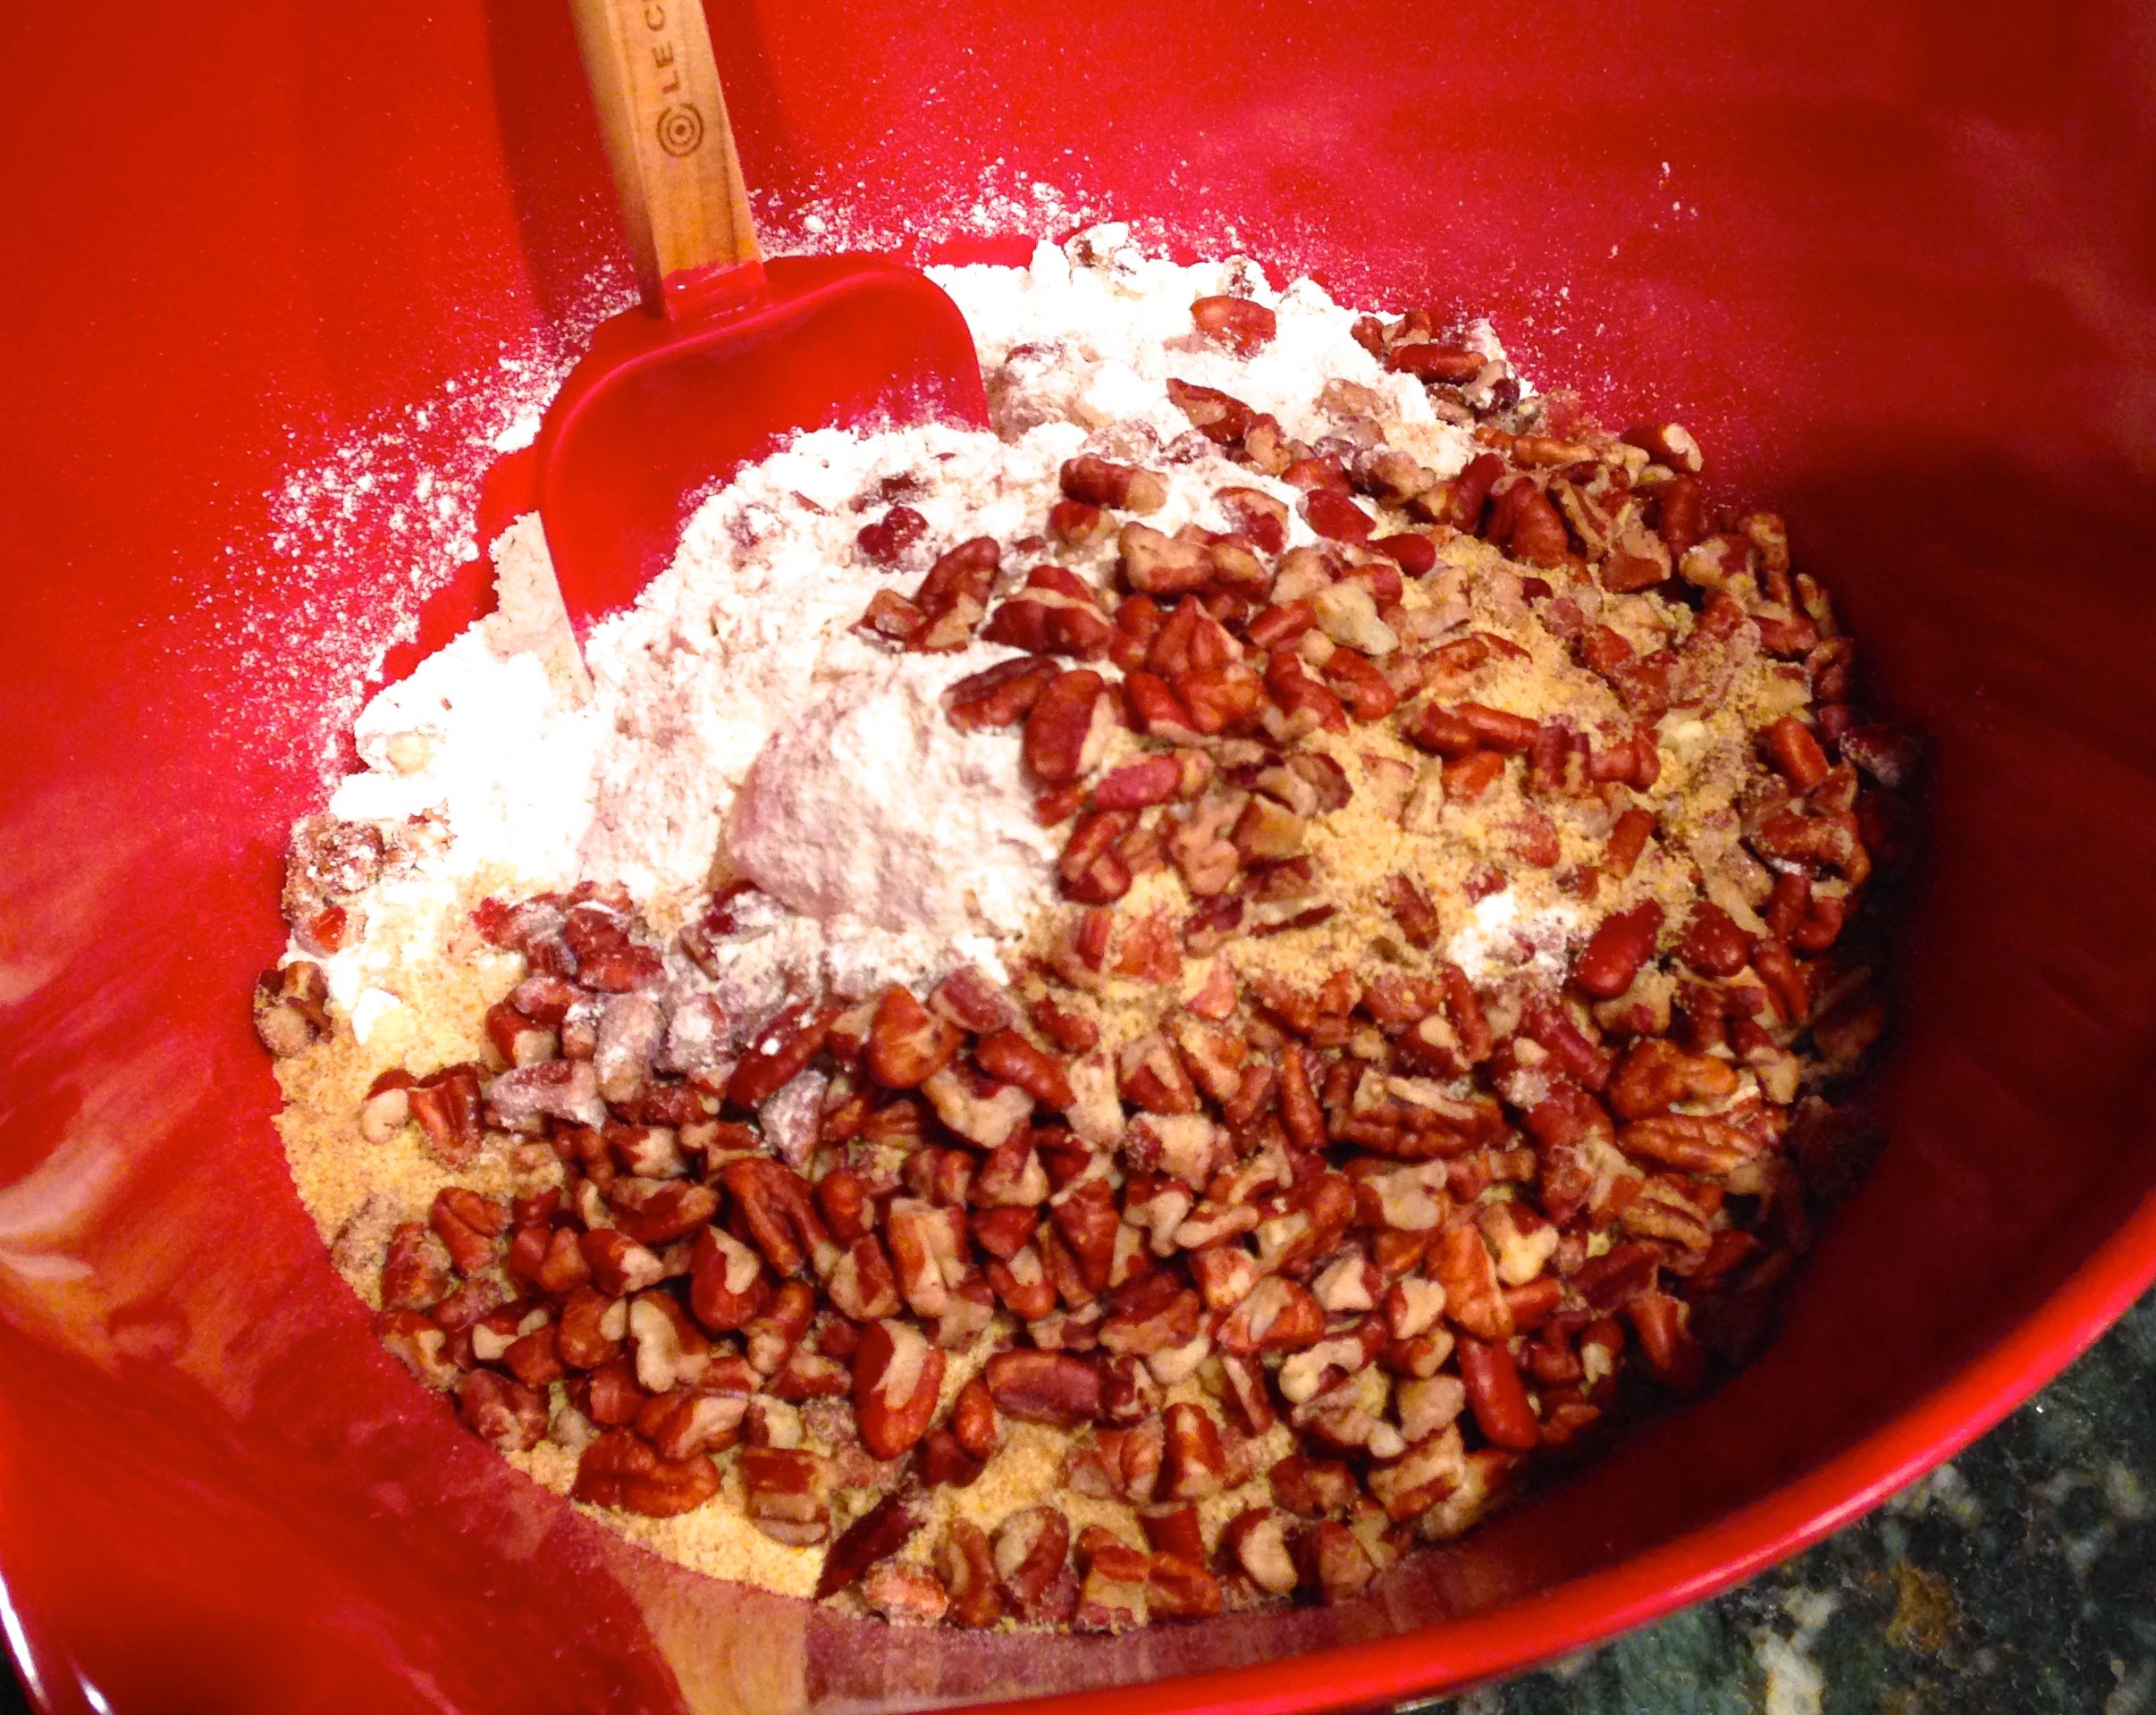
- 2 cups all-purpose flour
- 1 (3.5 oz) packet instant vanilla pudding mix
- pinch of salt
- 1 (11.5 oz) bag (2 cups) semi-sweet chocolate chunks
- Preheat 350 degrees F. Line a baking sheet with parchment paper or silpat.
- To the bowl of a stand mixer fitted with a paddle attachment combine the butter, sugars, egg, vanilla, and beat on medium-high speed until creamed and well combined, about 4 minutes.
- Stop, scrape down the sides of the bowl, and add the flour, pudding mix, baking soda, salt, and beat on low speed until just combined, about 1 minute.
- Stop, scrape down the sides of the bowl, and add the chocolate chunks, and beat on low speed until just combined, about 30 seconds.
- Using a small cookie scoop, roll into balls and place on prepared cookie sheet. Bake for about 10-11 minutes, or until edges have set and tops are just set. Even if slightly undercooked, pale, and glossy in the middle, don’t overbake. Immediately slide parchment paper onto a wire cookie rack or the countertop and let cool for 5 minutes. Then transfer the cookies to a wire rack to finish cooling.