Here’s a super easy comfort food recipe for you with just five ingredients! The recipe dates back to my 93-year-old great aunt ‘Nanny’, who is a wonderful cook. Nanny’s husband J.E. worked at a grocery store in Odessa as the manager of the meat department.
One day, a customer at the grocery store where J.E. worked asked for some beef tips from behind the meat counter. As J.E. weighed and packaged them up for her, he asked what she was making and she told him about this beef tip recipe.
After trying out the the lady’s recipe for beef tips, J.E. and Nanny felt it still needed something. I’m not sure if it was Nanny or J.E.’s idea, but someone suggested adding one tablespoon of soy sauce, and thus we have the beef tip recipe below!
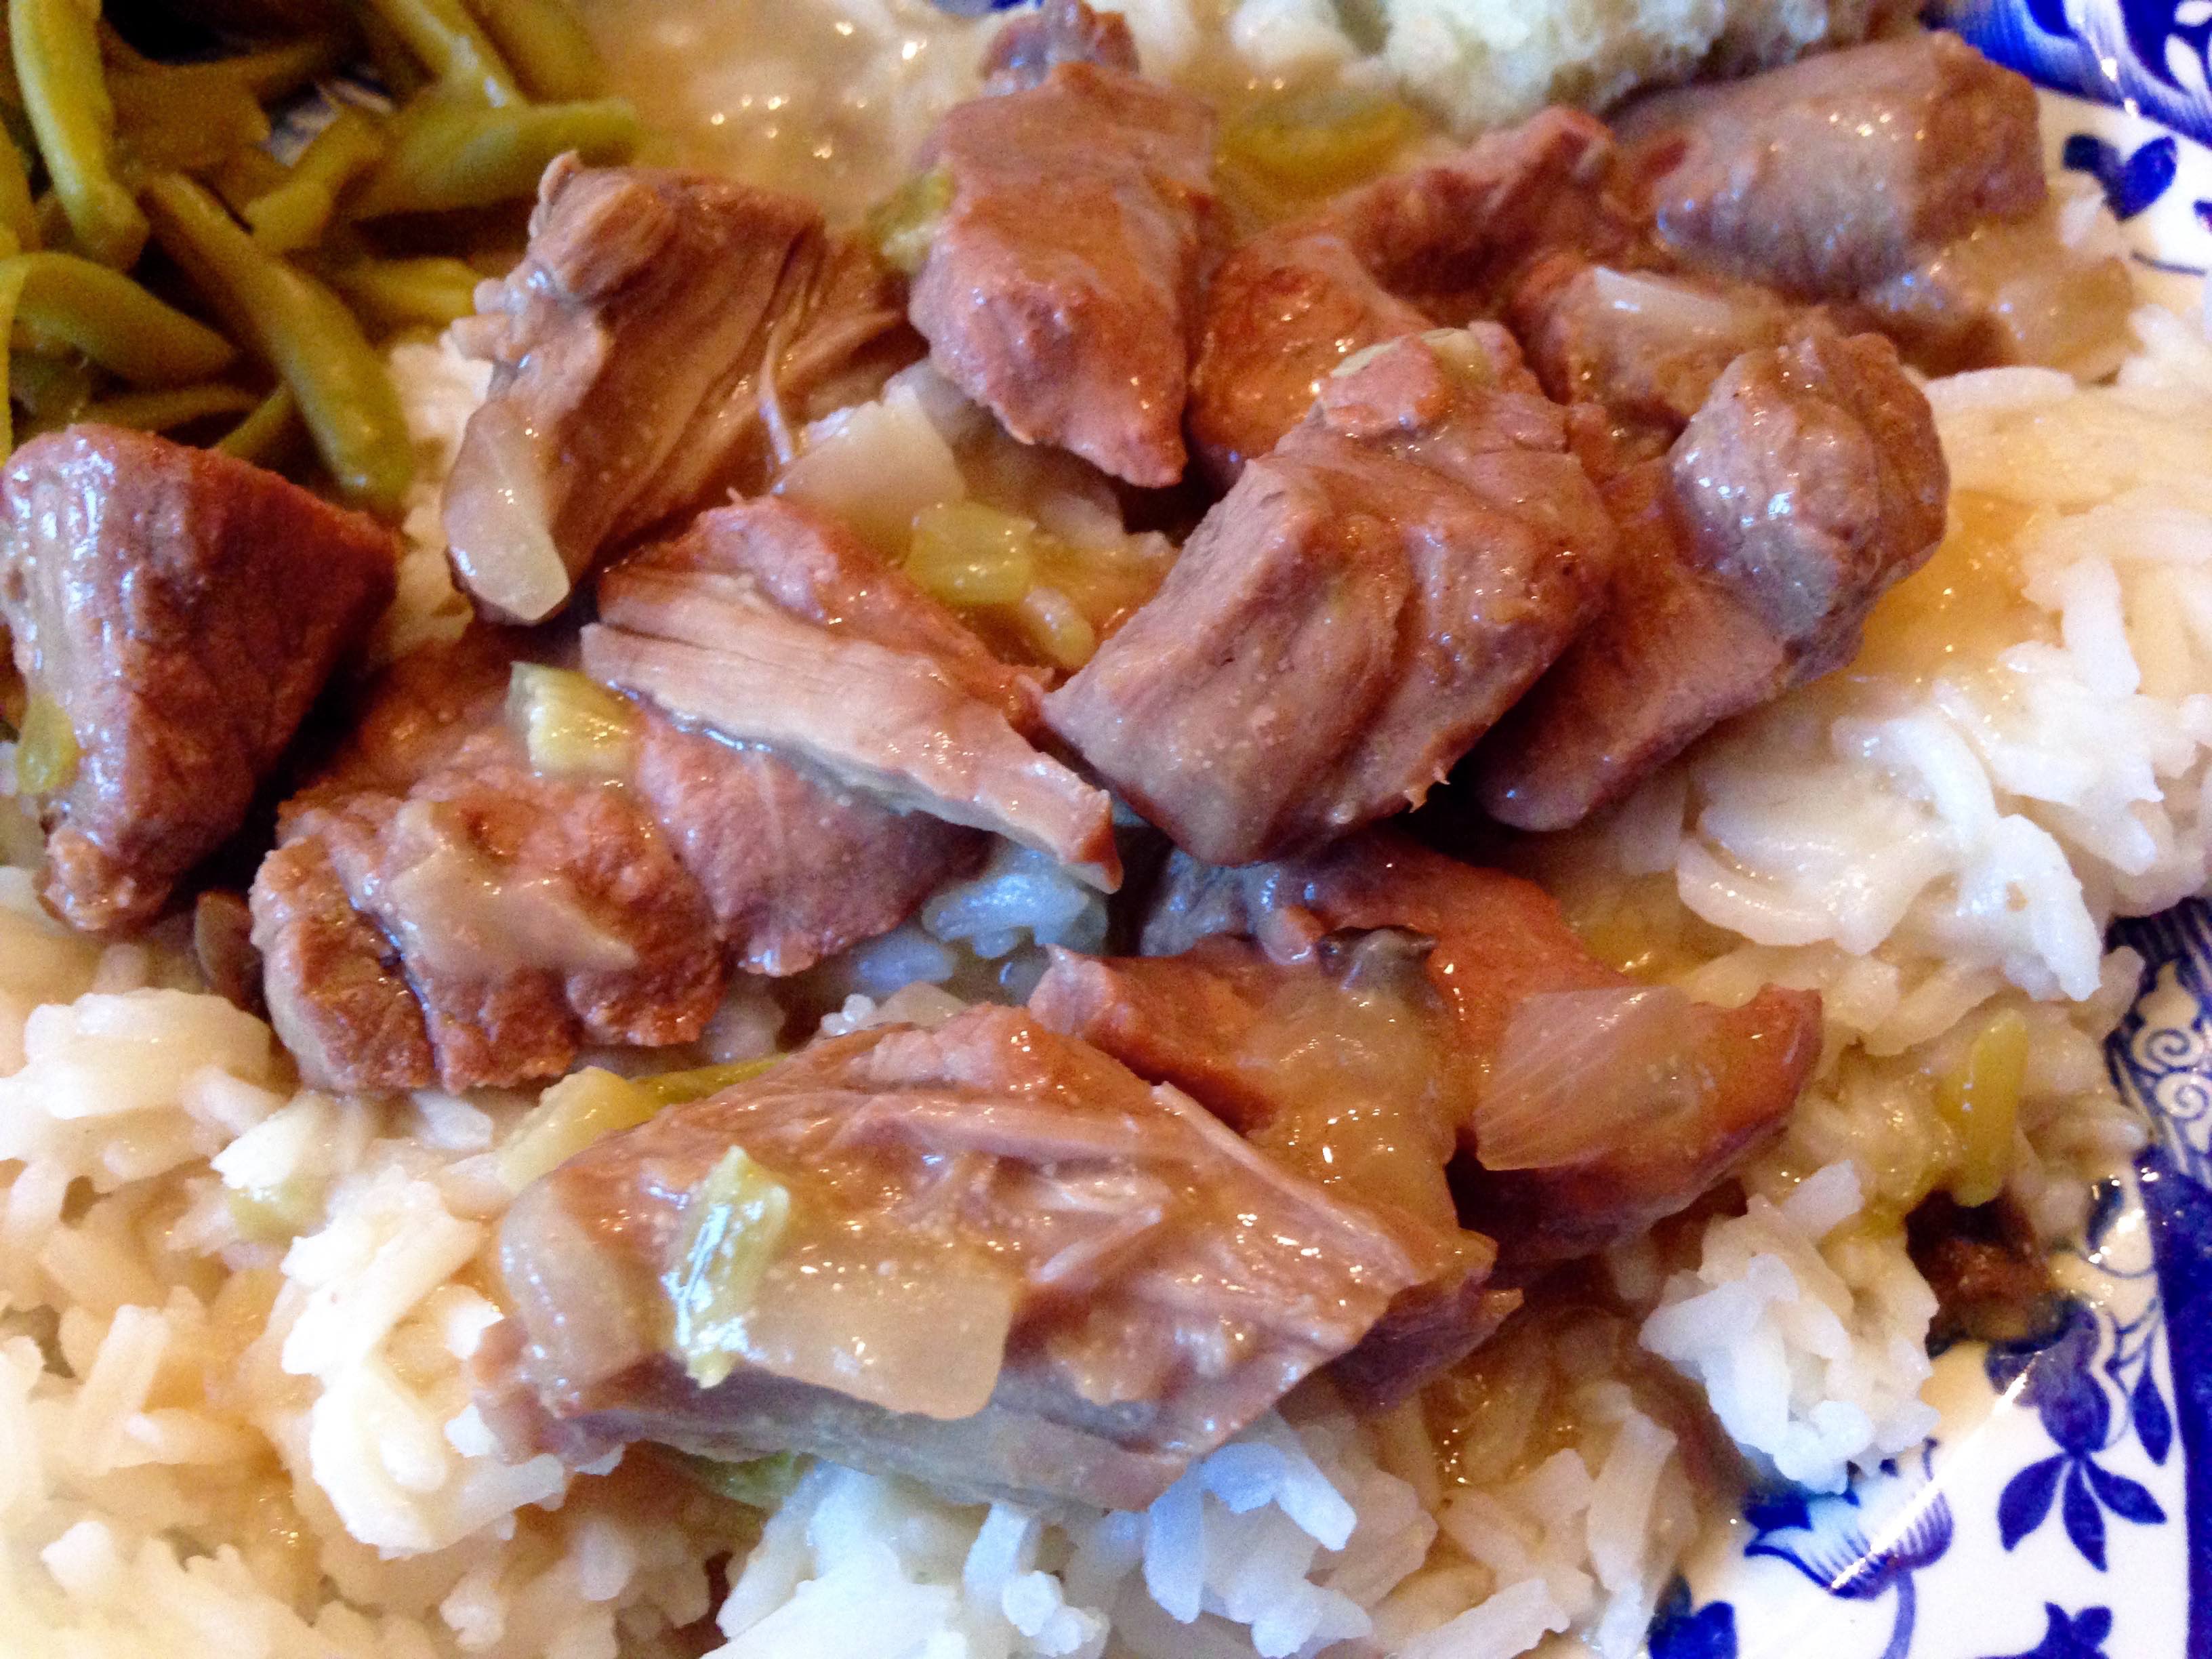
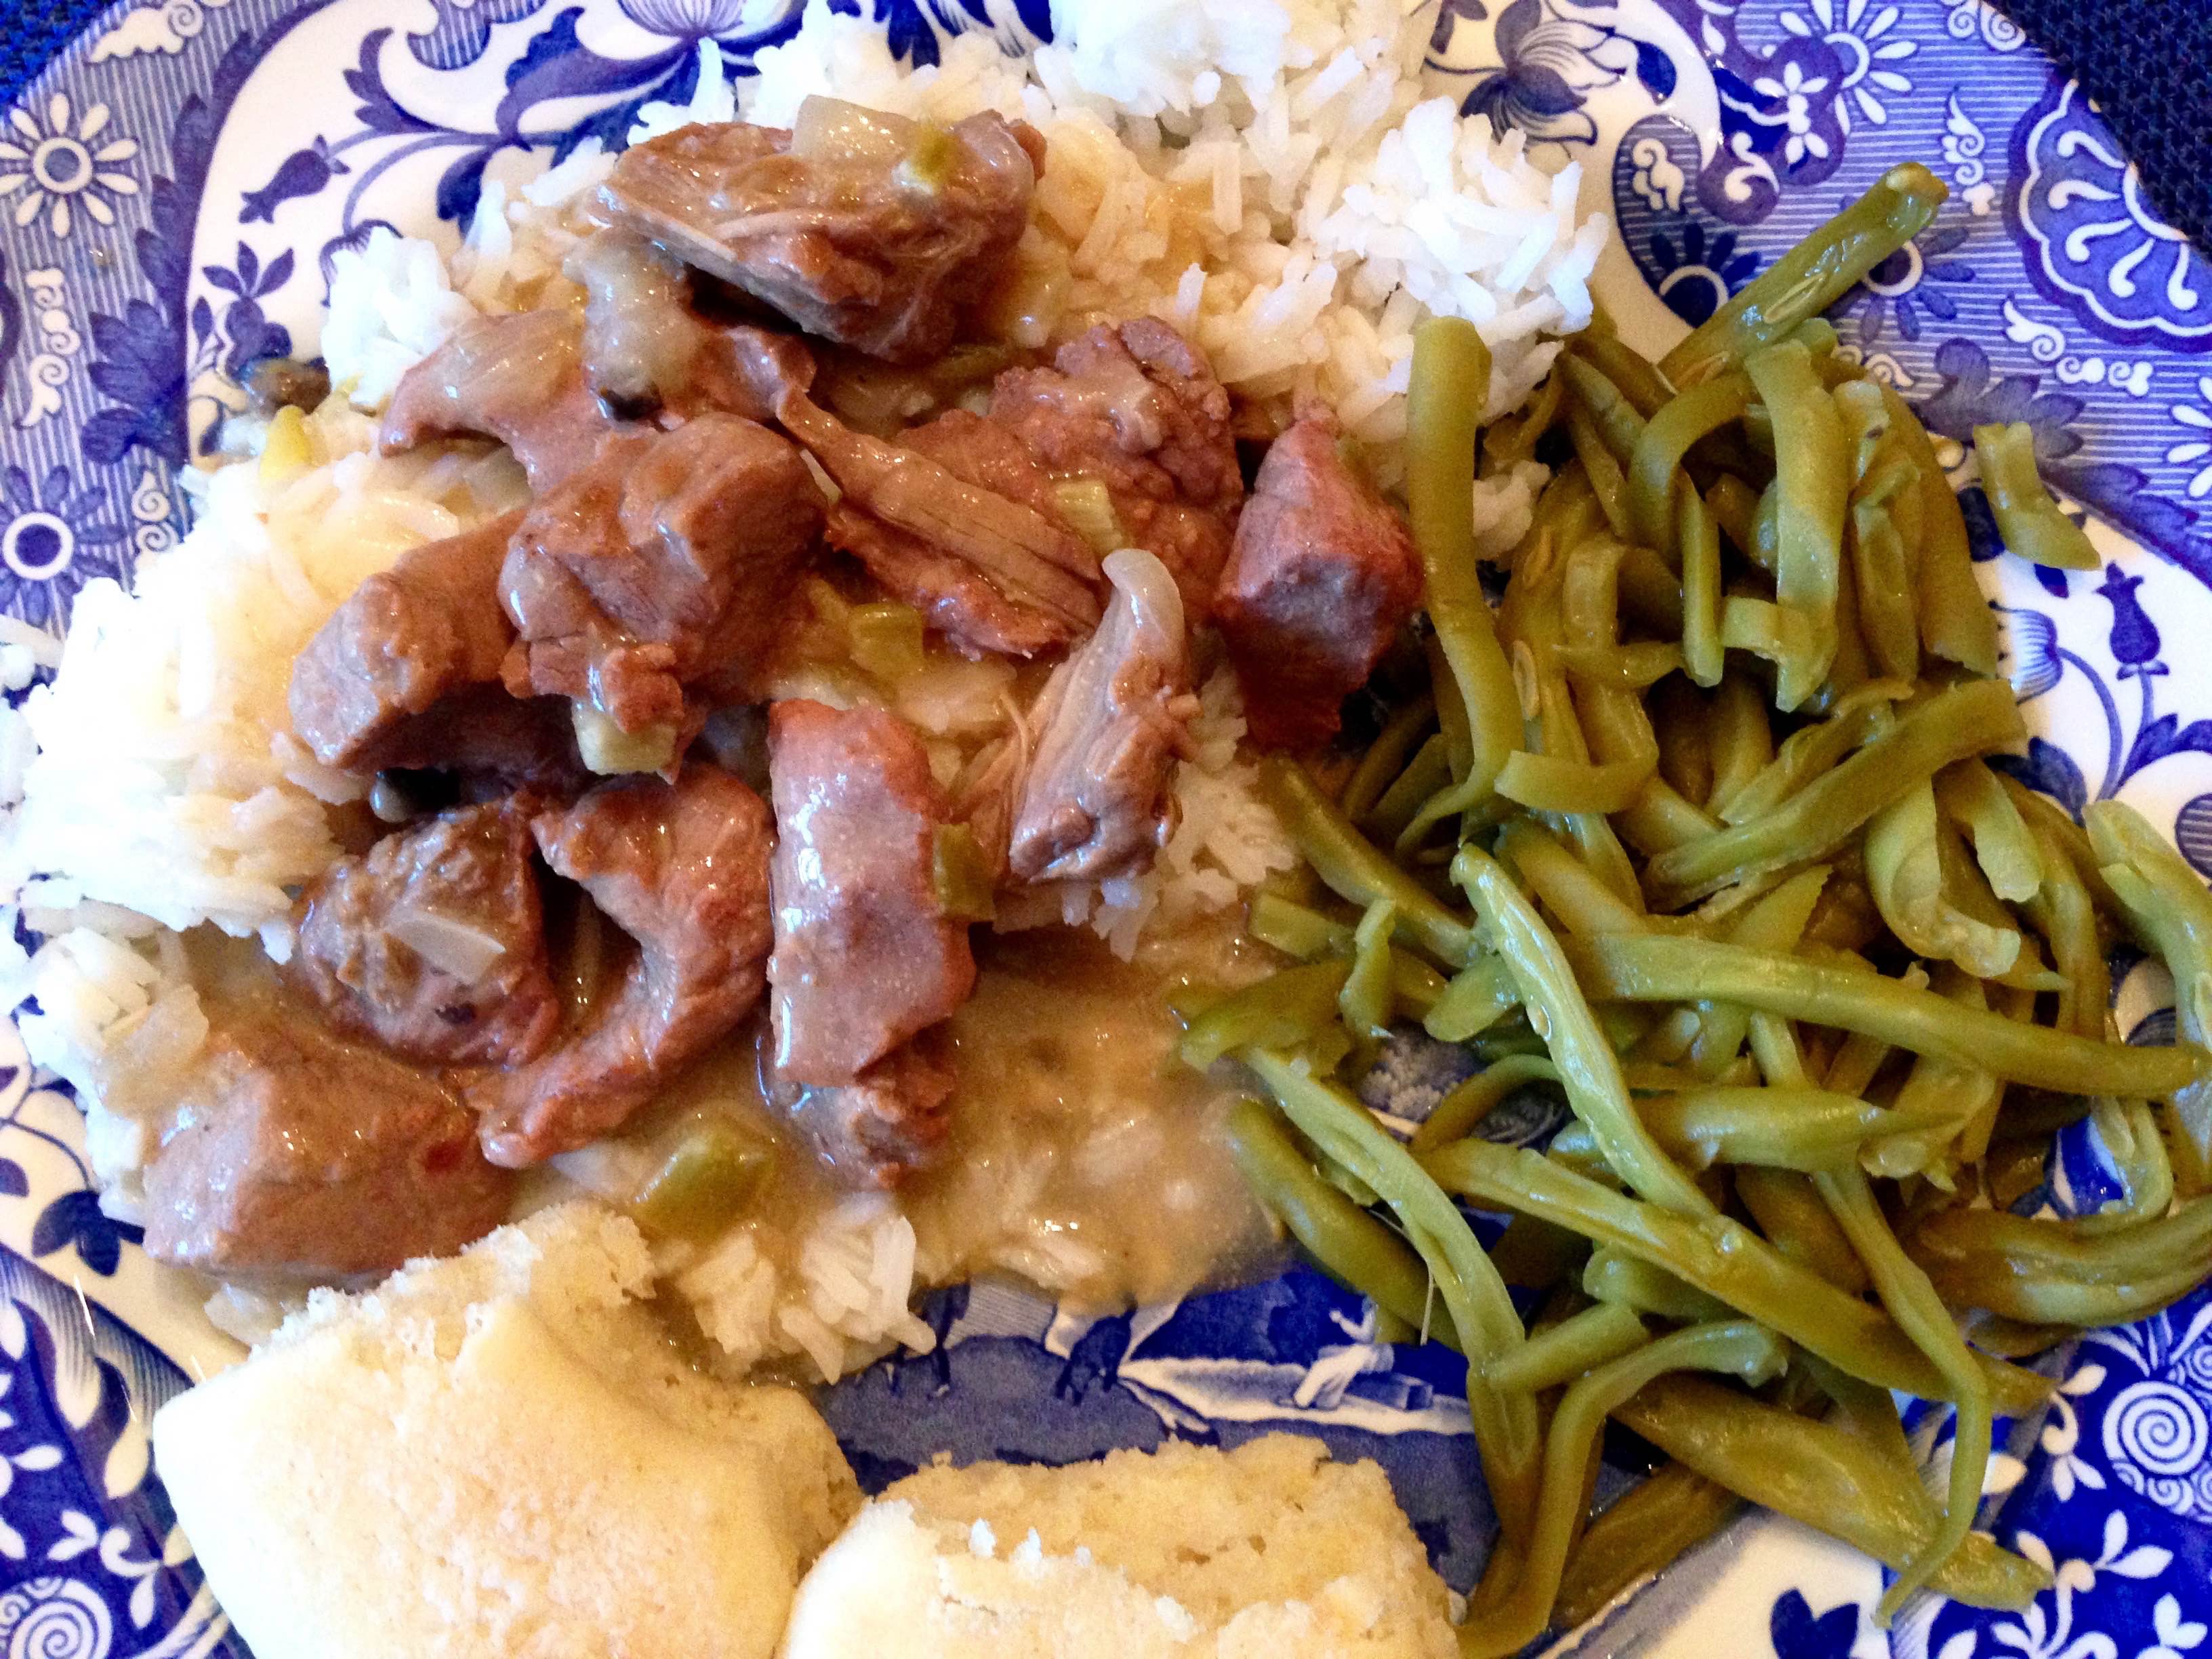
Something about savory beef tips in a creamy celery-mushroom soup served over rice just screams comfort. That first week after Harper was born, my mom came over to my house and made this beef tip recipe for me, Matt, Paula and Tony (who where also helping), and my dad. I think she doubled or tripled the recipe, and we all loved it.
Serve the beef tips over rice, and alongside green beans and a hot roll.
Can you believe how much Harper has grown? She’s already closing in on one year old!
Enjoy!
Beef Tips
Prep time:
Cook time:
Total time:
Serves: 4
Ingredients
1 lb. beef tips or strips
1/2 cup onion
1 Tbsp. soy sauce
1 can cream of celery soup
1 can cream of mushroom soup
1 1/2 cans of water (less if you want thicker)
Instructions
In a large pot over medium-high heat, brown the beef with the onion.
Add soy sauce, cream of celery soup, cream of mushroom soup, and water.
Simmer for 1 hour on the stove, or bake at 300-325 degrees for 1 hour.
This is now my official my go-to French toast recipe. It is sooooo good! I guess I forgot about eating French toast for breakfast, because I haven’t had it in several years. Pancakes and waffles seem to always overshadow french toast, and they shouldn’t.
This recipe, from Tastes Better From Scratch is super easy, and takes just minutes to whip up. It’s so easy, you can do it holding a baby in your arms (just Harper lol).
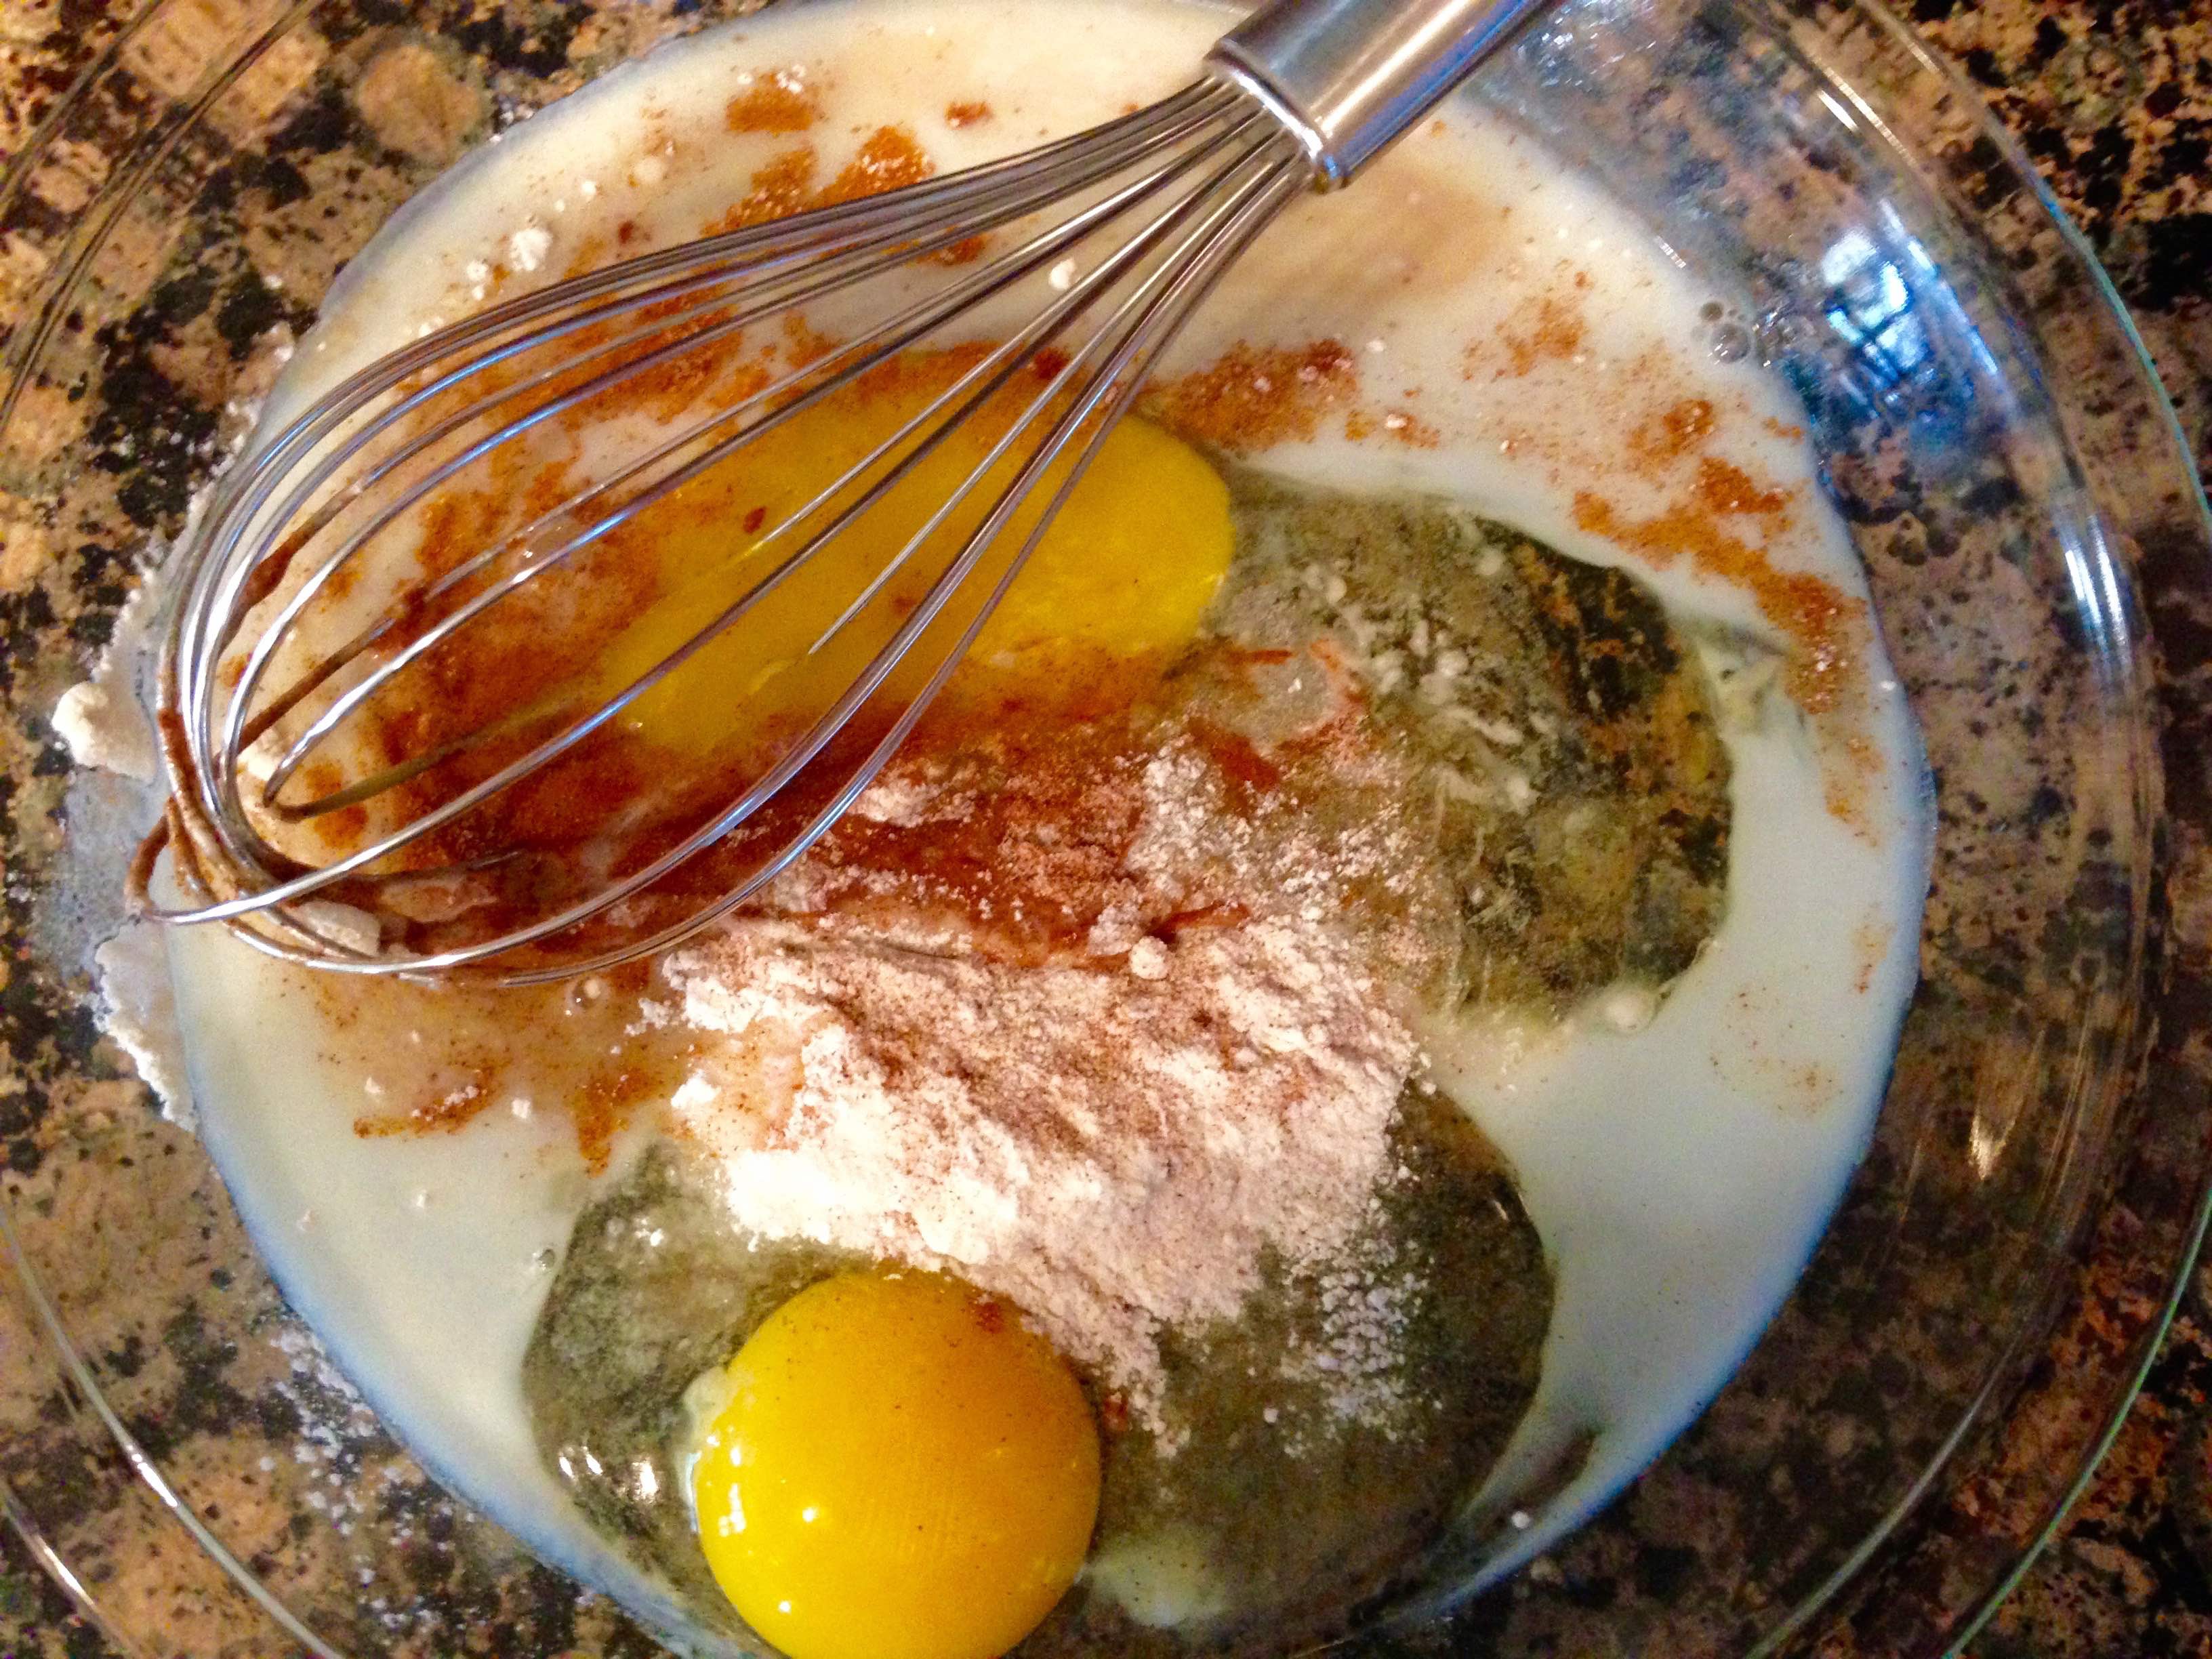
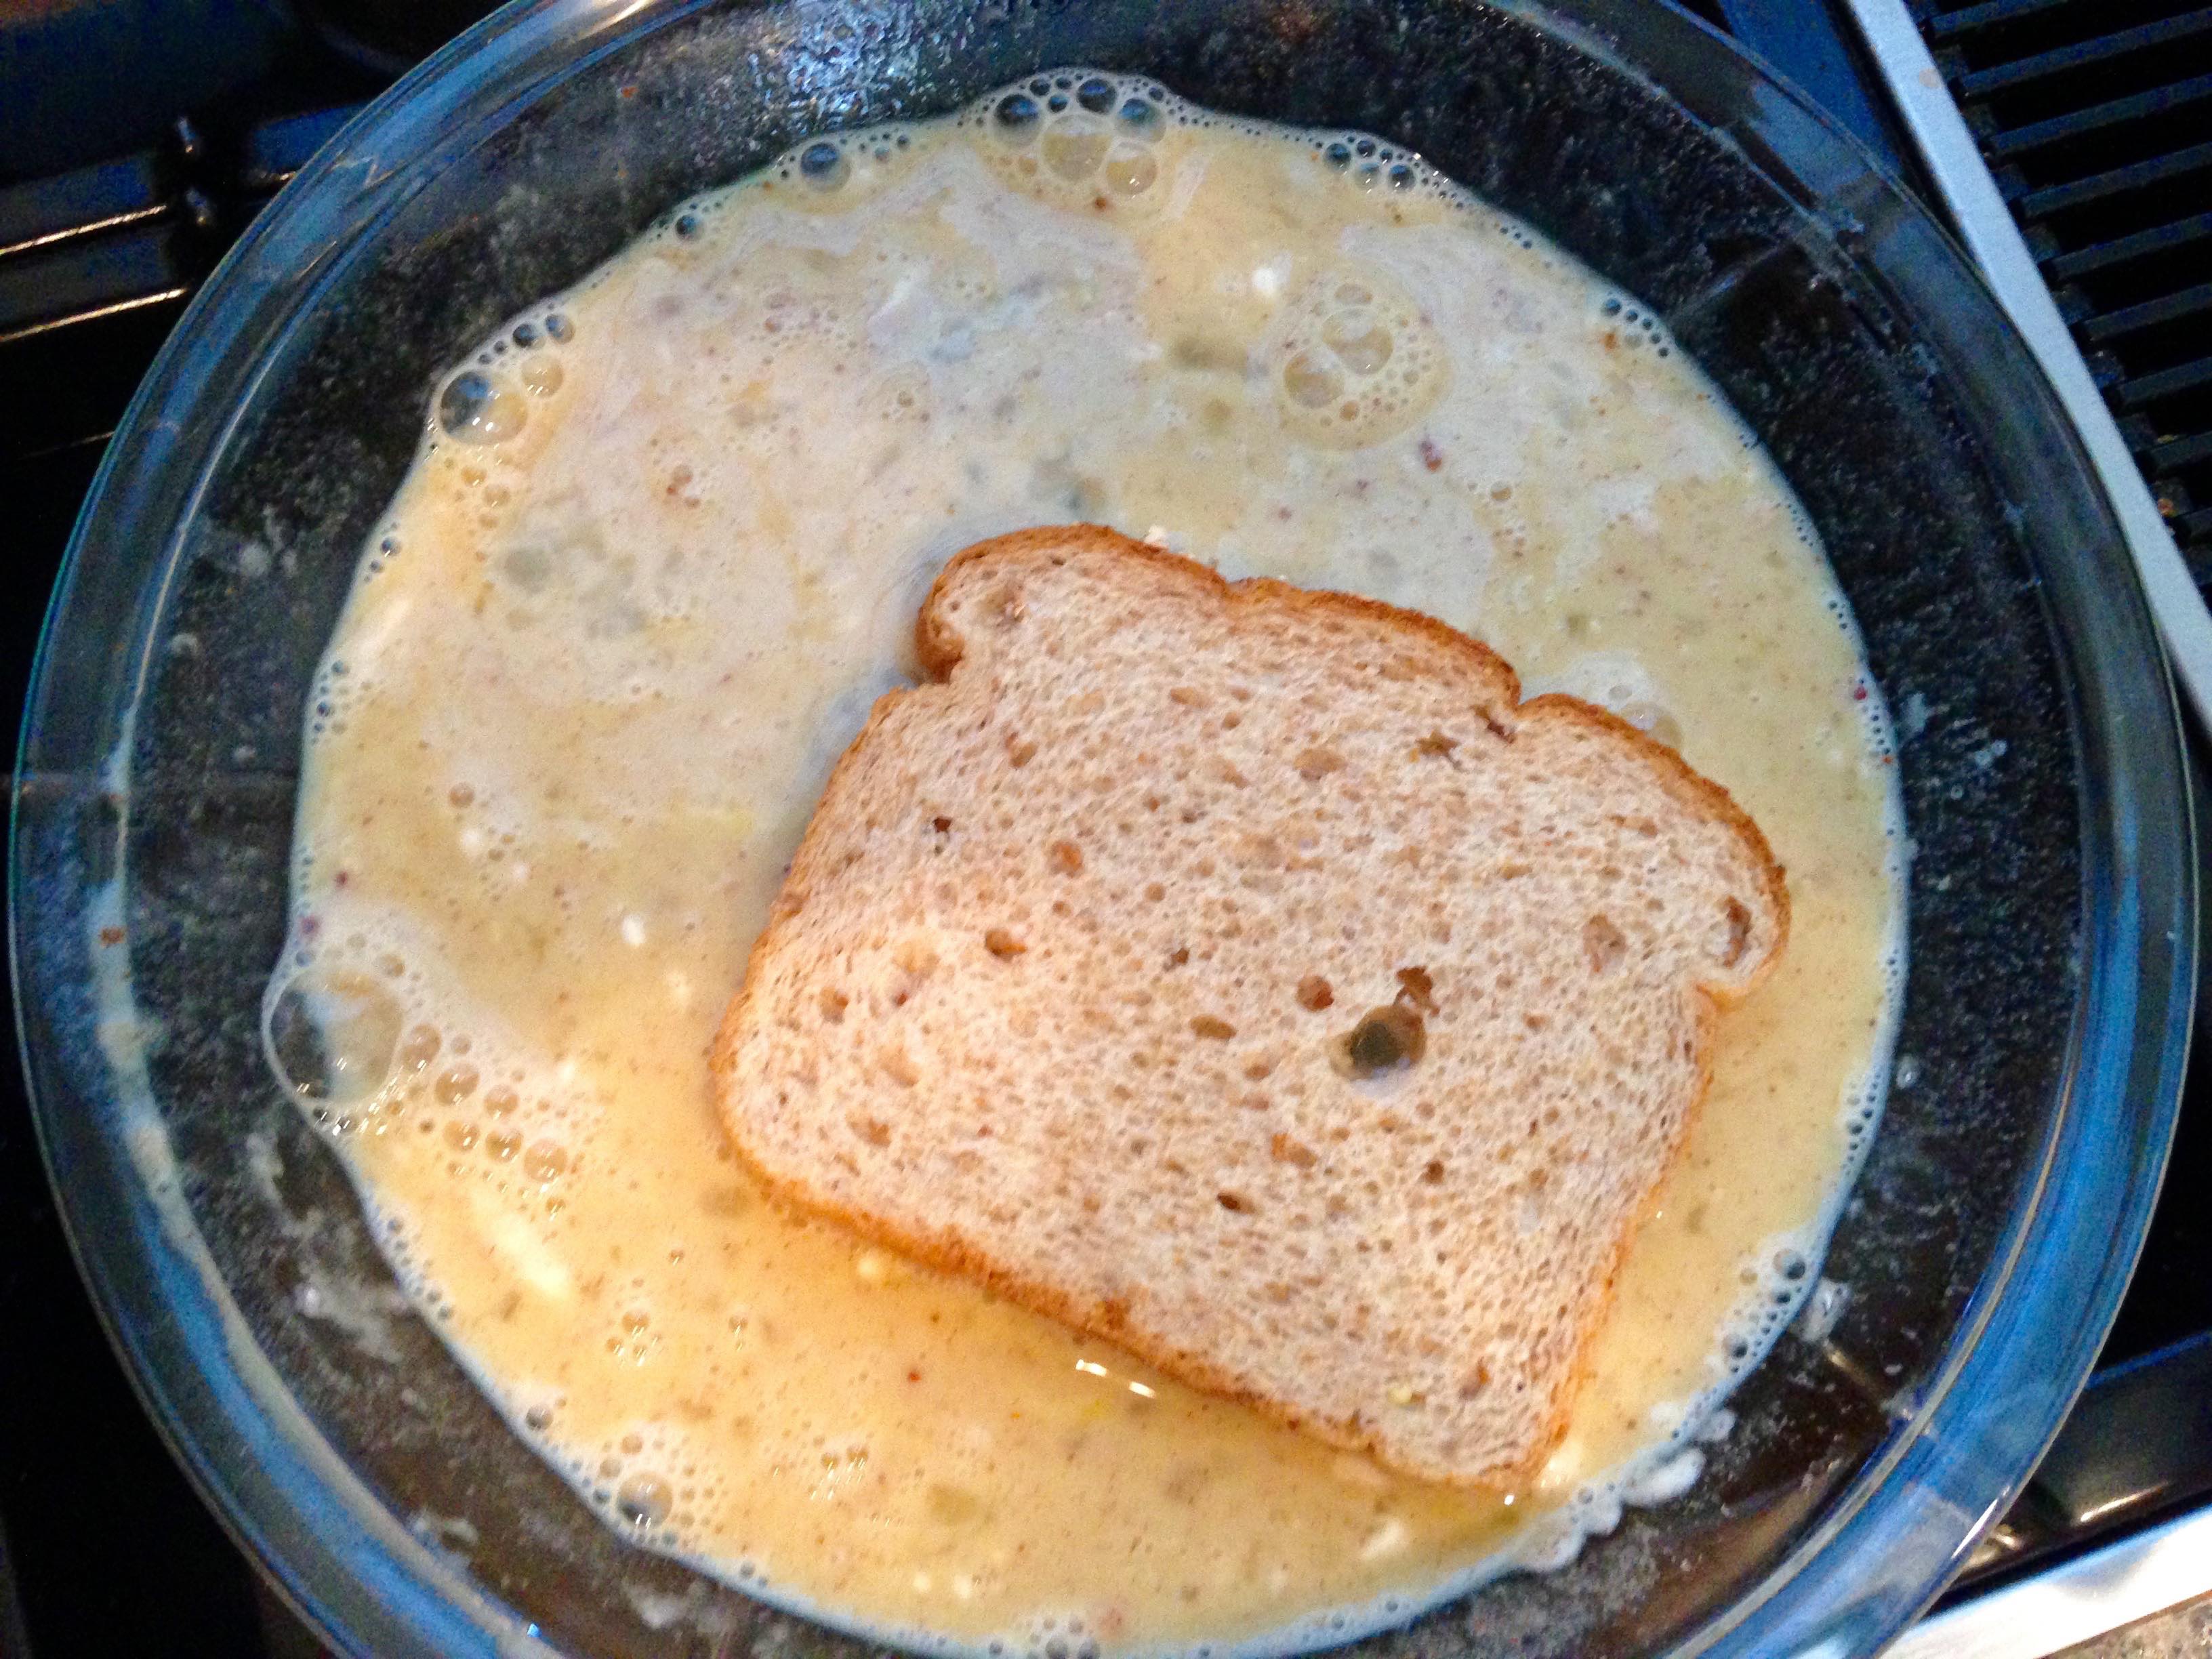
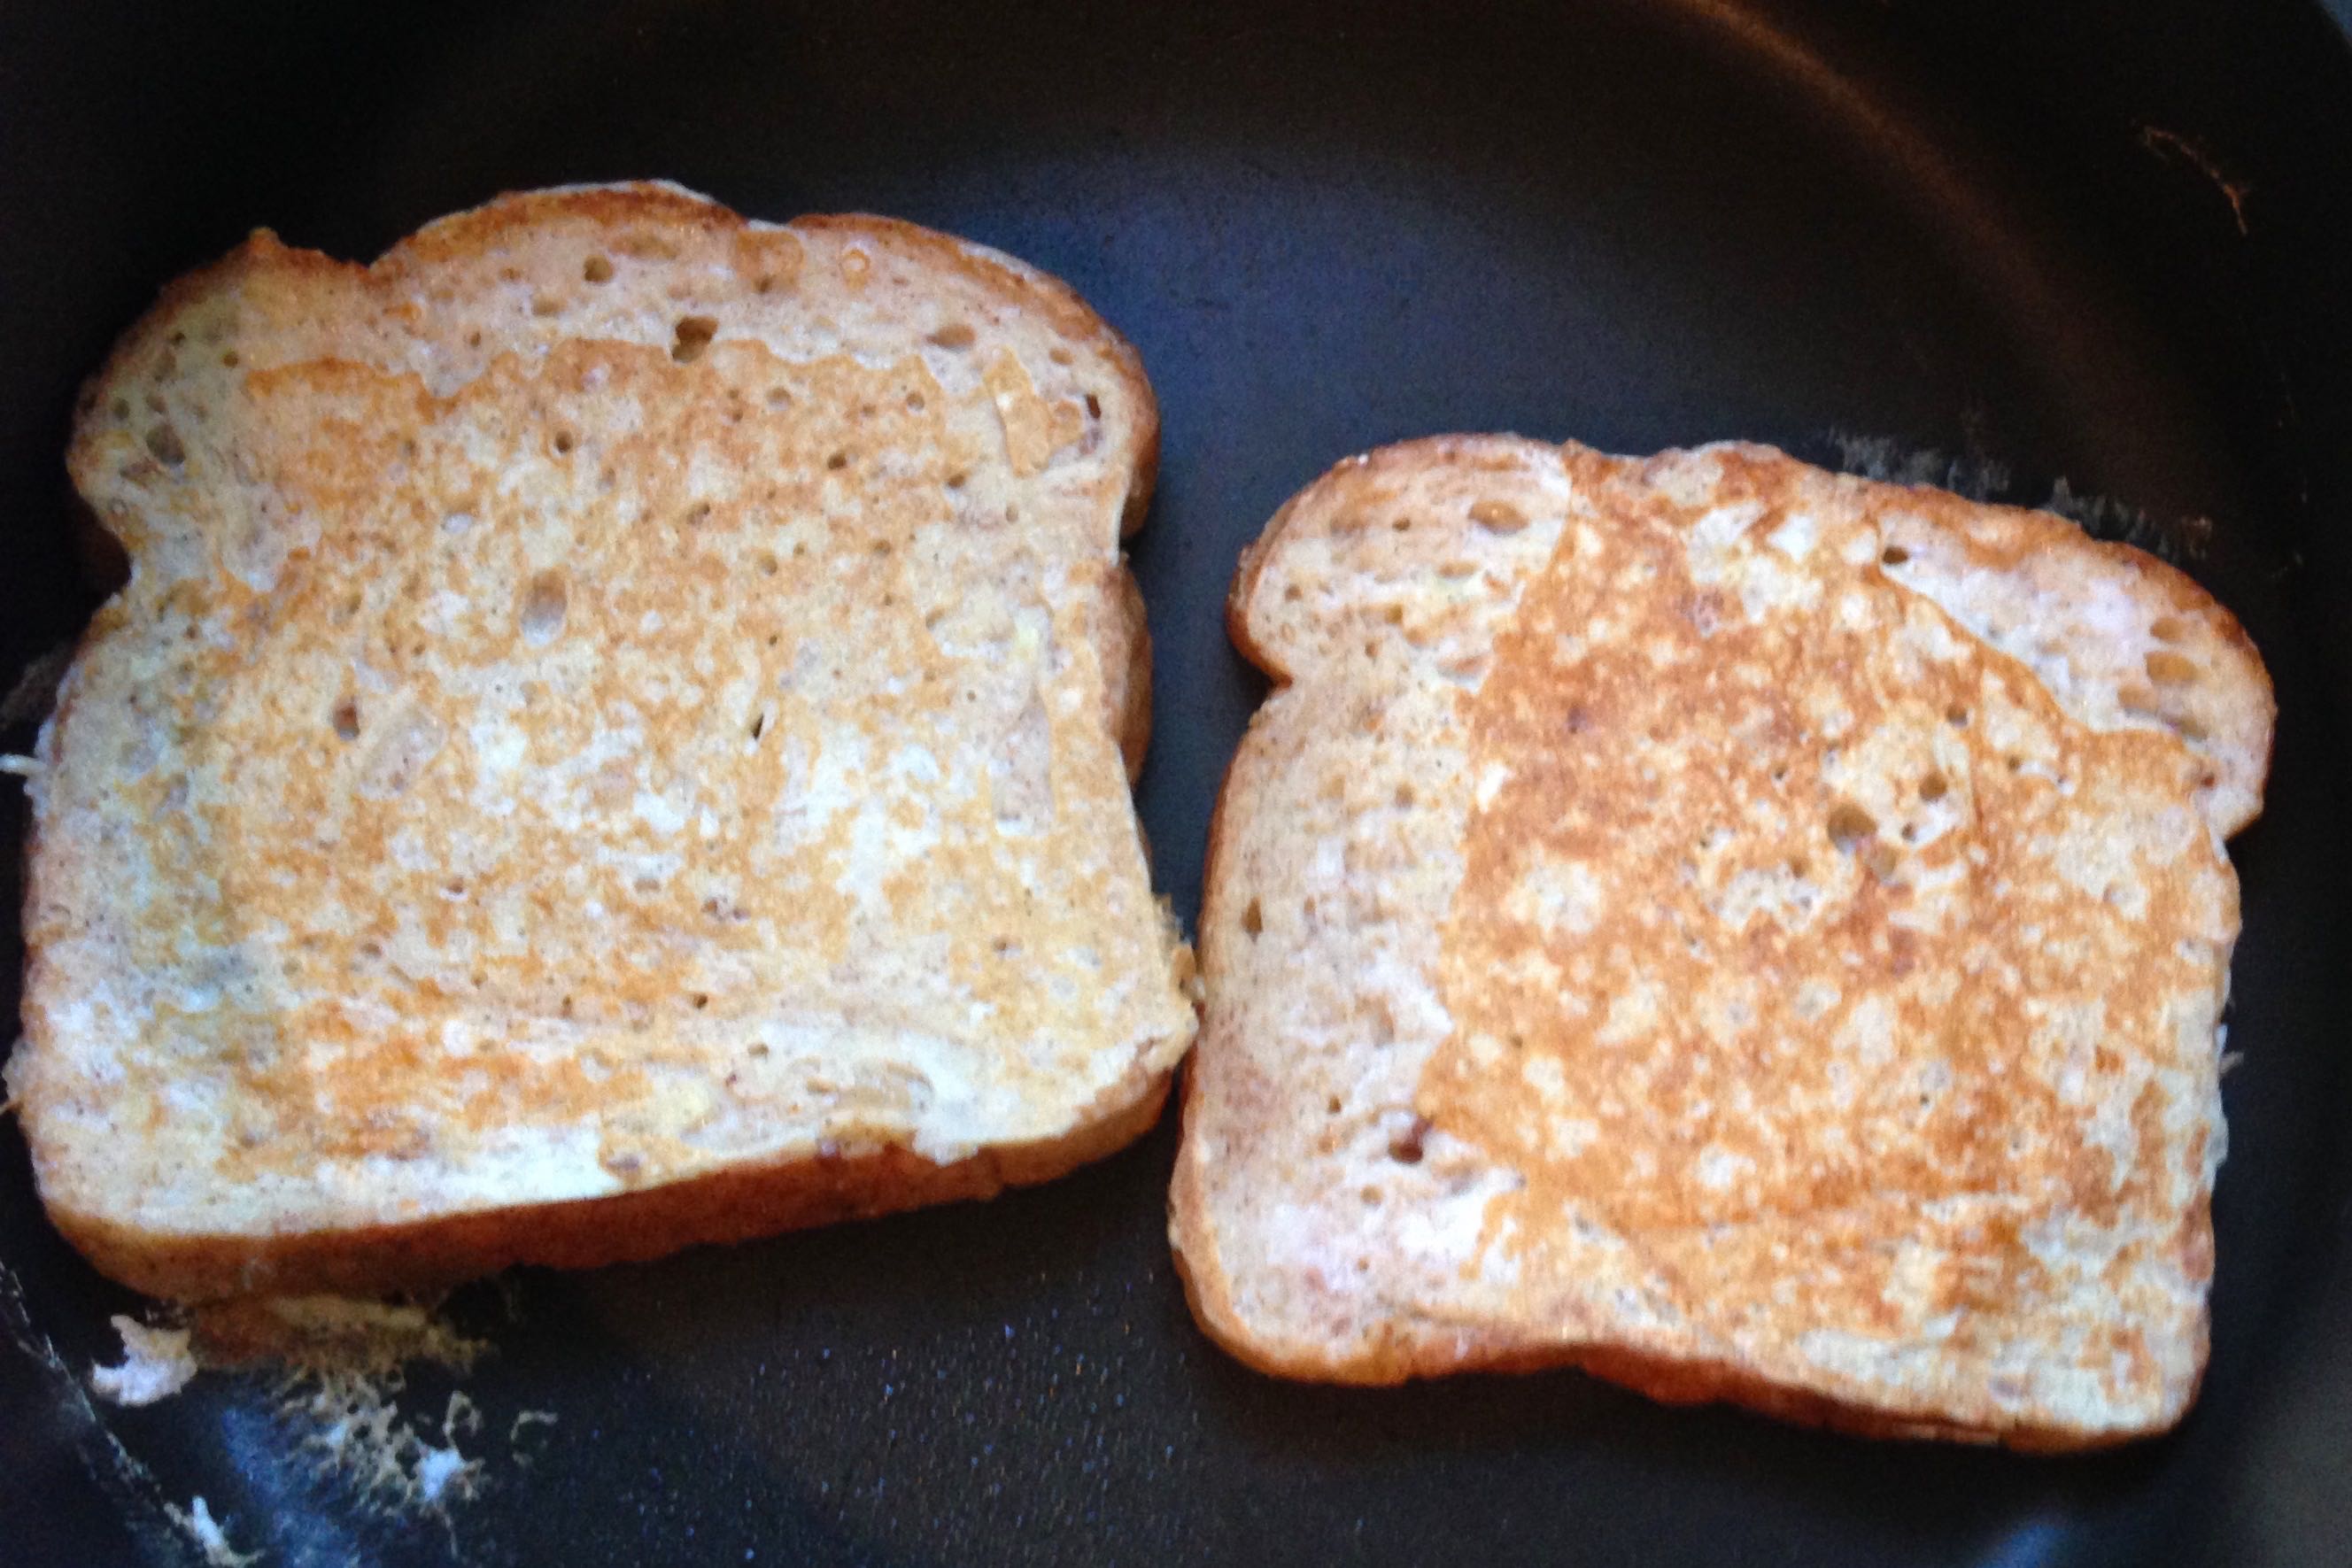
Whisk together eggs, milk, flour, sugar, cinnamon and vanilla.Dip both sides of the bread in the egg mixture.
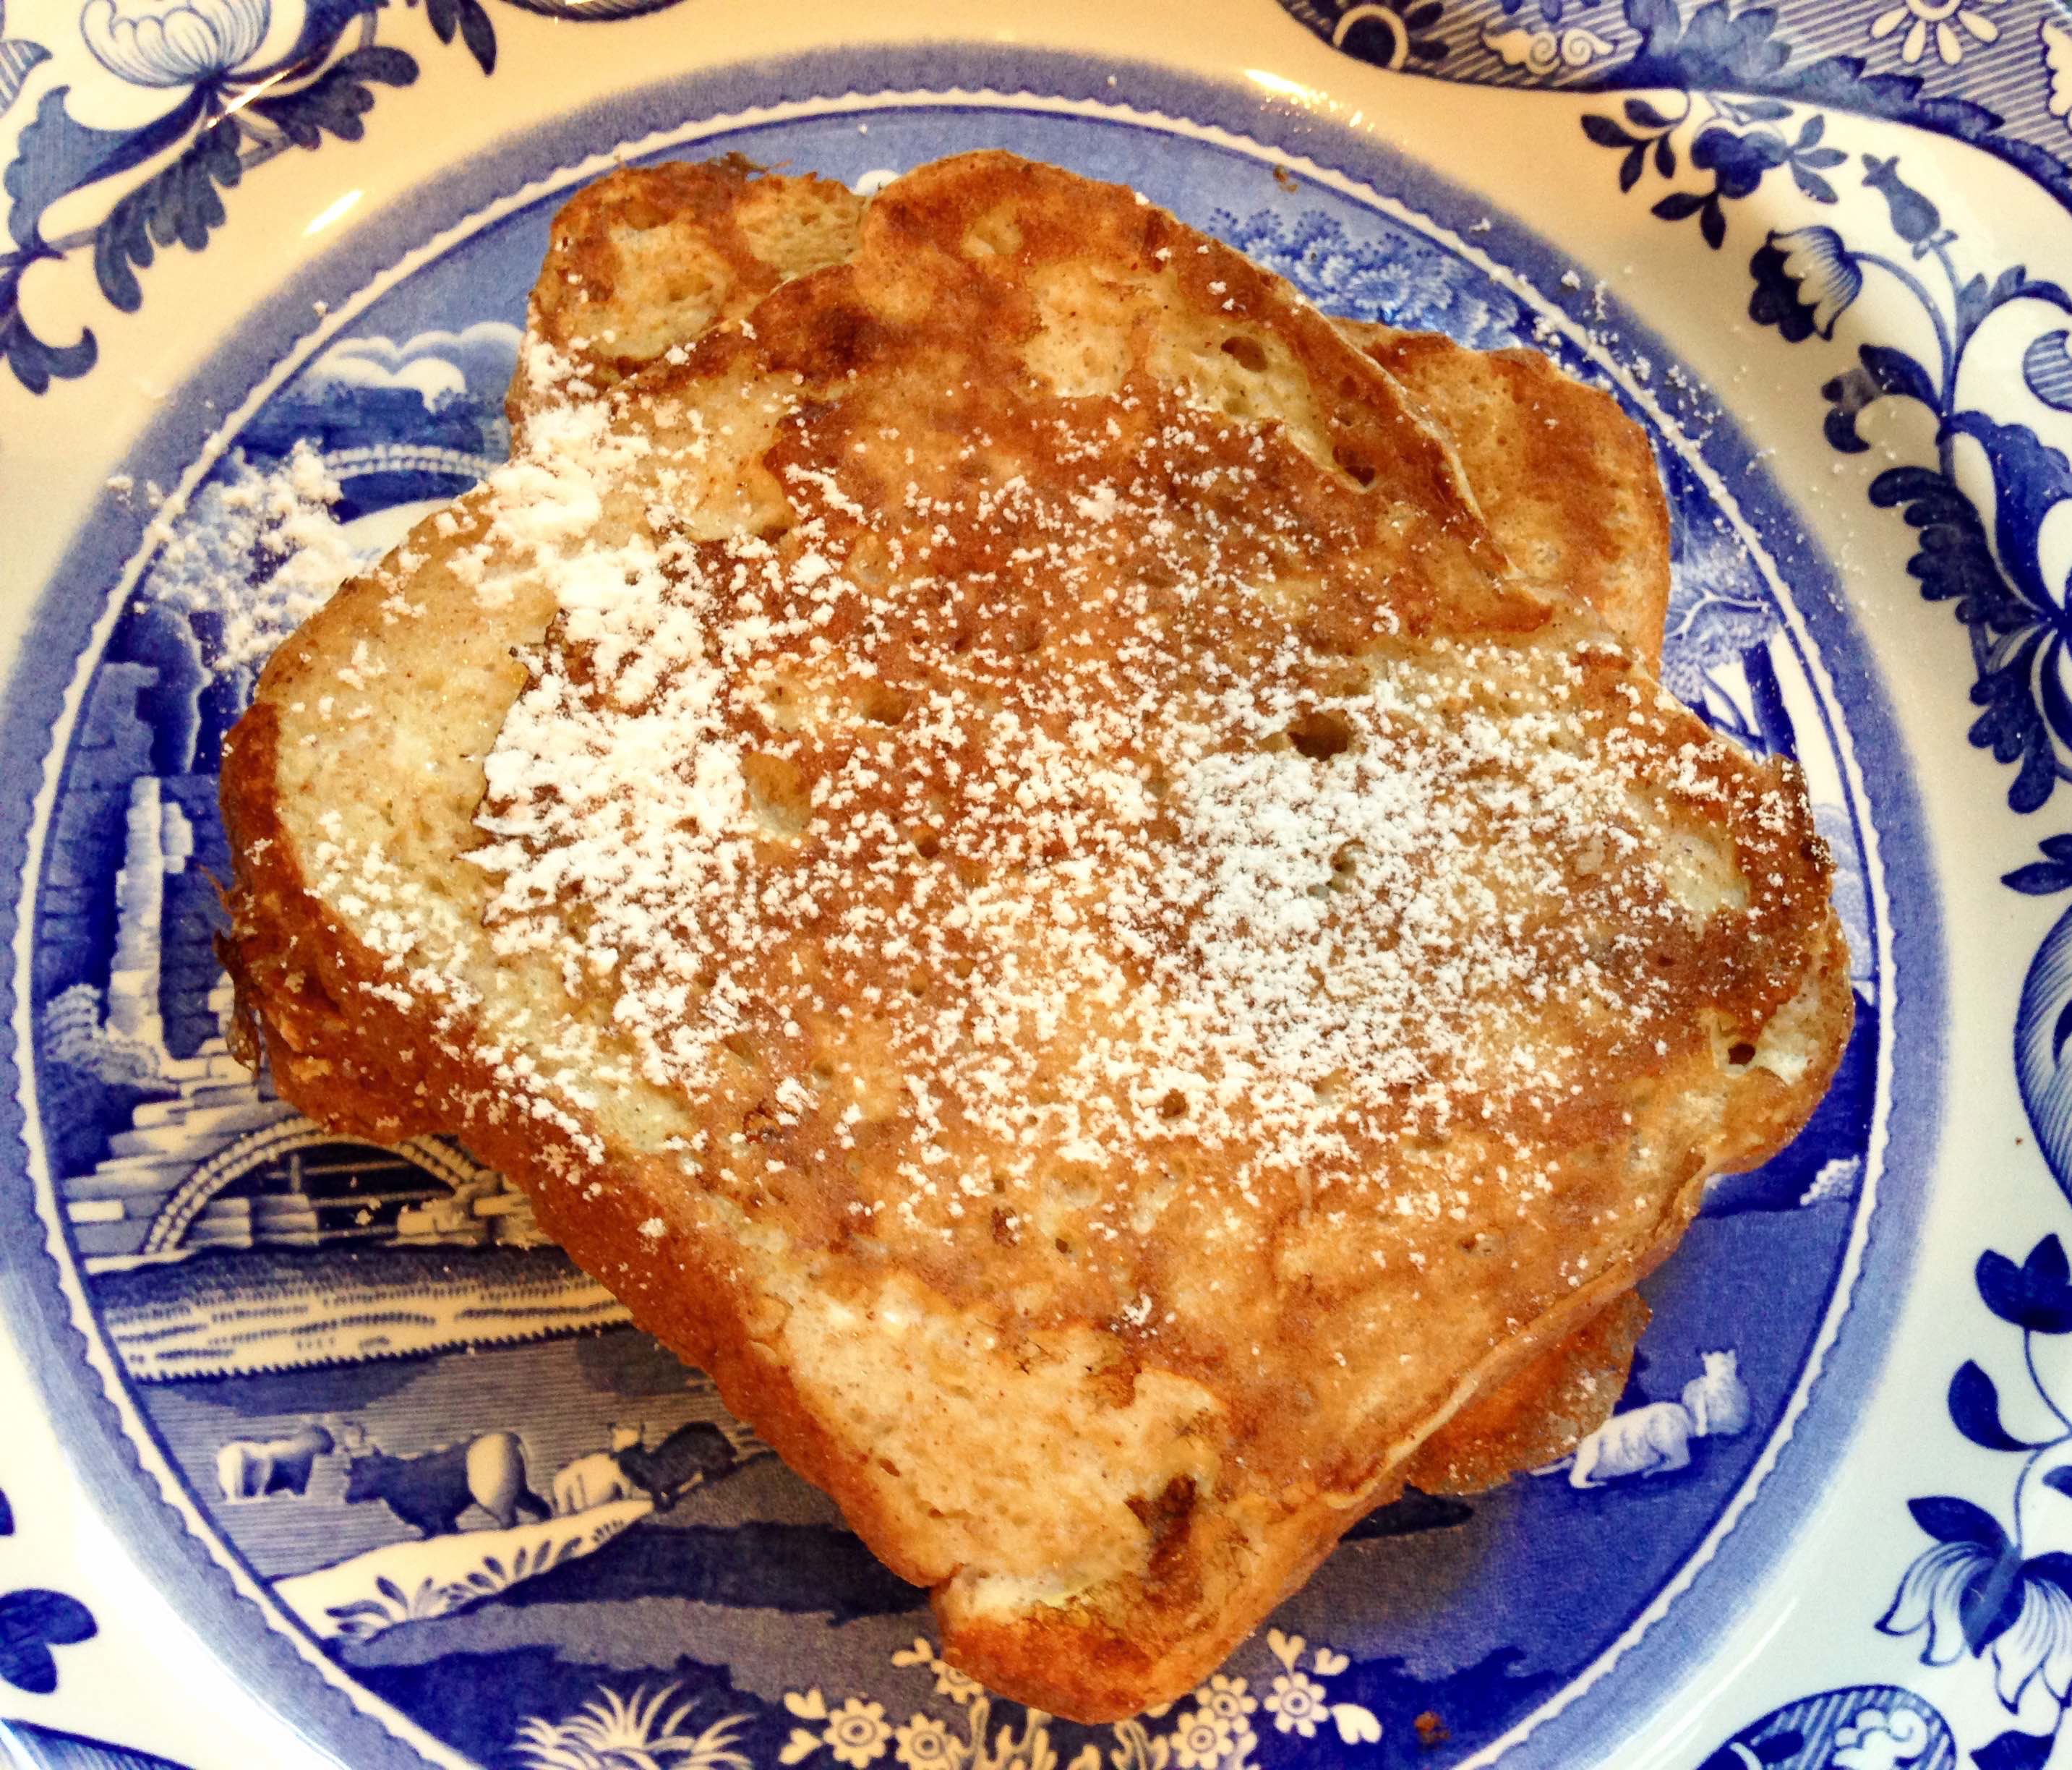
In a skillet or griddle set over medium heat, cook the french toast on both sides until it is golden brown.Dust with powdered sugar.Don’t forget the maple syrup and fresh fruit!
Mmmmm. Sooo good! I seriously may eat this for breakfast every day of the week, especially if Harper has a vote.
She absolutely loved it. I think we all get in a rut of eating the same foods over and over, and both Harper and I enjoyed a delicious change.
At her age, I still chop up her foods in pea-sized bites, but she was so excited, she reached across and grabbed a slice and stuffed it in her mouth! I had to pull it out because she looked like she was attempting the chubby bunny (stuffing as many marshmallows as you can in your mouth!) haha.
Love that little french toast, blackberry-covered face!
Enjoy!
Classic French Toast
Prep time:
Cook time:
Total time:
Serves: 4
Source: Tastes Better from Scratch blog
Ingredients
4 eggs
2/3 cup milk
1/4 cup flour
1/4 cup granulated sugar
1/4 tsp. salt
3/4 tsp. cinnamon
1 tsp. vanilla
8 thick slices of bread
Instructions
Preheat griddle or skillet over medium heat. Grease well with butter or nonstick spray.
Add all ingredients, except the bread, to a shallow dish and whisk well to combine. Dip bread slices into the egg mixture, coating both sides, and place on the hot griddle.
Cook for a few minutes on both sides, until golden brown.
Serve warm, sprinkled with powdered sugar, pure maple syrup, and fresh fruit if desired.
Happy Sunday! I don’t know about you, but I love brunch/breakfast food. I could eat breakfast for breakfast, lunch, AND dinner. lol. In addition to “brunch”, we should also label it as “brinner” (breakfast/dinner).
Oatmeal, eggs, bacon, sausage, fruit, toast, omelettes, english muffins, pancakes, waffles, blueberry muffins, scones…. the list of breakfast foods I love can go on and on.
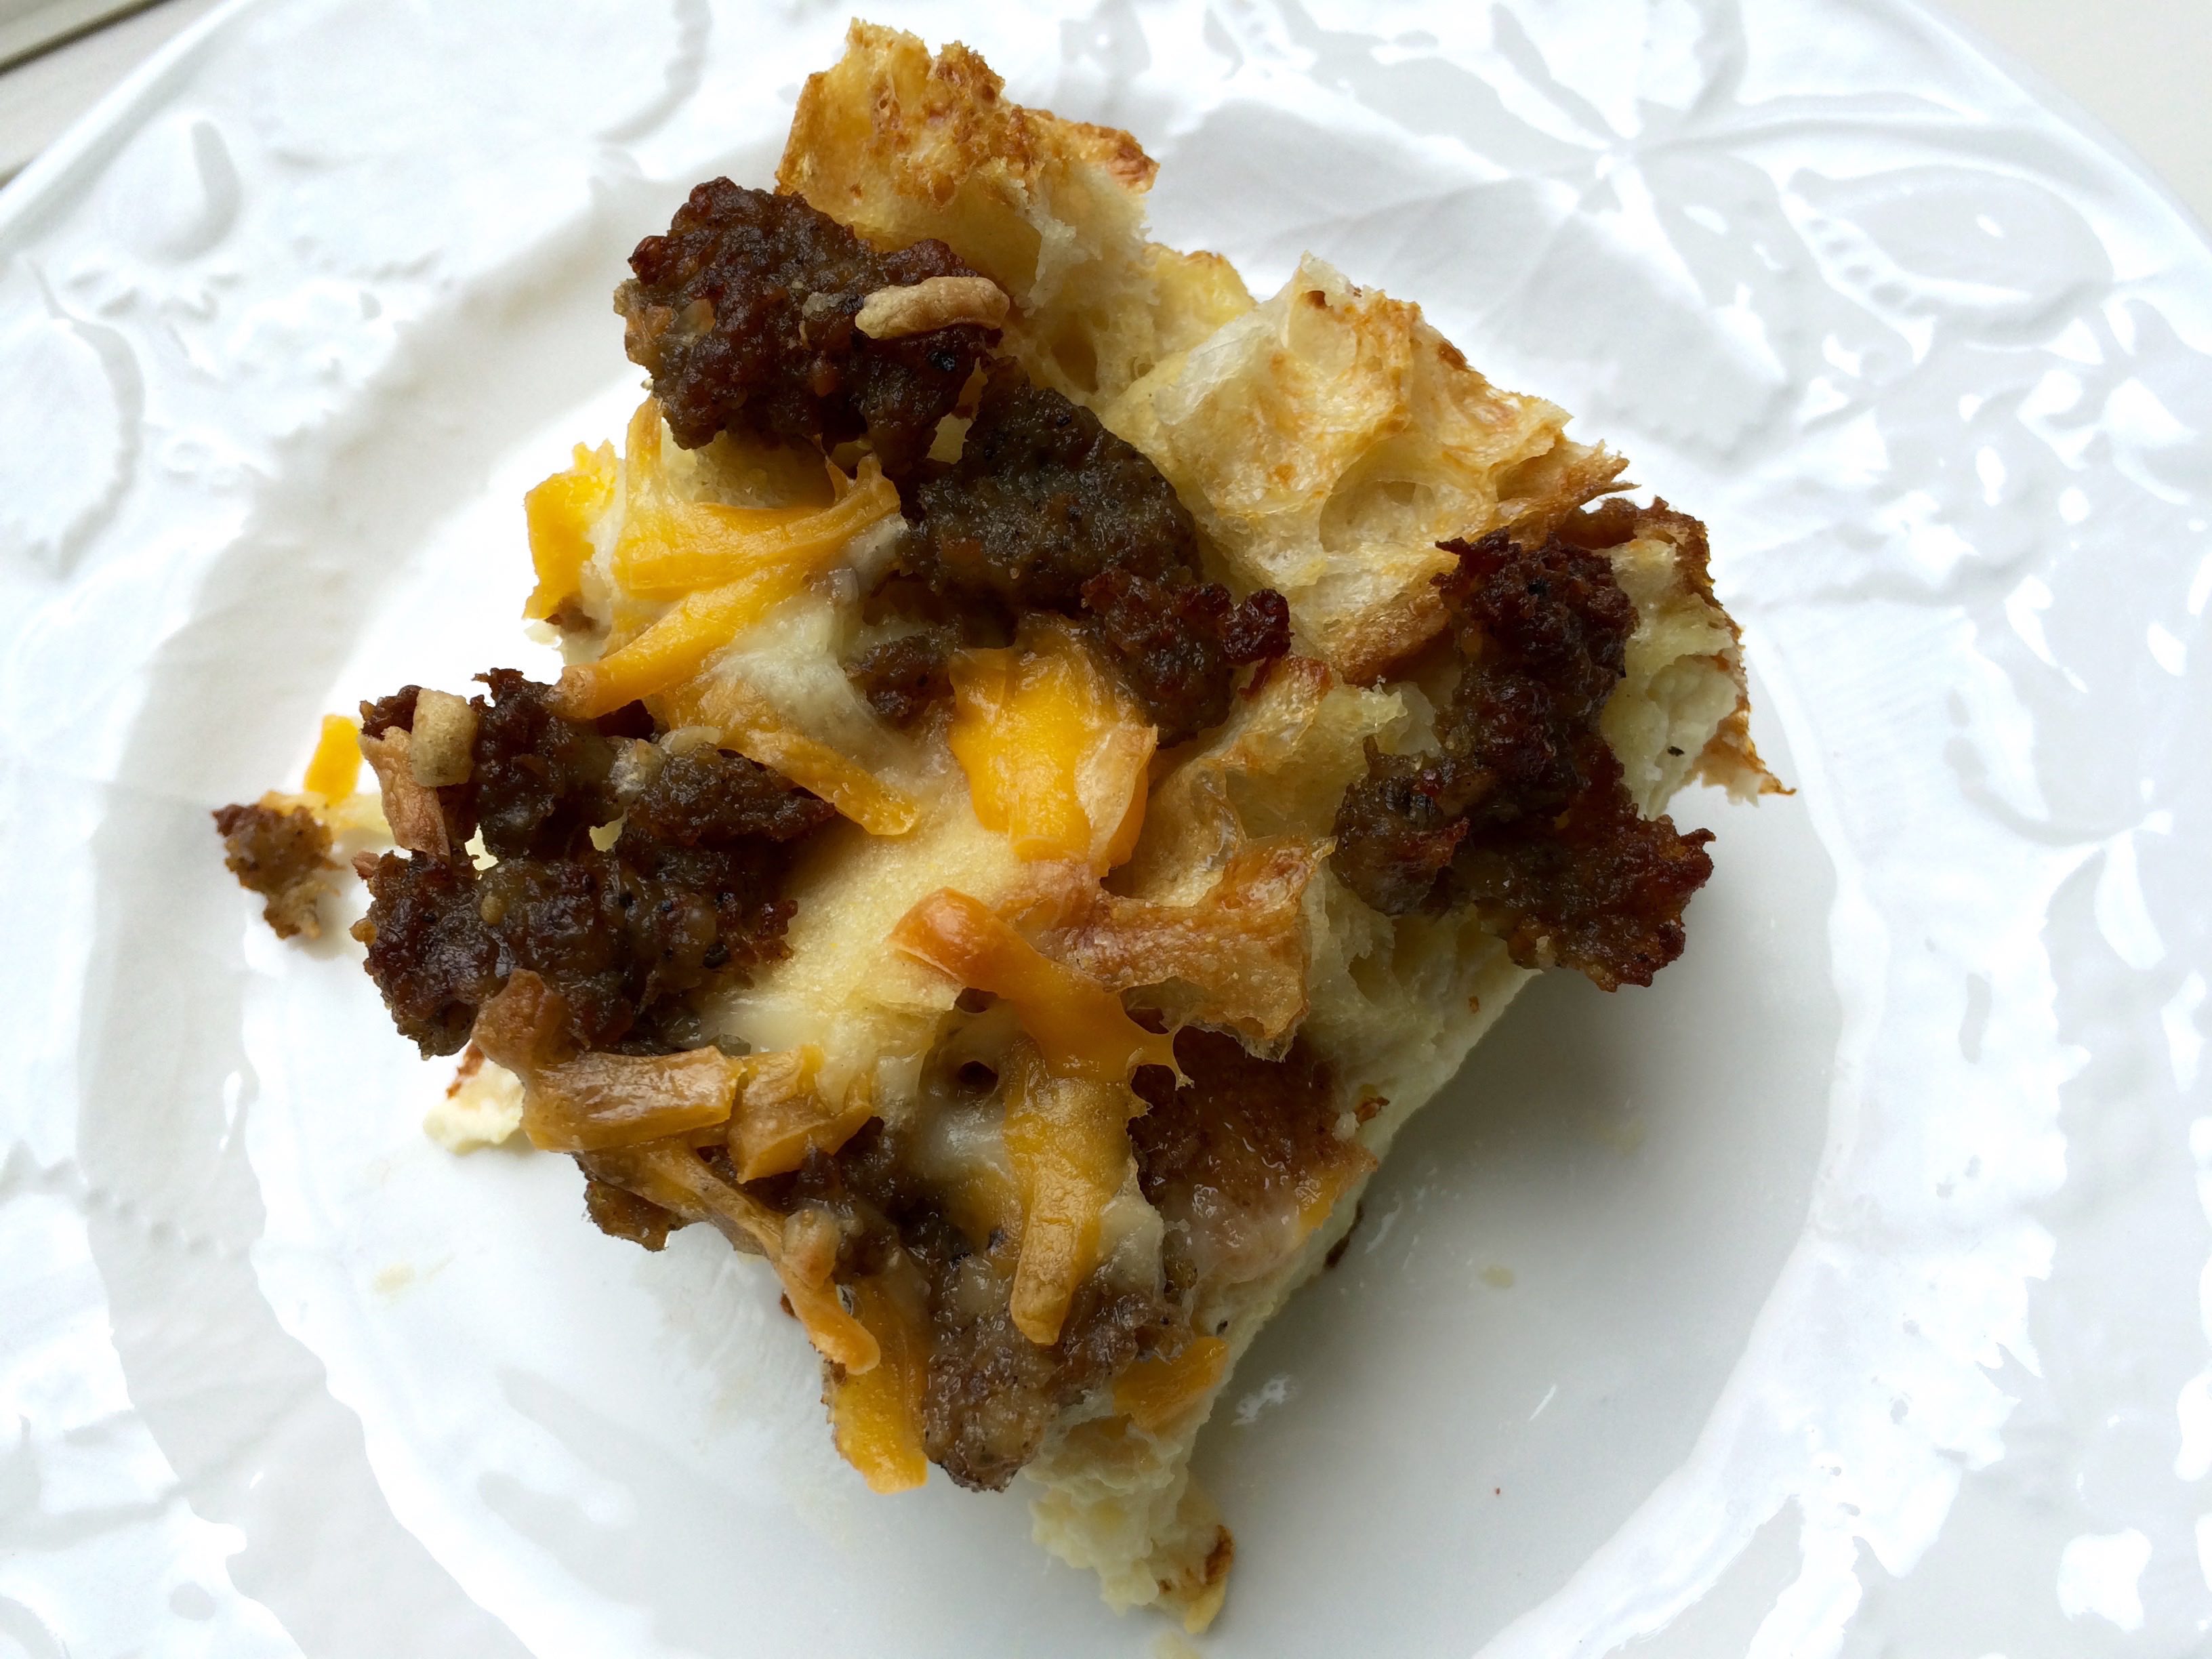
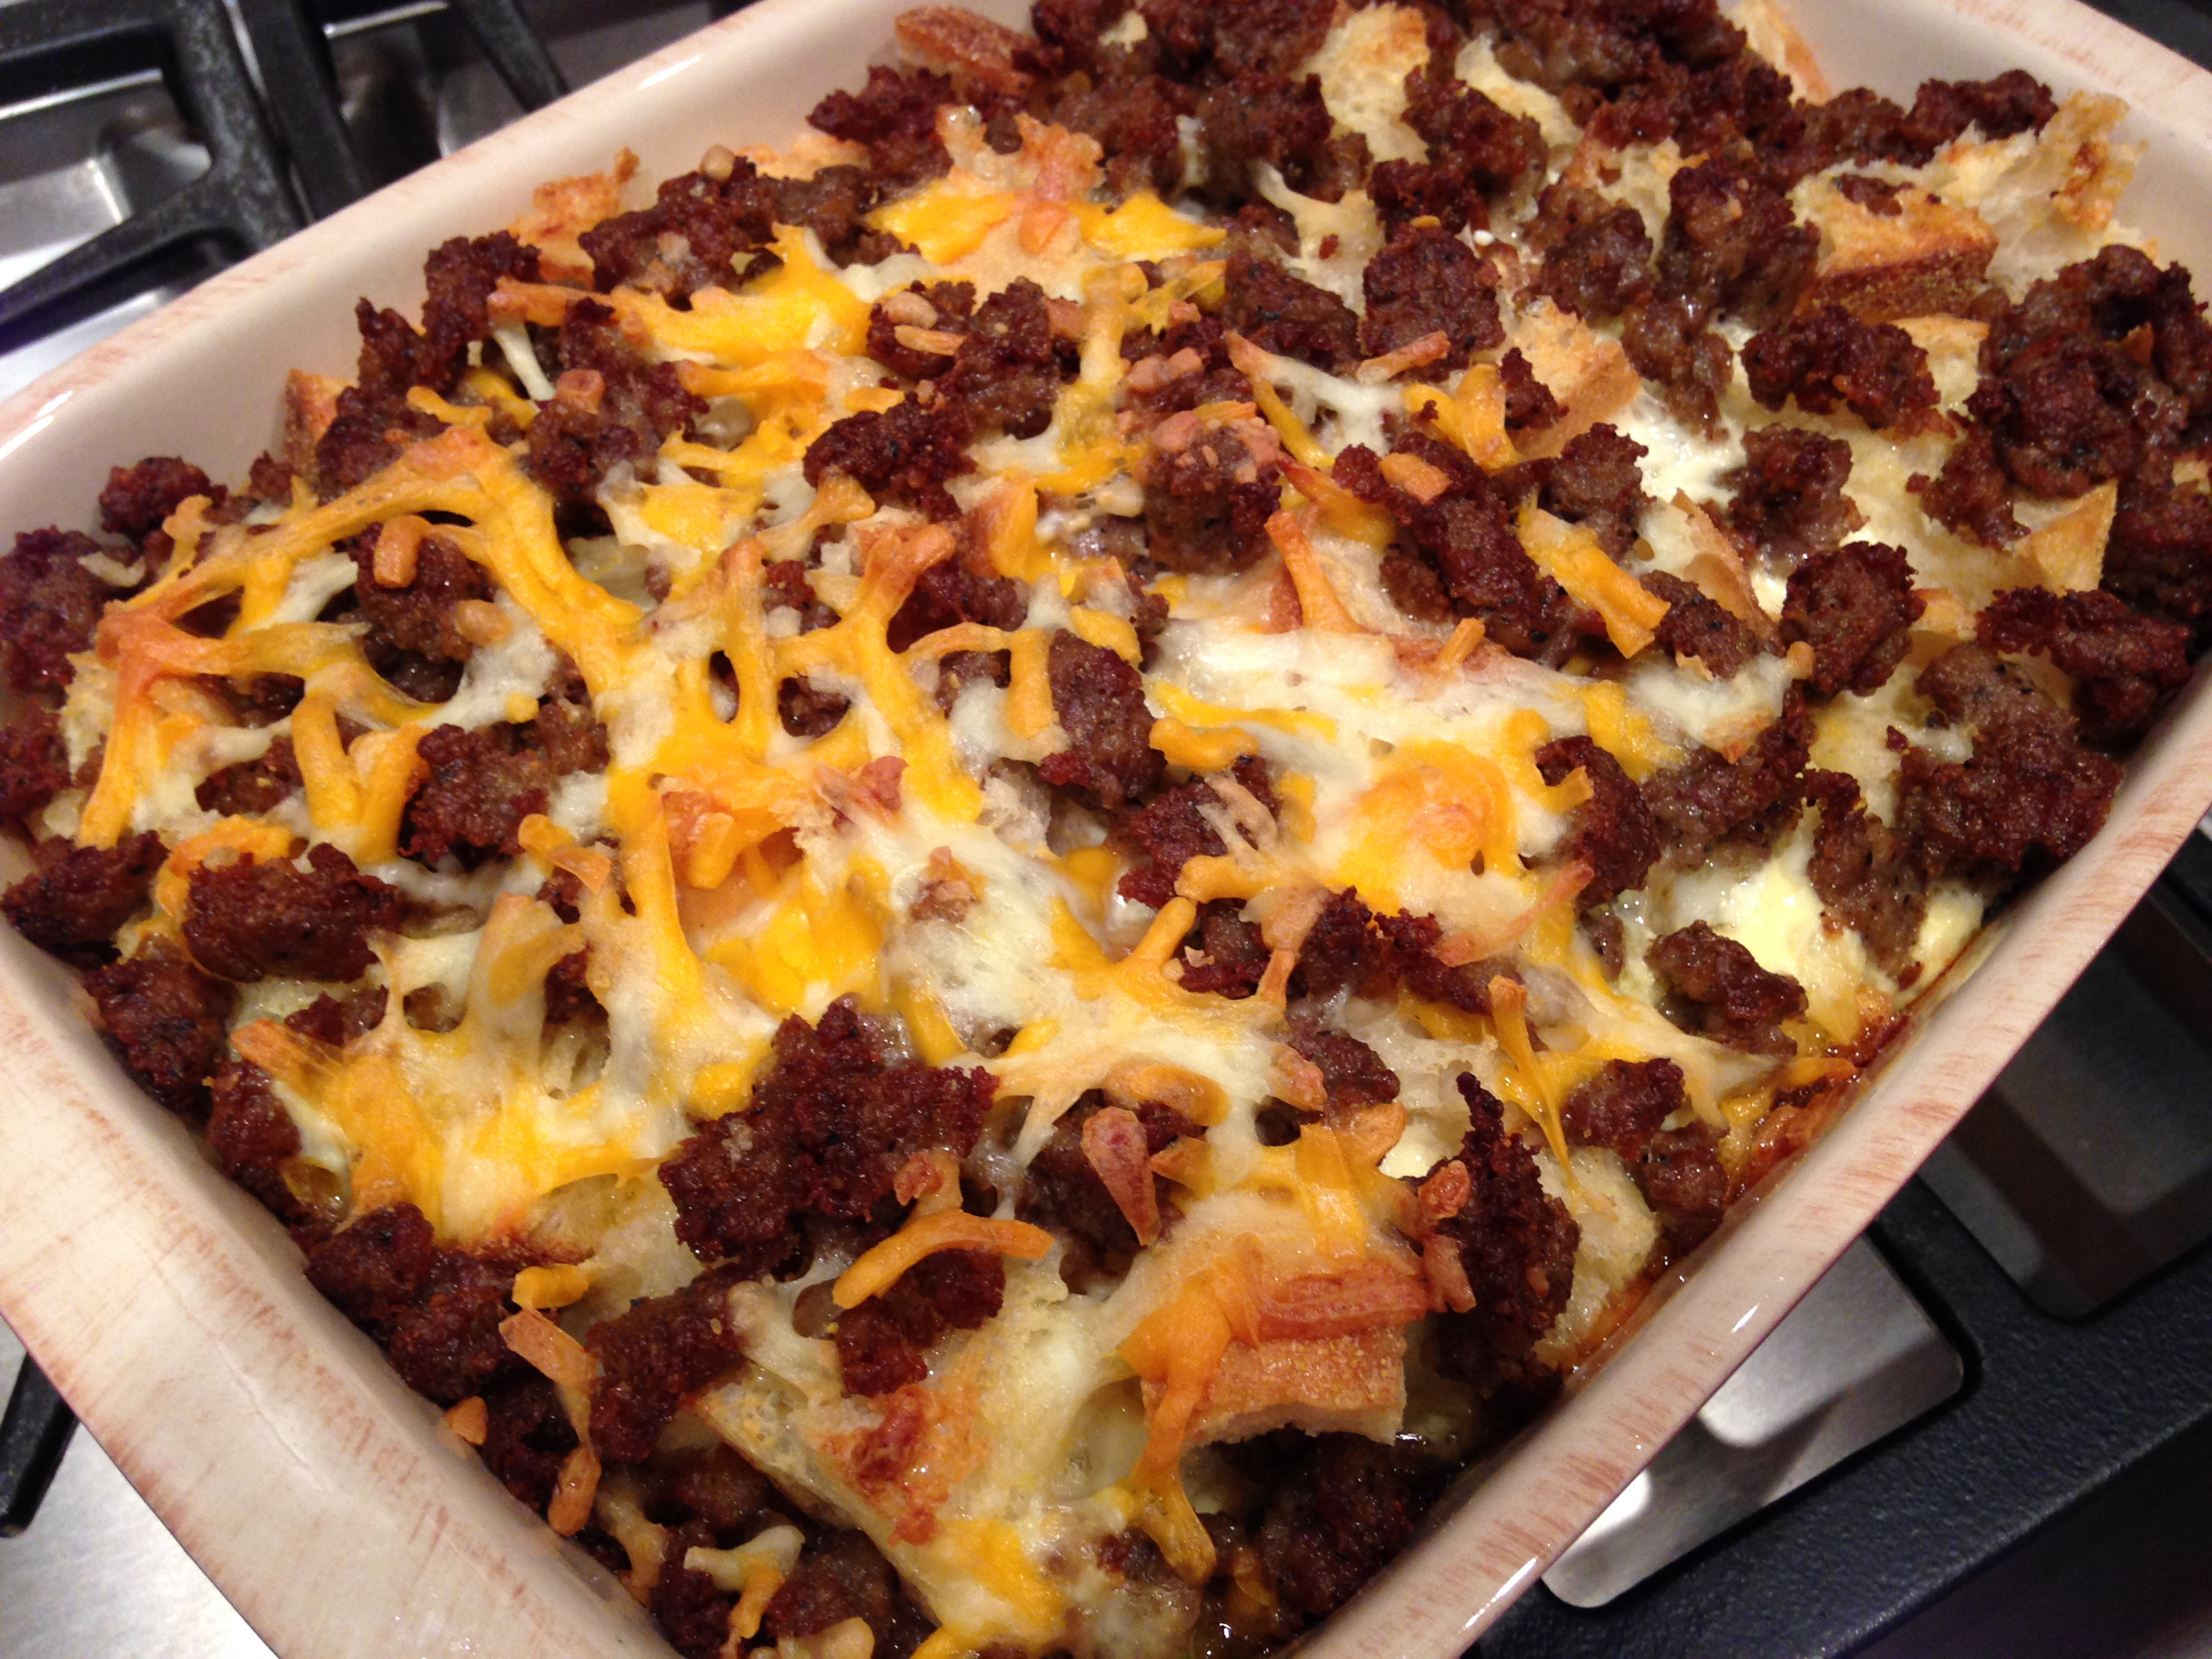
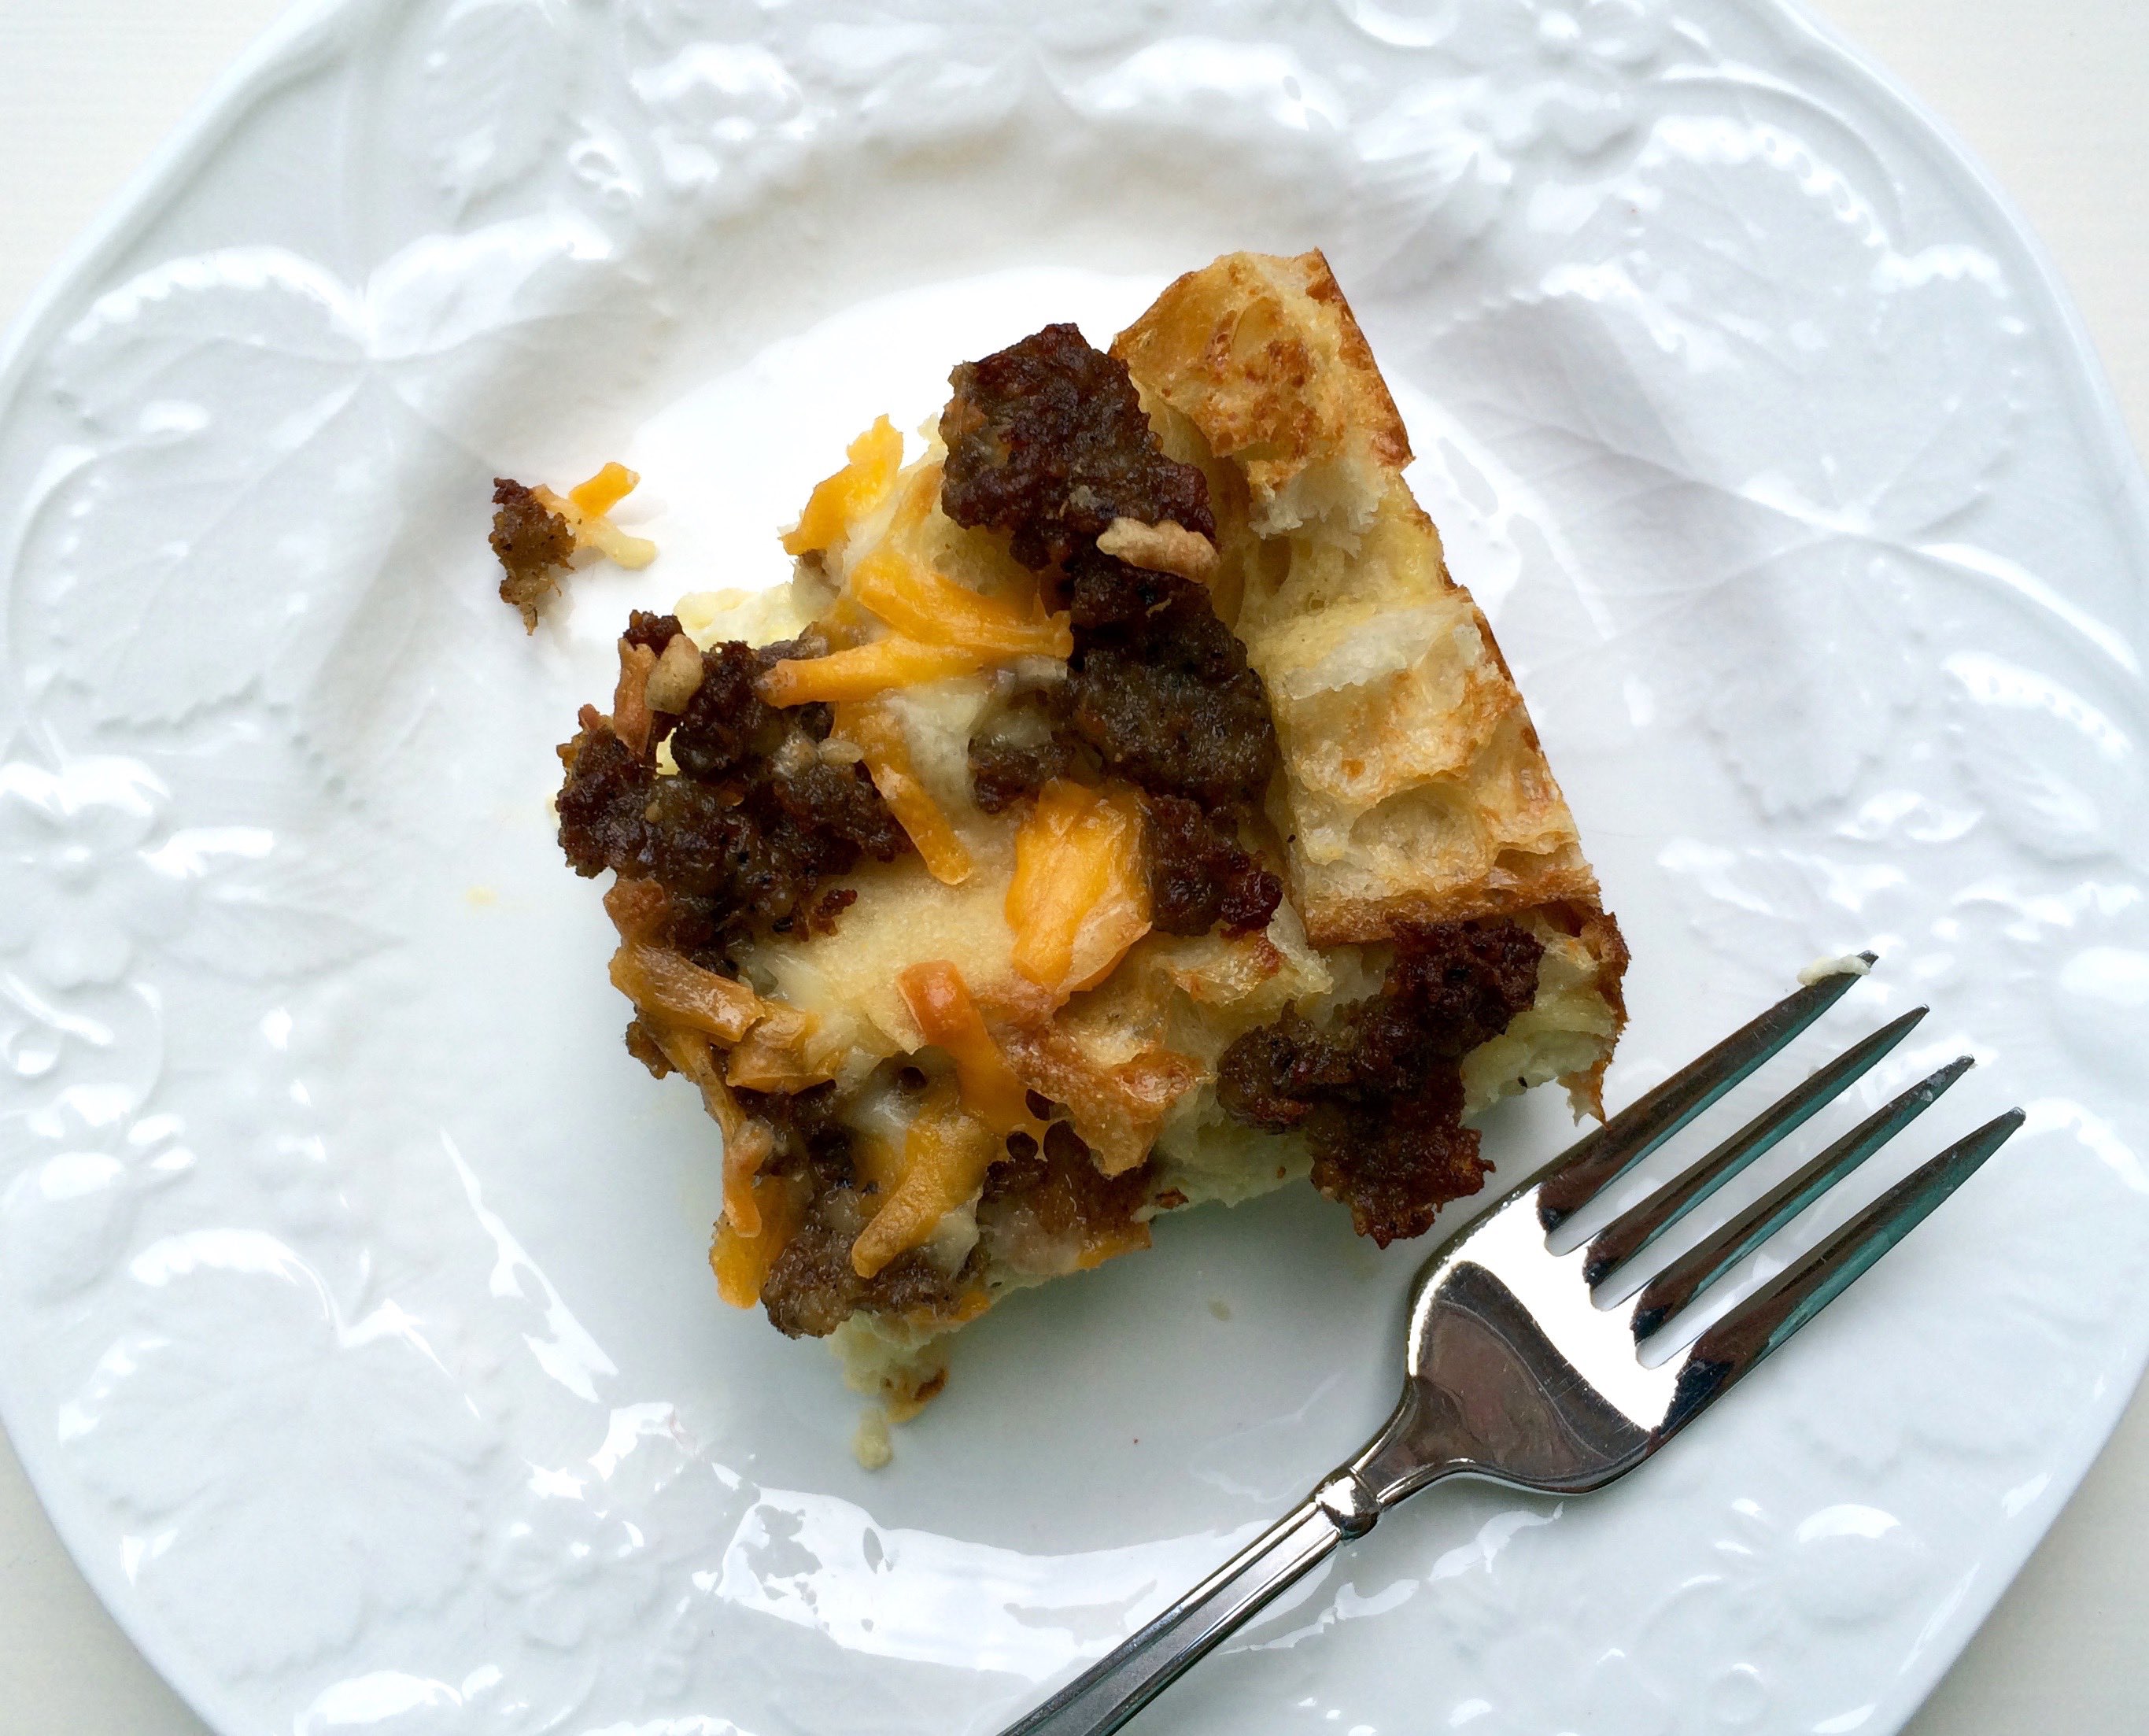
Today my parents had us over for brunch after church. My mom made this sausage breakfast casserole the night before and simply put it in the oven as soon as we got home from service.
This is probably the best breakfast casserole I’ve had lately. The cubed french bread was soft in the middle yet crisp on the edges. The egg-custard mixture had wonderful flavor from the dry mustard and onion powder, and the sausage and cheese combination is a classic that can’t be beat. Yum!
Church must have really tired Harper out this morning, because she could barely make it awake through our brunch. She eats scrambled eggs for breakfast most mornings, so I’m sure she would have loved this casserole too; she just was too tired to eat. 😦
Harper is now 10 months, and is going from 2 to 1 naps a day. The saying is true… as soon as you get in a routine with a baby, they decide to change it up and do something different. Story of our lives for the past 10 months! haha.
Enjoy the rest of your lovely weekend. Can you believe football season is here? There will be lots of Aggie football going on at our house!
Sausage Breakfast Casserole
Prep time:
Cook time:
Total time:
Serves: 6-8
Ingredients
8 (1-inch thick) slices French bread
1 pound cooked sausage
1 cup shredded Monterey Jack and Cheddar cheese
1 1/2 cups milk
3/4 cup half-and-half
1 tsp. Worcestershire sauce
1 tsp. dry mustard
1/2 tsp. onion powder
5 eggs, beaten
salt and pepper to taste
Instructions
Preheat oven to 350 degrees F.
Cut bread into 1-inch cubes, removing crusts if desired. Lightly grease an 8x10x2-inch glass pan.
Place bread cubes in the bottom of the pan. Top with sausage and cheese.
Mix the milk, half-and-half, Worcestershire sauce, dry mustard, onion powder, and eggs together. Pour over the top of the bread mixture. Cover and chill overnight.
Bake, uncovered, for 35-40 minutes, or until done. To check for doneness, insert a knife in the center of the casserole. It should come out clean. Serve hot.
Let me first preface this post by saying that not everyone will like this lasagna. If you grew up like my husband and his family with down-home, butter-filled cooking, you definitely won’t like this healthy turkey lasagna, because for starters it has turkey instead of ground beef.
Meat and potatoes people, you can just skip this post, and instead visit my one for traditional lasagna (also called The World’s Best Lasagna) here.
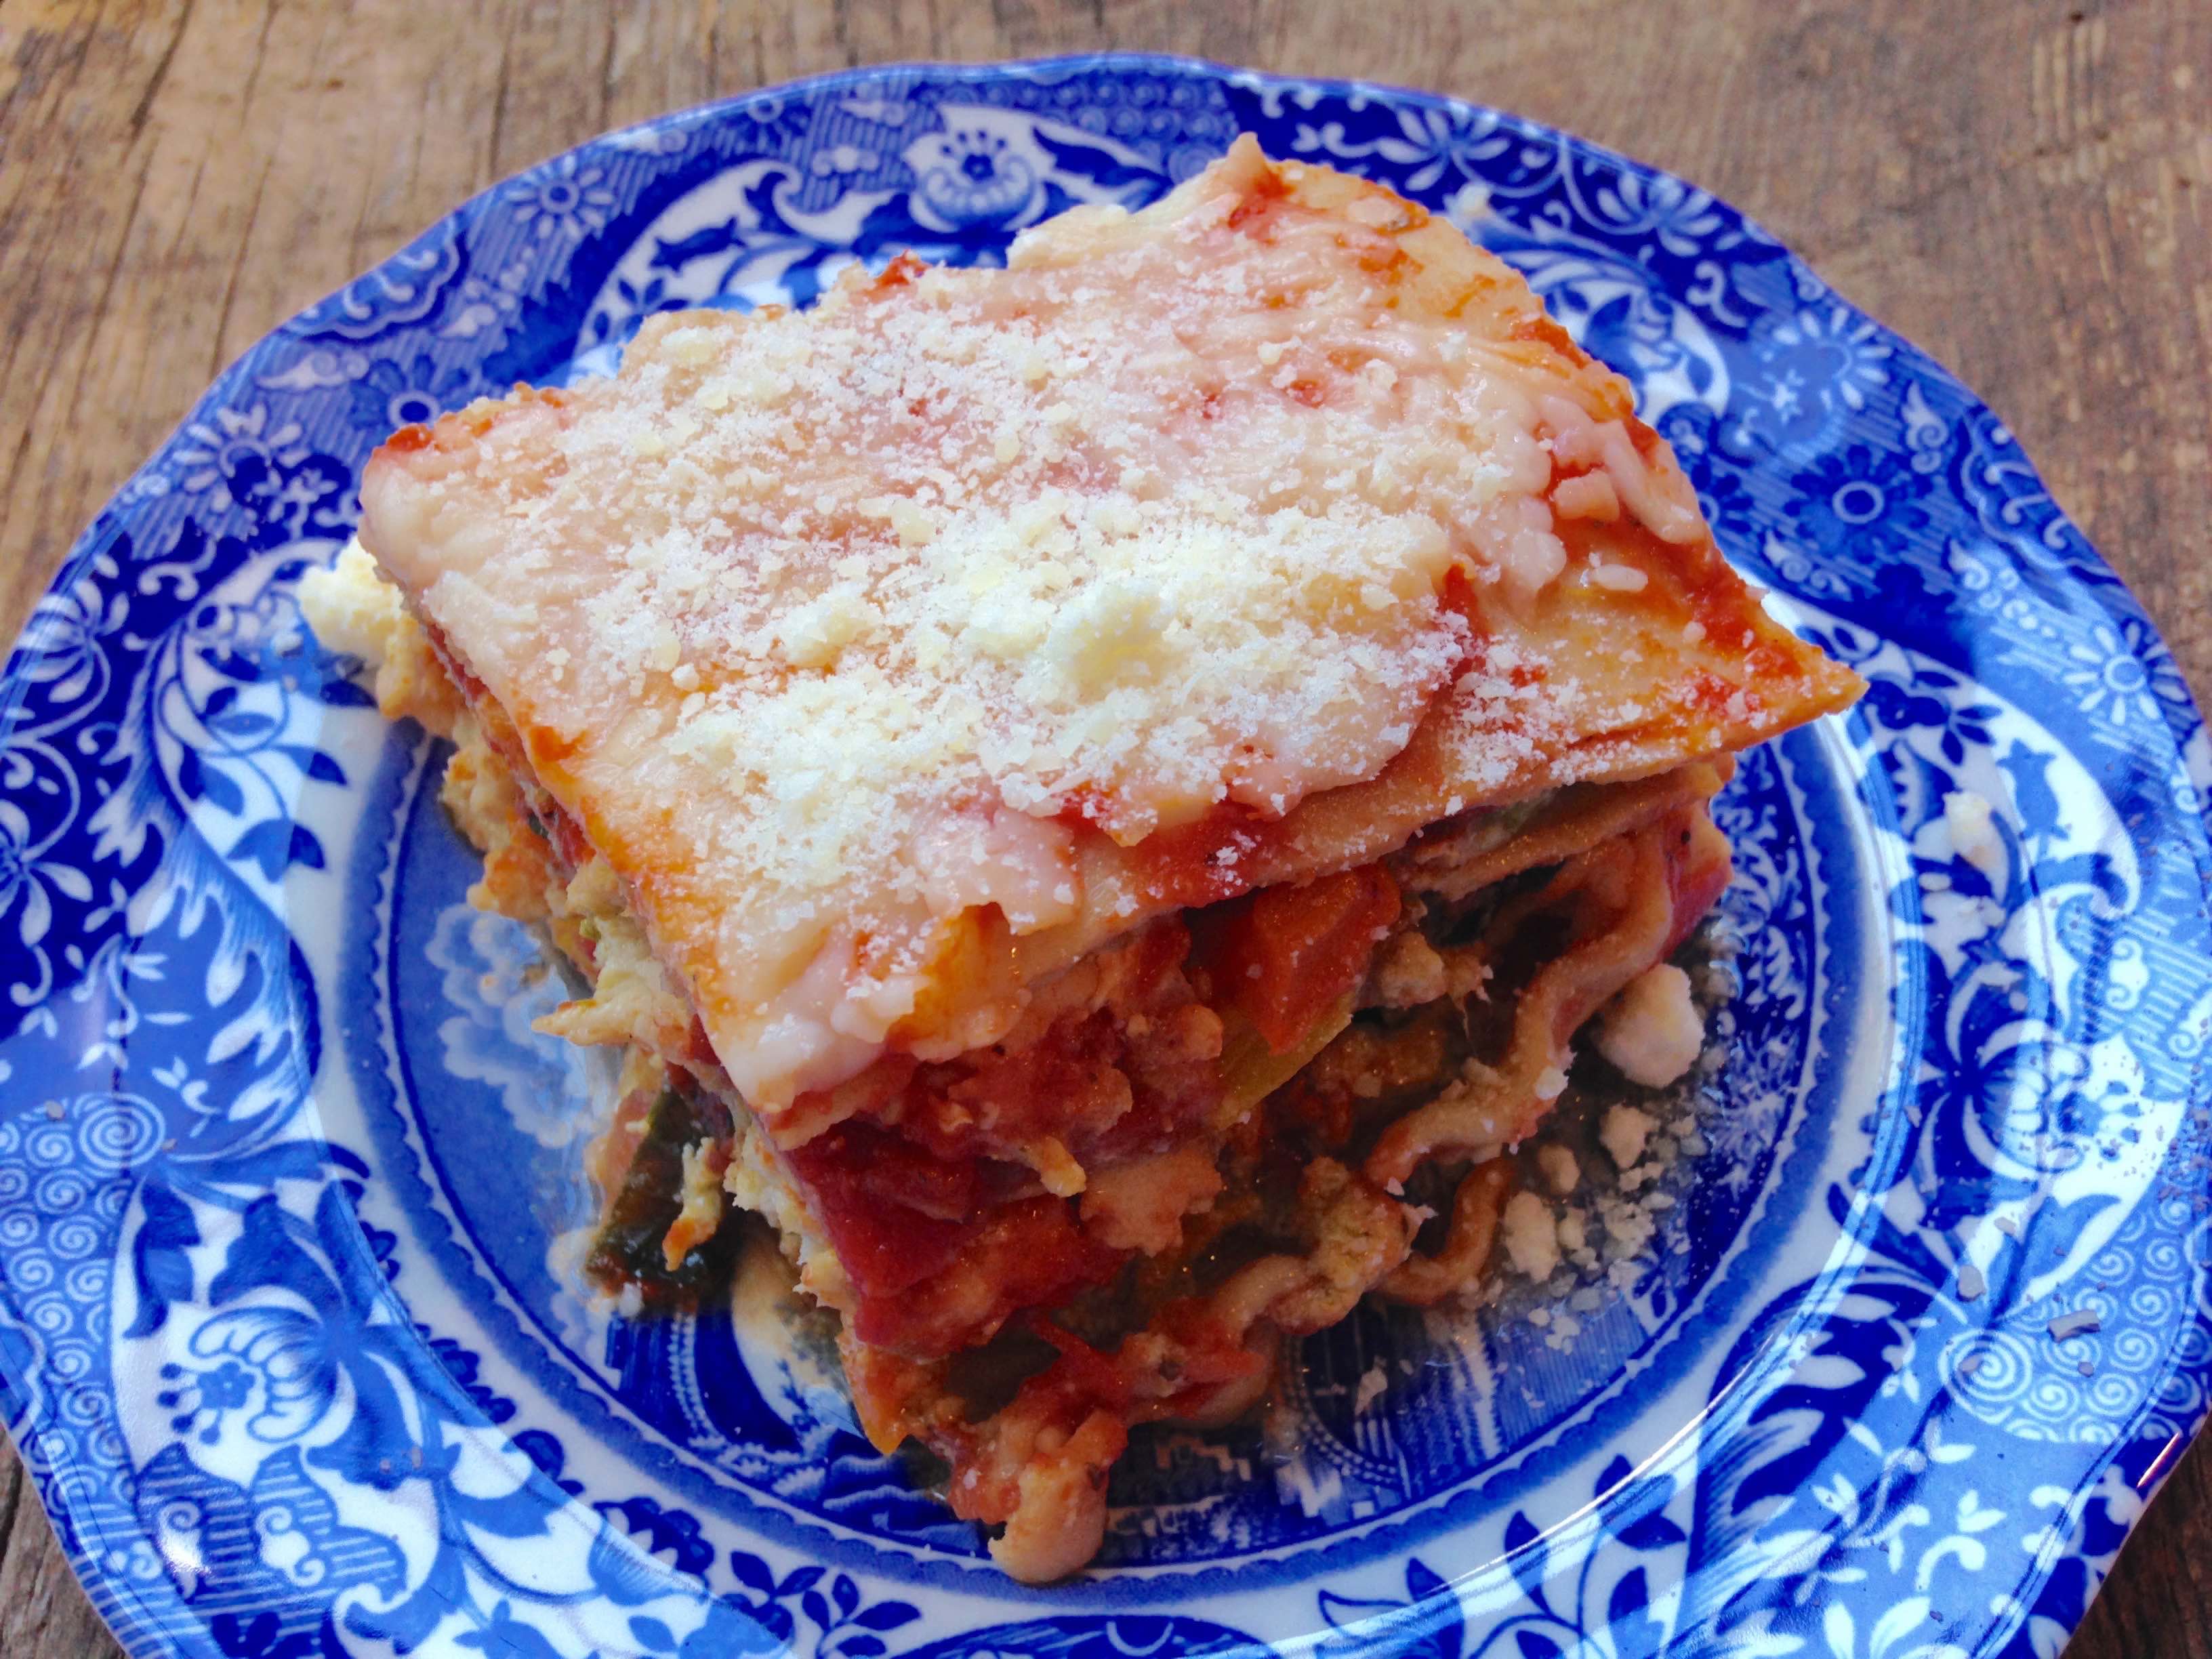
HOWEVER, if you’re like my family and me, and don’t mind trying new foods or eating healthy, this is probably the healthiest lasagna you’ll ever make; and it doesn’t taste like cardboard. Yay!
What makes it so healthy you ask? You ought to get an idea just by scrolling through the colorful pictures.
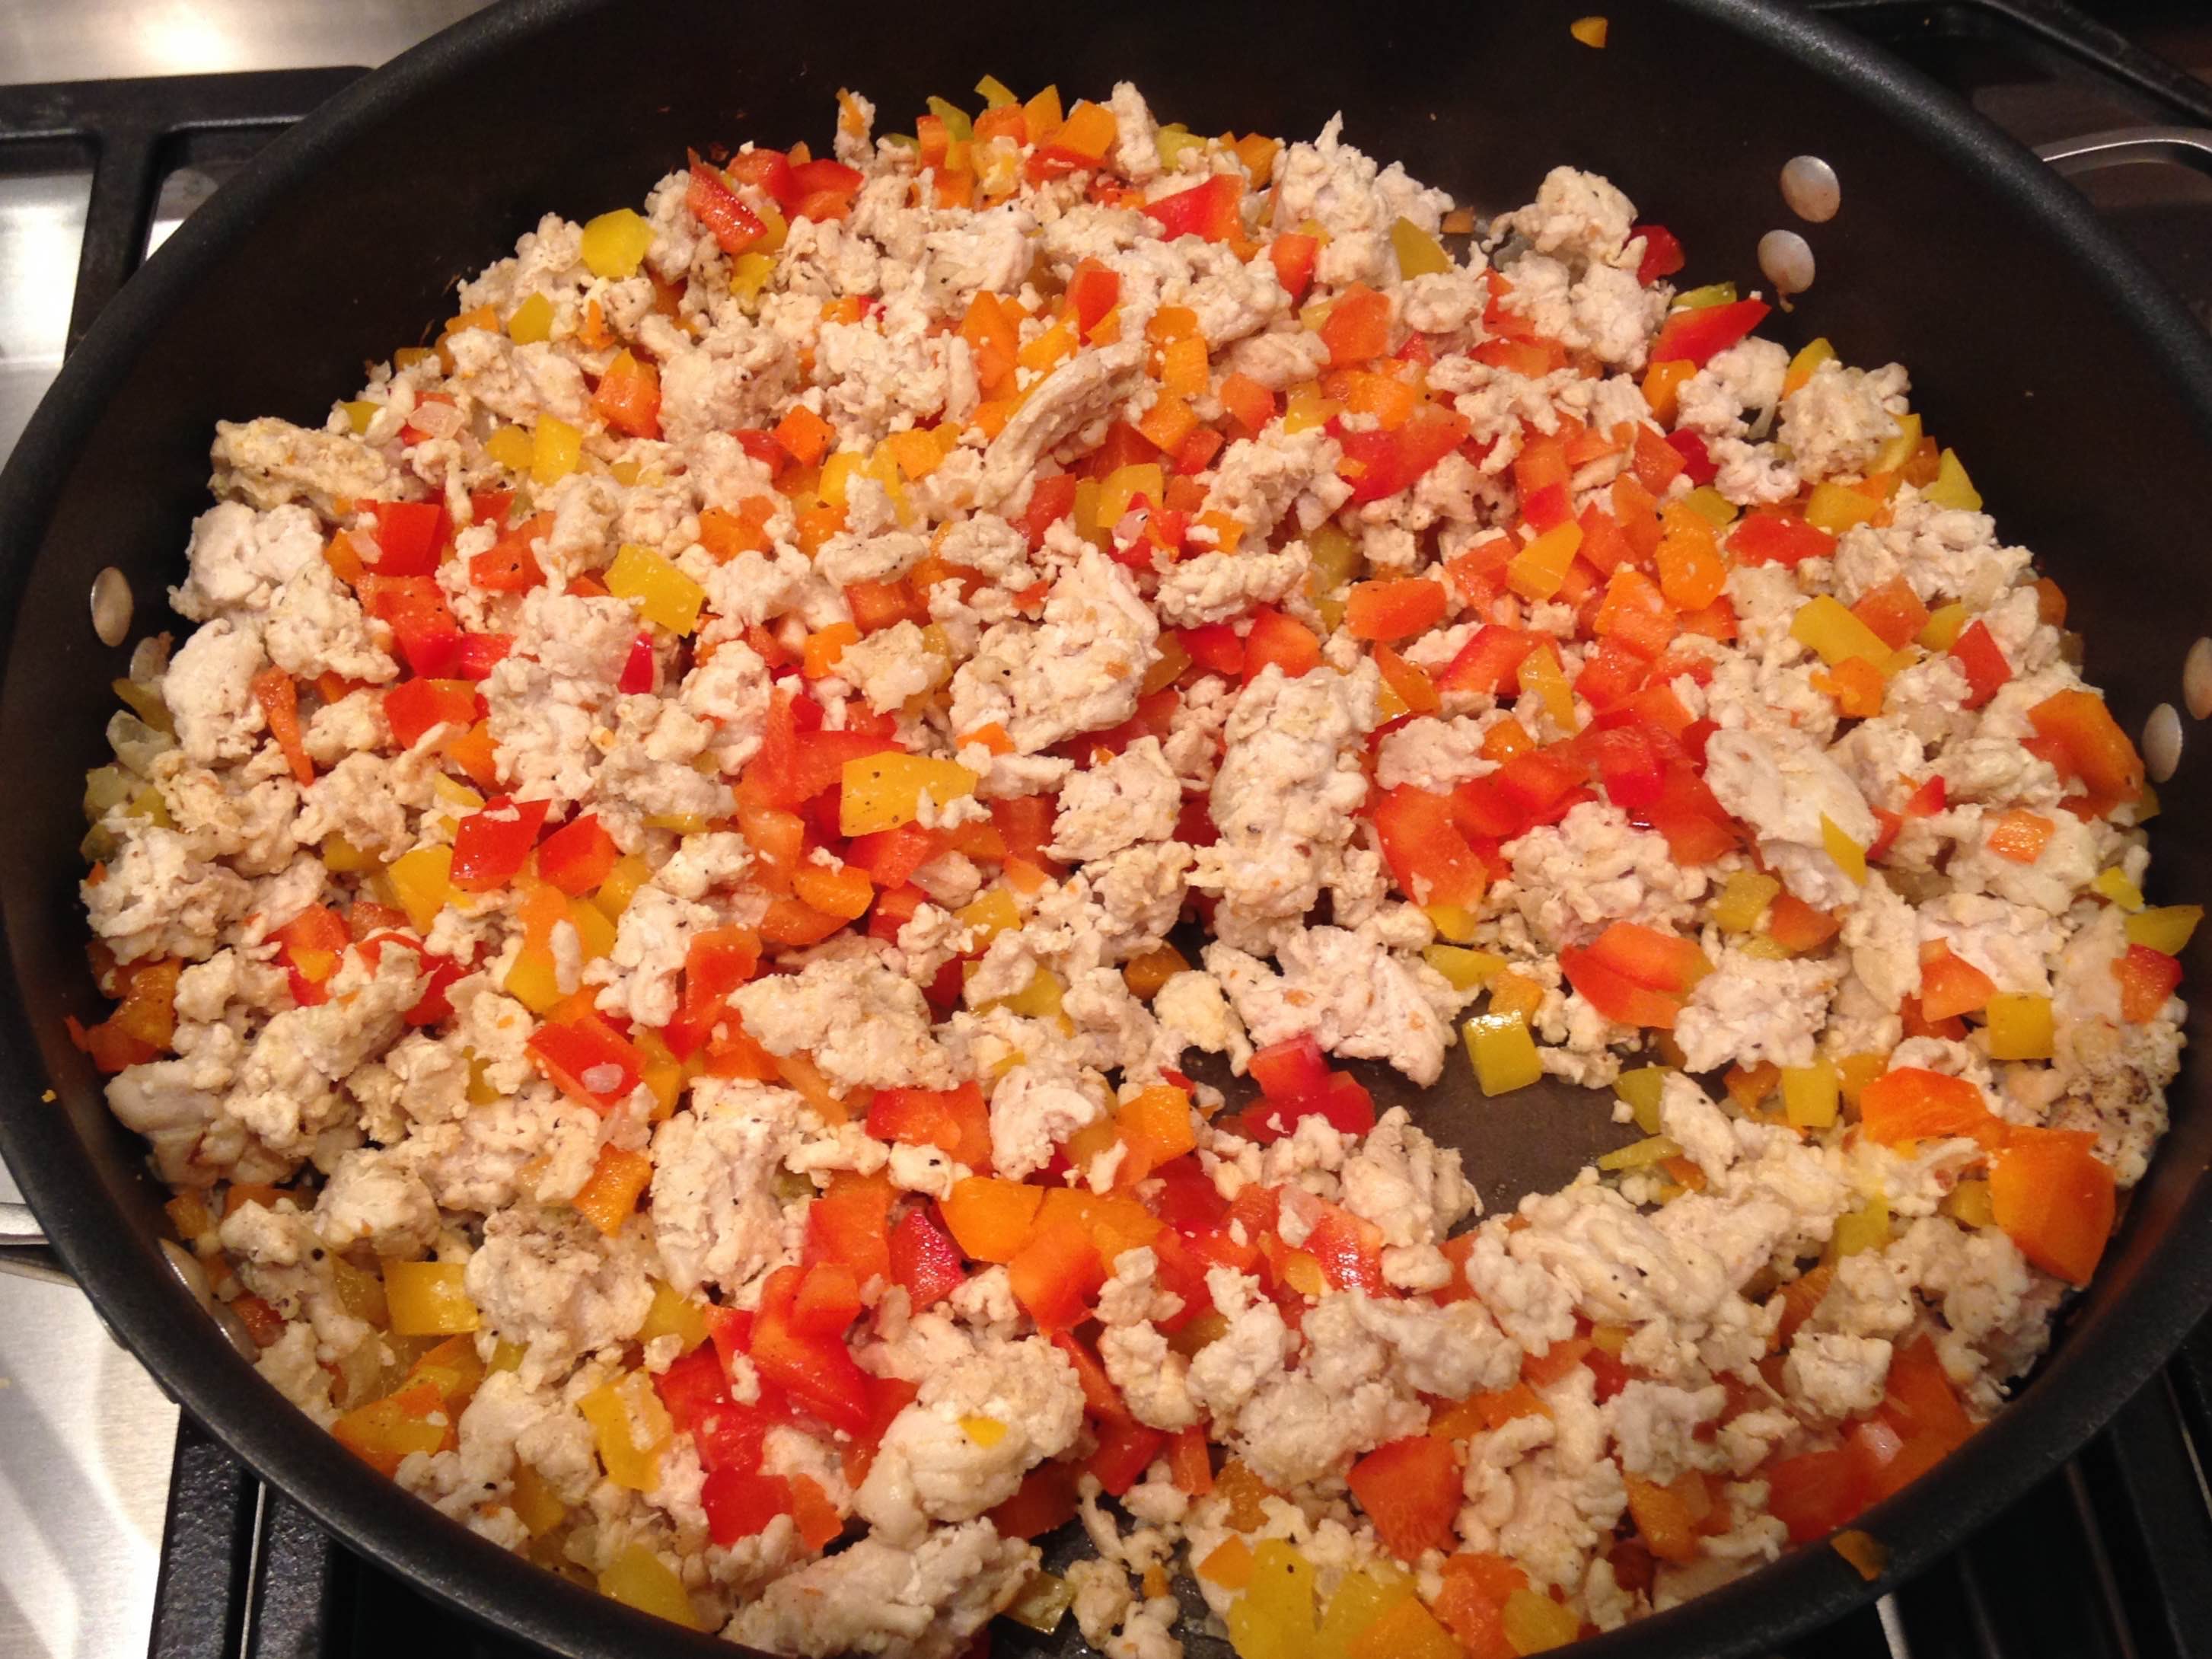
For one, whole wheat lasagna noodles are used instead of traditional white ones. Lean ground turkey is used instead of ground beef. There are THREE bell peppers – yellow, red, and orange – all of which pack the most nutrients and vitamin A.
We also used basil and low fat ricotta cheese. Marinara sauce is already low it fat, and instead of mozzarella, this recipe uses Parmesan cheese.
I seriously don’t feel bad pigging out on this colorful lasagna. Feed your body the good stuff this time! #cleaneating
How can you not smile by looking at that sweet face? 🙂 Enjoy!
Healthy Lasagna with Turkey, Pesto and Peppers
Prep time:
Cook time:
Total time:
Serves: 10
Adapted from: Cookin Canuck
Ingredients
1 package (14 oz.) whole wheat lasagna noodles
2 tsp. olive oil, divided
1/2 yellow onion, diced
2 cloves garlic, minced
1 1/2 lbs. ground turkey
1/2 tsp. kosher salt
1/2 tsp. freshly ground black pepper
1/2 tsp. dried chile flakes
1 red bell pepper, diced
1 yellow bell pepper, diced
1 orange bell pepper, diced
15 oz. low fat ricotta cheese
6 Tbsp. pesto
5 cups marinara sauce (your favorite kind)
2/3 cup finely grated Parmesan cheese
8 basil leaves, thinly sliced
Instructions
Preheat oven to 350 degrees F.
Prepare lasagna noodles per package instructions, rinse with cold water and lay in a single layer on kitchen towels.
Heat 1 teaspoon olive oil in a large skillet set over medium heat. Add onion and cook, stirring occasionally, until onion begins to soften, about 4 minutes. Add garlic and red chile flakes, and cook for 1 minute.
Turn the heat to medium-high and add ground turkey meat. Cook, breaking up the turkey meat with a wooden spoon. Season with salt and pepper. Pour off and discard juices. Transfer the onion/turkey meat mixture to a bowl and set aside.
Warm 1 teaspoon olive oil to the same skillet, set over medium heat. Add diced bell peppers and cook until beginning to soften.
Mix ricotta cheese and pesto.
Spread 1 cup of the marinara sauce in the bottom of a 9×13-inch baking dish.
Lay a few lasagna noodles in a single layer, slightly overlapping, over top of the sauce. When fitting in the lasagna noodles, it may be necessary to cut some in half lengthwise or crosswise so that they fit properly.
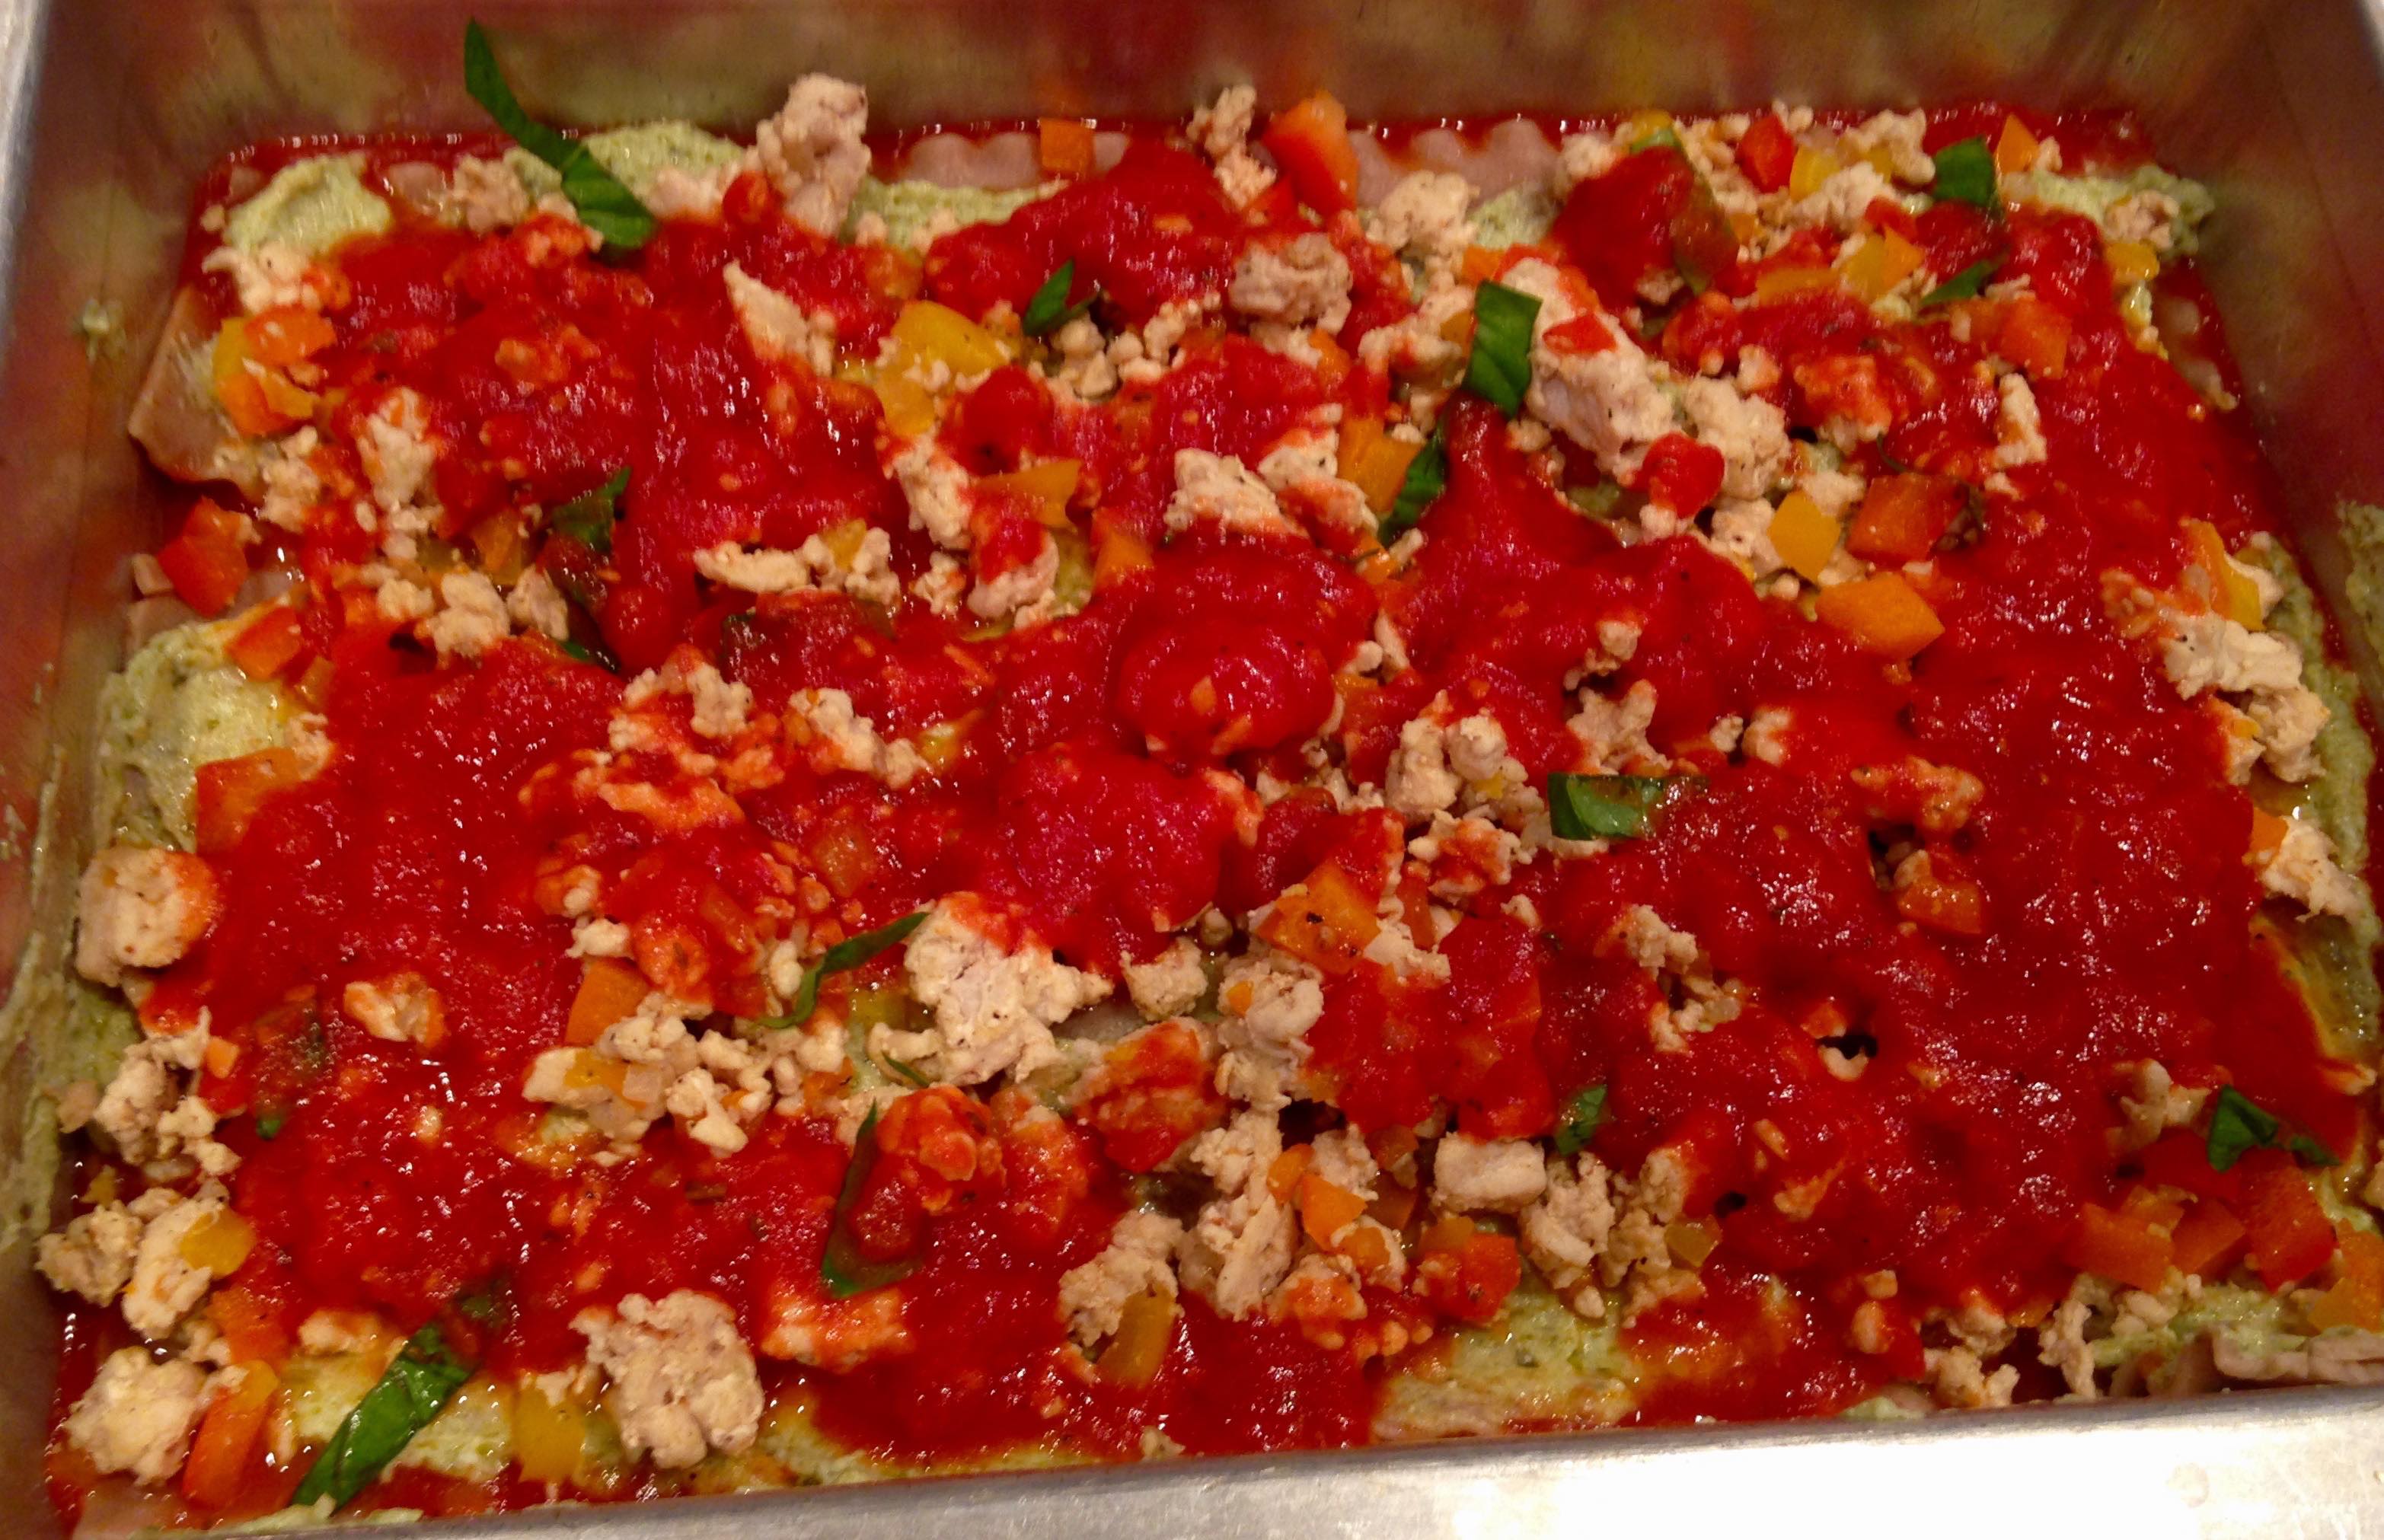
Spread 1/3 of the ricotta cheese mixture over the noodles. Top with 1/3 of the turkey mixture, 1/3 of the pepper mixture, 1/3 of the sliced basil, and additional 1 cup of marinara sauce and 1/4 of the Parmesan cheese.
Repeat these layers 2 more times, starting with the lasagna noodles. End with an additional layer of lasagna noodles and the remaining marinara sauce and Parmesan cheese.
Cover with foil and cook until the lasagna is bubbling, 55 to 60 minutes. Remove the foil and bake for an additional 10 minutes, or until the cheese on top is melted and just beginning to brown.
Let rest for 10 minutes, cut into squares and serve.
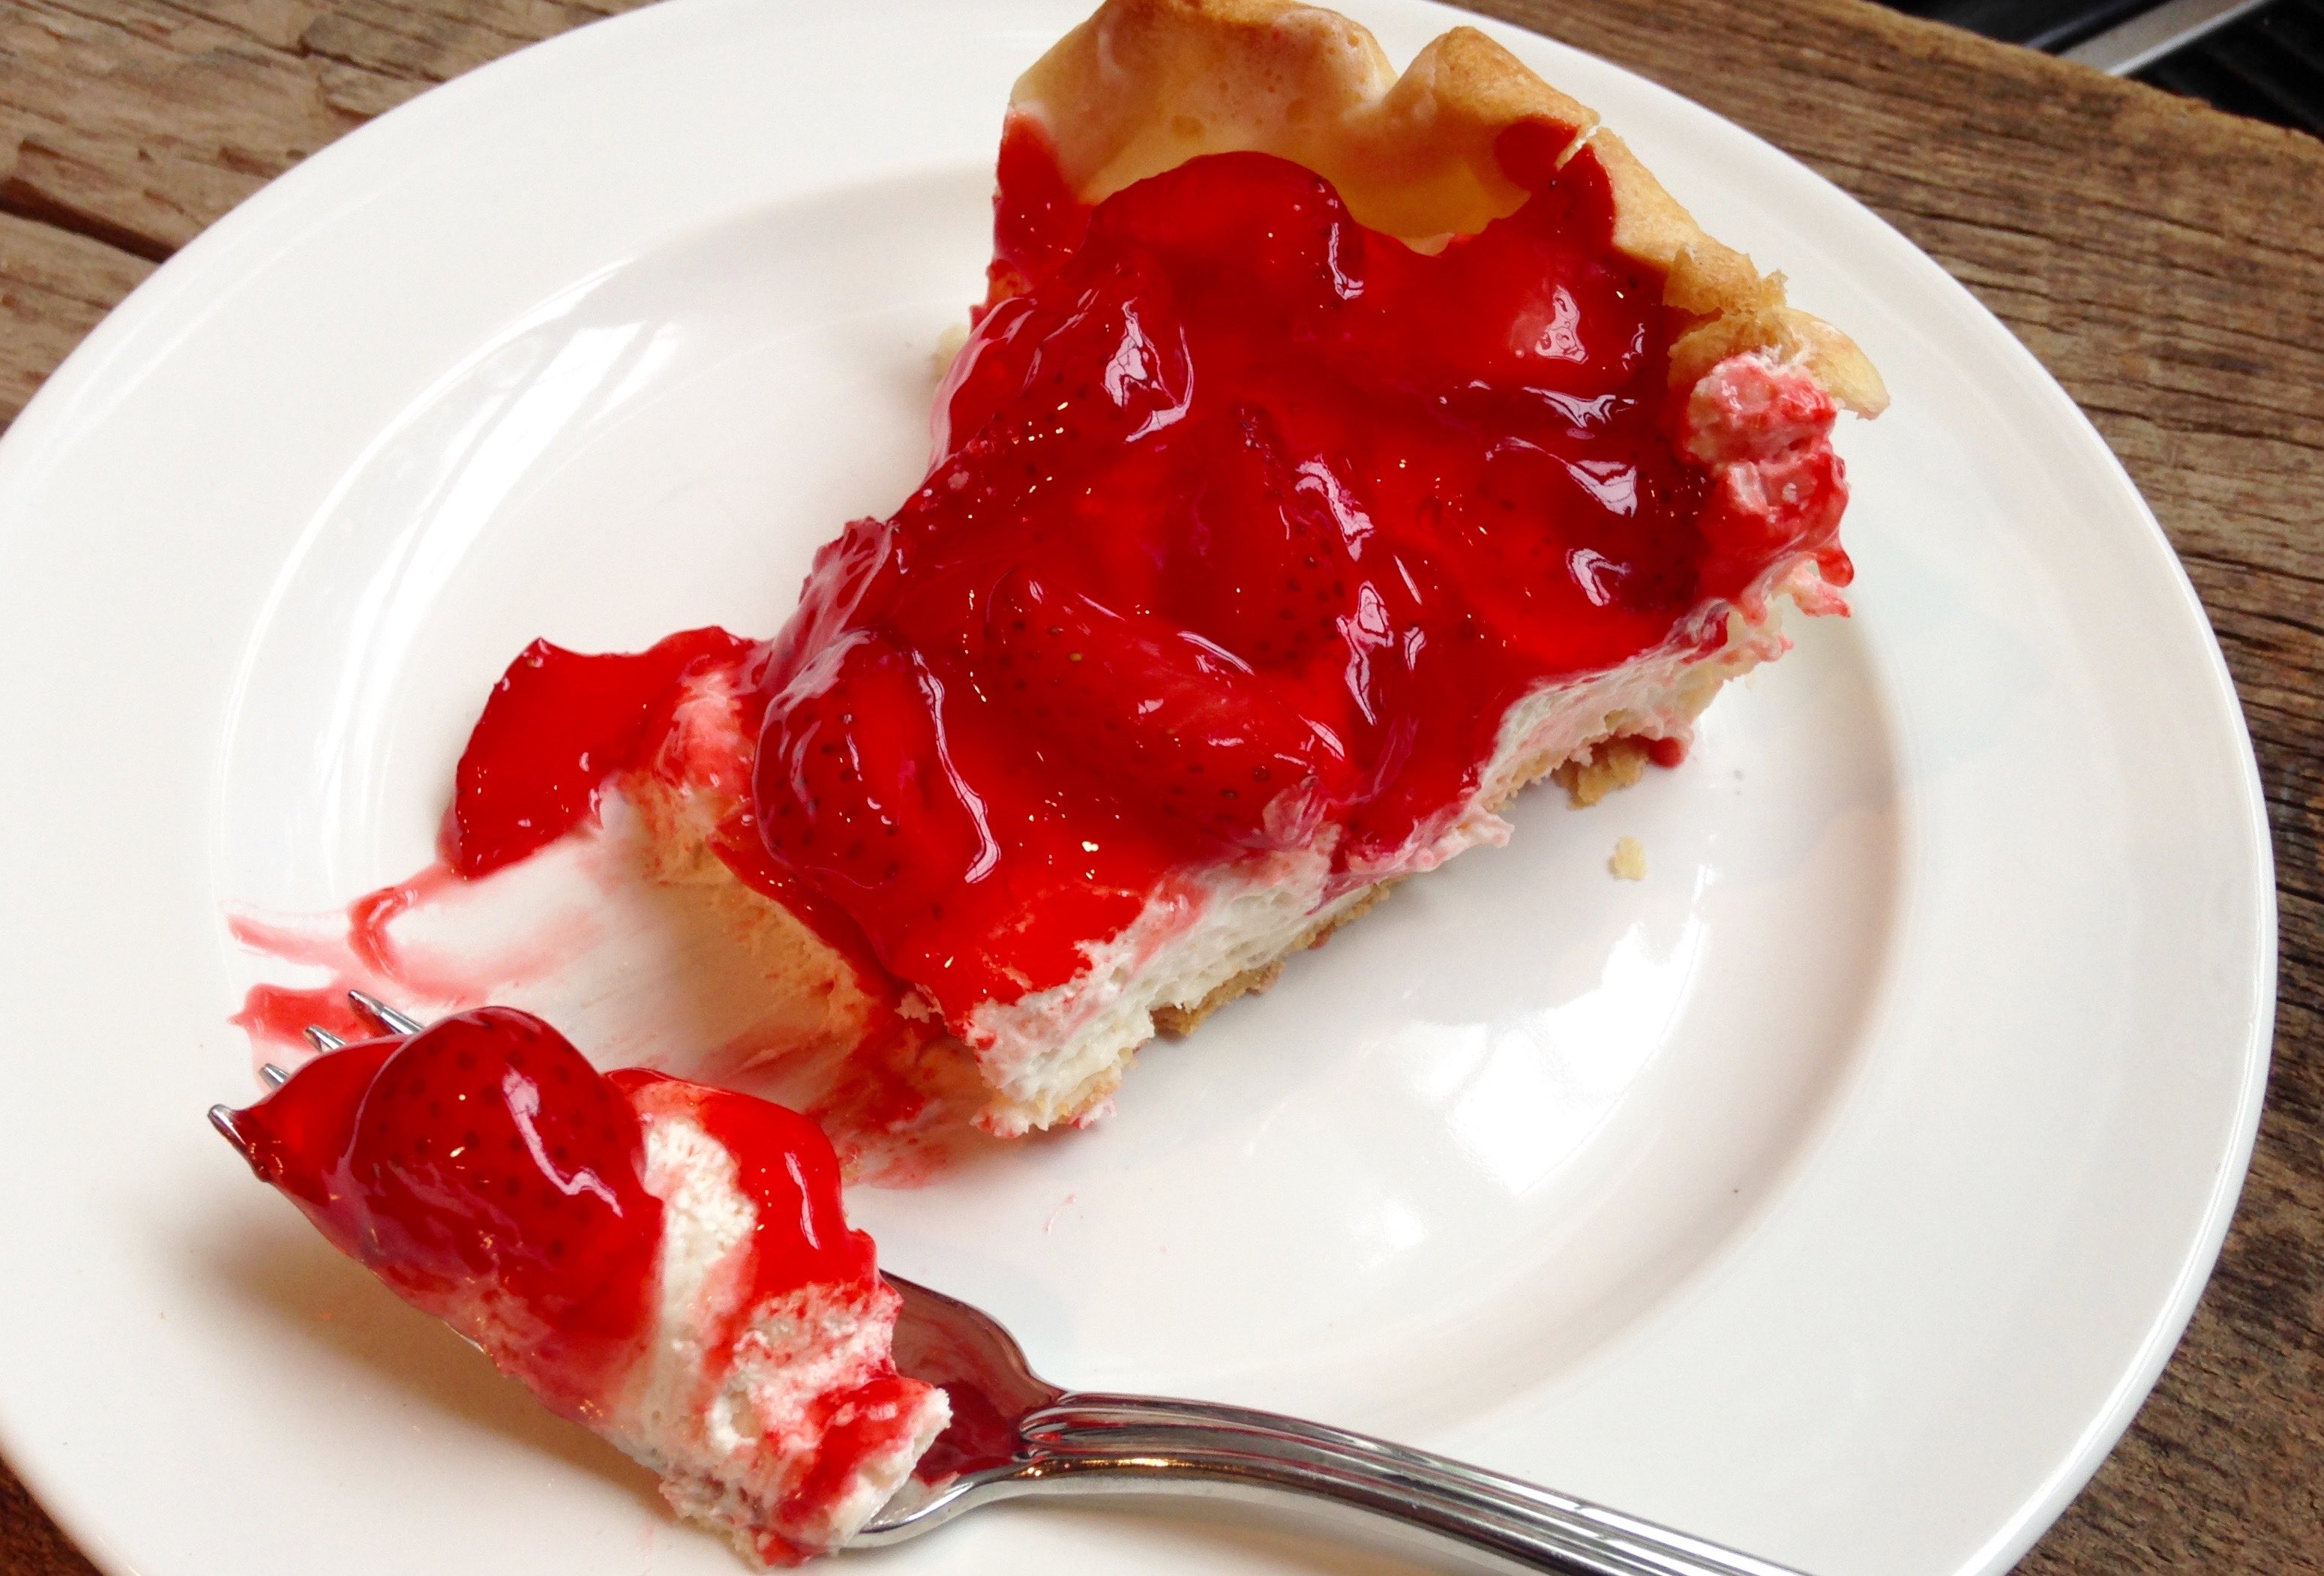
The trip was 27 years ago. My mother-in-law, Paula, ate an entire pie at the Silver Dollar Pie Shop in Branson, Missouri while she and her family were on vacation.
Not too keen on rich chocolatey desserts, Paula loves almost any dessert with fruit. When she got back from Branson, she attempted to recreate the Silver Dollar Pie Shop’s strawberry pie.
Don’t ever call her a quitter, because after 9 tries, Paula finally came up with this recipe. It tastes just like the one she had in Branson 27 years ago. All I can say is I wish I knew Paula 27 years ago to be the guinnea pig for all her strawberry pie attempts. I bet her husband Tony was one fat and happy, man!
Paula tells me, “At that time I had never seen a recipe like this one, but since then, I’ve seen some pies like it. I have also used peaches with peach glaze or blueberries with blueberry glaze”.
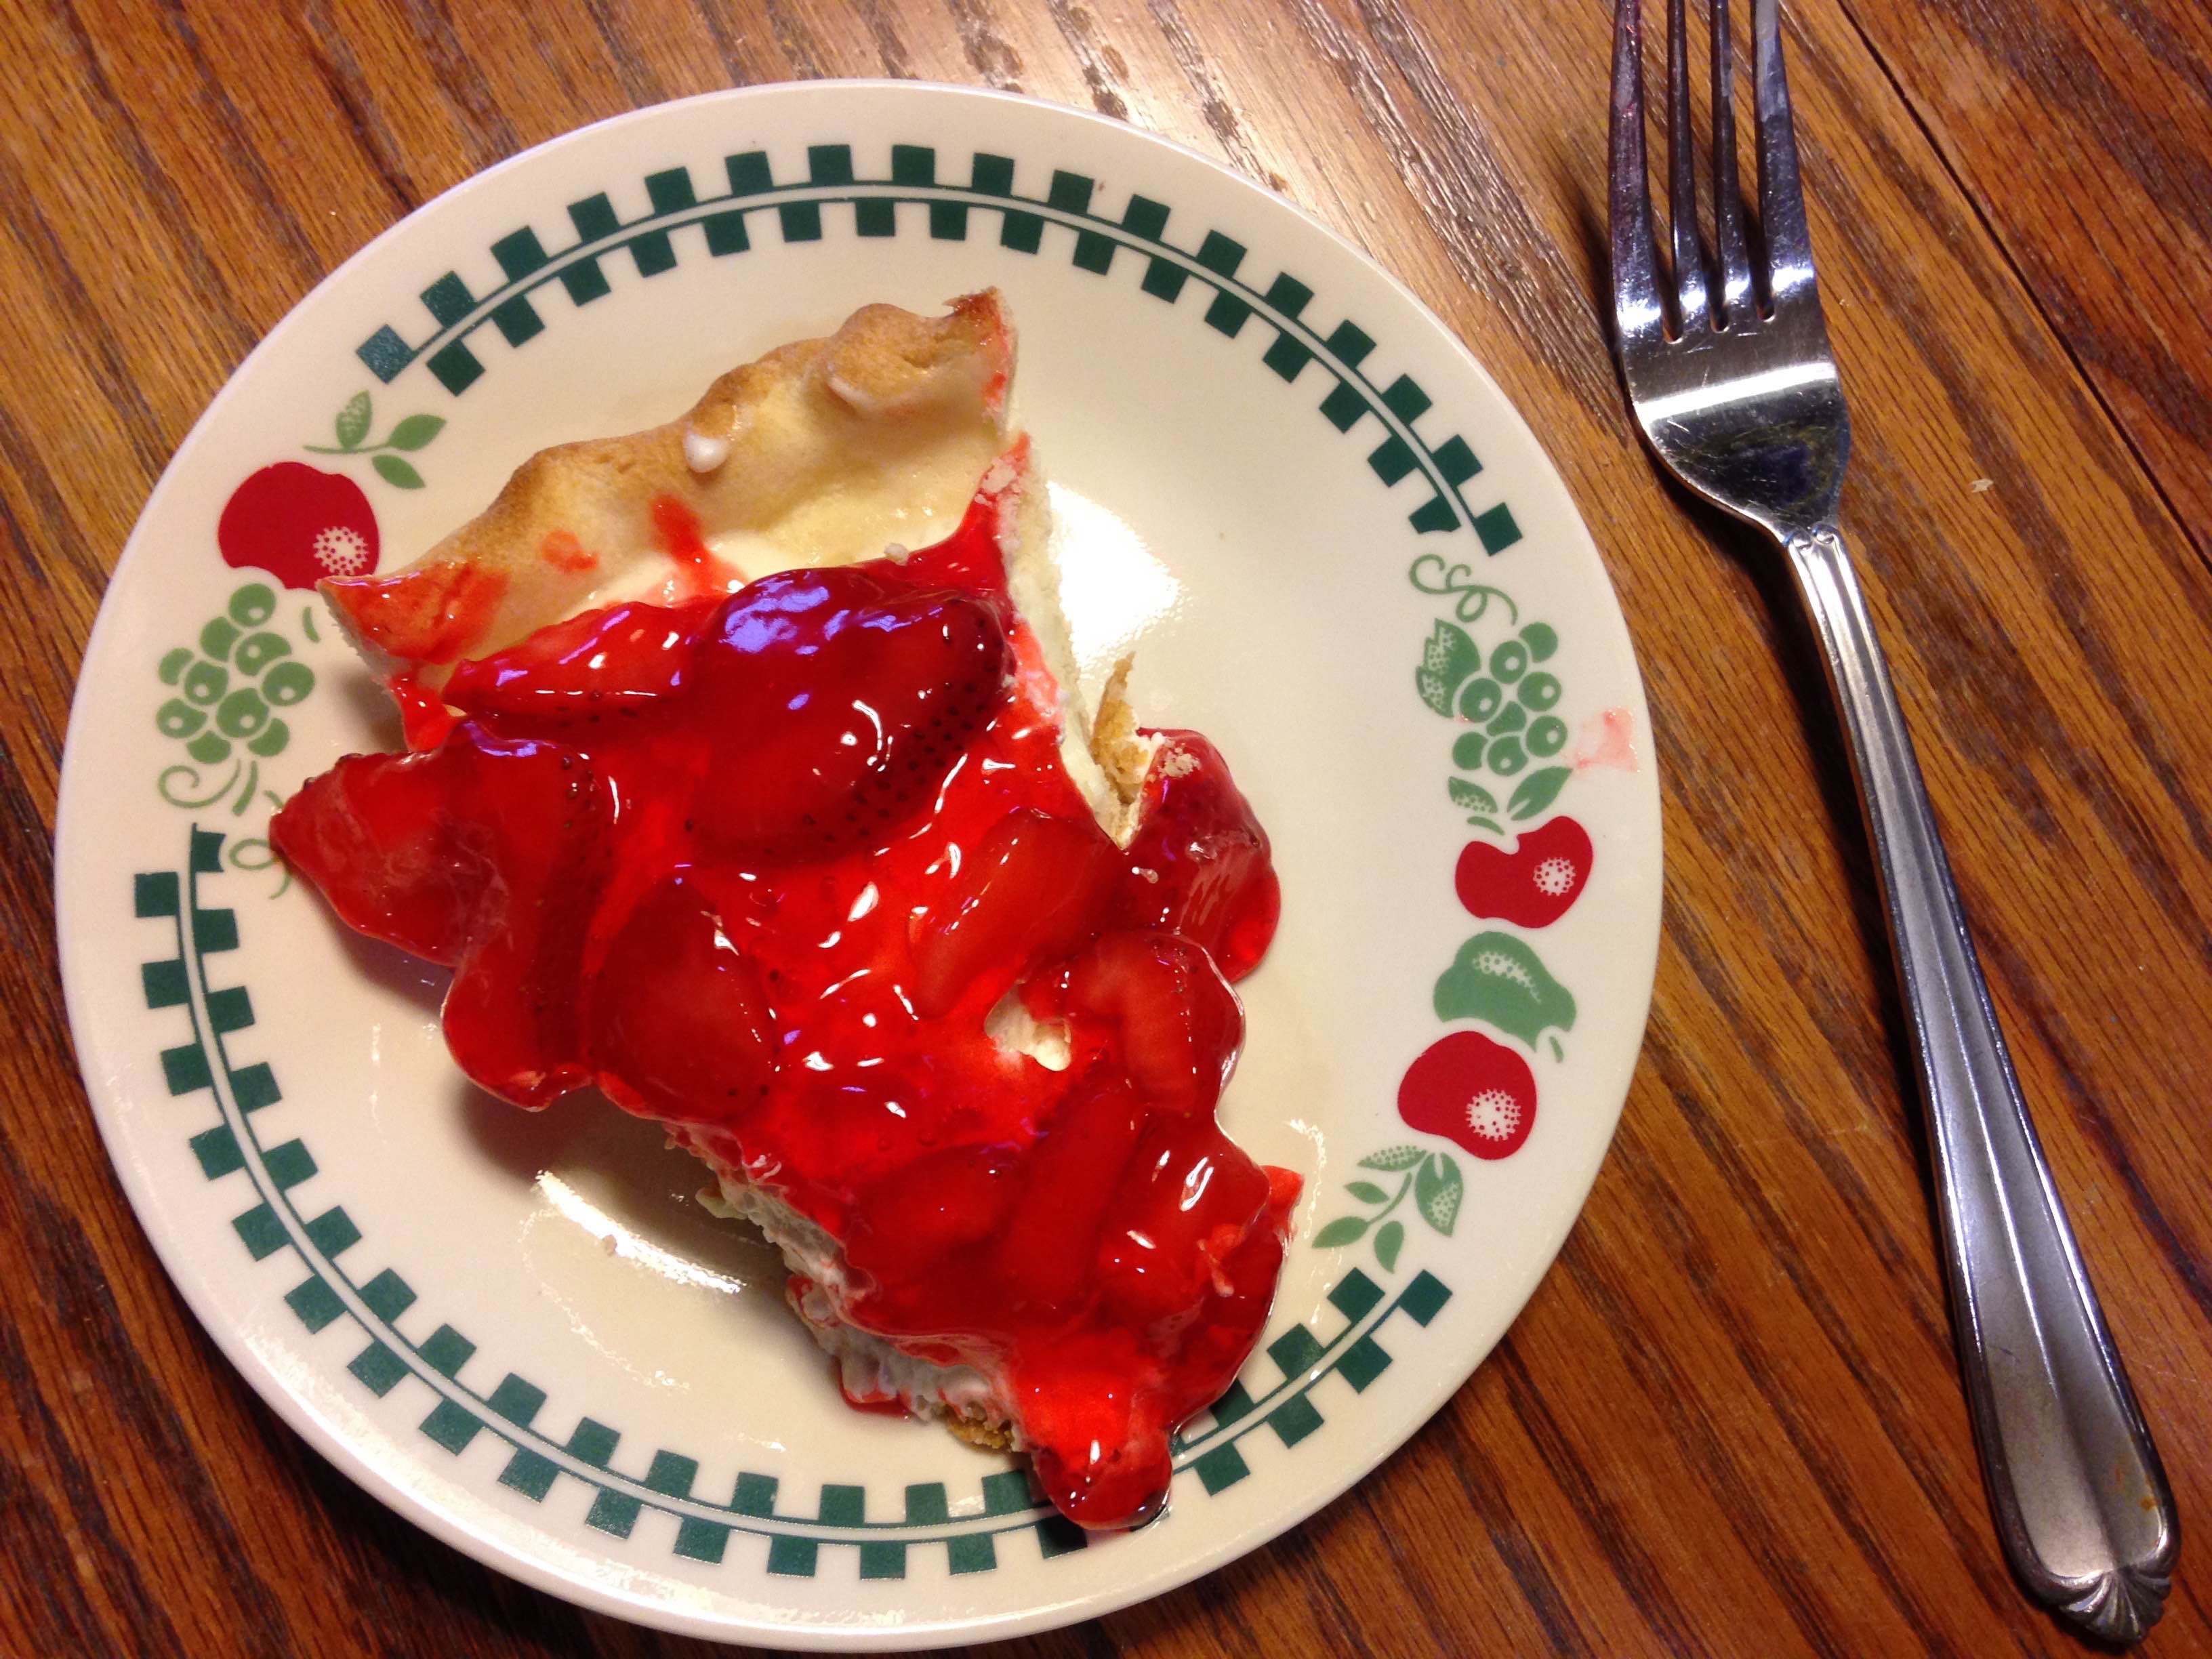
What’s great about this pie is that it is a no-bake recipe except for the pie shell. Super easy to whip up in the summer and a perfect way to use those juicy strawberries. Enjoy!
Paula’s Silver Dollar Strawberry Pie
Prep time:
Cook time:
Total time:
Serves: 8
Ingredients
1 baked pie shell
1 (8 oz) package cream cheese, softened
1/3 cup sugar
1 tsp. almond extract
1 tub (8 oz) Cool Whip
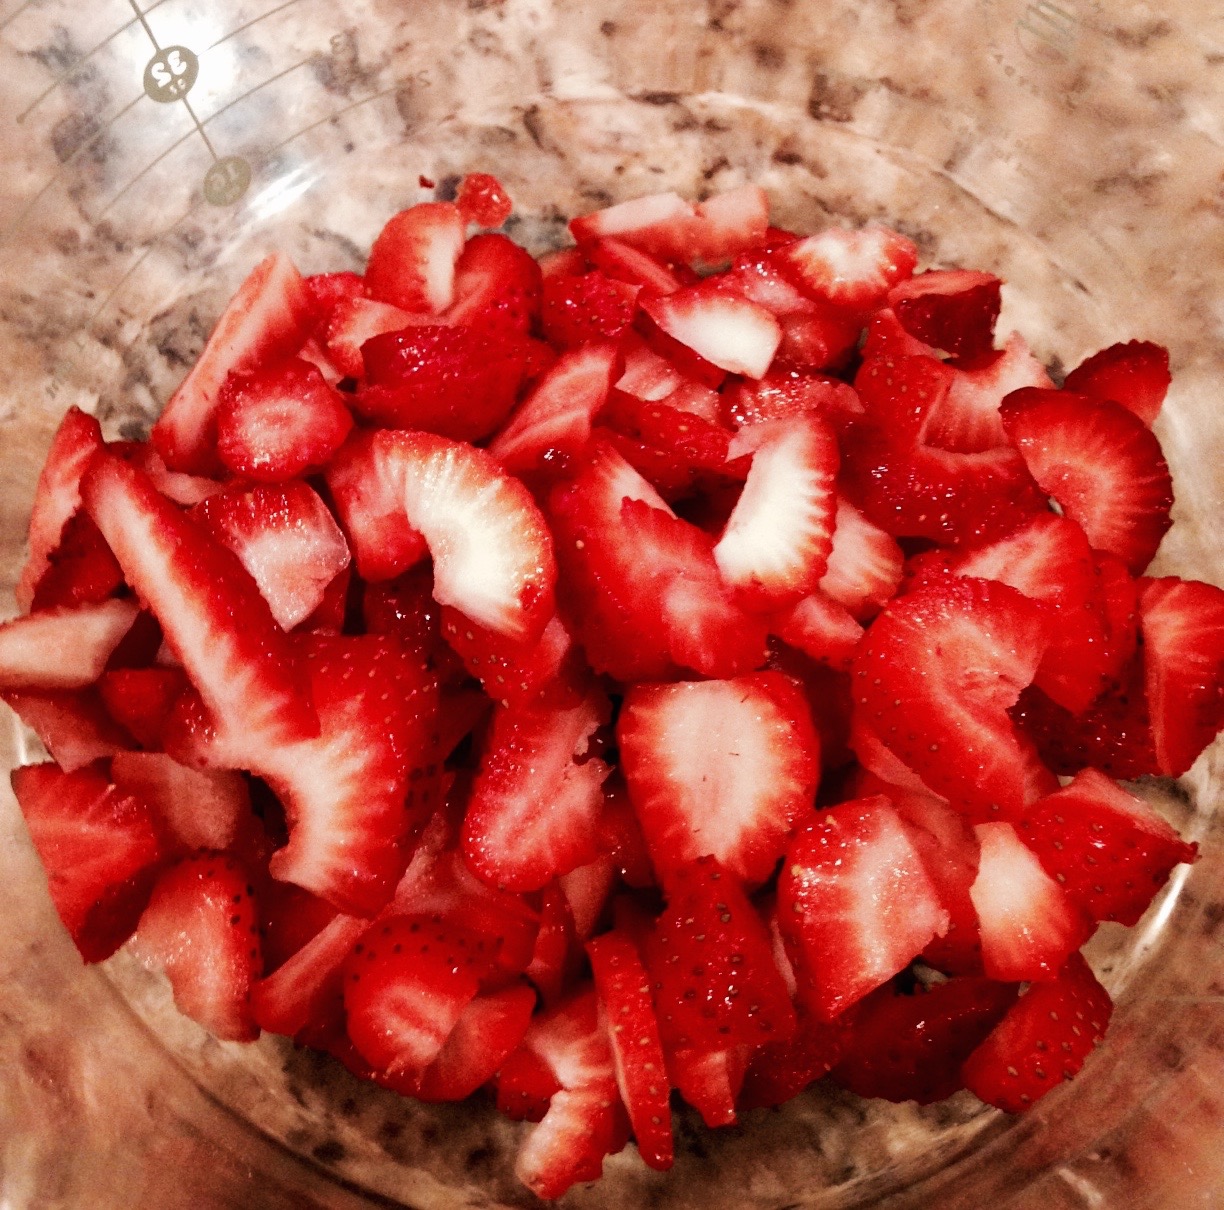
2 cups fresh strawberries
strawberry flavored pie glaze (if you can’t find pie glaze, you can make it using instant strawberry Jell-O)
Instructions
Bake pie shell according to package directions.
FOR THE FILLING: Beat together the cream cheese, sugar, almond extract, and 1 cup of Cool Whip. Pour into the cooled, baked pie shell.
FOR THE TOPPING: Spoon the fresh strawberries over the cream cheese mixture. Drizzle the pie glaze over the strawberries. Garnish with the remaining Cool Whip.
I love Cracker Barrel. Always have. The first time I remember eating there was in Tyler, Texas off the loop and I-20 with my grandfather Poppy. Poppy lived in Tyler and would always meet us at Cracker Barrel on our way into Tyler from Dallas or as we were leaving Tyler to go back home to Dallas.
As I kid I loved playing with the little triangle peg game at the table, and you can’t beat Cracker Barrel’s county store with stuffed animals and candy!
Even though my grandfather is no longer with us, we still visit Cracker Barrel regularly with my in-laws Tony and Paula. They have a lake house on Cedar Creek Lake, so we always stop at the Cracker Barrel on Interstate 635 on our way back home to Dallas.
Even though I’ve never had their Chicken n’ Dumplings, I’ve heard they are amazing and found this recipe on Pinterest. Honestly I don’t even remember eating chicken n’ dumplings as a kids growing up, but when I was pregnant I craved it like no other. Something about comfort food when you’re pregnant sounds amazing!
While I love to cook, I love easy-to-make, ready in 30 minute meals. I think everyone can agree whether you’re working full-time and don’t get home from work until late, or have an active baby or toddler running around, it’s nice to have a home cooked meal that’s quick.
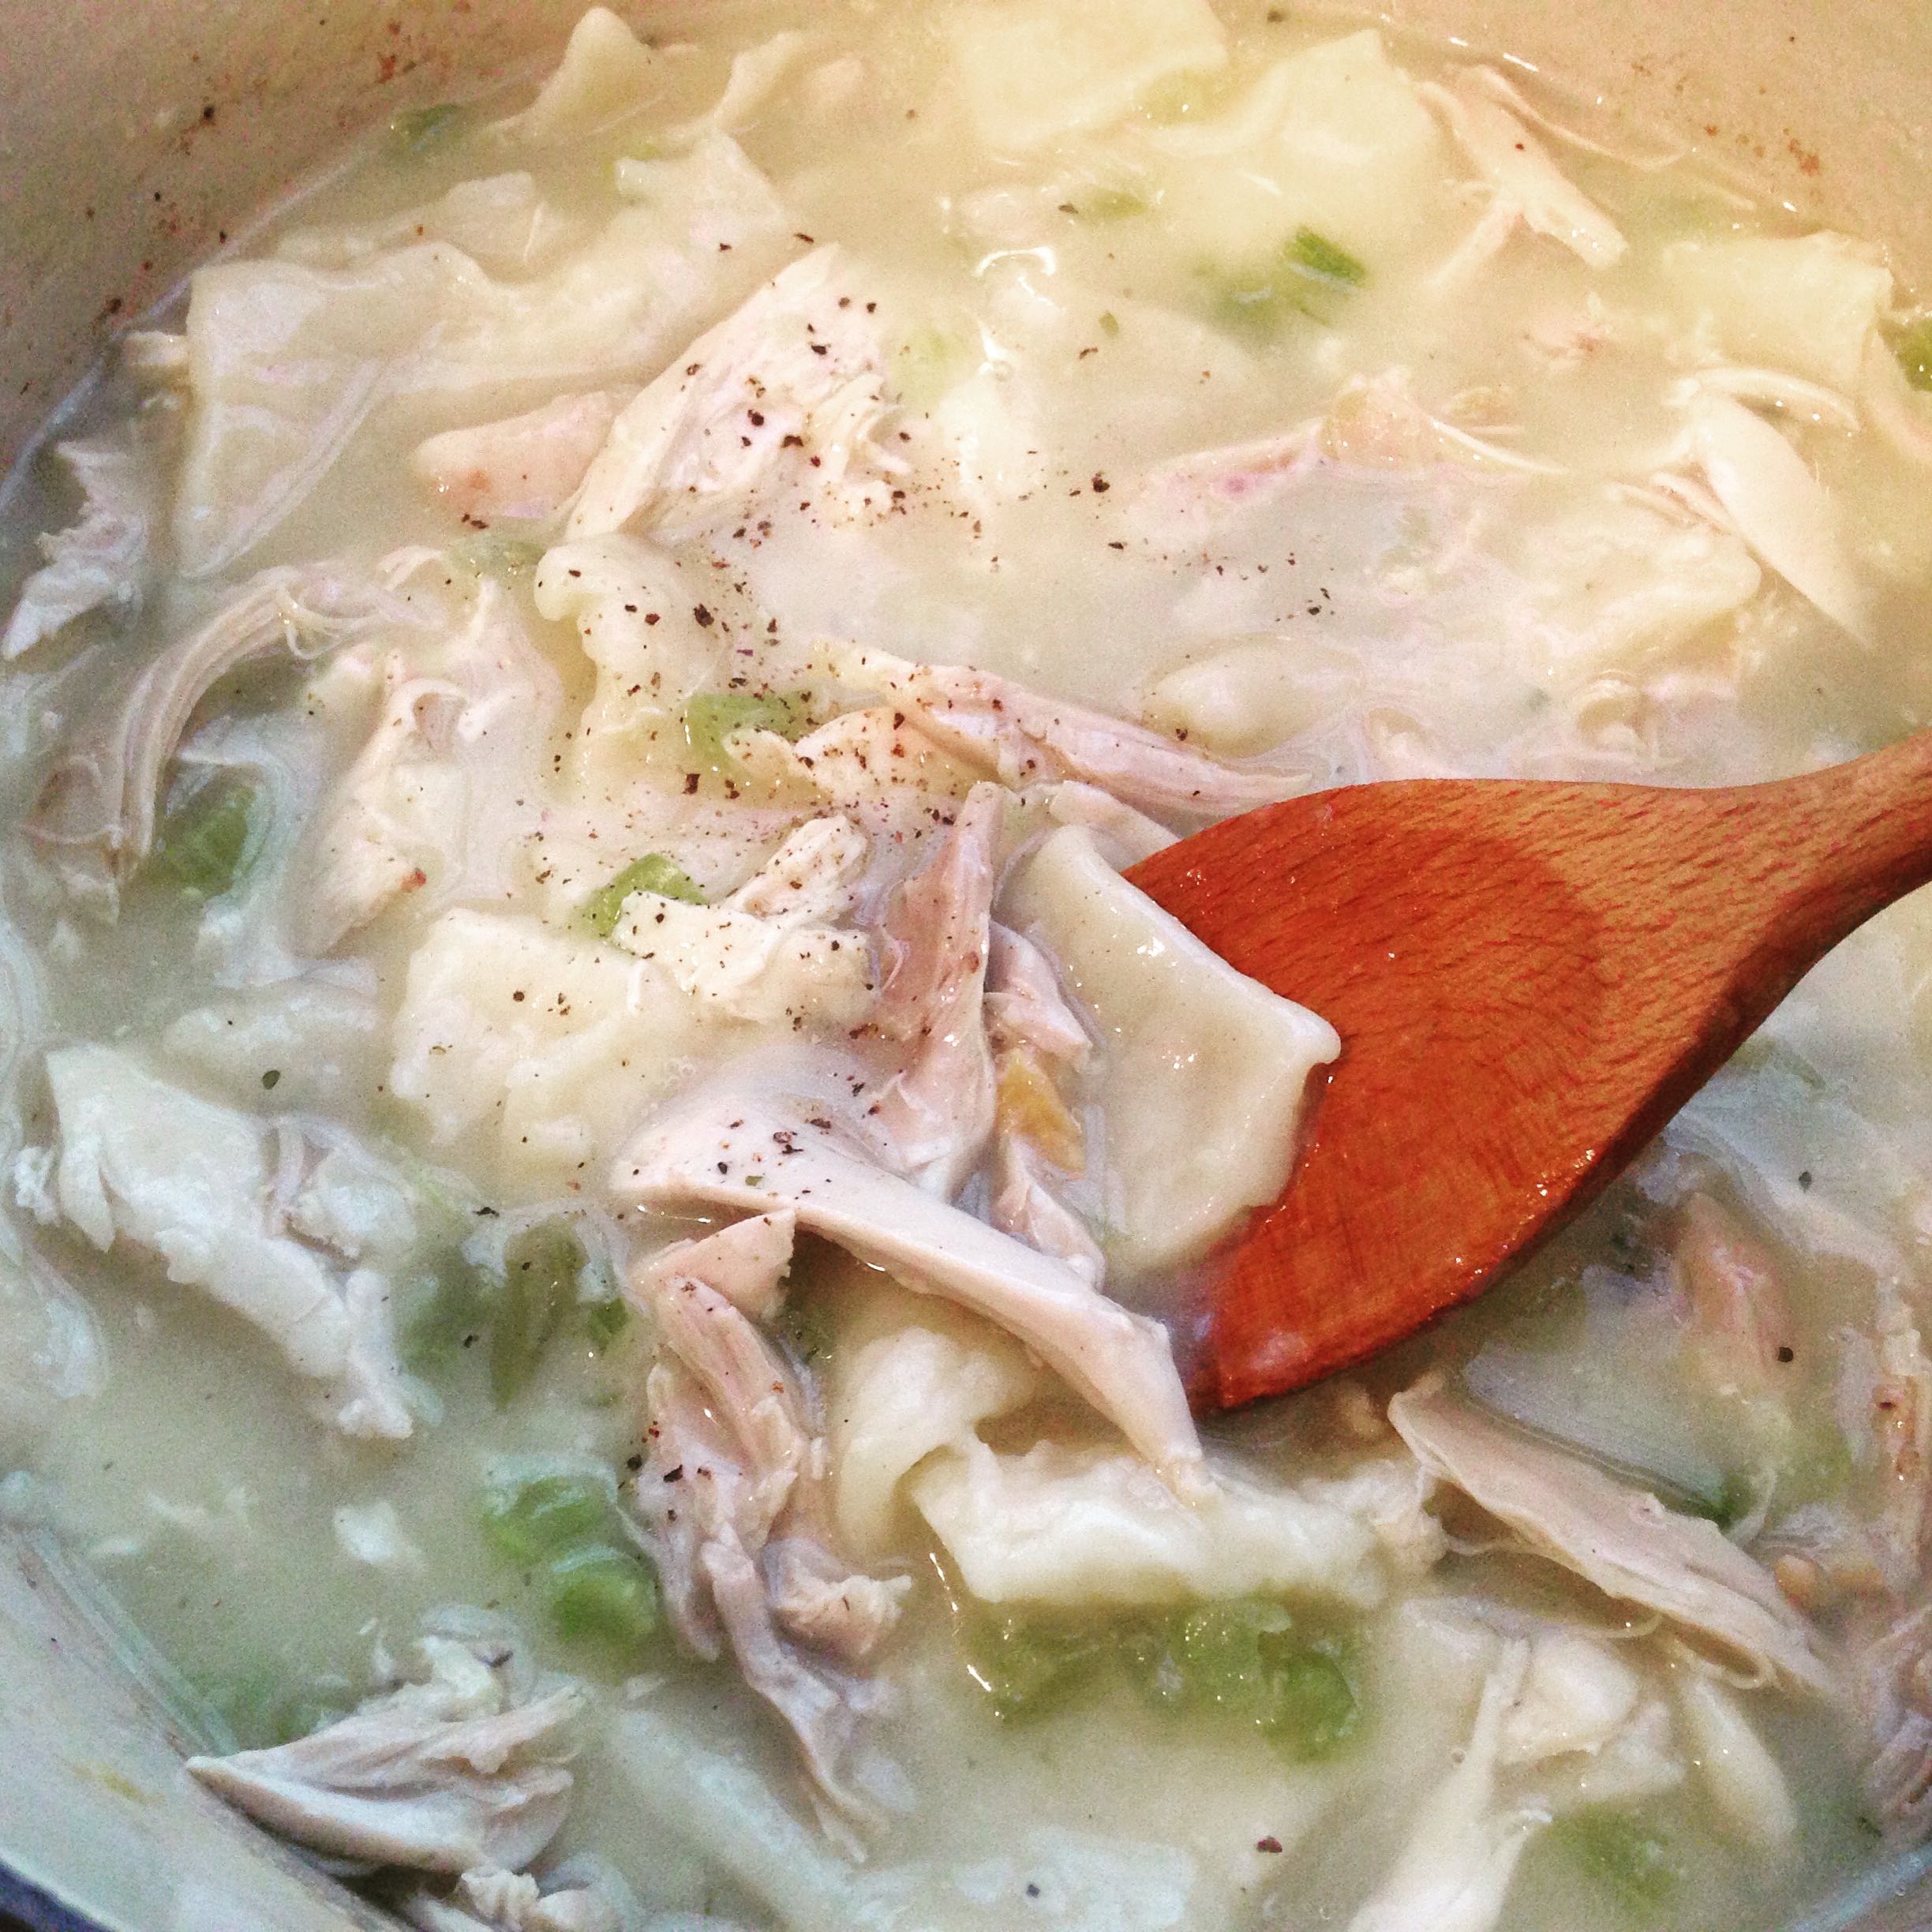
What’s great about this recipe is the easy prep time. I made, rolled out, and cut the dumplings all while Harper was taking a nap. It took no more than 15 minutes to prepare, and once she was awake, I simply boiled some chicken stock, tossed in the dumplings to simmer, and added shredded rotisserie chicken once the dumplings were no longer doughy.
So simple and so good! The Cracker Barrel recipe didn’t call for celery, but I like a little green on my plate, and I probably would have added diced carrots if I had any for more color and nutrition.
By the way, can you believe this little one is already 9 months old! Time sure does fly. 🙂
Enjoy!
Cracker Barrel Chicken n’ Dumplings
Prep time:
Cook time:
Total time:
Serves: 6-8
Ingredients
2 cups flour
1/2 tsp. baking powder
1 pinch salt
2 Tbsp. butter
1 cup buttermilk, a bit less than a full cup (I used skim milk)
2 quarts chicken broth
3 cups cooked chicken
1 cup celery, diced
Instructions
In a bowl, combine the flour, baking powder and salt. Cut the butter into the dry ingredients with a fork or pastry blender. Stir in the milk, mixing with a fork until the dough forms a ball.
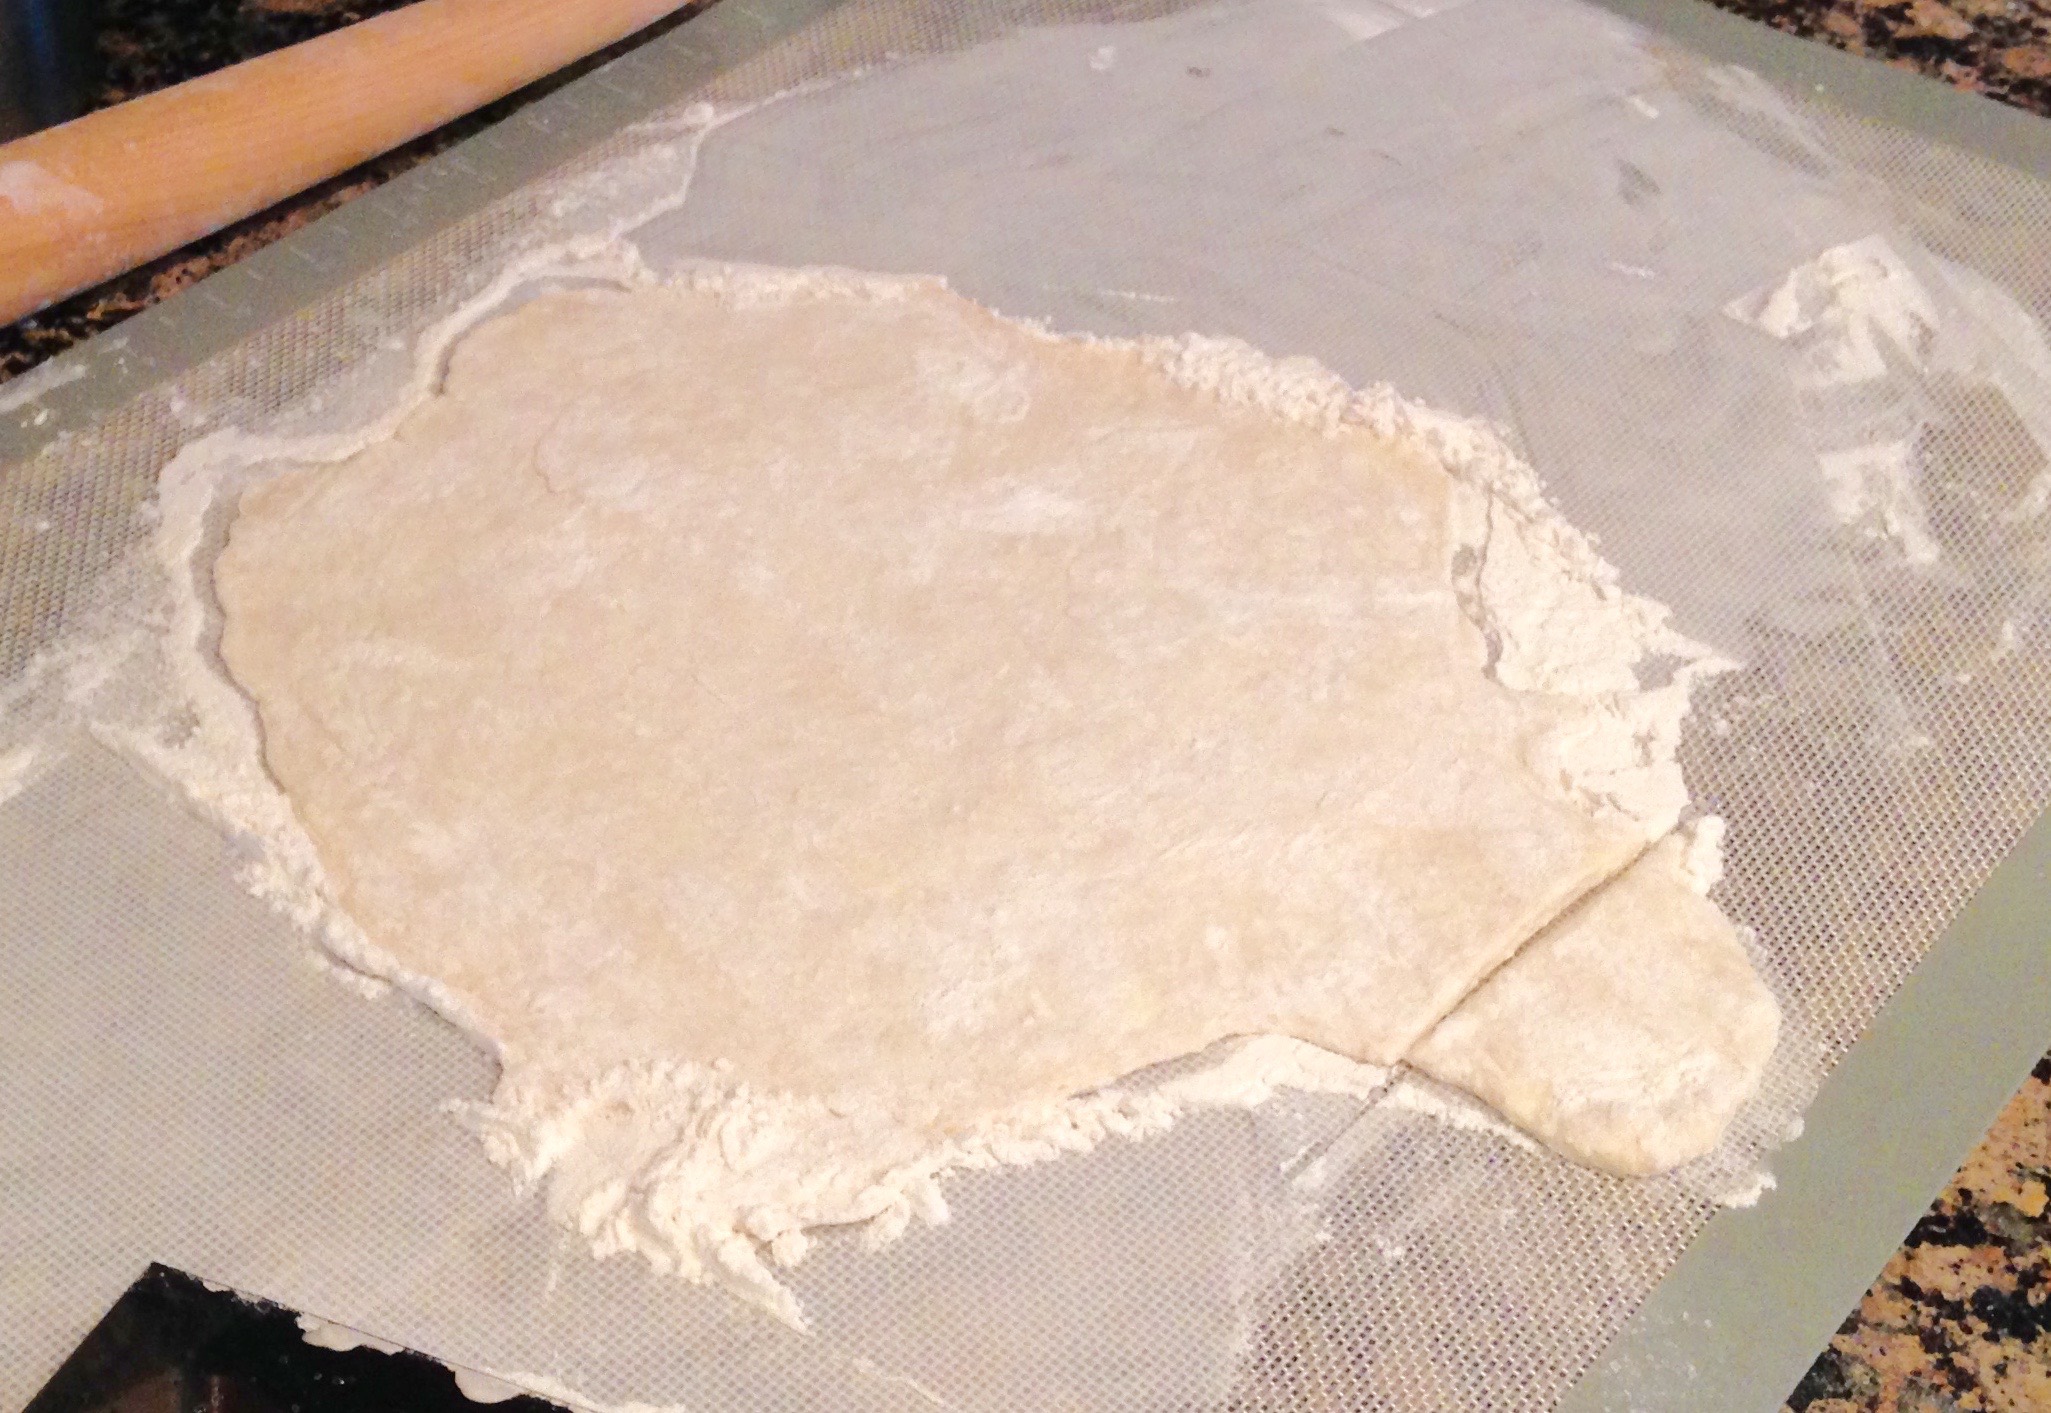
Heavily flour a work surface. Roll the dough out thin with a heavily floured rolling pin. Dip a biscuit cutter in flour and cut the dumplings in squares about 2″x2″. It’s okay for them not to be exact.
Transfer cut dumplings to a floured plate. Keep flouring between layers of dumplings.
To cook them, bring the broth to a boil. Drop the dumplings in one at a time, stirring while you add them. The extra flour on them will help thicken the broth. I also added the diced celery at this time. Cook the dumplings for about 15-20 minutes or until they are not doughy. Add the cooked chicken to the pot and you’re done.
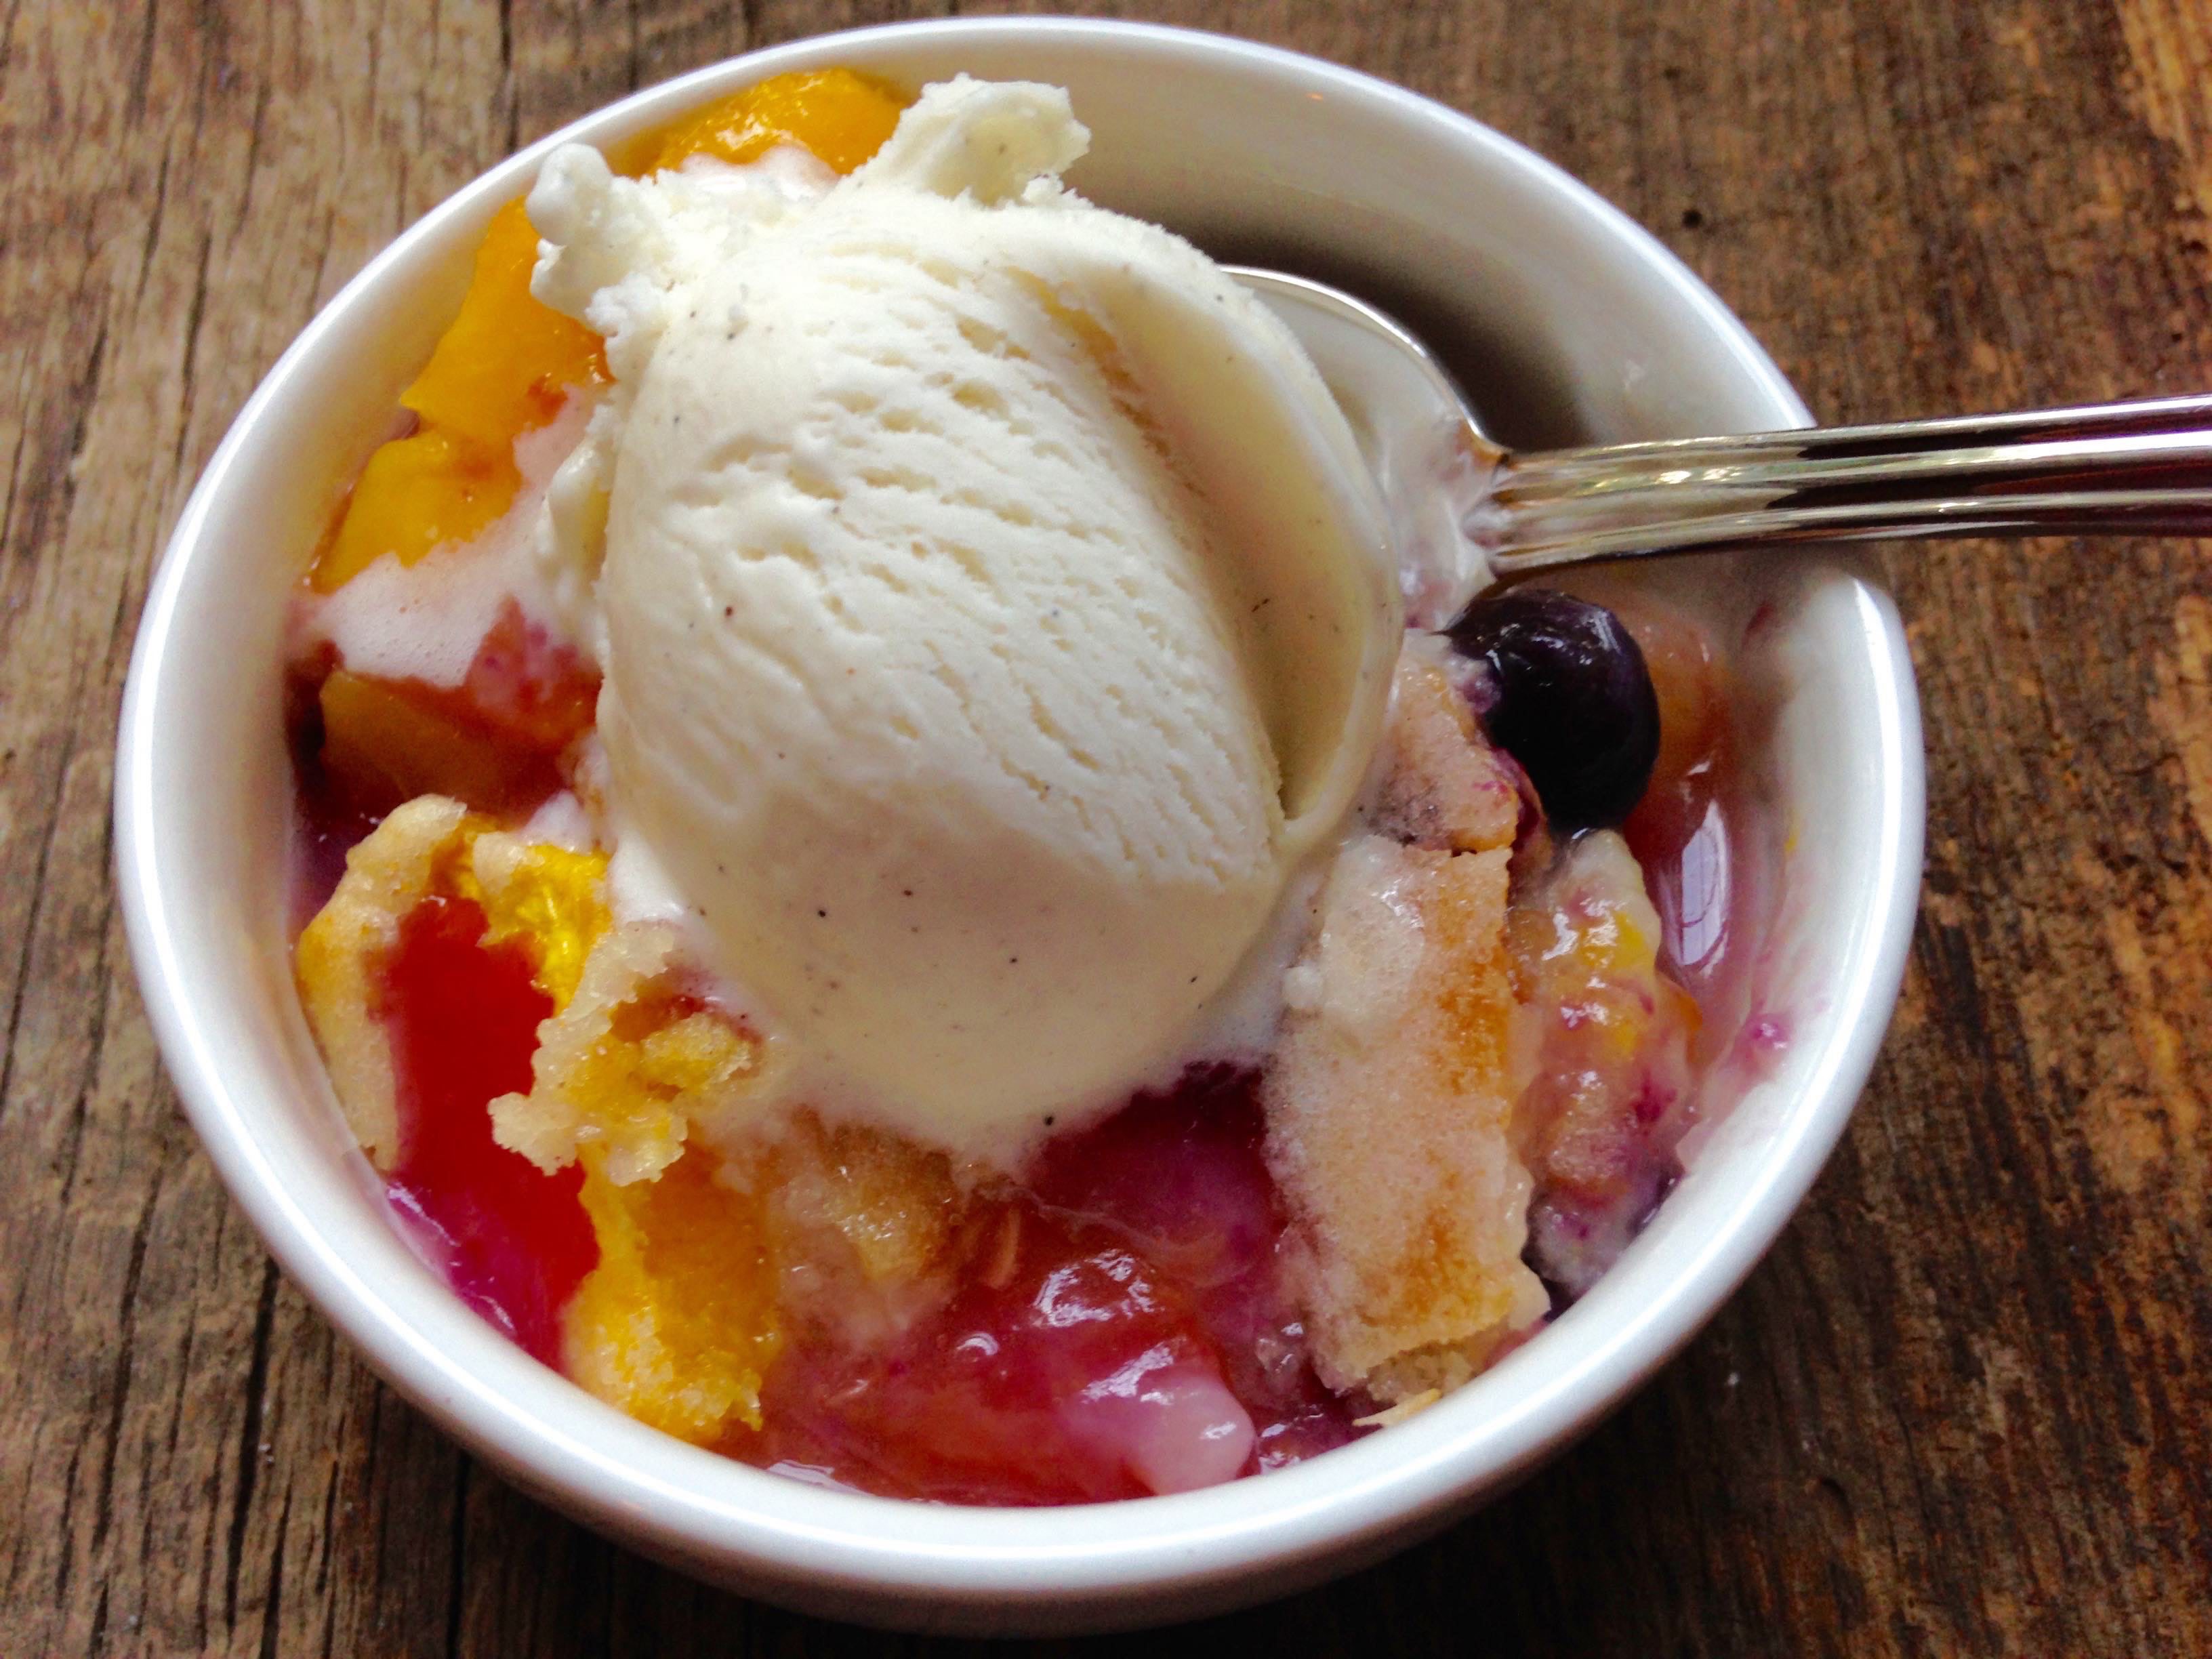
Nothing tastes better in the summer than a fresh fruit cobbler topped with vanilla ice cream. Peaches were on sale the other day so what better excuse to make this dessert!
Summer is probably my favorite season. Juicy peaches, mangos, cantaloupe, and watermelon are just a few of the tasty fruits available this time of year. Plus it’s hot enough in Texas to go swimming and get a nice tan! I used to wish I lived up north where it was cooler, but after having a few icy winters here in Texas lately, I couldn’t be more happy to live here, and enjoy the 100 degree temps. 🙂 It takes some getting used to but I just love hot weather!
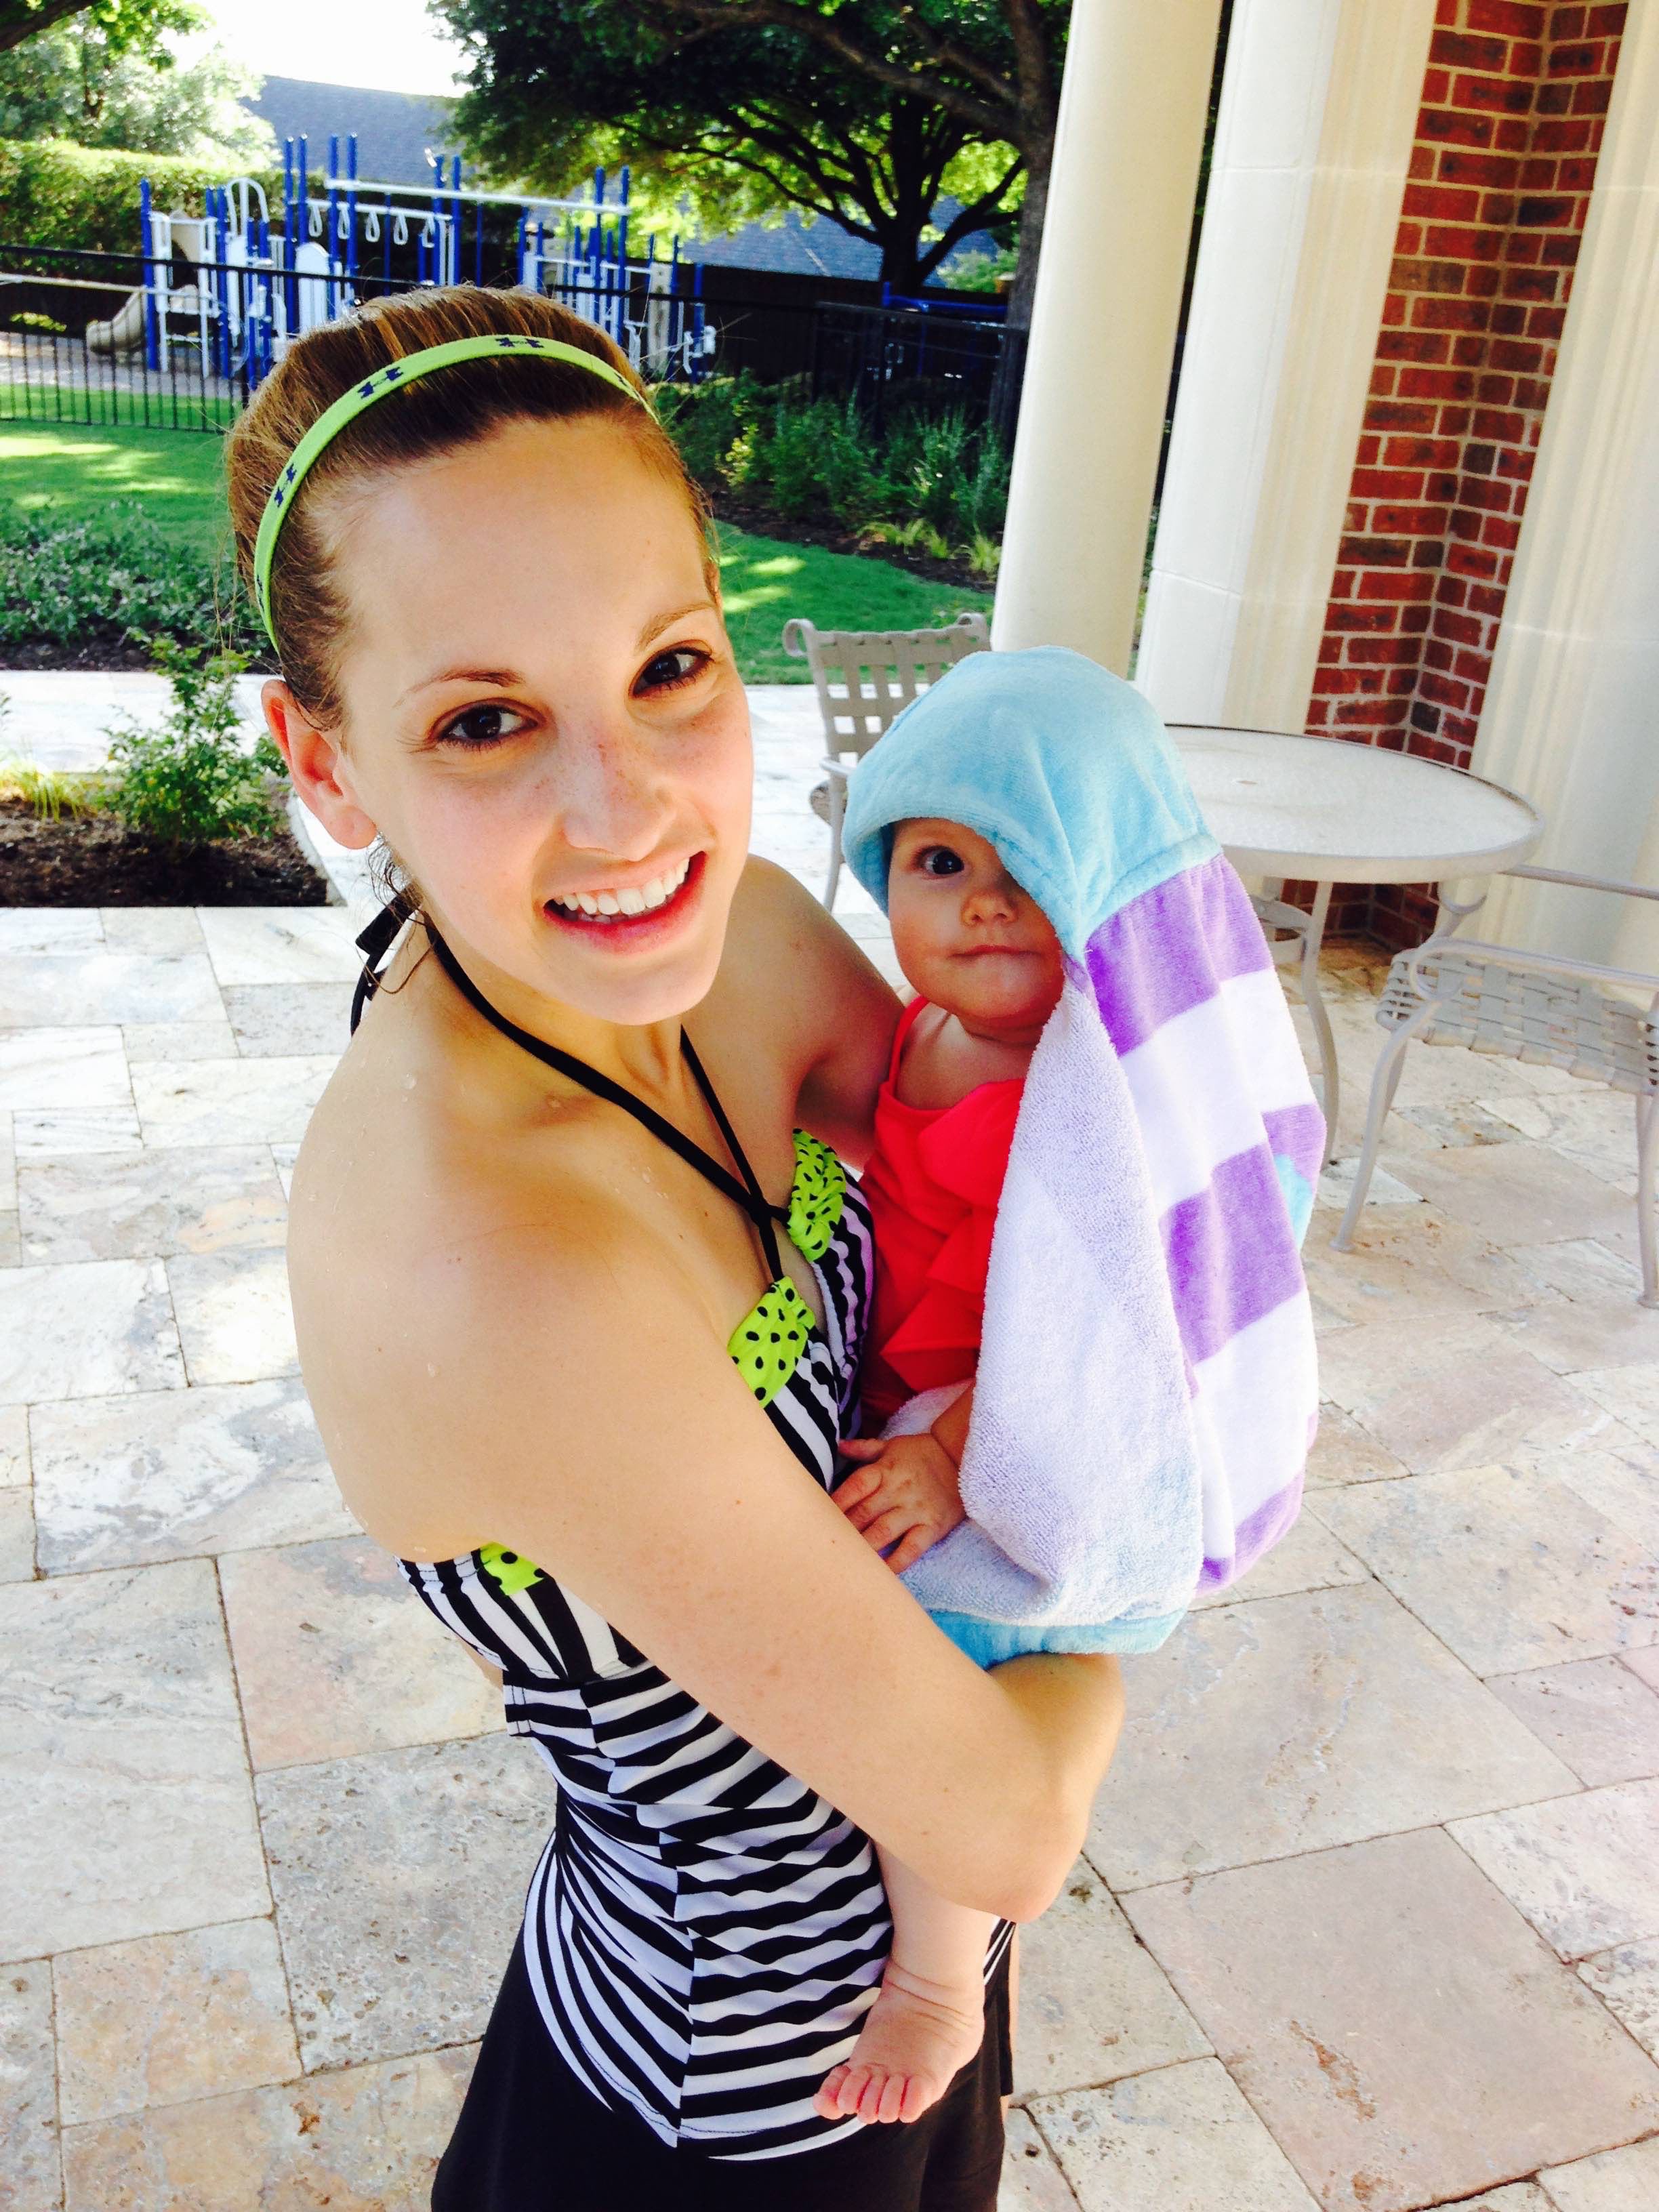
Harper seems to love summer as well. She is a natural in the pool and hardly ever cries. She loves being thrown up in the air like a little cheerleader. I seriously think she may be a flyer some day.
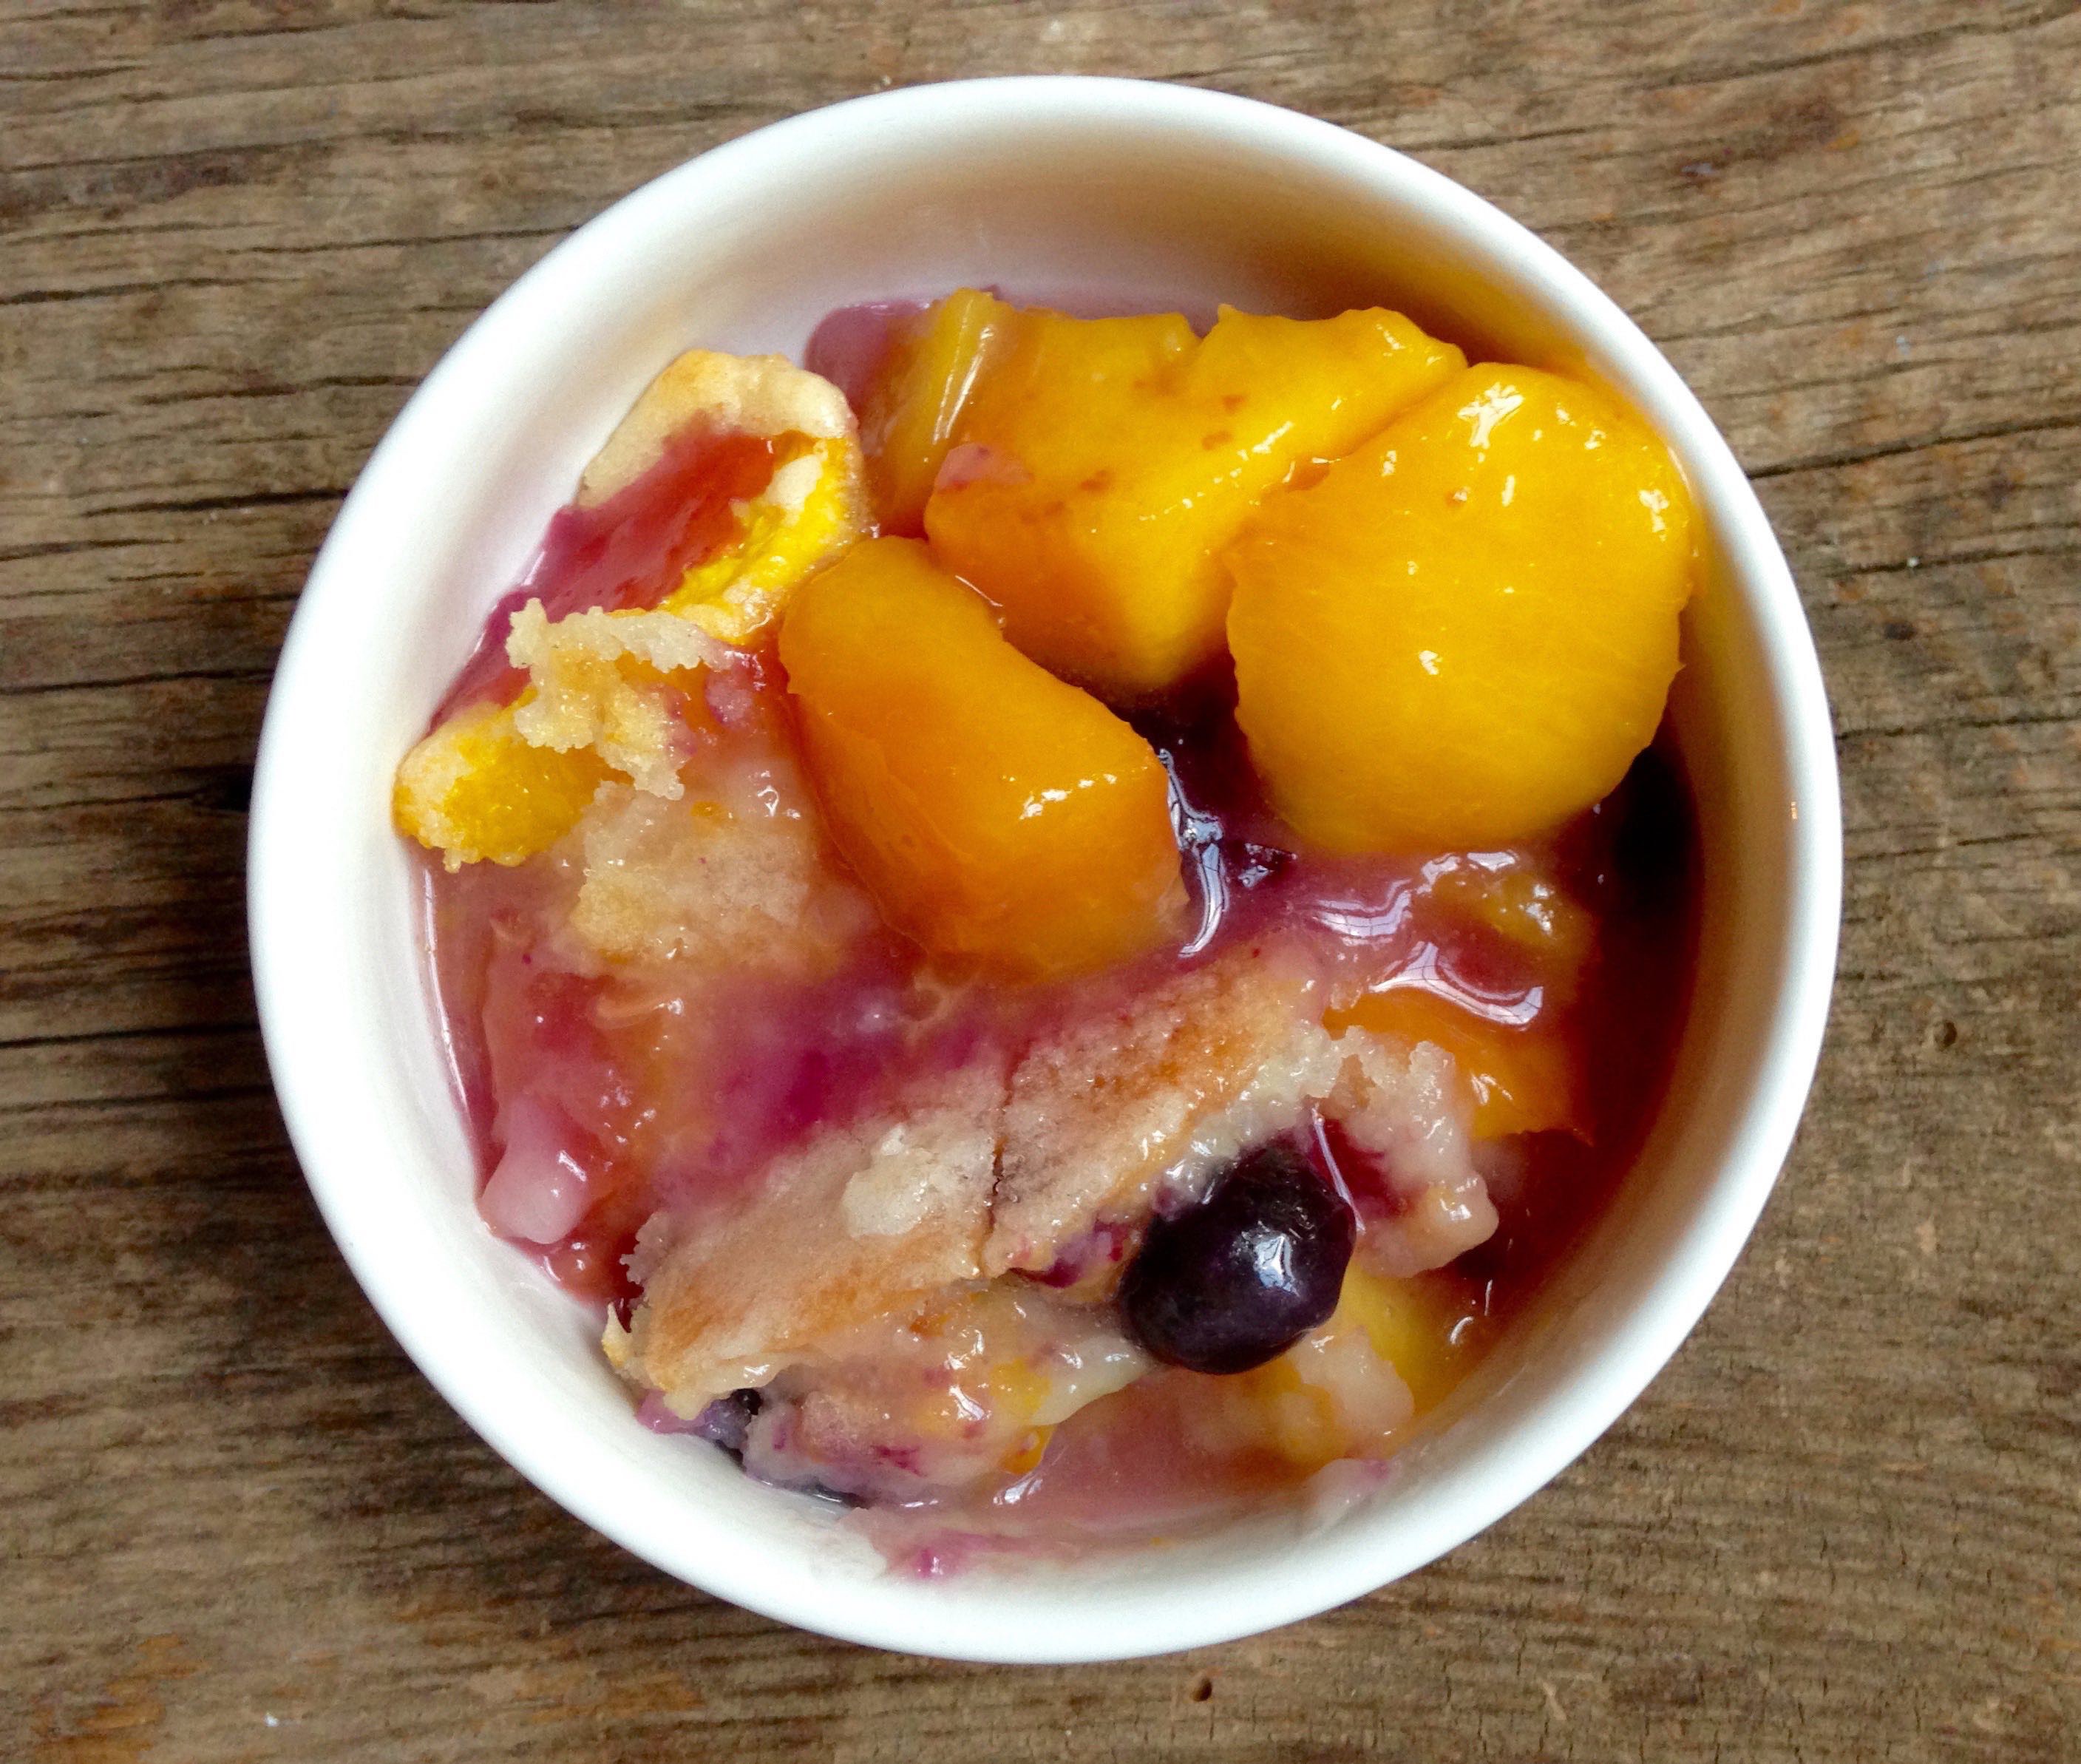
Now onto the peach blueberry cobbler. Two of my most favorite fruits, blueberries and peaches make for a great combination, but feel free to substitute 2 pounds of whatever fruit you want.
I actually halved this recipe, adapted from Leite’s Culinaria. It called for over 4 pounds of peaches, but I was only able to get 2 pounds worth, thus I halved it. The size of this cobbler is perfect and easily serves 4-6 people, perhaps even 8 if you eat smaller portions.
The fruit part of the cobbler is super easy…just peel the peaches and throw them in the baking dish. The topping is extremely simple too. You need an electric mixer to beat the butter and flour mixture, but it comes together in just minutes.
The hardest part about this cobbler is waiting an hour for it to cook. Any sooner than 60 minutes, and your crust will be too doughy.
Matt hates waiting for dessert to cool when it comes out of the oven, so we dug right in after 5 minutes, but I don’t recommend that. It was too runny and too hot, so I definitely recommend waiting at least 30 minutes to allow the fruit to cool, the juices from the peaches and blueberries to set up, and the crust to get good and crisp. Trust me, this cobbler will still be warm 30 minutes later, and the perfect temperature to allow your vanilla ice cream to start melting.
Appreciate the the rest of your summer, feel free to use all peaches, or substitute blackberries for blueberries, and enjoy!
Peach and Blueberry Cobbler
Prep time:
Cook time:
Total time:
Serves: 4-6
Adapted from Leite’s Culinary
Ingredients
2 lbs fresh blueberries and peaches, peeled and cut into 1-inch chunks
Zest and juice of 1/2 lemon
1/2 stick unsalted butter, softened
1 cup granulated sugar
3/4 cup all-purpose flour
1 tsp. baking powder
1/2 tsp. kosher salt
1/3 cup milk
1/4 cup hot water
vanilla ice cream, optional
Instructions
Preheat oven to 350 degrees F. Place blueberries and peaches in a 8×8-inch baking pan and pat them in a roughly even layer. Using a zester, finely zest the lemon evenly over the peaches and then squeeze the lemon juice evenly over the peaches. Make sure to catch any seeds before they plummet into the baking dish and get lost among the peaches.
In the work bowl of a stand mixer fitted with paddle attachment, beat the butter and 3/4 cup sugar on medium speed until sandy, about 1 minute. Add the flour, baking powder, and salt and beat again for another 30 seconds, until all the flour is incorporated and the mixture is evenly crumbly. Reduce the speed to low and slowly add the milk. Increase the speed to medium and beat until lightly fluffy, about 2 minutes more.
Plop the batter in large blobs over the peaches. With an offset spatula or small knife, carefully spread the batter evenly over the fruit so it’s no more than about 1/2-inch thick in any place.
Sprinkle the remaining 1/4 cup sugar over the batter. Then drizzle the hot water evenly over the sugar to melt the sugar into the topping.
Place the baking dish on a foil-lined baking sheet and bake for 60 to 70 minutes, until the top is cracked and golden brown. You’ll want to start checking it at 60 minutes. A toothpick inserted in the topping should come out dry – just be sure to check it in a few places.
Let the cobbler sit in the baking dish on a wire rack for at least a half hour. Scoop the warm peach cobbler into big bowls and top with vanilla ice cream.
I hope everyone had a wonderful 4th of July weekend. As always we headed down to Cedar Creek Lake for our annual 4th of July lake trip. Harper got to hang out with her great grandparents (we call them the Boogs), her grandparents Yogi and Lala, her aunt Leah and uncle Jeffery, and cousins Bear, Georgia, and Mary Martha.
It’s so much fun to see little kids play together. Harper could not stop laughing at Georgia who is 4 years old. Georgia was making funny faces with Harper which tickled her to no end. Bear, who is 6 years old, is super sweet and gave Harper lots of kisses.
4th of July at the lake with the whole family.
We rode jet skis, played dominoes, and saw the best fireworks show ever! Words can’t explain how cool it was to sit out in the middle of a dark lake, surrounded by probably 30 concurrent firework shows all happening at the same time. Unreal!
Matt brought his cowboy hat and everyone seemed to enjoy wearing it as well.
This captures our parenting style exactly. My parenting style – city slicker with the Louis Vuitton purse. Matt’s parenting style – good ole country with the cowboy hat.Bear showing off that cowboy hat!Fun with Georgia.
The food we had at the lake was sooo good! For lunch Paula made chicken salad, and homemade pico de gallo. For dinner we grilled out chicken, and corn on the cob, and had ribs and brisket.
Desserts are always the showstoppers. We’re never short for sweets at the lake. Boog made her famous chocolate chip bundt cake, and two pecan pies. Paula made four layer dessert and a 4th of July berry trifle with strawberries, blueberries, and pound cake.
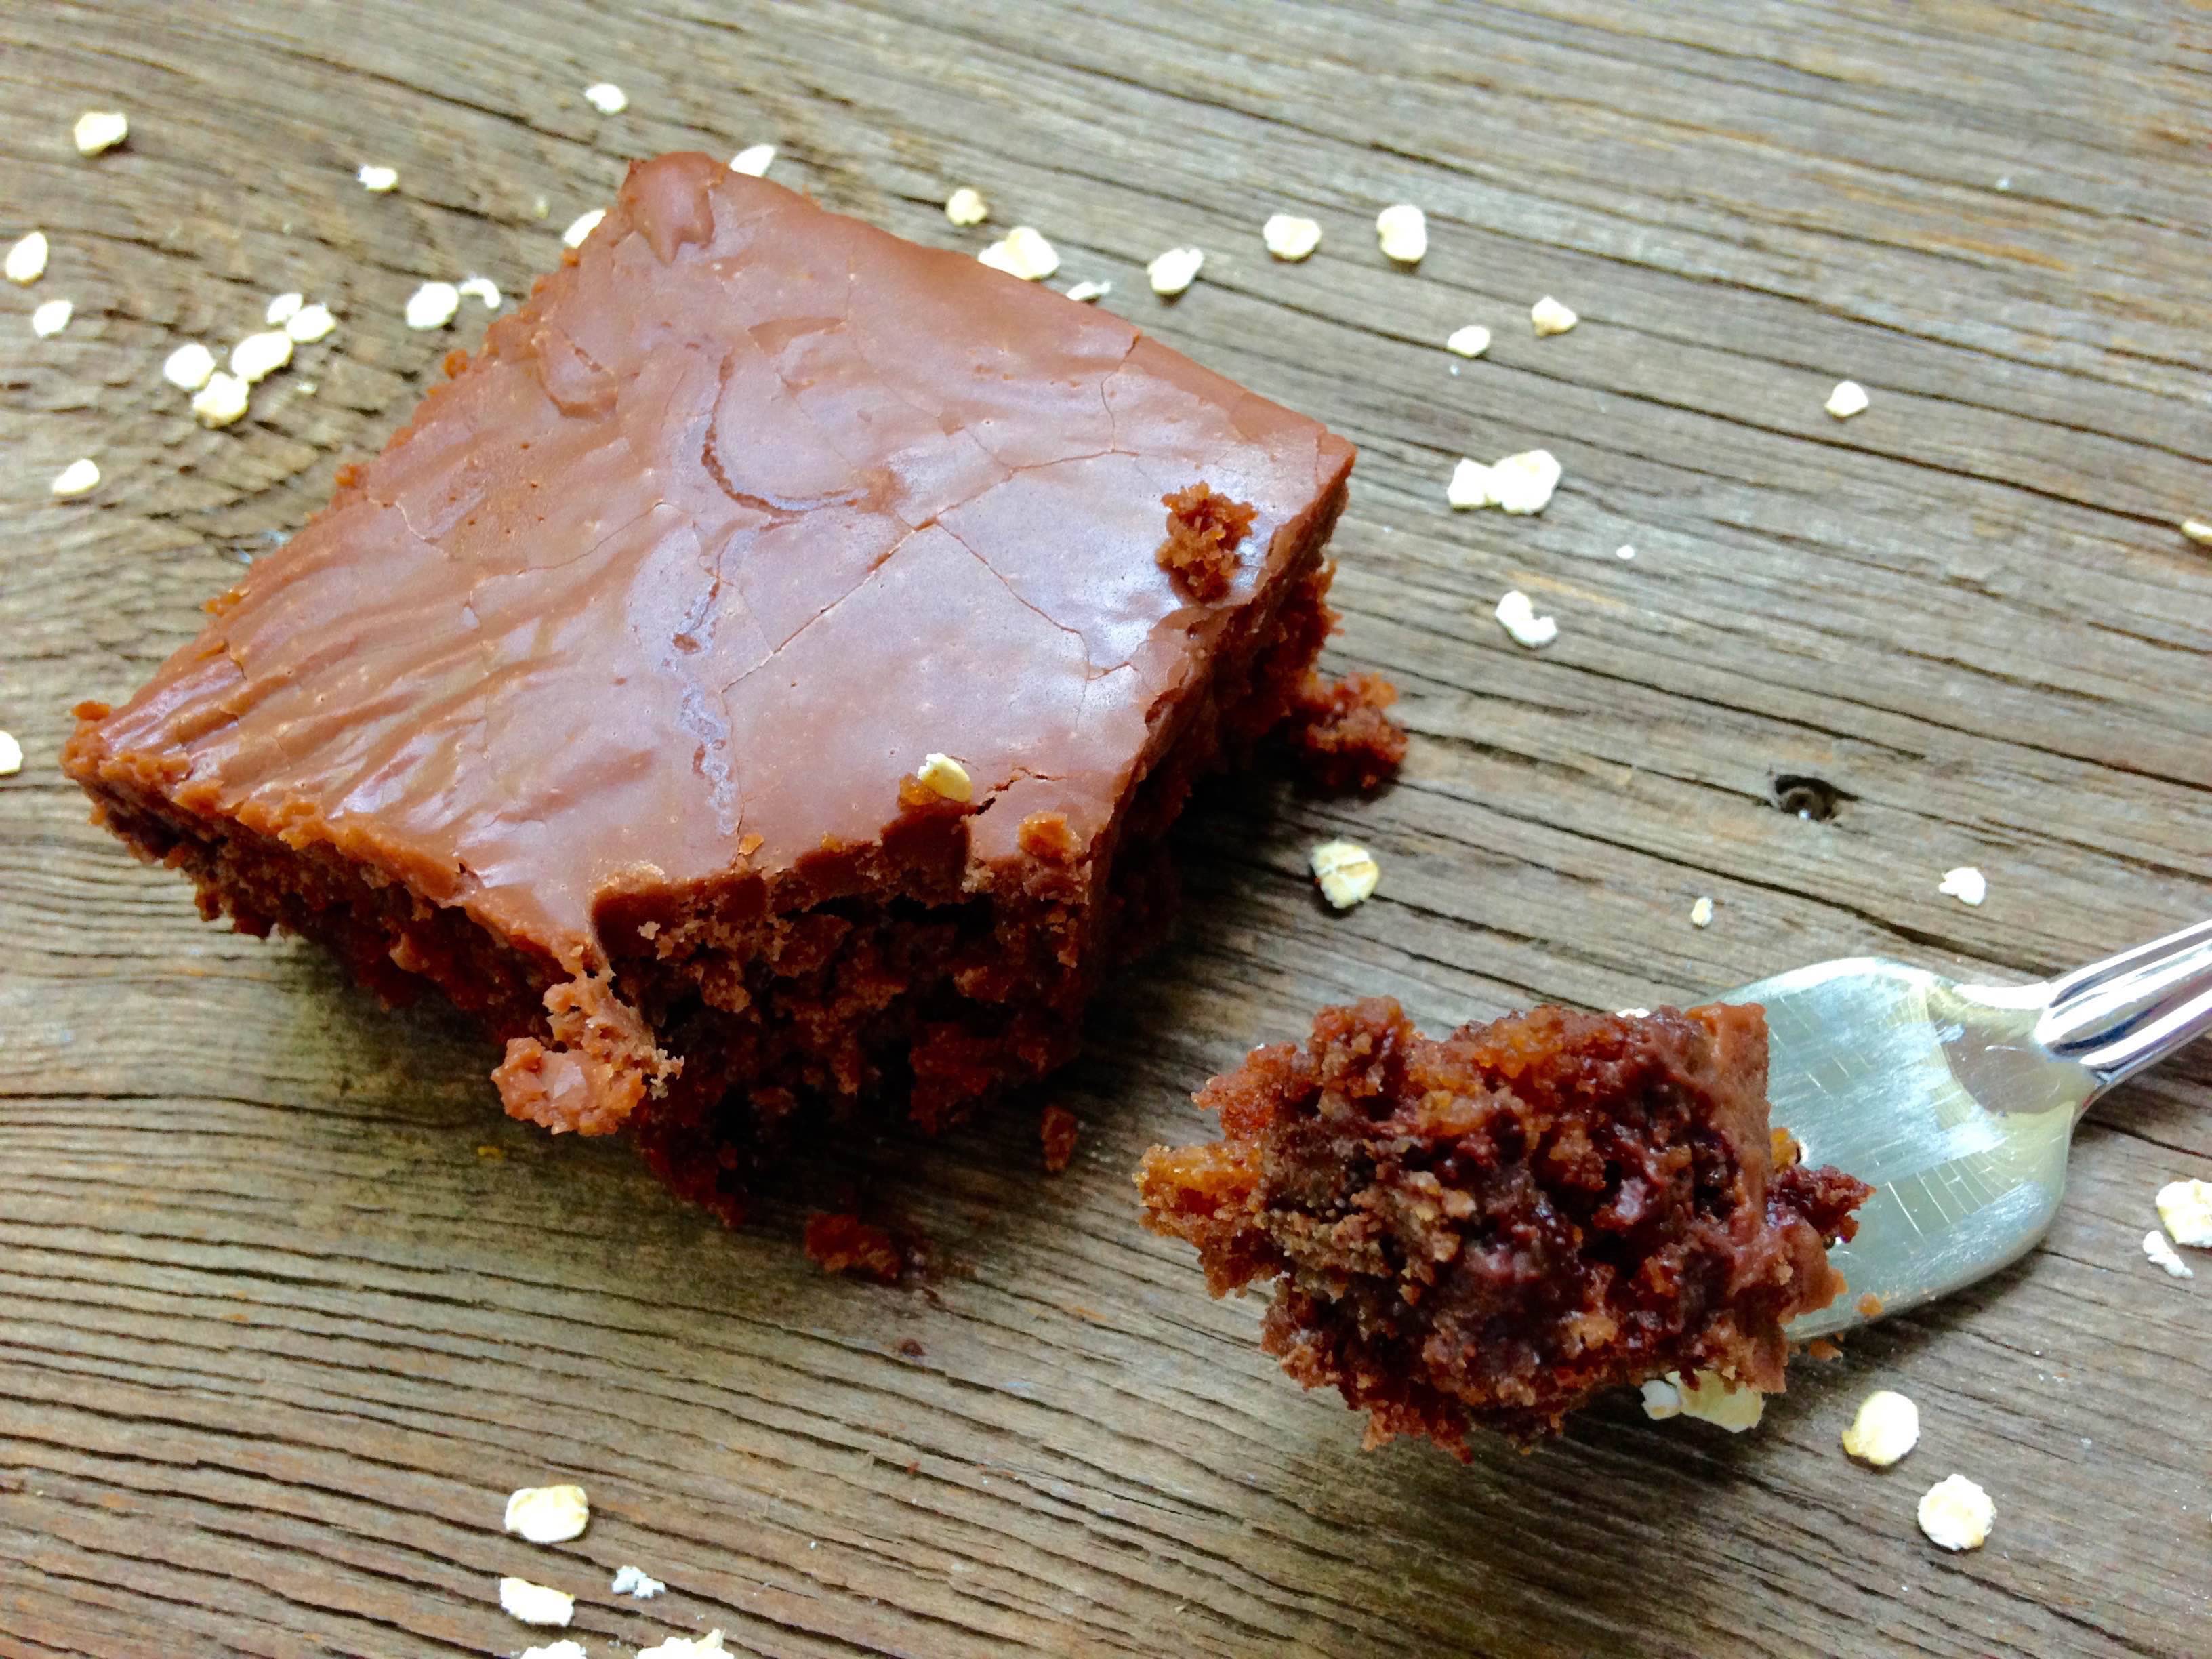
Adapted from Pinch of Yum blog, this chocolate oatmeal cake is a unique twist on the classic chocolate sheet cake.
I’m not going to lie, this chocolate oatmeal cake may require a tie-breaker with my all-time favorite Mrs. Kelm’s chocolate cake. That’s saying a lot given that I’ve eaten Mrs. Kelm’s chocolate cake for the past 27 years!!
The great thing about this cake (in my opinion), is the texture. Some people may not like it, but you can taste the chewiness from the quick oats, and chunks of chocolate chips that didn’t quite melt in the cake. Whereas Mrs. Kelm’s cake is smooth, this one has a unique consistency. They both have that sweet, milk-chocolatey delicate taste that I love.
Mini marshmallows are the secret ingredient and are used in the frosting. They melt, so you can’t see them, but leave behind a subtly sweet flavor, and add to the thickness of the gooey chocolate frosting.
If you like oatmeal and chocolate sheet cake, this is the cake for you. If new textures don’t bother you, you’ll love this cake just as much as I did. I may be switching off birthday cakes from now on!
Enjoy!
Chocolate Oatmeal Cake
Prep time:
Cook time:
Total time:
Serves: 20
Adapted from Pinch of Yum
Ingredients
1 cup brown sugar
1 cup white sugar
1/2 cup butter, melted
2 eggs, lightly beaten with a fork
1 3/4 cups flour
1 tsp. baking soda
1/2 tsp. salt
1 1/2 Tbsp. unsweetened cocoa powder
1 cup quick cooking oats
1 3/4 cup boiling water
1 (12 oz) bag chocolate chips, divided (go for Ghirardelli)
6 Tbsp. unsalted butter
6 Tbsp. milk
1 1/2 cups sugar
3/4 cup chocolate chips (Ghirardelli)
3/4 cup mini marshmallows
Instructions
Preheat oven to 350 degrees F.
FOR THE CAKE: With an electric mixer, cream the butter and sugars. Add the eggs and mix well. Add flour, soda, salt and cocoa and mix until just incorporated. The batter will be very thick.
Add boiling water to oatmeal and let stand for a few minutes. Once oats are soft, add oats/water mixture to the batter and mix well. Stir in half the bag of chocolate chips (6 ounces).
Pour into a greased or buttered 9×13-inch cake pan. Sprinkle the top of the cake with the rest of the bag of chocolate chips (6 ounces).
Bake for 350 degrees for 30-40 minutes or until the surface springs back lightly when touched. Do not overbake. Let cool completely.
FOR THE FROSTING: Melt the butter, sugar, and milk in a large saucepan over medium-low heat. Bring to a boil and boil for 30 seconds.
Reduce heat to low and add chocolate chips and marshmallows. Stir or whisk until frosting is smooth. Pour immediately over the cooled cake. The frosting crystalizes almost immediately as it cools so it’s important to get it on the cake while it’s still piping hot. Allow the frosted cake to cool before serving.
Can you believe summer is halfway through? It has gone by waaaay to fast. Lucky for me, I don’t have to worry about going back to school, but I will miss going to the pool once the weather cools off and the pool is shut down until next summer.
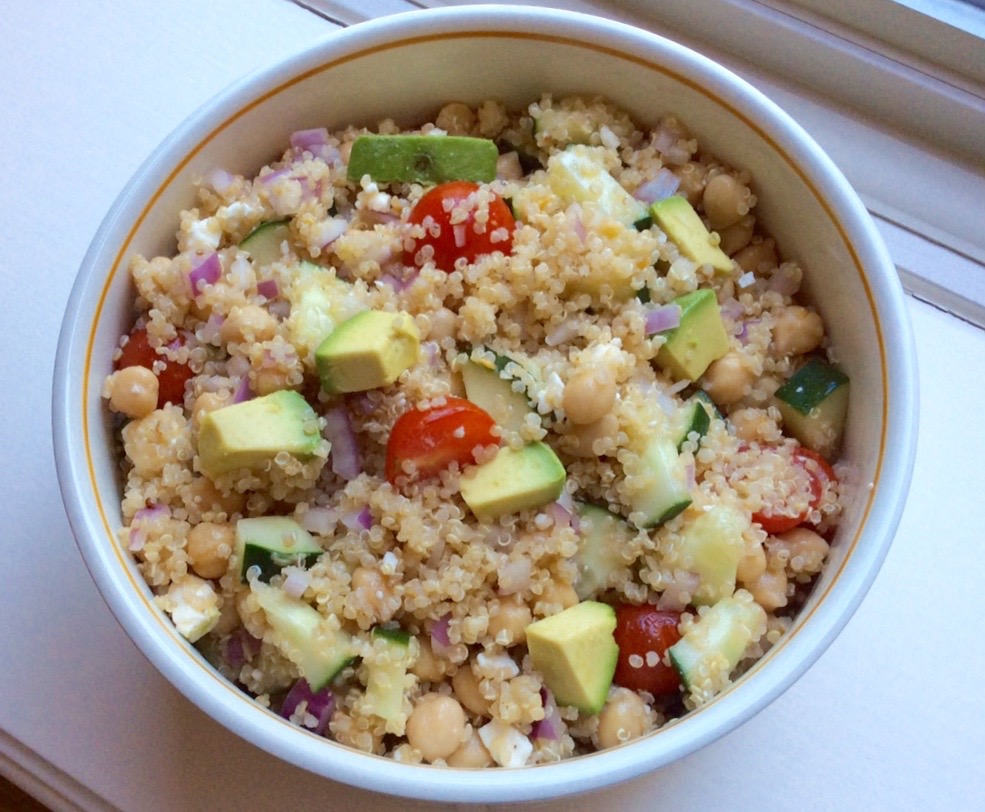
Here’s another recipe adapted from Taking on Magazines for a delicious California Quinoa Greek Salad. Unlike most of my recipes, not all of the ingredients in this salad are exact. Instead, just use however much of vegetables of your choice: cherry tomatoes, avocado, red onion, cucumber and feta cheese. I actually like to make this salad and top it with arugula and a side of hummus.
If you don’t know much about quinoa, it’s one of the world’s healthiest grains. It’s very low in cholesterol and sodium, and is a good source of magnesium, phosphorous, and manganese. In addition, just one cup of cooked quinoa has 8 grams of protein and 5 grams of fiber.
Even better news is that quinoa is gluten free. According to a 2013 survey, about a third of people in the U.S. are currently trying to avoid gluten!
Enjoy making this quinoa salad, and make it your own with your favorite ingredients.
California Quinoa Greek Salad
Prep time:
Cook time:
Total time:
Serves: 4
Source: Taking on Magazines One Recipe at a Time
Ingredients
1/2 cup uncooked quinoa
1 cup water
cherry tomatoes, quartered
red onion, chopped
1 can chickpeas, drained and rinsed
avocado, chopped
1 cucumber, diced
2 Tbsp. freshly squeezed lemon
2 Tbsp. olive oil
salt to taste
feta cheese, crumbled
Instructions
In a small saucepan add the 1 cup of water and the 1/2 cup of quinoa. Bring to a boil then reduce the heat and simmer, covered, until the liquid has been absorbed (about 15 minutes). Set aside to cool.
In a medium bowl combine the cherry tomatoes, red onion, chickpeas, and avocado. Squeeze a wedge of lemon over the top and drizzle with olive oil. Salt to taste, but salting lightly if you will be using the crumbled feta. Stir gently to combine. Add the quinoa, stirring gently again to combine.
Spoon onto serving plates and top with crumbled feta.
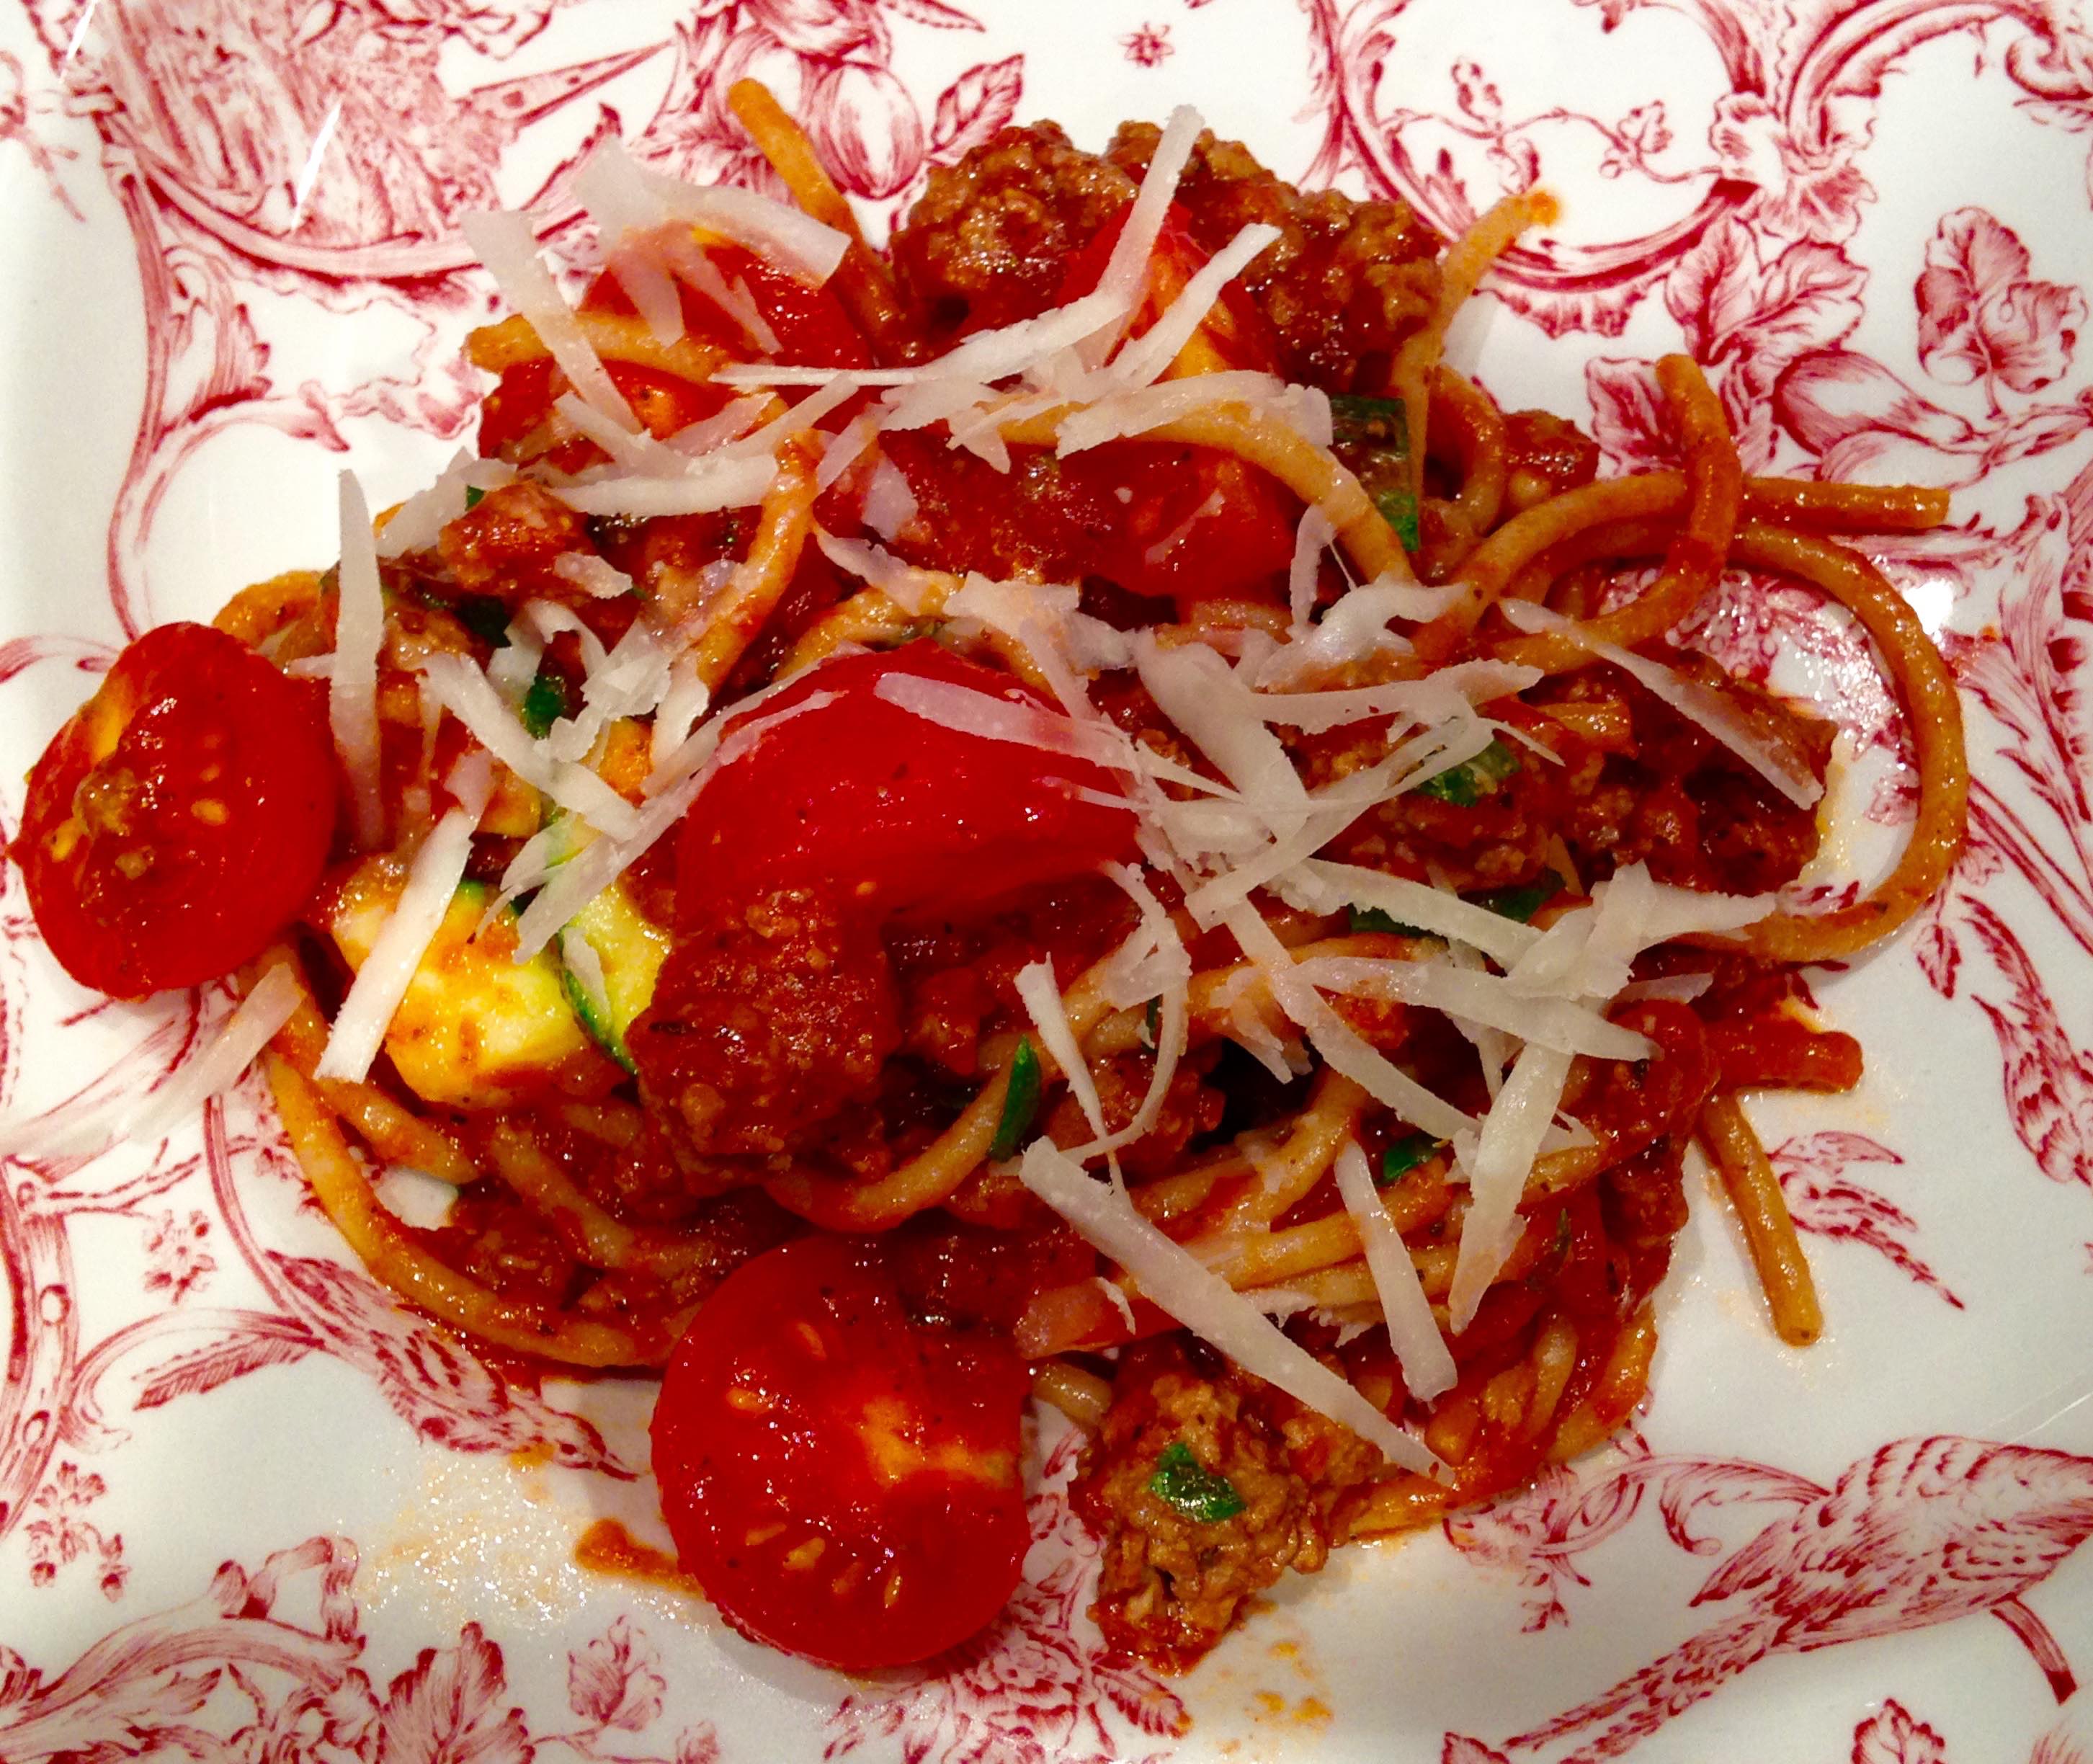
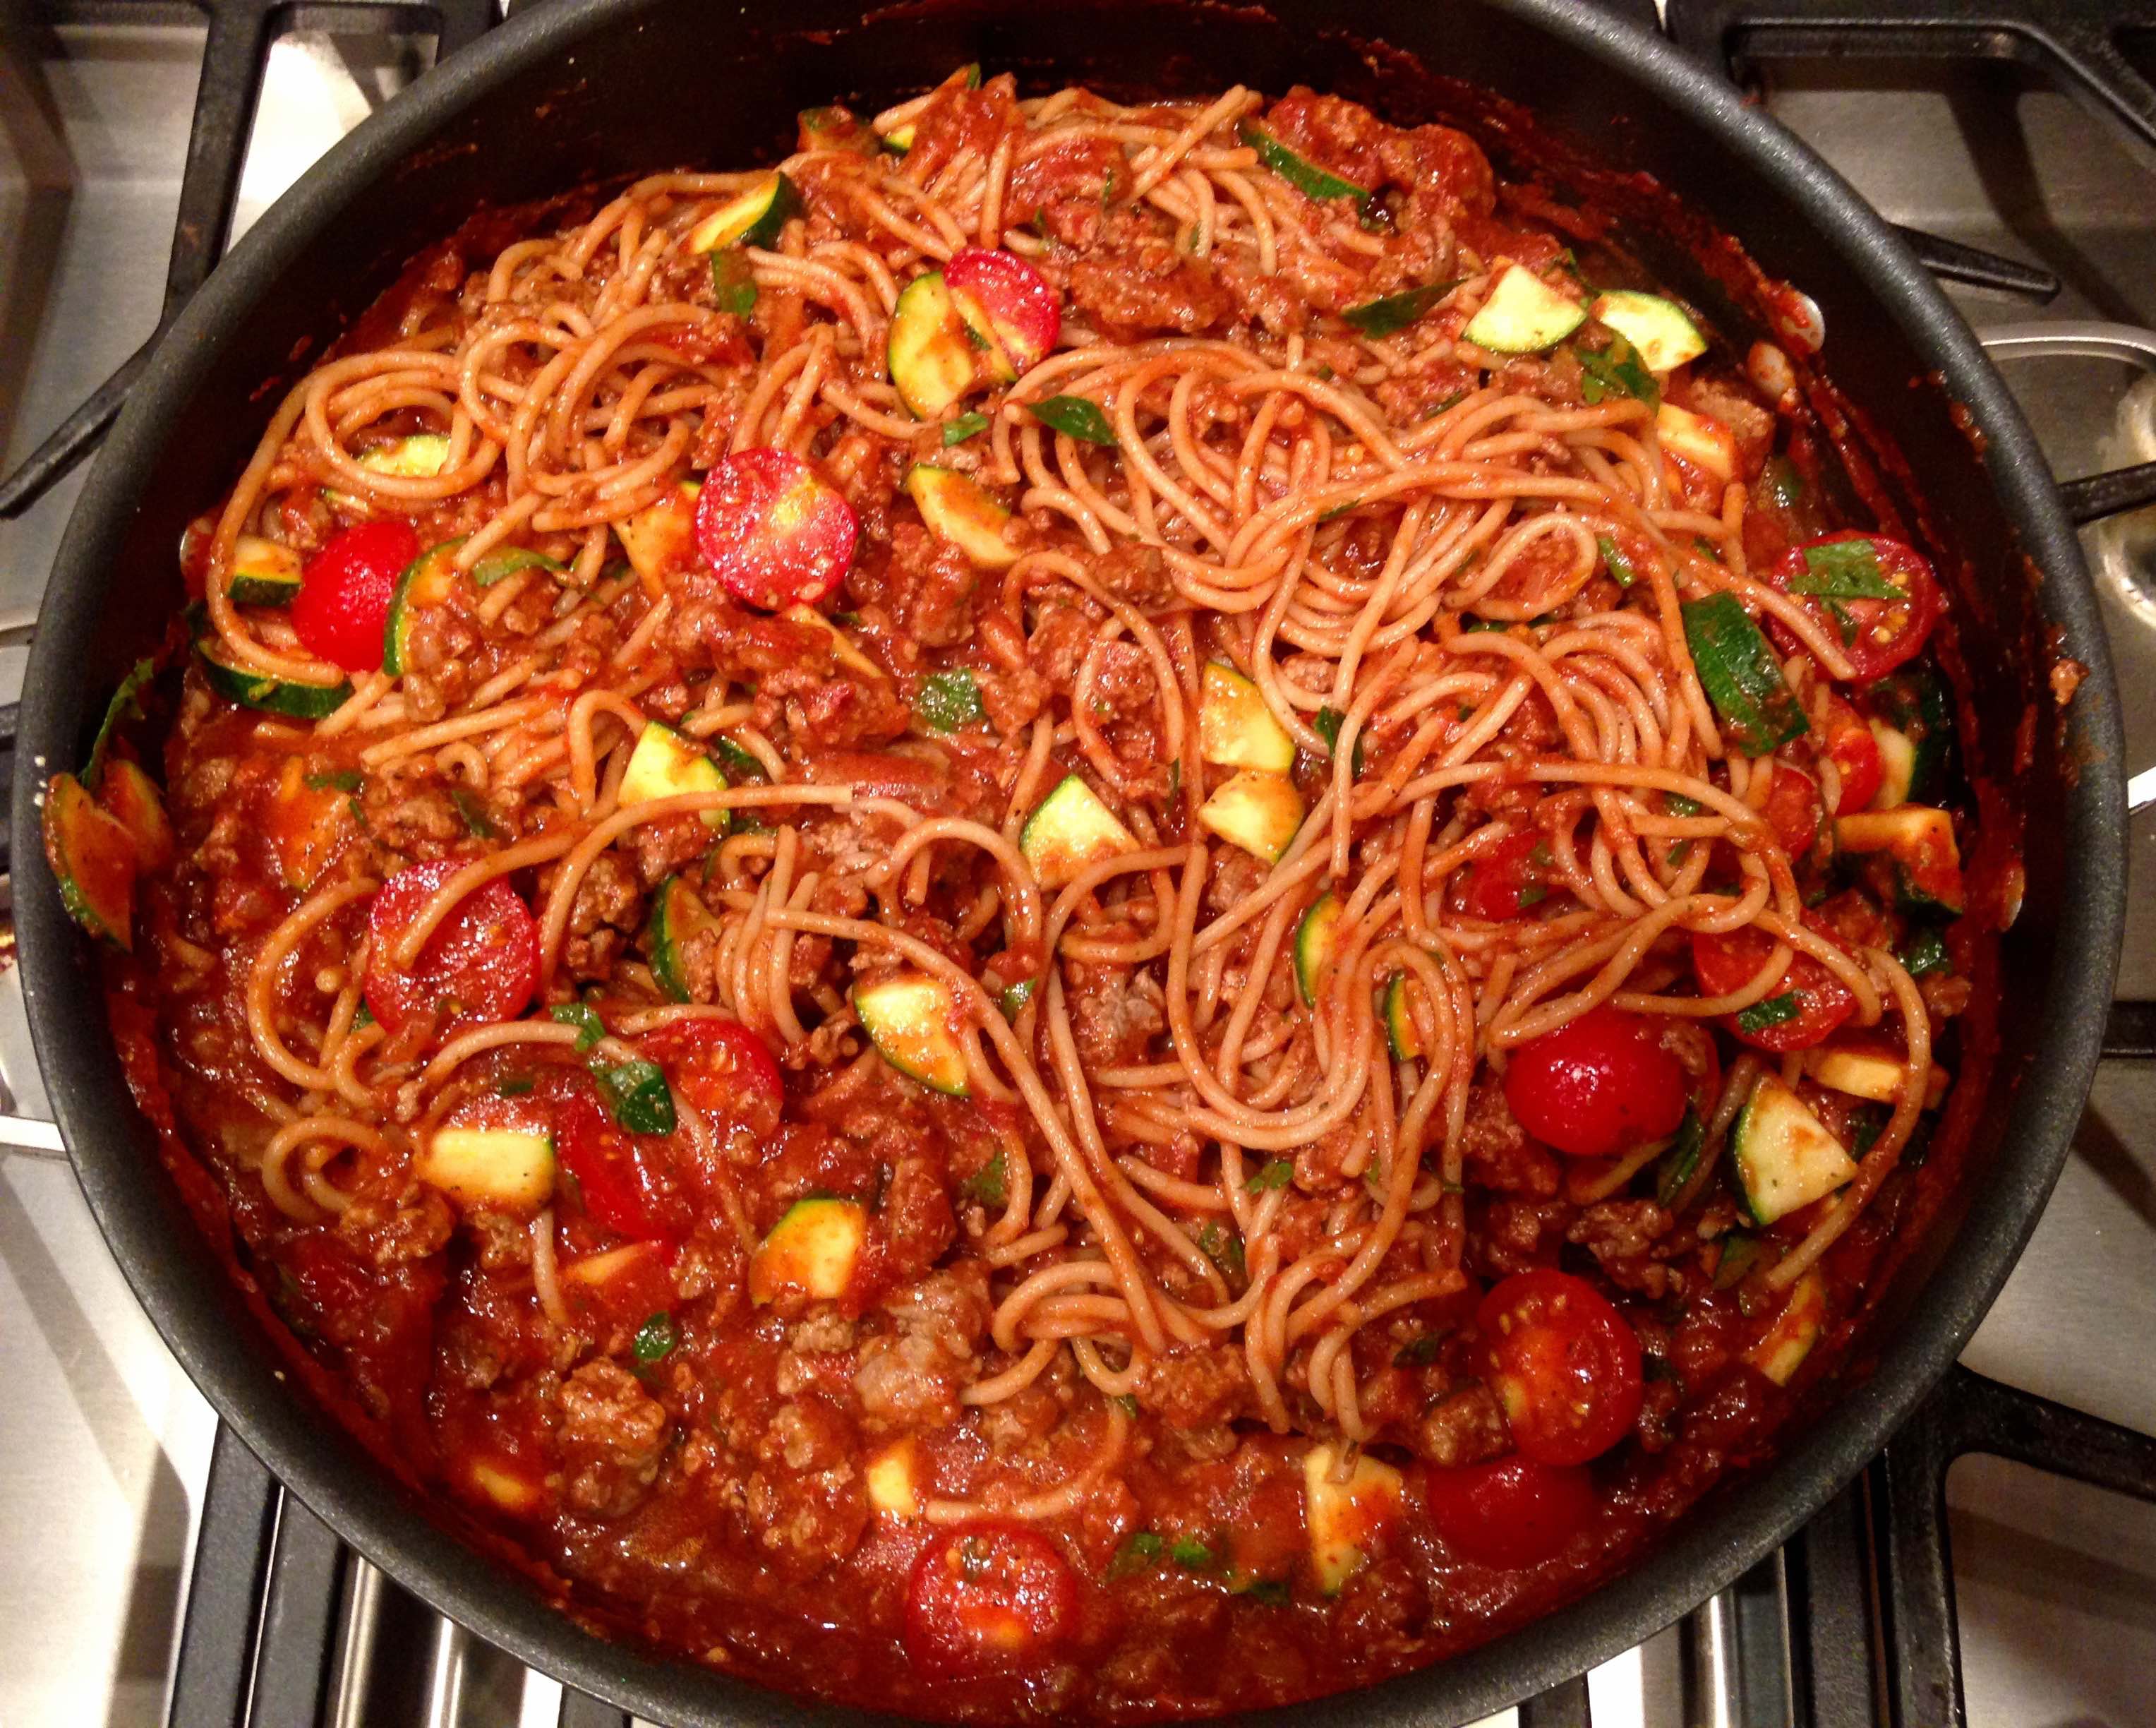
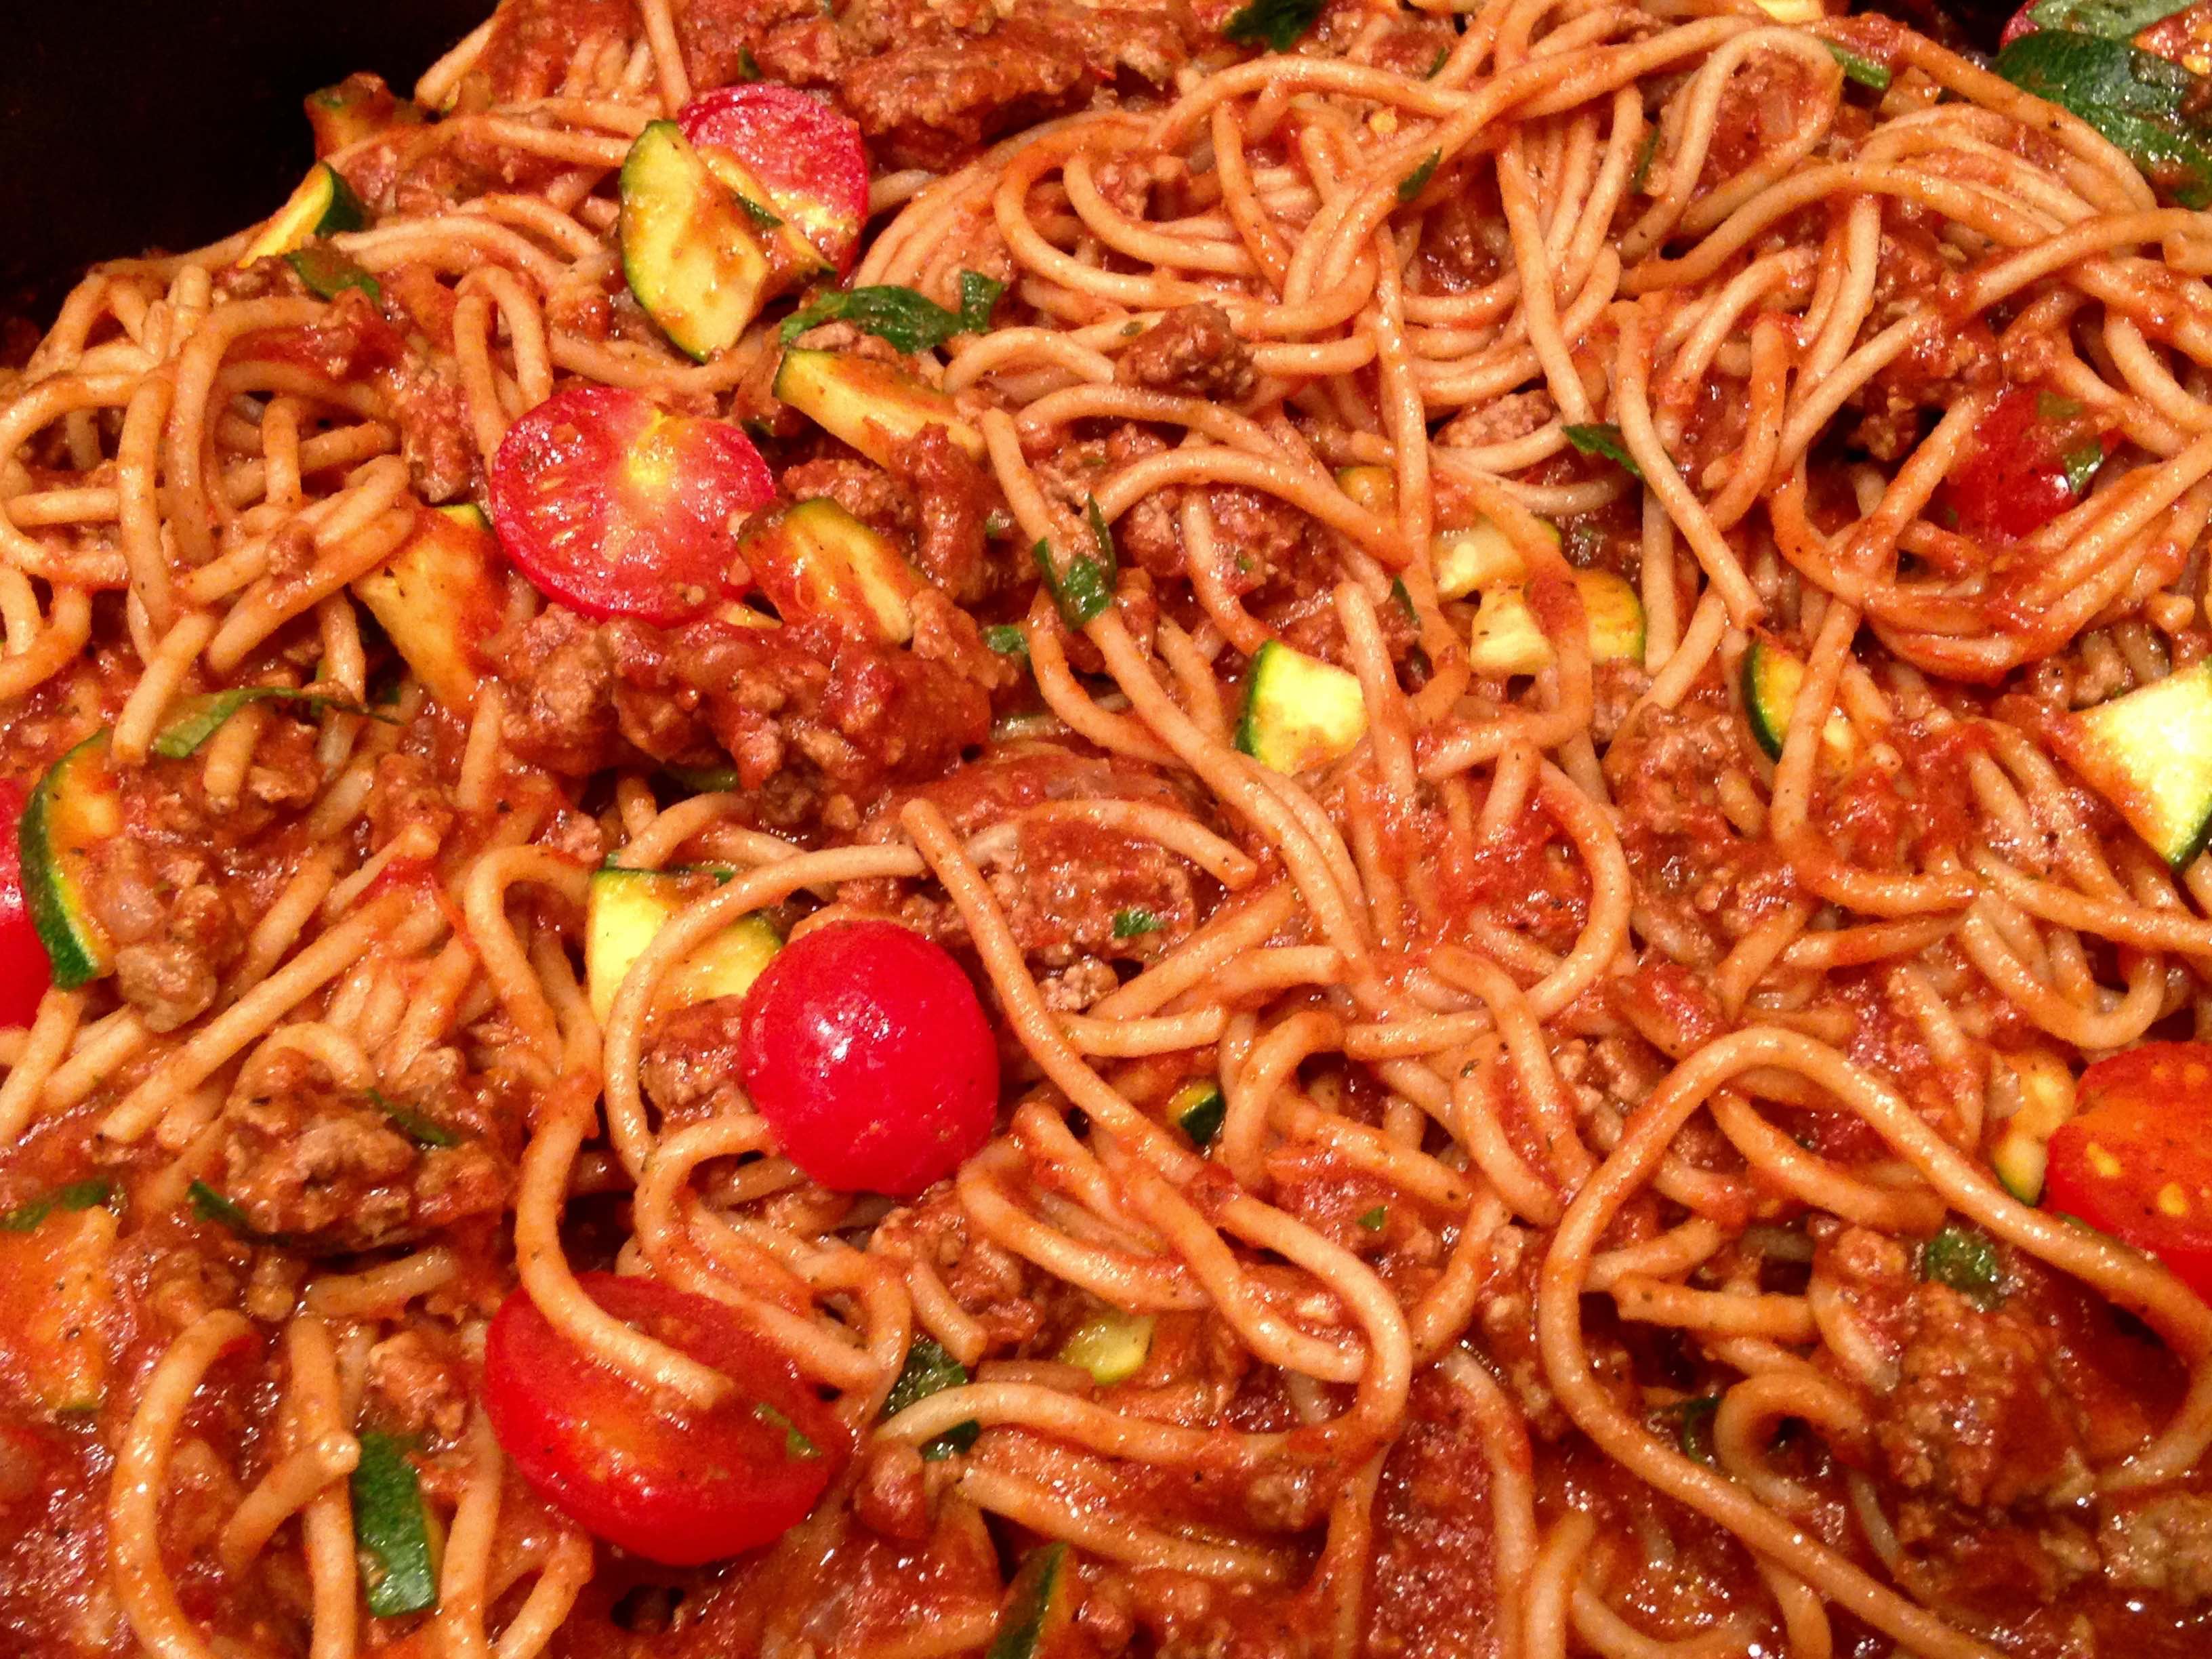
While the pictures I took don’t do it justice, this is the perfect pasta recipe to make this summer. Loaded with freshly picked cherry tomatoes from our garden and diced zucchini, you can’t get much healthier than this twist on the traditional spaghetti with bolognese sauce.
Our family likes to eat healthy, buy organic, and cut out as much processed foods as we can. This day and age, our meat is injected with hormones, and our produce is sprayed with insecticide and chemicals; it’s just downright scary.
I used to buy the jarred marinara sauce to make my spaghetti sauce, but the more and more I ate it, it tasted sugary and somewhat “old”. I’ve been making my own meat sauce using The Meat Ball Shop’s classic tomato sauce recipe and I’ll never go back.
This is another great recipe for homemade meat sauce from Taking on Magazines blog, but it has a bit of heat from the red pepper flakes, and is loaded healthy summer vegetables.
If Harper could eat adult food, she’d give it two thumbs up! lol. Enjoy!
Spicy Spaghetti with Beef & Vegetables
Prep time:
Cook time:
Total time:
Serves: 6
Source: Ground Beef Cooking 2015
Ingredients
8 ounces dry spaghetti, uncooked
1/2 pound ground lean sirloin beef
1/4 cup chopped onion
1 can (15 oz) tomato sauce
1 Tbsp. red wine vinegar
1 tsp. Italian seasoning
1/2 tsp. granulated sugar
1 clove minced garlic
1/4 tsp. crushed red pepper flakes
1 medium zucchini, thinly sliced (1 med = about 1 cup)
2 medium tomatoes, seeded, chopped (2 med = about 1 cup)
3 Tbsp. chopped fresh parsley
Instructions
Cook pasta according to package directions, omitting salt. Drain; set aside.
Combine meat and onions in medium nonstick skillet. Cook over medium heat 4 to 5 minutes, or until meat is no longer pink; stirring frequently. Drain, if necessary.
Stir in tomato sauce, vinegar, Italian seasoning, sugar, garlic and red pepper. Cook 3-4 minutes, or until heated through, stirring occasionally.
Add pasta and zucchini; mix well. Cook 2-3 minutes, or until heated through, stirring occasionally. Stir in tomatoes and parsley; heat through.


