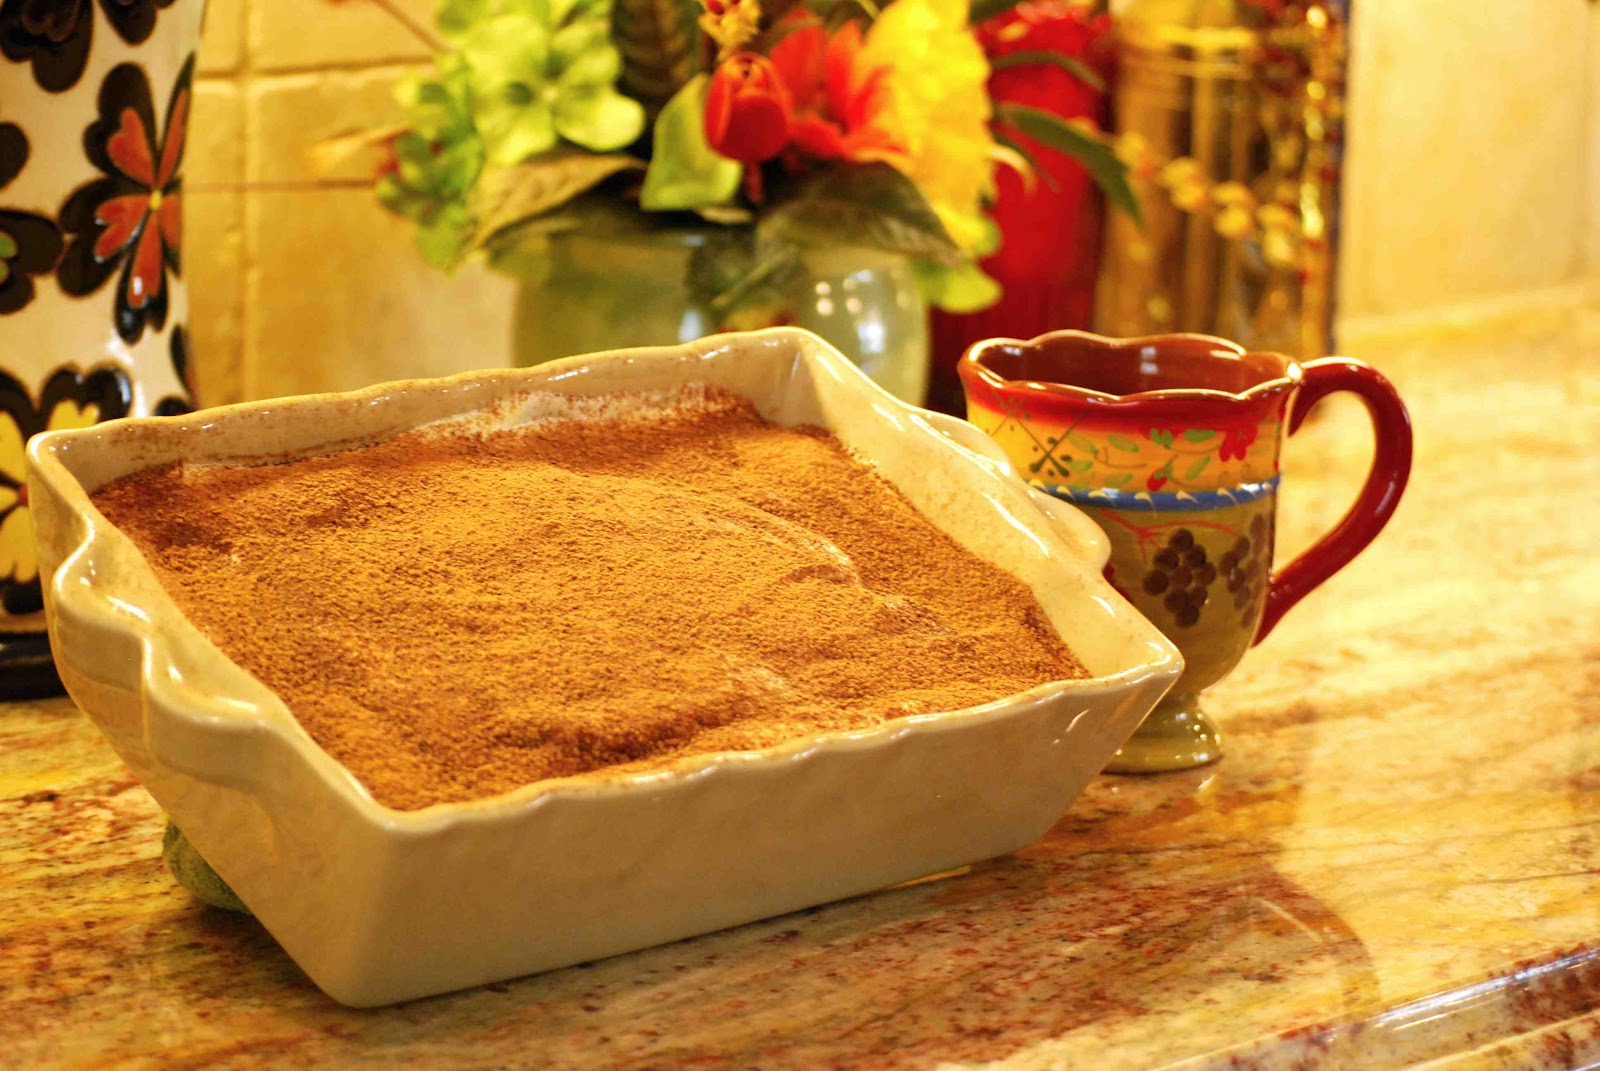
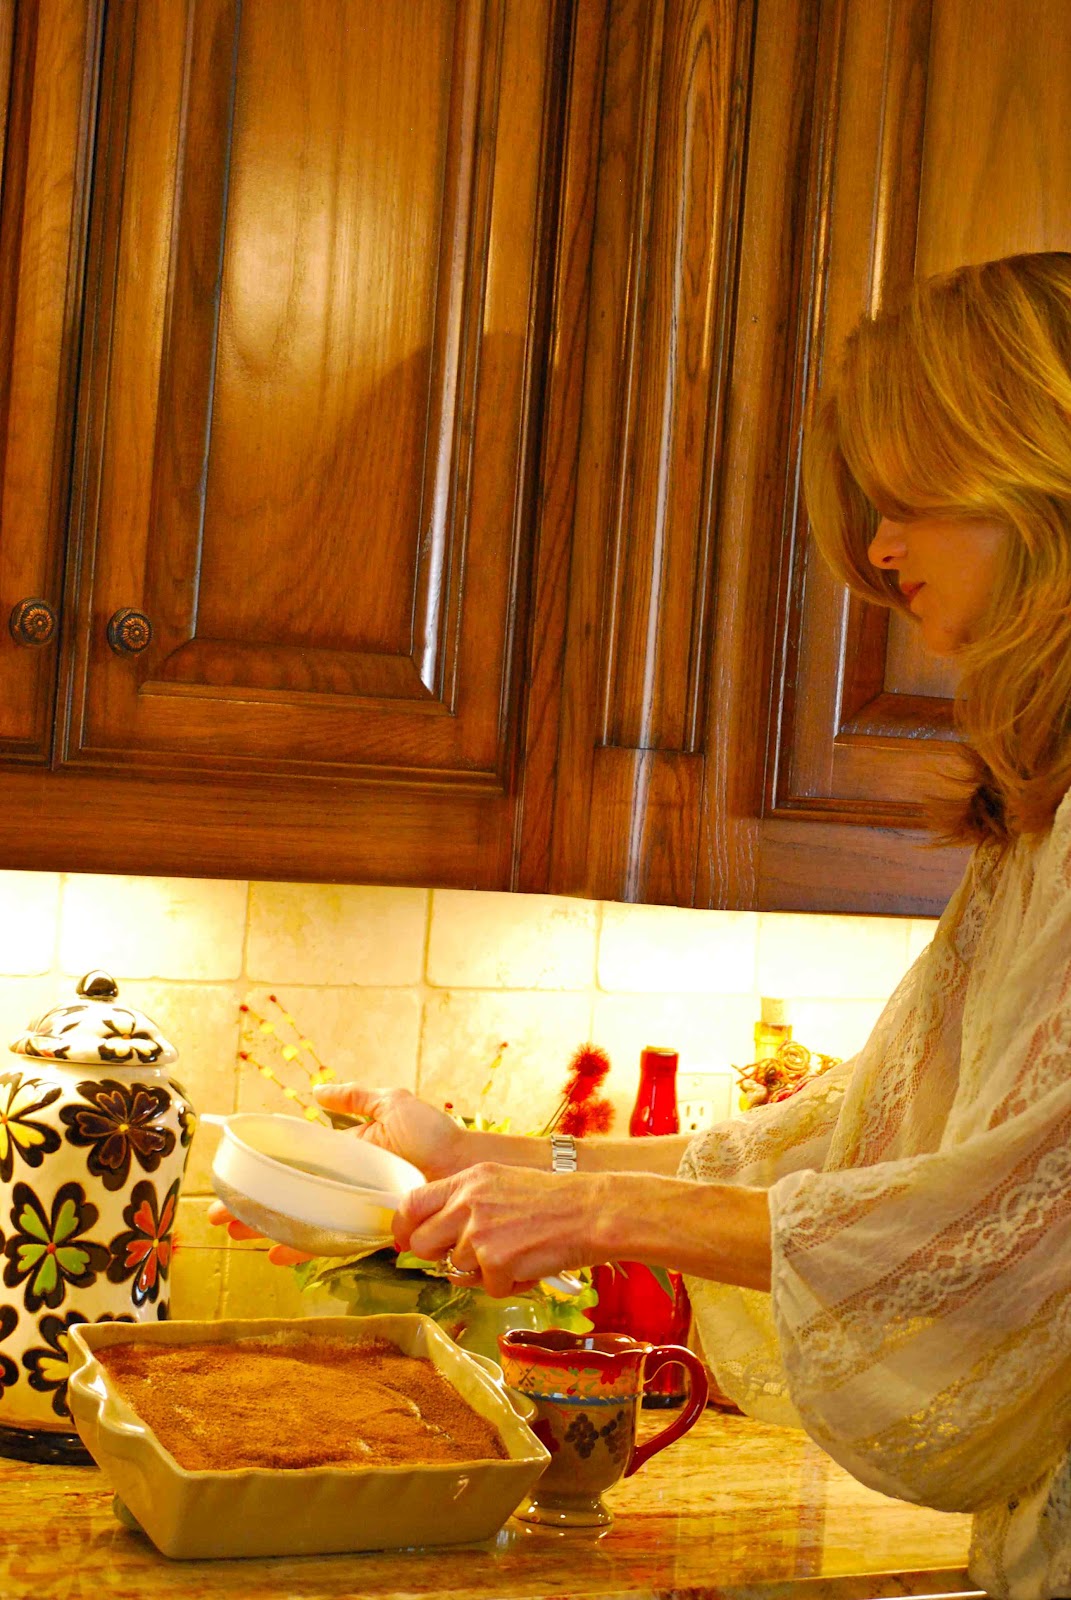
Here’s an extremely sweet white chocolate bread pudding recipe that you must try if you’re a bread pudding fan! I want to preface, however, with the fact that I did not have my good Canon Rebel camera, so the pictures here are a little dark and blurry. You can blame it on my Blackberry Torch phone camera… by NO means am I an advocate of Blackberries… somehow I’ve been stuck with one for the past five years, which is miserable. I am just dying to get an iPhone!
My husband Matt and I were in Houston a few weeks ago, visiting my cousins and my aunt Jolene. As always, when staying with Jolene, you can expect over-the-top, delicious meals prepared by her and her southern charm. While our taste buds never object to Jolene’s savory and delectable southern comfort food, our waistlines may as it’s hard to stay thin during our visit. 🙂
We ate good over the course of 1 1/2 days! The night we arrived, we devoured pot roast, green beans, mashed potatoes,
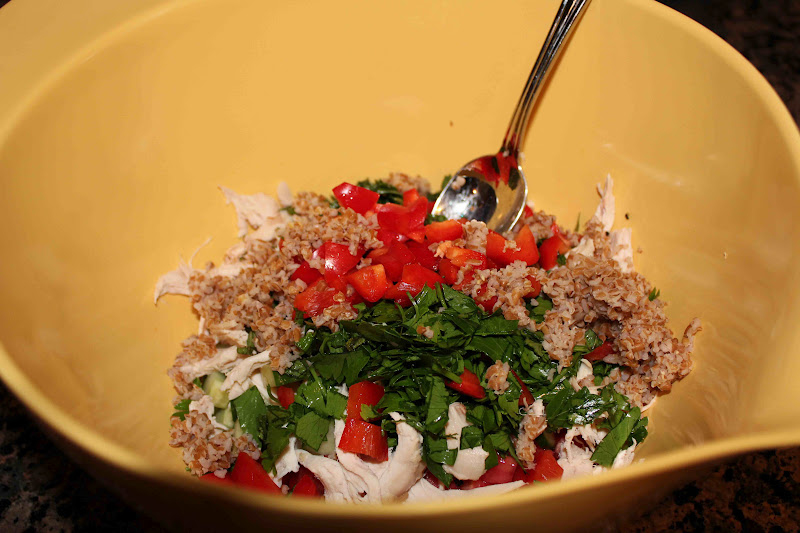
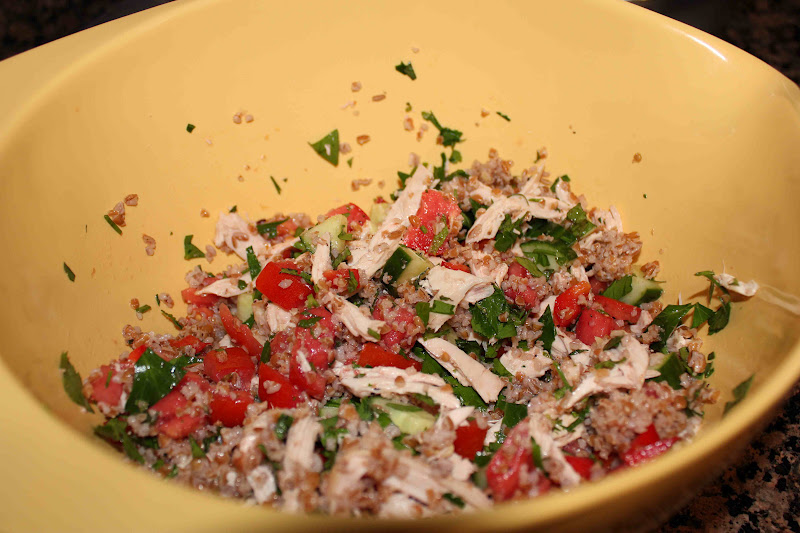
corn casserole and strawberry pie for dinner. The second day consisted of bacon, sausage & biscuits, and fruit for breakfast; Philly cheesesteak sandwiches from leftover pot roast topped with melted swiss and leftover strawberry pie for lunch; and for dinner – chicken and mushroom spinach crepes with fruit, and white chocolate bread pudding for dessert.
Are you hungry yet?
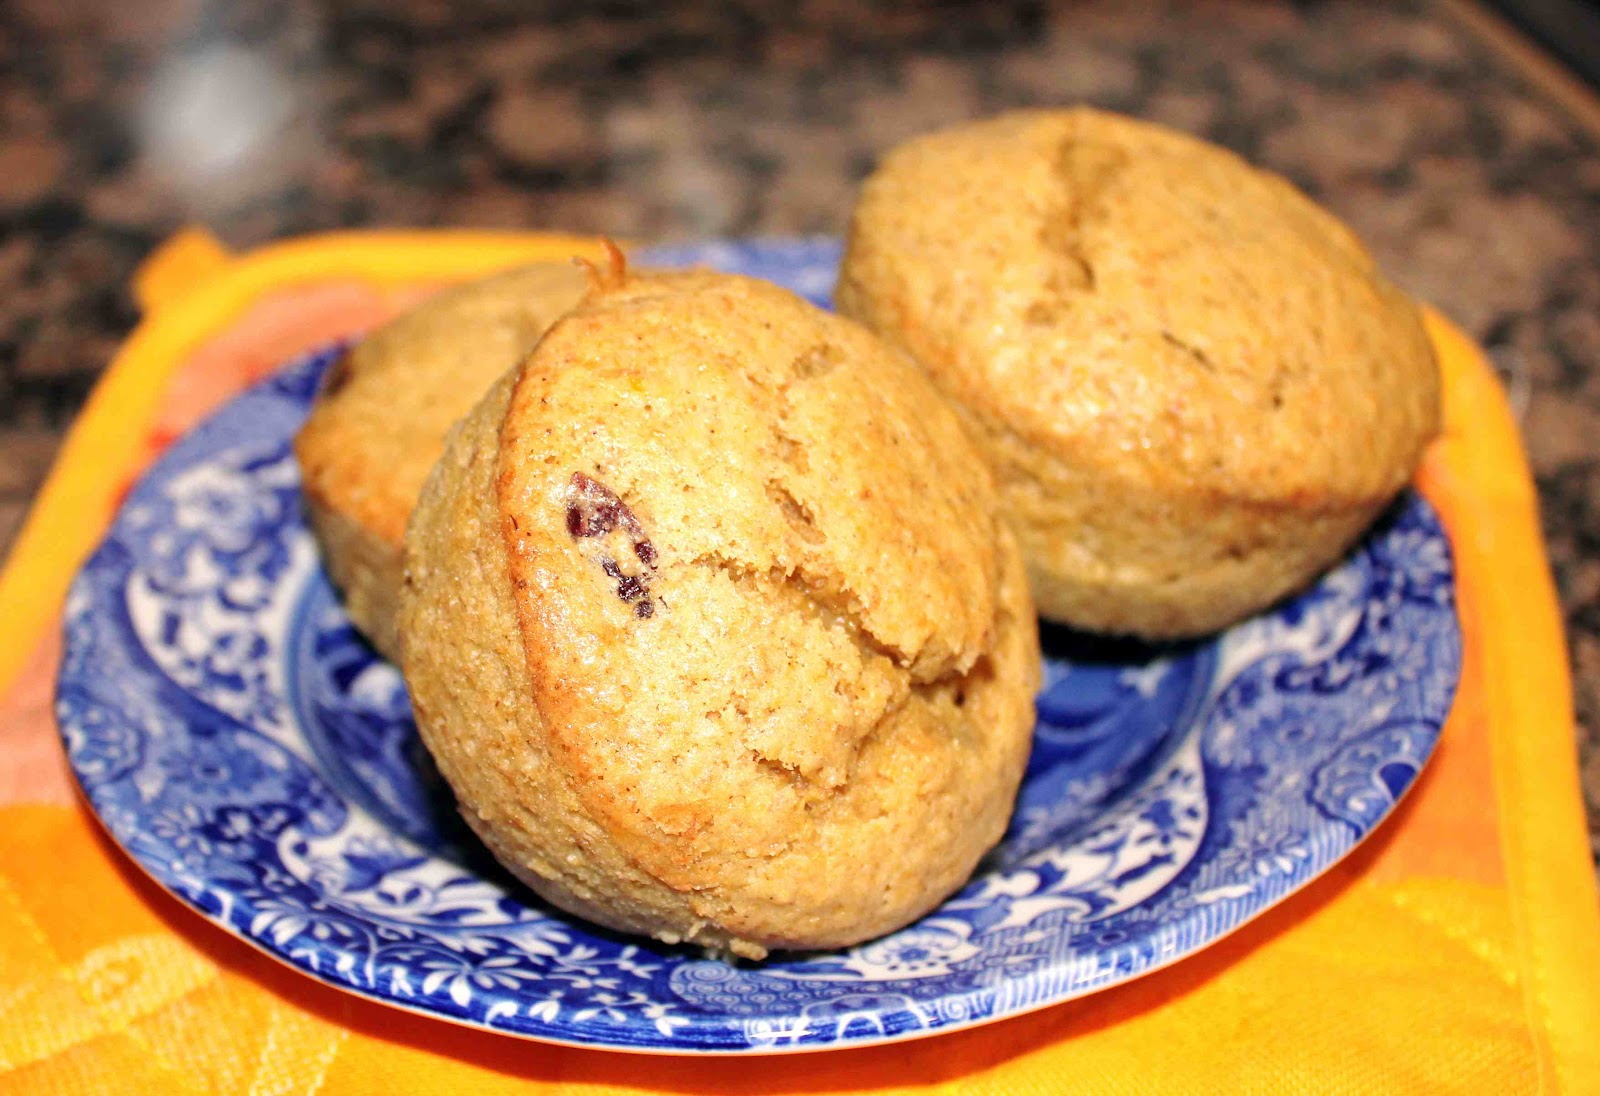
Enjoy…
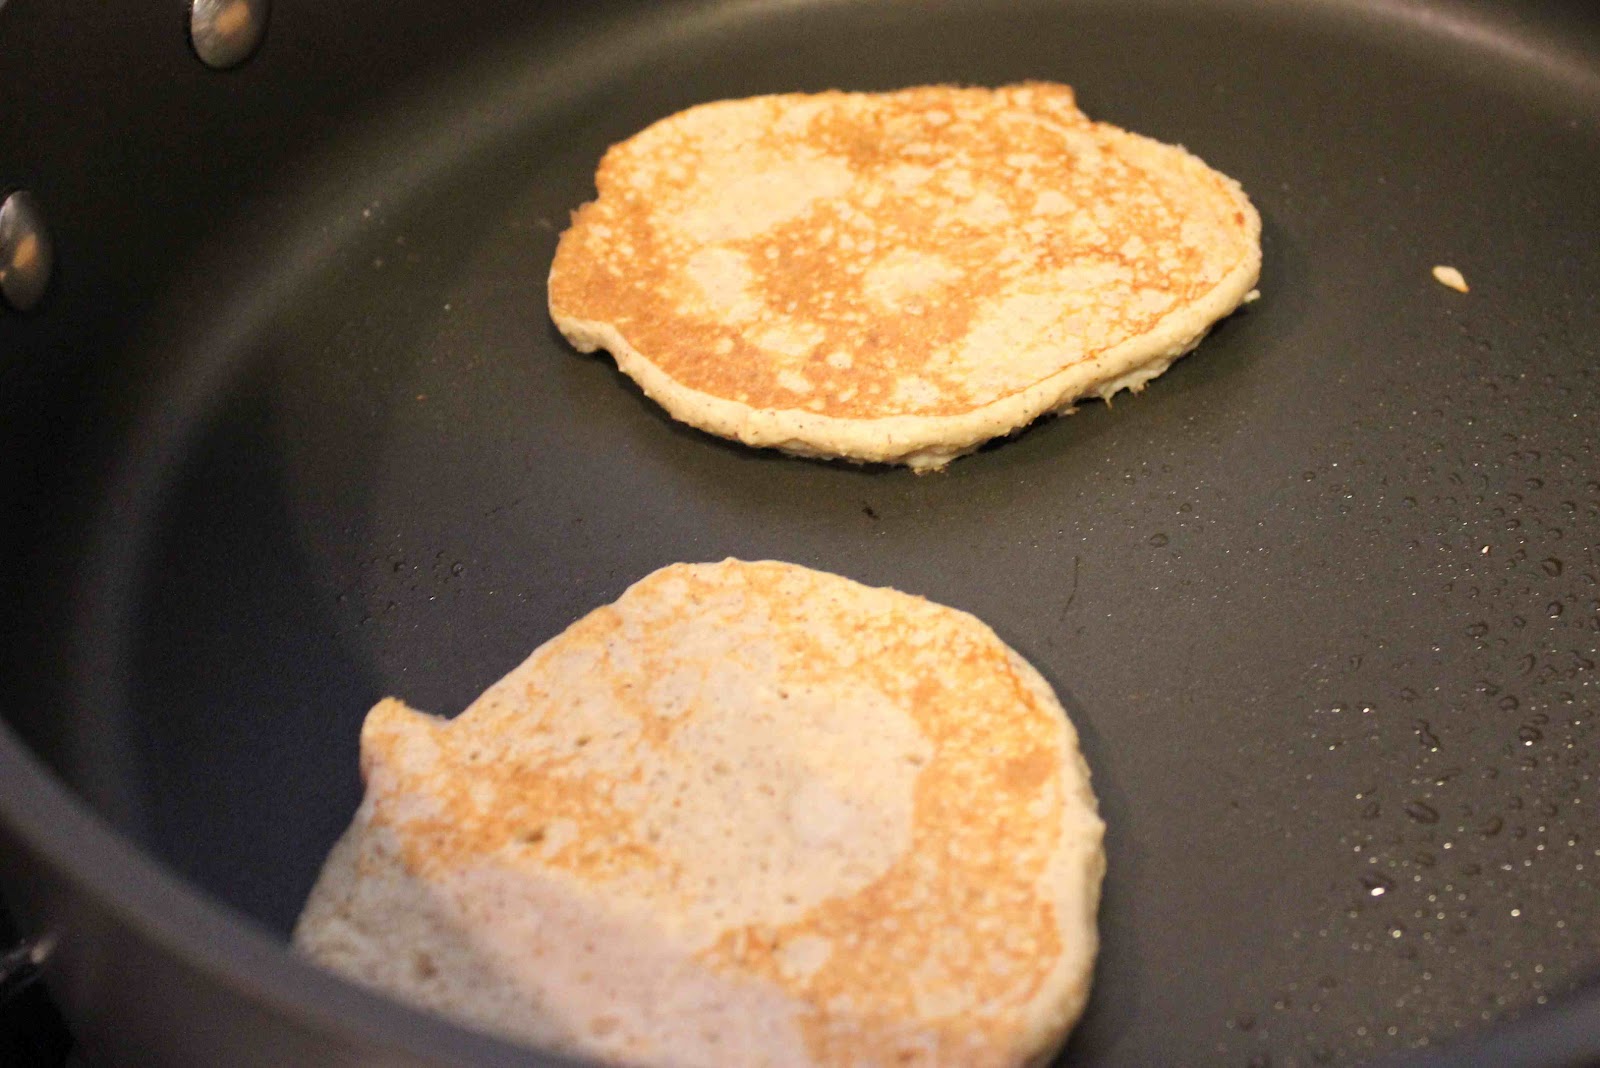
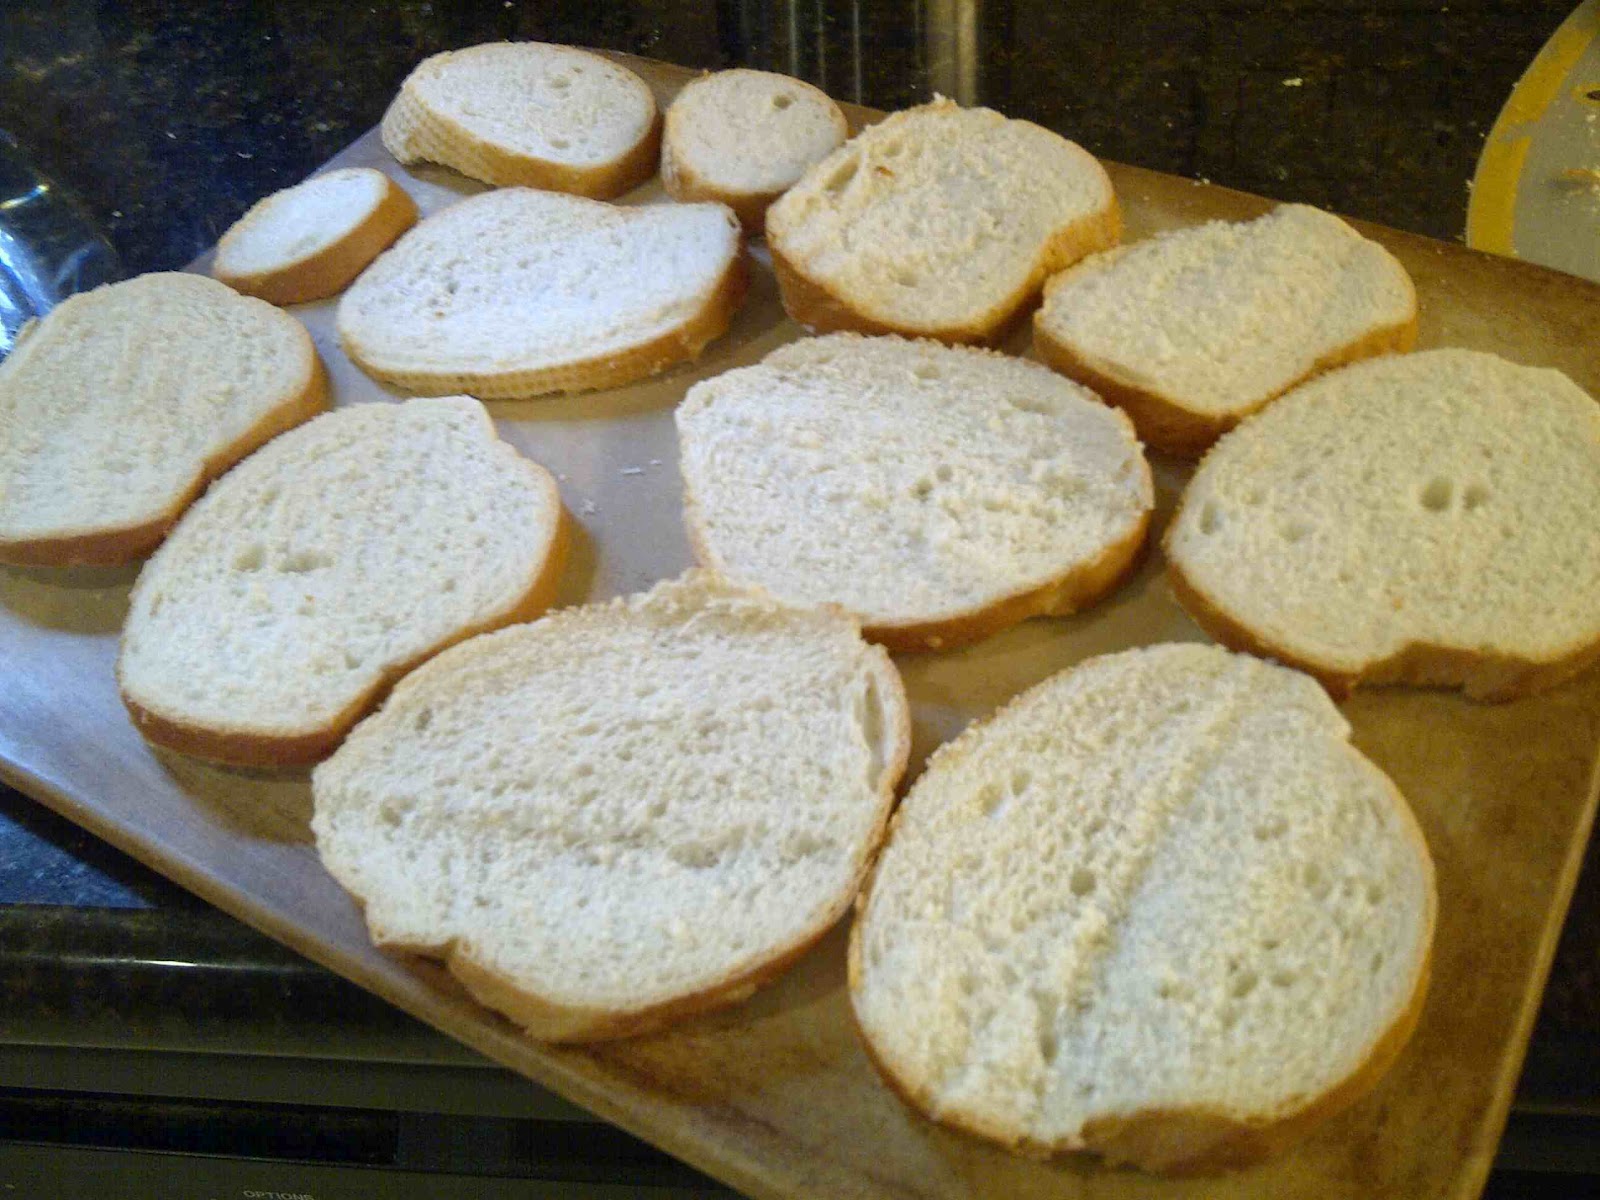
Cut bread into thin slices. Bake for 10 minutes in a 350 degree oven.
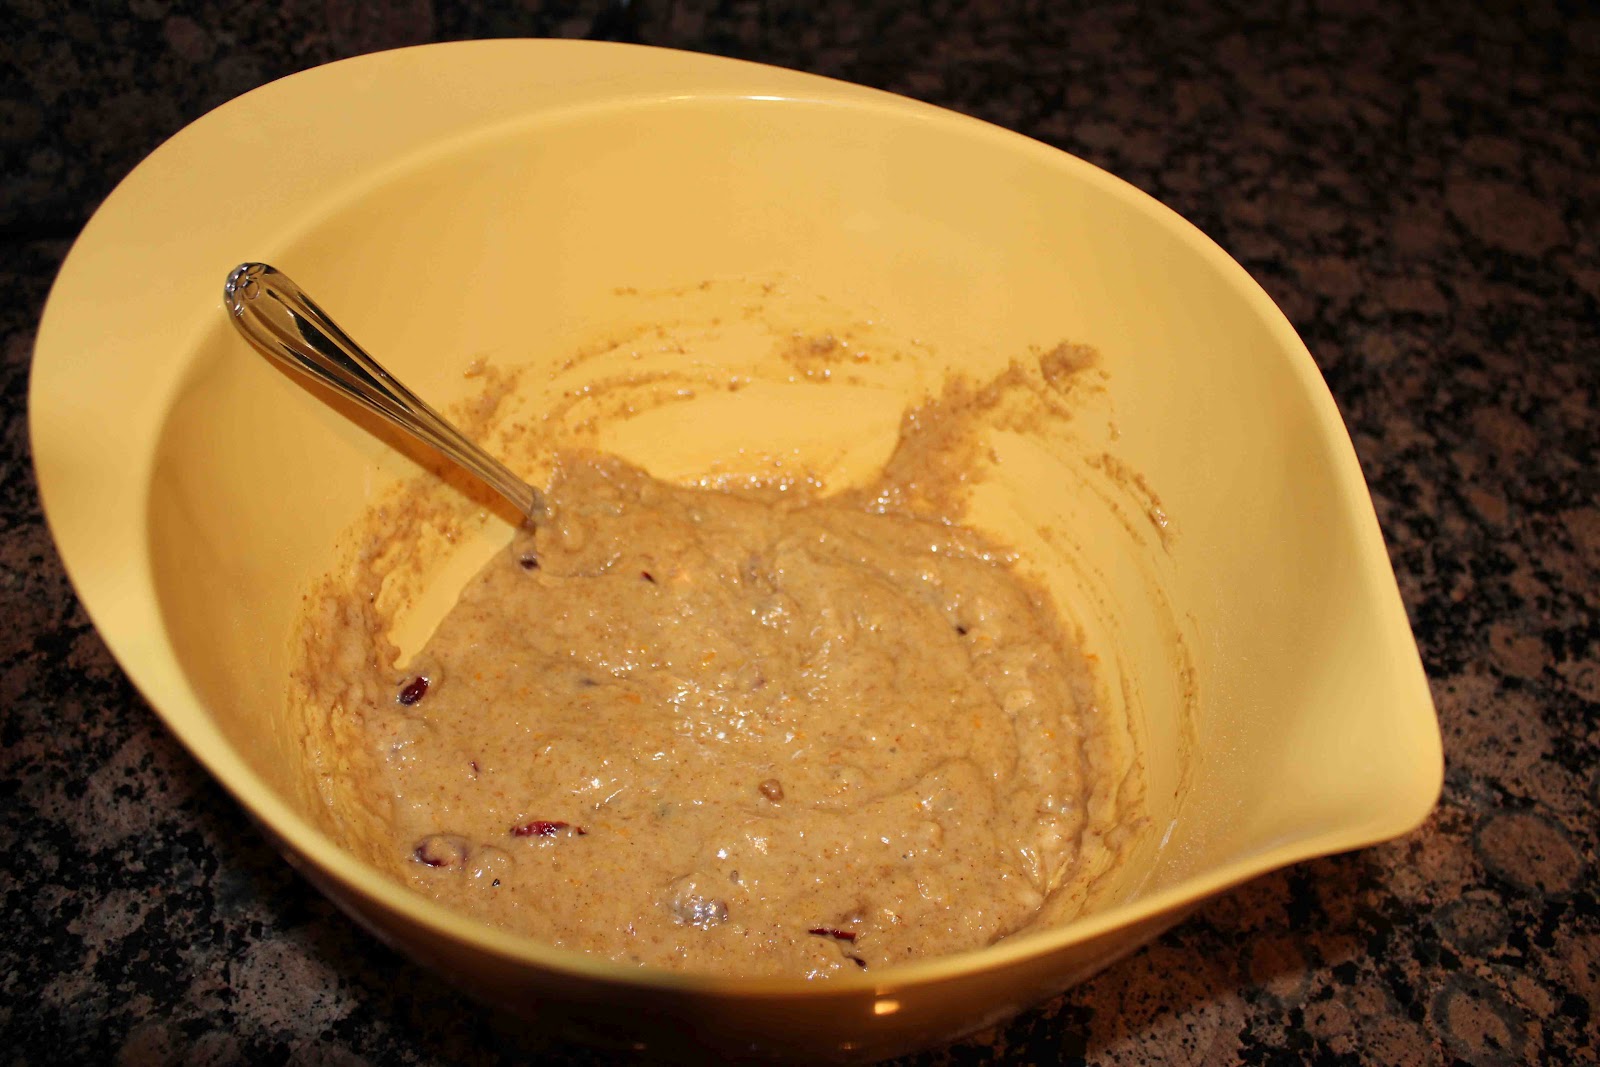
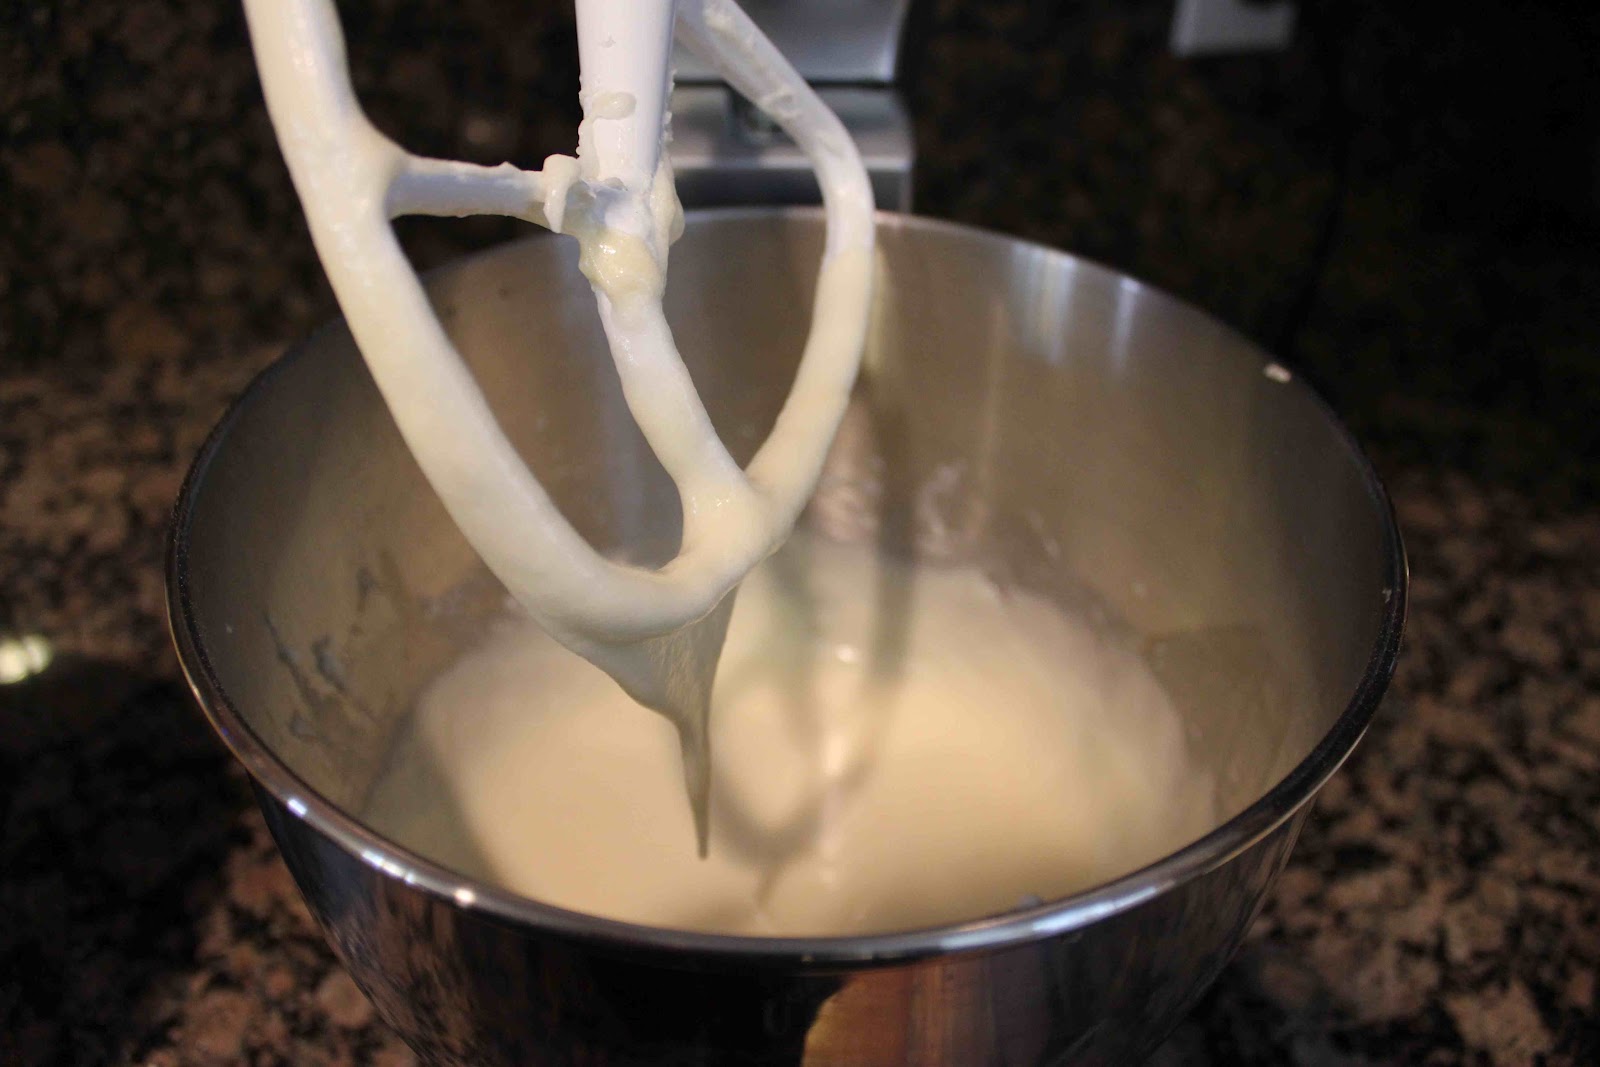
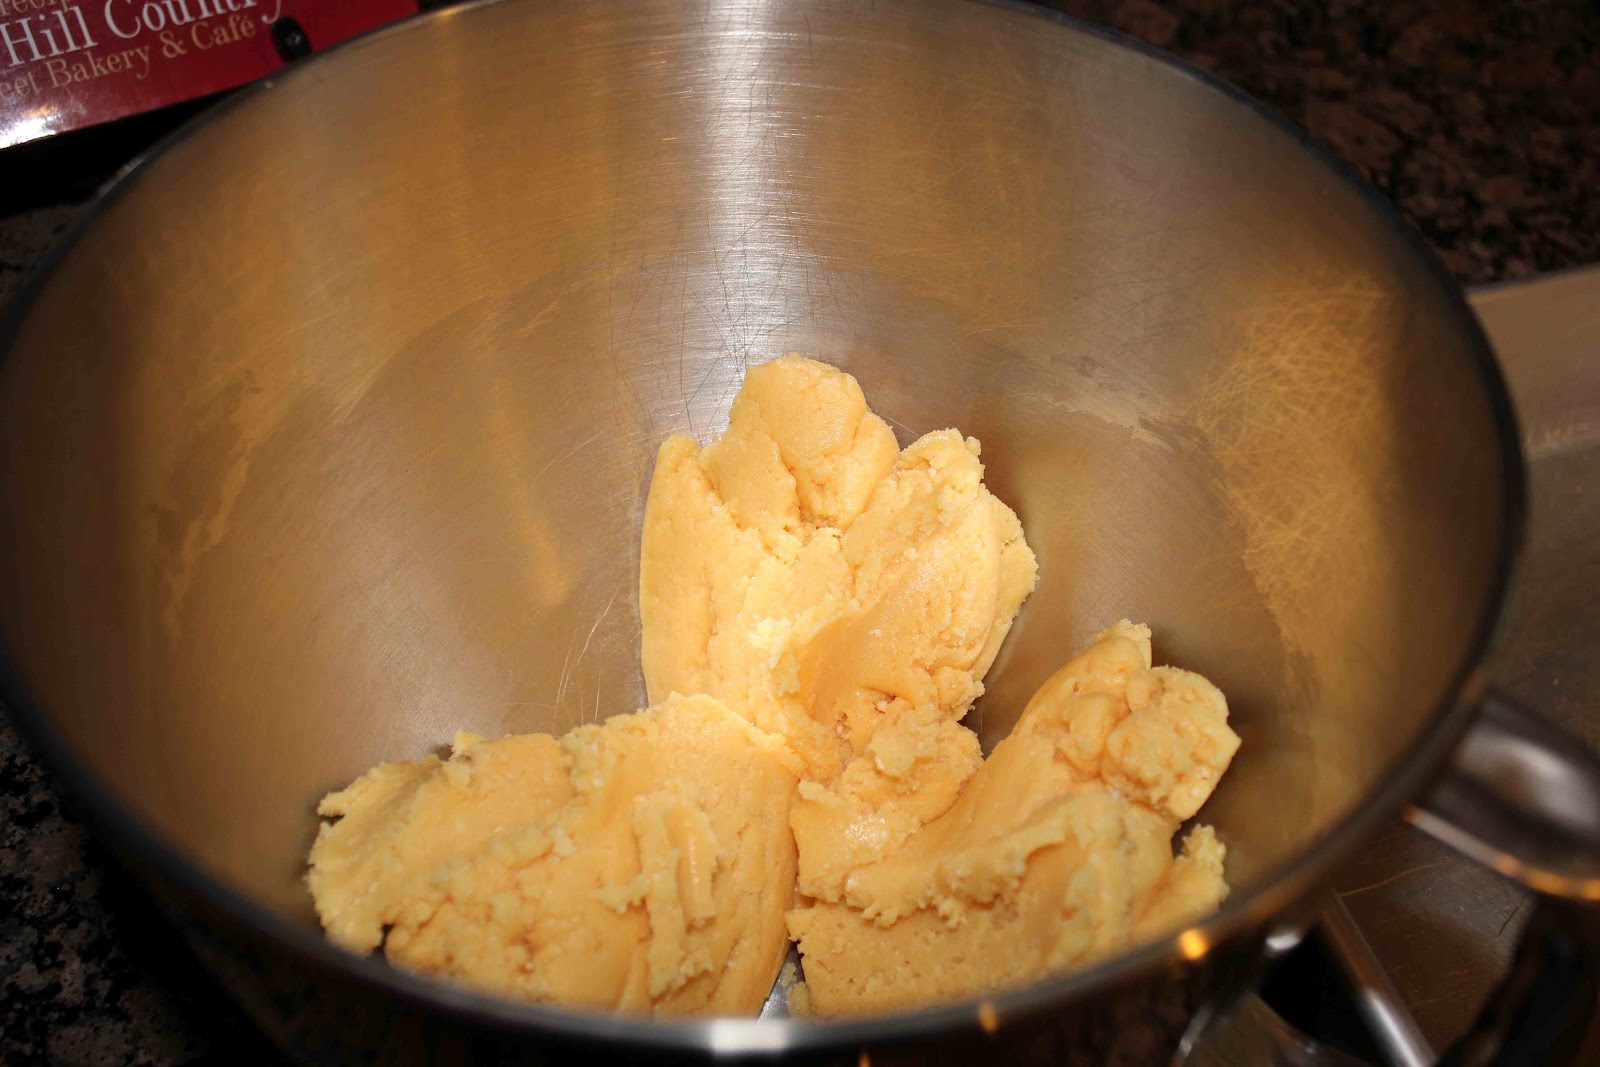
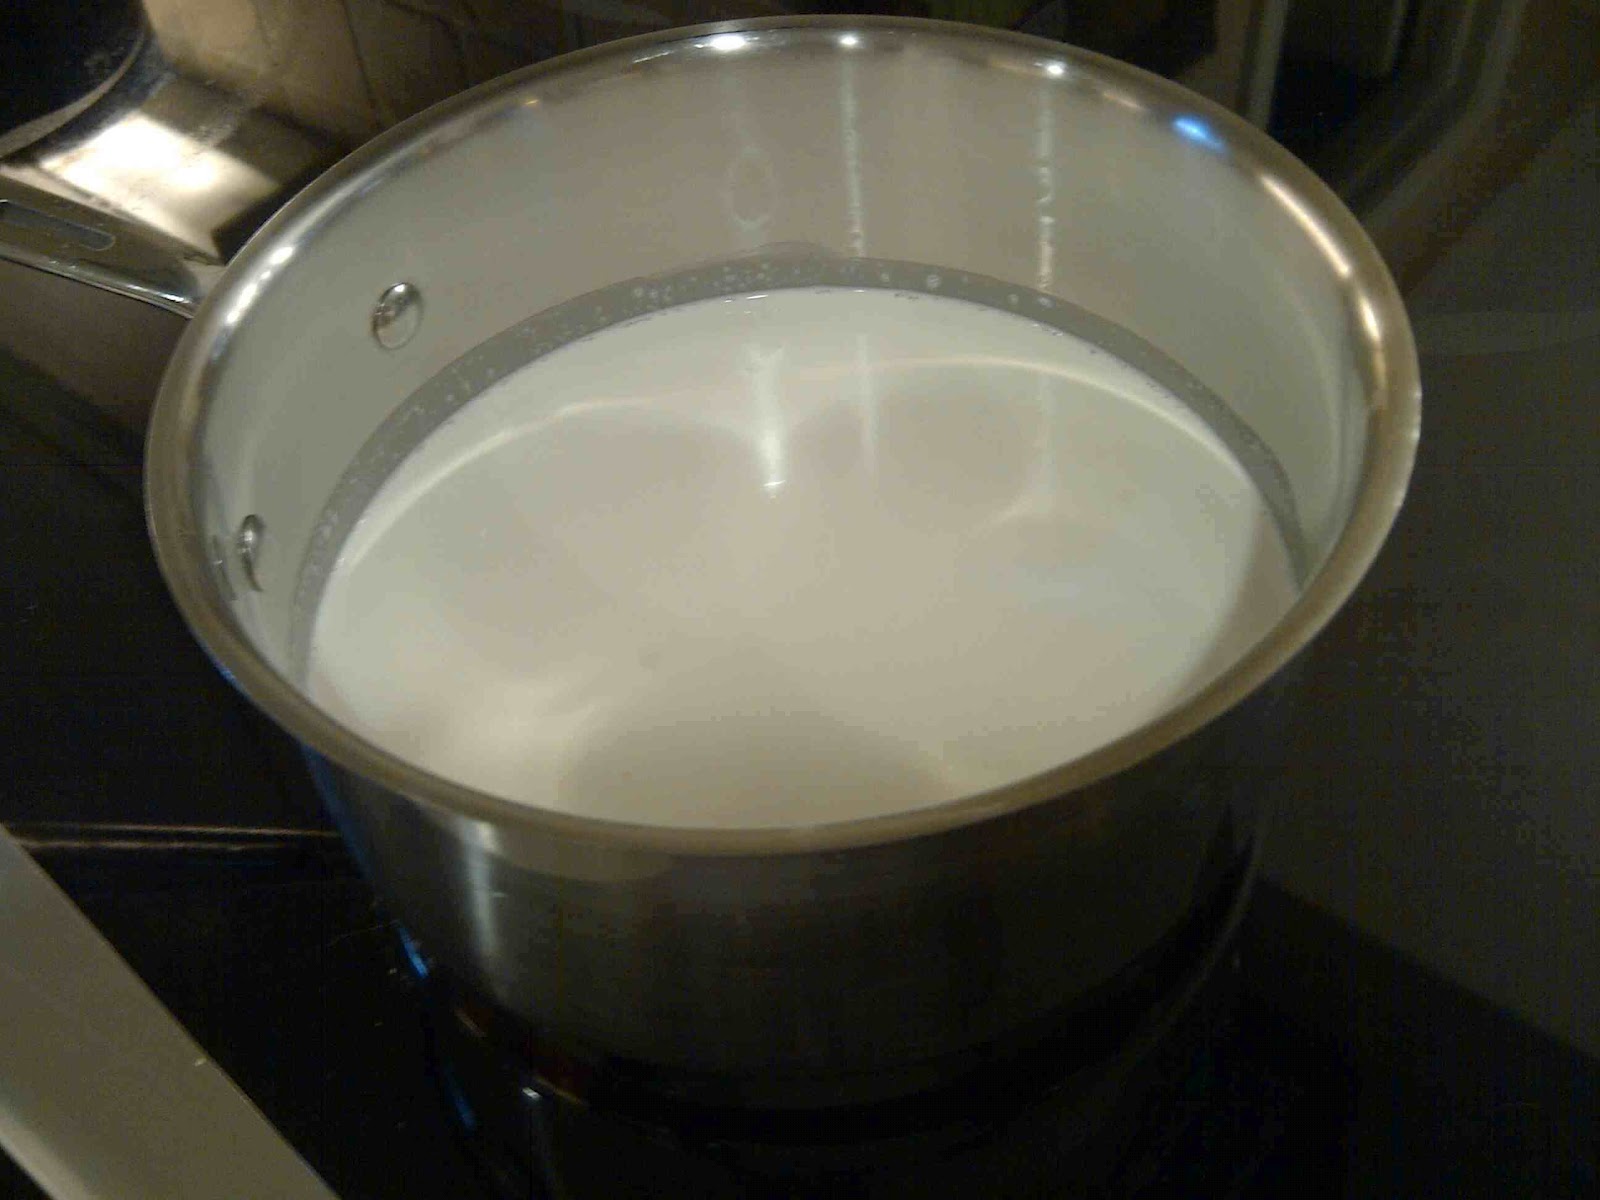
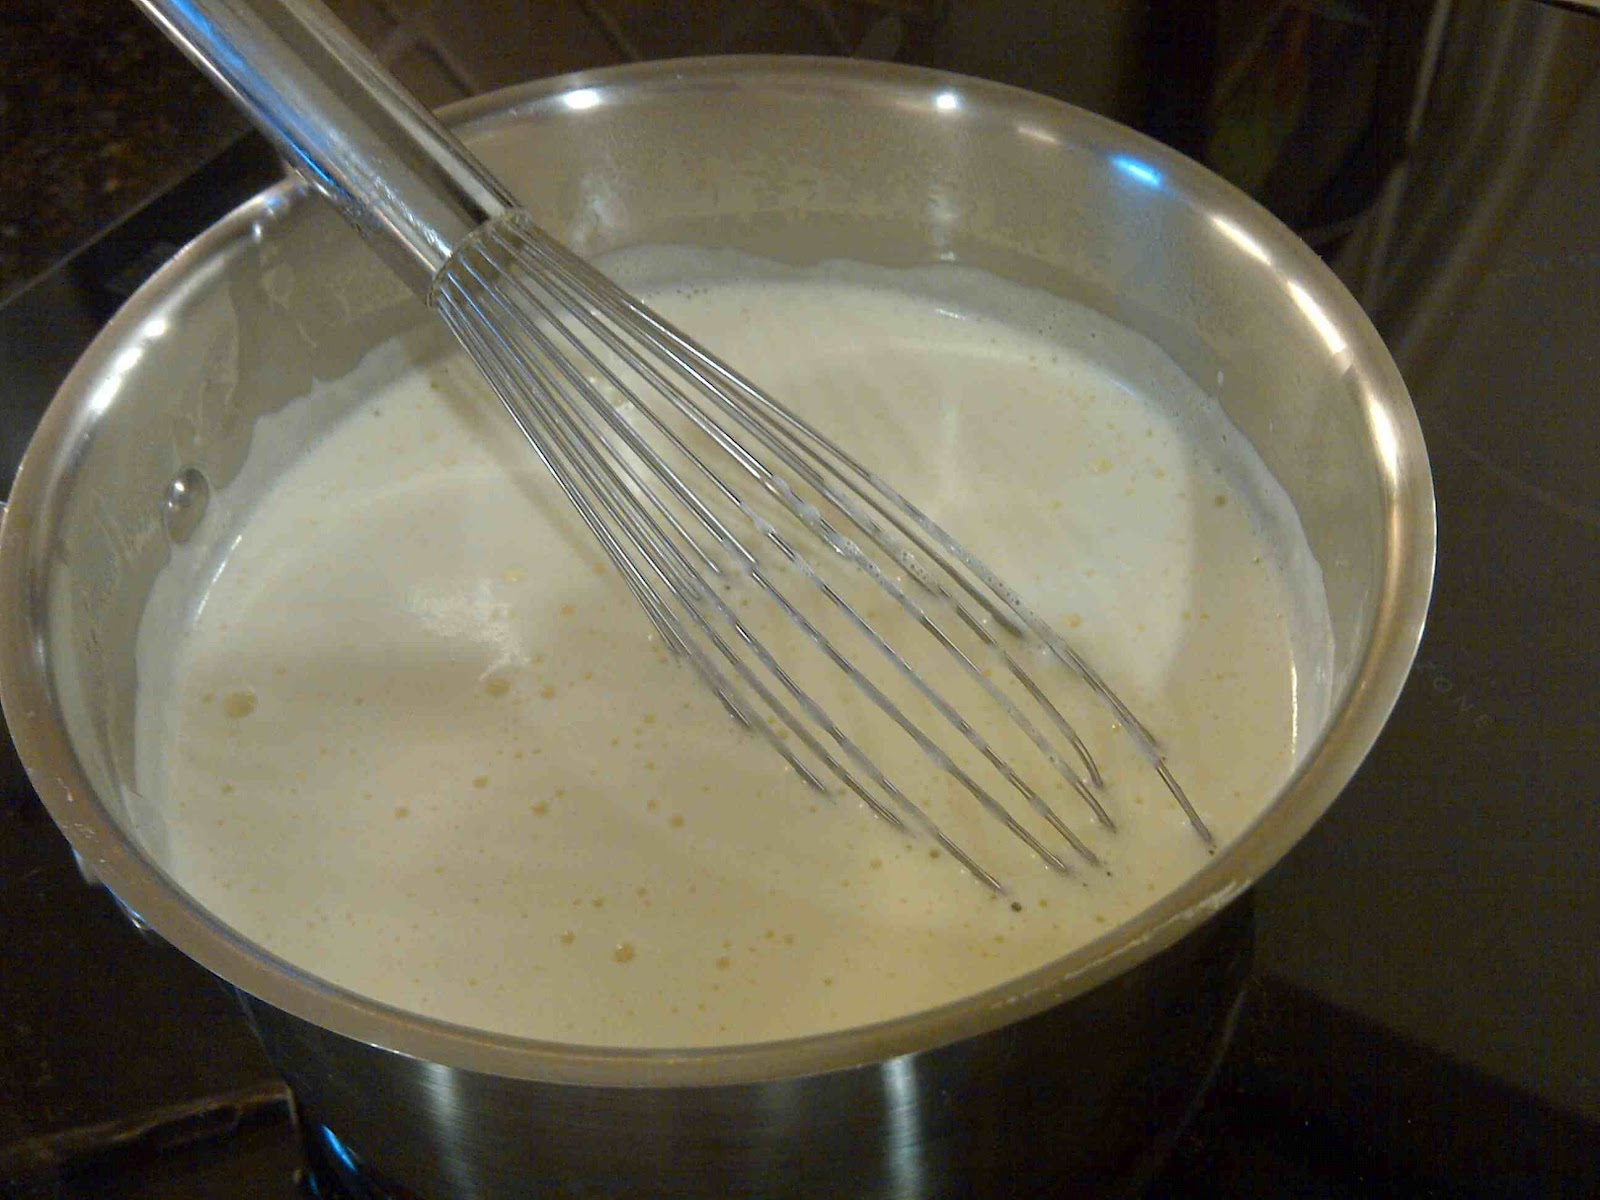
Heat half-and-half and cream over low heat. Whisk egg mixture into cream. Stir in vanilla. Slowly whisk in melted chocolate.
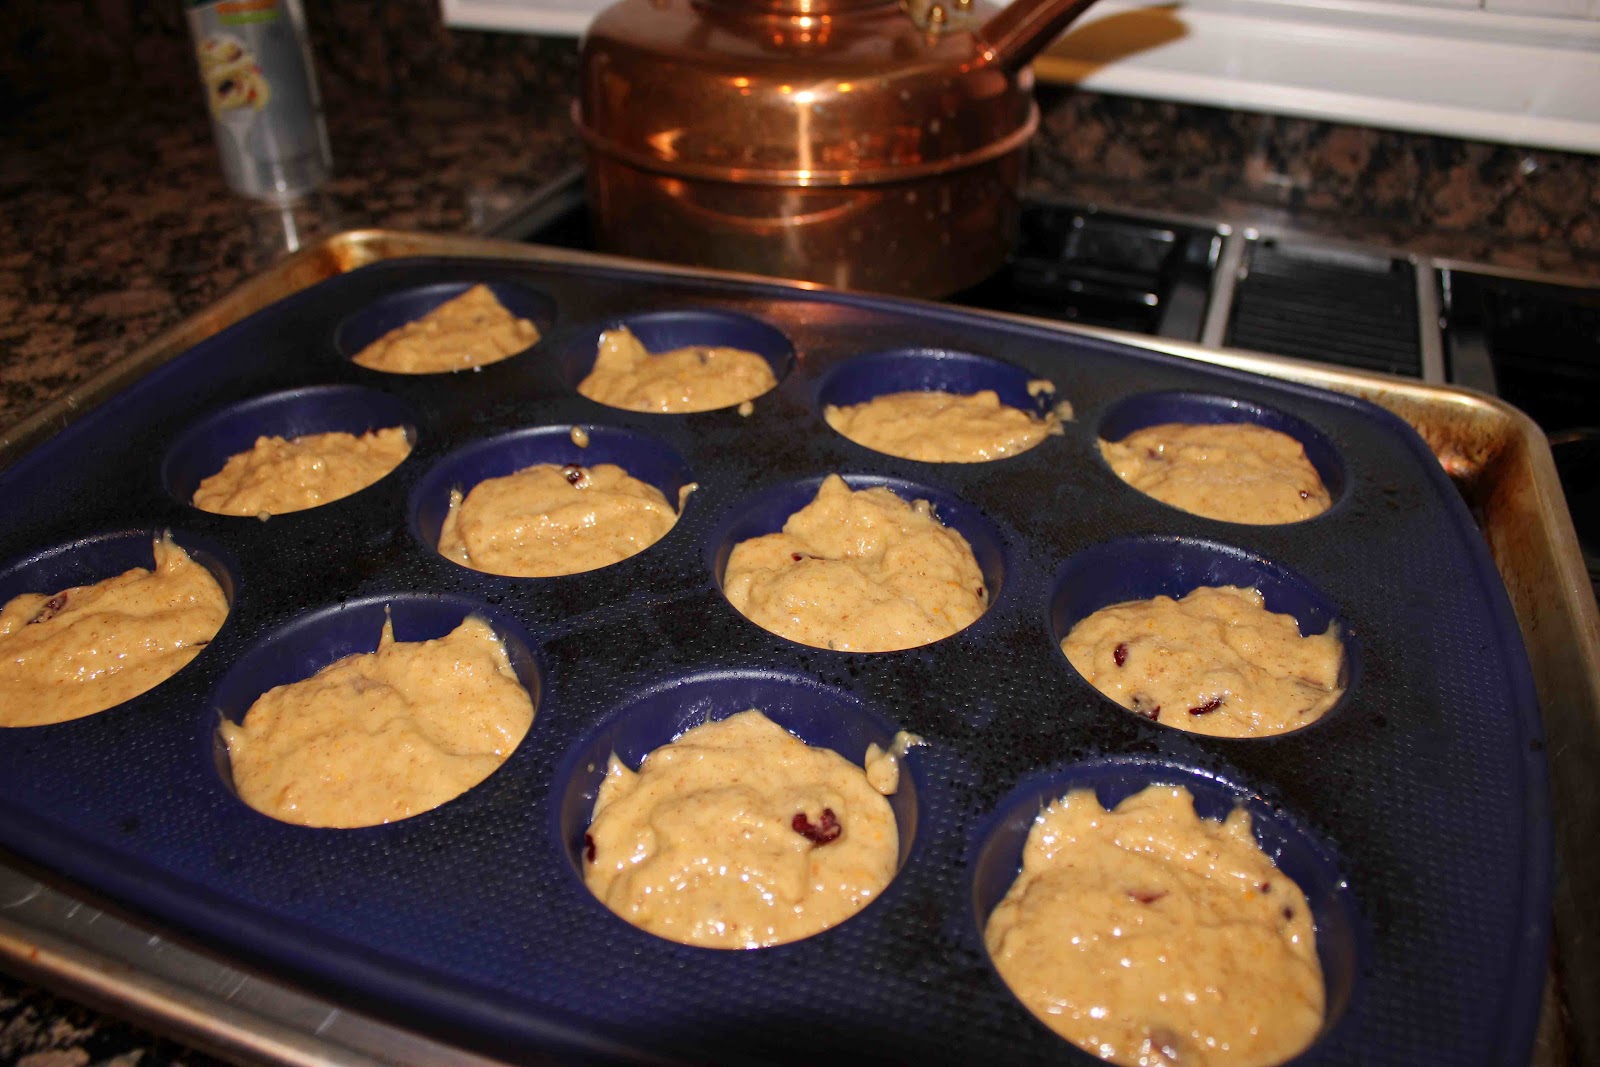
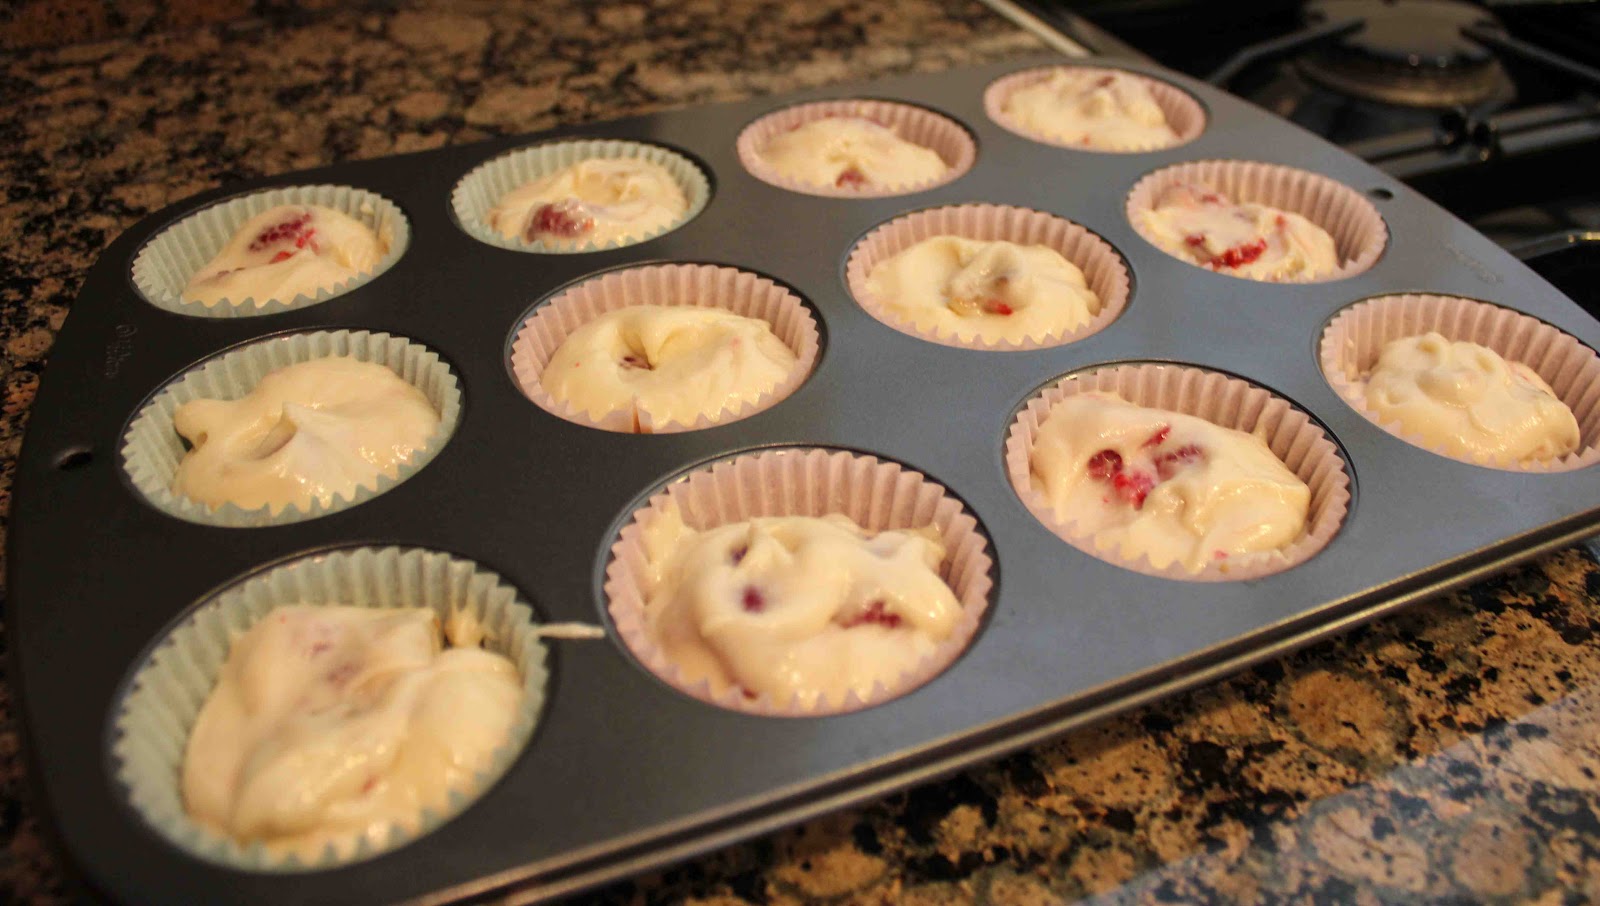
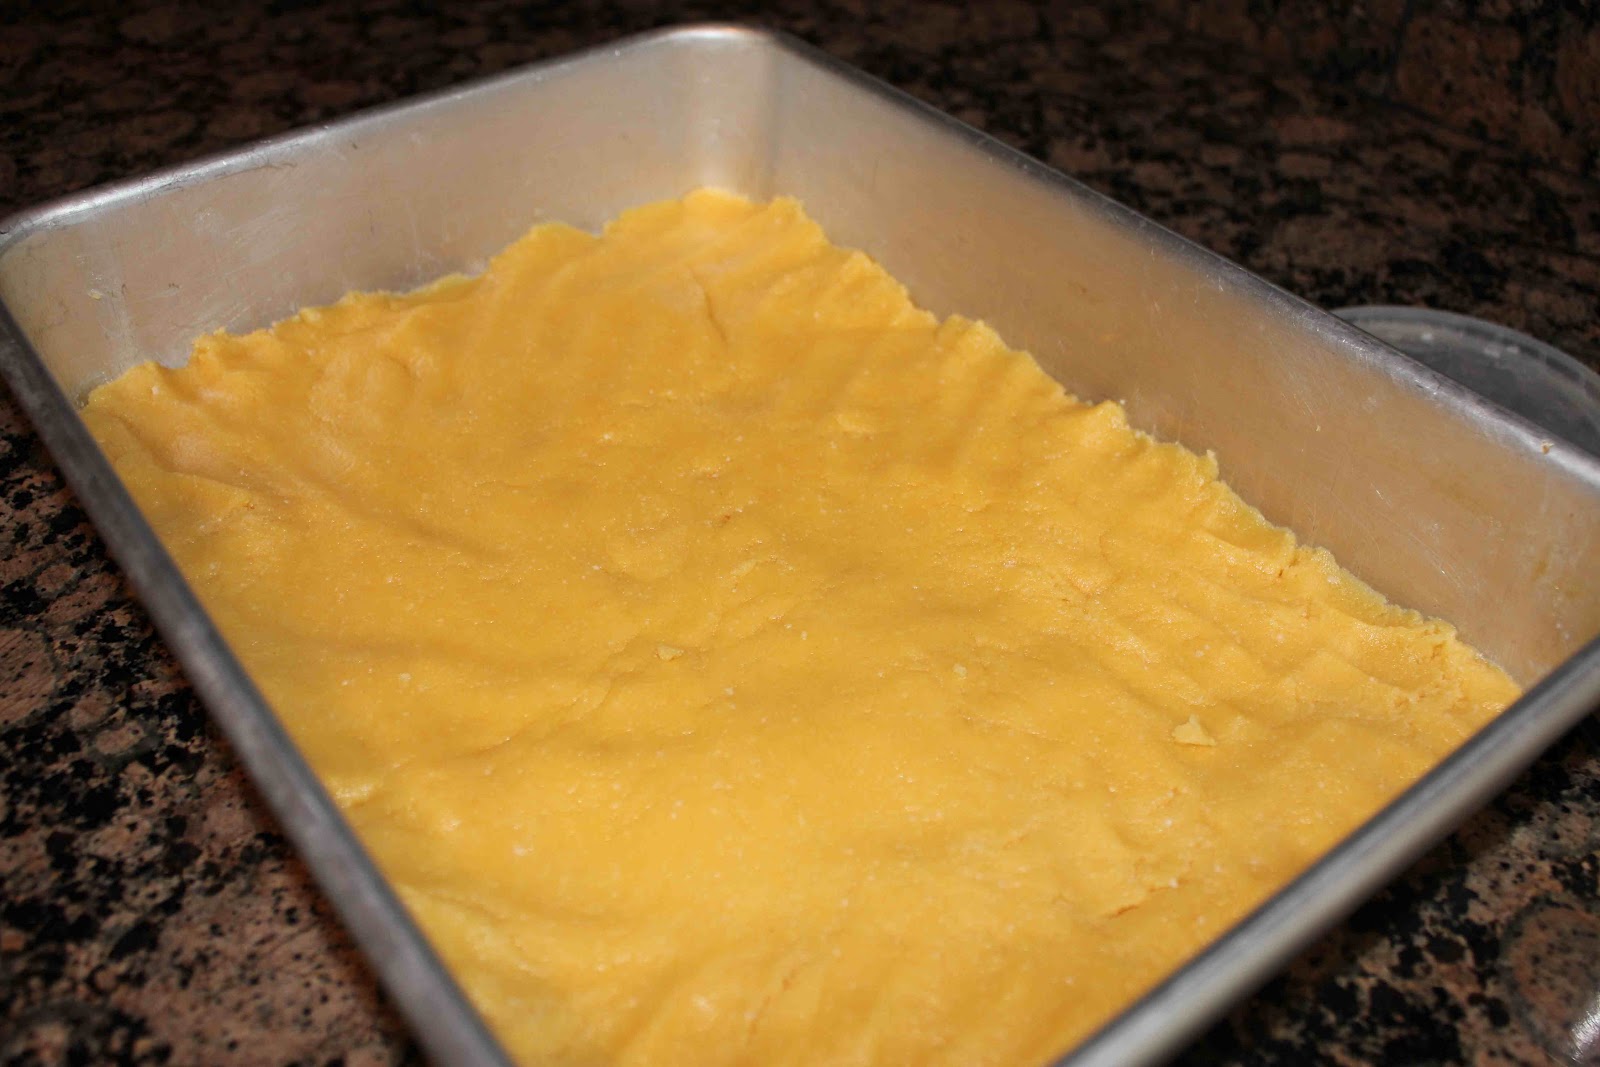
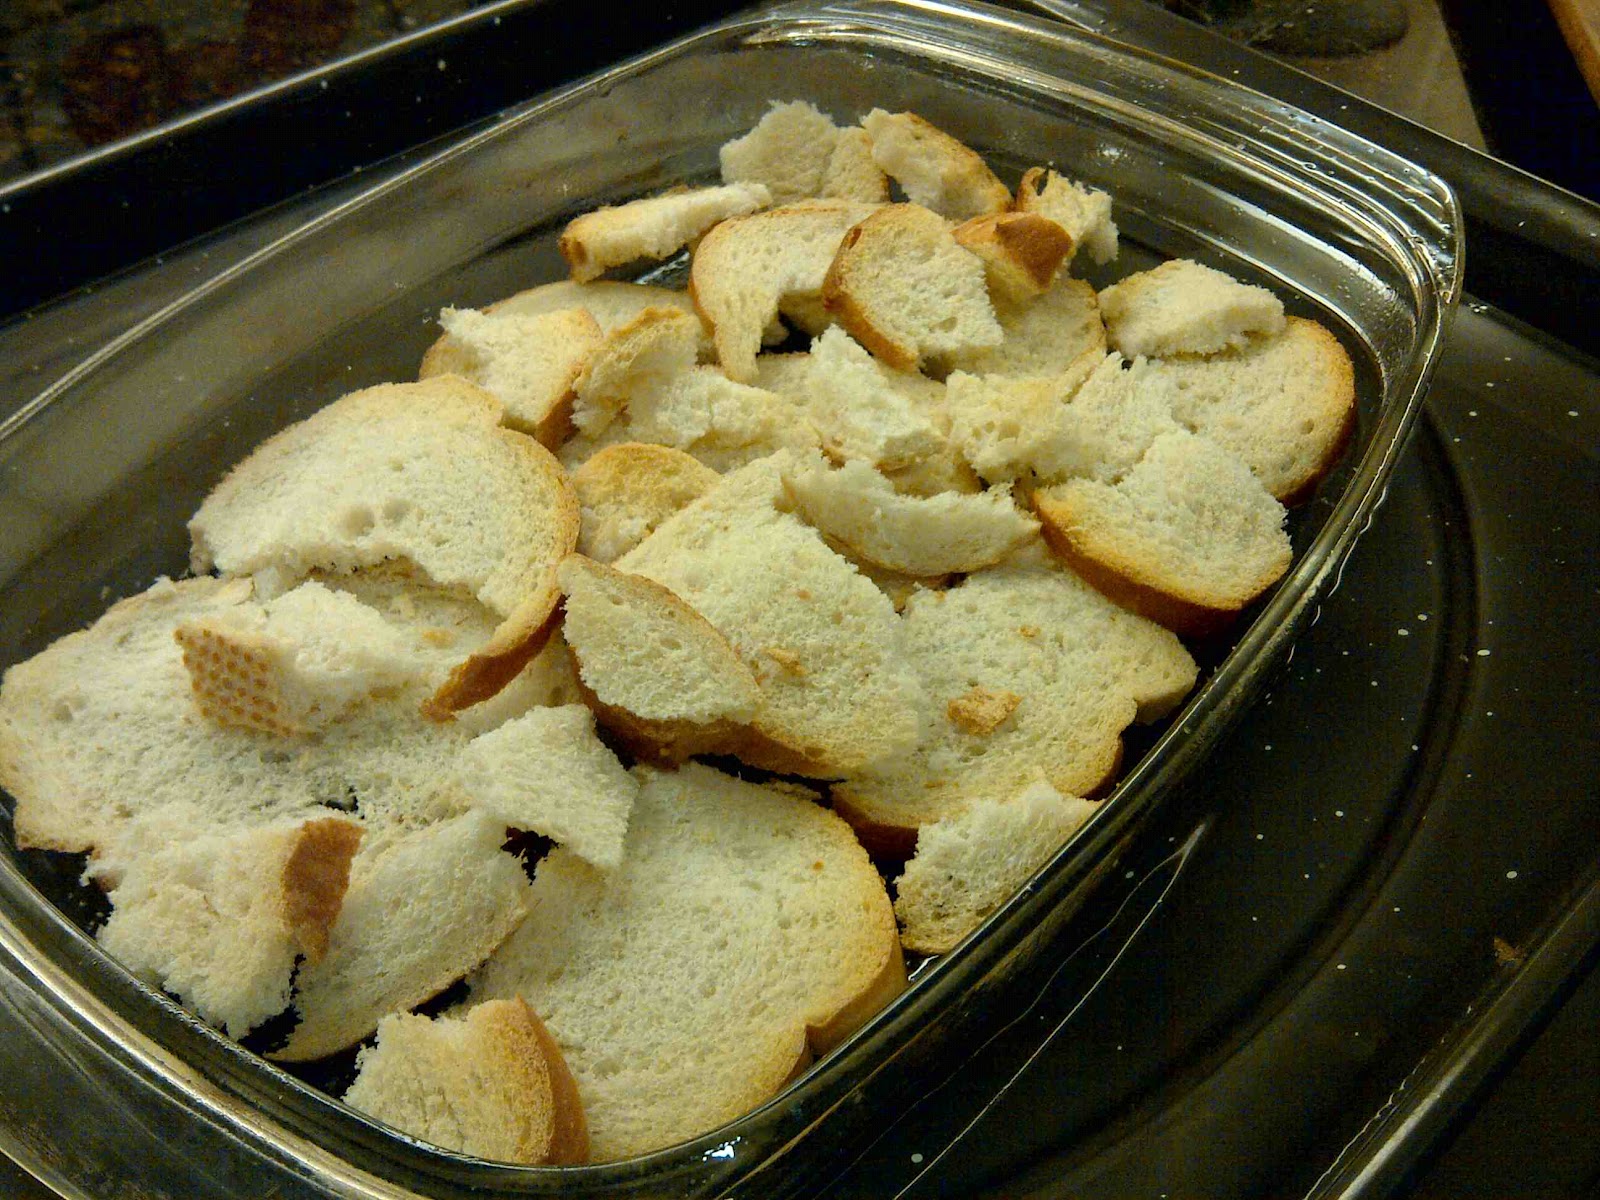
Line custard cups or baking pan with bread strips.
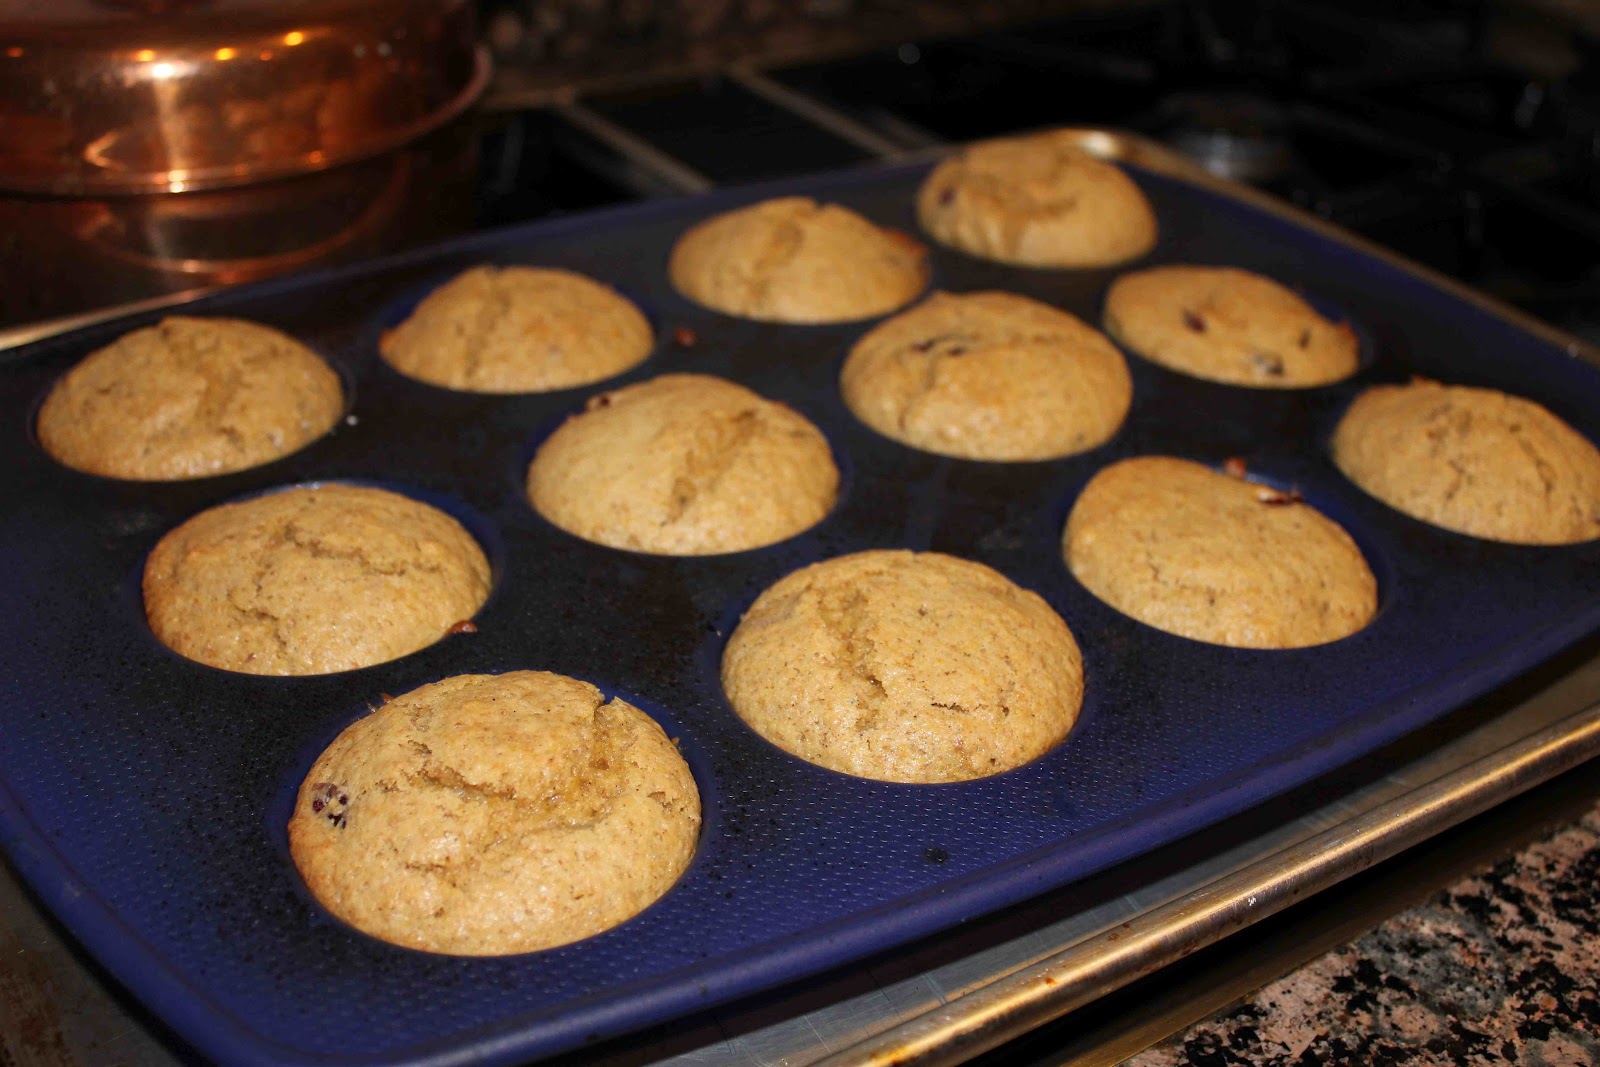
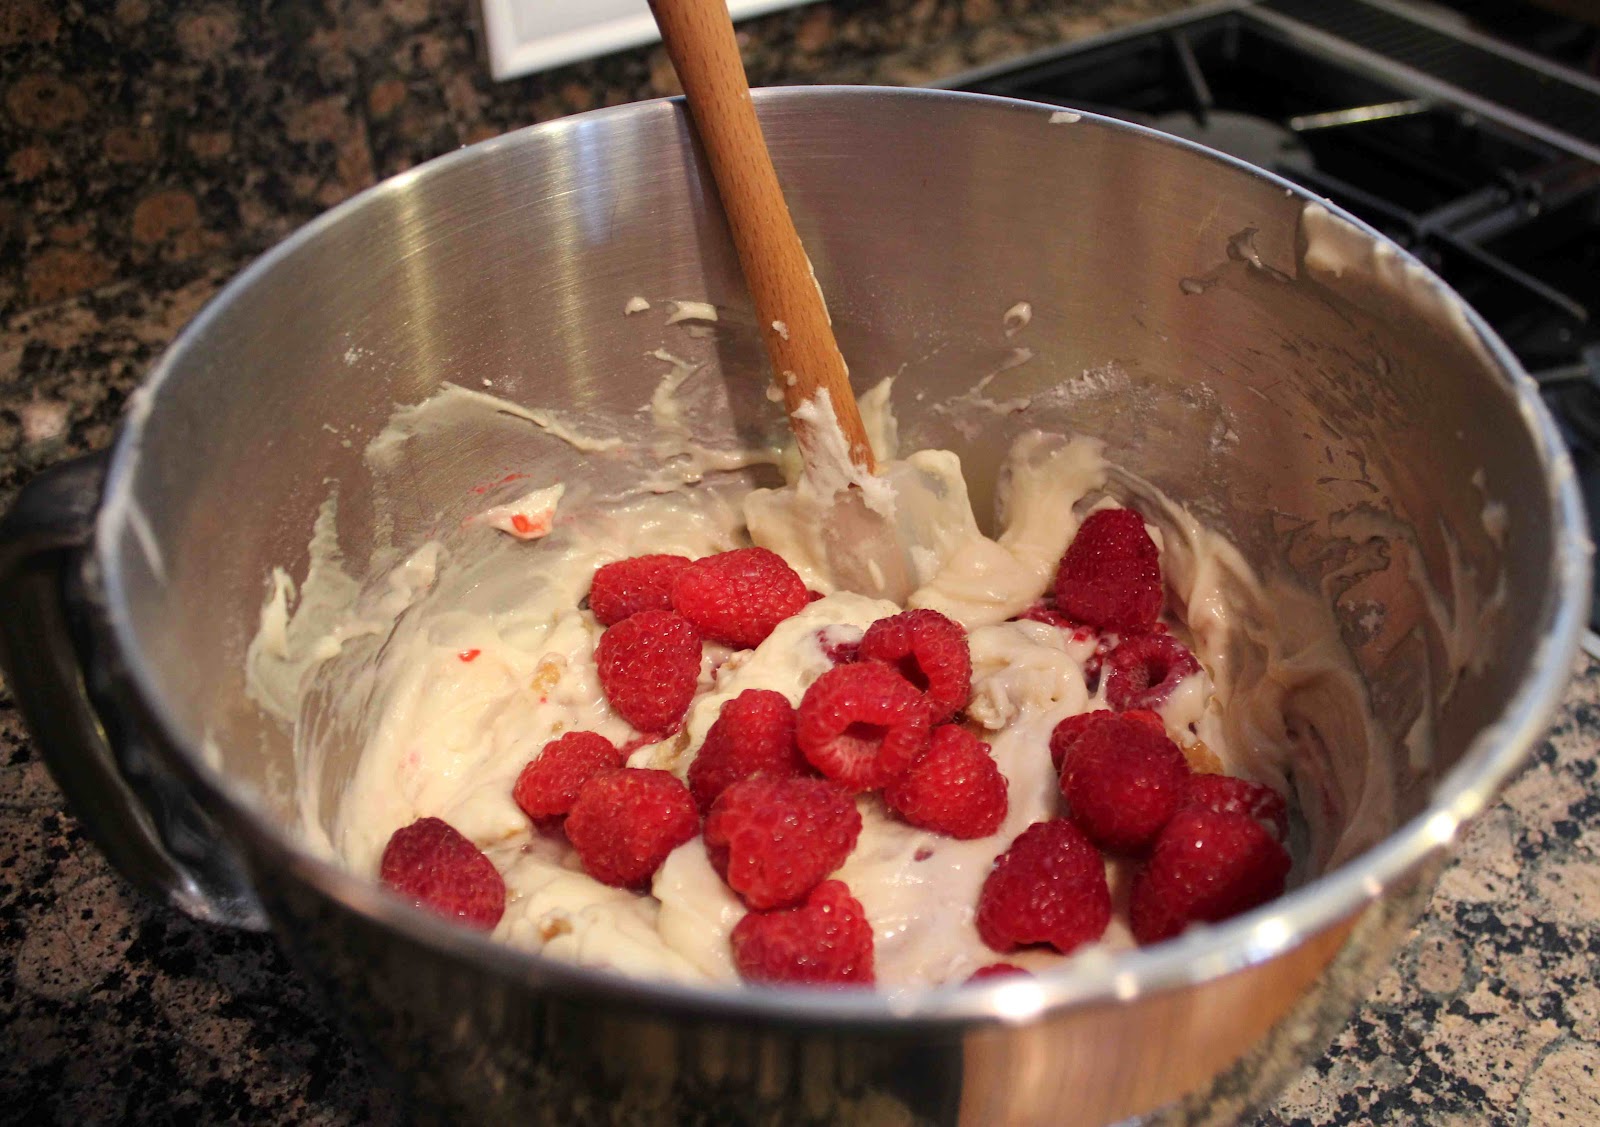
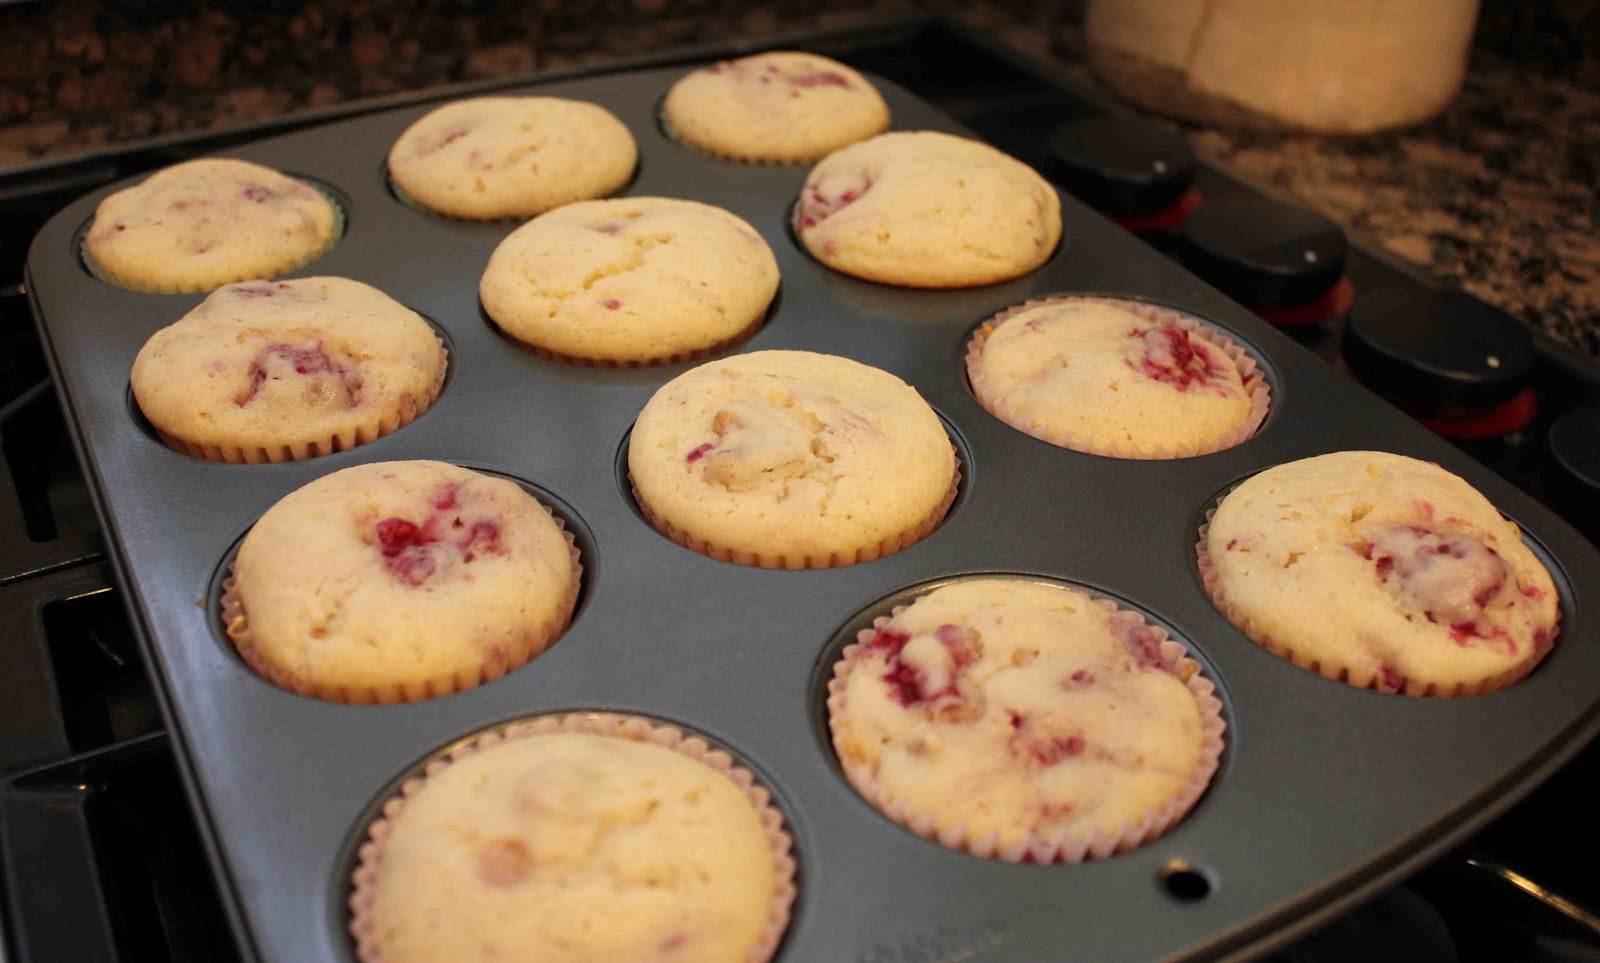
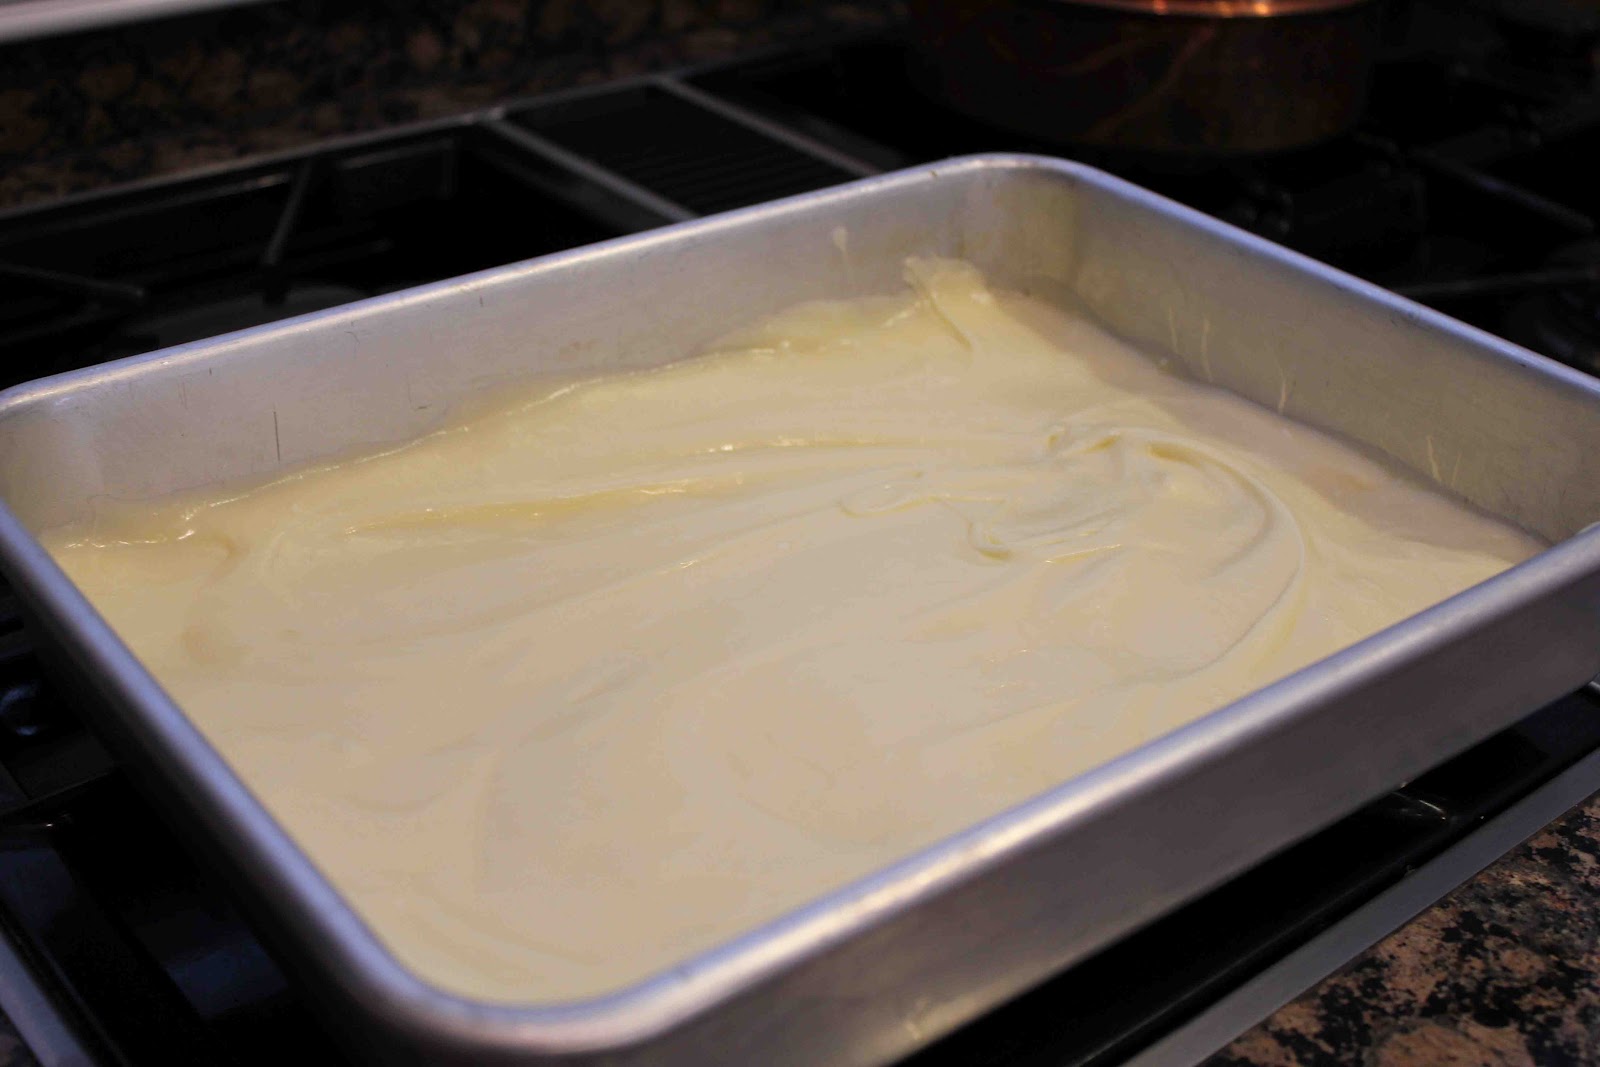
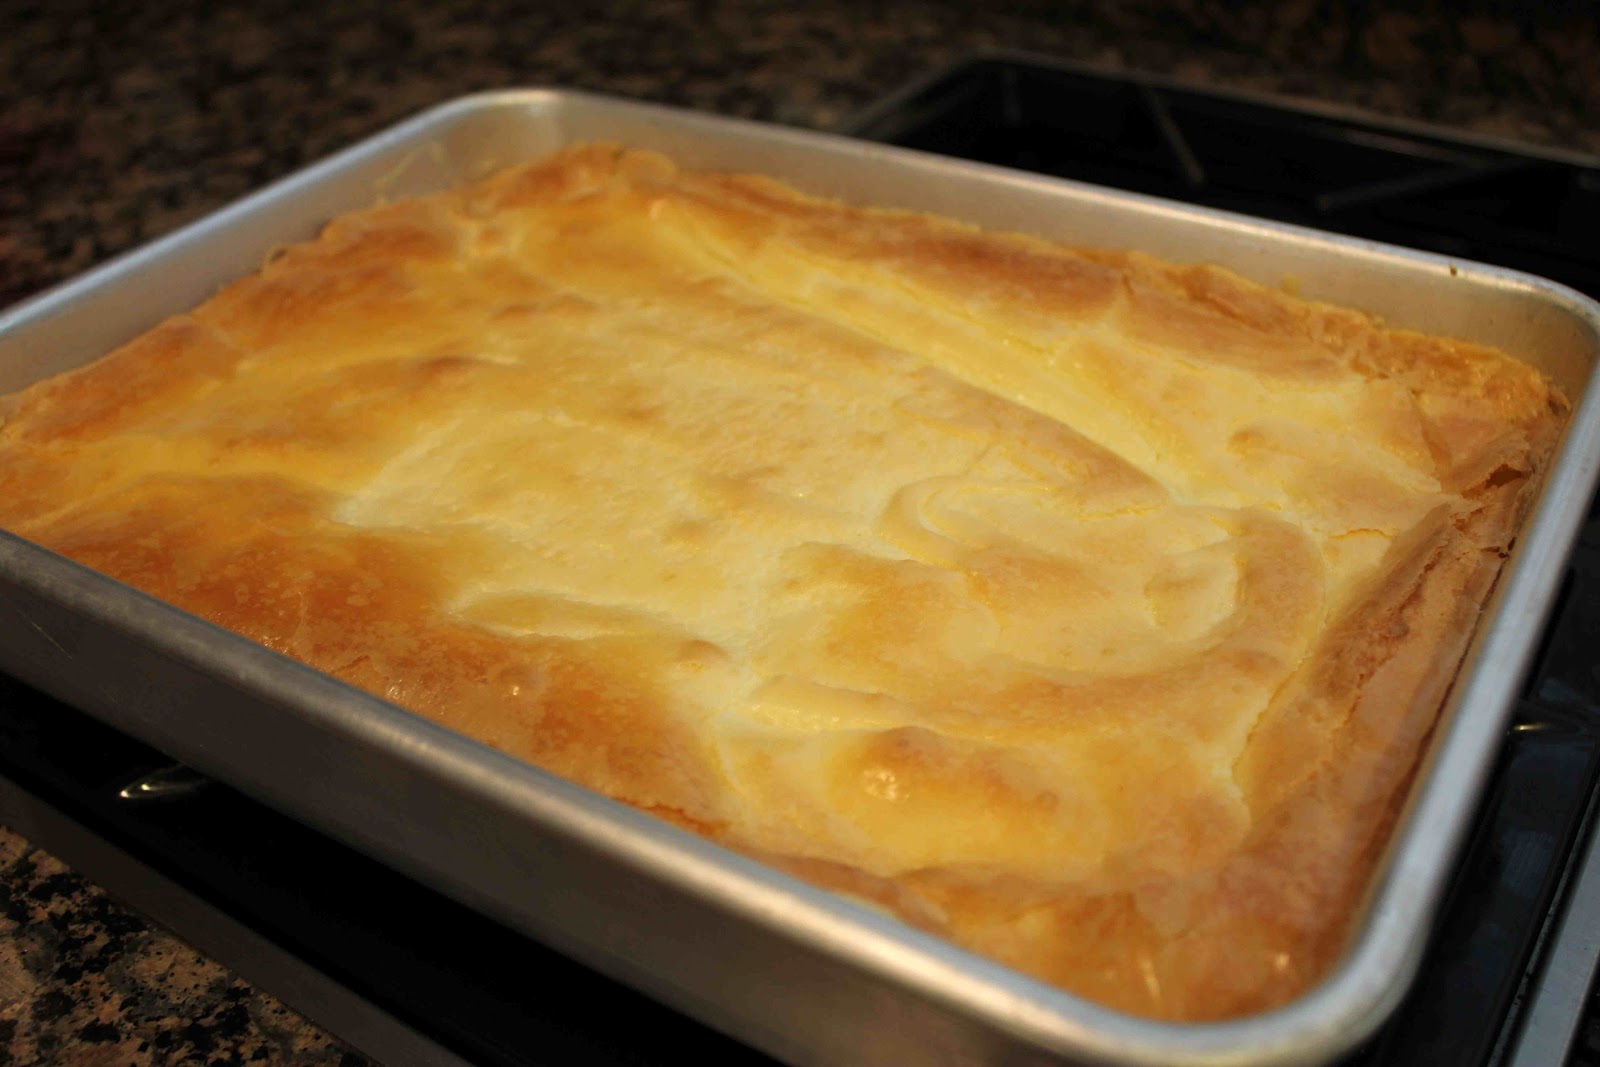
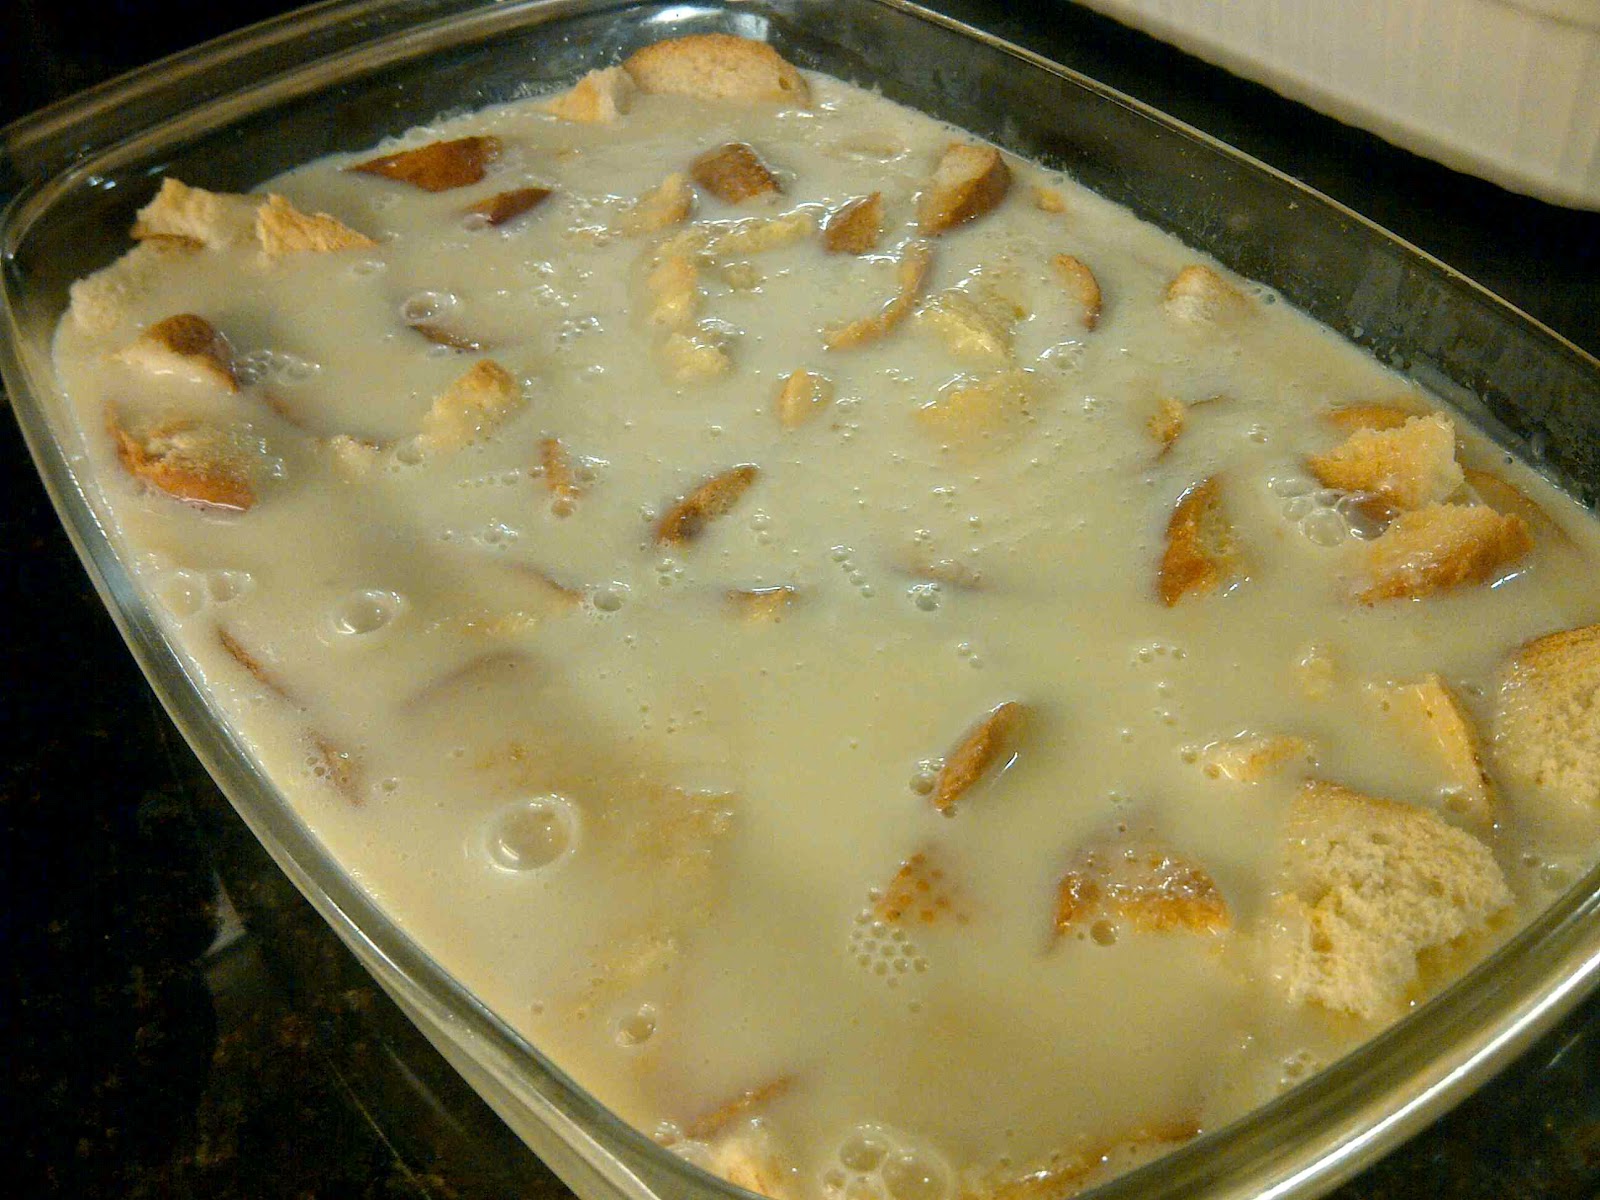
Pour custard mixture over bread strips. Bake for 35 to 45 minutes or until inserted comes out clean.
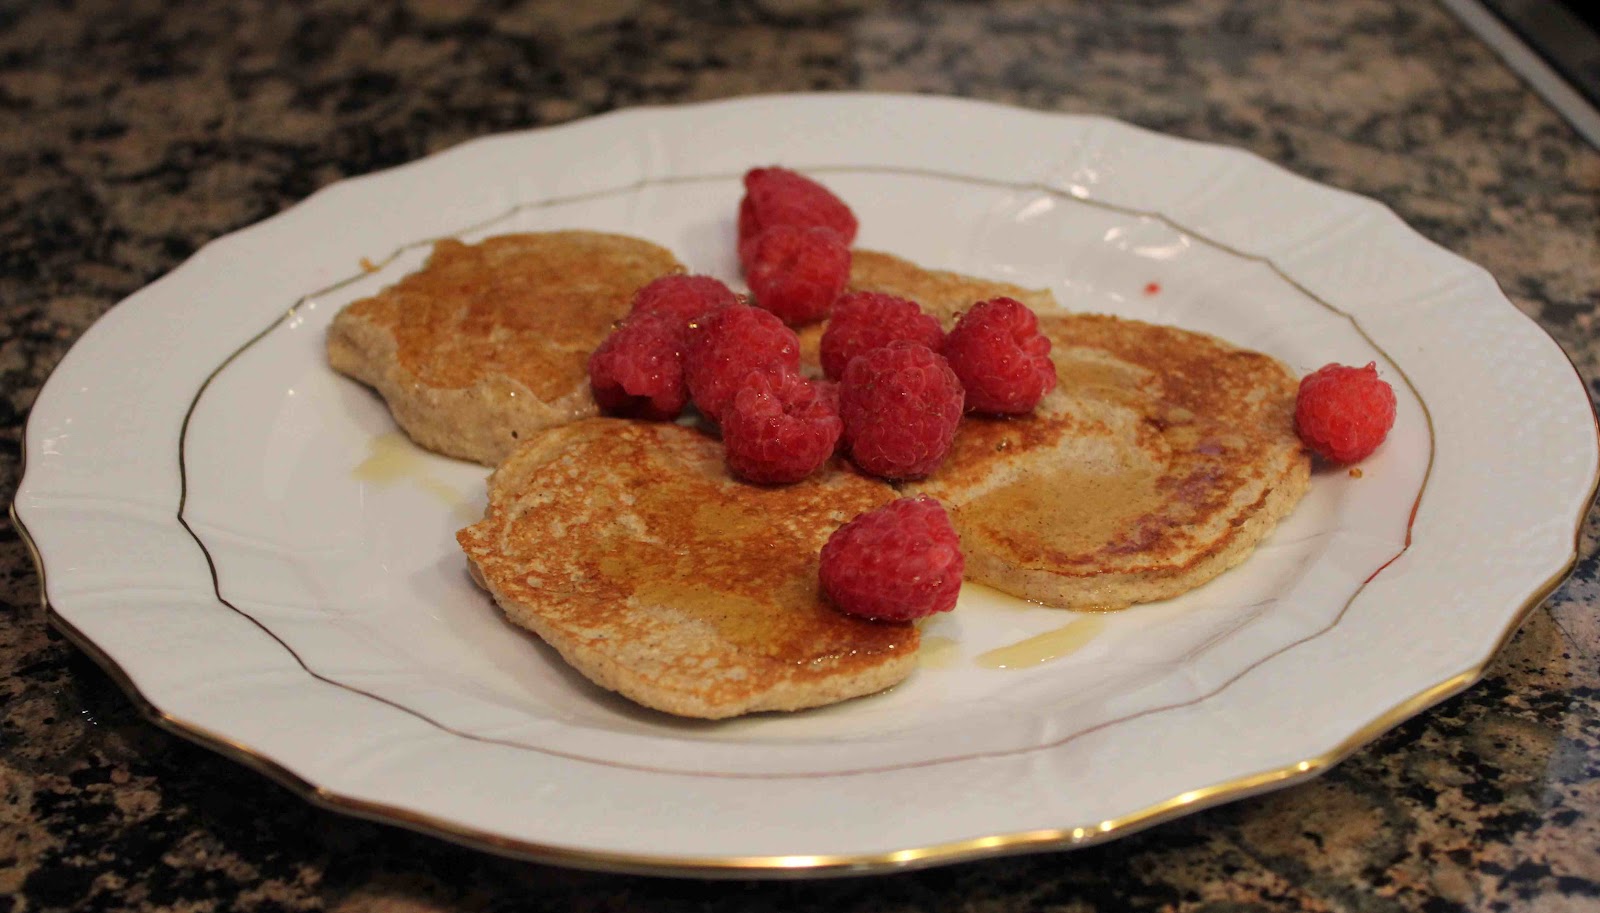
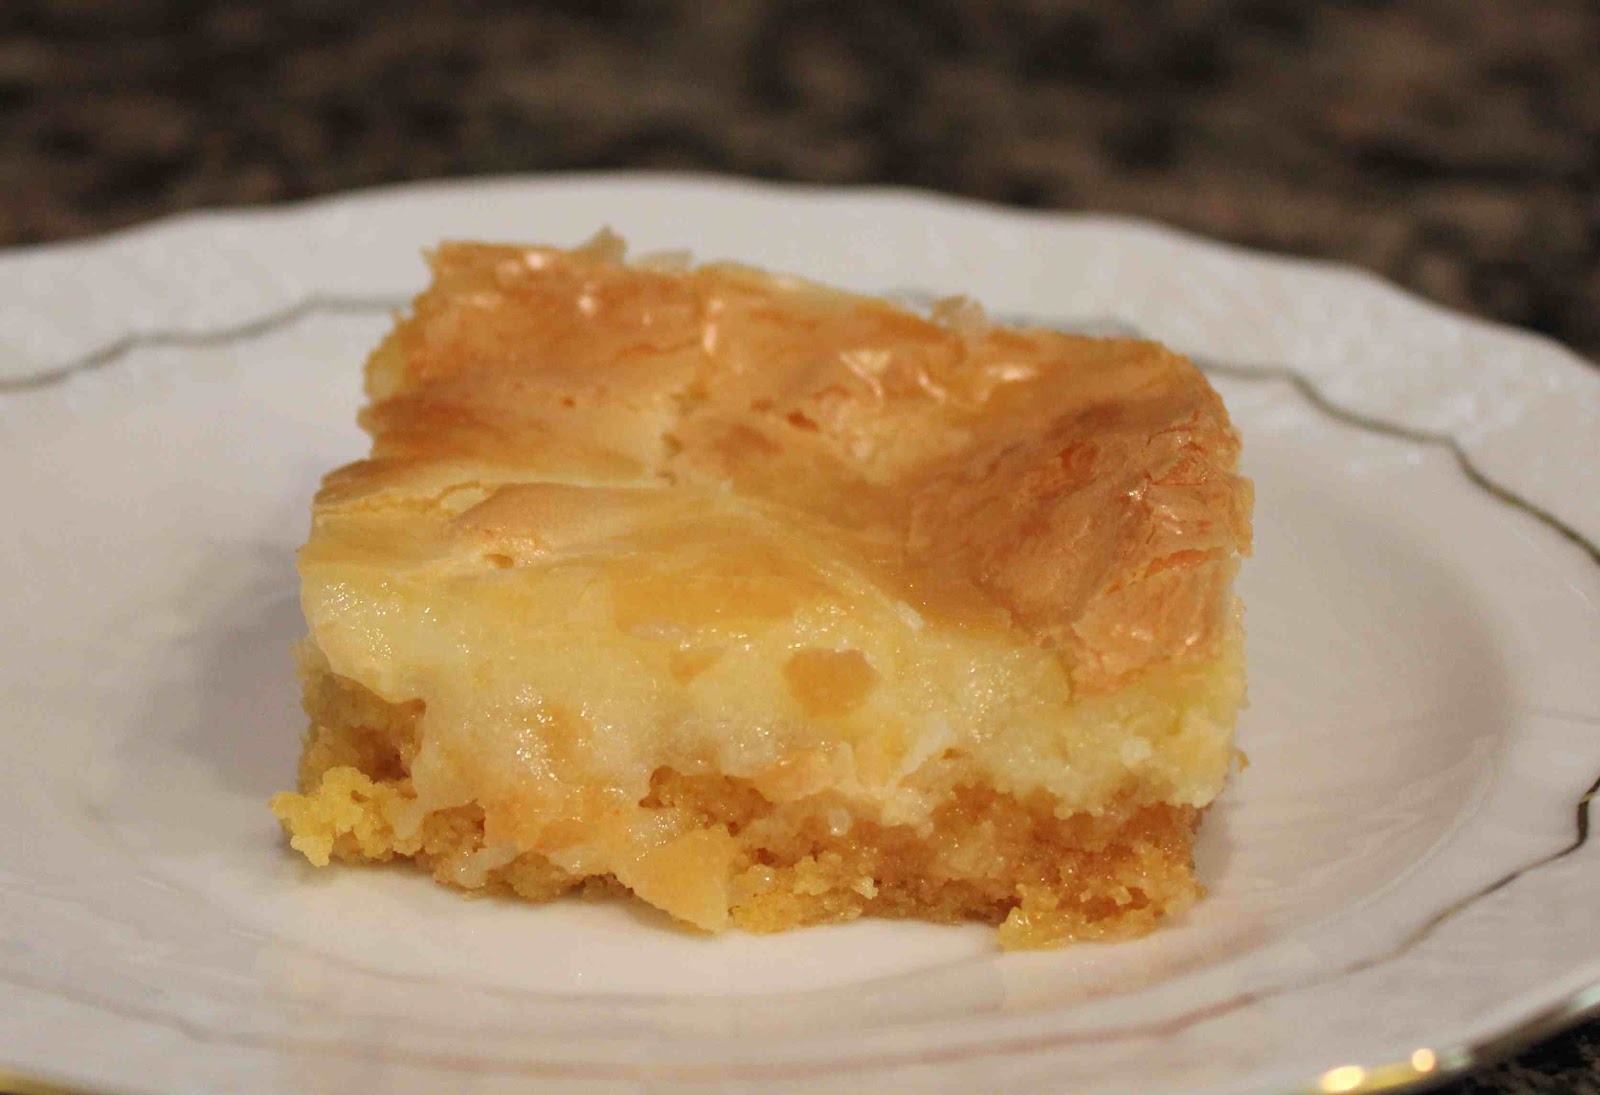
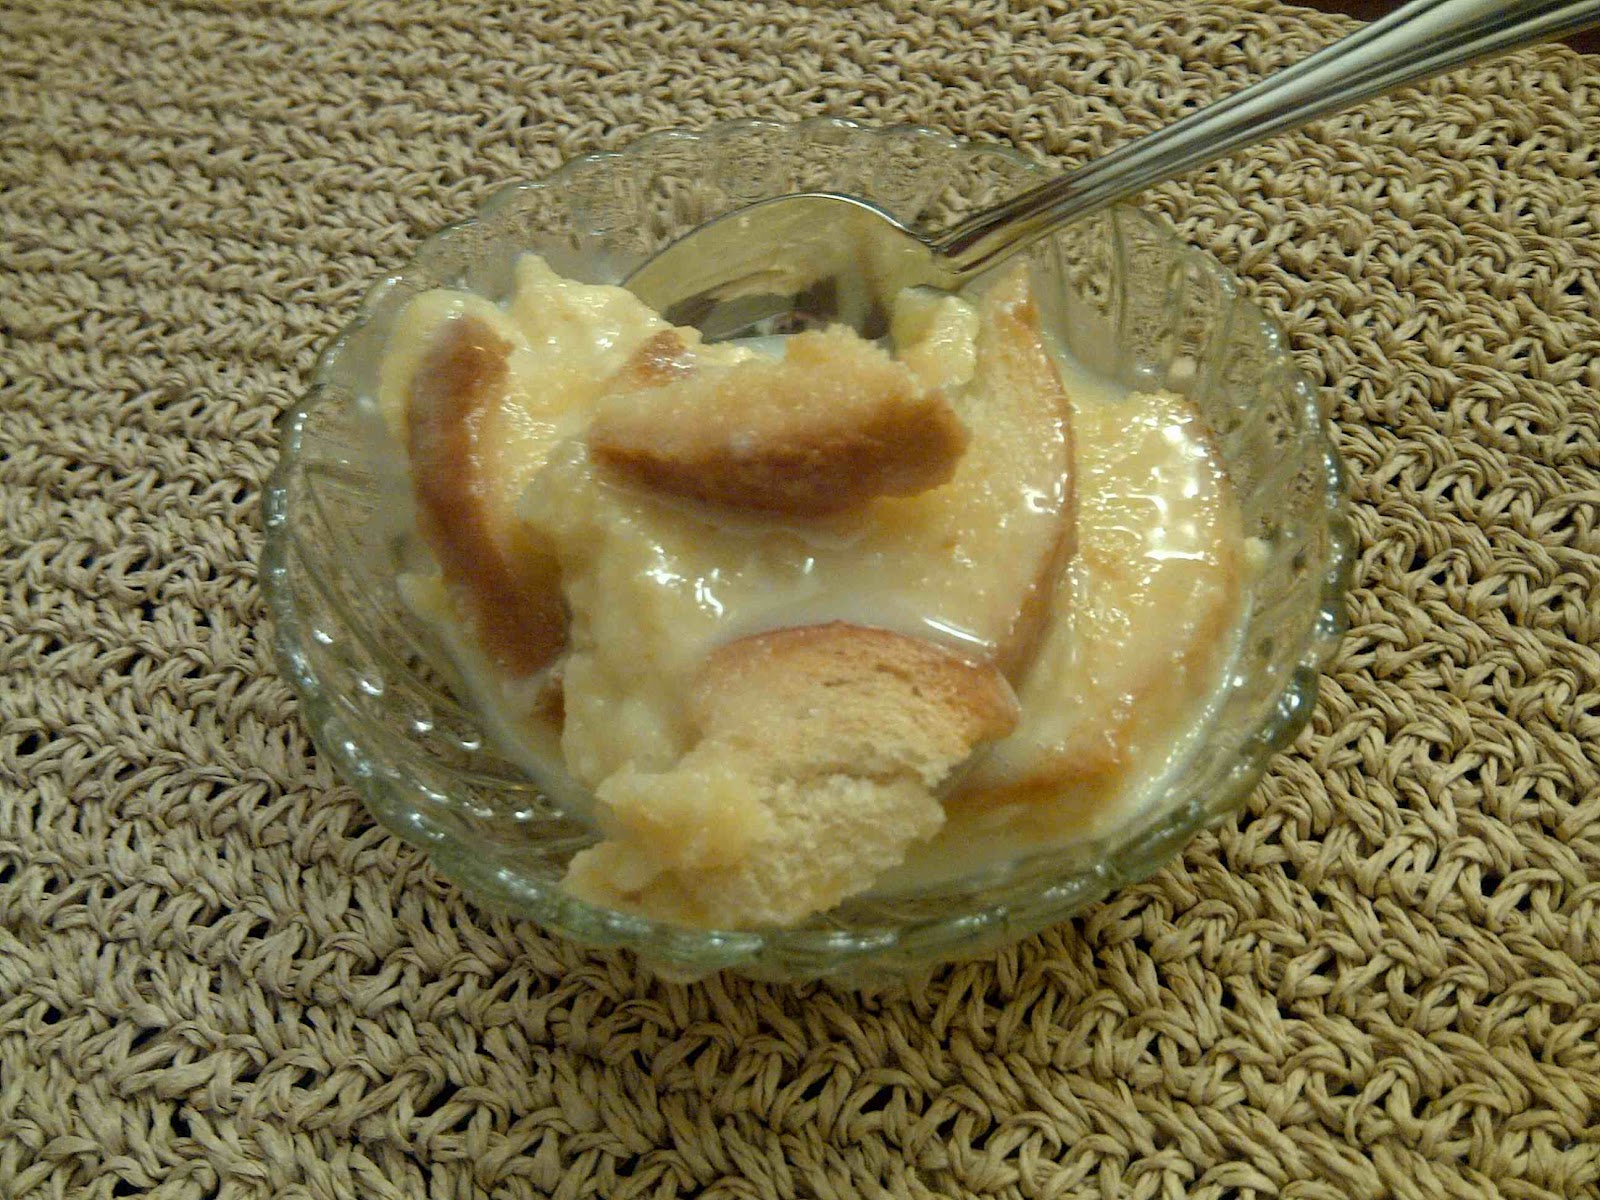
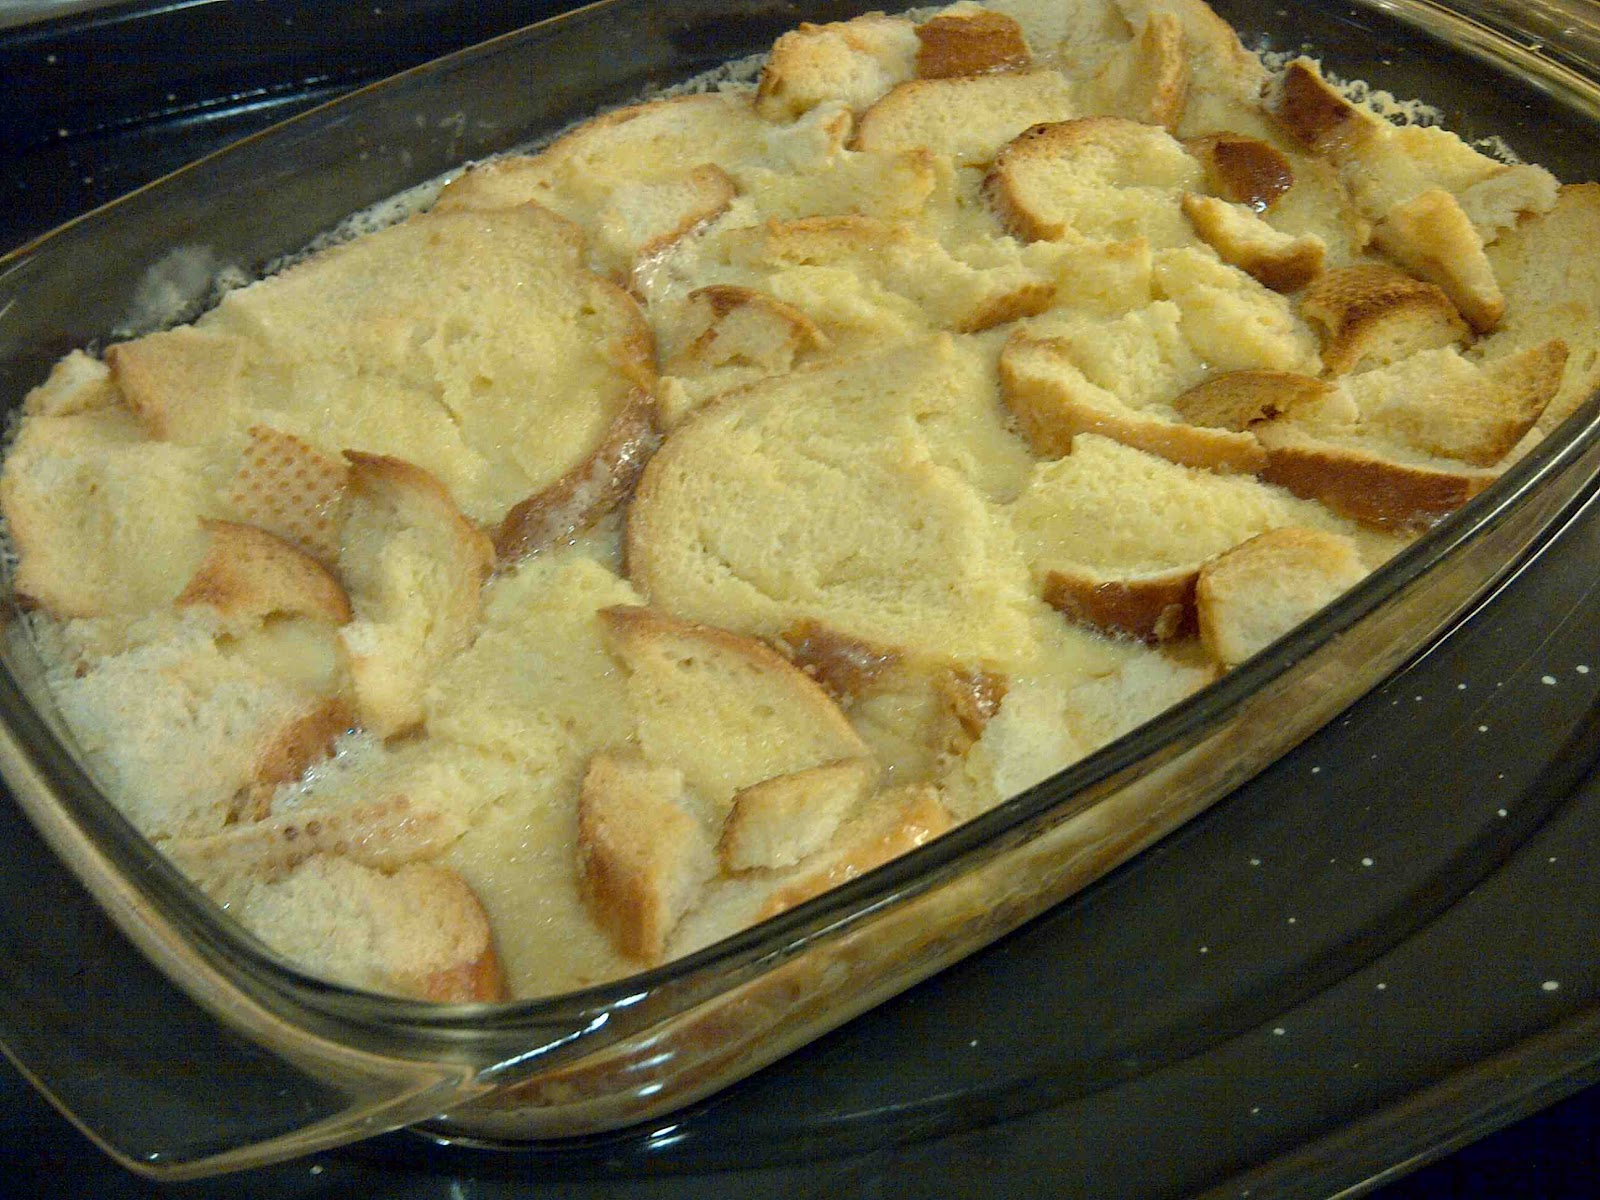
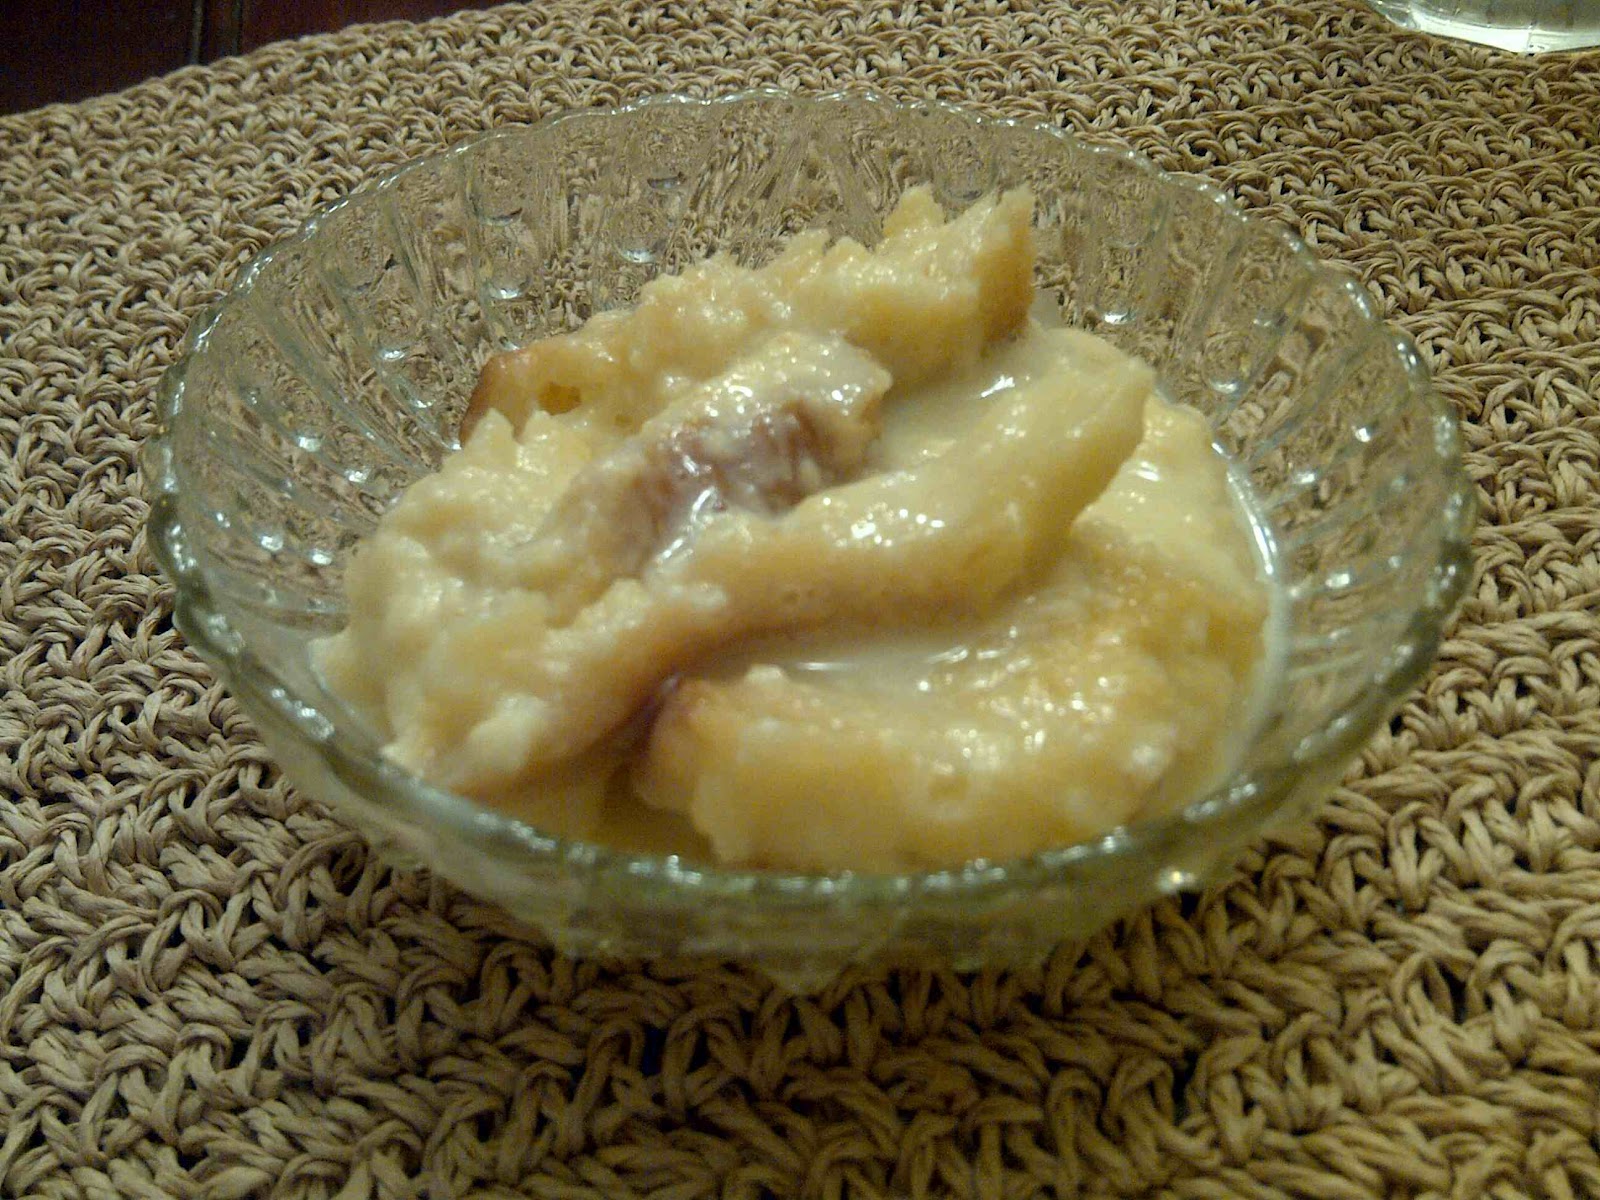
Serve warm with white chocolate sauce or refrigerate and serve later.
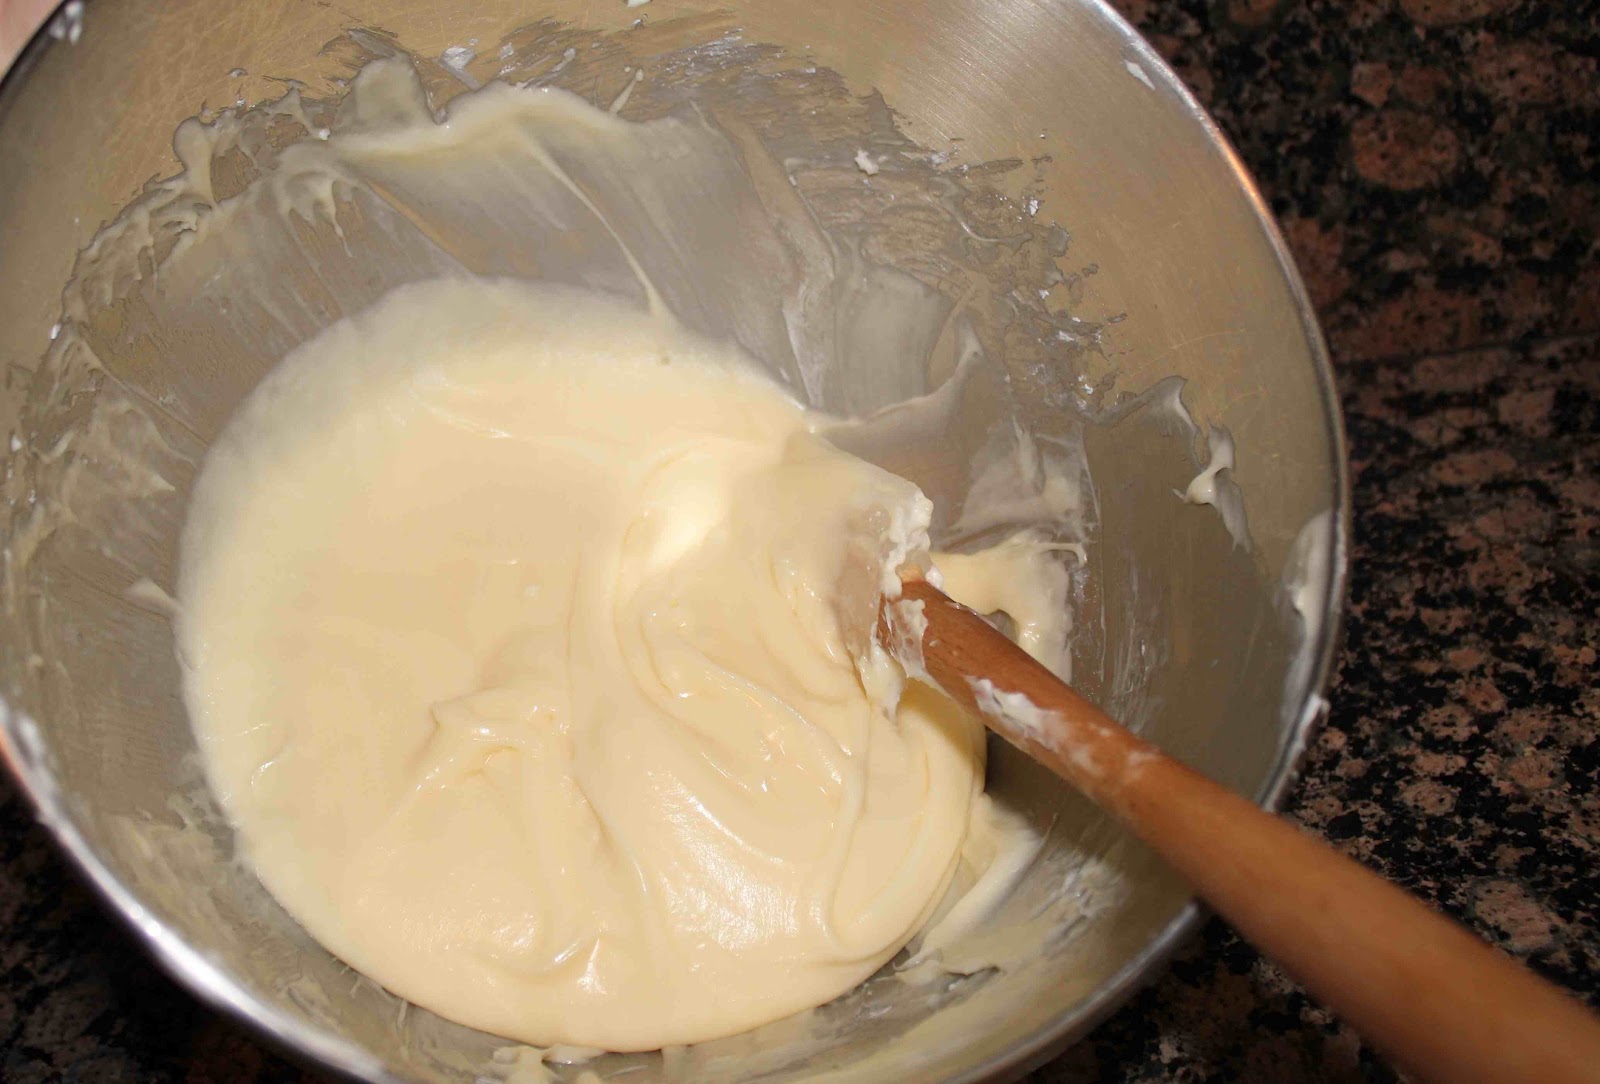
Heat cream until frothy, not boiling. Whisk warm cream into melted chocolate until smooth. Refrigerate until ready to use.
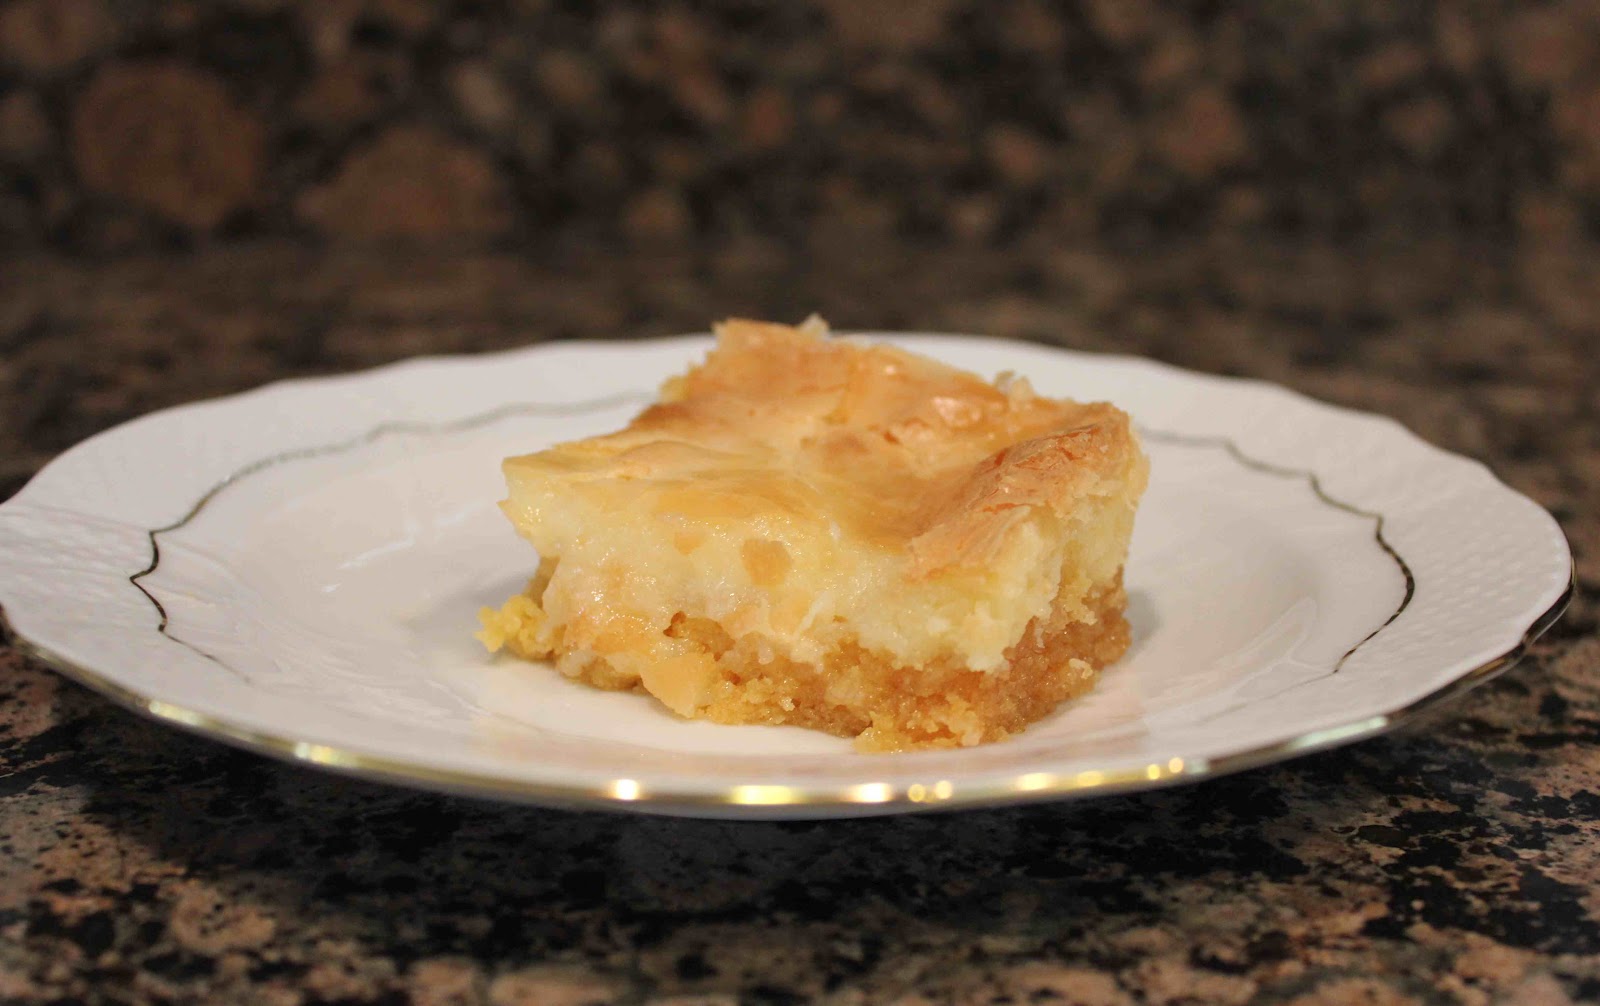
Serve pudding chilled or warm, with white chocolate sauce.
White Chocolate Bread Pudding
Ingredients
PUDDING:
4 ounces French bread, trimmed and cut into 1/4-inch slices
1 1/2 cups half and half
1/2 cup heavy whipping cream
1 large egg
4 large egg yolks
1/2 cup sugar
1 1/2 tsp. vanilla extract
4 ounces white chocolate, melted
WHITE CHOCOLATE SAUCE:
3/4 cup heavy whipping cream
4 ounces white chocolate, melt
– shavings of dark and milk chocolate
Directions
PUDDING:
1. Preheat oven to 350 degrees. Generously butter six 1/2-cup custard cups (we used a large quart-sized baking pan). Cut bread slices into strips as wide as depth of custard cups. Put bread strips on baking sheet and bake until golden, approximately 10 minutes. Set aside.
2. Heat half-and-half and cream in a medium saucepan over low heat until hot. Do not boil. Beat egg, egg yolks, and sugar in small bowl. Whisk a few tablespoon warm cream into egg mixture. Whisk eggs back into cream. Stir in vanilla. Place melted chocolate into a large bowl and slowly whisk cream mixture into it.
3. Line sides of custard cups with bread strips, breaking strips as necessary to get a neat fit. Strain custard into cups and let bread absorb liquid. Add more custard as needed to fill cups to within 1/2 inch of rim. Place cups in baking pan large enough to hold them with at least 1-inch spacing between each. Fill pan with boiling water to within 1 inch of rims of the custard cups. Bake until set and a tester inserted comes out clean, about 35 to 45 minutes. Check pan after 15 minutes. Add additional boiling water if necessary to maintain water level.
WHITE CHOCOLATE:
1. Heat cream until frothy, but not boiling. Whisk warm cream into melted chocolate until smooth. Refrigerate until ready to use.
2. Pudding may be be served in cups or unmolded. To unmold, cover and chill cups throughly, at least 1 hour. Loosen edges with a knife and invert with White Chocolate Sauce. Garnish with chocolate shavings.
Yield: 6 servings