As mentioned before, I write a monthly resident recipe column for our neighborhood magazine. For the month of September, I wrote about this wonderful pound cake recipe! Here’s the article:
You would never know that this delicious pound cake was originally billed as a wedding cake! Sheila’s mother-in-law Margaret Miller discovered this cake in the 1960s from a local South Carolina paper, “The Greenville News”. Despite the addition of a white icing recipe, Margaret immediately recognized it as a pound cake, not a wedding cake!
Perhaps Mother Miller knew about the 1:1:1:1 ratio of flour, butter, sugar and eggs in a pound cake, which typically has a pound of each of the four ingredients. Or maybe she just had a knack for baking! Either way, Mother Miller was right, and this is one of the best pound cakes I’ve ever put in my mouth!
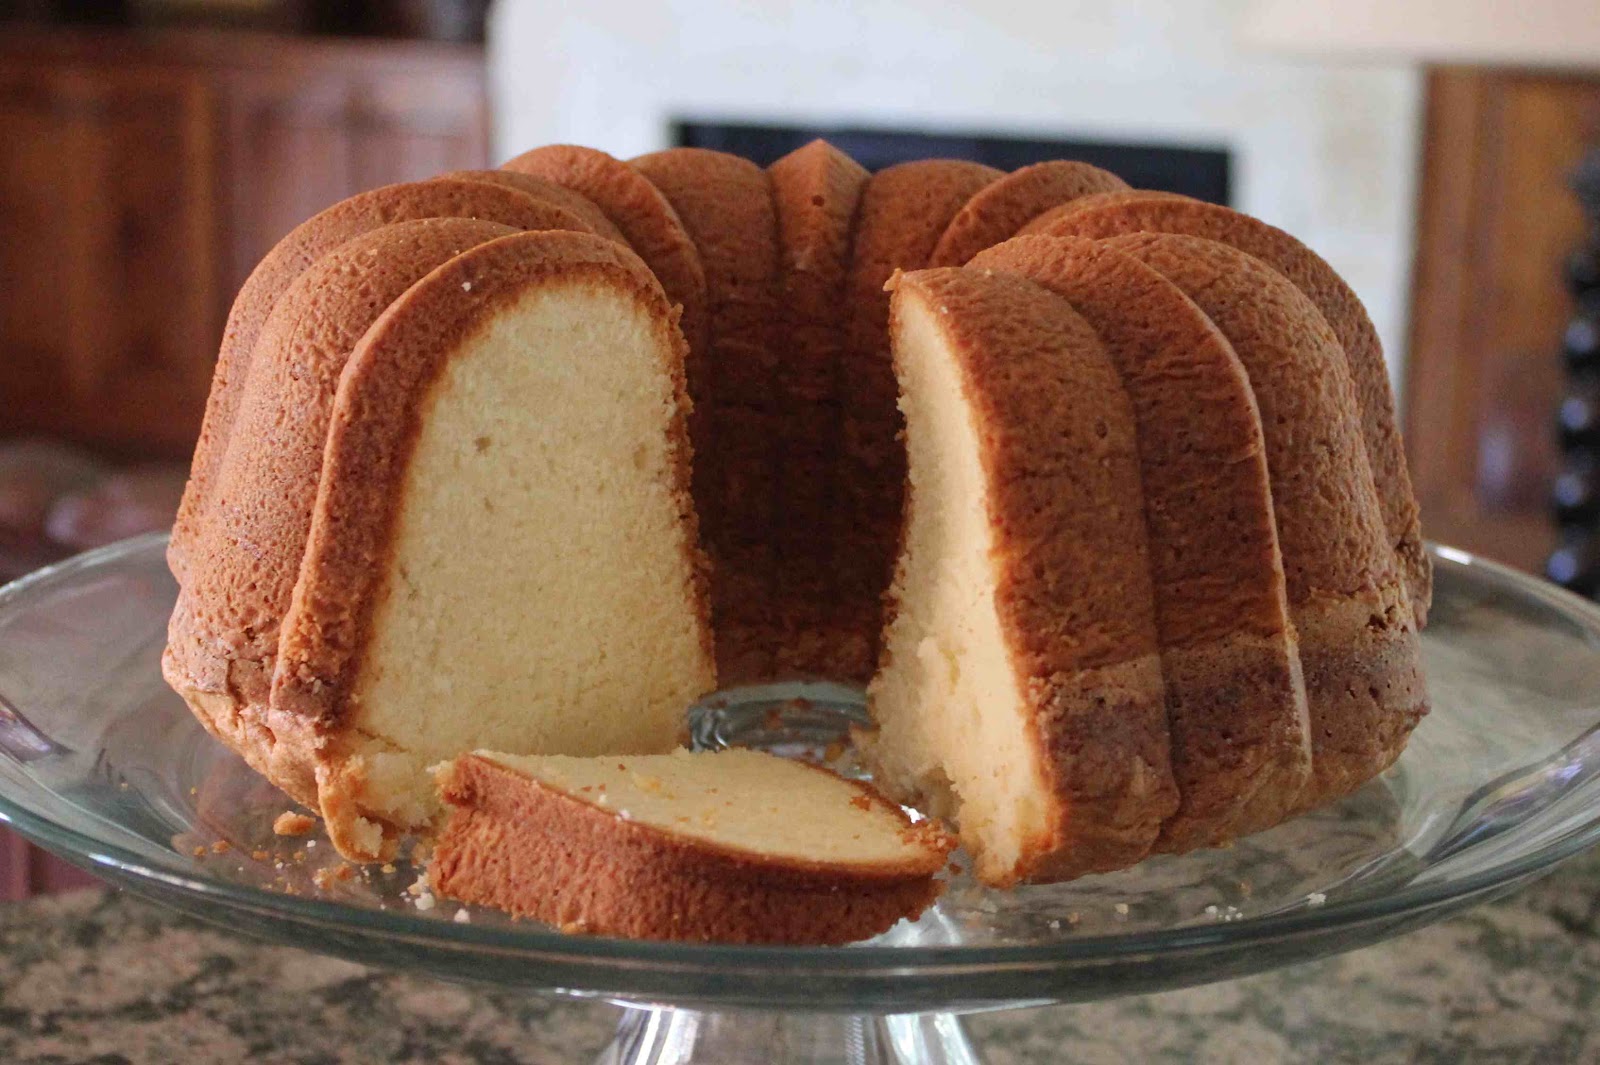
According to the Millers, this cake is a family favorite. It is served at ALL family dinners, birthdays, holidays, or any time the family gets together. They never ice the cake, even when putting birthday candles on it!
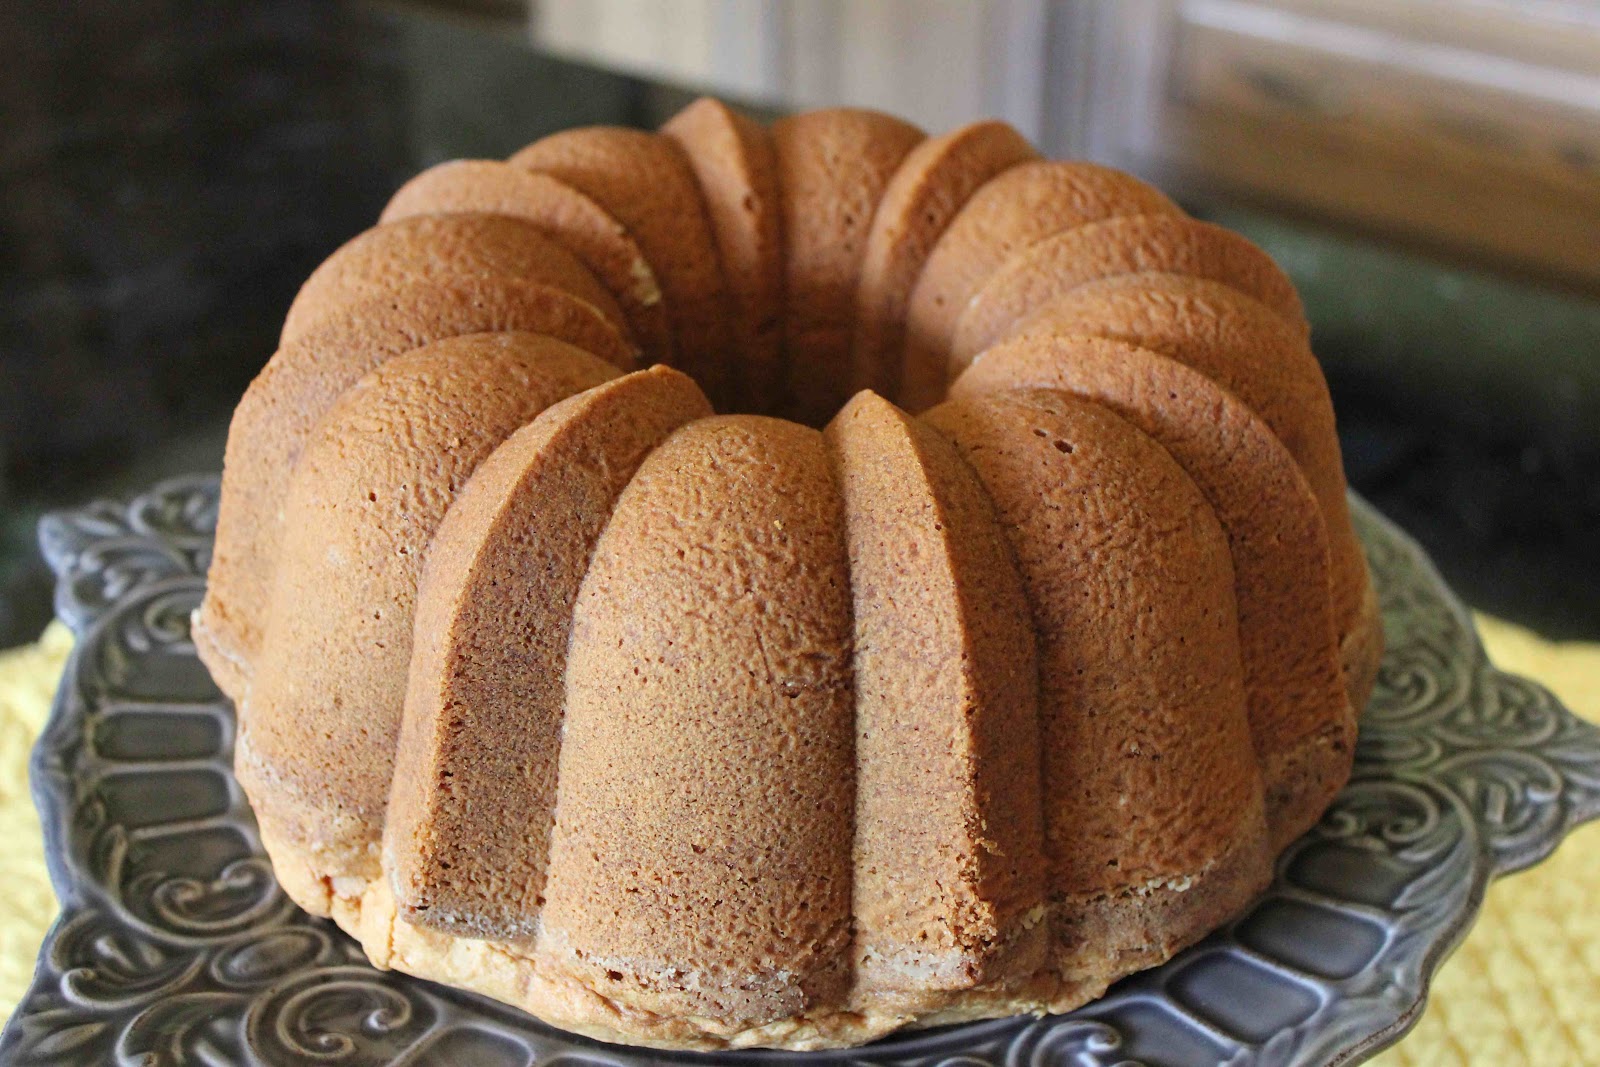
Mother Miller’s Pound Cake
Ingredients
2 sticks unsalted butter, plus enough to grease cake pan
1 tsp. vanilla extract
1 tsp. almond or orange extract
5 large eggs
3 cups sugar
3 1/4 cup unbleached all-purposed flour, plus enough to coat cake pan
1 tsp. salt
1 cup whole milk (do not use skim milk)
Directions
1. Grease and flour a large (12 cup) Bundt pan or other large cake pan. Sift together the flour and salt. Have all the ingredients at room temperature.
2. Preheat oven to 325 degrees F. Cream butter and shortening together at high speed in an electric mixer, until mixture is fluffy. Scrape down the bowl. Add the two flavorings and mix slightly until blended.
3. Add one egg yolk at a time, on low speed of mixer, saving the egg whites together in a separate bowl. Alternate adding sugar between egg yolks. When all the egg yolks and sugar have been added, beat on high for a minute or two to blend well; scrape down the sides of the bowl.
4. On low speed again, alternate adding the flour/salt mixture and the milk; when all the flour and milk have been added, beat on high for a minute to blend well, and scrape down the bowl.
5. In a separate bowl, using a hand whisk or whisk attachment to your mixer, beat the egg whites at top seed until the egg whites are stiff but not dry. By hand, fold the egg whites into the rest of the cake batter; then beat on high for a minute to blend well.
6. Pour the batter into the prepared cake pan, and gently drop the cake pan on the counter a few times to settle the dough into the pan.
7. Bake for 90 minutes (1 1/2 hours), or until the sides of the cake have separated slightly from the pan. Remove from the oven and cool the cake in the pan for 15 minutes. Turn the cake out onto a cake plate or serving platter, and let cool completely before covering with tin foil.
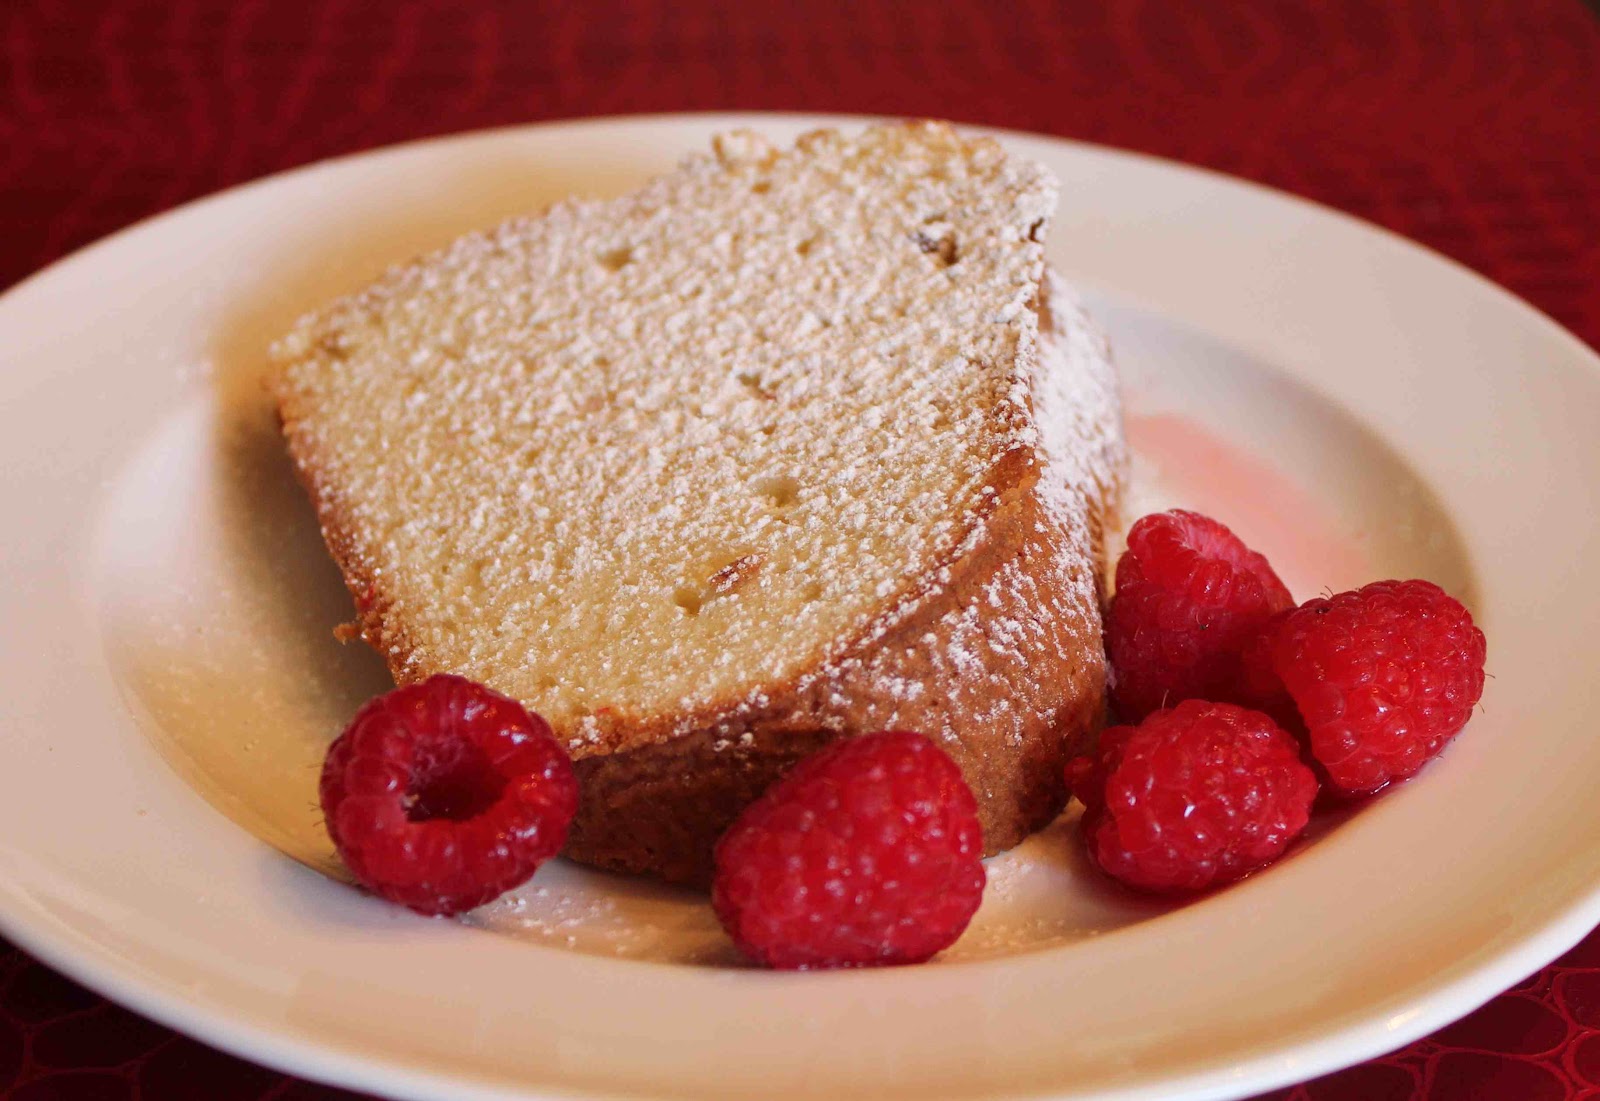
*Serve it alone – or garnish with berries, ice cream or whipped cream, or sift powdered sugar over the whole cake for a pretty display. For a twist, pour 1-2 tablespoons of white wine over each slice and let the wine sink in.