Can you believe it… already November 1st! Since it’s the first of the month, our monthly neighbor magazine gets published and I can finally reveal what recipe I wrote about in my Resident Recipe column. Below is my article:
Thanksgiving is a time to reflect on what you are thankful for. I am grateful for my friends and family, but after eating far too many pumpkin butter bars from my neighbor Betty, I have to say that I am extremely thankful for pumpkin desserts!
Betty’s favorite time of the year is Thanksgiving. Accordingly, her favorite store to visit is Williams-Sonoma. If you’re a foodie or simply like to cook, you’ve probably stopped by a WS store and seen their vast selection of cookware, baking goods, recipes and fine linens used to set a gorgeous dinner table. In addition, you’ve probably had a chance to sample some freshly baked goods from their in-store kitchenette.
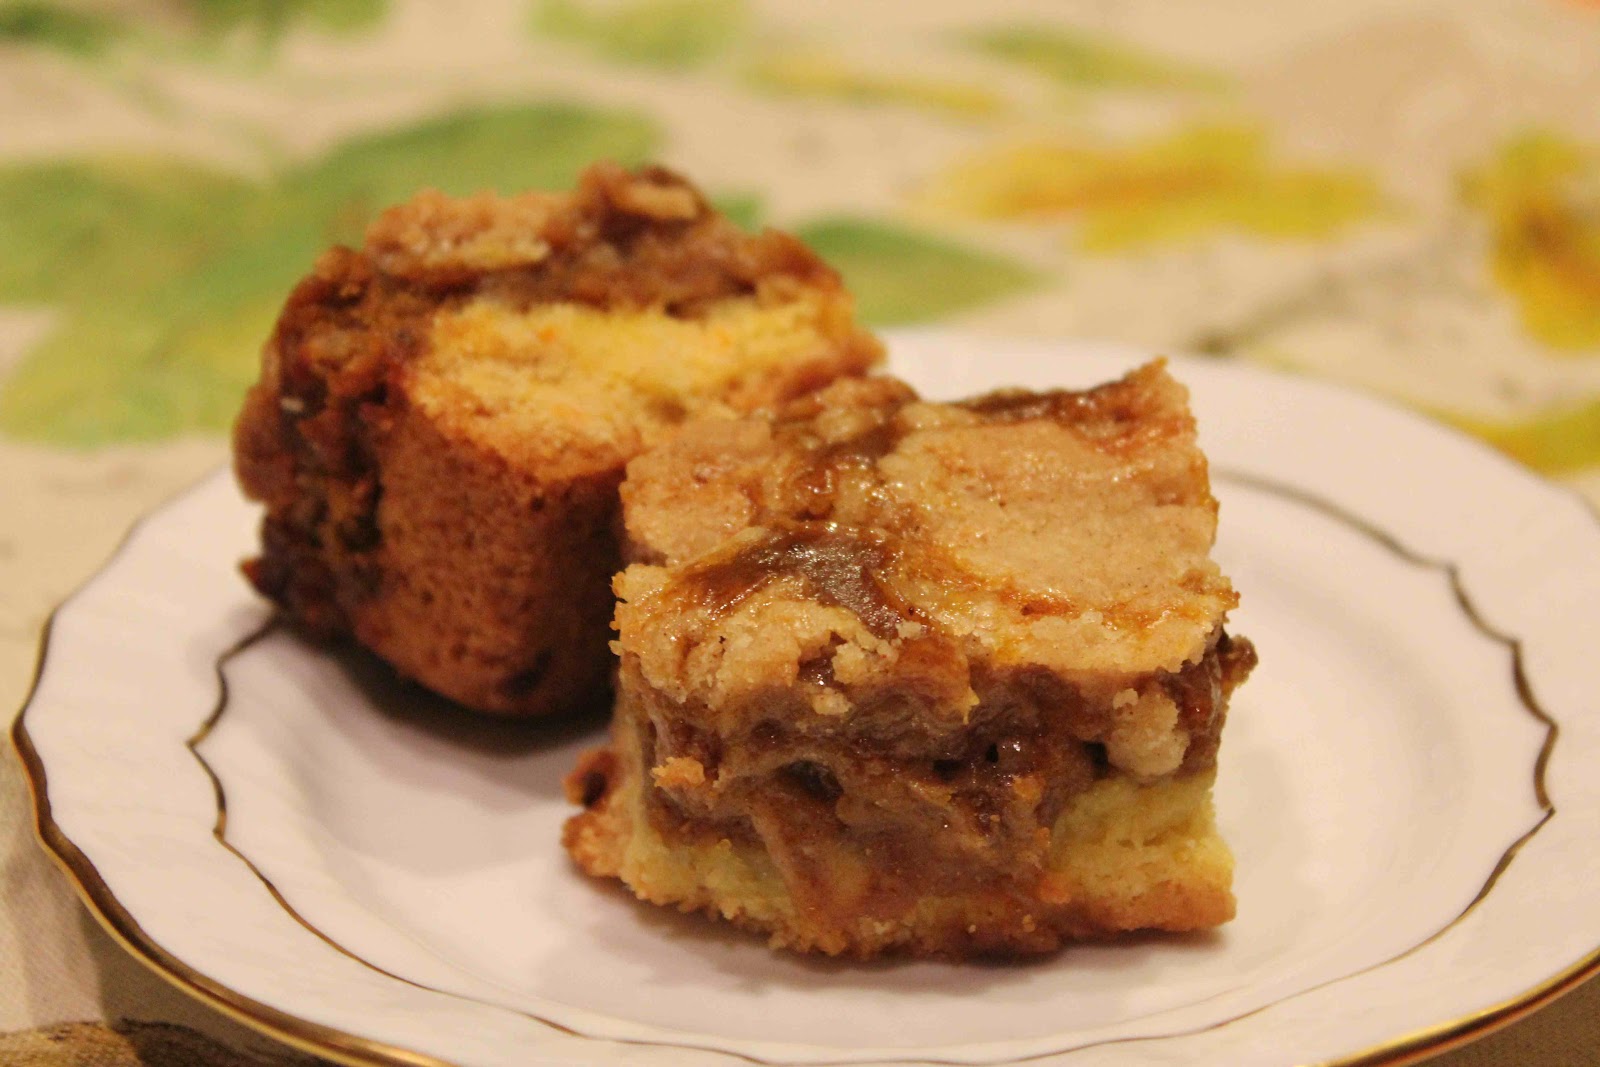
A few years ago, Betty walked into Williams-Sonoma and was greeted with a batch of Pecan Pumpkin Butter Bars. “They were amazing,” Betty exclaimed, and now makes these bars every year during the holiday season. Her friends and family love them – including me! In addition these tasty bars yield a warm and festive aroma that will make you never want to leave your kitchen. Enjoy and Happy Thanksgiving!
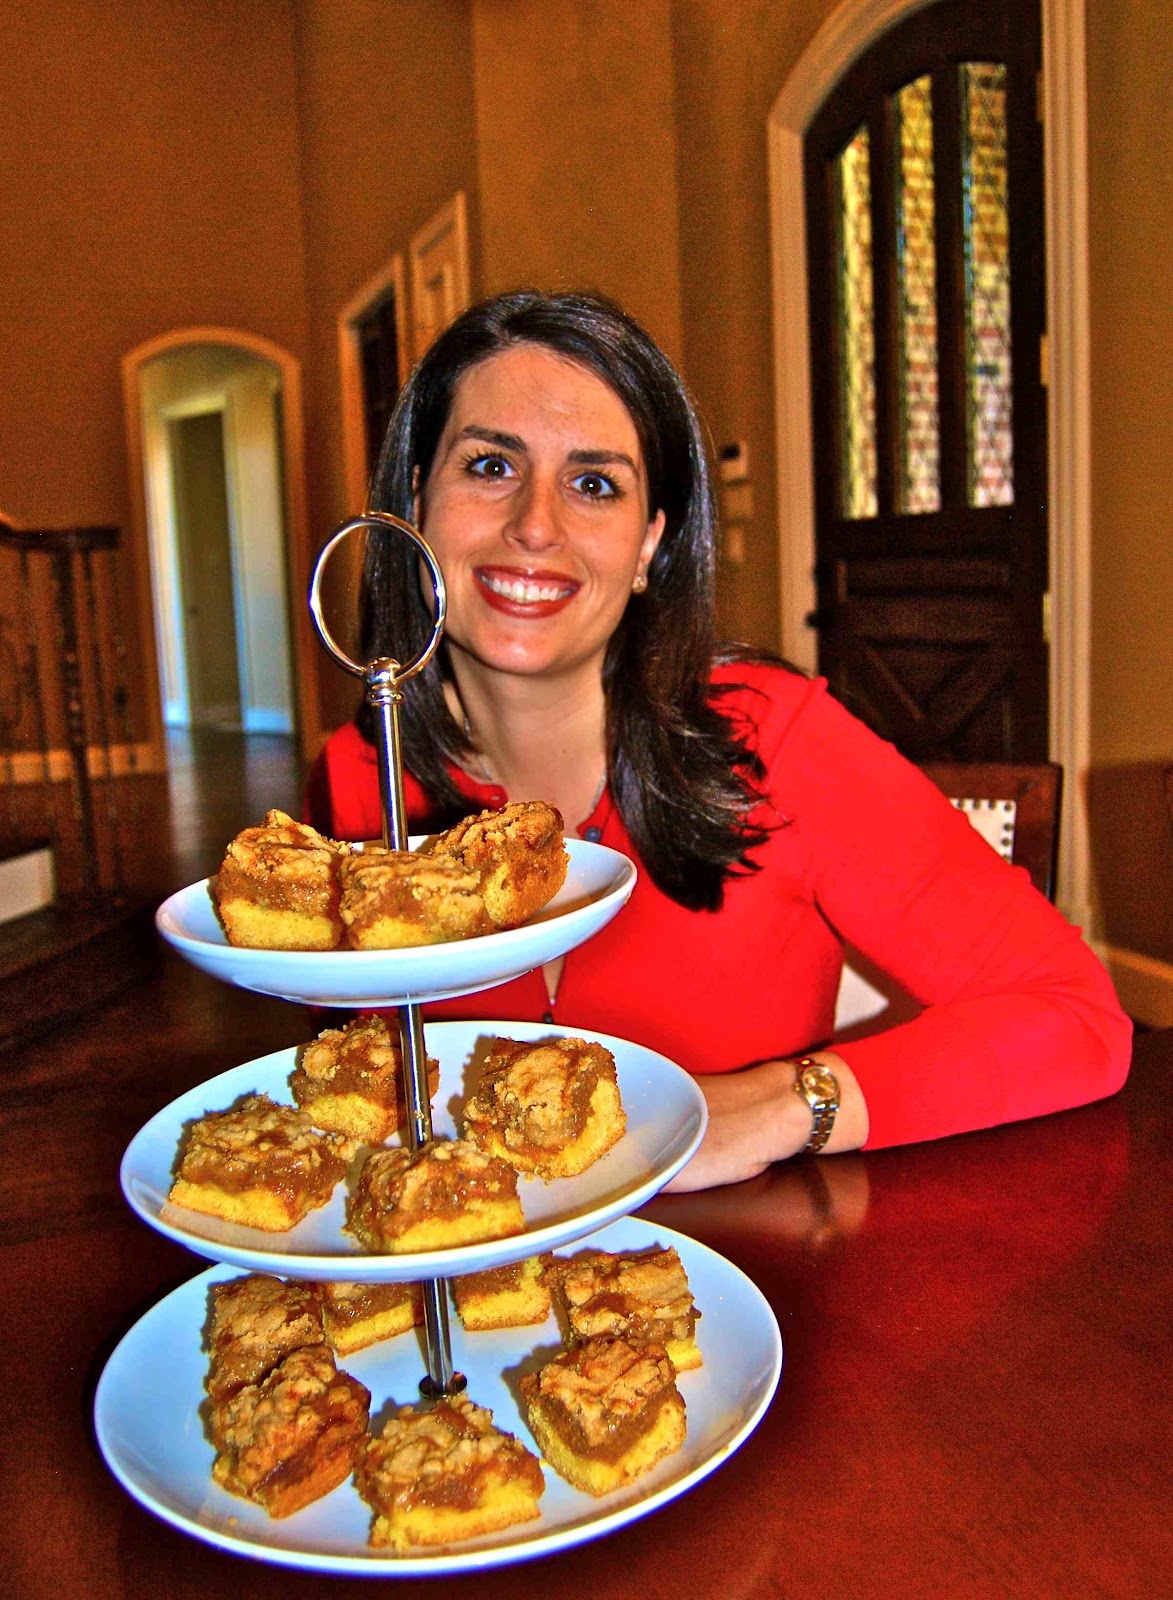
Pumpkin Butter Bars
Ingredients
1 package yellow cake mix; set aside 1 cup
1/2 cup butter, melted
3 eggs
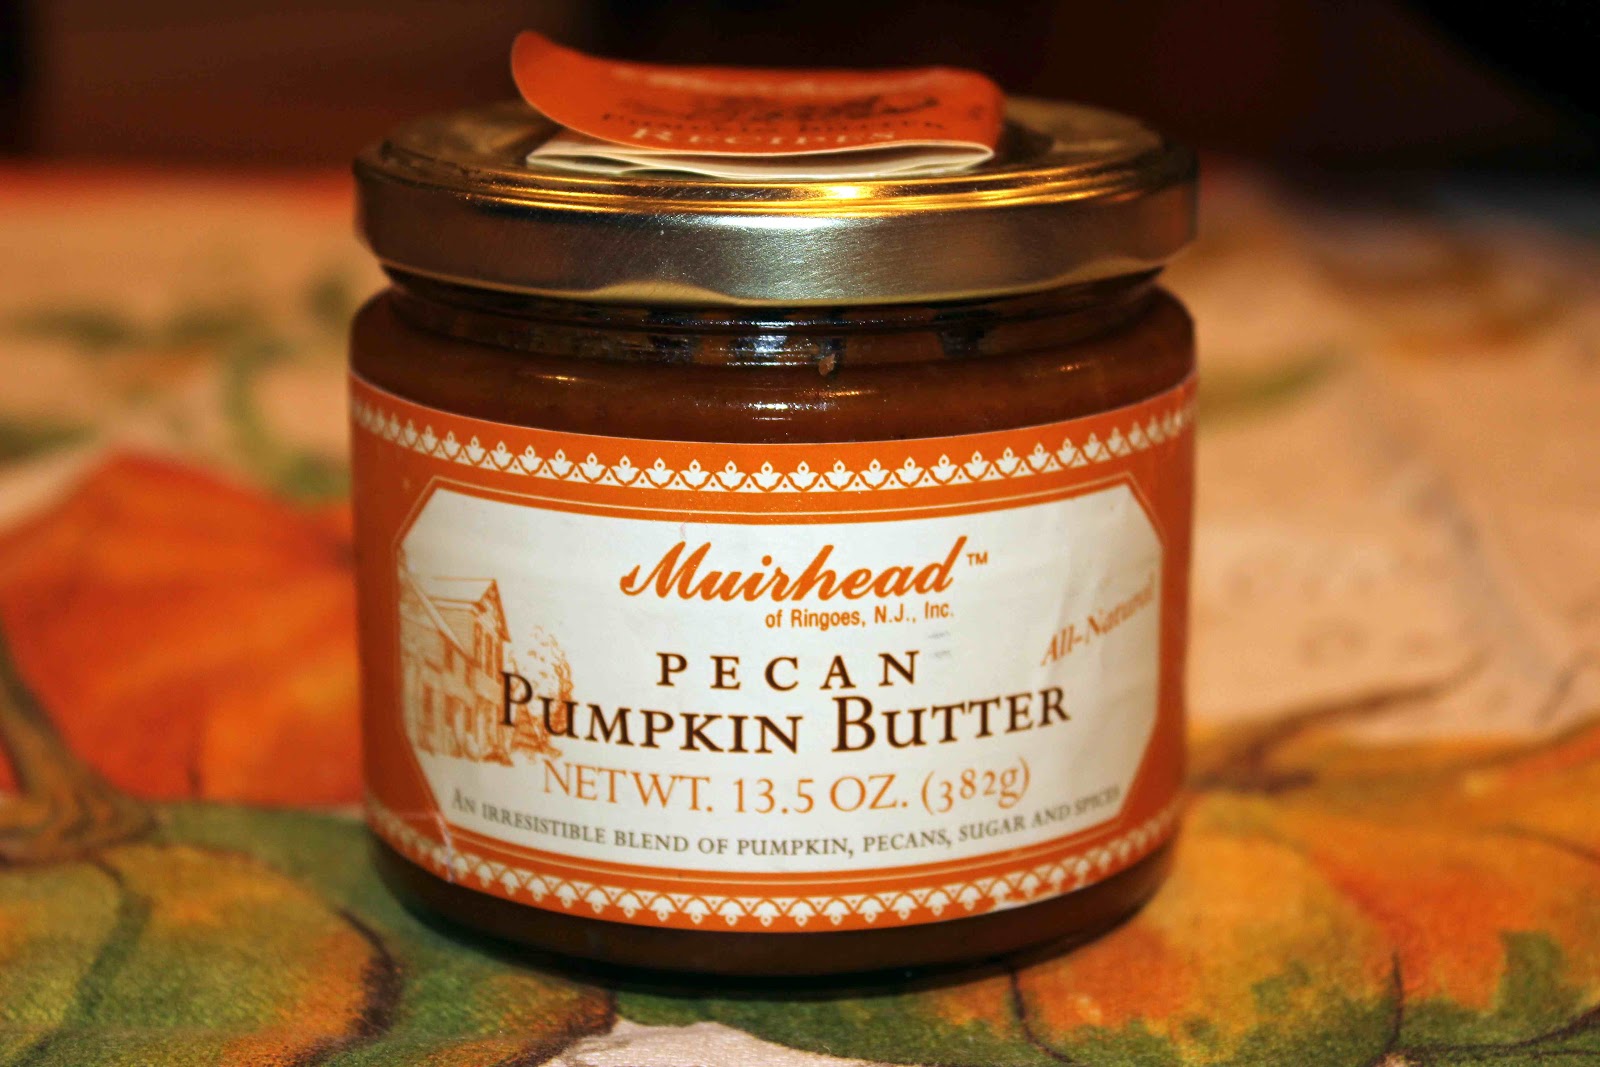
*1 jar Williams-Sonoma Muirhead Pecan Pumpkin Butter (13.5 oz)
1/8 cup milk
1 Tbsp. flour
1/4 cup butter, softened
1 tsp. cinnamon
Directions
1. Preheat oven to 350 degrees F.
2. Divide yellow cake mix, placing all but one cup in a mixing bowl. Stir the melted butter and one egg into the cake mix. Press the mixture into the bottom of a 9″ x 13″ inch pan.
3. Mix the jar of Muirhead Pecan Pumpkin Butter with two eggs and milk. Pour this result over the cake mix.
4. Stir the reserved cup of cake mix with the flour, sugar, softened butter, and cinnamon. Mix together until crumbly. Sprinkle over top of pumpkin layer.
5. Bake for 35 to 40 minutes or until golden brown. Cut into 2-inch squares.
Serves: 24
Recipe from: Williams-Sonoma