Thick Oven-Baked Chili

A cold front arrived in Dallas today and brrr, is it cold! Time for some homemade chili!
Brittany first made this chili a few weeks ago when I visited her in Michigan. It was great to have since the sun barely came out and the temperature stayed in the 30s. Brit eats healthy, so she substituted lean ground turkey for the ground sausage. 
My mom made this same chili recipe last week, except she decided to keep the sausage. While the chili is good either way, the sausage adds a nice spicy flavor and tunes the dish up quite a bit. I loved it! 
If you’re wanting something filling, this is the recipe you need to try. The chili yields plenty of protein, so you won’t go hungry. FYI – There are tons of beans, so be aware.  🙂 
Finally, the chili tastes better the second day you eat it. On the first day, my dad said the chili had too much of a tomato taste to it. Like I said, the flavors blend better the second day.  Enjoy and stay warm!


Thick Oven-Baked Chili
Ingredients
1 Tbsp. vegetable oil
1 pound lean ground beef
1 pound ground sausage (we used turkey sausage)
1 yellow onion, chopped
2 cloves garlic, minced
2 cans (15 ounces) black beans, drained and rinsed
1 can (14 ounces) diced tomatoes
1 can (15 ounces) tomato sauce
1 can (4 ounces) green chilies
2 bay leaves
1 tsp. salt
1 Tbsp. chili powder (or more to taste)
1 tsp. dried oregano
1/4 tsp. cayenne pepper
Freshly ground pepper to taste

Directions
1. Preheat oven to 325 degrees F.
2. In a dutch oven over medium heat, warm oil. Saute beef, sausage, onion and garlic until meat is no longer pink and onion is tender, about 10 minutes. Add remaining ingredients and mix well.
3. Cover and bake 1 hour, stirring occasionally. Uncover and bake 30 minutes longer. Remove bay leaf and discard.
4. Serve, topped with sour cream, sliced green onions or grated cheddar cheese.

Recipe from: Barbara Bakes

Pumpkin Whoopie Pies

If you’re not planning on eating out for Thanksgiving tomorrow, then you better be in the kitchen baking, or else prepping for tomorrow’s big feast!
If you’re looking for a last minute dessert, here’s one that will satisfy the pickiest of eaters. From the friends I know that have kids or grandkids, they are always having to think of a dessert that the kids will like. Sweet potato and pumpkin pies aren’t really kid-friendly. While kids would enjoy brownies or cookies, how about keeping the festive pumpkin tradition in Thanksgiving, and make these Pumpkin Whoopie Pies? 
Before you ask what a whoopie pie is (like my husband did), here’s the breakdown: imagine eating a piece of cake with lots of frosting in cookie form. 
According to wikipedia (I know, it’s not a real encyclopedia), whoopie pies are considered either a cookie, pie or cake. It’s made with two round mound-shaped pieces of cake with a sweet, creamy filling or frosting sandwiched between them. Alternate names include ‘black moon’, ‘gob’, ‘black-and-white’, bob, or ‘BFO’ for ‘Big Fat Oreo’ – that is if you are making the chocolate ones. 
FUN FACT: Did you also know that the whoopie pie is the official state treat of Maine? Pretty cool, right? 
Anyways, the taste is outstanding. The cookies are soft, spicy and moist – like cake. My husband Matt was extremely impressed, and I’ll be bringing these babies to Thanksgiving tomorrow. Enjoy!
Whisk together flour, baking powder, soda, salt and spices.
In another bowl, whisk together sugars and oil. 
Add the pumpkin puree and whisk to combine.
Whisk in the eggs and vanilla extract.

Gradually add the flour mixture to the pumpkin mixture.
Scoop rounds of dough on parchment paper-lined baking sheets. 
Bake for 12 minutes at  350 F. Let cool for a few minutes, then transfer to a wire rack.
Make the frosting by beating together butter, cream cheese, confectioners’ sugar and vanilla extract.
Frost the cookies. 
Take a big bite and enjoy!

Pumpkin Whoopie Pies
COOKIES
3 cups all-purpose flour
2 Tbsp. cinnamon
1 tsp. baking powder
1 tsp. baking soda
1 tsp. salt
1 tsp. ground ginger
1/2 tsp. ground nutmeg
1 cup granulated sugar
1 cup packed light brown sugar
1 cup canola oil
3 cups canned pumpkin
2 eggs
1 tsp. vanilla extract

CREAM CHEESE FROSTING
3 cups confectioners’ sugar, sifted
8 ounces cream cheese, at room temperature (I used 1/3-less-fat)
4 ounces (1 stick) unsalted butter, at room temperature
1 tsp. vanilla extract

Directions.
1. Preheat oven to 350 degrees F. Line two baking sheets with parchment paper.
2. FOR THE COOKIES: In a large bowl, whisk together the flour, cinnamon, baking powder, baking soda, salt, ginger and nutmeg. In another, larger bowl, whisk the sugars and oil together. Add the pumpkin puree and whisk to combine thoroughly. Add the eggs and vanilla and whisk until combined. Finally, gradually add the flour mixture to the pumpkin mixture and whisk to combine completely.
3. Use a small scoop (or large spoon) to drop rounds of dough ( about 1.5 – 2 tablespoons each) onto the prepared baking sheets, spacing them about 1-inch apart.
4. Bake for 12 minutes, or until toothpick inserted into the center of a cookie comes out clean. Remove from the oven, then let the cookies cool for a few minutes on the baking sheets before removing them to a wire rack to cool completely. Repeat with remaining dough.
5. TO MAKE THE FILLING: beat the butter on medium speed in the bowl of a stand mixer fitted with the paddle attachment until smooth. Add the cream cheese and beat to combine. Add the confectioners’ sugar and vanilla and beat until smooth.
6. TO ASSEMBLE THE WHOOPIE PIES: Turn half of the cookies over so the flat side is up. Put the cream cheese filling in a disposable pastry bag and cut a hole from the end. Pipe the filing onto the flat side of the turned cookies. (I used a small cookie scoop to spoon icing onto each cookie.)
7. Sandwich with the remaining cookies, pressing down slightly so the filling spreads to the edge. Cover the whoopie pies and transfer them to the refrigerator for at least 30 minutes before serving.

Yield: about 2 dozen (I made 27 whoopie pies)
Recipe from: Tracey’s Culinary Adventures

Boog’s Sweet Potato Pie and Paula’s Birthday

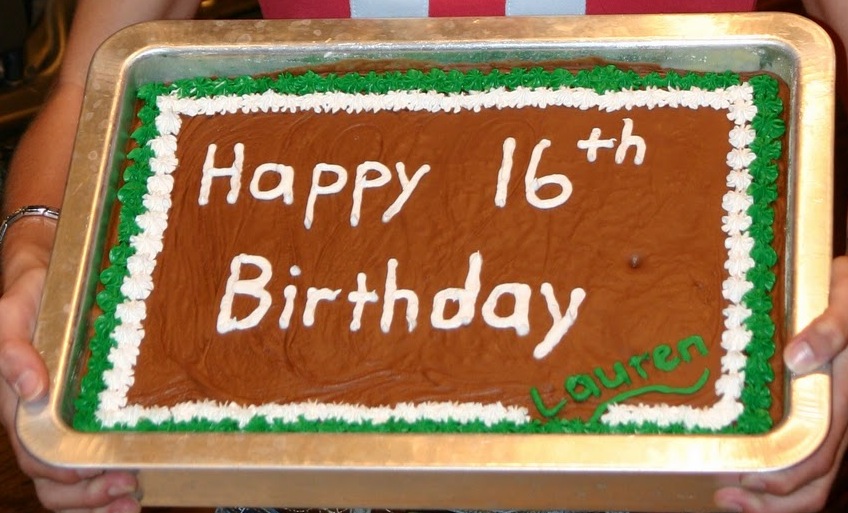
Ready for another sweet potato recipe? While this is a perfect pie to make for your Thanksgiving festivities, it’s also a good birthday cake, according to my mother-in-law Paula.
Sweet potato pie for your birthday? That sounds like an odd request to me, but perhaps that’s because my birthday is in March. I crave cheesecake, fruit tarts and the classic: chocolate cake
Paula’s birthday is today, so it’s quite fitting that she request this pie. A few days ago, Paula’s mother Boog came up to Dallas. Unfortunately she came up for a surgery, but to Paula’s surprise, she also brought birthday cake: sweet potato pie!
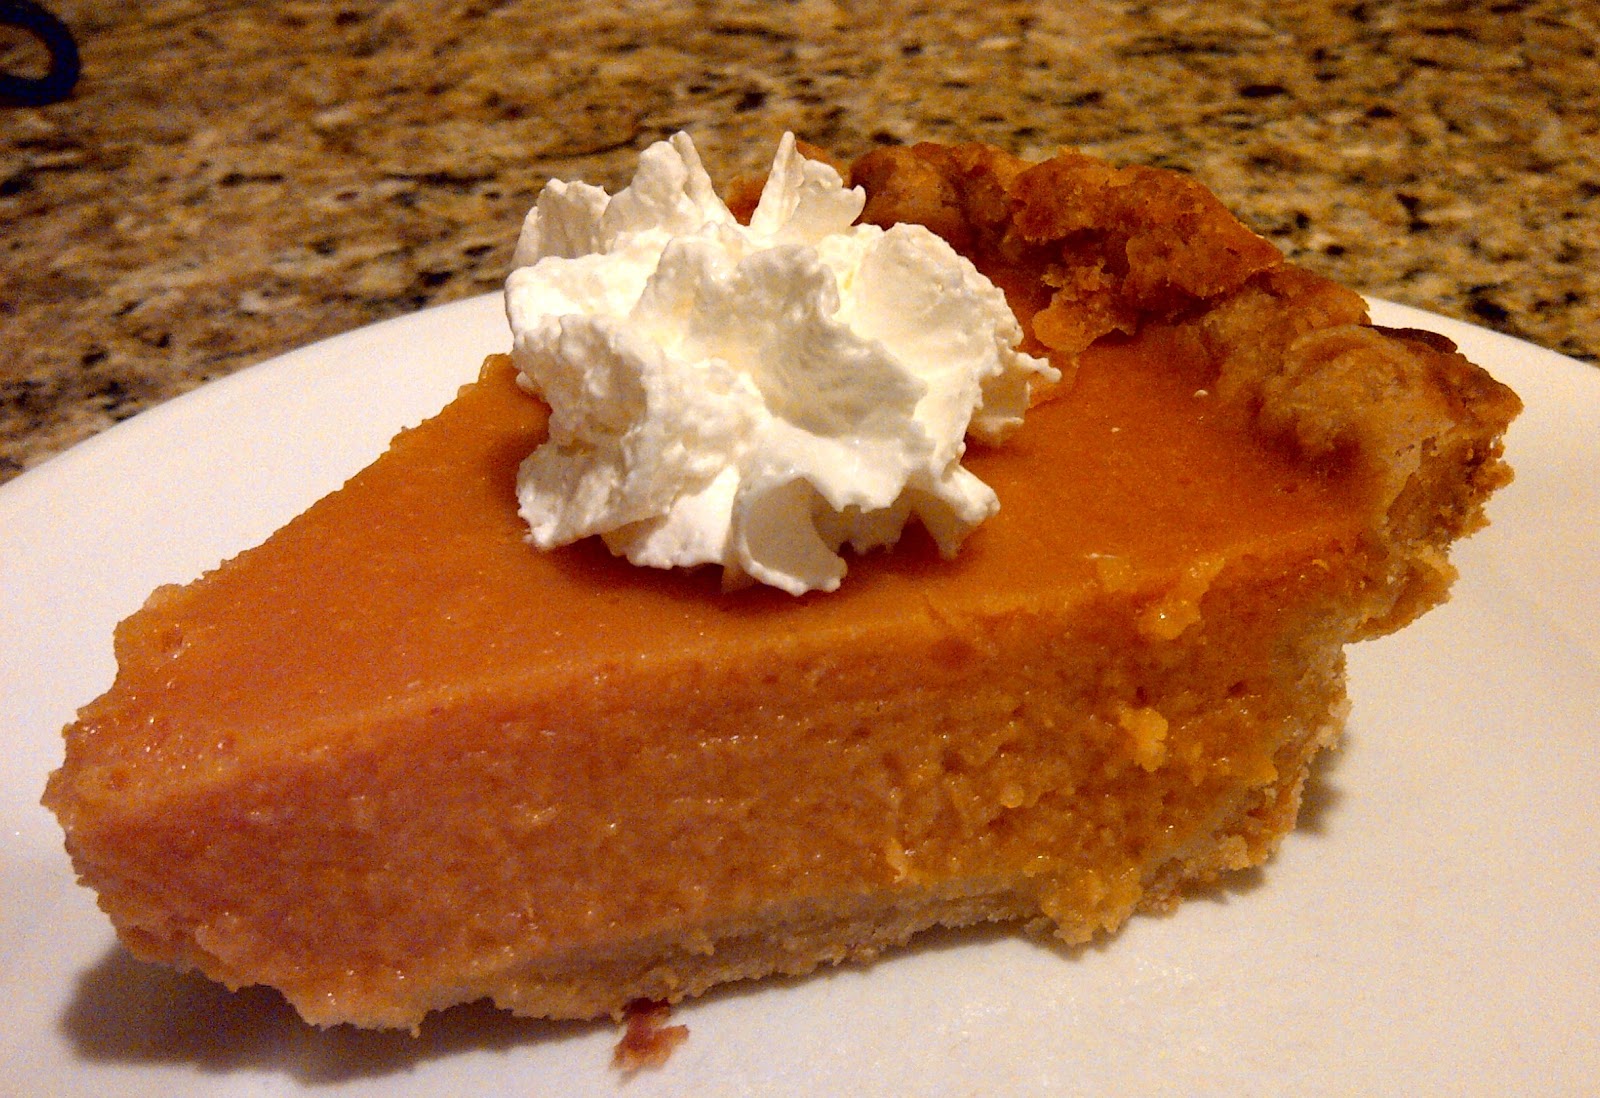
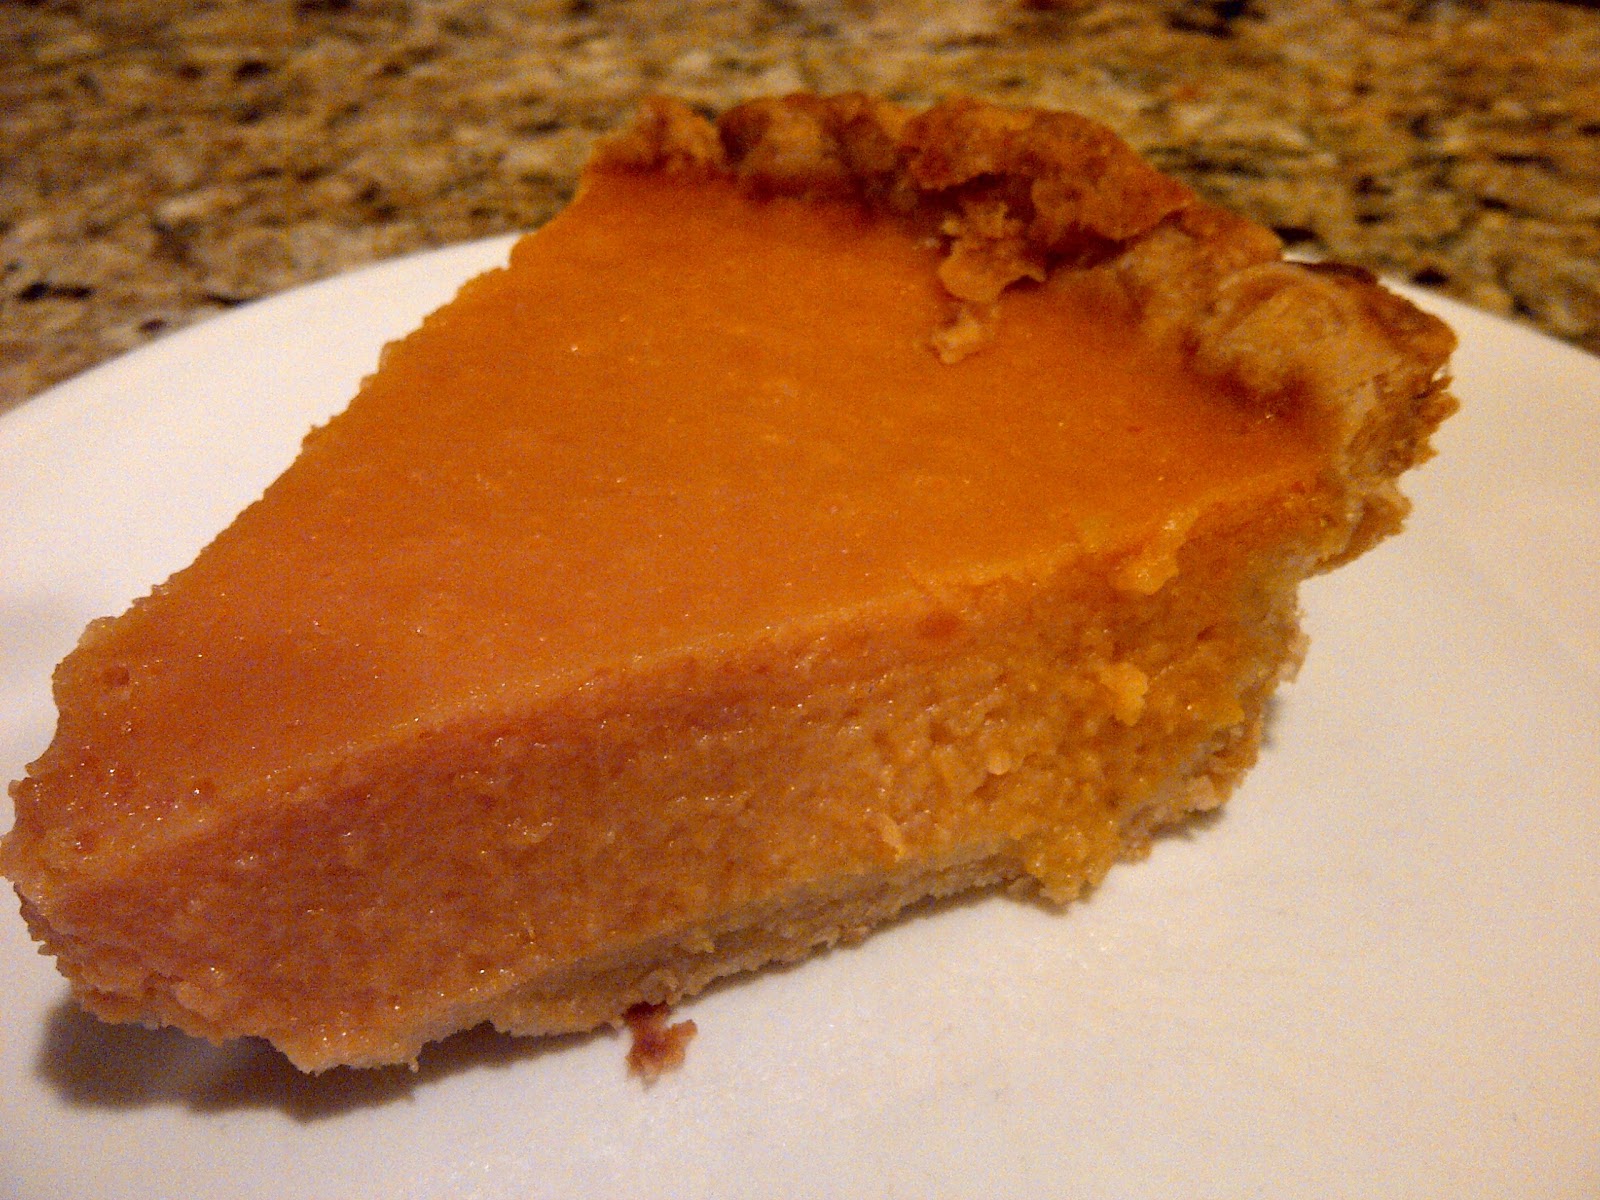
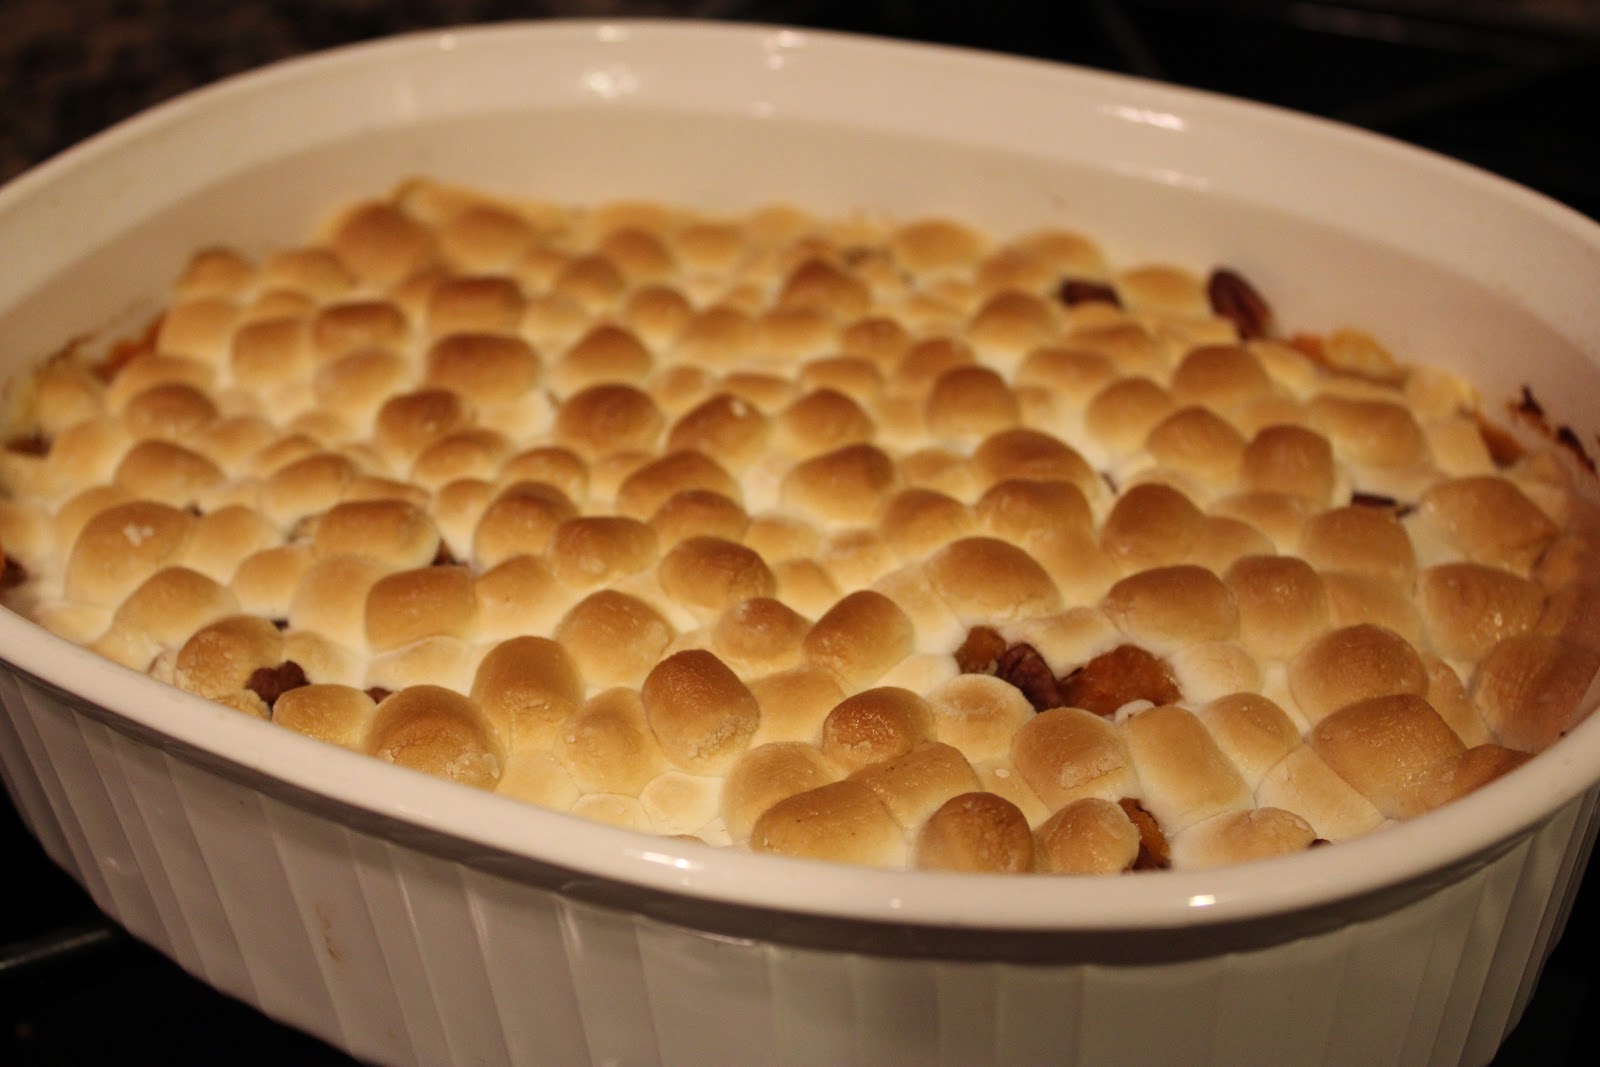
Boog’s pie is great. While I loathe mushy potatoes like mashed and baked potatoes, I’ve come to LOVE anything sweet potato-related! This pie is just that, light, sweet and perfect. This is also one pie that is semi-healthy to eat. 
Sweet potatoes have sooo many health benefits. They are loaded in vitamin B6, are a good source of vitamin C, contains vitamin D, iron and magnesium. 
What’s so great about all those vitamins? Well, vitamin B6 reduces the chemical homocysteine in our bodies (which helps prevent heart attacks), vitamin C helps ward off cold and flu viruses in addition to producing collagen to help maintain skin’s youthful elasticity. Vitamin D plays an important role in our energy levels, mood, and builds healthy bones, heart, nerves and teeth. Iron helps produce red and white blood cells, builds a resistance to stress and is good for proper immune functioning. FINALLY, magnesium is the relaxation and anti-stress mineral (source).
Get my point? Sweet potatoes are good for you, so don’t feel too bad about eating that second slice of pie. 
Enjoy and HAPPY BIRTHDAY PAULA!!

Boog’s Sweet Potato Pie
Ingredients
CRUST
1 cup heaping flour
1/4-1/2 tsp. salt
1/3 cup vegetable/canola oil
3 Tbsp. milk

FILLING
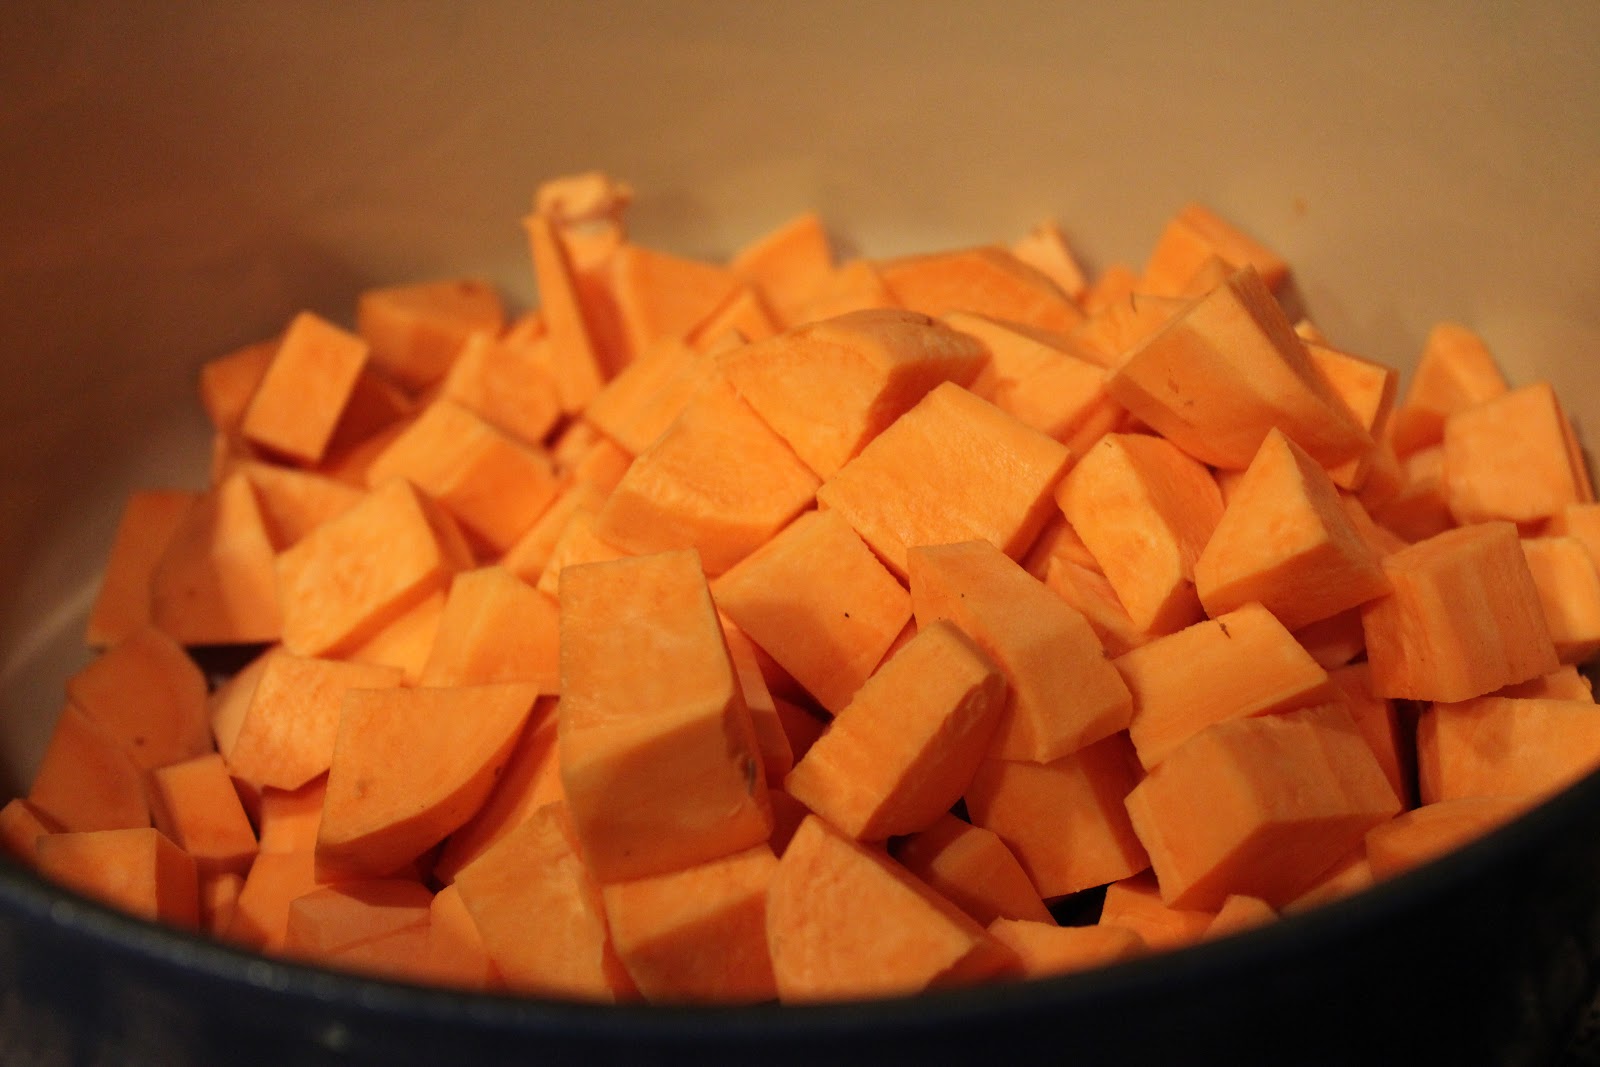
2 cups mashed sweet potatoes (3-4 medium-sized potatoes)
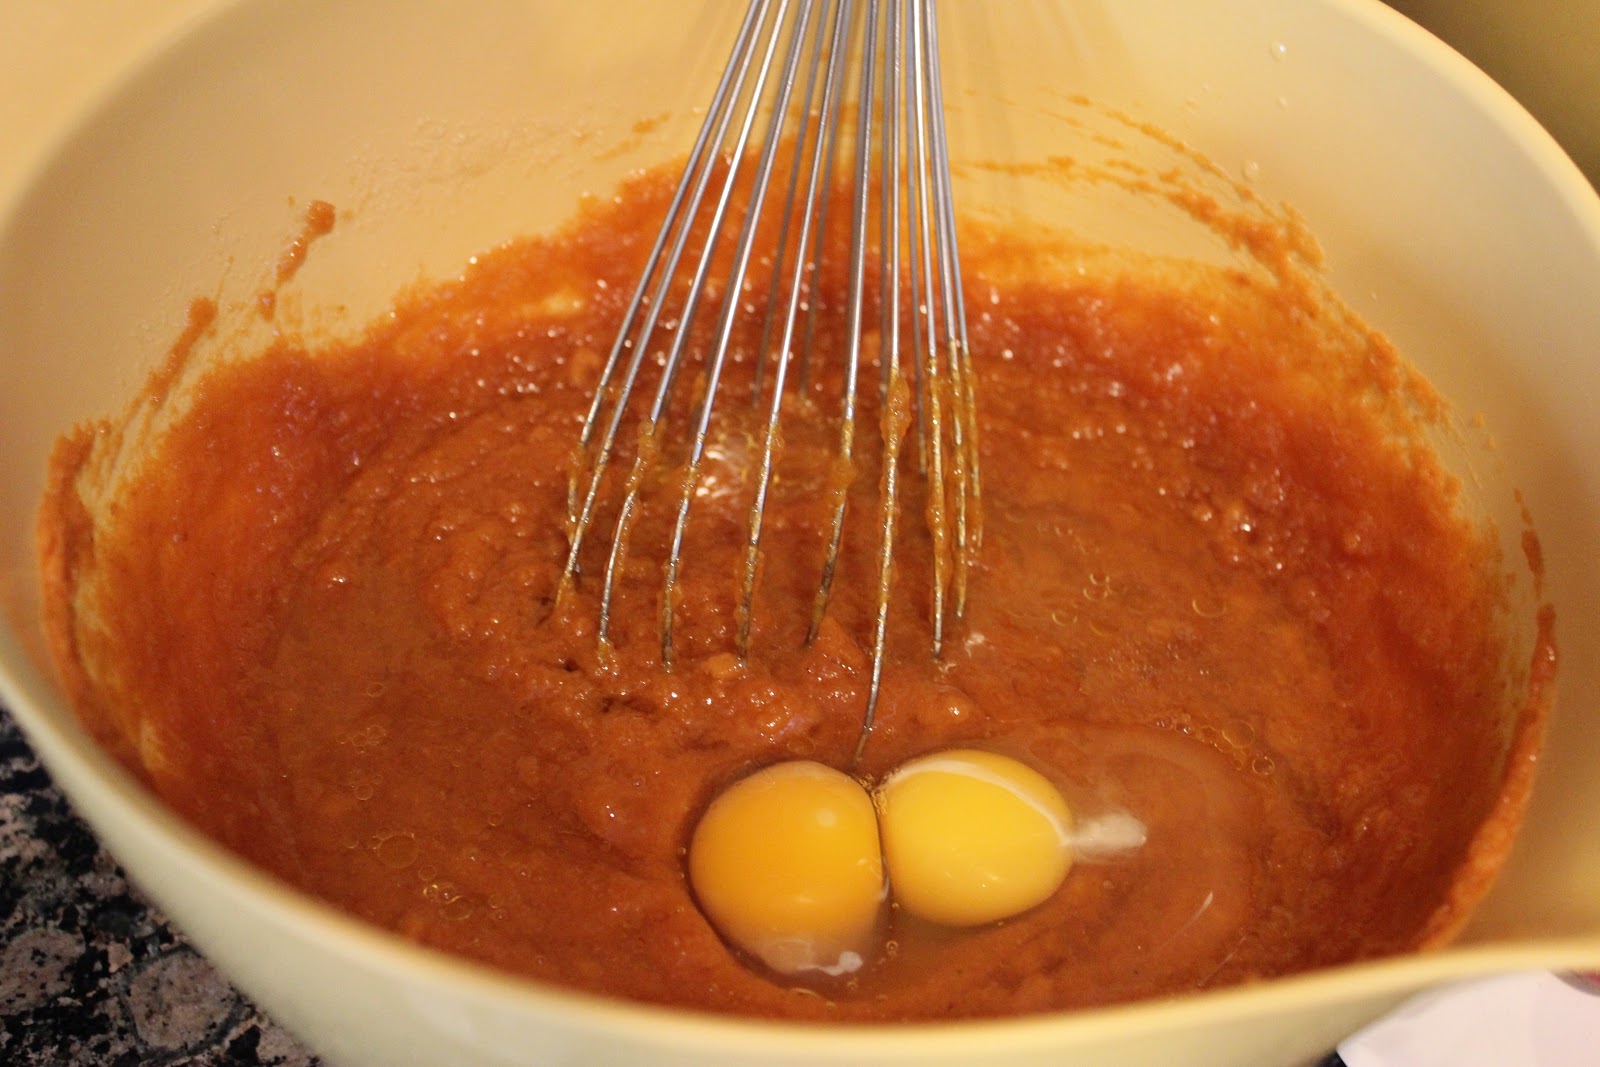
2 eggs, beaten
1/2 cup (1 stick) butter, softened
1 1/4 cup sugar
1/2 tsp. salt
1 tsp. vanilla
Cool Whip, optional
Directions
1. Preheat oven to 350 degrees F. 
2. FOR THE CRUST: Mix the first three ingredients together with a fork. Add the milk. Roll out onto cleaned surface lined with parchment paper and a little flour. Roll dough to form a circle, about 1/8-inch thick. Place dough onto pie plate and bake.
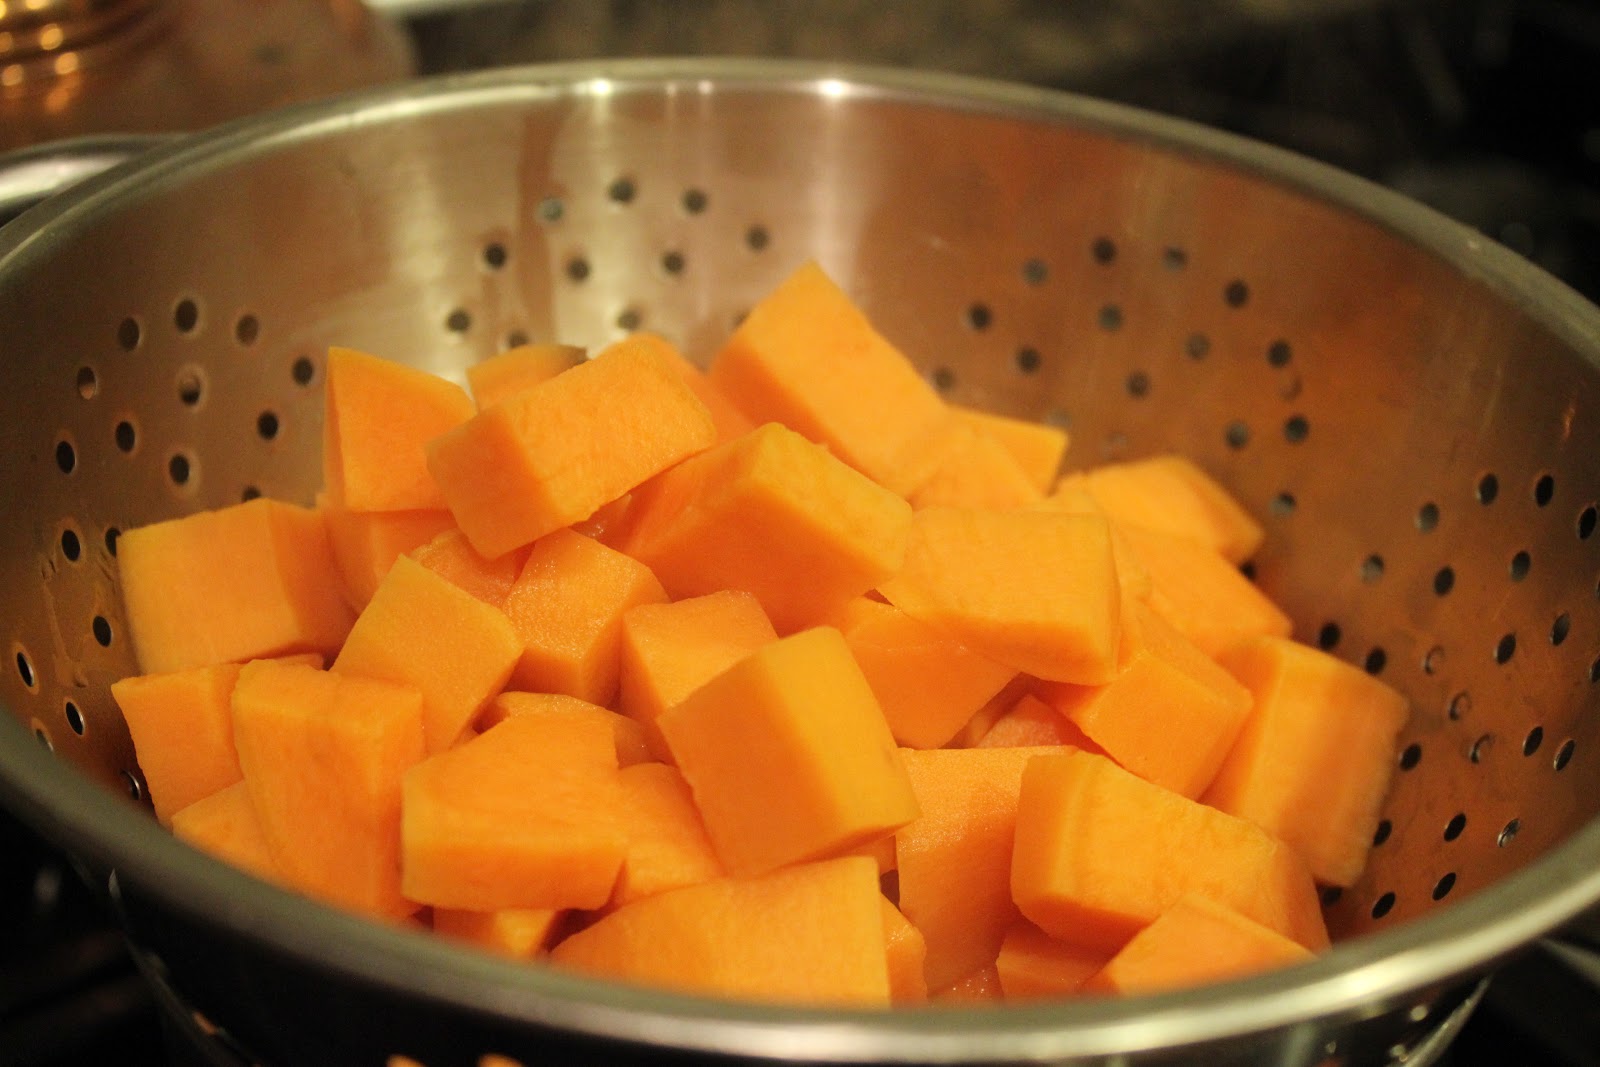
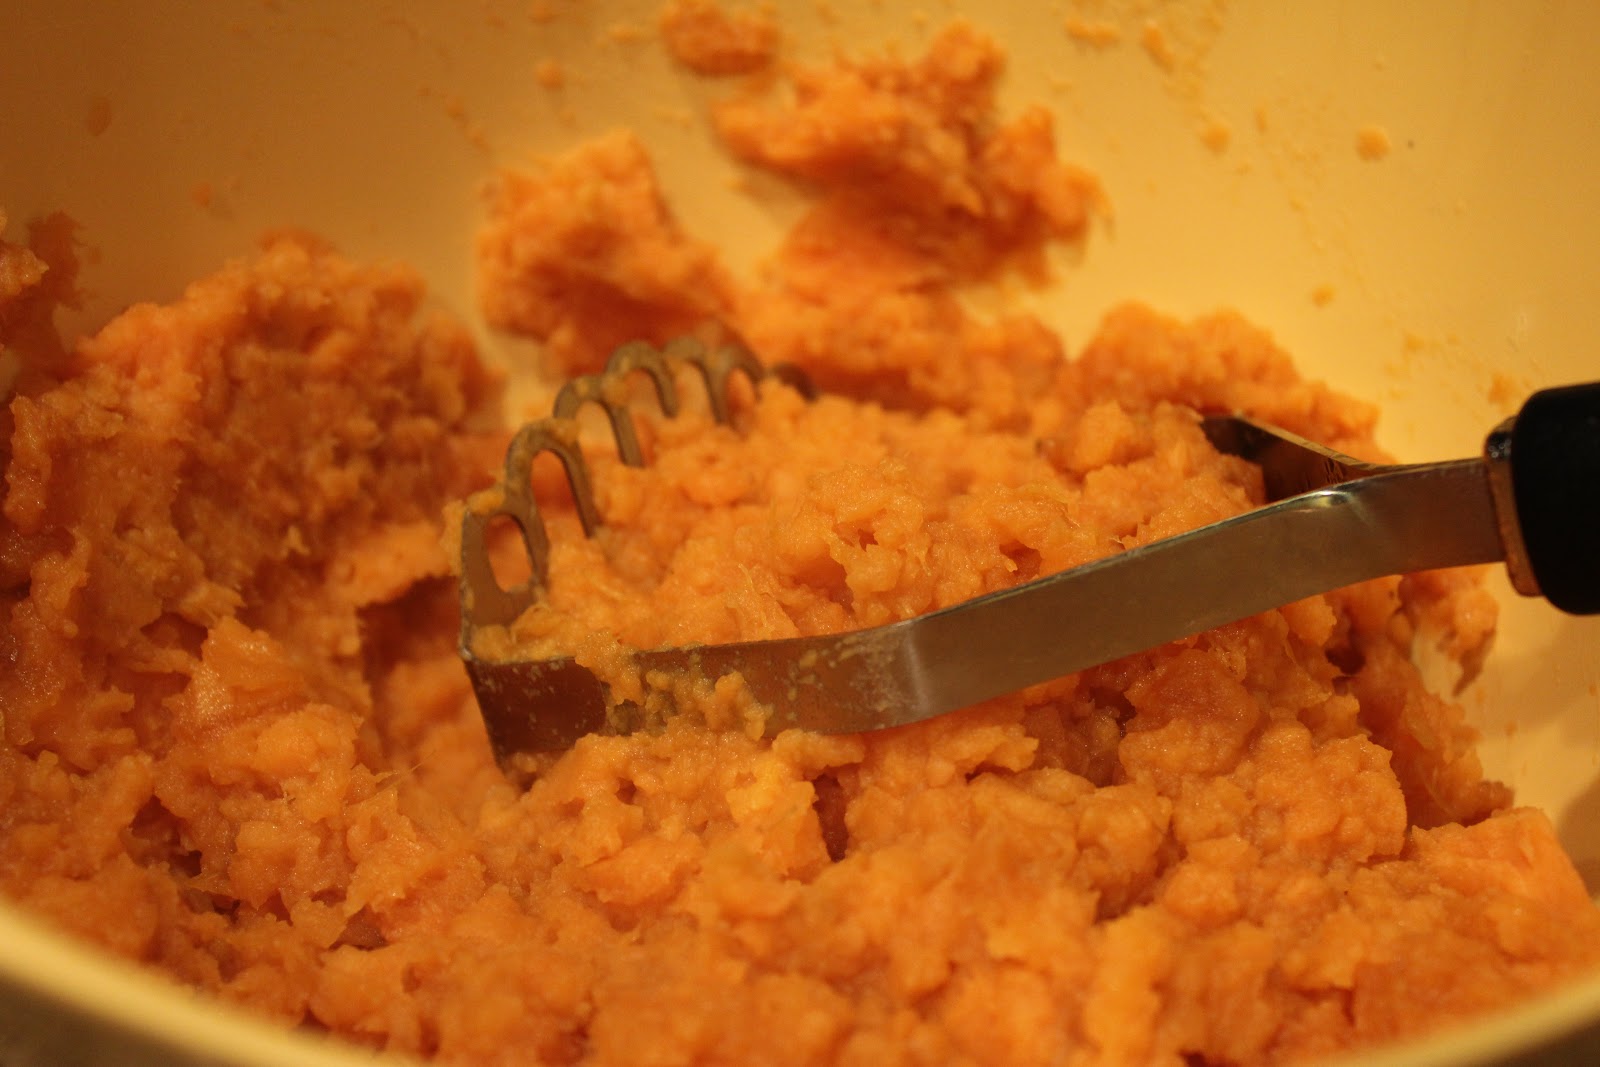
3. FOR THE FILLING: Cut sweet potatoes in 1-inch cubes. Cover with water. Bring to a boil and simmer for 15 minutes, or until soft. Drain potatoes. Using a potato masher, measure out 2 cups of mashed sweet potatoes.
4. In a blender, blend together sweet potatoes, eggs, butter, sugar, salt and vanilla.
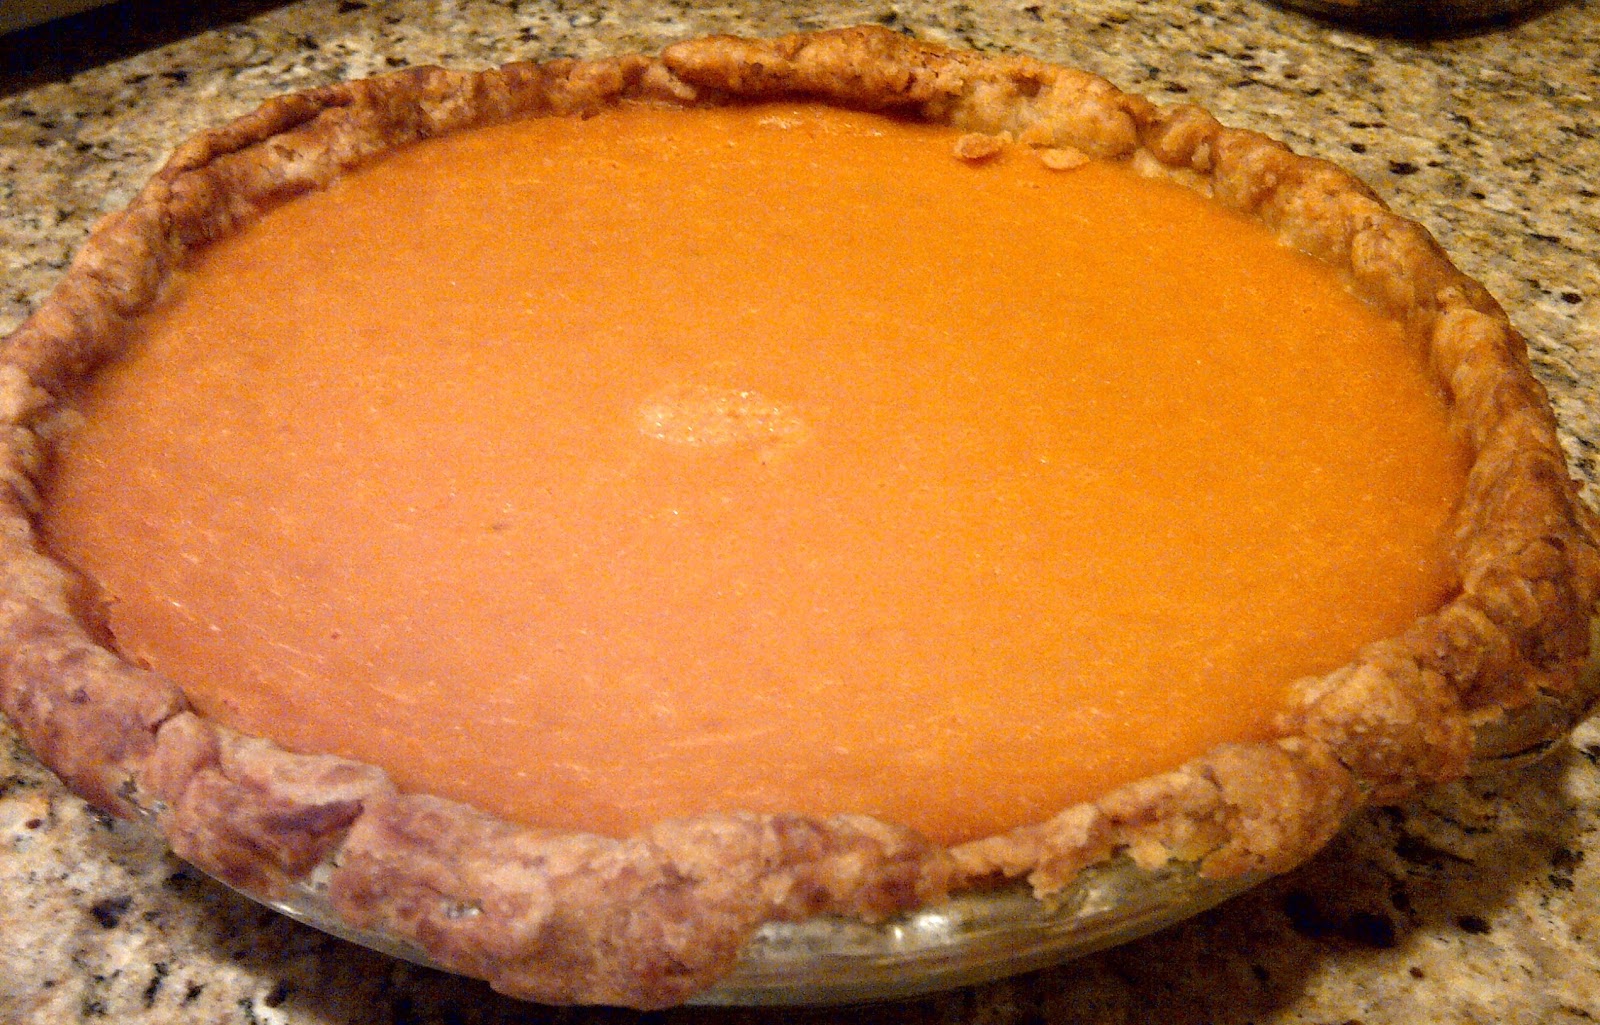
5. Pour filling into unbaked pie shell. Bake for 40-45 minutes or until set. Let cool completely, then garnish with Cool Whip. 
Yield: 1 (9-inch) pie
Recipe from: Matt’s grandmother, Boog

Mrs. Kelm’s Chocolate Cake

Mrs. Kelm’s Chocolate Cake is not just a birthday cake…. it’s THE birthday cake! As you can tell by the photos below, my sister Brittany and I were and still are, big fans.

The cake has been in our family for years. The recipe dates by to my aunt Jolene’s mother-in-law, Mrs. Kelm… hence the name of the cake.

Each year Brittany and I (and my Dad, when it was his birthday), would request this cake. Brittany and I both have birthdays in March, so my mom would have to make it twice in one month! While the base of the cake is a standard chocolate cake with chocolate frosting, my mom would jazz it up by decorating it each year in the design and colors of our choice.
When I was little, I loved Barney & Friends, and thus mom made the purple friendly dinosaur for me! Brittany loved to dance and thus requested ballerina cakes. 
When we got older, Brittany and I would accompany my mom to the grocery store and pick out two or three of our favorite icing colors to frost the cake with. Mom would then decorate the cake by writing “Happy [__th] Birthday Lauren (or Brittany)” while piping a pretty border around the edge. Brittany always picked pink, while I picked the blue and green colors. 
Another funny and kind of weird tradition with this cake are the pictures that go along with it. Each year my dad would make my sister and I lie down on the floor or tile right next to the cake. While the photos are awkward-looking, my dad had a good point – he didn’t want to risk us dropping the cake while we posed for a picture. Quite clever if you ask me…. As we got older, I guess my dad trusted us enough to hold the cake without dropping it, thus no more lying on the floor pictures!

Barney cake for my 5th birthday (1993)

Pink ballerina cake for Brittany’s 3rd birthday (1993)
My 7th birthday (1995)
Purple ballerina cake for Brittany’s 5th birthday (1995)
Brittany’s 6th birthday (1996)
My 9th birthday (1997)
Sweet 16!! (2004)
My 17th birthday (2005)
The history of this cake must go on!! When my sister-in-law Leah asked for a chocolate cake recipe so that she could make an Elmo cake for her son Bear’s 2nd birthday, I quickly told her about Mrs. Kelm’s chocolate cake. Looks impressive don’t you think? 
Just a few months ago I made Mrs. Kelm’s chocolate cake for my father-in-law Tony. When I have kids, I’ll be sure to carry on my mom’s tradition. Until then, birthday cake anyone?
Leah (my sister-in-law) and I are cake decorating for my nephew’s 2 year old birthday cake!  (2010)


Mrs. Kelm’s Chocolate Cake
Ingredients
CAKE
2 cups flour
2 cups sugar
1 1/2 tsp. salt
1 cup (2 sticks) unsalted butter
1 cup water
3 Tbsp. cocoa
2 eggs, well beaten
1 tsp. baking soda
1/2 cup buttermilk
1 tsp. vanilla
1 tsp. cinnamon

FROSTING
1/2 cup (1 stick) unsalted butter
3 Tbsp. cocoa
5 Tbsp. milk
1 box (1 lb.) powdered sugar
1 tsp. vanilla
1/2 cup nuts, optional (as a kid I hated nuts, so we’ve never used them in the frosting)

Directions
FOR CAKE:
1. Preheat oven to 350 degrees F.
2. Sift flour, add sugar and salt and resift.
3. Bring to a boil butter, water, and cocoa. Pour over flour and sugar mixture. Add remaining ingredients and mix well.
4. Bake in a greased and floured 9 x 13-inch pan for 35-40 minutes or until toothpick inserted in center of cake comes out clean.

FOR FROSTING (Make during the last 5 minutes of cake baking time.)
5. Place 1 stick of butter, 3 tablespoons of cocoa, and 5 tablespoons of milk in a saucepan. Mix and heat over low heat; do not boil.
6.  Remove from heat and add one box of powdered sugar, 1 teaspoon of vanilla. Mix well and frost cake.

Yield: 1 (9 x 13-inch) cake or 12 servings
Family recipe

Traditional Sweet Potato Casserole

As a kid, I hated potatoes. Baked or mashed, I hated them. I would eat french fries, but they better be crispy and they better be thin!
I remember my mom would occasionally make a sweet potato casserole for Thanksgiving. I thought it smelled soooo good, but I was afraid to try it since it contained my biggest food fear – potatoes! 
Fast forward a few years…. in my 20s I became a little more adventuresome with food and tried a sweet potato casserole at a quaint little diner in Spring, Texas (near Houston). I don’t remember the place we ate at, but I remember that I LOVED sweet potato casserole.
To this day I still hate baked and mashed potatoes. I think it’s the texture that gets me. What I do like is sweet potato casserole. Even though the texture is similar to mashed potatoes, the sweetness of the brown sugar, the crunch from the pecans, and the smores-resemblance in the marshmallows makes it okay for me eat. Plus, it’s sweet, like a dessert!
Honestly, I can’t tell you that this casserole is better than the rest… it’s the first sweet potato casserole I’ve eaten since that diner near Houston. This recipe comes from one of my favorite websites, Cooking Light. Containing butter, pecans, and brown sugar, this casserole is not “light” on flavor. However it’s low in fat – only 5.5 grams per serving. Not bad for a casserole that tastes like a dessert! Enjoy.
Peel and chop sweet potatoes into 1-inch cubes.
Cover with water, bring to a boil and simmer for 15 minutes.
Drain potatoes and slightly cool. 
Mash sweet potatoes with potato masher along with butter, brown sugar, salt, and vanilla.
Fold in pecans. Place in a greased baking dish.
Sprinkle with remaining pecans.
Top with marshmallows.
Bake at 375 degrees for 25 minutes.

Traditional Sweet Potato Casserole
Ingredients
2 1/2 pounds sweet potatoes, peeled and cut into 1-inch cubes
3/4 cup packed brown sugar
1/4 cup butter, softened
1 1/2 tsp. salt
1/2 tsp. vanilla extract
1/2 cup finely chopped pecans, divided
Cooking spray
2 cups miniature marshmallows

Directions
1. Preheat oven to 375 degrees F.
2. Place the sweet potatoes in a Dutch oven, and cover with cold water. Bring to a boil. Reduce heat, and simmer for 15 minutes or until very tender. Drain; cool slightly.
3. Place potatoes in a large bowl. Add sugar and next 3 ingredients (through vanilla). Mash sweet potato mixture into an even layer in an 11 x 7-inch baking dish coated with cooking spray. Sprinkle with remaining 1/4 cup pecans; top with marshmallows.
4. Bake  at 375 degrees F for 25 minutes or until golden.

Yield: 16 servings
Recipe from: Cooking Light

NUTRITIONAL INFORMATION: 186 Calories | 5.5g Fat | 1.6g Protein | 33.1g Carbohydrate | 2.5g Fiber | 8mg Cholesterol | 272mg Sodium | 23mg Calcium

Cornbread, Sausage and Pecan Dressing

Can you believe that Thanksgiving is just a week away! The month of November has literally flown by! My mom’s corn bread stuffing recipe has been in the family for years. We make it every Thanksgiving, until now???

My mom and I received the latest Bon Appetit magazine in the mail. Inside the issue, quite a few stuffing recipes were boldly featured. We couldn’t wait for Thanksgiving and decided to give this Cornbread, Sausage and Pecan Stuffing recipe a try!

What did we think? It was great! The sausage was a great addition as it turns up the volume in this side dish and adds quite a bit of protein. Unfortunately the sausage also adds quite a bit of fat. I recommend buying turkey sausage, the leaner version of pork sausage. It will cut the fat in half, at least!

So, what’s the verdict? Will we make our traditional cornbread stuffing or this new one from Bon Appetit? Drumroll please……………….

While we really liked this new recipe, we’re going to have to stick with the classic that has been in our family for that past 30 years. Hey, I’m always up for trying new recipes. We will just have to make this stuffing during the off-season. 🙂

Cornbread, Sausage and Pecan Dressing
Ingredients
3/4 cup (1 1/2 sticks) unsalted butter plus more for baking
1 pound day-old cornbread, broken into 1 1/2-inch-2-inch pieces (9 cups)
1 pound breakfast sausage links, casings removed
2 1/2 cups chopped yellow onions
1 1/2 cups 1/4-inch slices celery
1/4 cup apple cider vinegar
3 cups low-sodium chicken broth, divided
1 1/4 cups chopped toasted pecans (optional)
1/2 cup chopped flat-leaf parsley
2 Tbsp. chopped fresh sage
1 Tbsp. chopped fresh rosemary
1 Tbsp. chopped fresh thyme
2 tsp. kosher salt
1 tsp. freshly ground black pepper
2 large eggs

Directions
1. Arrange racks in upper and lower thirds of oven; preheat to 250 degrees F. Butter a 13x9x2-inch baking dish; set aside.
2. Scatter cornbread in a single layer on 2 rimmed baking sheets. Bake, stirring often and rotating sheets halfway through, until dried out, about 1 hour. Let cool. Transfer to a very large mixing bowl.
3. Meanwhile, cook sausage in a large skillet over medium-high heat, breaking up into 1/2-inch – 1-inch pieces with a wooden spoon, until browned, 8-10 minutes. Transfer to bowl with cornbread but do not stir.
4. Heat 3/4 cup butter in same skillet; add onions and celery and cook, stirring often, until softened and just beginning to brown, about 10 minutes. Add to cornbread in bowl.
5. Return skillet to heat. Add vinegar, cook, scraping up browned bits from bottom of pan, for 1 minute. Pour into bowl with cornbread. Gently fold in 1 1/2 cups broth, pecans, if using, parsley, sage, rosemary, and thyme. Add salt and pepper. Let cool.
6. Preheat oven to 350 degrees F. Whisk 1 1/2 cups broth and eggs in a small bowl. Fold gently into cornbread until thoroughly combined, taking care not to mash cornbread (mixture will look wet). Transfer to prepared dish, cover with foil, and bake until an instant-read thermometer inserted into the center of dressing registers 160 degrees F, about 40 minutes.

Yield: 8-10 servings
Recipe from: Bon Appetit

NUTRITIONAL INFORMATION: 530 Calories | 41g Fat | 15g Saturated Fat | 120mg Cholesterol | 30g Carbohydrates | 4g Fiber | 12g Protein | 1380mg Sodium

Chewy Chocolate Mini Chip Cookies

Here’s a new cookie recipe that has become one of my favorites. If you check my blog, I have at least a dozen cookie recipes to choose from. While they are all unique in their own way, these cookies have a few twists that make them quite tasty. 
For one, these cookies use three different types of sugar: 
  1. Light brown sugar
  2. Dark brown sugar
  3. Granulated sugar. 

The brown sugar makes the cookie chewy, and the touch of dark brown sugar adds a slight caramel flavor.

The other twist is that these cookies call for mini chocolate chips. I almost always use chocolate chunks in my recipes. The mini chocolate chips are a great idea… they are in every bite of cookie, however the chocolate is not as overpowering as the chunks.
The final reason these cookies are so great is that they do not dry out. After three days, the cookies were still moist, as if I had just baked them. 
Let me know what you think of these. I’ll be making them again soon. The only problem with this recipe…if you follow it exactly, you need to wait at least 48 hours for the dough to refrigerate. It locks in the flavors and yields a chewier, fluffier cookie. Good luck!
After making the dough, roll into balls.
Bake for 9-10 minutes in a 350 degree oven.

Chewy Chocolate Mini Chip Cookies
Ingredients
1 cup unsalted butter, room temperature
3/4 cup light brown sugar
1/4 cup dark brown sugar
1/2 cup granulated sugar
2 eggs
1 Tbsp. vanilla
2 3/4 cup all-purpose flour
1/2 tsp. baking soda
1/2 tsp. baking powder
1 tsp. coarse sea salt
1 (12 oz.) bag mini semi-sweet chocolate chips

Directions
1. Cream butter and sugars together in a stand mixer for about 2 minutes on medium speed, until fluffy and light. Add in eggs and vanilla and continue mixing until incorporated.
2. Turn mixer on low and add in flour, baking powder and soda and coarse sea salt.
3. Mix on low until evenly incorporated.
4. Stir in all chocolate chips until evenly distributed.
5. Cover dough with cling wrap and refrigerate overnight or up to 48 hours.
6. When ready to bake, preheat oven to 350 degrees F.
7. Use a 2-3 Tbsp. cookie scoop and place dough 2 inches apart on baking sheet lined with parchment paper.
8. Bake for 9-10 minutes, or until edges are golden brown. Remove from oven and let cool on baking sheet for 2-3 minutes before transferring to a wire rack to finish cooling. Do this carefully, as the cookies might not be completely set in the center.

*Note: These cookies might seem a bit underdone in the center when you take them out of the oven, but once they cool, they will set up nicely. If you prefer a more “done” cookie, increase the baking time 1-2 minutes.

Yield: 24 cookies
Recipe from: Cookies and Cups

Ritzy Parmesan Baked Chicken

Looks like fried chicken right? Wrong. It’s baked, is semi-healthy and its my favorite version of Ritz cracker chicken. 
My mother-in-law Paula is notorious for using butter. One time, she used 2 sticks of butter to sauté onions and celery for her Thanksgiving dressing…OMG (oh my goodness)!!! 
The first time I tried Ritz cracker chicken was at Paula’s house. Her way of making it includes dipping the chicken in butter, then Ritz crackers, then more butter and more Ritz crackers and then drizzling some more butter on it. Tell me about fattening, but it sure was good! 
My mission…to replicate Paula’s Ritz chicken without all that butter. I found a recipe from Southern Lady Cooks that was right up my alley. To cut back on all that butter, I dredged the chicken in plain Greek yogurt, which is similar to sour cream, except that it’s loaded with protein and is low-fat. I also jazzed up the Ritz cracker topping by adding a little Parmesan cheese. I still drizzled the chicken in butter, but used just a few tablespoons.
The chicken turned out great! My husband Matt loved it, and was shocked that I could imitate his mom’s chicken recipe so well. It was also fork-tender…no knife needed. Enjoy!
Dredge chicken in Greek yogurt, and then into crushed Ritz cracker and Parmesan cheese crumbs.
Place in a baking pan coated with non-stick cooking spray.
Drizzle with melted butter.
Bake for 35 minutes in a 400 degree F oven.

Ritzy Parmesan Baked Chicken
Ingredients
1 to 2 pounds boneless, skinless chicken breasts
1 sleeve Ritz crackers, crushed
1/4 cup Parmesan cheese
1 cup plain Greek yogurt
4 Tbsp. butter, melted
Directions
1. Put the Ritz crackers in a plastic ziplock bag and finely crush with a rolling pin. Add cheese to the bag and mix well. 
2. Dip chicken pieces in yogurt and then in the crumb mixture. 
3. Place chicken in a sprayed casserole dish, drizzle melted butter over the chicken and bake in preheated 400 degree F oven for 35 minutes or until chicken is done inside. 
Yield: 4 servings
Recipe adapted from: Southern Lady Cooks

Friday Night Pizza, Michigan Style: Buddy’s Pizza

Growing up as a kid, our Friday nights were synonymous with pizza. It almost never got old. My mom would cook on the weeknights, and we would then splurge and eat pizza on the weekend.

Last week I visited my sister up in Michigan. I didn’t know this, but one of the best pizza places in all of Michigan is within walking/running distance from Brittany. The place: Buddy’s Pizza.

Established in 1936, Buddy’s introduced their famous square pizza – the first of its kind – to Detroit. According to their website, “it was love at first bite”, and I would wholeheartedly agree. I was impressed!

The cheese was so fresh and the flavor was something I had never had before…. I’m not sure what kind of cheese they use, but all I can say was that it was powerful, in a good way. 🙂 The deep dish crust was not overly sweet like you would see at Uno Chicago Grill (one of my favorites). For deep dish it was light, crispy, airy and perfect. The pepperoni was hidden beneath the cheese as so to lock in the flavor….great idea! I’m making myself hungry writing this post!

The “square” pizza.

What makes Buddy’s unique is their square pizza. When Brittany told me that a large only had 8 slices, I was a little nervous. With Colby, Matt and I hungry and ready to eat, I didn’t know if this pizza would serve us all. Fortunately it did. I ate one slice, while Colby and Matt finished it off.

Now, before you accuse me of skimping out on some good pizza, let me warn you that one slice of Buddy’s pepperoni pizza has 337 calories and 17 grams of fat. Yikes, but it was worth every calorie!  Good thing my sister and I ran 8 miles that morning.
8 slices for a large pizza.
One slice of cheesy pepperoni pizza. Yum!

Next time you’re in Michigan, you’ve got to try this place. There are nine locations in the Detroit area to meet your needs. Enjoy and have a great weekend!

Apple Cider and Donuts in Michigan

Yates Cider Mill – Rochester Hills, MI

Ever heard of an apple cider and donut combination? I sure haven’t, but supposedly this combo is extremely popular in Michigan! This week, I left the warm 80 degree temperatures in Dallas and flew up to chilly Michigan to visit my sister, Brittany (check out her blog – it’s called Runner’s Lowe).

It’s pretty cold up here and feels like the dead of winter… all the leaves have fallen off the trees, its cloudy and the highs don’t get out of the lower to mid 40s. Burrr! The cold is something us Texans don’t get to experience very often, so I’m having a blast!

Besides running, one of the first things Brittany and I did was visit Yates Cider Mill in Rochester Hills (supposedly the best cider mill in all of Michigan). The history of this cider mill dates back to the times of Abraham Lincoln. Yates opened in 1863 as a grist mill. By 1876 they installed a cider press and have been producing fresh, homemade apple cider ever since! They use premium apples that are probably they best I’ve ever eaten! We bought a few Jonagold apples…they are tinny-tiny, but are crisp and have a sweet/tart combination that beats any apple you would buy at the grocery store.

Top left: pretty view of the river; Top right: me with some cider and donuts.
Bottom left: Brittany and her apples, donuts, and cider; Bottom right: Yates Cider Mill entrance.

The apple cider and donuts were awesome! The cider is actually cold, not hot like you might think. It’s kind of like apple juice, but sans all the sugar and it tastes homemade and fresh…without all those preservatives. We ordered the cinnamon sugar donut, which was very good. It was small, and unlike the heavy, dense donuts you might order at a local donut shop, these were light, airy, and were not at all greasy. You could choose between plain, pumpkin, powdered, or cinnamon-sugar donuts.

Apple cider and cinnamon-sugar donut.

In addition to cider, donuts and apples, you can buy apple butter & jarred goods, homemade pies and baked goods, caramel apples, fudge, and ice-cream. Yates Cider Mills also has a small petting zoo, river walk and offers pony rides! Literally there is something for the whole family!

Next time you’re in Michigan, you’ve got to go visit this place. Did I mention Yates was on Food Networks’ Unwrapped? Pretty cool!