Chocolate York Peppermint Pattie Cookies

My Dad is a HUGE York Peppermint Pattie fan. When he fills his car up with gas, he’ll run into the gas station to buy a peppermint patty. It’s also a tradition for him to buy a York Peppermint Pattie at the grocery store when he’s checking out at the register.  If you sit in his car, you may even see a few leftover wrappers. 🙂
So, when I saw that Two Peas and Their Pod had a recipe for chocolate cookies stuffed with peppermint patties, I couldn’t wait to try them! Lucky for me, it’s been a lovely, lazy Sunday afternoon with Matt on the couch watching football and me in the kitchen cooking. I’m already preparing for our Christmas Eve dinner so I don’t have to do everything tomorrow… much less stressful!
At tomorrow’s dinner in addition to these yummy, creamy peppermint patty-filled cookies, we’ll be having ham, garlic mashed potatoes, green beans, citrus salad with orange vinaigrette, parker house rolls, strawberry Santas, crock pot mac and cheese, chocolate icebox pie, AND beans and cornbread – Matt’s favorite and a Douglas family favorite. Guess I better get back in the kitchen because my list is pretty long!
Enjoy the chocolate York peppermint patty cookies, the holiday season, and spending time with your family! 
Cream butter and sugars. Add eggs and vanilla.
Whisk together flour, baking soda, salt and cocoa. 
Gradually add flour mixture and beat until flour disappears.
Unwrap York Peppermint Patties.
Flatten cookie dough and place a peppermint patty in the center.
Wrap excess dough around the patty.
Bake for 8-10 minutes in a 350 degree F oven.
Cool completely. 
Dust with powdered sugar.

Chocolate York Peppermint Patty Cookies
Ingredients
2 1/2 cups all-purpose Gold Medal flour
1 tsp. baking soda
1/4 tsp. salt
3/4 cup Dutch processed cocoa
1 cup unsalted butter, at room temperature
1 cup granulated sugar
1 cup light brown sugar
2 large eggs
1 tsp. vanilla extract
30 peppermint patties
Powdered sugar, for decorating the cookies

Directions
1. Preheat oven to 350 degrees F. Line baking sheet with parchment paper or Silpat baking mat. Set aside.
2. In a medium bowl, whisk together flour, baking soda, salt and cocoa. Set aside.
3. With a mixer, cream butter and sugars together until smooth. Add in eggs, one at at time. Next, add in vanilla and mix until combined.
4. Gradually add flour mixture and beat until flour disappears. Take a golf ball sized ball of dough, roll into a ball, and flattened it into a disc. Place a peppermint patty in the center and wrap the excess dough up and around the patty (you may want to grease your hands). Make sure the entire patty is covered. Repeat with remaining dough and place on prepared baking sheet, about 2 inches apart.
5. Bake cookies for 8-10 minutes, or until cookies are set, but still soft in the center. Remove from oven and let sit on baking sheet for 3 minutes. Move to a cooking rack and cool completely.  Dust the cookies with powdered sugar.

Yield: 30 cookies
Recipe from: Two Peas and Their Pod

WINNER and Christmas Cookies

First things first. The winner of last week’s cheribundi GIVEAWAY is…..Shay at Whine Less, Breathe More (chosen at random via RANDOM.ORG). Thank you to everyone else who participated and stay tuned for the next giveaway at Dallas Duo Bakes.
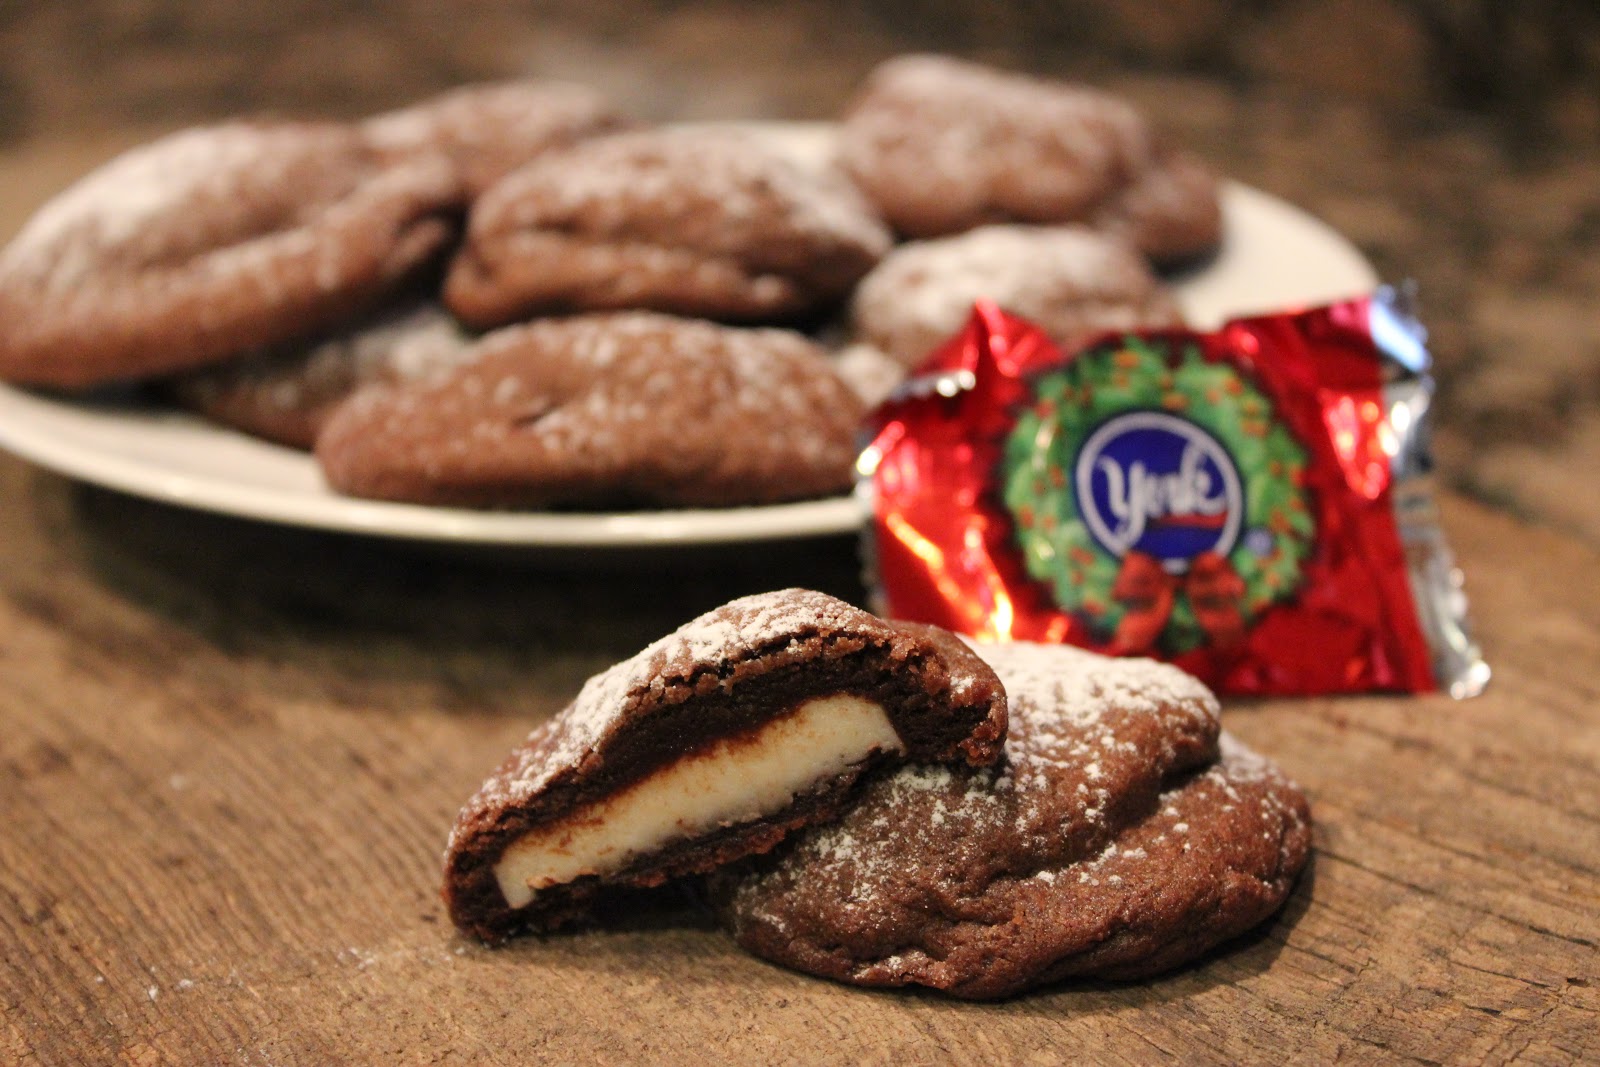
Who’s excited about Christmas cookies? They are so fun and festive, and if you’re looking for a good sugar cookie recipe, definitely take a look at this one!
When I visited my sister in Michigan back in early November, we did quite a bit of cooking one Saturday afternoon. Christmas cookie baking that is… and it wasn’t even Thanksgiving yet!
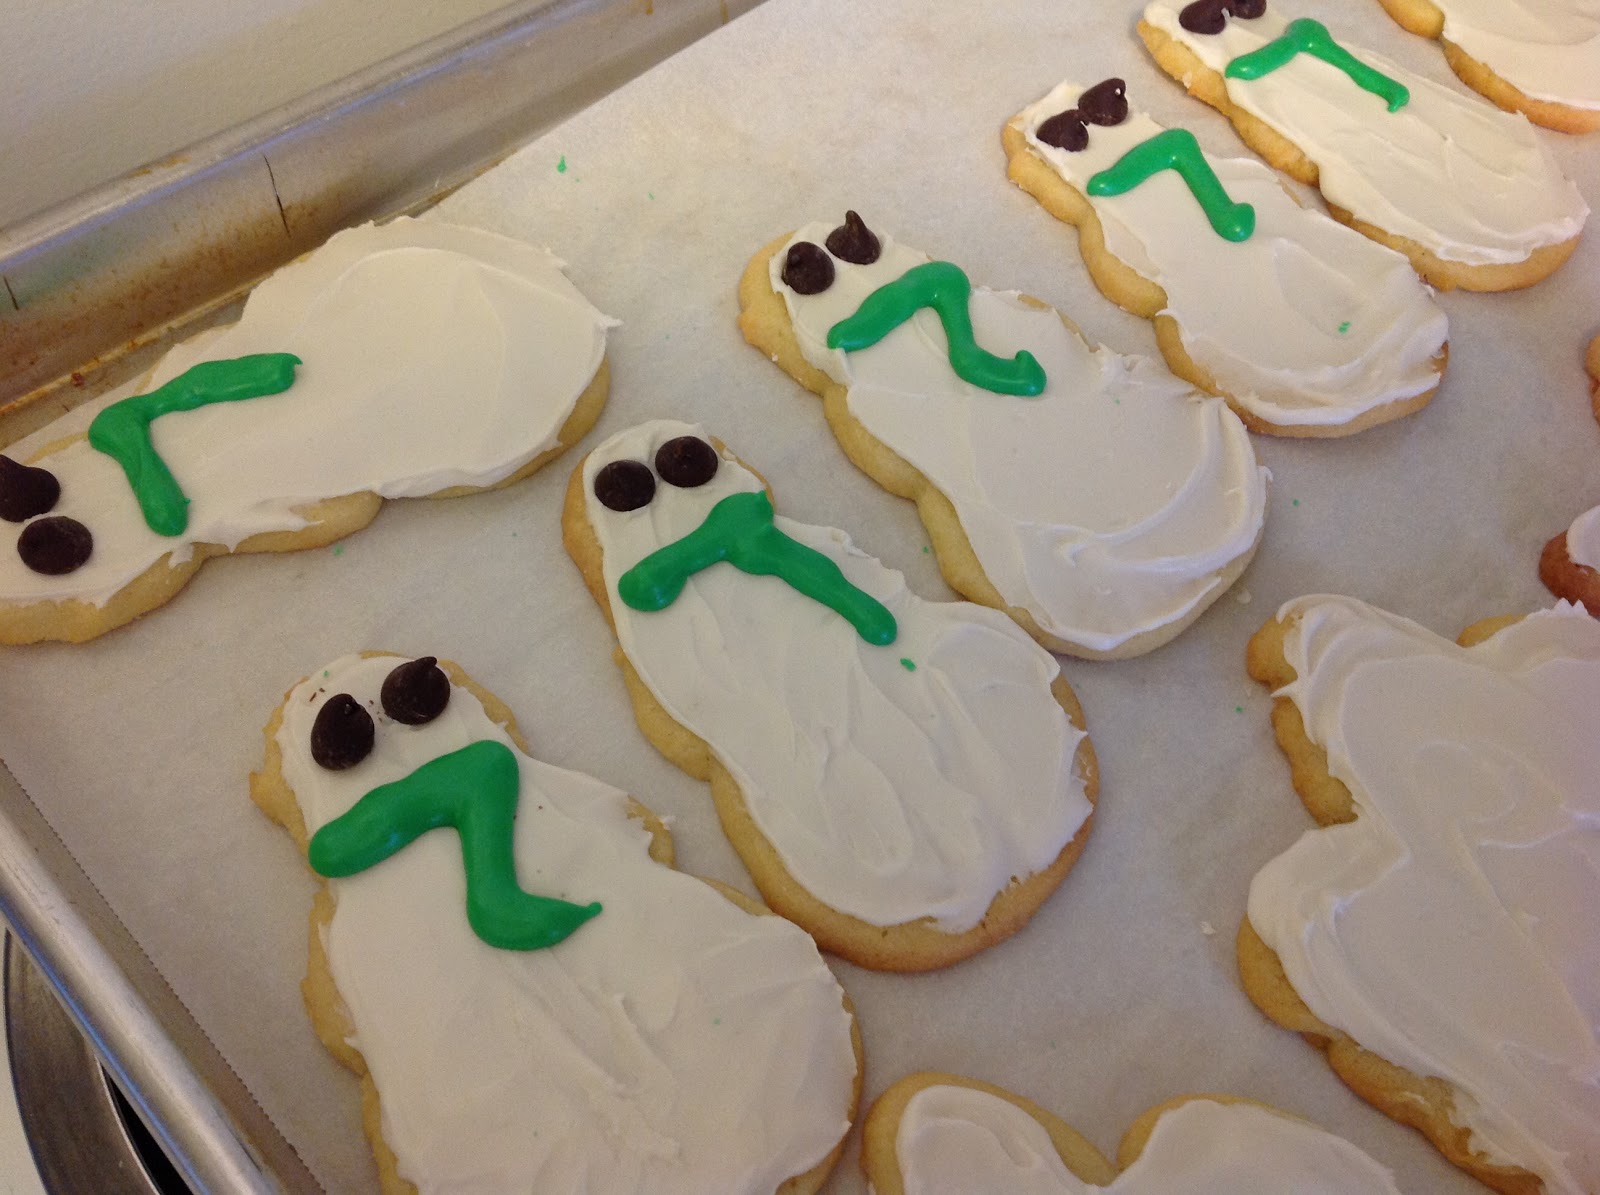
Since December is here, I can finally post this recipe! FYI – we are not gourmet cookie decorators (this was our first time to decorate cookies) so don’t judge these by the way the look. While they weren’t the prettiest, Brittany and I had still had fun piping the icing on the cookies and decorating the snowmen, Christmas trees, angels and gingerbread men. 
The cookies taste amazing! Once we get the decorating down, you’d think you’ve just eaten a cookie from Cookies by Design. Enjoy and MERRY MERRY CHRISTMAS!
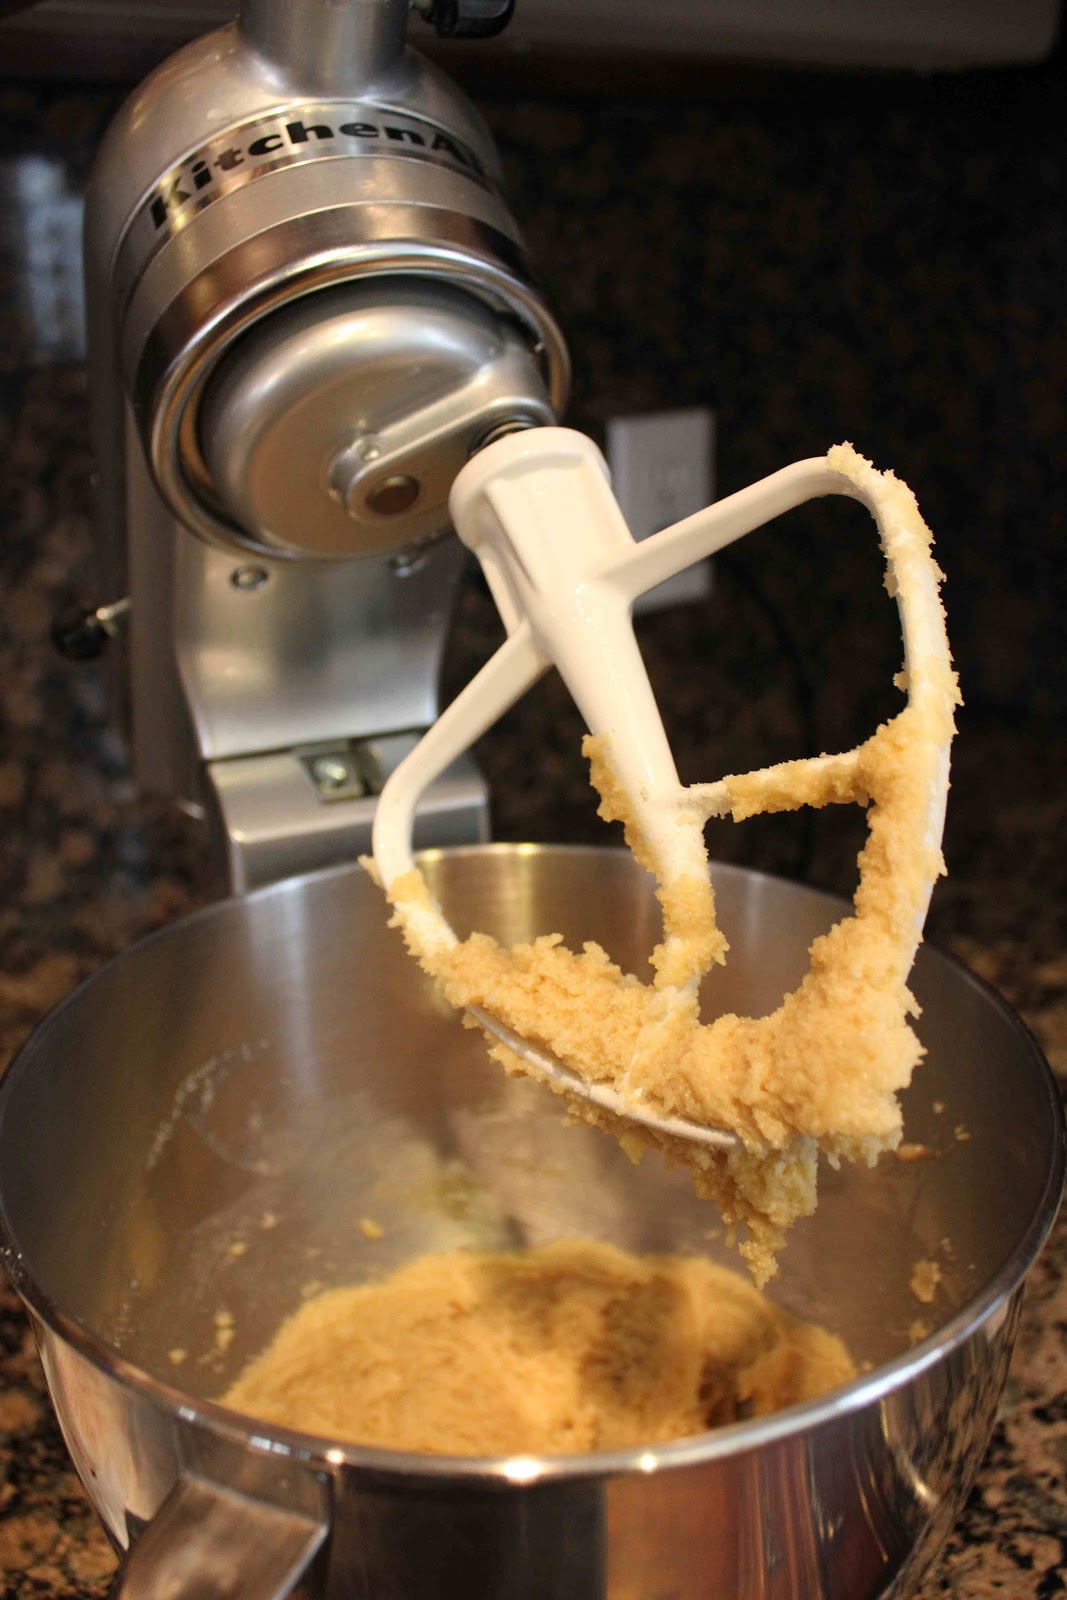
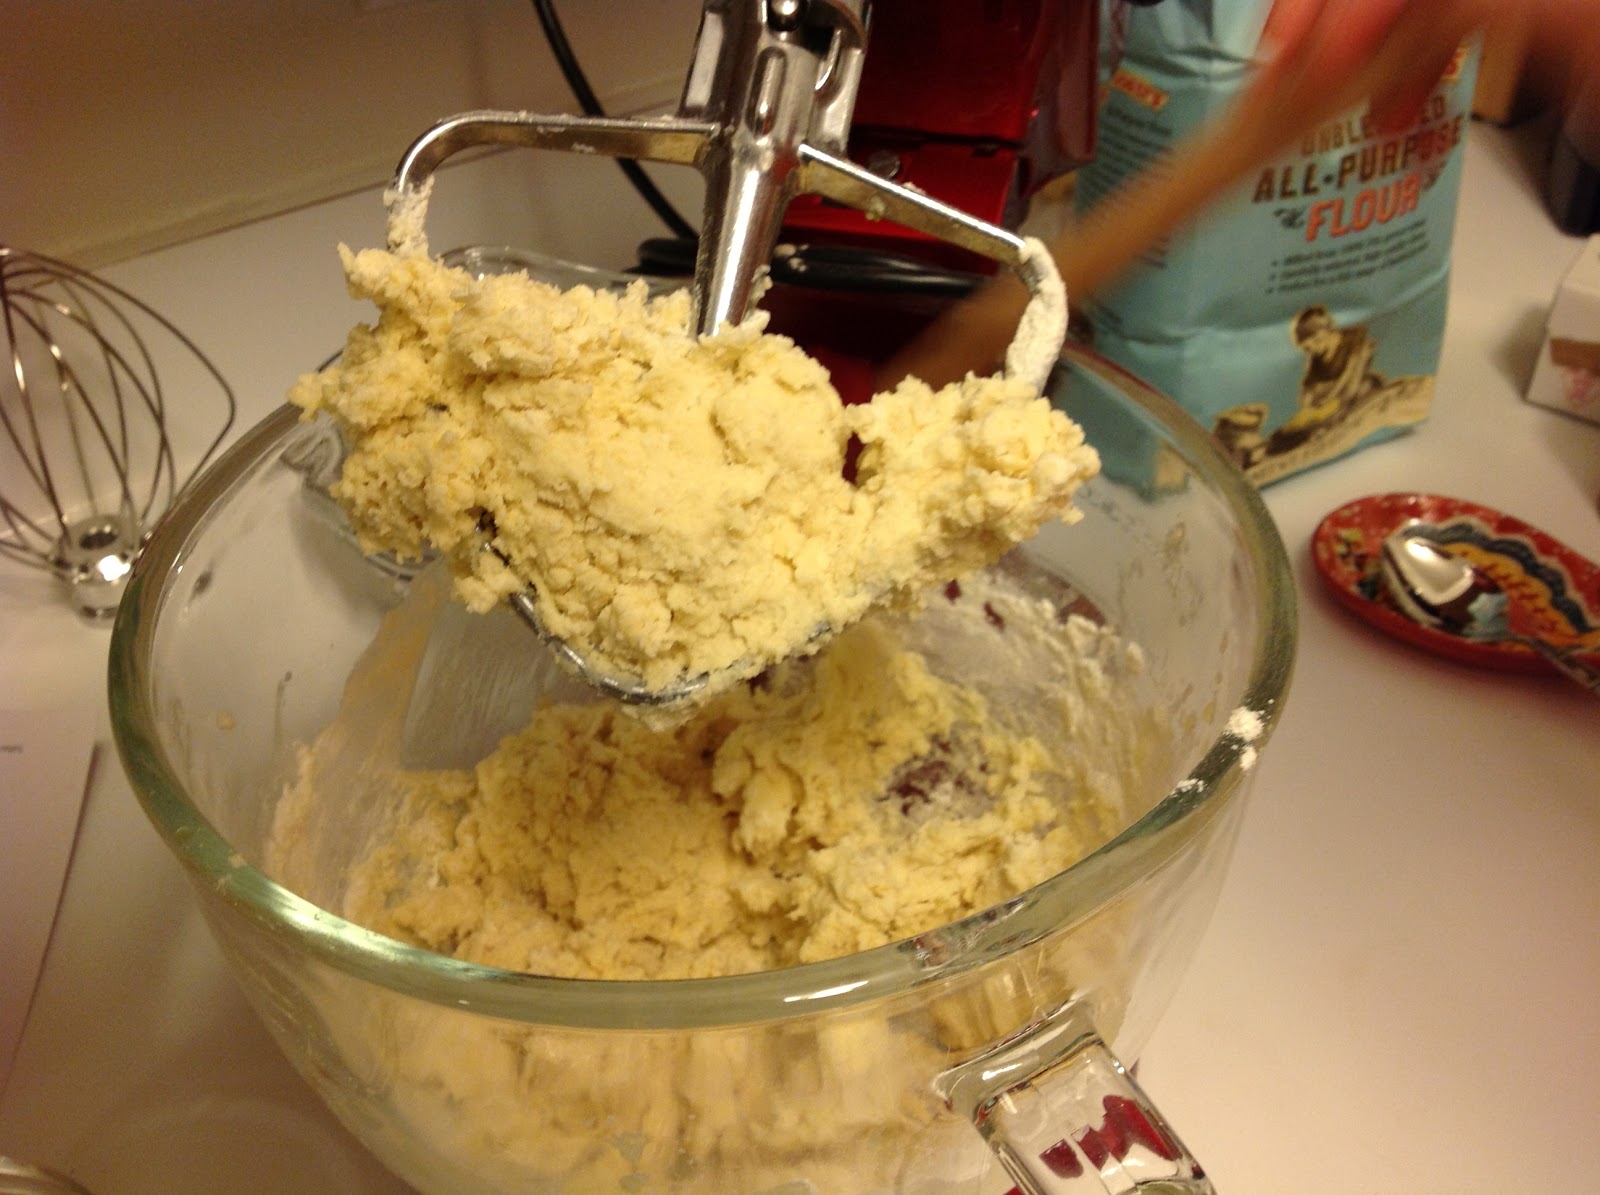
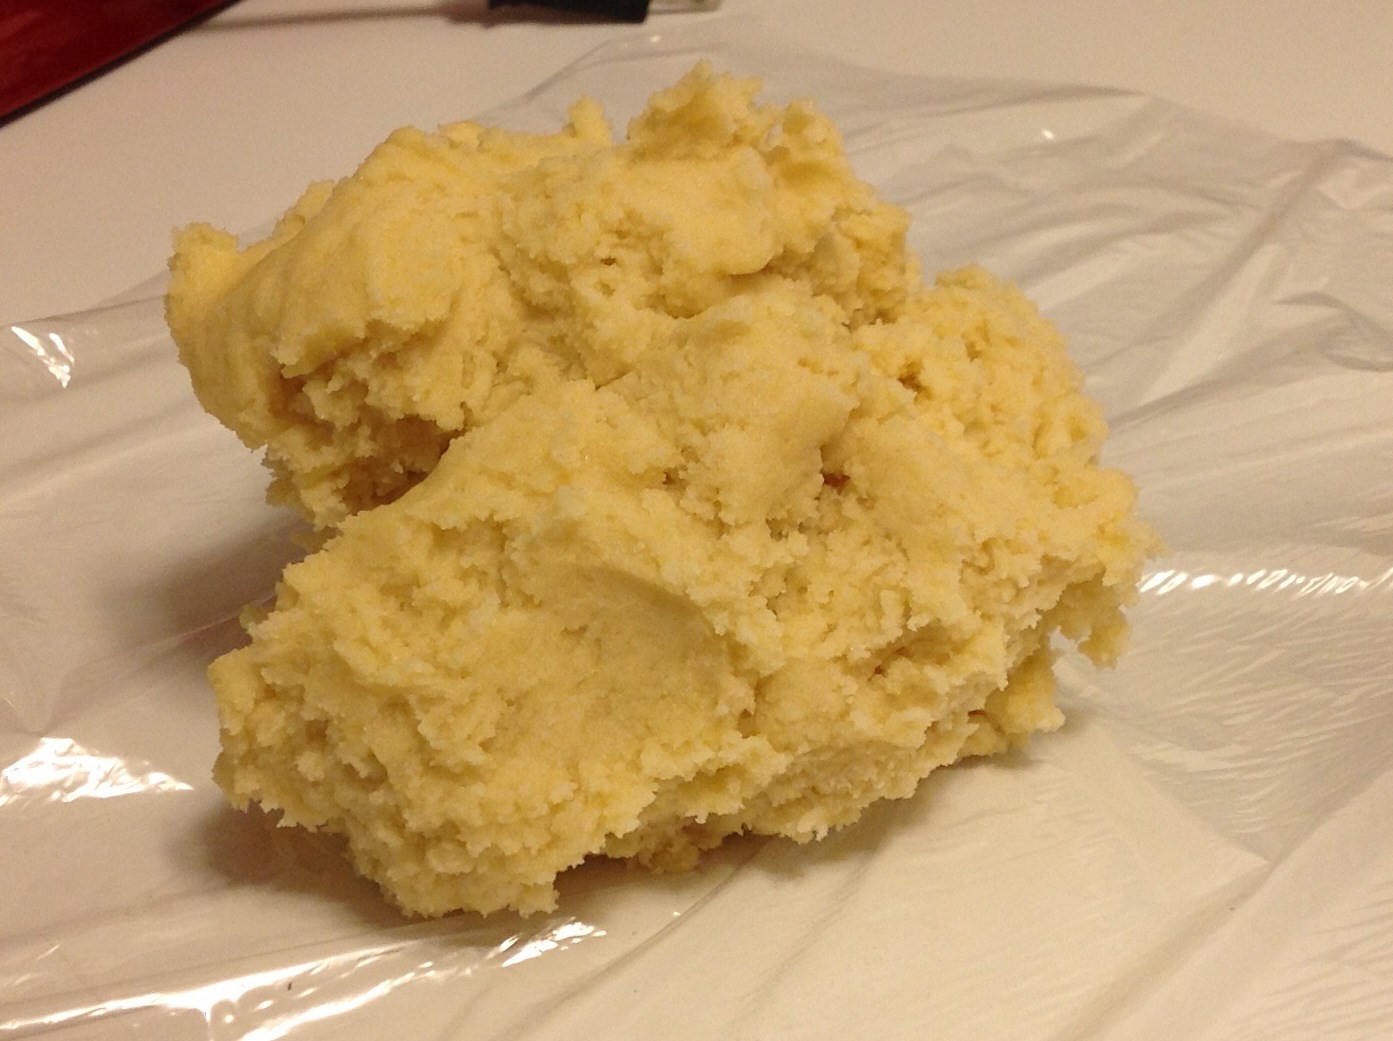
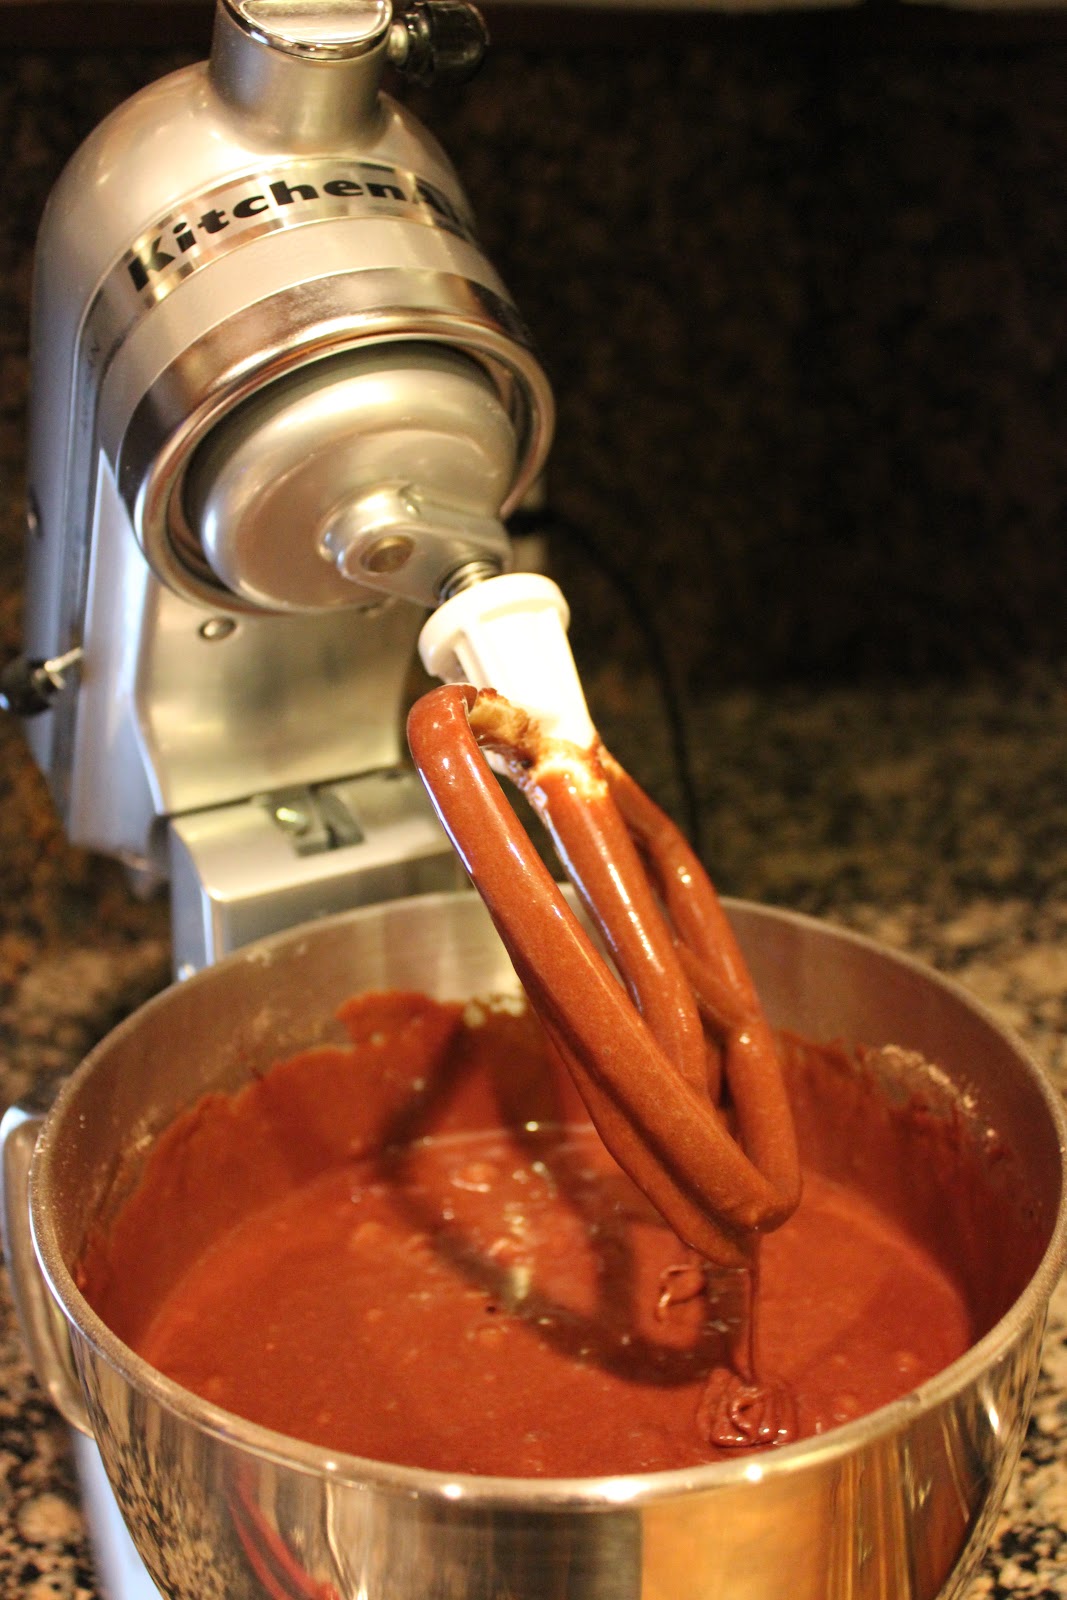
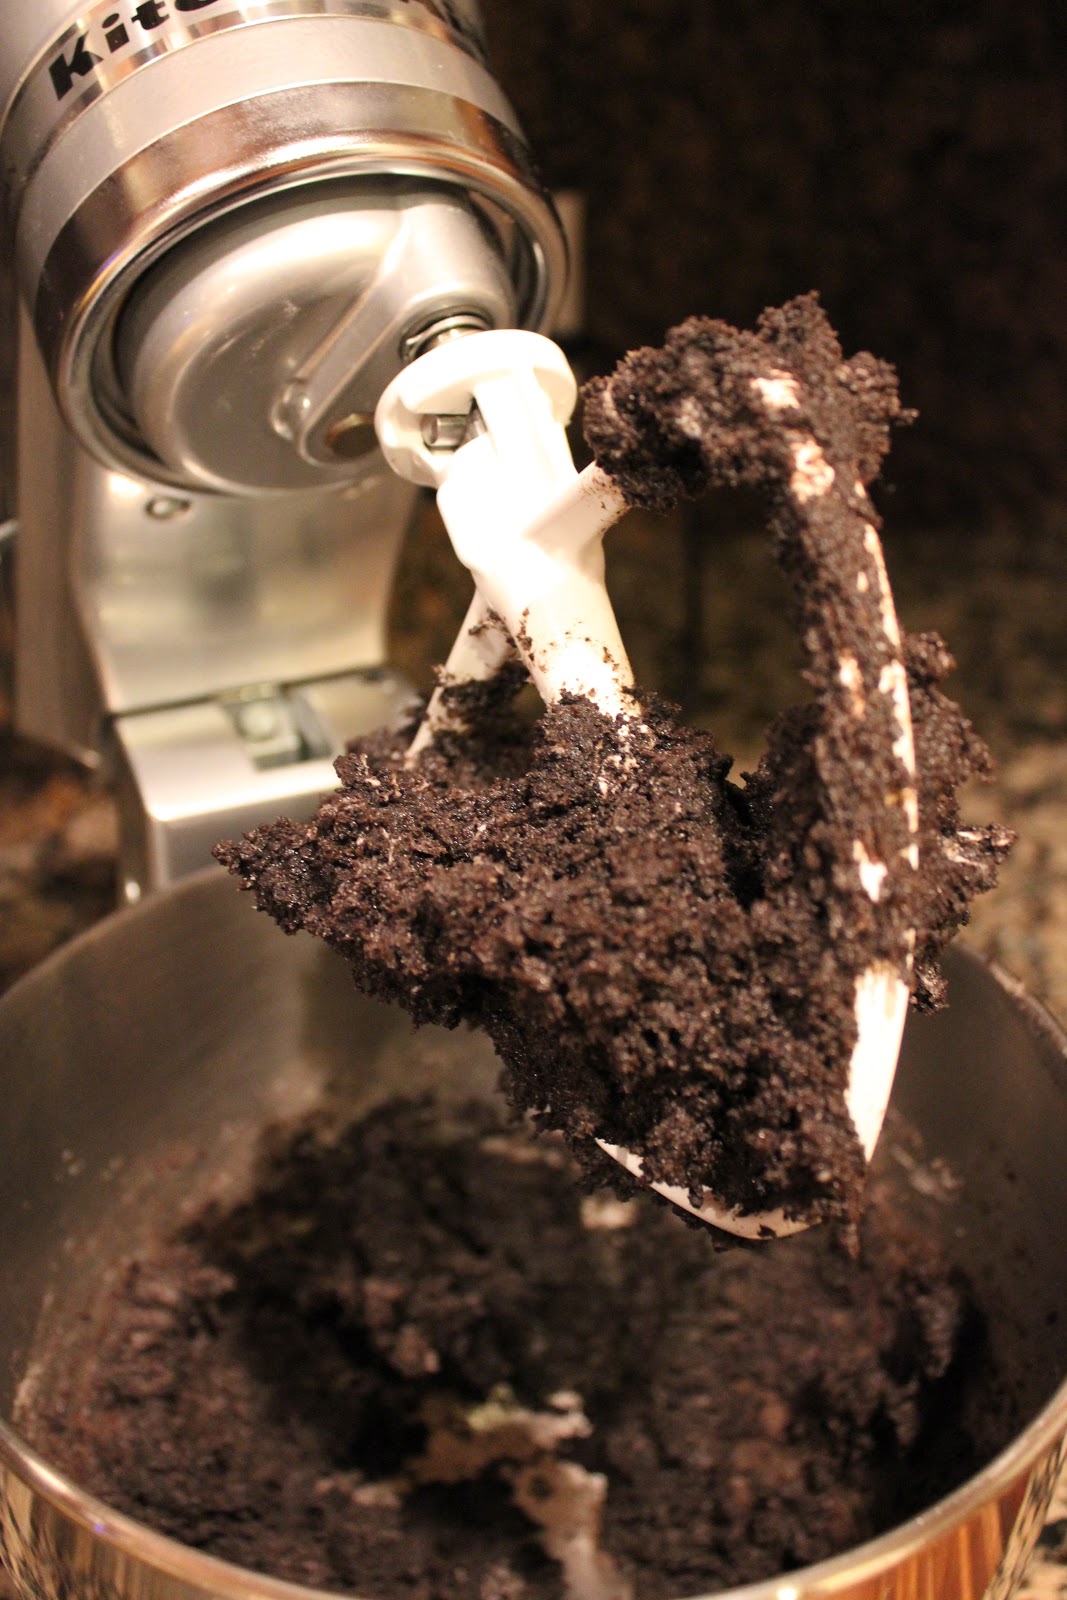
Beat the dough in a stand mixer.
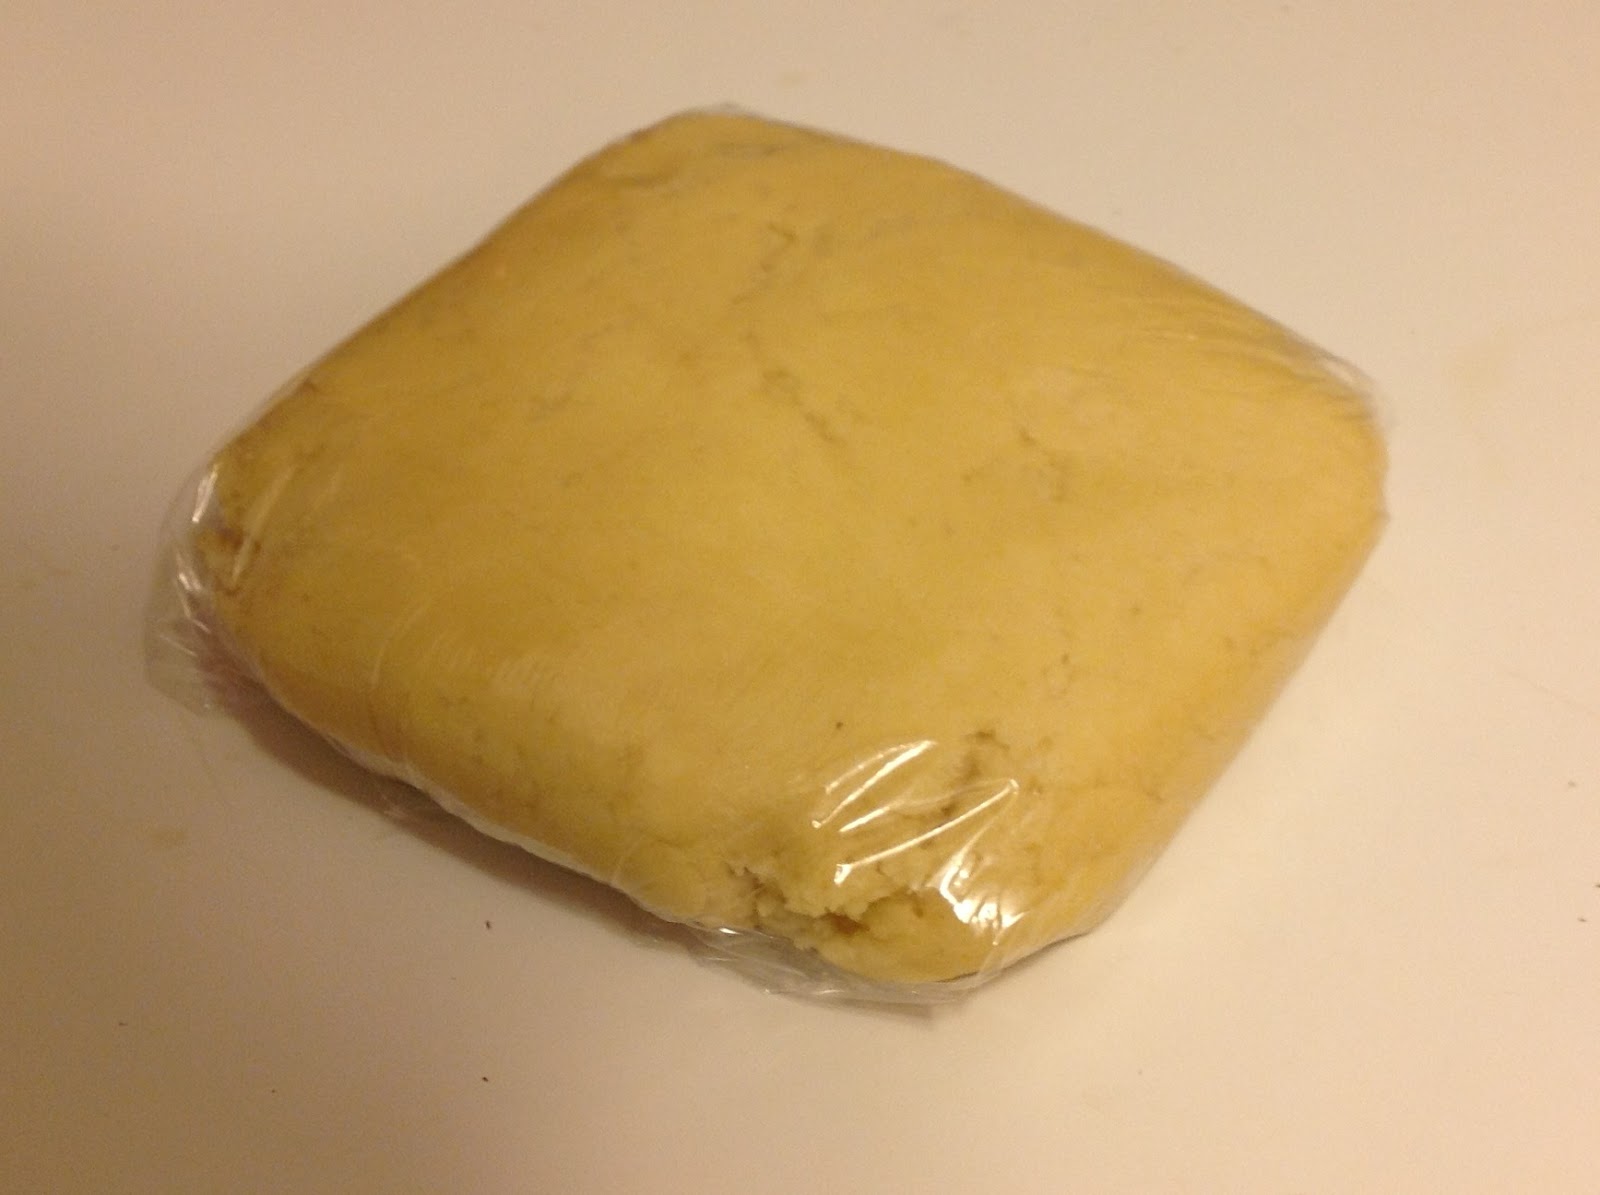
Split the dough in half.
Wrap dough and chill for 2 hours.
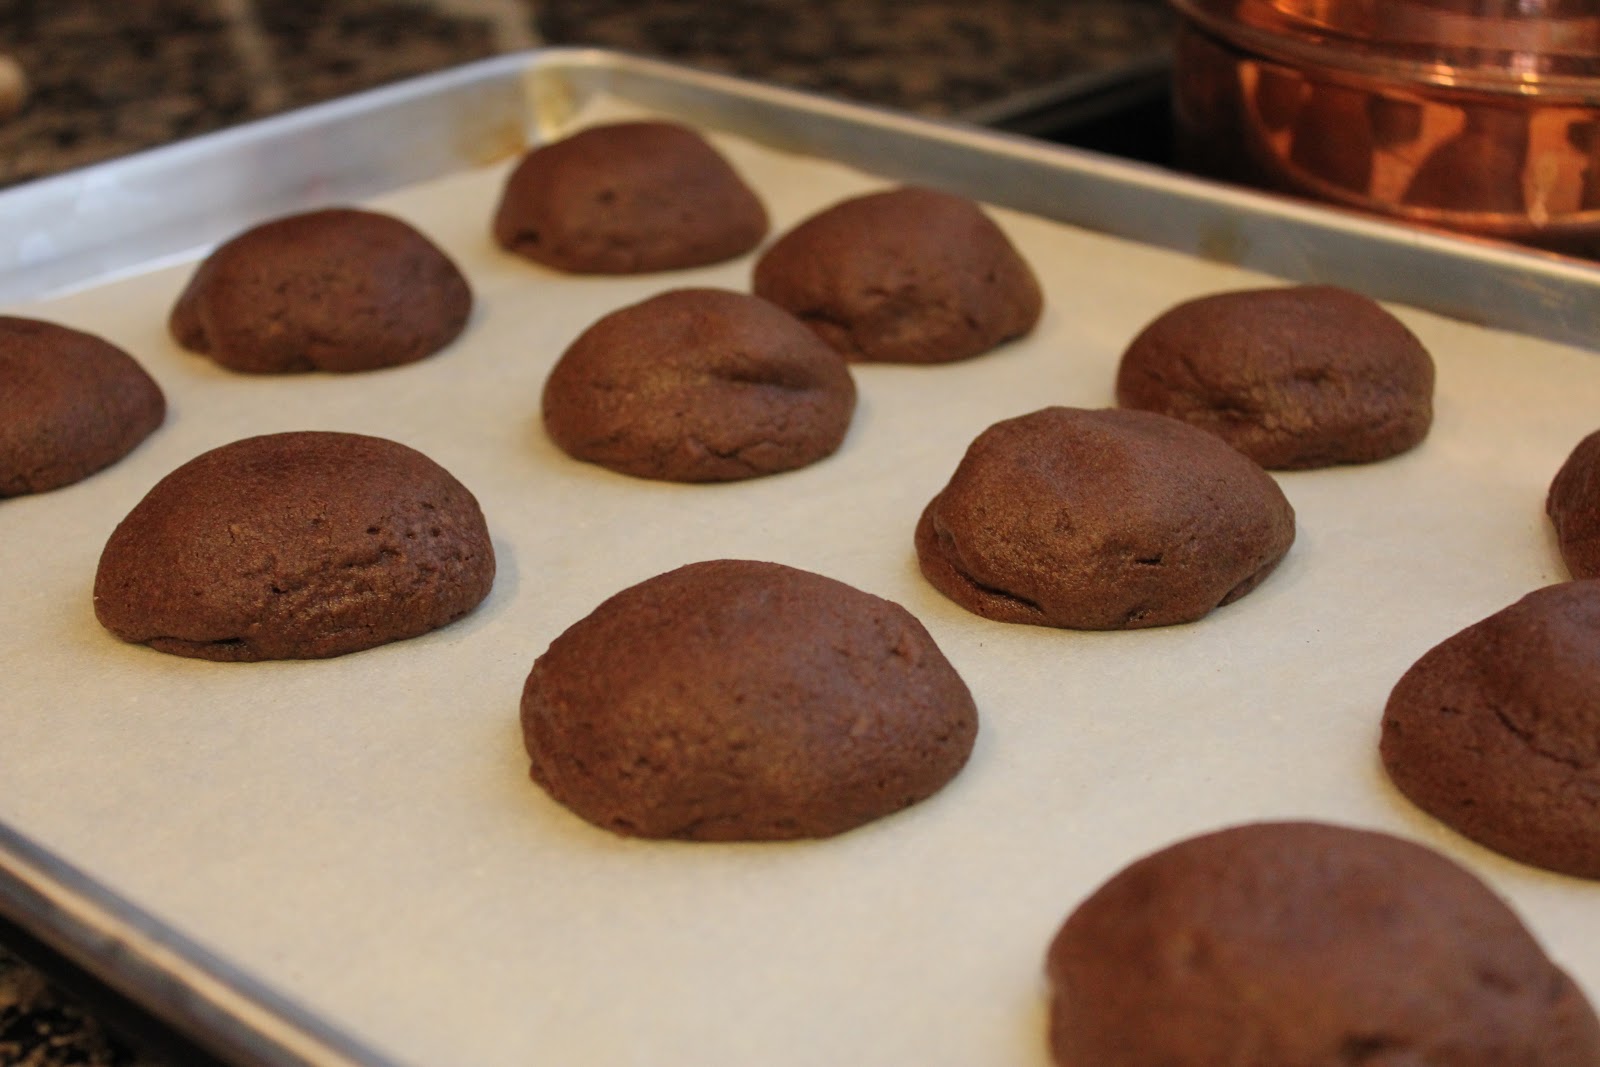
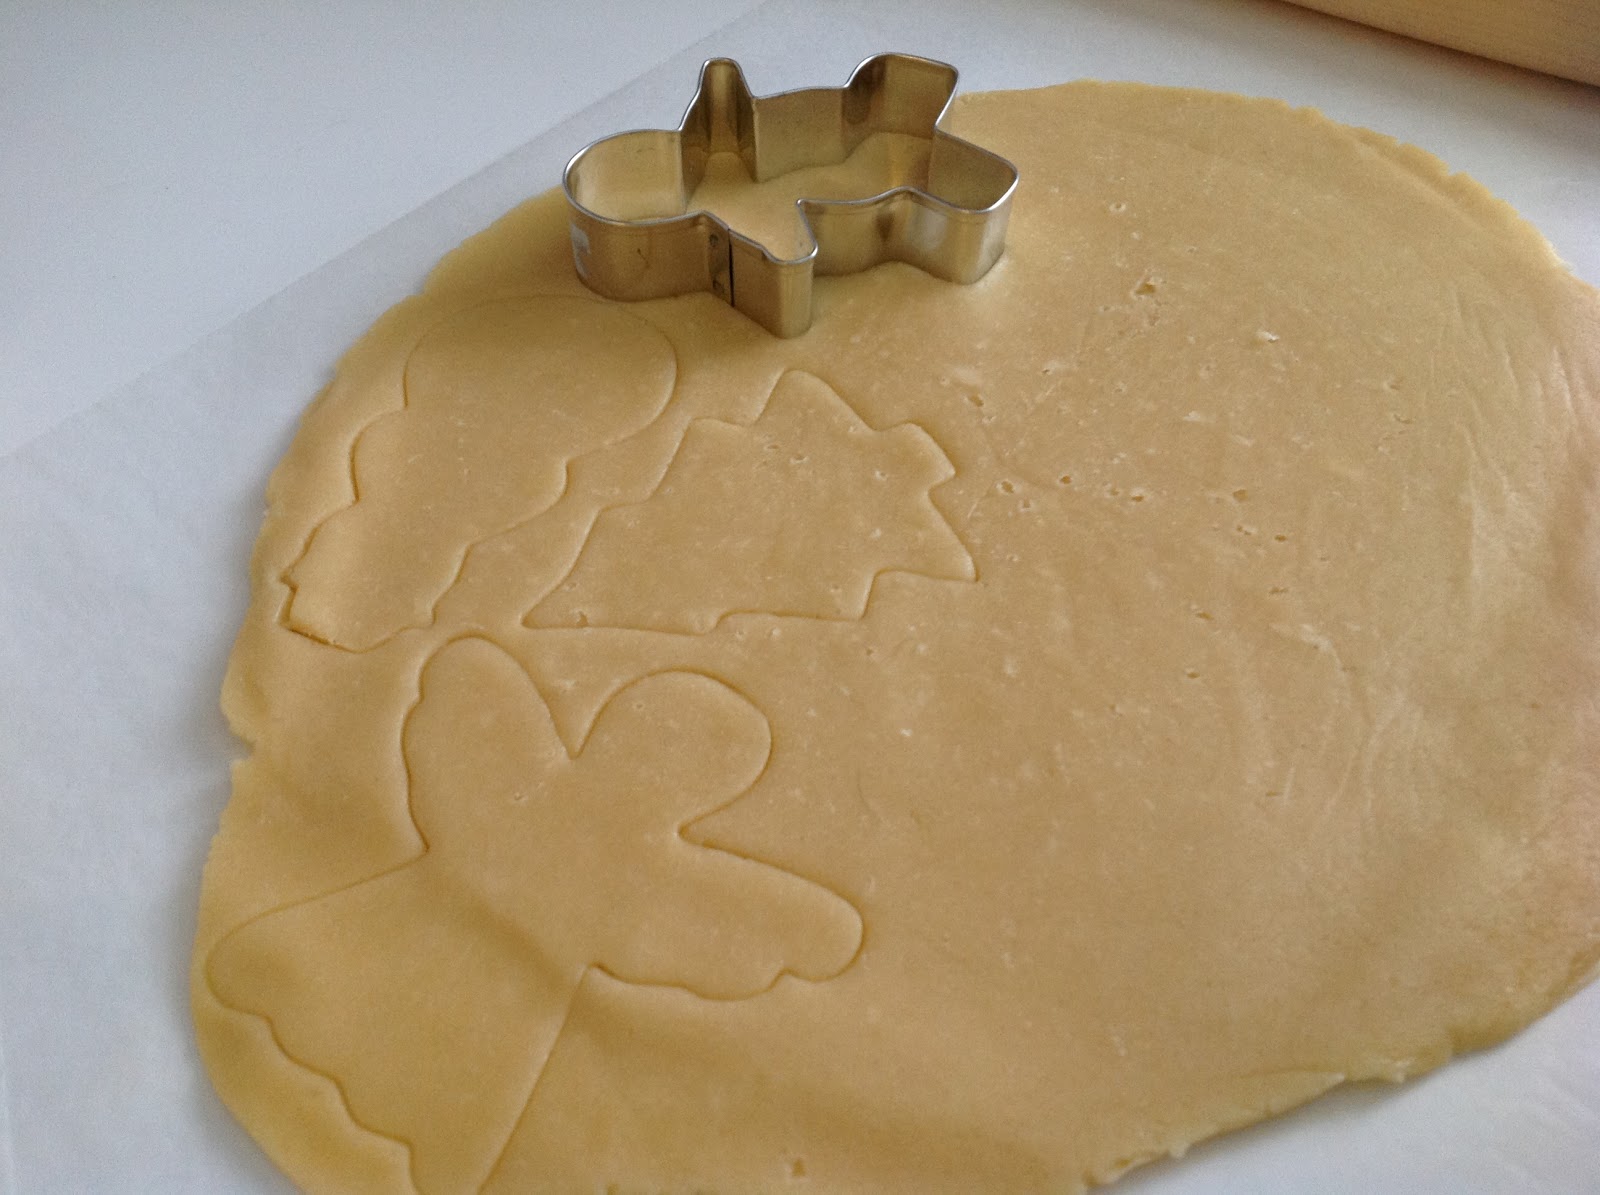
Roll dough into 1/4 inch thickness.  Bake for 9-11 minutes in a 350 degree oven.
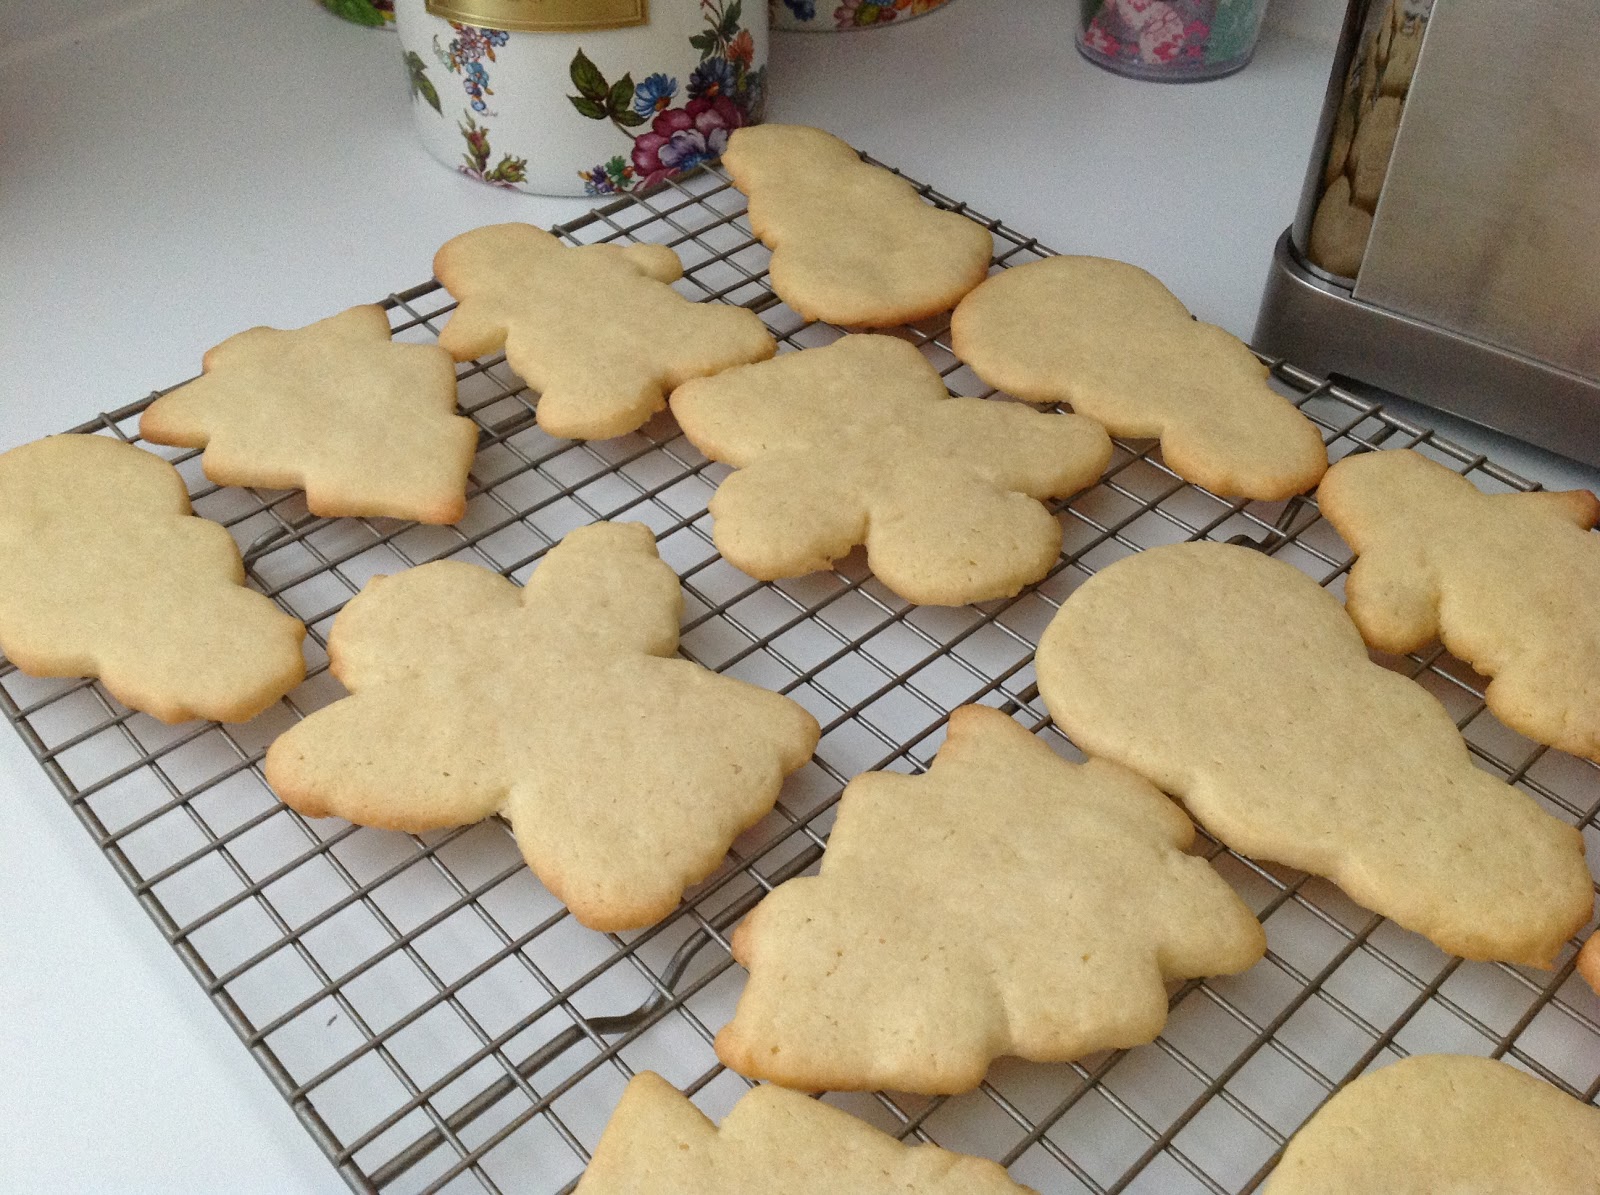
Cool completely. 
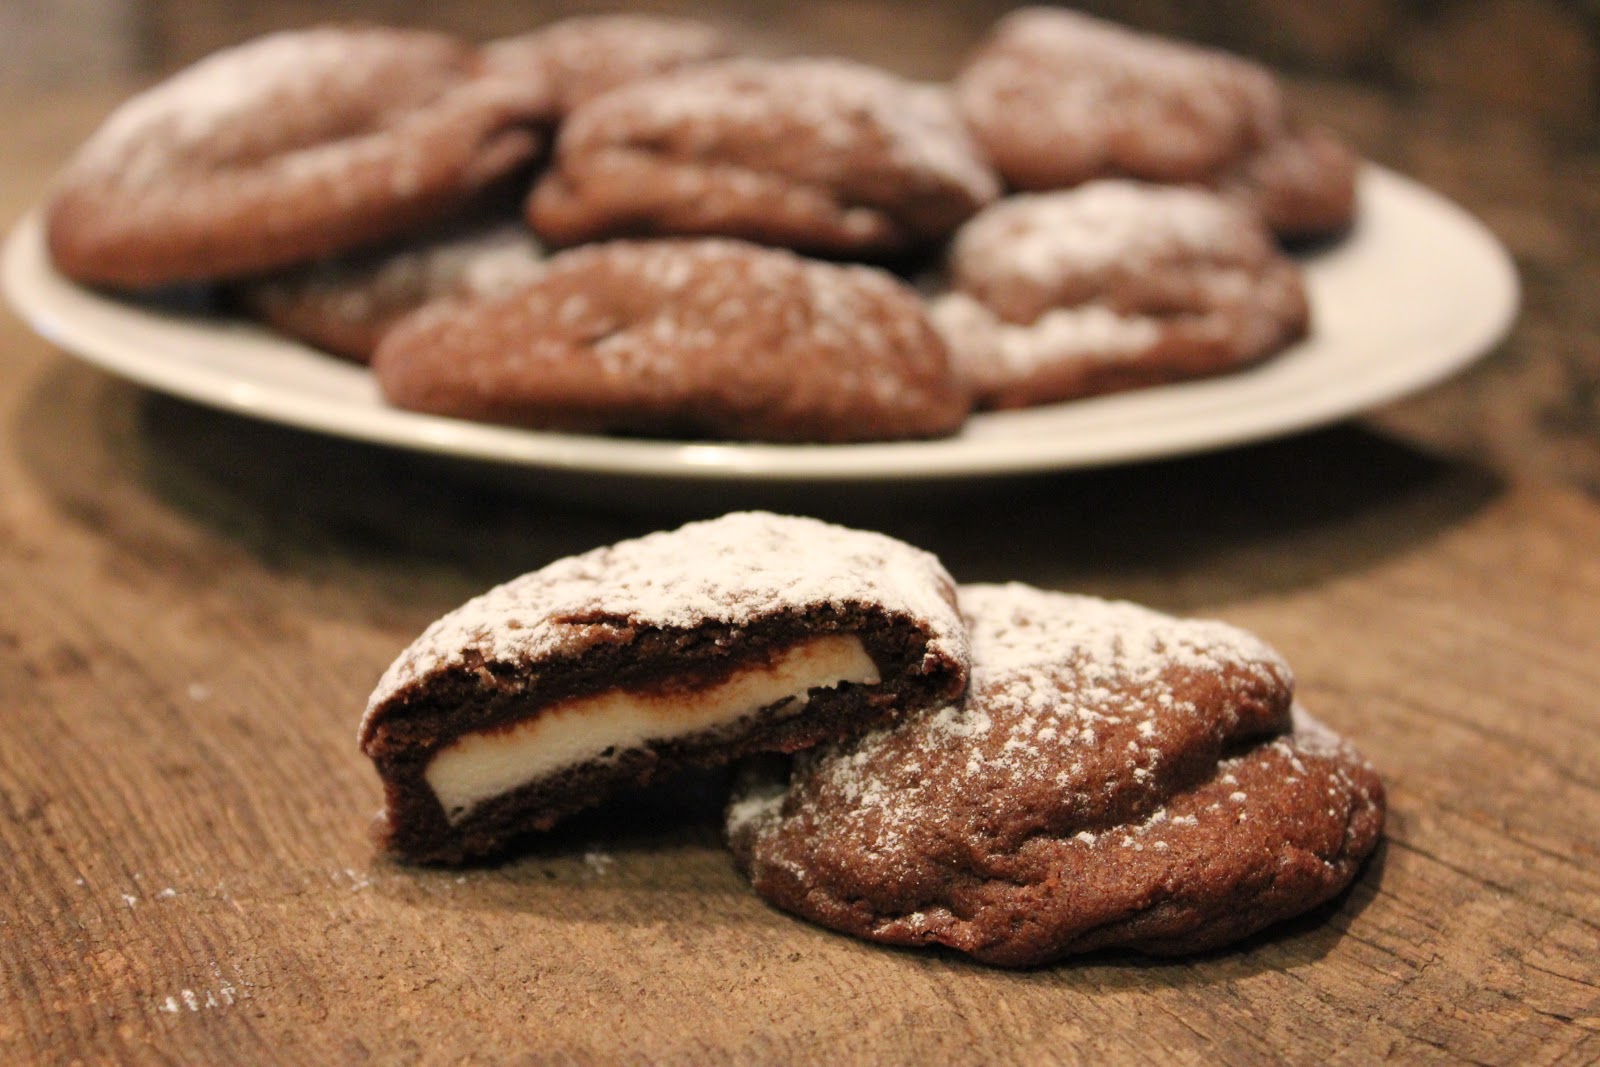
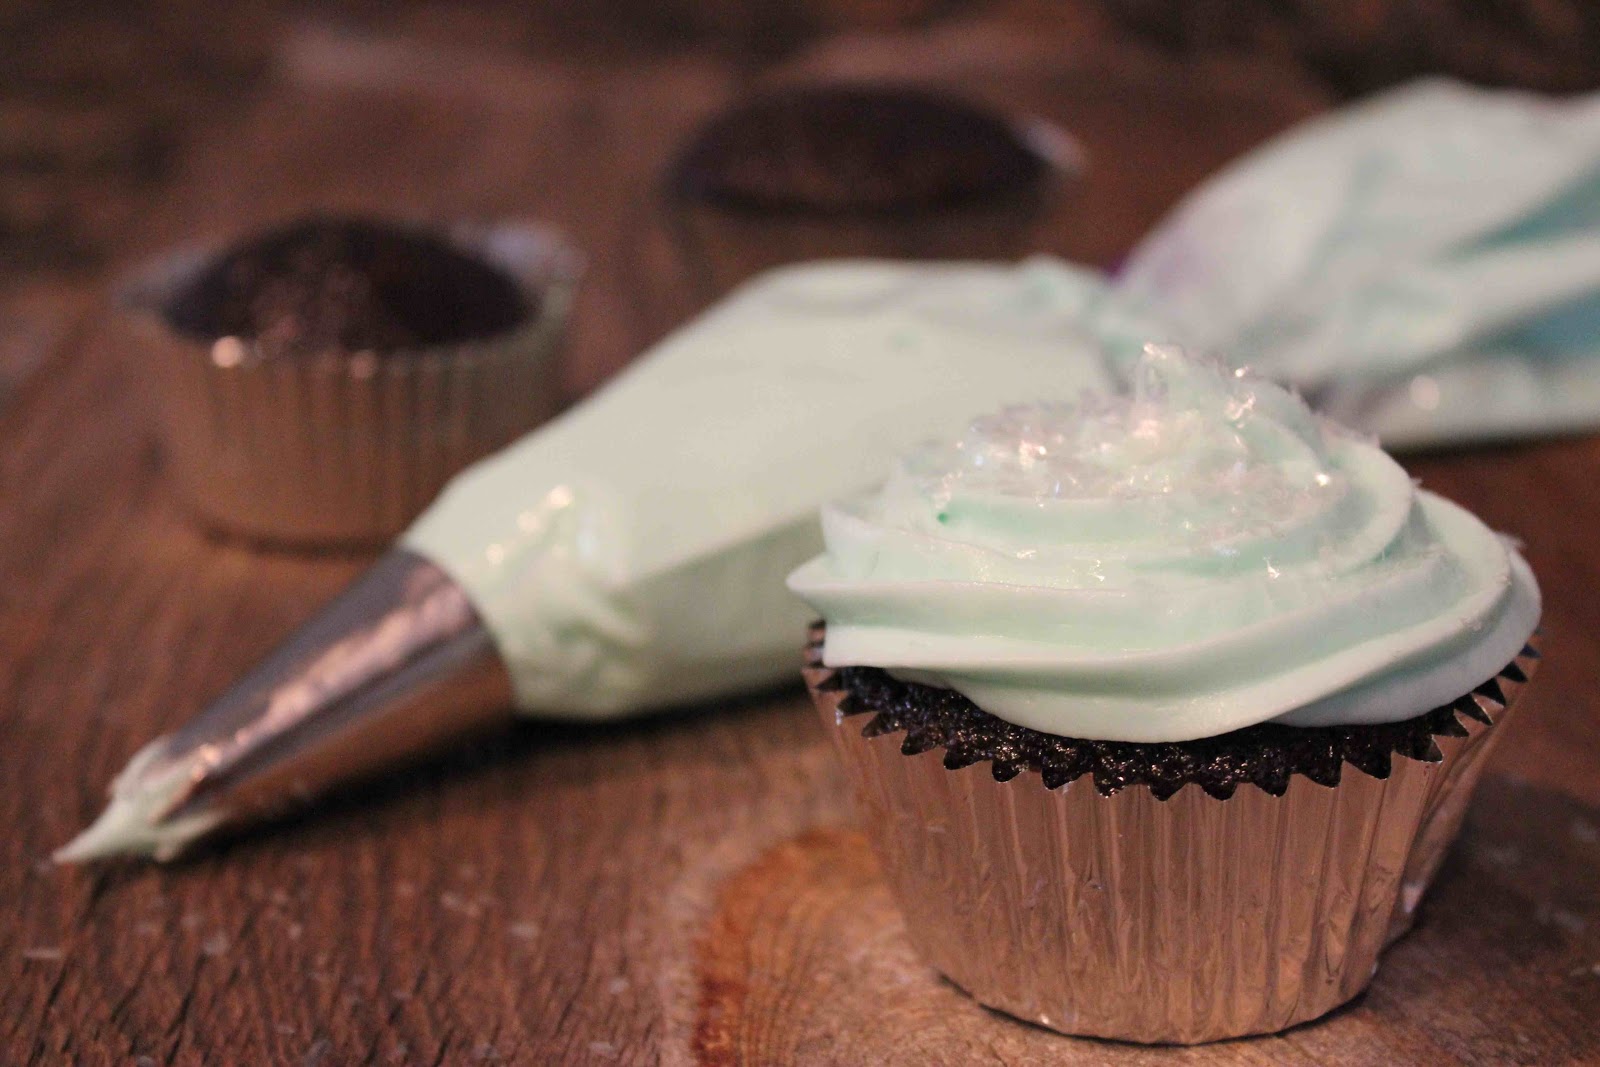
Decorate the cookies…snowmen in our case!
Add the snowmen’s hats.
Decorate Christmas tree cookies.
Christmas trees, snowmen, gingerbread men and angels!

ALL-OCCASION SUGAR COOKIES
Ingredients
2 cups all-purpose flour
1/2 tsp. salt
1/2 tsp. baking powder
1 stick plus 2 Tbsp. (10 tablespoons) unsalted butter, at room temperature
1 cup sugar
1 large egg
1 large egg yolk
1 tsp. pure vanilla extract

Directions
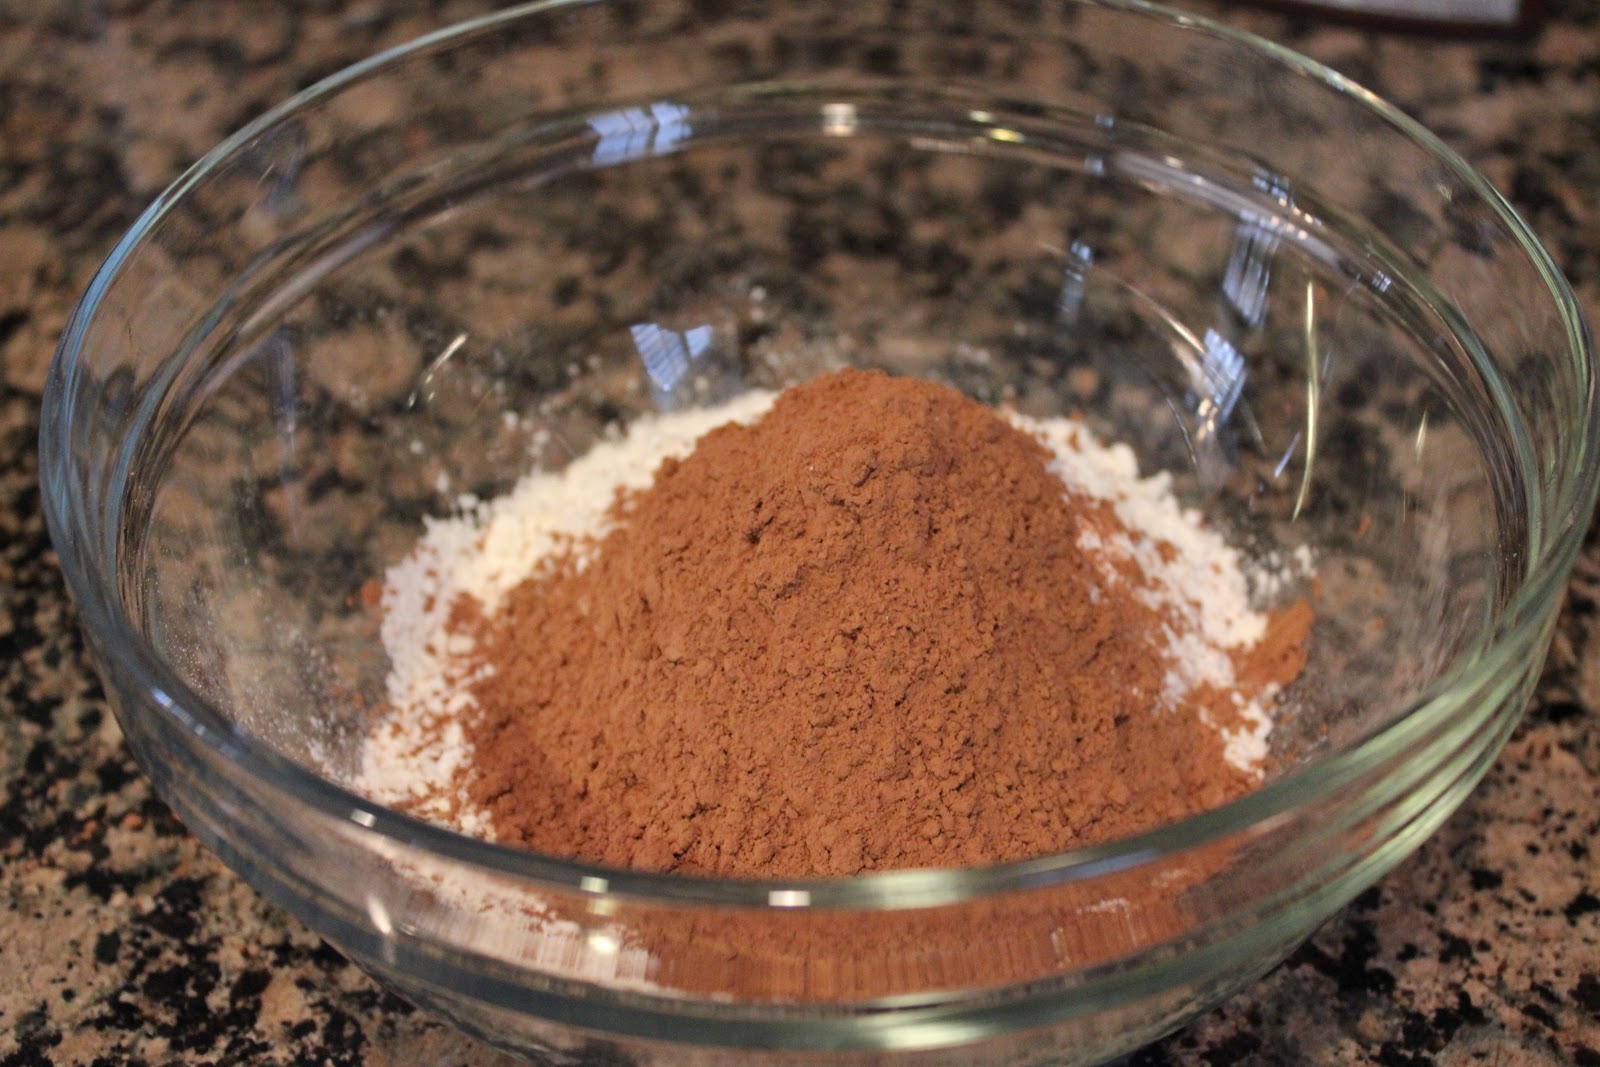
1. Whisk the flour, salt and baking powder together.
2. Working with a stand mixer, preferably fitted with a paddle attachment, beat the butter at medium speed for a minute or so, until smooth. Beat the sugar and continue to beat for about 2 minutes, until the mixture is light and pale. Add the egg and yolk and beat for another minute or two; beat in the vanilla.
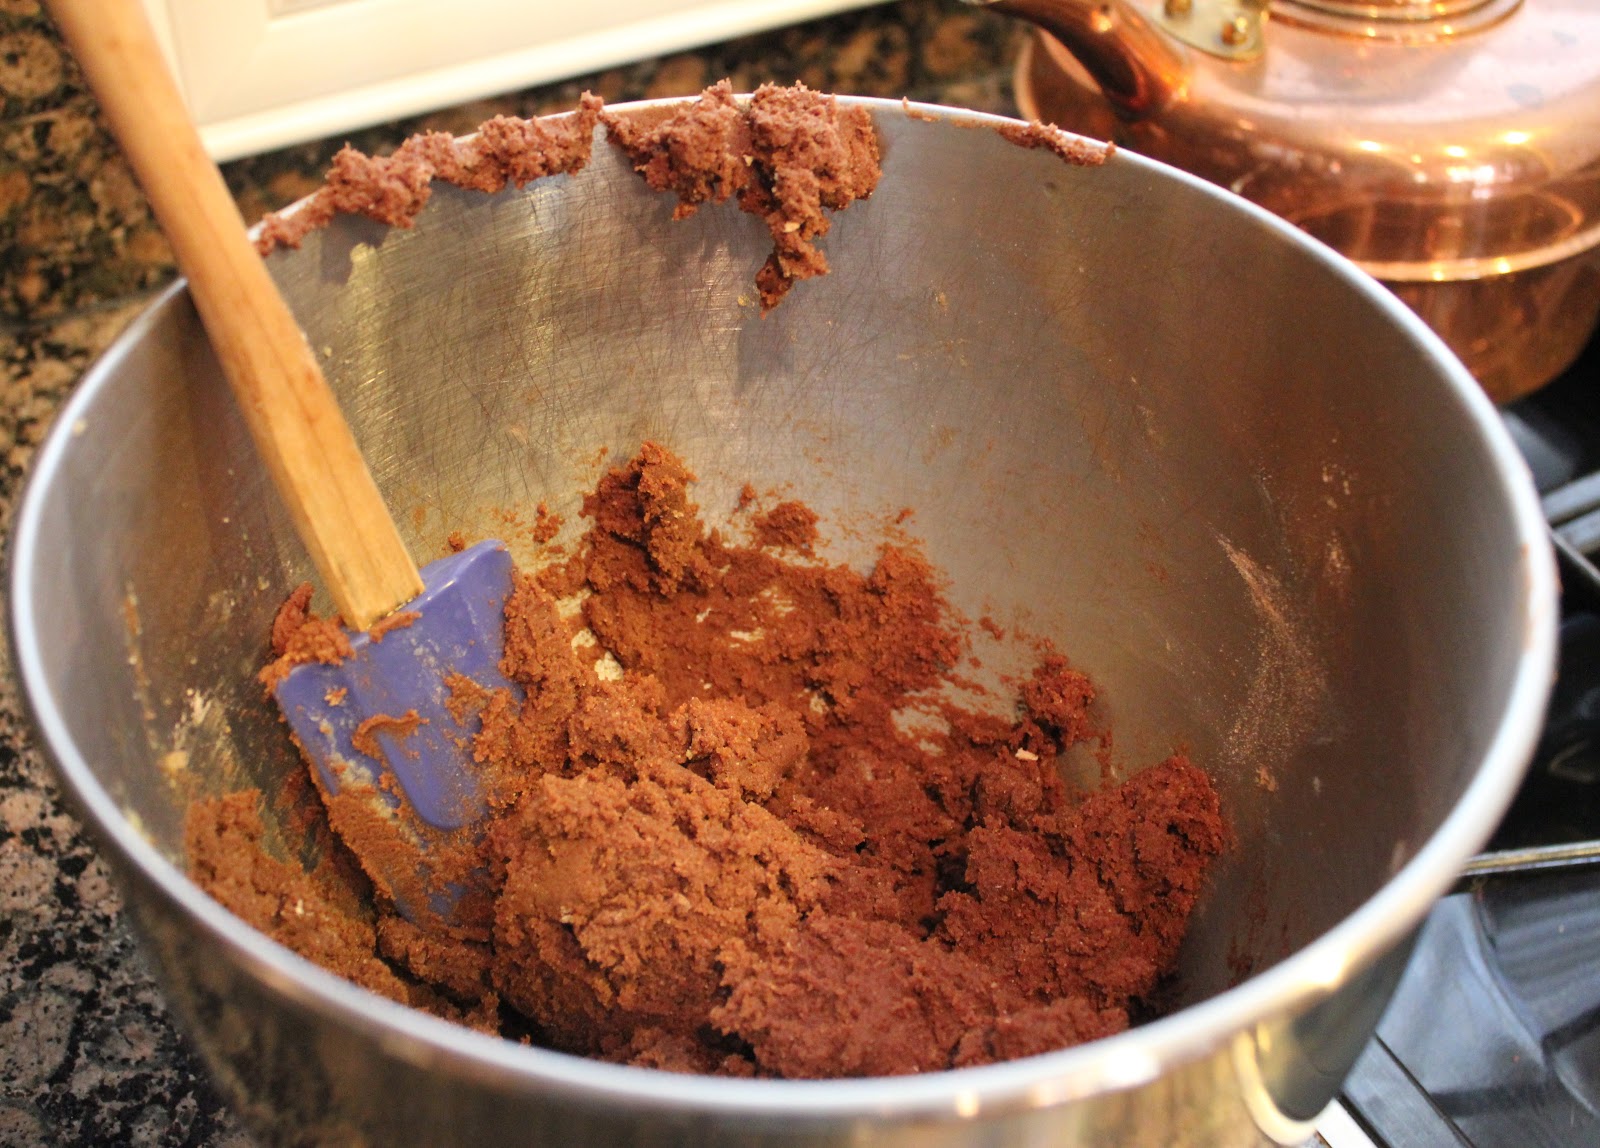
3. Reduce the mixer speed to low and steadily add the flour mixture, mixing only until it has been incorporated – because the dough is best when worked least, you might want to stop the mixer before all the flour is thoroughly blended into the dough and finish with a rubber spatula. When mixed, the dough will be soft, creamy, and malleable.
4. Turn the dough out onto a counter and divide it in half. If you want to make roll-out cookies, shape each half into a disk and wrap in plastic. If you want to make slice-and-bake cookies, shape each half into a chubby sausage (about 2 inches in diameter) and wrap in plastic. Chill dough for at least 2 hours. (Well wrapped, the dough can be refrigerated for up to 3 days or frozen for up to 2 months).

Getting ready to Bake:
1. Center rack in the oven and preheat the oven to 350 degrees F. Line two baking sheets with parchment or silicone mats.
2. If you are making roll out cookies, working with one packet of dough at at time, roll out the dough between sheets of plastic wrap or wax paper to a thickness of 1/4 inch, lifting the plastic or paper and turning the dough over often so that it rolls evenly. Lift the top sheet of plastic or paper and cut out the cookies. Pull away the excess dough, saving scraps for rerolling, and carefully lift the cutout cookies onto the baking sheets, leaving about 1 1/2 inches between the cookies. (This is soft dough and you might have trouble peeling away the excess or lifting the cutouts; if so, cover the dough, chill it for about 15 minutes and try again.) After you’ve rolled and cut the second packet of dough, you can form the scraps into a disk, then chill, roll, cut and bake.
3. If you are making slice-and-bake cookies, use a sharp thin knife to slice the dough into 1/4-inch thick rounds, and place the rounds on the baking sheets, leaving about 1 1/2 inches between the cookies.
4. Bake the cookies one sheet at a time for 9 to 11 minutes, rotating the sheet at midpoint. The cookies should feel firm, but they should not color much, if at all. Remove the pan from the oven and dust the cookies with sugar or cinnamon sugar, if you’d like. Lest them rest for 1 minute before carefully lifting them onto a rack to cool to room temperature.

Yield: about 50 (2-inch) cookies
Recipe from: Brown Eyed Baker

ROYAL ICING
Ingredients
4 cups powdered sugar
2 Tbsp. meringue powder
6 Tbsp. water
Food coloring

Directions
Mix all ingredients on low speed for 7-10 minutes or until the icing loses its shine. Add more water by the teaspoon if it appears to stiff. At this stage you want to be able to pipe it easily.

Recipe from: Brown Eyed Baker

GIANT Gingerbread House


Does anyone remember the “good ‘ole days” of decorating gingerbread houses at school?  Almost every year (Kinder through fifth grade) we would decorate gingerbread houses as part of our Christmas party. (Yes, they called it a “Christmas” party back in the 1990s, AND we had a pretty Christmas tree in the front lobby of our school, a public school that is. Too bad times have changed. Most schools are not allowed to put up trees or anything Christmas-related. 😦

As kids, we were given a gingerbread house that was already constructed. The fun part was decorating it by icing the roof with white frosting, adding the decorative candy (M&Ms, peppermints, candy canes, jelly beans, twizzlers), and adding the snow made out of cotton balls. Great times…. 
The gingerbread house you see in this post is a step above my little amateur gingerbread house. The house is currently being showcased in the lobby of the Royal Park Hotel in Rochester, Michigan, the hotel my parents stayed at over Thanksgiving break when they visited Brittany and Colby. 
Impressed yet? I bet you could make the same one! The recipe is included!!! All you need are 220 cups of sugar, 300 pounds of gingerbread mix, 110 cups of powdered sugar, 90 gallons of water, 240 eggs, 270 pounds of holiday candy, and 104 whirley pops. You got that? Oh, did I mention 580 HOURS of tender loving care? Haha. 🙂
Merry Christmas and Happy Holidays!


My sister Brittany and her husband Colby.
Close up of the Gingerbread house.
Another view of the house.
Reindeer in the front!
the recipe….


P.S. Don’t forget to enter my GIVEAWAY for a 12-pack of Cherbundi juice! You have until Friday, December 21st at 11:59 pm CST to enter. Click HERE to enter.

Pasta e Fagioli

When it gets cold in Texas, we all get super excited because it’s always so hot here. Case in point: last Monday it snowed!! To you northerners, it wasn’t much more than flurry, but hey…it stuck and the yards and roofs of our houses had a light dusting of white powder on top! 
Since it was cold, what better way to enjoy dinner than with a big bowl of hot, steamy soup! While Taco Soup is my favorite soup of all time, I kind of burned myself out on it. Thus, I thought I try something new…this time, an Italian soup!
Since it was cold and I didn’t feel like going to the grocery store, I used what I had around the house and threw it all together in a pot. Okay, not really. If you know me at all, you know I’m a huge rule follower. The same goes with recipes. I like to precisely measure my ingredients so that everything turns out perfectly. 
I had all intentions of making a sausage and bean soup with pasta recipe from the Italian Dish. I was going to follow the recipe exactly but I didn’t have sausage, I didn’t have ditalini pasta, I didn’t have cannellini beans and I didn’t have a bay leaf!!! So much for following a recipe…. 
So, what did I do? I made some substitutions and pretty much created my own soup that I was pretty impressed with.  It was light yet filling. The meat and beans provide the protein while the pasta gives you those long lasting carbs. The soup is also pretty healthy! The only source of fat comes from the ground beef, or sausage if you choose.
Enjoy and stay warm, especially those of you living north of Texas!
The alley, covered in snow at 7 in the morning!
Brown the beef. Sauté the carrot, onion and olive oil for 5 minutes or until soft.
Add tomatoes, beans, spices and broth.
Simmer for 1 hour, covered.

Add pasta and cook until tender.
Sprinkle with grated Parmesan cheese.

Pasta e Fagioli
Ingredients
1 (15 ounce) can cannellini beans, drained (I used kidney…it’s all I had in my pantry)
1 pound ground sirloin or sausage, or a combination (I used sirloin)
1/2 medium red onion, diced
1/2 medium carrot, diced
3 Tbsp. olive oil
2 garlic gloves, minced
1 (15-ounce) can diced tomatoes
6 cups chicken broth
1 tsp. thyme
1/2 tsp. red pepper flakes
1/2 tsp. oregano
salt and pepper
2 cups orecchiette or any small pasta
grated Parmesan cheese

Directions
1. In a large pot, brown the beef. Add onion, carrot and olive oil and sauté for 5 minutes until soft. Add garlic and sauté about a minute more.
2. Add the tomatoes, 6 cups of the chicken broth, thyme, oregano, red pepper flakes, some salt and pepper, and the drained beans.
3. Cover the pot and cook for an hour over low heat, at a gentle simmer.
4. Add the pasta and cook, uncovered, until the pasta is tender. Check the seasoning and add more salt and pepper to taste. Serve with grated Parmesan cheese on top and an extra drizzle of olive oil.

Yield: 6-8 servings

New Oven and Blondies

Santa came early this year with a brand new Wolf oven for my mom. Supposedly the oven was weighing down Santa’s sleigh, so he made an early delivery! LOL. My mom’s previous oven was not old by any means, but it was giving her a lot of grief so she decided to just buy a new one. 🙂
With her old oven (a Thermador), you would have to bake just about everything for 10-15 minutes longer than what the recipe called for. Apparently one of the heating elements was broken. One time we were baking a cobbler and another heating element sent sparks flying. We had to throw the cobbler away for fear we would eat metal or something that was sharp! Another time, the numbers (timer, bake time, clock) wouldn’t show up on the oven….the list goes on.
Instead of calling out the repairman for what seemed like the tenth time in just a matter of years, my parents just ordered a new oven. It’s pretty high-tech and mom is super excited. For one, the inside is cobalt blue. Second, it has a DUAL convection system – a convection system is different from the conventional one because it has a fan and cooks the food much more evenly. There’s also ten cooking modes – bake, broil, etc. (the usuals) plus the ability to proof bread and dehydrate fruit! Mom was also excited about the temperature probe, and the easy to glide oven racks. 
A baker’s dream, right? Take a look…
So sleek!
It’s blue inside!

Christening the oven with a batch of blondies. Mmm…mmm good!

With the new oven installed it was time to bake something! Brownies, cookies and bars are some of our favorite things to bake, so mom pulled out Ina Garten’s newest cookbook, Barefoot Contessa Foolproof: Recipes You Can Trust, and whipped up a batch of delicious chocolate chunk blondies.

The blondies were absolutely AMAZING! You can guess from the name that a blondie is pretty much a blonde brownie. Instead of cocoa or chocolate, a blondie is based on brown sugar. Many times they include chocolate chips or chunks. These remind me of a super-thick cookie cake! They are so moist, the chocolate chunks are perfect in size & taste, and the walnuts add a nice crunch. By far, these are the BEST blondies I’ve ever eaten!

Give them a try and let me know what you think.
Close up.

Chocolate Chunk Blondies
Ingredients
1/2 pound (2 sticks) butter  
1 cup light brown sugar, lightly packed
1/2 cup granulated sugar
2 tsp. pure vanilla extract
2 extra-large eggs, at room temperature
2 cups all-purpose flour
1 tsp. baking soda
1 tsp. kosher salt
1 1/2 cups chopped walnuts
1 1/4 pounds semisweet chocolate chunks, such as Nestle’s
Directions
1. Preheat the oven to 350 degrees F. Grease and flour a 8 x 12 x 12-inch pan (we used a 9 x 13-inch pan).
2. In the bowl of an electric mixer fitted with the paddle attachment, cream the butter, brown sugar, and granulated sugar on high speed for 3 minutes, until light and fluffy. With the mixer on low, add the vanilla, then the eggs, one at a time, and mix well, scraping down the bowl.
3. In a small bowl, sift together the flour, baking soda and salt and the mixer still on low, slowly add flour mixture to the butter mixture. Fold the walnuts and chocolate chunks in with a rubber spatula.
4. Spread the batter into the prepared pan and smooth the top. Bake for 30 minutes exactly. Don’t over bake! A toothpick may not come out clean. Cool completely in the pan and cut into bars.
Yield: about 20 blondies
Recipe from: Barefoot Contessa

Cheribundi GIVEAWAY and Smoothie!

‘Tis the season for a GIVEAWAY! Cheribundi, the makers of this superfruit juice is giving away a 12-pack if cherry juice for one lucky Dallas Duo reader. (See details at the bottom of this post.)
What’s so special about this cherry juice you might ask??? Well for one, the fightin’ Texas Aggies are drinking it, in addition to the t-sips (Longhorns) down in Austin, the folks at Auburn, Baylor, Florida State…. check out the long laundry list of collegiate and professional sports teams using cheribundi by clicking here
If you’re an athlete, recreational runner, cyclist, into triathlons, or just trying to stay active, you’re going to want to try this superfruit juice by cheribundi. As the cheribundi story goes, the myth was that snacking on tart cherries eased a regular person’s back pain. So…researchers at Cornell tested it out and uncovered loads of benefits of tart cherries and developed a new juicing process to get all that cherry-goodness in one great tasting drink!
For all the details on why cherries are so good for you, head over to cheribundi’s website to read more by clicking here
With all the healthy benefits of cheribundi’s cherry juice, I thought I’d create a nice refreshing smoothie for my breakfast. It is super easy and only takes 5 minutes to make: a perfect on-the-go breakfast as you head off to work or wherever. 

All the ingredients minus the Whey protein. 
Combine all ingredients in a blender and blend until smooth.

Cheribundi Greek Yogurt Protein Smoothie
Ingredients
4 ounces plain Greek nonfat yogurt (Fage is my favorite)
1/2 cup Cheribundi Skinny Cherry Juice
1 cup frozen mixed berries (I used strawberries and blackberries)
1/2 banana
1/2 scoop vanilla Whey protein
1 Tbsp. honey
Ice or xantham gum, to thicken

Directions
Combine all ingredients in a blender and blend until smooth.

Yield: 1-2 servings

{GIVEAWAY TIME}

Now it’s your turn: Cheribundi is giving away a 12-pack of their famous cherry juice. They have five different juices: Tru Cherry (the original), Skinny Cherry (less calories), Whey Cherry (protein-packed), Cocao Cherry (dark chococalte infused), and Ginger Gerry (refreshing taste of fresh ginger). My favorite is the the Skinny one!

TO ENTER: 
To enter this giveaway, just answer the following question in the Comments section of this post: Why do you want to win a 12-pack of cheribundi juice? 

THE RULES:

  • One entry per person, please.
  • Please include your first name…do NOT comment as “anonymous” because I won’t know who you are!
  • Contest ends Friday, December 21, 2012 at 11:59 pm CT.
  • Winners will be announced Saturday, December 22nd.
  • Good luck!

Giveaway sponsored by cheribundi.

Tiffany Blue Chocolate Cupcakes

With the name “Tiffany Blue Cupcakes” you would think I was making these for an engagement shower. Instead it was a lovely baby boy shower for my friend Courtney. I was hoping the blue food coloring would yield a pretty sky blue, but instead I got Tiffany blue… nonetheless they were gorgeous!
The story behind these cupcakes is actually quite funny. In preparation for Saturday’s baby shower, I made the cake part of the cupcakes on Friday night. Check… one less thing to do on Saturday morning. The morning of the shower I thought I would make the frosting, bring it with me to the shower, and ice the cupcakes before all the guests arrived.
Anticipating that I was running late, I gathered the cupcakes, my Wilton decorating kit, my purse and a whisk and rushed out the door. What was missing on that list?  The frosting!!!
By the time I realized I left the frosting in my refrigerator, Matt had just arrived home after lifting weights, hungry and ready to eat his Jersey Mike’s sub. Lucky for me, he was home…but to his frustration, I requested that he meet me halfway to my friend’s house with the frosting I left behind.
I won’t go into details, but Matt was pretty mad…. he was hungry and just wanted to eat his sandwich and watch football. My favorite excuse of his: “Just let the guests eat the cupcakes without icing.” Really? Cupcakes without frosting…. that would not cut it. Matt then suggested that I go to Wal-Mart and buy some $.99 icing from a can. Again, not going to cut it when I went through all the trouble to make the frosting this morning. Plus frosting from a can is terrible and I have to keep my reputation!
Long story short, Matt met me with the icing, I frosted the cupcakes and everyone loved them! Matt later sent me a text saying he was sorry for complaining and also wrote “those cupcakes are the best cupcakes I have ever had!”
Guests at the party raved over the icing and how moist the cupcakes were. Even those that don’t like chocolate cupcakes LOVED these, including me! Here’s a great recipe that I’ll be sure to make again and again…
Using a stand mixer, make the batter.
Bake for 18-22 minutes in a 350 degree F oven.
Remove from oven.
Let cool completely on a wire rack.
Pipe frosting on each cupcake. Garnish with sprinkles.
Take a big bite, or two!

Chocolate Cupcakes
Ingredients
2 cups sugar
1 3/4 cups all-purpose flour
3/4 cup unsweetened cocoa (best quality available)
1 1/2 tsp. baking powder
1 1/2 tsp. baking soda
1 tsp. salt
2 eggs
1 cup whole milk
1/2 cup vegetable oil
2 tsp. vanilla extract
1 cup boiling water

Directions
1. Line muffin tin with paper lines. Heat oven to 350 degrees F.
2. In a large mixing bowl, stir together sugar, flour, cocoa, baking powder, soda and salt. Add eggs, milk, oil and vanilla. Beat on medium speed for one minute.
3. Stir in boiling water (the batter will be thin, don’t worry, this is right).
4. Fill liners 2/3 full with batter. Bake cupcakes for approximately 18-22 minutes or until toothpick inserted in center of cupcake comes out clean or with just a few crumbs.
5. Cool completely on wire rack before frosting.

Yield: 24 standard sized cupcakes
Recipe from: Glorious Treats

Vanilla Cream Cheese Frosting
Ingredients
1/2 cup (1 stick) butter, set at room temperature about 10 minutes, but should still be cool
8 ounces cream cheese, directly from fridge
1 tsp. vanilla extract
4 cups confectioners’ sugar
1-2 Tbsp. skim milk

Directions
1. Place butter in a large mixing bowl and blend slightly. Add cream cheese and blend until combined, about 30 seconds.
2. Add vanilla and powdered sugar and blend on low speed until combined. Increase to medium speed and beat until it begins to get fluffy. Slowly add the milk, a little bit at a time until desired consistency is met. (Don’t add too much if you want the frosting to stay in place when piped on cupcakes).
3. Beat until fluffy, about 1 minute. Use at once or keep refrigerated. (This frosting will keep well in the refrigerator for several days, but you may need to re-beat it for the best texture.)

Yield: Enough to frost 2 dozen cupcakes if you are piping a nice swirl. (Will also frost and fill a two layer 9″ cake)
Recipe adapted from: Glorious Treats

Tracy’s Healthy Cookies

Trying to stay slim during the holidays? Well the good news is you can with these healthy cookies that my neighbor Tracy made.
The ingredient list for these is long, but well worth it since you’re feeding your body wholesome food. As a former Michigan State swimmer, Tracy likes to eat healthy and treats herself to one of these cookies as a post-workout snack…. we have a lot in common!
Matt and I are lucky to have such nice neighbors bringing us over food. We both loved Tracy’s cookies and I’ll be sure to make them soon! 

Tracy’s Healthy Cookies
Ingredients
4 Tbsp. butter (melted)
2/3 cup organic brown sugar
1/2 cup unsweetened applesauce
2 eggs
2/3 cup sucanat
1 Tbsp. vanilla extract
a squirt of agave nectar
1 cup dried prunes (14)
1 cup dried figs (8-10)
1 cup dried cranberries
1 cup dates (12)
1 cup pecans
1 cup walnuts
1 cup almonds
2/3 cup brown rice flour
1 tsp. baking soda
1 Tbsp. cinnamon
1 cup golden raisins
3-4 cups whole oats
1 1/2 cups coconut

Directions
1. Preheat oven to 325 degrees F. Line cookie sheet with parchment paper.
2. Using a stand mixer, mix the first six ingredients (through agave nectar) together.
3. Using a food processor, blend he dried fruit (through the dates) to make a paste-like consistency.
4. In a blender, blend the nuts (pecans, walnuts and almonds) until nice and smooth.
5. Add the dried fruit and blended nuts to egg mixture using the stand mixer. Mix until combined. You may have to fold the ingredients in by hand…. the mixture will be pretty thick!
6. To the stand mixer, add the remaining ingredients until well combined.
7. Use an ice-cream scoop to make perfect sized cookies and dropped onto parchment-lined cookie sheet. Flatten with your fingers, dipped in water. (The cookies will not change in size once you form them.) Bake for 20-22 minutes with one rotation from rack to rack and spin them around – so they bake evenly.

Yield: about 25 big cookies
Recipe from: my neighbor Tracy

Oreo Cheesecake Truffles

Who doesn’t love truffles during the holidays? Last year I made the oh so popular White Chocolate Oreo Truffles that were eaten in a matter of days. They are actually pretty healthy…the filling was comprised of instant chocolate Jell-O pudding, Oreos and skim milk (the healthy part), while the outside was a white chocolate candy coating drizzled in semisweet chocolate.
Why change something that’s already so good? If you know me well, you know that I love trying NEW recipes, so while I loved the above white chocolate Oreo truffles, I was ready to give Brown Eyed Baker’s Oreo Cheesecake Truffles a try!
The name “cheesecake” ought to give the ingredient list away in these truffles. The filling is comprised of just two ingredients: Oreos and cream cheese, while the outside is melted semisweet chocolate, sprinkles and crushed Oreos.
The truffles were very tasty, but also very rich due to the cream cheese filling. I’m a white chocolate person, so next time I make these I’ll probably use the white instead of semisweet chocolate. Matt also like these, so they pass the husband test.
Enjoy the Christmas season of baking and eating sweets, try not to gain too much weight, and let me know what you think of these!
Crush Oreos.
In a stand mixer, add cream cheese and mix until thoroughly combined.
Roll into balls, about 2 teaspoons in size.
Dip in chocolate and garnish with sprinkles and crushed Oreos.


Oreo Cheesecake Truffles
Ingredients
1 (18-ounce) package Oreo cookies
8 ounces cream cheese, at room temperature
2 cups  semisweet chocolate chips
2 tablespoons vegetable shortening

Directions
1. Crush the Oreos until finely ground. A food processor does the best job, but if you don’t have one, throw the cookies in a ziplock bag and crush them using a rolling pin.
2. Transfer 3 cups of the Oreo crumbs to a bowl and add the cream cheese. In a stand mixer, beat until cream cheese is completely mixed into the Oreo crumbs and you have a soft, homogenous mixture. Using a small cookie scoop (or the equivalent of 2 teaspoons), scoop/roll balls of the Oreo/cream cheese mixture and place on wax paper-lined baking sheet. Once you have scooped out all of the filling, refrigerate the baking sheet for at least 30 minutes, until firm.
3. In a small bowl, microwave the chocolate chips and shortening in 30 second increments at 50% power, stirring after each, until completely melted and smooth. Working with one Oreo ball at a time, dip it into the melted chocolate, roll it around to cover completely, then use a fork to remove it from the chocolate, letting an excess drip off. Place the dipped truffle back on the wax paper-lined sheet. Repeat with all truffles; once finished, return the baking sheet to the refrigerator for another 30 minutes.
4. Serve the truffles, or garnish with sprinkles and leftover crushed Oreos. Store in an airtight container in the refrigerator for up to 2 weeks.

Yield: 4 dozen truffles
Recipe adapted from: Brown Eyed Baker

Congo Bars

Can’t decide between a brownie, blondie or cookie? If you want something sweet that combines the flavors of all three of your favorite sweets, they you’ve got to give these these dessert bars at try.  
While officially named “Congo Bars”, you could call them cookies…or brownies….or even brookies! Whatever the name you choose, they are good. My sister and mom made these a while ago for the mens cross country team at Oklahoma State. I don’t remember even getting to try one because the pan was empty. At least they didn’t go to waste. 🙂
Anyways, happy cooking and enjoy your Saturday!
Make the congo layer. Let cool completely.
Make the brownie layer. Cool completely.
Make the chocolate glaze and drizzle over cooled brownie layer.
Let the glaze set, then cut into squares.

Congo Bars
Ingredients
CONGO LAYER
1 1/3 cups (6 1/4 oz.) all-purpose flour
1 1/4 tsp. baking powder
1/4 tsp. salt
3 oz. (3/4 stick) unsalted butter, melted and cooled
1 1/4 cups firmly packed (8 oz.) light brown sugar
1 large egg
1 large egg white
1 tsp. pure vanilla extract
1 cup (4 oz.) chopped walnuts

BROWNIE LAYER
1 cup plus 2 Tbsp. (5 oz.) all-purpose flour
1/4 cup (3/4 oz.) unsweetened dutch processed cocoa powder
1/8 tsp. baking powder
1/4 tsp. salt
4 oz. (1 stick) unsalted butter
4 oz. unsweetened chocolate, coarsely chopped
1 1/3 cups (9 1/4 oz.) granulated sugar
2 large eggs, lightly beaten
1 large egg yolk
2 tsp. pure vanilla extract

CHOCOLATE GLAZE
3 oz. semisweet or bittersweet chocolate, finely chopped
3 Tbsp. heavy cream

Directions
1. Preheat oven to 350 degrees F. Lightly butter and flour a 9 x 13-inch baking pan. Tap out the excess flour.
2. To make Congo Layer: Sift together the flour, baking powder, and salt onto a sheet of waxed paper; set aside. In a large bowl, stir together the butter, brown sugar, egg, egg white, and vanilla just until blended. Stir in the flour mixture just until the batter is smooth.
3. Scoop the thick, sticky batter onto 8 or 9 different areas on the bottom of the prepared pan. With an offset spatula, spread the batter to cover the pan as evenly as possible. Sprinkle the walnuts evenly on top and gently press them into the batter.
4. Partially bake the layer until it is no longer shiny on top and is beginning to come away from the sides of the pan, about 20 minutes. Transfer the pan to a wire rack to cool while you prepare the Brownie layer.
5. To make the Brownie Layer: Sift together the flour, cocoa powder, baking powder and salt onto a sheet of waxed paper; set aside. In a small, heavy saucepan, melt the butter and chocolate over very low heat, stirring with a silicone spatula until smooth. Or, combine in a medium microwave-safe bowl and melt in a microwave oven at 50% power for 30 second bursts, stirring after each burst, until melted, 1 to 1 1/2 minutes. Transfer to a medium bowl and let cool for 5 minutes.
6. Stir the sugar into the chocolate mixture until incorporated. Add the eggs, egg yolk, and vanilla and stir until well blended. Stir in the flour mixture just until the batter is smooth. Scoop the thick, sticky batter onto 8 or 9 different areas of the still warm Congo Layer. With the offset spatula, spread the batter as evenly as possible.
7. Bake the brownie until the top is no longer shiny; appears set; feels firm, rather than soft; and a round wooden toothpick inserted in the center comes out with moist chocolate crumbs attached, about 25 minutes. Transfer the pan to a wire rack and let cool completely.
8. To make the Chocolate Glaze: Place the chocolate in a medium bowl. In a small saucepan, bring the cream just to a boil over medium-low heat. Pour the cream over the chocolate and let it stand for 30 seconds. Whisk together until smooth and creamy. Set the mixture aside at room temperature just until it cools a bit and begins to thicken slightly.
9. Fashion a small cone out of parchment paper and half fill it with the liquid glaze. Snip a small opening at the end of the paper cone to allow a thin flow of glaze. Pipe thin lines of chocolate in a zigzag pattern over the cooled surface of the brownie. Set aside at room temperature until the glaze is set, 1 to 1 1/2 hours.

Yield: 2 to 4 dozen bars, depending on the size
Recipe from: Baking for All Occasions: A Treasury of Recipes for Everyday Celebrations by Flo Braker.