Lorem ipsum dolor sit amet, consectetur adipiscing elit. Ut enim ad minim veniam, quis nostrud exercitation ullamco laboris nisi ut aliquip ex ea commodo consequat.
Category: Uncategorized
The Journey Begins
Thanks for joining me!
Good company in a journey makes the way seem shorter. — Izaak Walton

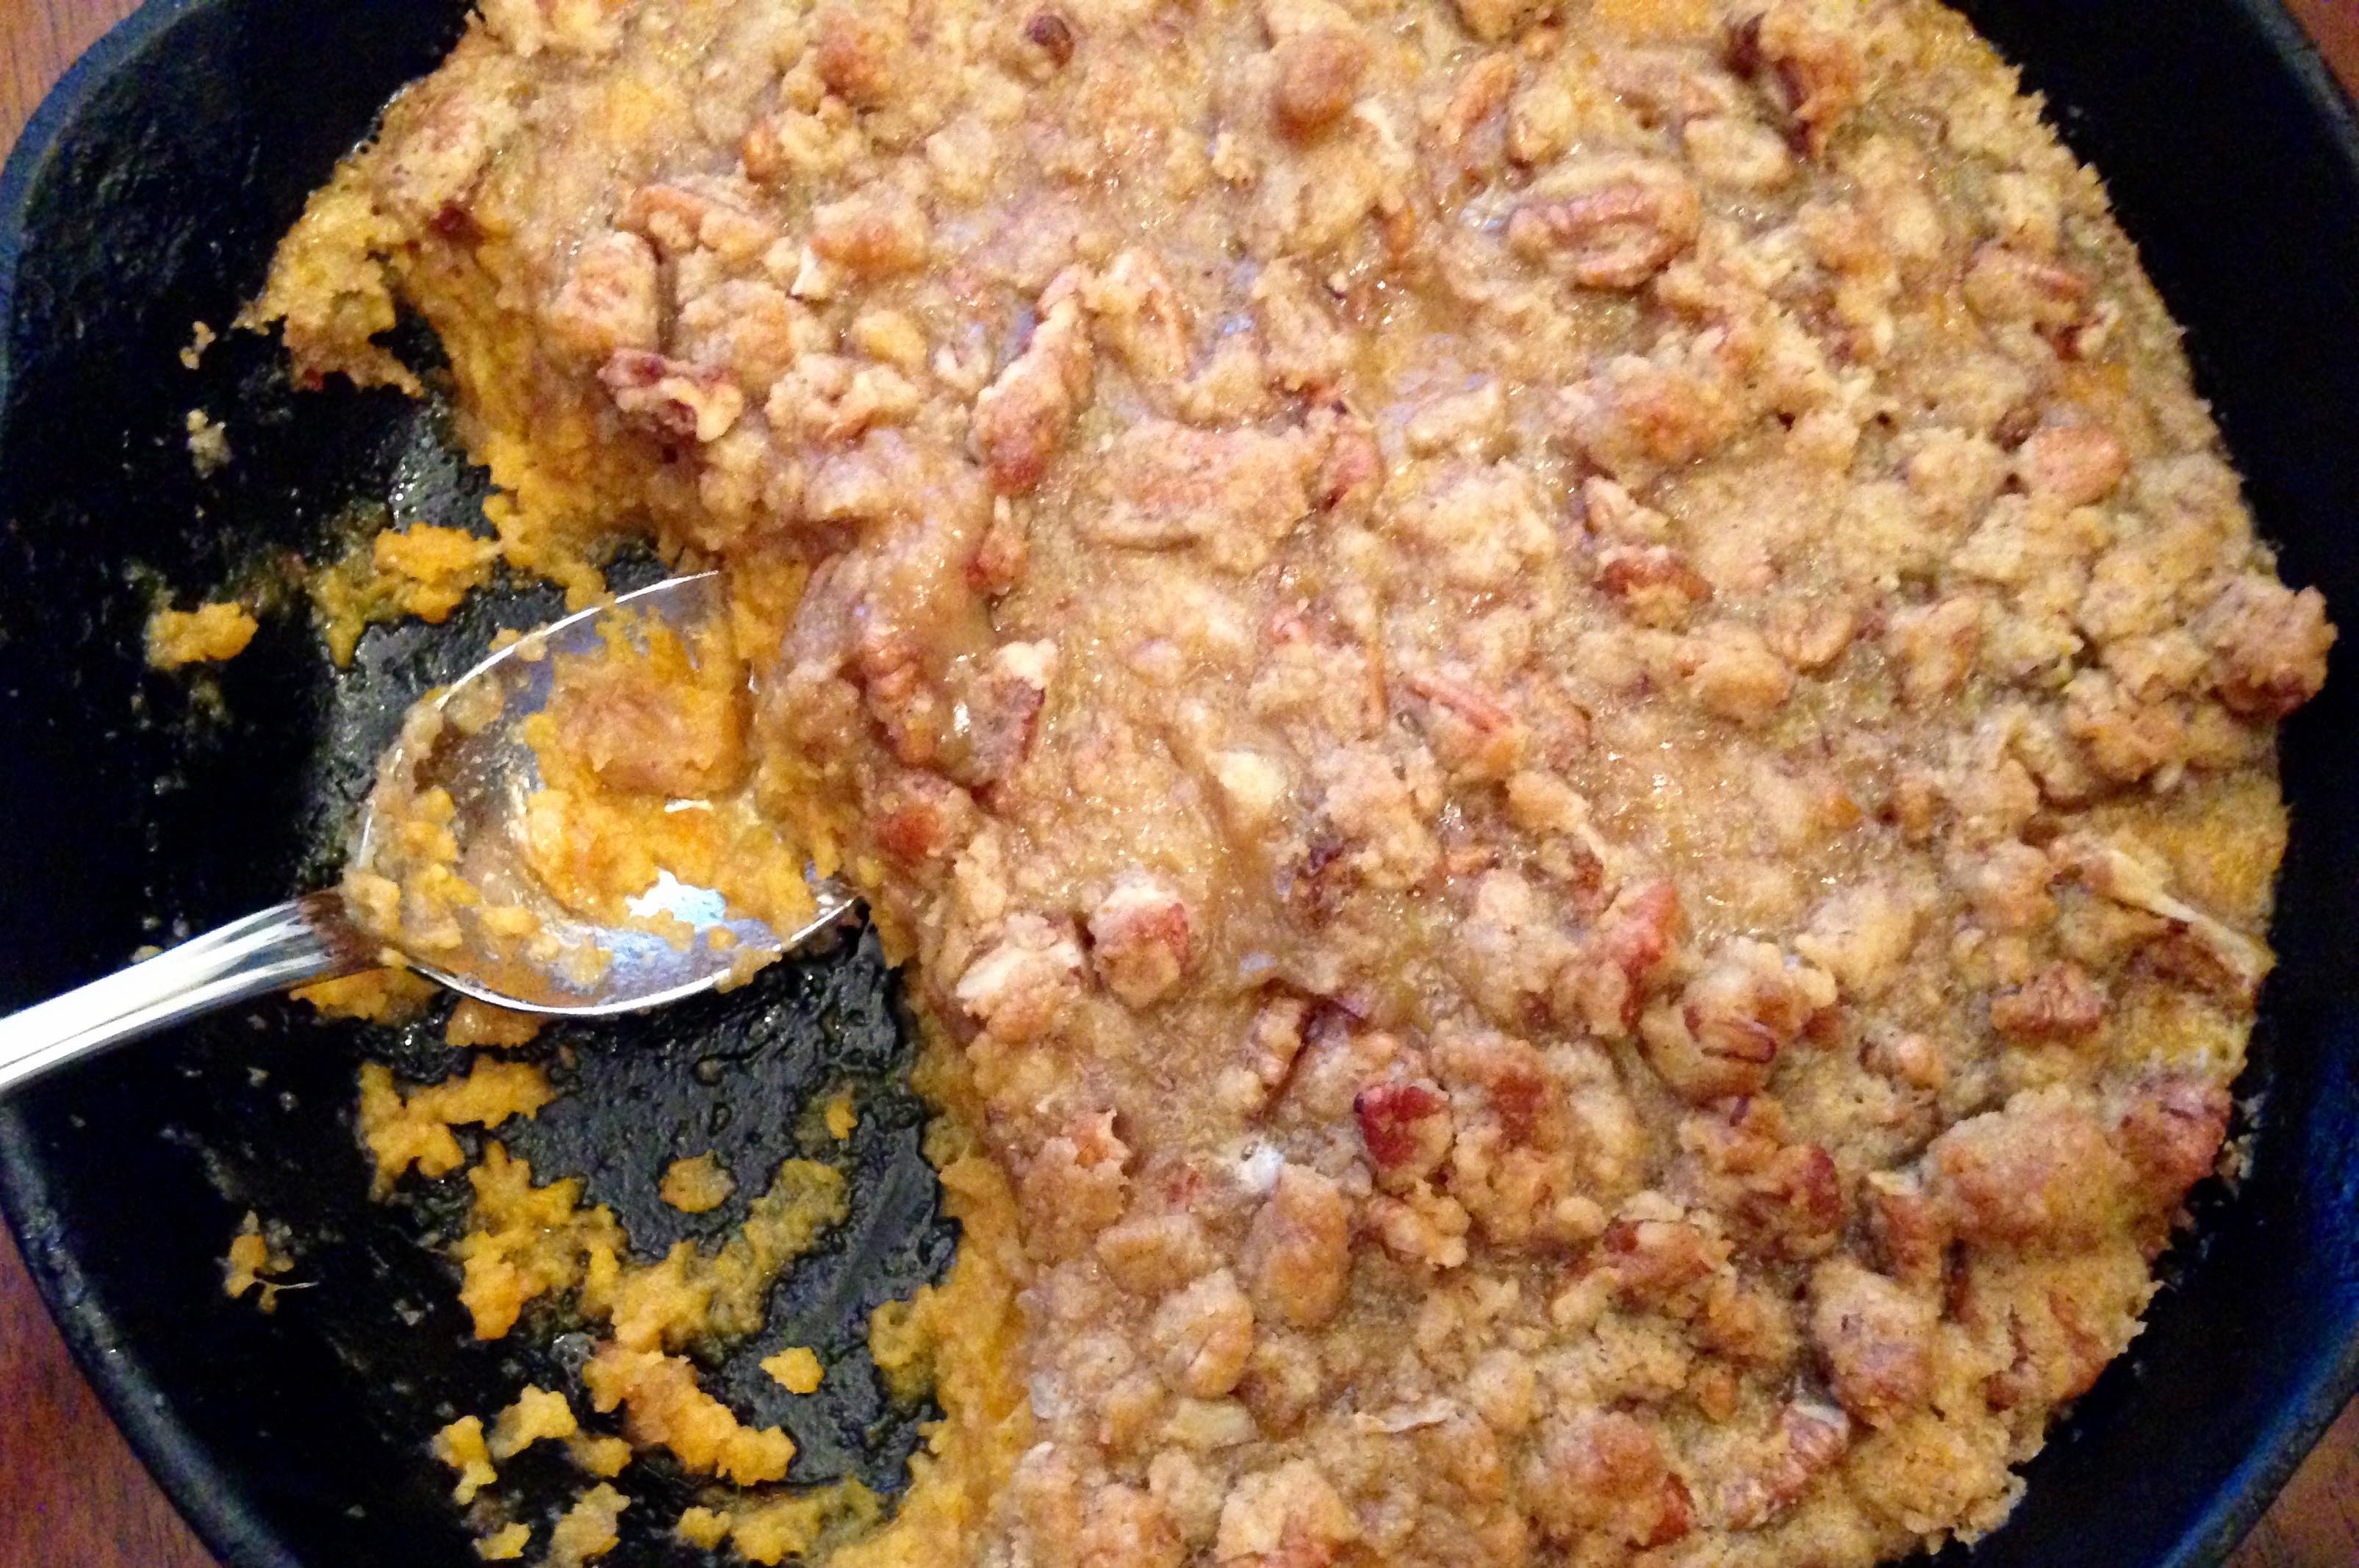
Sweet Potato Casserole with Pecan Crumble
There’s just something wrong with the idea of it being 97 degrees outside in the middle of October! How the temperature can go from the 60s to the 90s in one day blows my mind, but then again we live in Texas!!
You’d never know it, but Halloween is almost here, which means Thanksgiving is just around the corner. October is a big month for our family as Harper is about to turn one year old!! It’s crazy how fast the time goes.
I saw this recipe a few weeks ago from Pinch of Yum for a super easy sweet potato casserole and thought I’d give it a try before the big turkey day. Turns out, it was super easy just as described, and Matt and I both enjoyed it. The pecan crumble topping is buttery, sweet and crumbly, and is a perfect addition to the sweet potatoes baked underneath.
This casserole kind of tastes like a sweet potato pie without the crust. Perfect for Matt since he doesn’t eat the crust of a pie. He is weird. 🙂

Easy recipes are everyones favorite. Whether you’re working, taking care of kids, or just don’t want to be in the kitchen all day, this recipe is for you. I prepped this casserole during Harper’s nap time, then took her to the park where she played until 5 pm, and then had dinner (including this sweet potato casserole) served promptly at 6 pm.
Now that’s what I call efficient!

Enjoy!
Sweet Potato Casserole with Pecan Crumble
Prep time:
Cook time:
Total time:
Serves: 8
Source: Pinch of Yum
Ingredients
- FOR THE SWEET POTATOES
- 3 cups (1 29-oz can) sweet potatoes, drained
- 1/2 cup melted butter
- 1/3 cup milk
- 3/4 cup sugar
- 1 tsp. vanilla
- 2 beaten eggs
- salt to taste
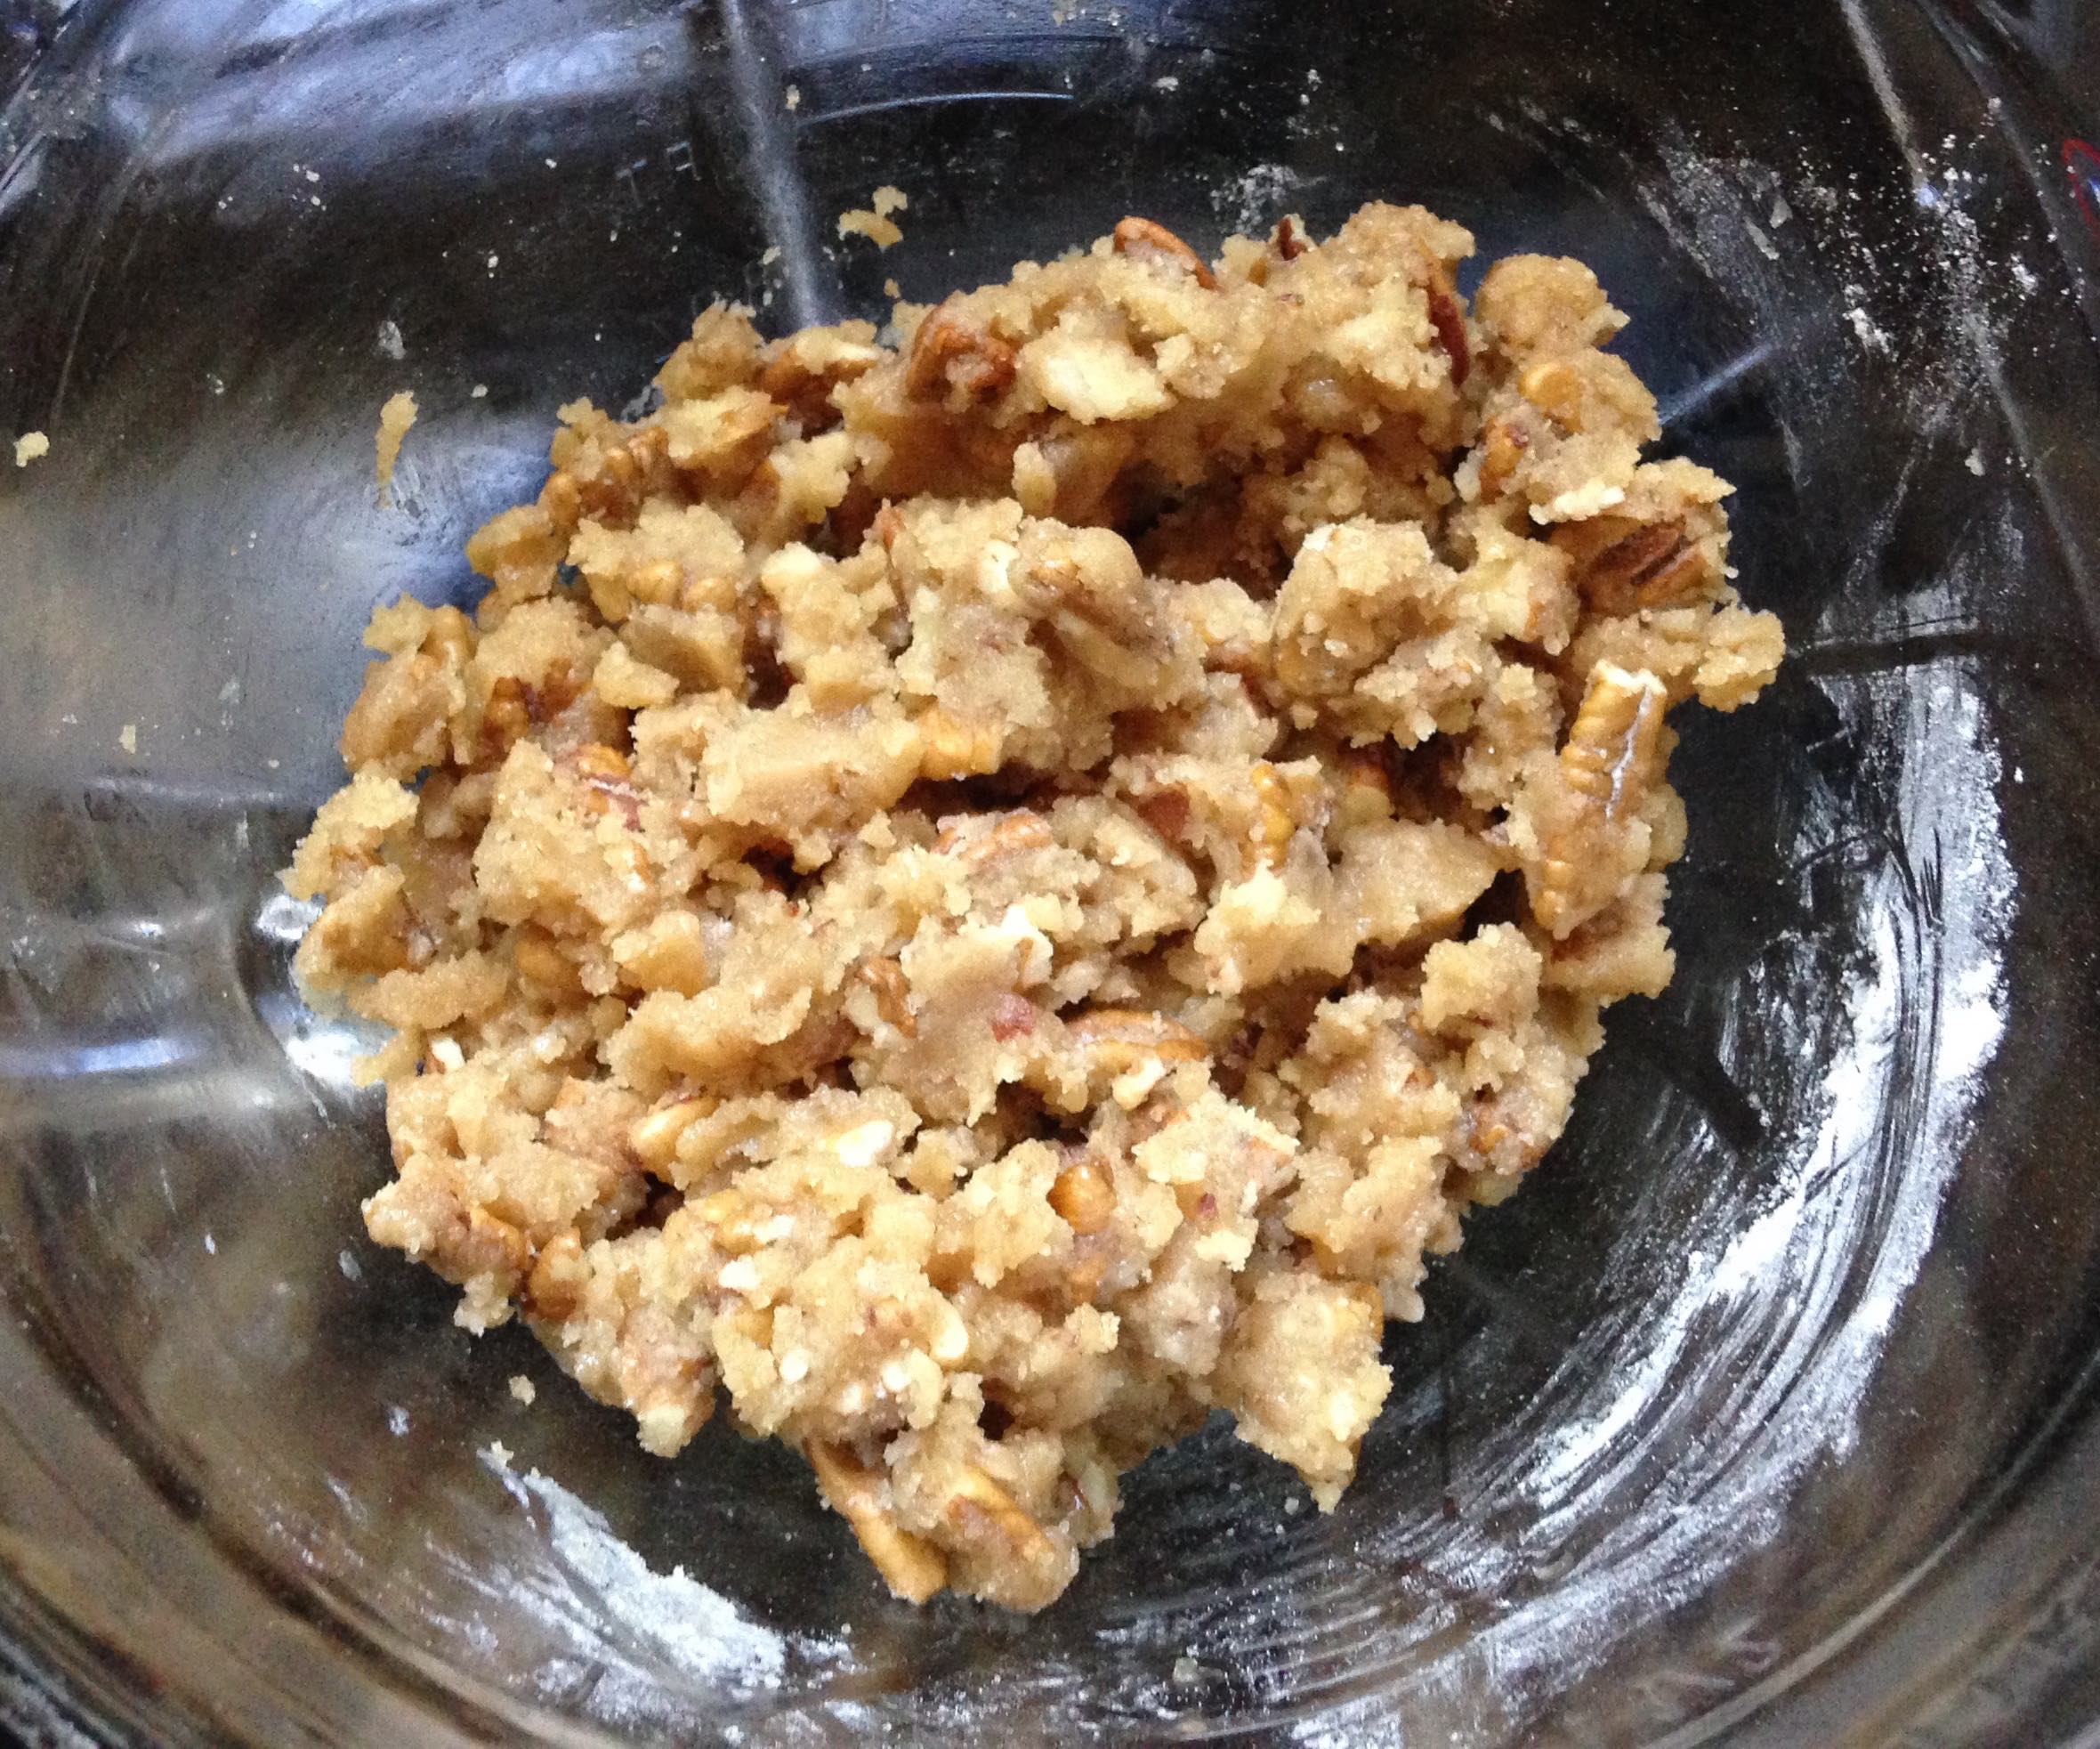
- FOR THE TOPPING
- 5 Tbsp. melted butter
- 2/3 cup brown sugar
- 2/3 cup flour
- 1 cup pecan pieces
Instructions
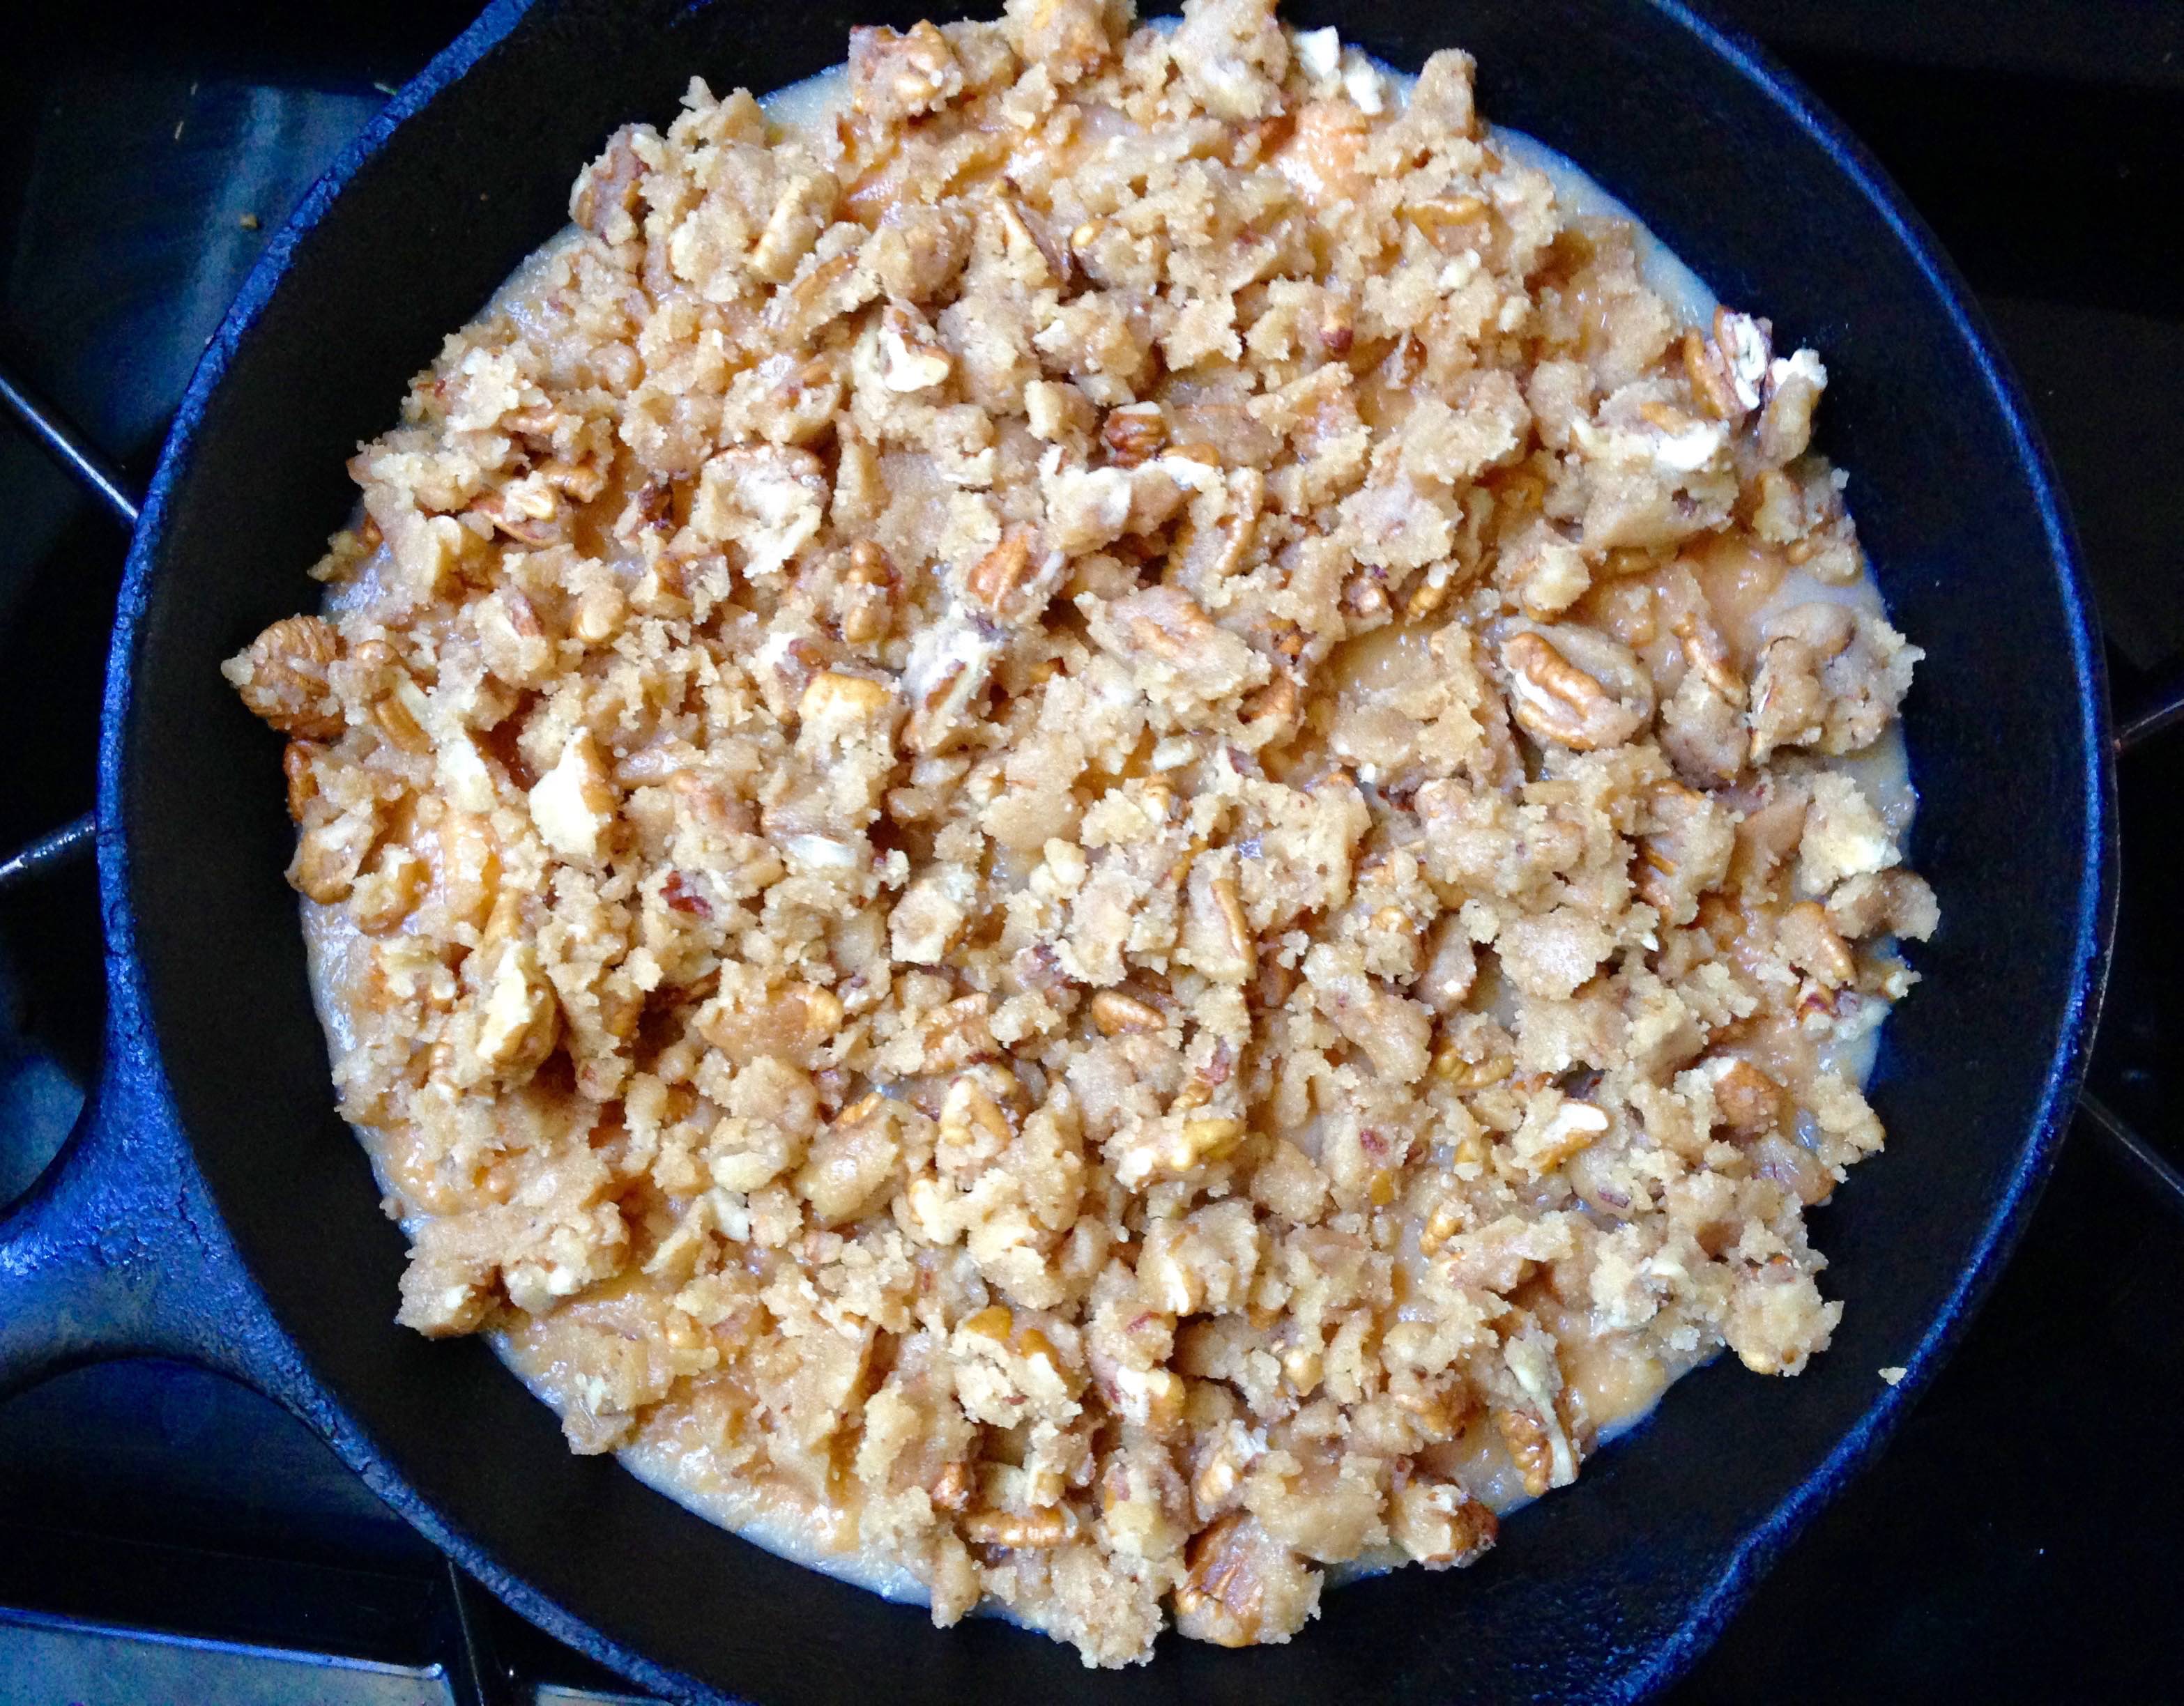
- Preheat oven to 350 degrees F. Mash the sweet potatoes and add the melted butter, milk, sugar, vanilla, beaten eggs, and pinch of salt. Stir until incorporated. Pour into a shallow baking dish or cast iron skillet.
- Combine the butter, brown sugar, flour, and pecan pieces in a small bowl, using your fingers to create moist crumbs. Sprinkle generously over the casserole.
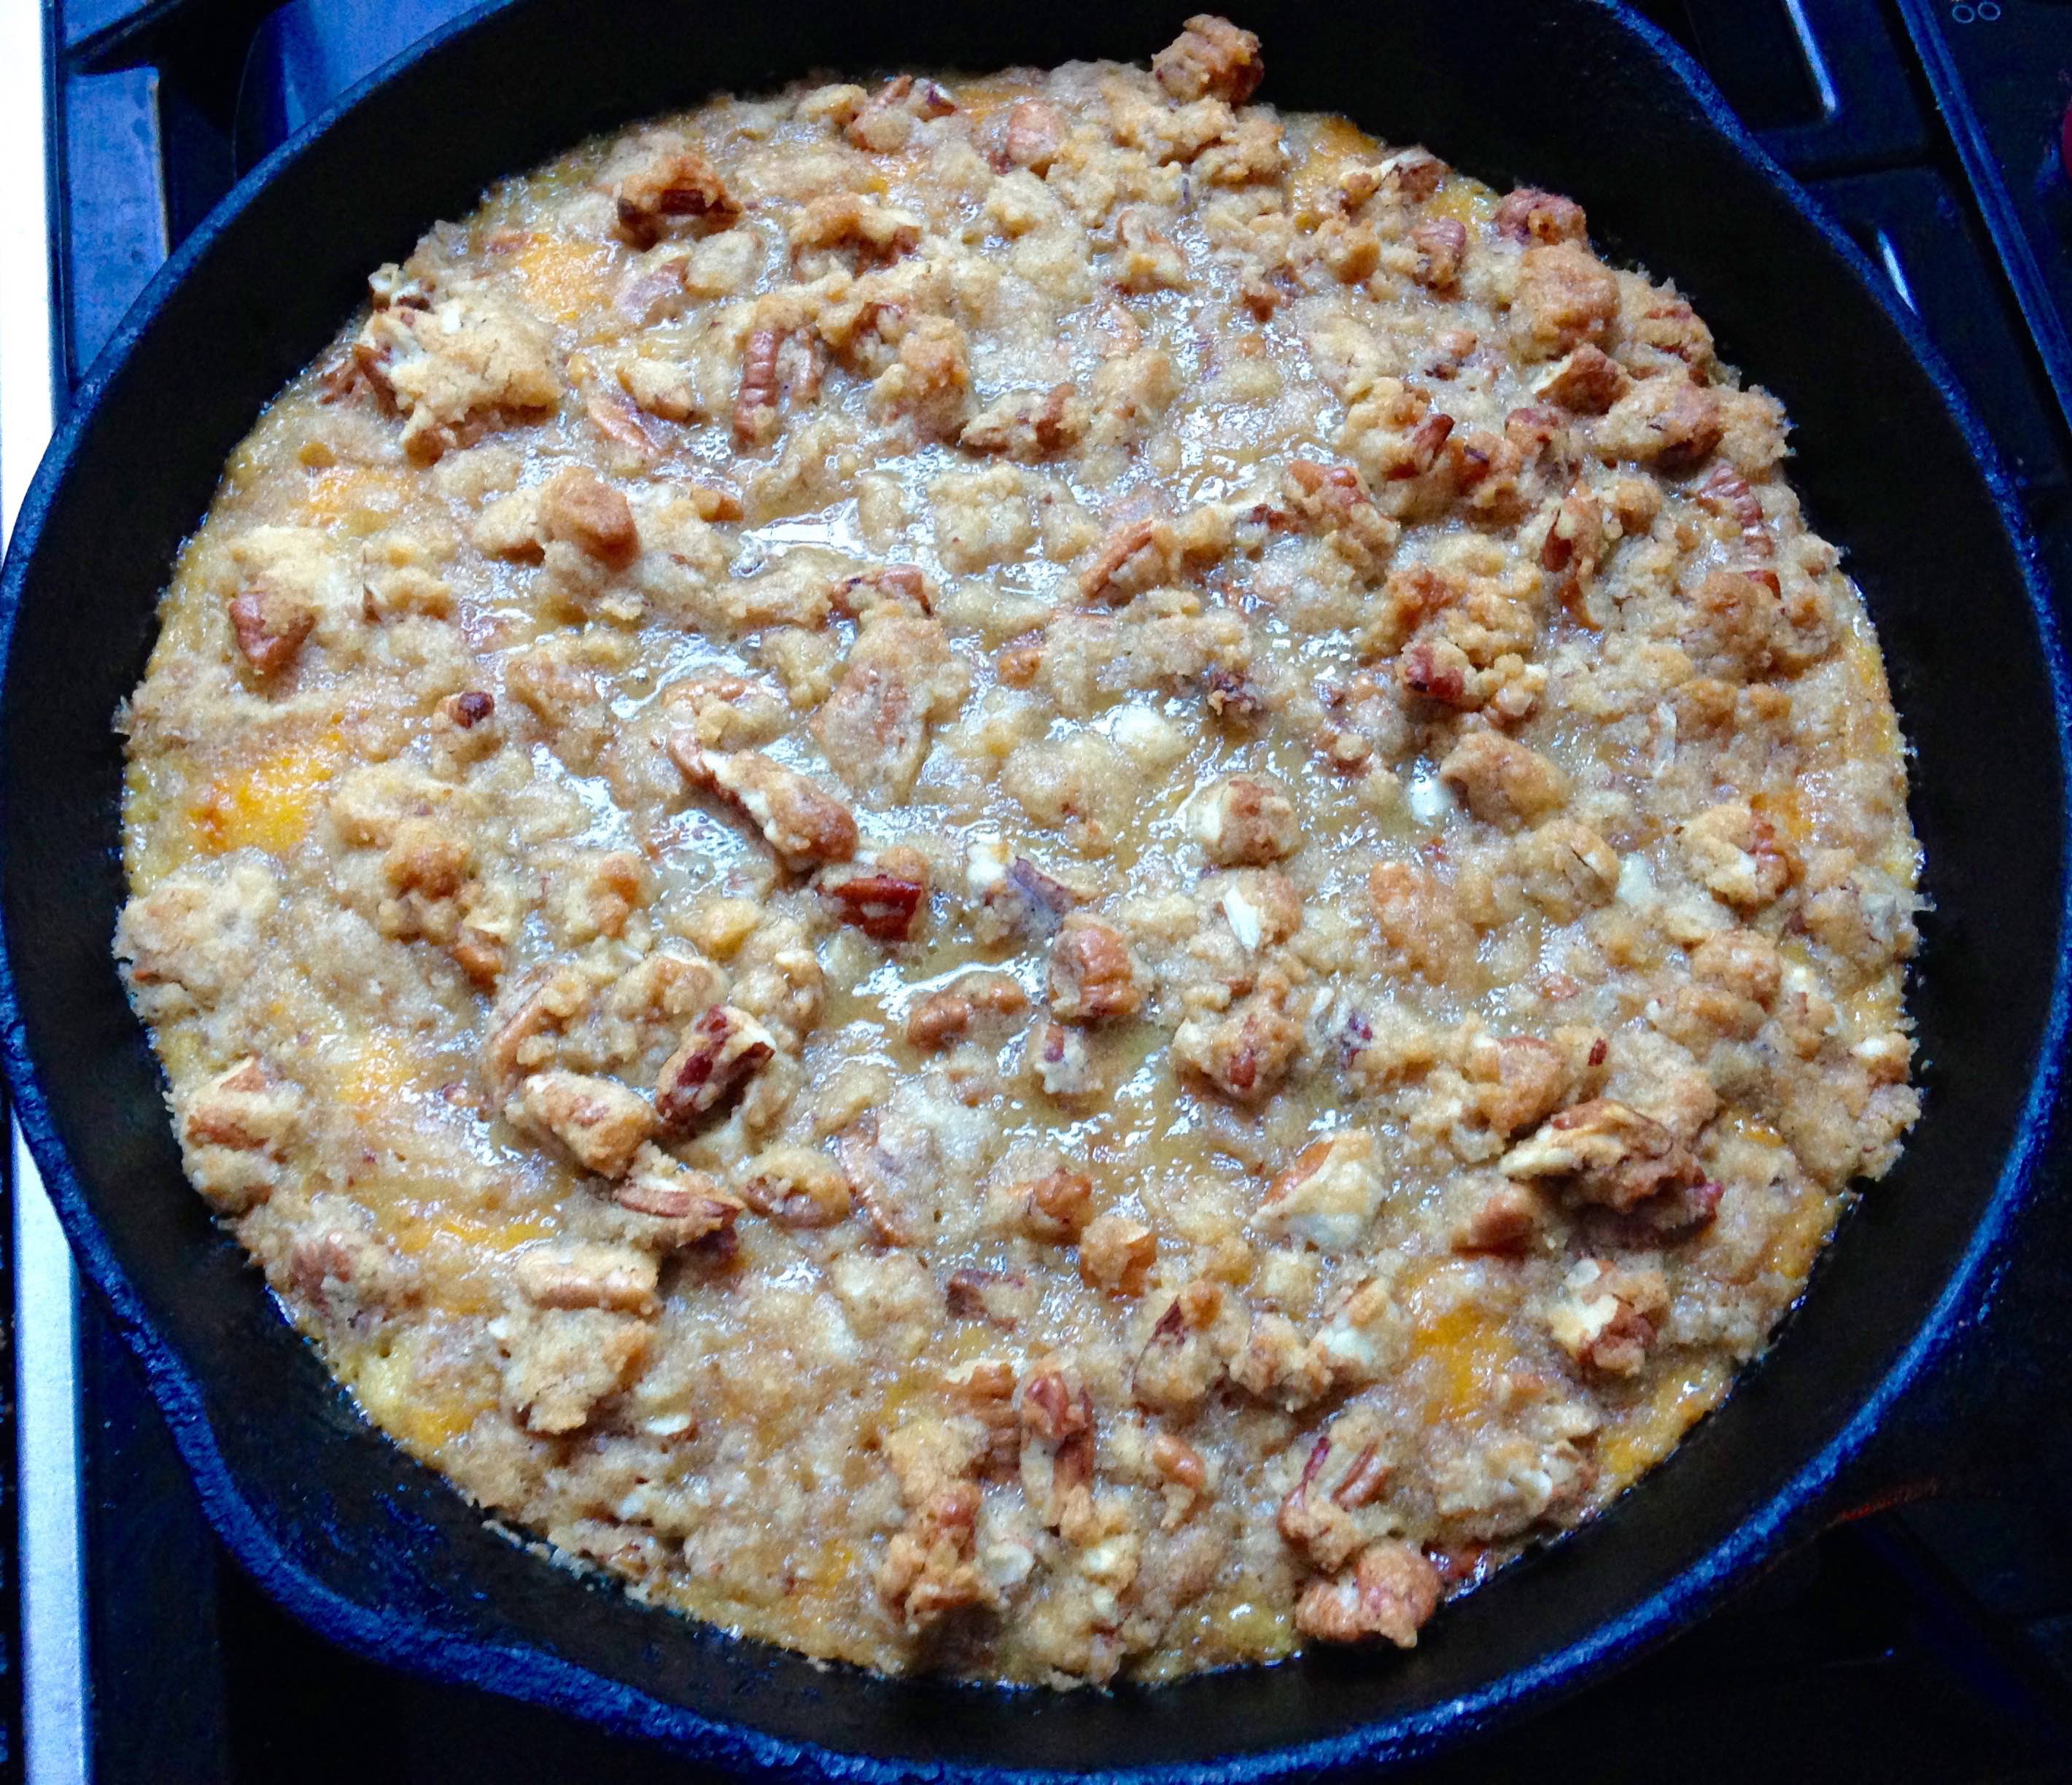
- Bake for 25-35 minutes, or until the edges pull away from the sides of the pan and the top is golden brown. Let stand and allow the mixture to cool and solidify a bit before serving.
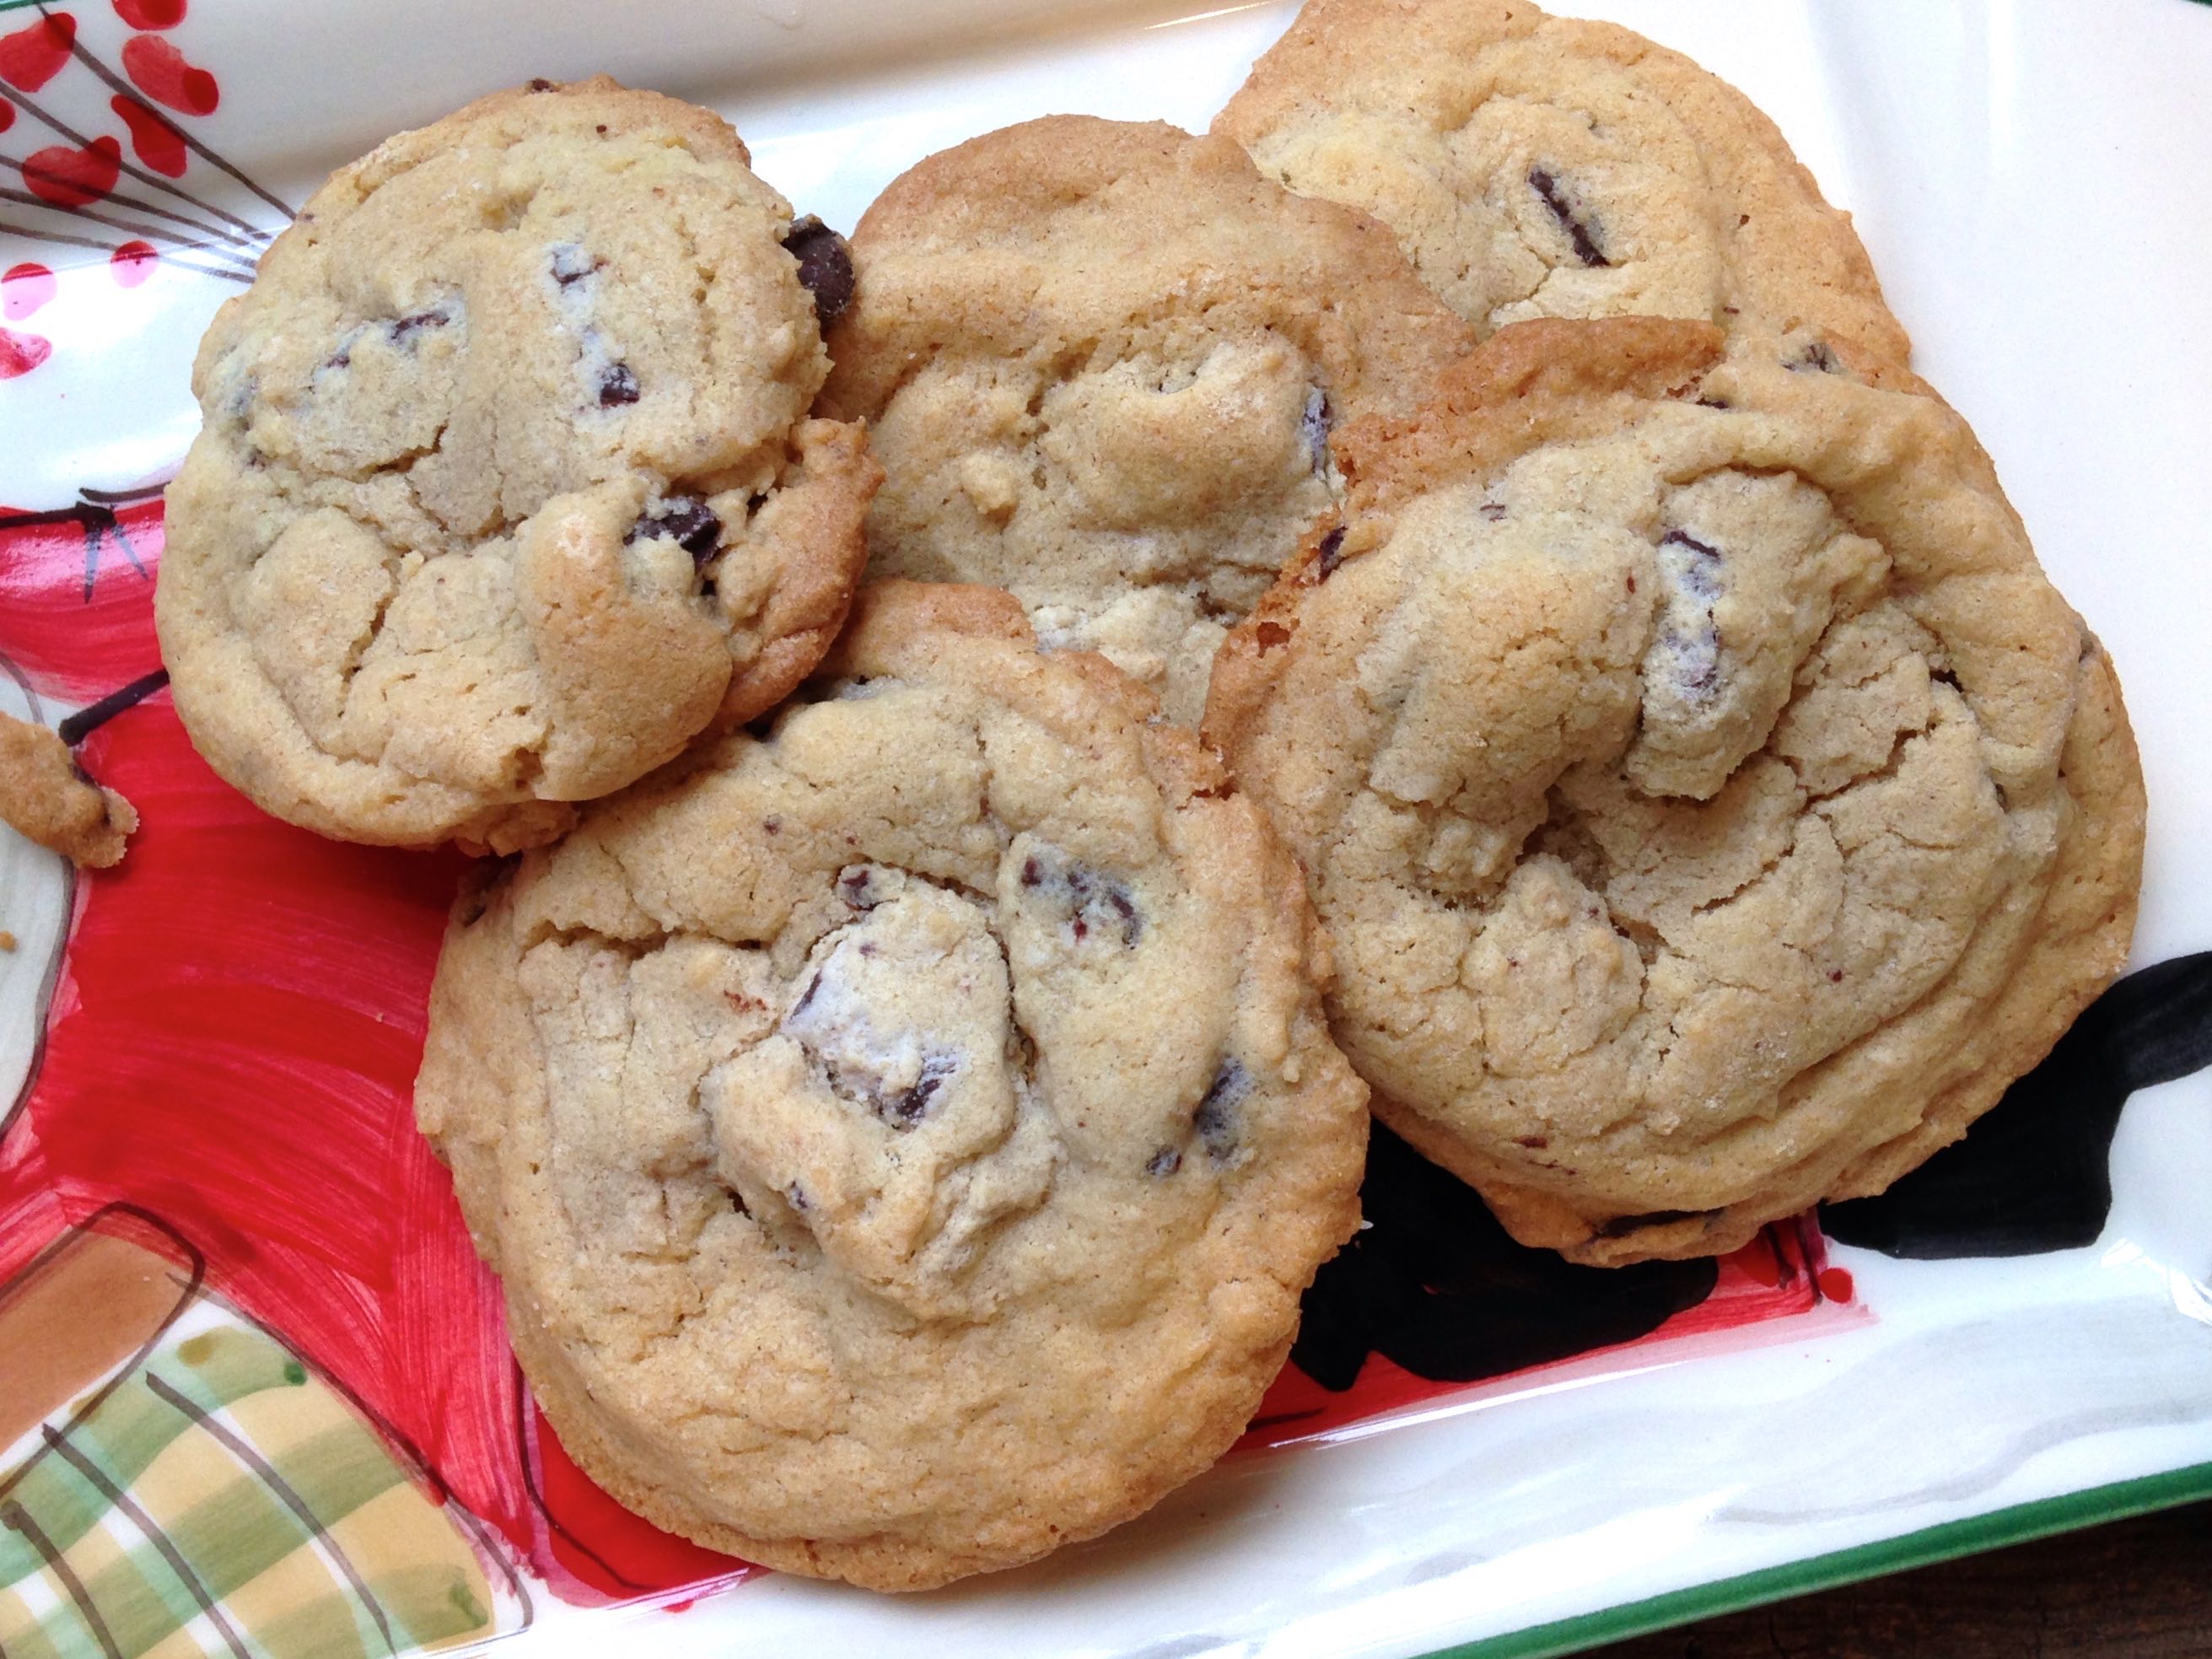
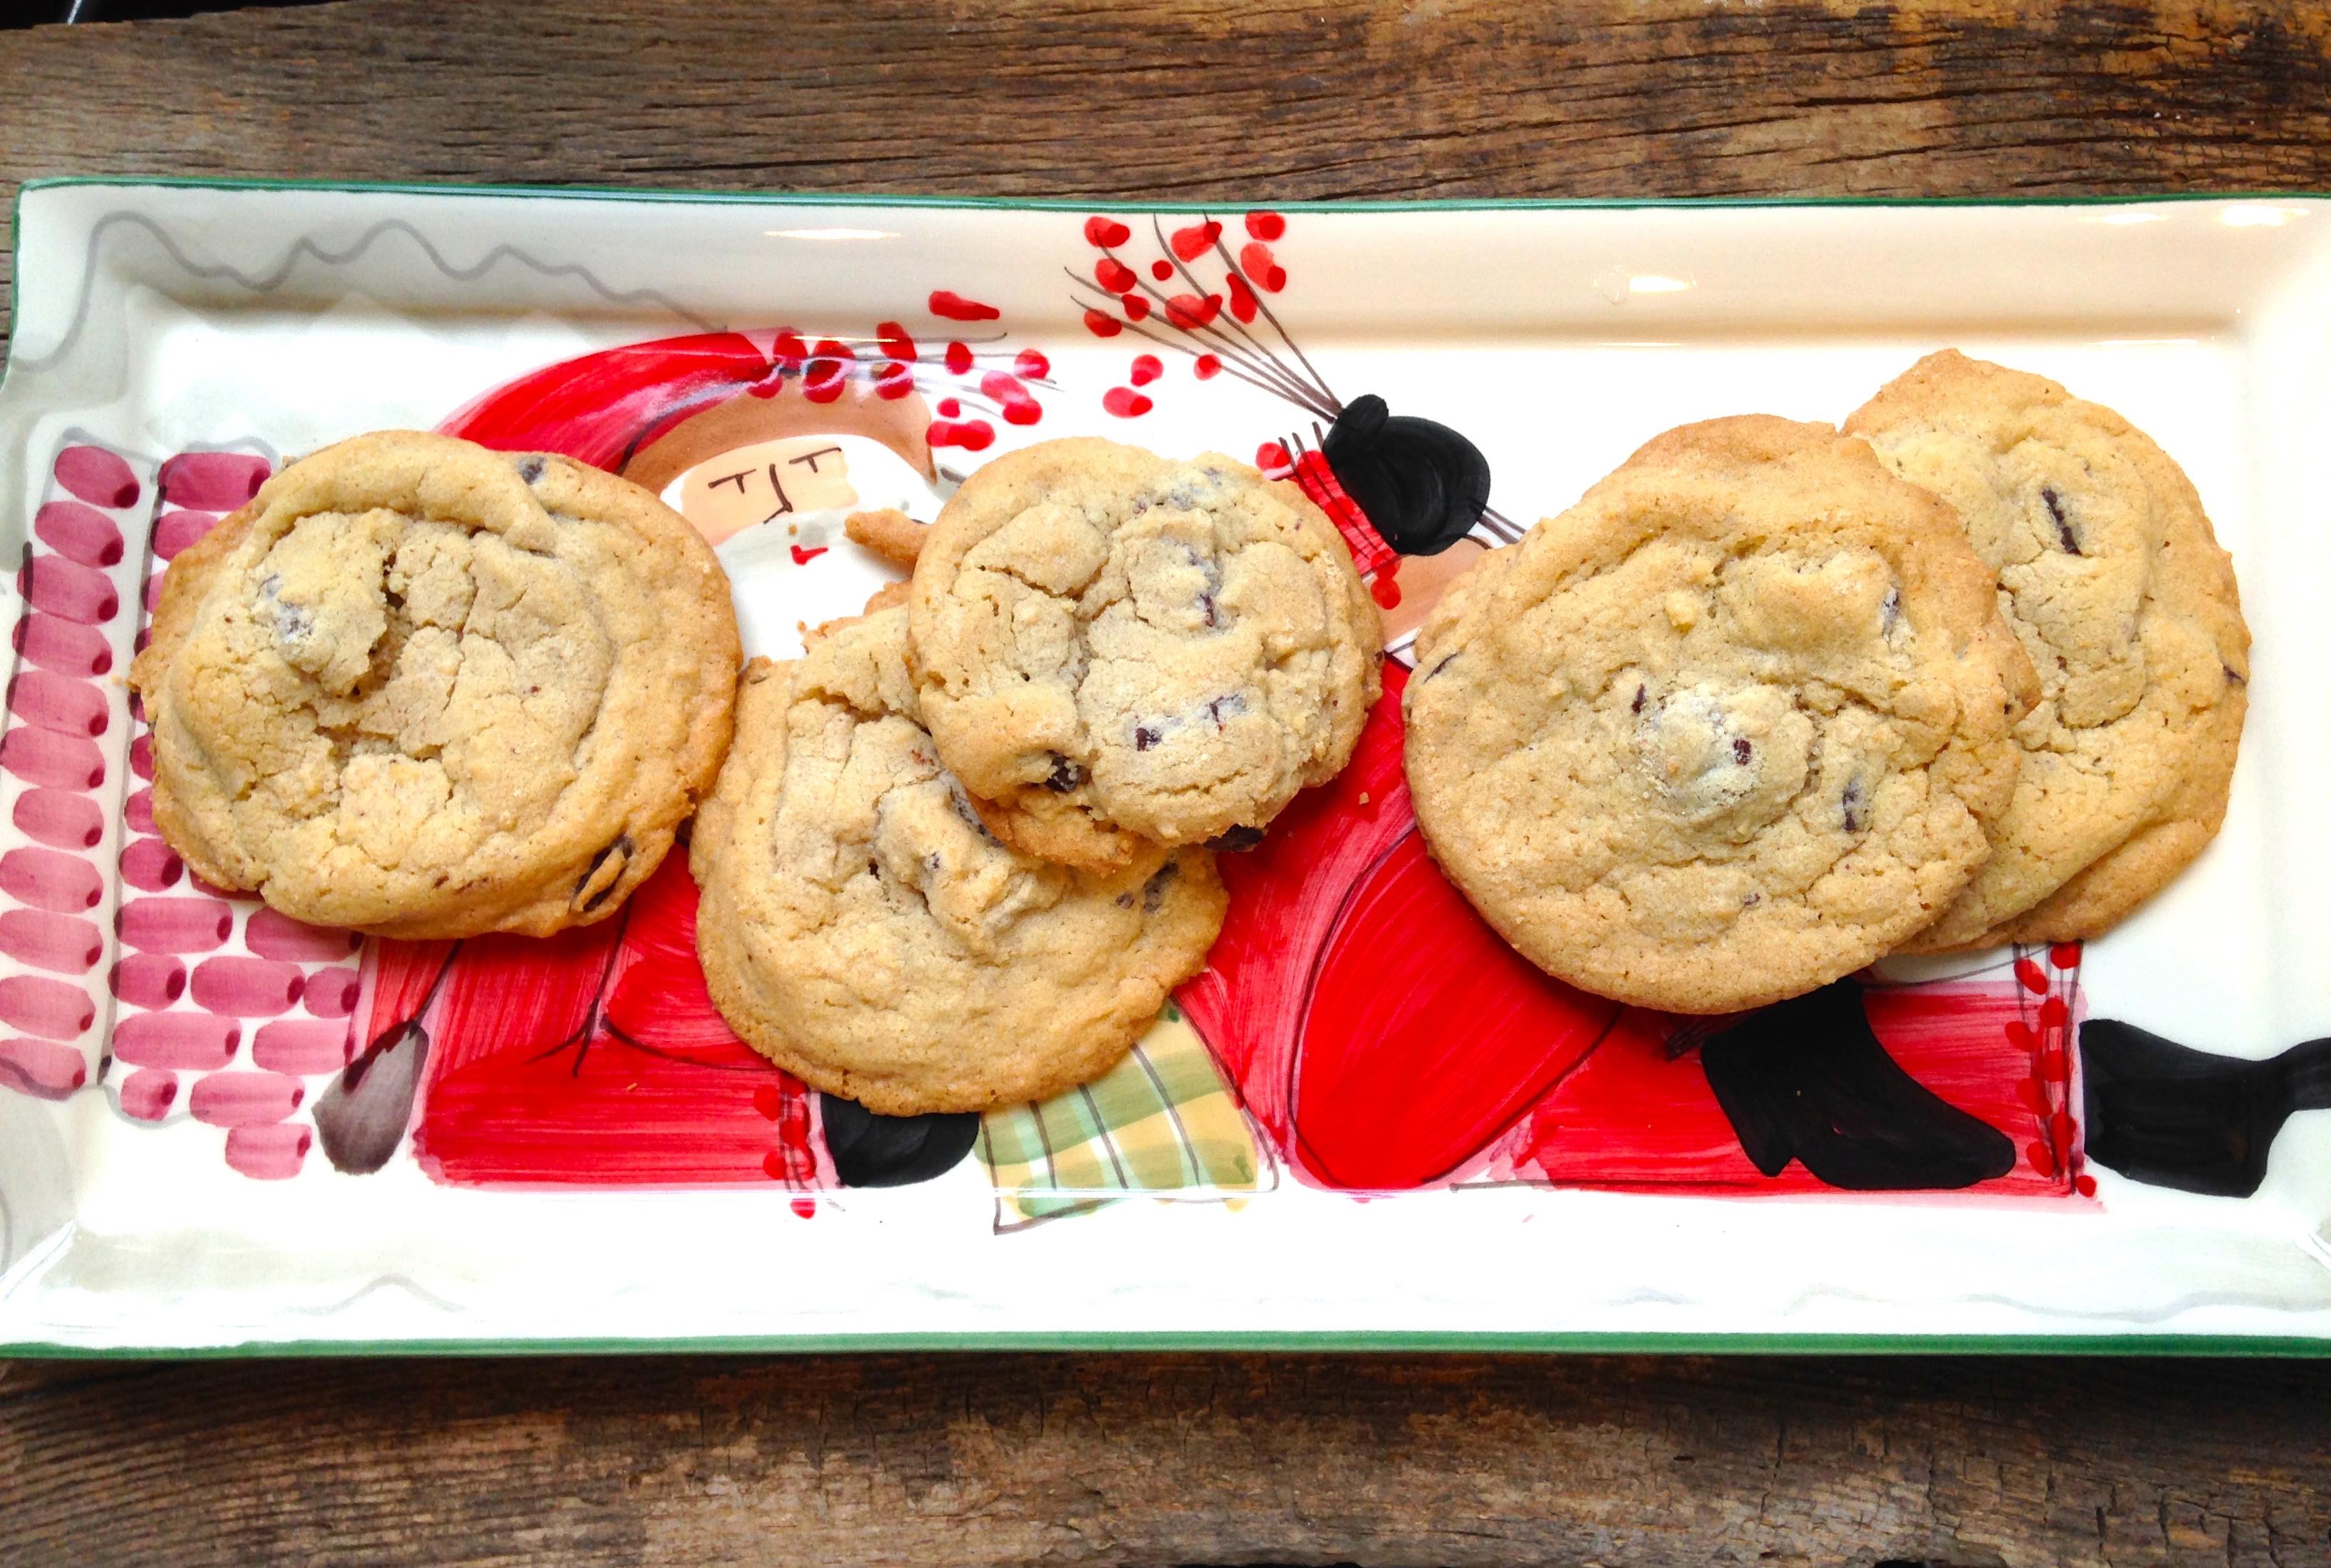
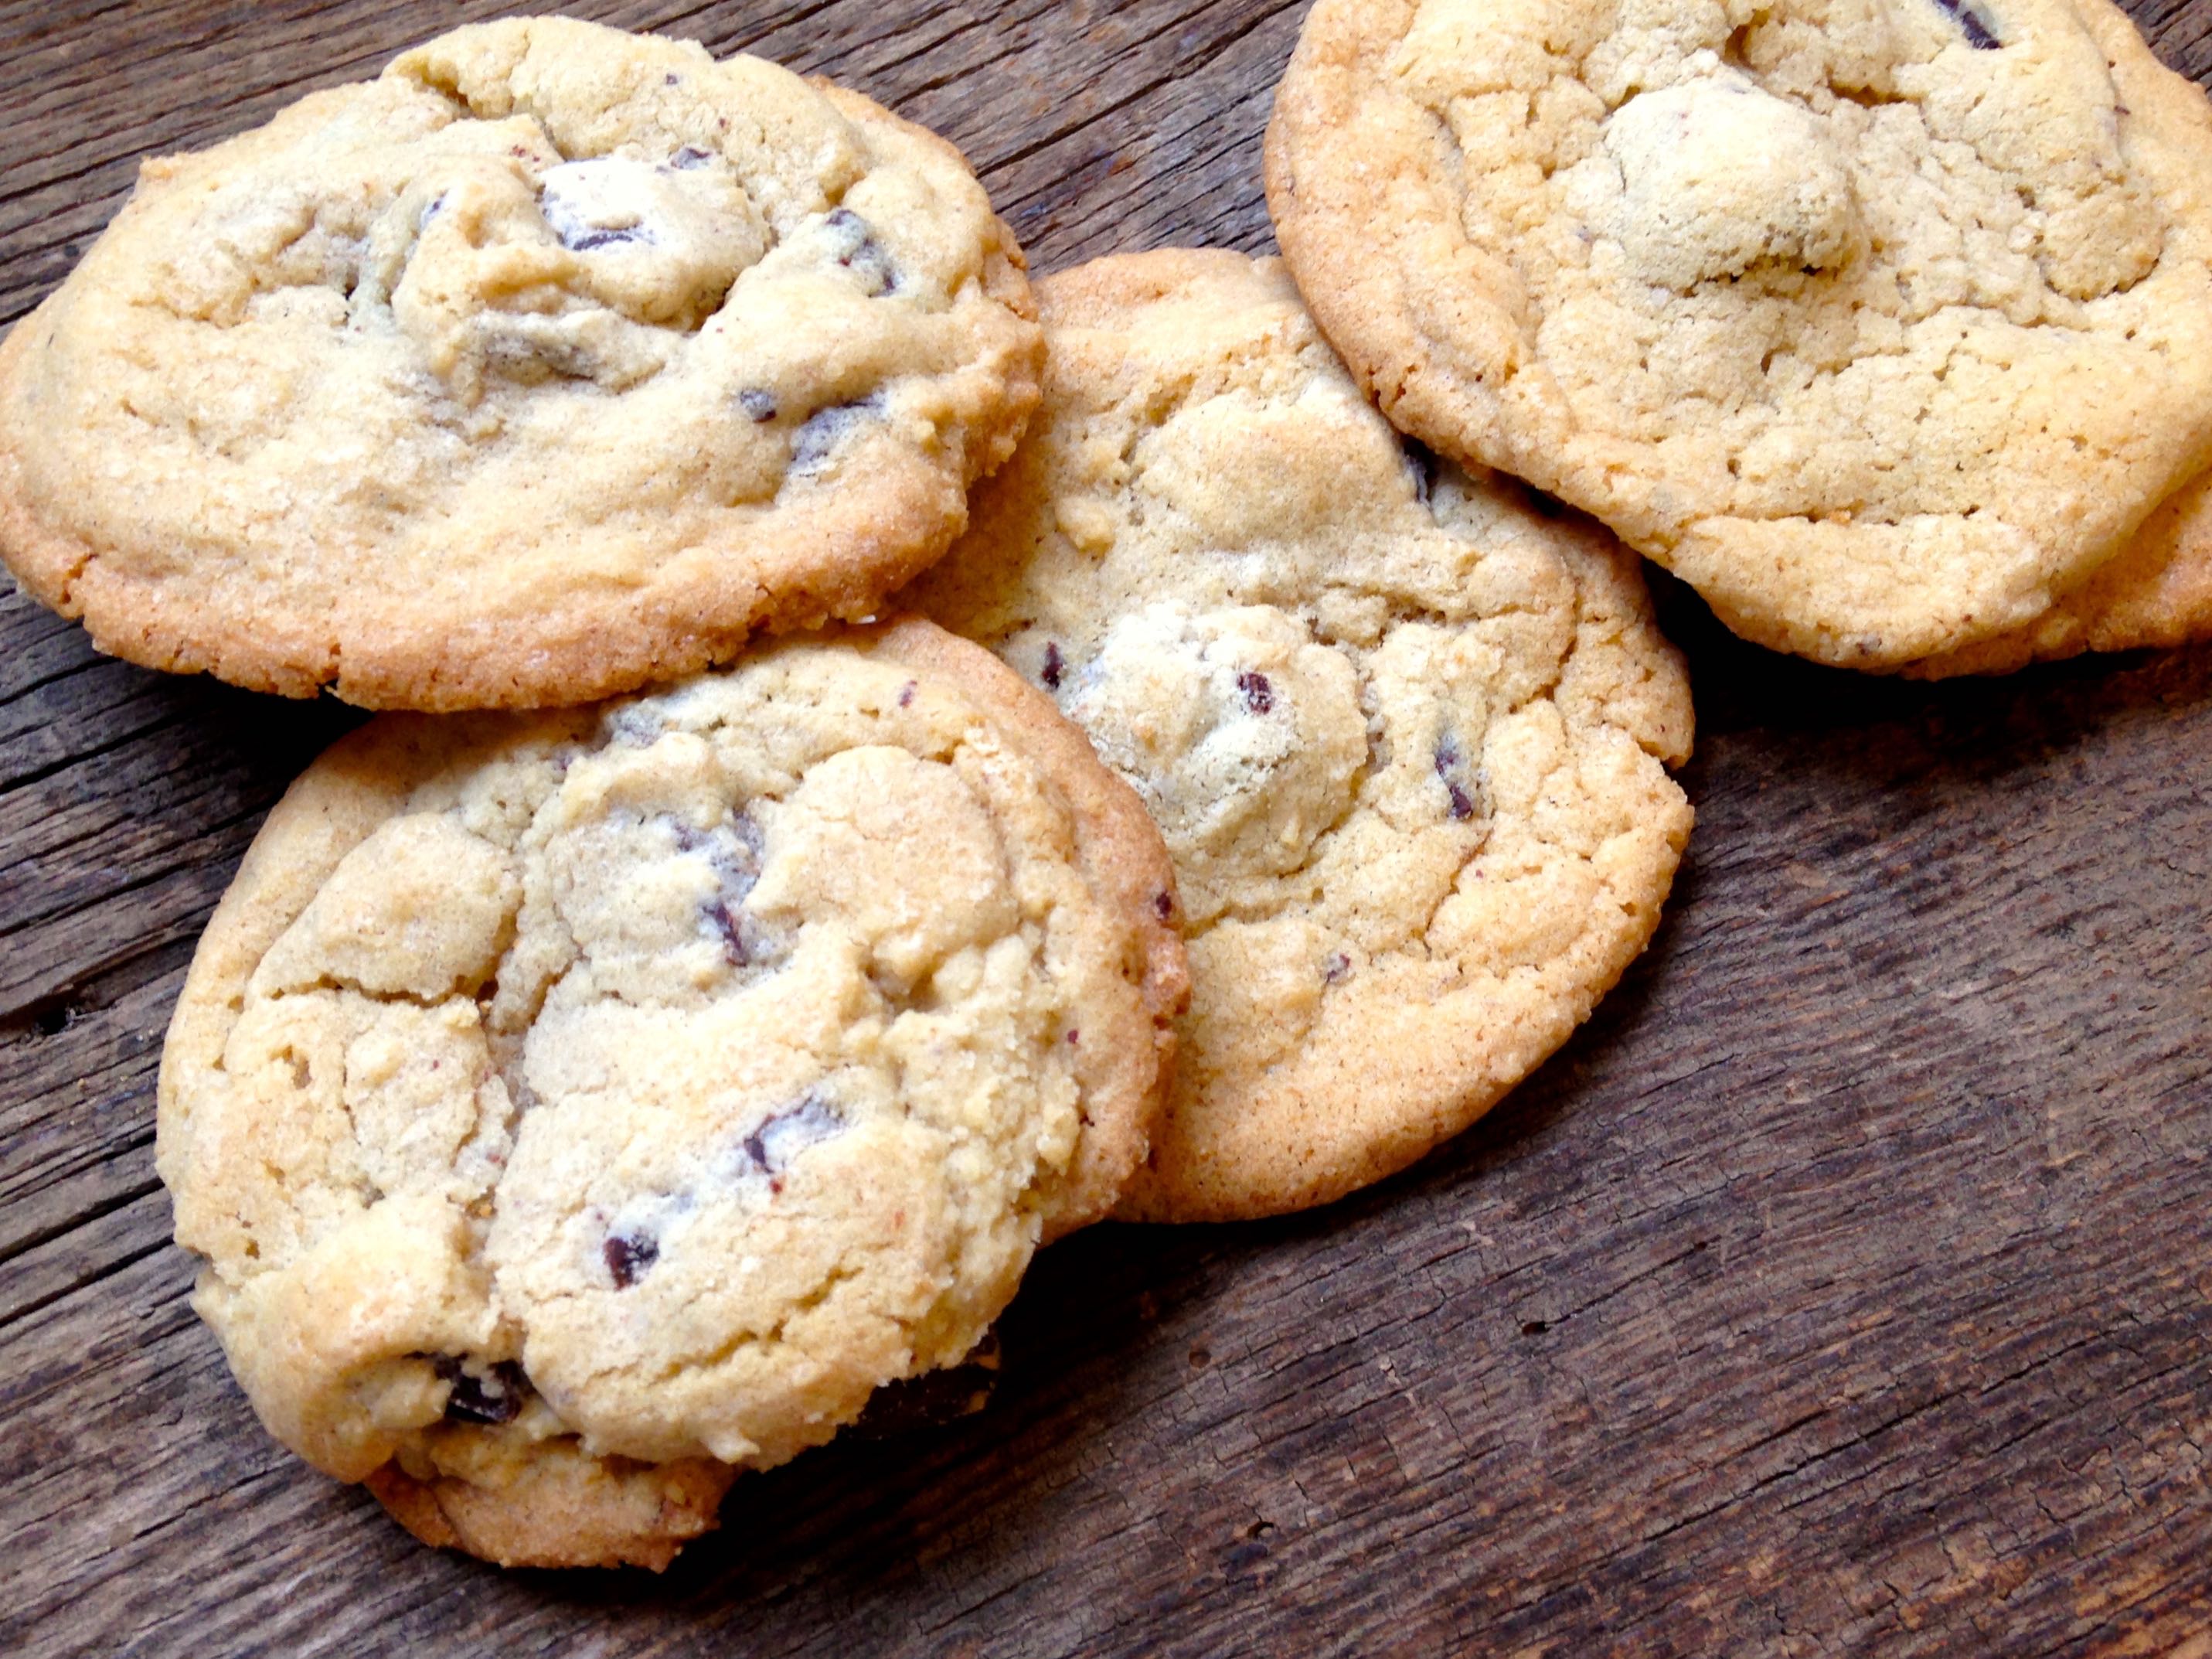
Johnny Iuzzini’s Killer Chocolate Chip Cookies
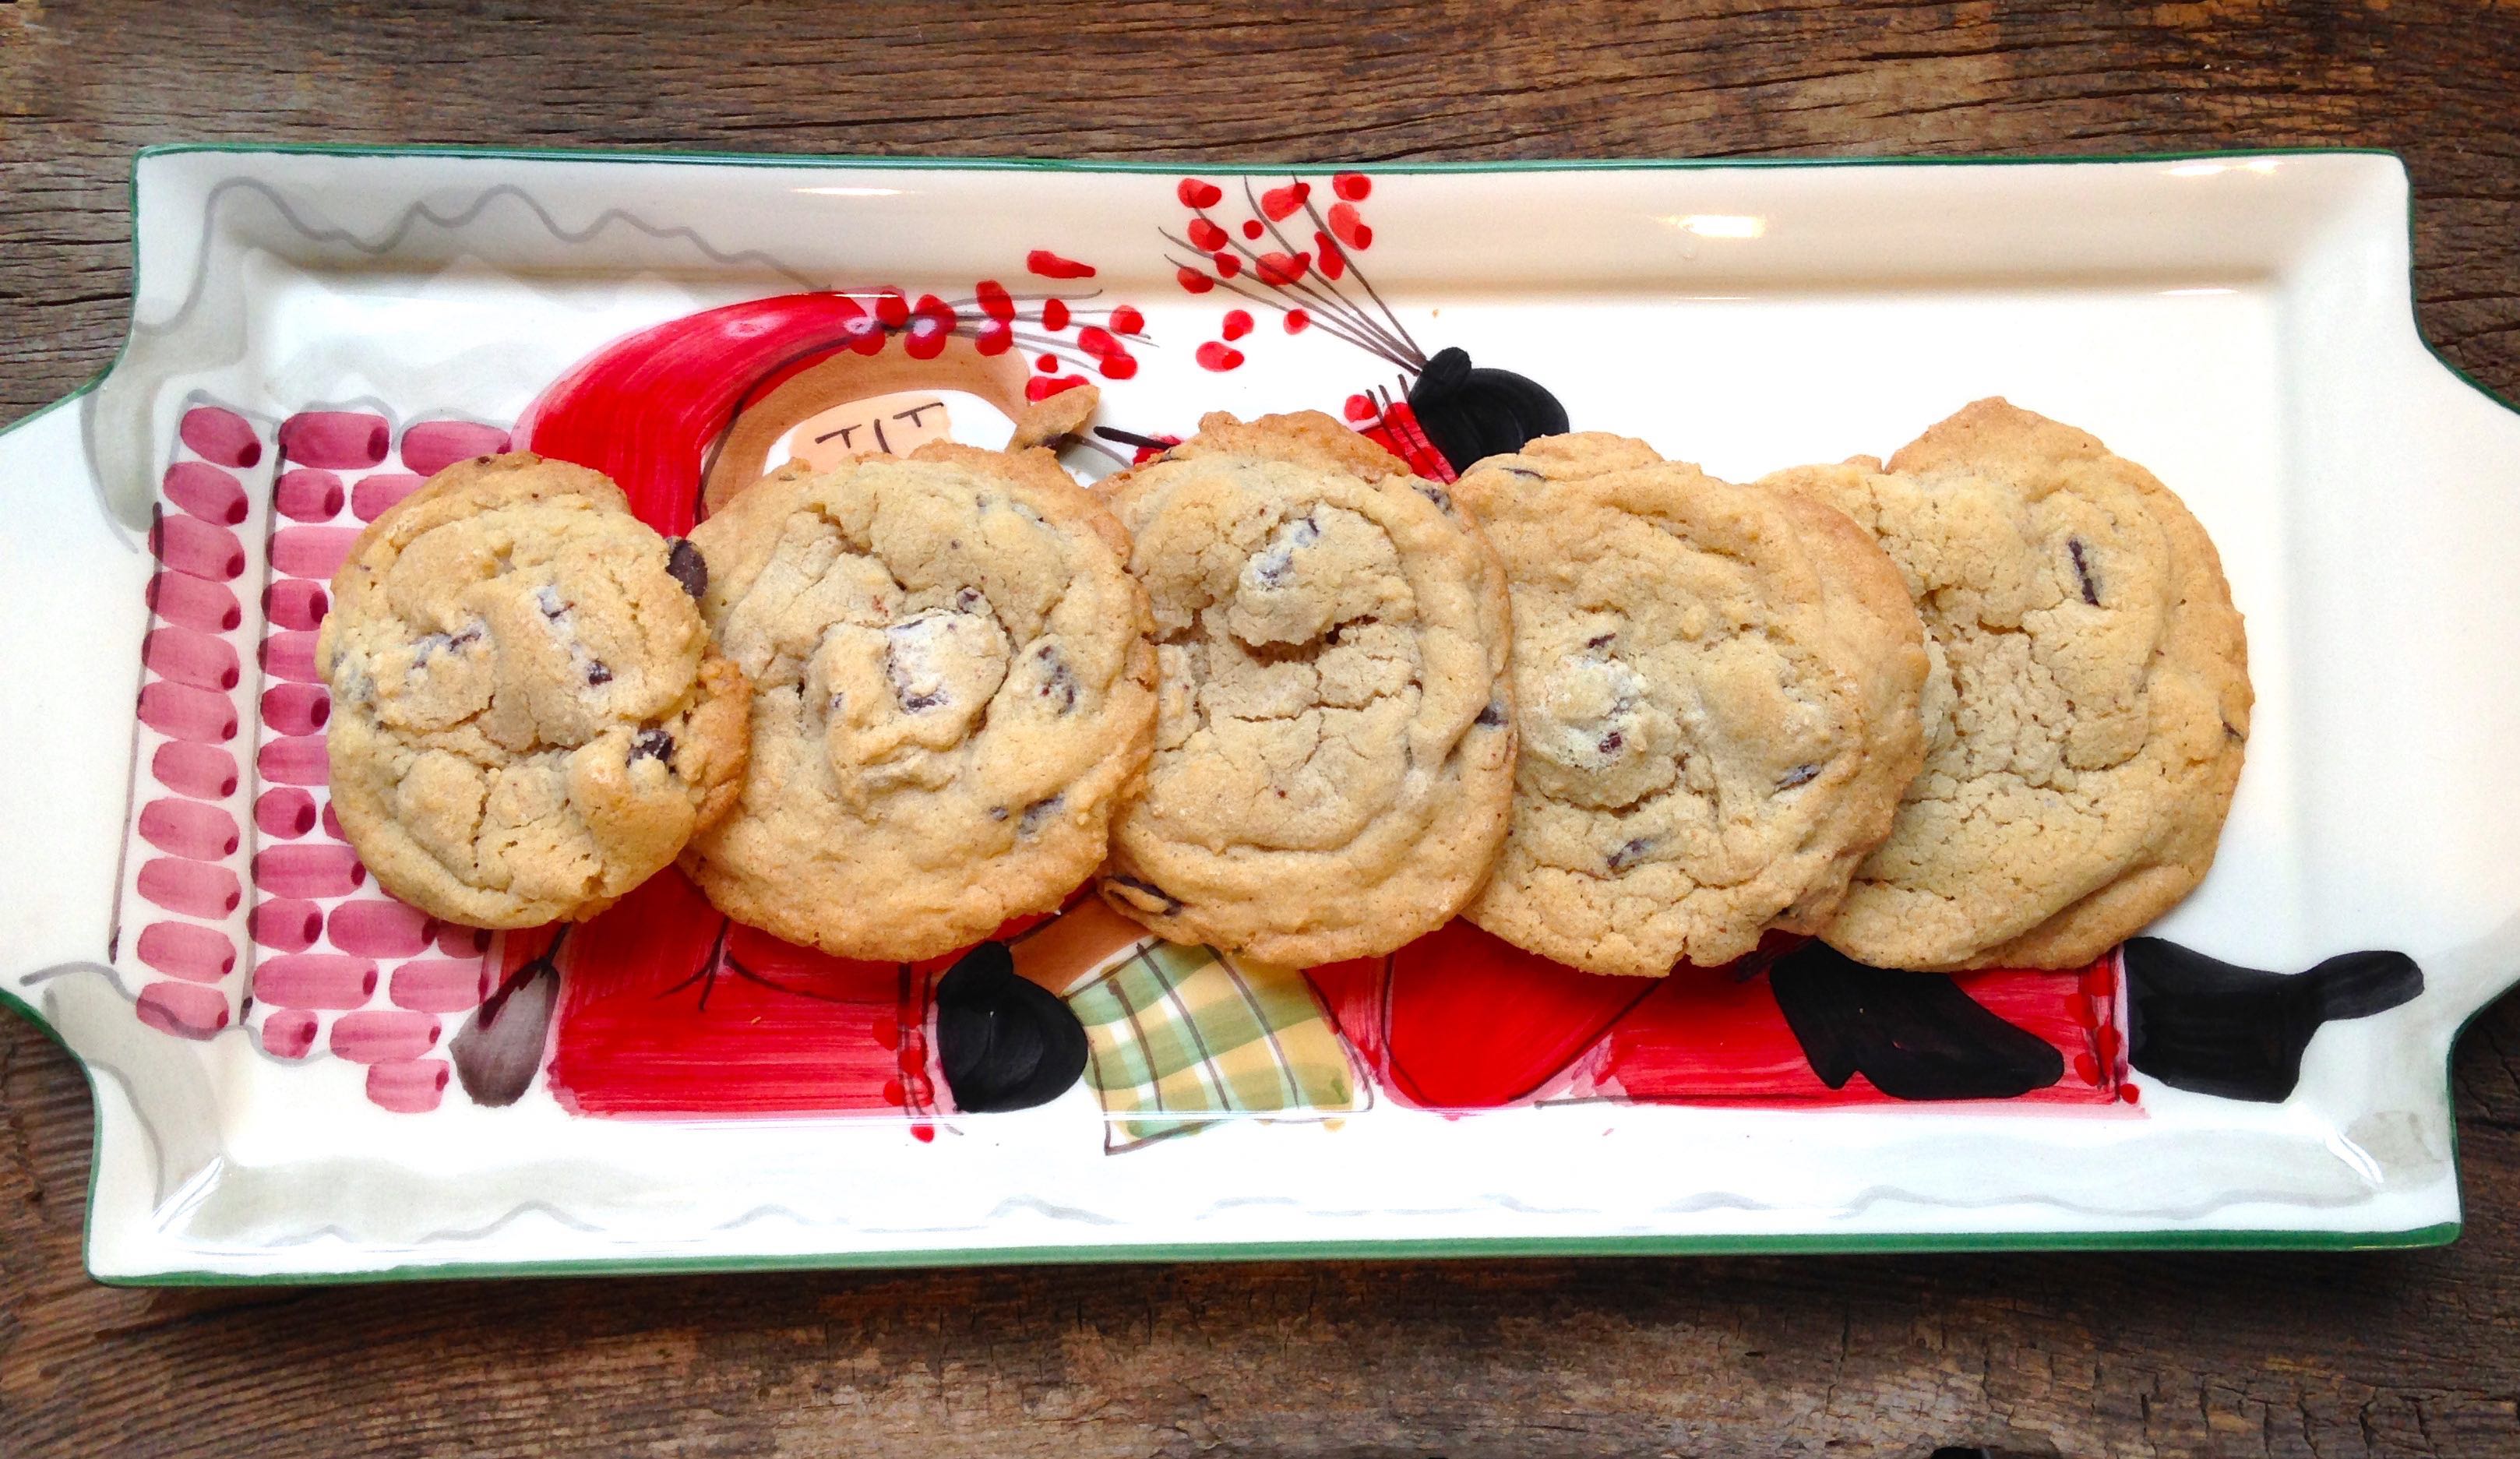
I feel like a have a thousand chocolate chip cookies on the blog, and all are noteworthy. So when my mom tried this new chocolate chip cookie recipe, I wasn’t expecting much.
Boy was I wrong. Johnny Iuzzini’s killer chocolate chip cookies are wonderful, and definitely in my top 4! (Neimans chocolate chip cookies, chocolate chip dream cookies, and Jolene’s oatmeal chocolate chip cookies tie for #1, #2, and #3. I like them all for different reasons and can’t pick a winner).
Each cookie is unique in it’s own way. The Neiman’s cookies are great because they are super easy and have espresso powder in them. The chocolate chip dream cookies have instant vanilla pudding mix, and Jolene’s oatmeal chocolate chip cookies have everything; oats, milk chocolate, semi-sweet chocolate, and nuts!
What makes Johnny Iuzzini’s recipe unique you ask? It’s the almond extract. I’ve never had a chocolate chip cookie with anything but plain ole vanilla extract, and I could immediately taste the almond extract, which was delicious. These cookies also have a little bit of cinnamon, which I love in desserts, but it’s not very predominant; so don’t worry. Sea salt is included, which is a perfect combination to the sweet chocolate chunks.
These cookies are also easy to bake, and don’t require refrigeration of the dough. A lot of cookie recipes require refrigeration, which I find is super annoying, even if it makes the cookies taste better. I’m impatient, and don’t like chilling the dough. I want to bake and eat them as fast as I can!!
Who is Johnny Iuzzini? Besides having a really cool name, he is an American pastry chef, television celebrity, and cookbook author, who resides in New York. His latest cookbook, Sugar Rush: Master Tips, Techniques and Recipes for Sweet Baking just came out in September. According to Amazon, it “is a complete baking course in a book with everything a home baker needs to confidently turn out 150+ sweets with sophisticated flavors.” To purchase Iuzzini’s book, visit Amazon HERE. (Note: I actually discovered this cookie recipe via Monique’s lovely food blog, Ambitious Kitchen.)
This isn’t a chocolate chip cookie, but she’s pretty sweet! She says “give me a cookie!” 🙂

Johnny Iuzzini’s Killer Chocolate Chip Cookies
Prep time:
Cook time:
Total time:
Serves: 3 – 4 dozen
Source: adapted from Ambitious Kitchen
Ingredients
- 1/2 pound (2 sticks) cold unsalted butter, diced
- 1 cup granulated sugar
- 1 cup (packed) light brown sugar
- 3/4 tsp. vanilla extract
- 1/2 tsp. almond extract
- 1 large egg
- 2 large egg yolks
- 2 cups all-purpose flour
- 1 cup cake flour
- 1 tsp. baking powder
- 1 tsp. baking soda
- 1/2 tsp. ground cinnamon
- 1 tsp. kosher salt
- 14 oz. semi-sweet chocolate chunks
Instructions
- Preheat oven to 350 degrees F. Line 2 baking sheets with silicone baking mats or parchment paper.
- Put the butter, granulated sugar, and brown sugar into a standing mixer bowl and toss with your fingers until the butter is coated. Attach the bowl and paddle to the mixer and beat the butter and sugar on medium-low speed until a thick paste forms with no visible butter lumps.
- Add the vanilla and almond extracts and mix well. With the motor on low speed, add the egg and egg yolks, one at a time, mixing well between additions. Stop the mixer and scrape down the bowl with a rubber spatula.
- Meanwhile, in a separate bowl, sift together the flours, baking powder, baking soda, and cinnamon; sprinkle the kosher salt on top. With a mixer on low speed, slowly add the dry ingredients to the butter mixture, stopping frequently to scrape down the bowl. Mix until just combined; removed the bowl from the mixer and fold the chocolate into the dough by hand.
- Using a small 1/2 ounce ice cream scoop, scoop level balls of dough and arrange them around 2 inches apart on the lined cookie sheets.
- Bake for 12-13 minutes, rotating the pans once, until just set and bottoms are beginning to brown. Cool for 10 minutes on the pans before transferring to a rack to cool completely.
- Store the cookies in an airtight container for up to 3 days.
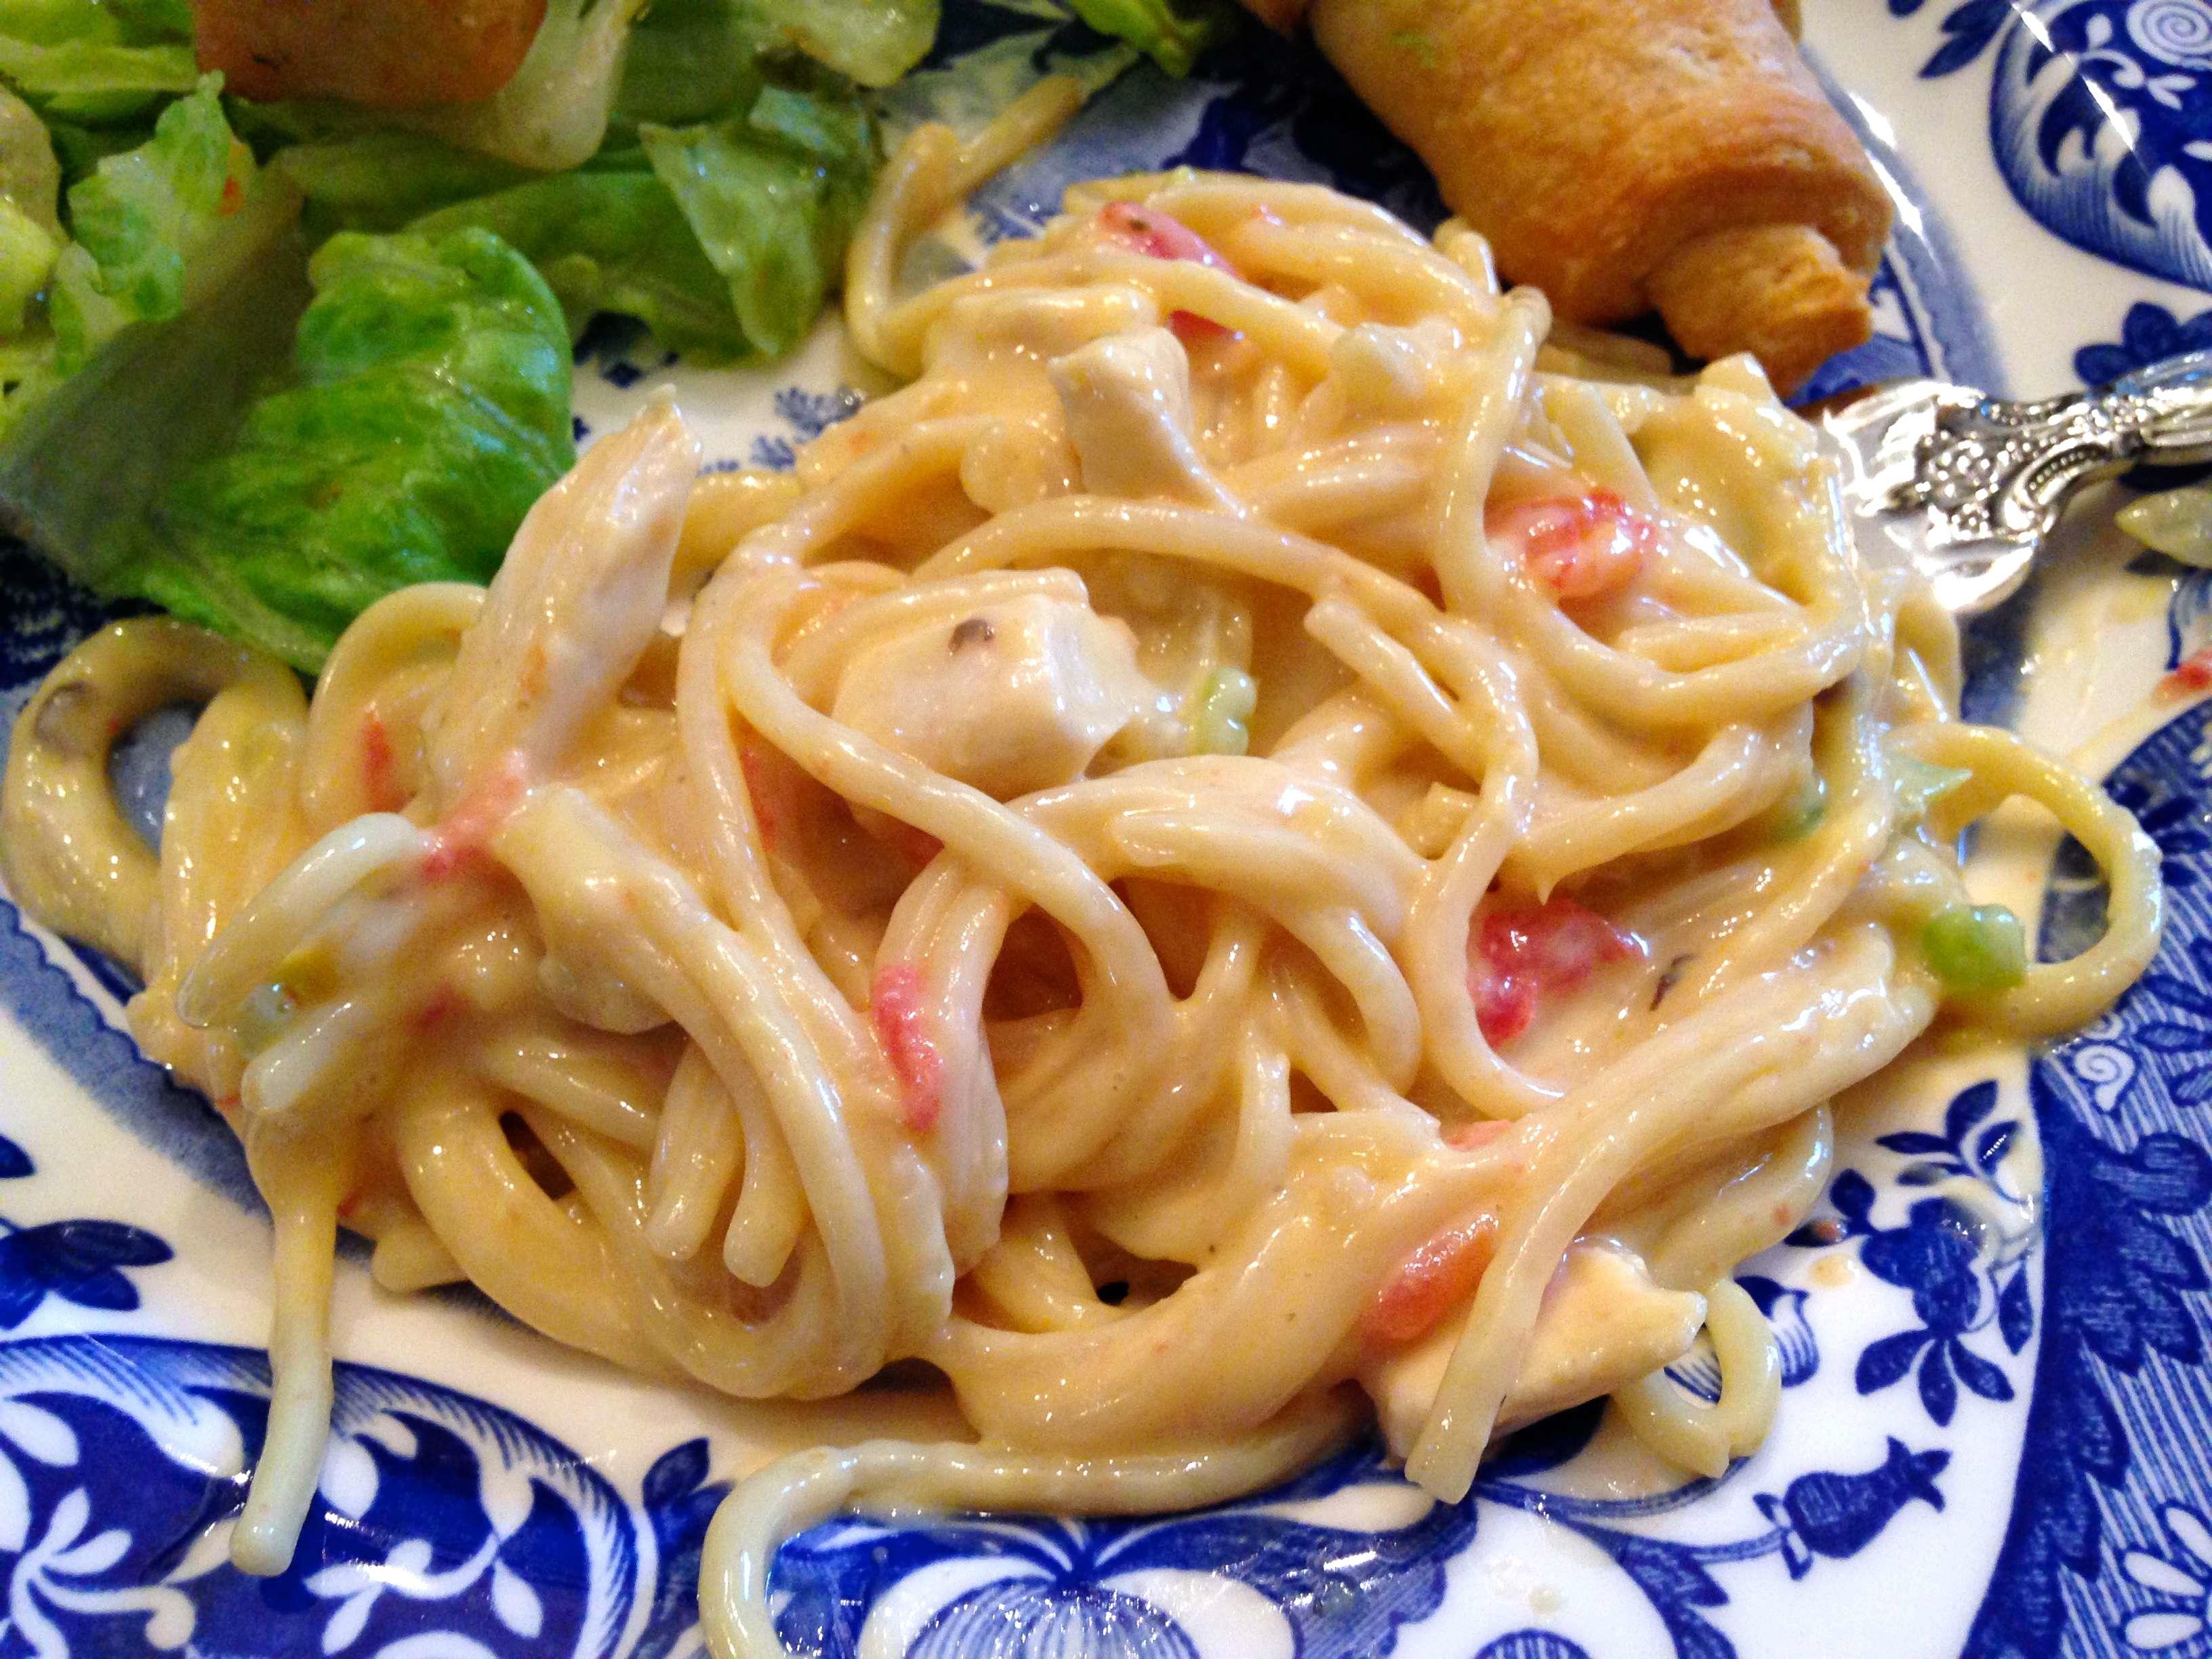
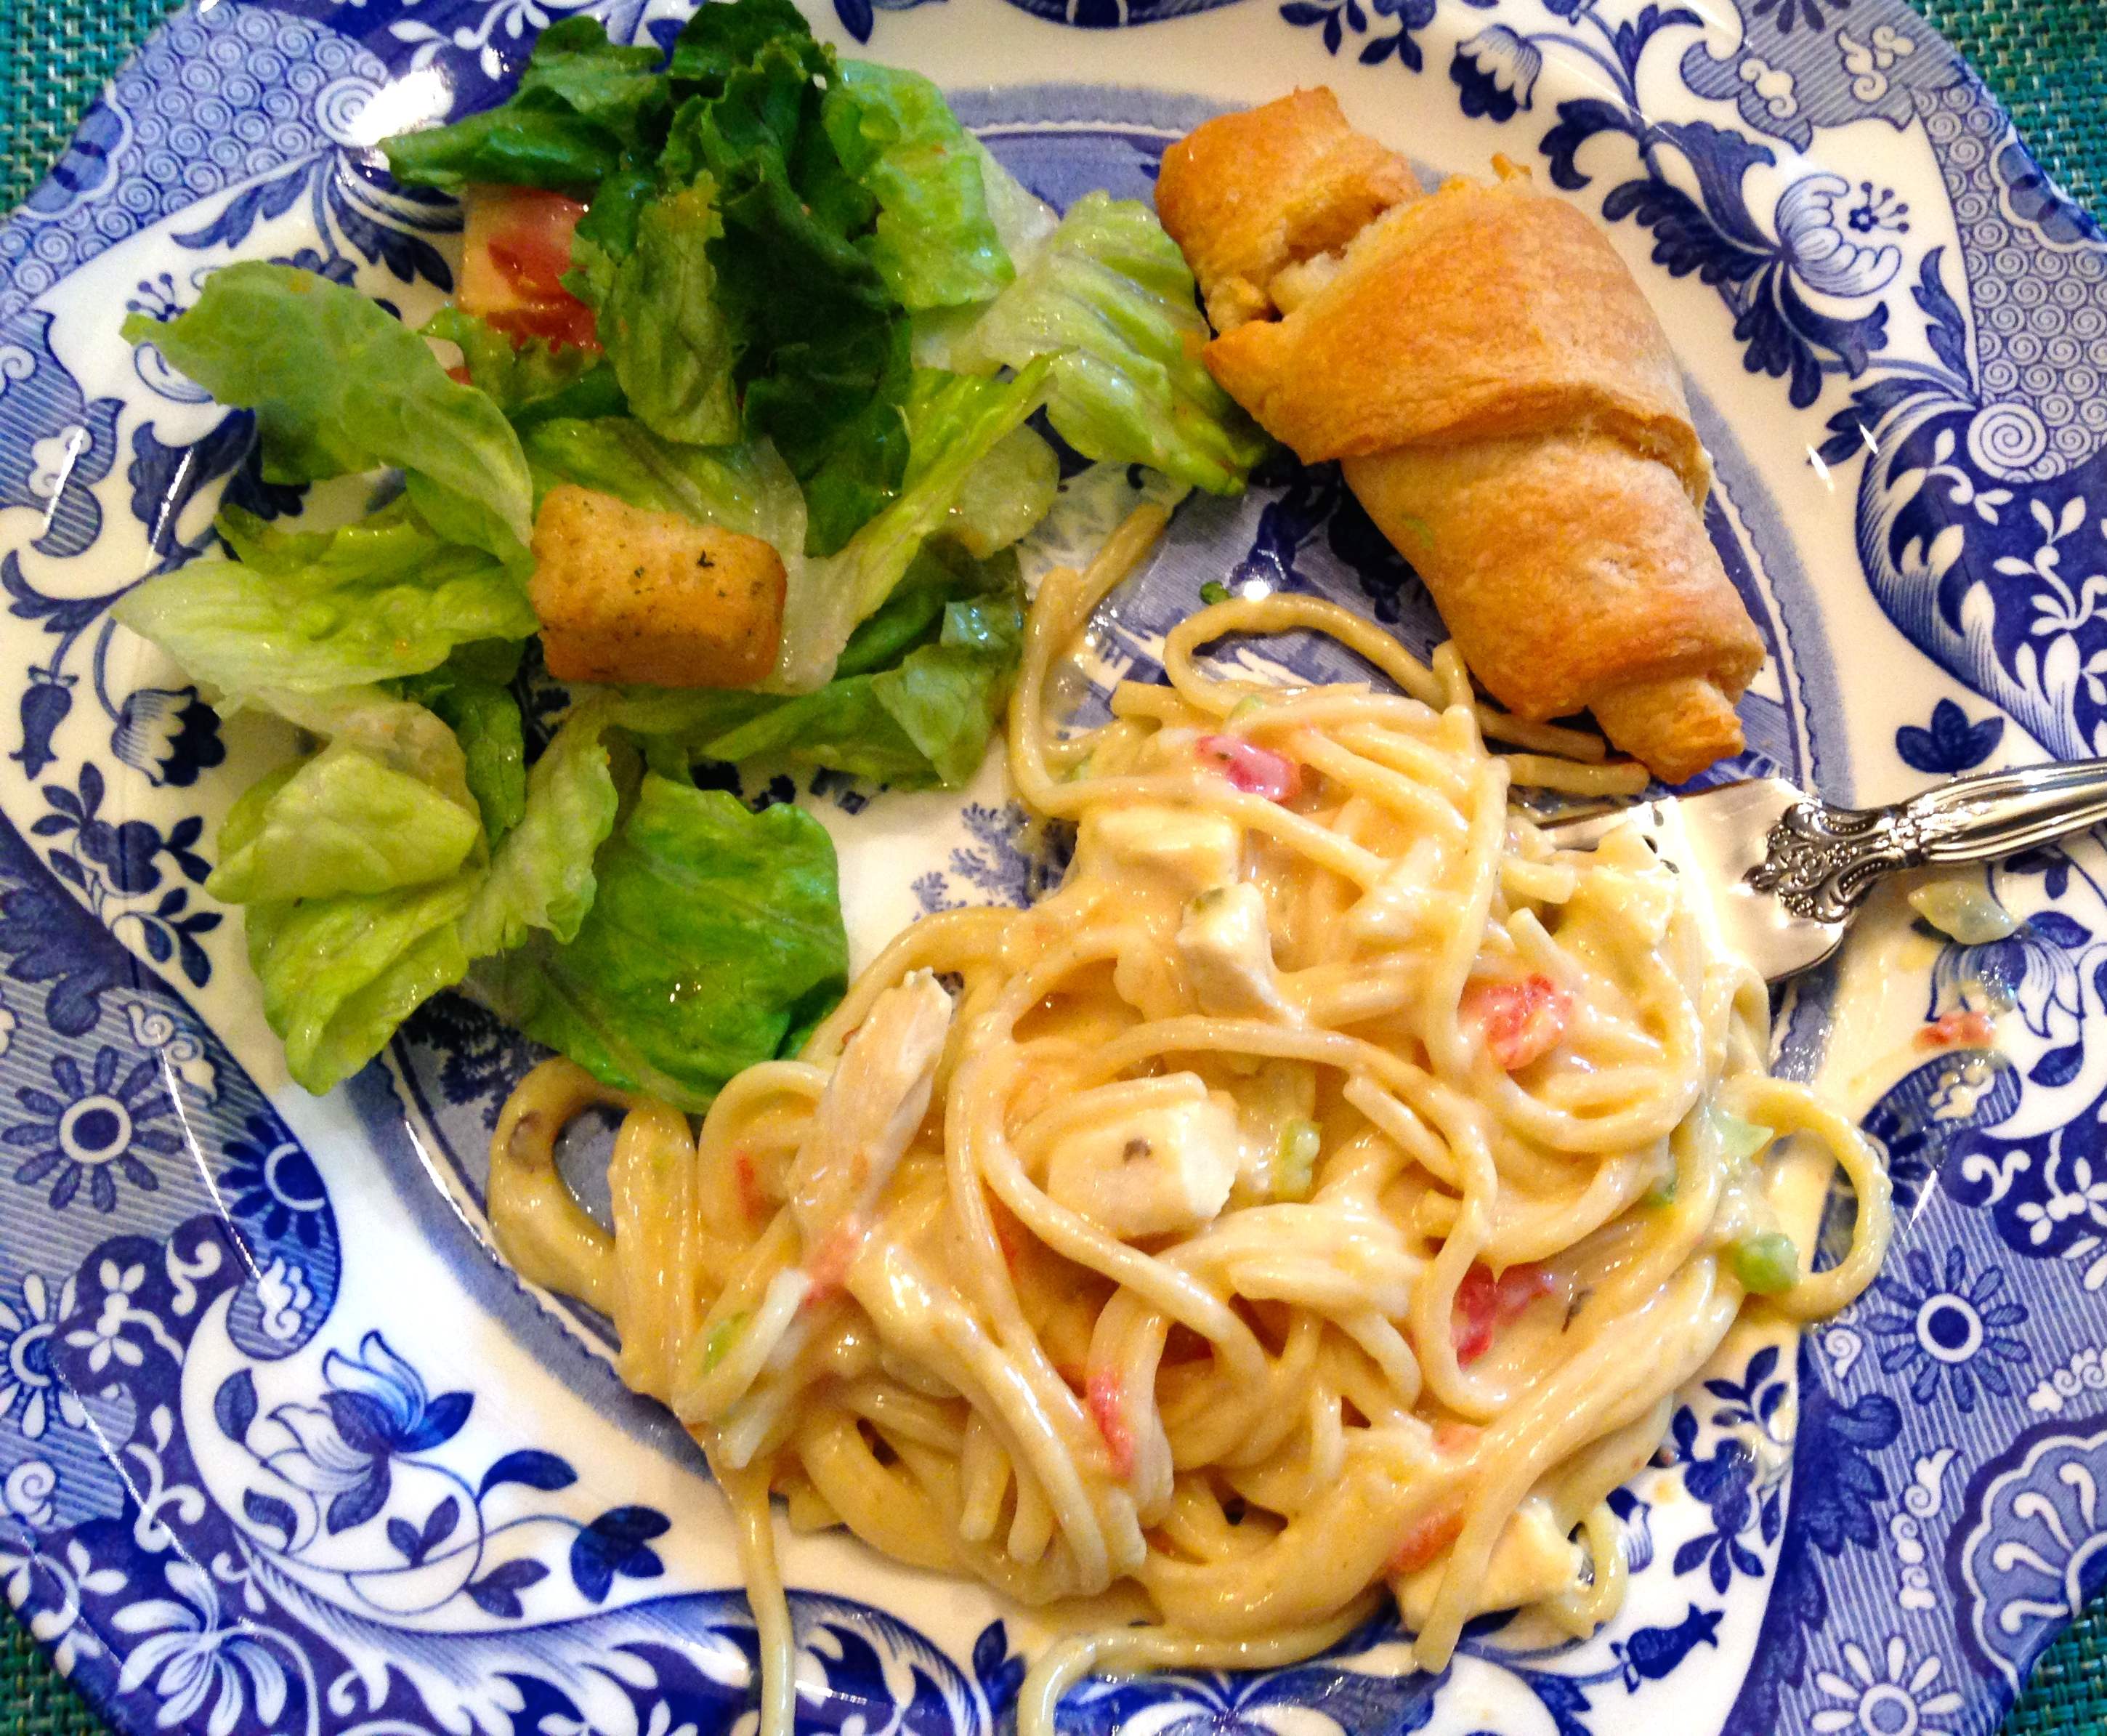
Stovetop Chicken Spaghetti
The first Aggie football game against the South Carolina Gamecocks was this past Thursday, and we couldn’t have been any more pumped!
Since Matt’s dad and uncle were coming over to watch the game at our house, I figured I’d make them a tasty and not necessarily healthy meal. 🙂
Chicken spaghetti is one of those comfort foods that is a crowd pleaser. I’ve made the Pioneer Woman’s chicken spaghetti before, but wanted something a little different this time.
I found this recipe on Pinterest, and liked how only one pot was needed to make this meal, and it didn’t involve the oven. It was absolutely delicious and made a ton!
Matt, his dad Tony, and his uncle Rusty filled their plates completely with the chicken spaghetti, and even after going back for seconds, we STILL had tons of leftovers. I put one small dish of leftovers in the fridge to eat for the rest of this week, and a larger dish in the freezer for a meal to have later on.
Serve the chicken spaghetti with crusty bread and a salad, and you’ve got yourself a meal! Plus, how could you forget dessert? I made Matt’s all-time favorite 4-Layer Pudding Dessert.
Yum!! Can’t wait for more football and good food to come this fall season!


Enjoy!
Stovetop Chicken Spaghetti
Prep time:
Cook time:
Total time:
Serves: 10-12
Ingredients
- 2 – 2 1/2 cups cooked, cubed
- 1 lb velveeta cheese
- 1 can Rotel, original
- 1 lb spaghetti pasta
- 1 stick butter
- 1 can cream of chicken soup (I used 98% fat free)
- 1 can cream of mushroom soup (I used 98% fat free)
- 1 medium onion, chopped
- 1 green bell pepper, chopped
- salt and pepper to taste
Instructions
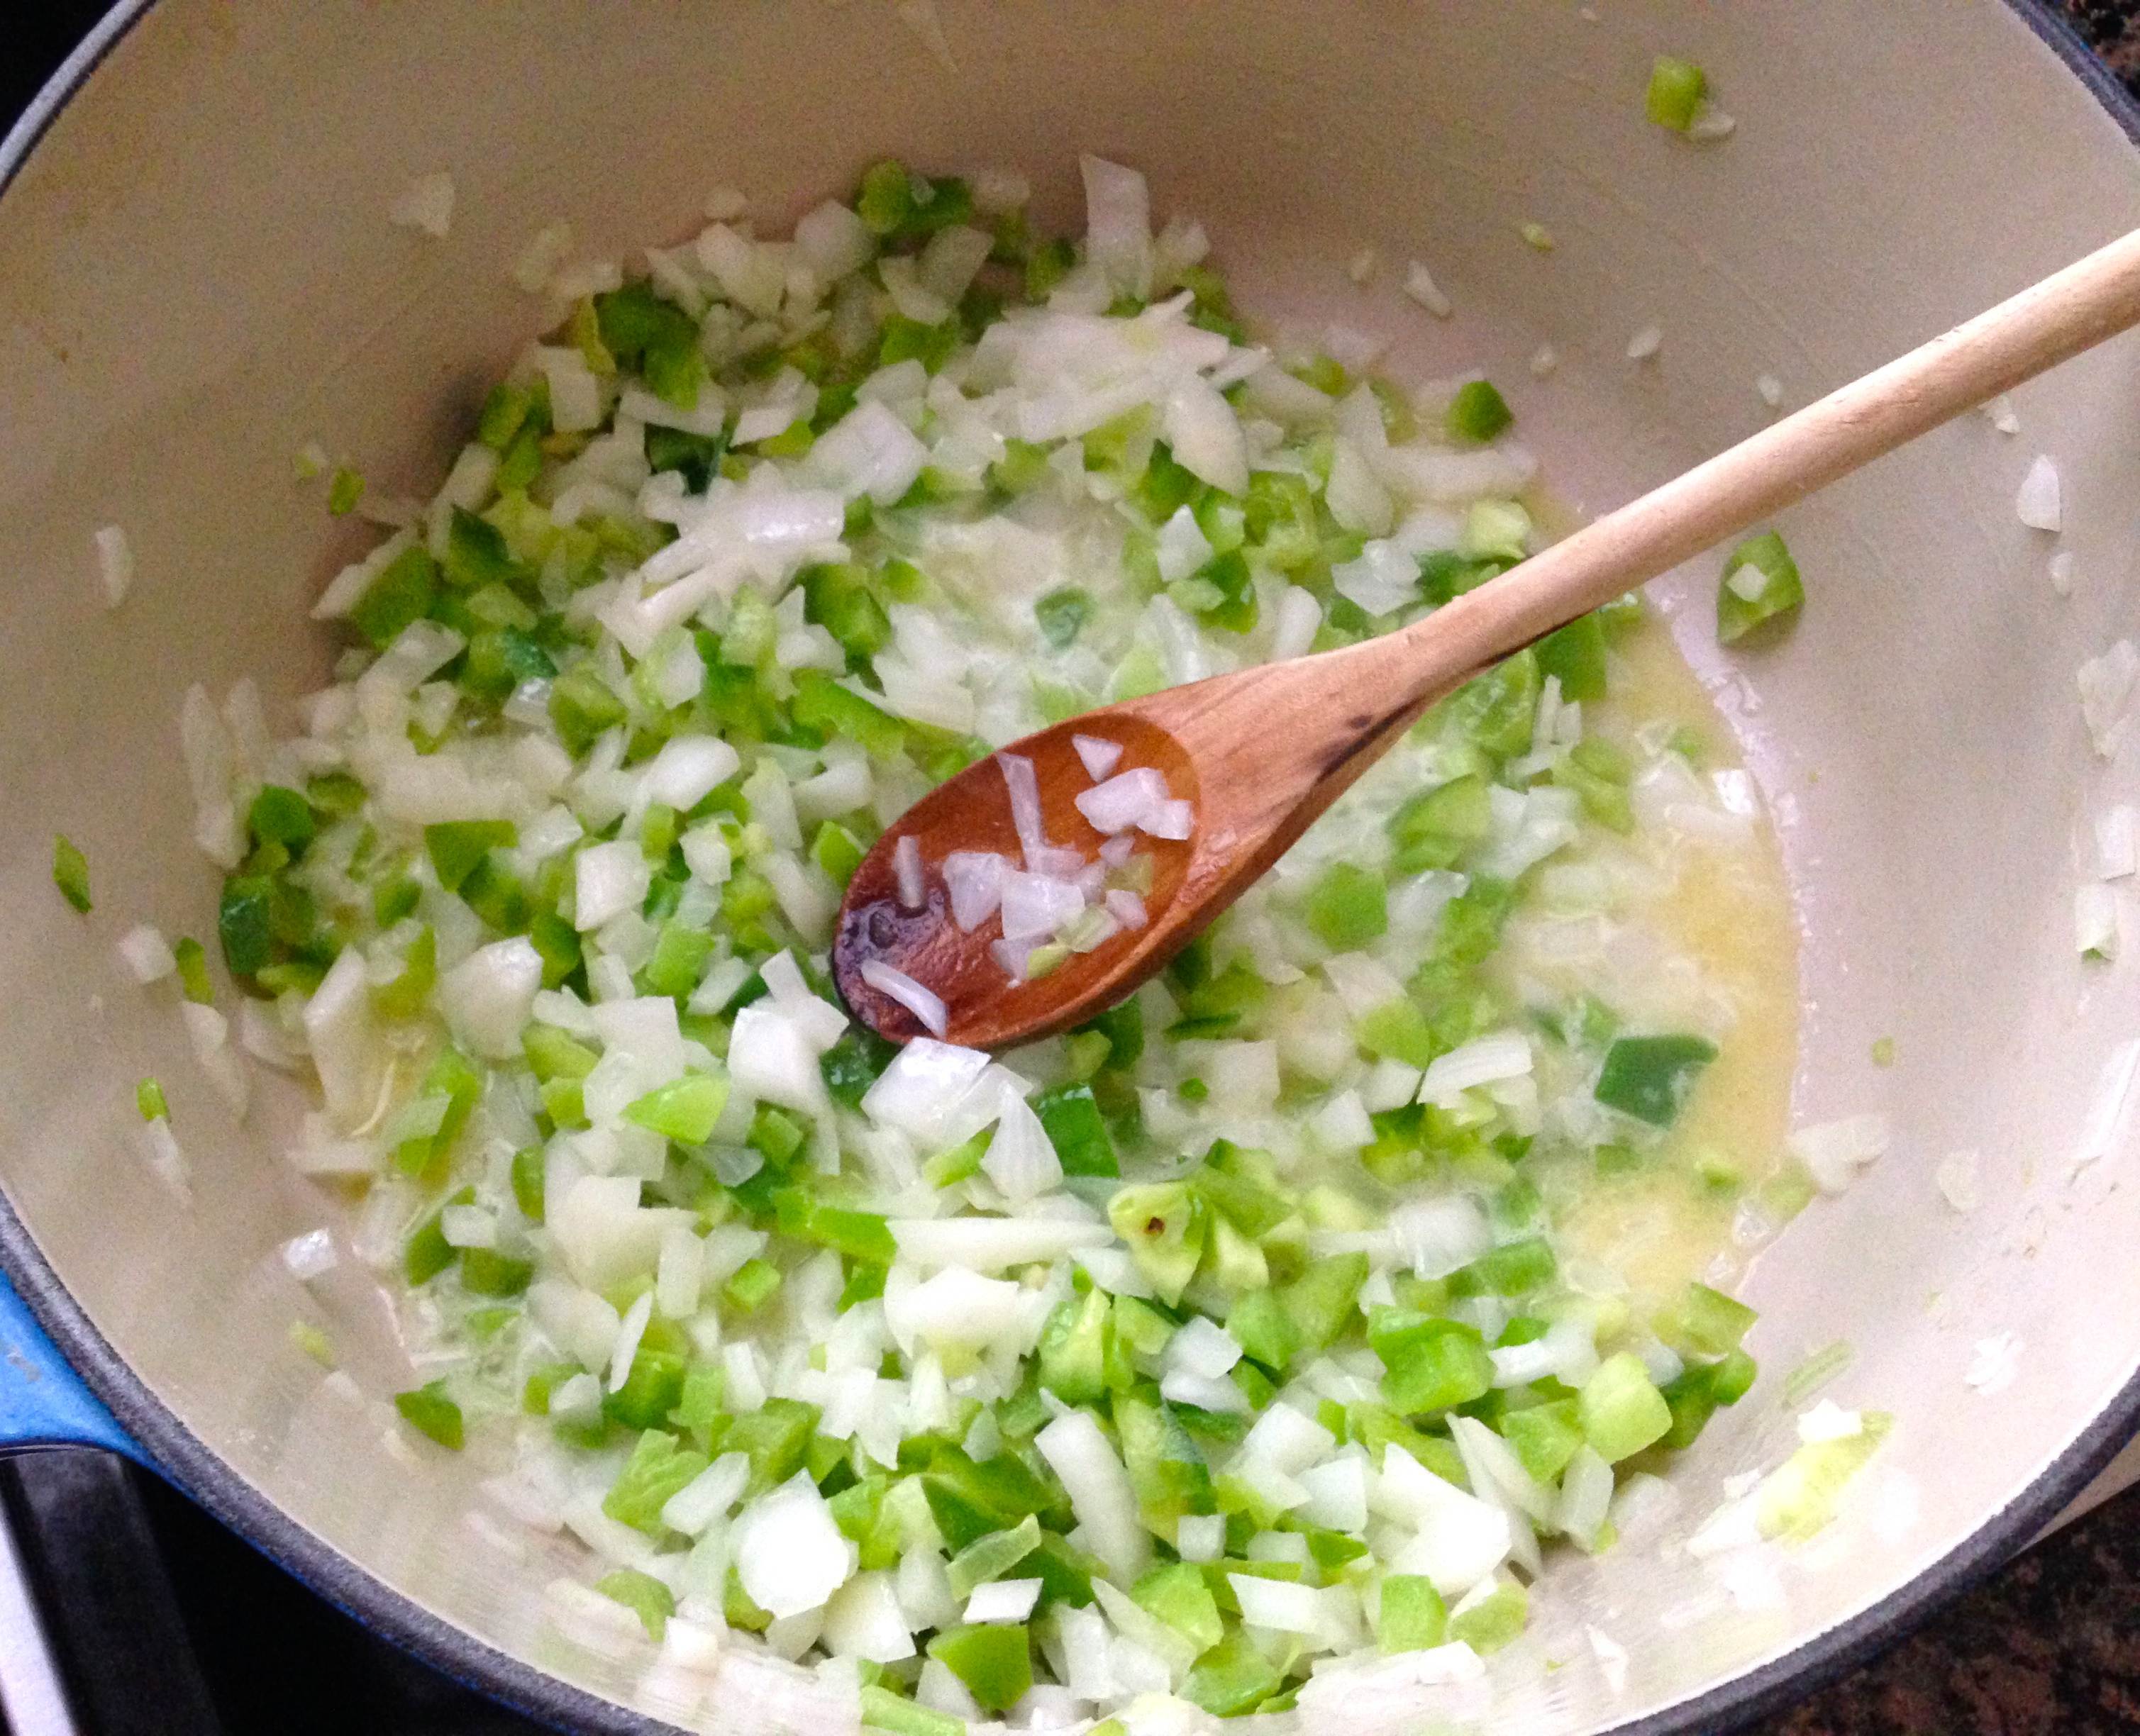
- Boil spaghetti pasta in water according to package directions. Drain pasta after done and discard water. Set aside the pasta. Do not rinse.
- Melt the butter in the same (empty) pot and sauté the onion and bell pepper.
- Add Rotel, soups, cooked chicken, and spaghetti to the sautéed onion mixture, one at at time, and gently mix together.
- Add velveeta and stir together, mixing well. Add salt and pepper to taste.
- Heat until cheese in melted thoroughly, stirring occasionally to keep from scorching.
- Serve immediately.
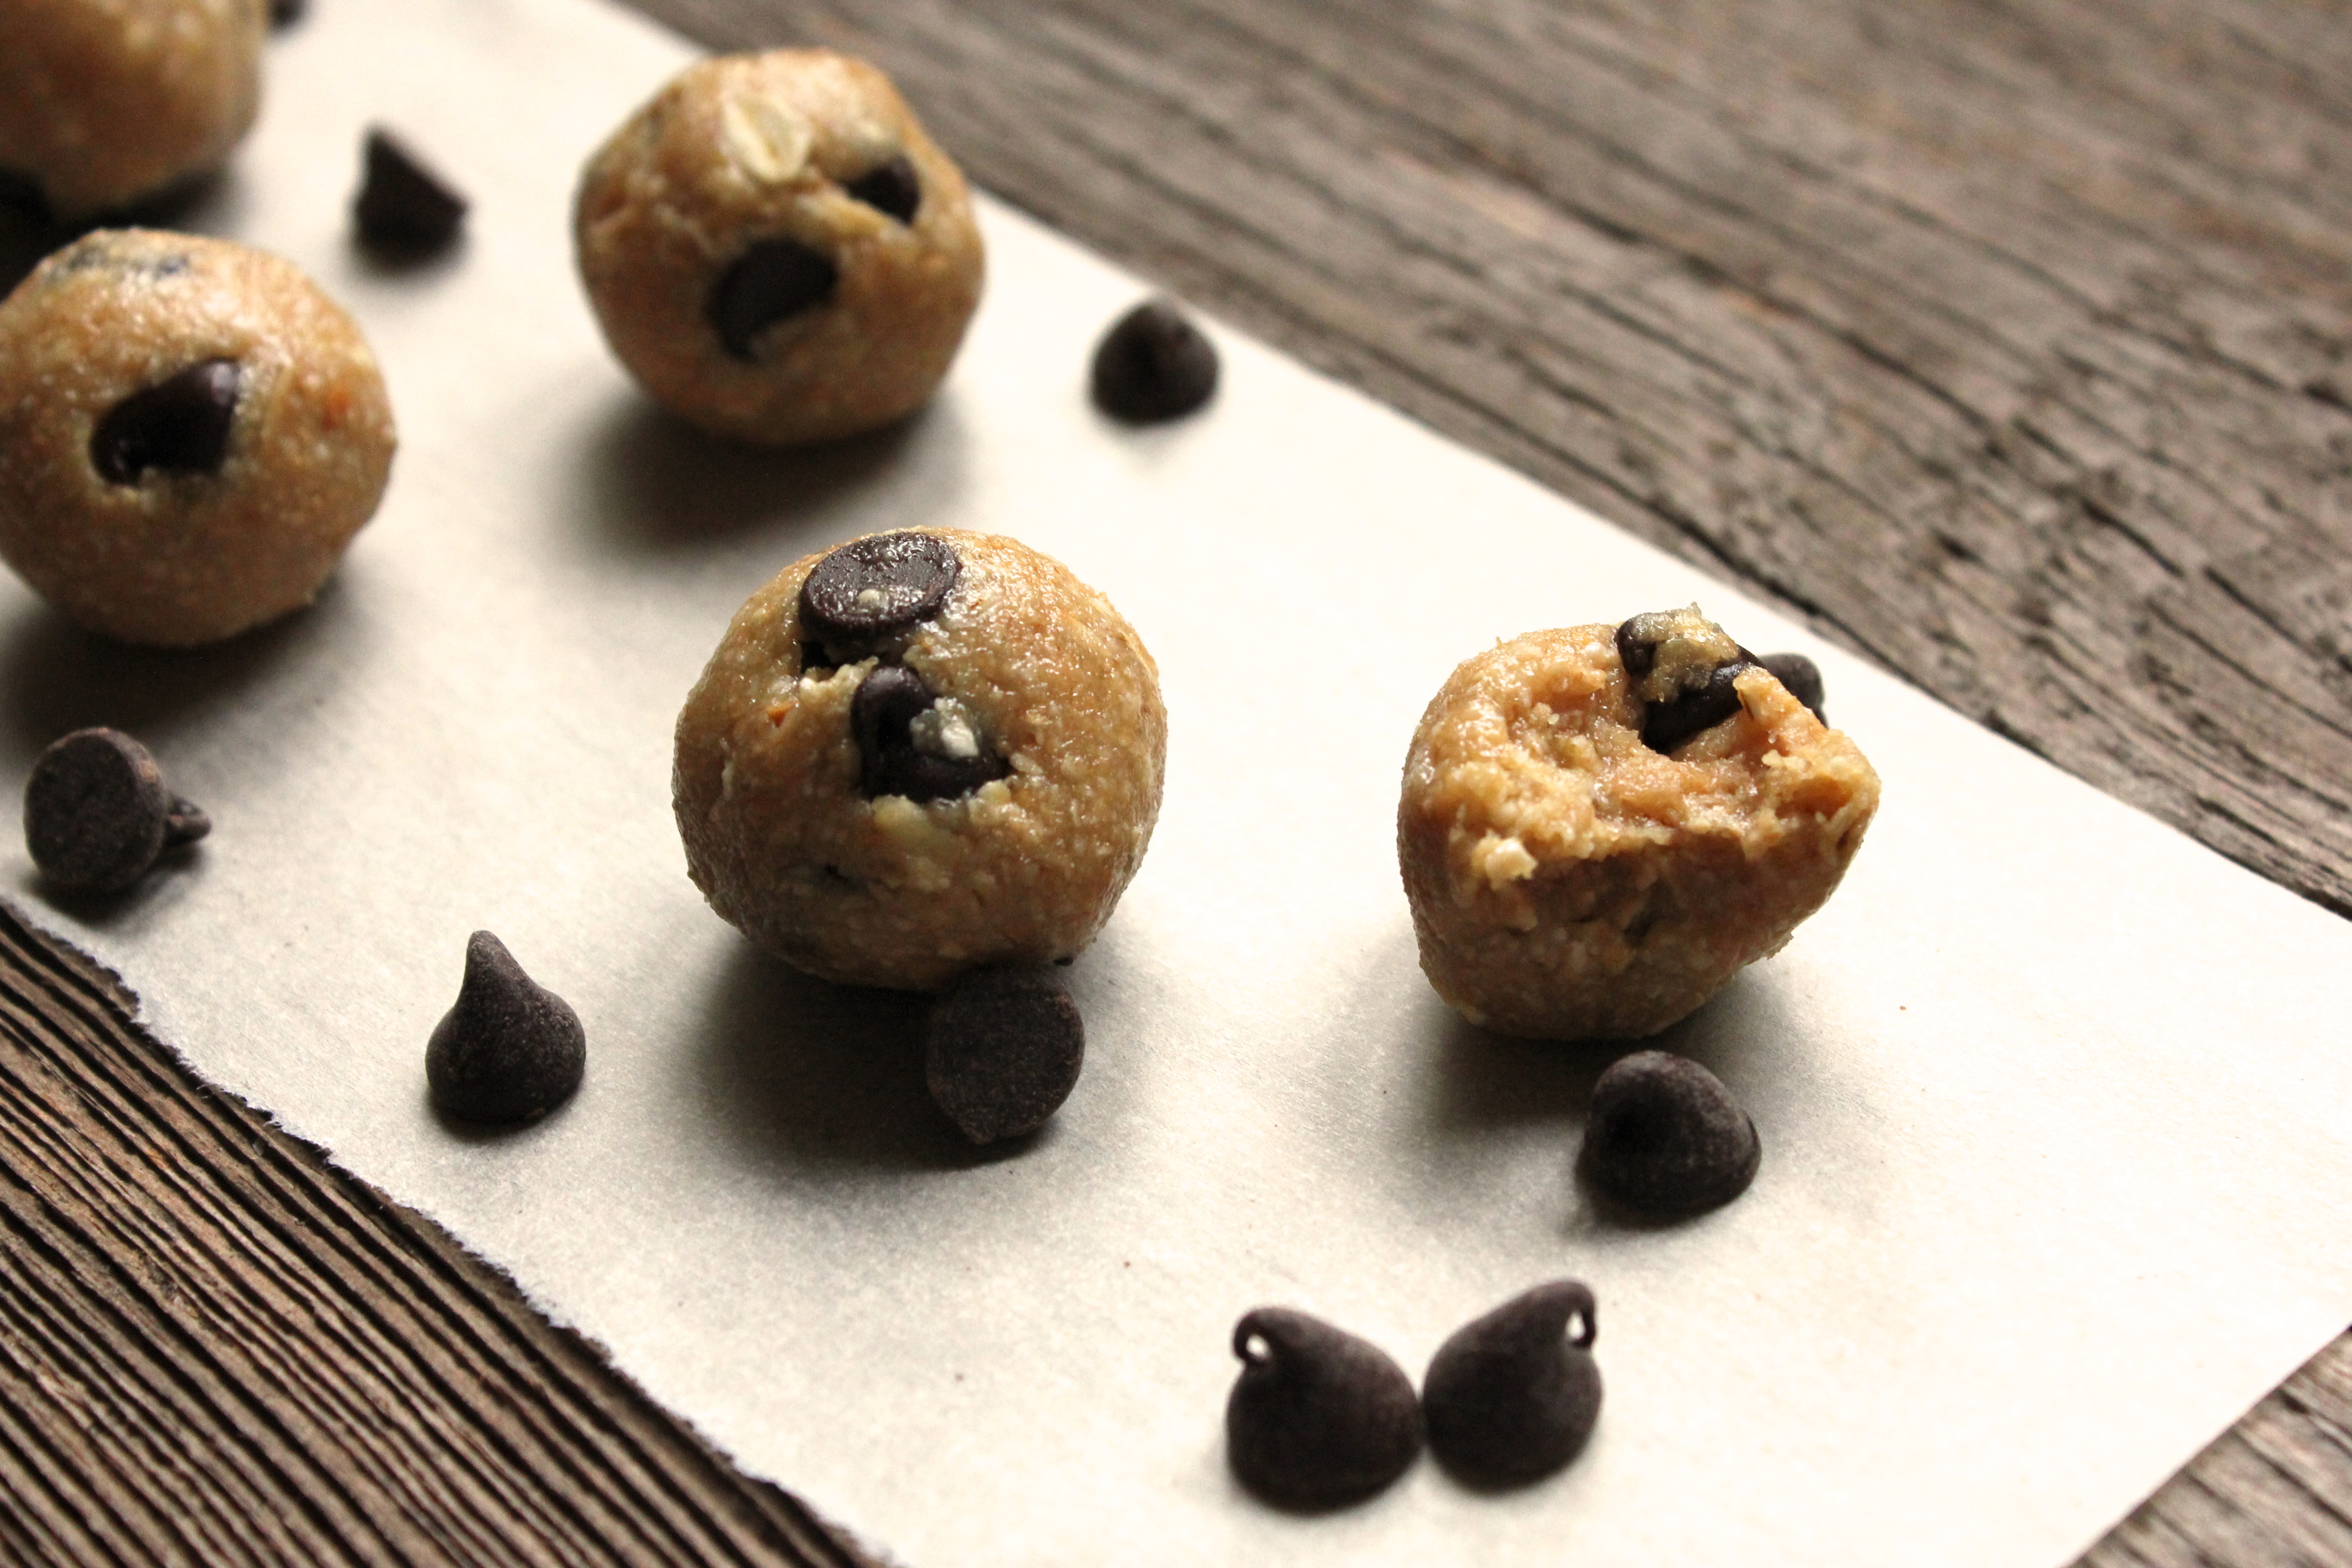
Vegan Chocolate Chip Cookie Dough Balls

No, I’m not vegan. However, I LOVE cookie dough and found a healthier way to indulge in the oh so sweet cookie dough cravings I get.
This recipe, adapted from Averie at Averie Cooks, is vegan, packed with protein, healthy fats and hearty whole grains.
These cookie dough balls kind of remind me of my favorite healthy energy bar: Lärabars. The taste is very similar due in part to the nutty cashews.
The chocolate chips add a touch of sweetness and could be substituted with white chocolate chips, butterscotch chips, raisins, craisins, or a mix… totally up to you!
Enjoy one or two or even four for a quick pick-me-up snack!
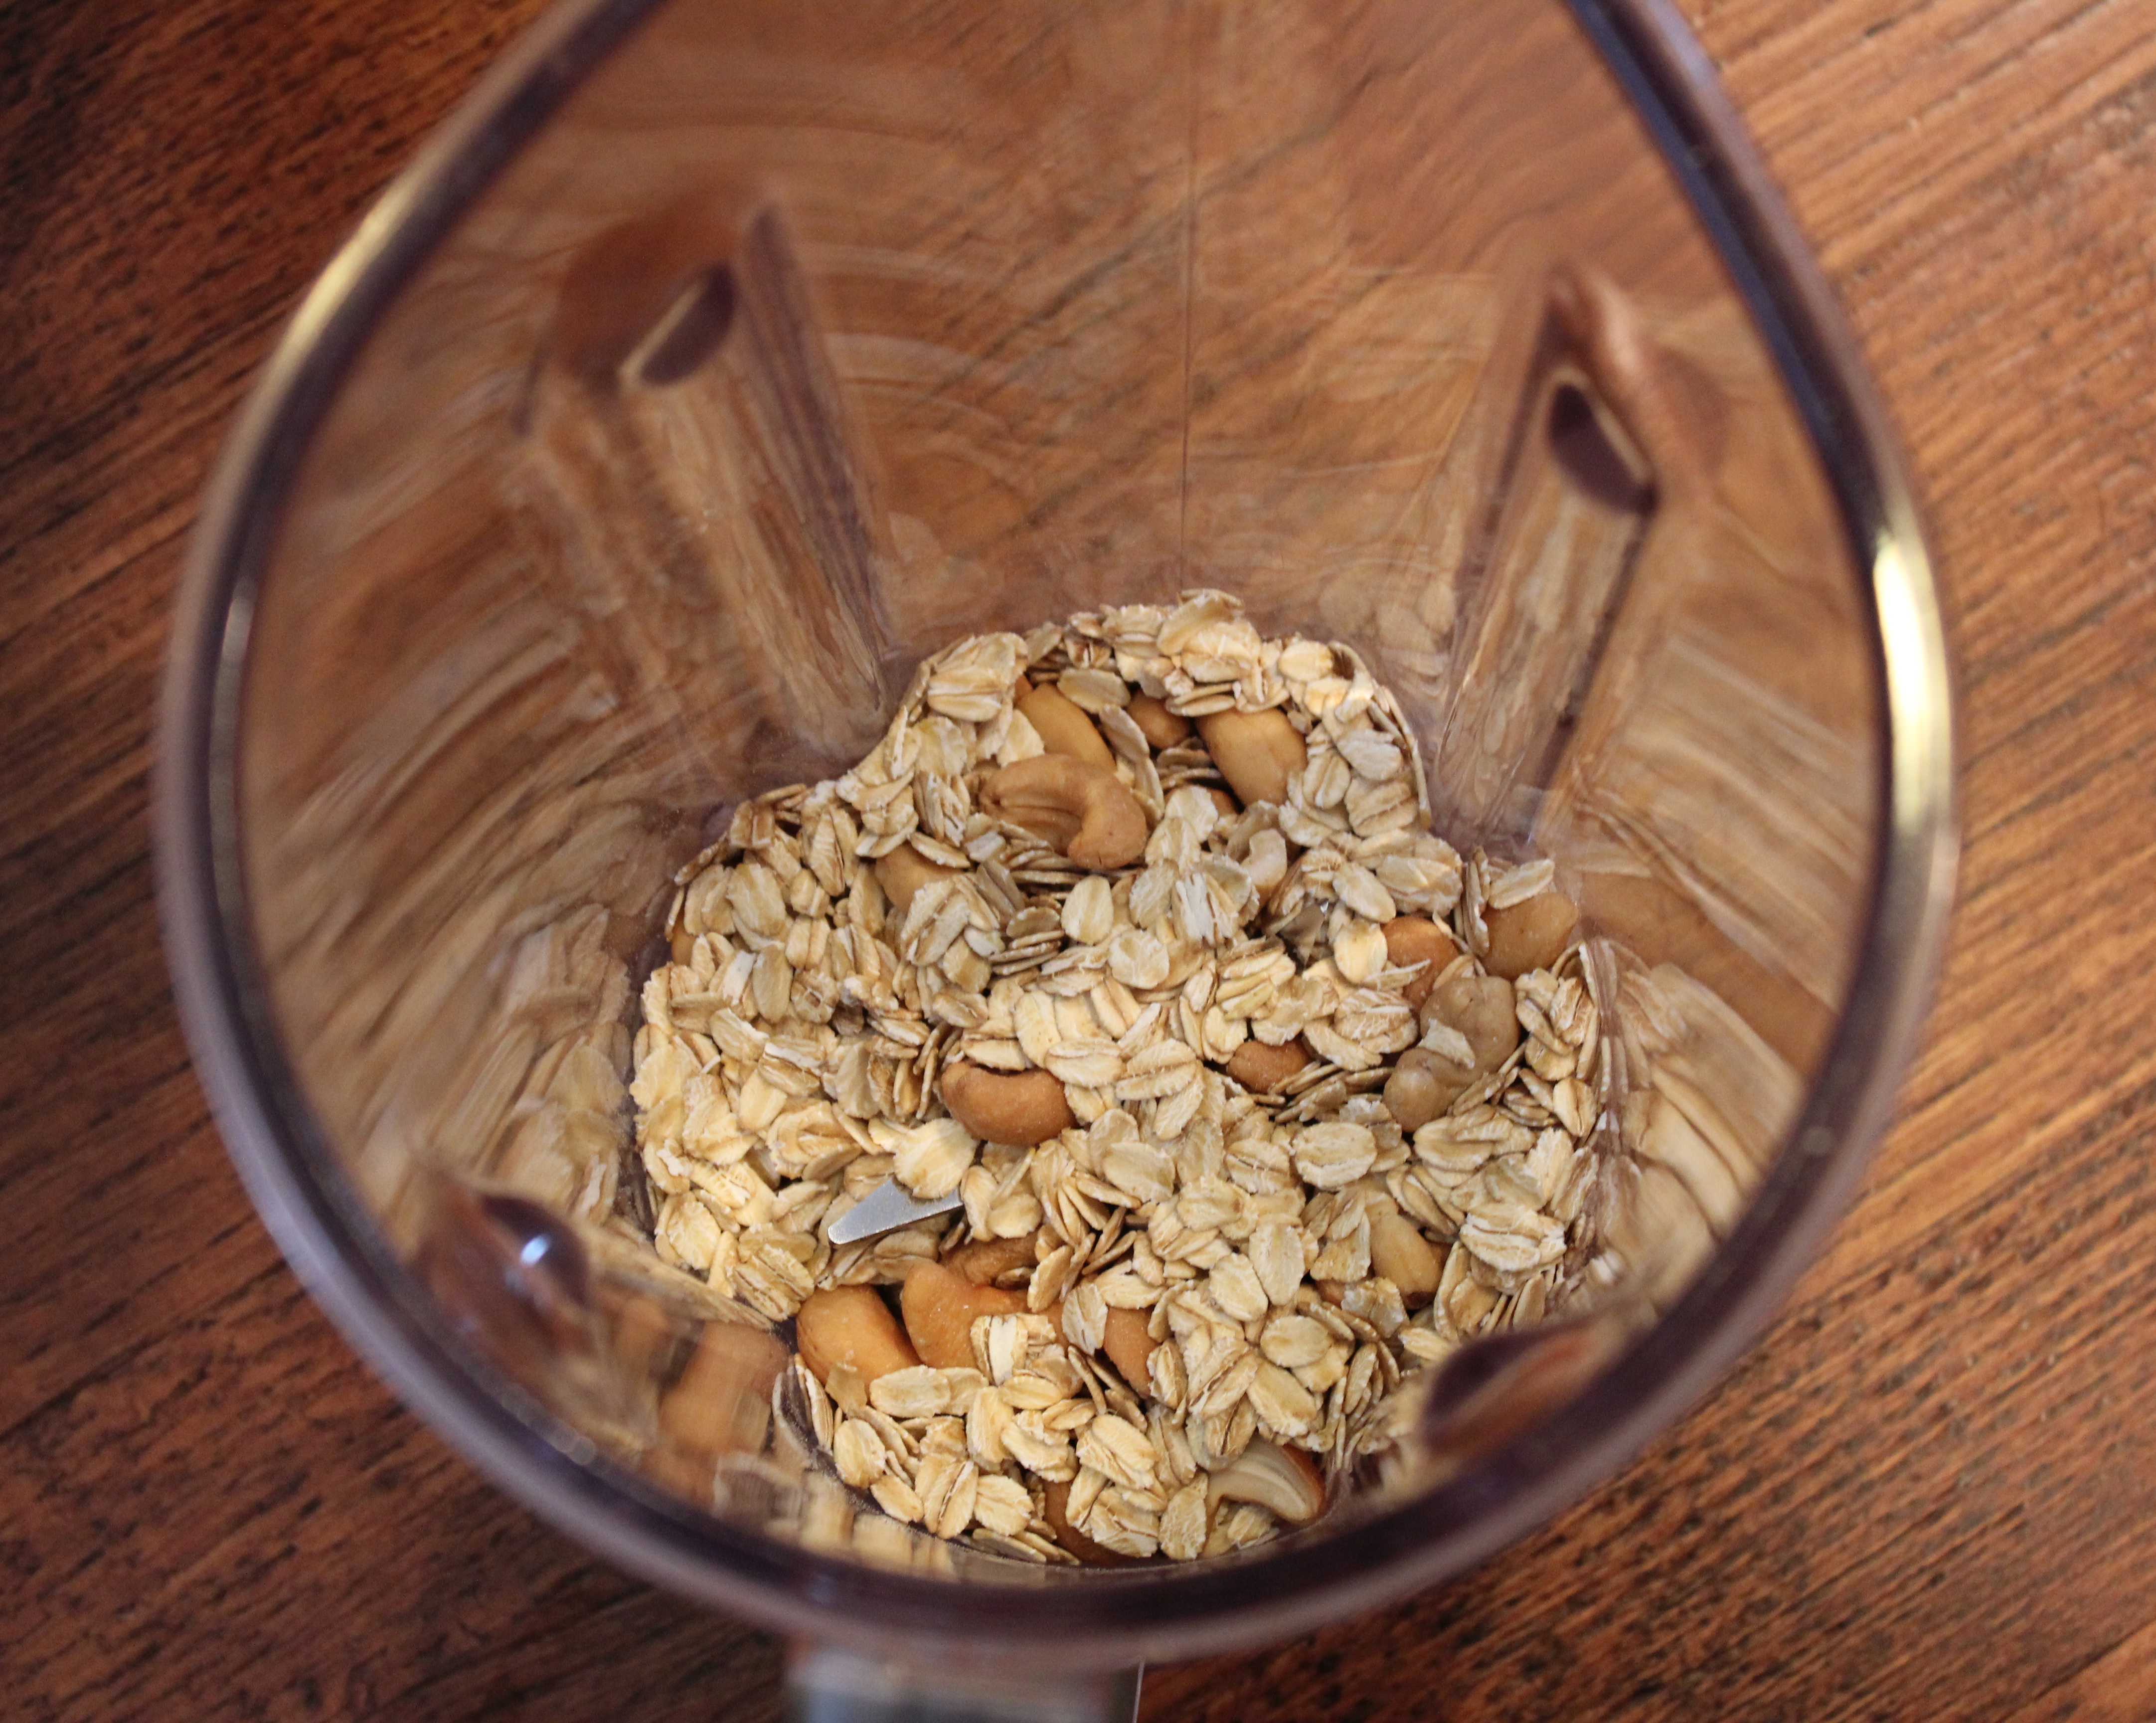
Simply blend the oats and cashews together in a blender.
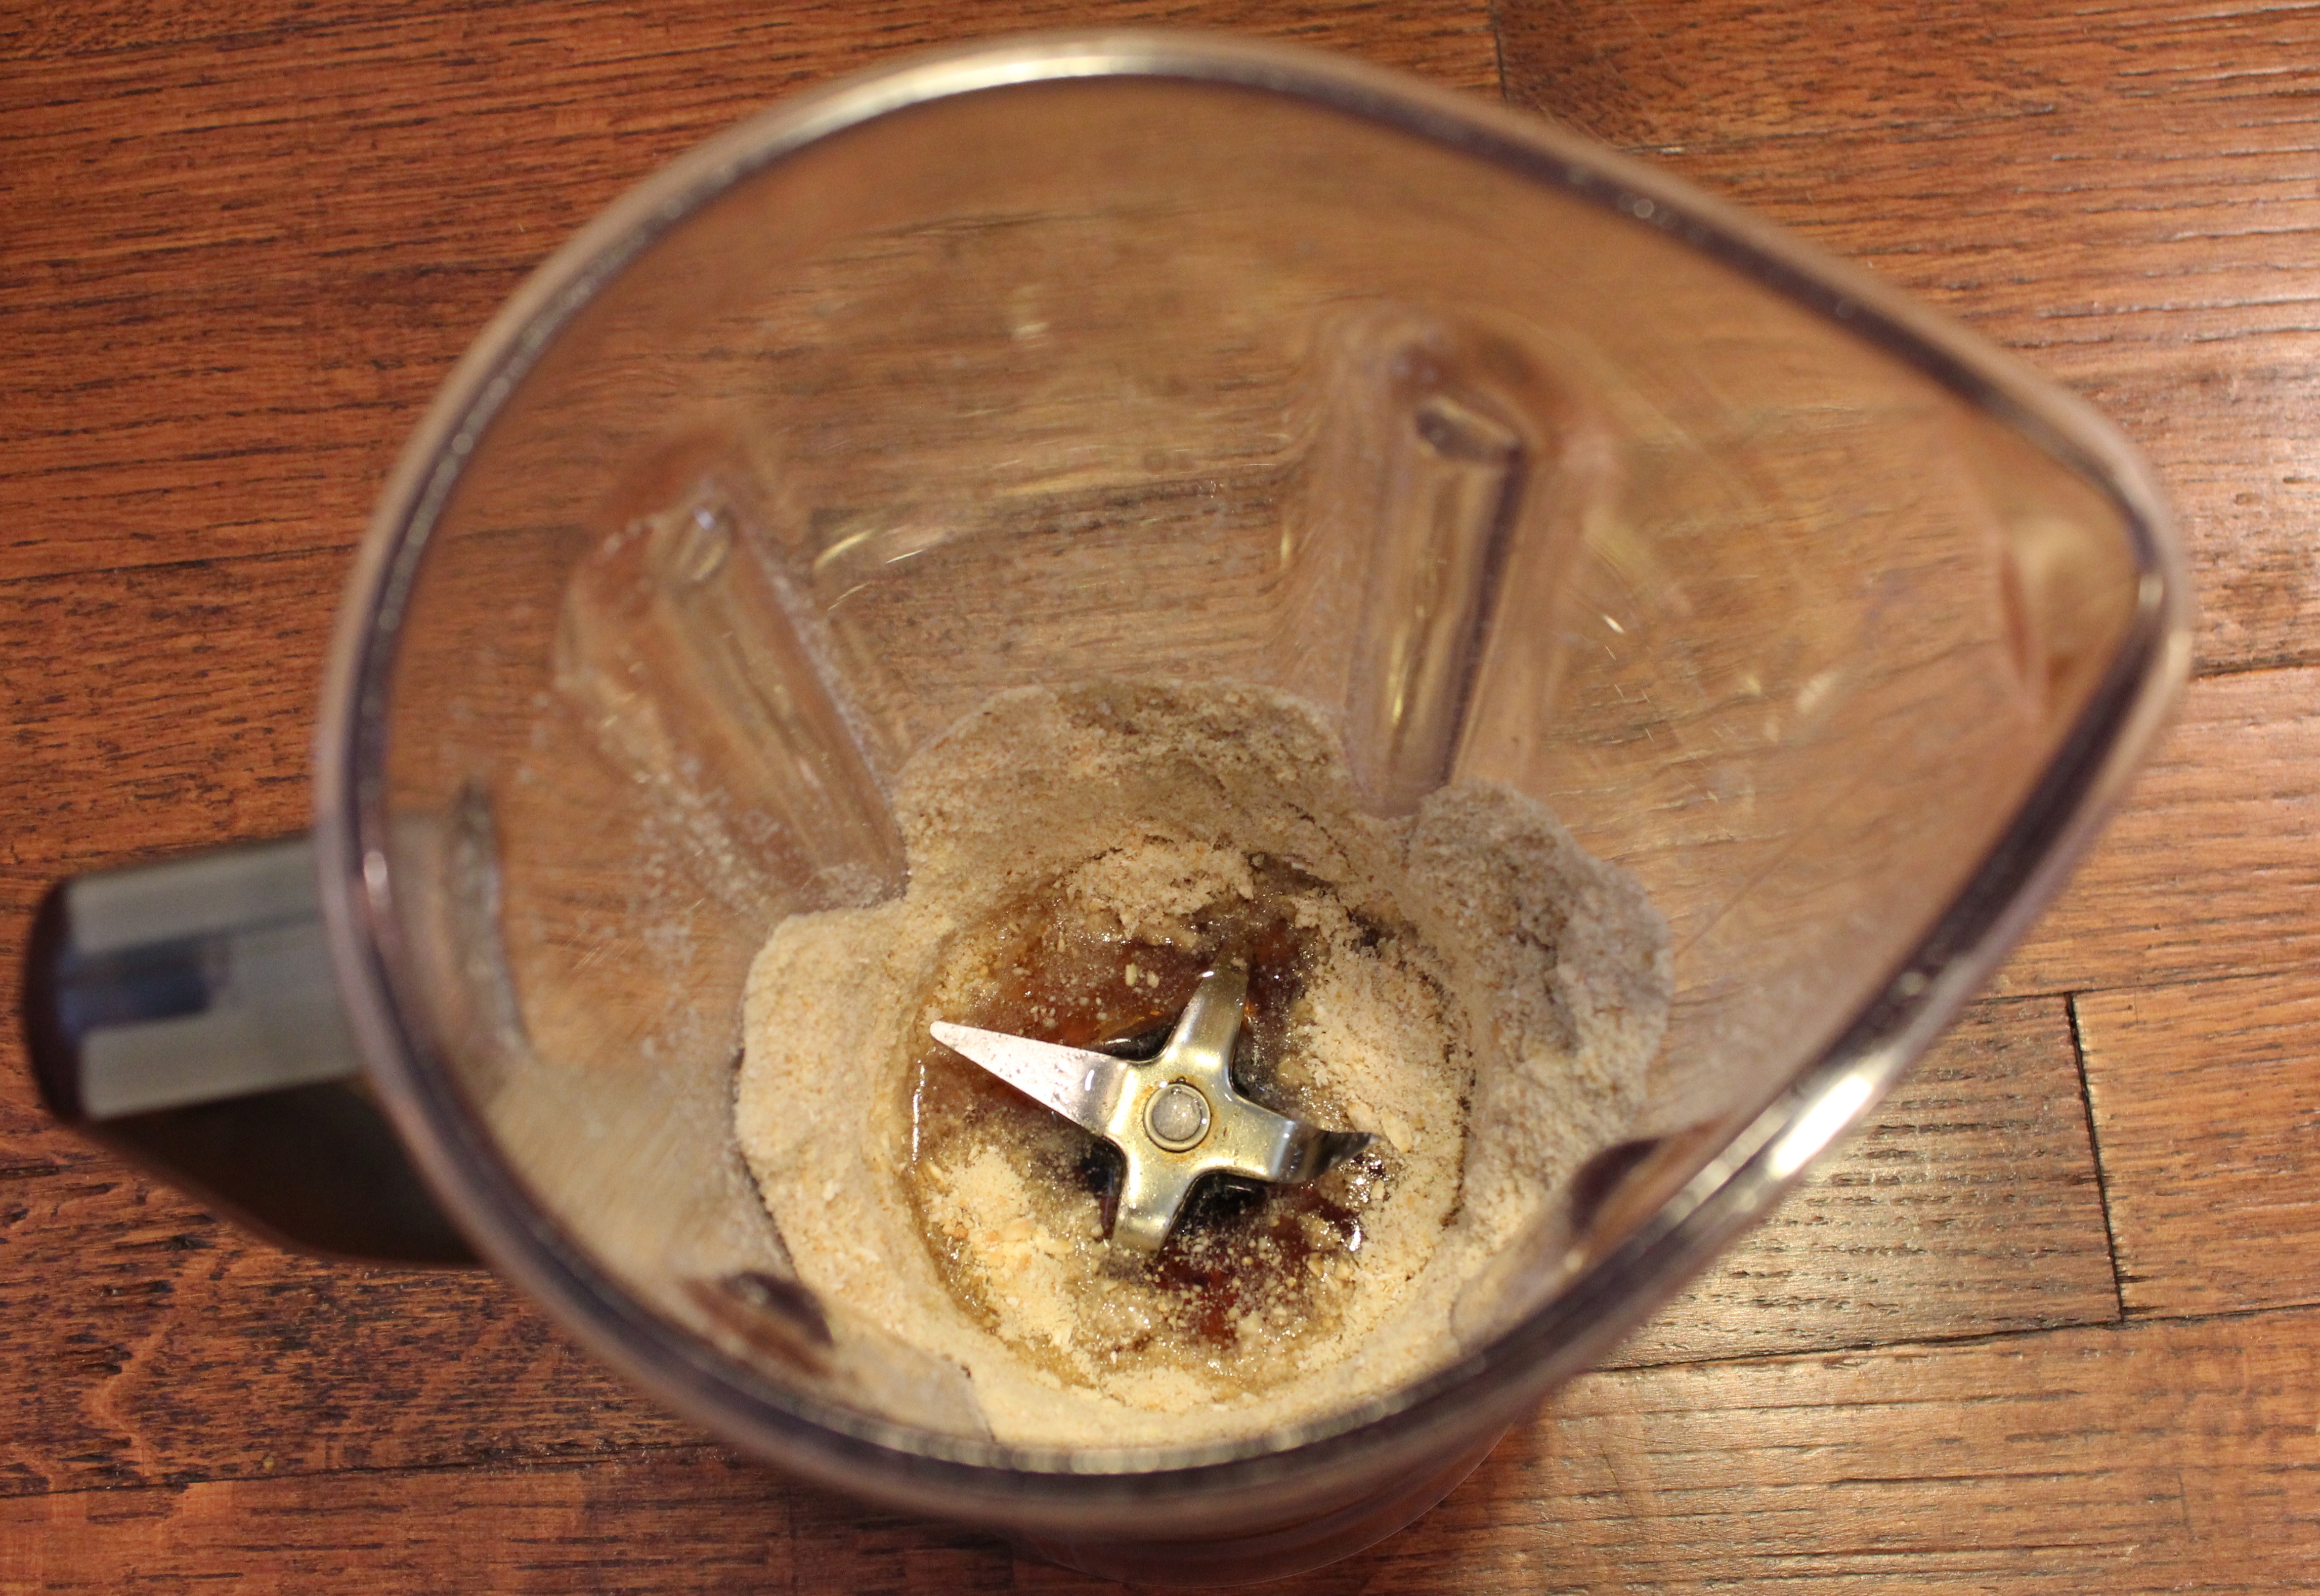
Add the vanilla and maple syrup. Blend again.

Fold in chocolate chips. If your dough gets too sticky (like mine), place the dough in the refrigerater for at least 30 minutes. That should to the trick…your dough will firm up and will be much easier to shape into balls.
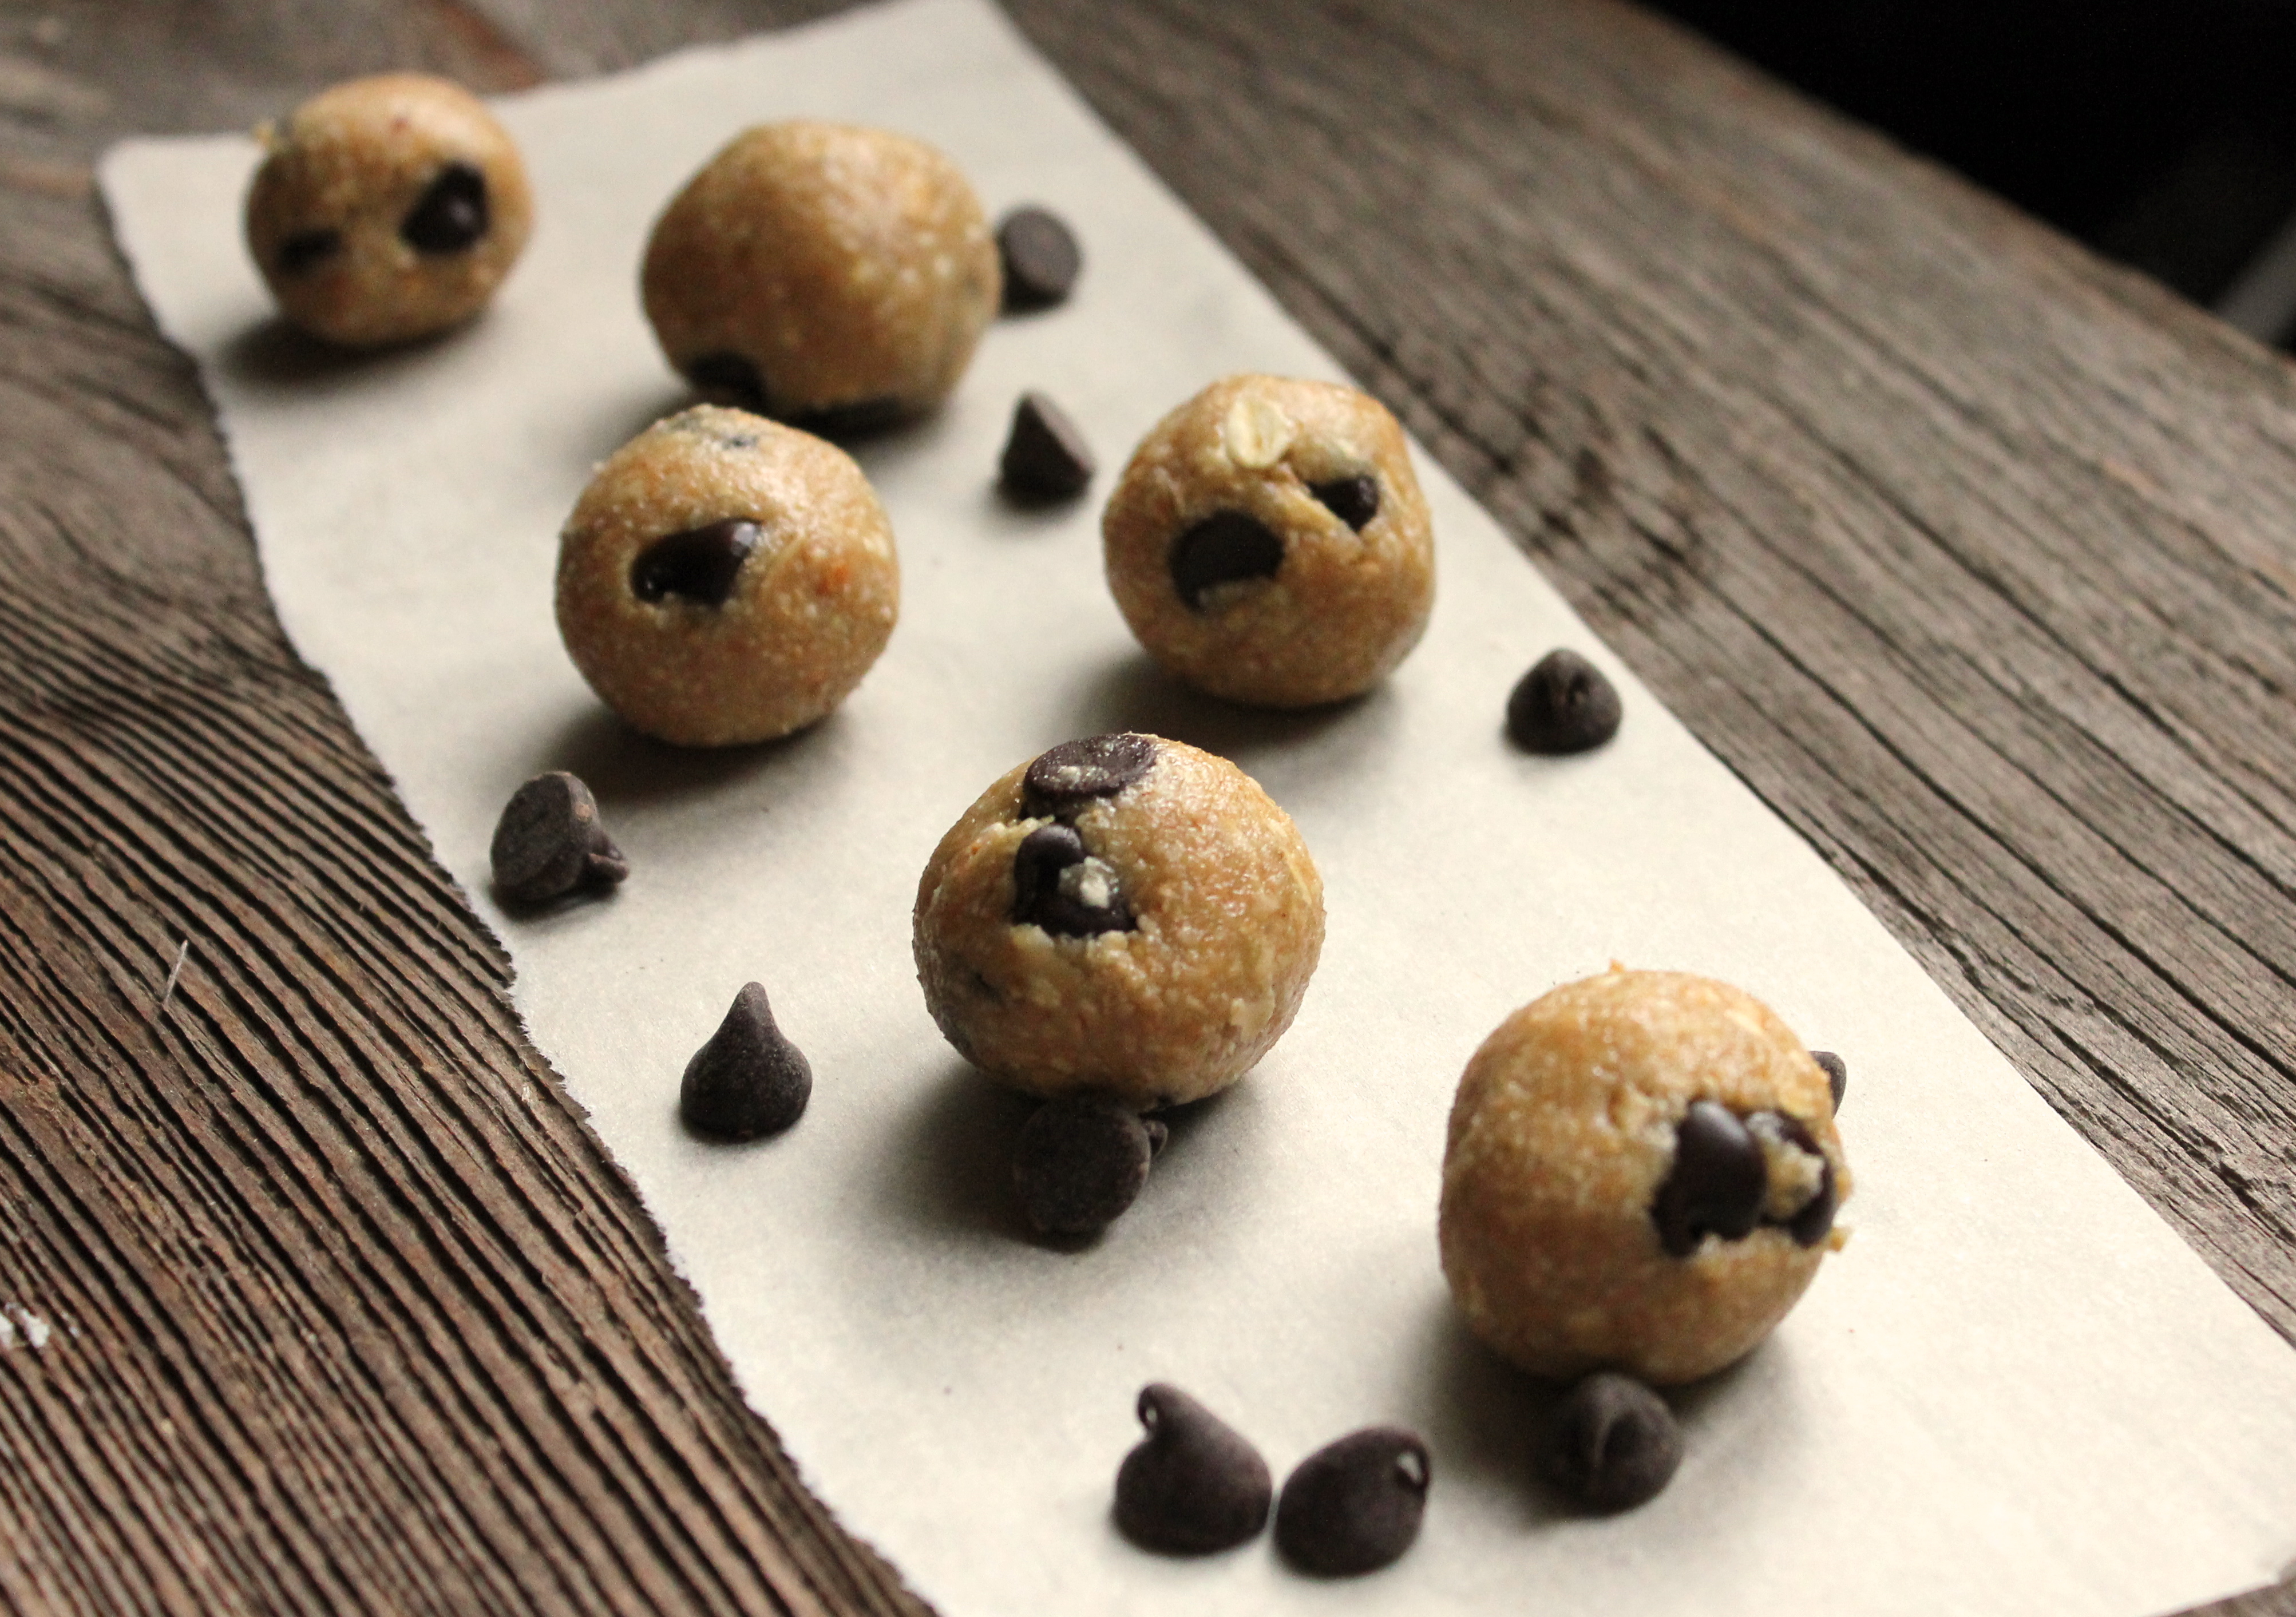
Roll into small, 1-inch balls and dig in!
Vegan Chocolate Chip Cookie Dough Balls
Serves: 1 dozen
Blend cashews and oats together in blender. Add the honey, maple syrup and vanilla extract. Blend again. Ad chocolate chips by hand. Transfer dough to a plate or clean working surface. If your dough is too sticky, gummy or runny, refrigerate for a half an hour, then you should be good. Roll into 1-inch balls. Yield: a dozen cookie dough balls
Ingredients
- 2/3 cup raw cashews
- 1/3 cup oats
- 2 Tbsp. honey
- 1 Tbsp. maple syrup
- 1 tsp. vanilla extract
- 1/4 cup chocolate chips
Instructions
- Blend cashews and oats together in blender.
- Add the honey, maple syrup and vanilla extract. Blend again.
- Ad chocolate chips by hand.
- Transfer dough to a plate or clean working surface. If your dough is too sticky, gummy or runny, refrigerate for a half an hour, then you should be good.
- Roll into 1-inch balls.
Notes
Adapted from Averie Cooks
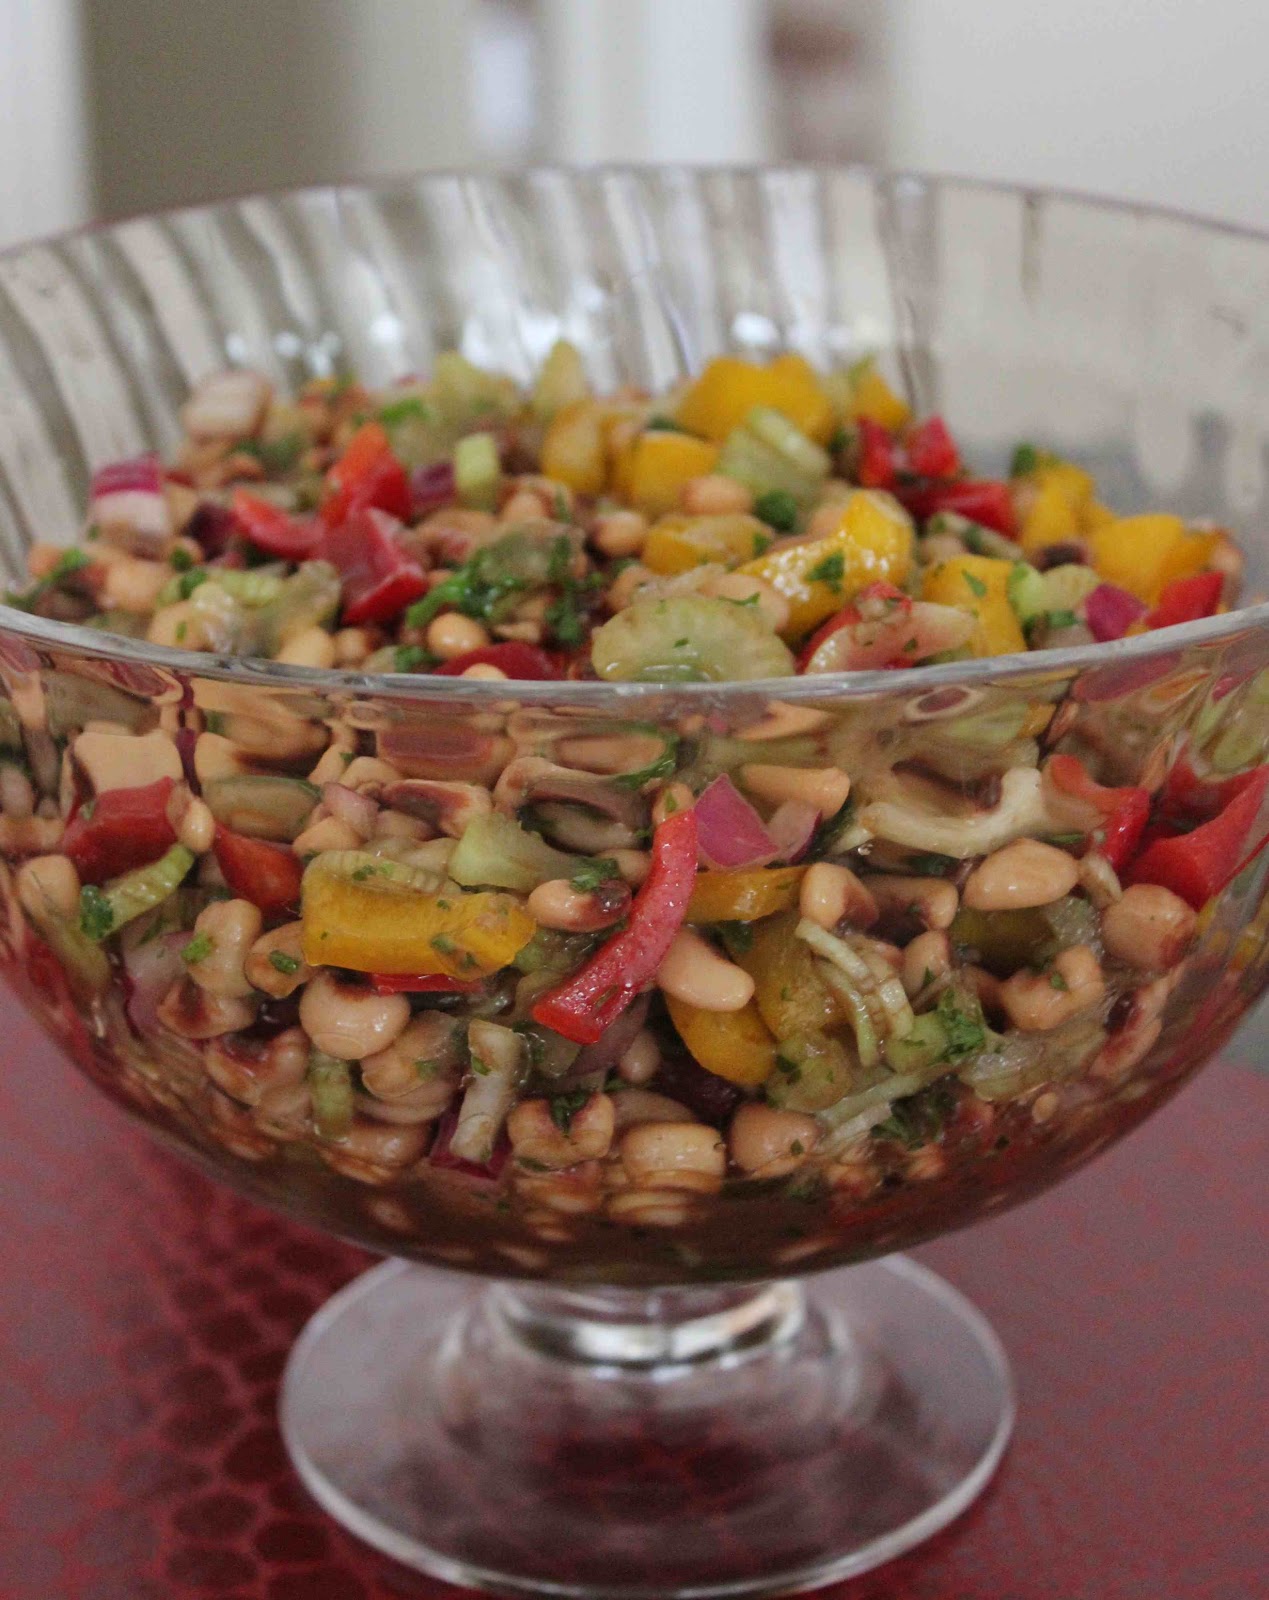
Lucky Black-Eyed Peas
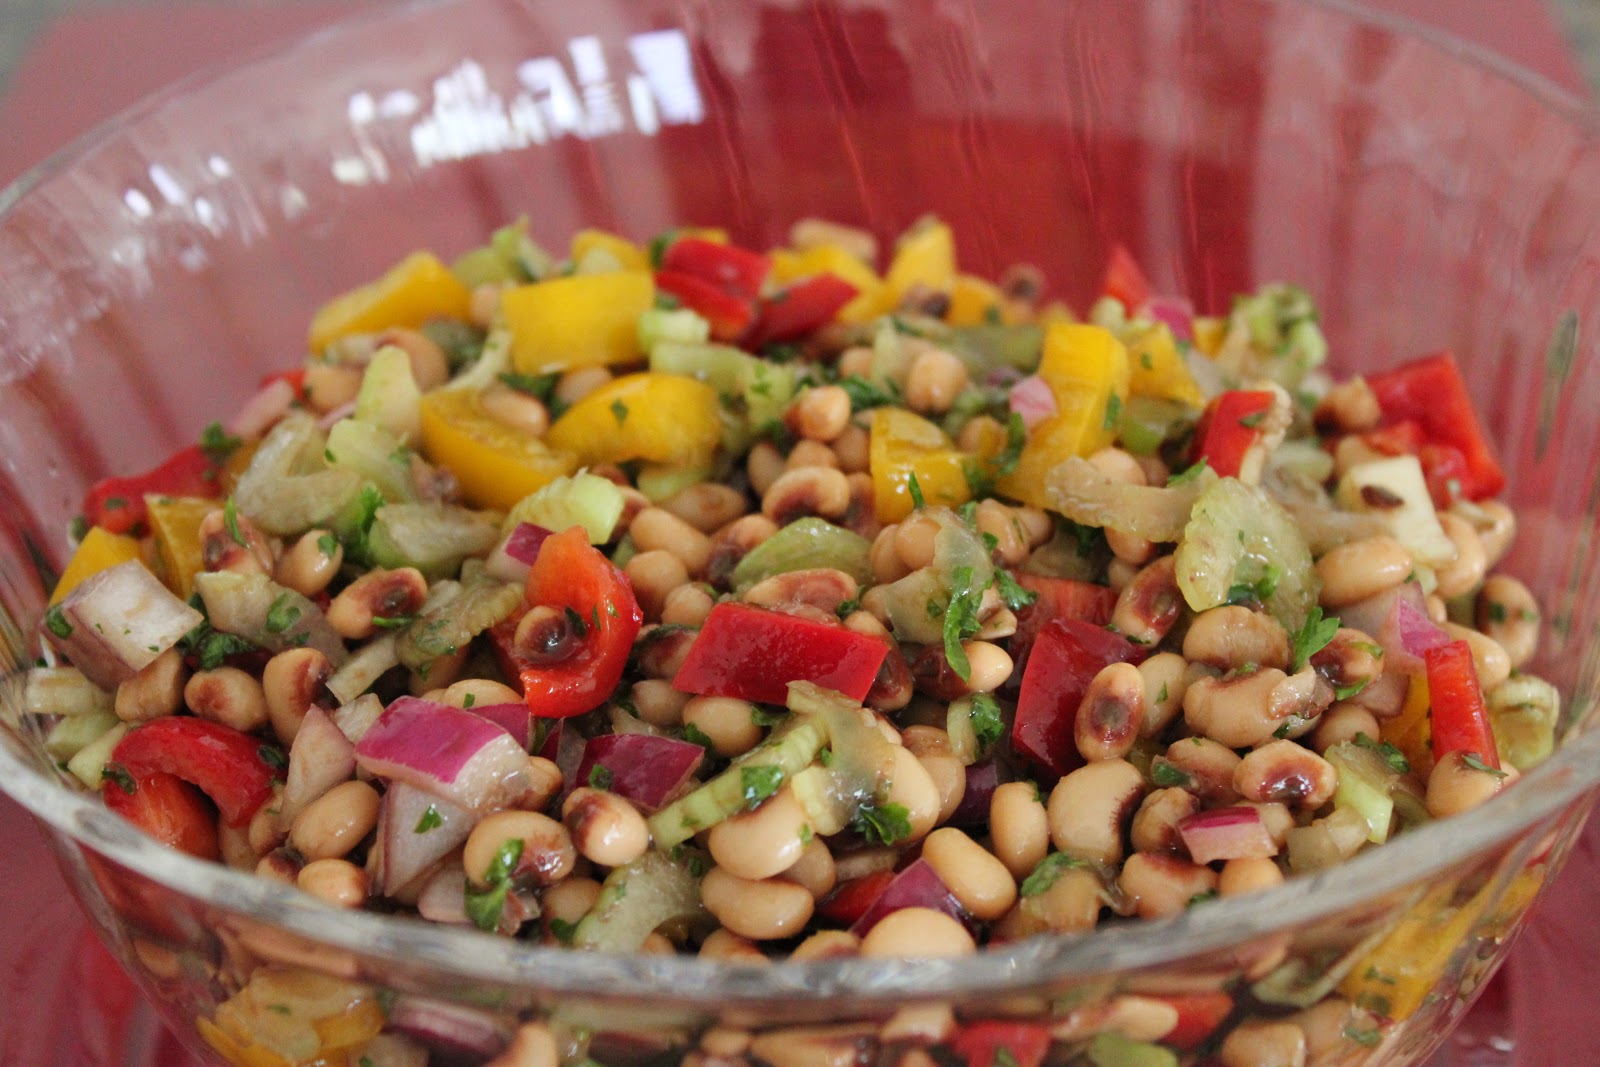
Happy New Years (a few days early)! Since 2013 is just around the corner, its time you get your lucky black-eyed pea recipe on the menu for Monday night!
This recipe was given to me by one of my neighbors. As you know, I write a monthly Resident Recipe column for our neighborhood, and this one was featured in our December 2012 magazine. Here’s the article:
Shelley was never a huge fan of black-eyed peas, but when you live in the south, you don’t have much choice. Eating black-eyed peas on New Years Day is good luck and is supposed to bring prosperity.
Shelley’s salad takes regular canned black-eyed peas to the next level. She makes this salad every New Years Day, and people who say they don’t like black-eyed peas LOVE this salad!
Lucky Black-Eyed Peas
Ingredients
MUSTARD HONEY VINAIGRETTE
1/4 cup Balsamic Vinegar
2 tsp. honey
2 tsp. Dijon mustard
1/2 tsp. tabasco sauce
2 cloves minced garlic
Fresh milled pepper
3/4 cup vegetable oil
SALAD
2 (14 oz.) cans black-eyed peas, drained
1 1/2 cups thinly sliced celery
1 red pepper – 1/2″ diced cubes
1 yellow pepper – 1/2″ diced cubes
2/3 cup chopped red onion
2/3 cup chopped parsley
Directions
1. Prepare Honey Mustard Vinaigrette: Whisk together the balsamic vinegar, honey, Dijon mustard, Tabasco, garlic and pepper. Whisk in the vegetable oil. (It can be made a day in advance.)
2. Prepare Salad: Mix salad ingredients and gently toss with vinaigrette. Refrigerate 1-4 hours.
3. Add parsley just before serving, reserving a little to sprinkle on top for garnish.
*Note: Can be served on a bed of greens for decoration. Salad tastes better the next day.
Yield: 4-6 servings
Recipe from: my neighbor, Shelley
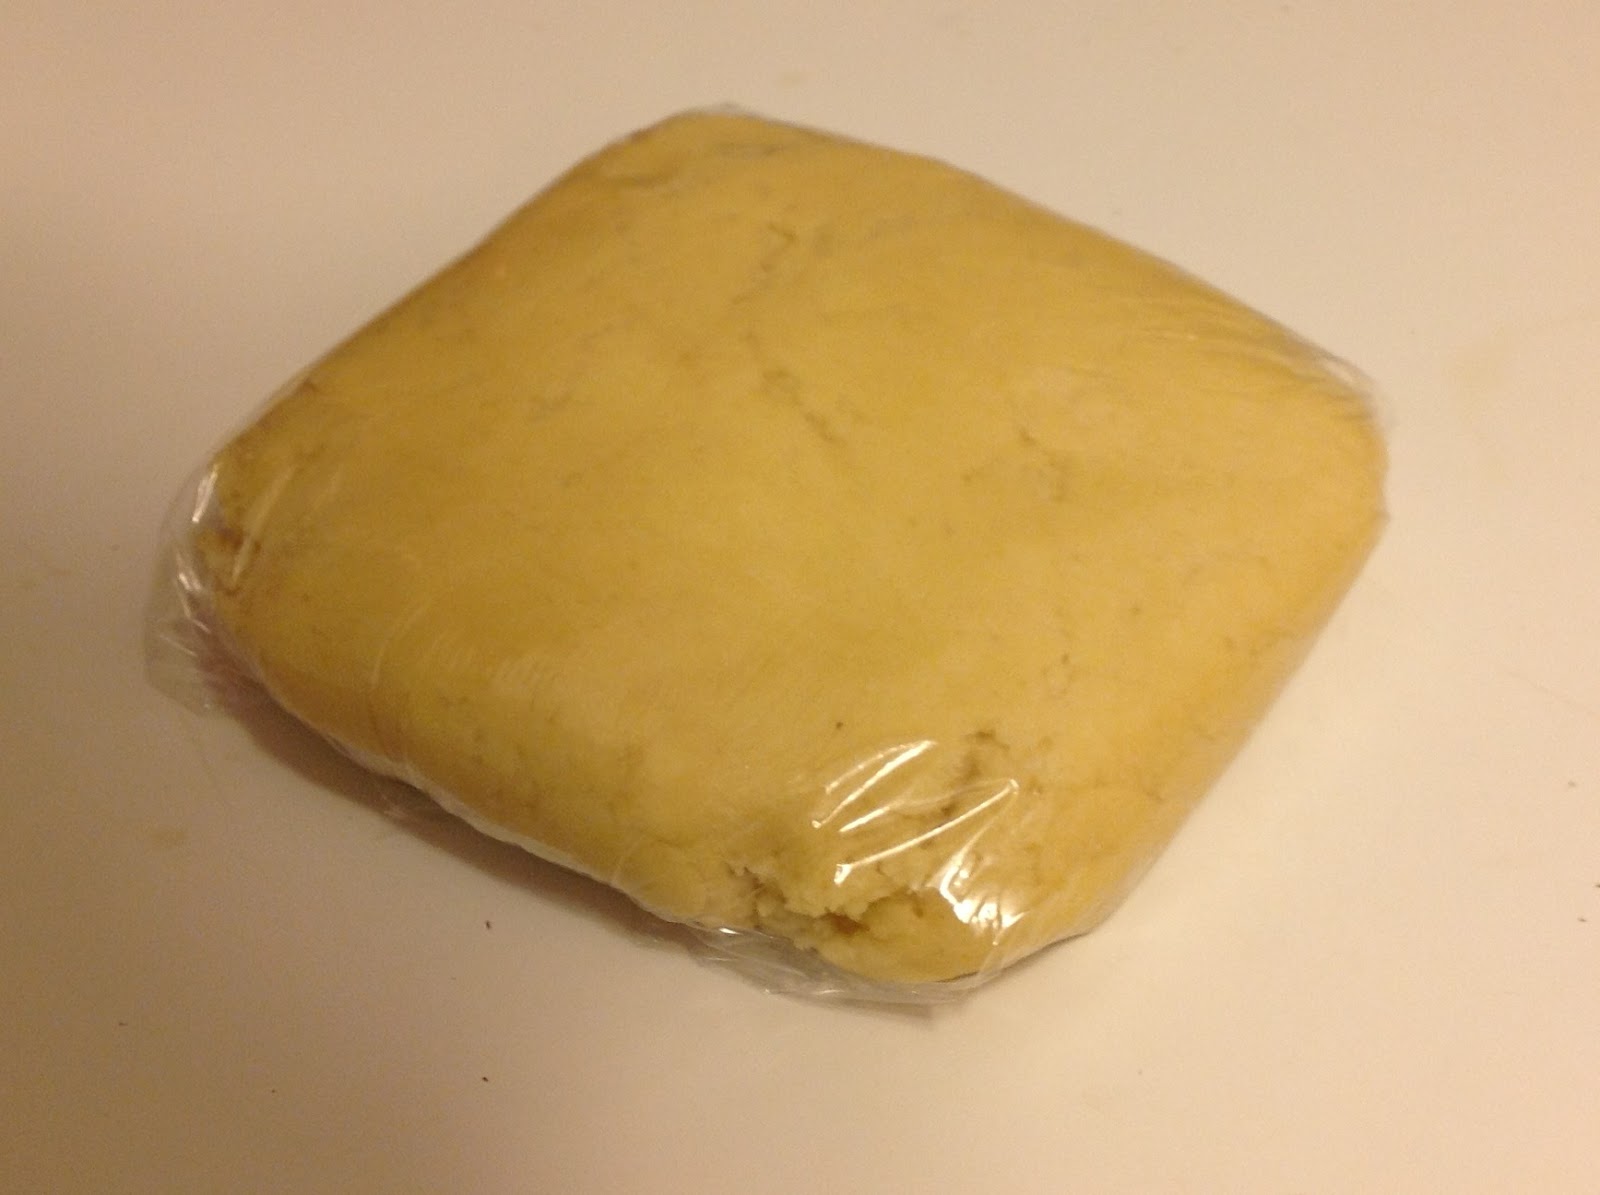
WINNER and Christmas Cookies

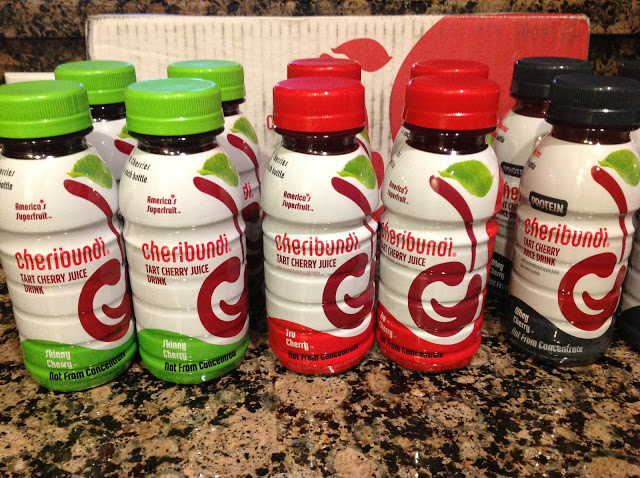
First things first. The winner of last week’s cheribundi GIVEAWAY is…..Shay at Whine Less, Breathe More (chosen at random via RANDOM.ORG). Thank you to everyone else who participated and stay tuned for the next giveaway at Dallas Duo Bakes.
Who’s excited about Christmas cookies? They are so fun and festive, and if you’re looking for a good sugar cookie recipe, definitely take a look at this one!
When I visited my sister in Michigan back in early November, we did quite a bit of cooking one Saturday afternoon. Christmas cookie baking that is… and it wasn’t even Thanksgiving yet!
Since December is here, I can finally post this recipe! FYI – we are not gourmet cookie decorators (this was our first time to decorate cookies) so don’t judge these by the way the look. While they weren’t the prettiest, Brittany and I had still had fun piping the icing on the cookies and decorating the snowmen, Christmas trees, angels and gingerbread men.
The cookies taste amazing! Once we get the decorating down, you’d think you’ve just eaten a cookie from Cookies by Design. Enjoy and MERRY MERRY CHRISTMAS!
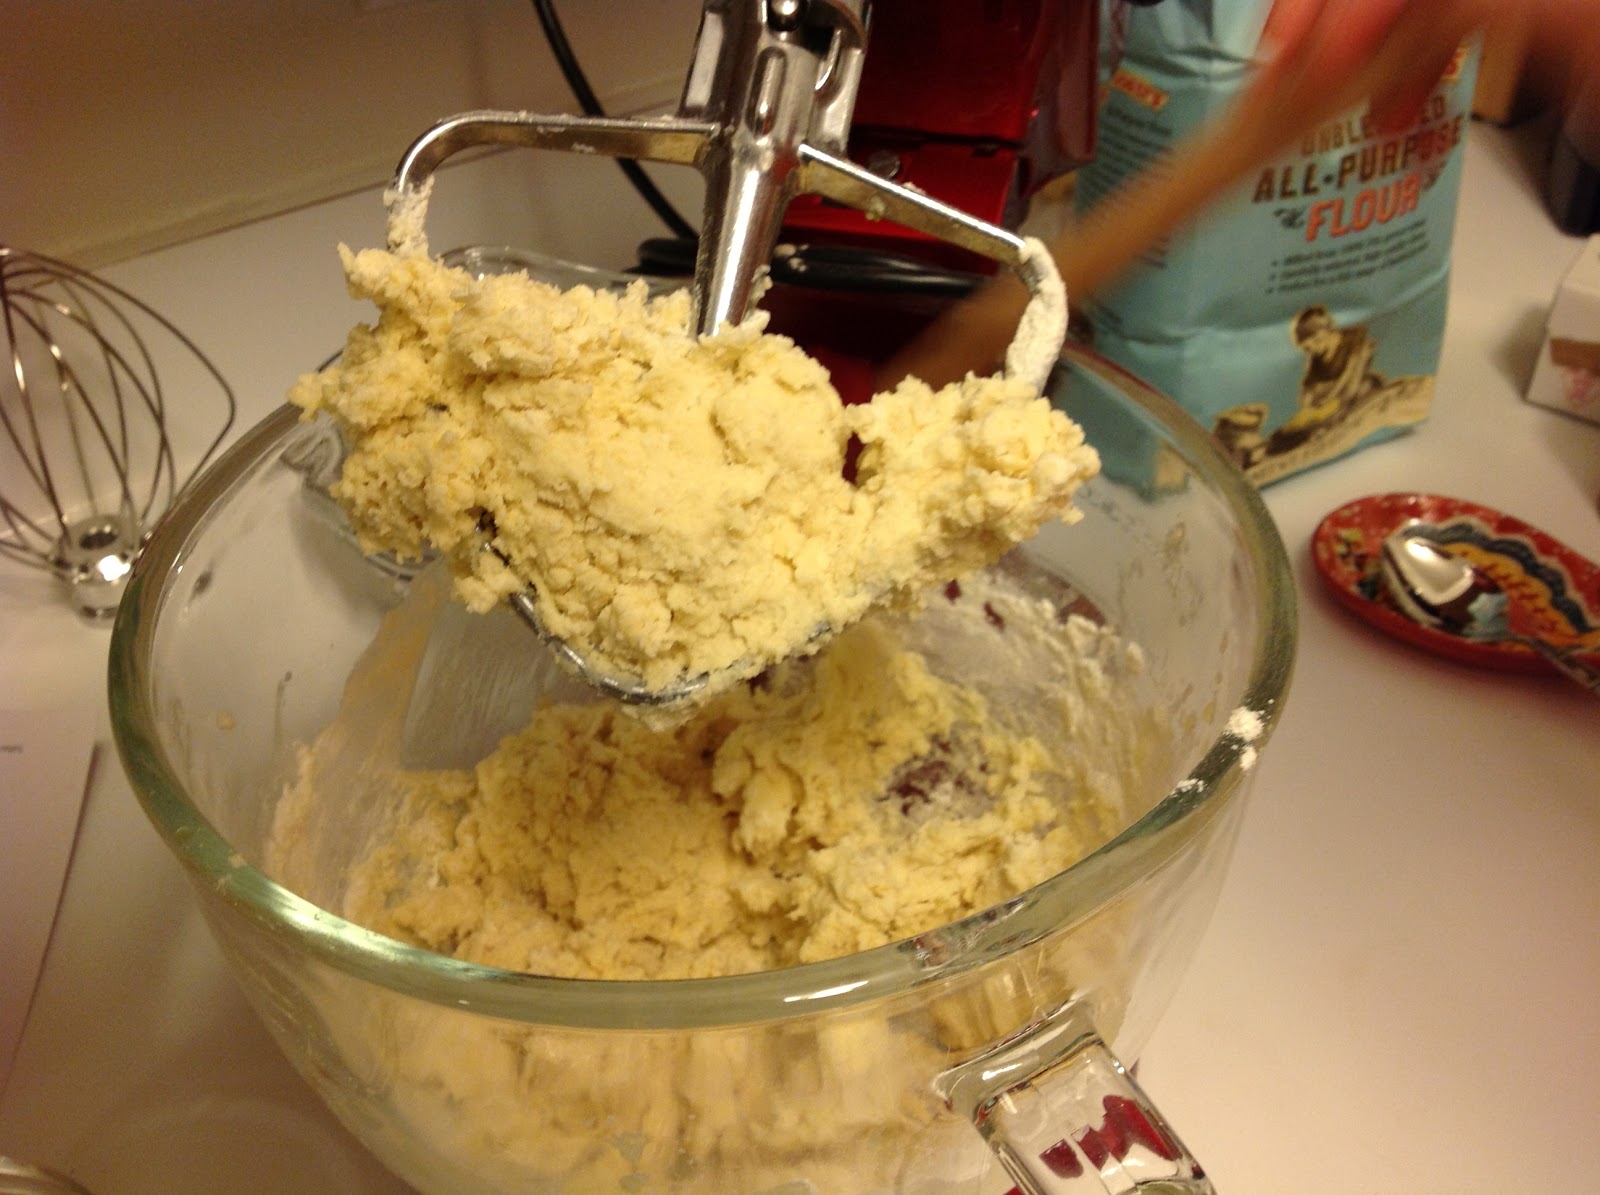 |
| Beat the dough in a stand mixer. |
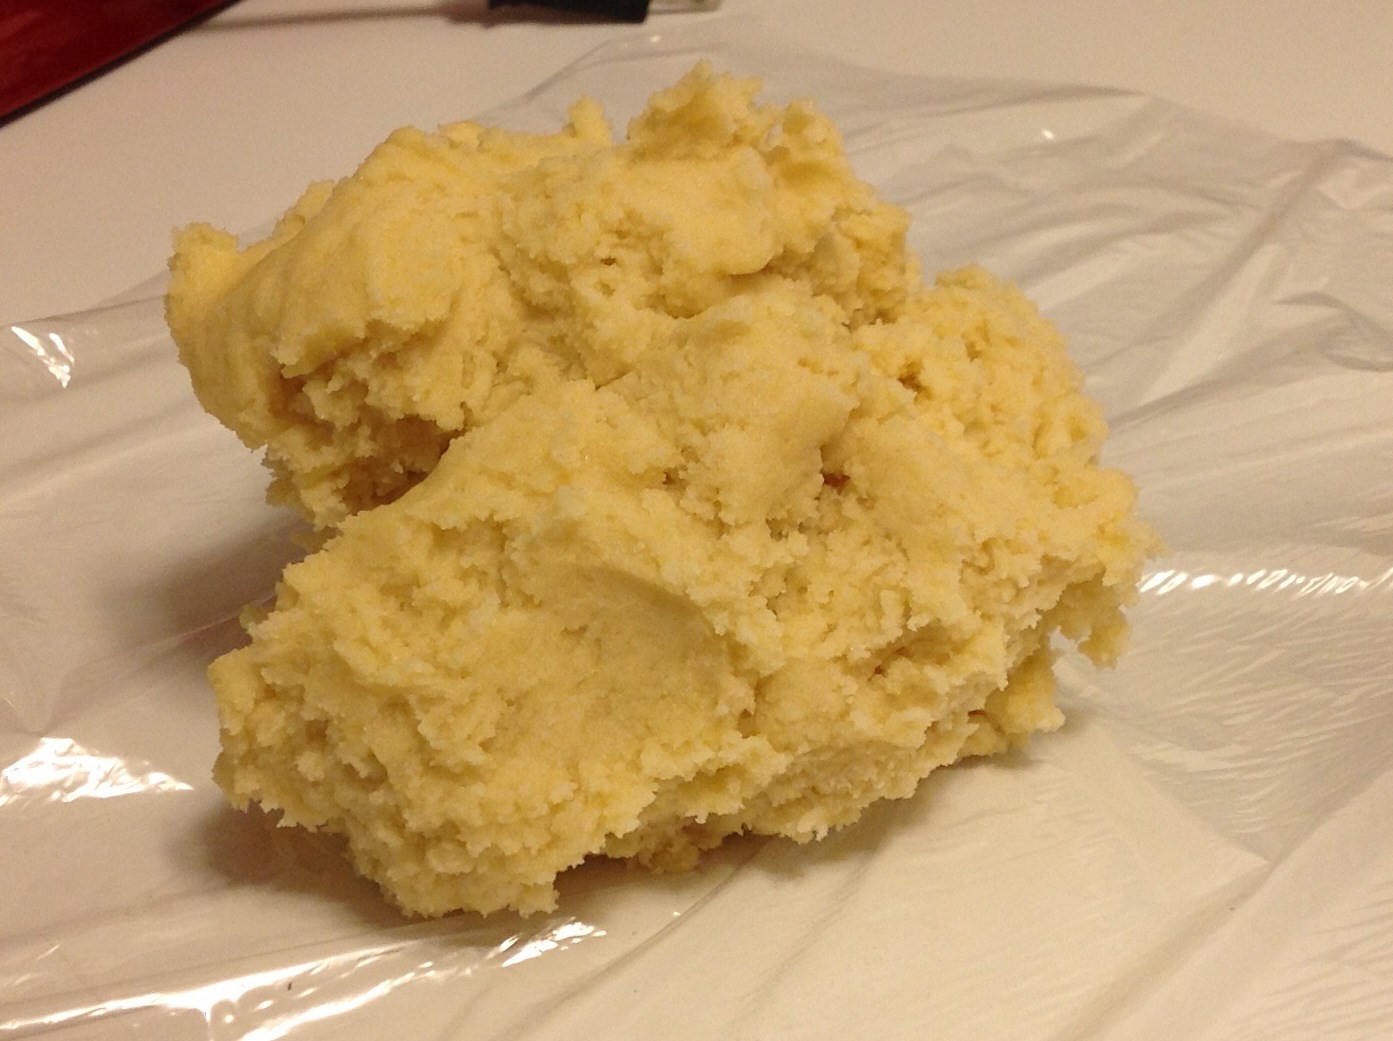 |
| Split the dough in half. |
 |
| Wrap dough and chill for 2 hours. |
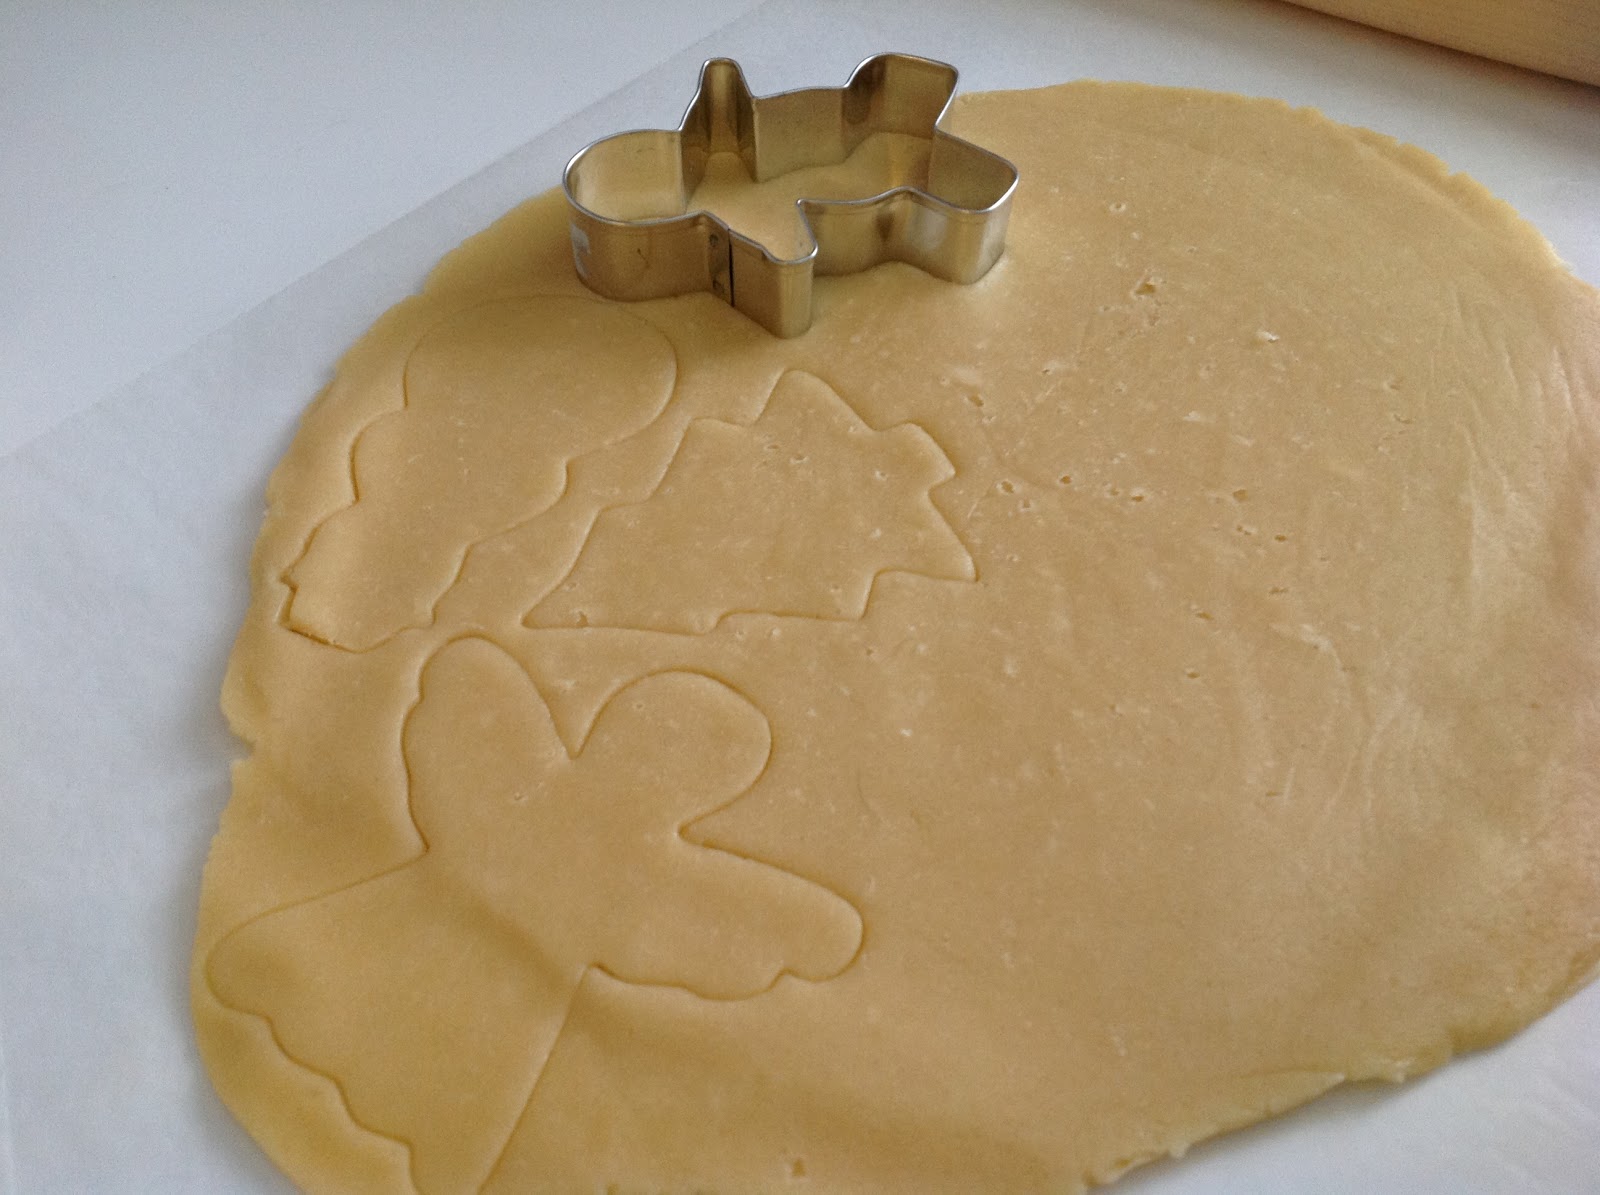 |
| Roll dough into 1/4 inch thickness. Bake for 9-11 minutes in a 350 degree oven. |
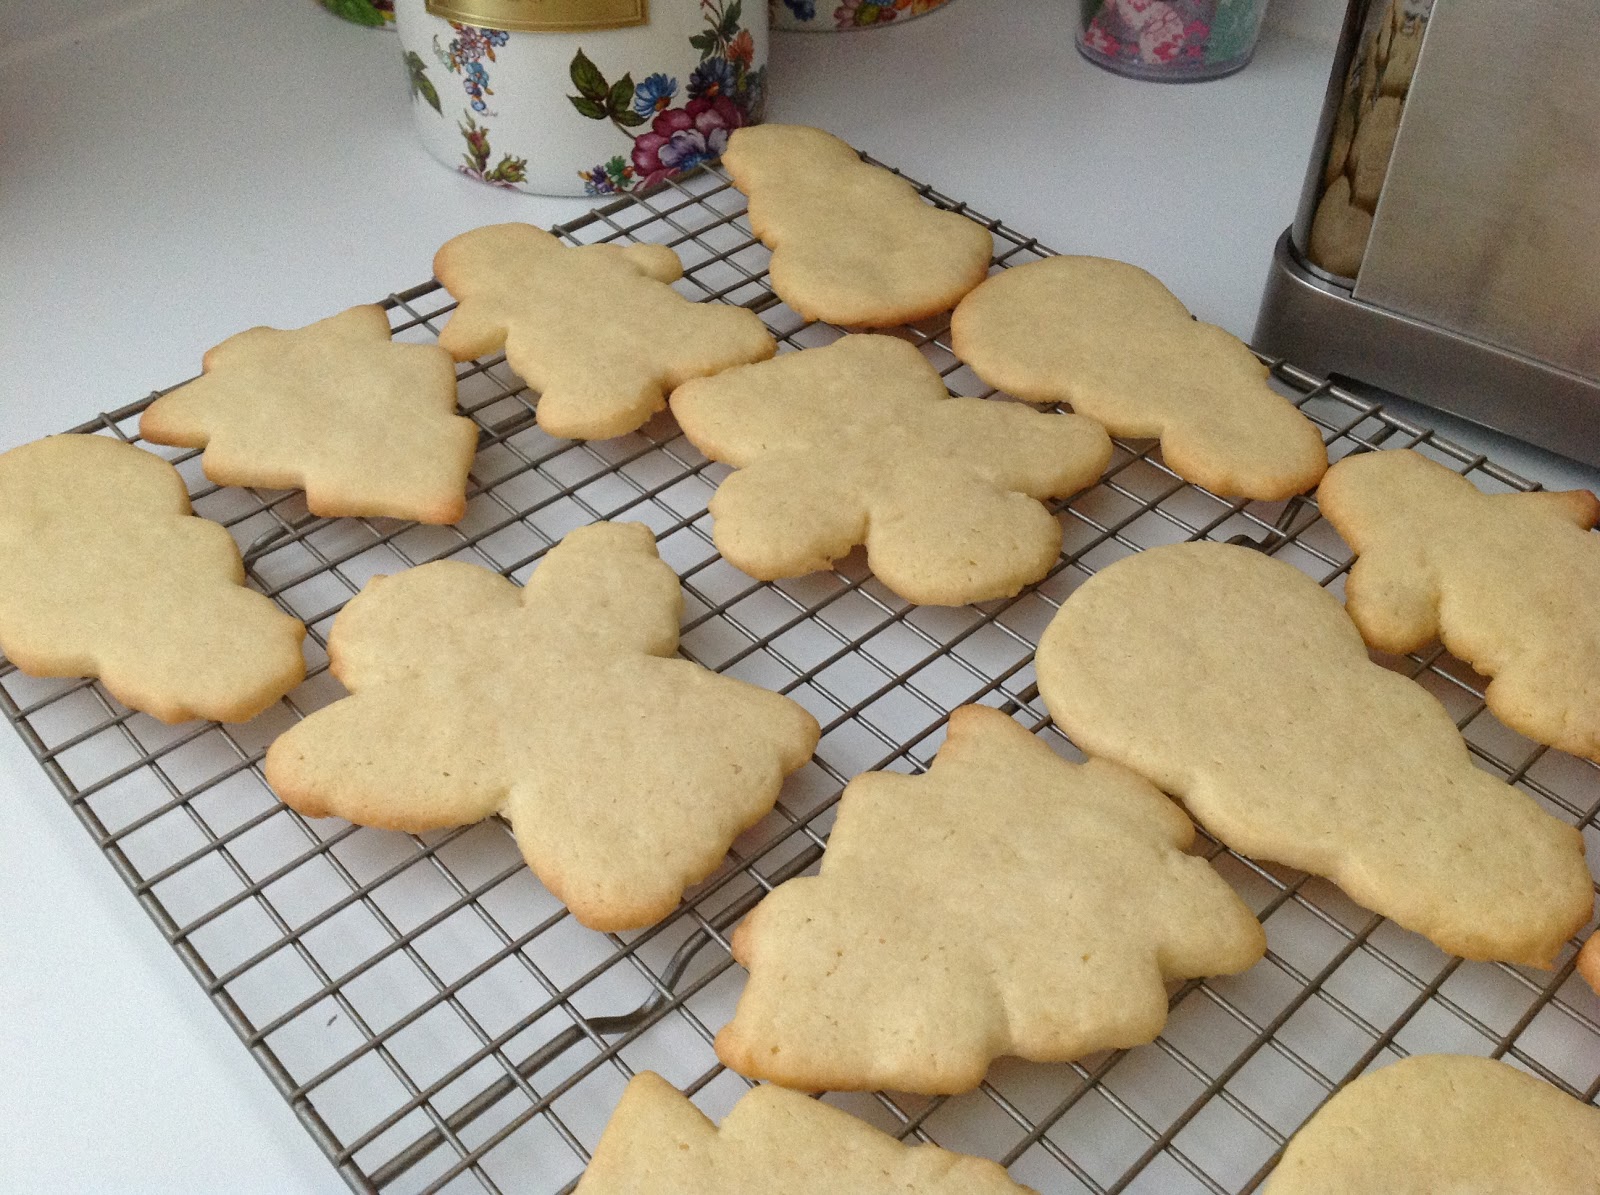 |
| Cool completely. |
 |
| Decorate the cookies…snowmen in our case! |
 |
| Add the snowmen’s hats. |
 |
| Decorate Christmas tree cookies. |
 |
| Christmas trees, snowmen, gingerbread men and angels! |
ALL-OCCASION SUGAR COOKIES
Ingredients
2 cups all-purpose flour
1/2 tsp. salt
1/2 tsp. baking powder
1 stick plus 2 Tbsp. (10 tablespoons) unsalted butter, at room temperature
1 cup sugar
1 large egg
1 large egg yolk
1 tsp. pure vanilla extract
Directions
1. Whisk the flour, salt and baking powder together.
2. Working with a stand mixer, preferably fitted with a paddle attachment, beat the butter at medium speed for a minute or so, until smooth. Beat the sugar and continue to beat for about 2 minutes, until the mixture is light and pale. Add the egg and yolk and beat for another minute or two; beat in the vanilla.
3. Reduce the mixer speed to low and steadily add the flour mixture, mixing only until it has been incorporated – because the dough is best when worked least, you might want to stop the mixer before all the flour is thoroughly blended into the dough and finish with a rubber spatula. When mixed, the dough will be soft, creamy, and malleable.
4. Turn the dough out onto a counter and divide it in half. If you want to make roll-out cookies, shape each half into a disk and wrap in plastic. If you want to make slice-and-bake cookies, shape each half into a chubby sausage (about 2 inches in diameter) and wrap in plastic. Chill dough for at least 2 hours. (Well wrapped, the dough can be refrigerated for up to 3 days or frozen for up to 2 months).
Getting ready to Bake:
1. Center rack in the oven and preheat the oven to 350 degrees F. Line two baking sheets with parchment or silicone mats.
2. If you are making roll out cookies, working with one packet of dough at at time, roll out the dough between sheets of plastic wrap or wax paper to a thickness of 1/4 inch, lifting the plastic or paper and turning the dough over often so that it rolls evenly. Lift the top sheet of plastic or paper and cut out the cookies. Pull away the excess dough, saving scraps for rerolling, and carefully lift the cutout cookies onto the baking sheets, leaving about 1 1/2 inches between the cookies. (This is soft dough and you might have trouble peeling away the excess or lifting the cutouts; if so, cover the dough, chill it for about 15 minutes and try again.) After you’ve rolled and cut the second packet of dough, you can form the scraps into a disk, then chill, roll, cut and bake.
3. If you are making slice-and-bake cookies, use a sharp thin knife to slice the dough into 1/4-inch thick rounds, and place the rounds on the baking sheets, leaving about 1 1/2 inches between the cookies.
4. Bake the cookies one sheet at a time for 9 to 11 minutes, rotating the sheet at midpoint. The cookies should feel firm, but they should not color much, if at all. Remove the pan from the oven and dust the cookies with sugar or cinnamon sugar, if you’d like. Lest them rest for 1 minute before carefully lifting them onto a rack to cool to room temperature.
Yield: about 50 (2-inch) cookies
Recipe from: Brown Eyed Baker
ROYAL ICING
Ingredients
4 cups powdered sugar
2 Tbsp. meringue powder
6 Tbsp. water
Food coloring
Directions
Mix all ingredients on low speed for 7-10 minutes or until the icing loses its shine. Add more water by the teaspoon if it appears to stiff. At this stage you want to be able to pipe it easily.
Recipe from: Brown Eyed Baker
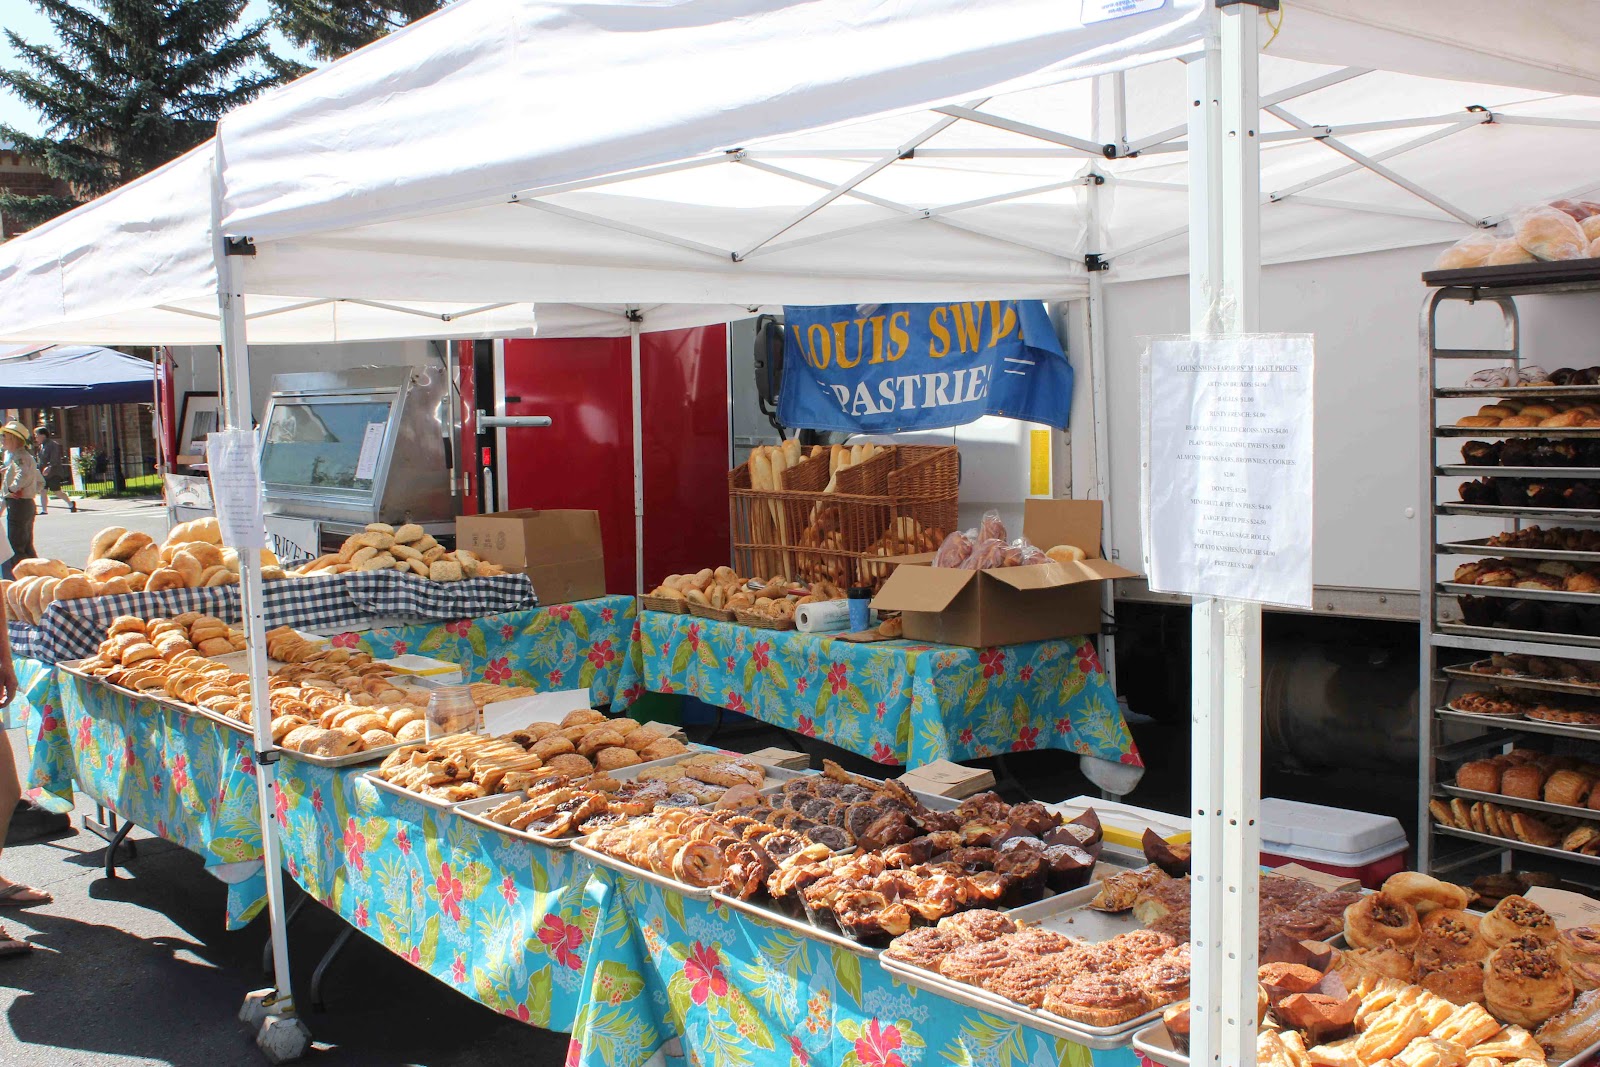
Aspen Saturday Market
 |
| Aspen Saturday Market |
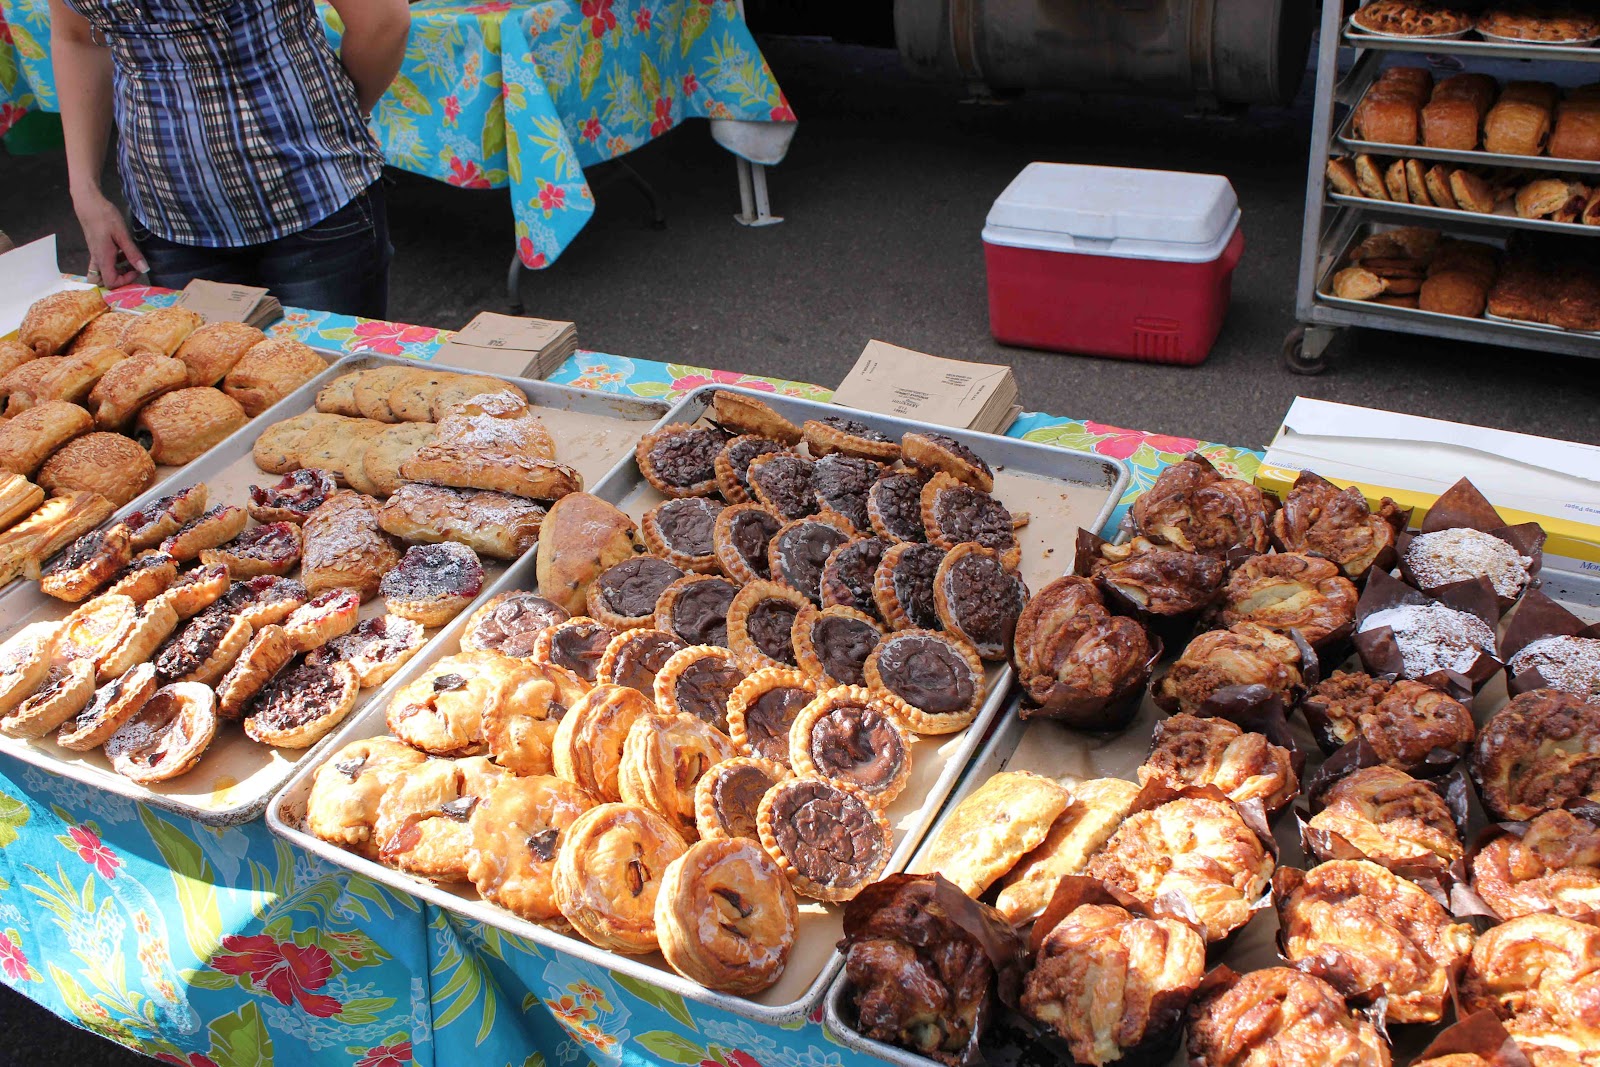
Have you ever been to a fresh farmer’s market or a Saturday market? If the answer is no, you really need to go visit one! Everything is homemade or locally grown. No preserves, no chemicals, and no mass-production. The vegetables and fruit are fresher, sweeter, and juicer. The meat is tender and fresh. The jewelry, artwork, and crafts are unique and one-of-a-kind.
One of my favorite markets is Aspen Saturday Market. One of my favorite venders is one that has tables upon tables of fresh breads, scones, muffins, cookies and tarts!!! Last time we were in Aspen, we ordered a blueberry and cranberry scone, whole-wheat oat and poppyseed bread, a magic bar, and a soft pretzel the size of a loaf of french bread! It was all very delicious!
In addition, we love the local Colorado honey. They even have samples for you to try!
|
||
| Delicious and freshly baked pastries, muffins, tarts, quiches, scones and breads! |
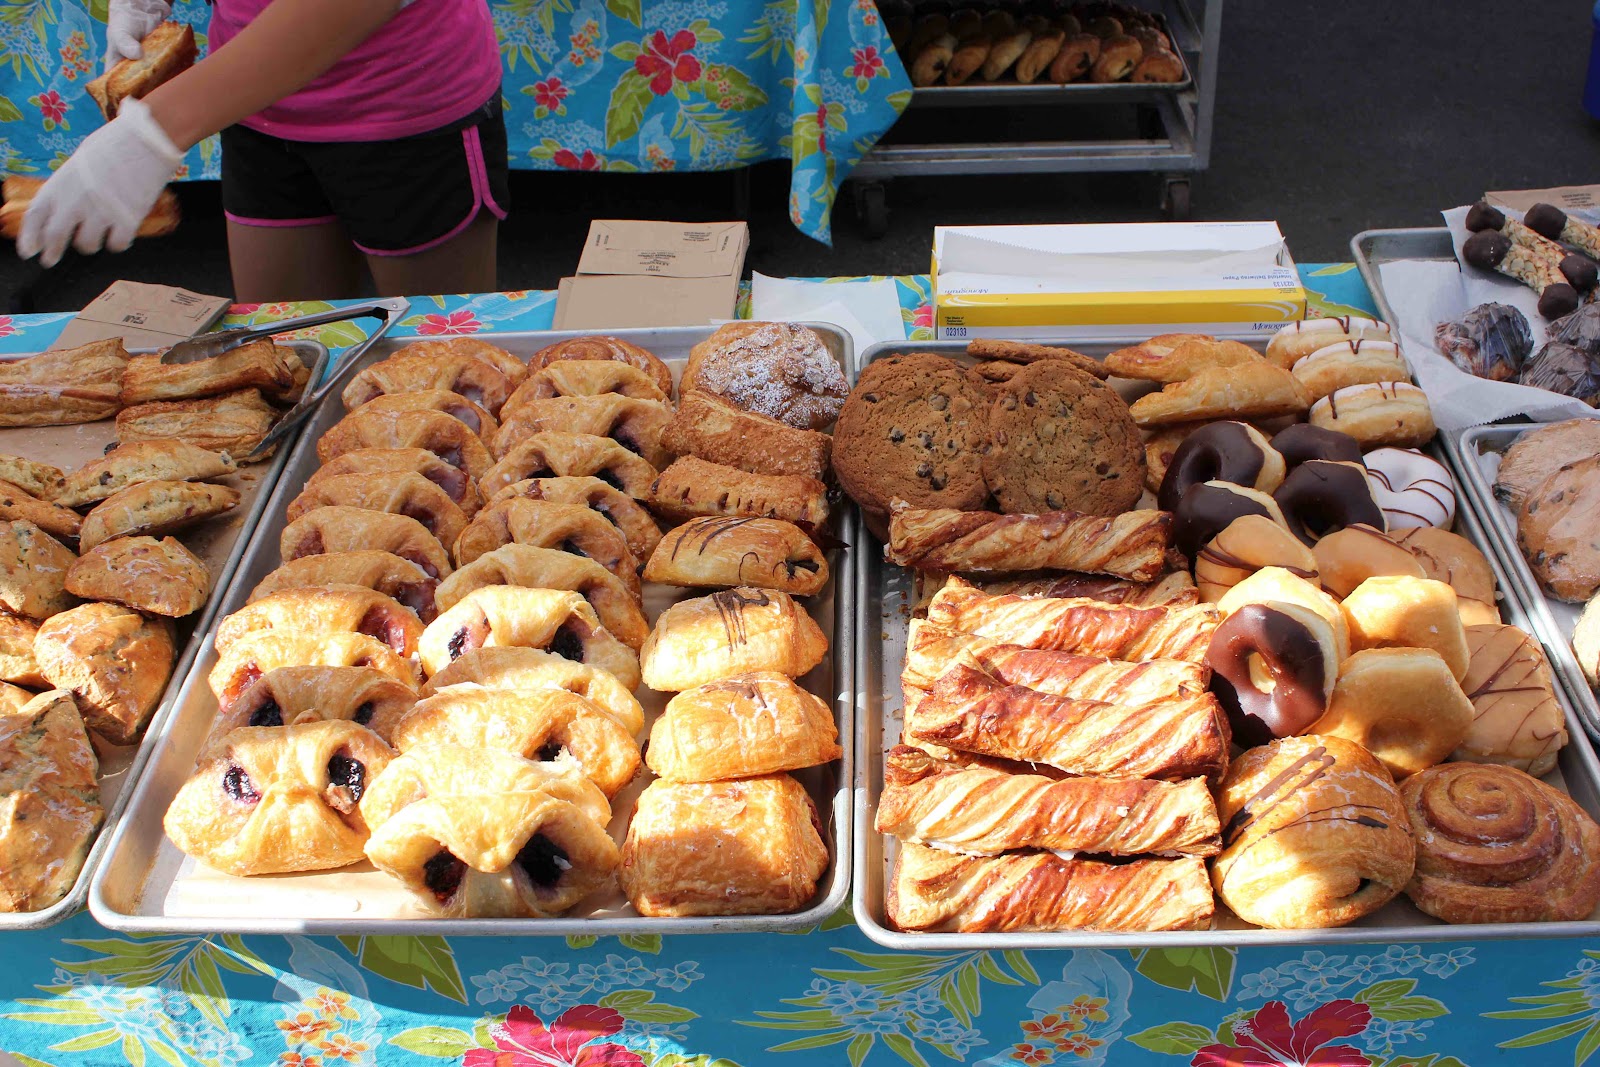 |
| Pastries, donuts, fritters, cinnamon rolls, and cookies … yes please! |
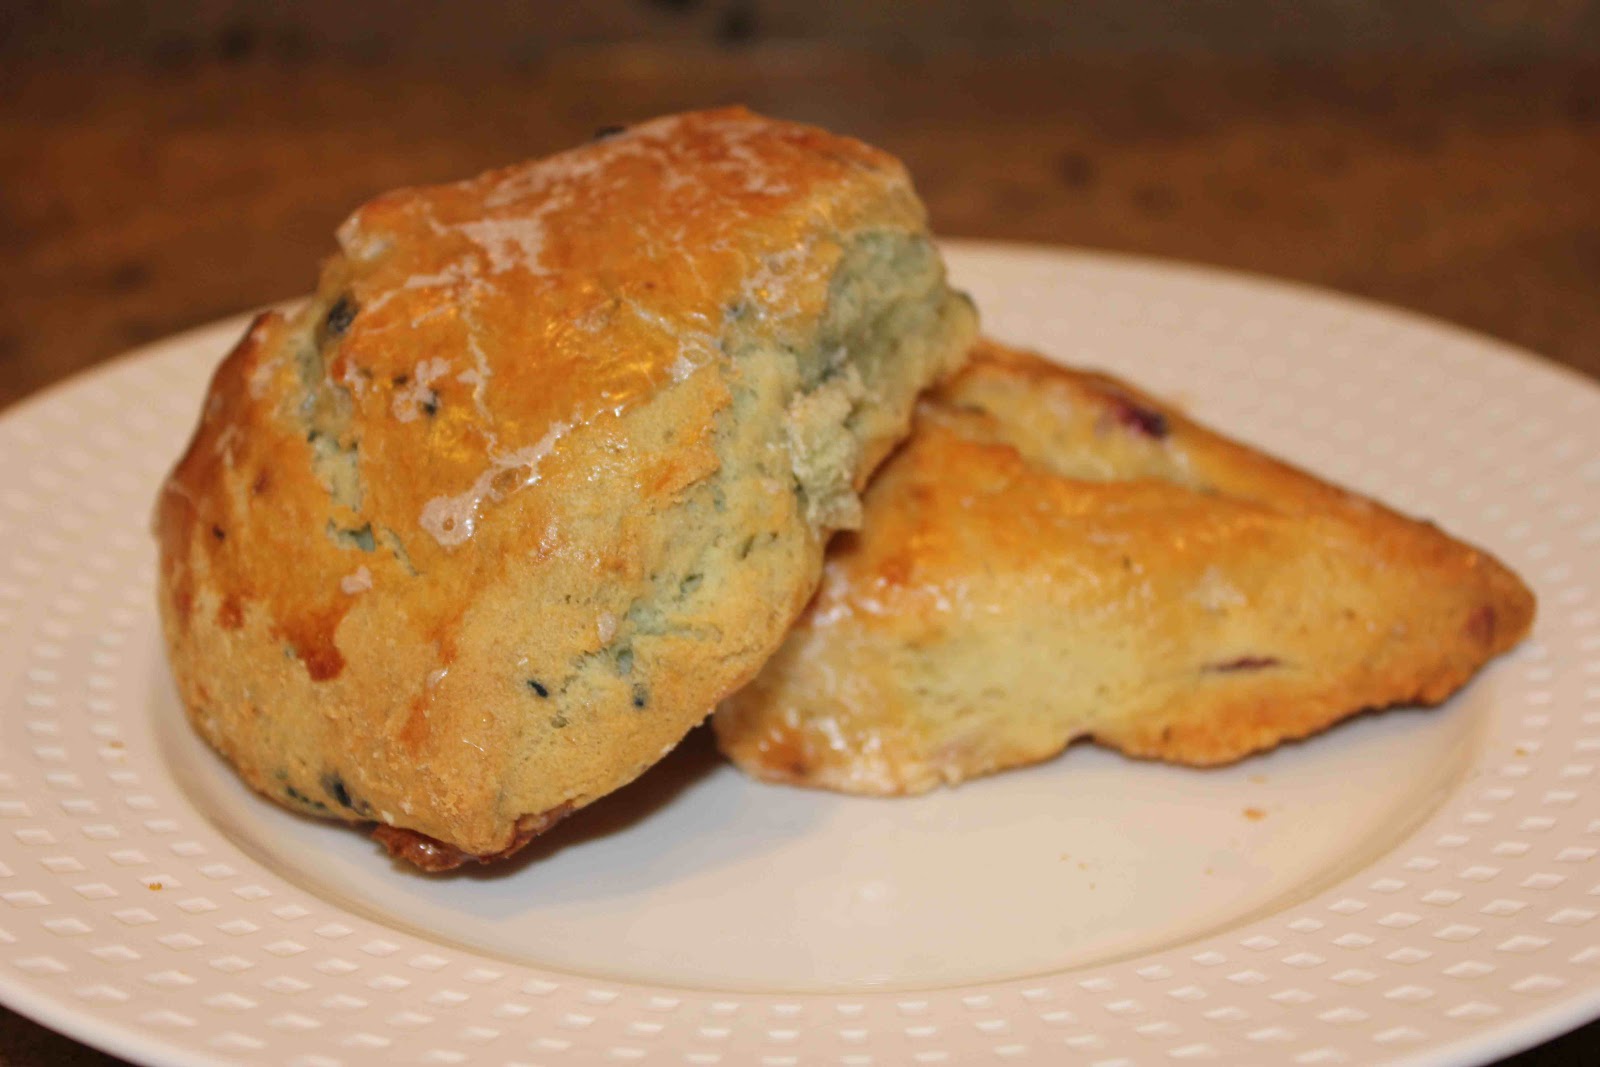 |
| Blueberry scone (top) and cranberry scone (bottom) |
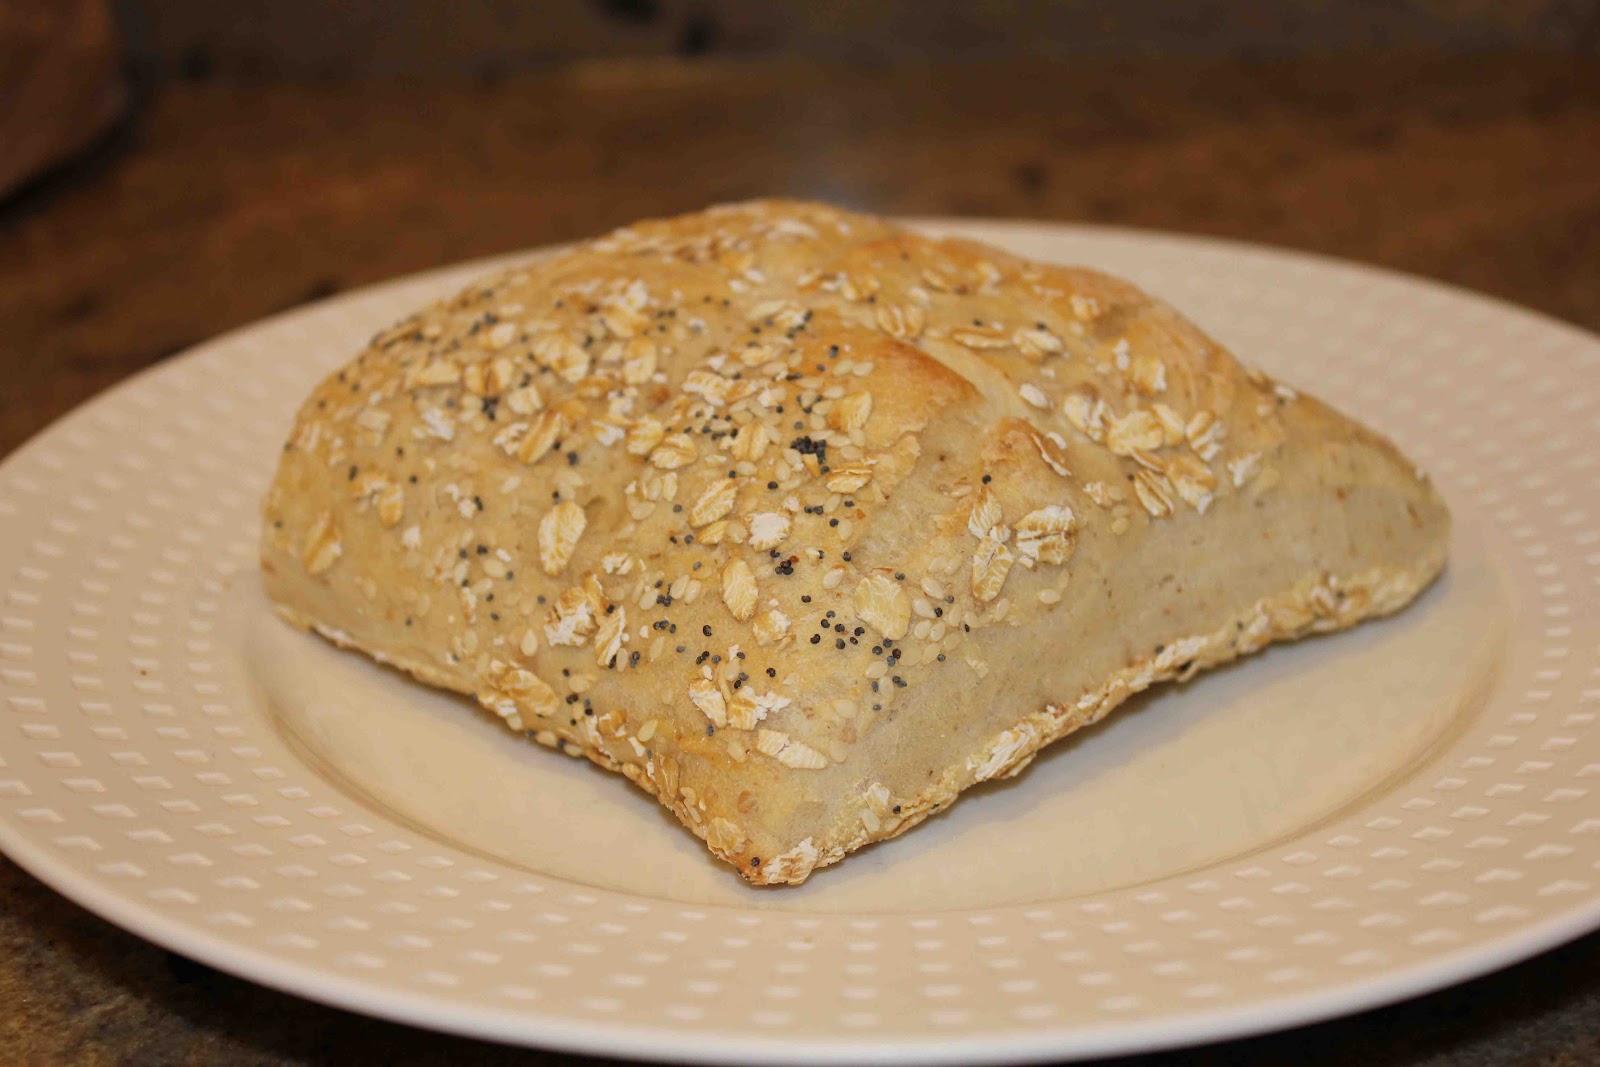 |
| Whole wheat bread |
Finally, there’s this pasta vendor called Pappardelle’s Pasta. The company was founded in Denver in 1984 and had a vision to bring exquisite, fresh pastas in an array of flavors never before experienced by Americans. At that time in the United States, “plain” was the only flavor of pasta available.
What kind of flavors can you expect from Pappardelle’s? There’s mushroom; basil & garlic; chocolate & raspberry; fanciful fruit blend; Italian pesto pasta blend; Southwestern pasta blend; whole wheat chipotle lime; basil tangerine; should I go on??? See the complete list here because I’m only just scratching the surface!
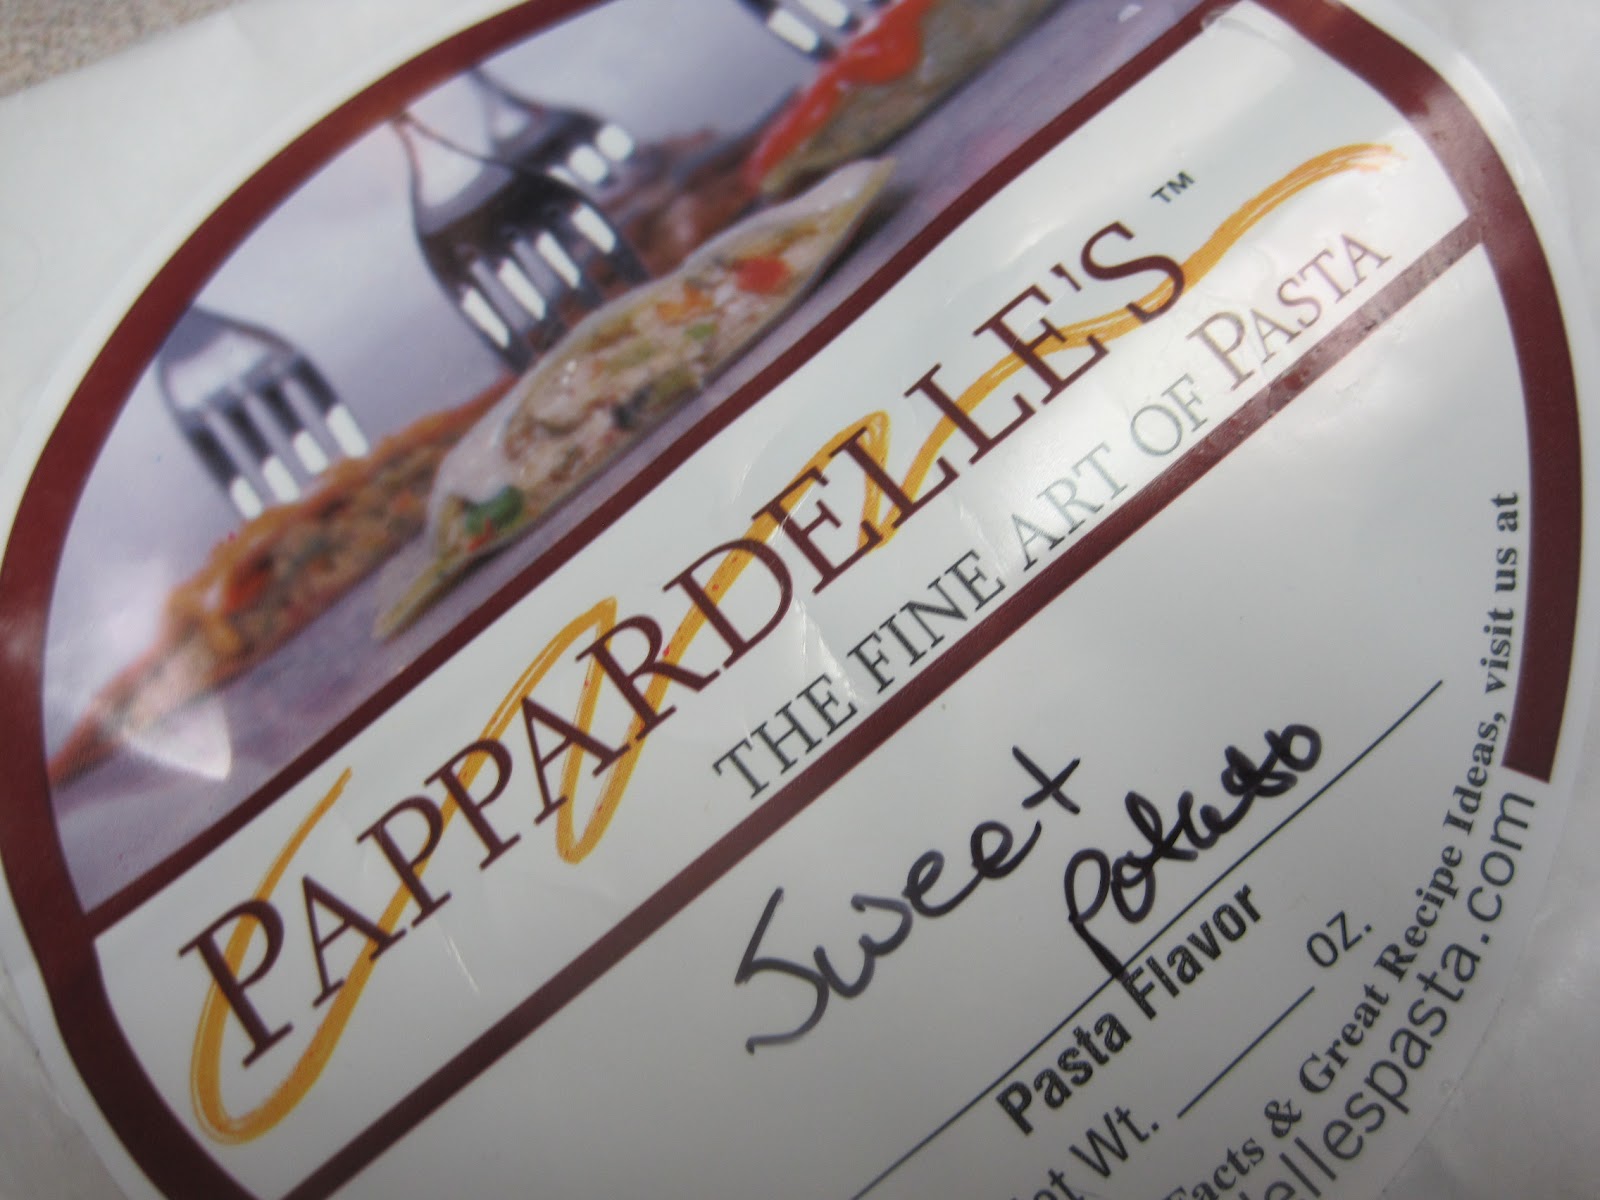 |
| Photo from: Highlands Ranch Foodie |
Saturday markets are a blast, and if you live in Dallas, you’re in luck! Dallas has a great farmer’s market that has been here for the past six decades! It is called Dallas Farmer’s Market and is open seven days a week, 8:00 am to 6:00 pm, 362 days of the year (according to their website)! You can buy locally grown tomatoes, sweet potatoes, peaches, watermelons, and even flowers & shrubs from farmers living within 150 miles of Dallas.
Check it out next time you have a free weekend in Dallas!
Happy Mother’s Day!

To all the mothers reading this, Happy Mother’s Day! In honor of this special day, I’d like to share just a few of my mom’s favorite recipes…
Breads/Breakfast/Muffins
Main Dishes
- Mom’s secret ingredient brownies
- Nutty chocolate chunk cookies (David Leibovitz)
- Nanny’s pound cake
