I love Cracker Barrel. Always have. The first time I remember eating there was in Tyler, Texas off the loop and I-20 with my grandfather Poppy. Poppy lived in Tyler and would always meet us at Cracker Barrel on our way into Tyler from Dallas or as we were leaving Tyler to go back home to Dallas.
As I kid I loved playing with the little triangle peg game at the table, and you can’t beat Cracker Barrel’s county store with stuffed animals and candy!
Even though my grandfather is no longer with us, we still visit Cracker Barrel regularly with my in-laws Tony and Paula. They have a lake house on Cedar Creek Lake, so we always stop at the Cracker Barrel on Interstate 635 on our way back home to Dallas.
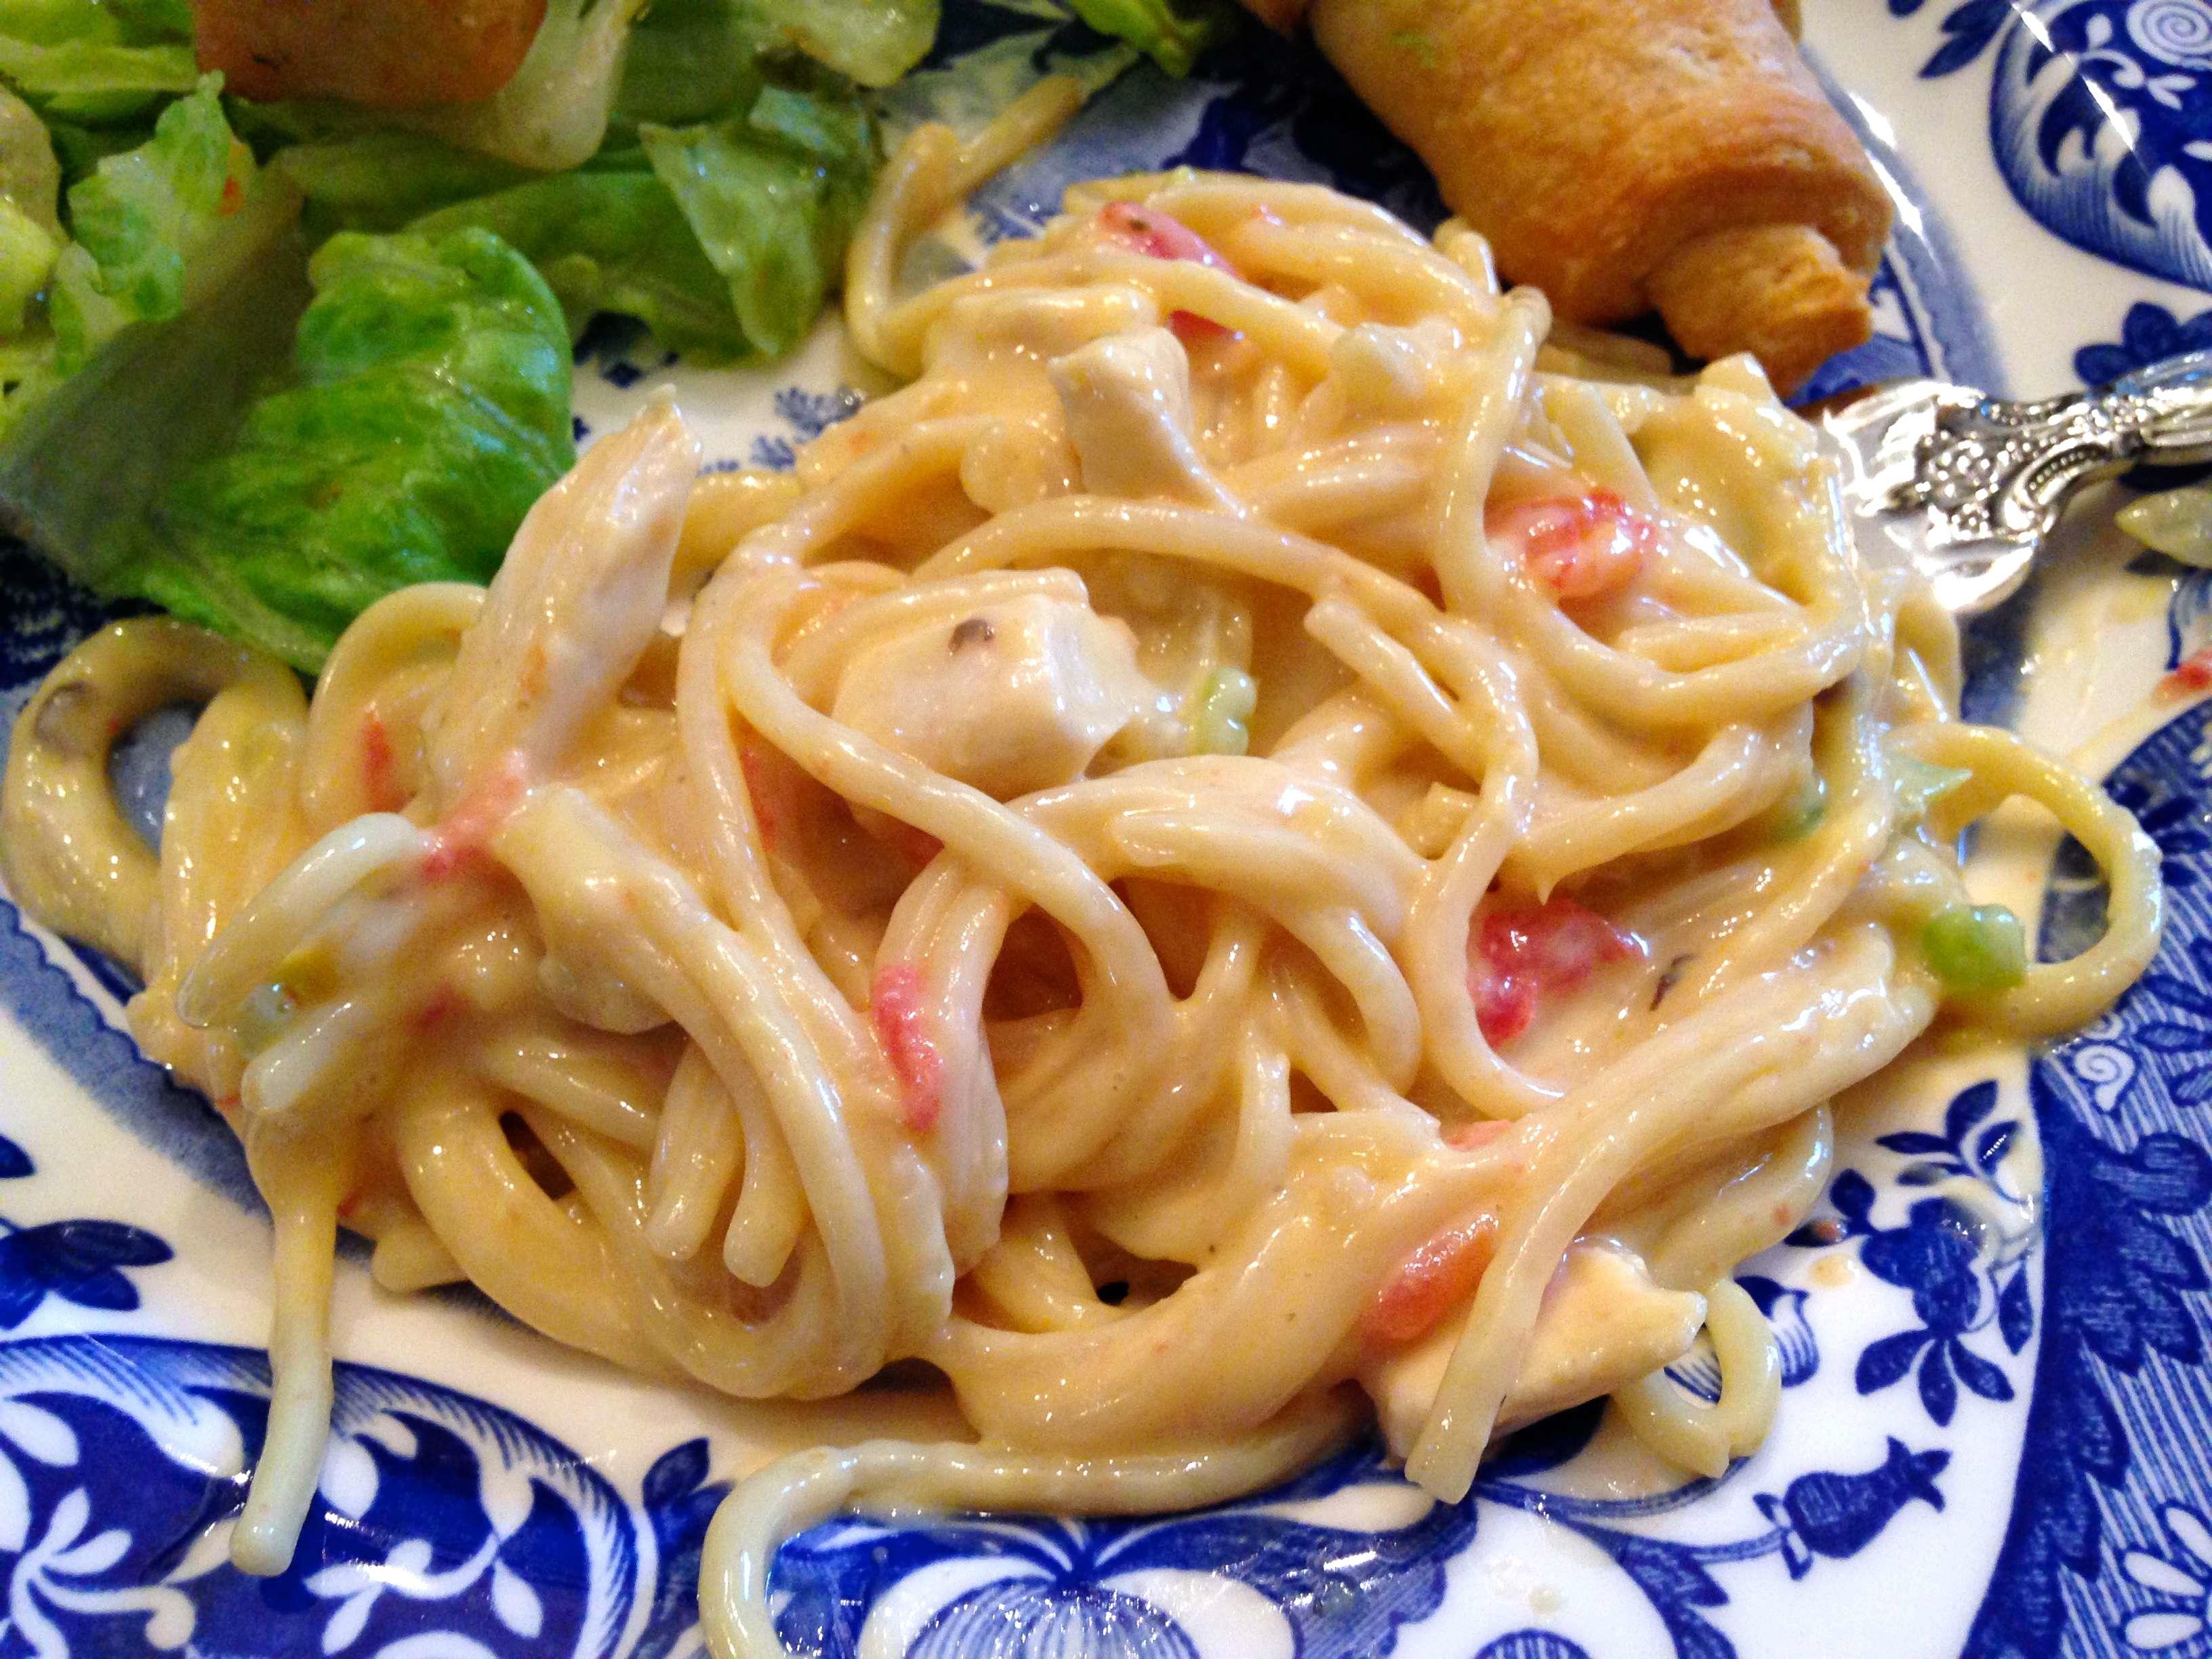
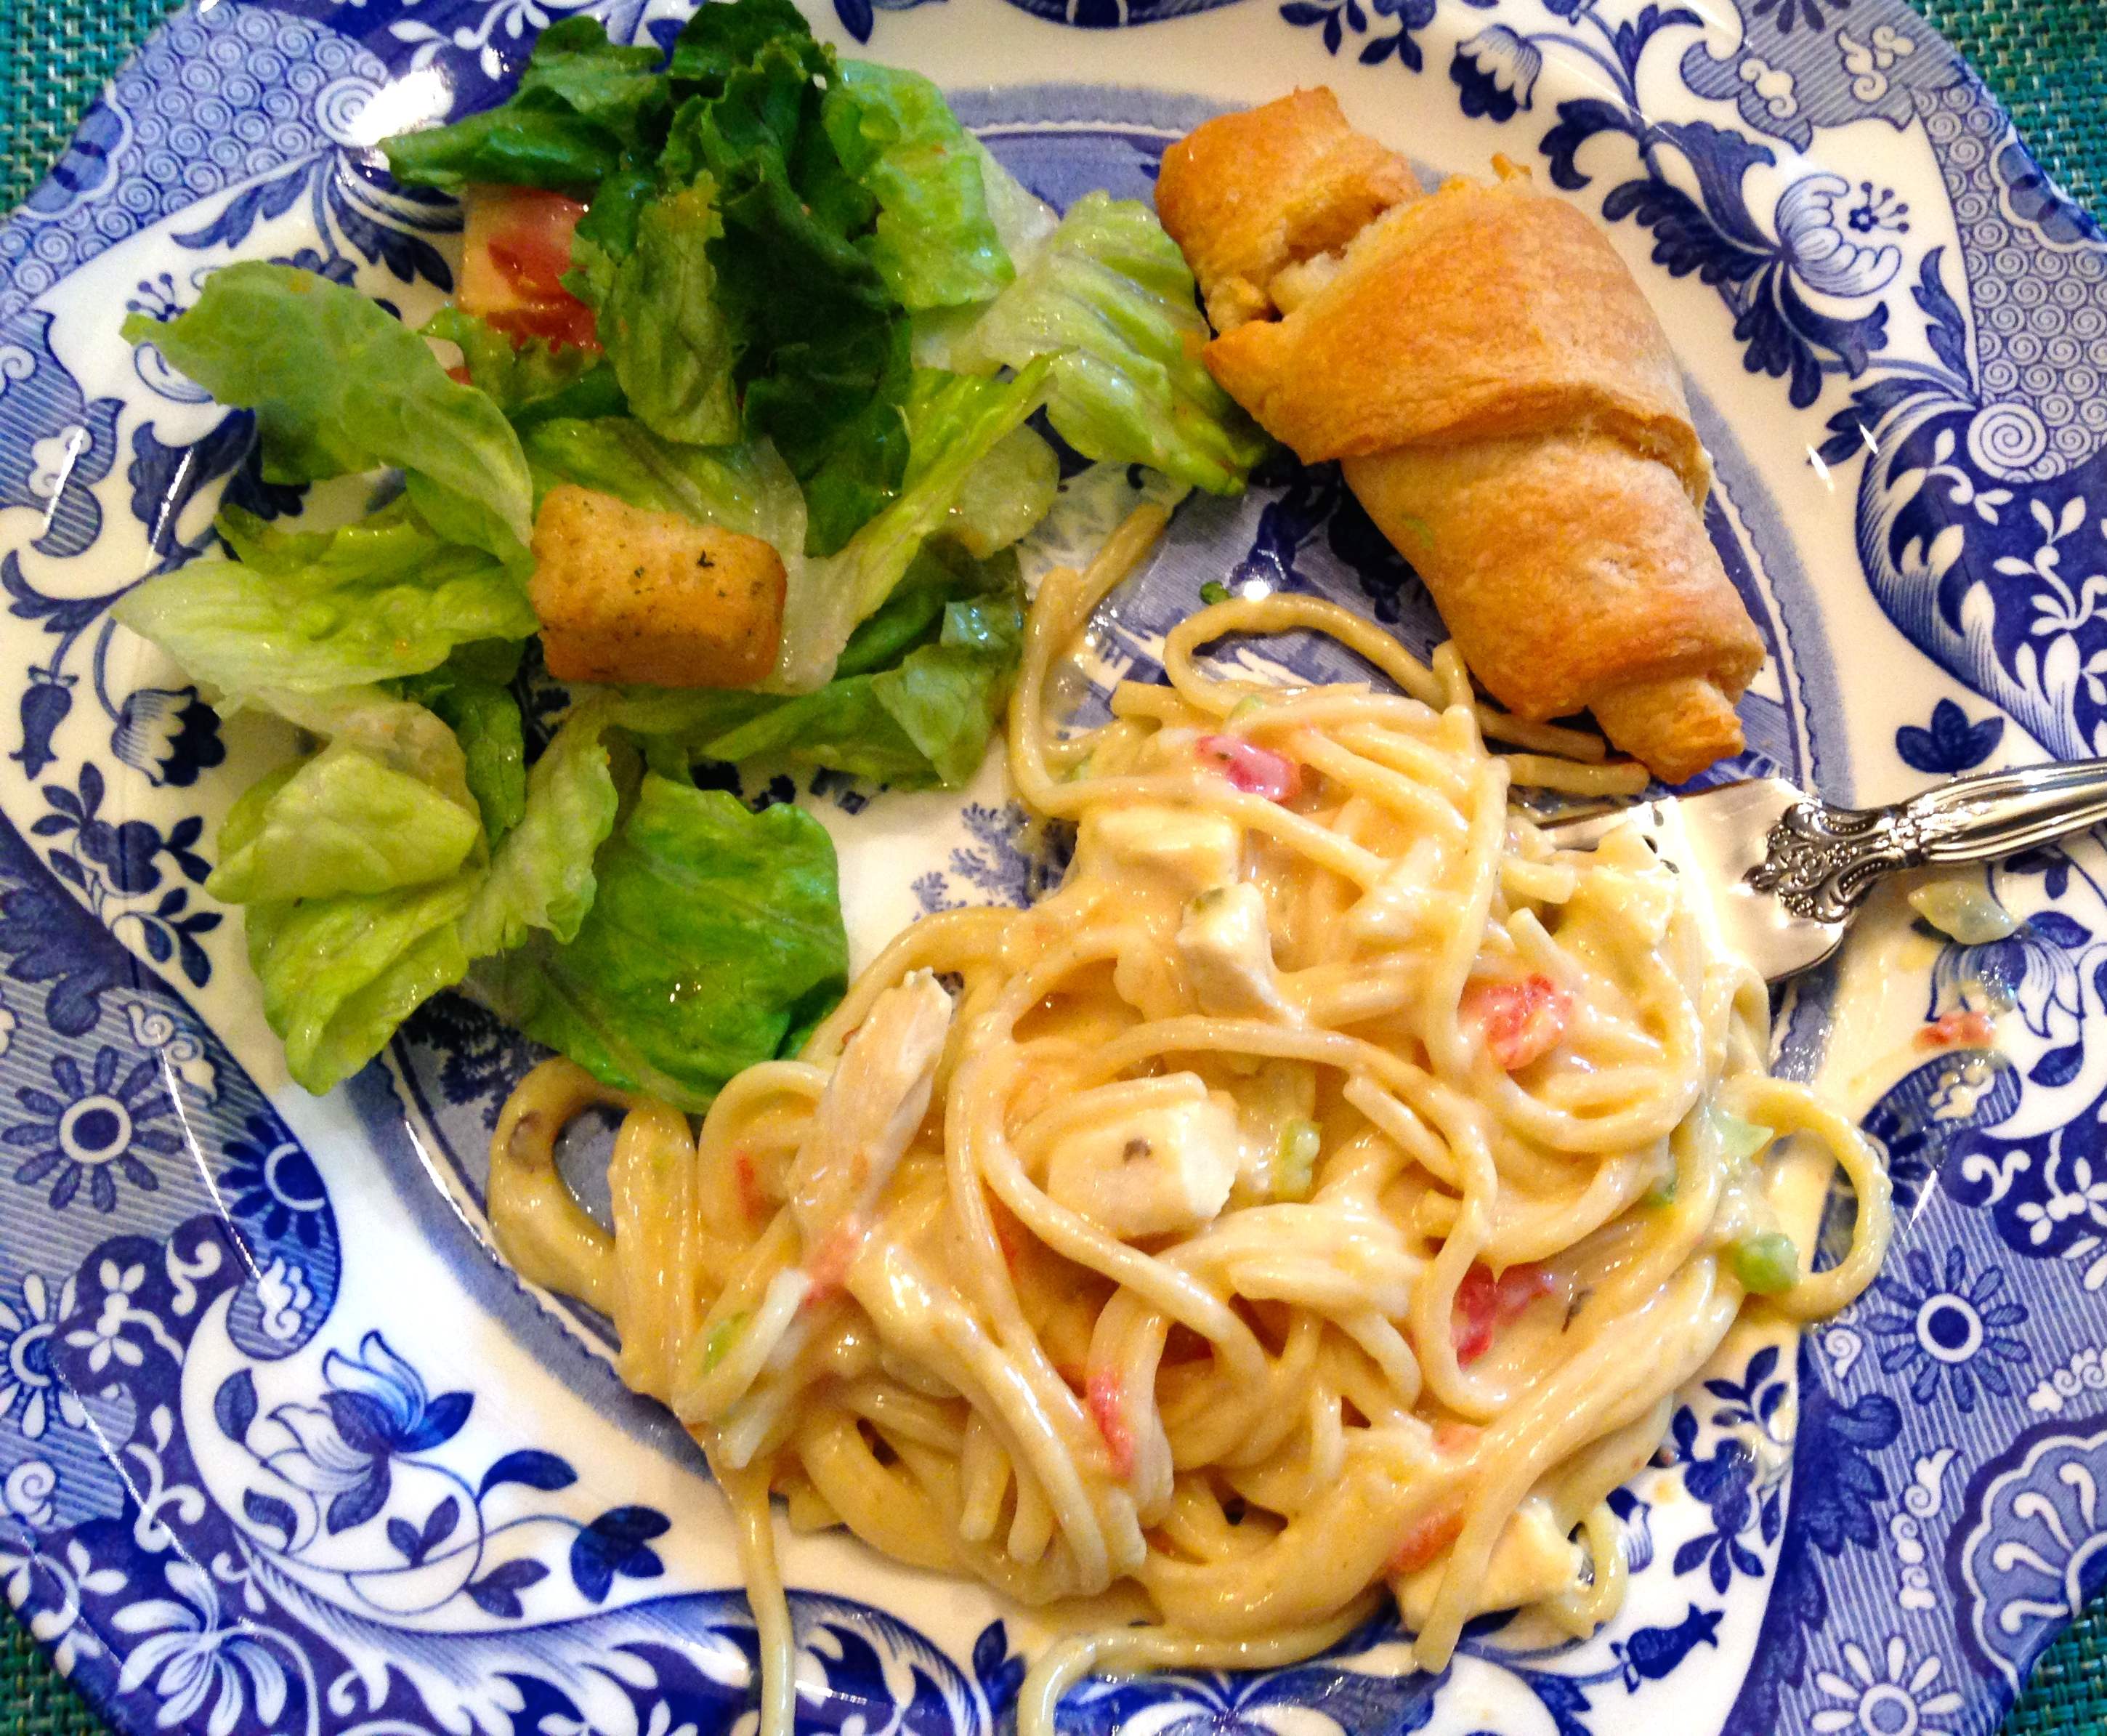
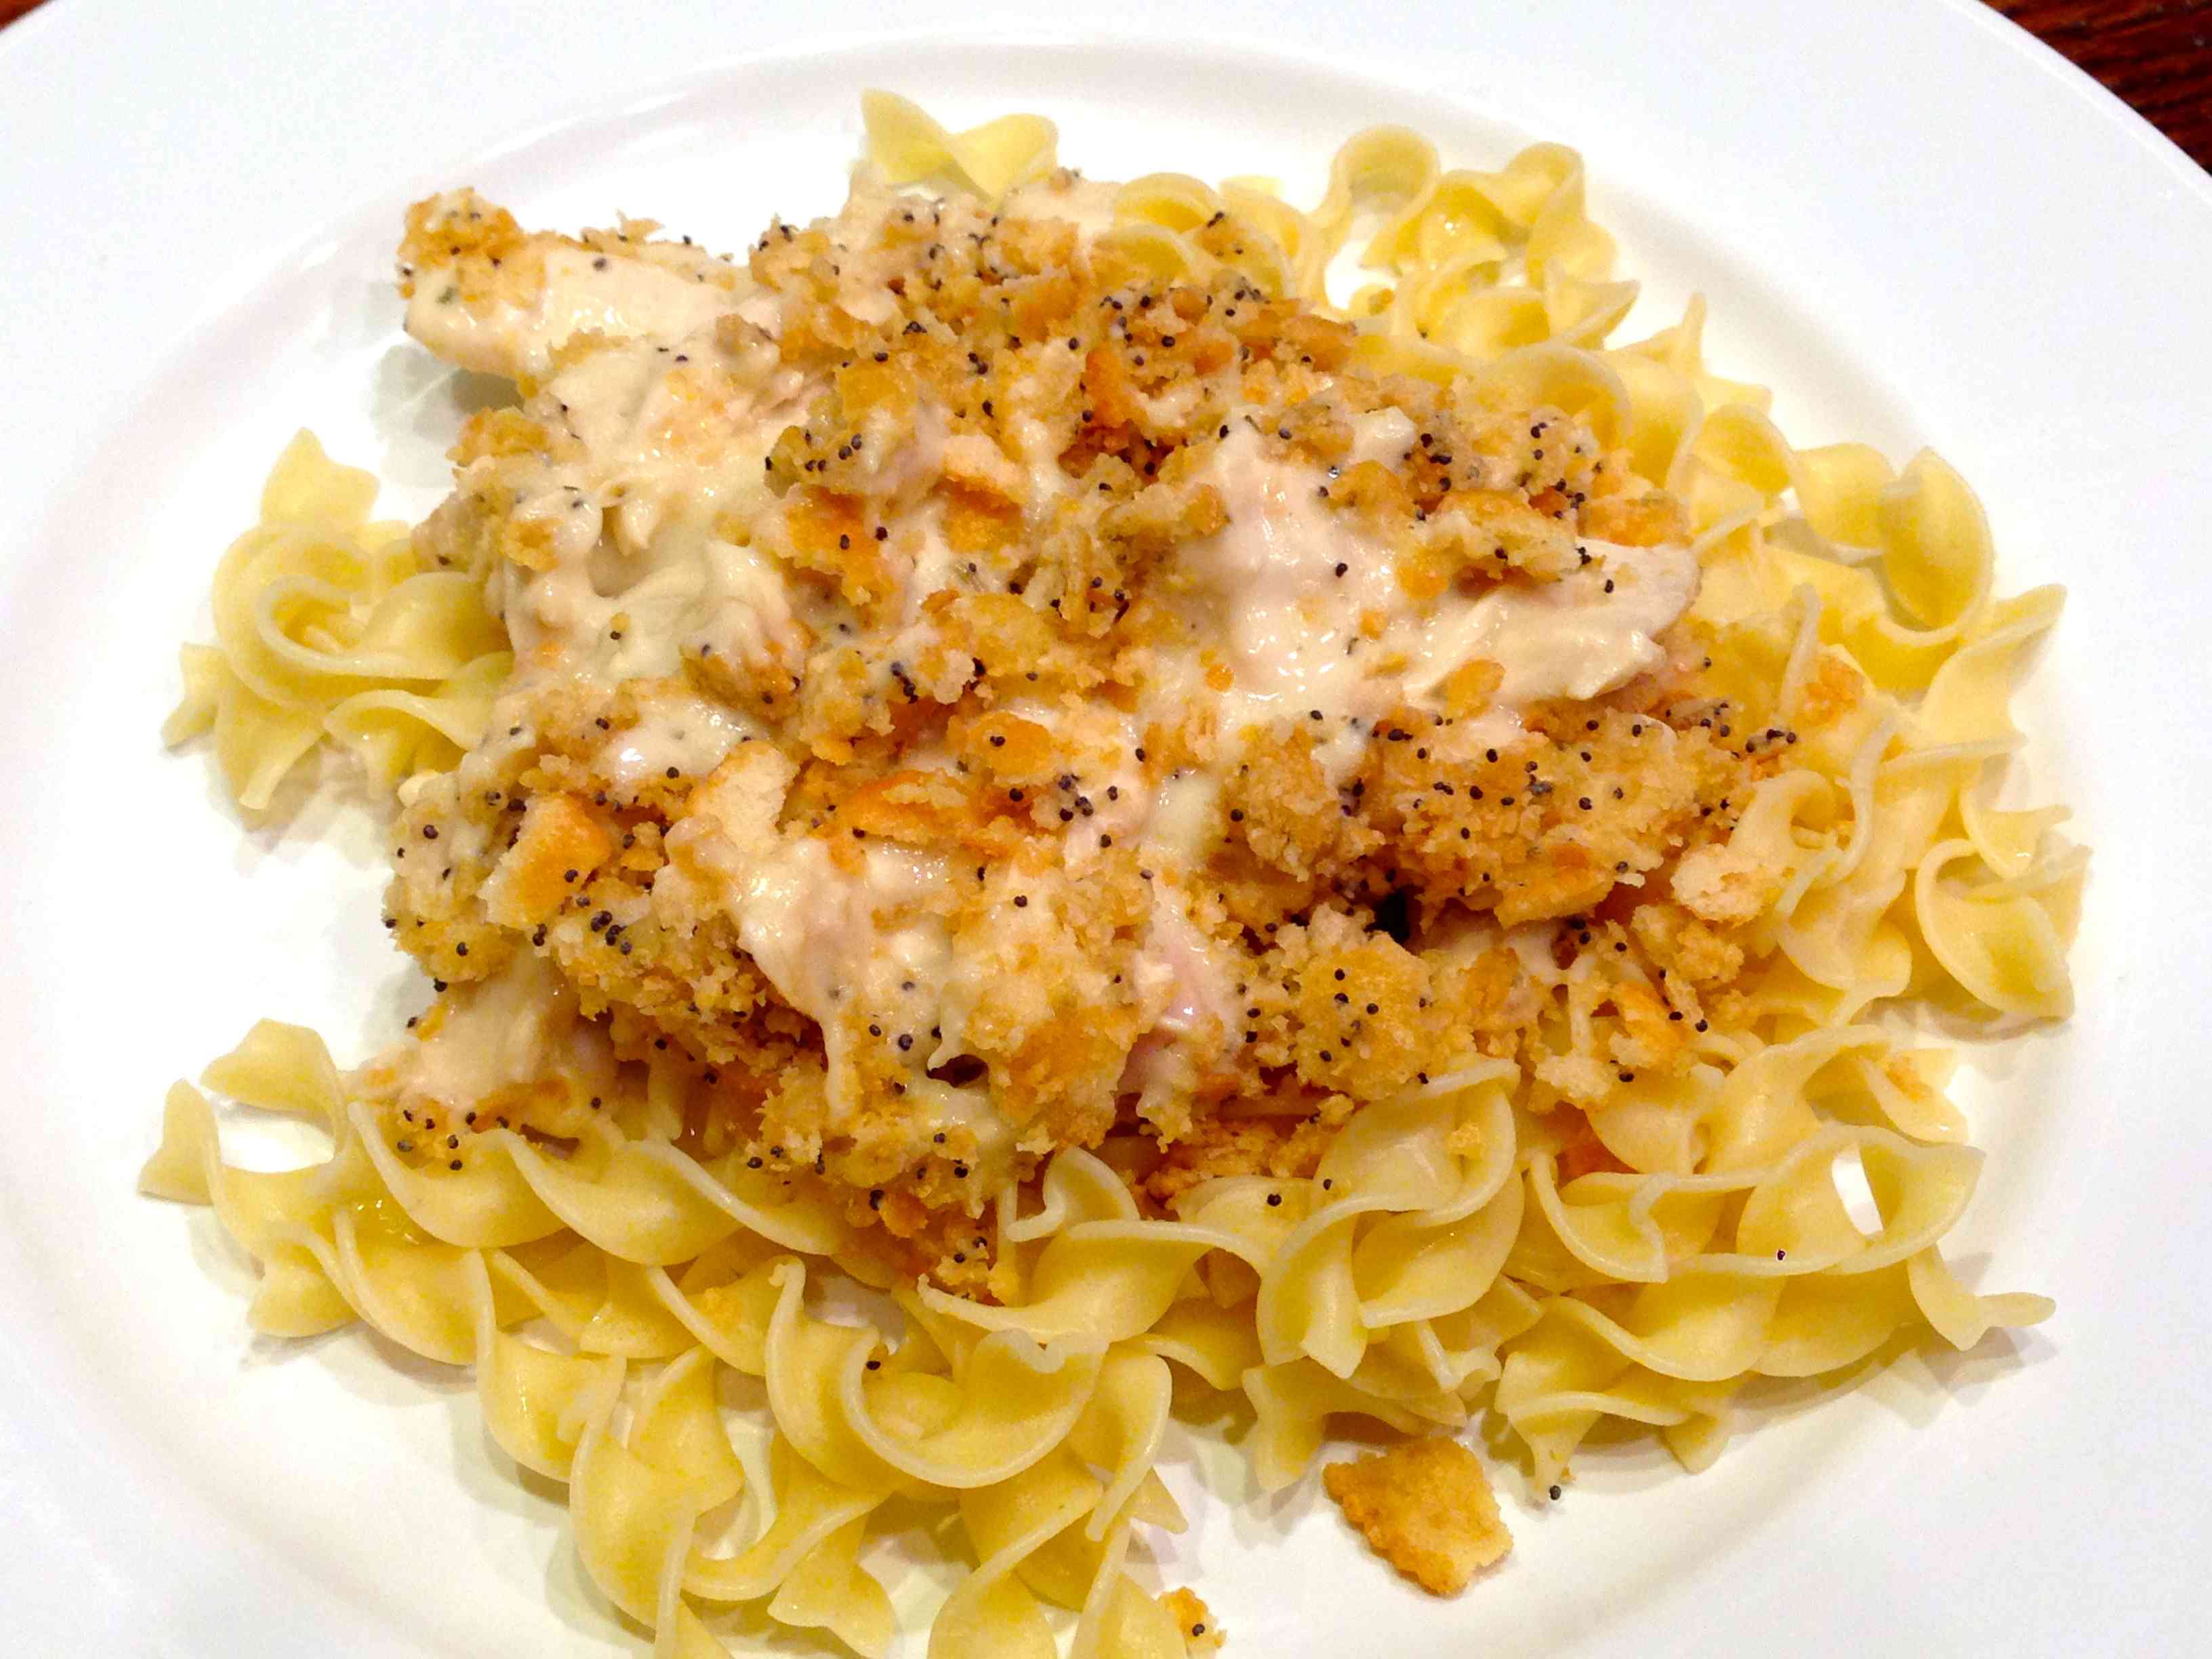
Even though I’ve never had their Chicken n’ Dumplings, I’ve heard they are amazing and found this recipe on Pinterest. Honestly I don’t even remember eating chicken n’ dumplings as a kids growing up, but when I was pregnant I craved it like no other. Something about comfort food when you’re pregnant sounds amazing!

While I love to cook, I love easy-to-make, ready in 30 minute meals. I think everyone can agree whether you’re working full-time and don’t get home from work until late, or have an active baby or toddler running around, it’s nice to have a home cooked meal that’s quick.
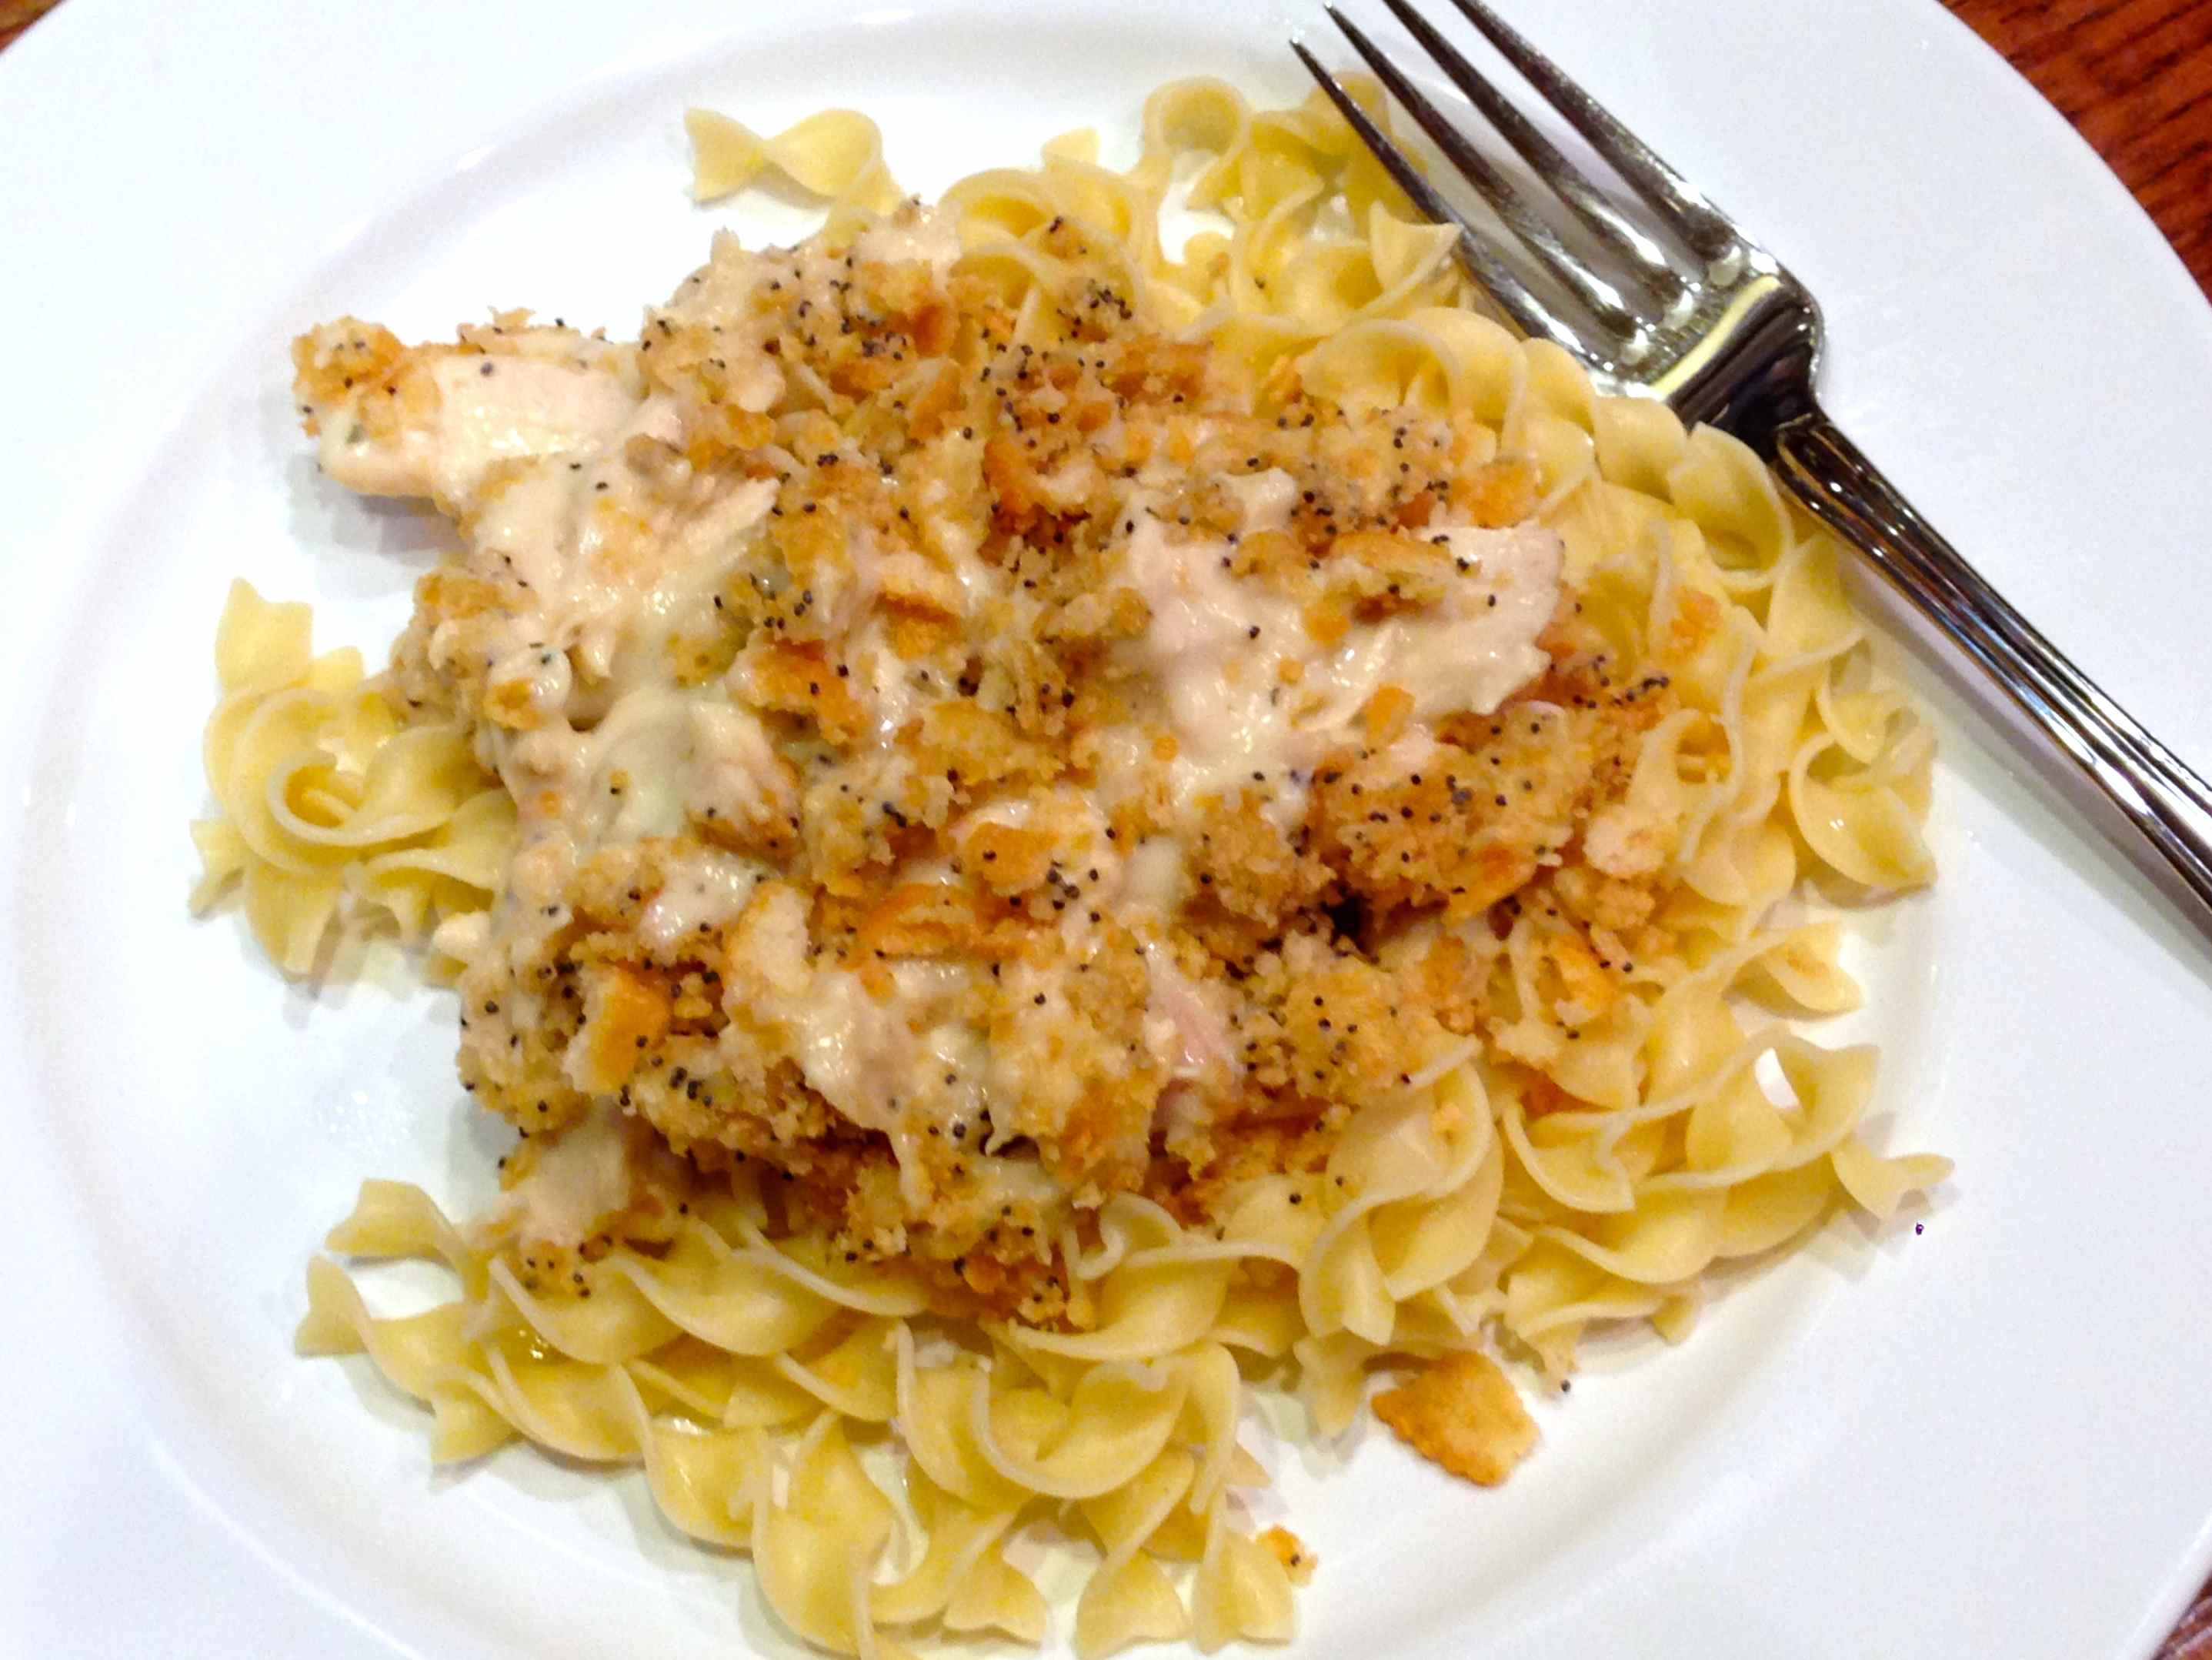
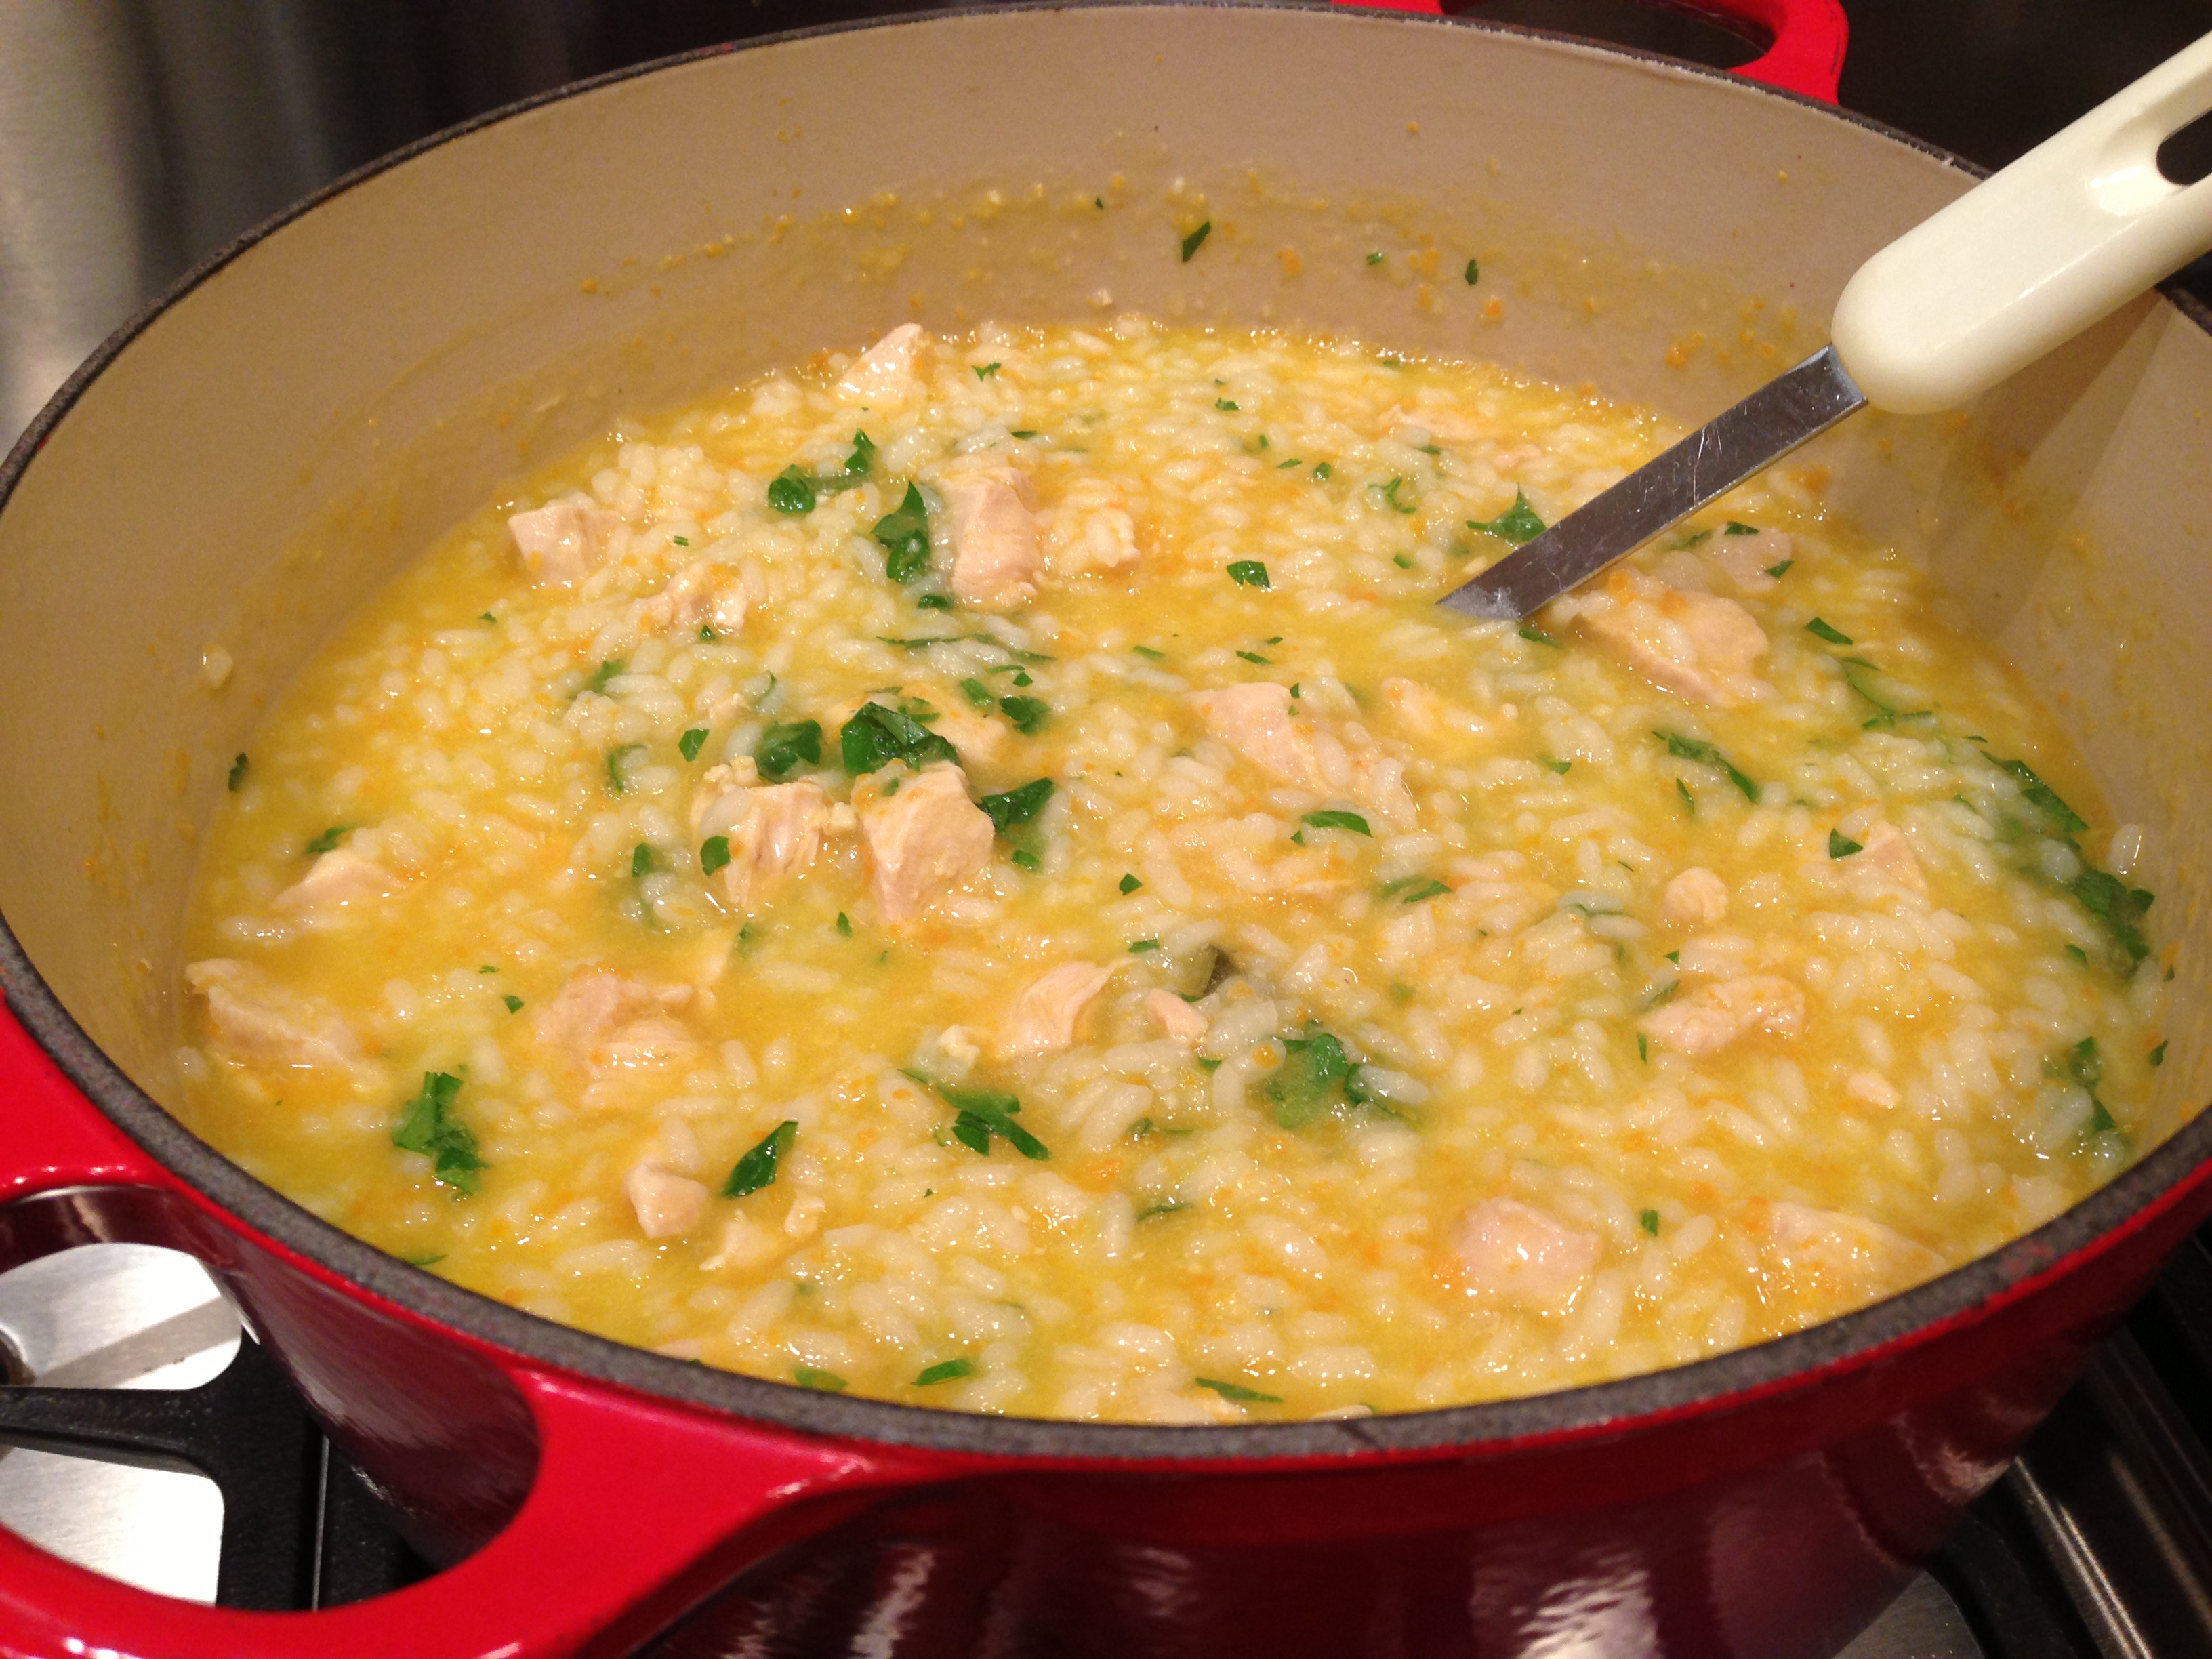
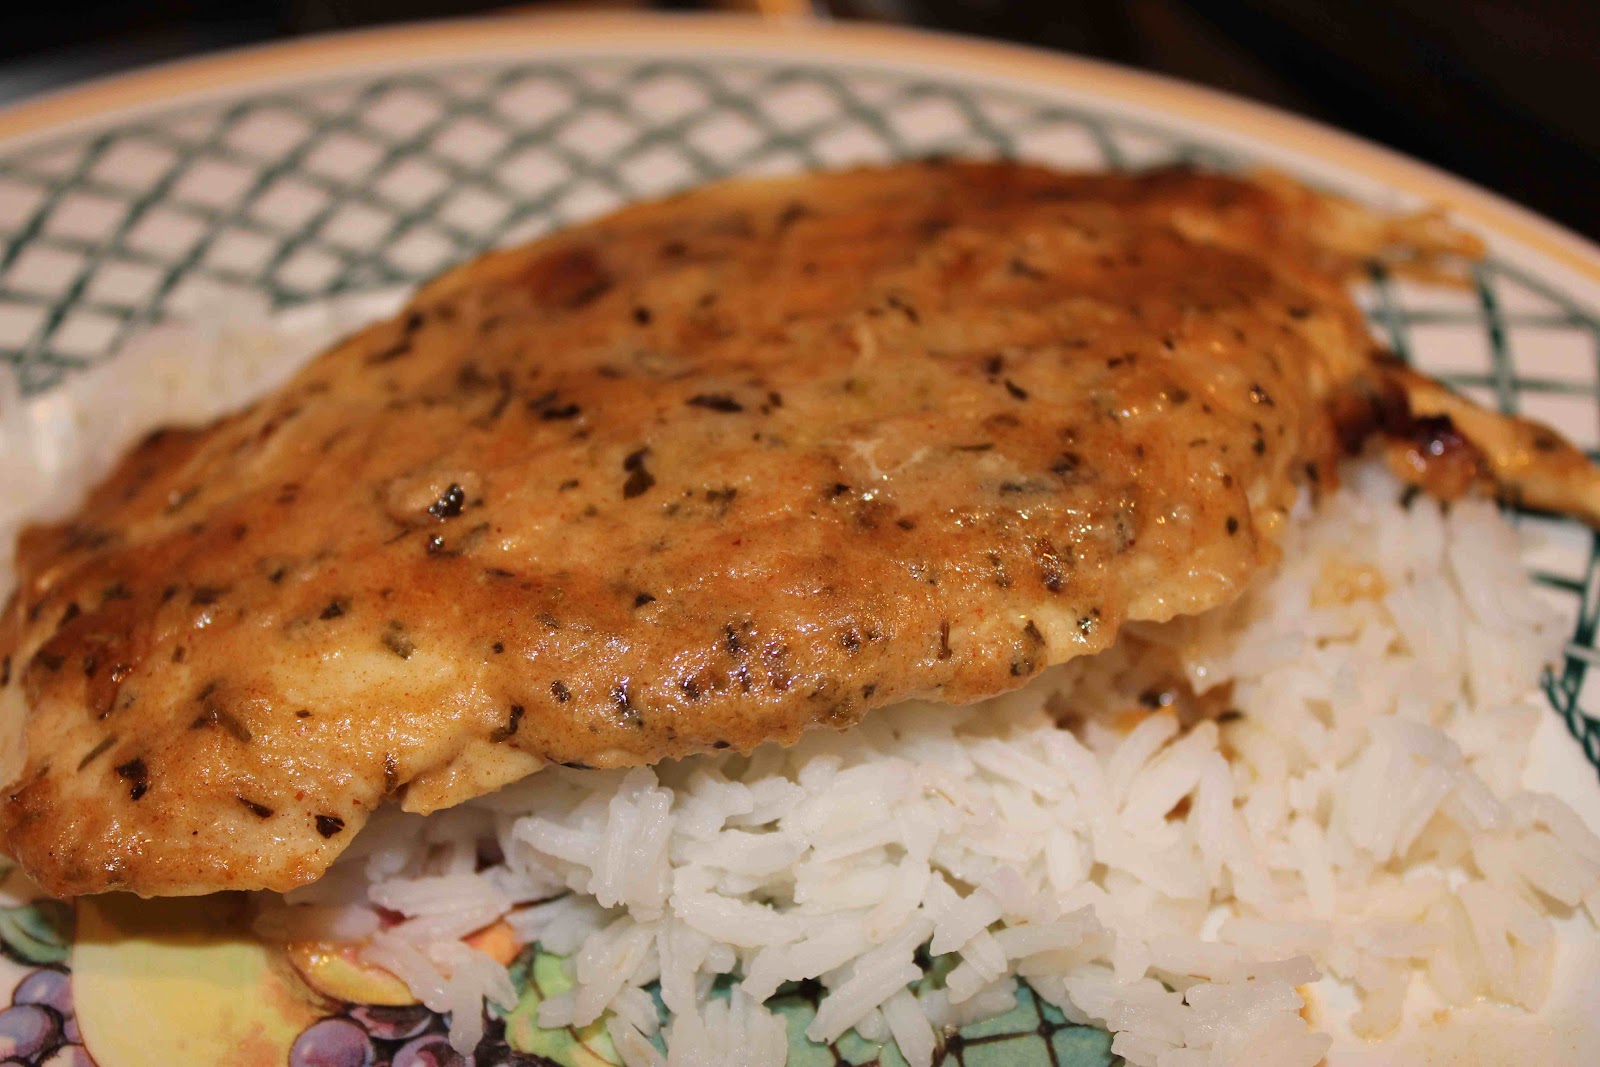
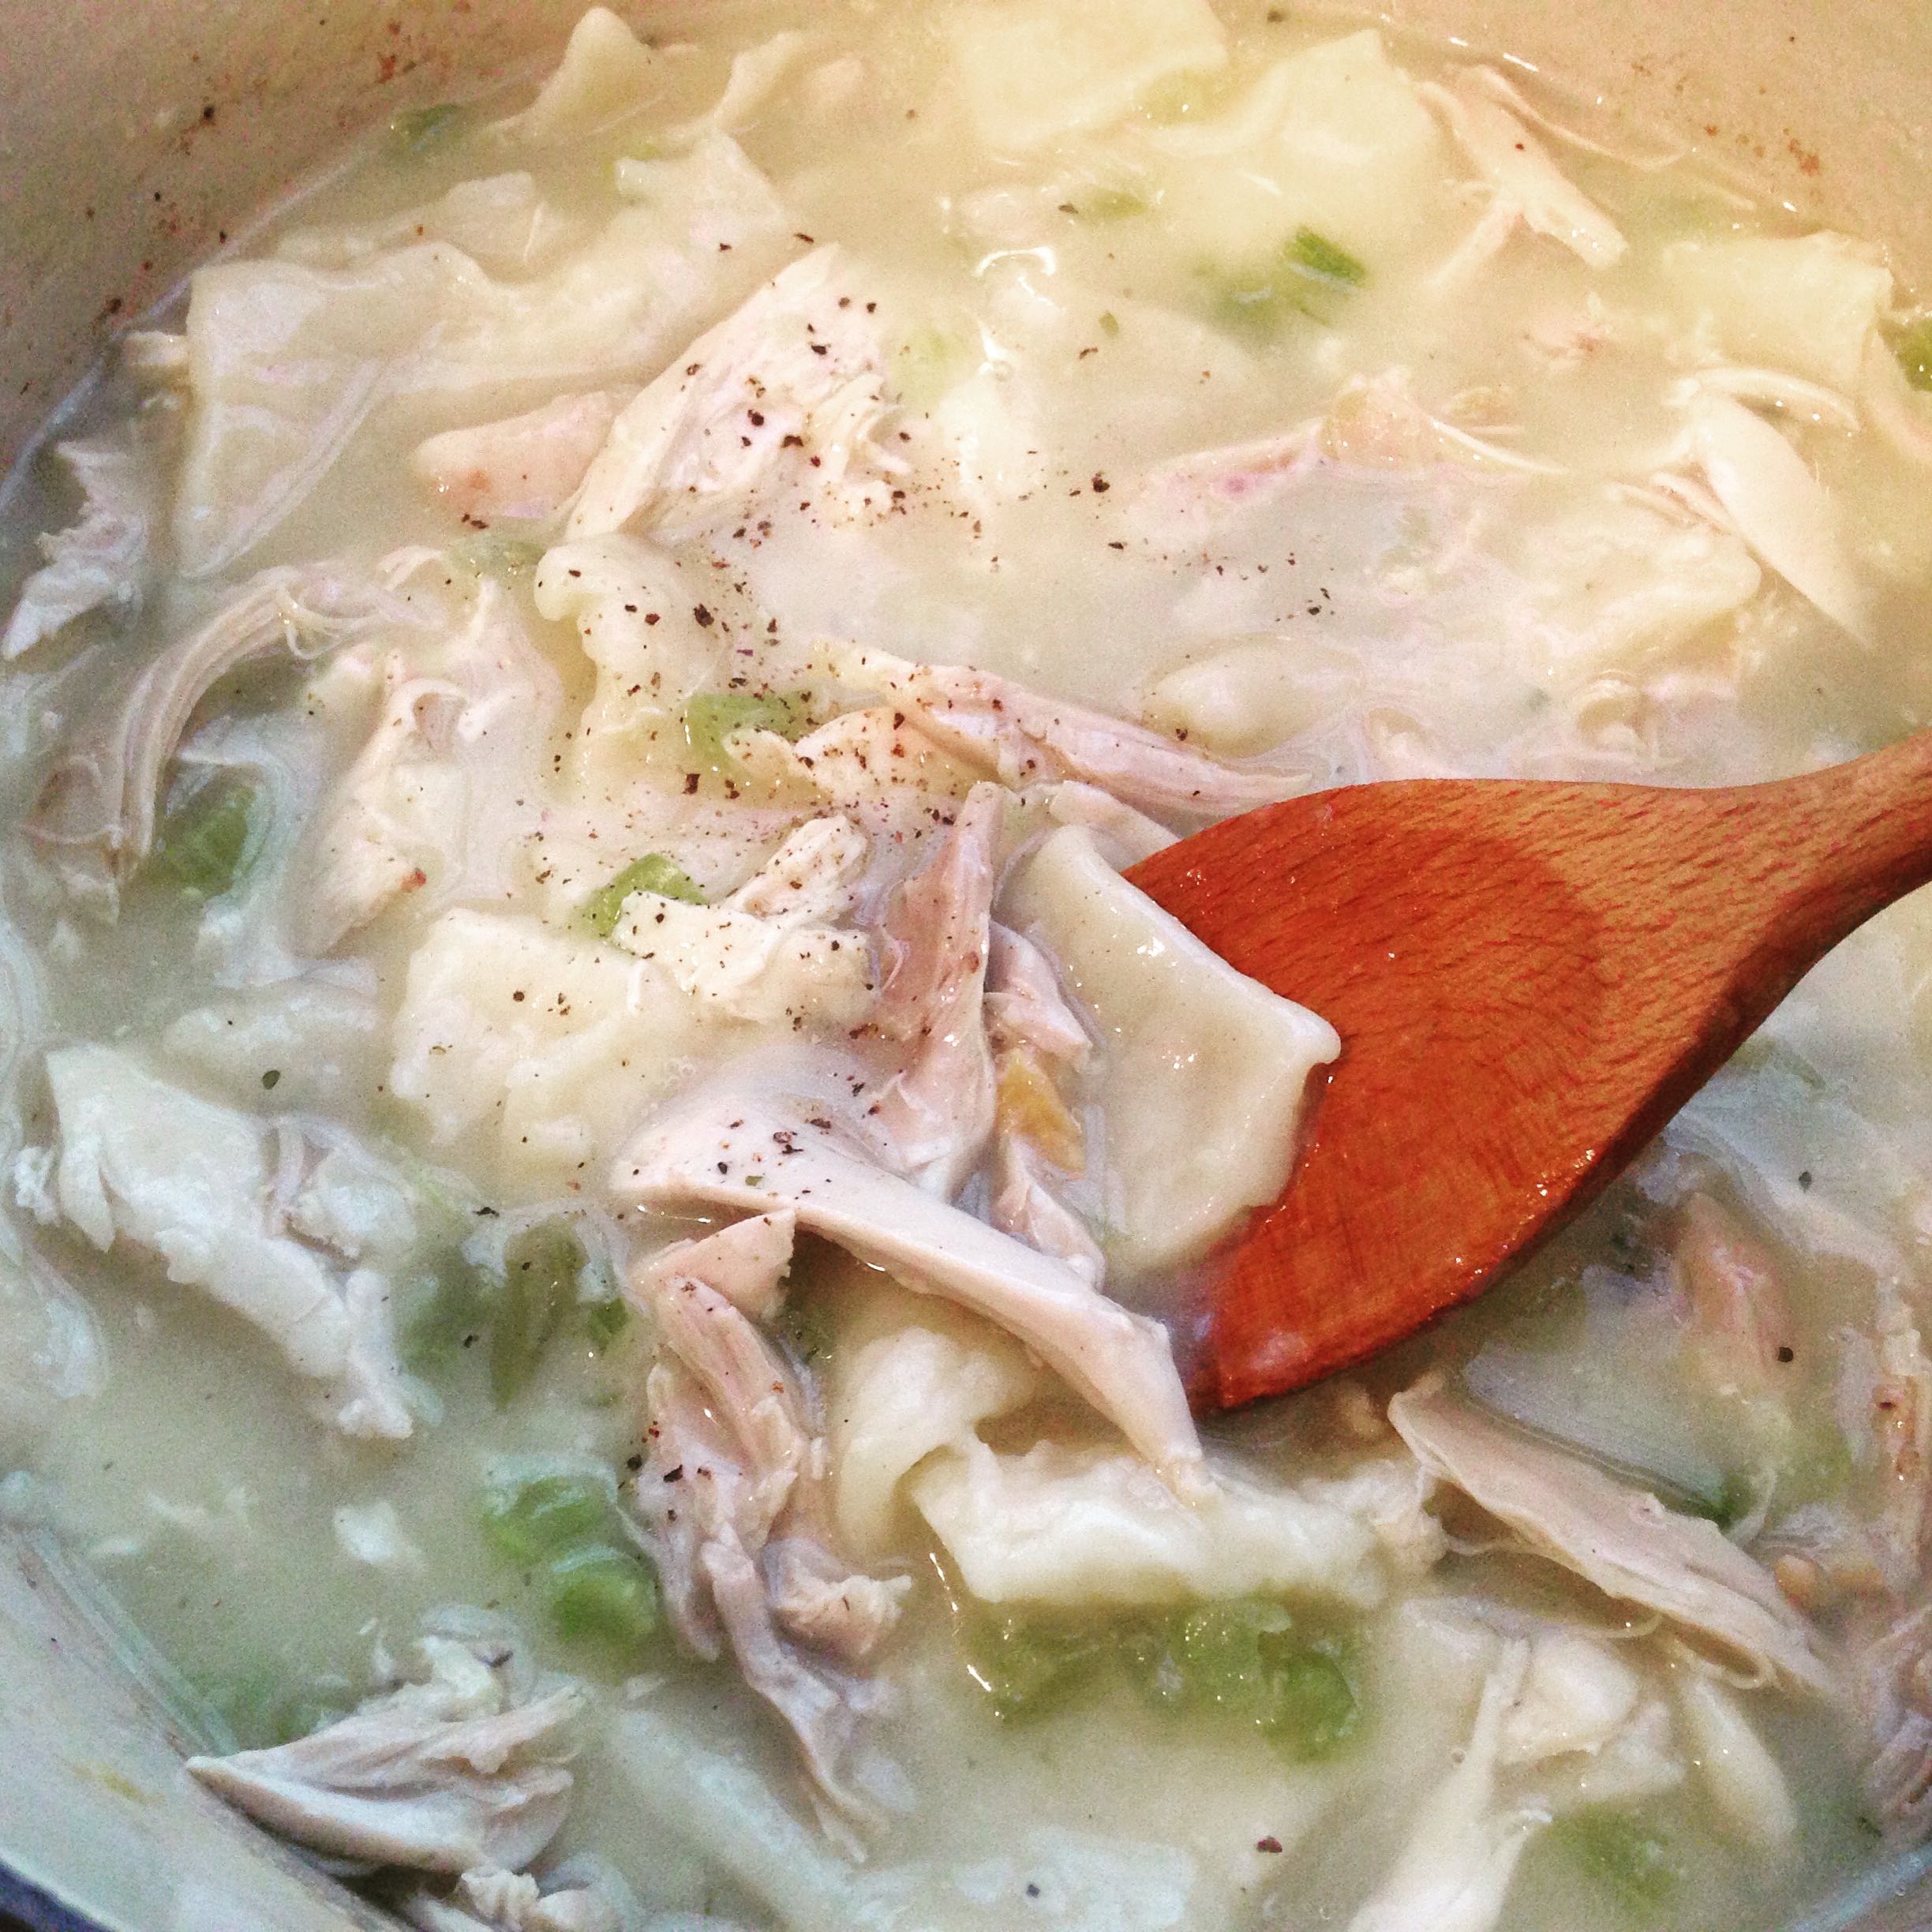
What’s great about this recipe is the easy prep time. I made, rolled out, and cut the dumplings all while Harper was taking a nap. It took no more than 15 minutes to prepare, and once she was awake, I simply boiled some chicken stock, tossed in the dumplings to simmer, and added shredded rotisserie chicken once the dumplings were no longer doughy.

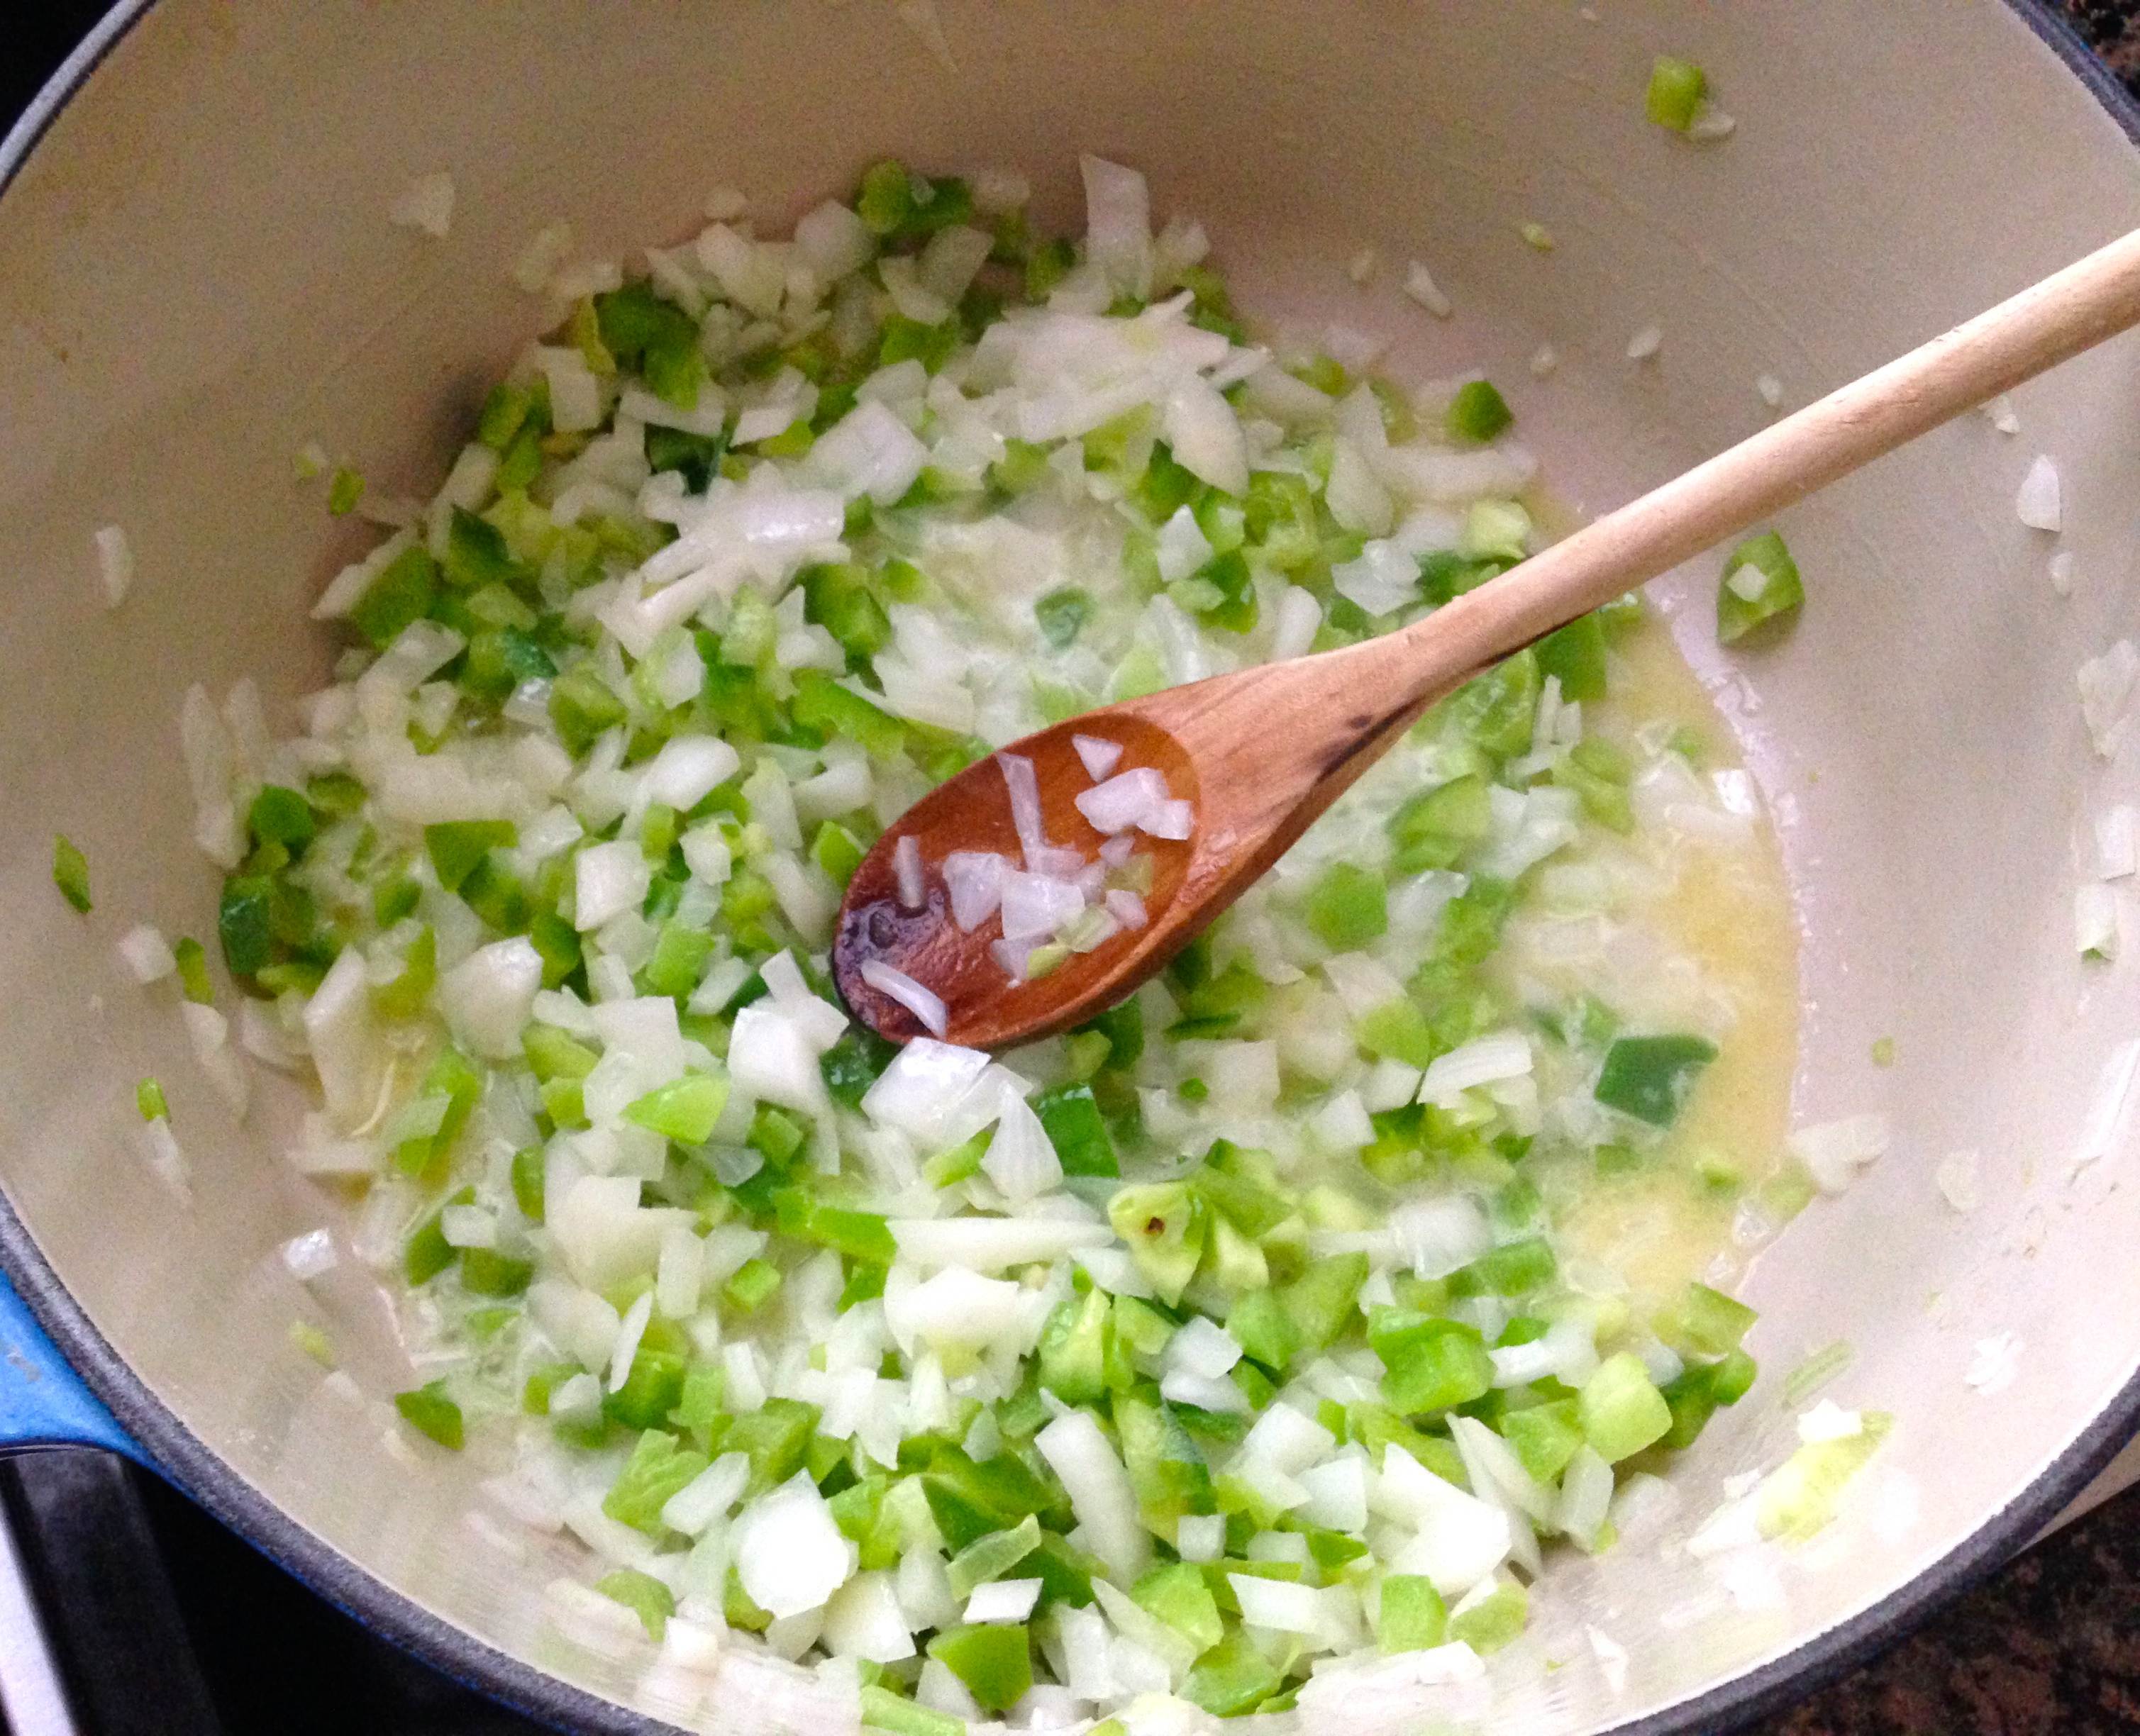
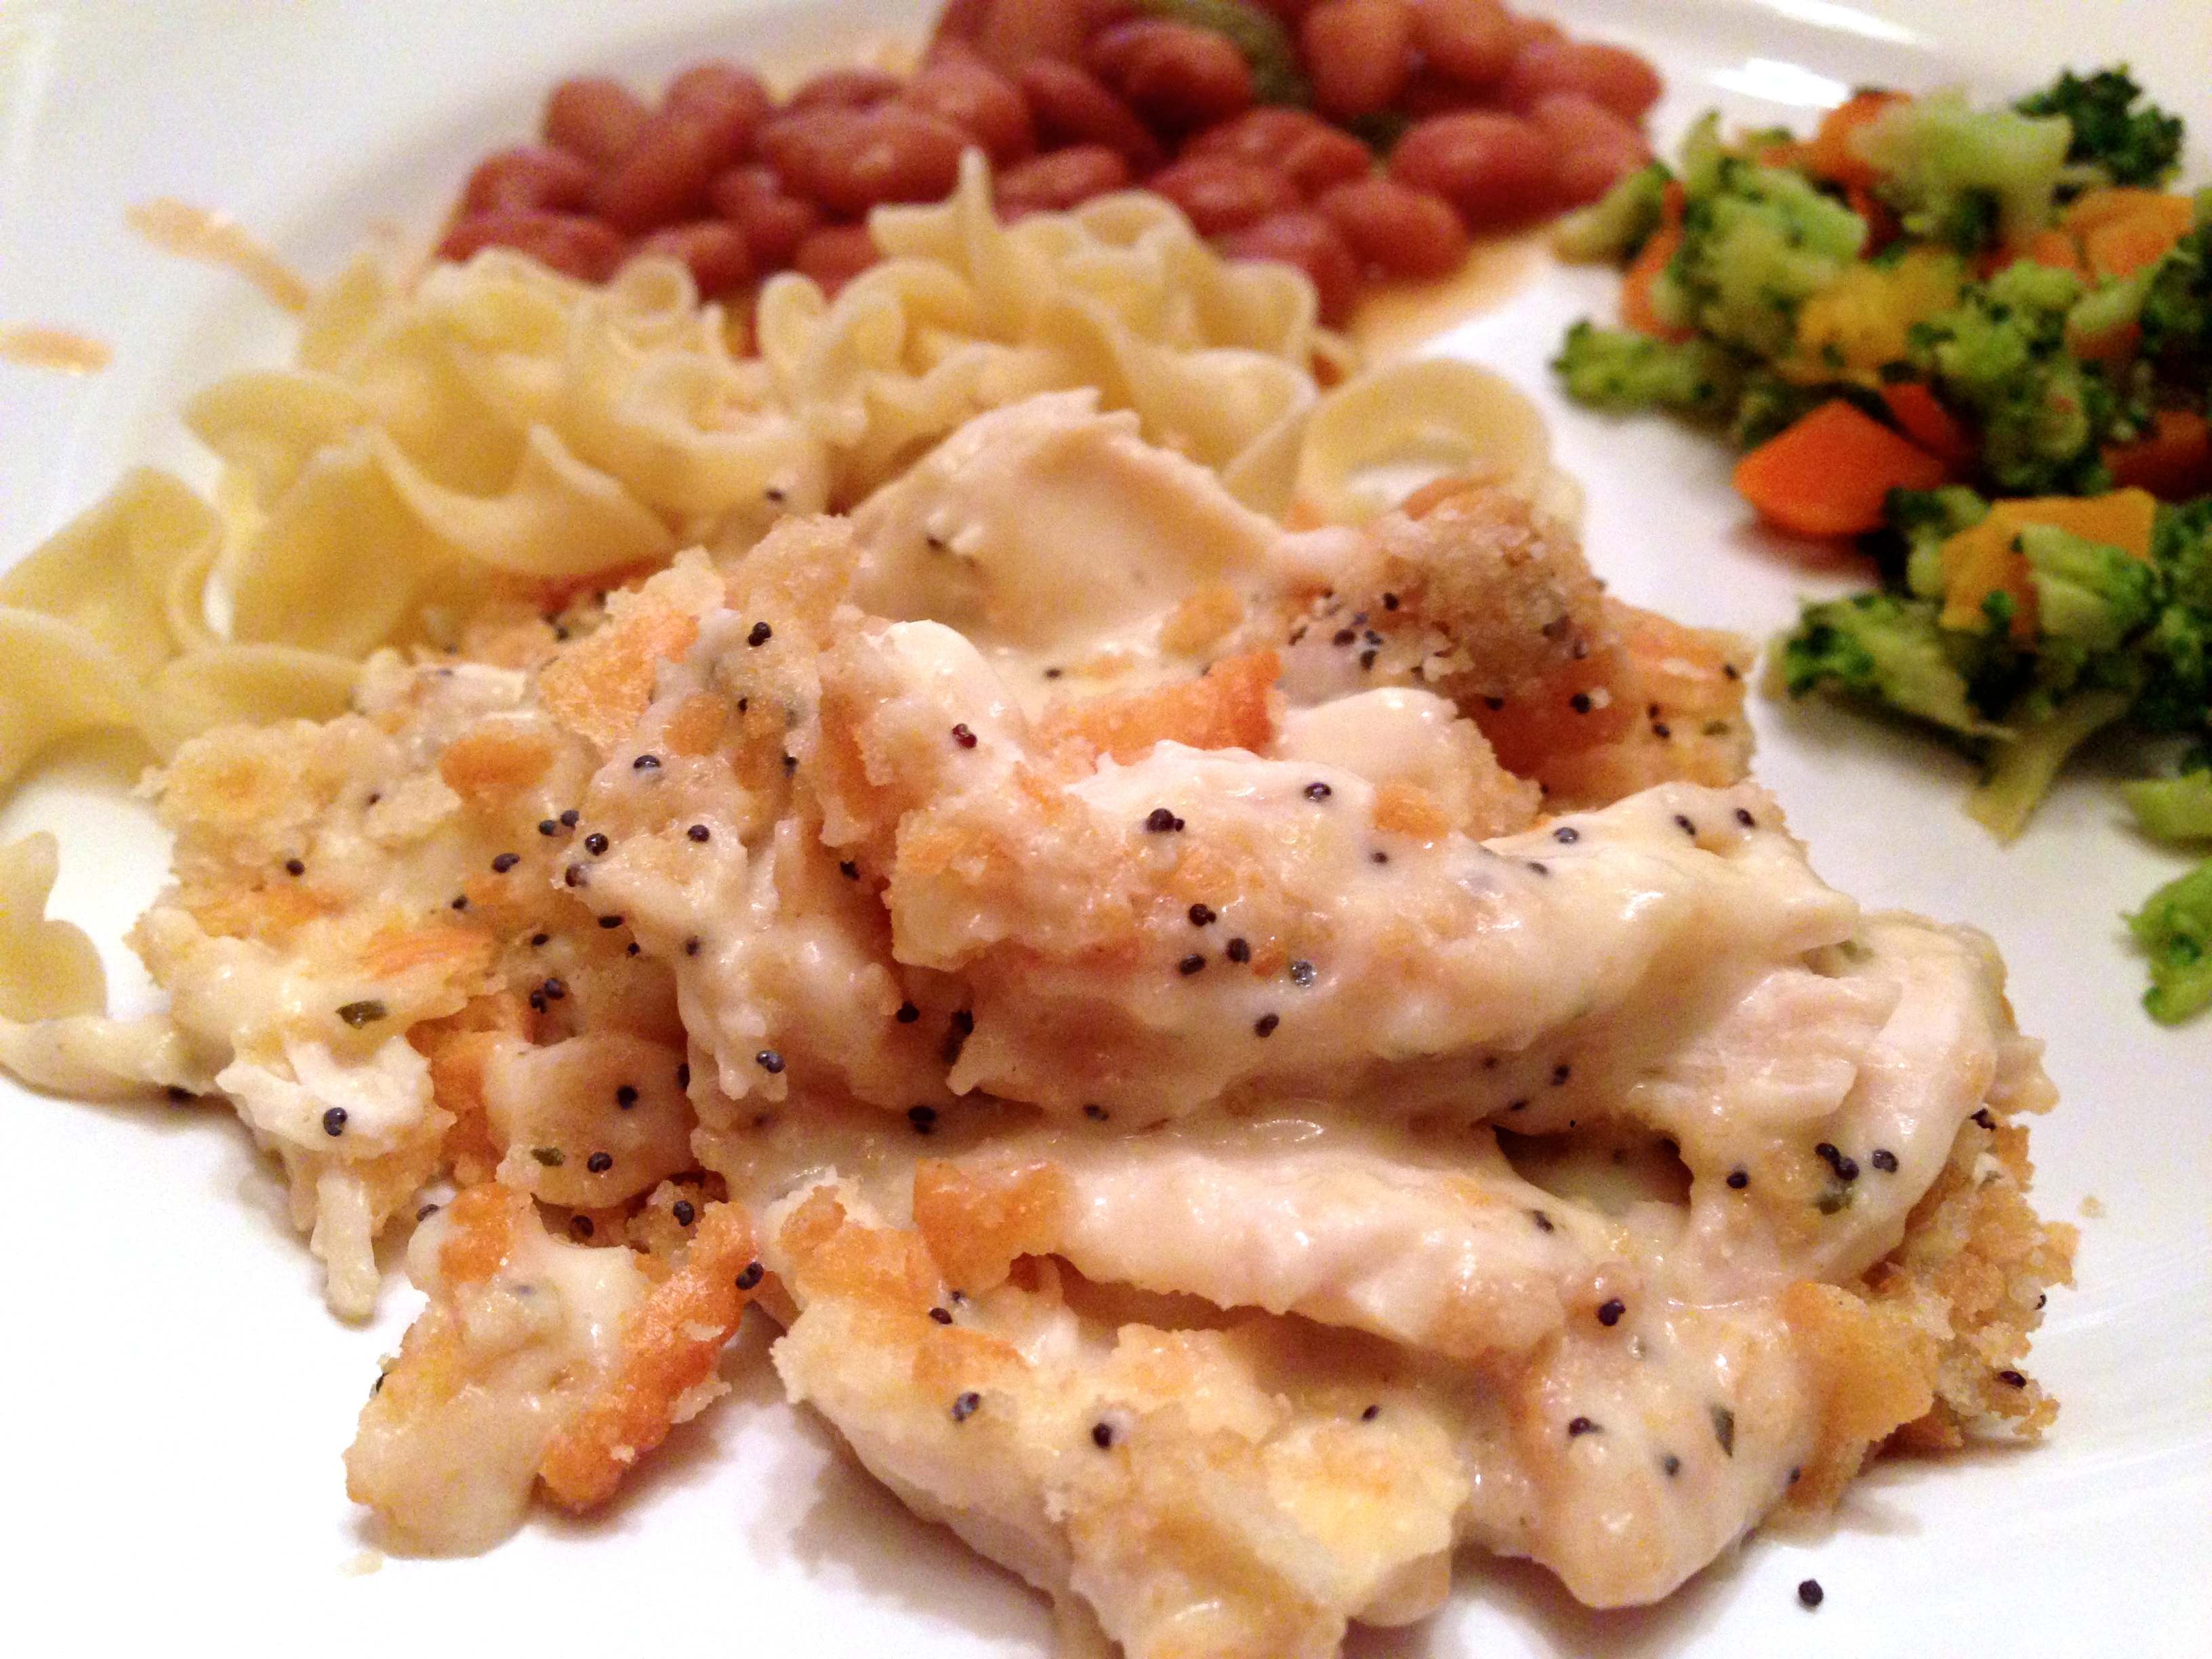
So simple and so good! The Cracker Barrel recipe didn’t call for celery, but I like a little green on my plate, and I probably would have added diced carrots if I had any for more color and nutrition.
By the way, can you believe this little one is already 9 months old! Time sure does fly. 🙂

Enjoy!
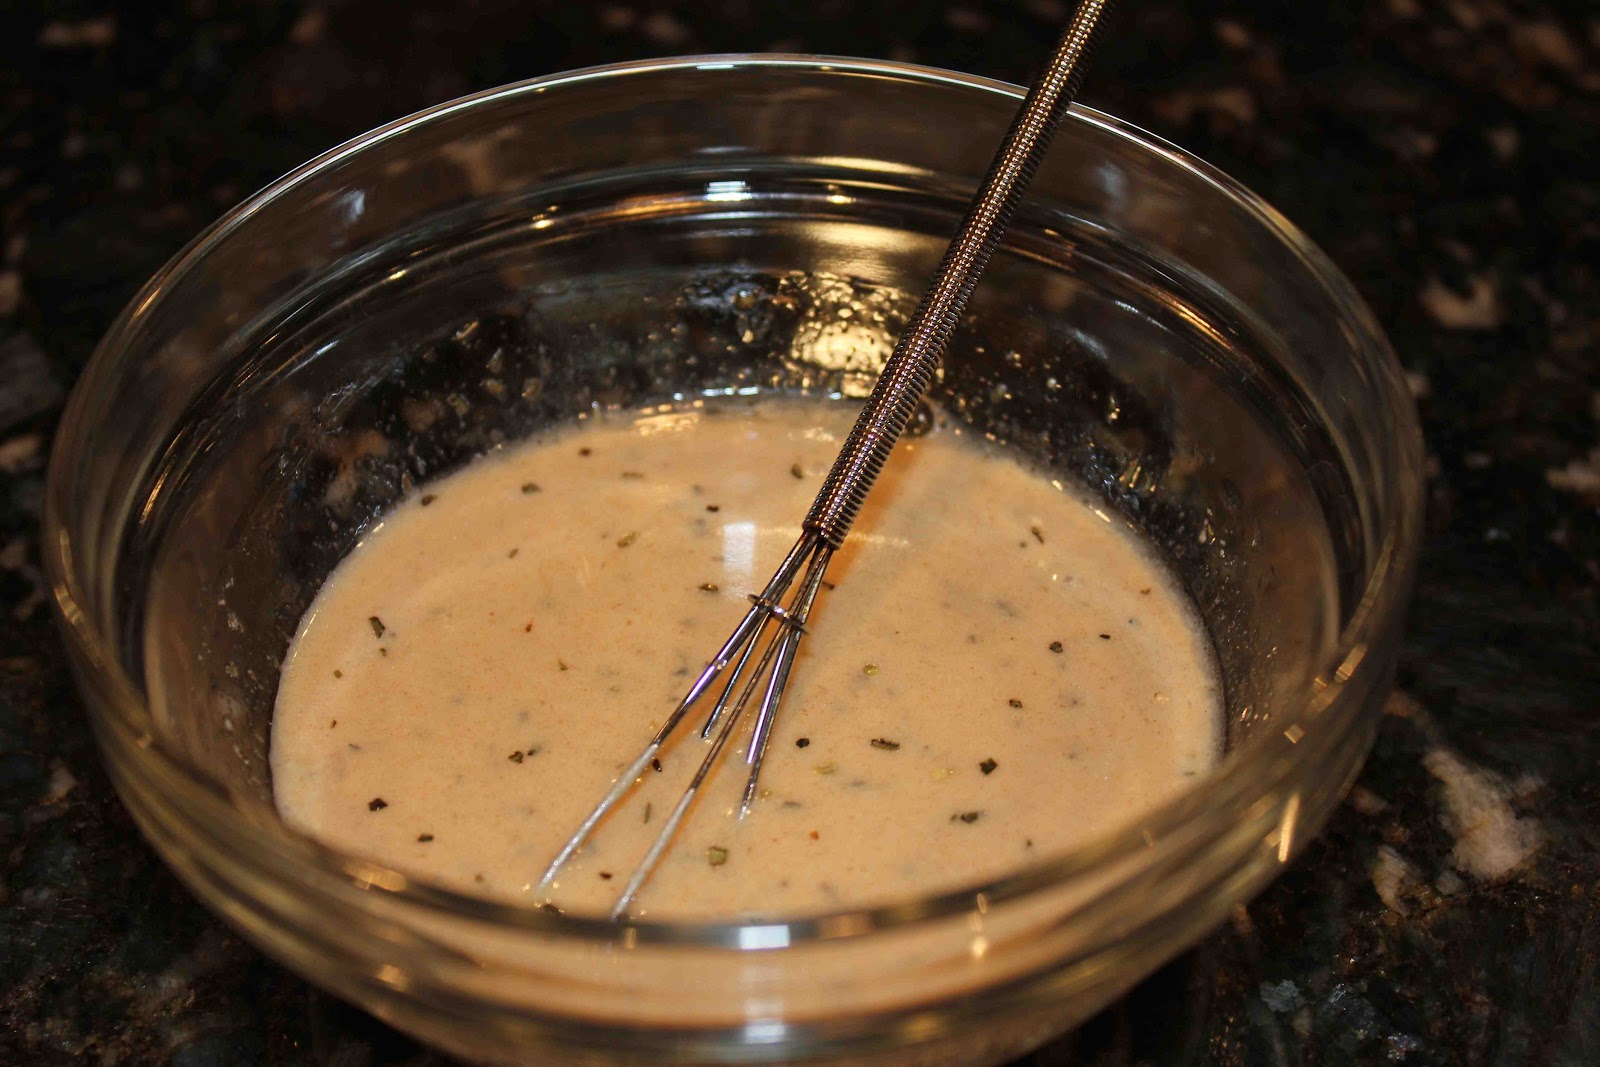
- 2 cups flour
- 1/2 tsp. baking powder
- 1 pinch salt
- 2 Tbsp. butter
- 1 cup buttermilk, a bit less than a full cup (I used skim milk)
- 2 quarts chicken broth
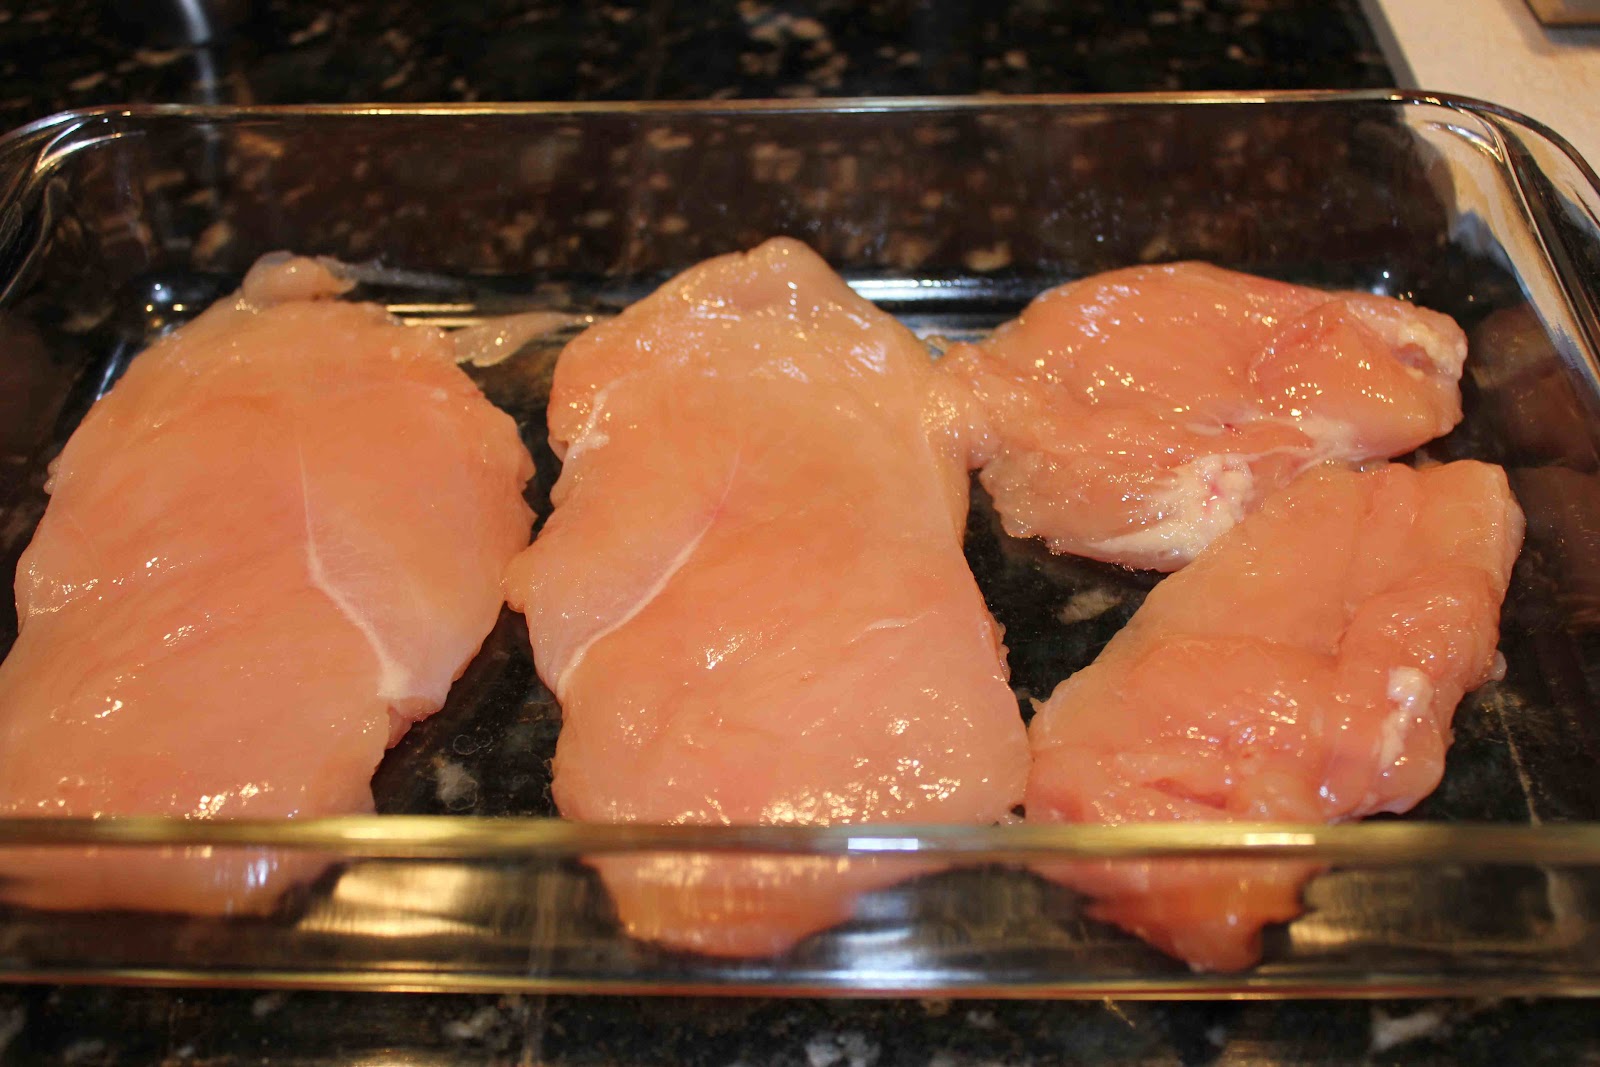
- 3 cups cooked chicken
- 1 cup celery, diced
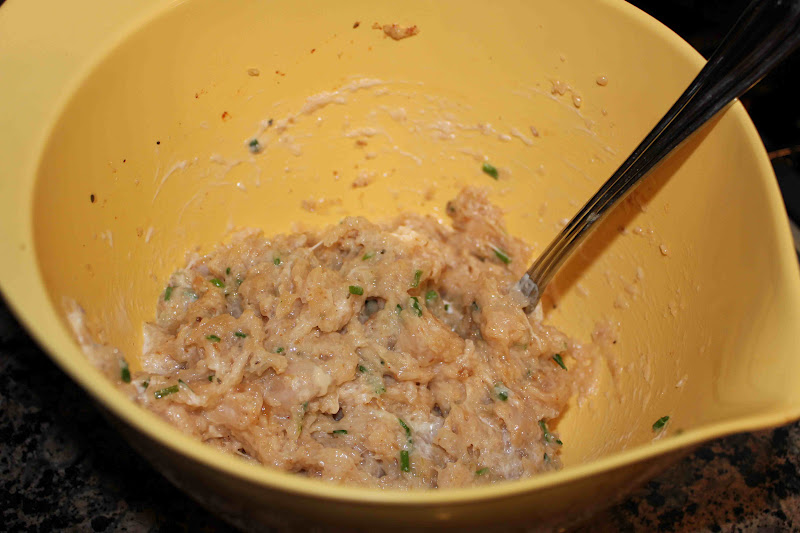
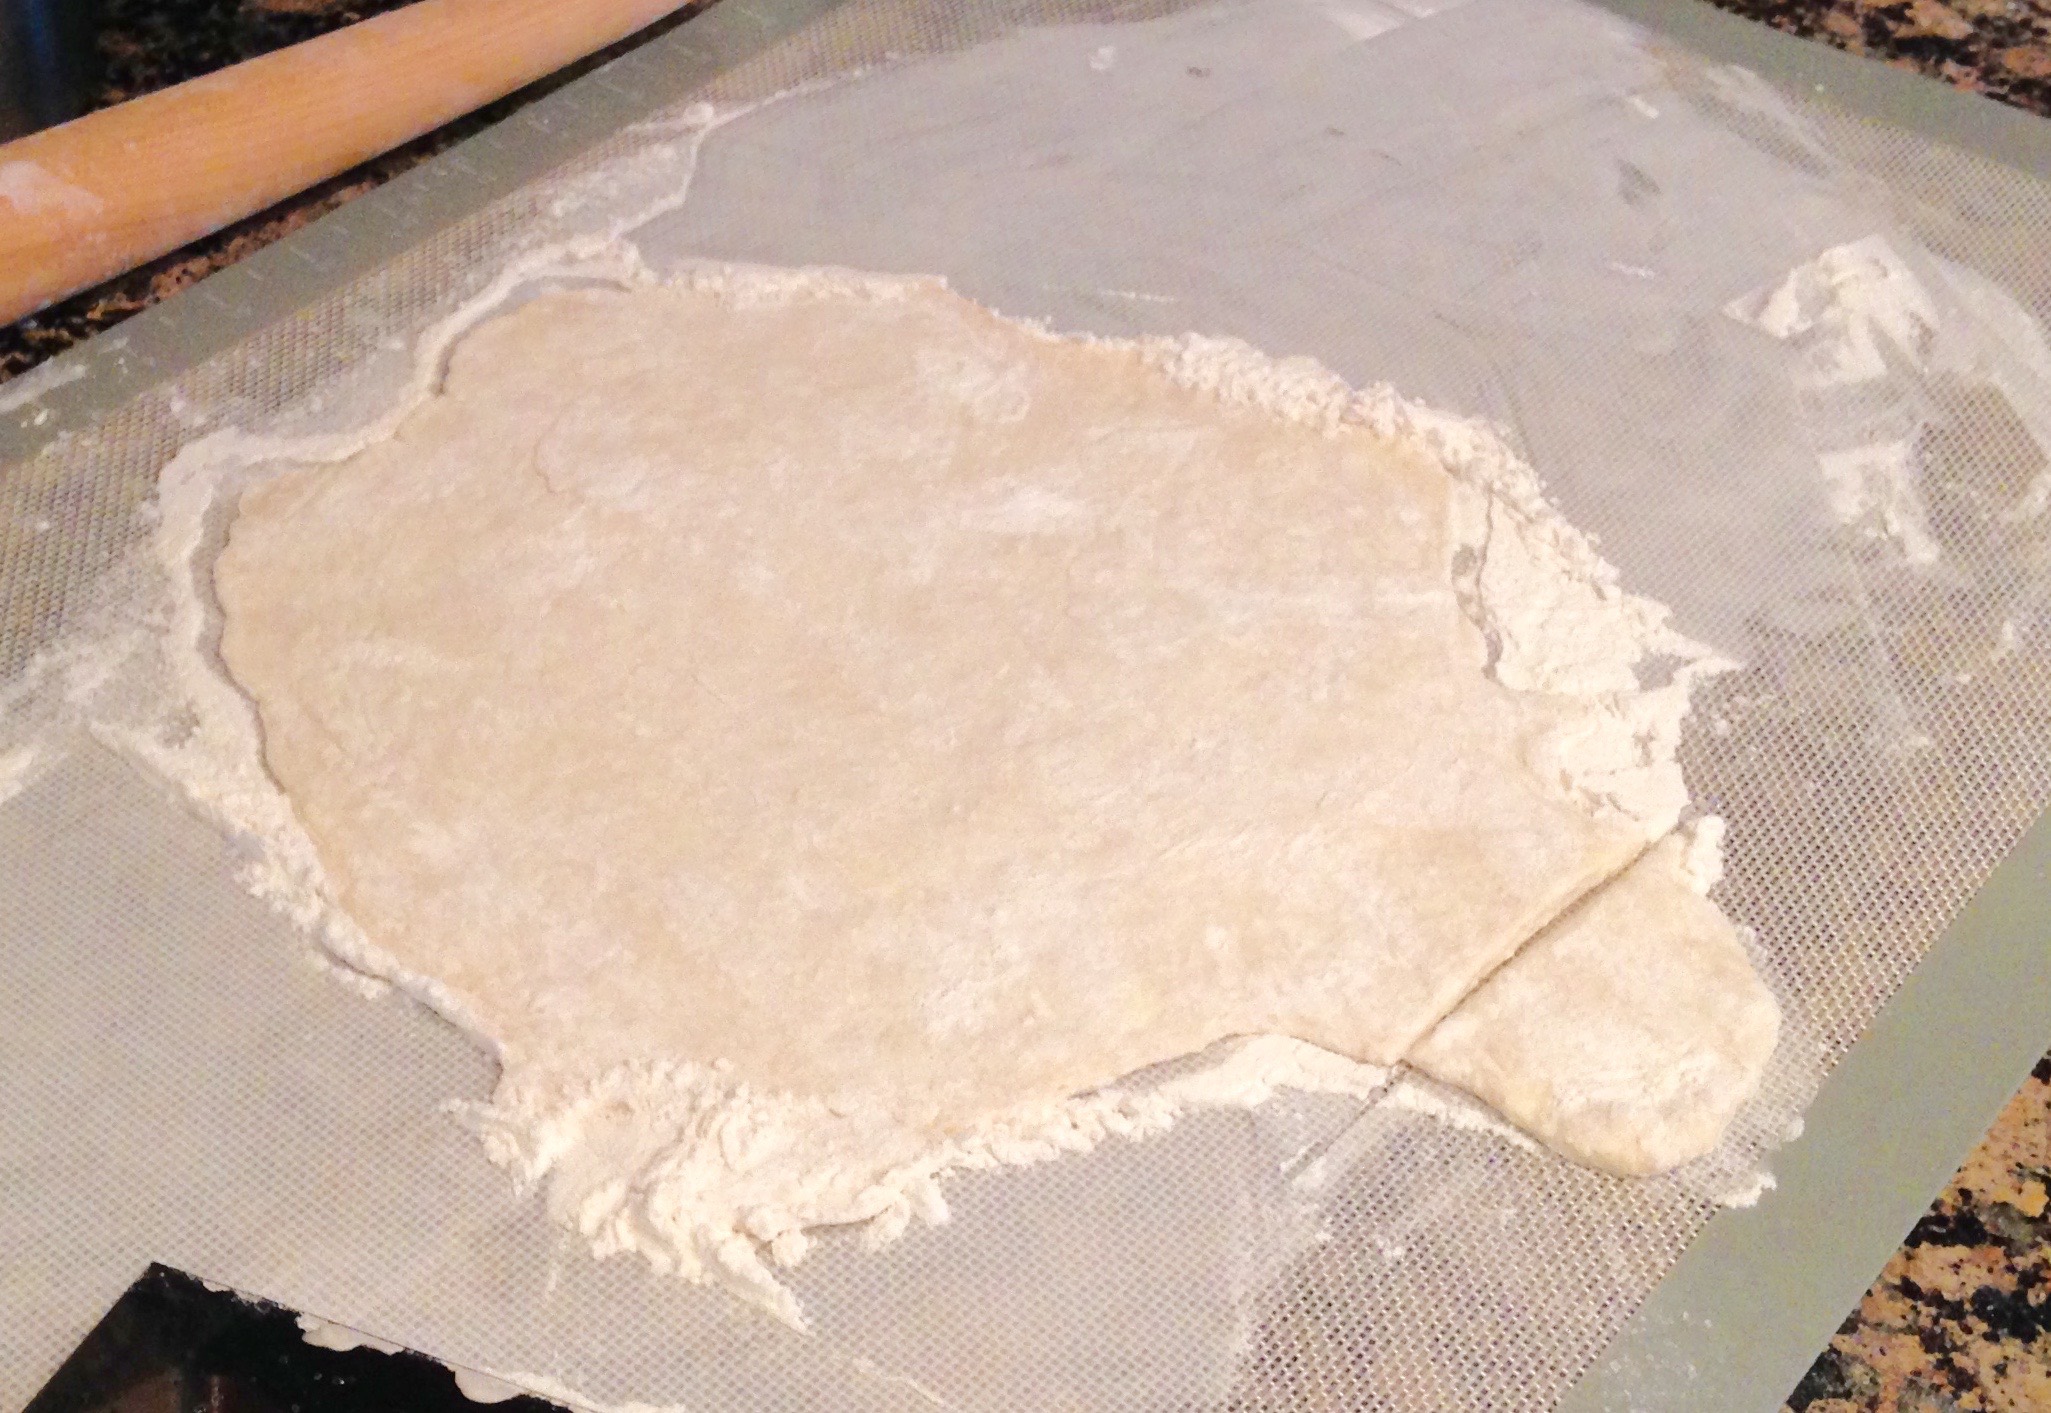
- In a bowl, combine the flour, baking powder and salt. Cut the butter into the dry ingredients with a fork or pastry blender. Stir in the milk, mixing with a fork until the dough forms a ball.
- Heavily flour a work surface. Roll the dough out thin with a heavily floured rolling pin. Dip a biscuit cutter in flour and cut the dumplings in squares about 2″x2″. It’s okay for them not to be exact.
- Transfer cut dumplings to a floured plate. Keep flouring between layers of dumplings.
- To cook them, bring the broth to a boil. Drop the dumplings in one at a time, stirring while you add them. The extra flour on them will help thicken the broth. I also added the diced celery at this time. Cook the dumplings for about 15-20 minutes or until they are not doughy. Add the cooked chicken to the pot and you’re done.