Friday Night Pizza, Michigan Style: Buddy’s Pizza

Growing up as a kid, our Friday nights were synonymous with pizza. It almost never got old. My mom would cook on the weeknights, and we would then splurge and eat pizza on the weekend.

Last week I visited my sister up in Michigan. I didn’t know this, but one of the best pizza places in all of Michigan is within walking/running distance from Brittany. The place: Buddy’s Pizza.

Established in 1936, Buddy’s introduced their famous square pizza – the first of its kind – to Detroit. According to their website, “it was love at first bite”, and I would wholeheartedly agree. I was impressed!

The cheese was so fresh and the flavor was something I had never had before…. I’m not sure what kind of cheese they use, but all I can say was that it was powerful, in a good way. 🙂 The deep dish crust was not overly sweet like you would see at Uno Chicago Grill (one of my favorites). For deep dish it was light, crispy, airy and perfect. The pepperoni was hidden beneath the cheese as so to lock in the flavor….great idea! I’m making myself hungry writing this post!

The “square” pizza.

What makes Buddy’s unique is their square pizza. When Brittany told me that a large only had 8 slices, I was a little nervous. With Colby, Matt and I hungry and ready to eat, I didn’t know if this pizza would serve us all. Fortunately it did. I ate one slice, while Colby and Matt finished it off.

Now, before you accuse me of skimping out on some good pizza, let me warn you that one slice of Buddy’s pepperoni pizza has 337 calories and 17 grams of fat. Yikes, but it was worth every calorie!  Good thing my sister and I ran 8 miles that morning.
8 slices for a large pizza.
One slice of cheesy pepperoni pizza. Yum!

Next time you’re in Michigan, you’ve got to try this place. There are nine locations in the Detroit area to meet your needs. Enjoy and have a great weekend!

A hole in the wall: New York Pizza in Aspen!

All of the restaurants in Aspen are great, but you sure have to pay the price! If you plan on eating out, expect to pay around $30 per person…. excluding drinks. We found an exception to the Aspen dining “norm” with this hole in the wall pizza joint called New York Pizza.
They have a wide variety of items on the menu including whole pies (with extra toppings only costing you $.25 cents each), salads, subs, sandwiches, and calzones. Like I said, the prices are very reasonable.
I love the atmosphere of this place. Walking up the red carpeted stairs, you feel like you’re leaving Aspen and entering New York City.
Literally a hole in the wall… you have to walk upstairs to find this restaurant.

Upstairs, you’re greeted with the smell of warm pizza, stainless steel ovens, and pizza-by-the slice. For less than $5, you can get a HUGE slice of pizza of your choice. Choose from pepperoni, cheese, canadian bacon and hamburger, veggie with Feta, black olives, onions, and peppers and more!

Pizza by the slice!
We ordered a greek salad to-go and all loved it! Topped with plenty of Feta cheese, extra-large mushrooms, sun-dried tomatoes, black olives, peppers, diced red onions, sliced tomatoes, and romaine lettuce, it sure was a winner. The dressing is some sort of vinaigrette, which I also thoroughly enjoyed.
Greek Salad to-go.

Finally, take a look at this New York pizza! The crust was thin and chewy, the toppings fresh, and the cheese savory. My dad ordered half canadian bacon and hamburger for himself, while my husband requested pepperoni.

If you’re looking for something cheap and tasty in Aspen, New York Pizza is a winner. It sure beats Dominoes, which is also located in Aspen. However, why would you eat Dominoes when you can have New York style pizza?

Large, 16 ” pizza: half canadian bacon/hamburger and half pepperoni.

Fruit Pizza

In honor of the “Pizza Theme” week I’ve shown on my blog, here’s one more “pizza” recipe…but with a twist… Fruit!

This Fruit Pizza recipe comes from my mother-in-law, Paula, who has made it countless times for birthdays, get togethers, lakehouse trips, and just because!  For my 22nd birthday, the first one I celebrated as married, Paula brought over this fruit pizza, and I just fell in love with it.  She knew I LOVED fruit, and was right in thinking that I would adore this birthday treat.

Fruit Pizza is a “healthier” dessert, perfect for the summertime when you are craving something light and luscious.  As many of you know, this has been the hottest summer on record for Dallas, Texas (except for the summer of 1980).  We’ve already had 14 days of three-digit temperature days and it’s only the beginning of July!  Sometimes I notice that the extreme heat makes me less hungry, however, that’s not to say I don’t crave sweets still!  As I told you before, the weekends are my husband and my “cheat” days.  We eat whatever we want and then start back to our “normal”, eating-right diet on Monday.  So today, instead of making a heavy dessert such a brownies or cake, I thought this fruit pizza would be refreshing, sweet, and satisfying.  It sure was!

Send me pictures of your fruit pizza….you can decorate it with any fruit in this world and in any pattern! Enjoy the aesthetic beauty as well as taste in this dessert pizza!

Bake the crust for 15 minutes in a 350 degree oven.

While the crust cools, wash and prepare your fruit.  Or go to the store to buy cream cheese like I had to!

Make your cream cheese filling and spread it on the cooled crust.

Layer with fresh fruit in any sort of pattern.

Feel free to change up your design with different fruits. Below I used just strawberries, clementines, and bananas. This design is prettier than the one above. Have fun with it and enjoy!

fruit pizza fruit pizza

Fruit Pizza
Prep time:
Cook time:
Total time:
Serves: 10
Ingredients
  • CRUST
  • 1/4 cup butter
  • 1/4 cup shortening
  • 3/4 cup sugar
  • 1 egg
  • 1 1/2 cups flour
  • 1/2 tsp baking soda
  • 1 tsp cream of tarter
  • TOPPING
  • 8 oz. cream cheese (I used 1/3 less fat)
  • 1/2 cup sugar
  • 1 tsp vanilla
  • Fresh fruit of your choice
Instructions
  1. FOR THE CRUST: In an electric mixer, beat the butter, shortening, sugar, and egg on medium speed. Sift the flour, soda, and cream of tarter and than add to butter mixture. Beat until just combined.
  2. Press into a greased, round pizza pan. Bake for 15 minutes at 350 degrees. Let cool completely.
  3. FOR THE TOPPING: In an electric mixer, beat together the cream cheese, sugar and vanilla. Frost onto cooled crust.
  4. Arrange fresh fruit in any pattern on cream cheese. If desired, pour strawberry or a peach glaze over fruit.


Rosemary Chicken and Potato Pizza

Here is the Rosemary Chicken and Potato Pizza I referenced in Tuesday’s BBQ Chicken Pizza post.  My mom and sister made it a few weeks ago.
Let me warn you, the Rosemary Chicken and Potato Pizza recipe looks overwhelming, but it is really not that hard.  If you have your chicken already cooked, and your dough or pizza crust already made, the most time-consuming part is baking the potatoes.  “The time and effort is completely worth it”, my sister says… and she is not one to just love any pizza.  
This pizza recipe comes from The California Pizza Kitchen Cookbook.  Anyone I’ve ever asked who has been to California Pizza Kitchen, or CPK, had nothing but positive things to say.  CPK was my family’s Friday night tradition when I was growing up.  My parents would split this Rosemary Chicken and Potato Pizza and my sister and I would split a medium Cheese Pizza and then a kids-size Pepperoni Pizza (we were hungry as kids and ate a lot of pizza!)  Now that I’ve grown up, I’d probably eat the Rosemary Chicken and Potato Pizza instead…. they say your taste buds change every seven years or so, and I can testify that for you!
Again, I’d definitely say this pizza is worth the time and effort, especially when you are making it gourmet-style.  Enjoy and let me know what you think!

Rosemary Chicken and Potato Pizza
Ingredients
Garlic-Shallot Butter with Lemon
5 Tbsp unsalted butter
1/4 cup minced shallot
2 Tbsp minced garlic
1 tsp chopped fresh thyme leaves (or 1/2 tsp dried)
1/4 tsp salt
Pinch ground white pepper
1/3 cup full-bodied chardonnay (or chicken broth)
1 Tbsp freshly squeezed lemon juice
1 tsp chicken base or bouillon cube (no MSG)

Rosemary Potatoes
1/2 pound small red “new” potatoes, sliced into 1/8-inch thick rounds
1 Tbsp minced fresh garlic
1 tsp chopped fresh oregano (or 1/2 tsp dried)
2 tsp chopped fresh rosemary leaves (or 1 tsp dried)
1/4 tsp ground white pepper
1 tsp kosher salt
2 Tbsp olive oil

Grilled Garlic Chicken
2 tsp minced fresh garlic
1 tsp soy sauce
1/2 tsp kosher salt
2 Tbsp olive oil
2 (5 oz.) boneless, skinless chicken breasts

For the Pizza
1 recipe Basic Pizza Dough
Cornmeal, semolina or flour for handling
1 1/2 cups shredded mozzarella cheese
2 tsp chopped fresh rosemary leaves (or 1 tsp dried)
3 tsp chopped fresh oregano leaves (or 1 1/2 tsp dried)
4 tsp chopped fresh parsley

Directions
To make Garlic-Shallot Butter with Lemon:
1. Melt 1 tablespoon butter in a nonstick saucepan over medium-high heat.  Add shallot, garlic and thyme.  Cook, stirring until mixture is light brown, 7 to 8 minutes.
2. Add salt, pepper, wine, lemon juice and chicken base. Cook until mixture is reduced to about 1/2 cup (toward the end of the reduction, reduce the heat to low and stir frequently to prevent scorching).
3. Remove the pan from the heat; quickly and thoroughly whisk in the remaining 4 tablespoons of butter.

To make Rosemary Potatoes:
4. Preheat oven to 325 degrees F.  Combine sliced potatoes with the remainder of the ingredients; coat thoroughly. Transfer the potato slices to a sheet pan; spread them out in a single layer, do not overlap. Discard leftover marinade – do not pour it over the potatoes.
5. Cook the potatoes in the preheated oven for approximately 45 minutes.  Some of the slices may need to be flipped over to promote even browning.  Remove the potatoes from the oven when they begin to brown. Use a steel spatula to remove the potatoes from the sheet pan. Place potatoes on paper towels at room temperature to drain off any excess oil. Do not refrigerate.

To make Grilled Garlic Chicken:
6. Prepare a hot grill.
7. Combine garlic, soy sauce, salt and olive oil.  Marinate the chicken breasts in garlic oil for about 15 minutes.
8. Grill the chicken breasts for 5 to 7 minutes on each side (discard any uncooked marinade). Remove the cooked chicken from the grill and chill thoroughly.  Cut into 1/2 to 3/4 inch cubes and set aside in the refrigerator.

To make the pizza: 
9. Place the pizza stone in the center of the oven and preheat to 500 degrees F for one hour before cooking the pizza.
10. Use a large spoon to spread 2 tablespoons of Garlic-Shallot Butter over the surface of the prepared pizza dough, within the rim.  Cover the butter with half the mozzarella.  Distribute half the grilled garlic chicken evenly over the cheese.
11. Sprinkle half the rosemary and oregano over the chicken. Place the rosemary potatoes over the other toppings, spaced about 1 inch apart.
12. Transfer the pizza to the oven; bake until the crust is crisp and golden and the cheese at the center is bubbly, 8 to 10 minutes. When cooked, carefully remove the pizza from the oven. Sprinkle half the parsley over the hot potato topping. Slice and serve.
13. Repeat with remaining ingredients for a second pizza. (The two pizzas may be prepared simultaneously if you are careful in placing the pizzas at opposite corners of your pizza stone.)

Yield: 2 (9-inch) pizzas
The California Pizza Kitchen Cookbook by Larry Flax & Rick Rosenfield

CPK’s BBQ Chicken Pizza

I LOVE pizza and could eat my weight in it.  The good thing about this pizza recipe is that you can make it pretty healthy.  First of all, then thinner the crust, the better.  Well, my crust is very thin as you can see.  Second, you can cut fat by using low-fat or part-skim cheese.  I used part-skim Mozzarella, which is one of the few cheeses that are actually good for you.  Thirdly, BBQ sauce has no fat in it…just sodium.  The only thing left is chicken breast, which provides a lean meat/healthy protein source for you.  Finally, red onion and cilantro gives you wonderful flavor in this BBQ Chicken Pizza.
I adapted this recipe from Ree Drummond, or the Pioneer Woman, who in turn created her own version of California Pizza Kitchen’s BBQ Chicken Pizza.  If you’ve ever been to California Pizza Kitchen, also known as CPK, you know what I’m talking about.  Their pizzas are wonderful and come in almost every flavor or combination known to man.  Their frozen pizzas are quite good too! Last week my mom and sister made Rosemary Chicken and Potato Pizza from The California Pizza Kitchen Cookbook.  I’ll be sure to blog it as soon as I can!  
 
Making pizza is extremely fast and easy, especially if you buy a pre-made crust.  If you’ve ever heard of Naan bread, it makes for a great crust as well.  The neat thing about making pizza is that the baking time is so quick!  With an extremely high oven temperature, at least 500 degrees F, you can bake a pizza in literally 10 minutes.  For those of you who like to grill, grilling pizza is another tasty alternative.
Enjoy!
 
Bake chicken covered in BBQ sauce for 25-30 minutes in a 375 degree F oven.  Dice into thin pieces.

Roll out pizza dough.  Cover in a couple of tablespoonfuls of BBQ sauce, then chicken.

Sprinkle with Mozzarella cheese and thinly sliced red onion.

Bake for 10 minutes, or until crust is golden, and cheese is bubbly.  Top with freshly chopped cilantro.

CPK’s BBQ Chicken Pizza
Ingredients
2  Individual Pizza Crusts (I used Basic Pizza Dough recipe)
1 whole boneless, skinless chicken breast
1/4 cup barbecue sauce
Olive oil, for drizzling
Salt for sprinkling
Shredded Mozzarella cheese
1/4 whole red onion, cut in half, and sliced very thin
chopped Cilantro, to taste

Directions
1.  Preheat oven to 375 degrees F.
2.  Salt chicken breasts on both sides, then place in an ovenproof dish.  Pour BBQ sauce over the breasts and turn them over to coat.  Bake for 25 to 30 minutes, or until chicken is done.  Remove from oven and cut into a fine dice.  Set aside.
3.  Increase oven temperature to 500 degrees F.
4.  Roll/stretch out one pizza crust.  Lay it on a sheet pan sprinkled with cornmeal.  Spoon a couple of tablespoons of extra BBQ sauce on the crust and spread it evenly.  Top sauce with half the diced chicken.  Sprinkle on half of the Mozzarella and thinly sliced red onion.  Repeat with second pizza.
5.  Bake for about 10 minutes, or until crust is golden brown and toppings are bubbly.
6.  Remove from oven and sprinkle on plenty of chopped cilantro.  Cut into squares and serve immediately.

Yield: 2 servings
Adapted from Pioneer Woman 

Basic Pizza Dough


By now, most people know that I have a food blog and LOVE to cook!  A parent at my school knew this, and bought me a gift card to a Central Market cooking class of my choice (If you are reading this, thank you so much AGAIN for the cooking class!)  While on the Central Market website, I browsed through the vast array of classes offered including Tex Mex grilling, Baked Pasta Dishes, Retro Paris Bistro, Steakhouse Favorites, and more.

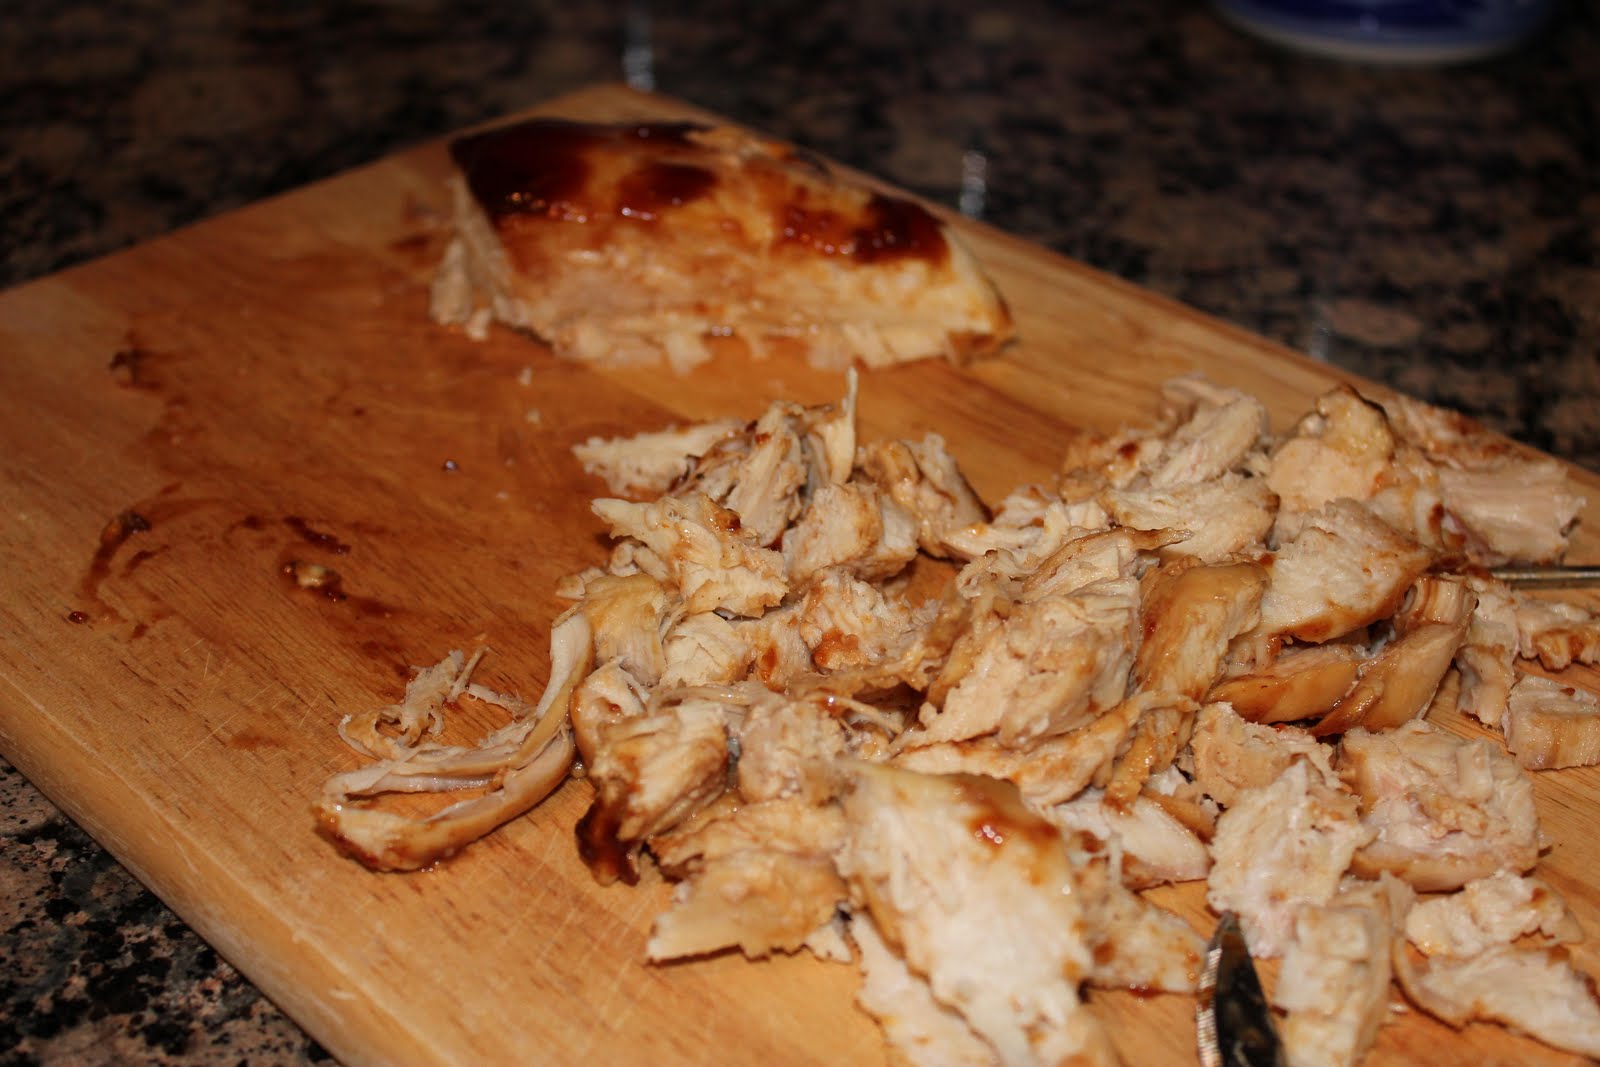
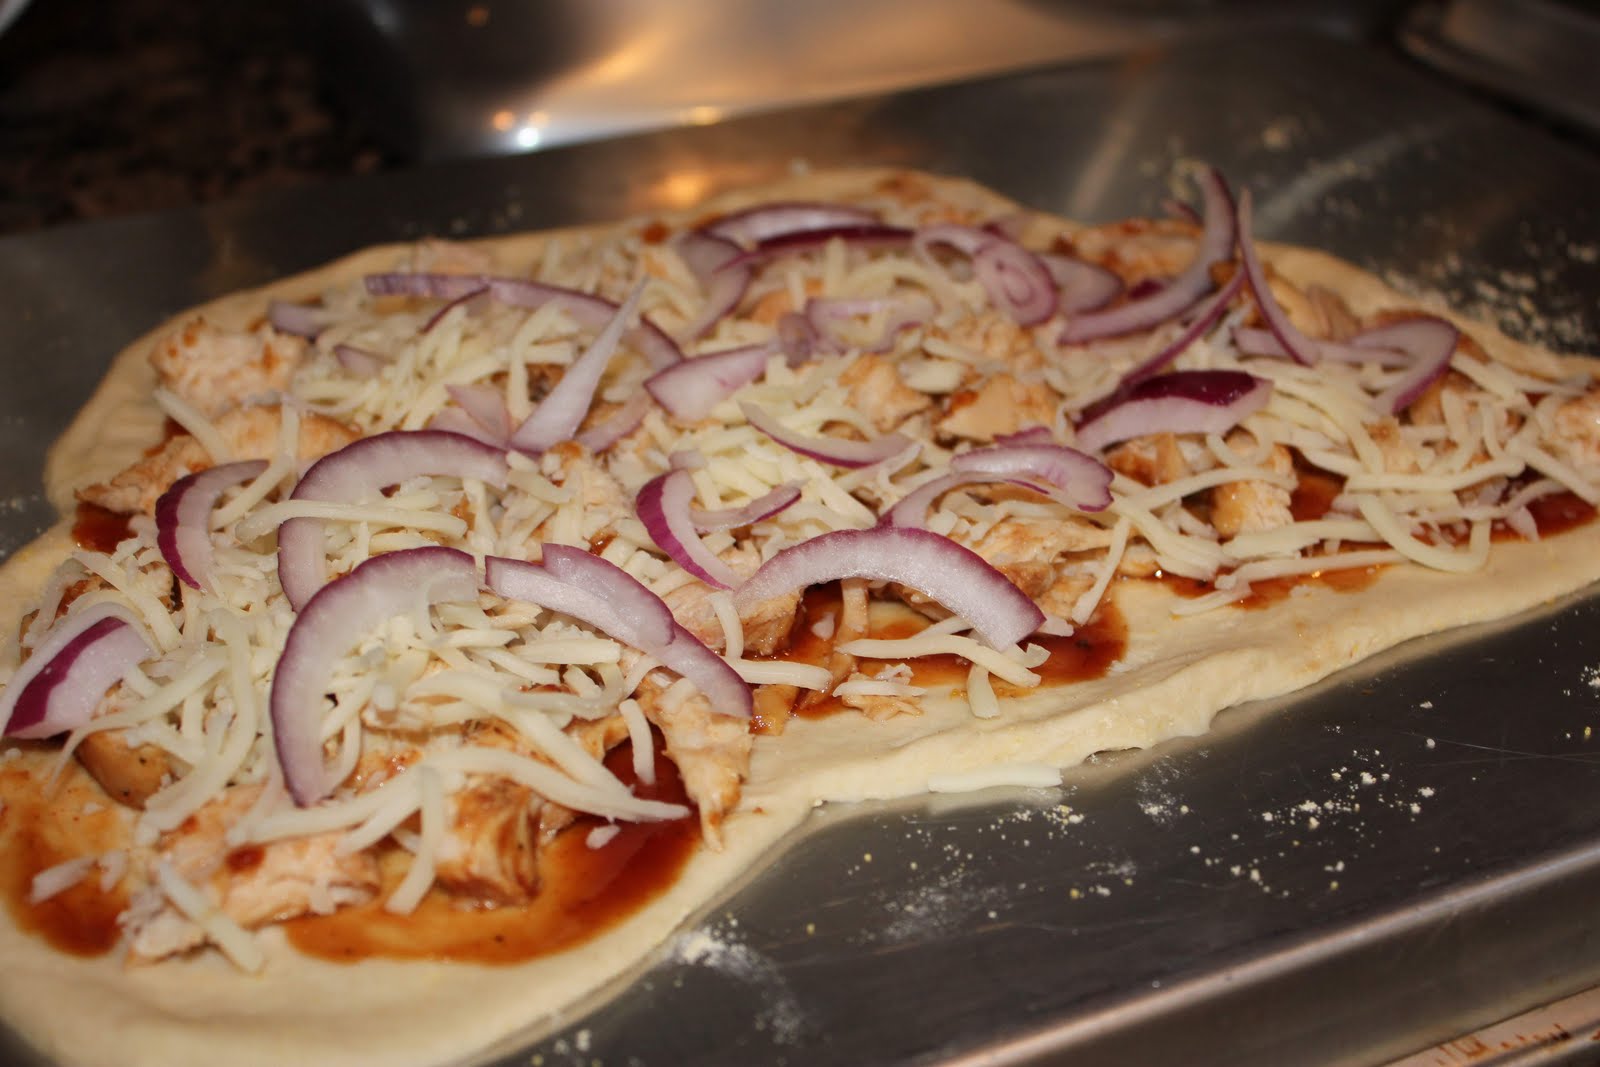
I finally decided on “Pizza: American Regional.”  I must say, I thoroughly enjoyed the class, the instructors, and the hands-on learning offered to us.  The menu for the night including a sampling of Chicago Deep Dish Pizza, Mystic New England Clam Pizza, California Smoked Salmon Pizza, and New York Thin Crust pizza.  The instructors at Central Market even let us make our own pizza!  They had balls of dough ready to go for all 22 class attendees.  All we had to do was roll out the dough, and pick the Central Market ingredients to top our pizzas.  I choose my favorite toppings including grilled chicken, tomatoes, onions, mushrooms, Mozzarella, Parmesan, and smoked Gouda cheese (a new discovery that I now love.)

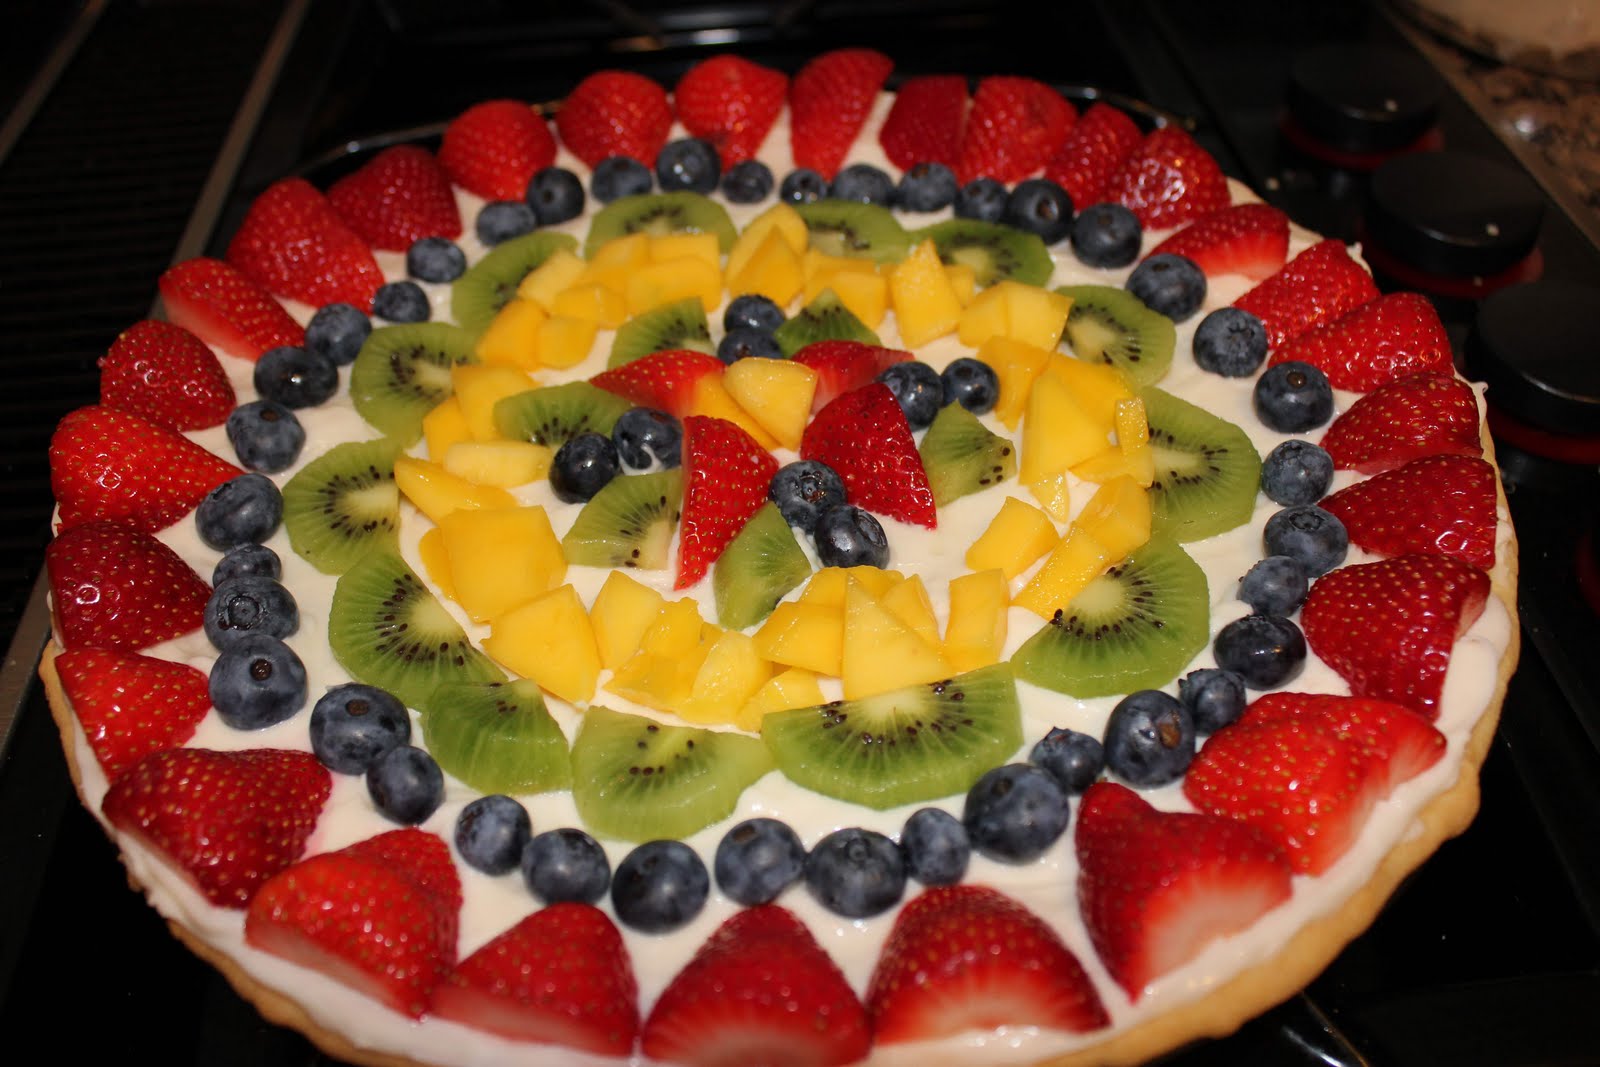
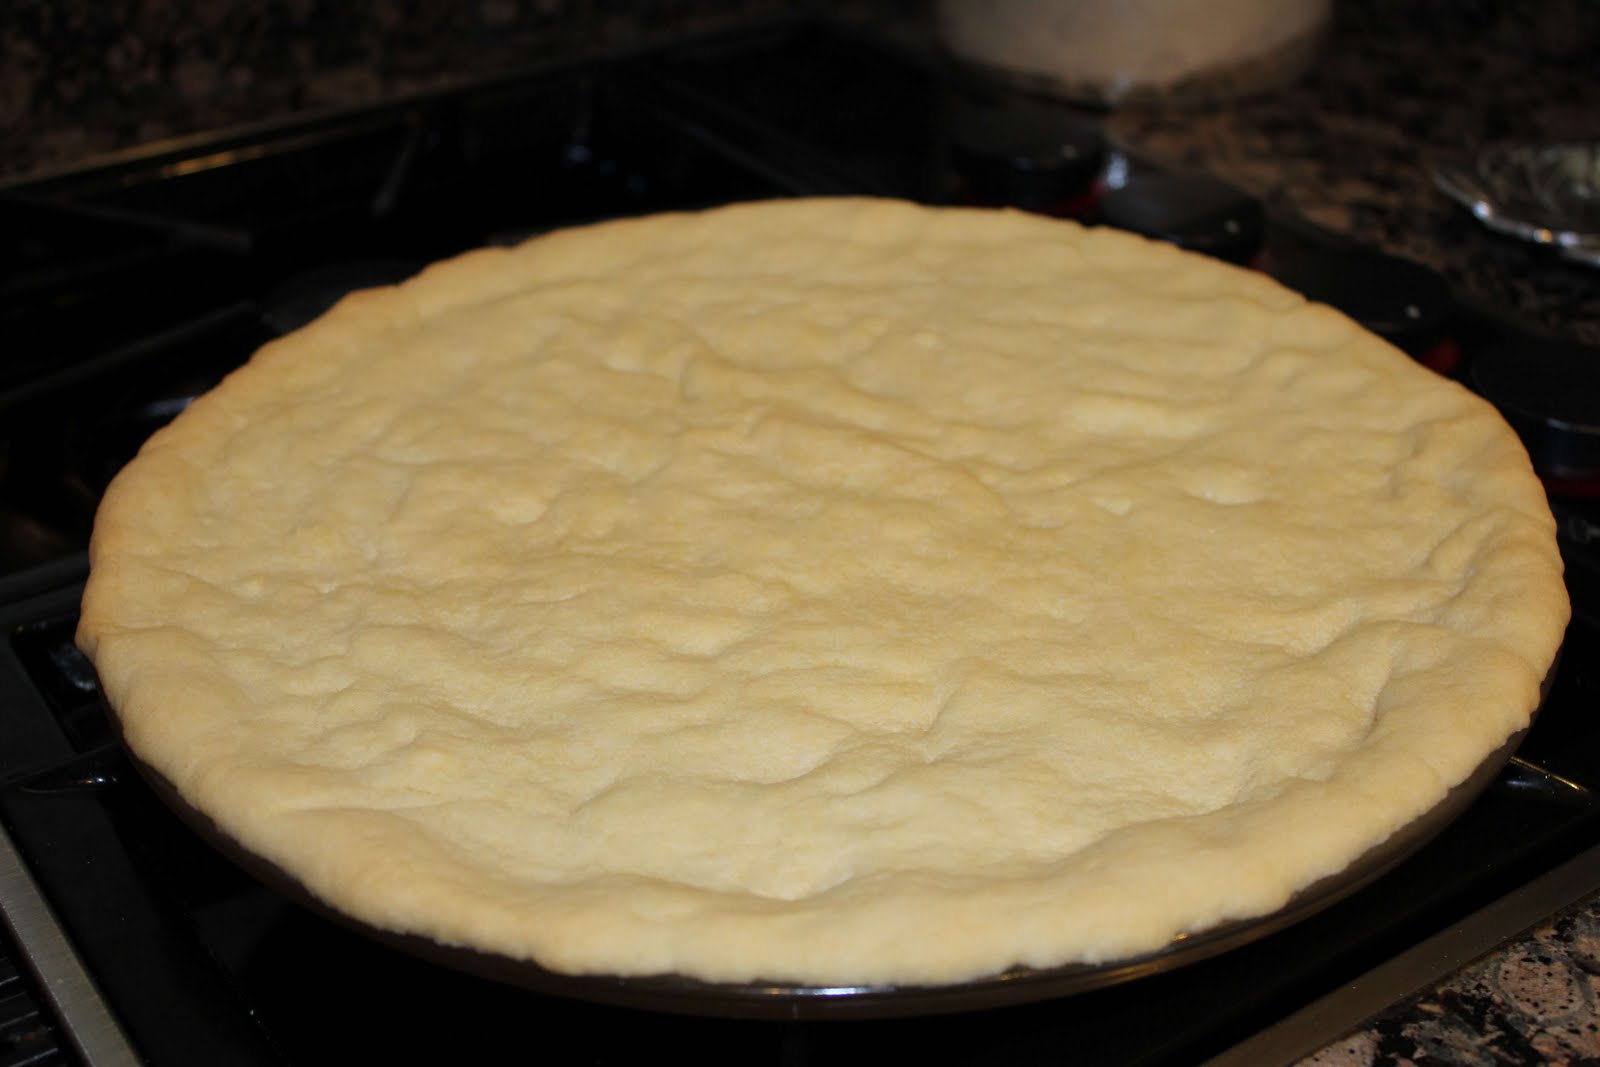
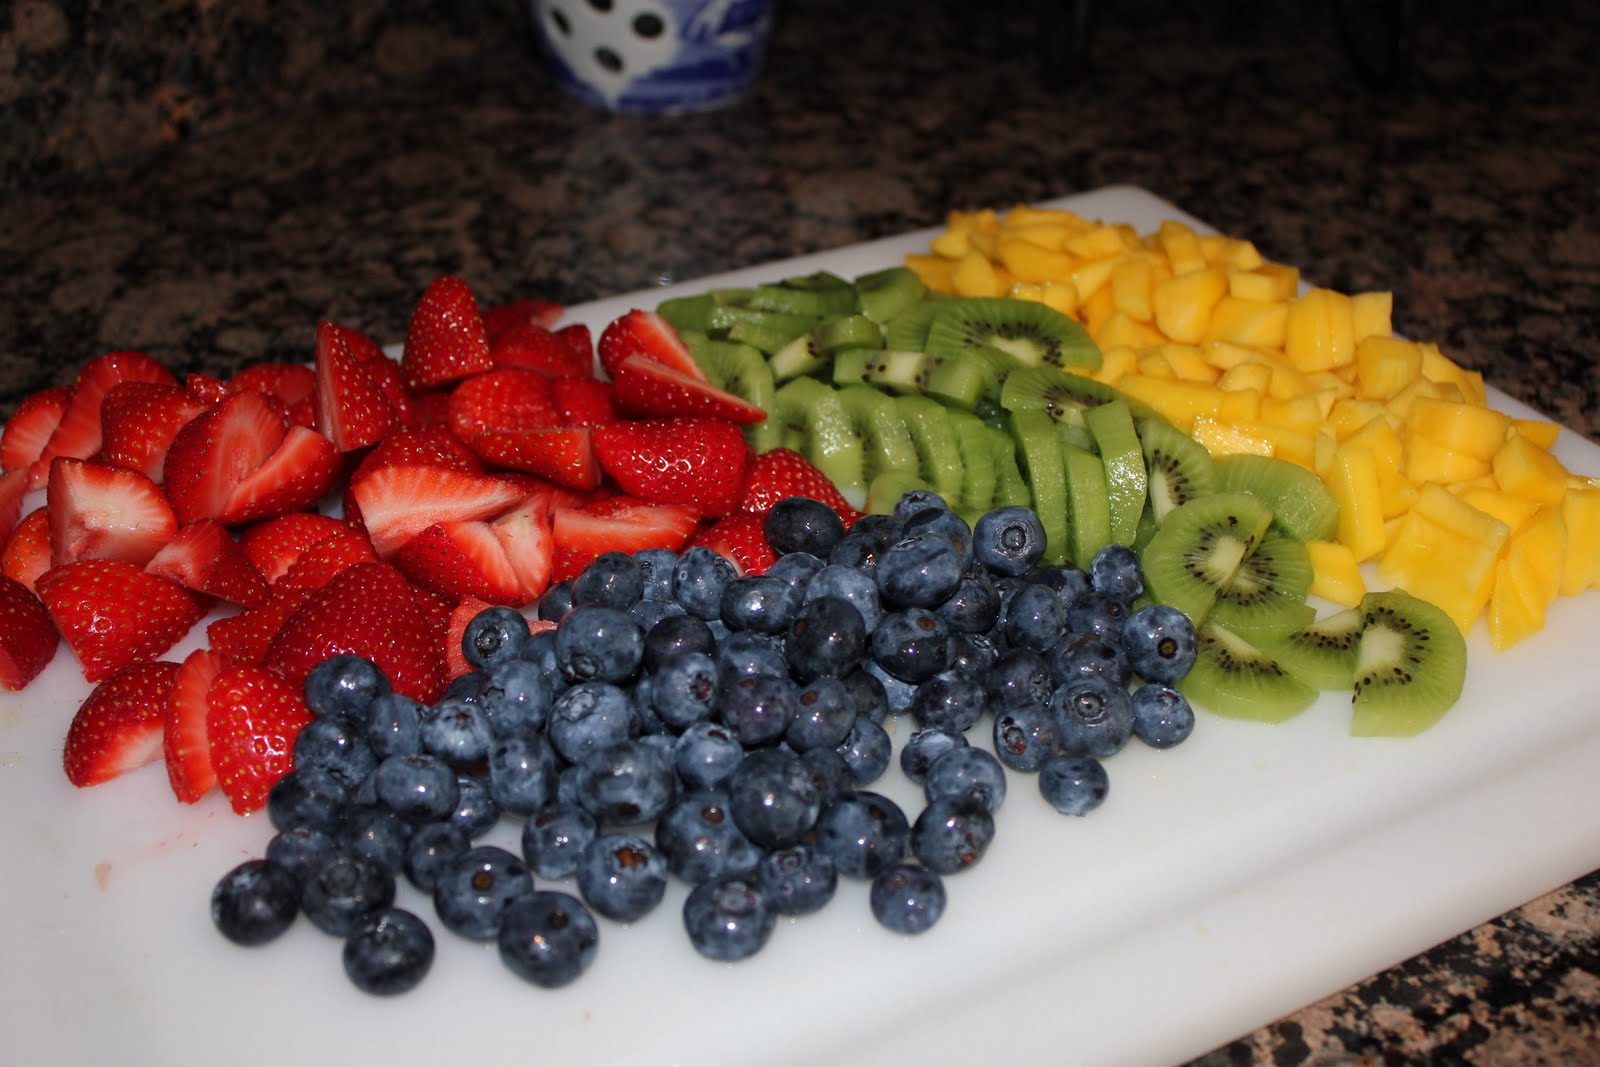
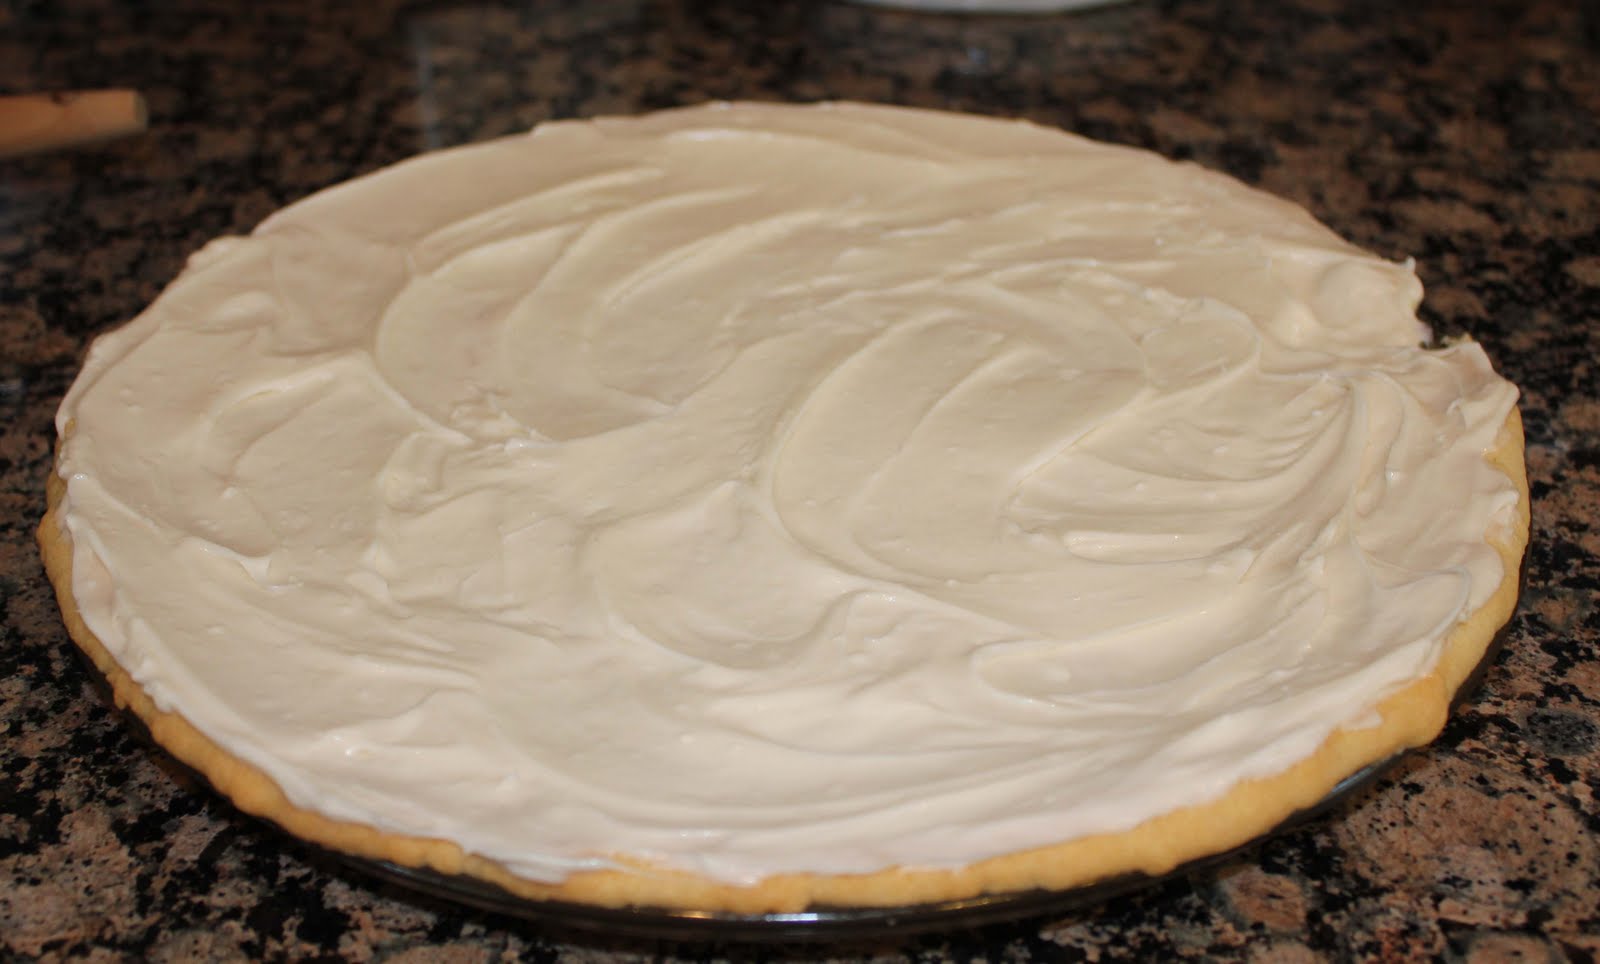
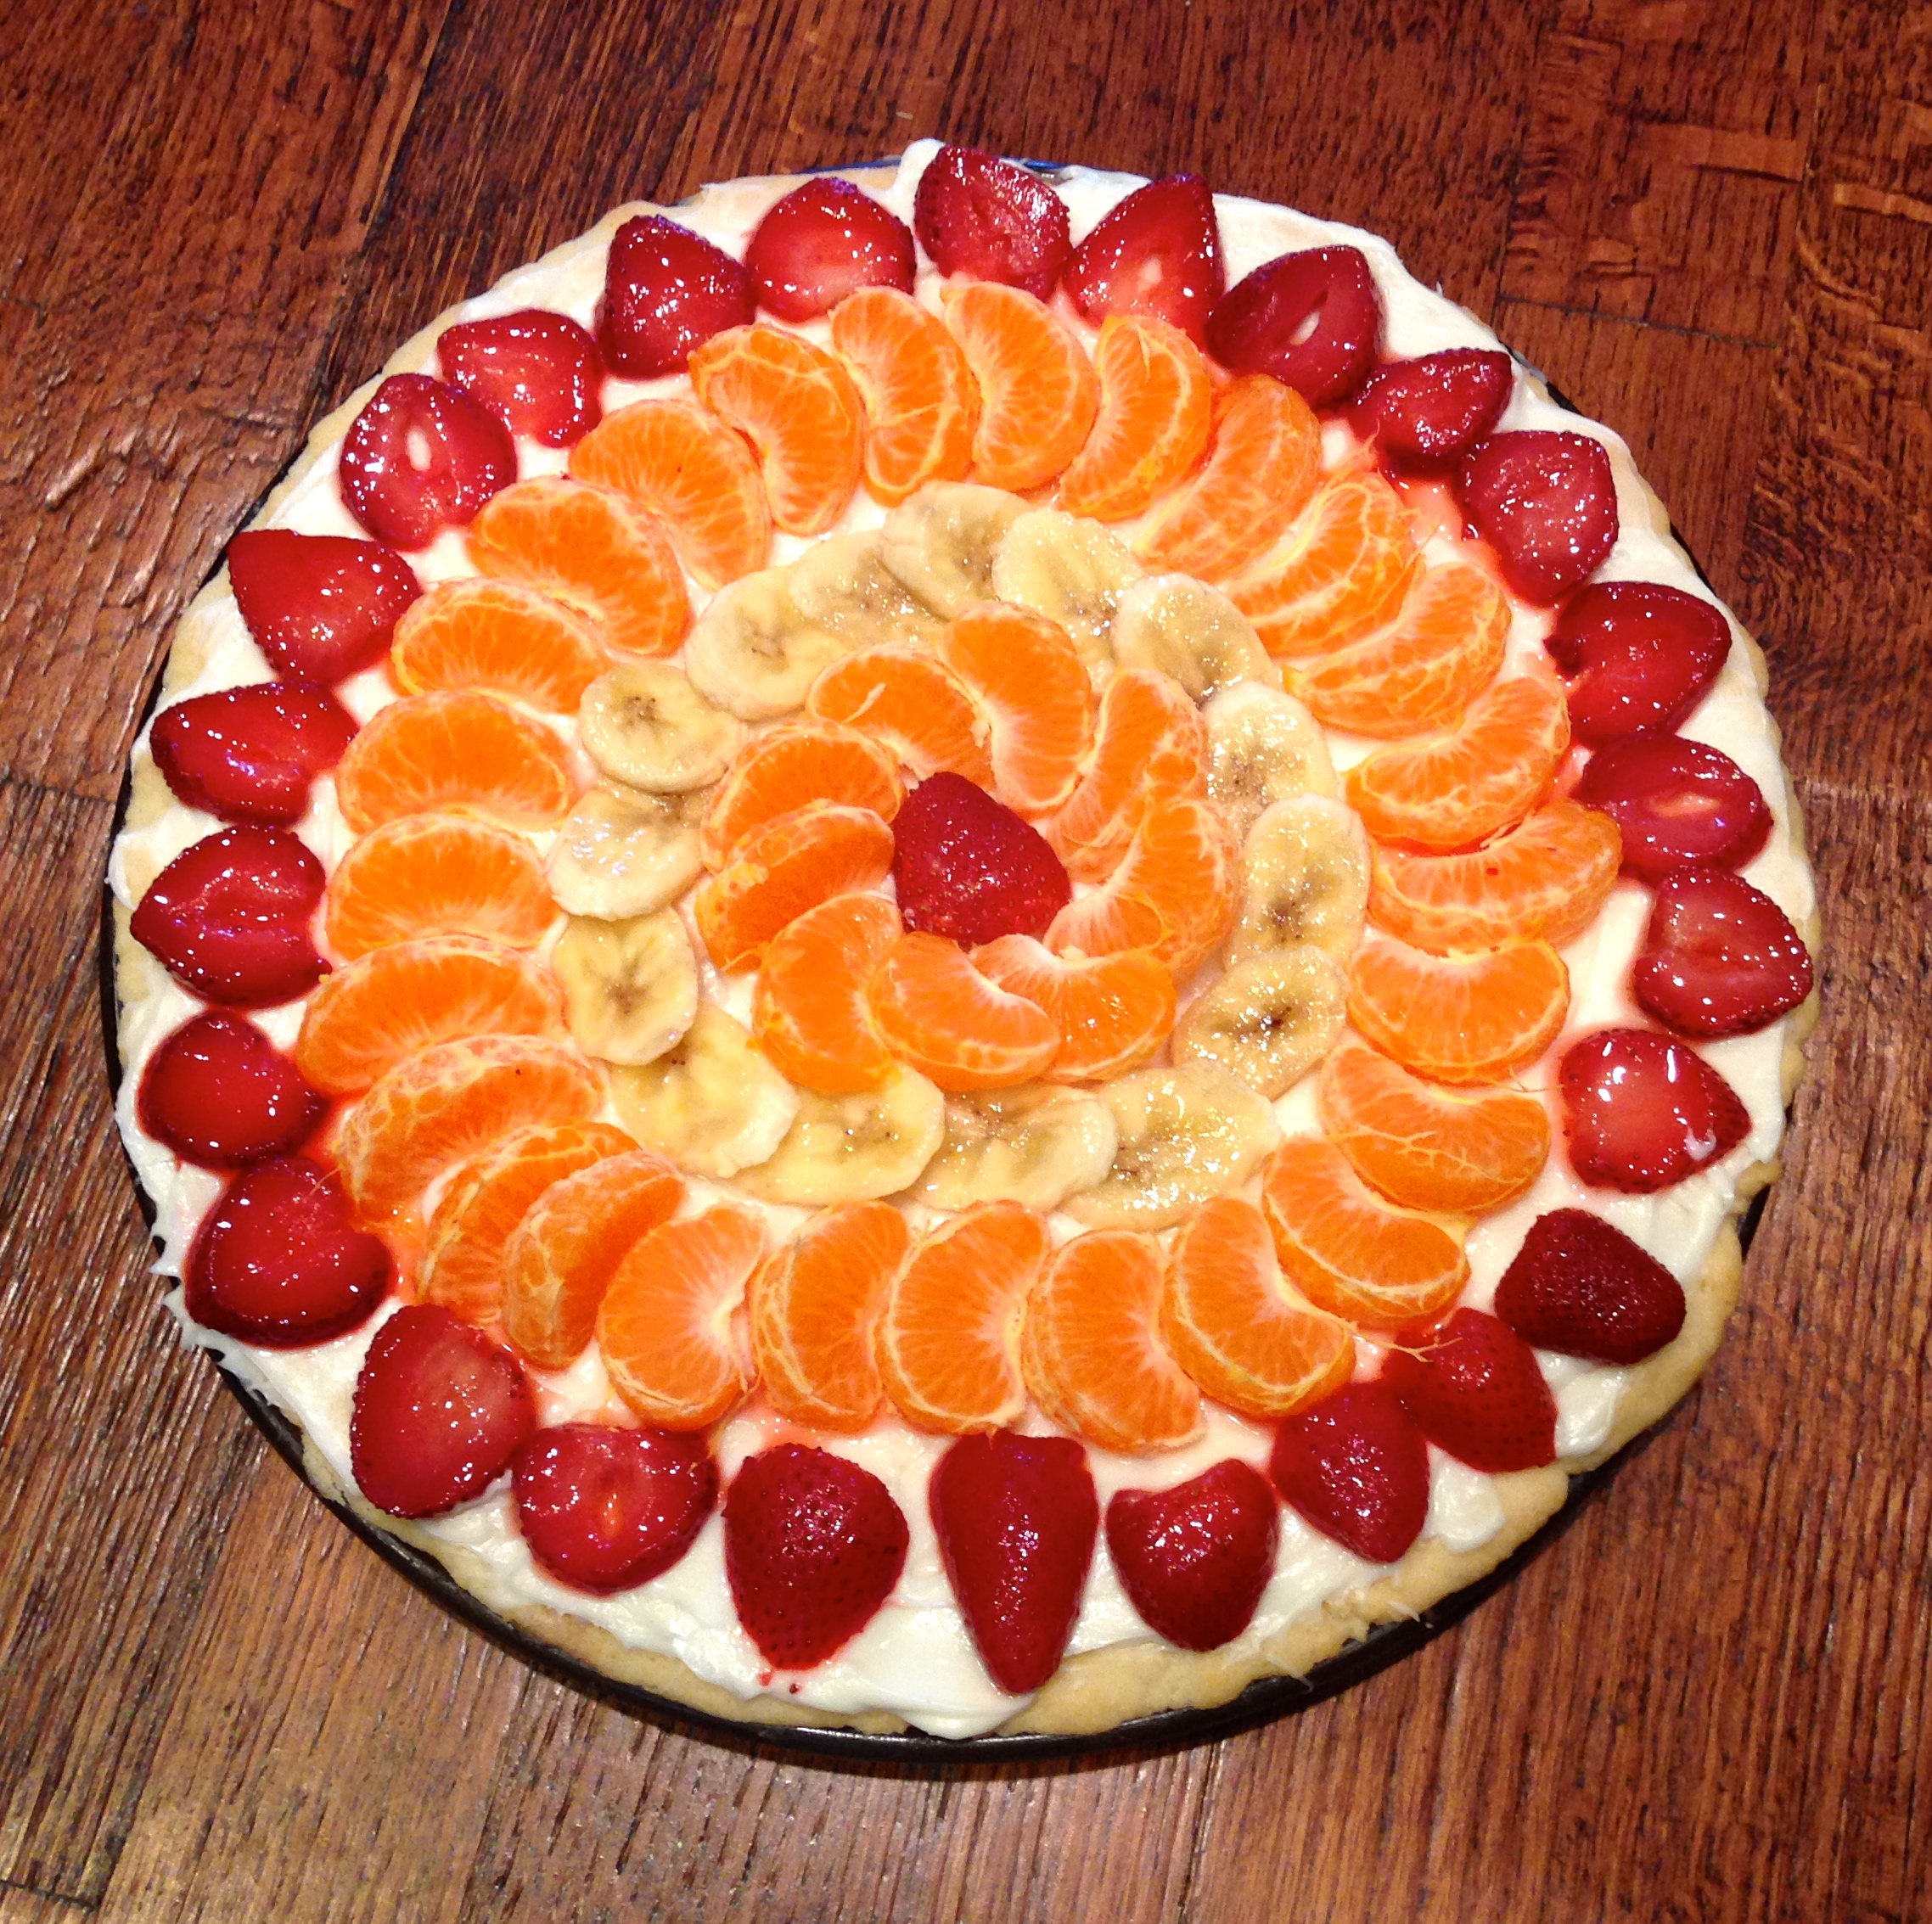
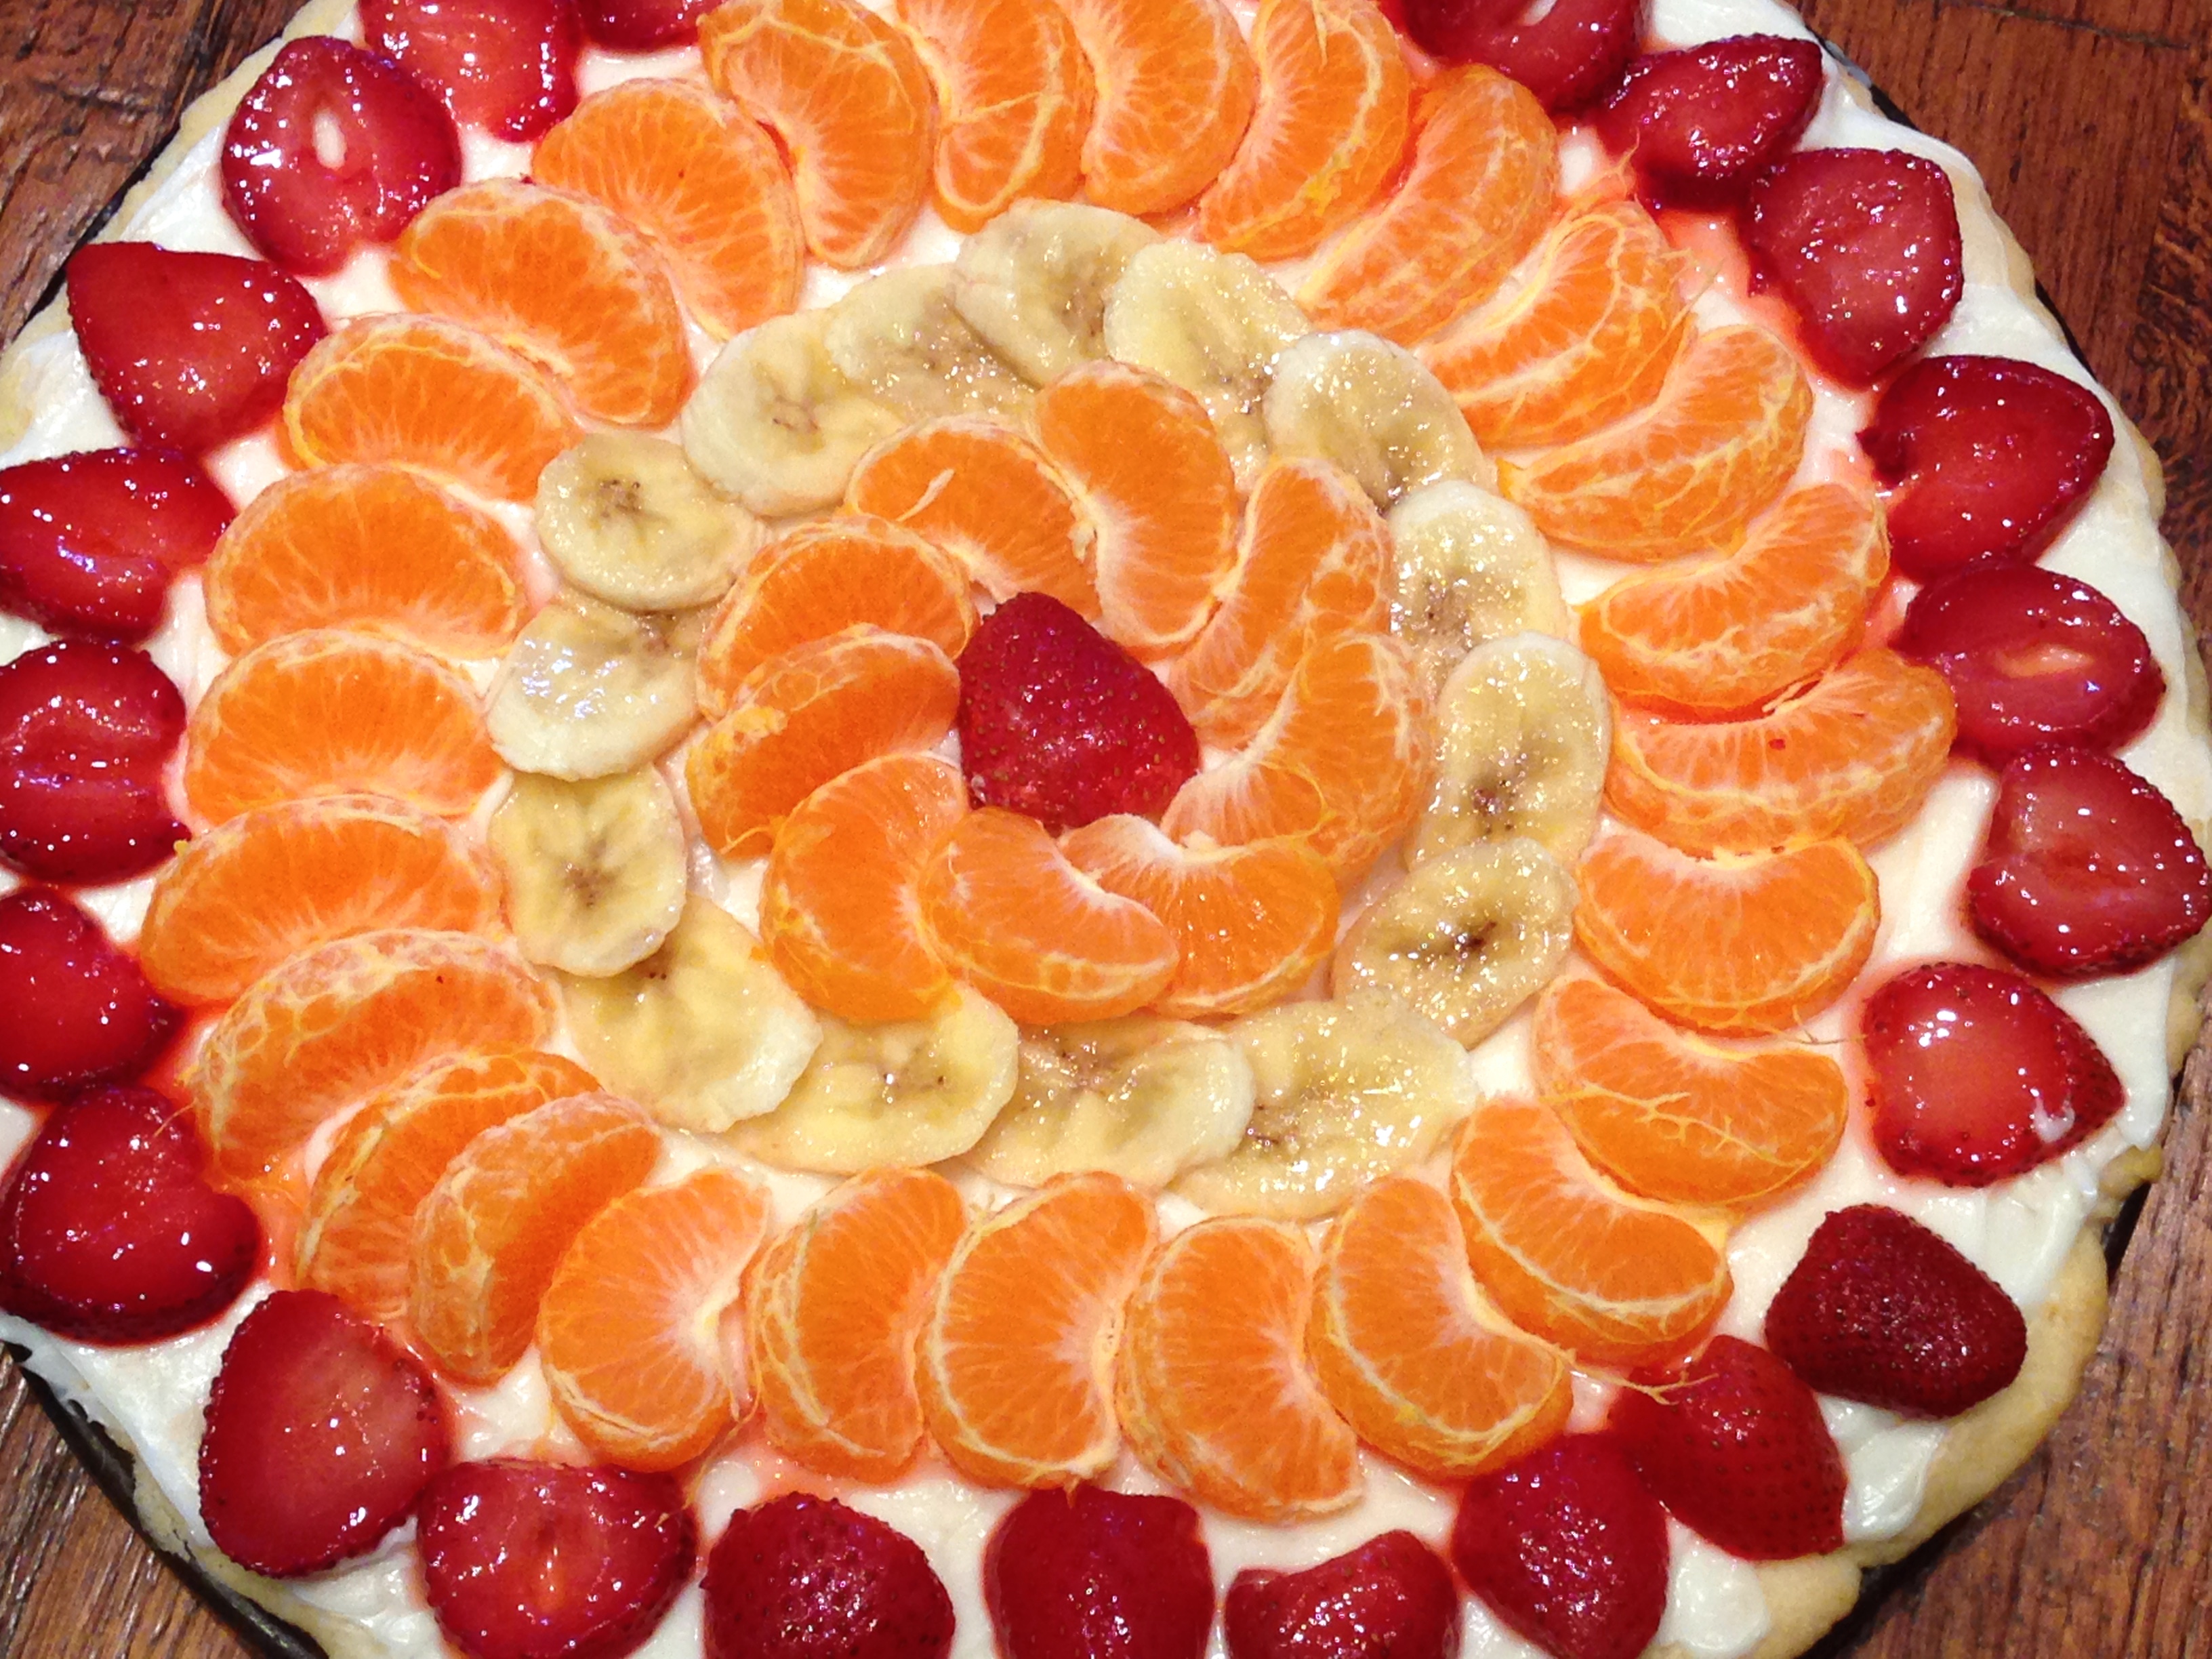
For dessert, we made chocolate Nutella (chocolate hazelnut spread) or Dulce de Leche (thick caramel-like spread) pizzas with fresh berries.   For the dessert pizzas, we used the same “Basic Pizza Dough” recipe as shown below.  It is so simple to make… roll out the dough, bake it for about 10 minutes in a 500 degree F oven, and then top it with Nutella or Dulce de Leche (your choice), and then top with fresh, sliced strawberries, blueberries, and blackberries.  Powdered sugar sifted on top would be a nice addition as well!

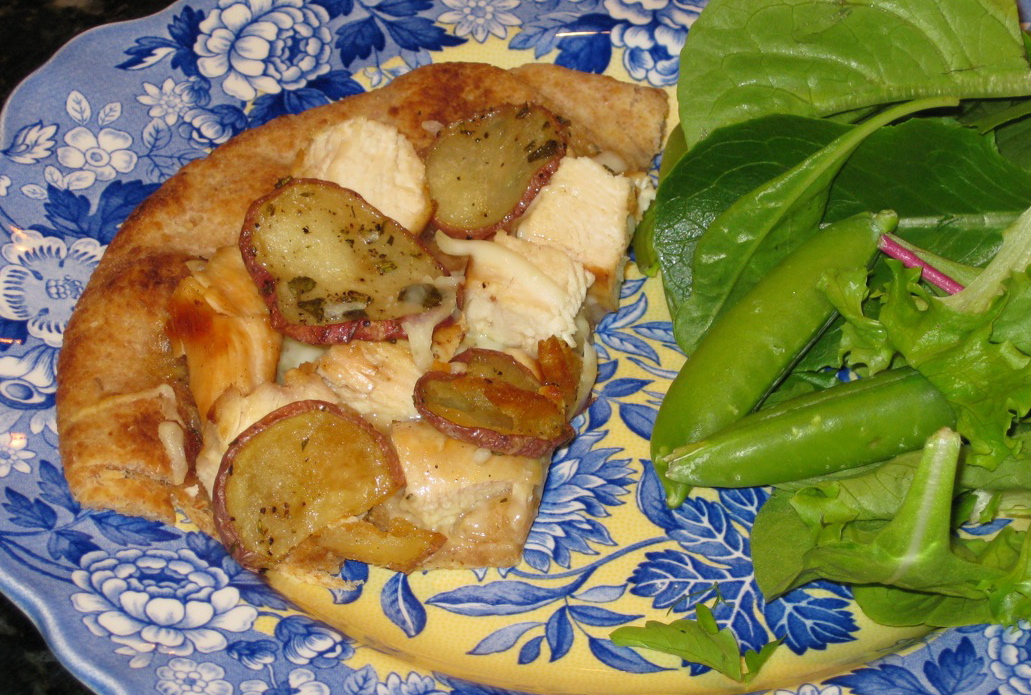
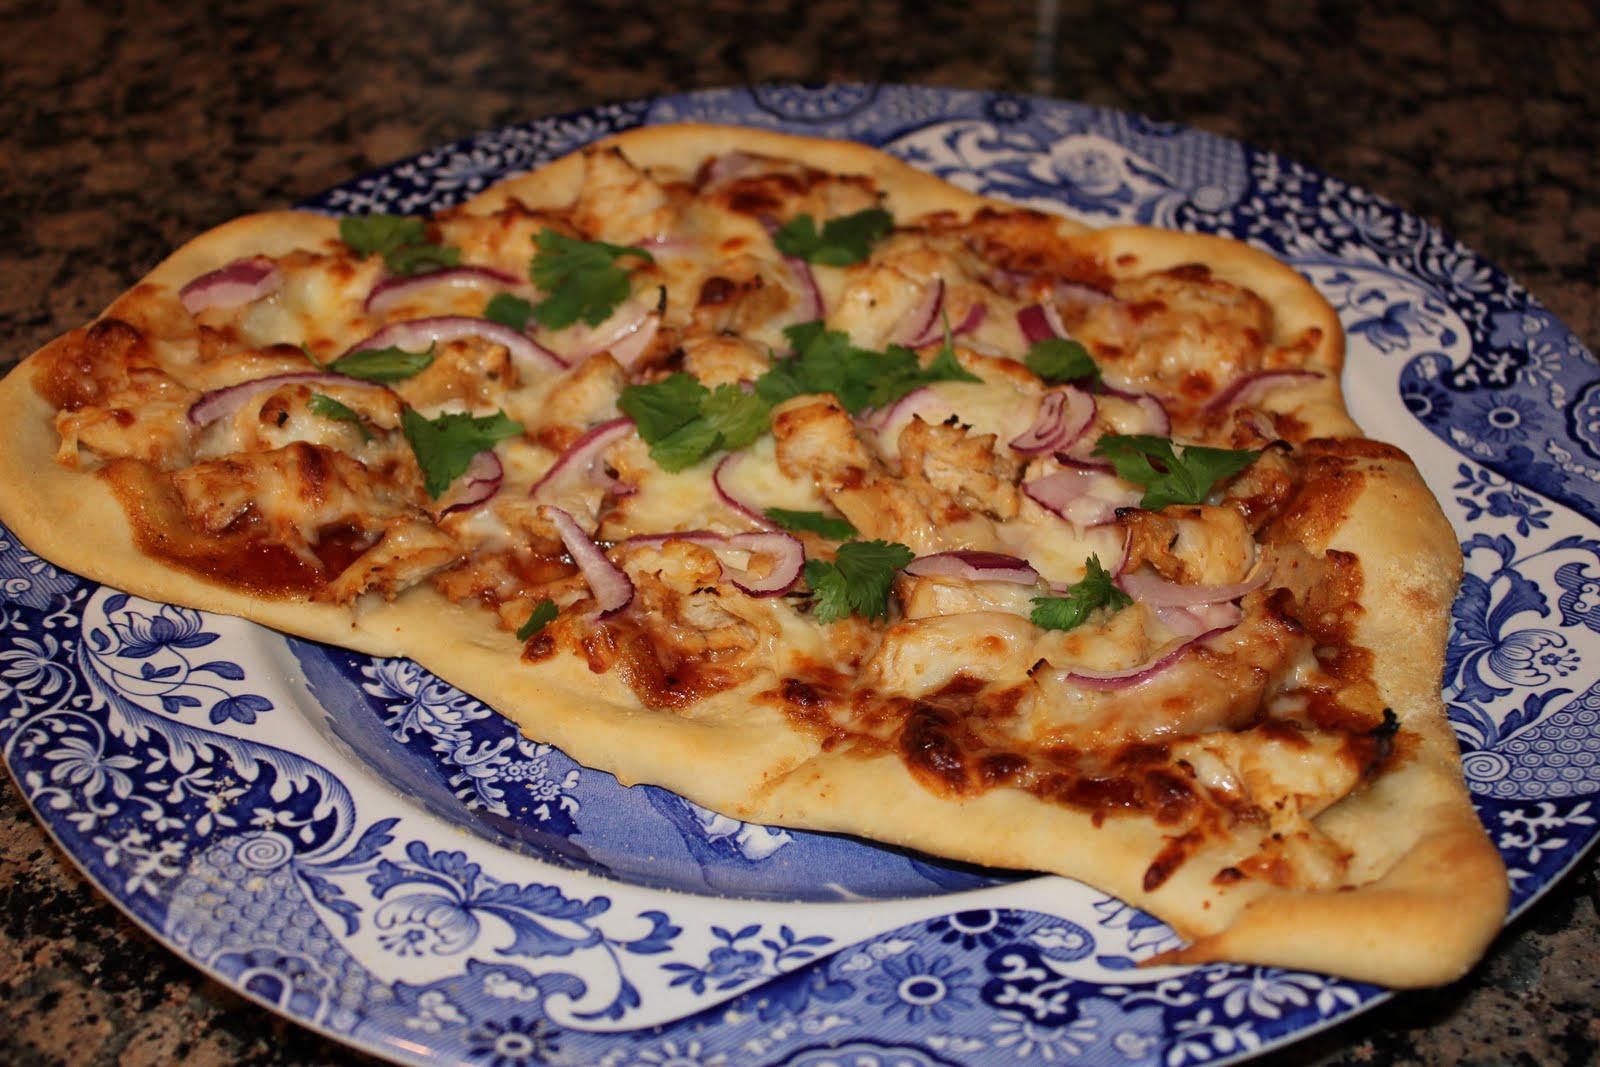
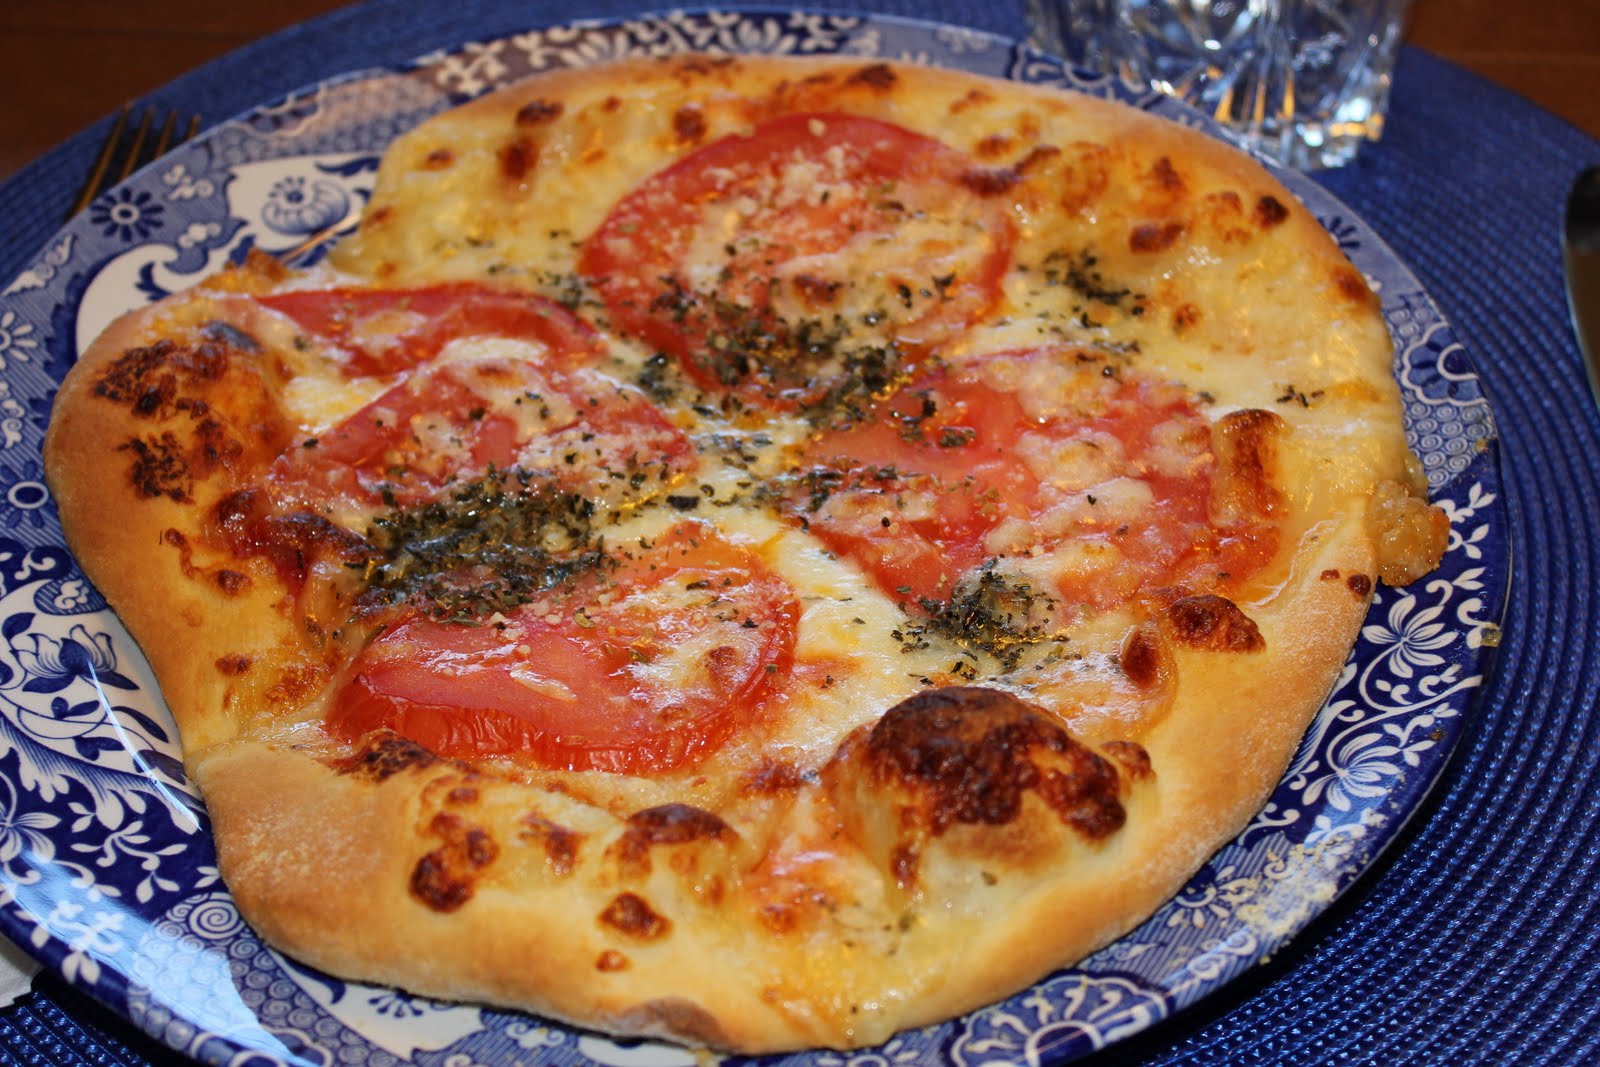
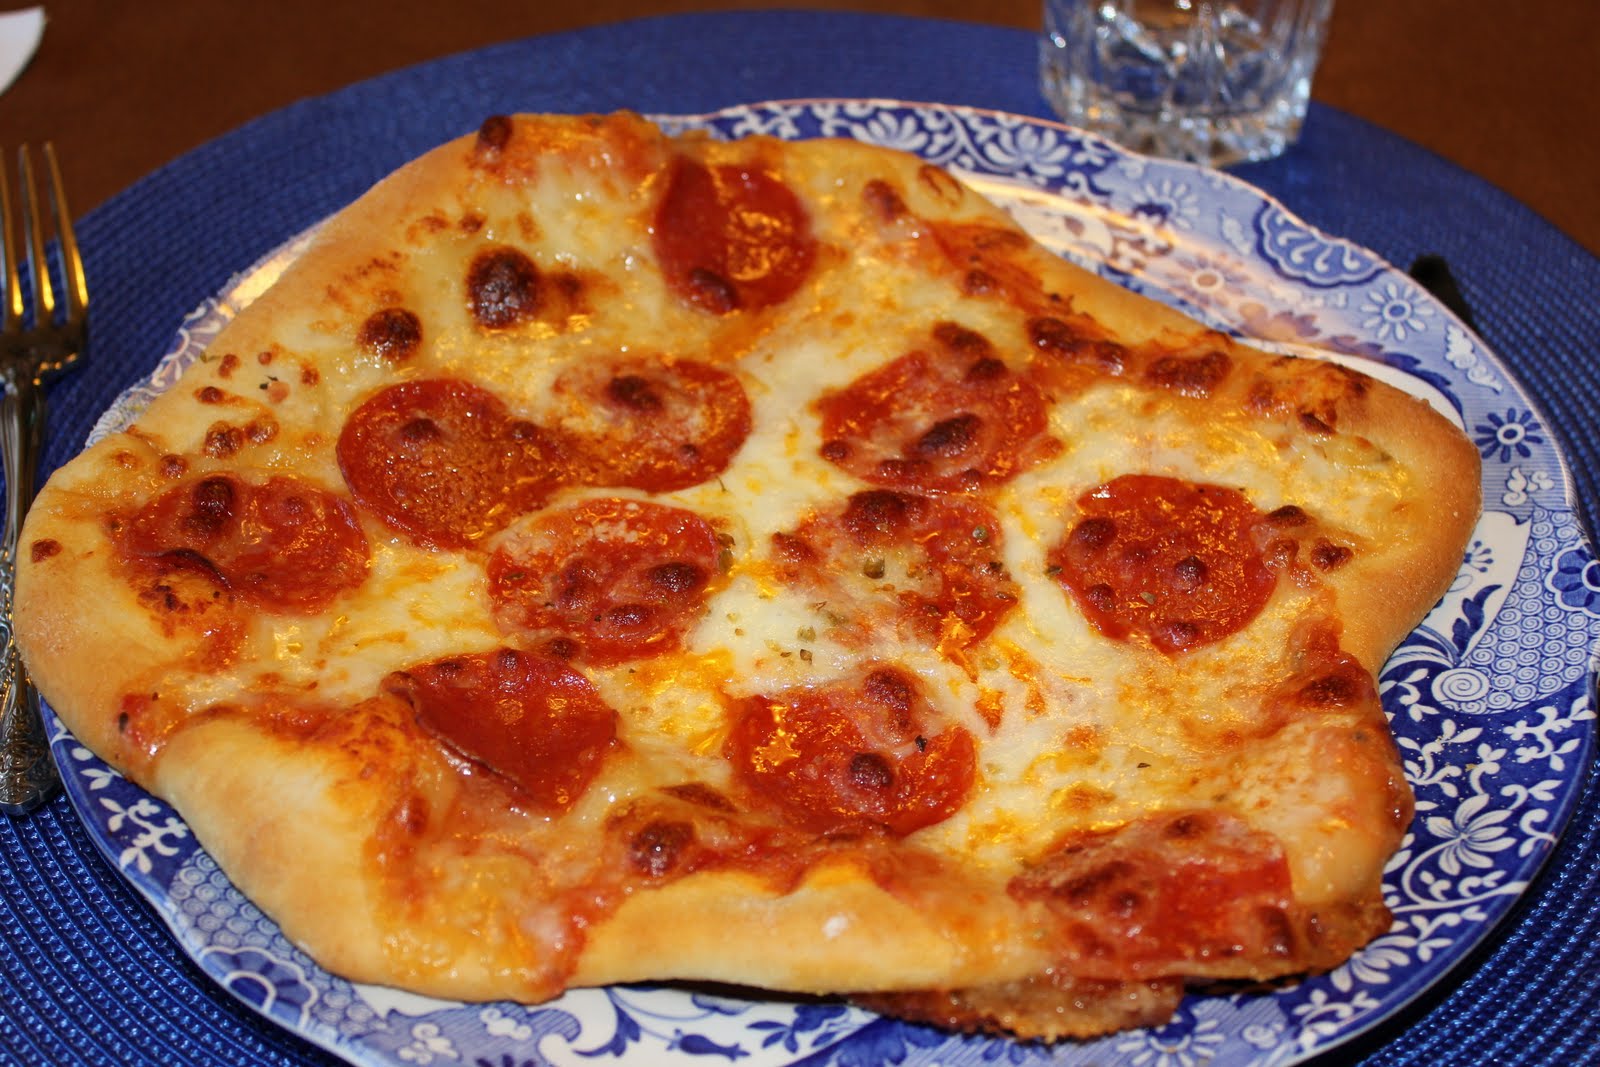
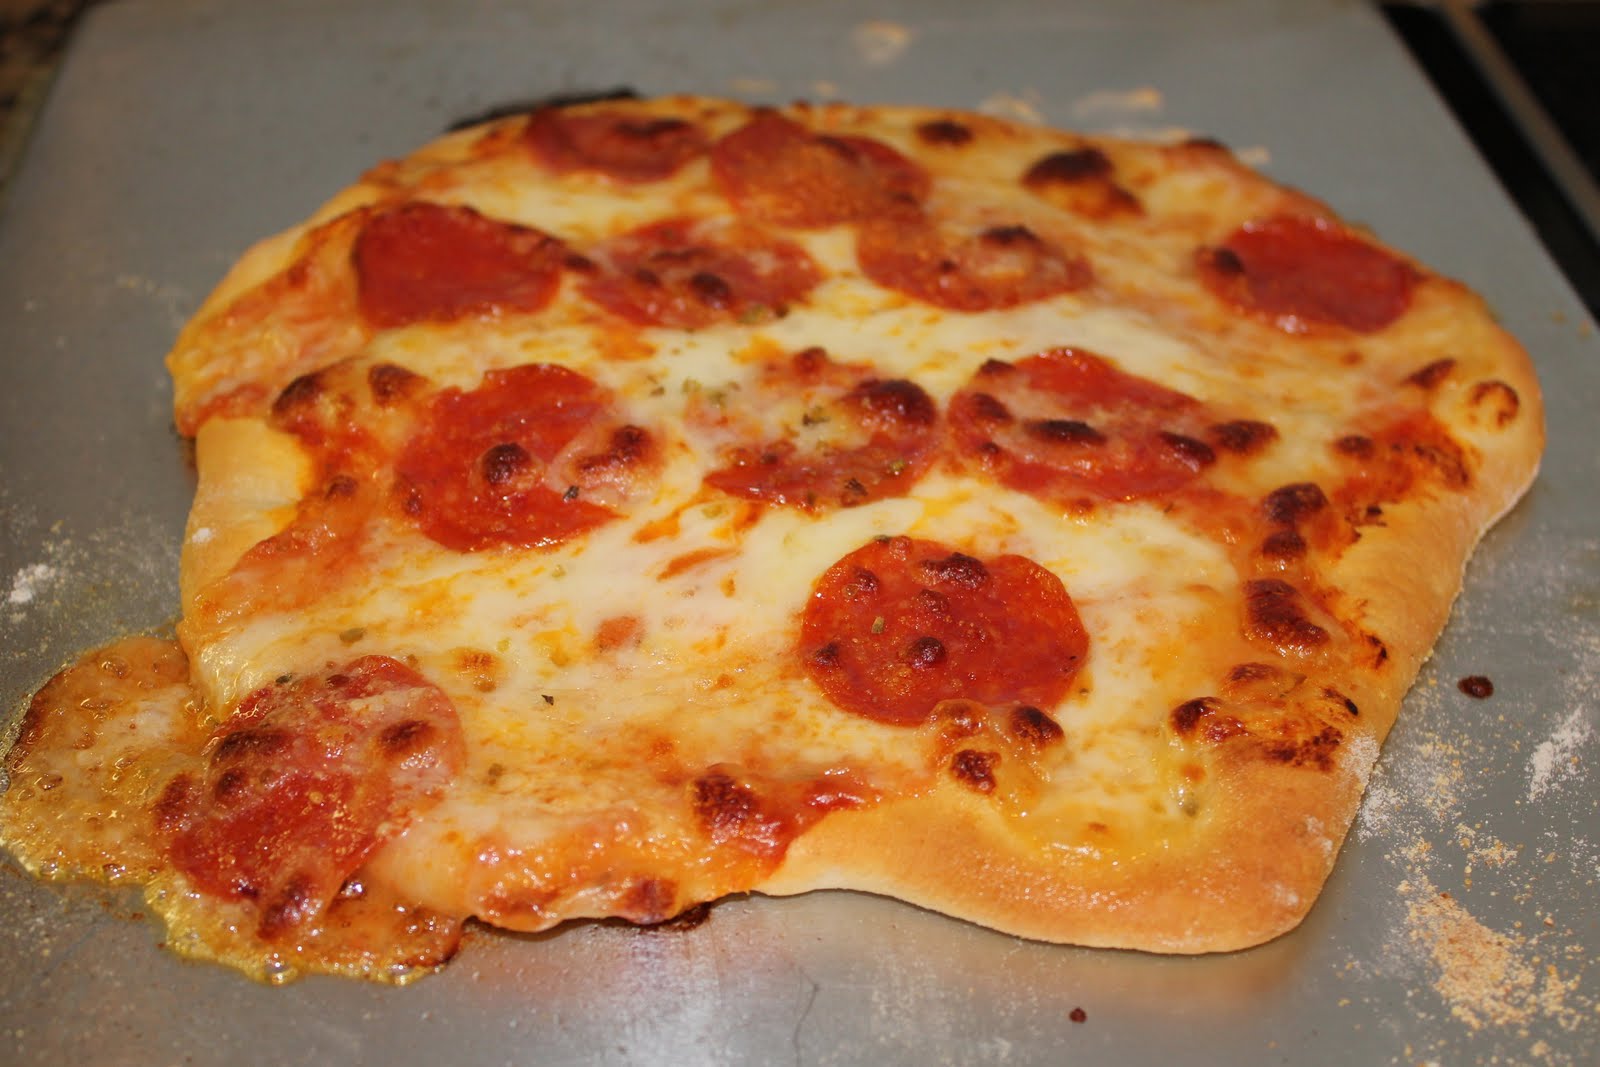
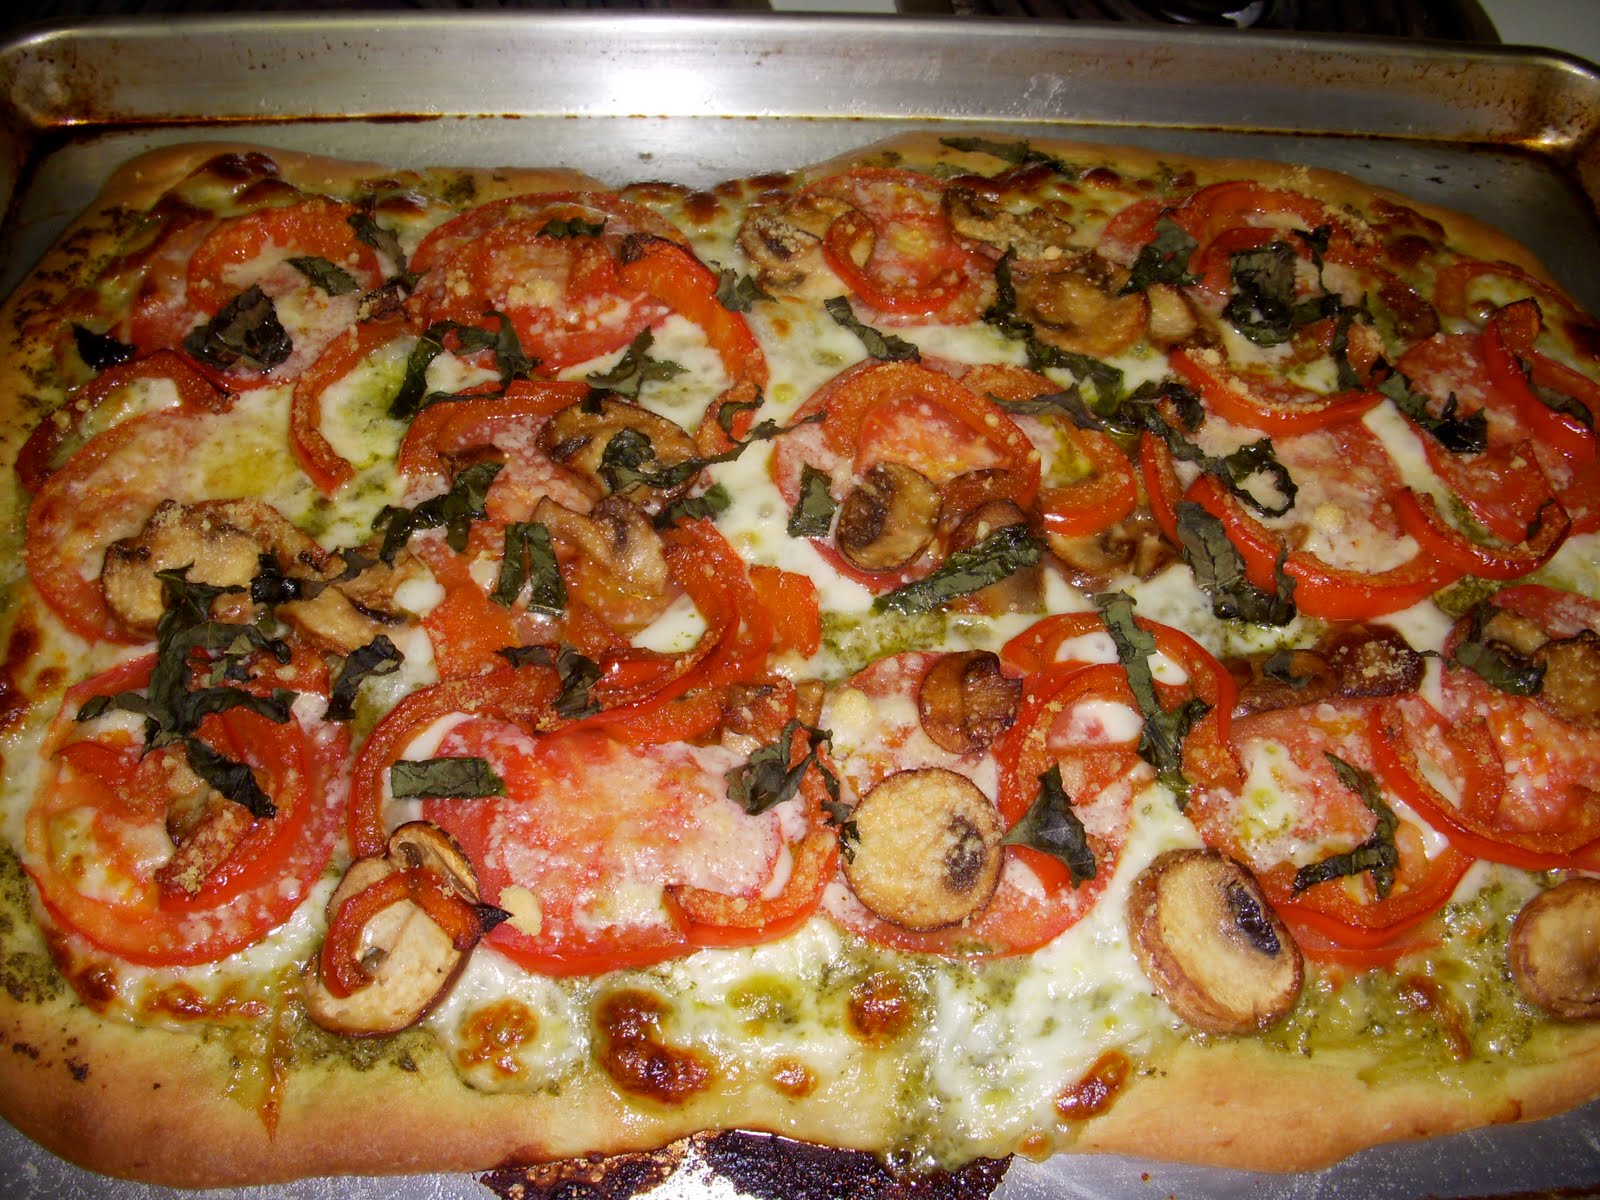
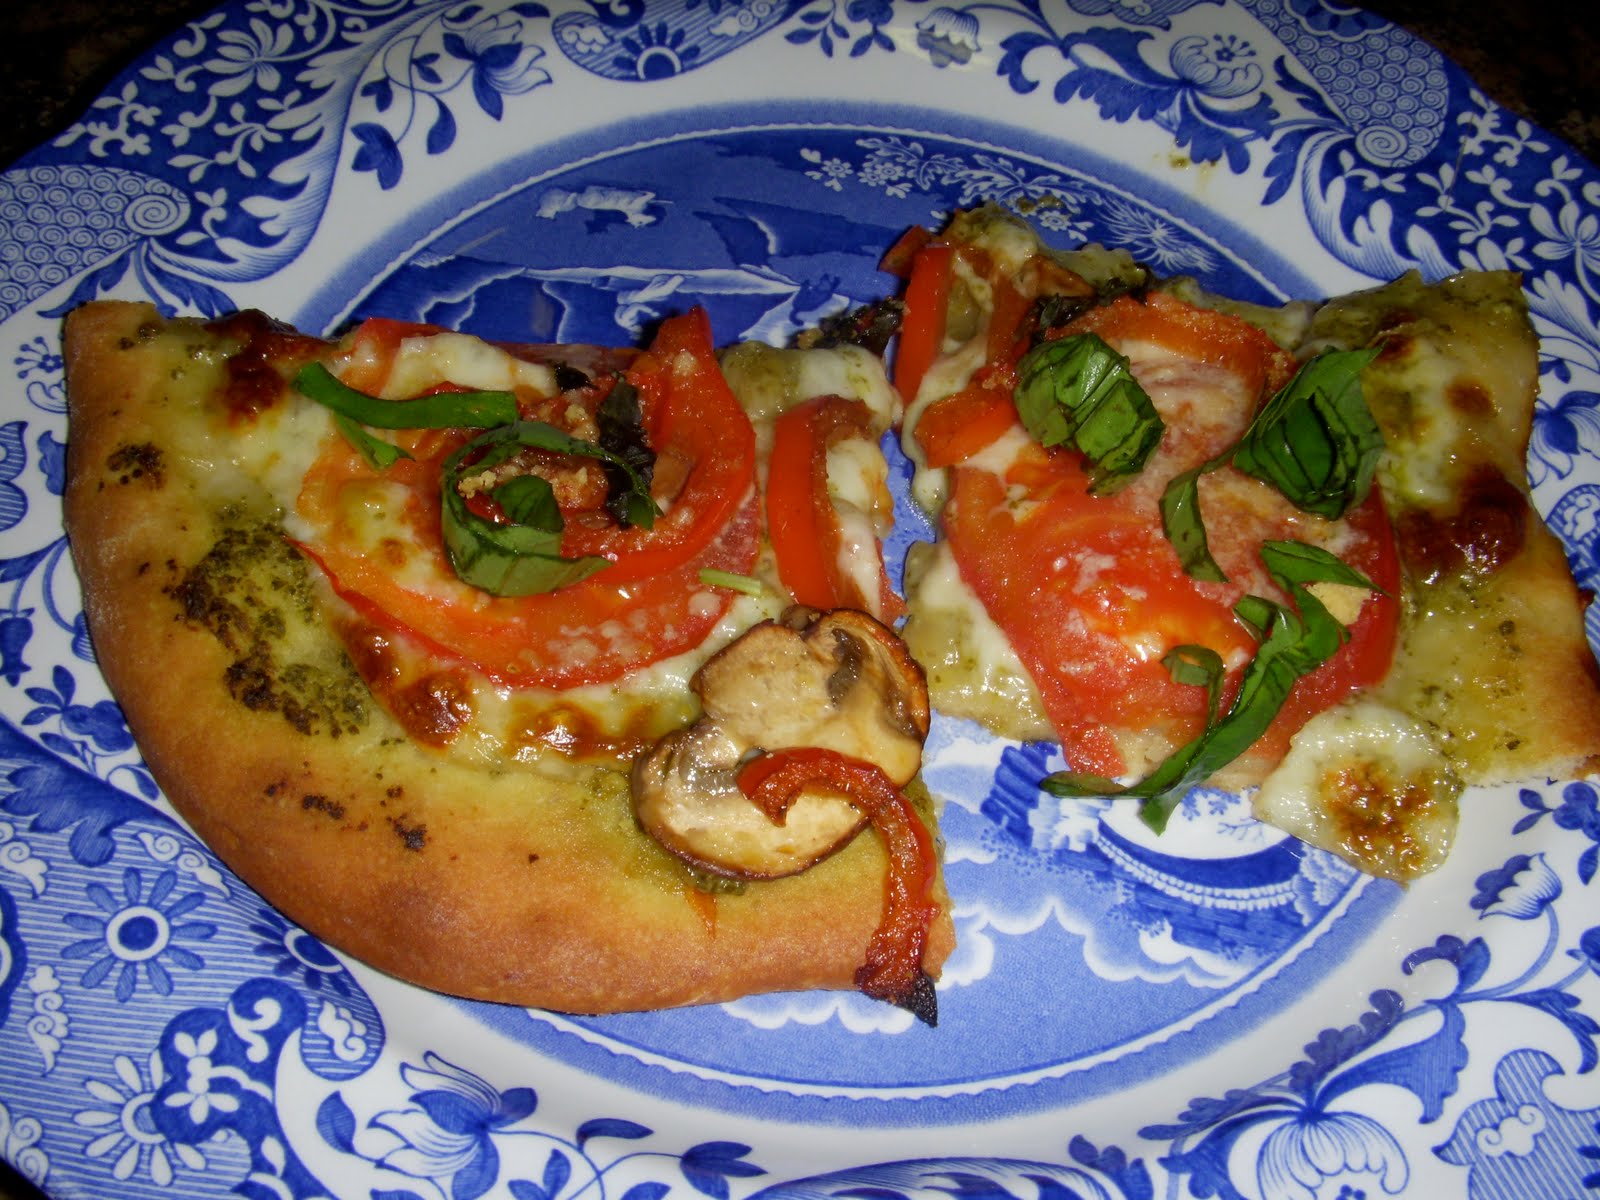
Below, I made the pizzas using the Central Market “Basic Pizza Dough” recipe and added whatever toppings I wanted.  My husband loves pepperoni, so I made that for him, while I cooked up a Margherita Pizza for me.  The made two, 8-inch pizzas, and froze the rest of the dough for another time.  This is a very simple recipe.  Don’t let the detailed steps scare you away from making this.  As our instructor at Central Market said, “This dough is extremely fast and easy to make.  The only time-consuming part is the clean-up.”  Enjoy and tell me what your favorite type of pizza is!

I’ll have to show you the dessert pizza soon with the extra dough I saved!  Stayed tuned….


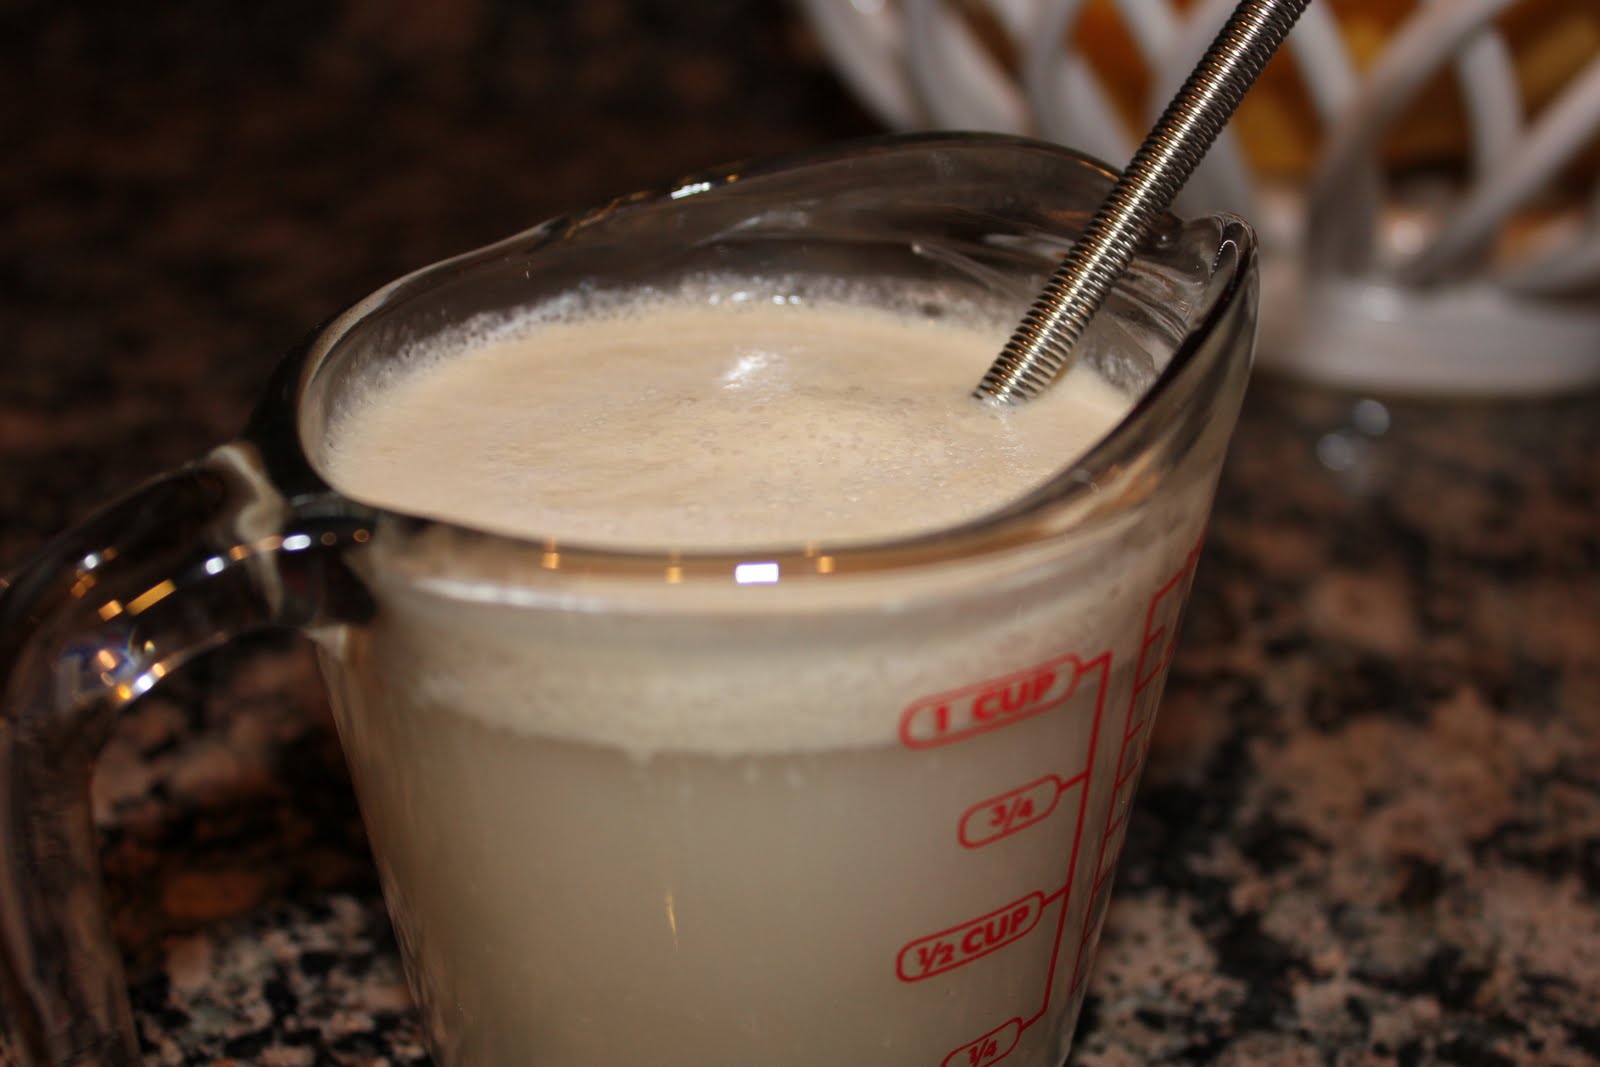
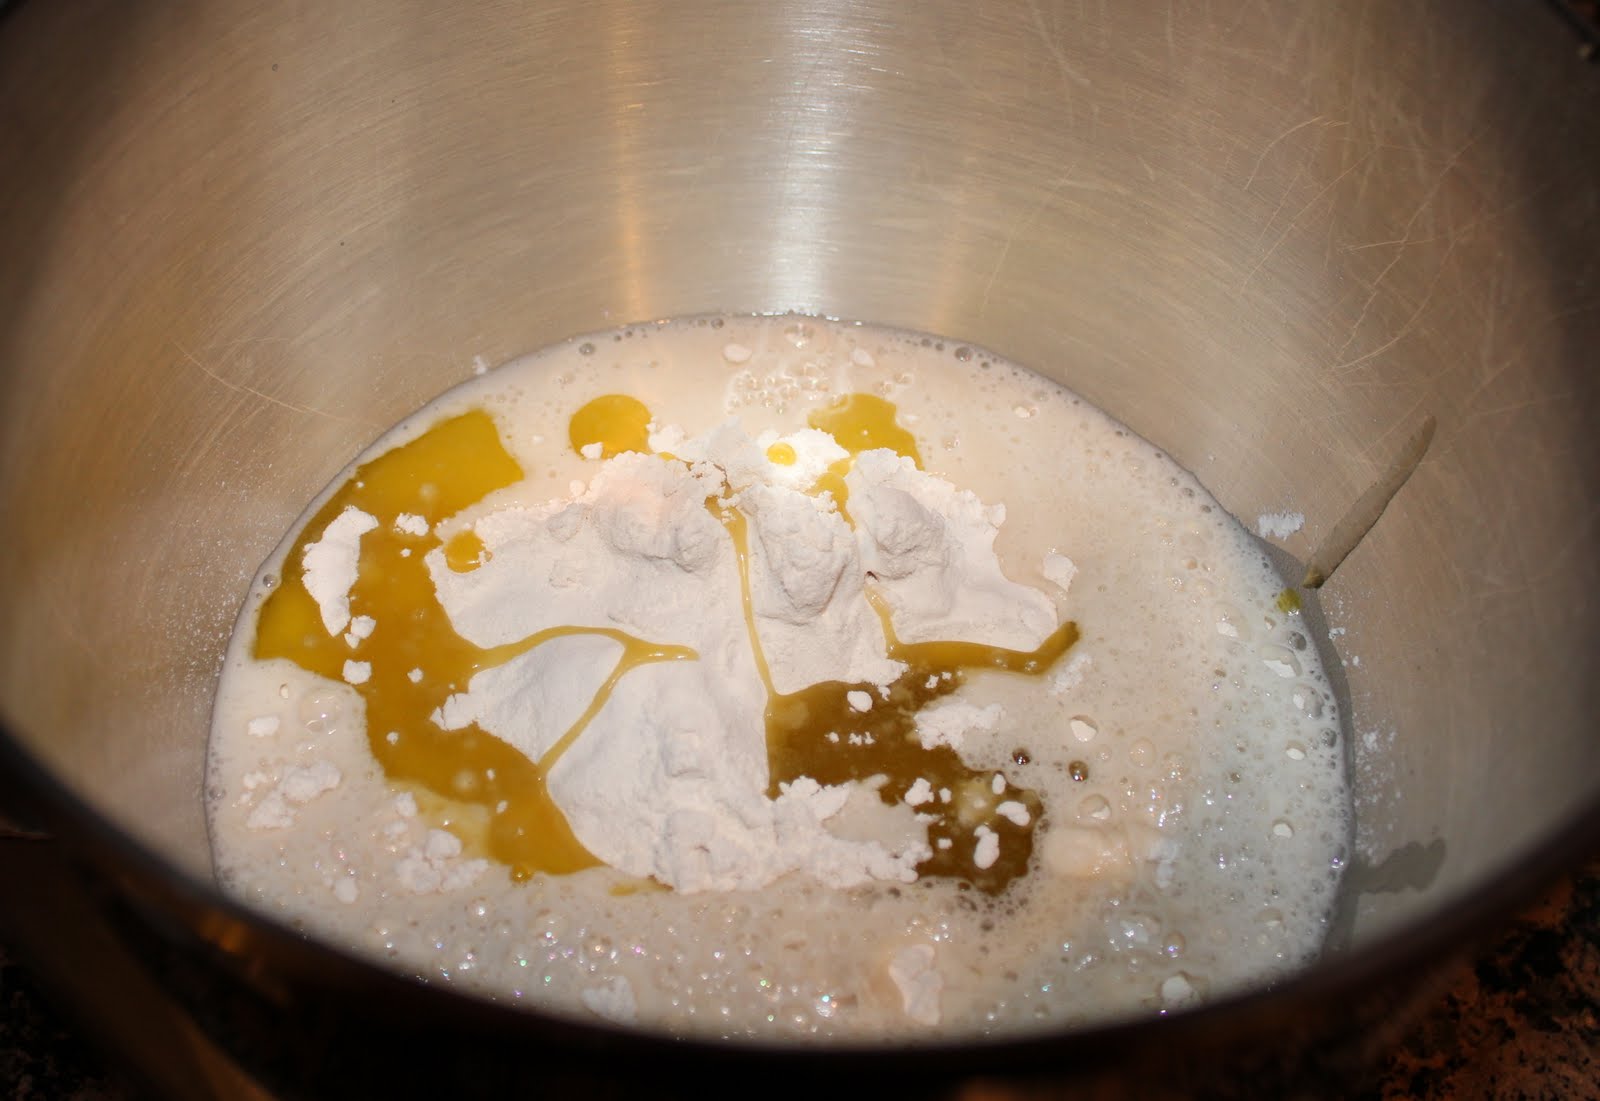
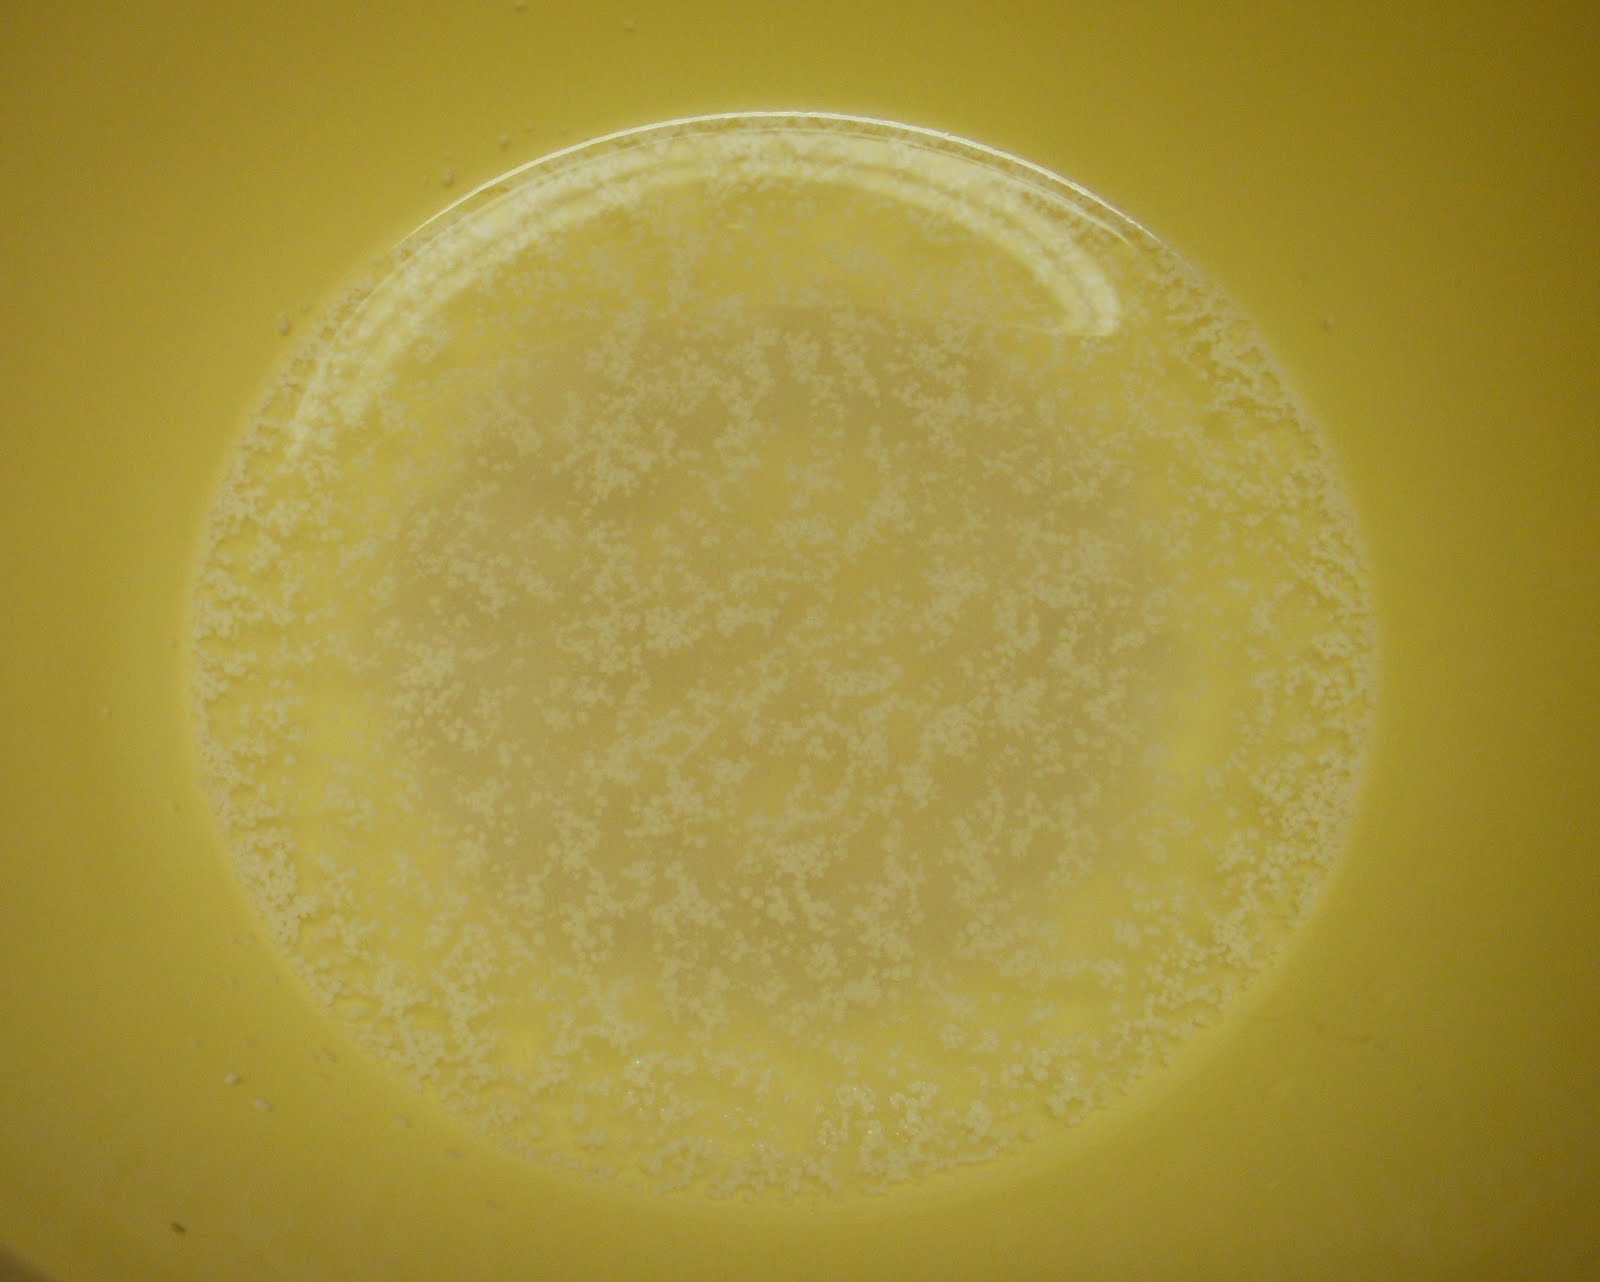
Dissolve sugar in warm water.  Sprinkle with yeast.  Stir and let sit for 5 minutes, or until foam forms on top.

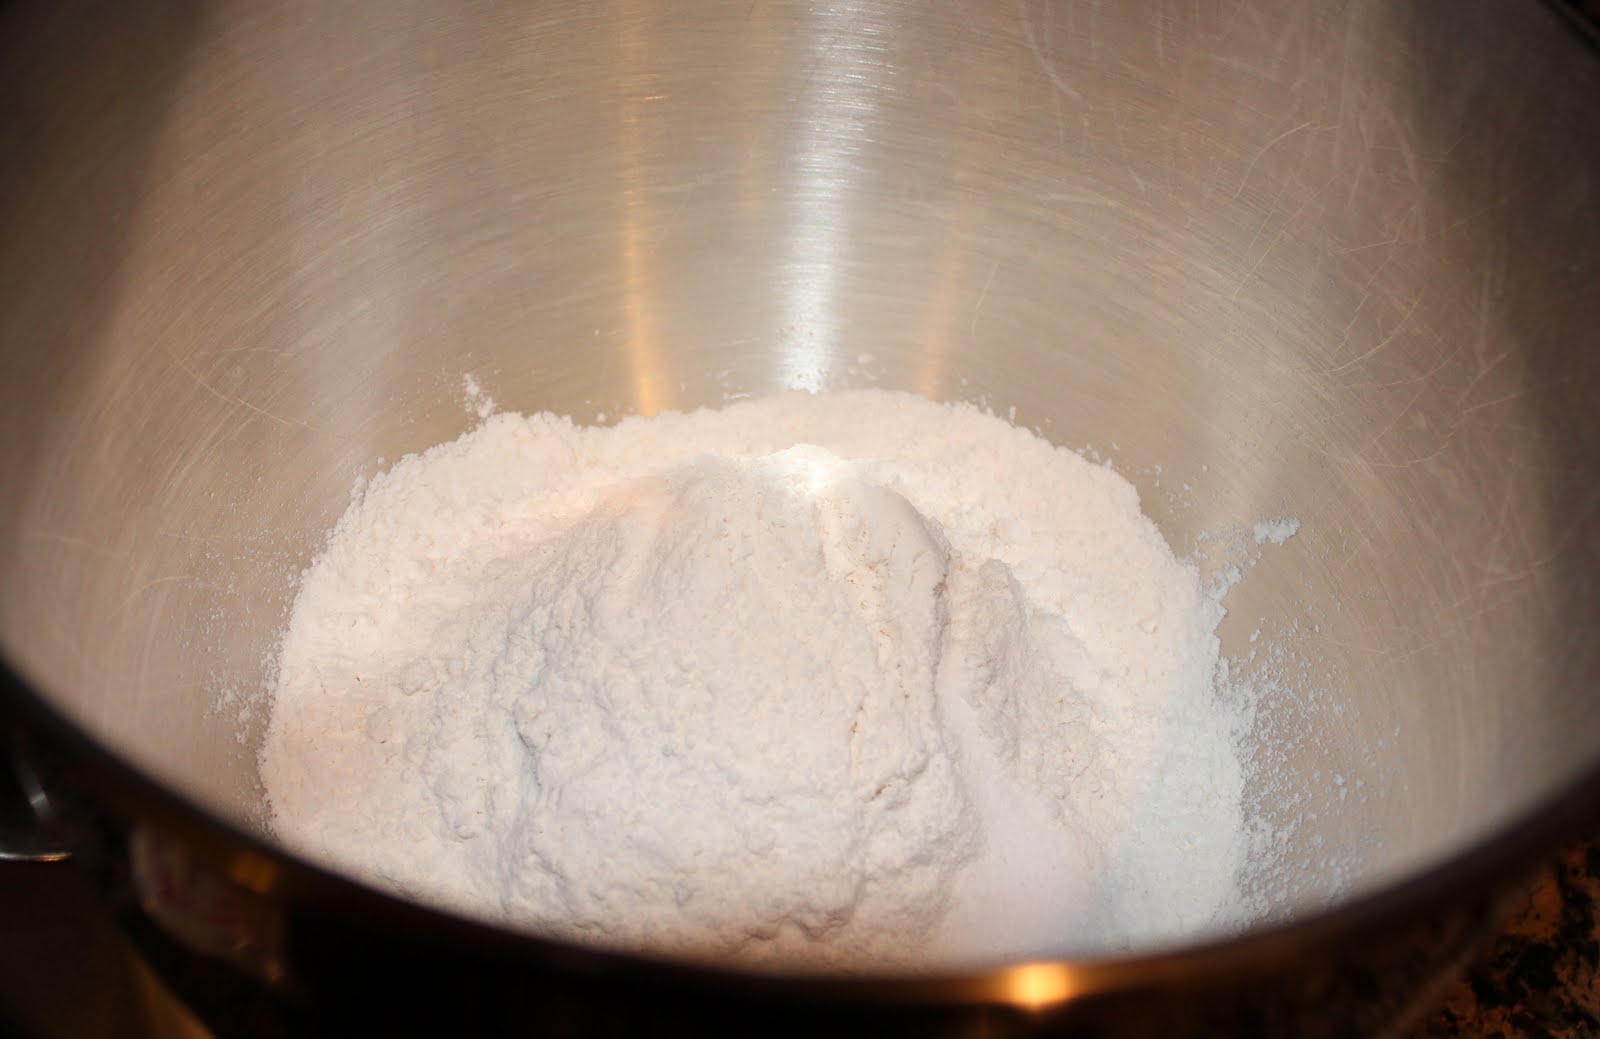
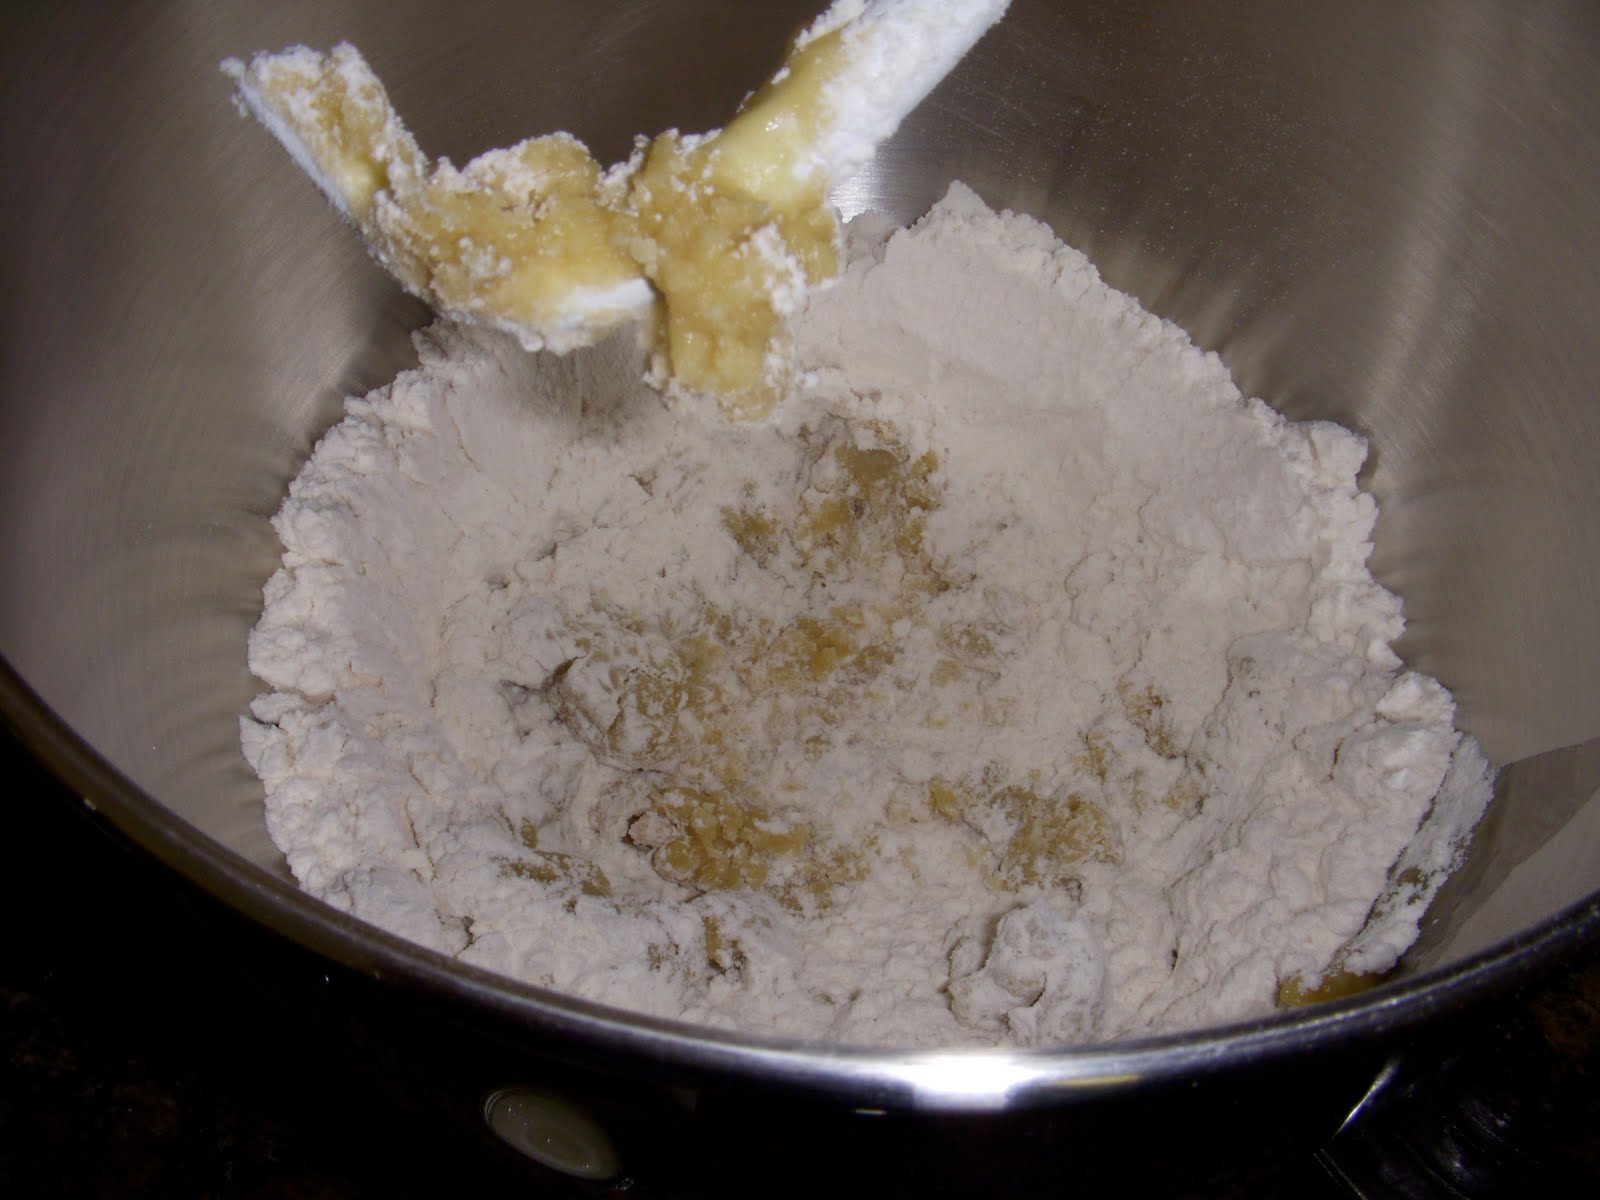
Combine flour and salt.


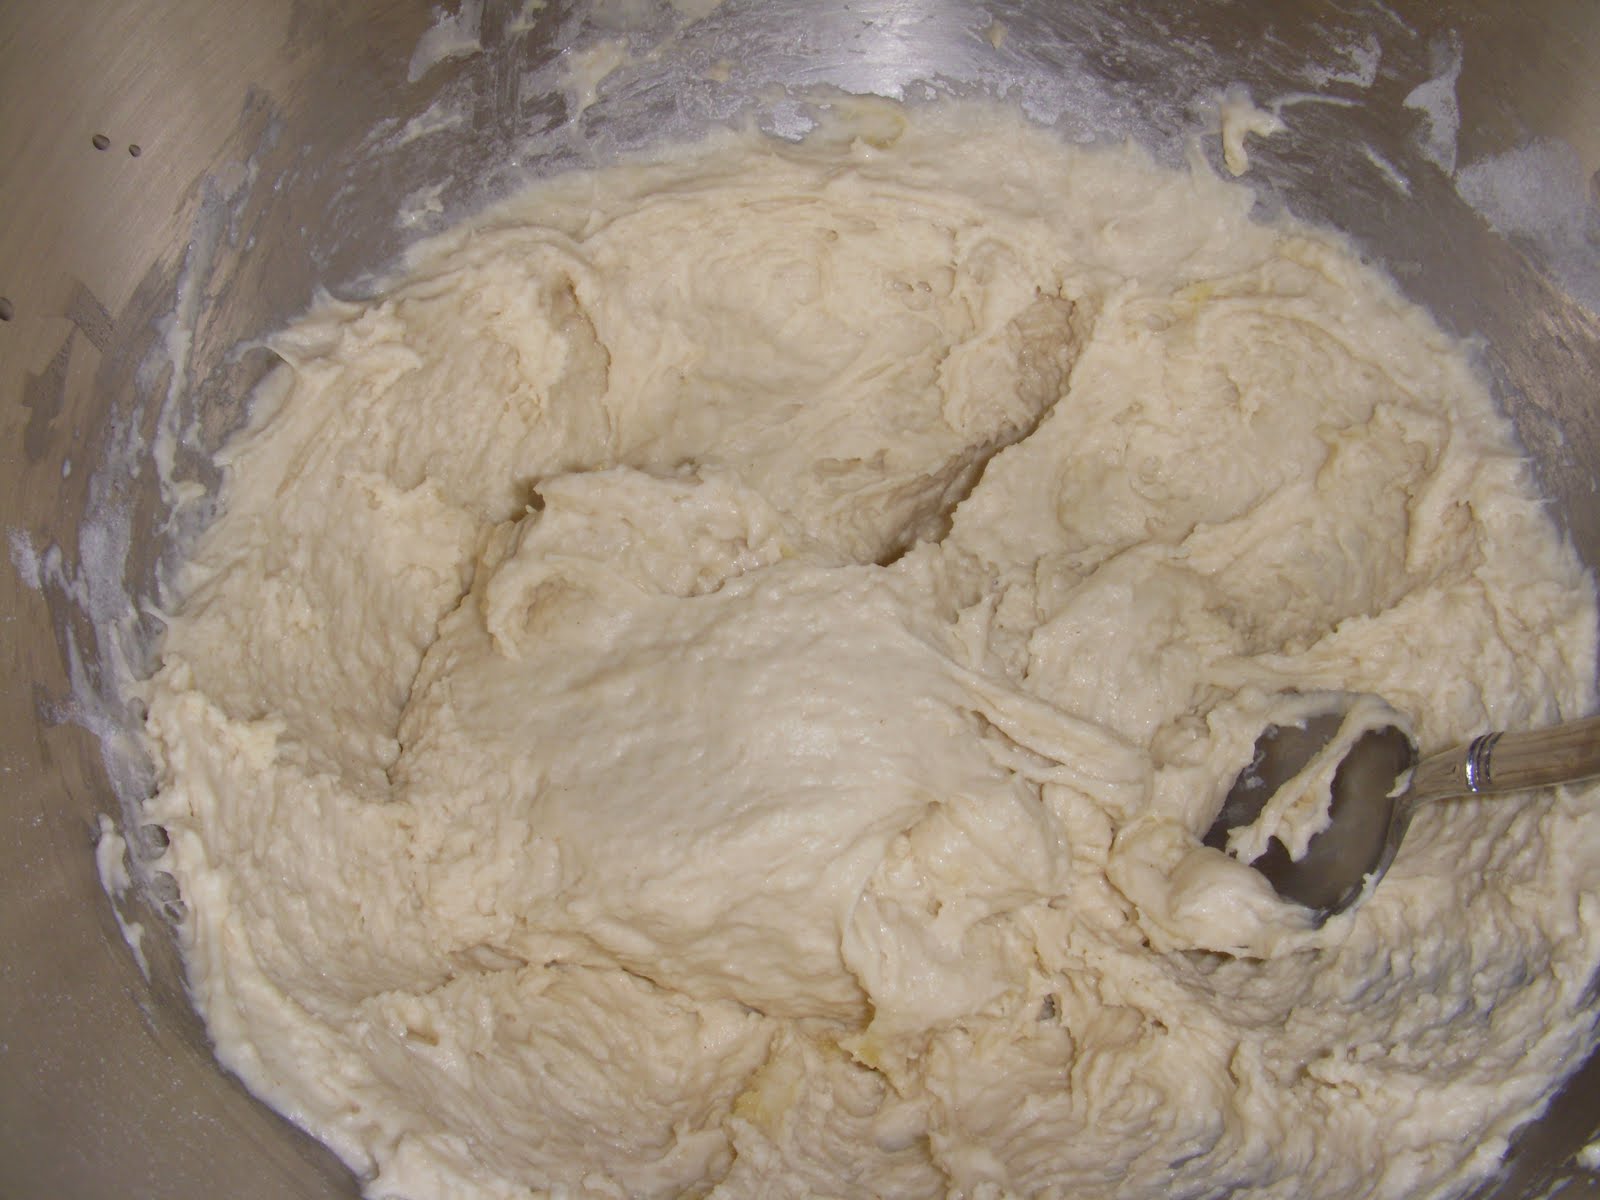
Add yeast mixture and oil.  Beat for 1 minute with a flat beater on medium speed. Switch to the dough hook, and beat for another 5 minutes.

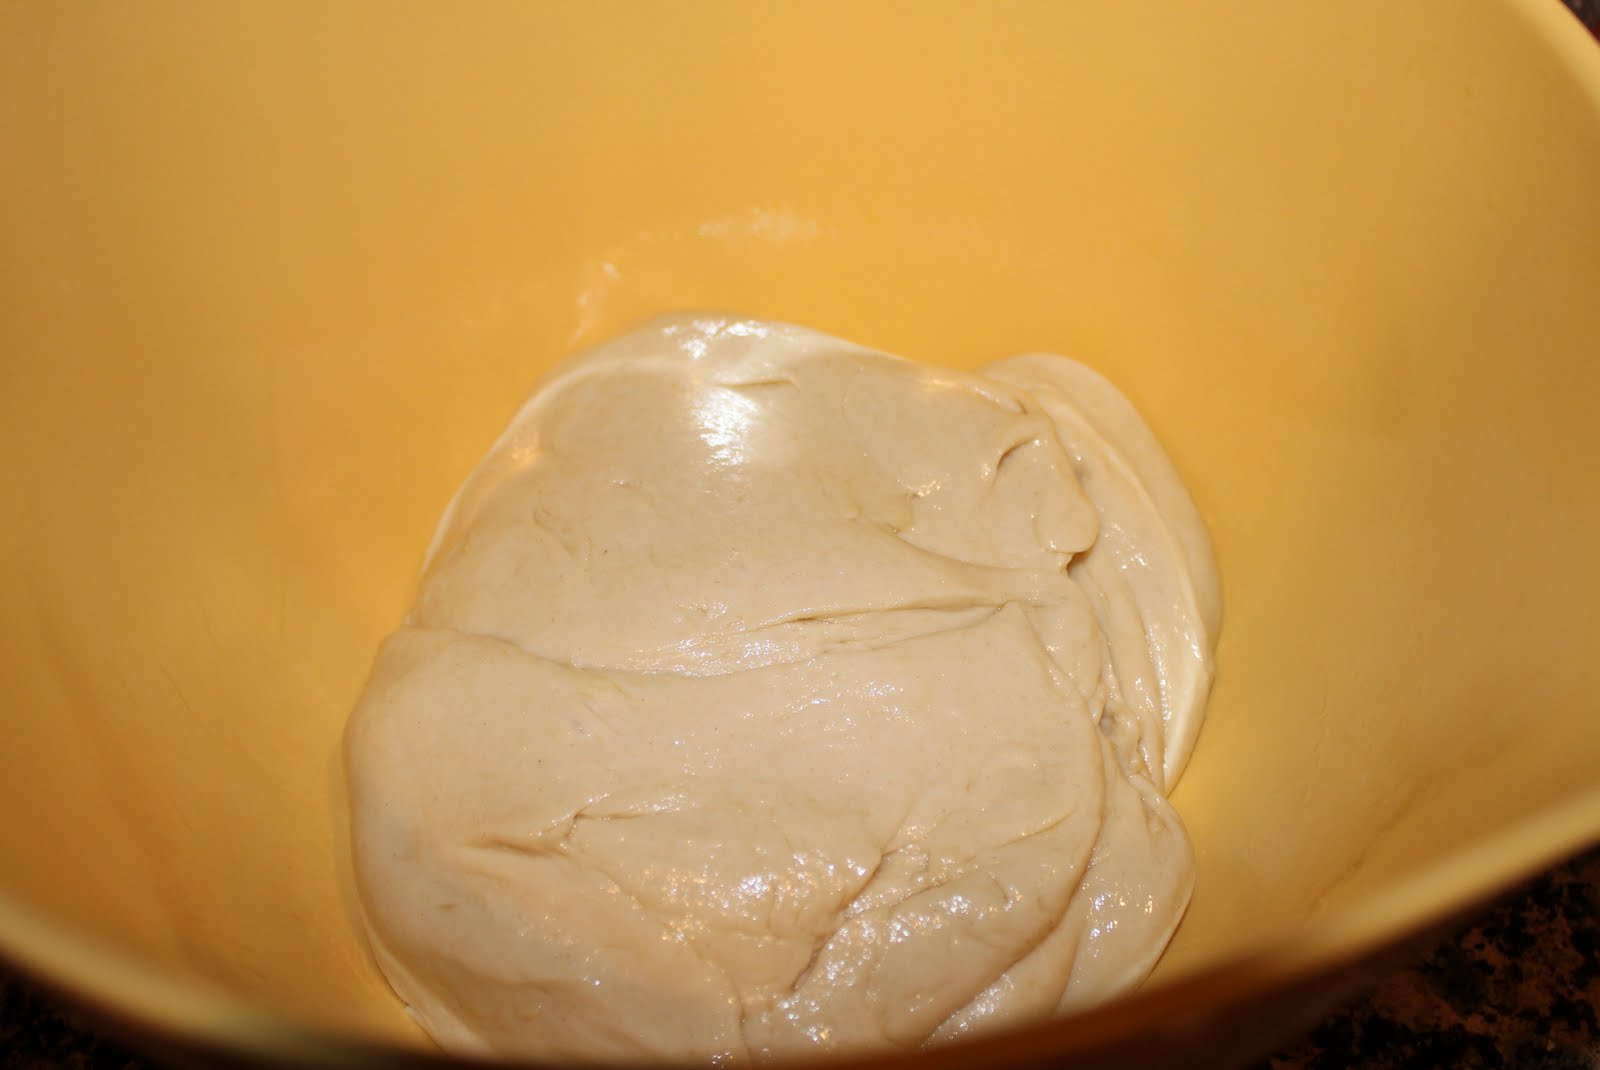
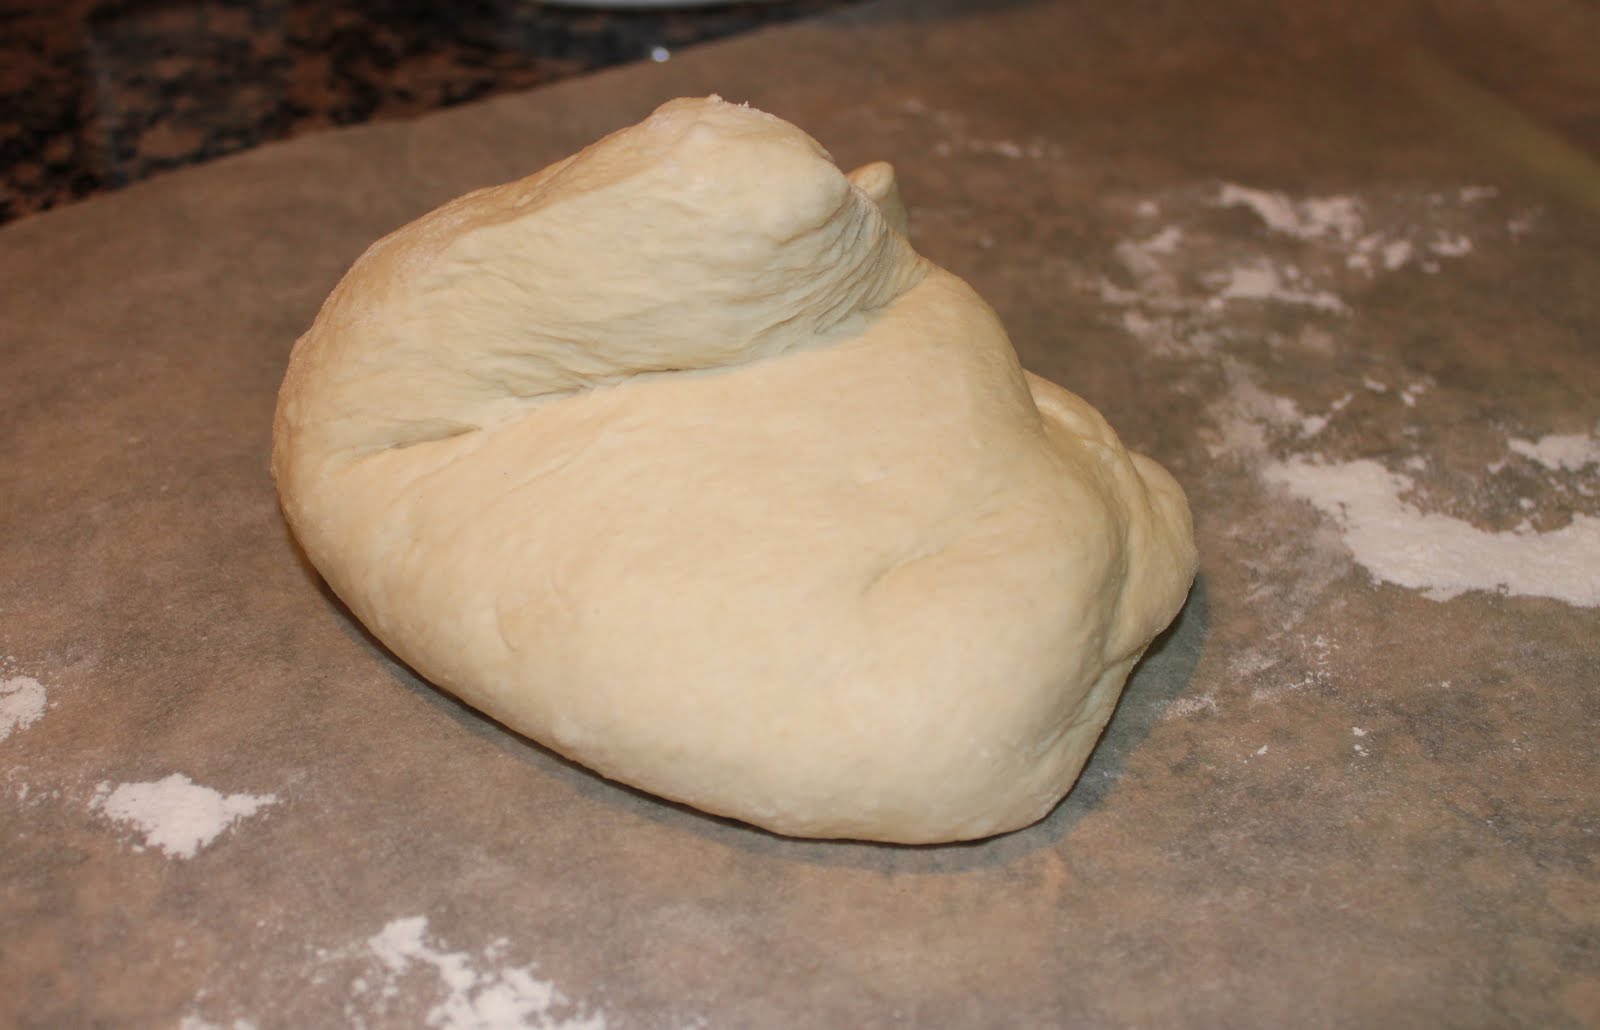
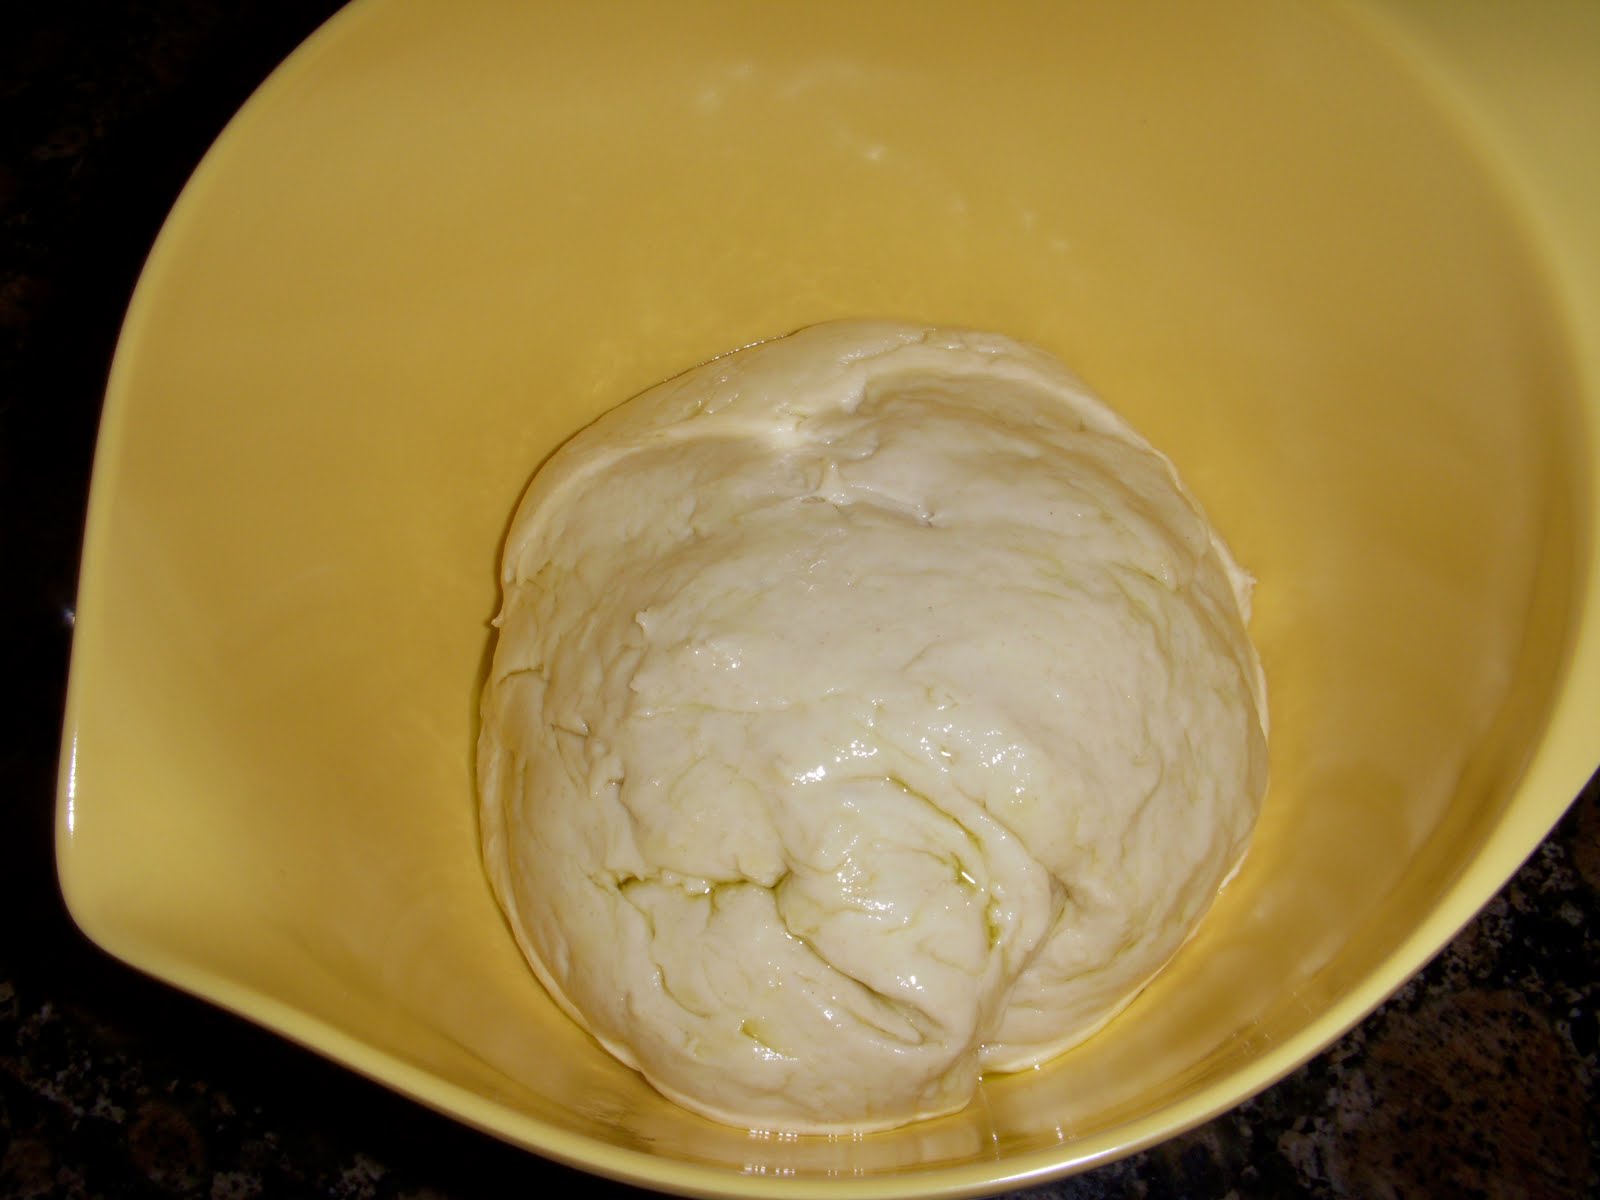
Shape the dough into a ball, and place into a large, well-oiled bowl.

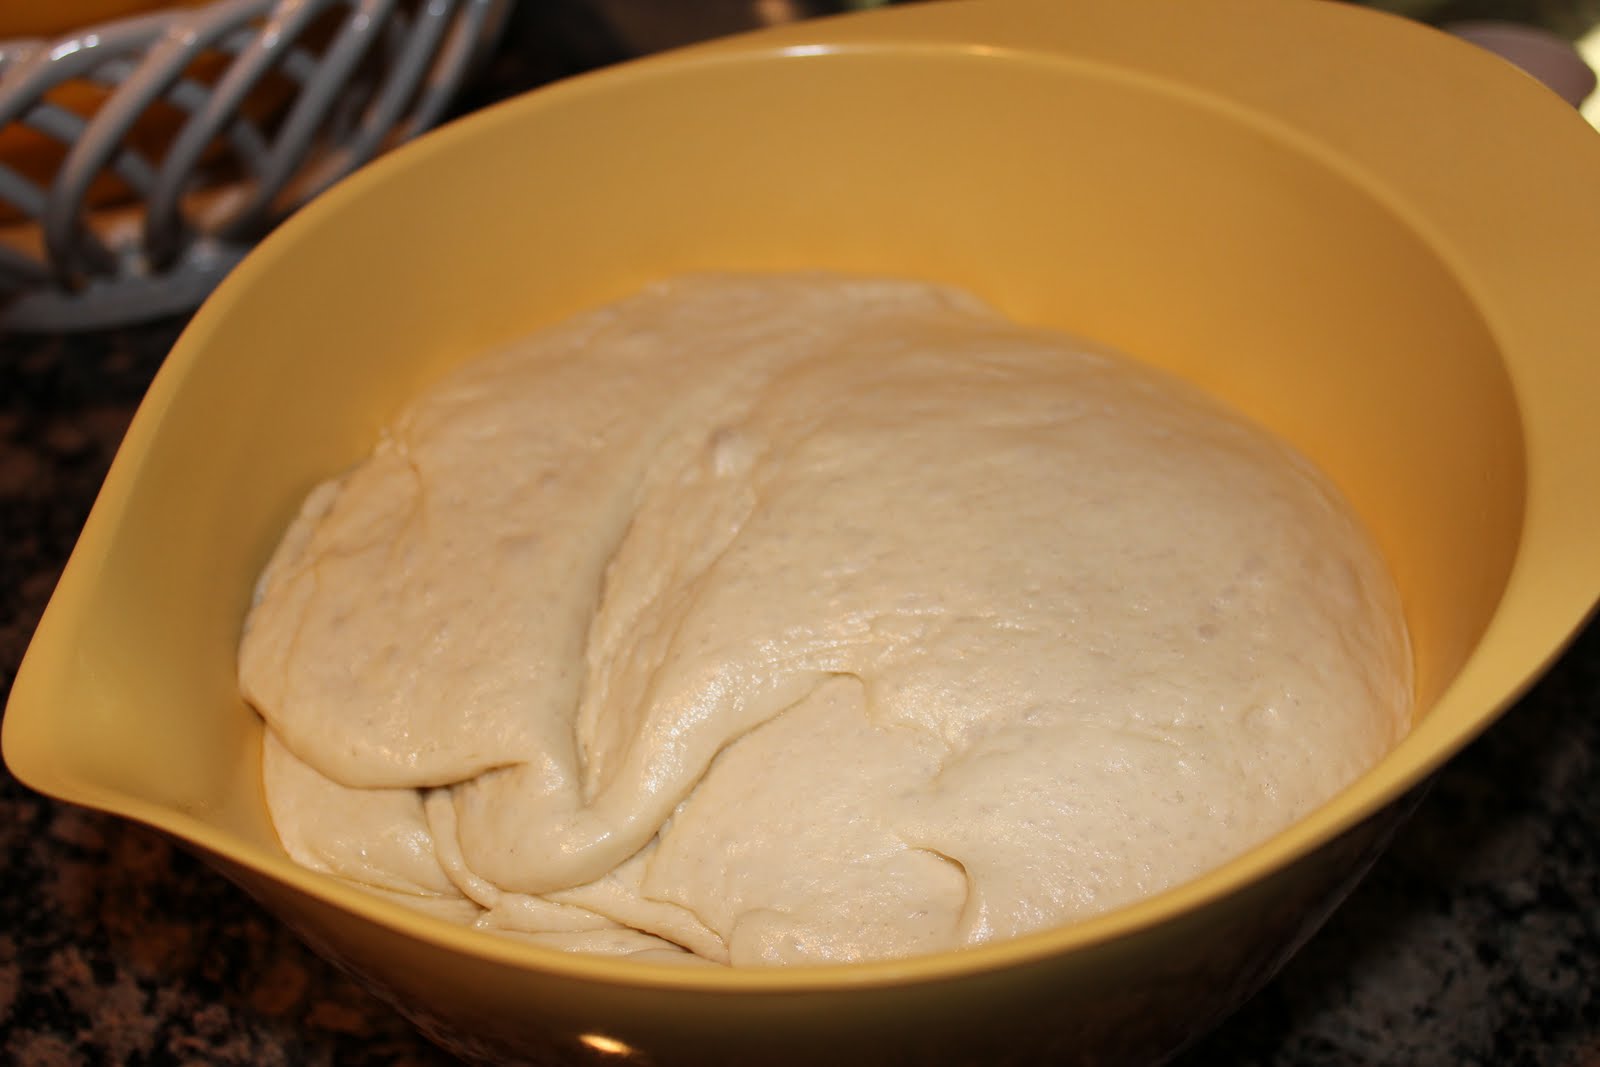
Let rise in a warm place for about 45 minutes (if using rapid rise yeast), or 1 to 1 1/2 hours (if using regular yeast).  The dough should have doubled in size.

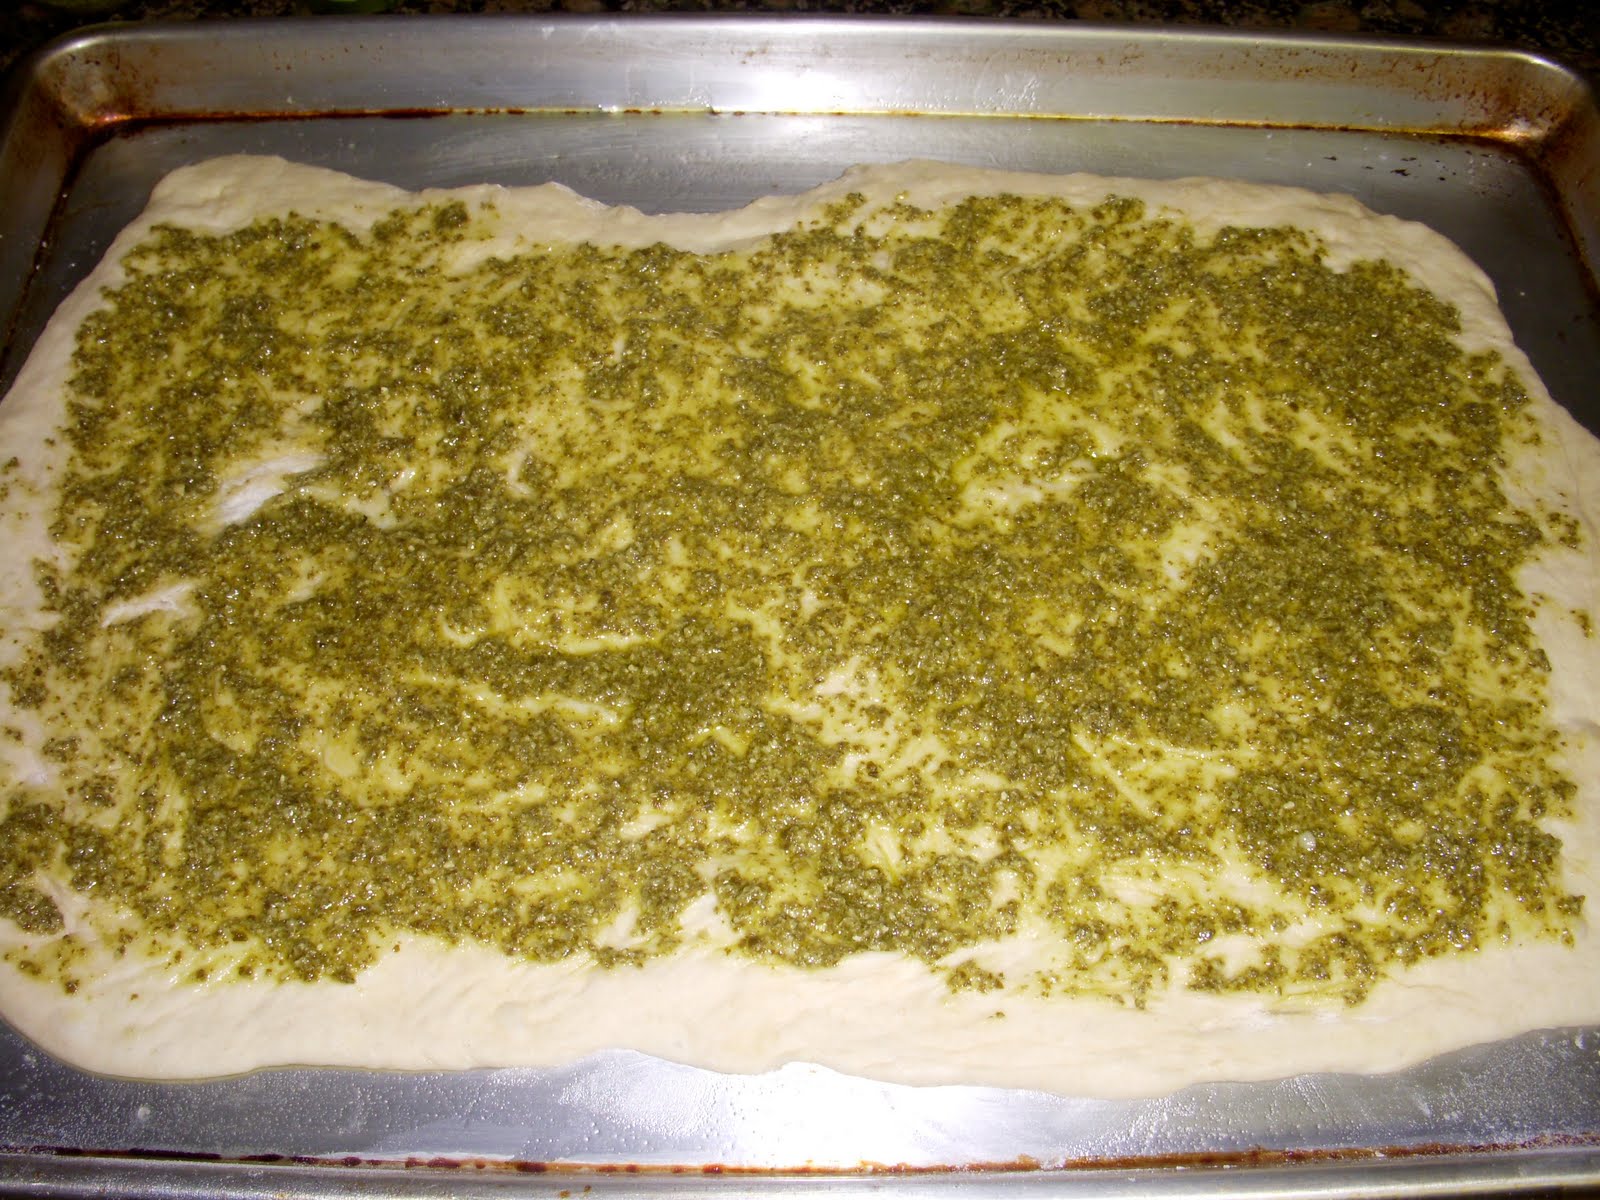
Punch dough down, to stop the rising.  Using a rolling pin,  place a ball of dough on a lightly floured surface and dust the top of the dough lightly with flour.  Using the heels of your hands, press the dough into a circle, then roll it out with a lightly floured rolling pin until it is about 1/4 inch thick, keeping the edges a little thicker than the center.

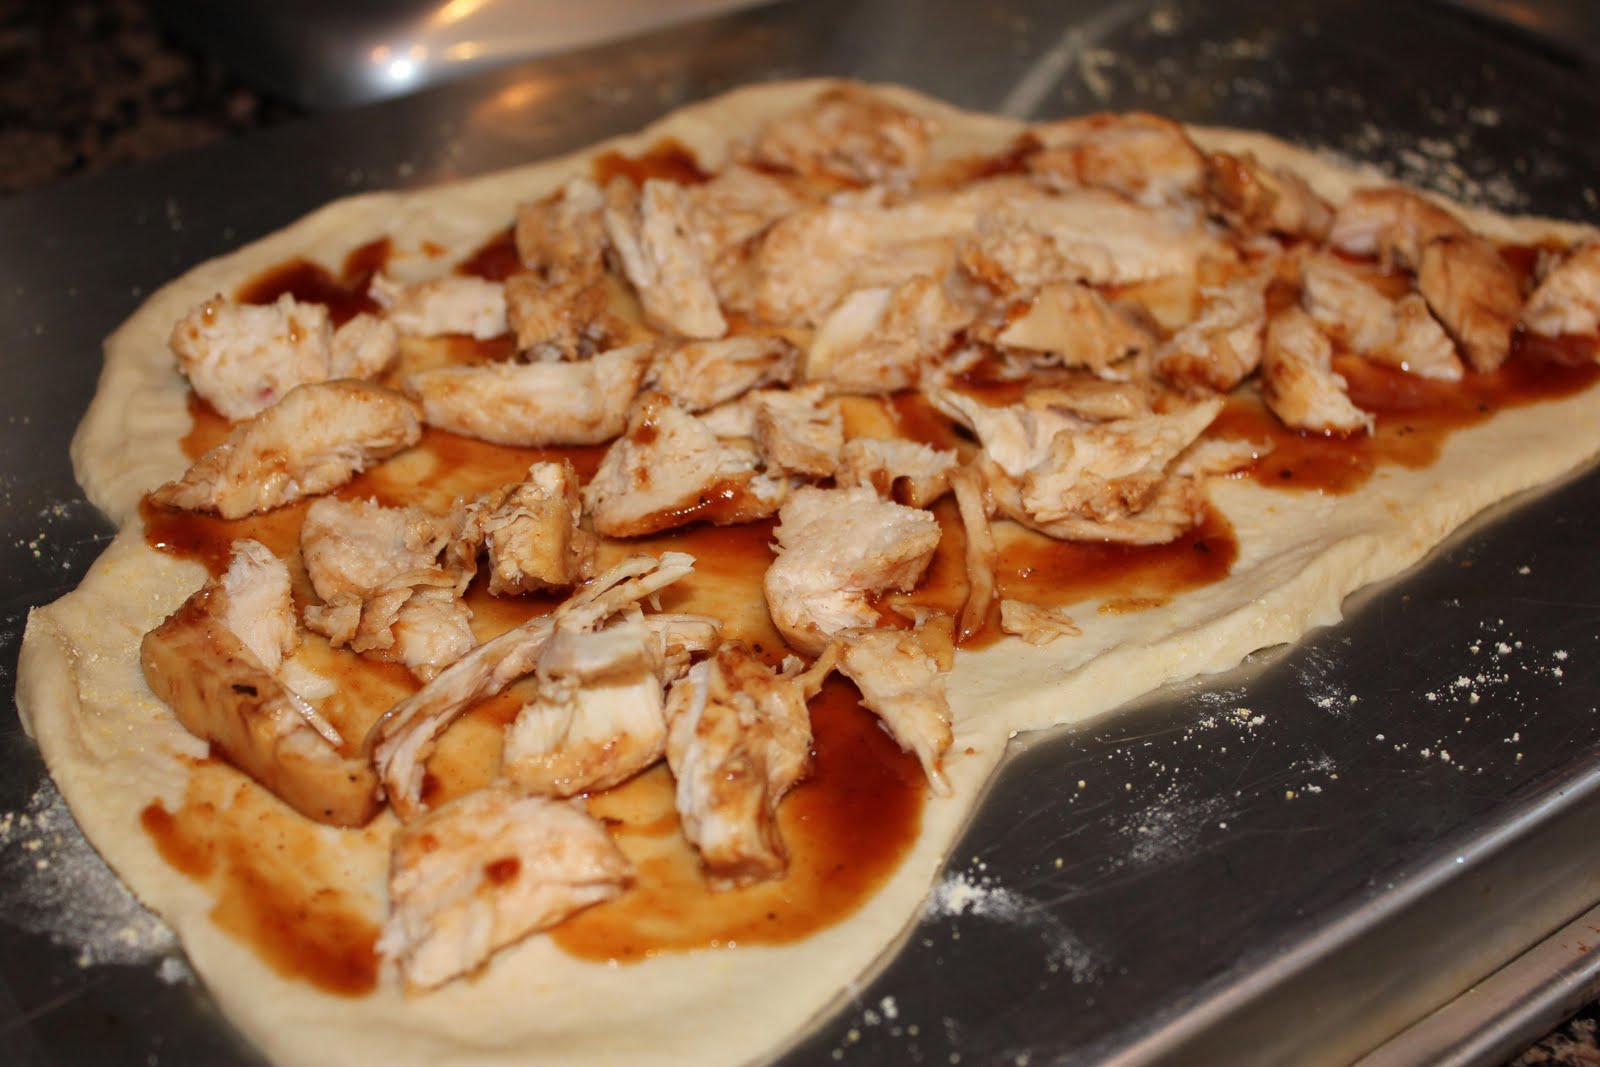
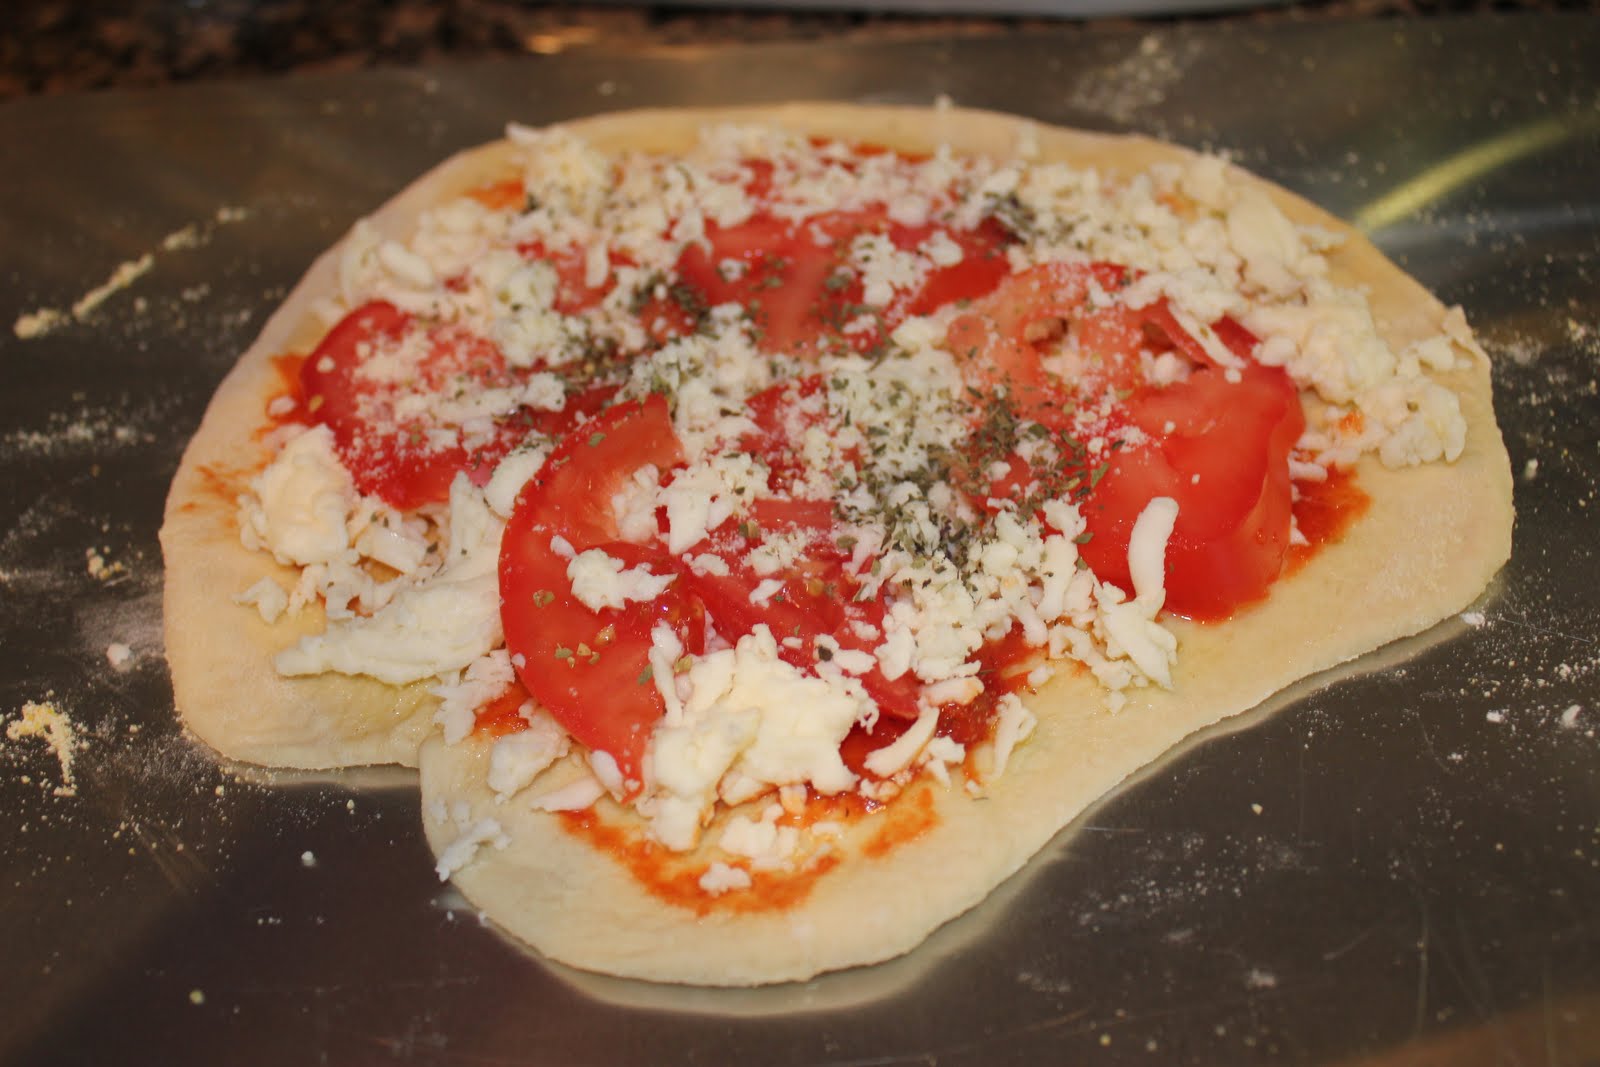
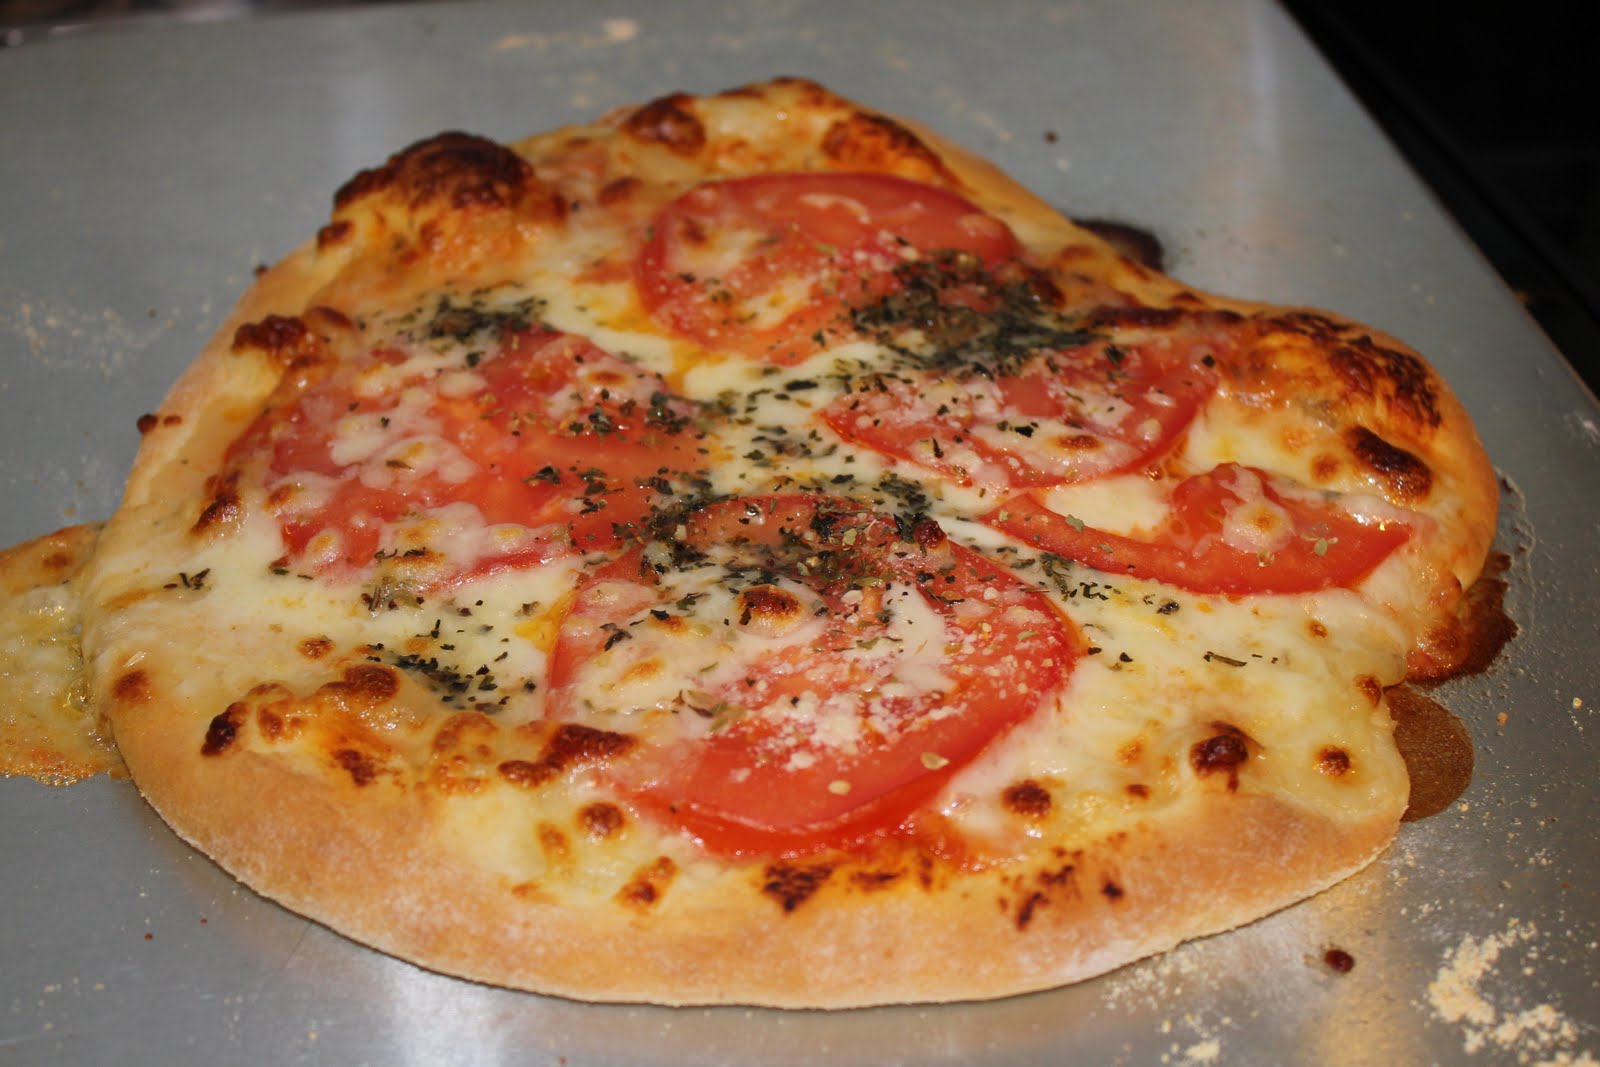
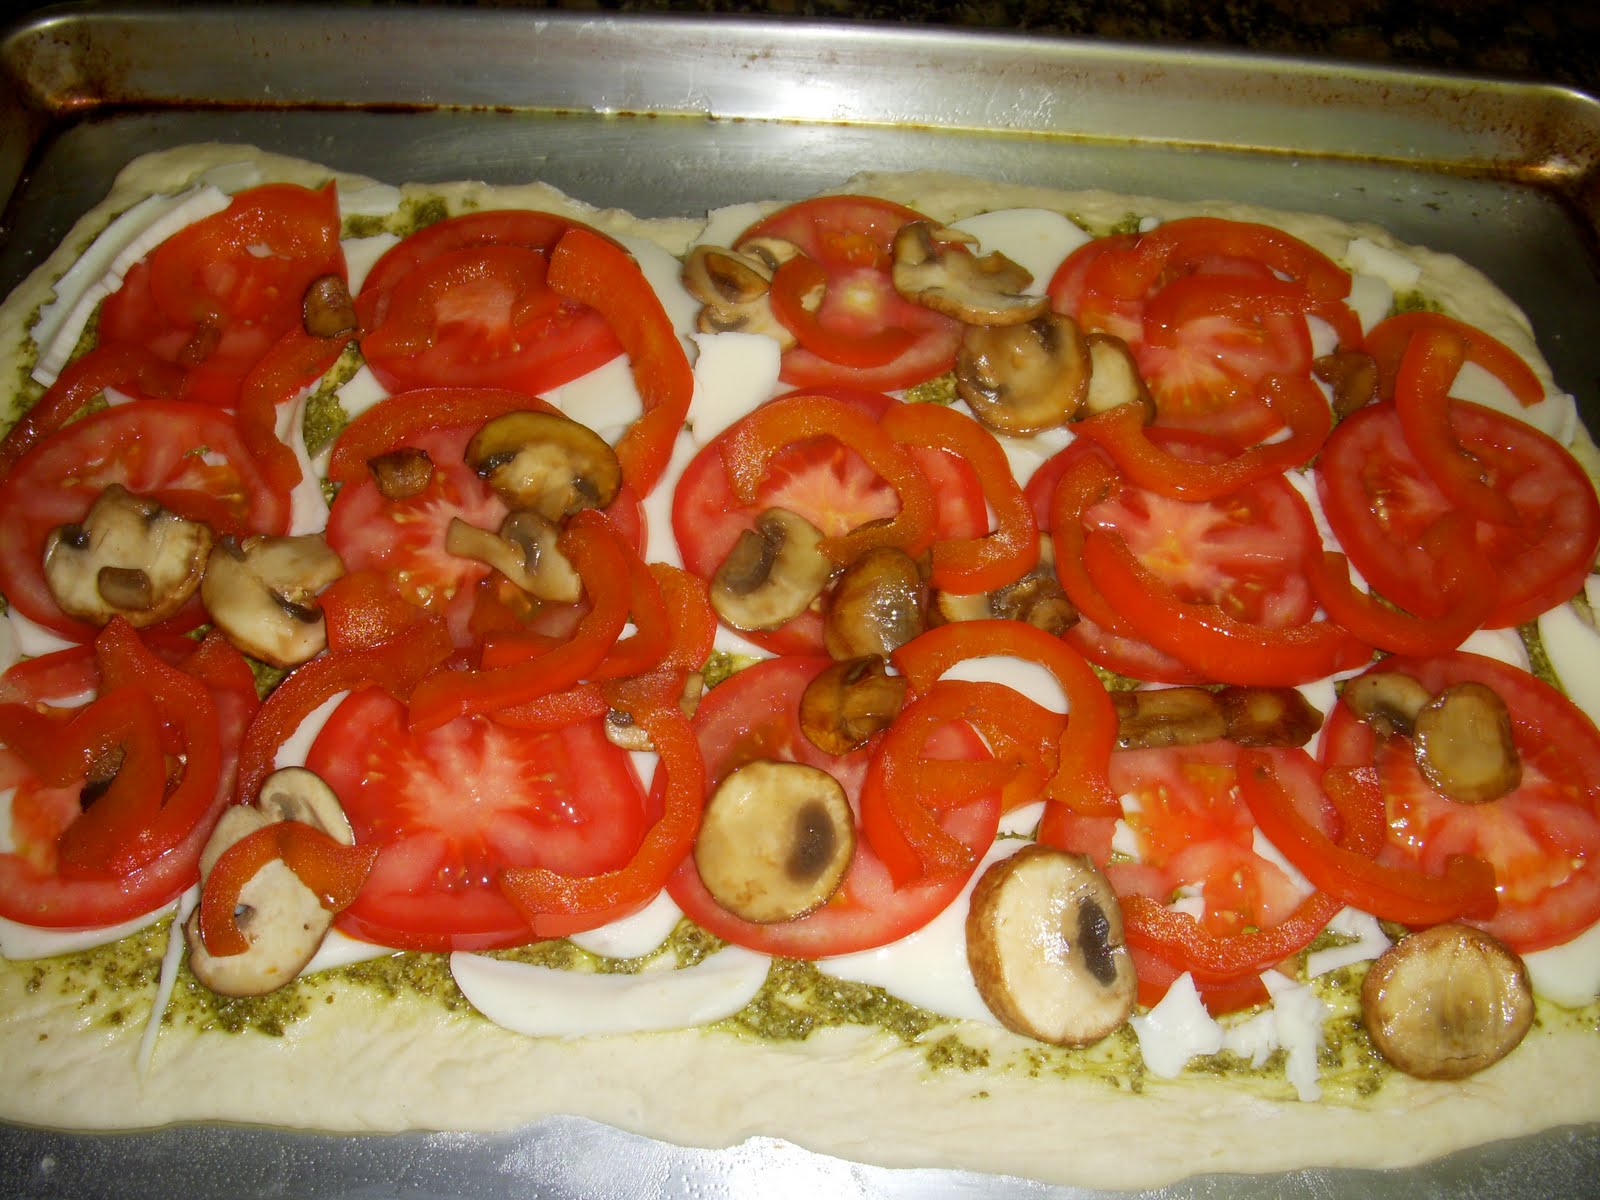
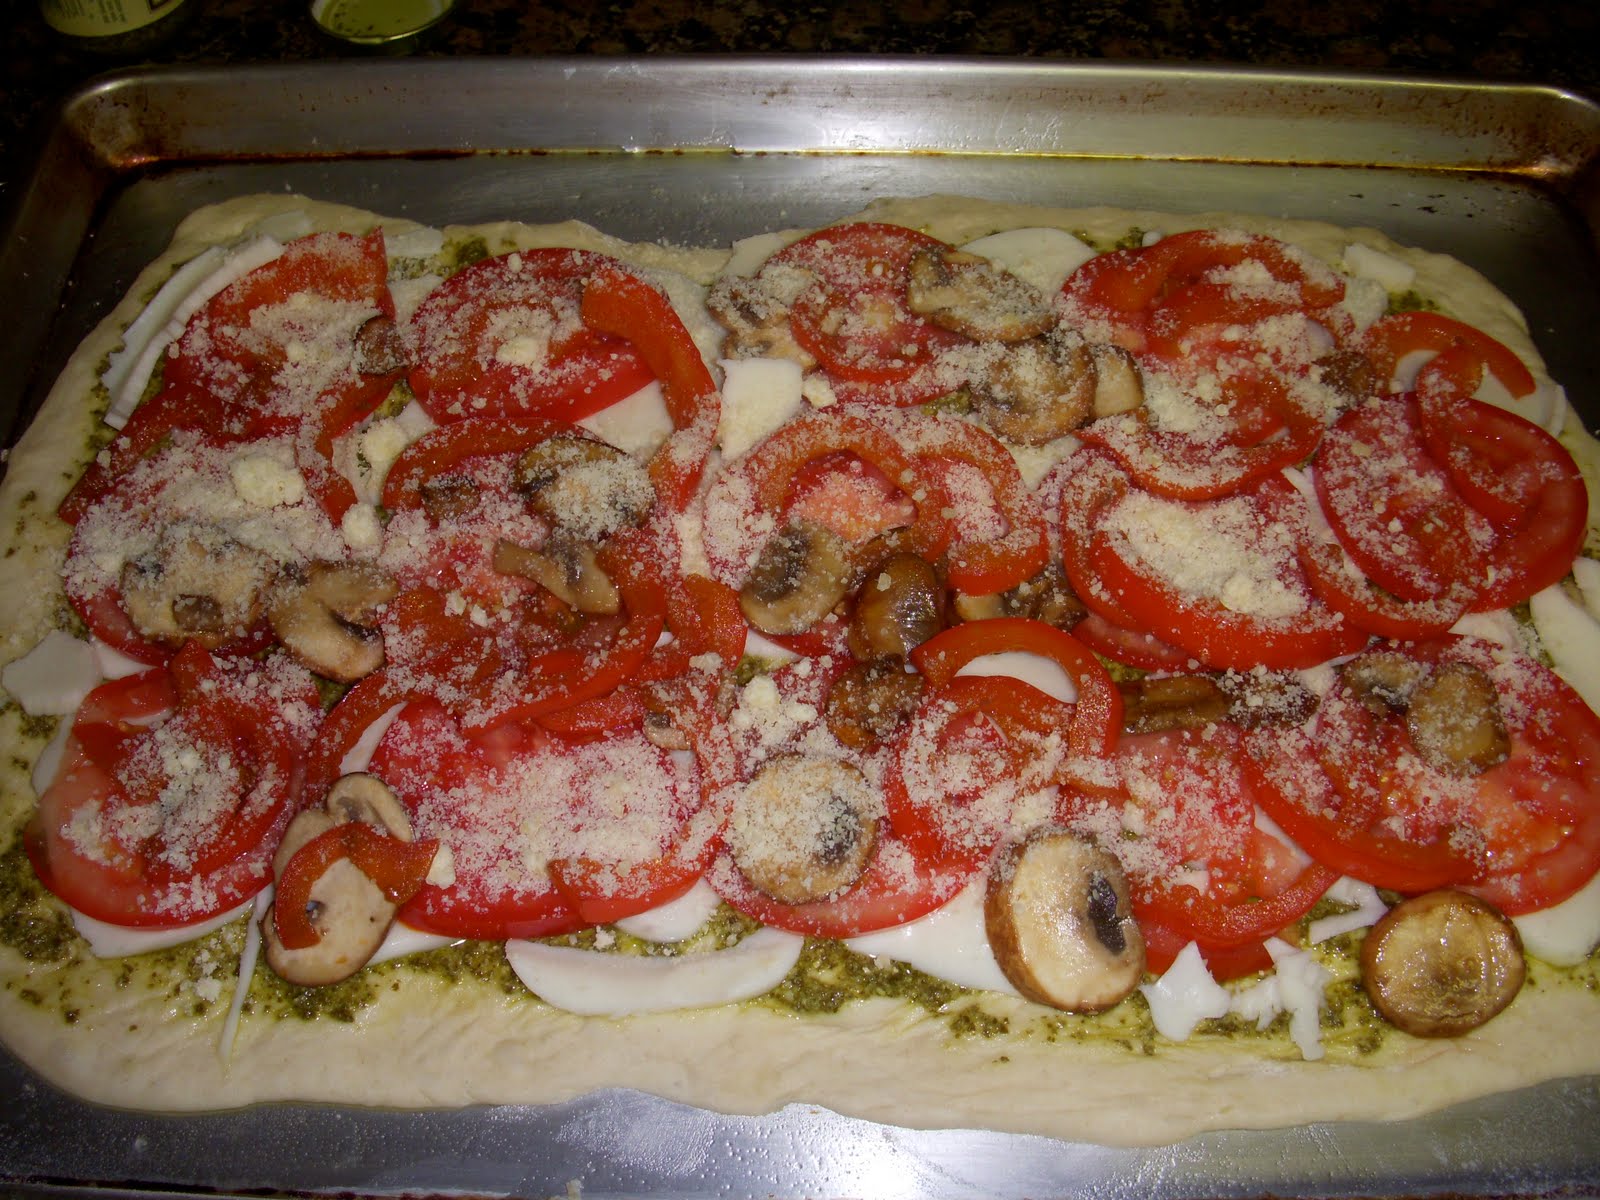
Top dough with your favorite pizza ingredients.  I made Margherita Pizza and used olive oil, marinara sauce, mozzarella cheese, sliced tomatoes, and Italian seasoning.

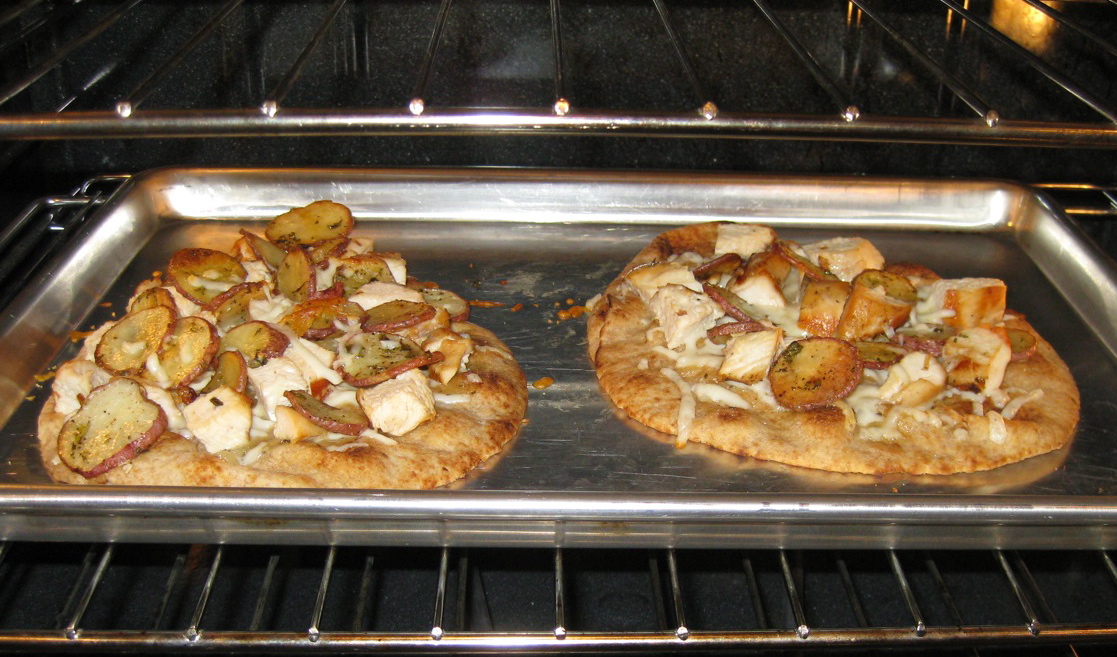
Bake for 10 minutes in a 500 degree F oven.

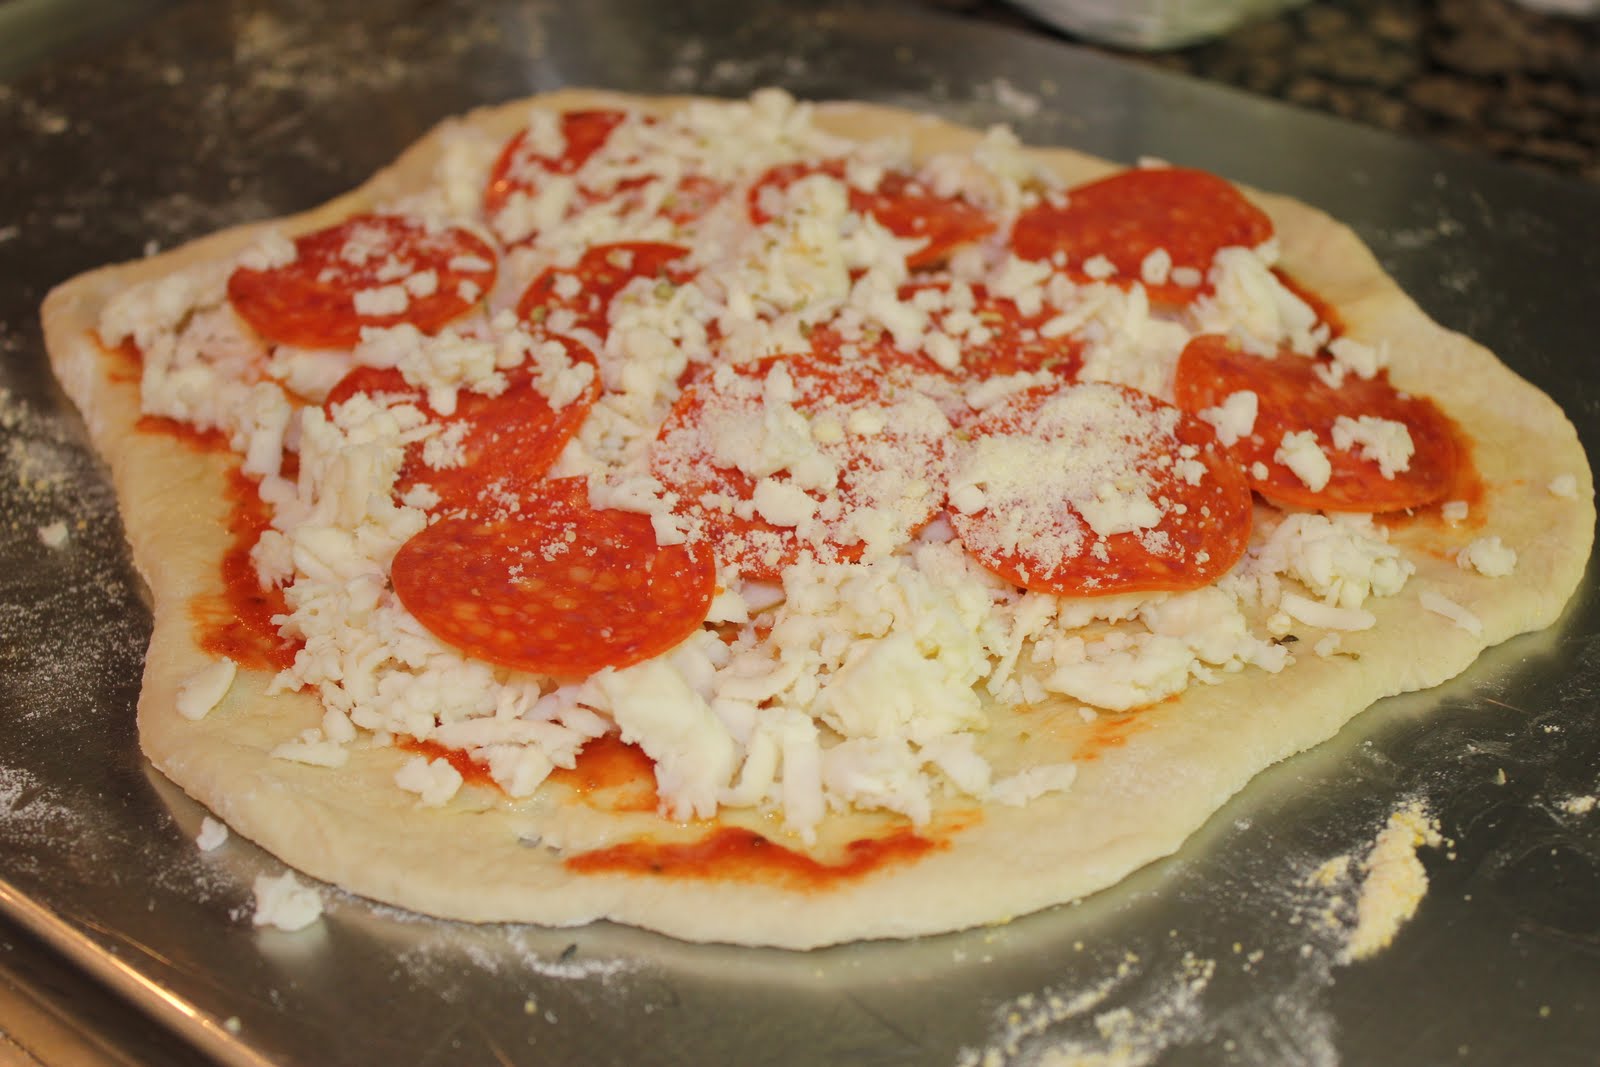
For my husband’s Pepperoni Pizza, I used olive oil, marinara sauce, Mozzarella cheese, sliced pepperoni, and grated Parmesan cheese.

Again, bake for 10 minutes in a 500 degree F oven.

Basic Pizza Dough
Ingredients
1 Tbsp granulated sugar or honey (I used sugar)
1 cup warm water (110 to 115 degrees F)
1 envelope (1/4 ounce) active dry yeast
3 1/4 cups unbleached all-purpose flour
1 tsp salt
1/4 cups olive oil, preferably extra-virgin

Directions
1.  In a small bowl, dissolve the sugar or honey (which “feeds” the yeast) in warm tap water.  Sprinkle the yeast over the water and stir gently until it dissolves, about 1 minute.  When yeast is mixed with the water at the proper temperature, a smooth, beige-colored mixture results.  Let stand in a warm spot until a thin layer of foam covers the surface, about 5 minutes, indicating that the yeast is effective.
2.  To mix and knead the dough in a heavy-duty standing electric mixer, combine 3 cups of the flour, the salt, yeast mixture, and oil, if using, in a large mixer bowl.  Attach the flat beater, gradually turn on the machine to medium speed, and beat until well mixed, about 1 minute.  Replace the flat beater with the dough hook and knead at medium speed until the dough is smooth and elastic, about 5 minutes.
3.  Pinch off a piece of the dough and feel it.  If it is sticky, continue kneading while gradually adding just enough of the remaining 1/4 cup flour for the dough to lose its stickiness.  If the dough is dry and crumbly, add warm water, a tablespoon at a time, until the dough is smooth and elastic.
4.  After mixing and kneading the dough, shape it into a ball and place it in a well-oiled bowl, turning to coat completely on all sides with oil.  (This oiling of the dough prevents a hard surface from forming that would inhibit rising.)  Cover the bowl tightly with plastic wrap to prevent moisture loss, and set to rise in a draft-free warm place (75 to 85 degrees F) until doubled in bulk, about 45 minutes for quick-rising yeast or 1 to 1 1/2 hours for regular yeast.
5.  With your fist, punch down the dough as soon as it has doubled in bulk to prevent over rising.  Shape it into a ball, pressing out all the air bubbles.
6.  If you cannot bake pizza within 2 hours after rising, punch the dough down again, turn it in an oiled bowl to coat once more, cover the bowl tightly with plastic wrap, and refrigerate.  (The dough can be punched down a total of 4 times and kept refrigerated up to 36 hours before the yeast is exhausted and the dough unusable.)  Let the chilled dough come to room temperature before proceeding.
7.  To make a 15- to 16-inch pizza, keep the dough in a single ball.  To make two 12-inch round flat pizzas, divide the dough into 2 equal-sized balls.  To make individual 8-inch flat pizzas, divide the dough into 4 to 6 equal-sized portions.  To make 3-inch appetizer-sized pizzette, divide the dough into 18 equal-sized portions.
8.  To shape flat pizzas with a rolling pin, place a ball of dough on a lightly floured surface and dust the top of the dough lightly with flour.  Using the heels of your hands, press the dough into a circle, then roll it out with a lightly floured rolling pin until it is about 1/4 inch thick, keeping the edges a little thicker than the center.  While rolling the dough, pick it up and turn it over several times to stretch it.  Continue to keep the outer edges thicker than the rest of the pizza and add a little flour to the surface of the dough whenever needed to keep it from sticking.
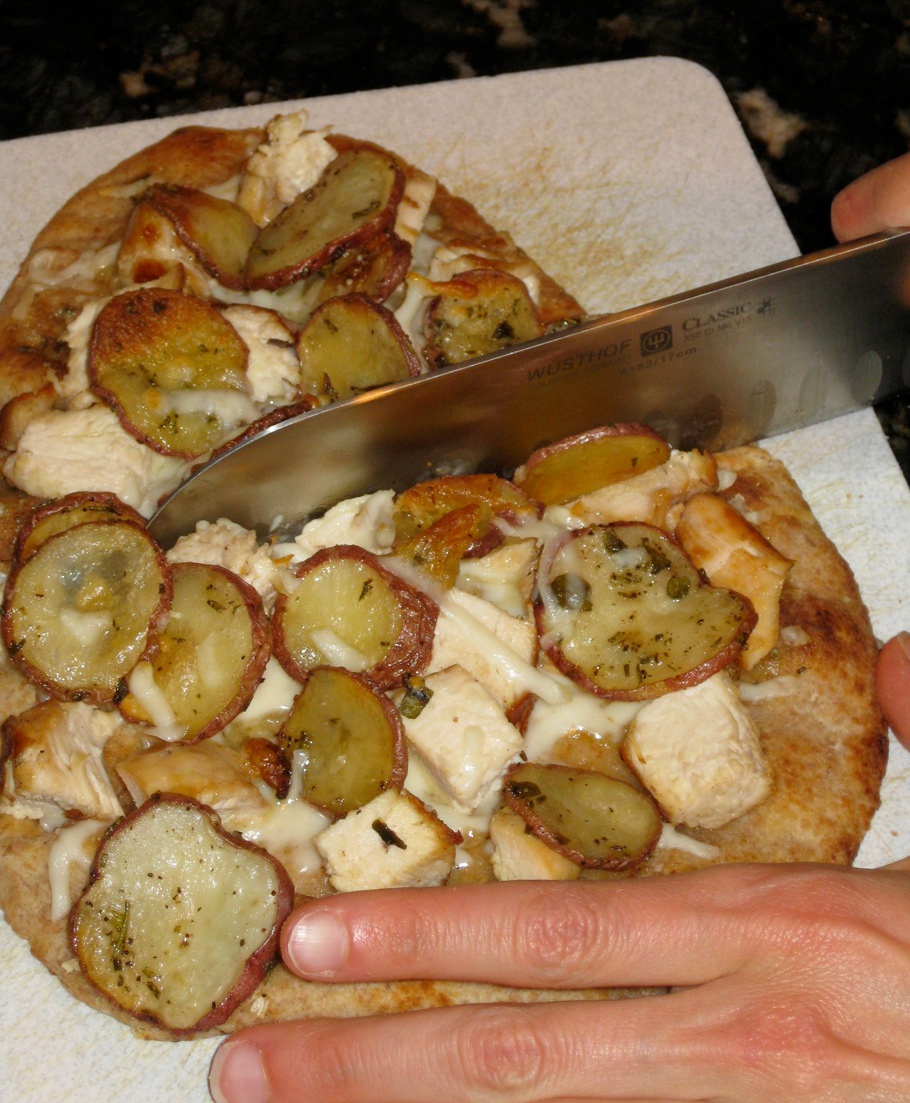
9.  Preheat the oven to 500 degrees F for 1 hour before assembling pizza.  Lay the dough round on a cornmeal-dusted pizza peel or a lightly oiled pizza screen.  Fill and bake as quickly as possible.  Place the peel in the oven, holding the pizza over the stone or baking sheet, then quickly jerk back 2 to 3 times, hopefully leaving the pizza centered on the cooking surface.  (It takes practice… I didn’t use a pizza peel.  Instead, I placed the pizza on a cornmeal dusted, inverted cookie sheet.)  Bake for about 10 minutes, or until crust is golden.  Slide the peel underneath the crust and remove pizza from the oven.  Use a metal spatula to lift a portion of the crust, if necessary, in order to slip the peel underneath. (I did not use a peel.  Instead, I slid the pizza off the inverted cookie sheet with a spatula onto my plate.)

Yield:  one 15- to 16-inch pizza, two 12-inch pizzas, or four to six 8-inch pizzas.
Recipe adapted from Pizza, by James McNair (I got this recipe from a Central Market pizza cooking class.)

Tomato Basil Pizza with Peppers and Mushrooms

Pizza is something I can definitely eat too much of! Right now my stomach hurts from eating too many slices! Tomato Basil pizza is my all-time favorite kind. It is even better with fresh red bell peppers and mushrooms! I have never made homemade pizza dough before, so it was a learning experience for me. This recipe comes from “The Pioneer Woman Cook’s: Recipes From an Accidental Country Girl” cookbook. Enjoy!

To make the pizza crust: Sprinkle yeast over warm water.

With an electric mixer on low, combine flour and salt and drizzle in olive oil until just incorporated.

Mix until the dough forms a ball. Drizzle olive oil into a clean bowl. Toss the ball of dough in the bowl and turn over to coat in oil. Cover and refrigerate dough for 1-2 hours, or up to 2 days.

Preheat oven to 500 degrees. Lightly drizzle olive oil on a pizza pan or rimmed baking sheet. Using your hands, stretch the dough into the desired shape, pressing the dough into the pan with your fingers, the thinner the better.

Spread the prepared pesto sauce over the crust.

Place a layer of sliced mozzarella over the pesto. Top with sliced tomatoes, bell peppers, and mushrooms.

Top with grated Parmesan cheese.

Bake pizza for 10-15 minutes or until cheese is melted and the crust is golden brown.

Cut into slices and top with fresh basil.

Tomato Basil Pizza with Peppers and Mushrooms
Ingredients
1 Pizza crust recipe* (see recipe below)
1 jar prepared pesto sauce
8 oz Fresh Mozzarella, sliced
3 Roma Tomatoes
1 Red Bell Pepper, sliced and sauteed
Fresh Button Mushrooms, sliced and sauteed
Fresh Basil Leaves
Parmesan Cheese, grated

Directions
1. Preheat oven to 500 degrees.
2. Press the the pizza dough into a sheet pan or pizza stone lightly drizzled with olive oil.
3. Smear pesto sauce over the pizza dough.
4. Slice the mozzarella thin enough to cover the pizza thoroughly.
5. Next, lay thin slices of Roma tomatoes over the mozzarella.
6. Saute mushrooms and bell pepper slices and layer over the tomatoes.
7. Sprinkle with Parmesan cheese.
8. Bake for 10-15 minutes, or until cheese is melted, and crust is golden brown.
9. Slice and top with fresh basil leaves.

Makes 1 pizza

*Pizza Crust
Ingredients
1/2 tsp active dry yeast
3/4 cups warm water
2 cups flour
1/2 tsp kosher salt
2 tbsp plus 2 tsp extra virgin olive oil, plus more for drizzling

Directions
1. Pour warm water into a bowl. Sprinkle the yeast over the water.
2. Combine the flour and salt in a mixing bowl.
3. With an electric mixer on low speed, drizzle in the olive oil until just incorporated.
4. In a separate bowl, gently stir the yeast/water mixer and drizzle it into the flour/oil mixture. Mix until the dough forms a ball.
5. Drizzle a little olive oil into a clean bowl. Toss the ball of dough in the bowl and turn over to coat in oil.
6. Cover the bowl with a moist towel and set in a warm place for 1 to 2 hours, or cover with plastic wrap and store in the fridge for up to 2 days.

Makes 1 pizza crust