Chocolate Oreo Cookie Dreams

Chocolate Oreo Cookie Dreams

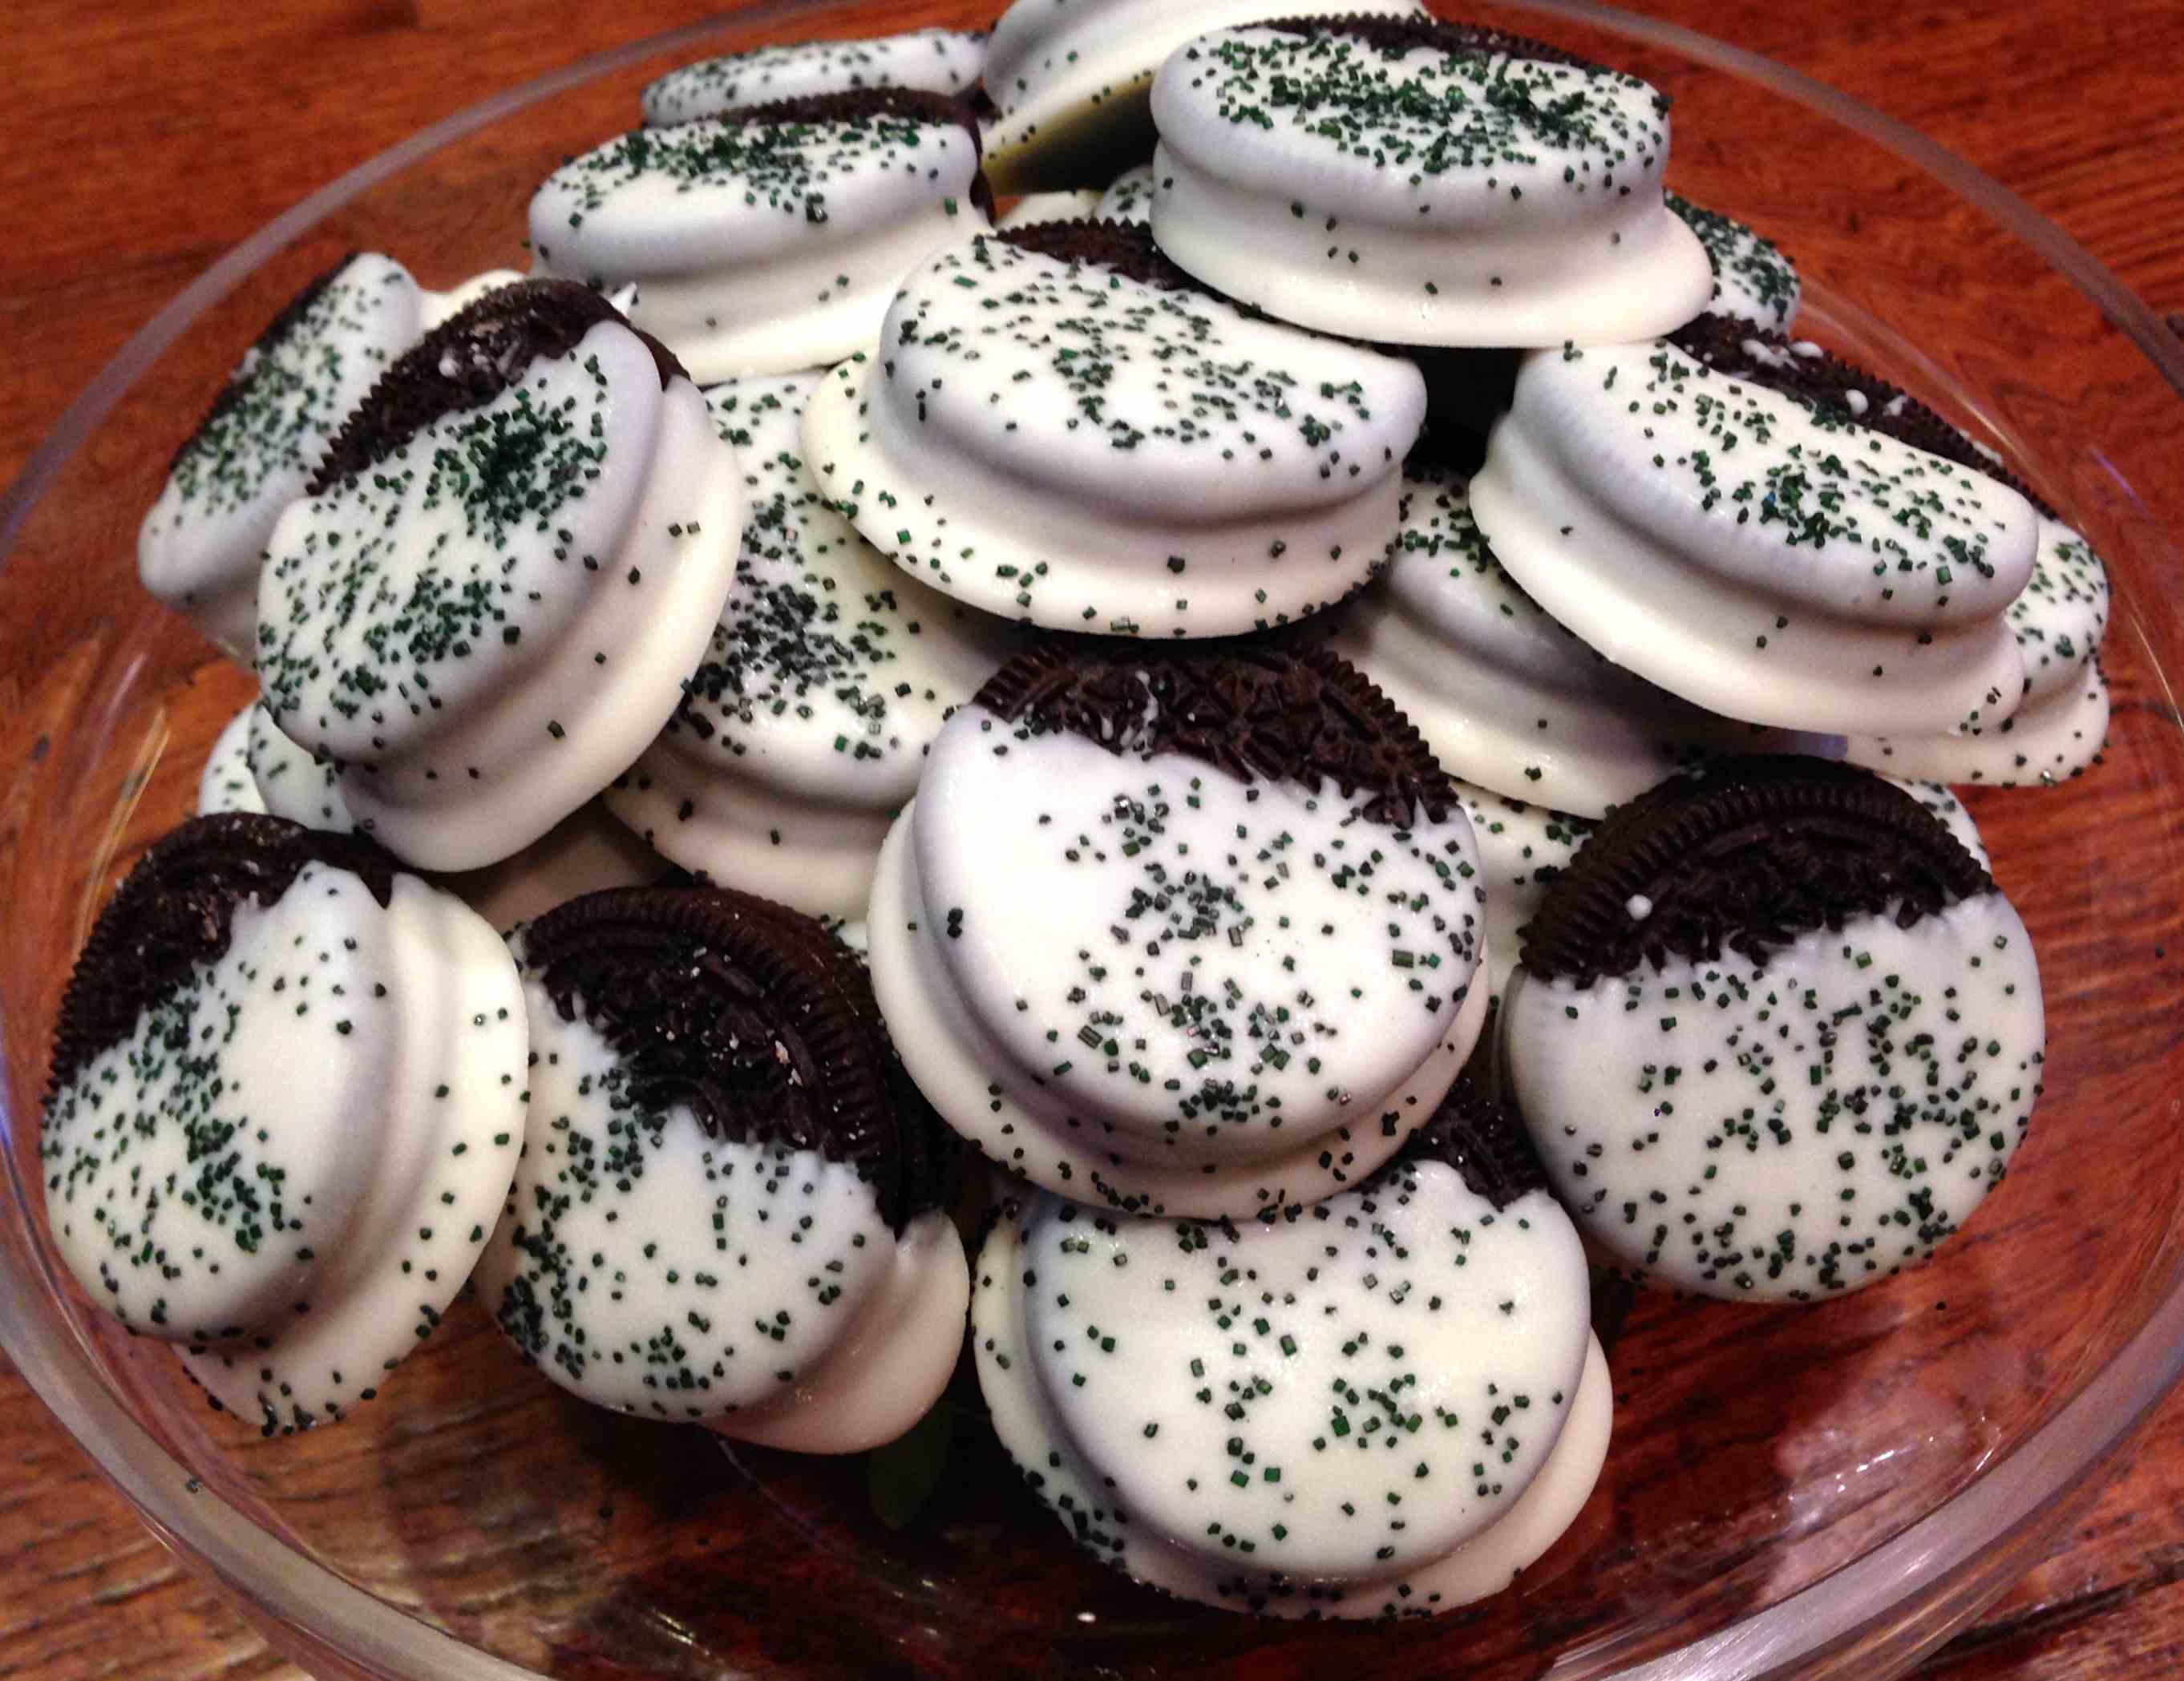
Apparently these are awesome, because I ran out of cookies for our small groups at church tonight. Part of the reason is because Matt took a few on his road trip to A&M, but in general, I guess I just didn’t make enough cookies!!

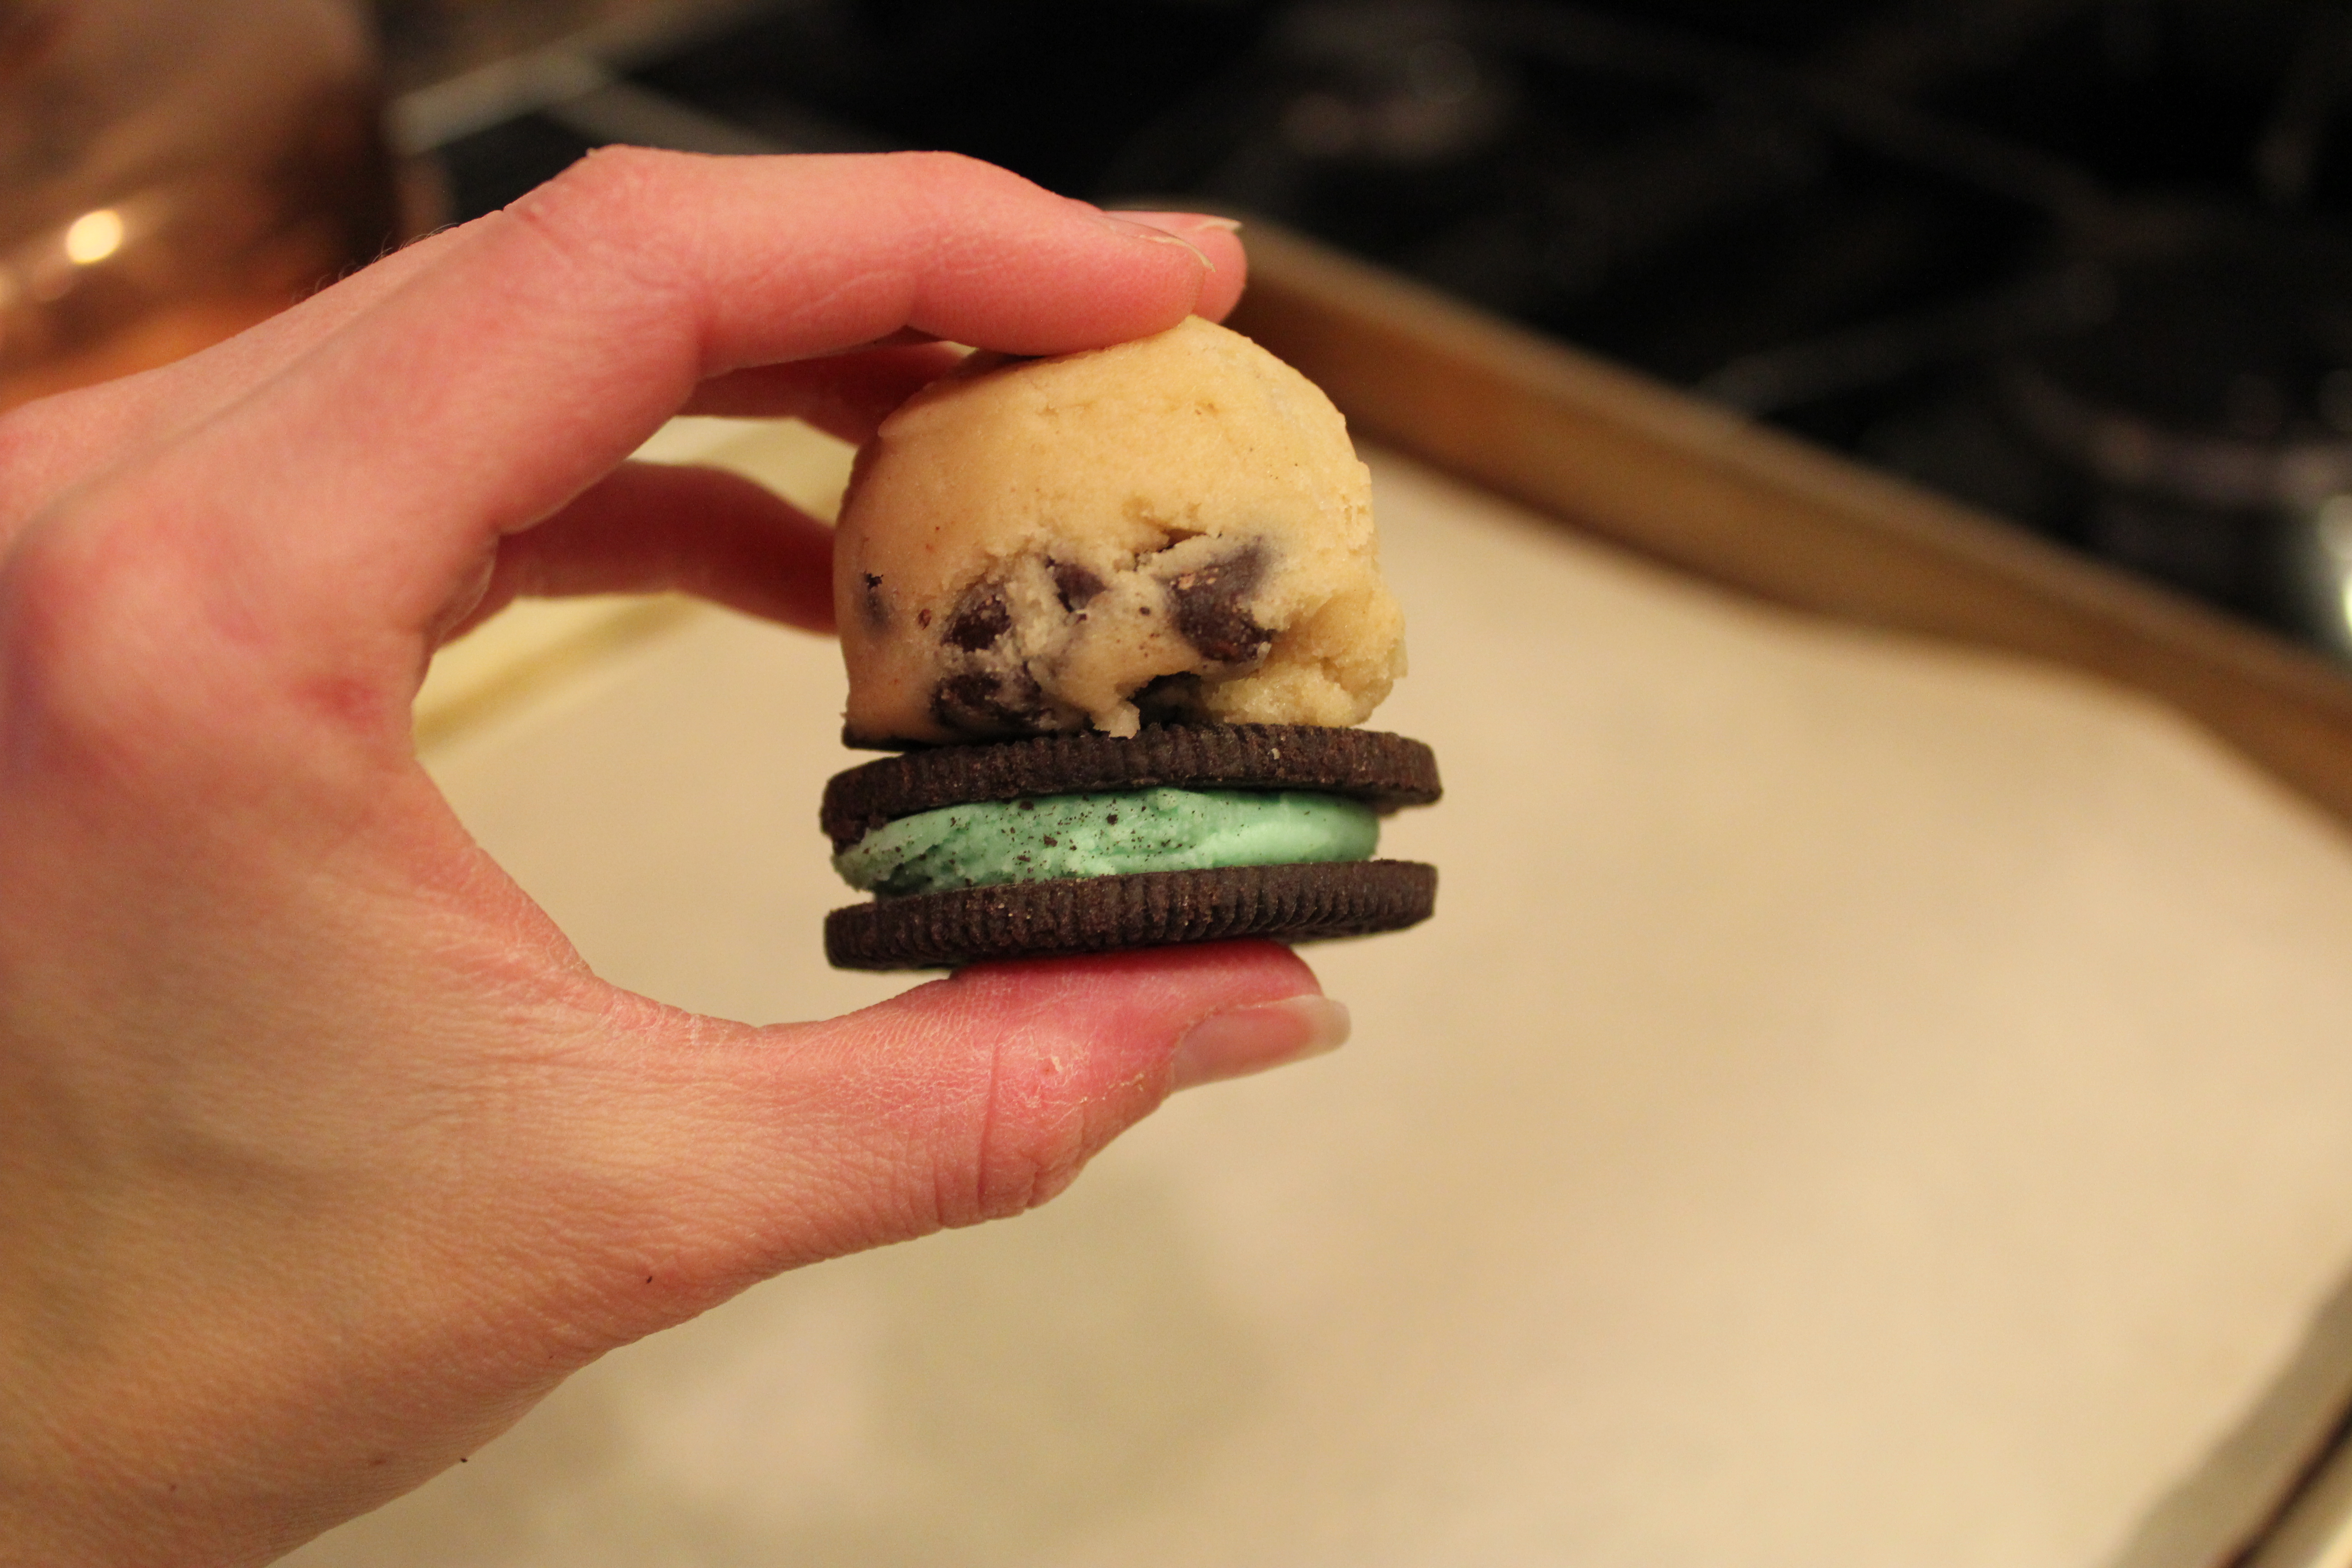
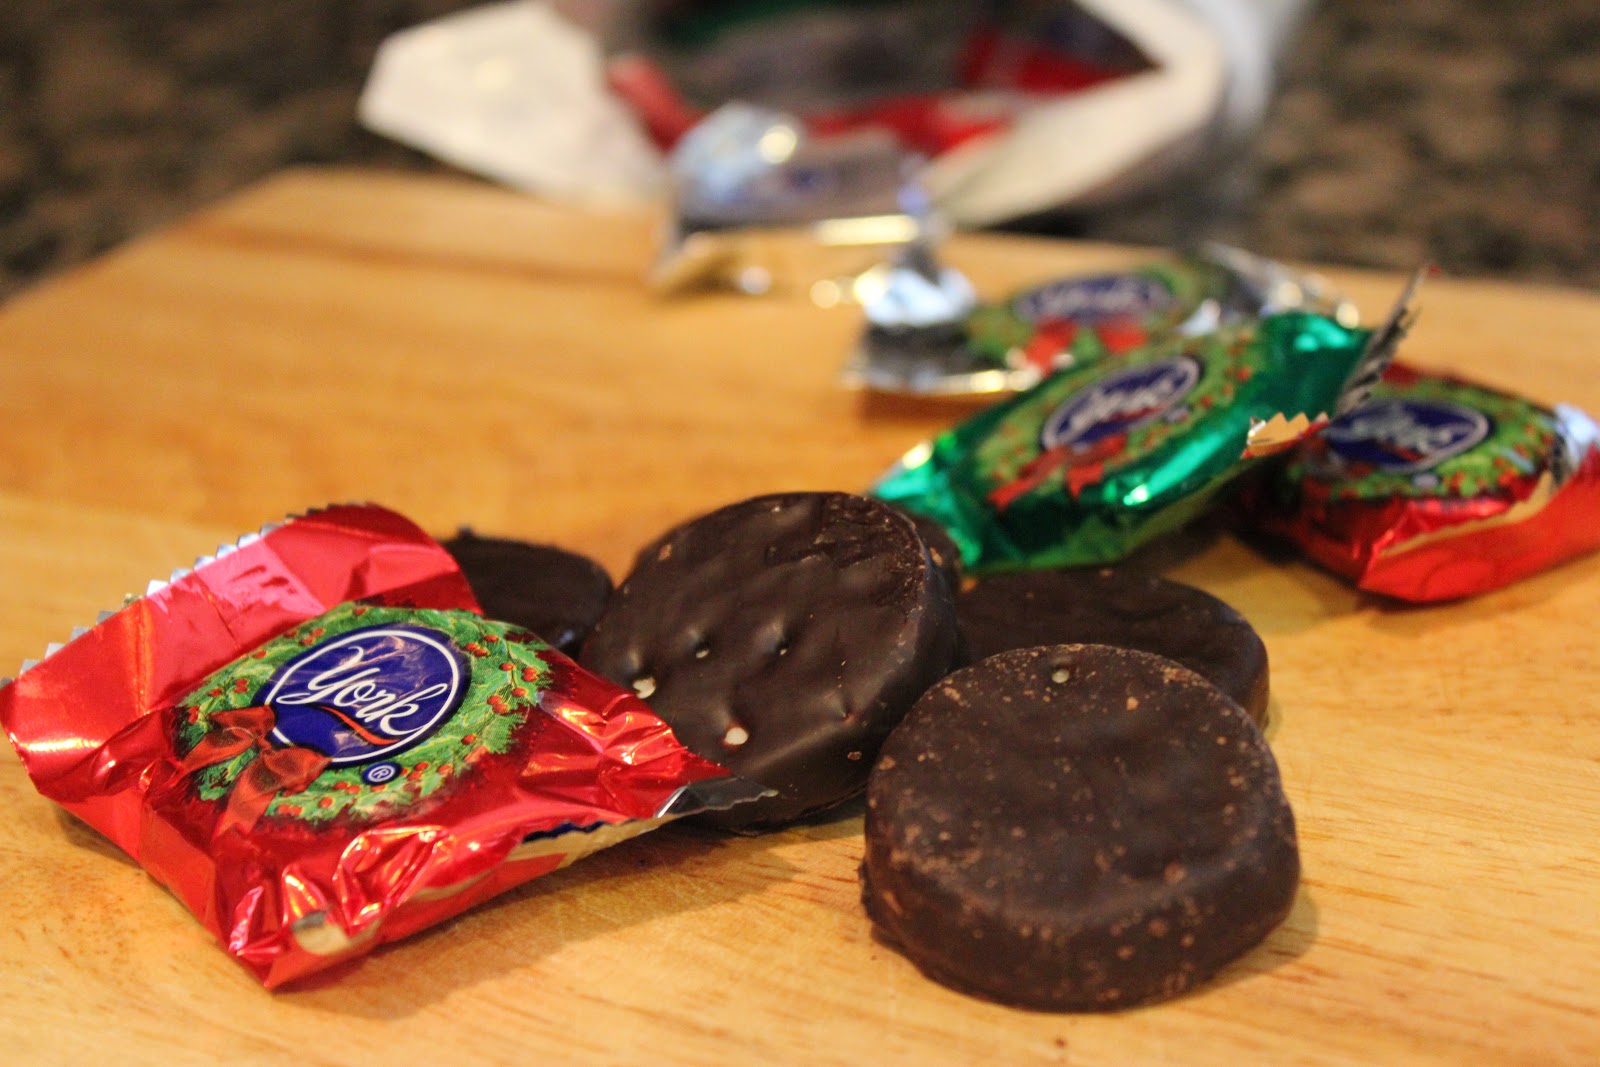
I was craving Oreos earlier this week and bought a package to snack on. After I had my Oreo fix, I thought I’d use the leftover Oreos to make cookies for our monthly life group dinner.

IMG_2860

I’ve mentioned before that dream cookies are my all-time favorite cookie recipe. I guess my life group knows that, because I’ve gotten them hooked on dreams as well and they hope I bring them each month!

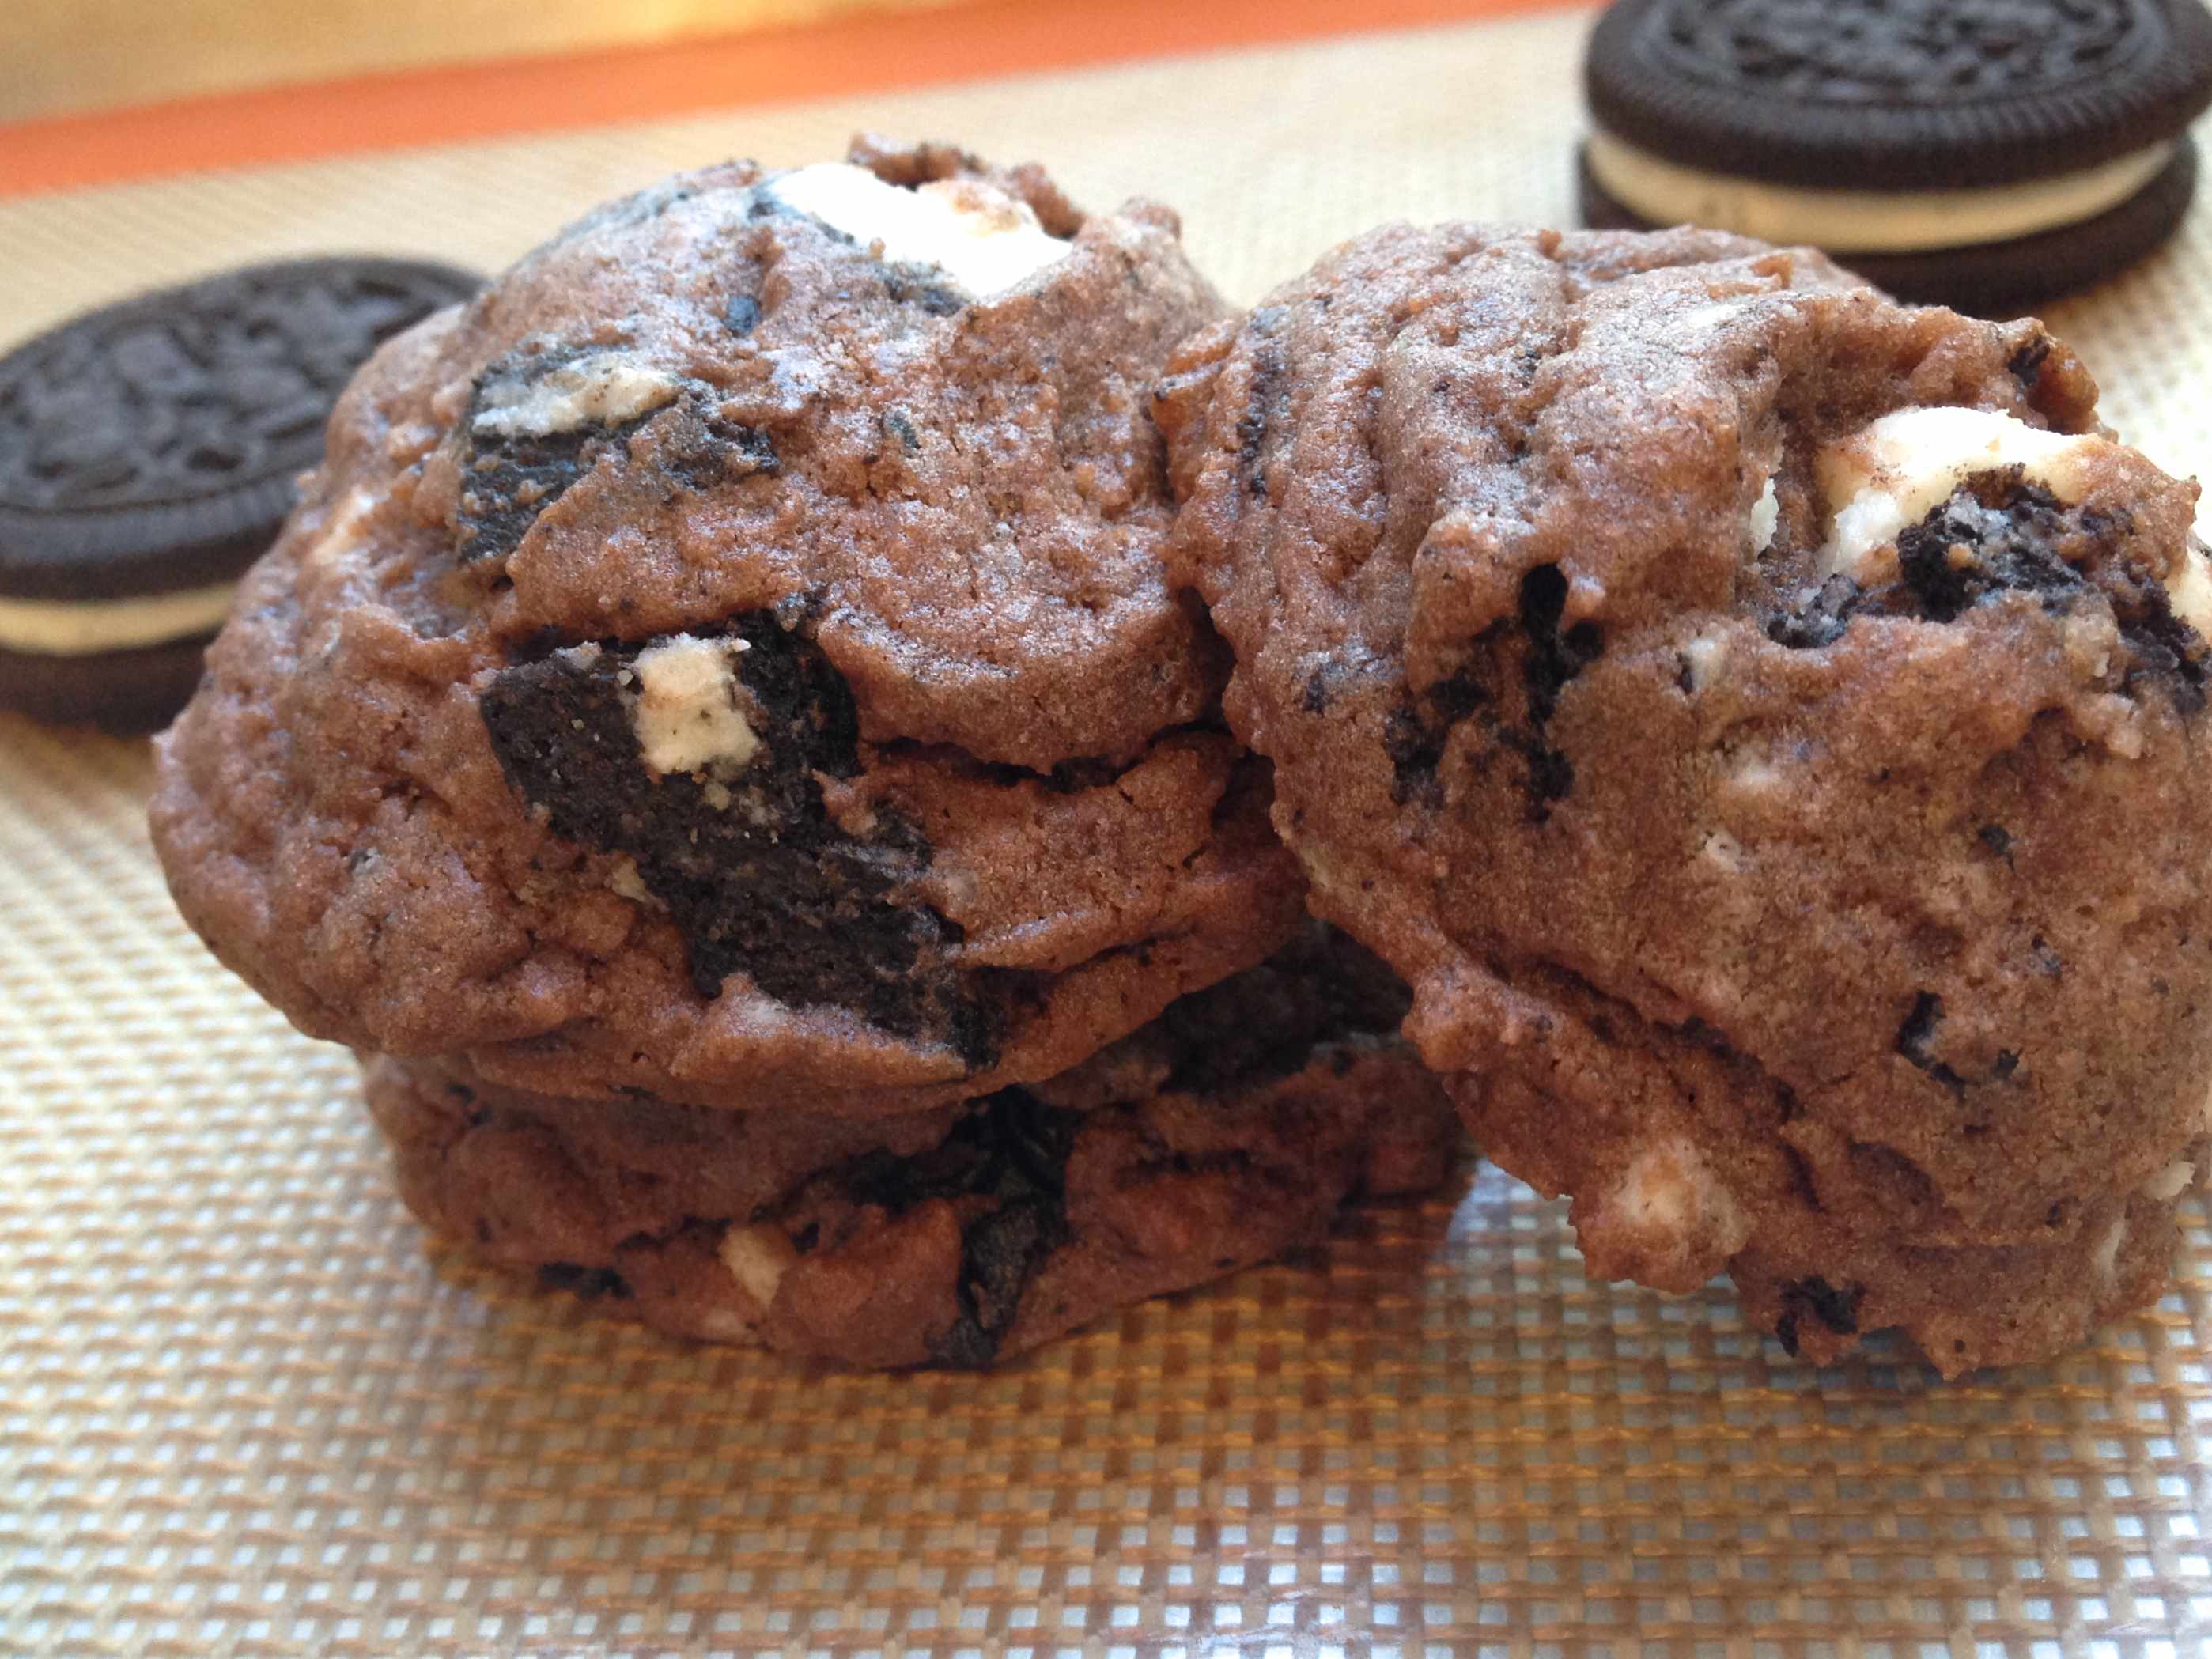
“Dream” cookies are extremely soft and chewy cookies with a secret ingredient: instant pudding mix. The pudding mix makes them super soft. After a week, they would still taste as fresh as they did on day one…. except they normally don’t last past two days.

Chocolate Oreo Cookie Dreams

You can literally make hundreds of combination of dream cookies. Simply change out the instant pudding mix and use various add-ins. Below are some of the dreams I’ve made before:

Chocolate Oreo Cookie Dreams

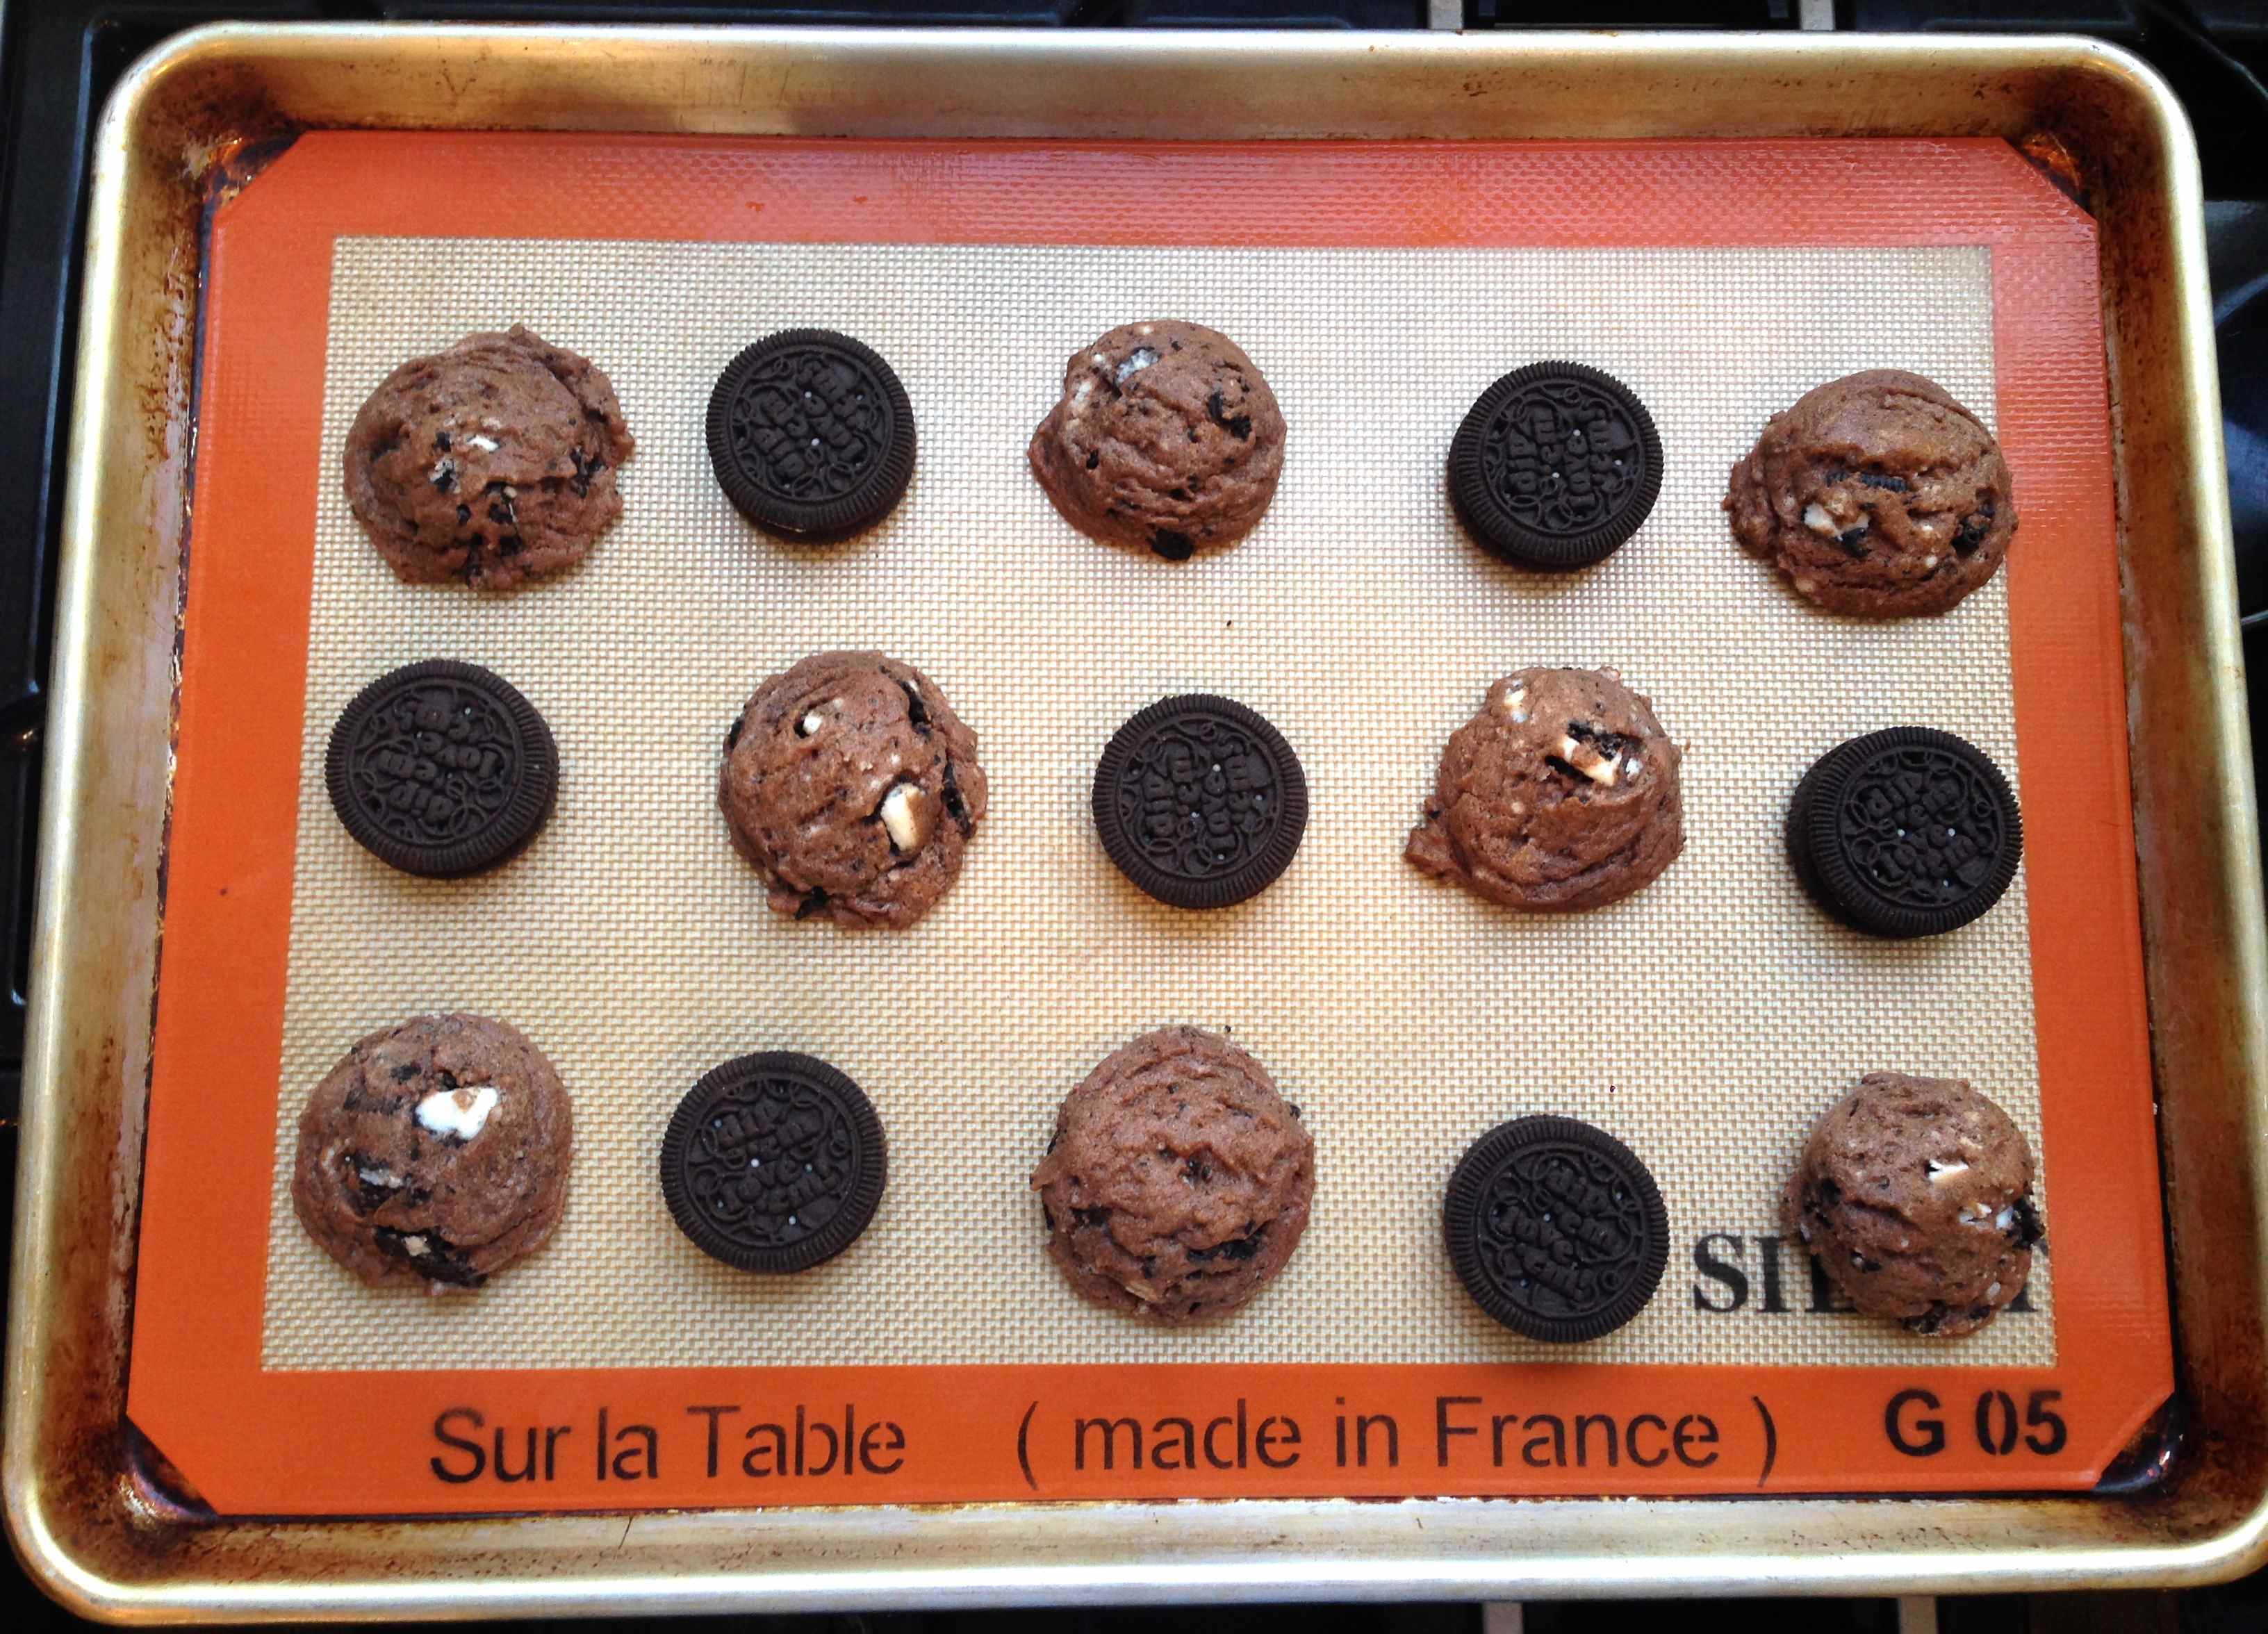
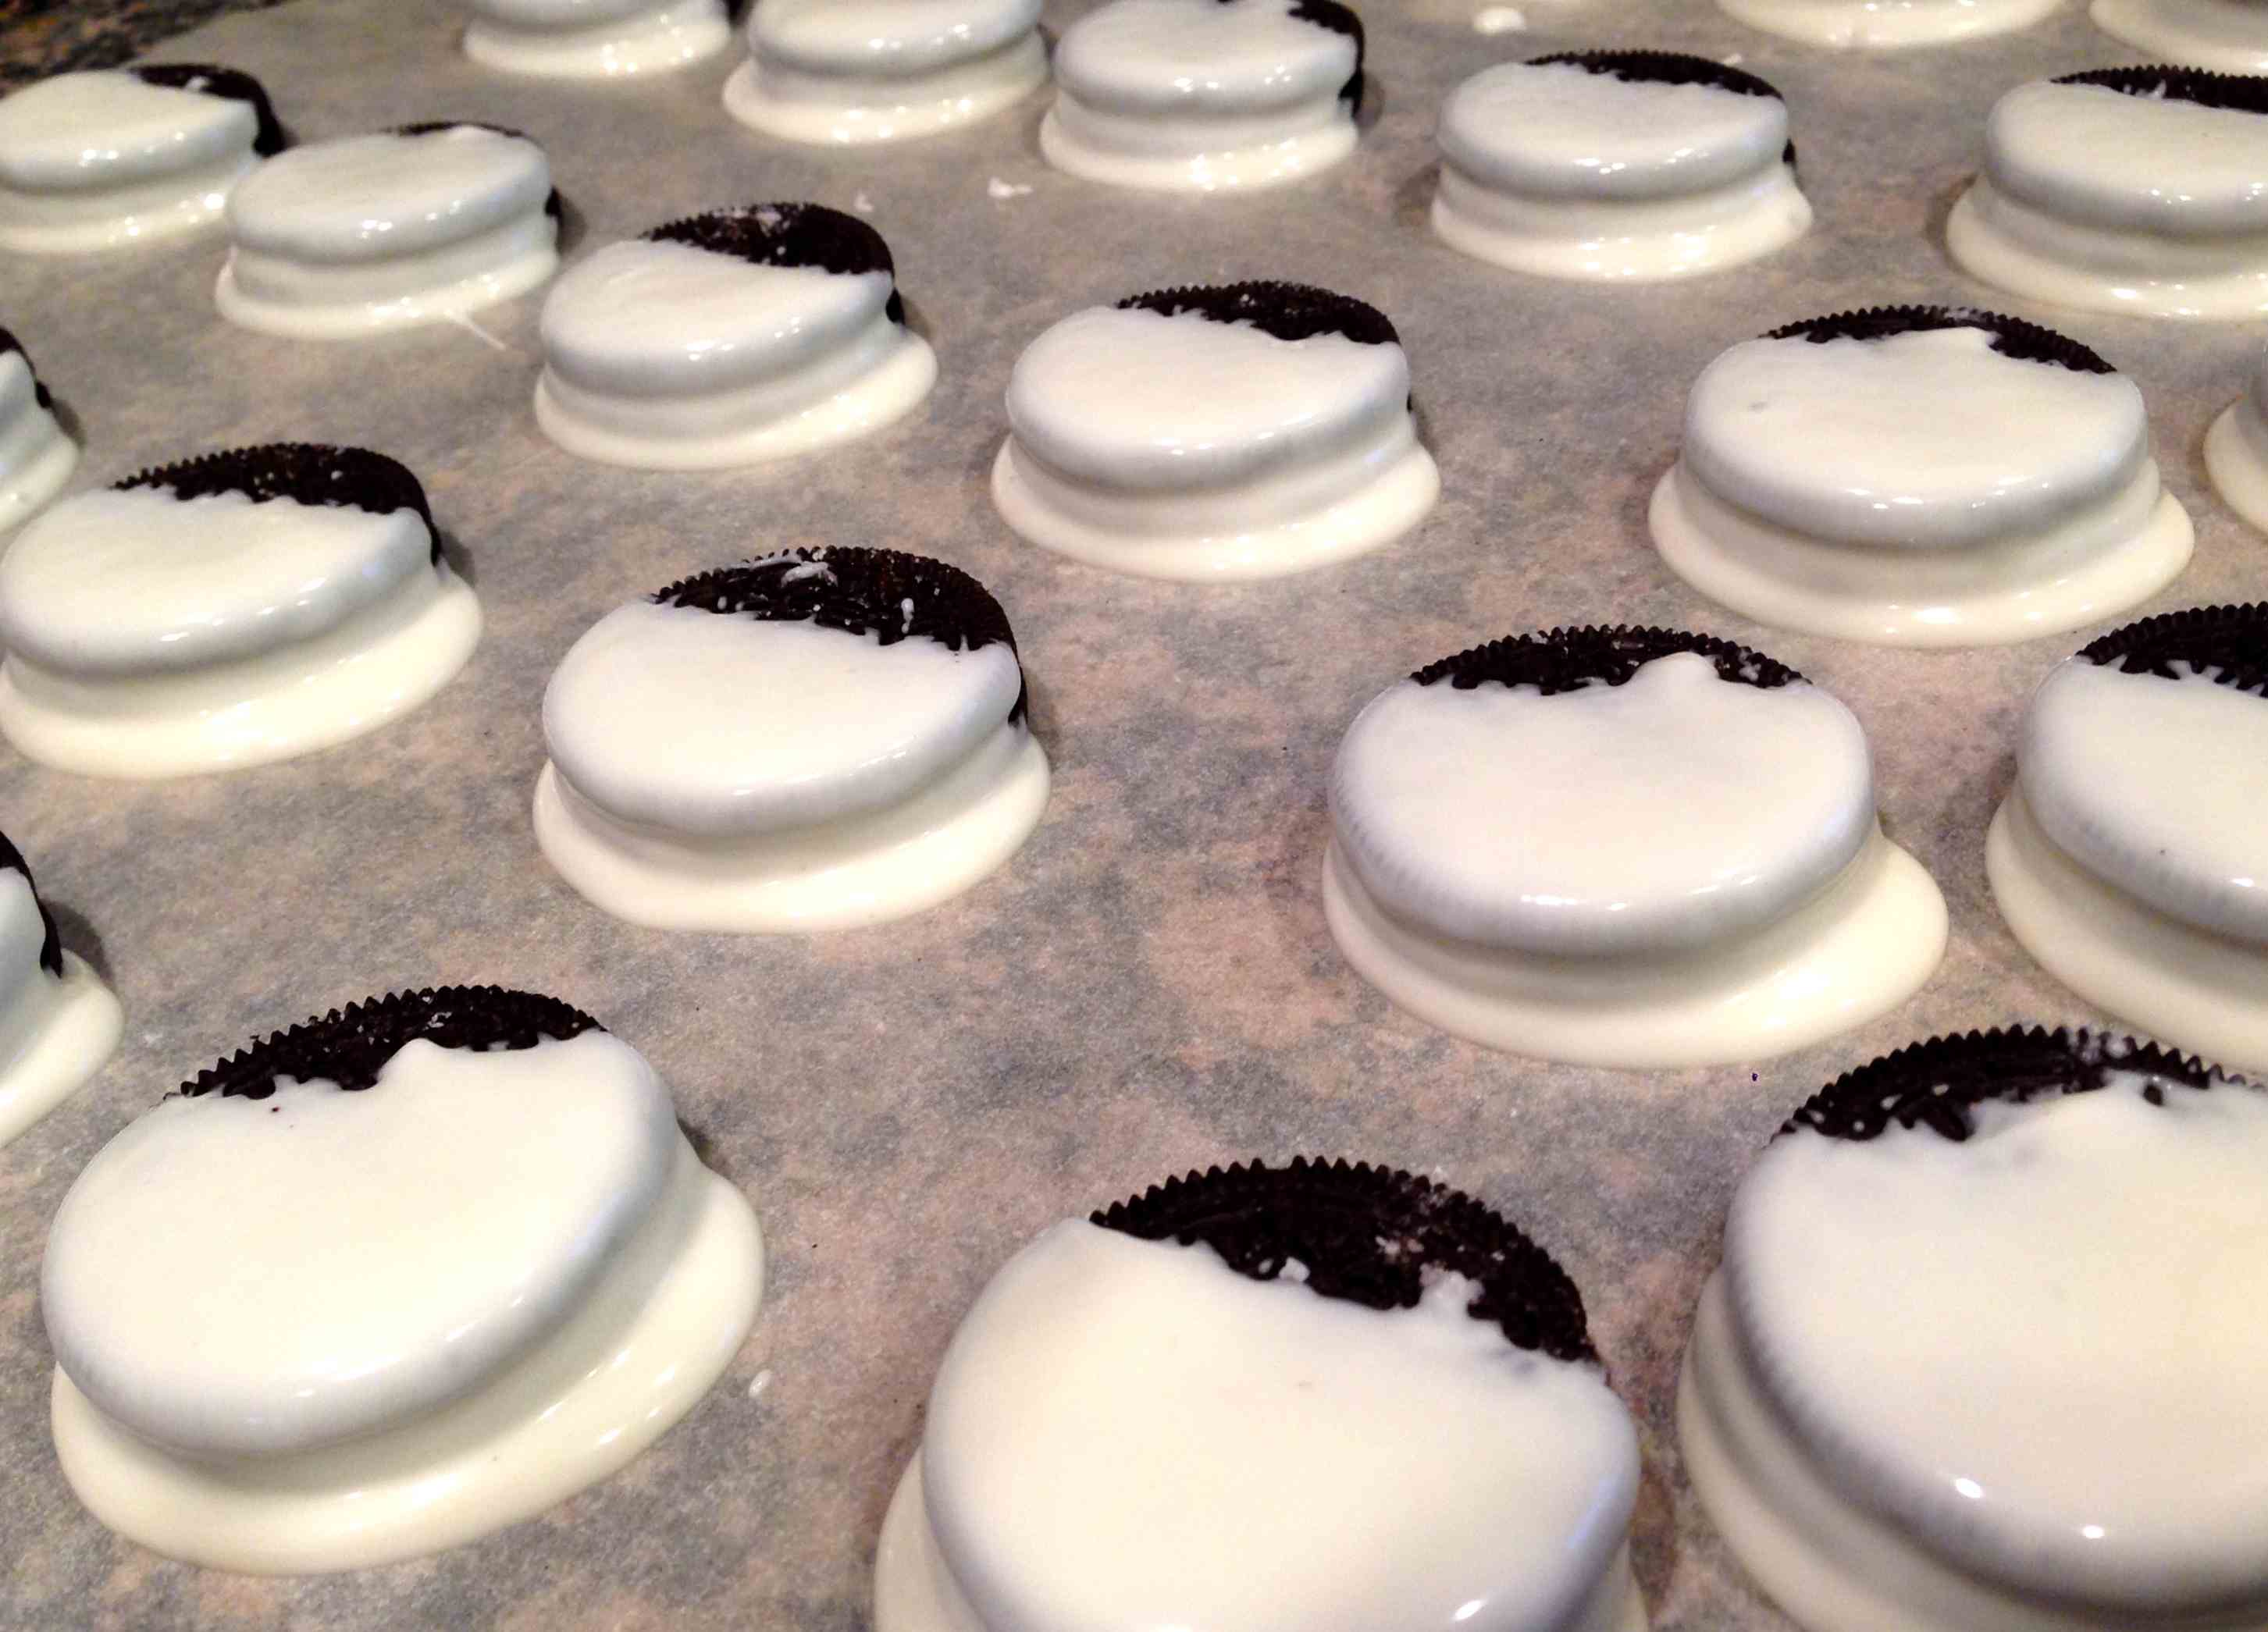
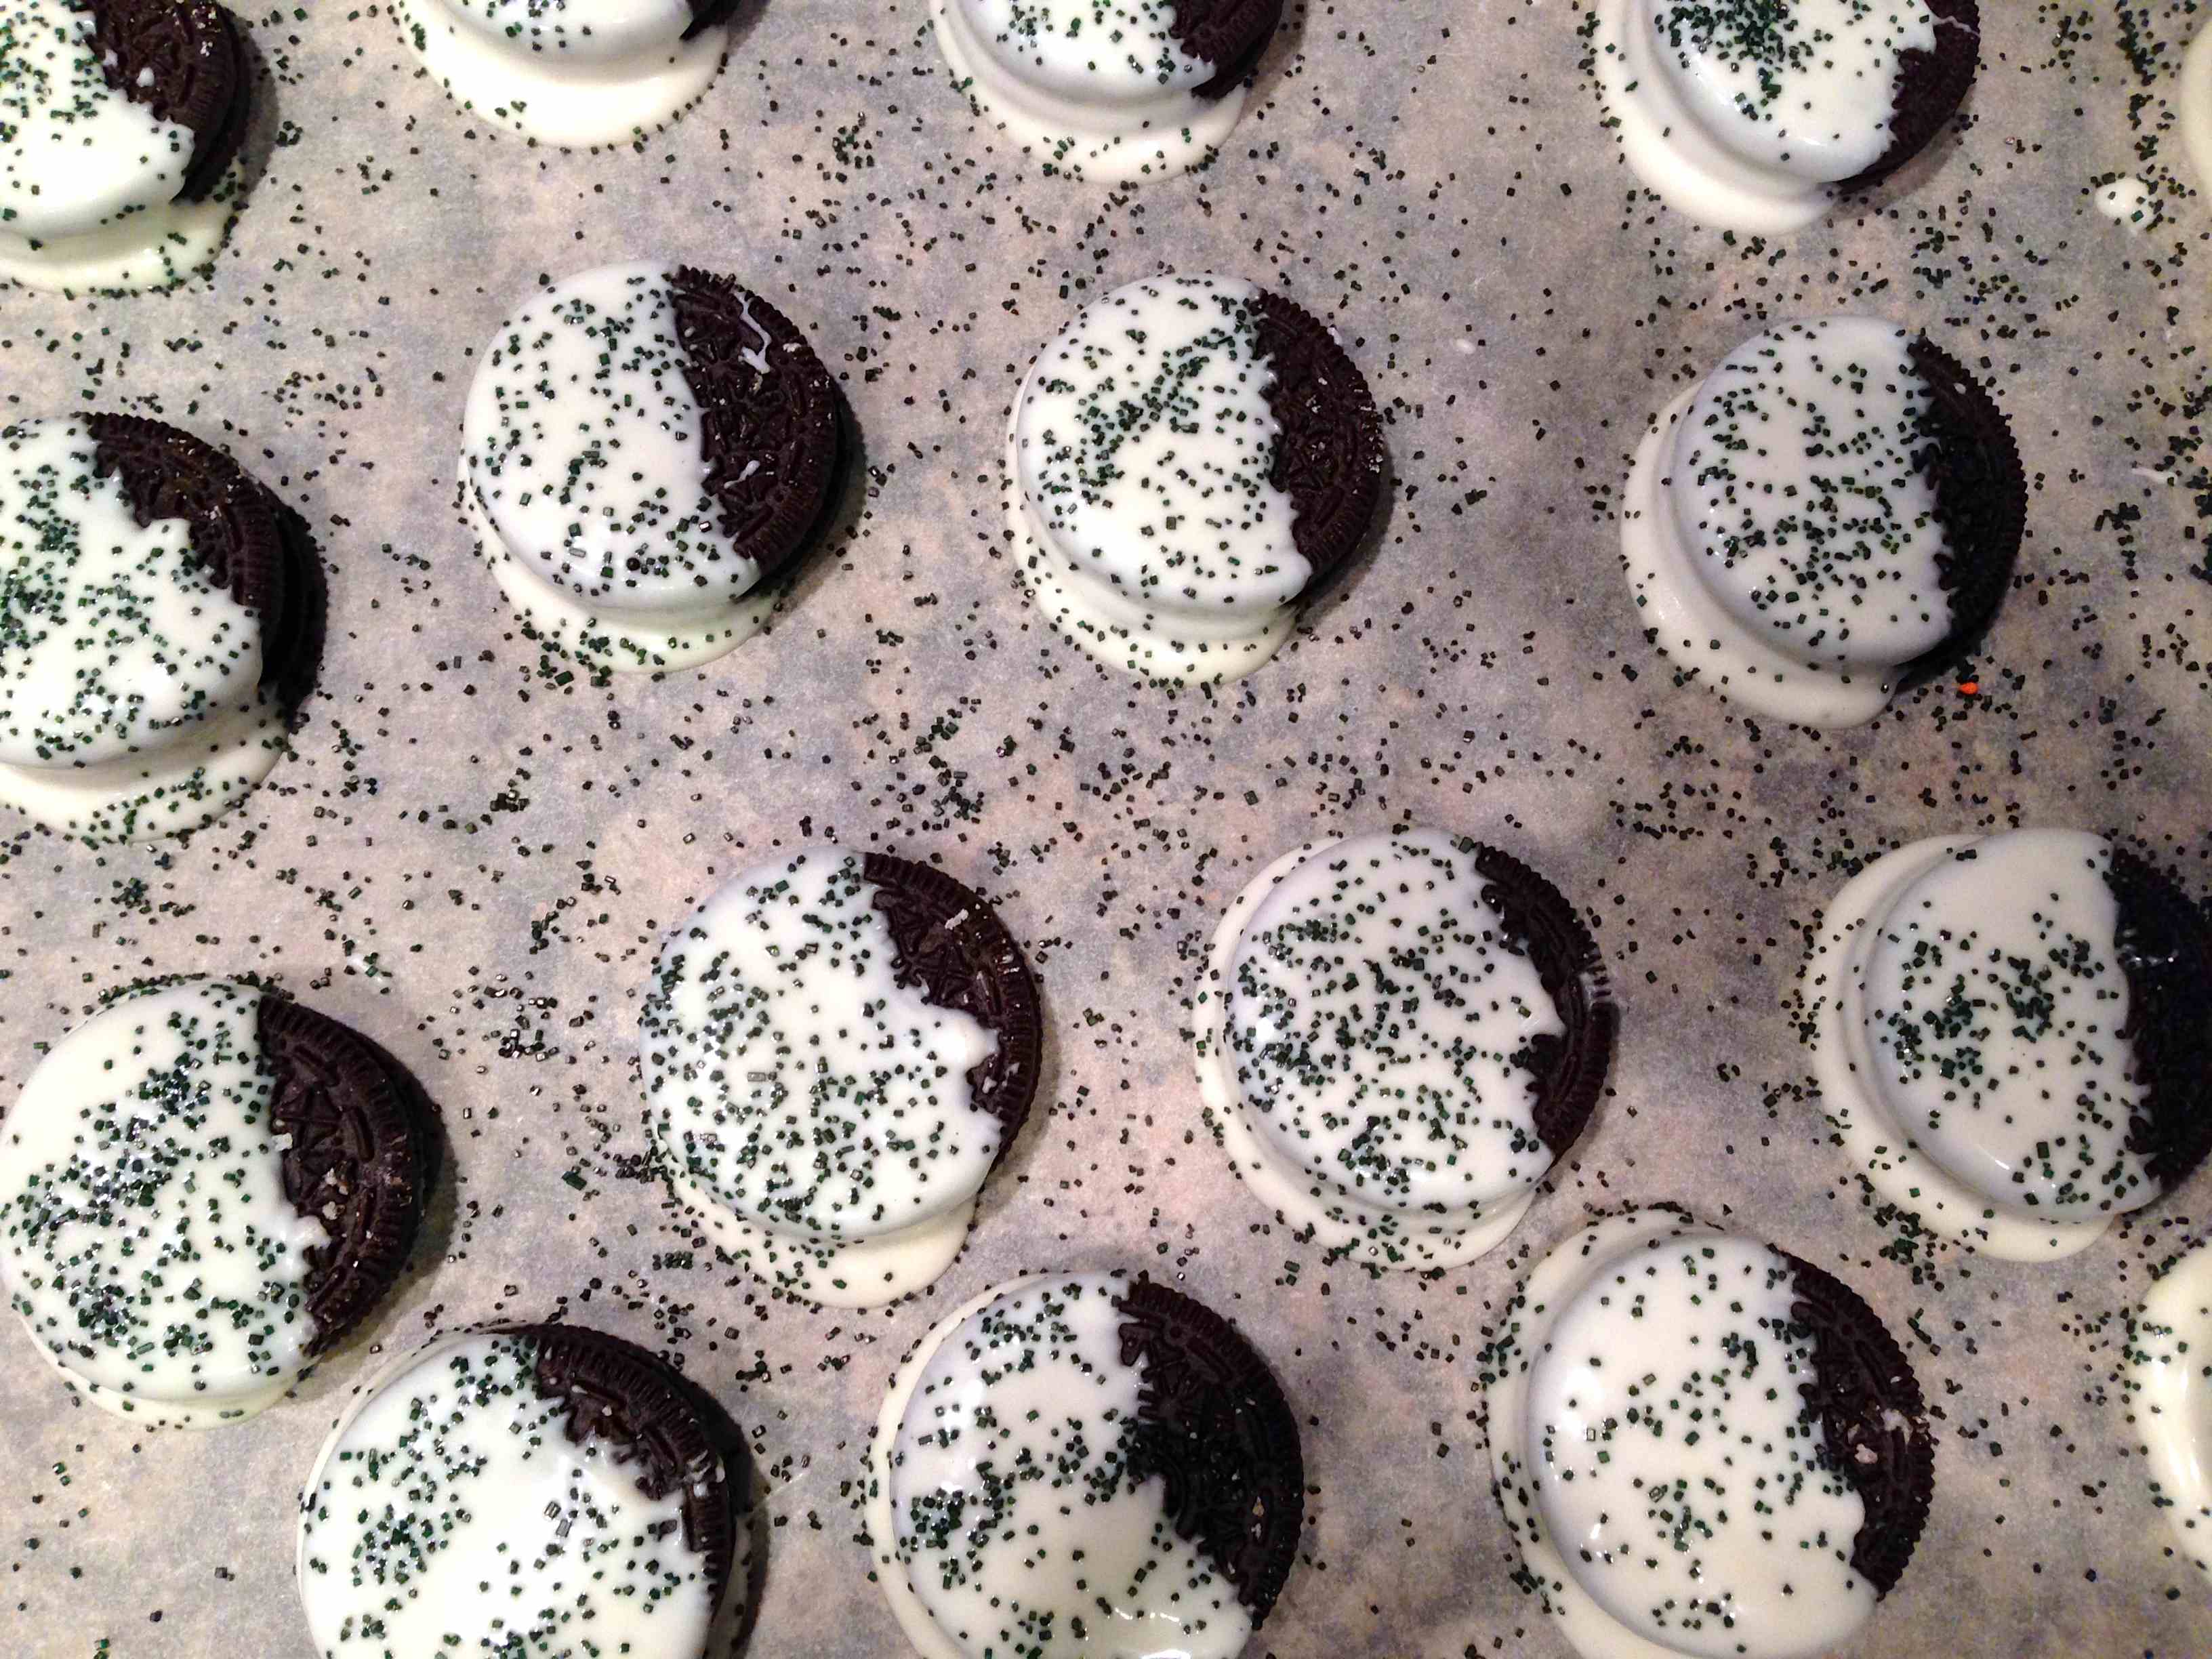
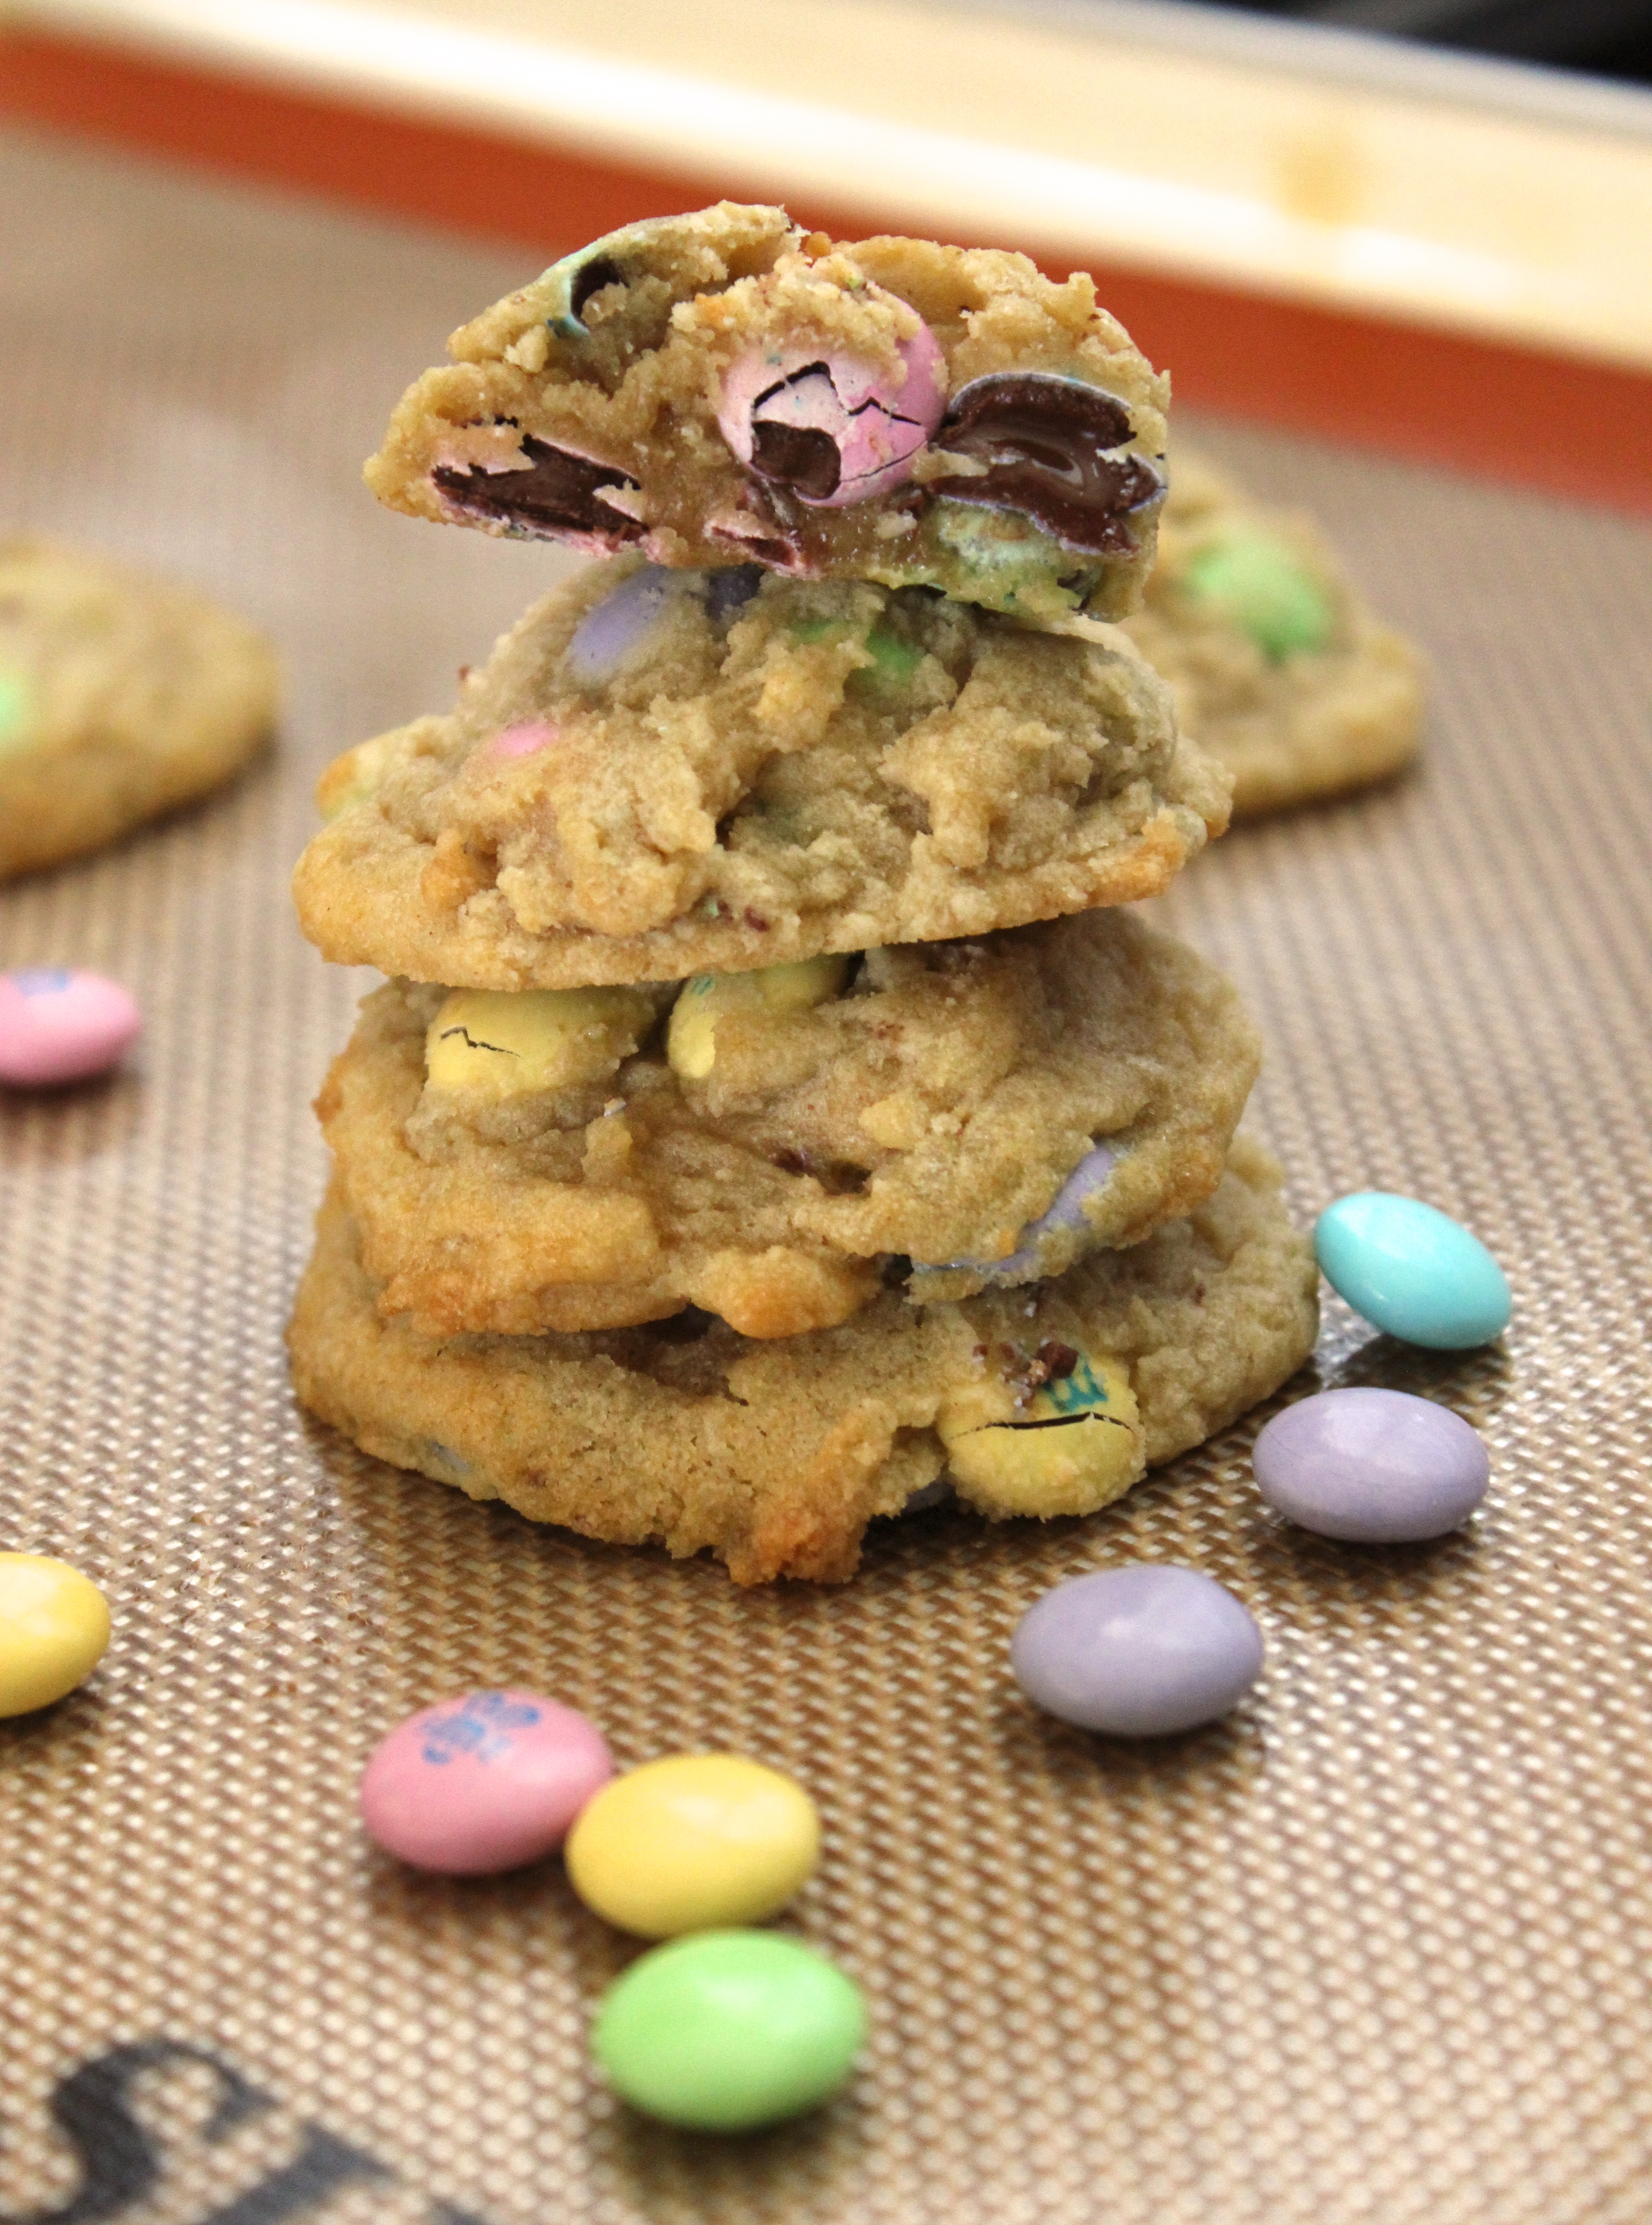
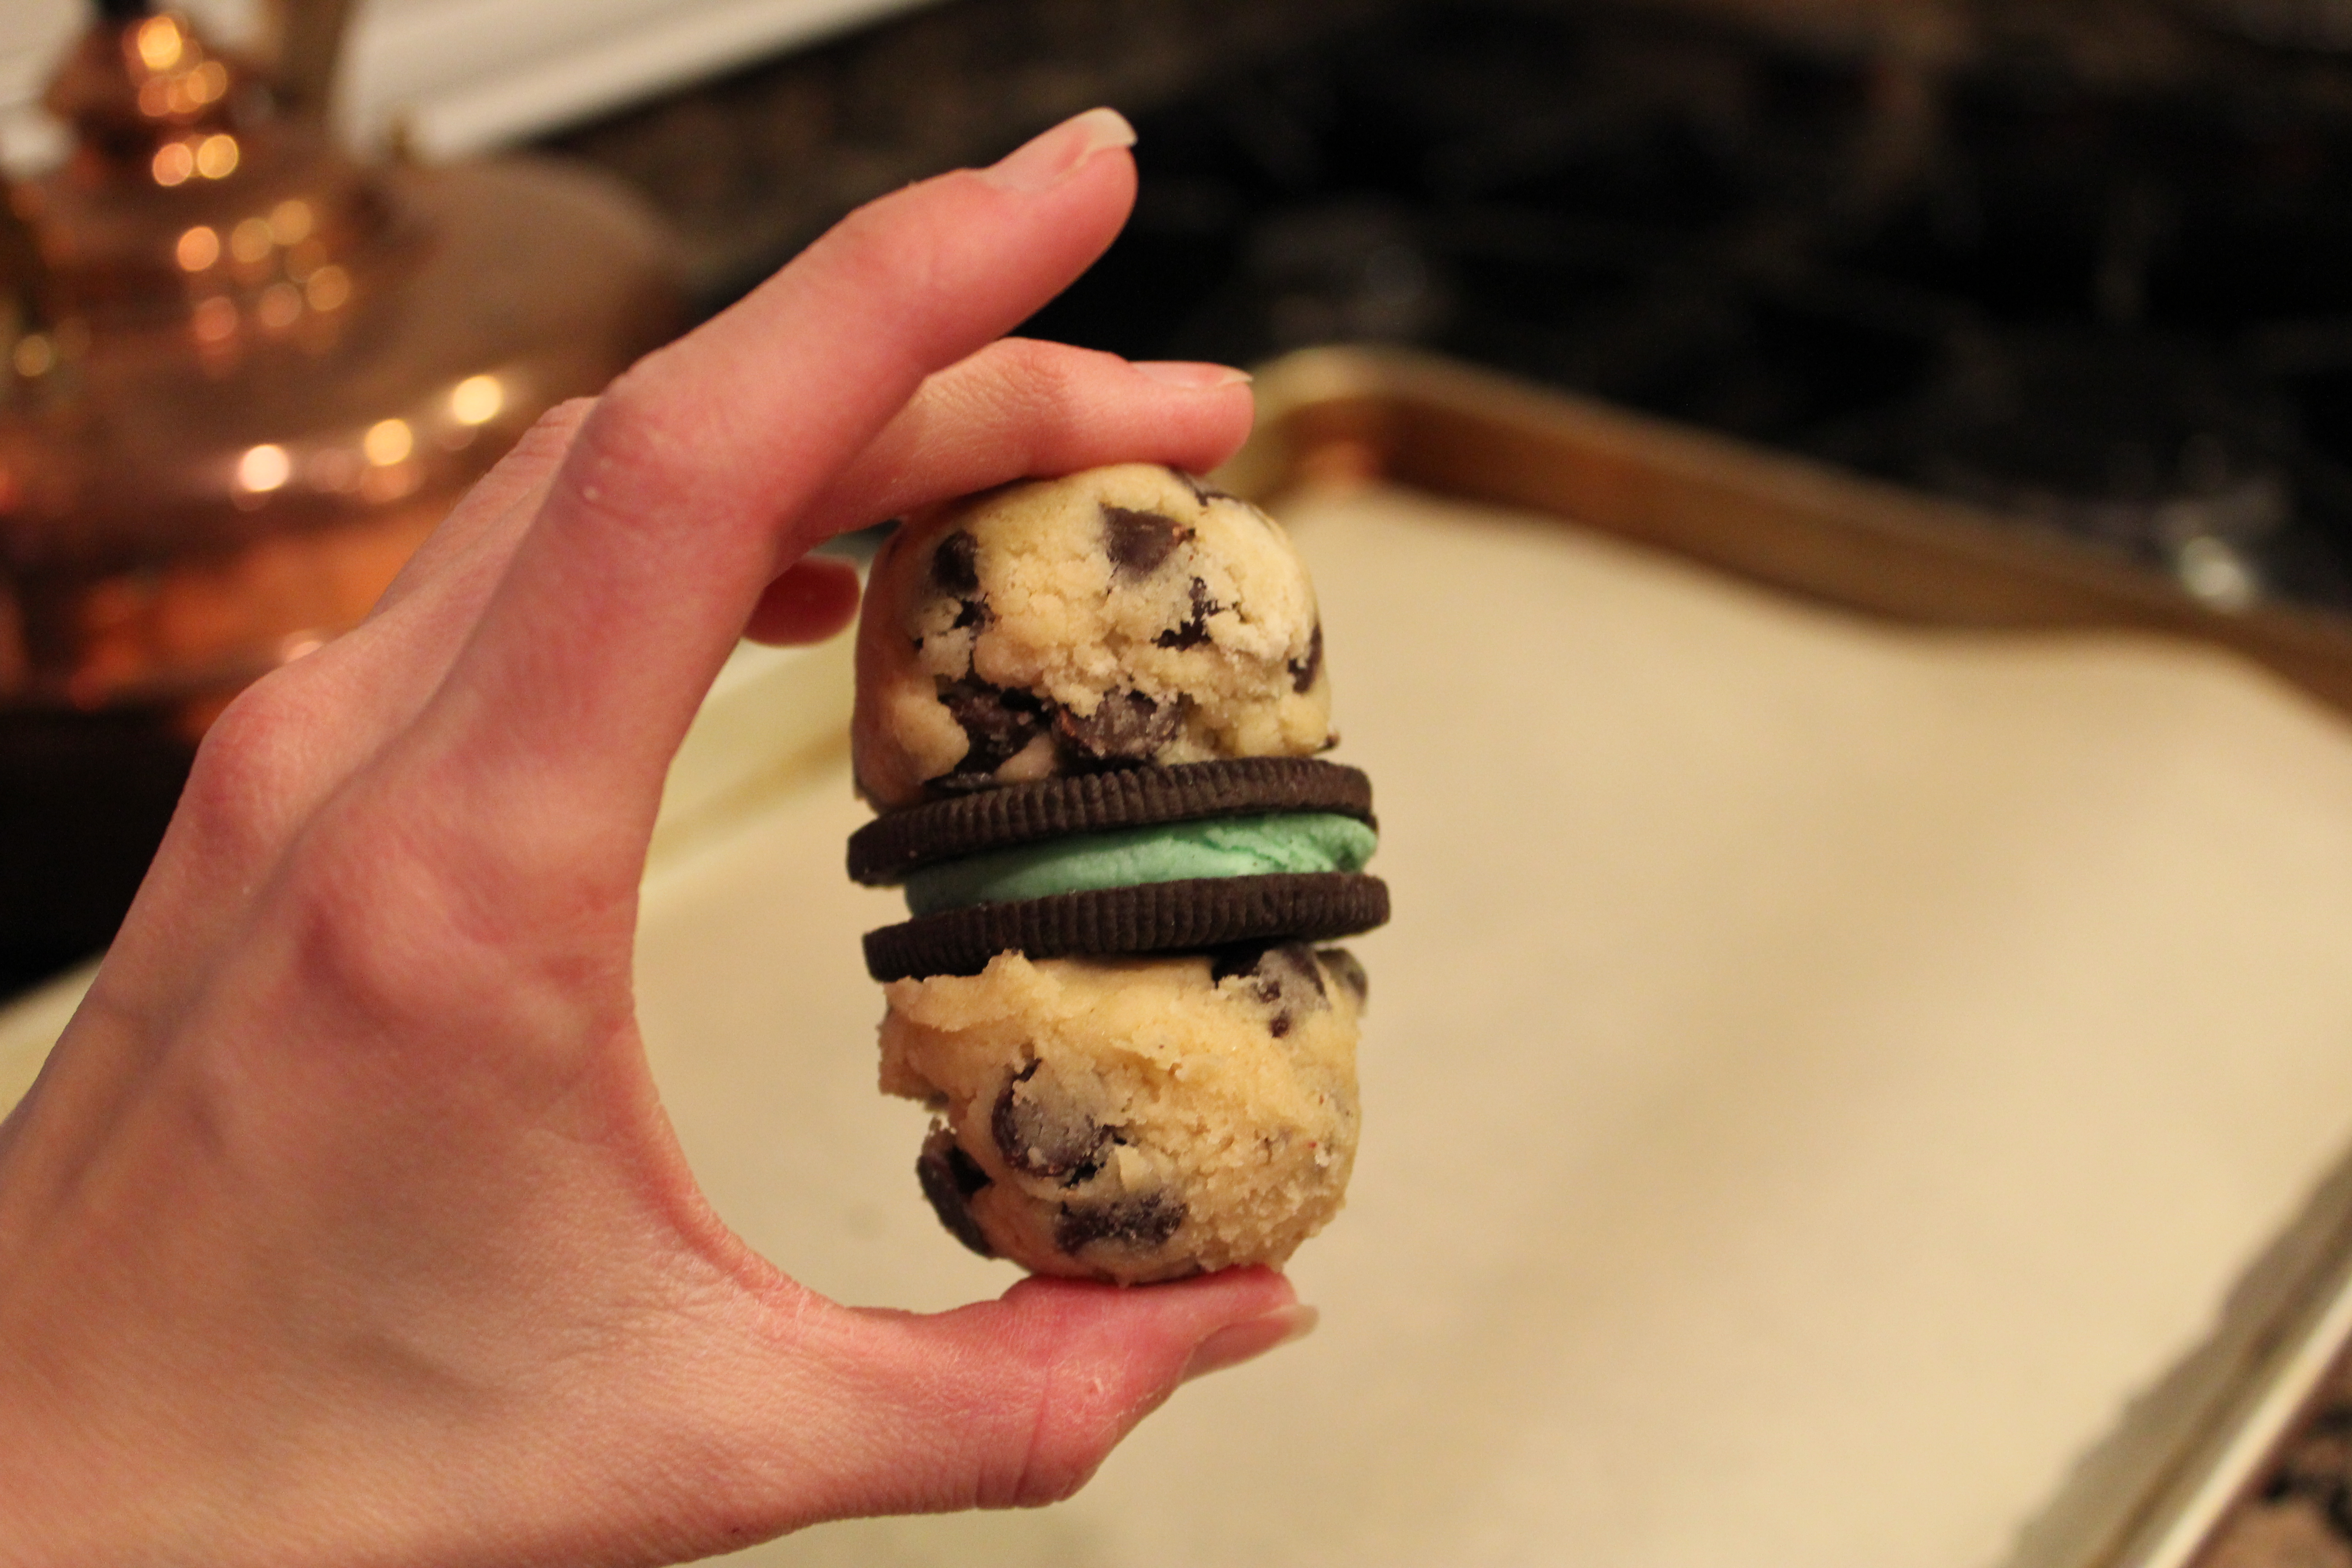
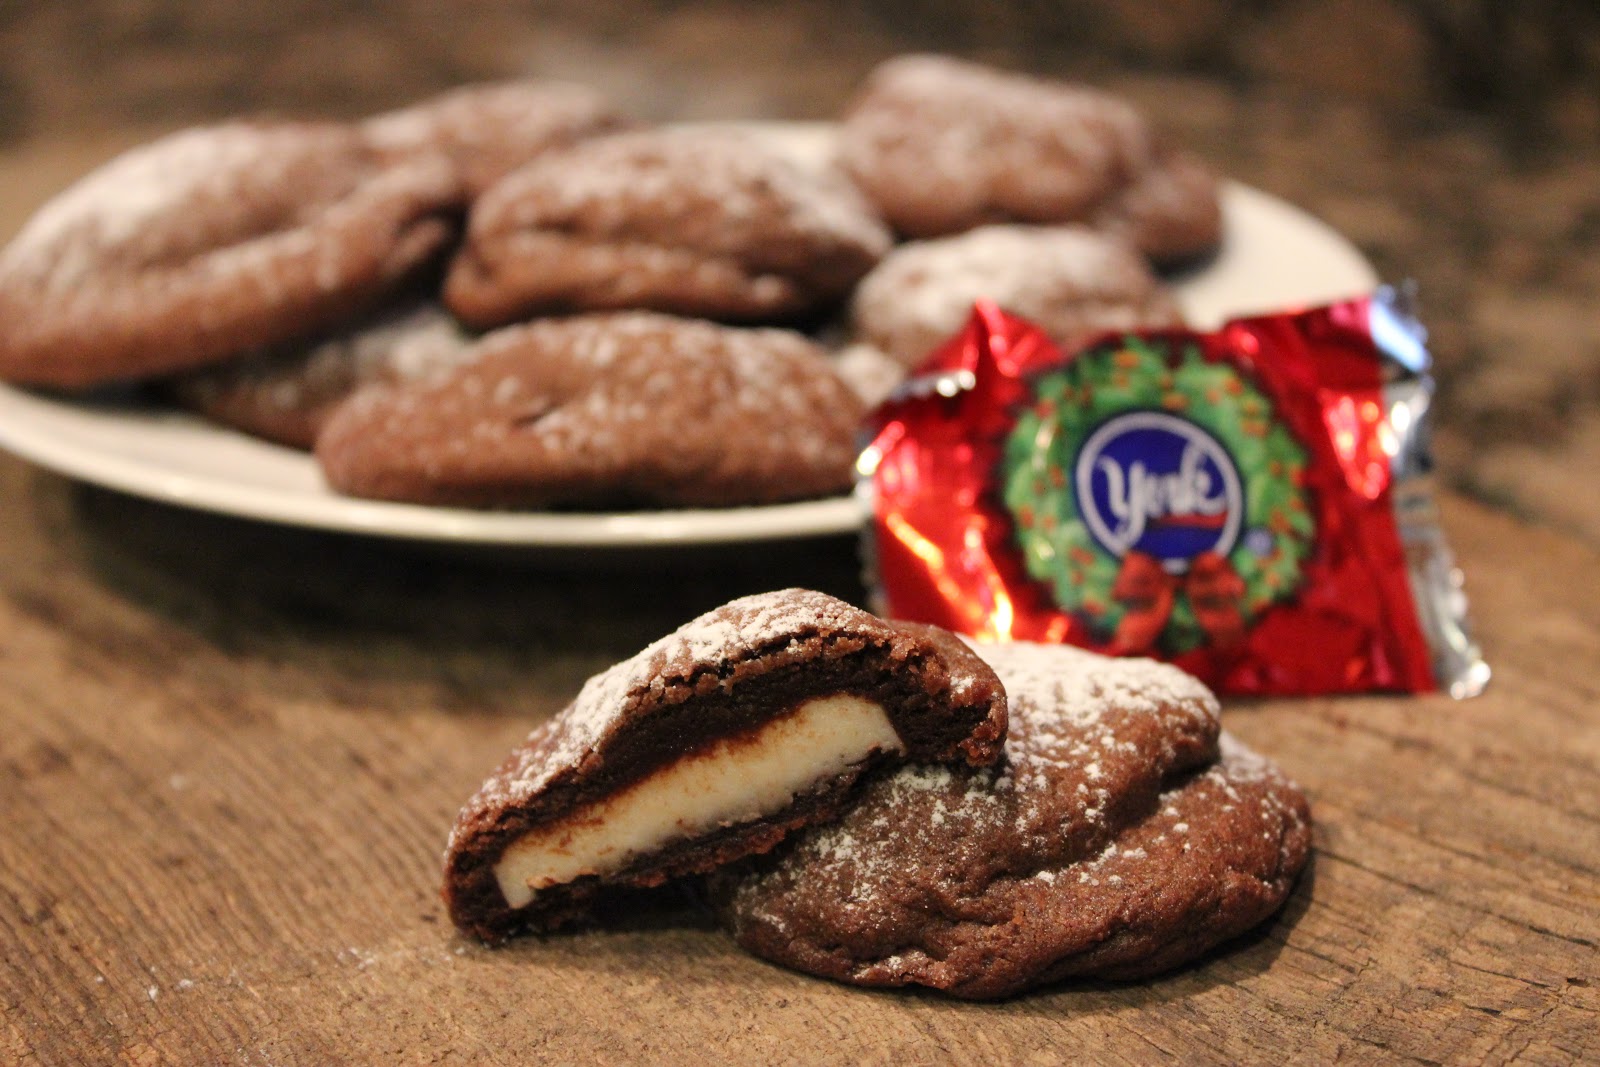
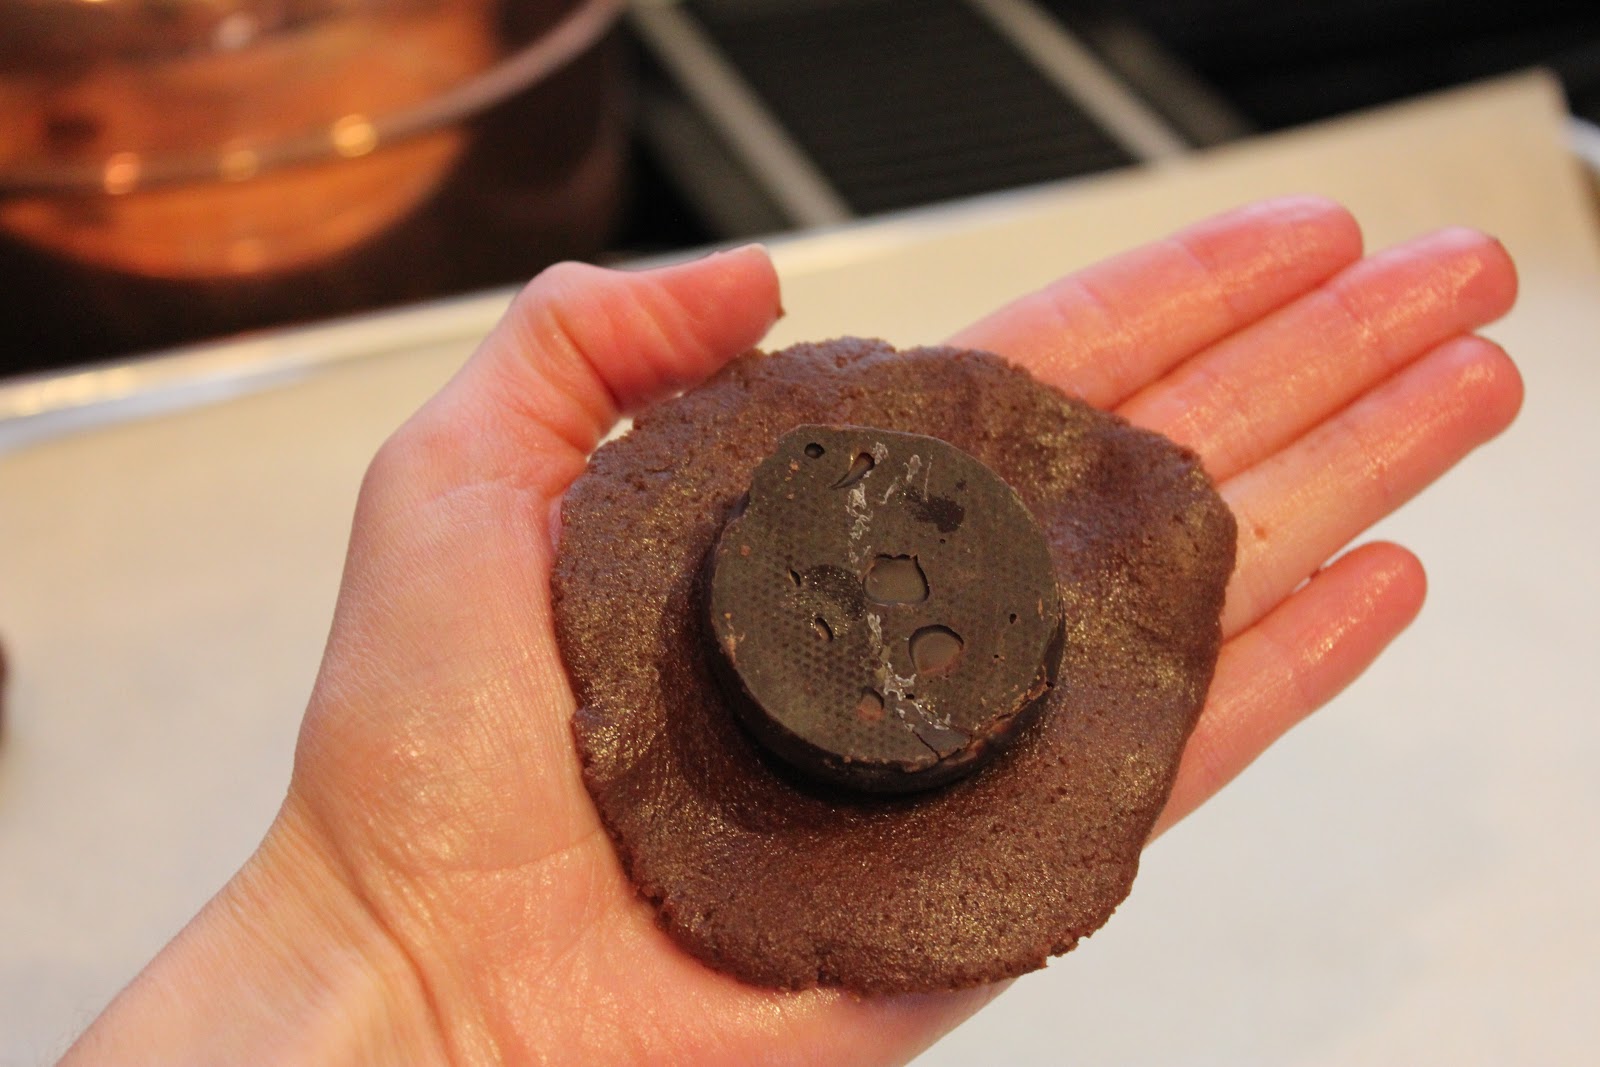
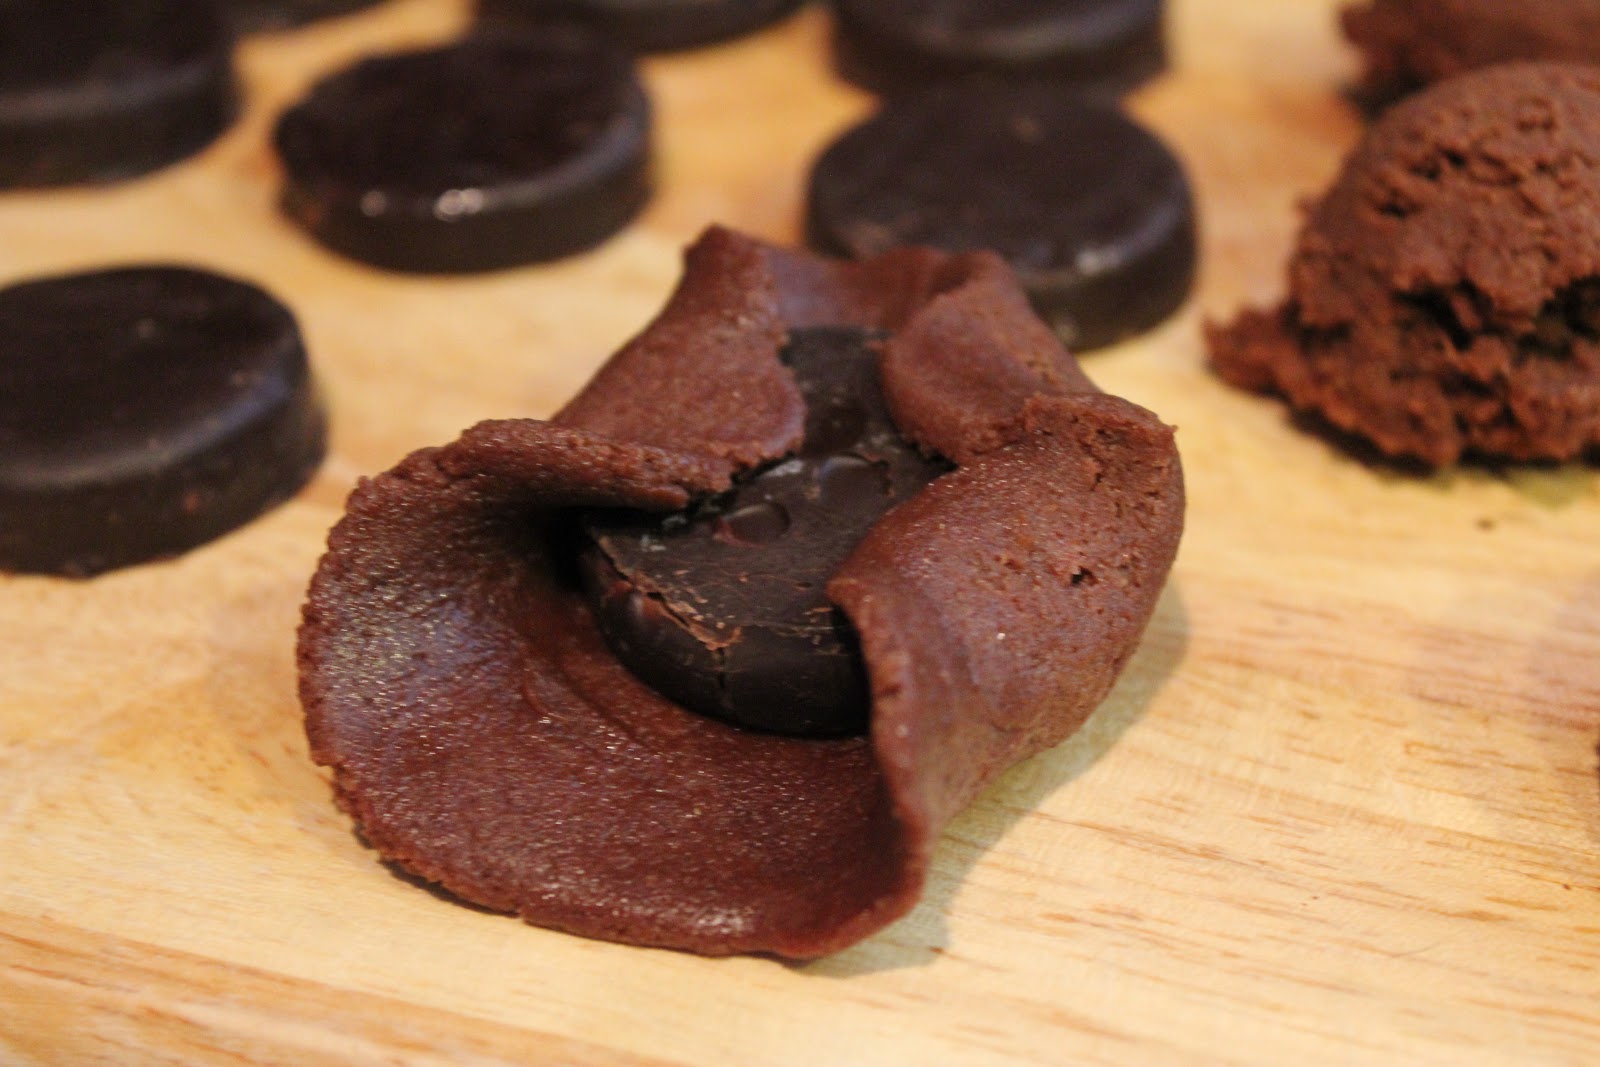
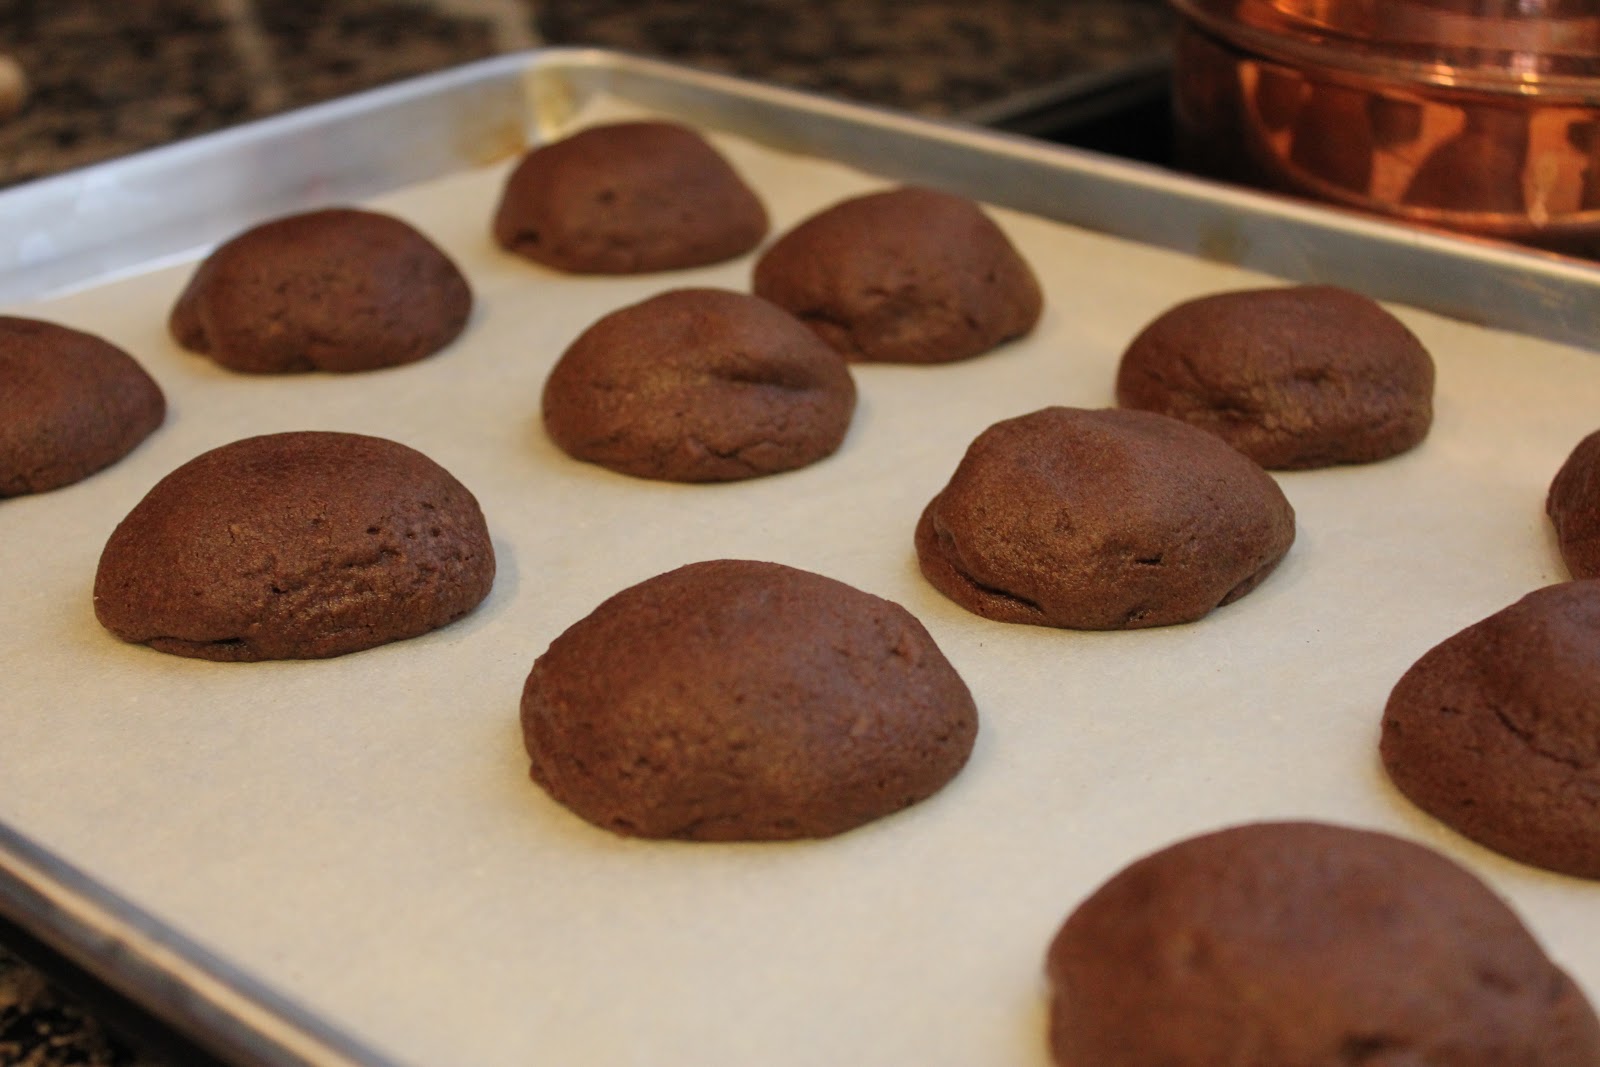
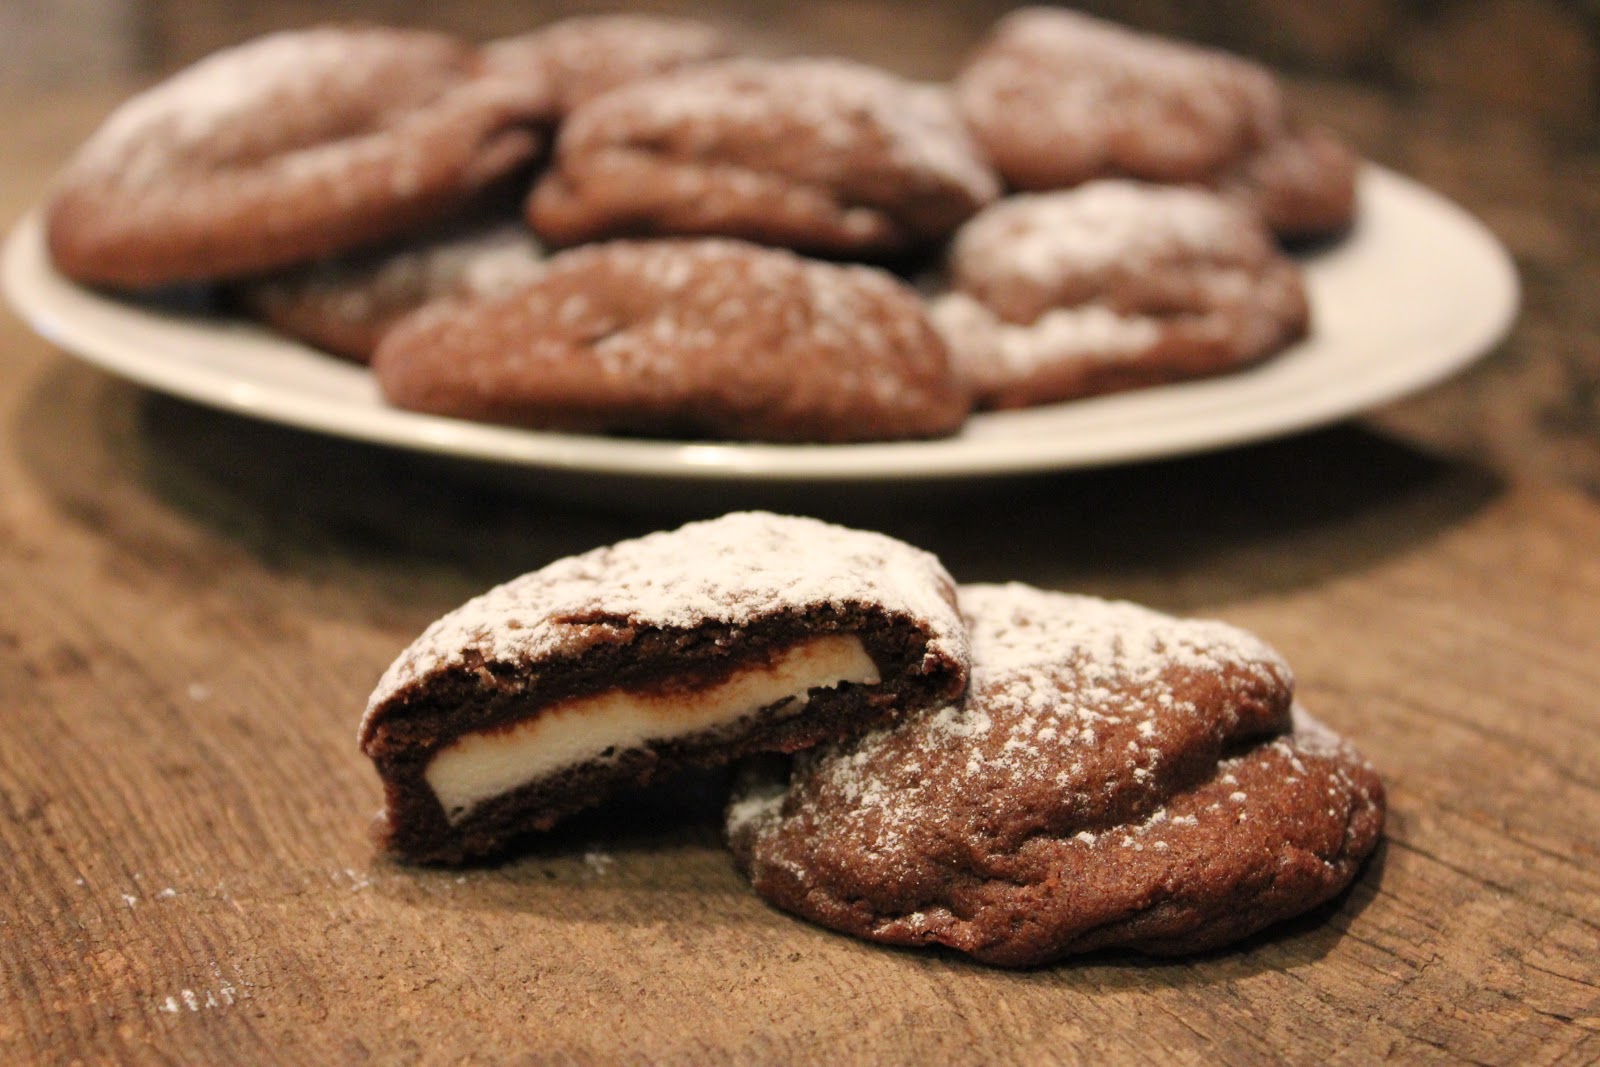
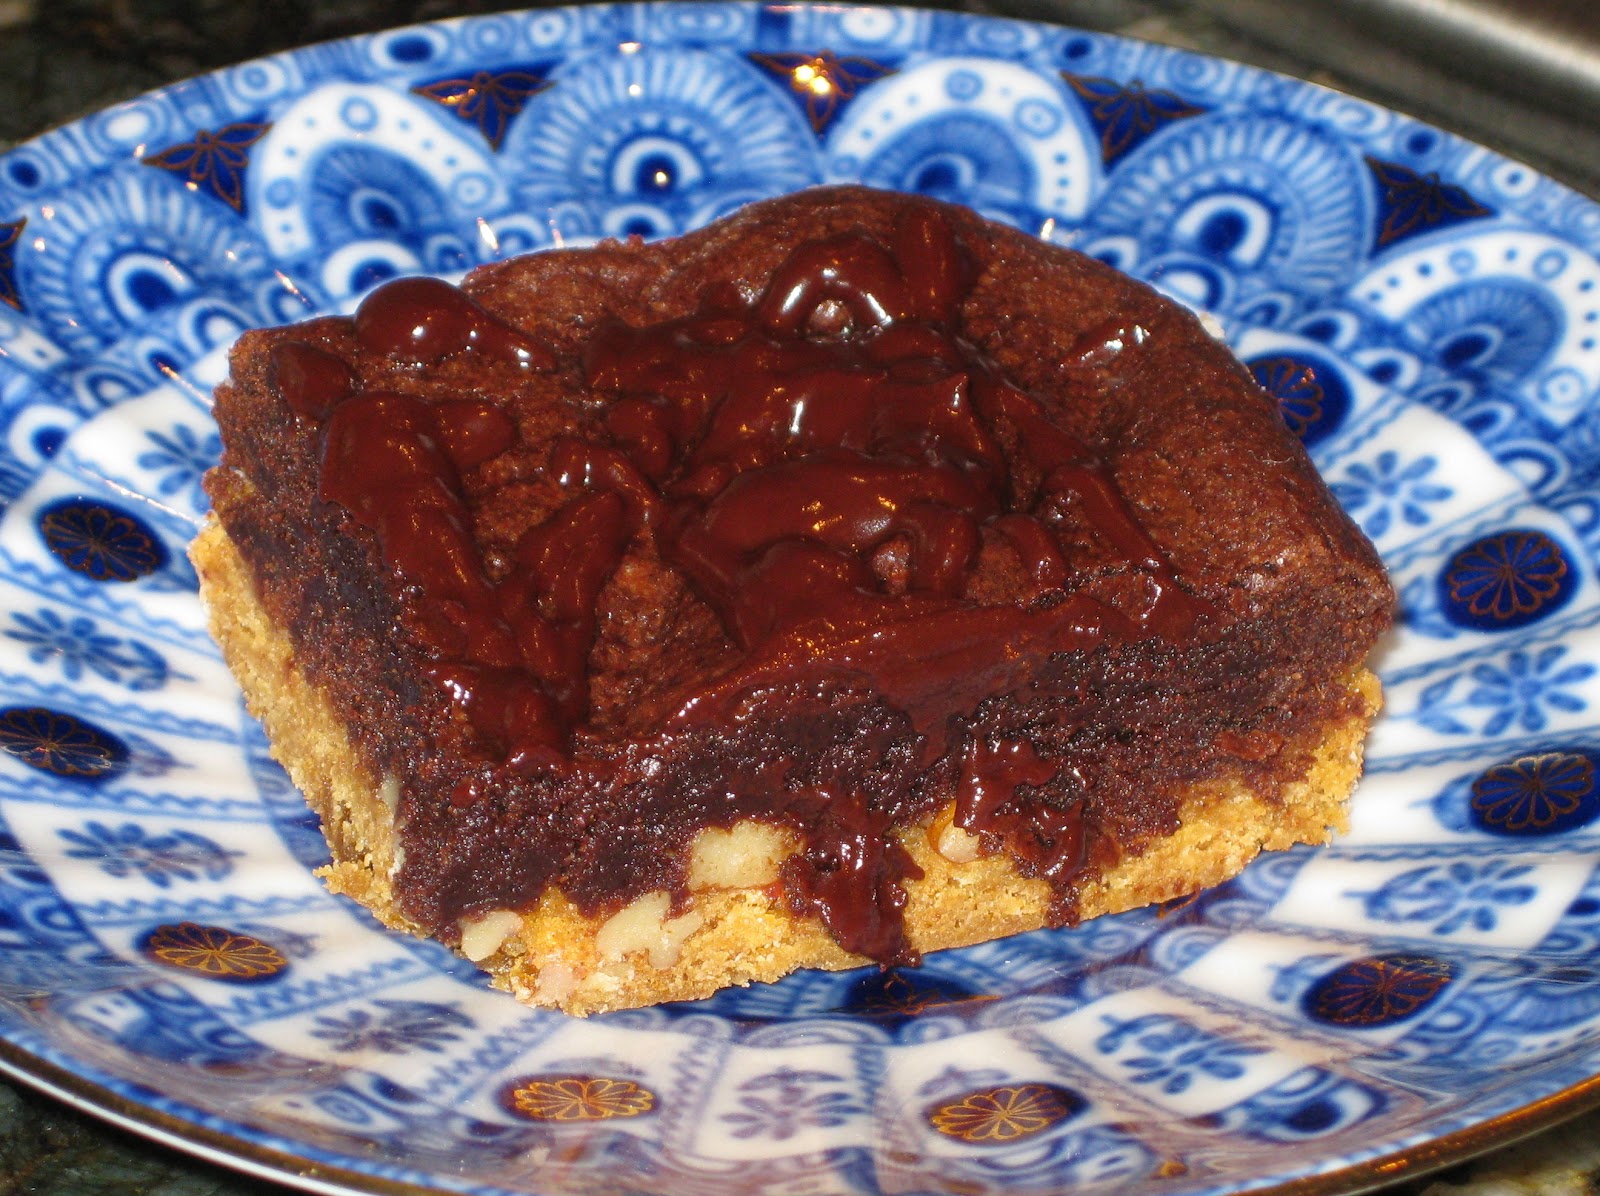
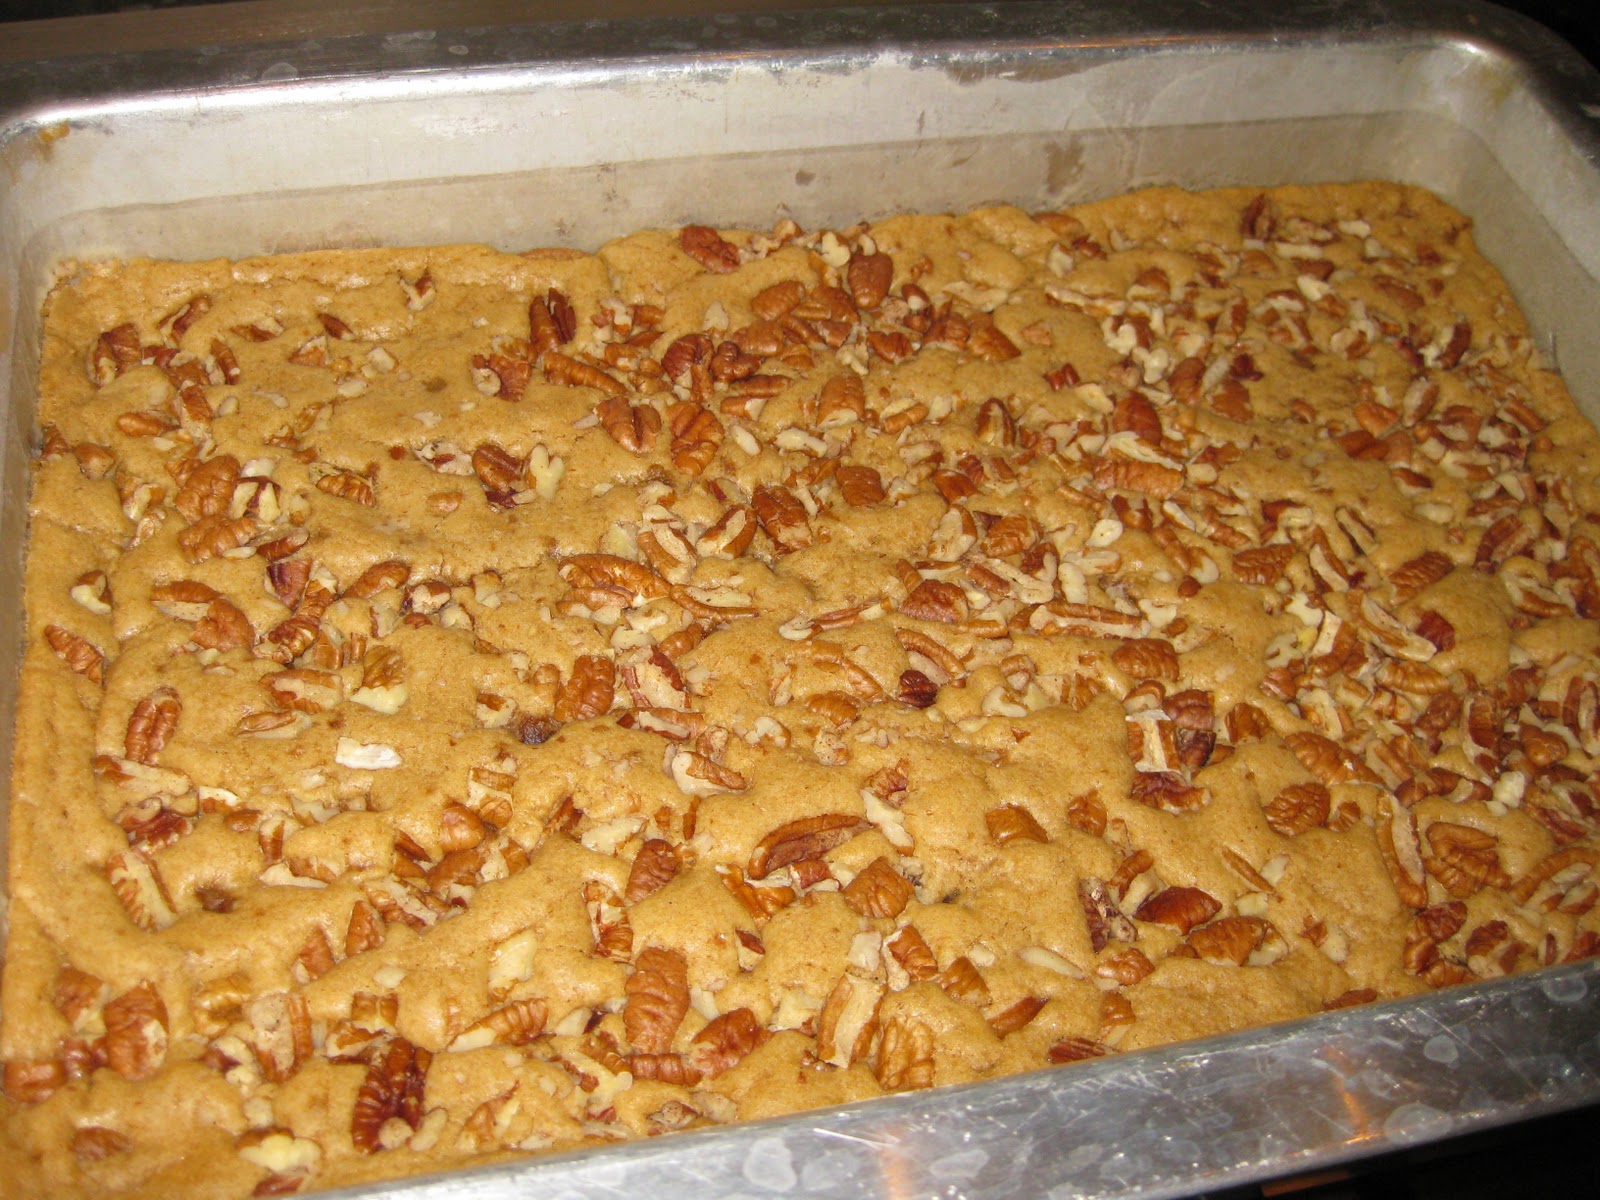
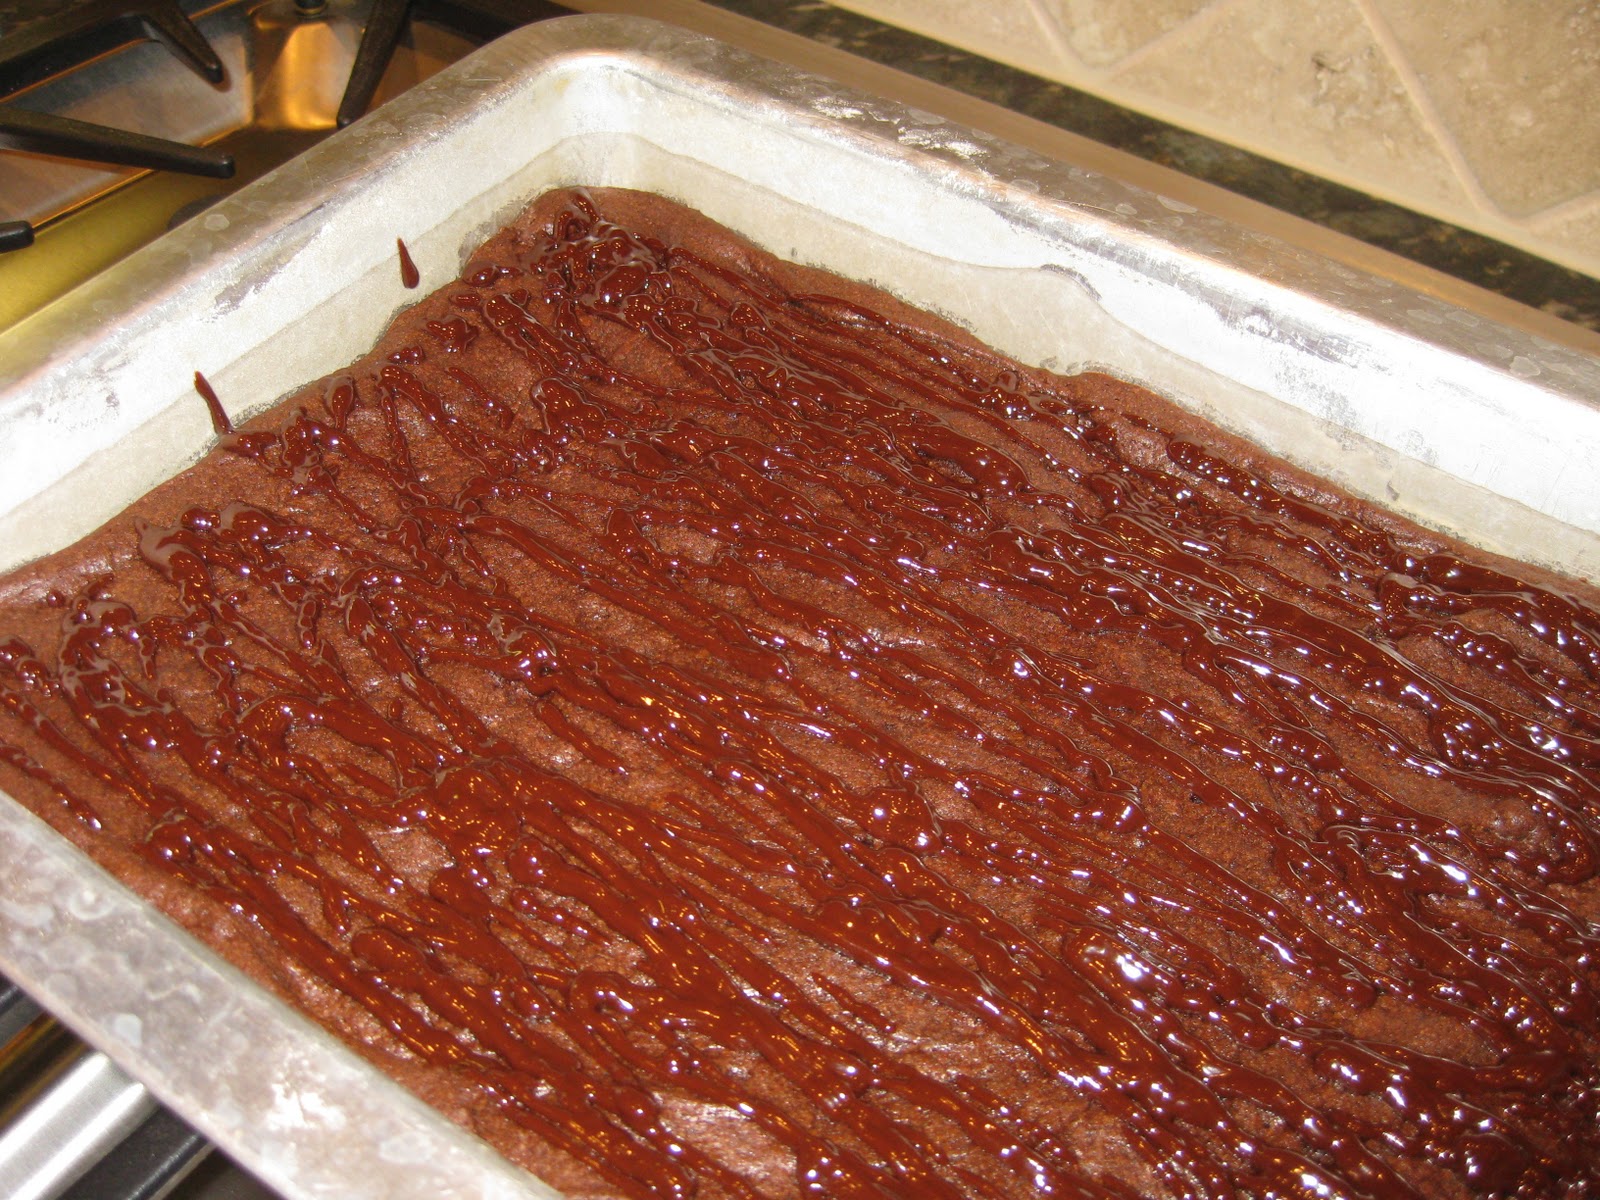
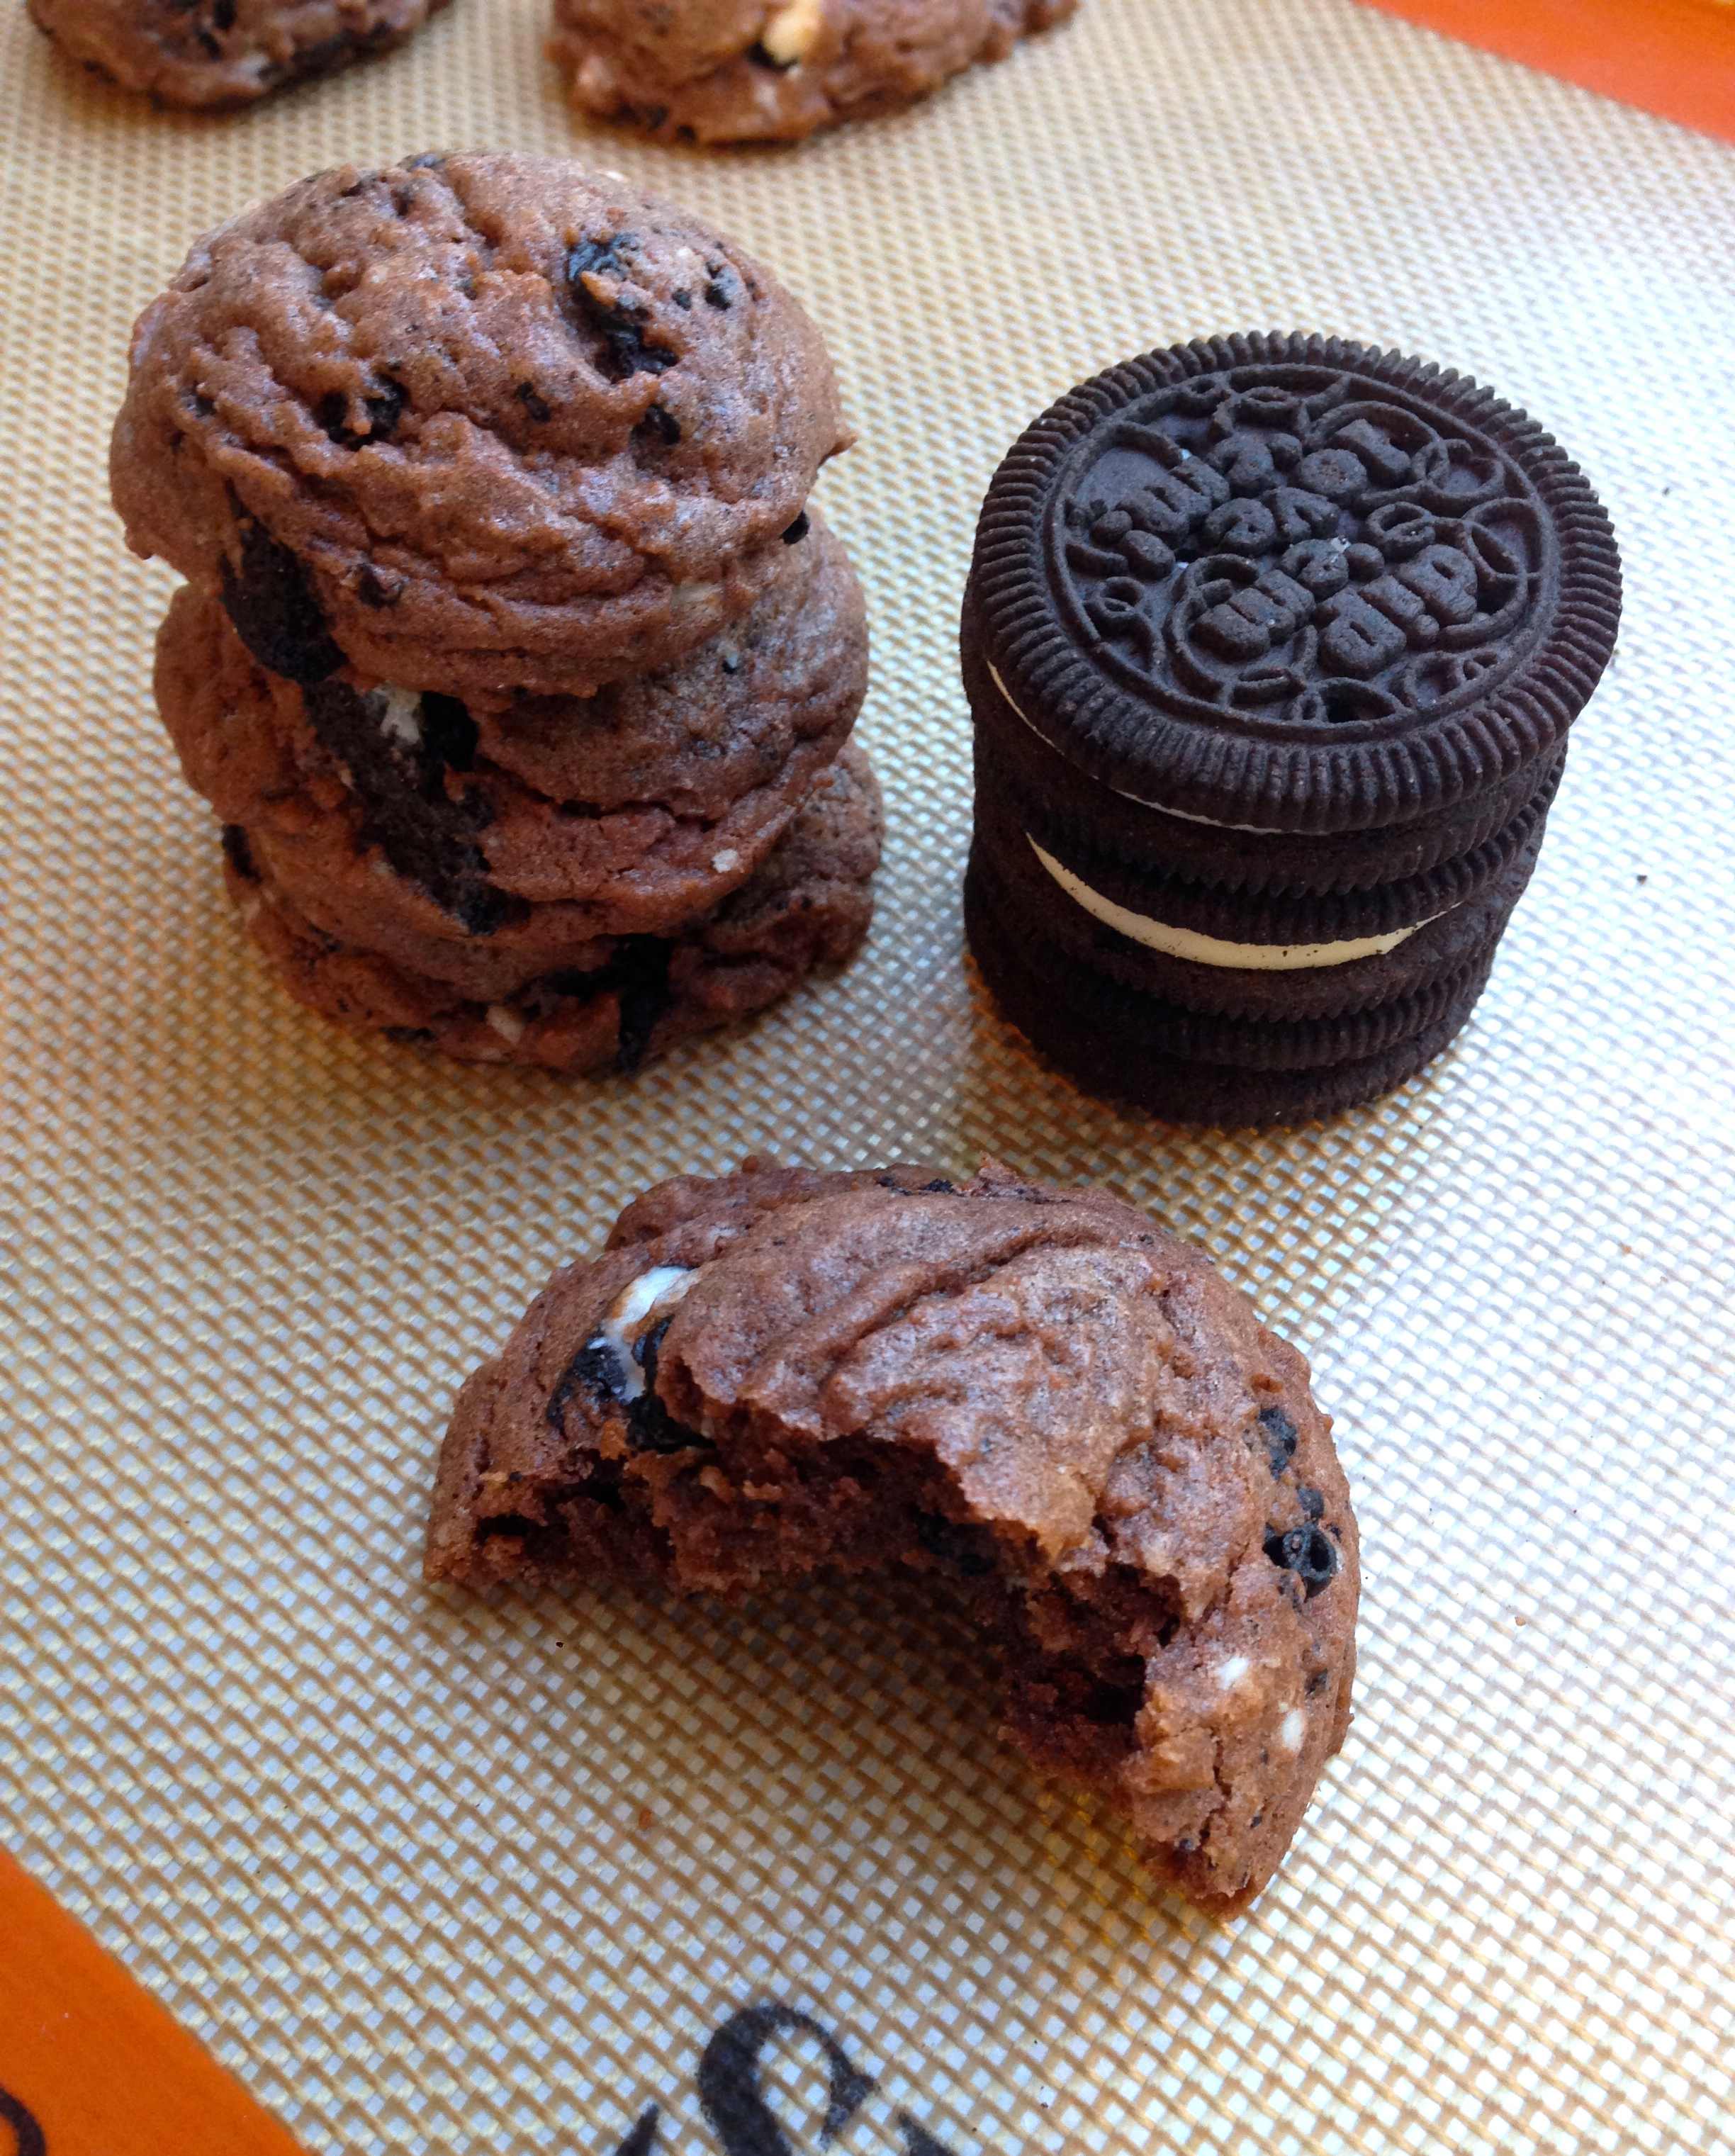
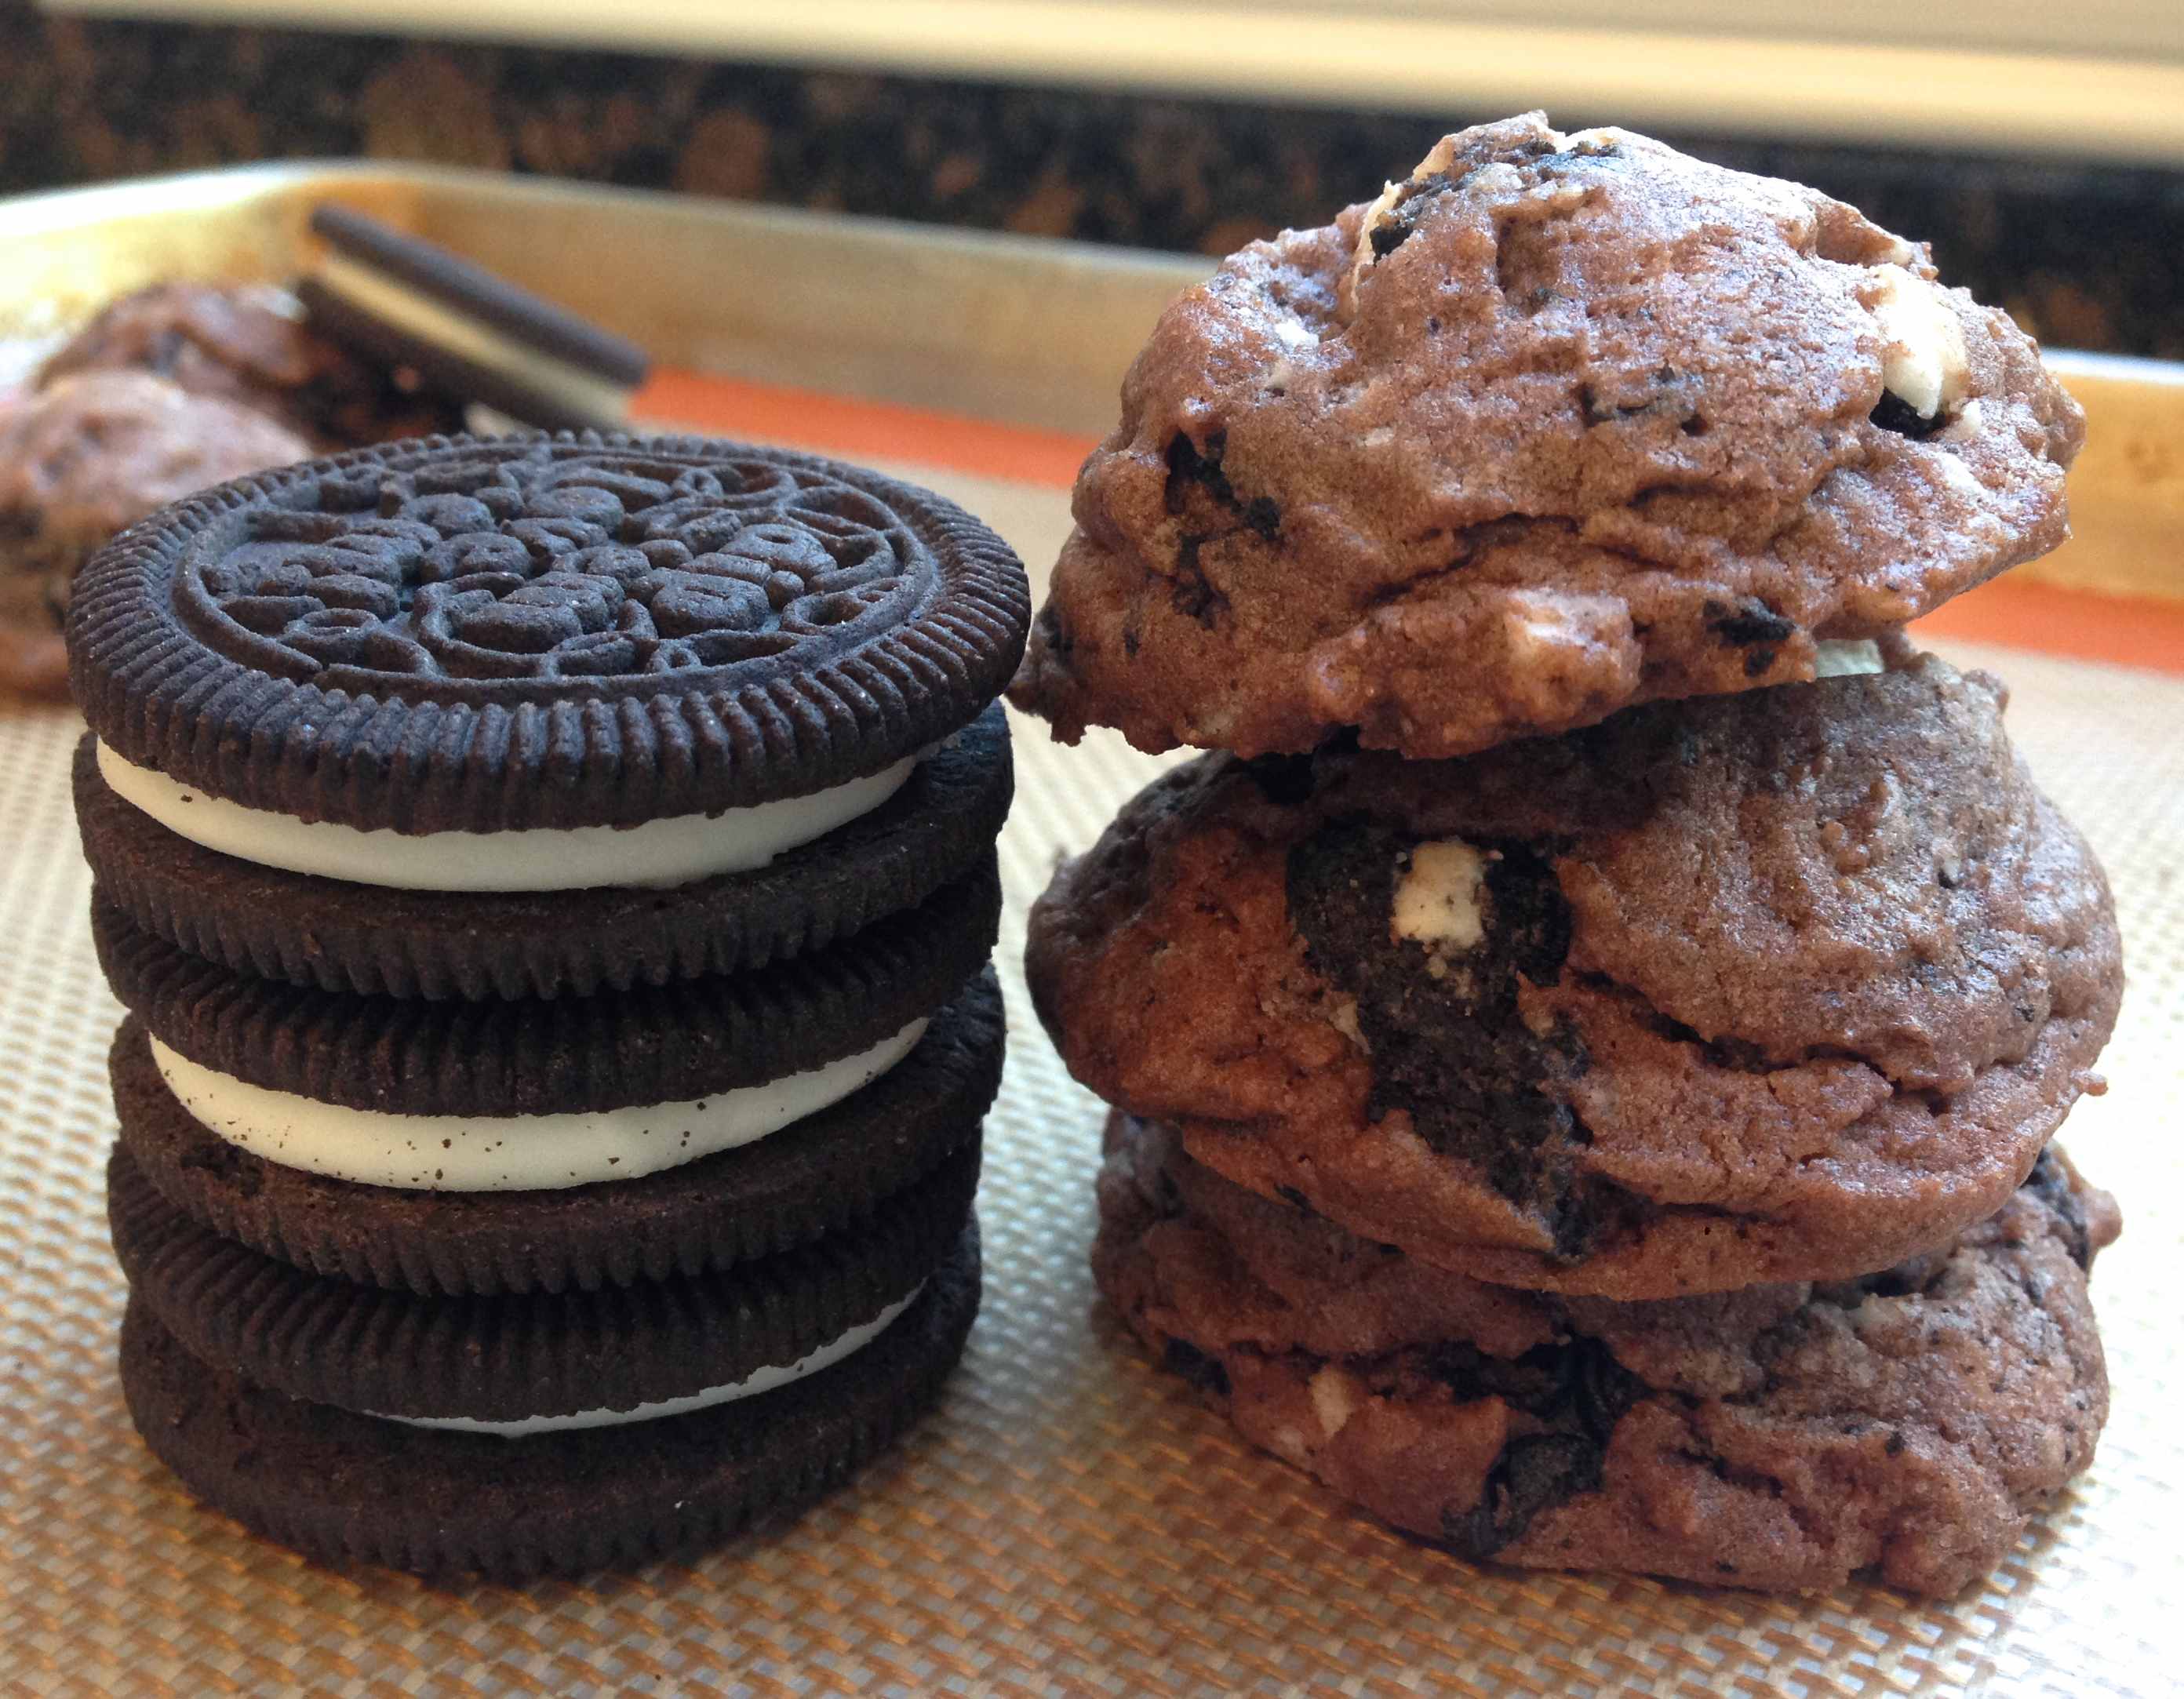
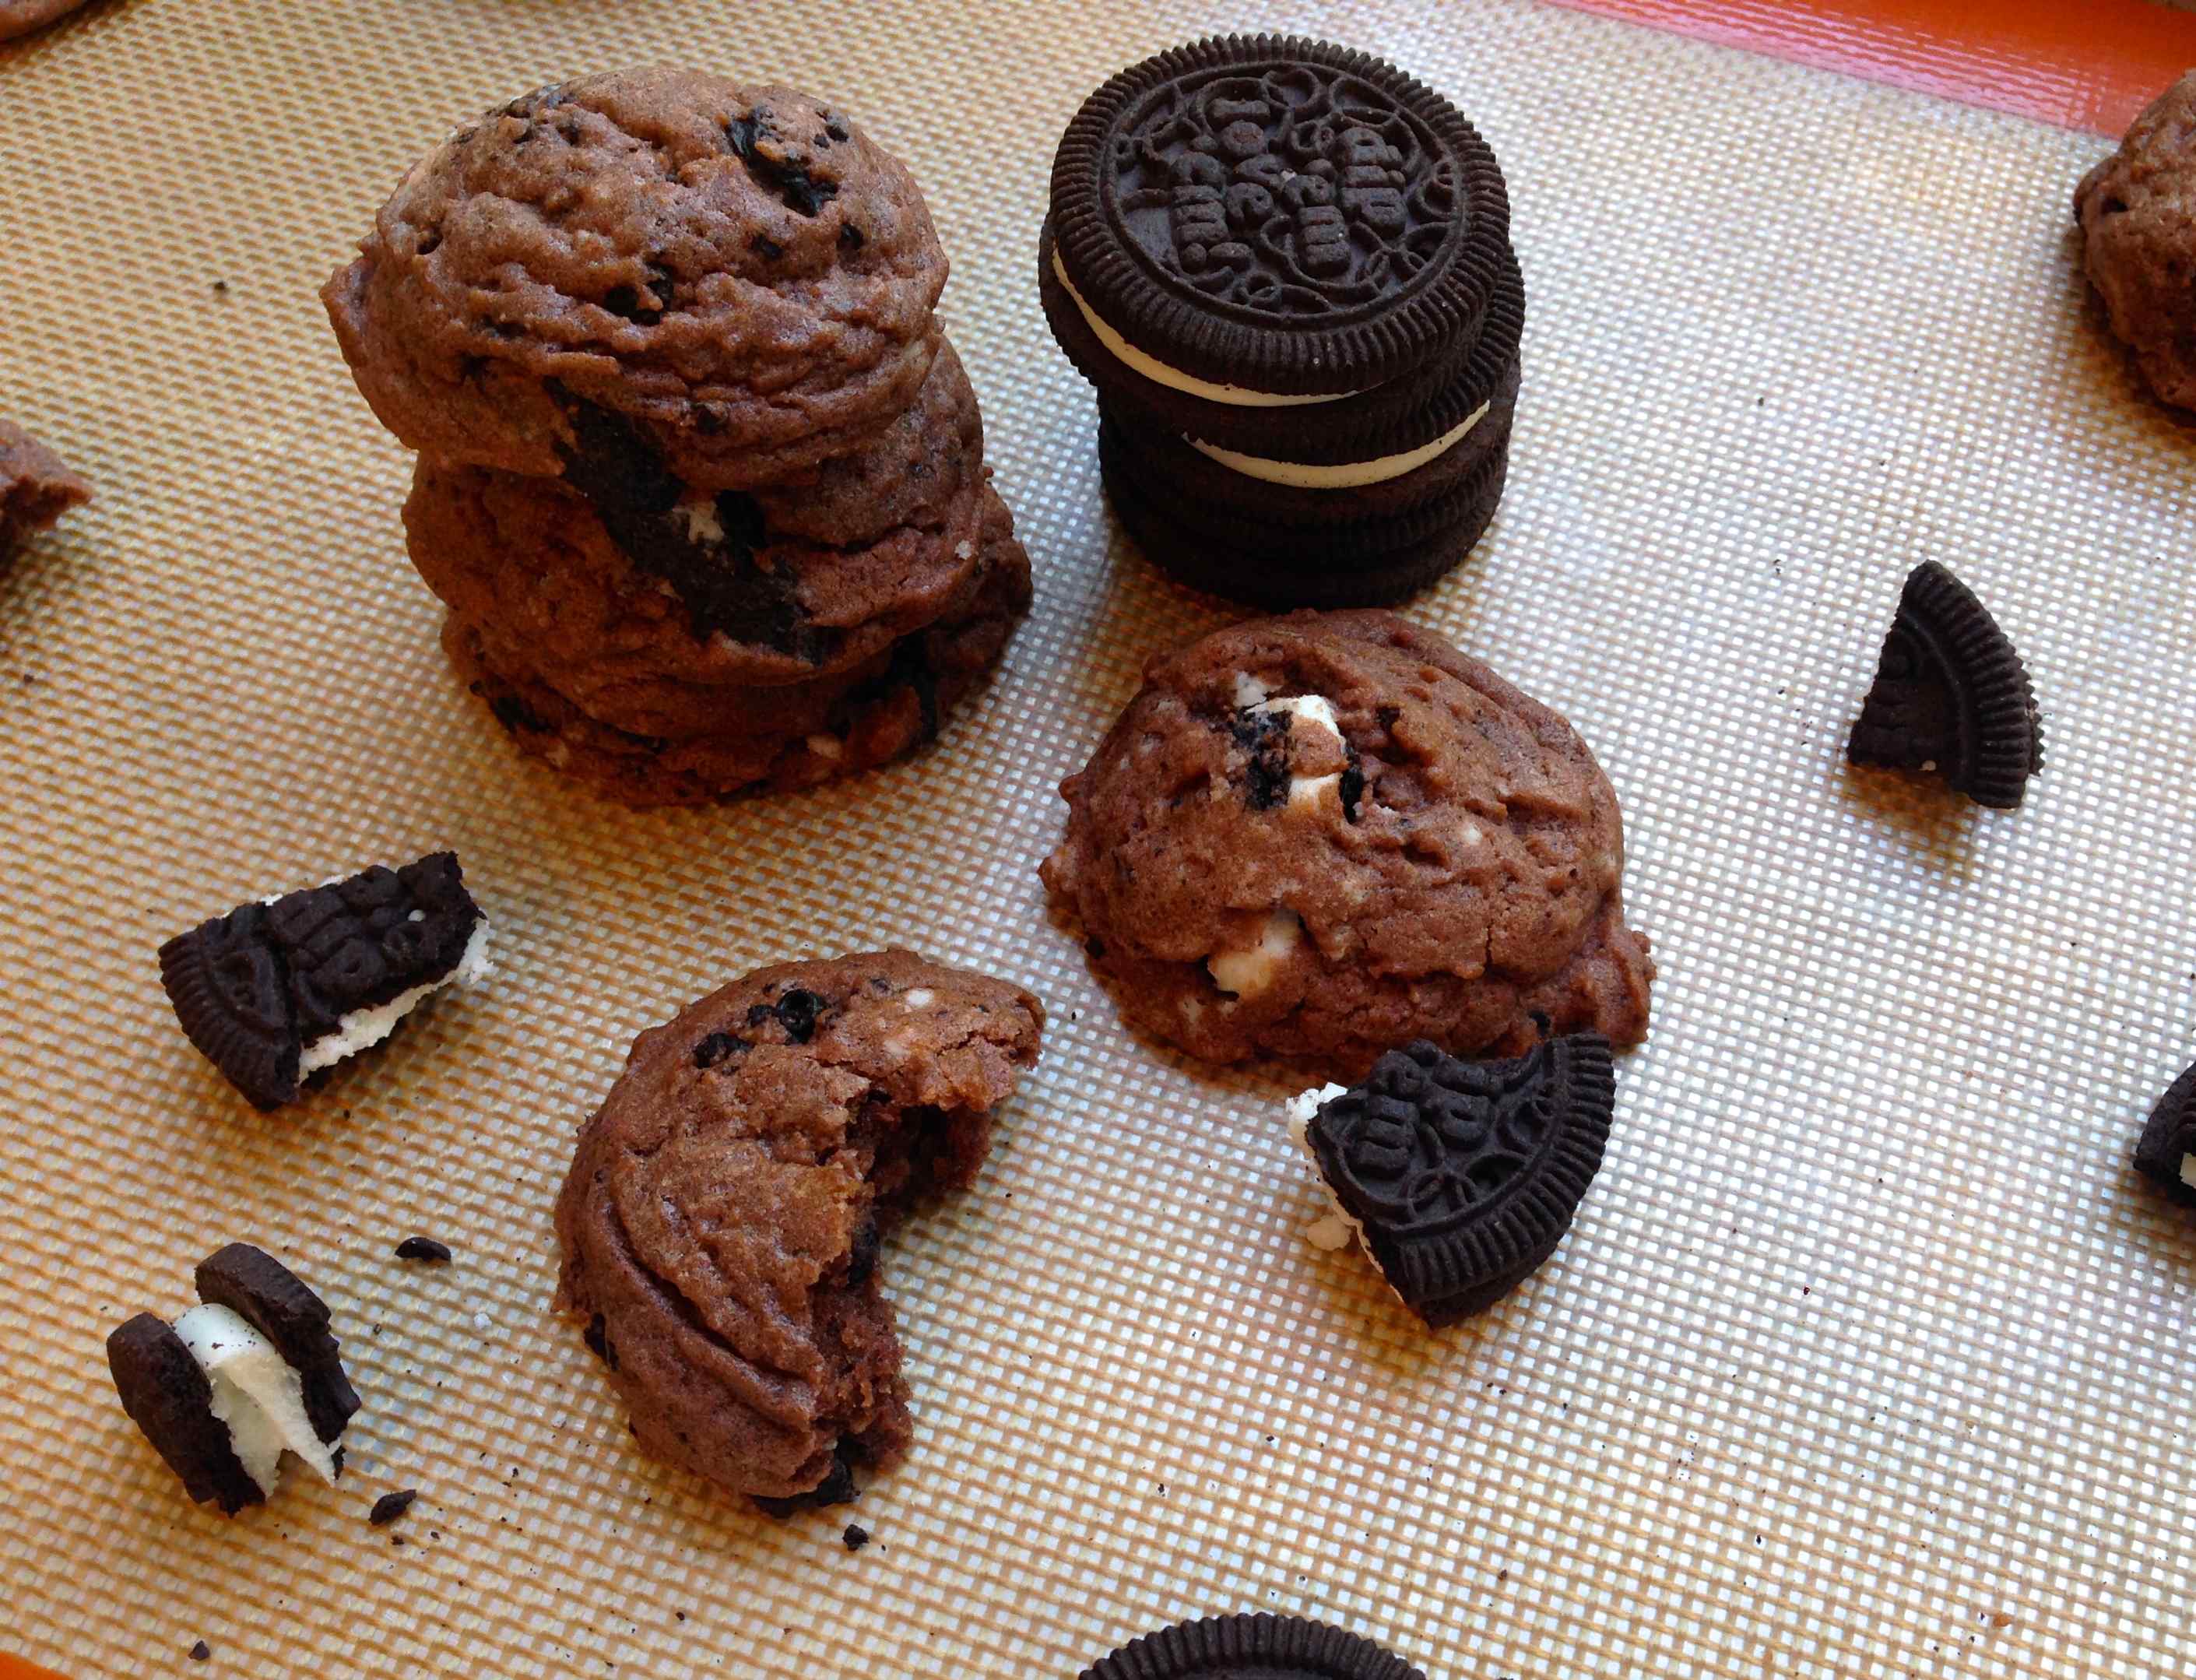
Now to add to the list will be these Chocolate Oreo Cookie Dreams! I will warn you, they are sweet! Basically you are eating a cookie within a cookie. 🙂 You could use regular Oreo cookies, but Double Stuf yields larger chunks and more of a cream-filled center.

As I said, my church group loved them. Unfortunately Robin, Molly and Penny were the only three girls that didn’t get to try them. We were all talking and eating our dinner leisurely and didn’t realize the group (the boys “a-hem”) finished them off!

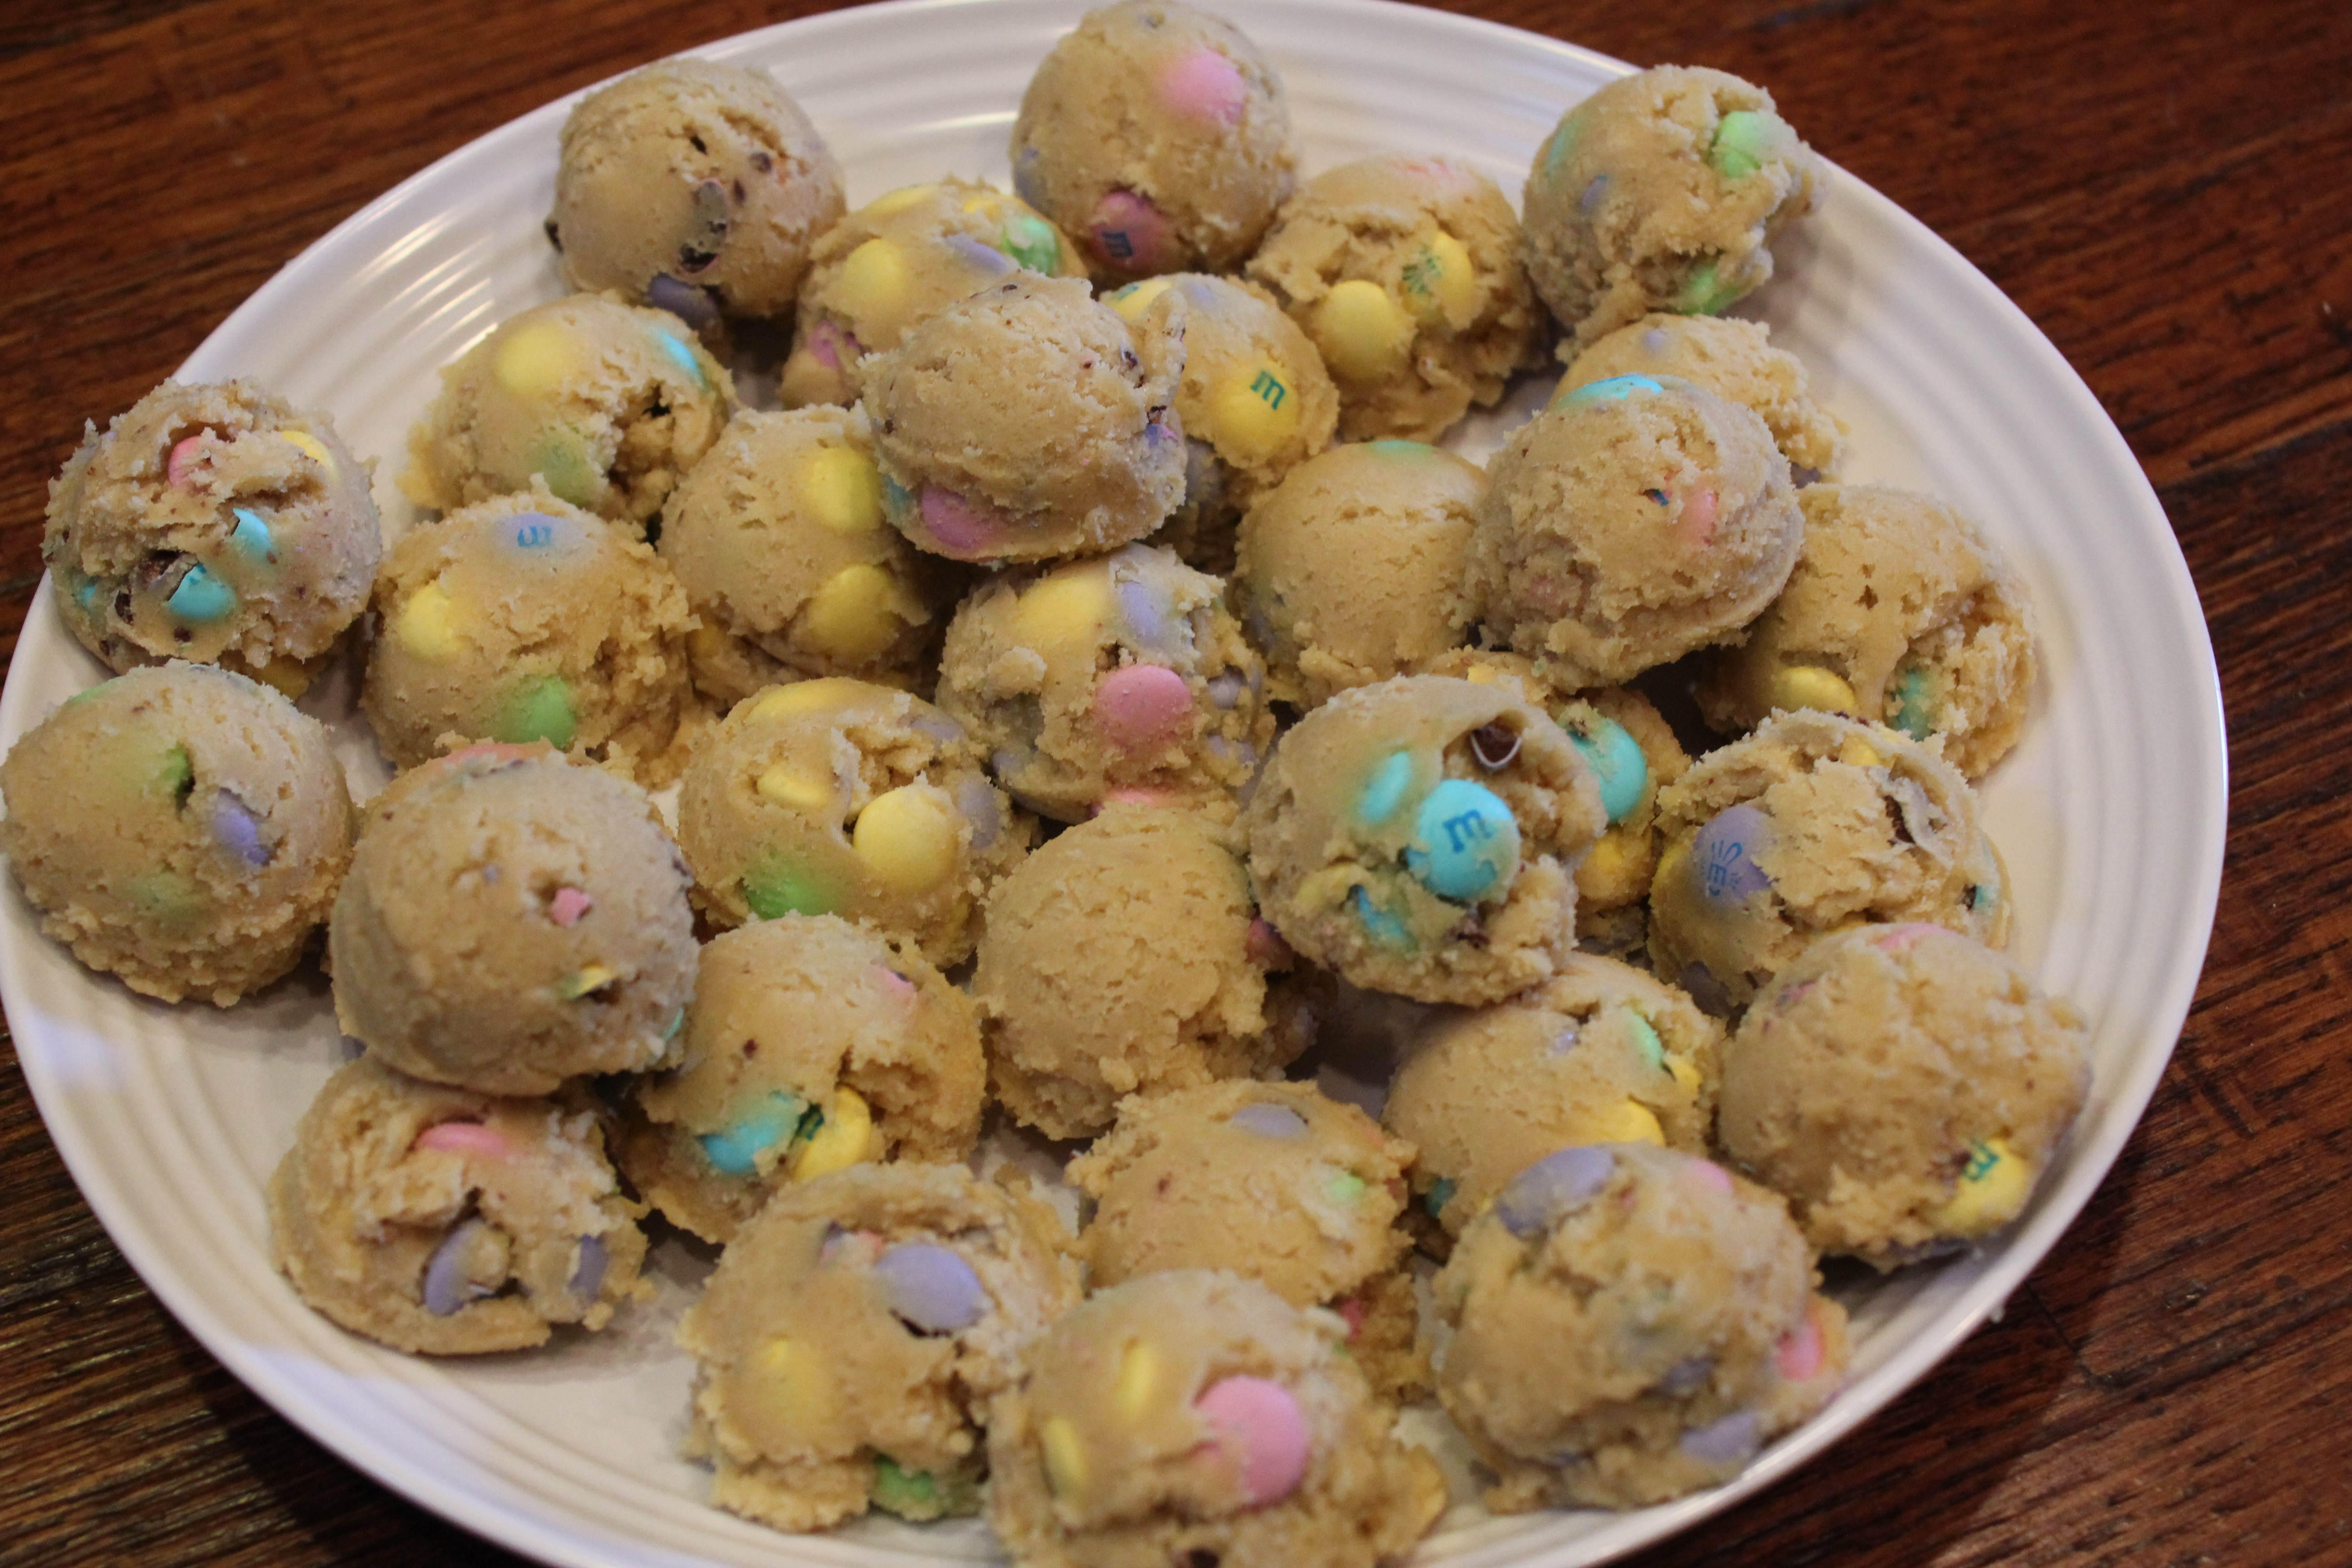
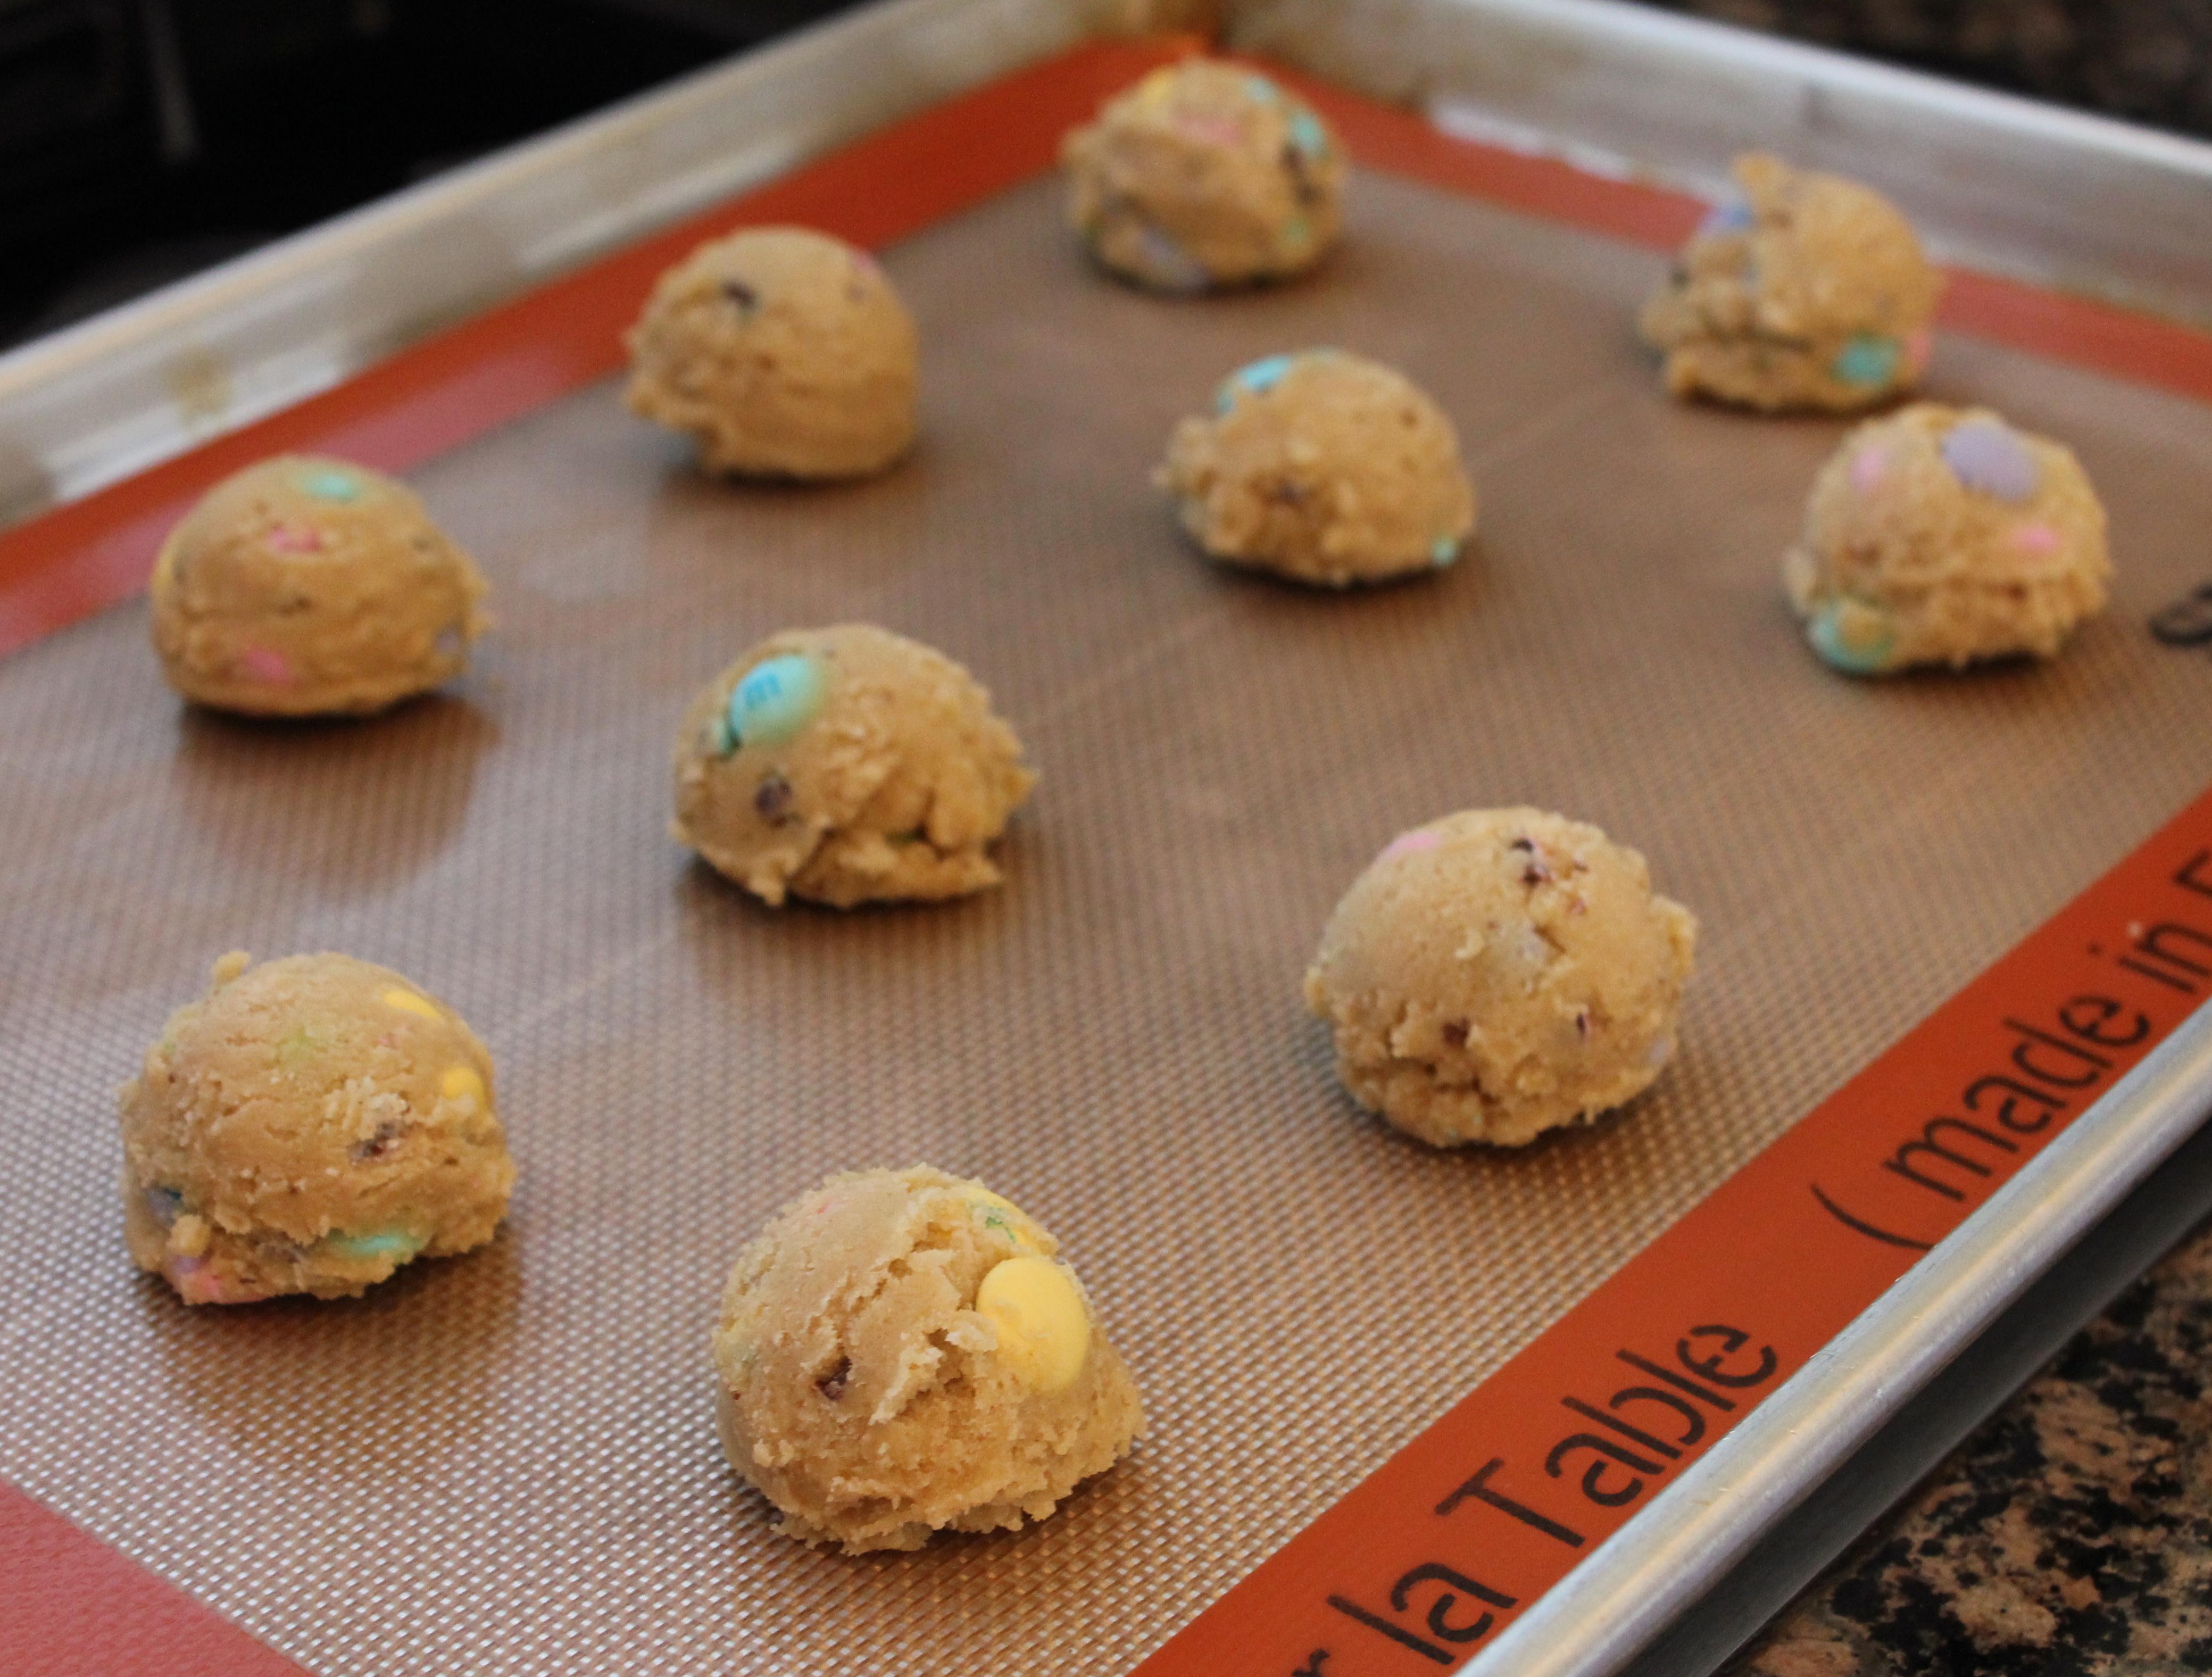
I told them next time I’ll make two batches of dreams. Maybe I’ll even try a new rendition of them, and add M&Ms or some other candy bar.

Chocolate Oreo Cookie Dreams Chocolate Oreo Cookie Dreams

Chocolate Oreo Cookie Dreams

Chocolate Oreo Cookie Dreams

Feel free to add and substitute for whatever pudding and toppings of your choice. It might be fun to try an instant Oreo pudding mix. I used chocolate because that is all I had in the pantry. Enjoy!

Chocolate Oreo Cookie Dreams
Prep time:
Cook time:
Total time:
Serves: 3 dozen
Ingredients
  • 2 1/3 cups all-purpose flour
  • 1 package (3.9 oz) instant chocolate pudding mix
  • 1 tsp. baking powder
  • 1/2 tsp. baking soda
  • 1/4 tsp. salt
  • 1/2 cup unsalted butter, softened
  • 1/2 cup vegetable shortening
  • 1 cup packed light brown sugar (I used 2/3 cup light brown and 1/3 cup dark brown, but I think I like the taste of all light brown sugar best).
  • 2 eggs
  • 1 1/2 tsp. vanilla extract
  • 1 1/2 cups chopped Double Stuf Oreo cookies
Instructions
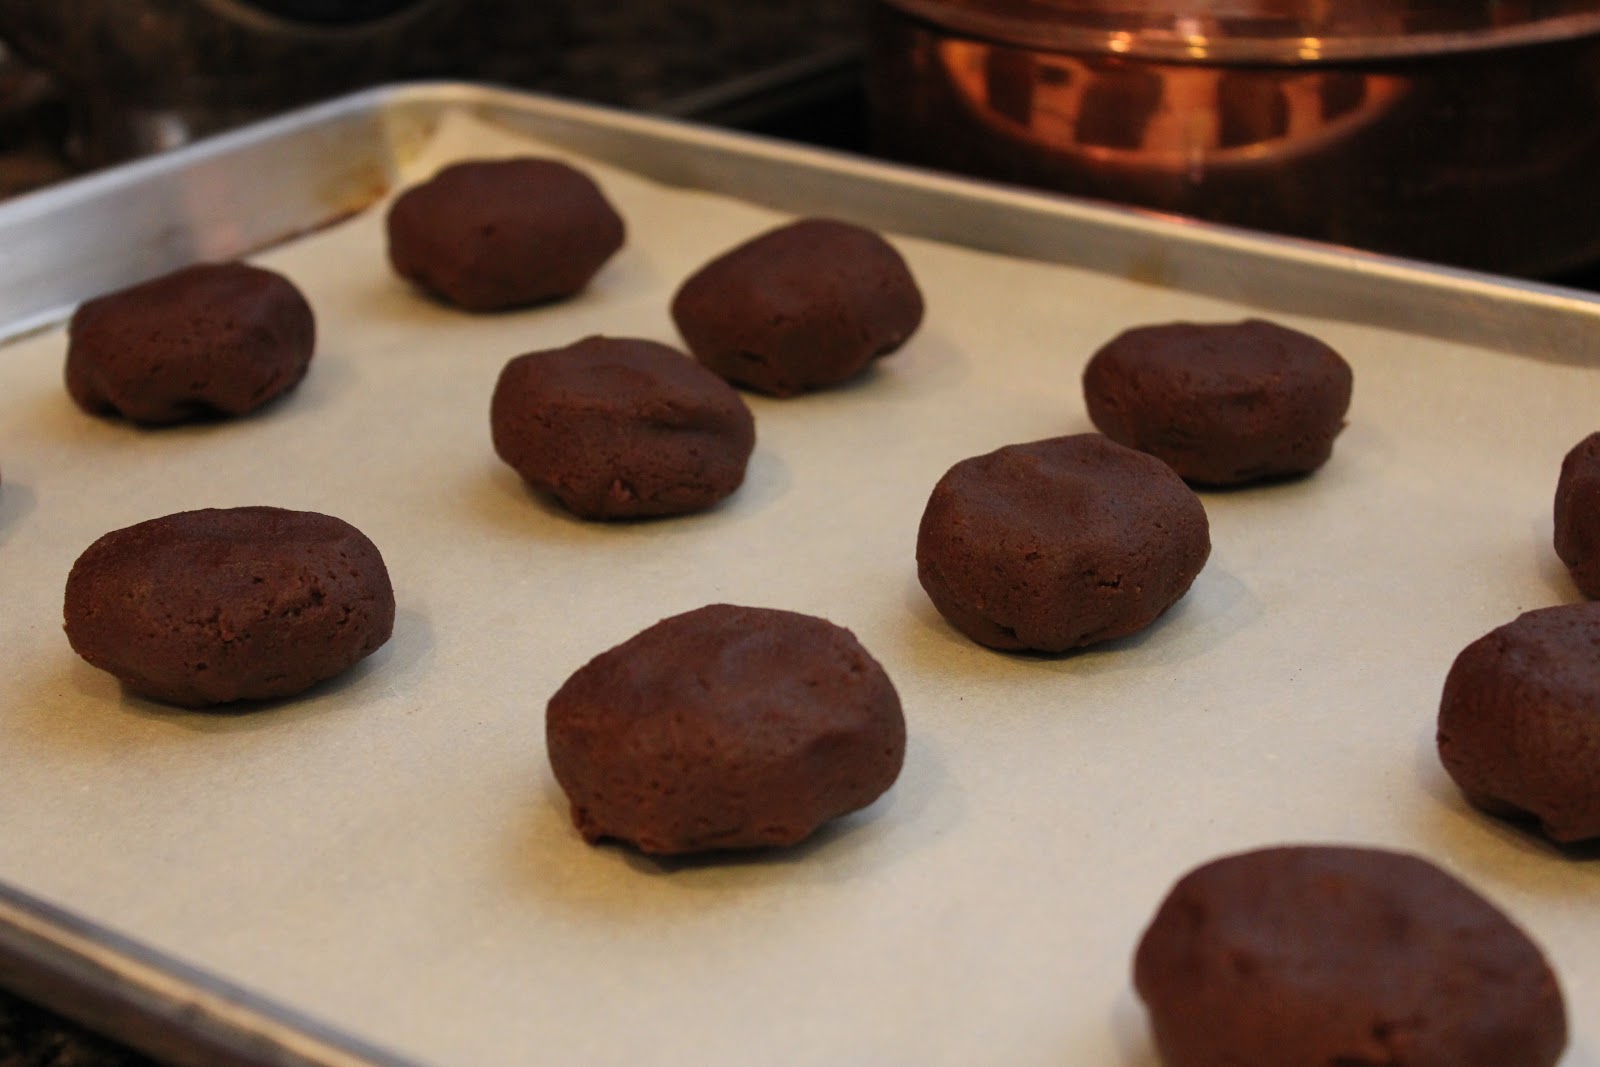
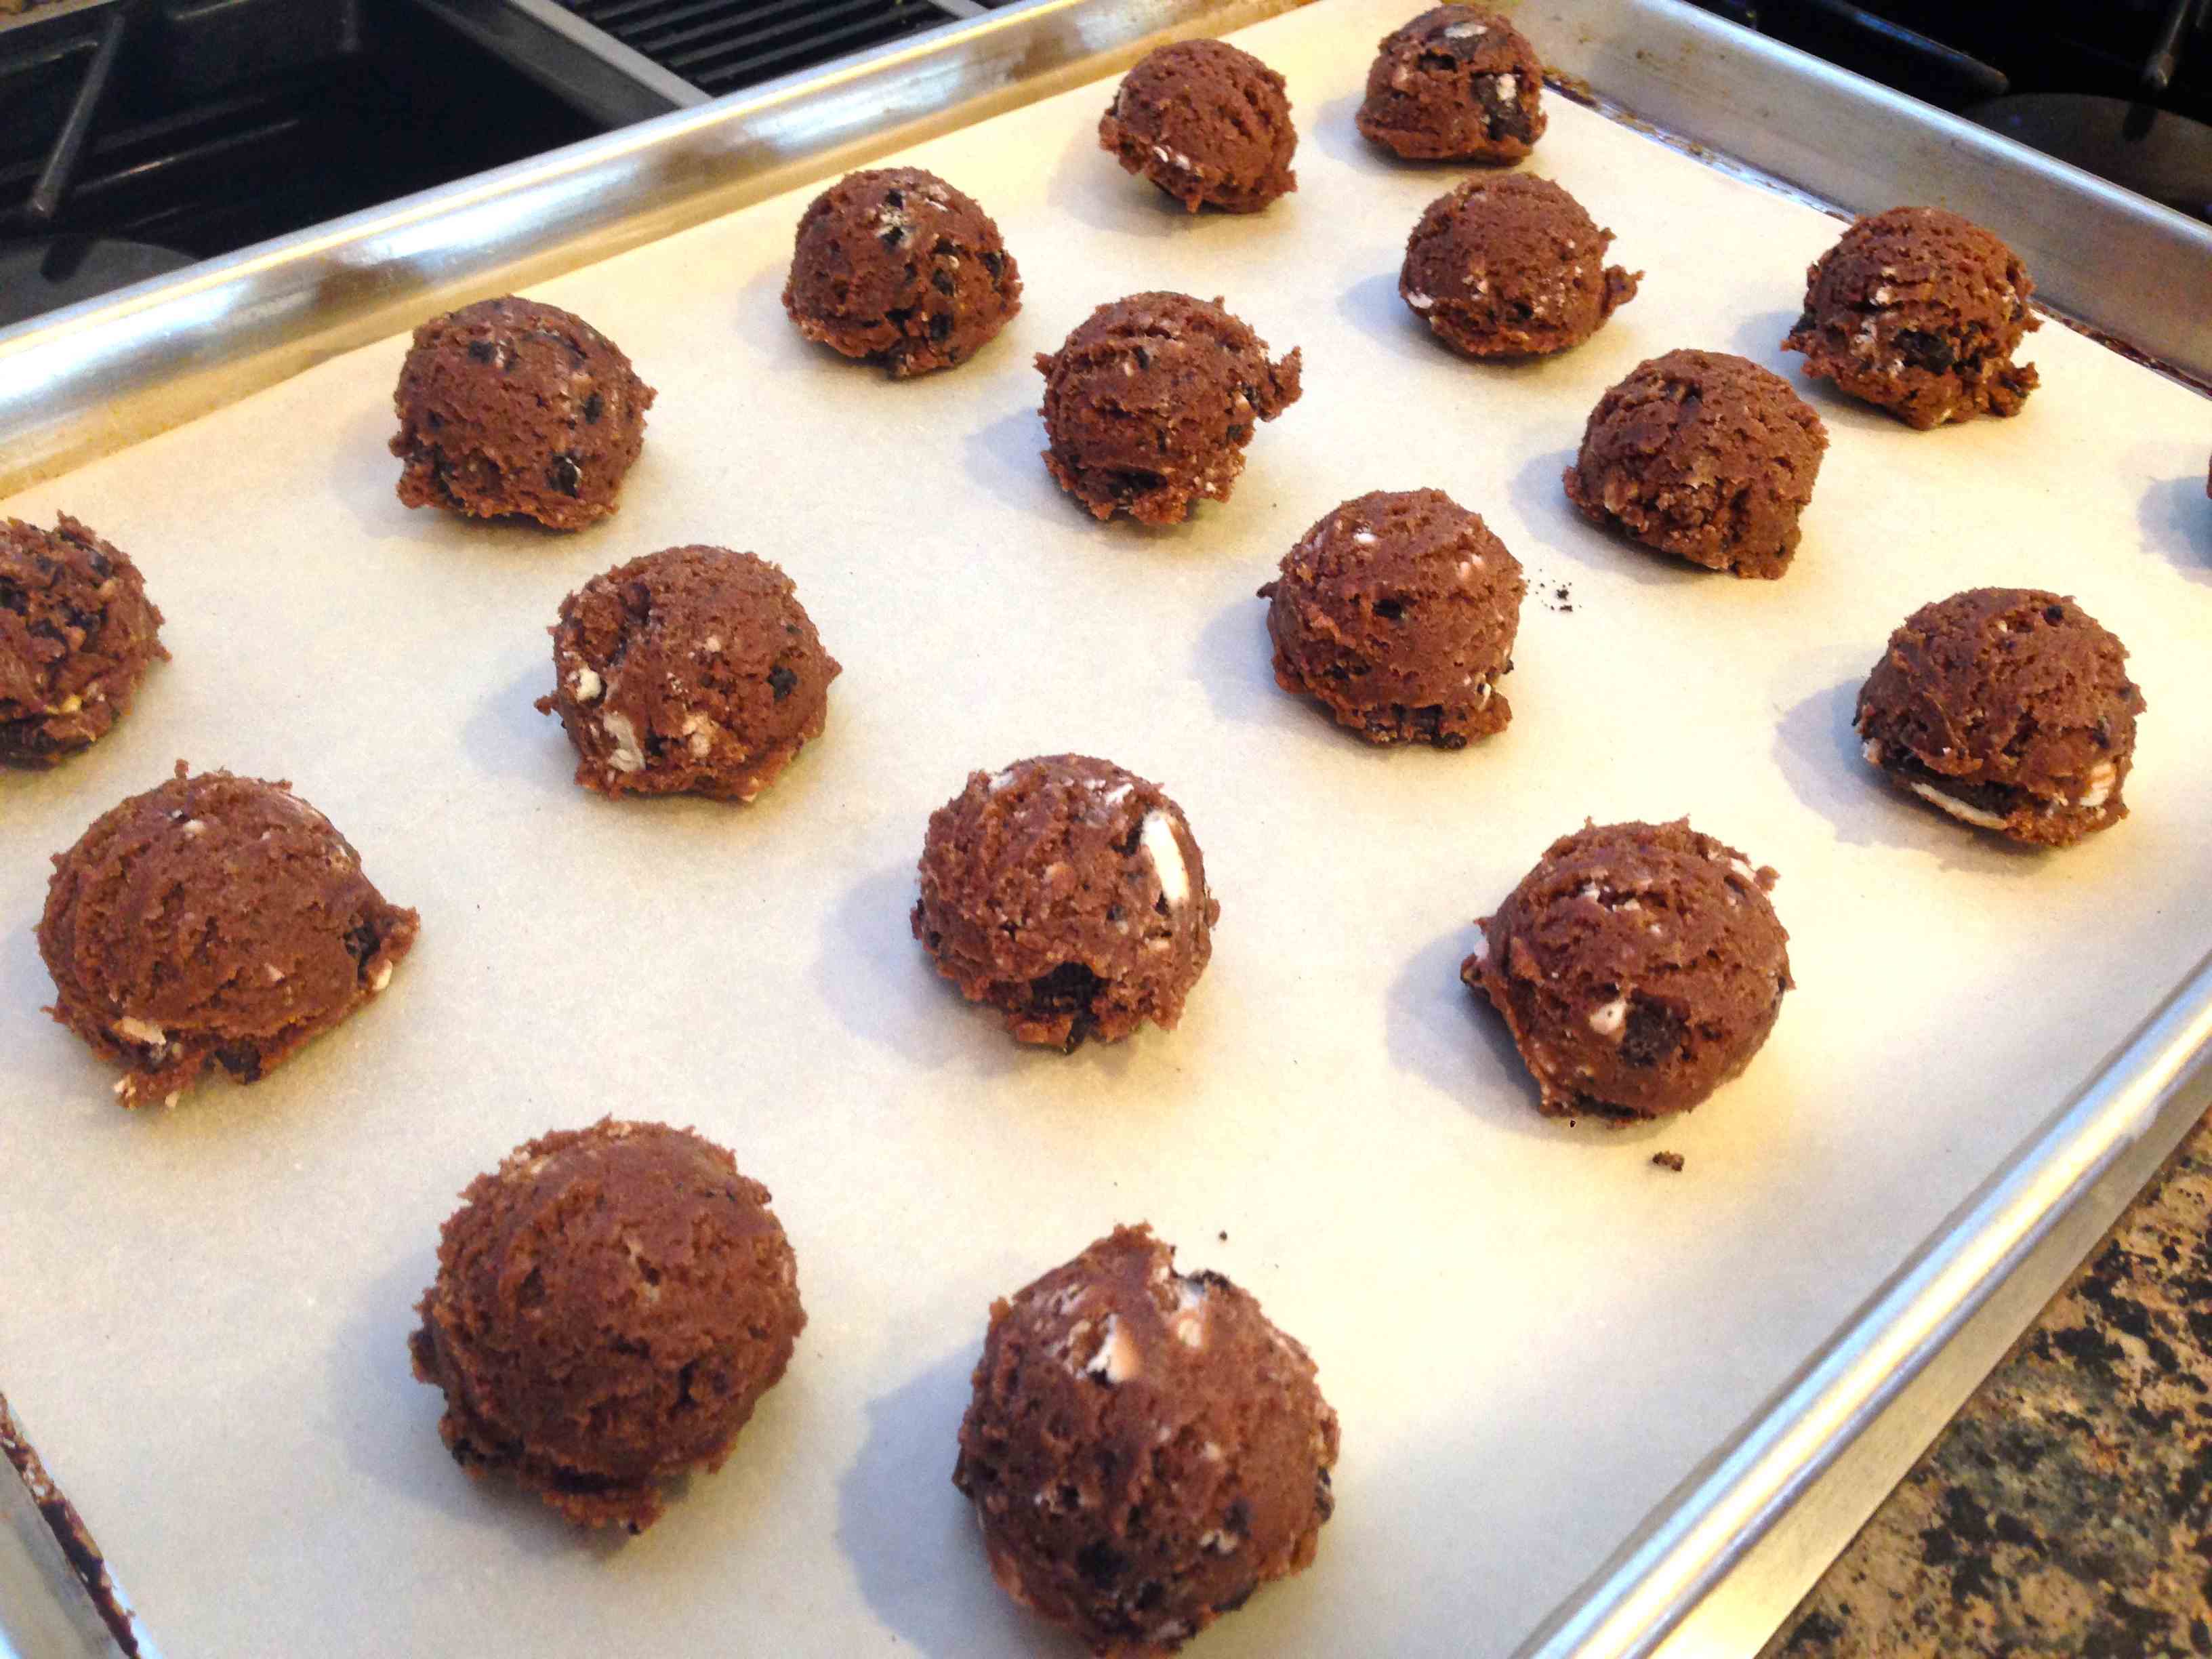
  1. Preheat oven to 375 degrees F. Line cookie sheets with parchment paper.
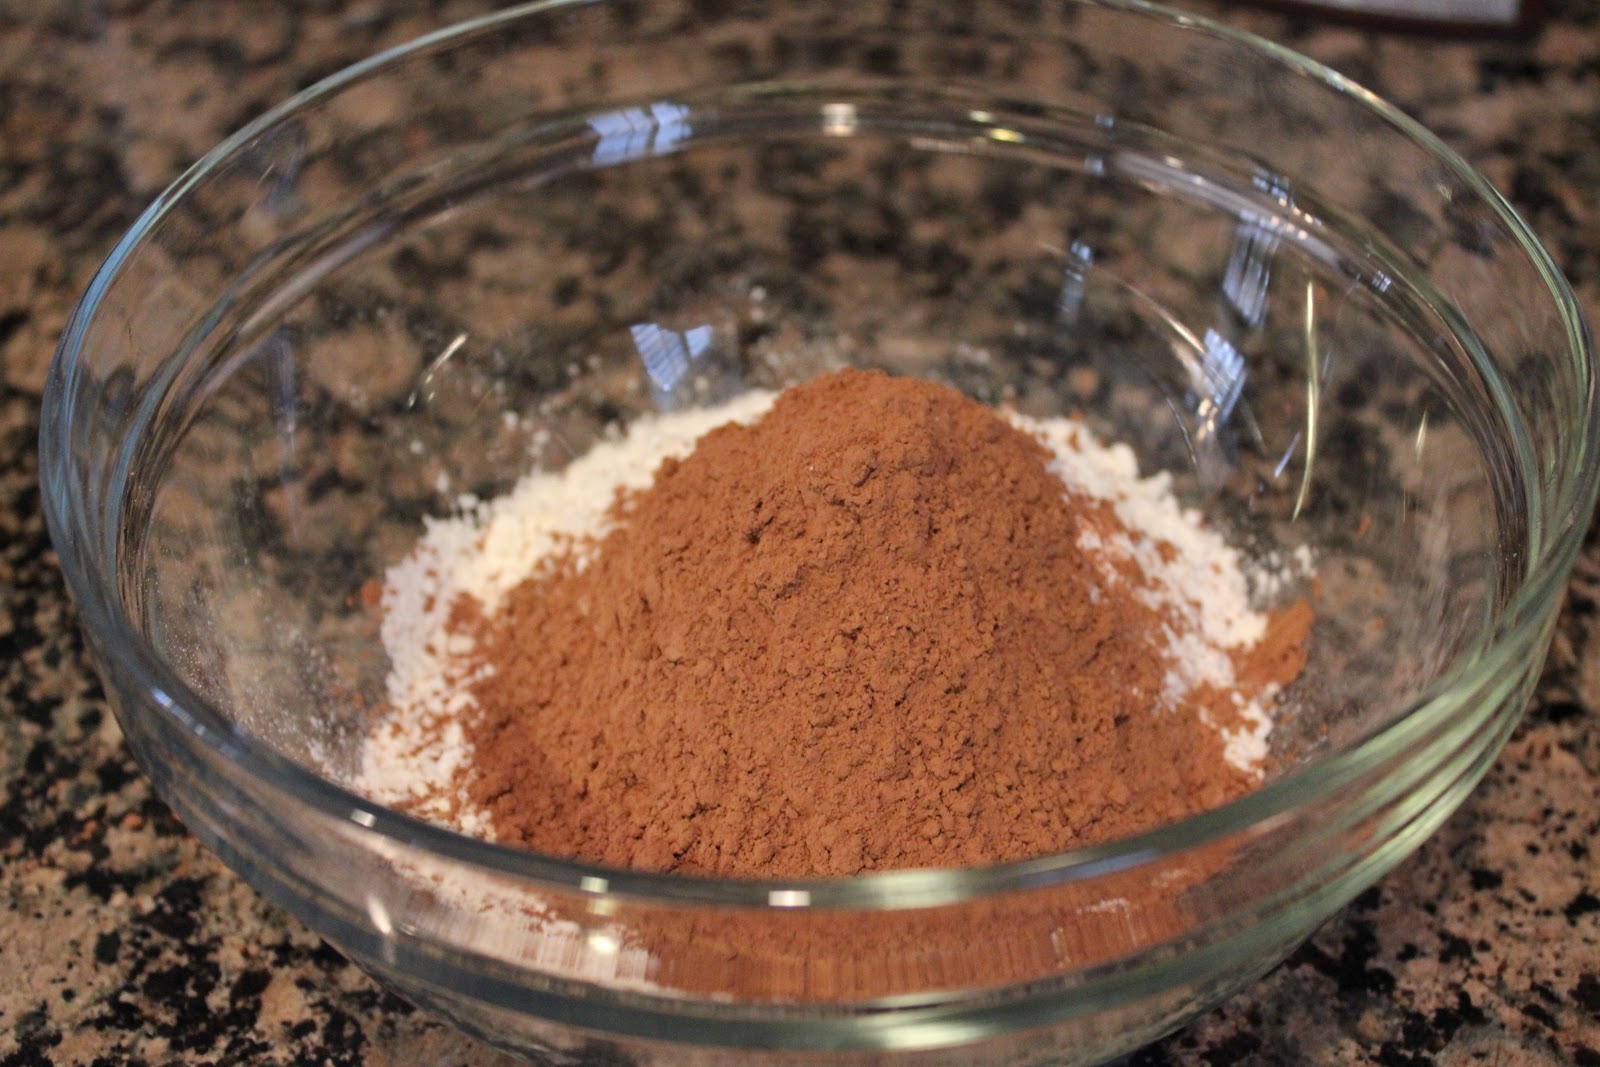
  2. In a bowl, whisk together flour, pudding mix, baking powder, soda and salt until well combined. Set aside.
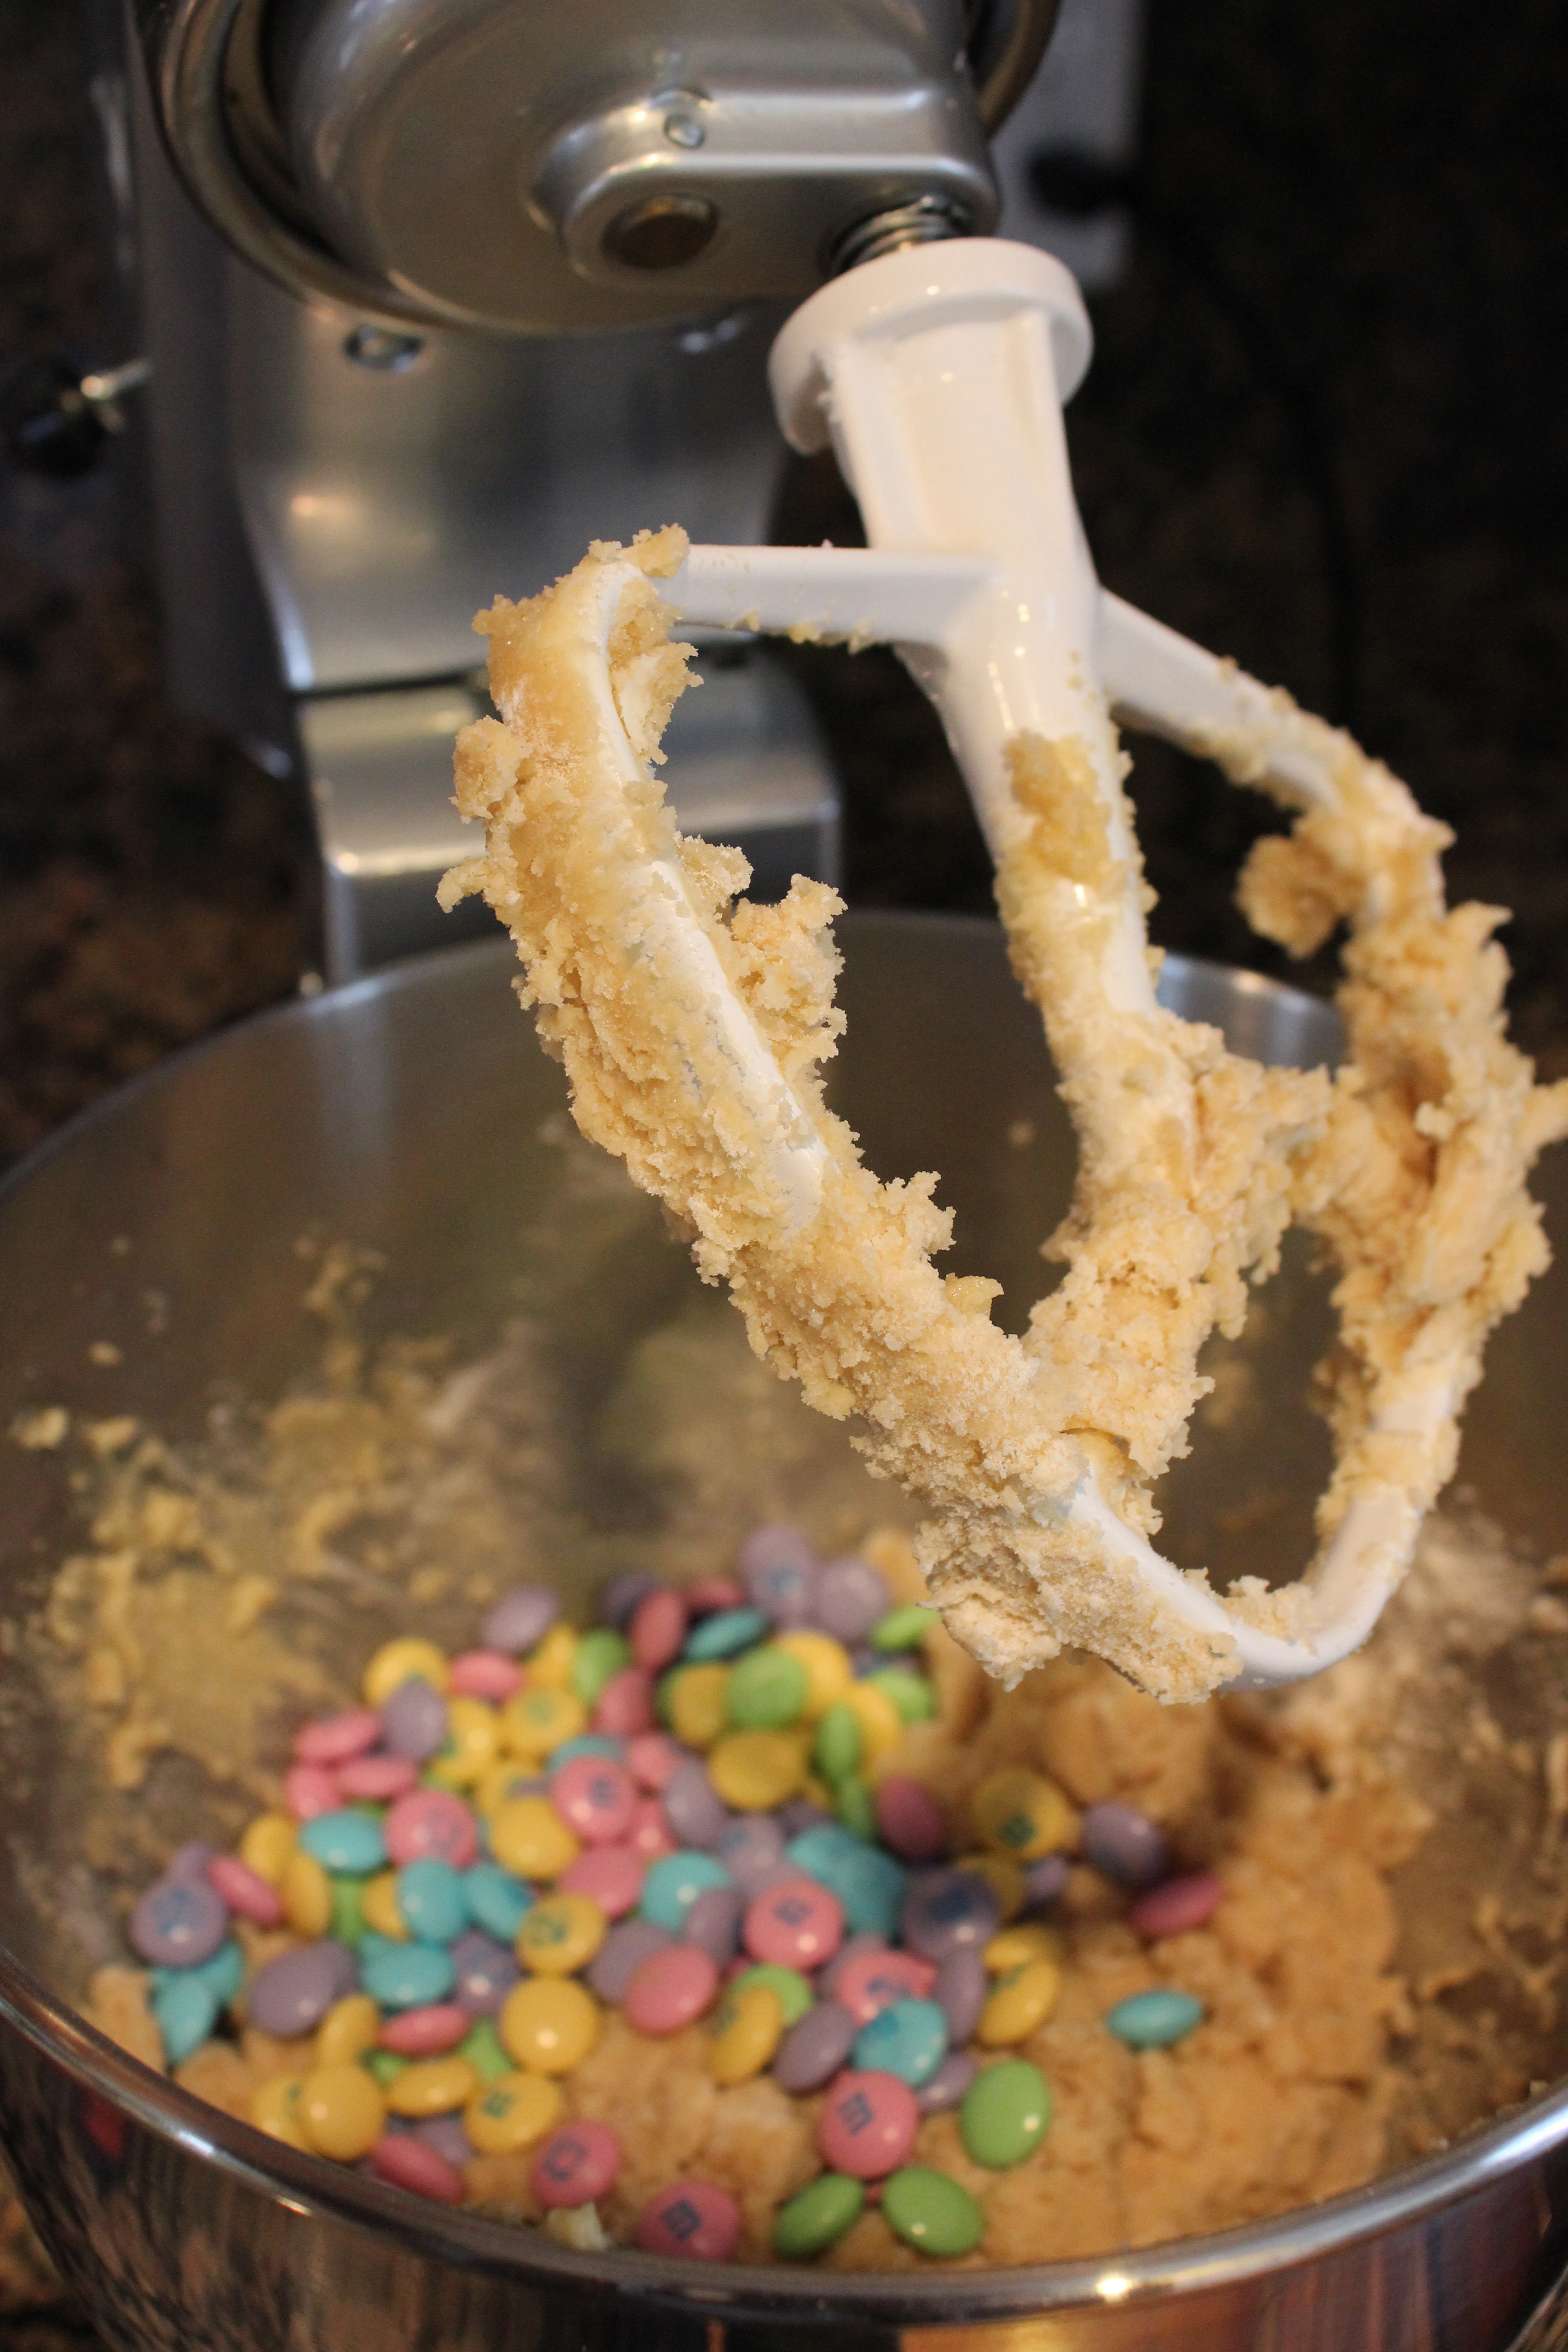
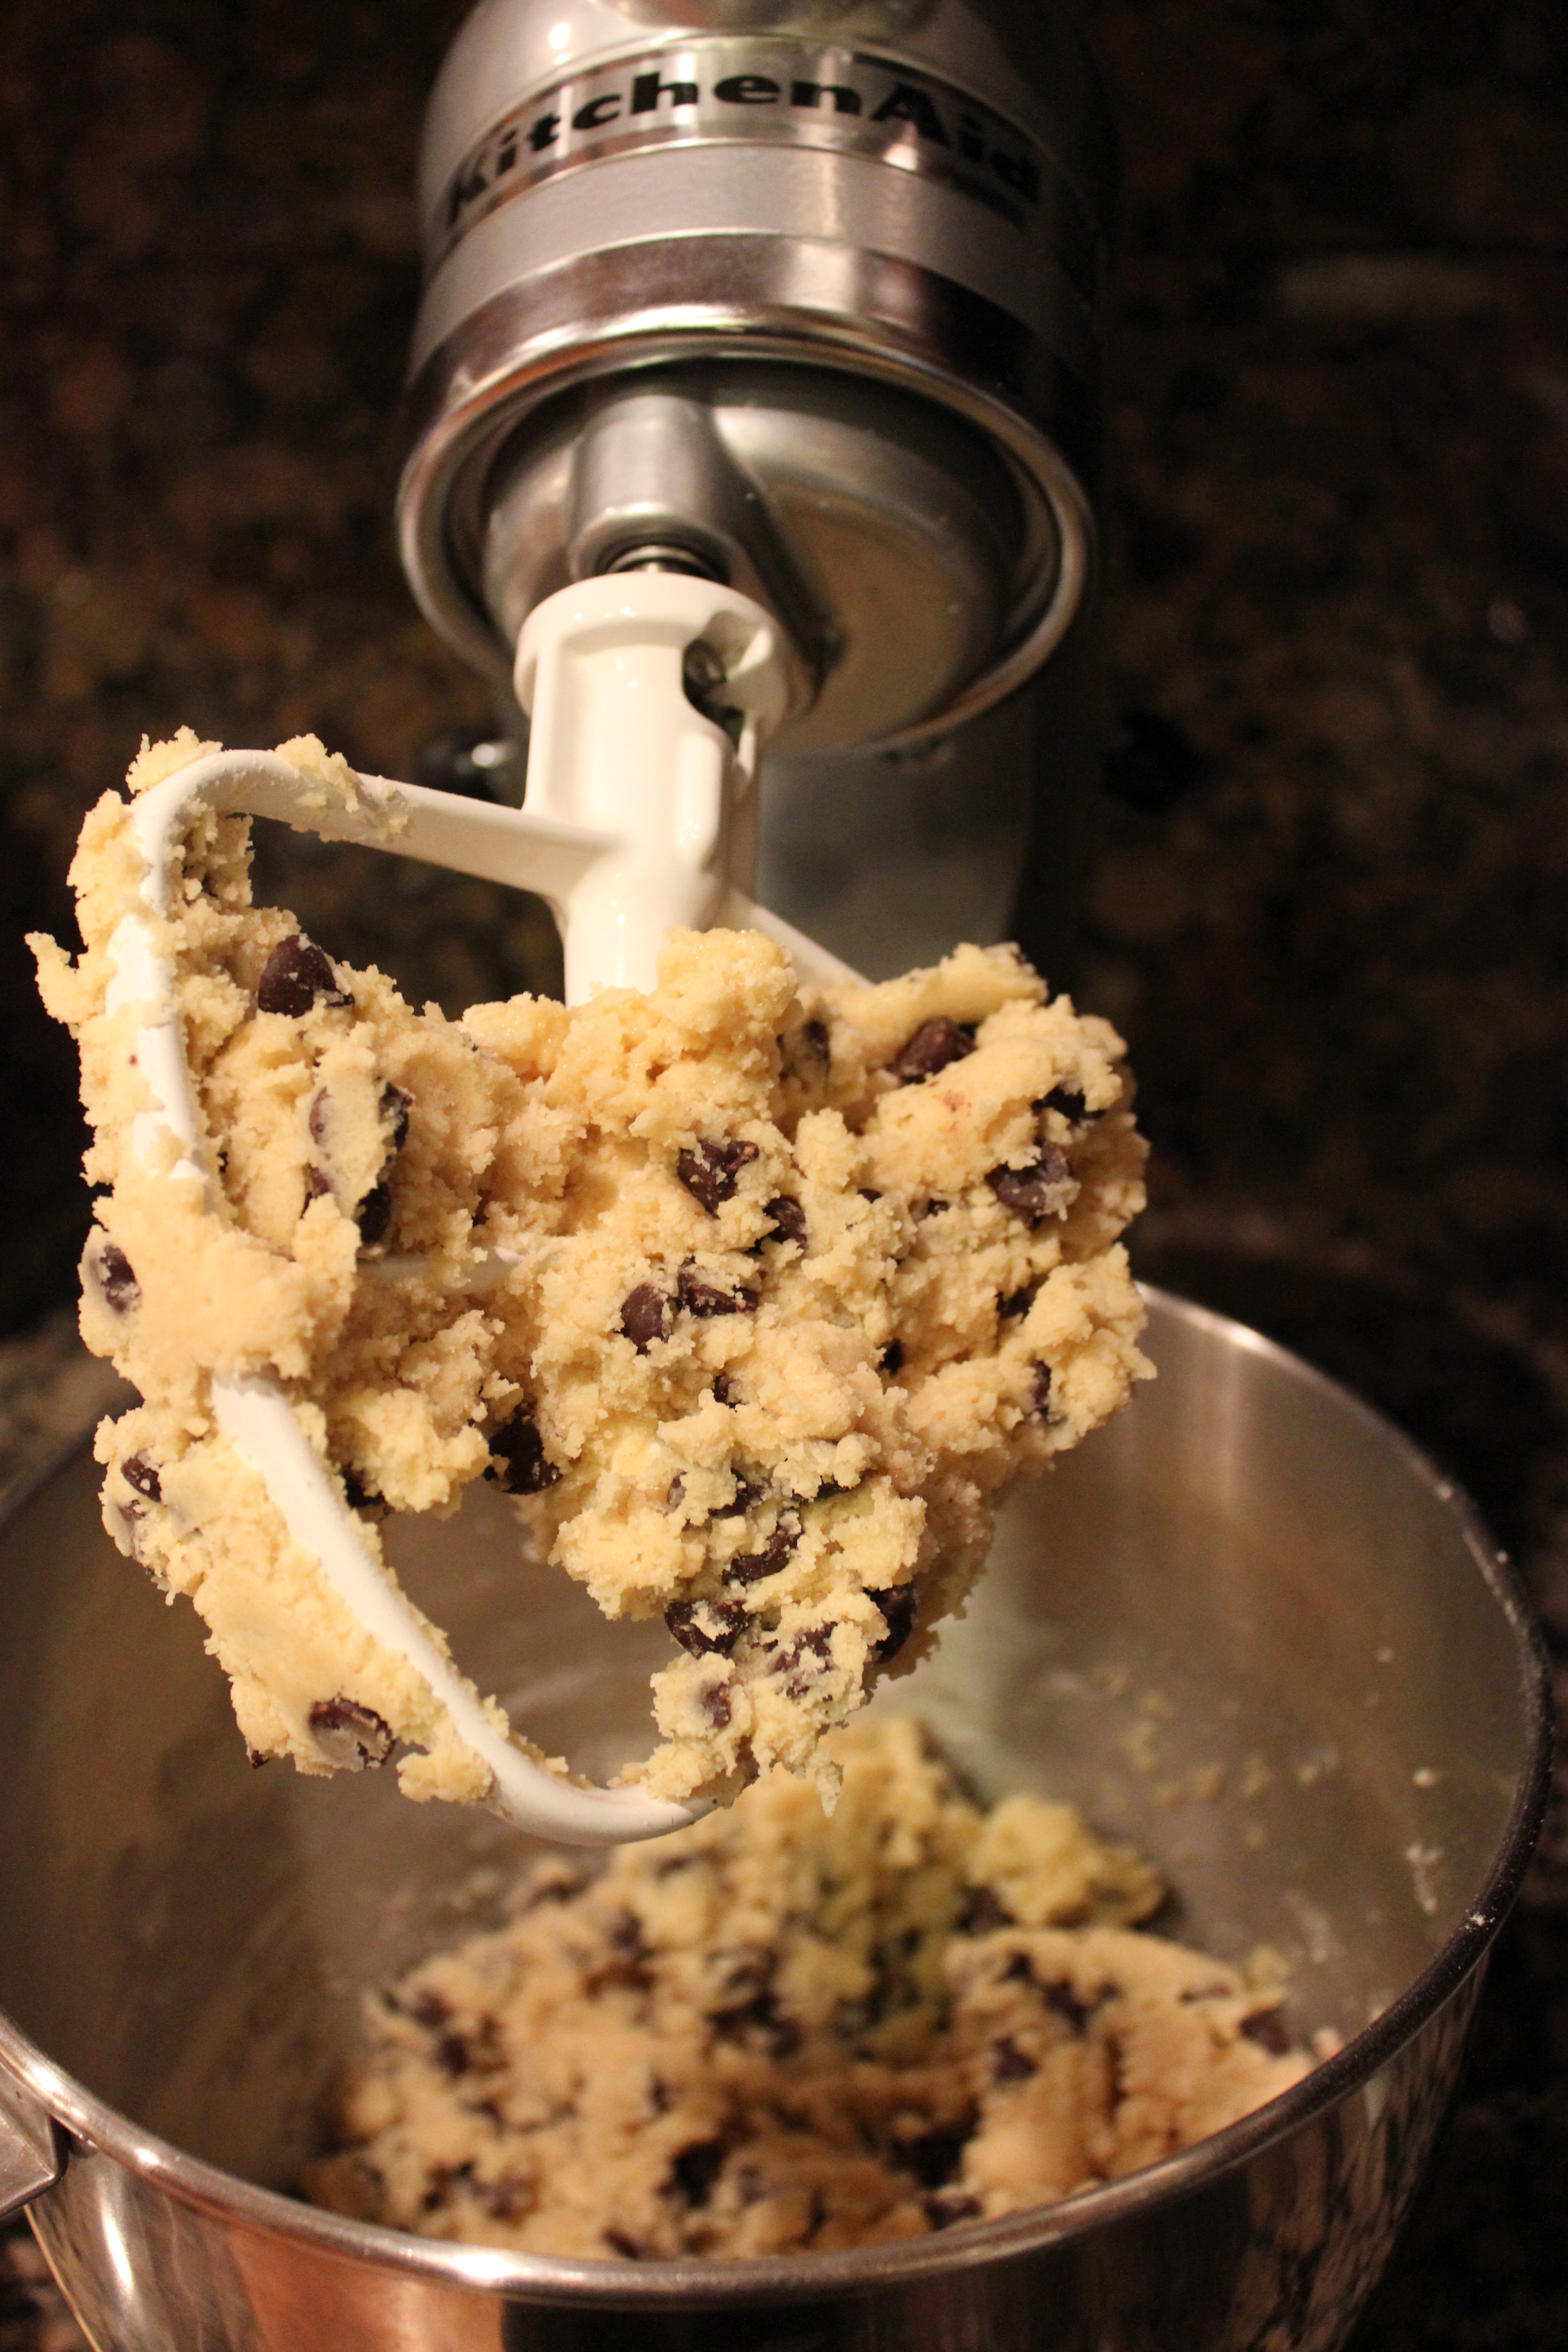
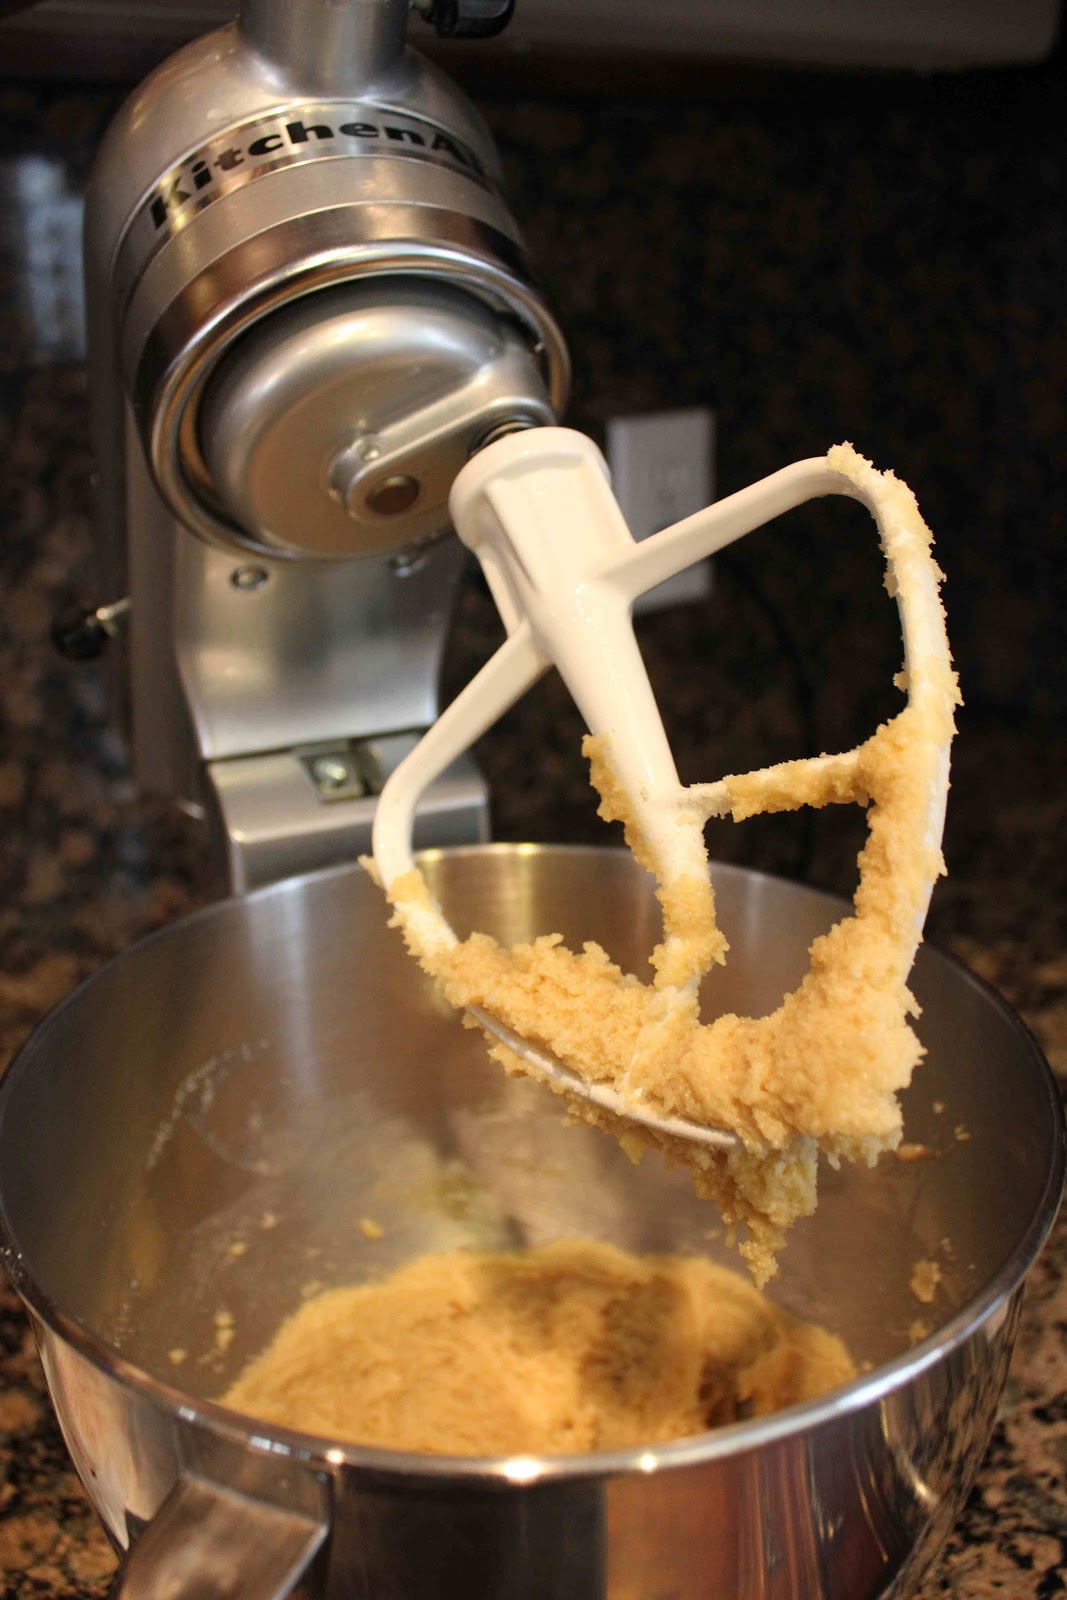
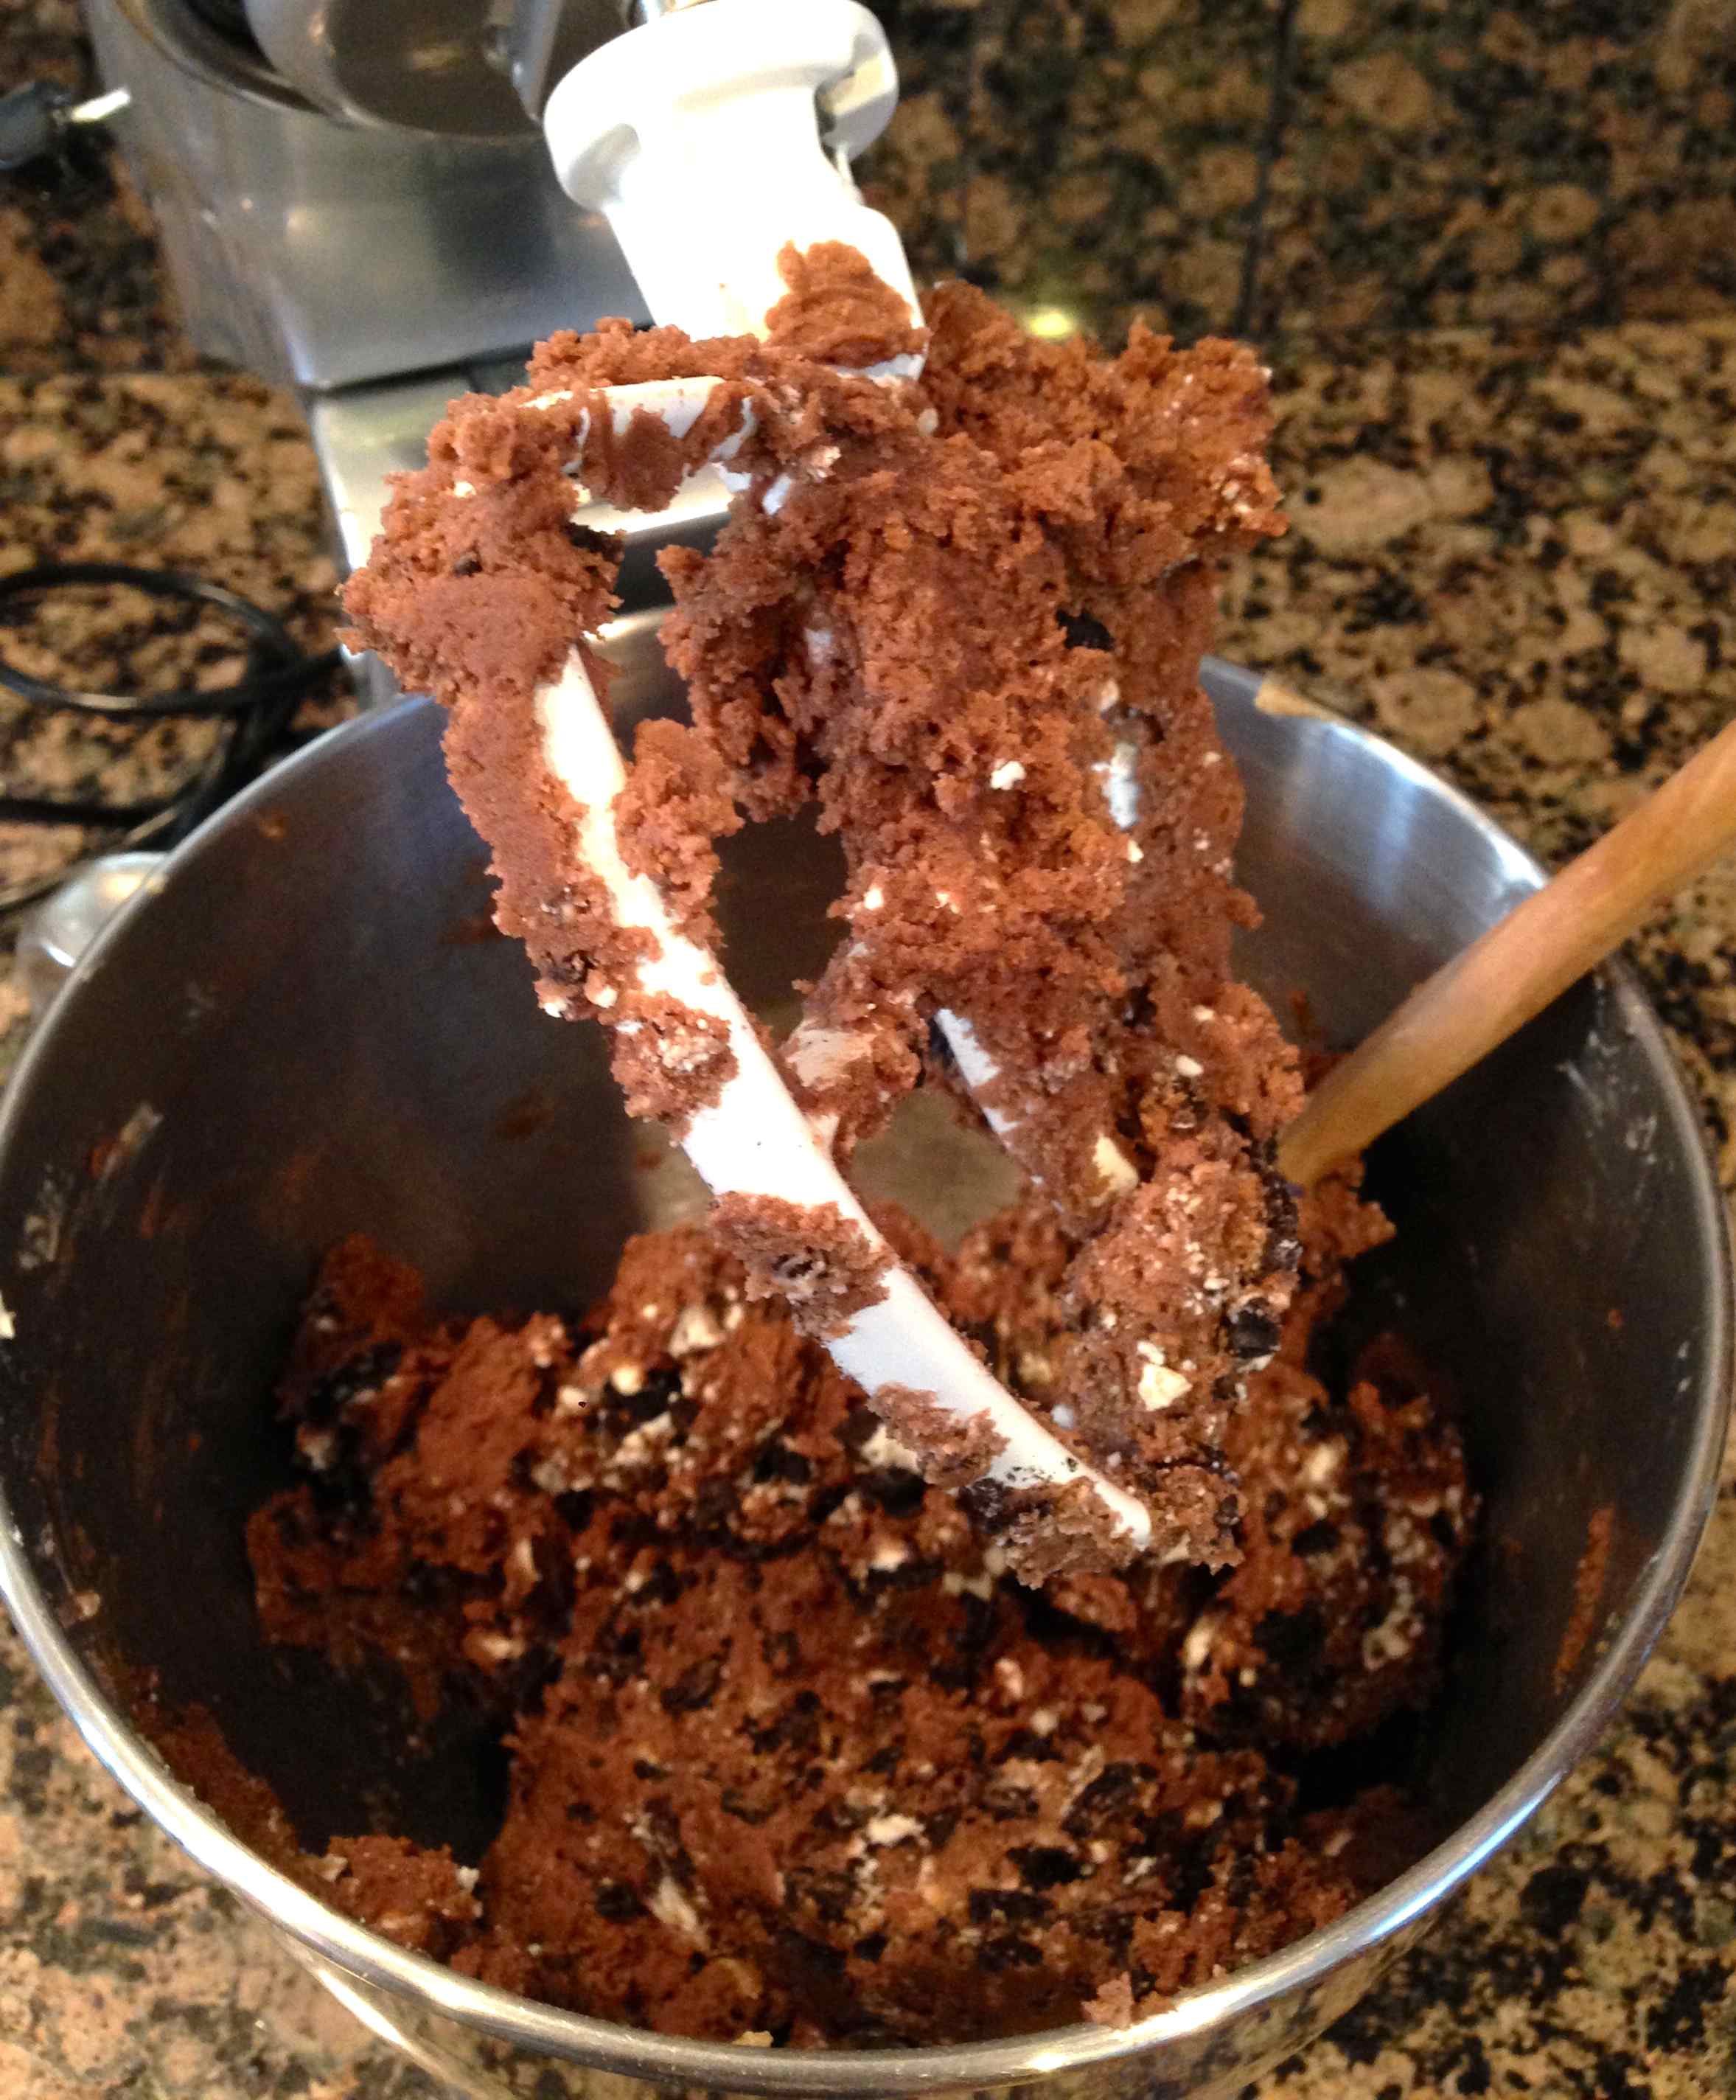
  3. In a large bowl, using an electric mixer on medium speed, cream butter, shortening, and brown sugar until light and fluffy, about 2 minutes. Add eggs, one at a time, beating well after each addition. Beat in vanilla. Scrape down sides of bowl.
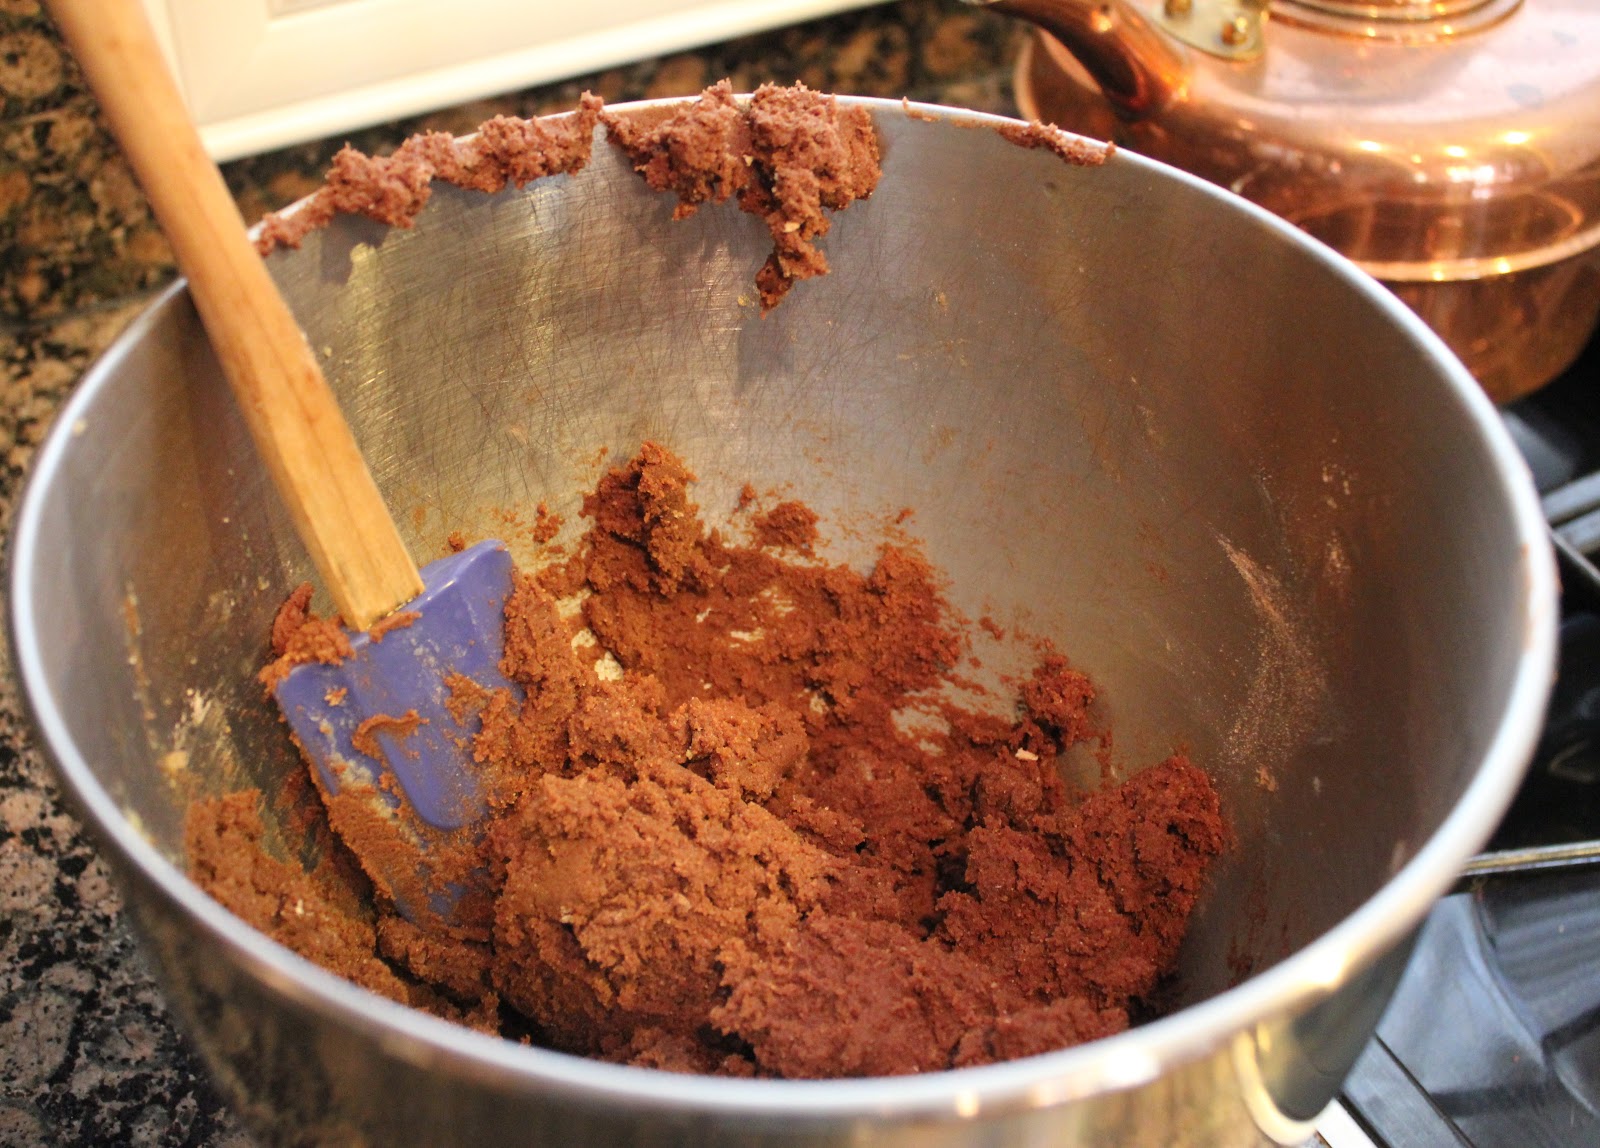
  4. On low speed or using a wooden spoon, gradually add flour mixture, beating just until blended. By hand, fold in Oreos.
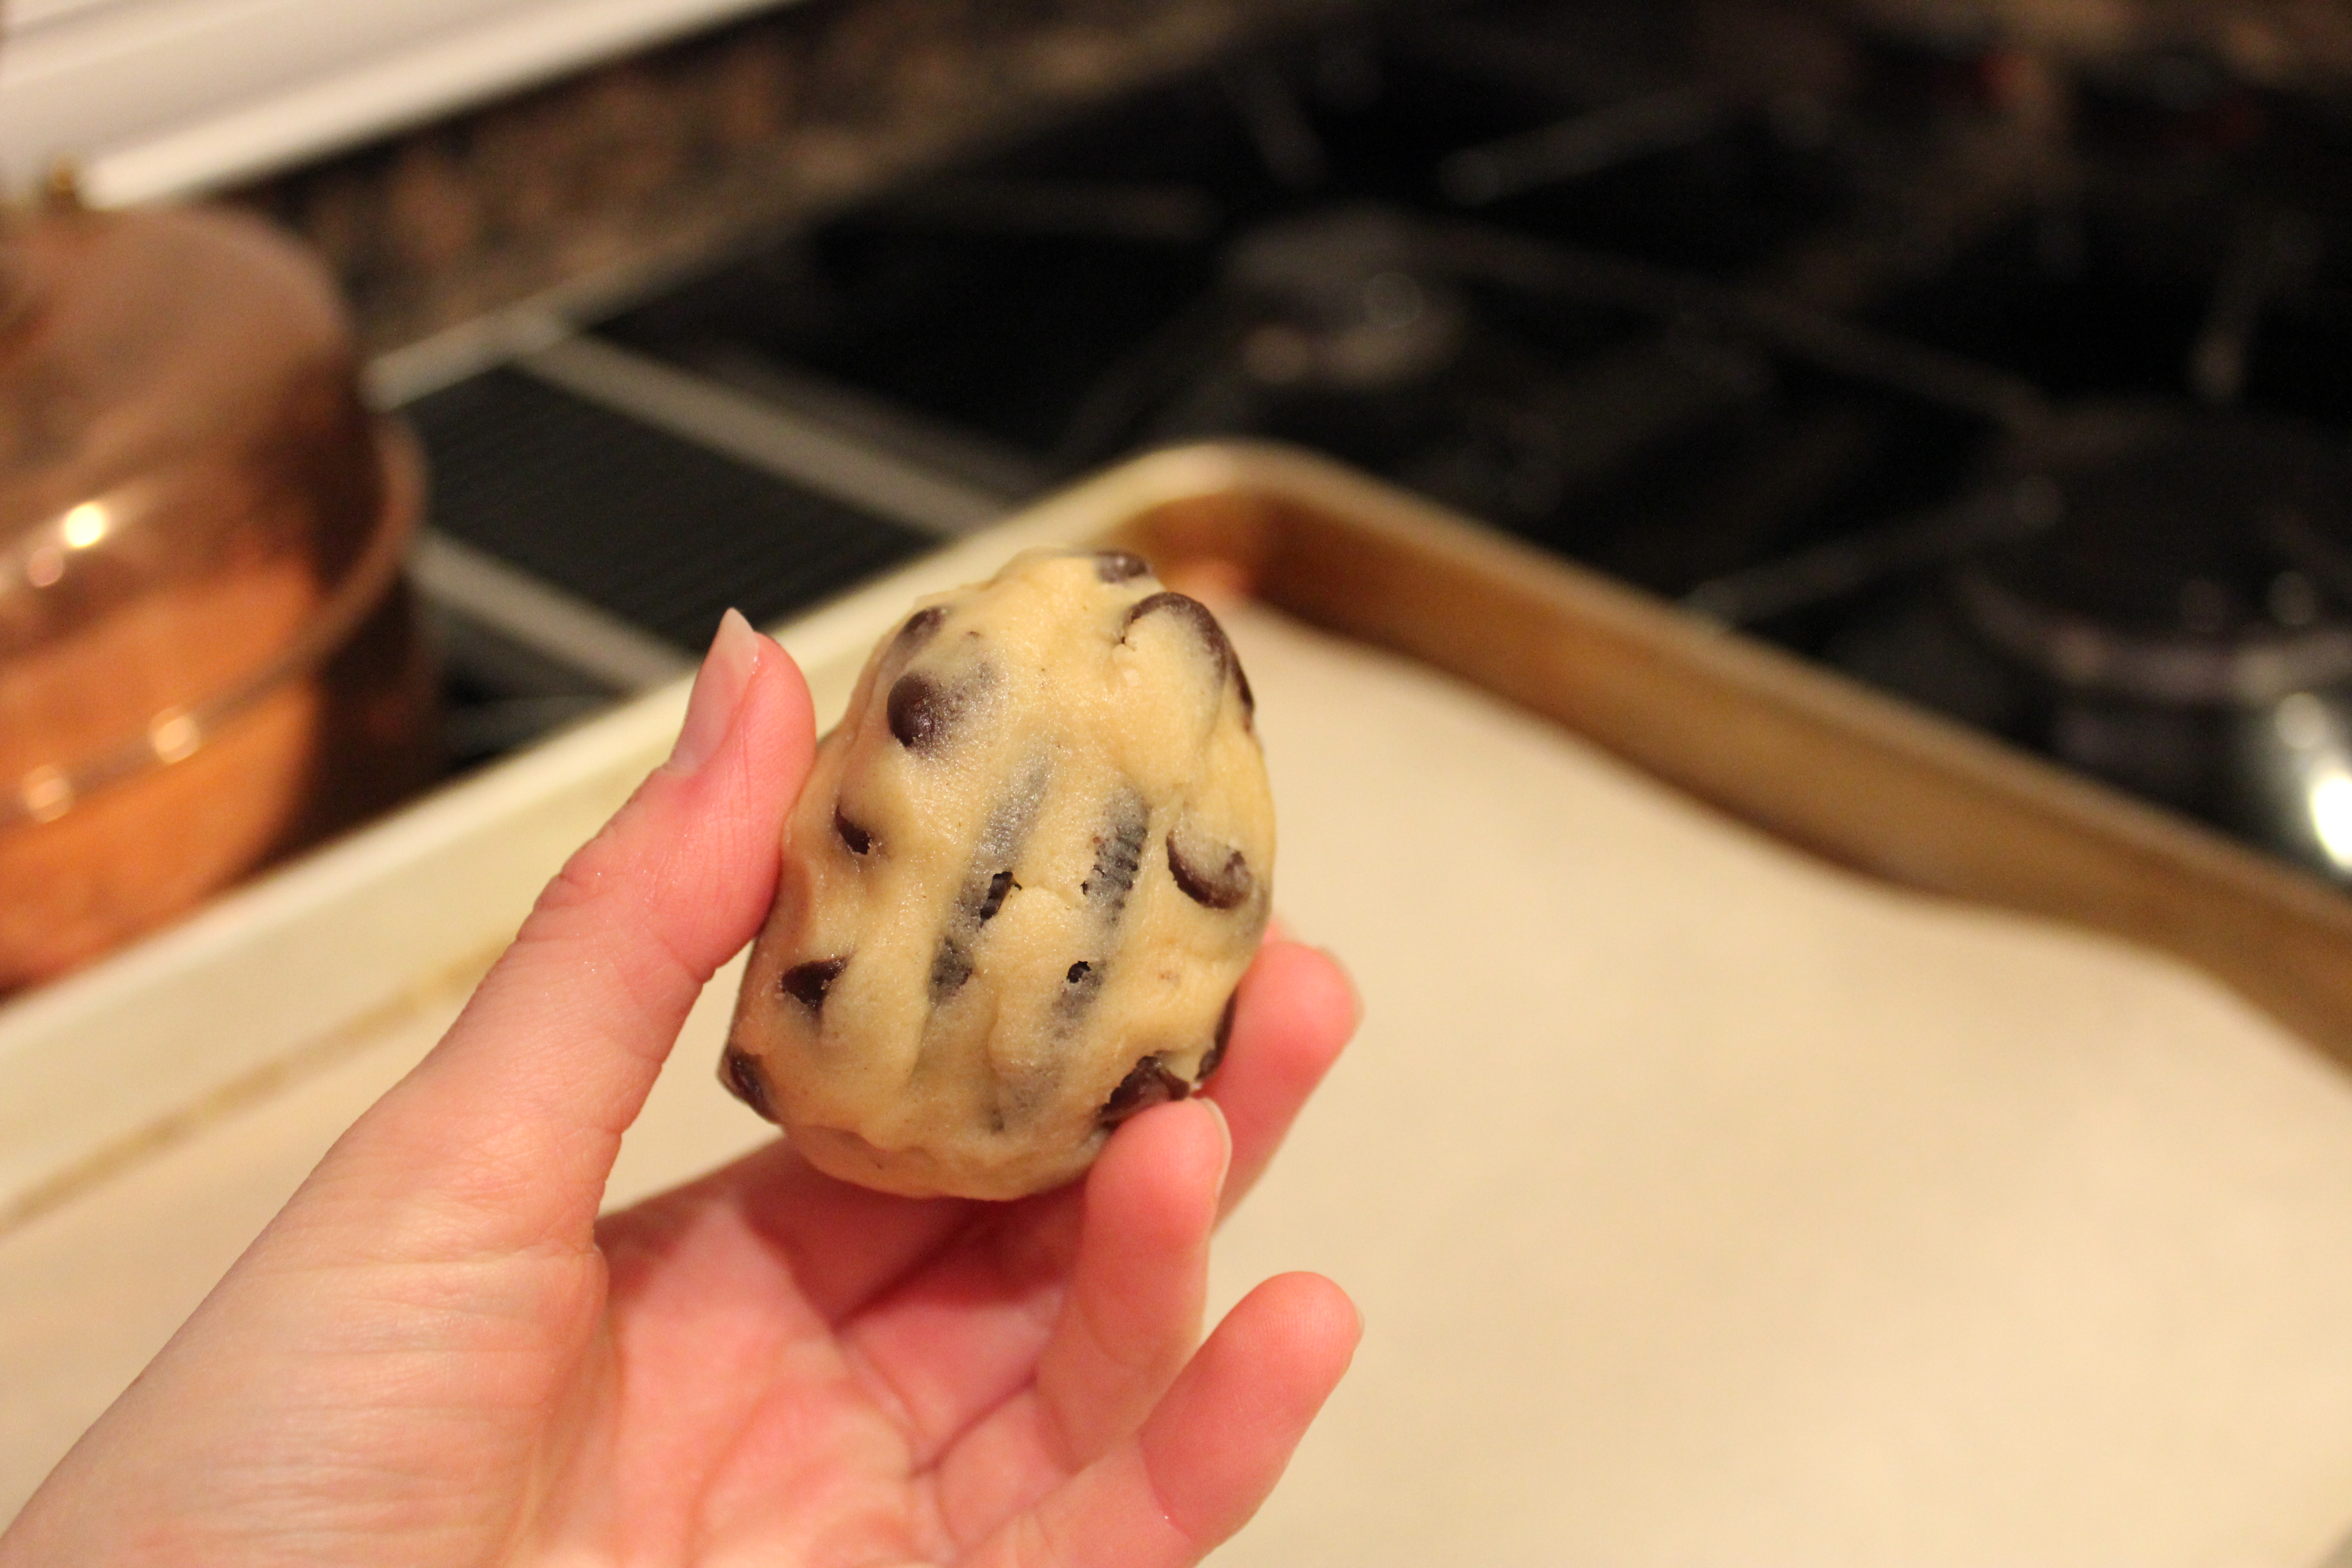
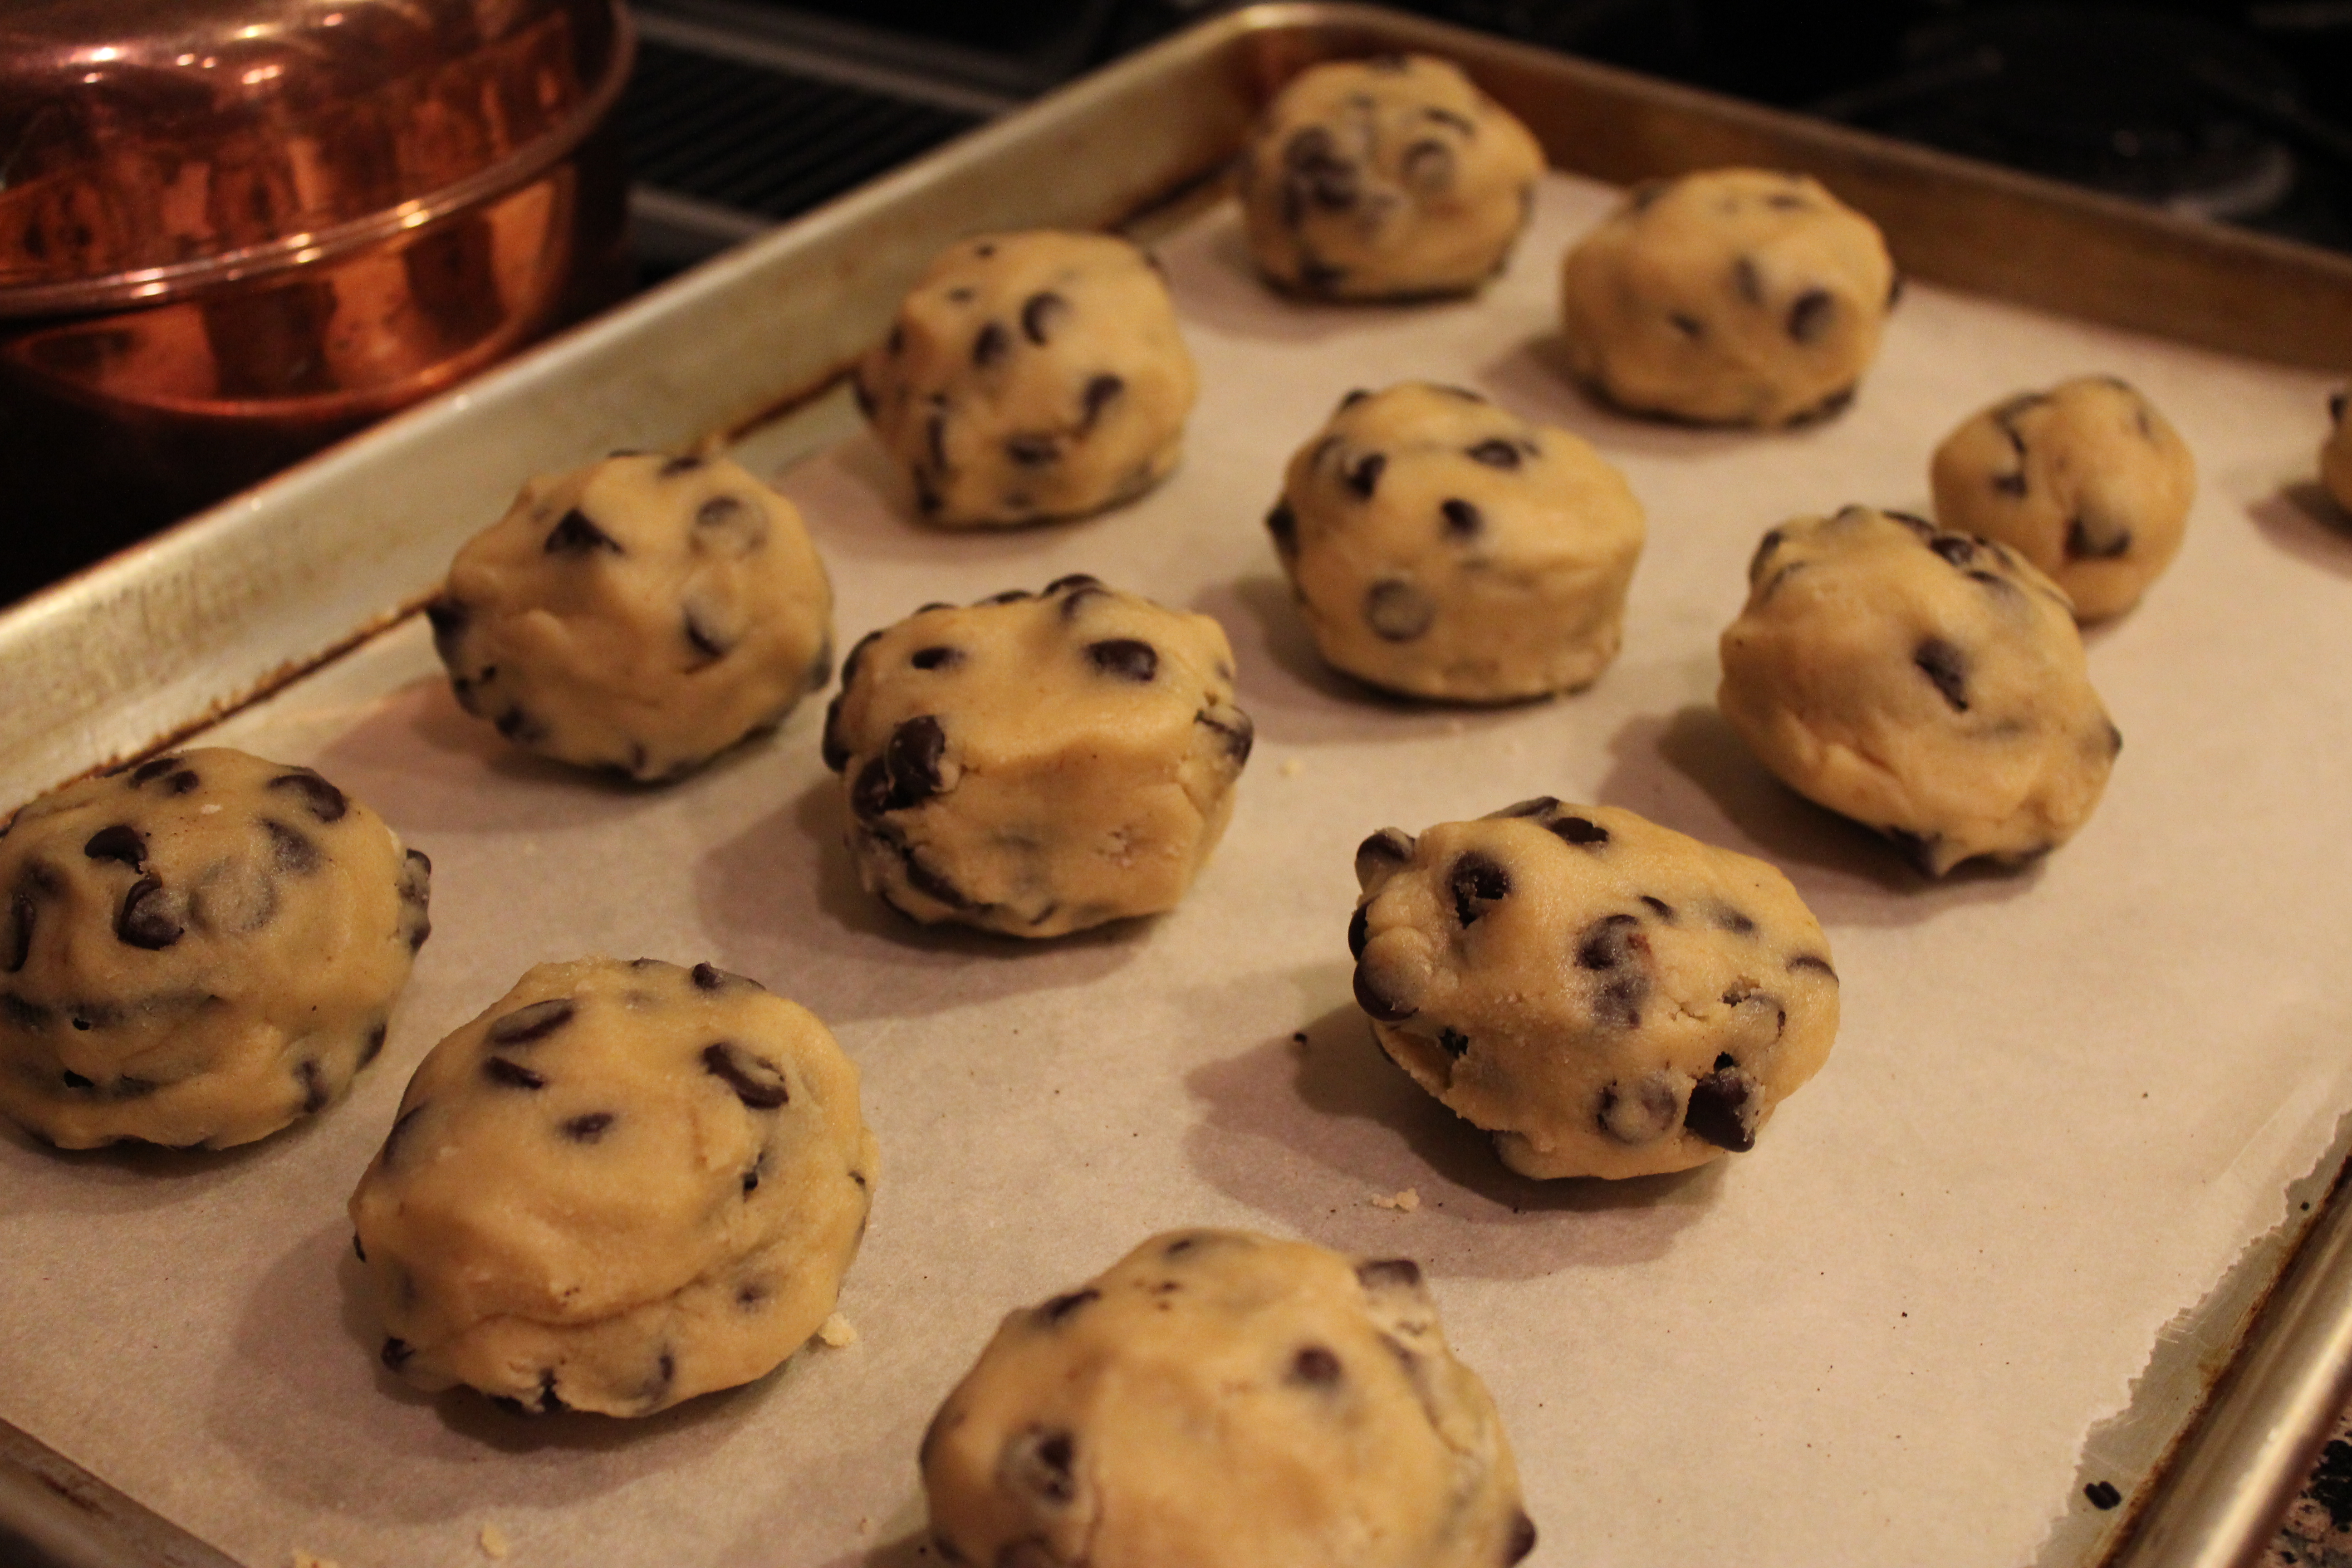
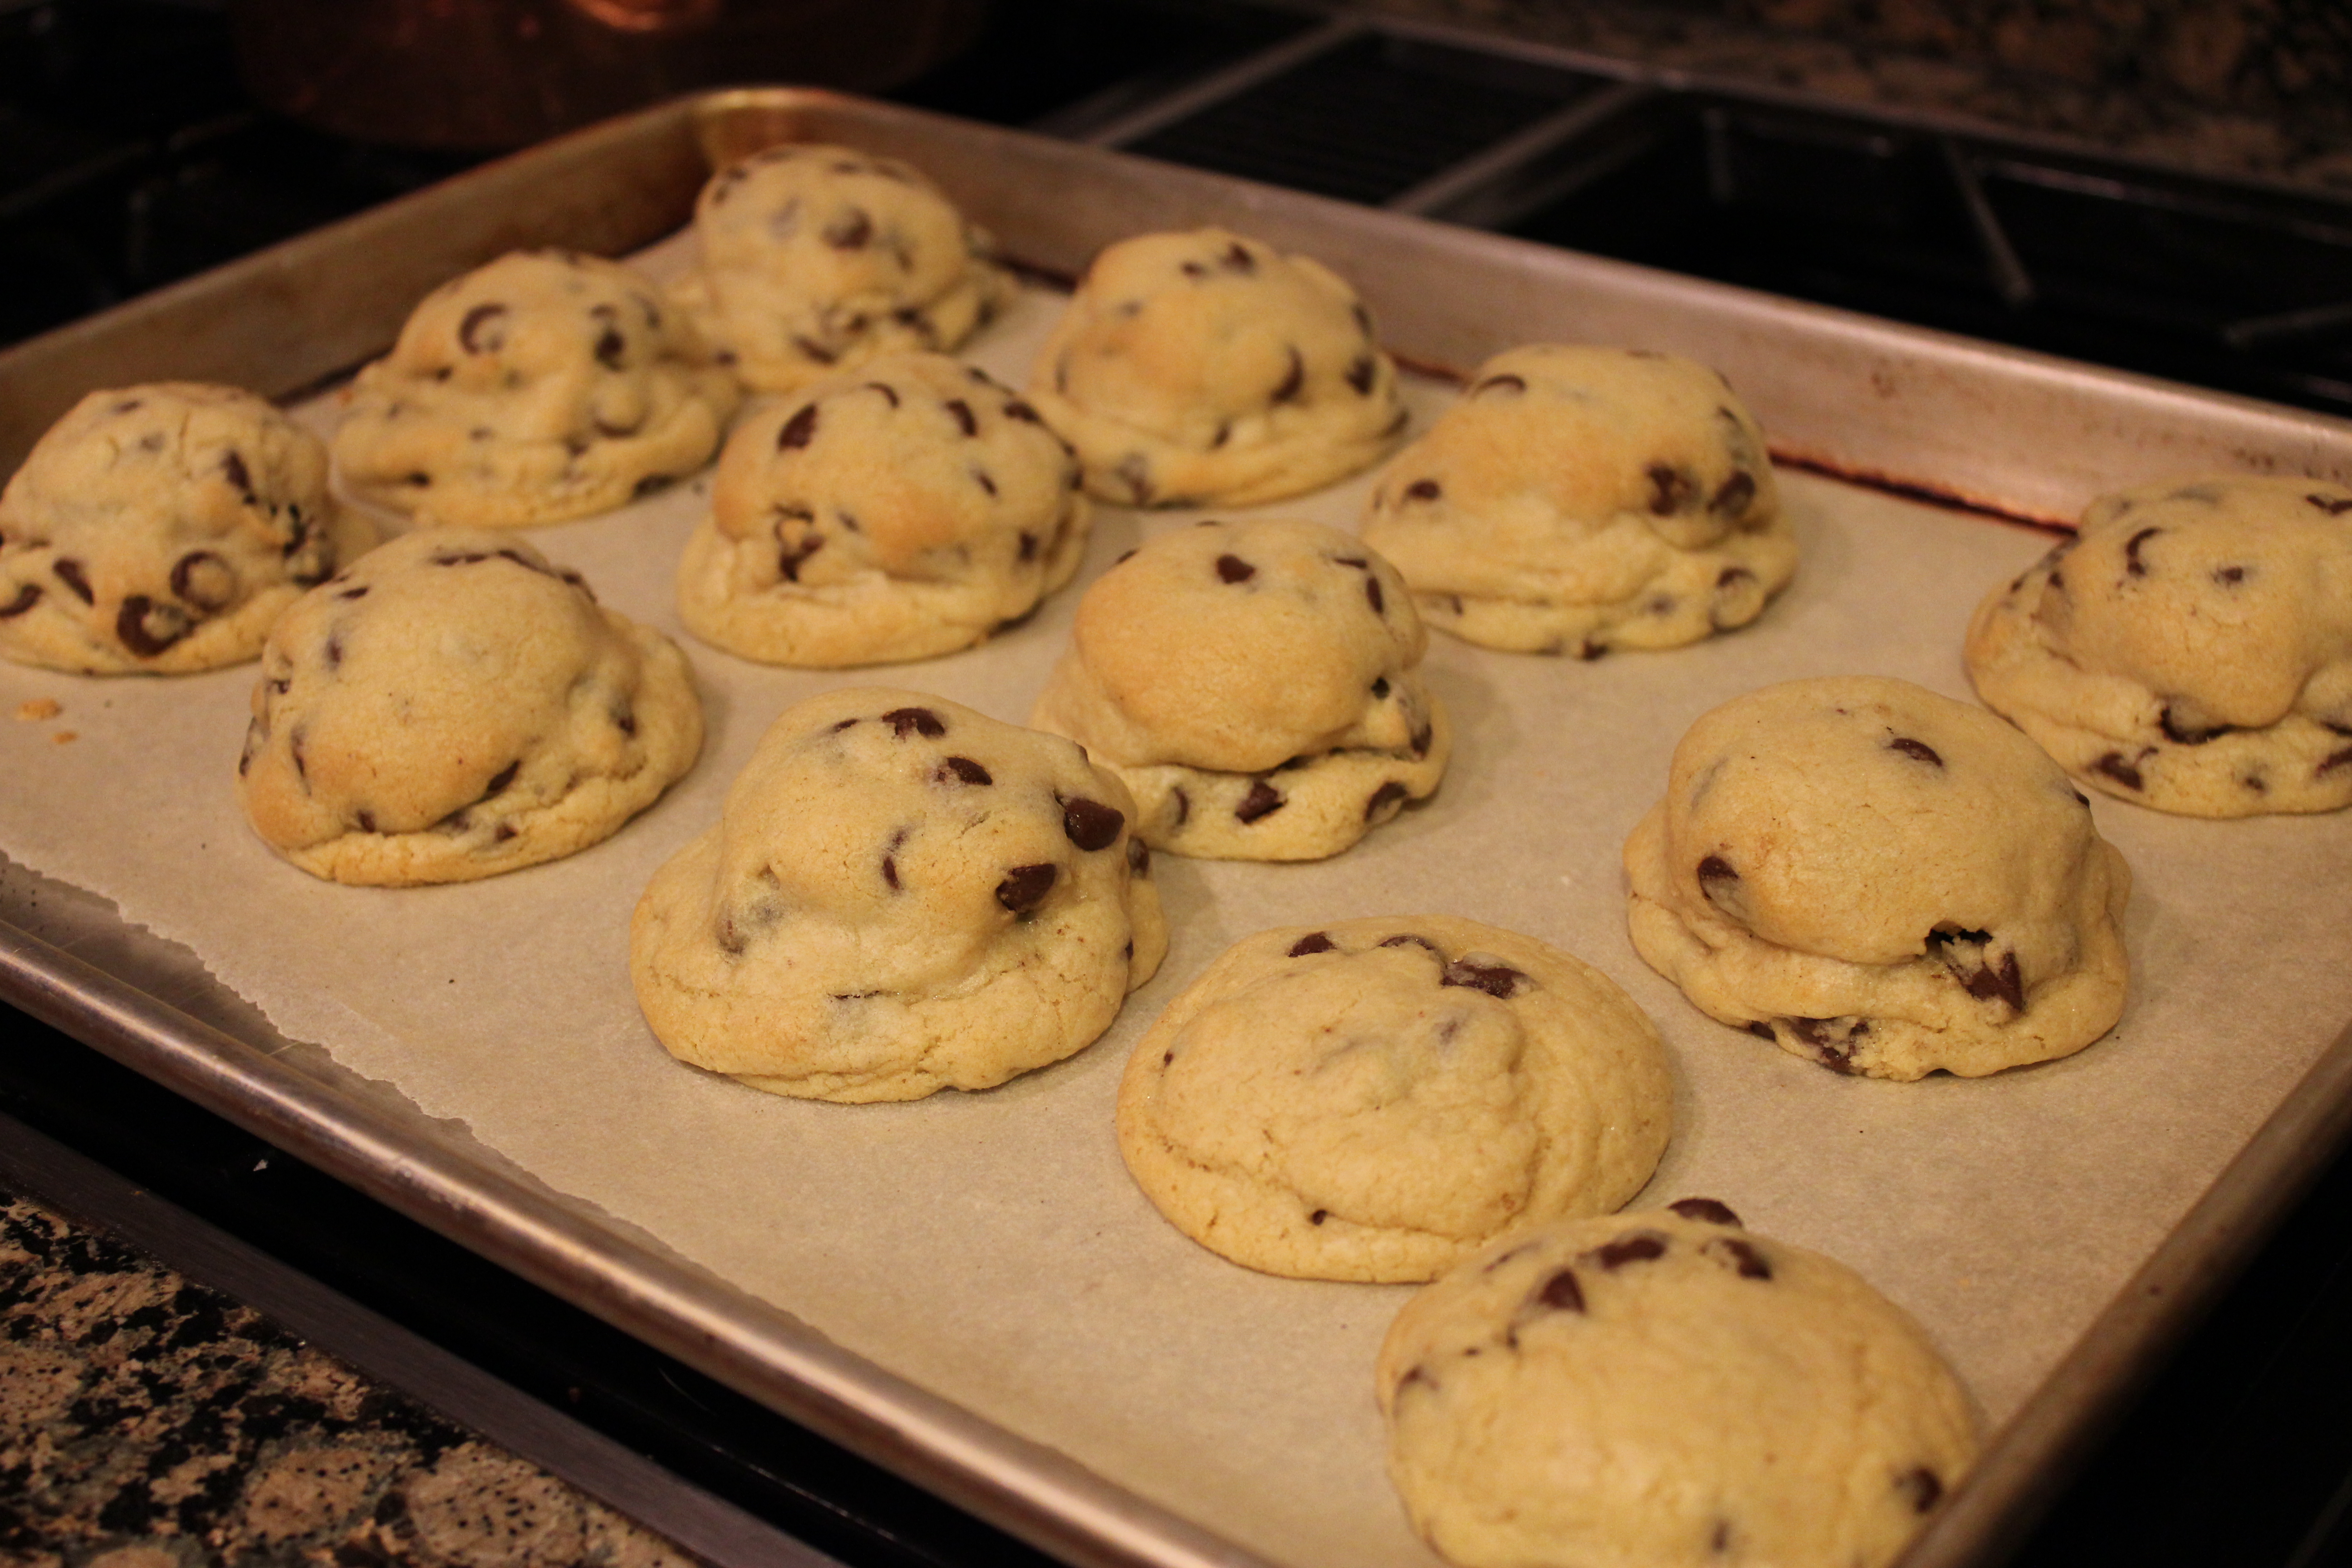
  5. Using a cookie scoop or spoons, drop tablespoonfuls (15 mL) of dough about 2 inches apart on prepared cookie sheets. Bake one sheet at a time in preheated oven for 8-10 minutes or until set around the edges, but slightly soft in the center.
  6. Immediately slide parchment paper onto a wire cooling rack. Cool cookies for 5 minutes, then transfer from parchment paper to cooling rack and cool completely.


White Chocolate-Dipped Oreos

white chocolate dipped Oreos

Talk about a good dog!! I know everyone says they have the best dog in the world, but does your dog have as much patience as Skippy, our 10-year old chihuahua, pictured above?

I mean, talk about self control! Look at Skippy….just eying the cookies. Waiting patiently for the cookie he will never get. They say chocolate can kill dogs, but if it did, Skippy would not be alive to this day!

Four years ago when I was teaching school, my students gave me a few bags of candy for an upcoming holiday (it was either Christmas, Valentine’s Day, or my birthday…unfortunately I can’t remember). In the clear, cellophane-wrapped bags were Hershey’s Kisses, Reese’s Peanut Butter Cups, and M&Ms…. all chocolate!

Well, I put the candy in my school bag, and when I got home, I placed my school bag where I placed it every day – tucked away in the corner near the kitchen table.

It was a Friday night and Matt and I went out to eat as we always do on Friday nights. When we came home, you’d thought someone had broken in with all the mess that was on the floor! There were silver Hershey’s Kisses wrappers and brown Reese’s Peanut Butter Cup wrappers torn up in a thousand little bitty pieces scattered all across the floor.

DSCN2154 - Version 2
#tbt This picture is from 2008, before Matt and I were married. Look how young we all look!


And then there was Skippy. His face pled guilty all over! While we were out, he had gone through my school bag, opened the cellophane bag containing all the candy and then proceeded to open and eat nearly 3/4ths of my holiday candy!

chihuahua
Guilty face…
chihuahua
Cute face…


Not only was I upset that Skippy ate the good stuff…there were no Reese’s left…. I was also upset that he would die from since “chocolate kills dogs”.  Fortunately Skippy survived. 🙂 Not only did he NOT get sick, but he didn’t even have an upset stomach!

If you know Skippy,  you’ve heard that he LOVES peanut butter…hence the name “Skippy” peanut butter right? lol. (We adopted him and his name was already Skippy). I think he smelled the peanut butter in the Reese’s and just couldn’t resist….plus he was bored, apparently.

While Skippy is extremely obedient in person, (hence not eating the Oreos in the picture above), he is revengeful behind your back. He will act up when you are not around, so watch out!

Anyways, if you’re a white chocolate and Oreo cookie fan, you’ll love these White Chocolate-Dipped Oreo cookies. I know they sell these pre-dipped at the store, but the homemade version is so much better.

white chocolate dipped Oreos
Melt your white chocolate bark (or vanilla almond bark) in a microwave. Dip 3/4 of the Oreo cookie in the white chocolate and place on parchment paper.


Using whatever you have on-hand, you can decorate with any colored sprinkles while the chocolate is setting up.

white chocolate dipped Oreos
While cookies set, decorate with colored-sprinkles of your choice.


I made these for the 2014 Super Bowl party that we hosted and they were a hit. Super simple and super popular. Enjoy!

white chocolate dipped Oreos


White Chocolate-Dipped Oreos
Serves: 50 cookies
Ingredients
  • 1 (14.3 oz) package Nabisco Oreo sandwich cookies
  • 1 package Vanilla Flavored Almond Bark (I used Kroger’s brand)
  • Decorative sprinkles of your choice
Instructions
  1. Melt vanilla flavored almond bark according to package directions. I melted the bark via the microwave.
  2. Dip three-fourths of an Oreo cookie into the bark and place on parchment paper to set and cool. Repeat until you use all Oreo cookies.
  3. While the cookies are setting up, decorate using colored sprinkles of your choice. I used black sprinkles.


Nutella Cookie Cups

nutella cookie cups

Matt and I hosted small groups at our house tonight for church and as always, I was volunteered to make the dessert. 🙂

If it were up to Matt, I’d make chocolate chip cookies every time we had small groups. But I get sick of making the same thing over and over again, and so I wanted to try out these Nutella cookie cups.

My friend Julie made them a few months back for a work luncheon and they were a huge hit!

nutella cookie cups

There’s just something magical about that delicious chocolate hazelnut spread. With only a handful of ingredients: skim milk, cocoa and hazelnuts, the unique taste of Nutella is something to rave about.

From cookies and toast to apples and ice cream, you can put Nutella on just about anything!

nutella cookie cups

These cookie cups are surprisingly easy to make. All you need is your favorite sugar cookie dough recipe, jar of Nutella, and a mini muffin pan.

I used this M&M cookie dough recipe and left out the M&Ms. It might be worth it to add mini chocolate chips to the cookie dough cups to make them extra chocolatey!

What did Matt think? He said they were terrible, but that’s because he didn’t know how to peel of the paper muffin liners completely! These little suckers are rich, but not too rich. The chocolate hazelnut spread adds a nice sweetness that is not nearly as overpowering as a scoop of straight chocolate. I’ll definitely be making these again.

Enjoy and good luck eating just one!

nutella cookie cups

Nutella Cookie Cups
Serves: 24
Ingredients
  • 3/4 cup (1 1/2 sticks) unsalted butter, softened
  • 3/4 cup light brown sugar, packed
  • 1/4 cup granulated sugar
  • 1 large egg
  • 2 tsp. vanilla extract
  • 2 cups all-purpose flour
  • 1 tsp. baking soda
  • 2 tsp. cornstarch
  • 1/4 tsp. salt
  • 1 (13 oz) jar Nutella hazelnut spread
Instructions
  1. Preheat oven to 350 degrees F. Grease a mini muffin pan or line with paper muffin cups.
  2. In bowl of a stand mixer fitted with a paddle attachment, combine the butter, sugars, egg, vanilla and beat on medium-high speed until well-creamed, light and fluffy, about 5 minutes.
  3. Scrape down the sides of the bowl and add the flour, cornstarch, baking soda and salt and mix until just combined, about 1 minute.
  4. Roll dough into balls about 1.5 inches thick (or you can use an ice cream scoop), and place into the mini muffin tin.
  5. Bake for 12-15 minutes, until golden brown but not too dark around the edges. When done, remove from oven and let sit for about 2 minutes. Then make wells for the Nutella with a shot glass or similar object. Add 1 tablespoon Nutella to each cup.
  6. Let cool 15-20 minutes in tin. Remove from tin and enjoy. Nutella will solidify in about an hour, which makes them safe to transport.


Gordon, Texas and Nila’s Skillet Cookies

Skillet Cookies

This past weekend my sister and I headed to “out to the country” to visit relatives who just built a house in Gordon, Texas.

99% of you have probably NEVER heard or Gordon, and there’s a good reason why.

Gordon: Population: 519. At least that’s what the sign said. 🙂

The little town is about 30 minutes west of Weatherford off I-20, and is the epitome of Texas country. It has everything you’d ever image from a small Texas town including windy dirt roads and rolling hills, a 6-man football team, cows, cowboy boots, cowboy hats, horses, and stables. It’s peaceful and perfect. Almost like what you would expect from the movies.

gordon texas
Brittany and I went running and stopped for a picture at the top of the hill. It doesn’t look like a big hill, but trust us, it was!!
IMG_1573
Cousins 🙂
gordon texas
Horseback riding at the stables.
IMG_1568
Our cousins had a blast on their horses.
IMG_1571
We had breakfast at a little cafe. The pancakes were as big as the plate and this cow was staring at us the whole time!
gordon texas
We went to a farmers market in downtown Gordon and picked up some fresh eggs, honey and homemade whole wheat loaf bread. Then our cousins played in a nearby park.
gordon texas
The gorgeous view and sunset from my aunt and uncle’s porch in Gordon, Texas.

We also got to visit with my great aunt Nanny. She’s  91 years old and still LOVES sweets, especially chocolate thus we brought her my Mom’s secret ingredient brownies.

Nanny’s older sister was Nila, my grandmother. Recently my mom, sister and I had been going through Nila’s old green recipe box and tabbing the ones we wanted to make. One of those recipes were these easy no-bake skillet cookies.

IMG_1589
My great aunt Nanny.
skillet cookie recipe
Nila’s handwritten recipe for Skillet Cookies.

skillet cookie recipe

All our relatives at Gordon LOVED the skillet cookies and thus we kept going back for seconds and thirds. No one, including us had ever heard of a cookie like this, and while the ingredient list (dates, pecans, coconut, sugar, butter and eggs) doesn’t sound too appetizing, the cookies are surprisingly good!

Not only are the skillet cookies pretty (I think they look like little truffles rolled in finely shredded coconut), they take less than 30 minutes to make.

Sometimes old-timey recipes are the best ones; case in point: these skillet cookies. Now we’ll just have to see what other recipes Nila has in that old green box of hers!!

Skillet Cookies
Combine butter, sugars, karo, and dates in a large skillet.
skillet cookies
Cook on medium-low for 8-10 minutes, stirring constantly.  Remove from heat, add vanilla, nuts and Rice Krispies and mix well.
Skillet Cookies
Pinch dough into balls and roll in shredded unsweetened coconut.

Skillet Cookies

Nila’s Skillet Cookies
Prep time:
Cook time:
Total time:
Nila’s Skillet Cookies
Ingredients
  • 2 eggs (well-beaten)
  • 1/2 cup brown sugar
  • 1 cup white sugar
  • 1/2 stick unsalted butter
  • 2 Tbsp. Karo syrup
  • 1 tsp. vanilla
  • 1 package (8 oz) chopped dates
  • 1 cup chopped pecans
  • 3 cups Rice Krispies
  • Coconut, unsweetened and finely shredded
Instructions
  1. Combine eggs, sugar, butter, Karo and dates in a large skillet.
  2. Cook for 8-10 minutes on medium-low, stirring constantly. We saw tiny little bubbles start to form, but we did not bring to a full boil.
  3. Remove from fire/heat and add vanilla, nuts and Rice Krispies.
  4. Mix well and let cool slightly.
  5. Butter your fingers (butter works better than cooking spray), and pinch dough into balls. Roll the balls in the coconut.


Vegan Chocolate Chip Cookie Dough Balls

IMG_3503

No, I’m not vegan. However, I LOVE cookie dough and found a healthier way to indulge in the oh so sweet cookie dough cravings I get.

This recipe, adapted from Averie at Averie Cooks, is vegan, packed with protein, healthy fats and hearty whole grains.

These cookie dough balls kind of remind me of my favorite healthy energy bar: Lärabars. The taste is very similar due in part to the nutty cashews.

The chocolate chips add a touch of sweetness and could be substituted with white chocolate chips, butterscotch chips, raisins, craisins, or a mix… totally up to you!

Enjoy one or two or even four for a quick pick-me-up snack!

IMG_3493

Simply blend the oats and cashews together in a blender.

IMG_3495

Add the vanilla and maple syrup. Blend again.

IMG_3498

Fold in chocolate chips. If your dough gets too sticky (like mine), place the dough in the refrigerater for at least 30 minutes. That should to the trick…your dough will firm up and will be much easier to shape into balls.

Raw chocolate chip cookie dough balls

Roll into small, 1-inch balls and dig in!
IMG_3504

Vegan Chocolate Chip Cookie Dough Balls
Serves: 1 dozen
Blend cashews and oats together in blender. Add the honey, maple syrup and vanilla extract. Blend again. Ad chocolate chips by hand. Transfer dough to a plate or clean working surface. If your dough is too sticky, gummy or runny, refrigerate for a half an hour, then you should be good. Roll into 1-inch balls. Yield: a dozen cookie dough balls
Ingredients
  • 2/3 cup raw cashews
  • 1/3 cup oats
  • 2 Tbsp. honey
  • 1 Tbsp. maple syrup
  • 1 tsp. vanilla extract
  • 1/4 cup chocolate chips
Instructions
  1. Blend cashews and oats together in blender.
  2. Add the honey, maple syrup and vanilla extract. Blend again.
  3. Ad chocolate chips by hand.
  4. Transfer dough to a plate or clean working surface. If your dough is too sticky, gummy or runny, refrigerate for a half an hour, then you should be good.
  5. Roll into 1-inch balls.
Notes
Adapted from Averie Cooks

Easter M&M Cookies

Easter M&M Cookies

Springtime is officially here, and while it doesn’t quite feel like spring (it’s actually been pretty chilly here in Dallas), Easter is already upon us!

If you’re feeling festive, here’s a great recipe adapted from my friend Averie over at Averie Cooks for soft and chewy M&M cookies. This recipe is so tasty, you could probably use it as a chocolate chip cookie recipe and substitute M&Ms for chocolate chips or chunks or even white chocolate and cranberries.

I’ve actually never had a cookie with just M&Ms. I’ve had monster cookies but those include oats, M&Ms, chocolate and peanut butter.

Funny story. As a little elementary school kid, I did not like M&Ms. My mom would pack me a ham & mayo sandwich, chips, fruit, and a dessert. I loved it when she included Rice Krispies treats, Kudos granola bars, or money to me buy the Blue Bell ice cream sandwiches at school. However when she included that brown package of milk chocolate M&Ms I was a little disappointed. Not sure why I didn’t like them, but I didn’t.

Years later, I’ve come to love all the M&M varieties and my all-time favorite are the pretzel M&Ms. If you haven’t tried them, go to the store right now! (You could even use them in this cookie recipe). I would have used them, but I wanted to use the pretty pastel milk chocolate M&Ms in honor of Easter.

Enjoy and Happy Easter weekend!

IMG_3398

Beat butter, sugars, egg, and vanilla in a stand mixer. Add flour, cornstarch, baking soda and salt and beat some more.

IMG_3401

Add the M&Ms and gently fold (or do so by hand).

IMG_3403

Now for the hard part: Shape into 2-inch balls and place them in the refrigerator for 2 hours or up to 5 days. Trust me on this… if you let the cookies set up in the fridge they will not only taste better, but they won’t spread as much.

IMG_3414

Place on silpat-lined baking sheet or parchment paper and bake for 8-10 mintues at 350 degrees F.

IMG_3417

Let cool for 5 minutes on the baking pan.

Easter M&M Cookies

Serve with a tall glass of milk and more M&Ms!!

Easter M&M CookiesEaster M&M Cookies


Easter M&M Cookies
Serves: 22 medium-sized cookies
Easter M&M Cookies
Ingredients
  • 3/4 cup (1 1/2 sticks) unsalted butter, softened
  • 3/4 cup light brown sugar, packed
  • 1/4 cup granulated sugar
  • 1 large egg
  • 2 tsp. vanilla extract
  • 2 cups all-purpose flour
  • 1 tsp. baking soda
  • 2 tsp. cornstarch
  • 1/4 tsp. salt
  • 1 1/2 cups milk chocolate M&Ms (Easter colors)
Instructions
  1. To the bowl of a stand mixer fitted with a paddle attachment, combine the butter, sugars, egg, vanilla, and beat on medium-high speed until well-creamed, light and fluffy, about 5 minutes.
  2. Stop, scrape down the sides of the bowl and add the flour, cornstarch, baking soda, salt and mix until just combined, about 1 minute. Add M&Ms and fold in by hand.
  3. Using a medium 2-inch cookie scoop, form heaping mounds. Place mounds on a large plate, flatten mounds slightly with your palm, cover with plastic wrap, and refrigerate for at least 2 hours, or up to 5 days, before baking. Do not bake with warm dough because cookies will spread.
  4. Preheat oven to 350 degrees F, line a baking sheet with a silpat non-stick baking mat, parchement or spray with cooking spray. Bake for 8 to 10 minutes, until edges have set and tops are just beginning to set, even if slightly undercooked, pale and glossy in the center. Do not bake longer than 10 minutes as cookies will firm up as they cool.
  5. Allow cookies to cool on the baking sheet for 5 minutes before removing and transferring to a rack to finish cooling.
  6. Store cookies in an airtight container at room temperature for up to 1 week, or in the freezer for up to 3 months. Alternatively, unbaked cookie dough can be stored in an airtight container in the refrigerator for up to 5 days, so consider baking only as many cookies as desired and save the remaining dough to be baked in the future when desired.
Notes
Source: Adapted from Averie Cooks

Mint Oreo Stuffed Chocolate Chip Cookies for St. Patty’s Day!

Mint Oreo Stuffed Chocolate Chip OreosSt. Patrick’s Day is just around the corner, and if you’re like me you’re really feeling the itch to pinch someone if they aren’t wearing green!

While green clothing is easy to pull off, green food is a little more difficult.  That is unless you want to eat green peas! While I posted a link on my Facebook page for Irish Soda Bread, it wasn’t exactly festive enough in color for me, so I headed out to the grocery store last night to find something GREEN to make for the big day!

I had all intentions of making Mint Chocolate Chip Cheesecake Brownies from Sally’s Baking Addiction, but unfortunately Kroger did not have peppermint extract and I was not about to grocery store hop to try and find it.

Instead, I searched Kroger for something green and discovered Cool Mint OREOs! I adapted Picky Palate’s traditional Stuffed Oreo Chocolate Chip Cookies to make mine have a green OREO  creme filling when you took a big bite into the cookie…. my solution for a St. Patrick’s Day treat!!!

IMG_3229 If you want to impress your friends, make these cookies.

They are one hunk of a cookie. They look hard to make and it looks like you spent a lot of effort baking these.

Good News: The recipe is VERY simple. Start by making cookie dough, just like you would for any chocolate chip cookie recipe.

IMG_3231 Instead of making one cookie dough ball, make two. Then flatten the cookie dough balls around the OREO… kind of like an ice cream sandwich.
IMG_3236
Make sure you cover the edges so you don’t see the OREO.
IMG_3238
Place all the cookies on a parchment-lined baking baking sheet and pop into the oven at 350 degrees for 11 minutes.
IMG_3243
Notice the two smaller, flatter looking cookies? Matt asked that I make him two plain cookies, without the OREO. I know… he’s weird. 🙂
IMG_3246
Let cookies cool and enjoy with a tall glass of milk!

WARNING…. these cookies are bigger and better than normal. Essentially you are eating two chocolate chip cookies and an OREO, so these are not healthy by any means. (It’s okay; we all need a cheat day now and then!)

My boss tried one and was blown away by the size of these. He was about to take two cookies, but decided to be good and start out with only one. Halfway through he started to get full and questioned himself if he could finish it or not!

Rich, sweet, cookie dough goodness. Bring these out on special ocassions and enjoy!
Mint Oreo Stuffed Chocolate Chip Oreos

Mint Oreo Stuffed Chocolate Chip Cookies for St. Patty’s Day!
Serves: 2 dozen extra large cookies
Ingredients
  • 2 sticks softened butter
  • 3/4 cups packed light brown sugar
  • 1 cup granulated sugar
  • 2 large eggs
  • 1 Tbsp. vanilla extract
  • 3 1/2 cups all-purpose flour
  • 1 tsp. kosher salt
  • 1 tsp. baking soda
  • 10 ounce bag semi-sweet chocolate chips
  • 1 package Cool Mint OREO cookies
Instructions
  1. Preheat oven to 350 degrees F. In a stand mixer cream butters and sugars until well combined. Add in eggs and vanilla until well combined.
  2. In a separate bowl mix the flour, salt and baking soda. Slowly add to wet ingredients along with chocolate chips until just combine.
  3. Using a cookie scoop take one scoop of cookie dough and place on top of an Oreo cookie. Take another scoop of dough and place on bottom of Oreo cookie. Seal edges together by pressing and cupping in hand until Oreo cookie is enclosed with dough.
  4. Place onto parchment or silpat lined baking sheet and bake cookies 11 minutes or until cookies are baked to your liking.
  5. Let cool for 5 minutes before transferring to a cooling rack.
Notes
Adapted from: Picky Palate

Chocolate York Peppermint Pattie Cookies

My Dad is a HUGE York Peppermint Pattie fan. When he fills his car up with gas, he’ll run into the gas station to buy a peppermint patty. It’s also a tradition for him to buy a York Peppermint Pattie at the grocery store when he’s checking out at the register.  If you sit in his car, you may even see a few leftover wrappers. 🙂
So, when I saw that Two Peas and Their Pod had a recipe for chocolate cookies stuffed with peppermint patties, I couldn’t wait to try them! Lucky for me, it’s been a lovely, lazy Sunday afternoon with Matt on the couch watching football and me in the kitchen cooking. I’m already preparing for our Christmas Eve dinner so I don’t have to do everything tomorrow… much less stressful!
At tomorrow’s dinner in addition to these yummy, creamy peppermint patty-filled cookies, we’ll be having ham, garlic mashed potatoes, green beans, citrus salad with orange vinaigrette, parker house rolls, strawberry Santas, crock pot mac and cheese, chocolate icebox pie, AND beans and cornbread – Matt’s favorite and a Douglas family favorite. Guess I better get back in the kitchen because my list is pretty long!
Enjoy the chocolate York peppermint patty cookies, the holiday season, and spending time with your family! 
Cream butter and sugars. Add eggs and vanilla.
Whisk together flour, baking soda, salt and cocoa. 
Gradually add flour mixture and beat until flour disappears.
Unwrap York Peppermint Patties.
Flatten cookie dough and place a peppermint patty in the center.
Wrap excess dough around the patty.
Bake for 8-10 minutes in a 350 degree F oven.
Cool completely. 
Dust with powdered sugar.

Chocolate York Peppermint Patty Cookies
Ingredients
2 1/2 cups all-purpose Gold Medal flour
1 tsp. baking soda
1/4 tsp. salt
3/4 cup Dutch processed cocoa
1 cup unsalted butter, at room temperature
1 cup granulated sugar
1 cup light brown sugar
2 large eggs
1 tsp. vanilla extract
30 peppermint patties
Powdered sugar, for decorating the cookies

Directions
1. Preheat oven to 350 degrees F. Line baking sheet with parchment paper or Silpat baking mat. Set aside.
2. In a medium bowl, whisk together flour, baking soda, salt and cocoa. Set aside.
3. With a mixer, cream butter and sugars together until smooth. Add in eggs, one at at time. Next, add in vanilla and mix until combined.
4. Gradually add flour mixture and beat until flour disappears. Take a golf ball sized ball of dough, roll into a ball, and flattened it into a disc. Place a peppermint patty in the center and wrap the excess dough up and around the patty (you may want to grease your hands). Make sure the entire patty is covered. Repeat with remaining dough and place on prepared baking sheet, about 2 inches apart.
5. Bake cookies for 8-10 minutes, or until cookies are set, but still soft in the center. Remove from oven and let sit on baking sheet for 3 minutes. Move to a cooking rack and cool completely.  Dust the cookies with powdered sugar.

Yield: 30 cookies
Recipe from: Two Peas and Their Pod

Tracy’s Healthy Cookies

Trying to stay slim during the holidays? Well the good news is you can with these healthy cookies that my neighbor Tracy made.
The ingredient list for these is long, but well worth it since you’re feeding your body wholesome food. As a former Michigan State swimmer, Tracy likes to eat healthy and treats herself to one of these cookies as a post-workout snack…. we have a lot in common!
Matt and I are lucky to have such nice neighbors bringing us over food. We both loved Tracy’s cookies and I’ll be sure to make them soon! 

Tracy’s Healthy Cookies
Ingredients
4 Tbsp. butter (melted)
2/3 cup organic brown sugar
1/2 cup unsweetened applesauce
2 eggs
2/3 cup sucanat
1 Tbsp. vanilla extract
a squirt of agave nectar
1 cup dried prunes (14)
1 cup dried figs (8-10)
1 cup dried cranberries
1 cup dates (12)
1 cup pecans
1 cup walnuts
1 cup almonds
2/3 cup brown rice flour
1 tsp. baking soda
1 Tbsp. cinnamon
1 cup golden raisins
3-4 cups whole oats
1 1/2 cups coconut

Directions
1. Preheat oven to 325 degrees F. Line cookie sheet with parchment paper.
2. Using a stand mixer, mix the first six ingredients (through agave nectar) together.
3. Using a food processor, blend he dried fruit (through the dates) to make a paste-like consistency.
4. In a blender, blend the nuts (pecans, walnuts and almonds) until nice and smooth.
5. Add the dried fruit and blended nuts to egg mixture using the stand mixer. Mix until combined. You may have to fold the ingredients in by hand…. the mixture will be pretty thick!
6. To the stand mixer, add the remaining ingredients until well combined.
7. Use an ice-cream scoop to make perfect sized cookies and dropped onto parchment-lined cookie sheet. Flatten with your fingers, dipped in water. (The cookies will not change in size once you form them.) Bake for 20-22 minutes with one rotation from rack to rack and spin them around – so they bake evenly.

Yield: about 25 big cookies
Recipe from: my neighbor Tracy

Congo Bars

Can’t decide between a brownie, blondie or cookie? If you want something sweet that combines the flavors of all three of your favorite sweets, they you’ve got to give these these dessert bars at try.  
While officially named “Congo Bars”, you could call them cookies…or brownies….or even brookies! Whatever the name you choose, they are good. My sister and mom made these a while ago for the mens cross country team at Oklahoma State. I don’t remember even getting to try one because the pan was empty. At least they didn’t go to waste. 🙂
Anyways, happy cooking and enjoy your Saturday!
Make the congo layer. Let cool completely.
Make the brownie layer. Cool completely.
Make the chocolate glaze and drizzle over cooled brownie layer.
Let the glaze set, then cut into squares.

Congo Bars
Ingredients
CONGO LAYER
1 1/3 cups (6 1/4 oz.) all-purpose flour
1 1/4 tsp. baking powder
1/4 tsp. salt
3 oz. (3/4 stick) unsalted butter, melted and cooled
1 1/4 cups firmly packed (8 oz.) light brown sugar
1 large egg
1 large egg white
1 tsp. pure vanilla extract
1 cup (4 oz.) chopped walnuts

BROWNIE LAYER
1 cup plus 2 Tbsp. (5 oz.) all-purpose flour
1/4 cup (3/4 oz.) unsweetened dutch processed cocoa powder
1/8 tsp. baking powder
1/4 tsp. salt
4 oz. (1 stick) unsalted butter
4 oz. unsweetened chocolate, coarsely chopped
1 1/3 cups (9 1/4 oz.) granulated sugar
2 large eggs, lightly beaten
1 large egg yolk
2 tsp. pure vanilla extract

CHOCOLATE GLAZE
3 oz. semisweet or bittersweet chocolate, finely chopped
3 Tbsp. heavy cream

Directions
1. Preheat oven to 350 degrees F. Lightly butter and flour a 9 x 13-inch baking pan. Tap out the excess flour.
2. To make Congo Layer: Sift together the flour, baking powder, and salt onto a sheet of waxed paper; set aside. In a large bowl, stir together the butter, brown sugar, egg, egg white, and vanilla just until blended. Stir in the flour mixture just until the batter is smooth.
3. Scoop the thick, sticky batter onto 8 or 9 different areas on the bottom of the prepared pan. With an offset spatula, spread the batter to cover the pan as evenly as possible. Sprinkle the walnuts evenly on top and gently press them into the batter.
4. Partially bake the layer until it is no longer shiny on top and is beginning to come away from the sides of the pan, about 20 minutes. Transfer the pan to a wire rack to cool while you prepare the Brownie layer.
5. To make the Brownie Layer: Sift together the flour, cocoa powder, baking powder and salt onto a sheet of waxed paper; set aside. In a small, heavy saucepan, melt the butter and chocolate over very low heat, stirring with a silicone spatula until smooth. Or, combine in a medium microwave-safe bowl and melt in a microwave oven at 50% power for 30 second bursts, stirring after each burst, until melted, 1 to 1 1/2 minutes. Transfer to a medium bowl and let cool for 5 minutes.
6. Stir the sugar into the chocolate mixture until incorporated. Add the eggs, egg yolk, and vanilla and stir until well blended. Stir in the flour mixture just until the batter is smooth. Scoop the thick, sticky batter onto 8 or 9 different areas of the still warm Congo Layer. With the offset spatula, spread the batter as evenly as possible.
7. Bake the brownie until the top is no longer shiny; appears set; feels firm, rather than soft; and a round wooden toothpick inserted in the center comes out with moist chocolate crumbs attached, about 25 minutes. Transfer the pan to a wire rack and let cool completely.
8. To make the Chocolate Glaze: Place the chocolate in a medium bowl. In a small saucepan, bring the cream just to a boil over medium-low heat. Pour the cream over the chocolate and let it stand for 30 seconds. Whisk together until smooth and creamy. Set the mixture aside at room temperature just until it cools a bit and begins to thicken slightly.
9. Fashion a small cone out of parchment paper and half fill it with the liquid glaze. Snip a small opening at the end of the paper cone to allow a thin flow of glaze. Pipe thin lines of chocolate in a zigzag pattern over the cooled surface of the brownie. Set aside at room temperature until the glaze is set, 1 to 1 1/2 hours.

Yield: 2 to 4 dozen bars, depending on the size
Recipe from: Baking for All Occasions: A Treasury of Recipes for Everyday Celebrations by Flo Braker.