Happy Birthday to my little 2 year old nephew named Bear! Yes, if you are wondering, his name really is “Bear”! For Bear’s 2 year old birthday party, his mom (my sister-in-law, Leah) asked me if I would help her make an Elmo cake and I said yes. How could I pass up an opportunity to bake? Leah had already bought the cake pan, but needed a cake recipe and I had the perfect one….
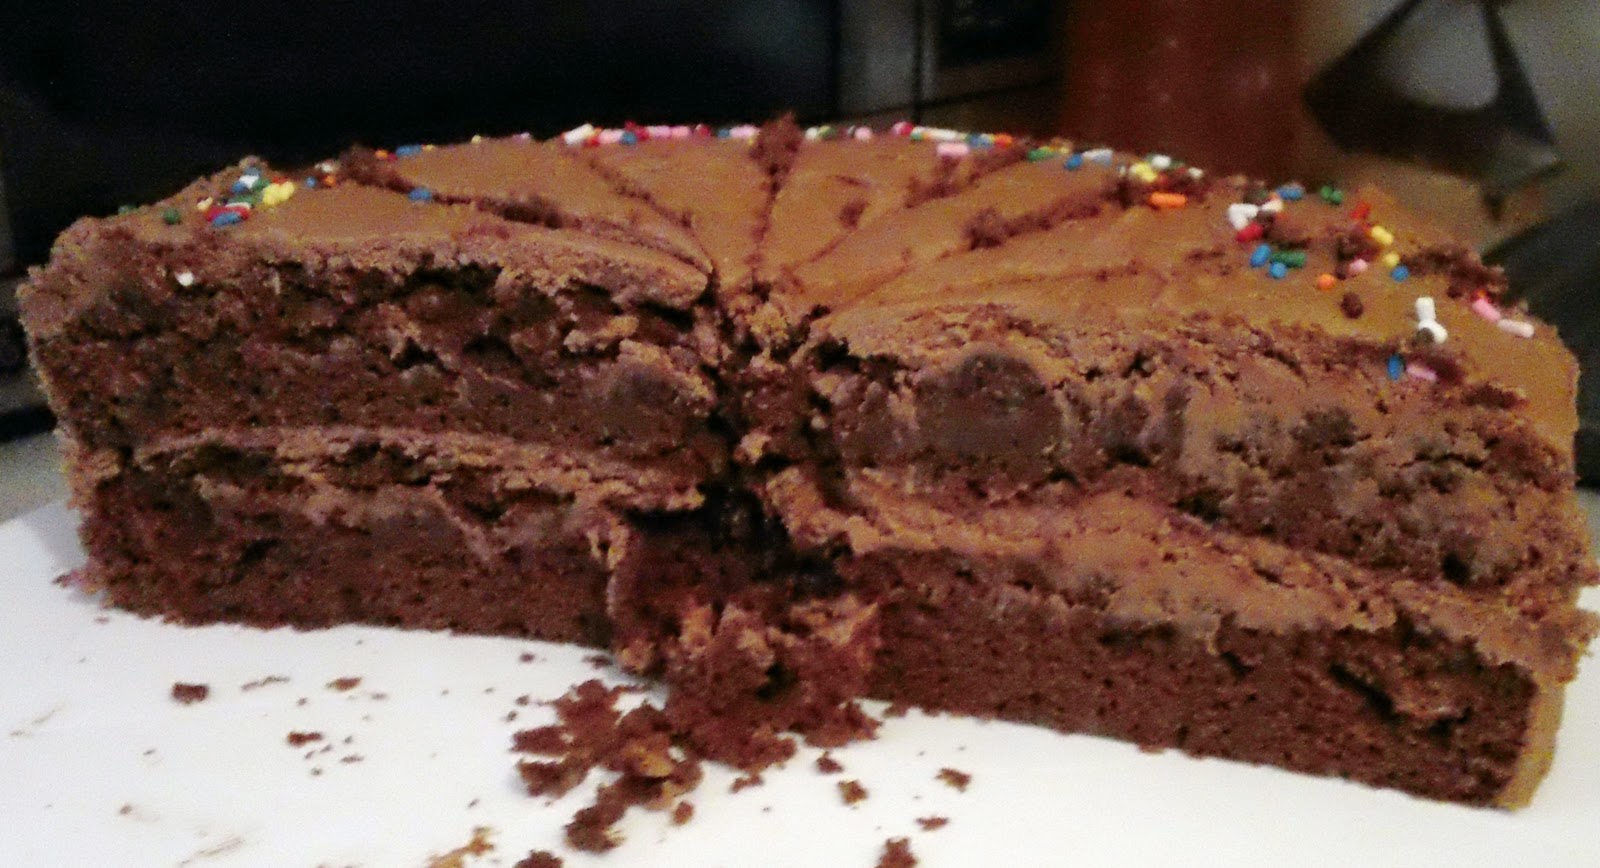
The cake is called “Mrs. Kelm’s Chocolate Cake”, and it is my great aunt Jolene’s recipe that my family and I have used for my sister and I’s birthday cakes ever since I was 3 years old! I remember my mom making me a Barney cake, and a purple ballerina cake, (my sister had a pink ballerina cake). When my mom had finished decorating the cake, she would place it on the ground, and my dad would make my sister and I lie down right next to the cake to take a picture. We probably have 22 years worth of “my cake and me” pictures!
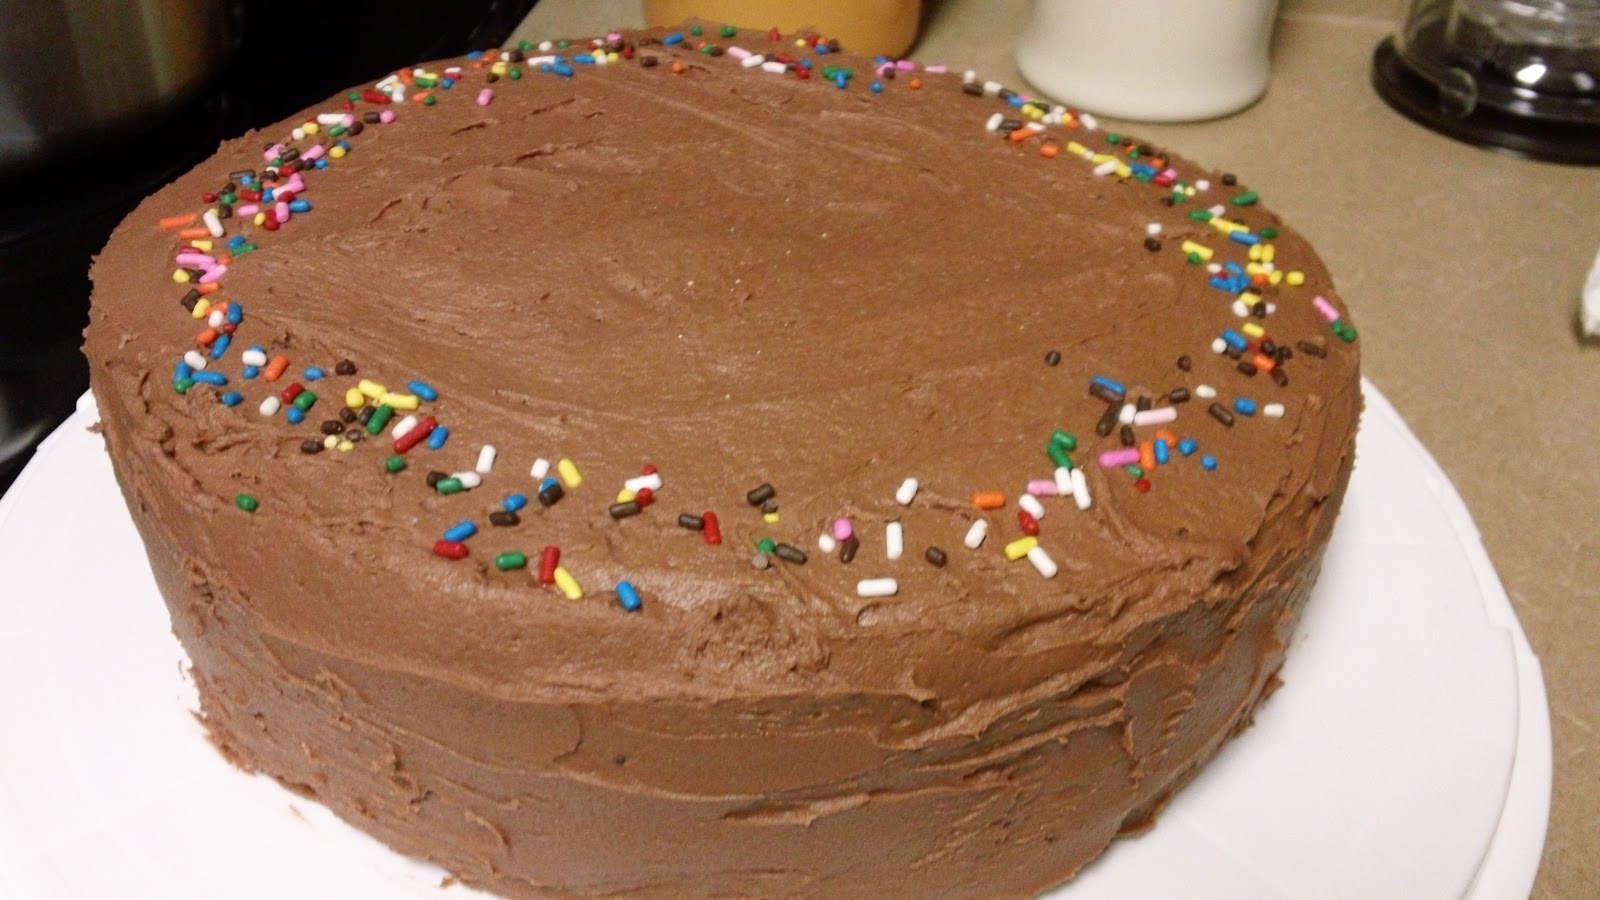
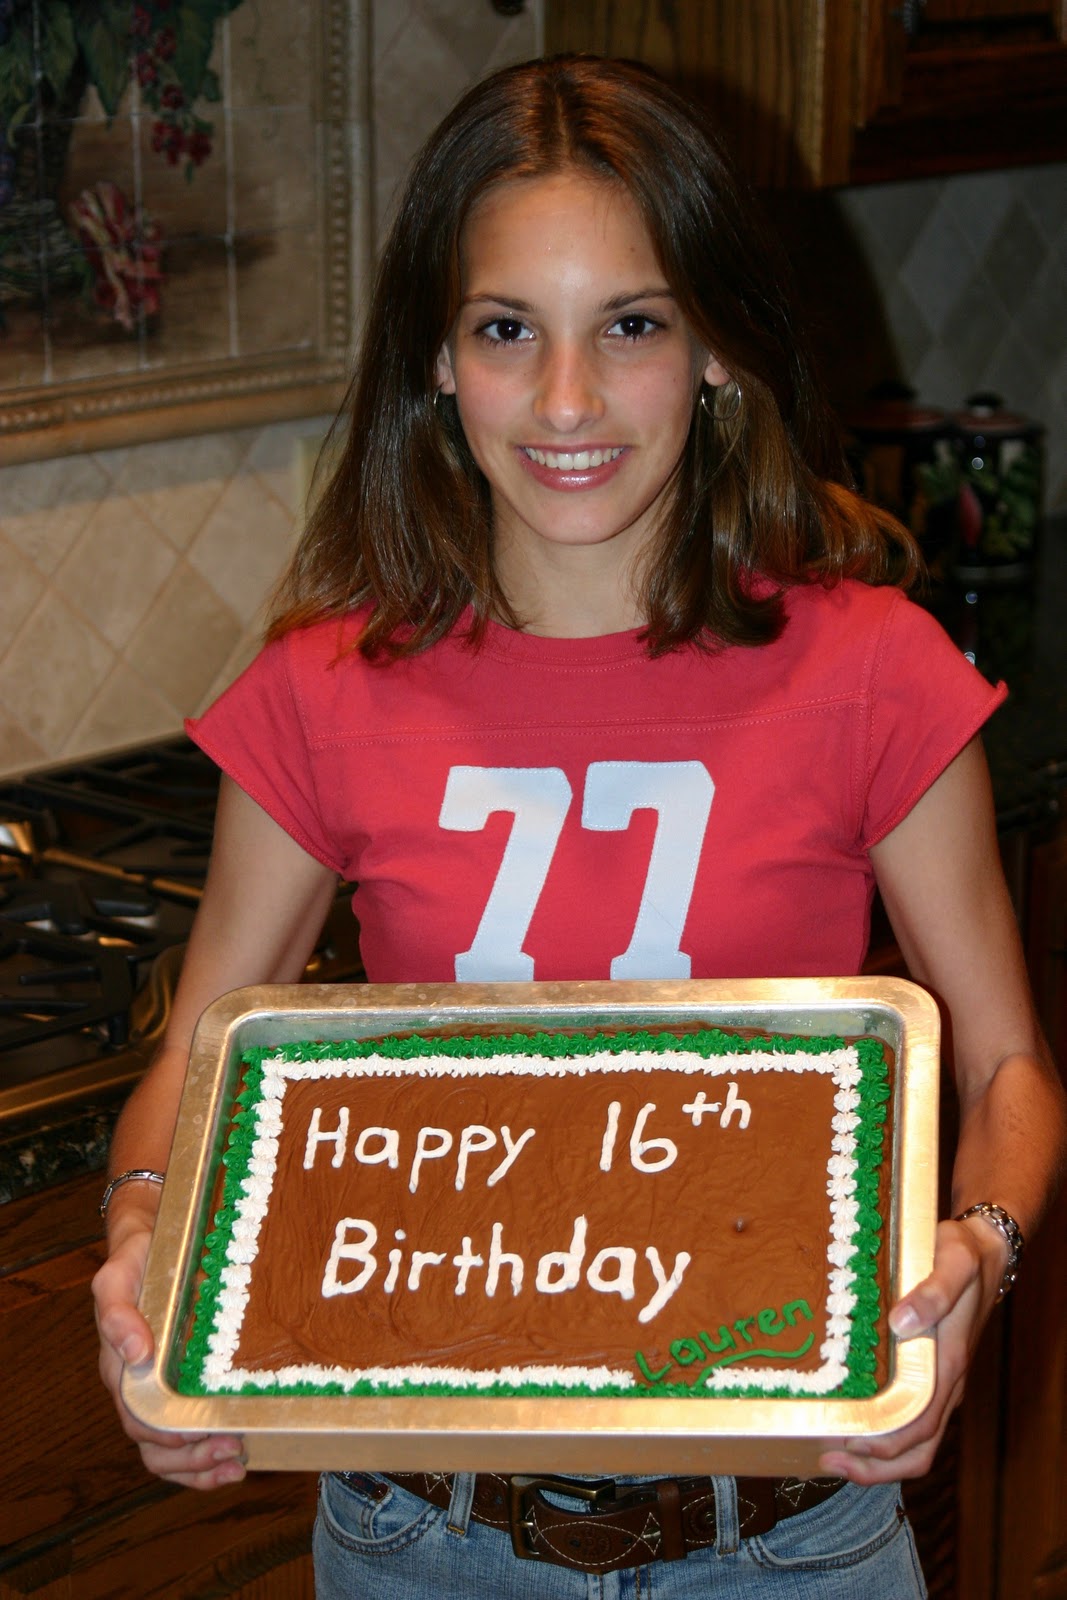
As my sister and I grew older, my mom would still make this cake for us, but instead of making “ballerina” cakes, we just used a regular 9 x 13 inch pan. Then, together, we would decorate the top by just writing “Happy Birthday Lauren or Brittany” and using different colored icing to make pretty flowers. (Here is a picture of me turning 16 years old, holding Mrs. Kelm’s Chocolate Cake.)
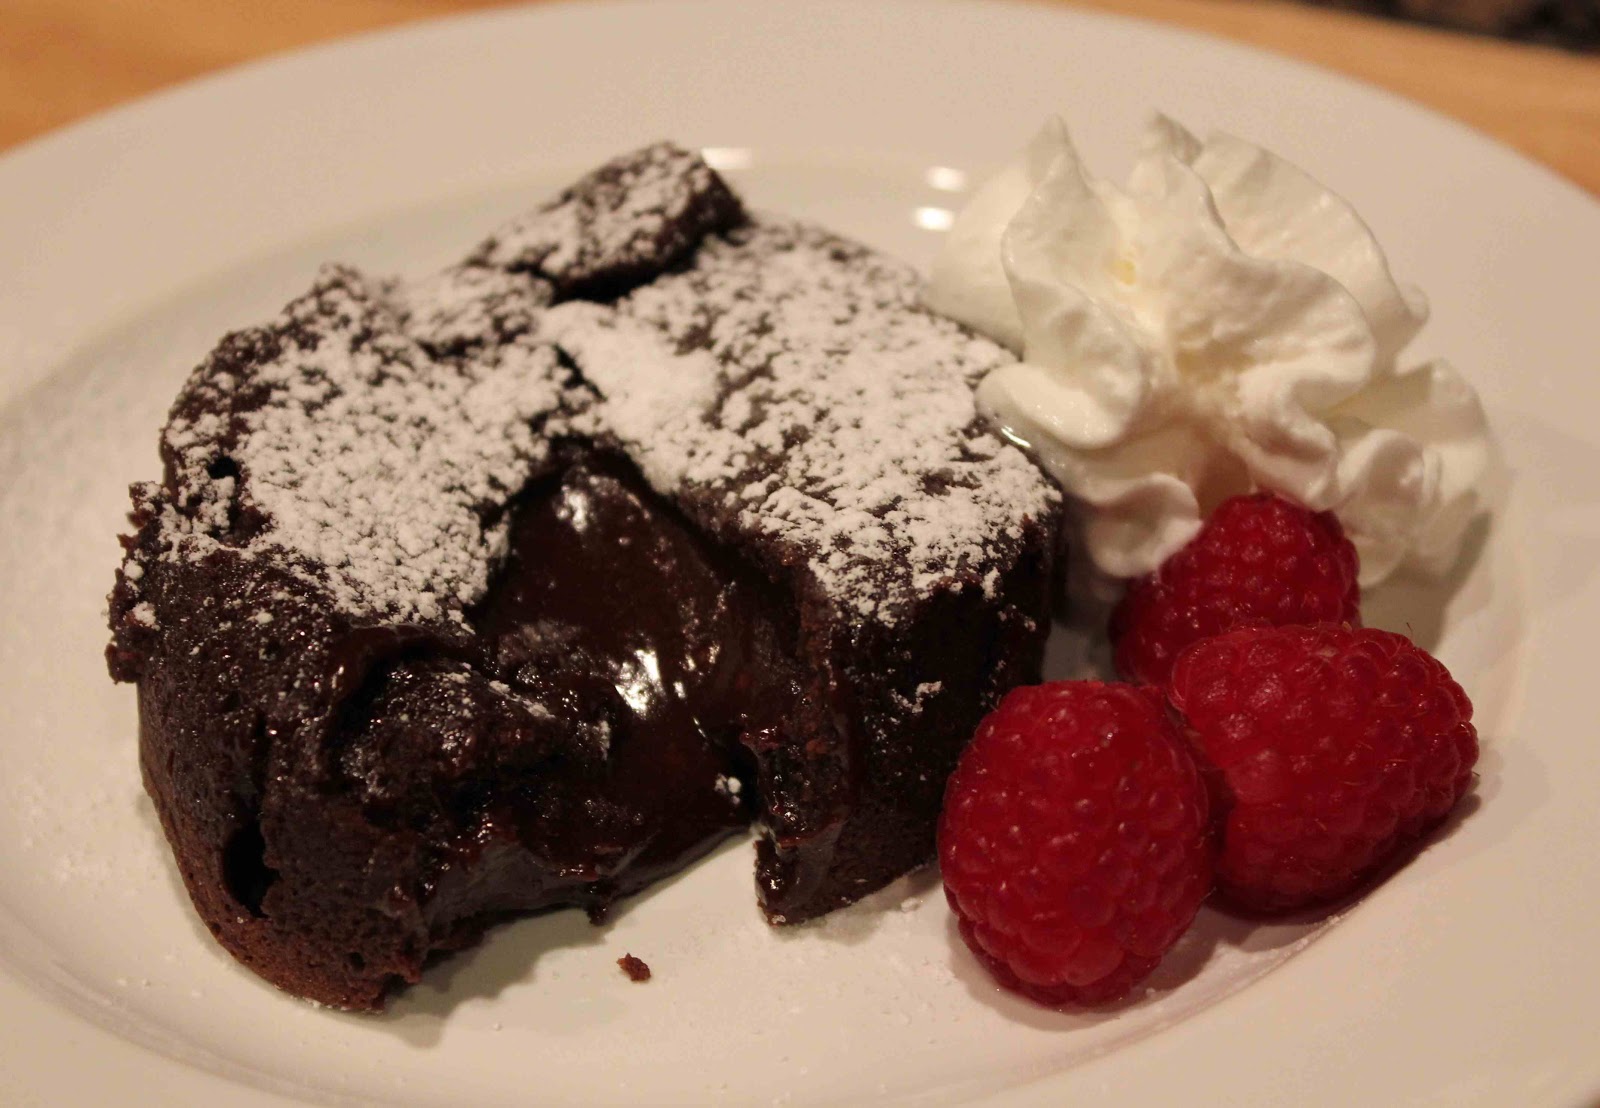
So, that is the story of the “famous” Mrs. Kelm’s Chocolate Cake that is a birthday tradition in our family. I’m excited I got to share that tradition with my sister-in-law, Leah. I wasn’t able to attend Bear’s birthday, but Leah said the cake was a success and it was sooo moist and delicious! Enjoy!
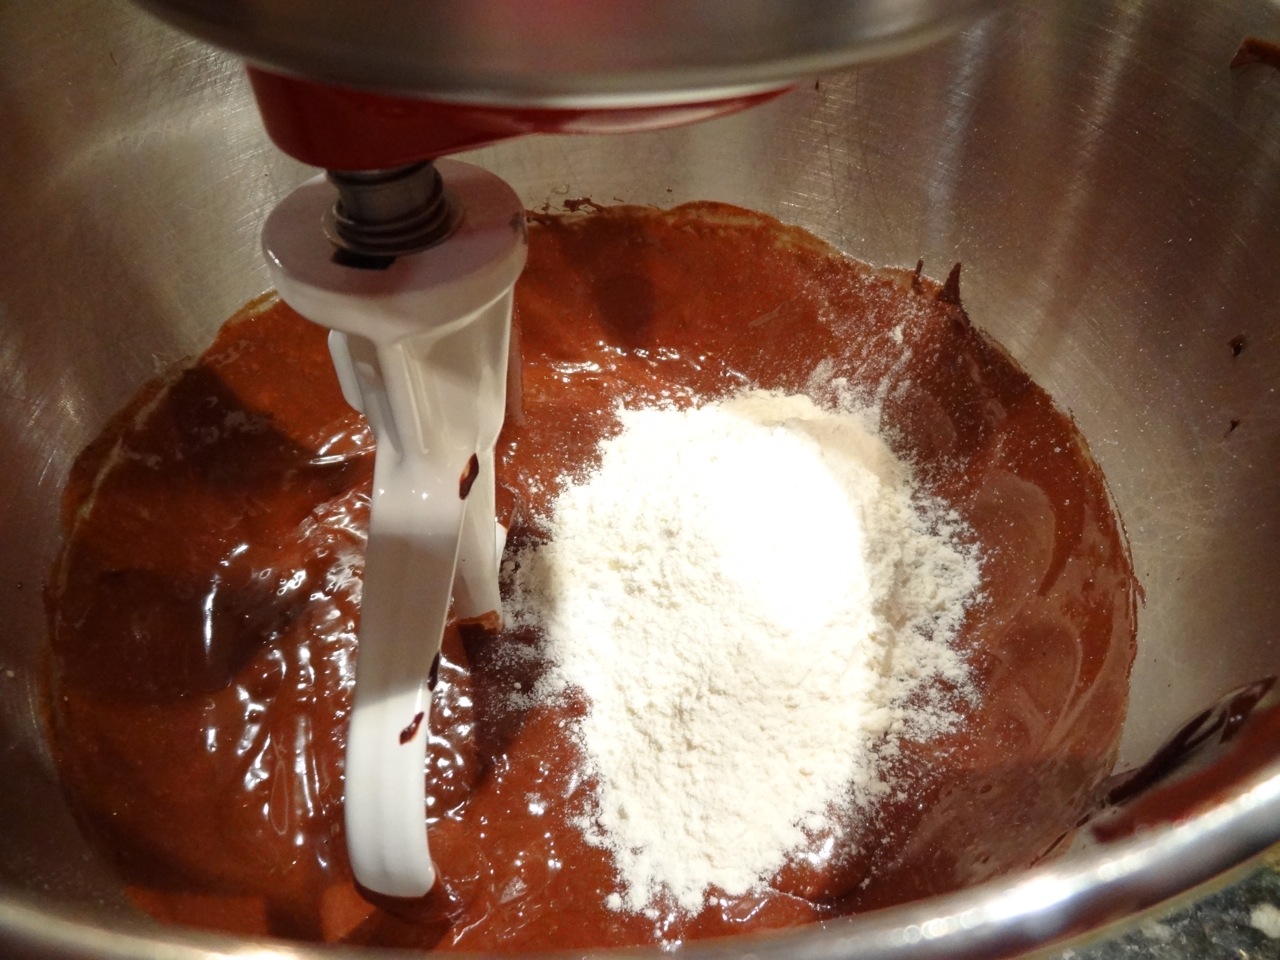
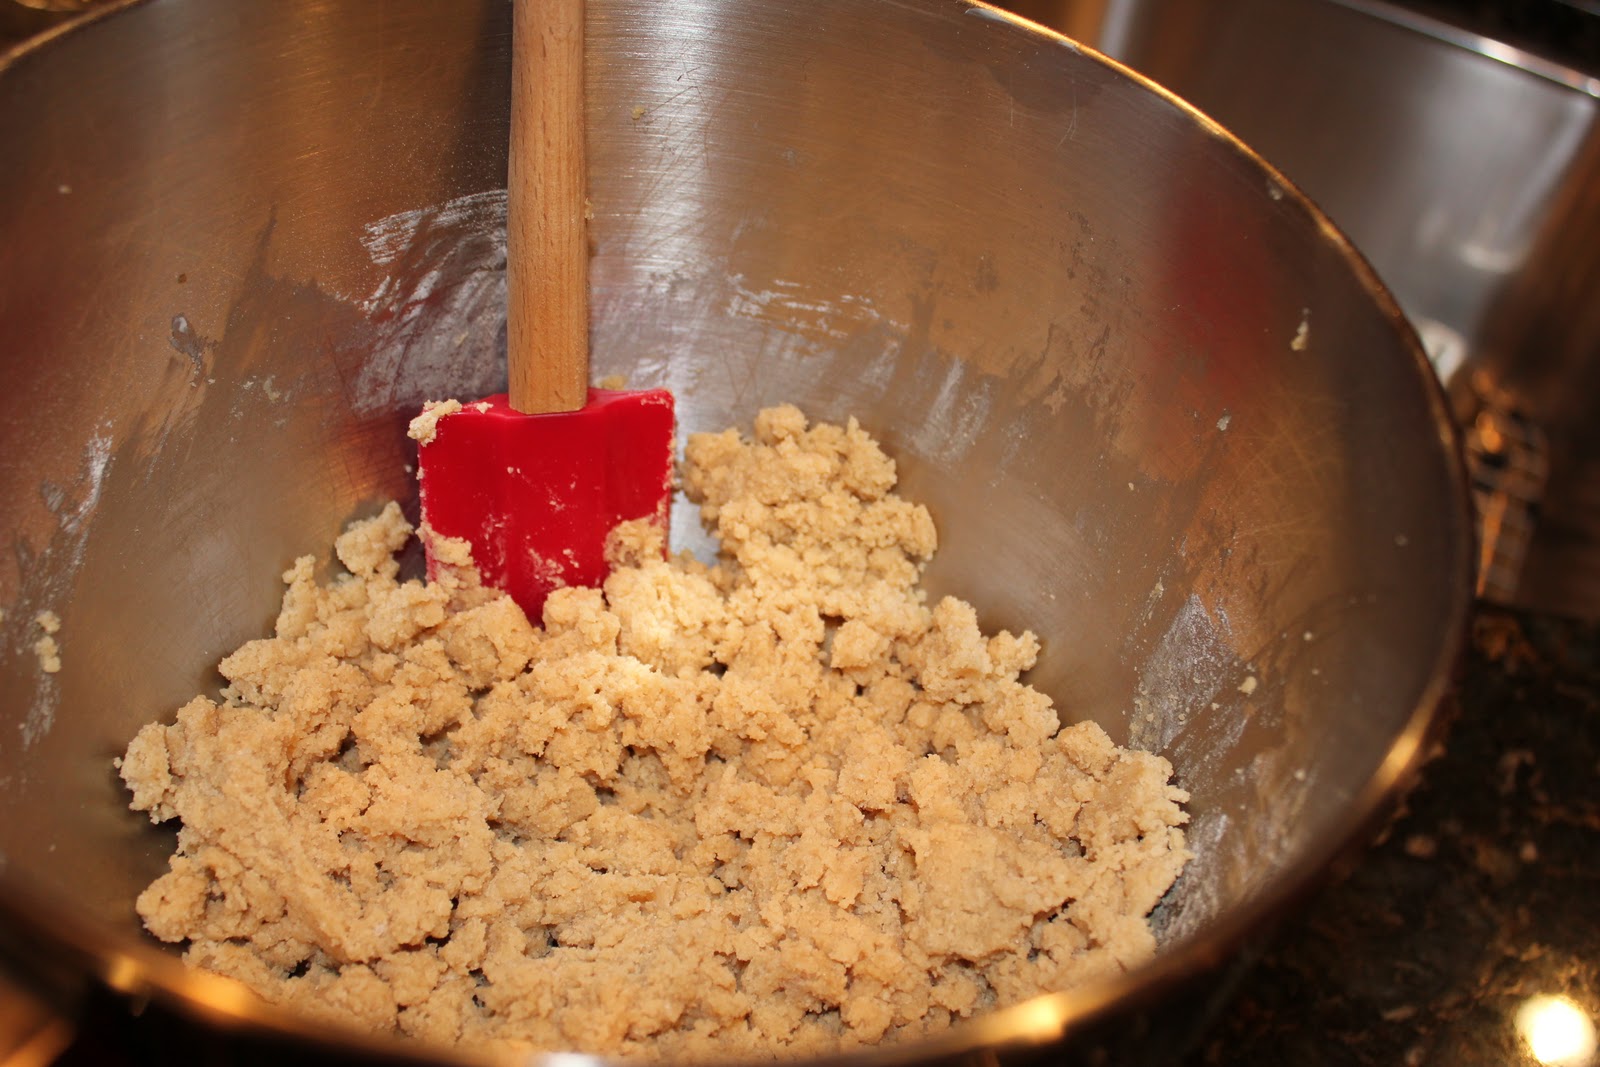
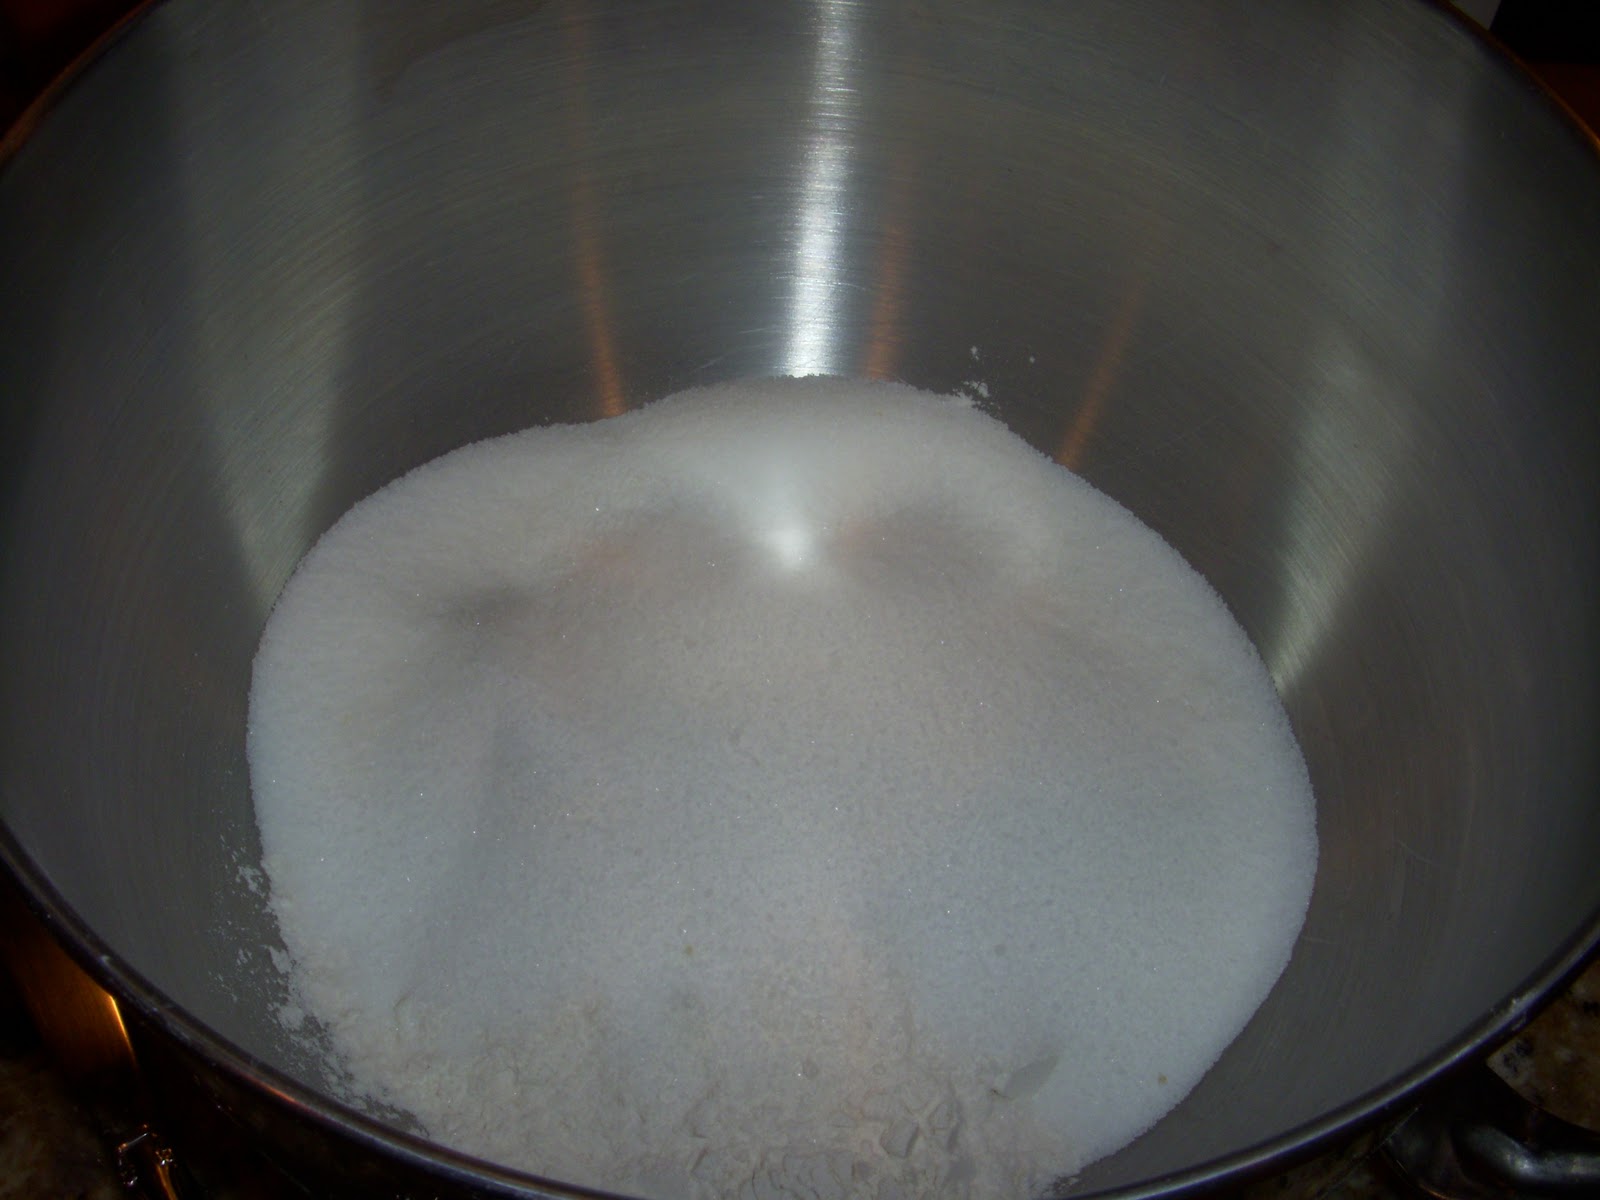
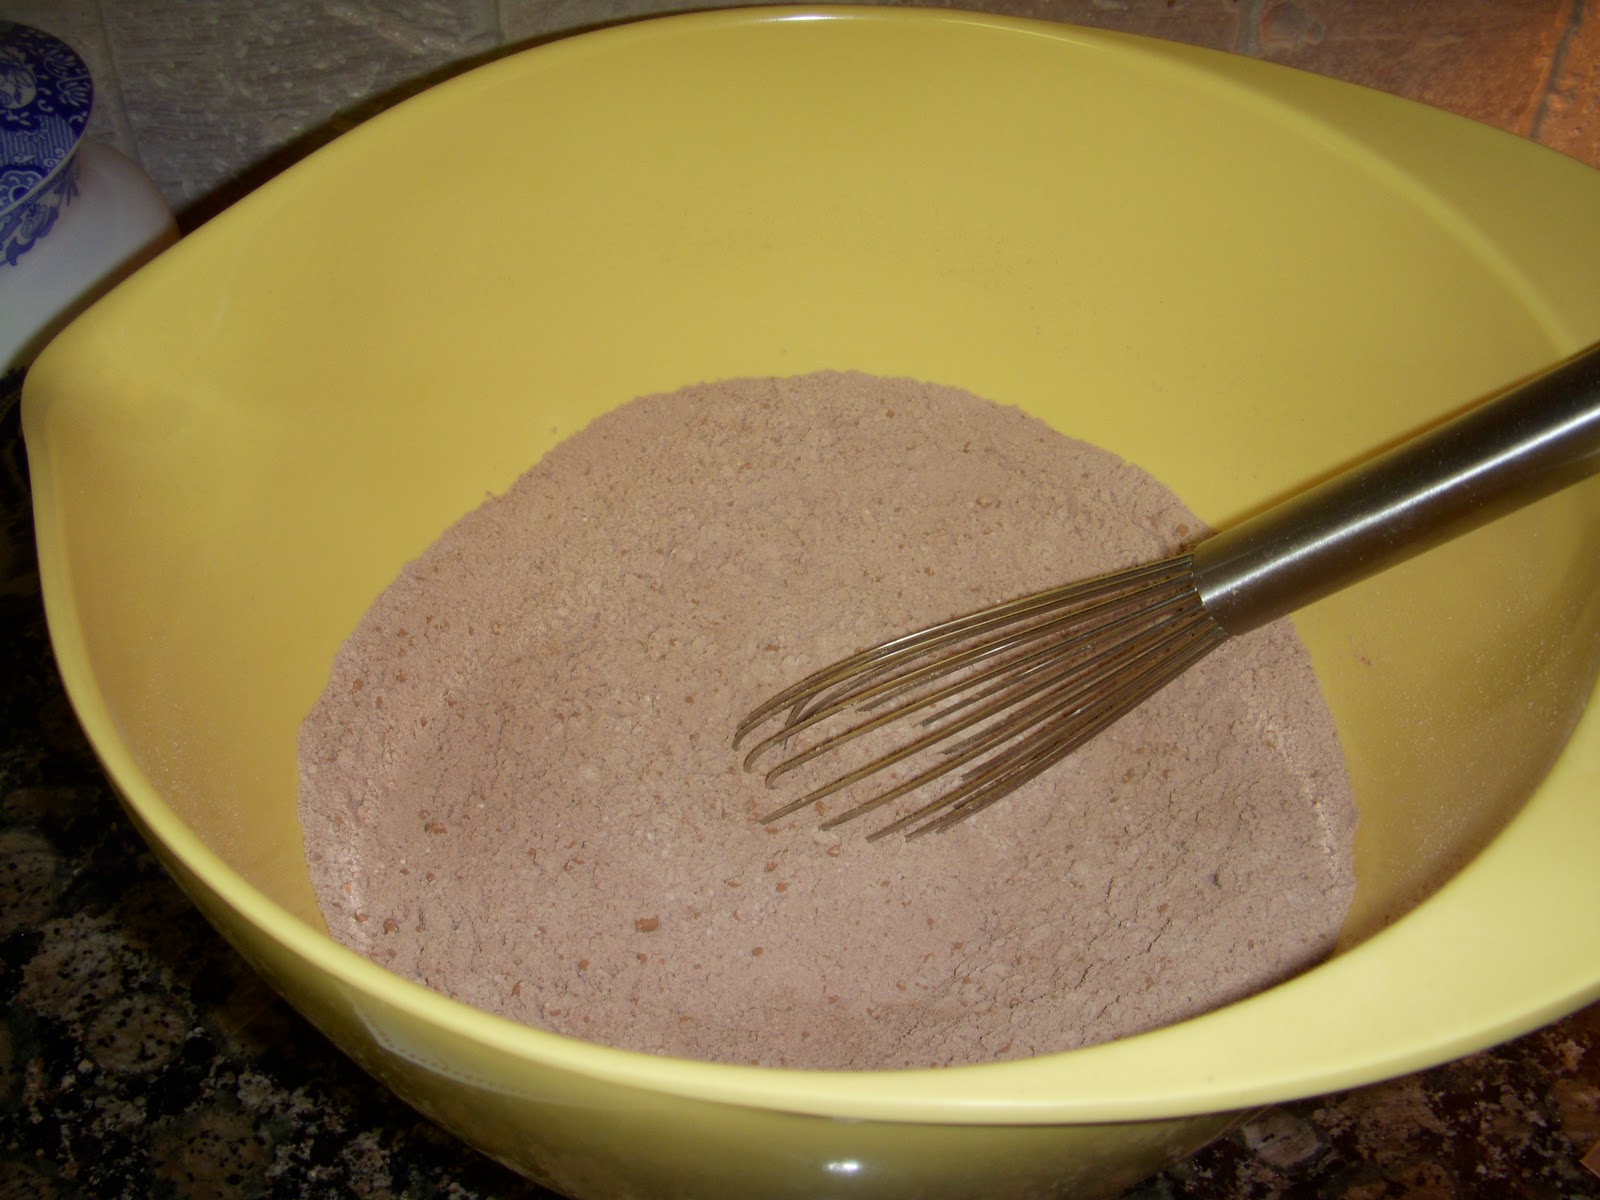
Sift flour, add sugar, and salt, and resift.
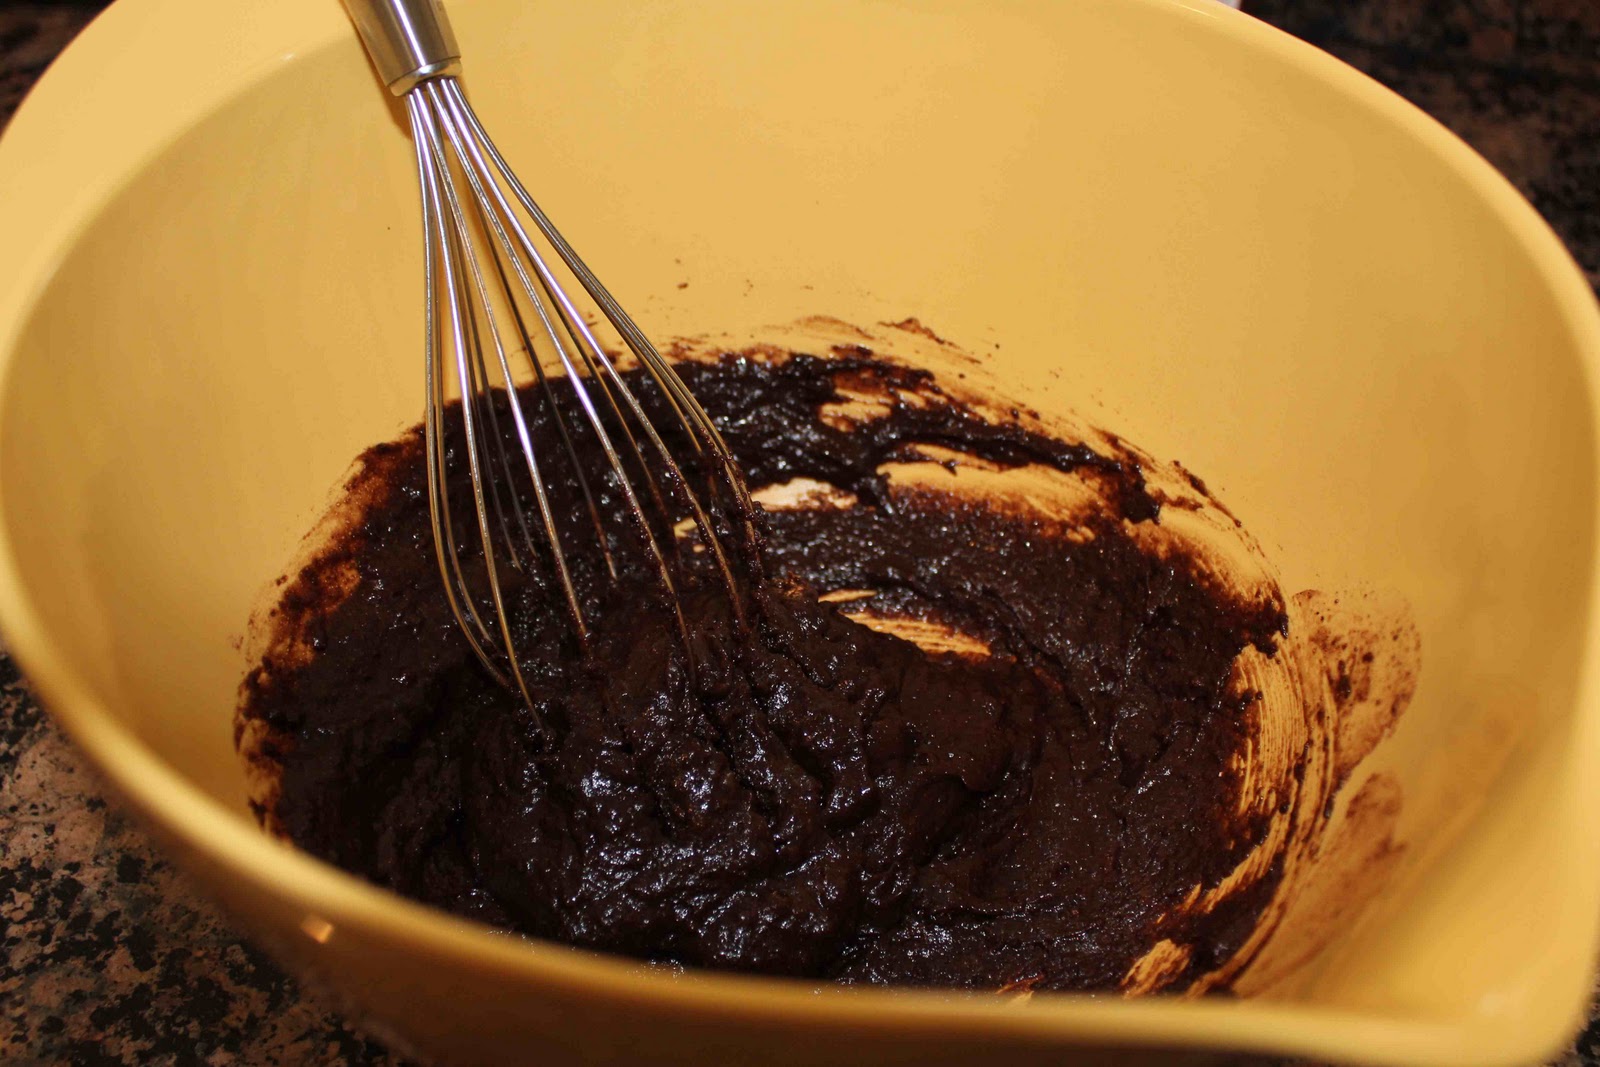
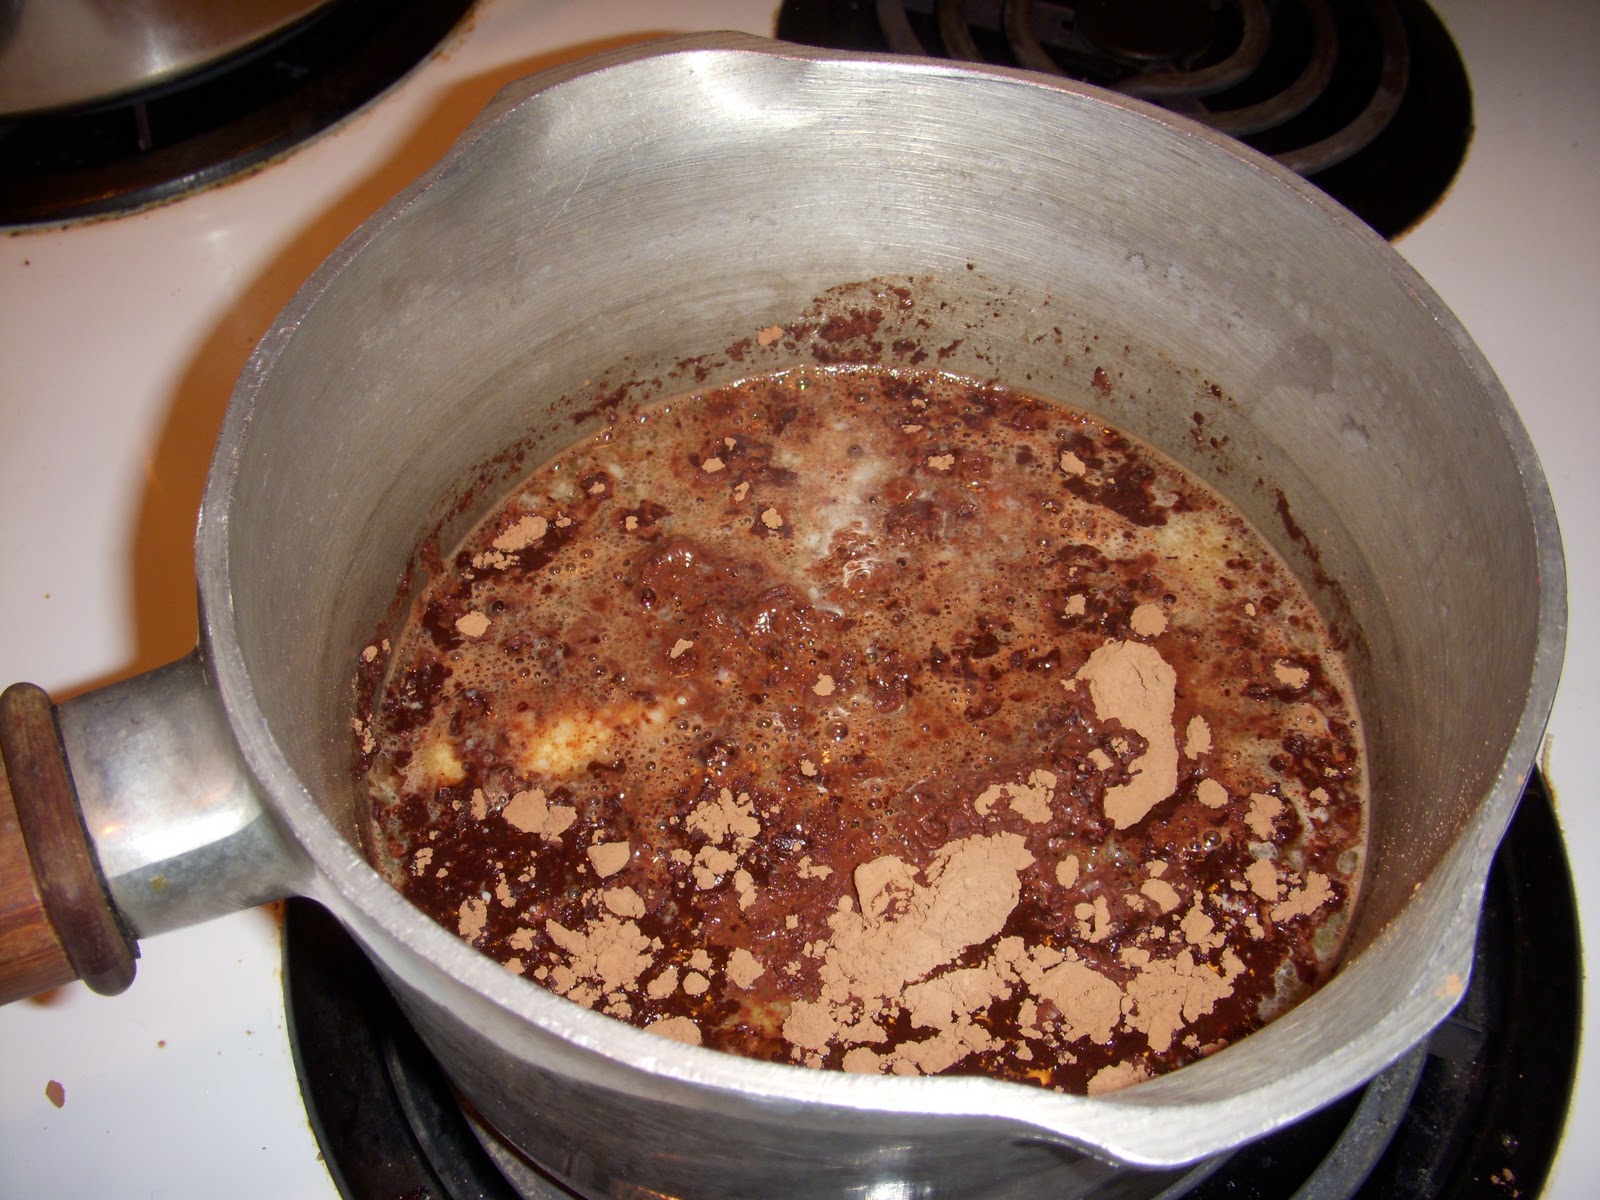
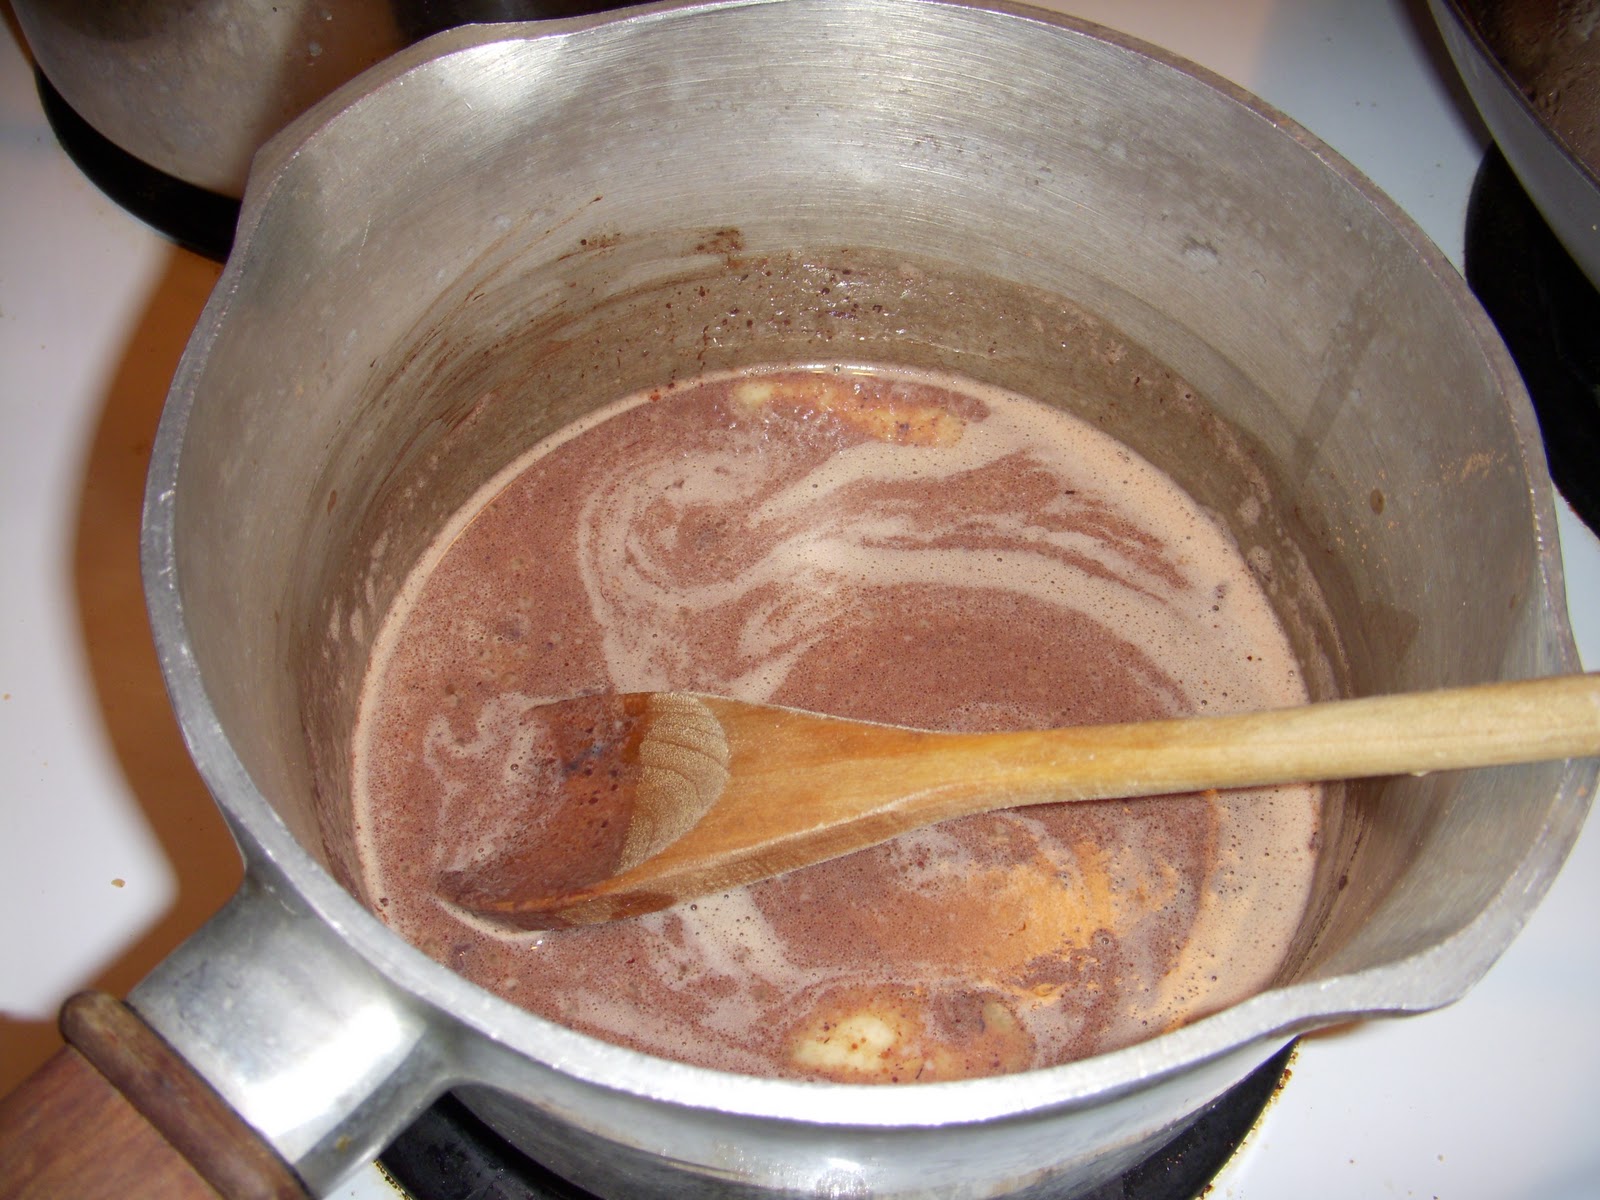
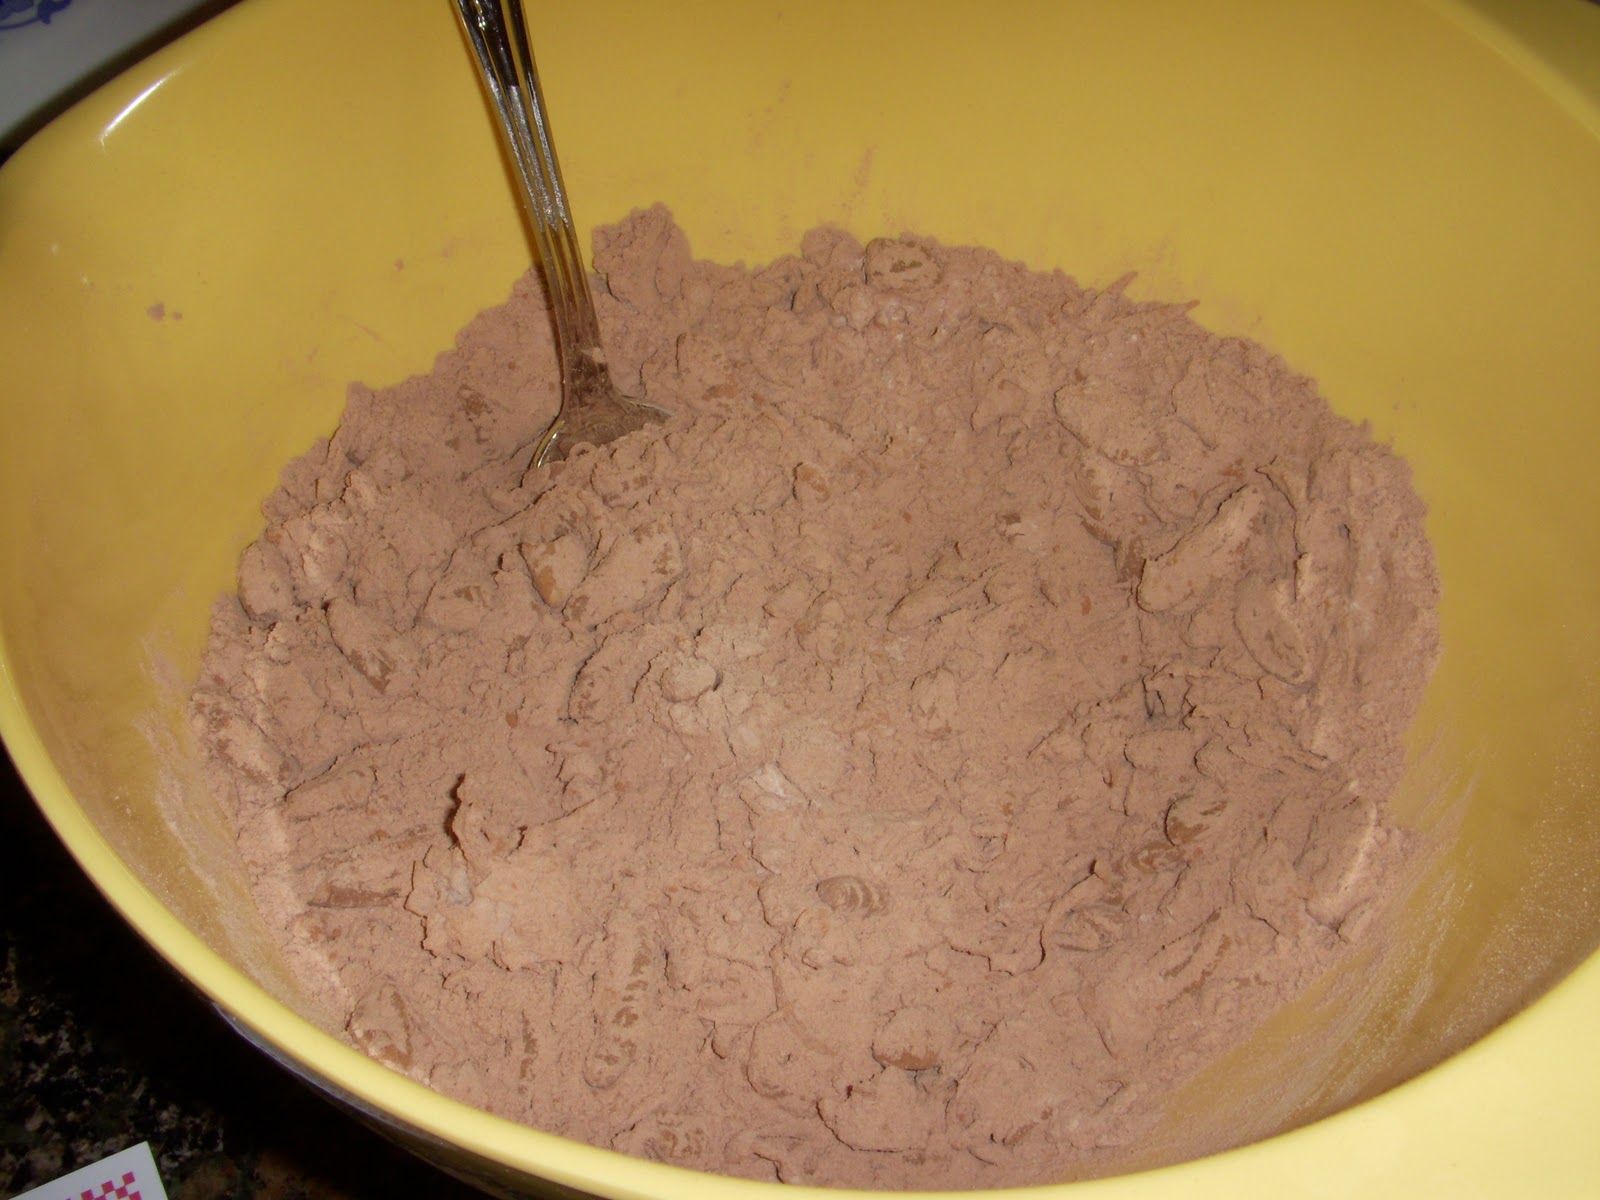
Bring to a boil the cocoa, butter, and water. Pour over flour and sugar mixture.
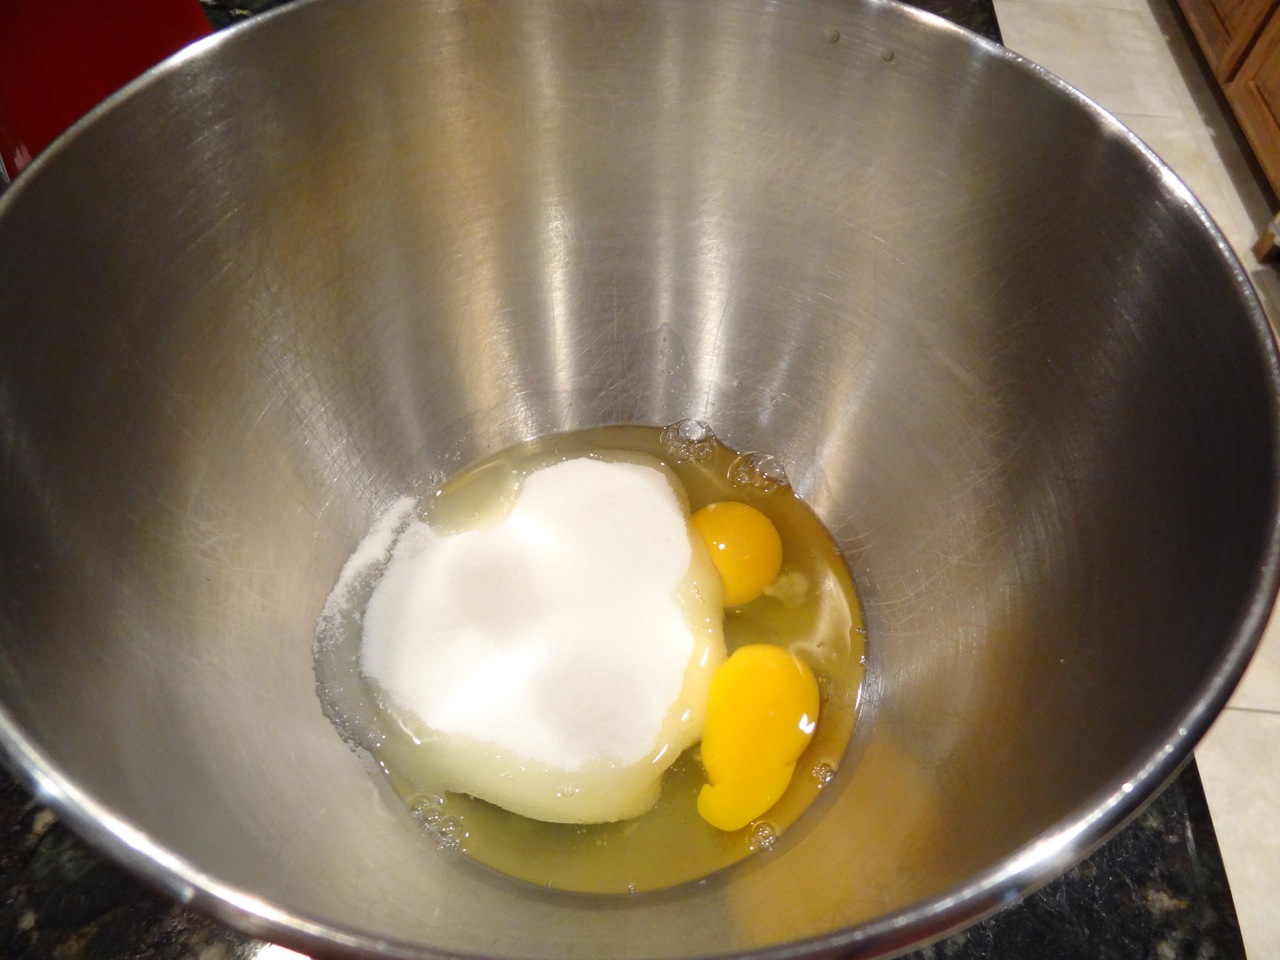
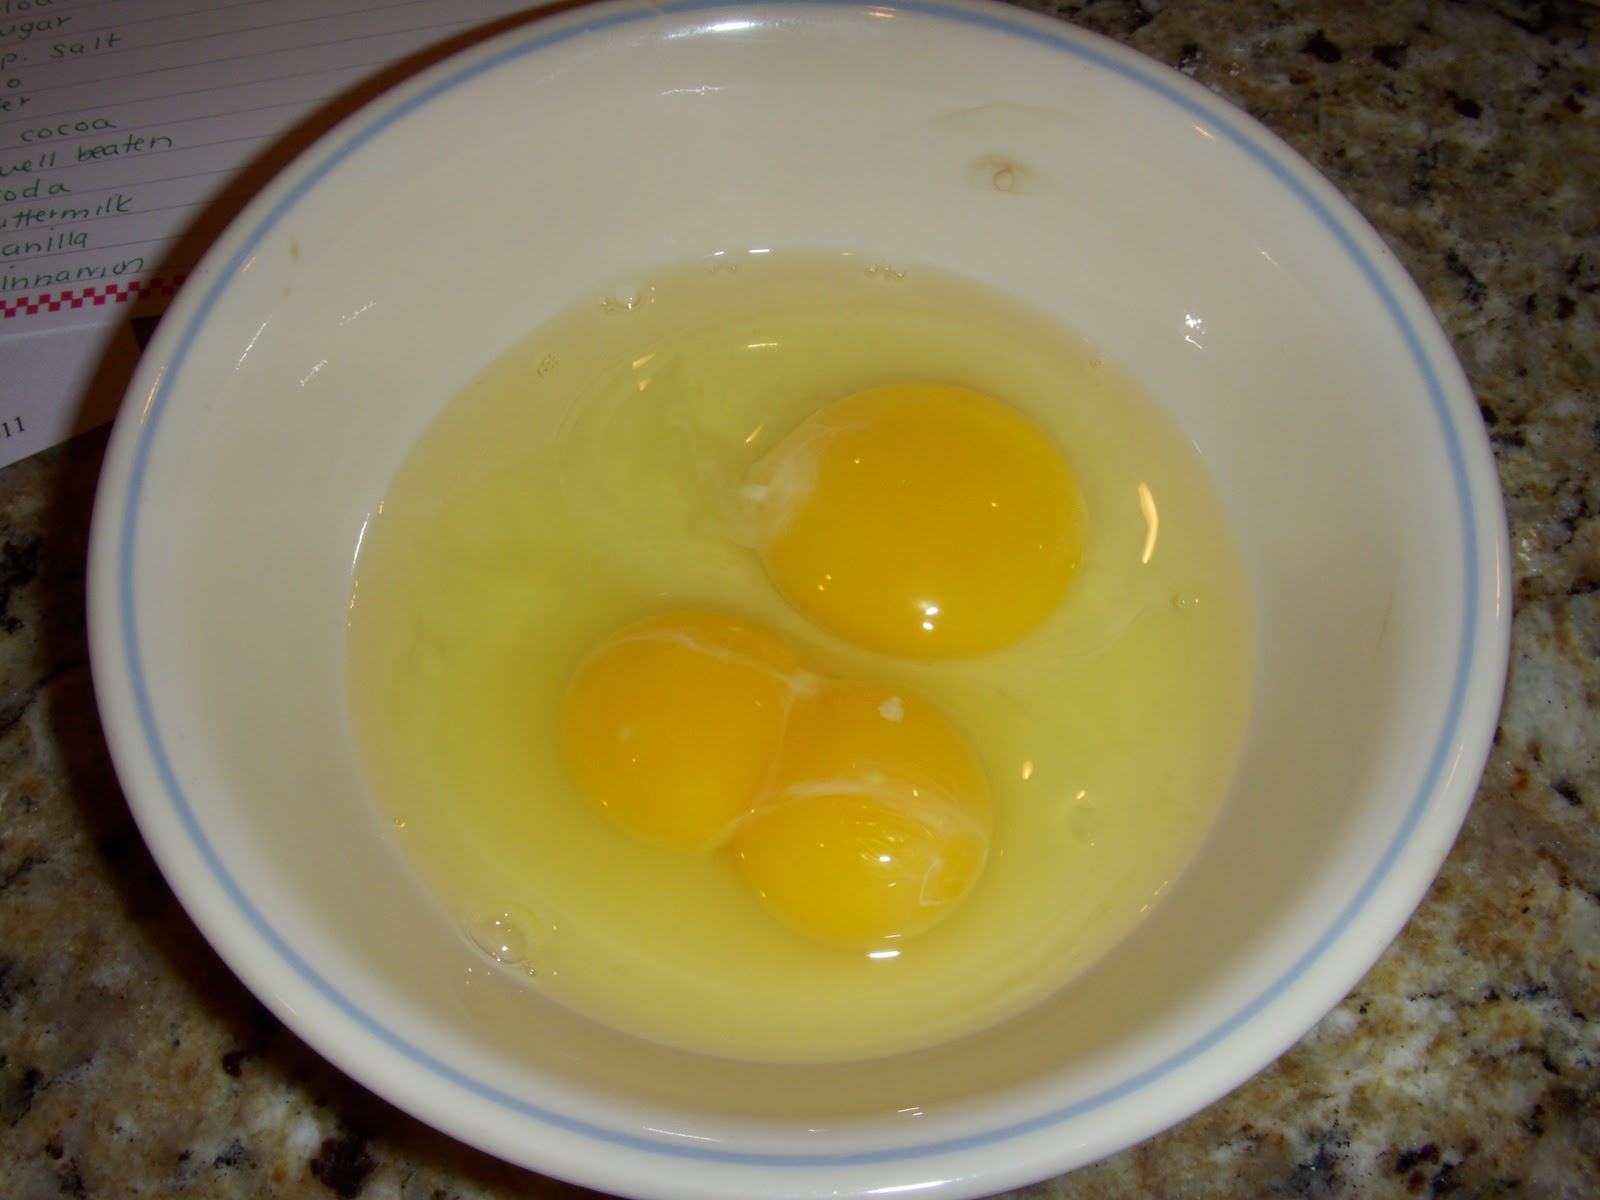
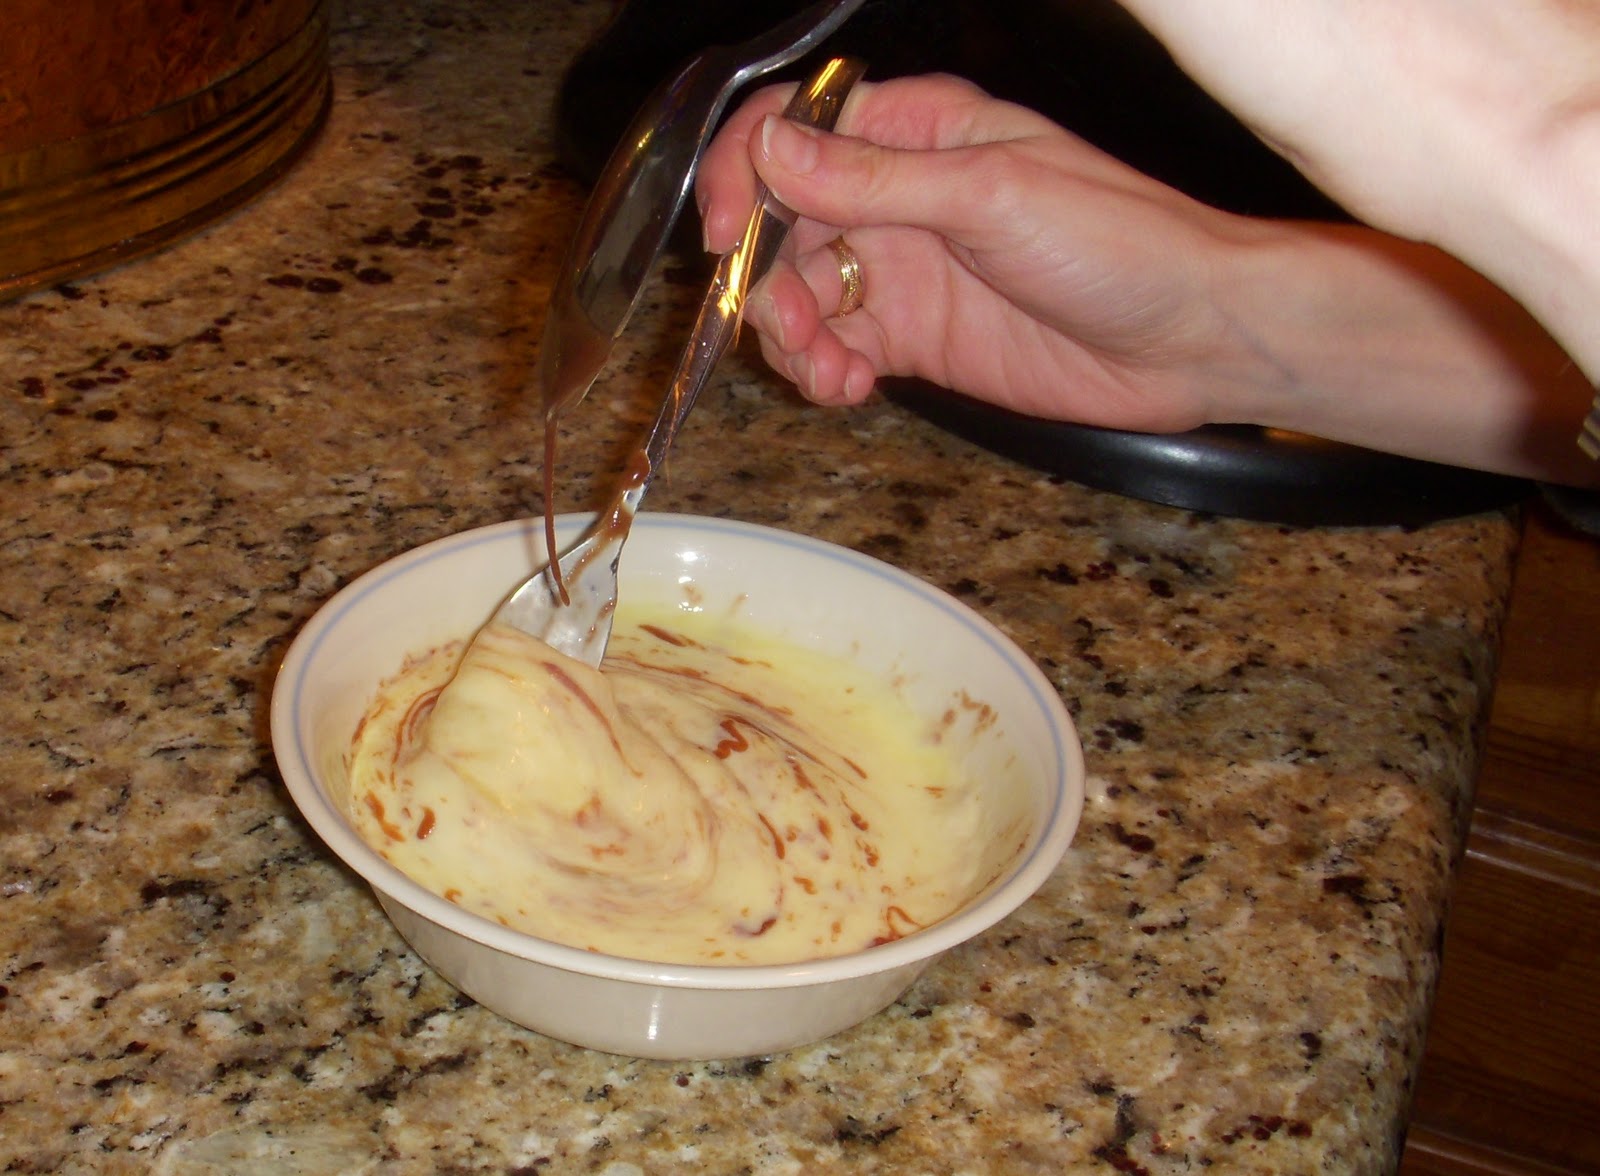
Lightly beat eggs. It calls for two eggs, but when we cracked them, two yolks came out of one egg! Now it looks like we have three!
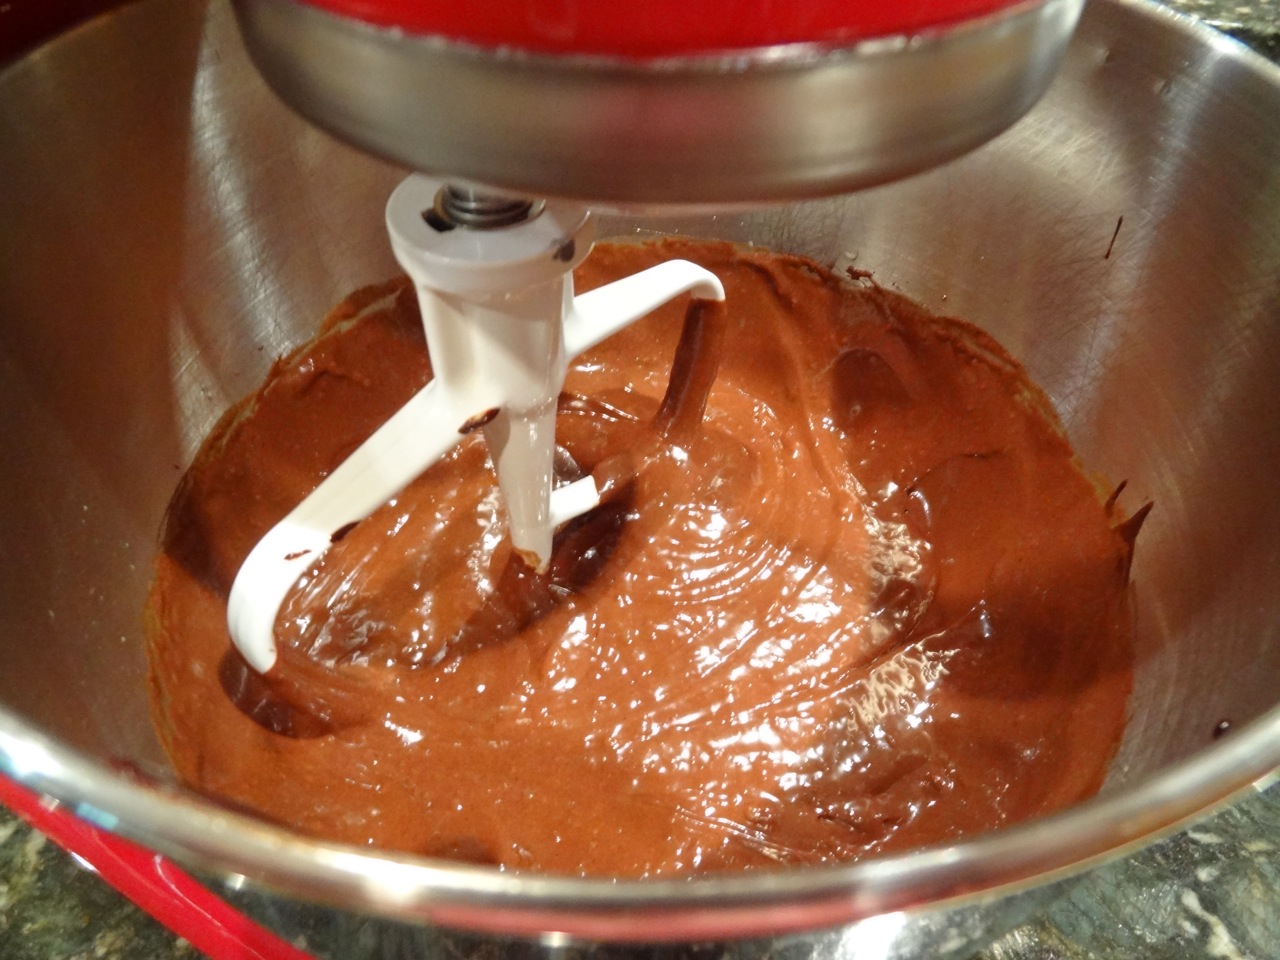
Temper egg with chocolate mixture.

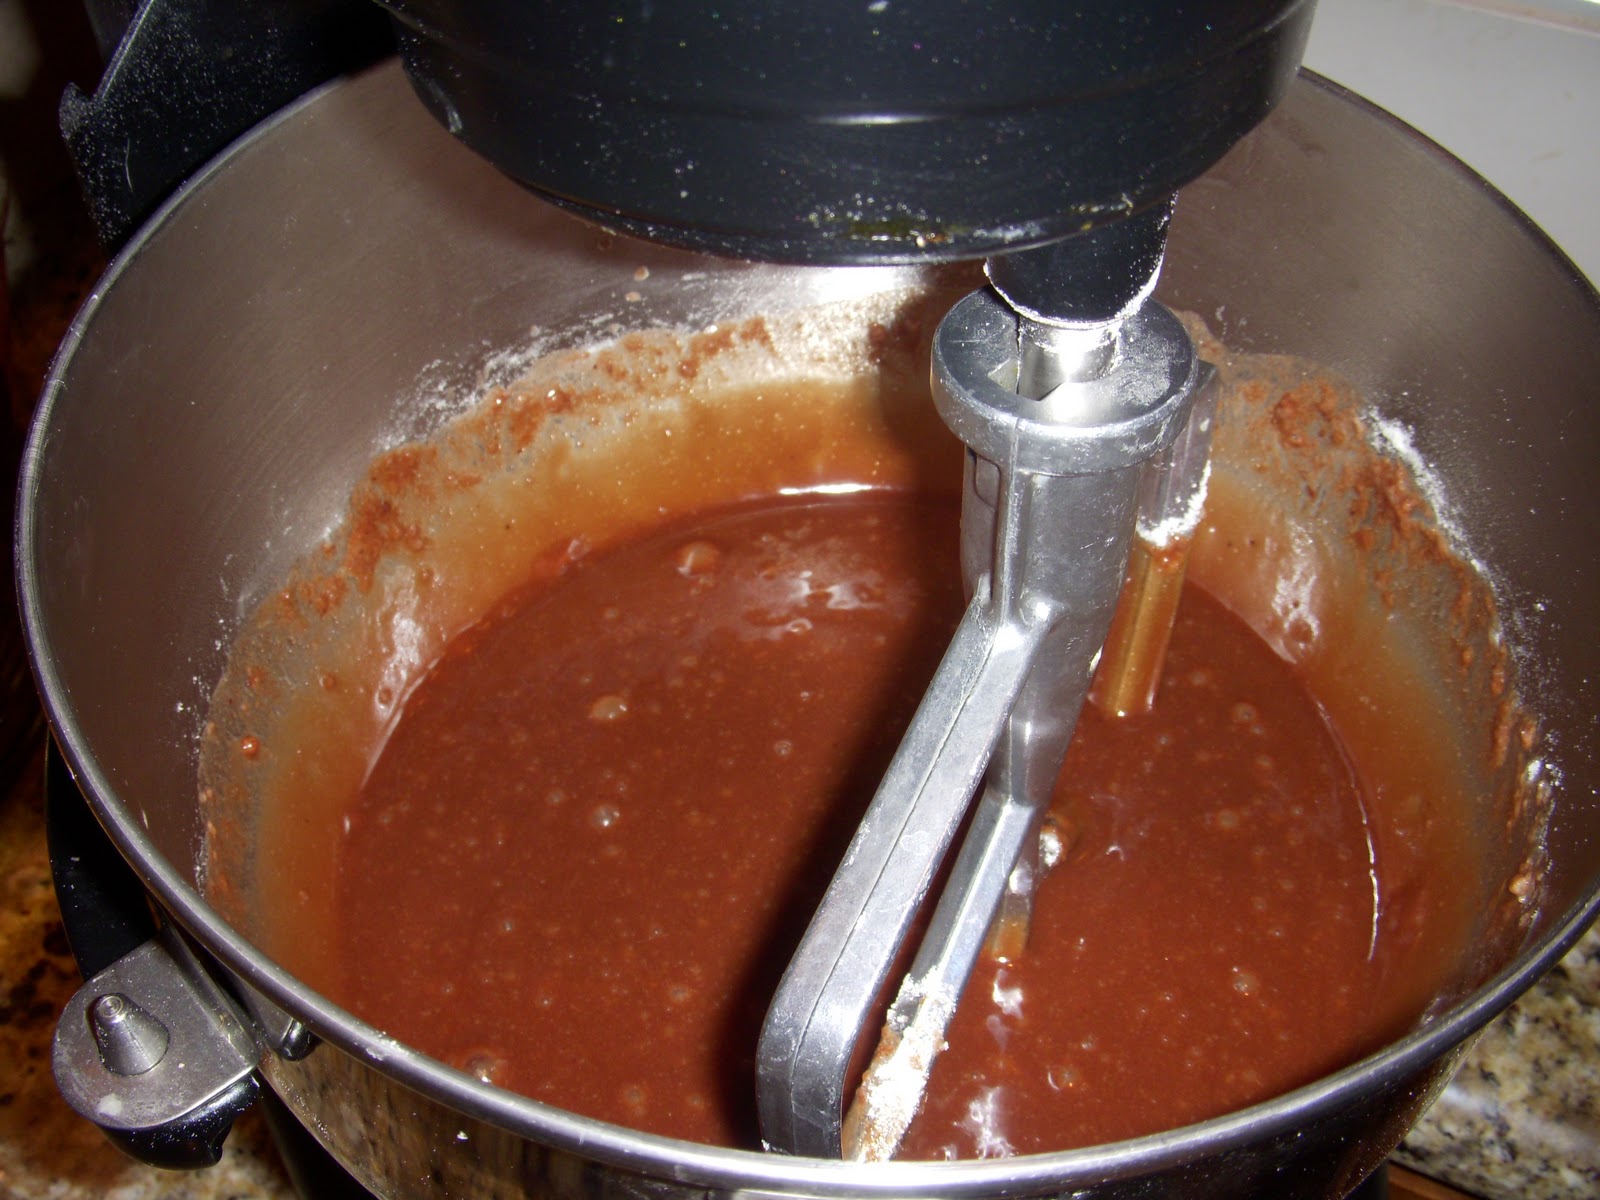
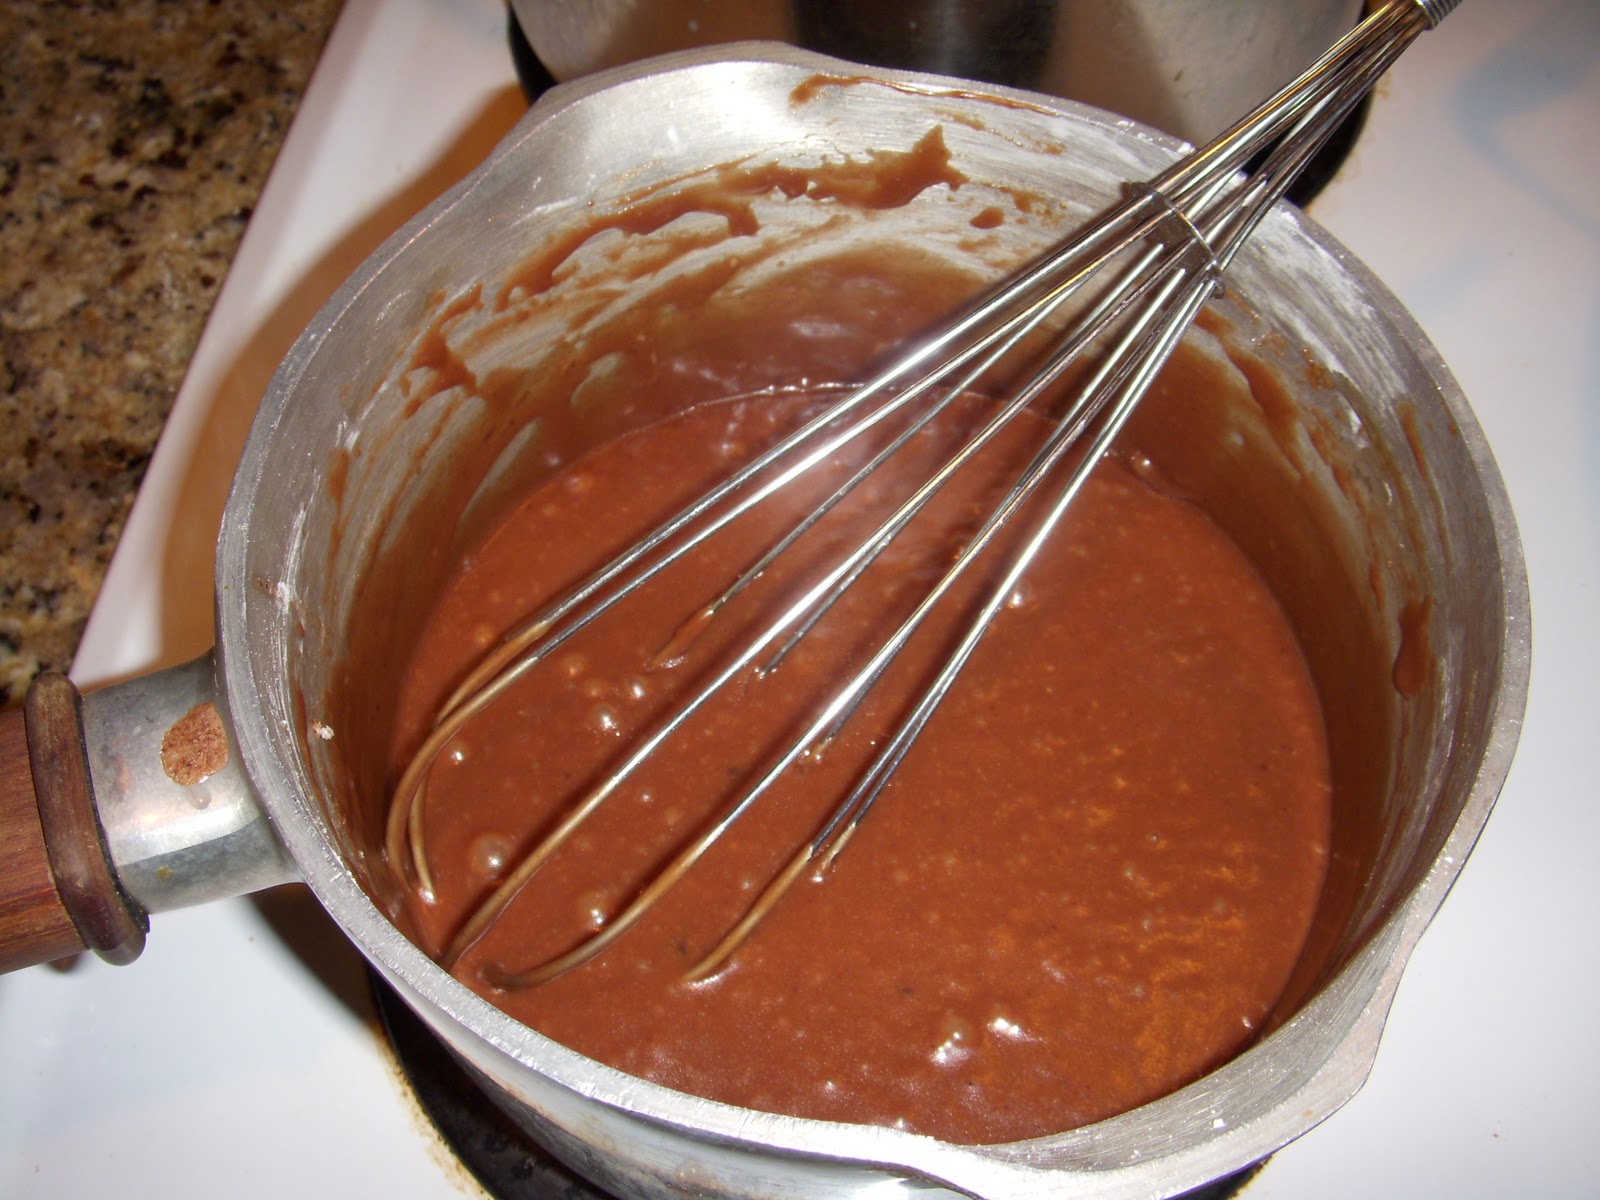
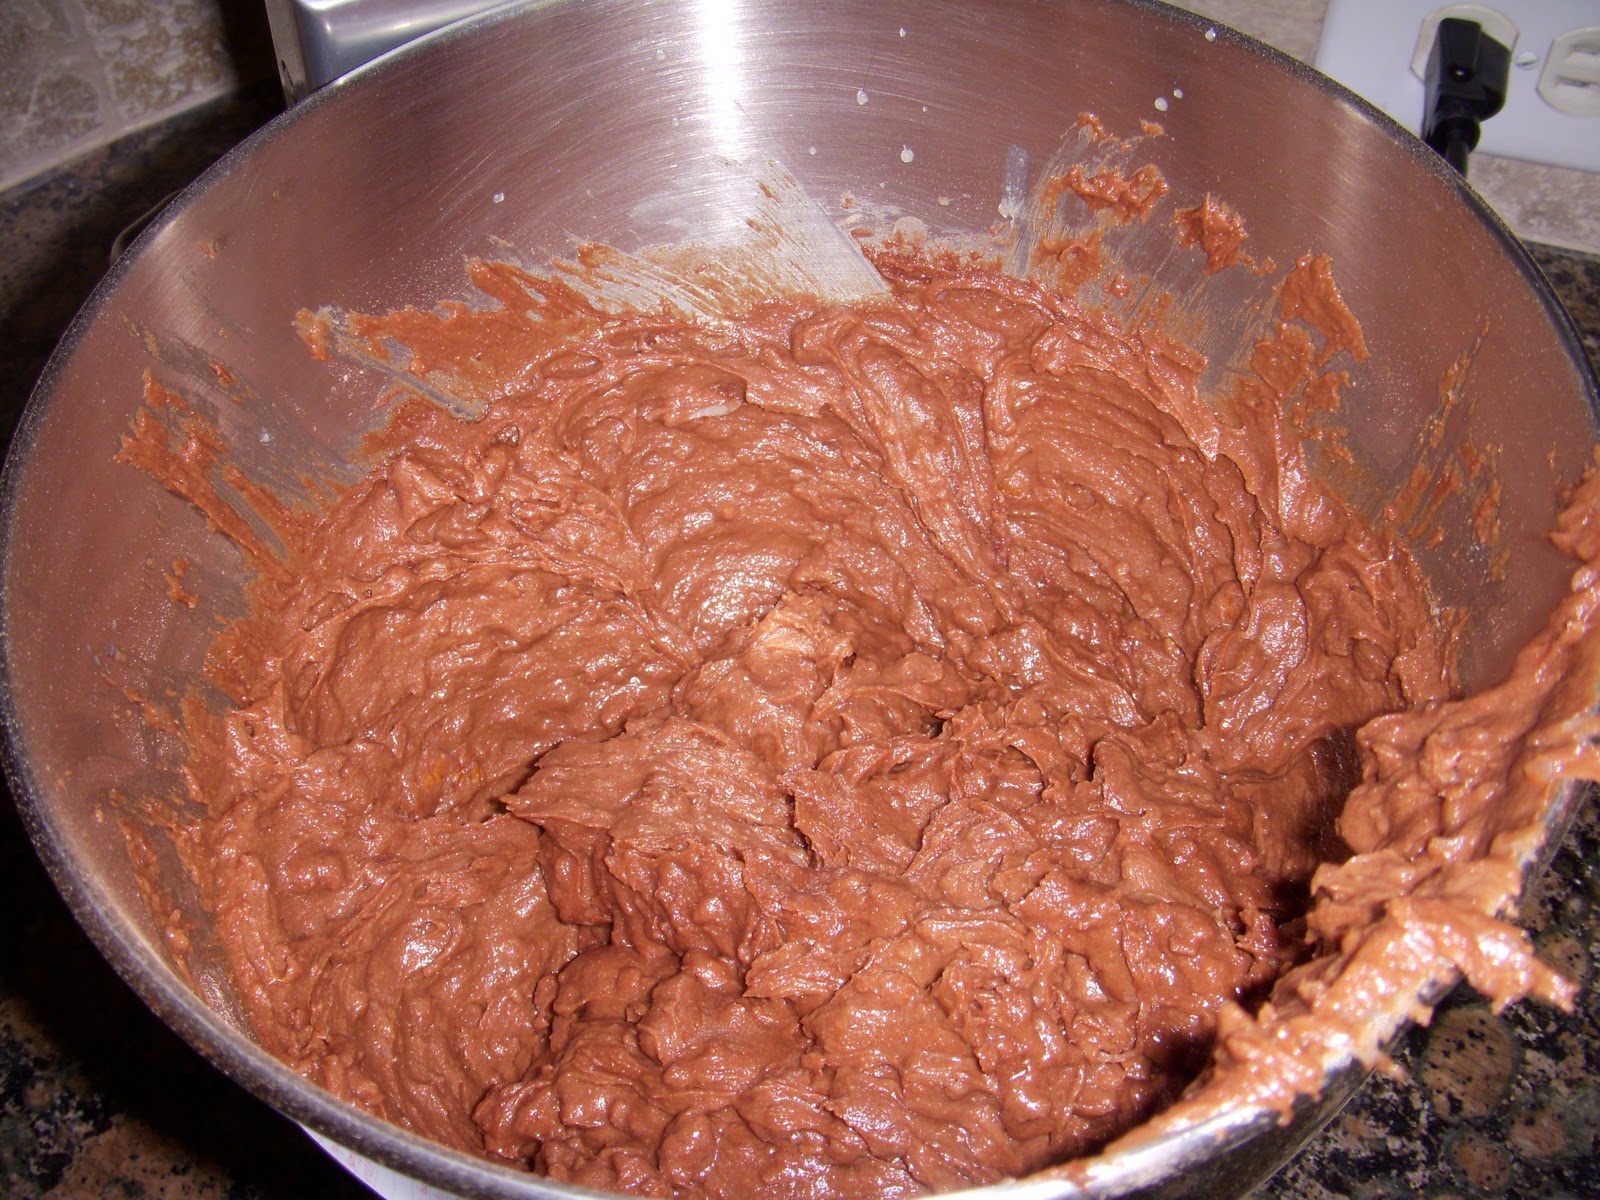
Pour egg and remaining ingrediens (baking soda, buttermilk, vanilla, and cinnamon) into chocolate mixture and combine.
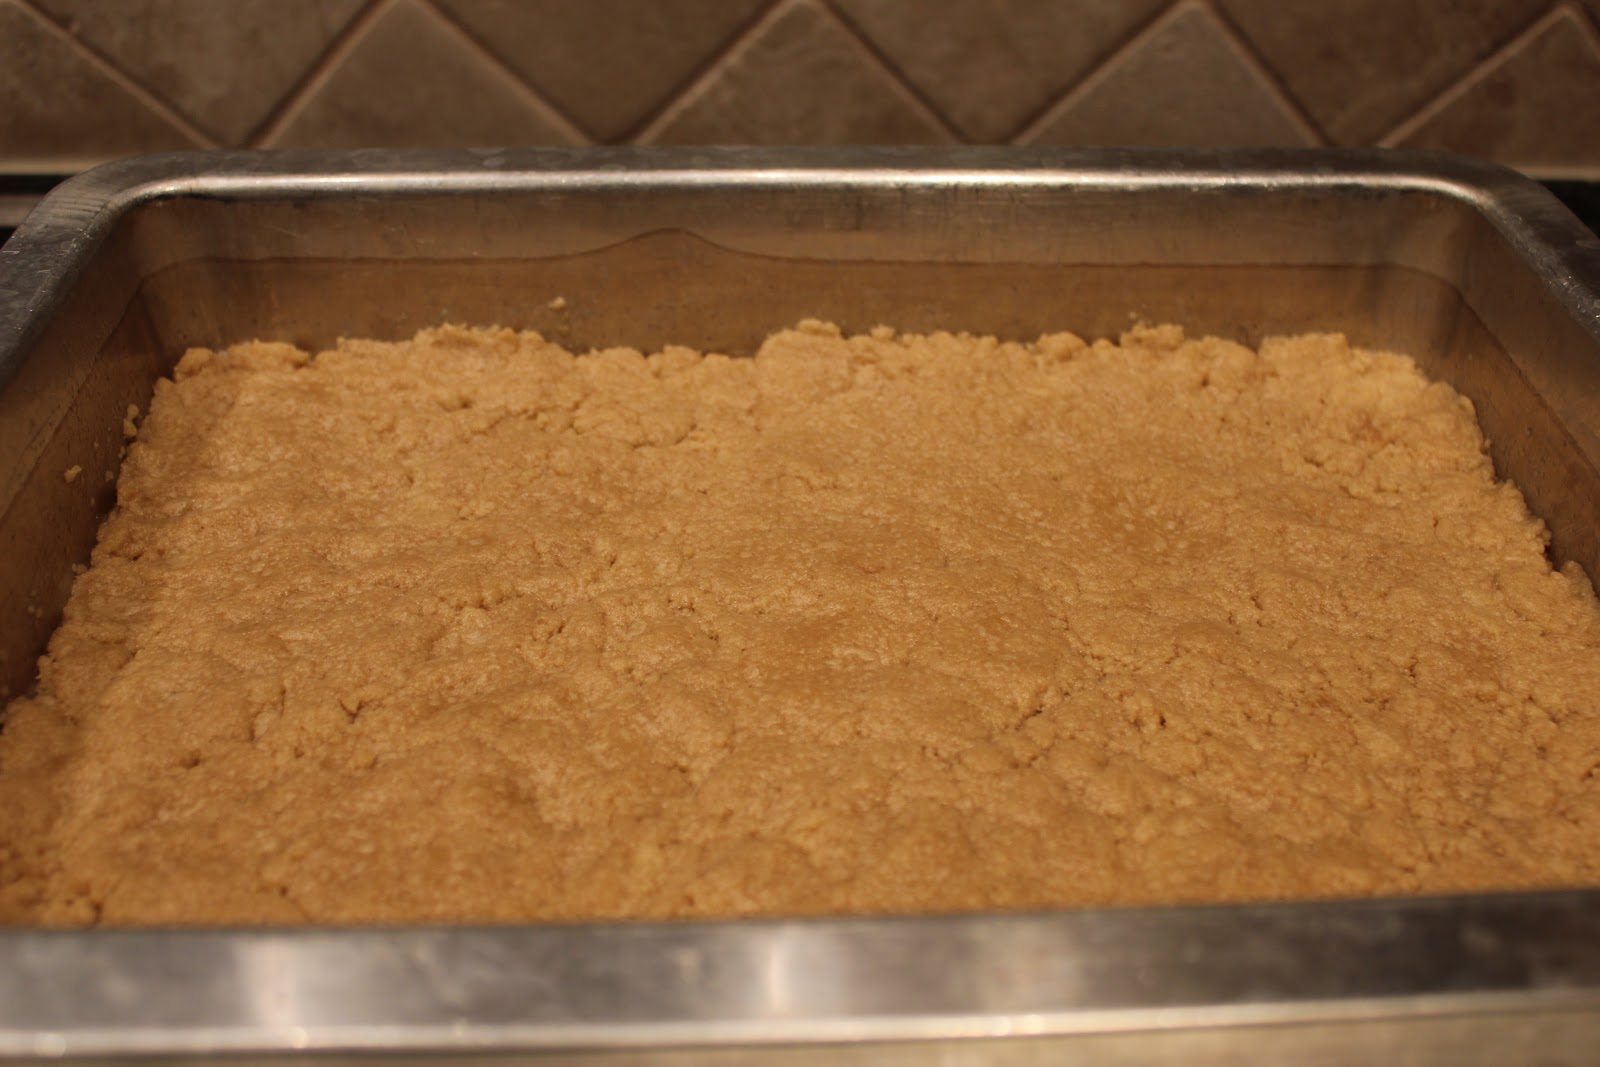
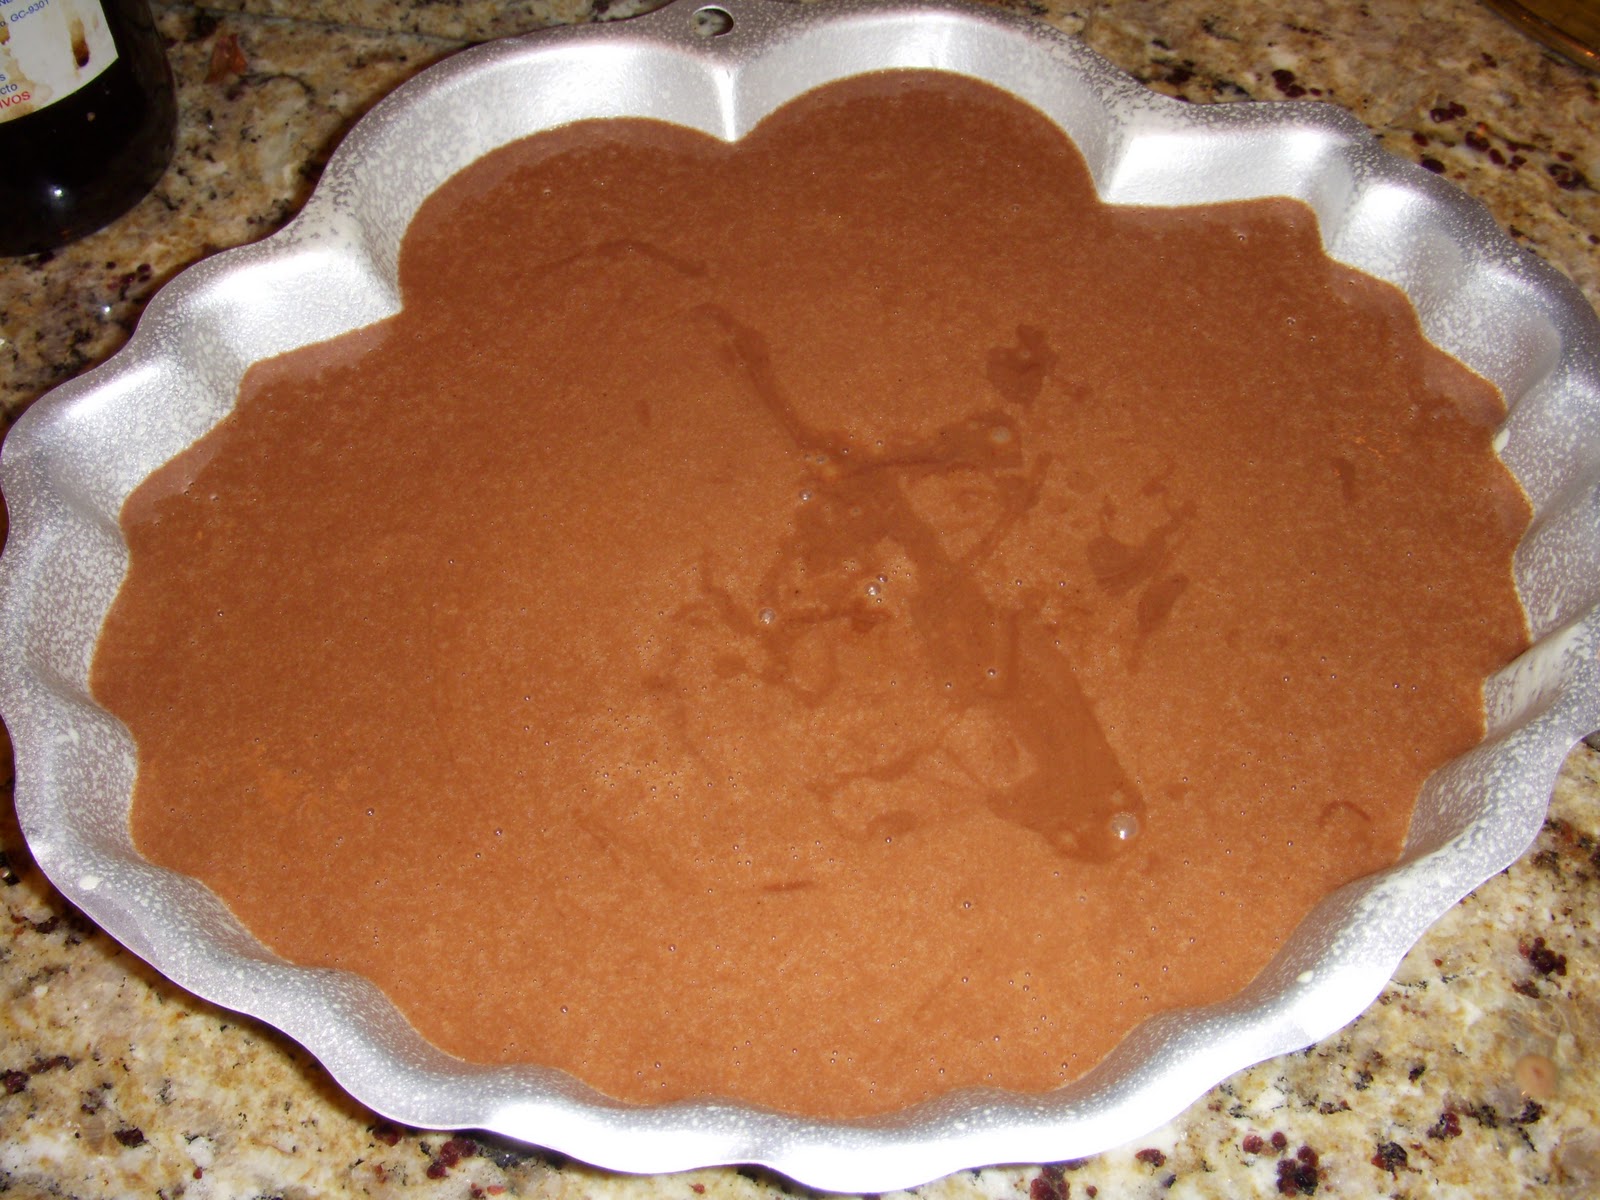
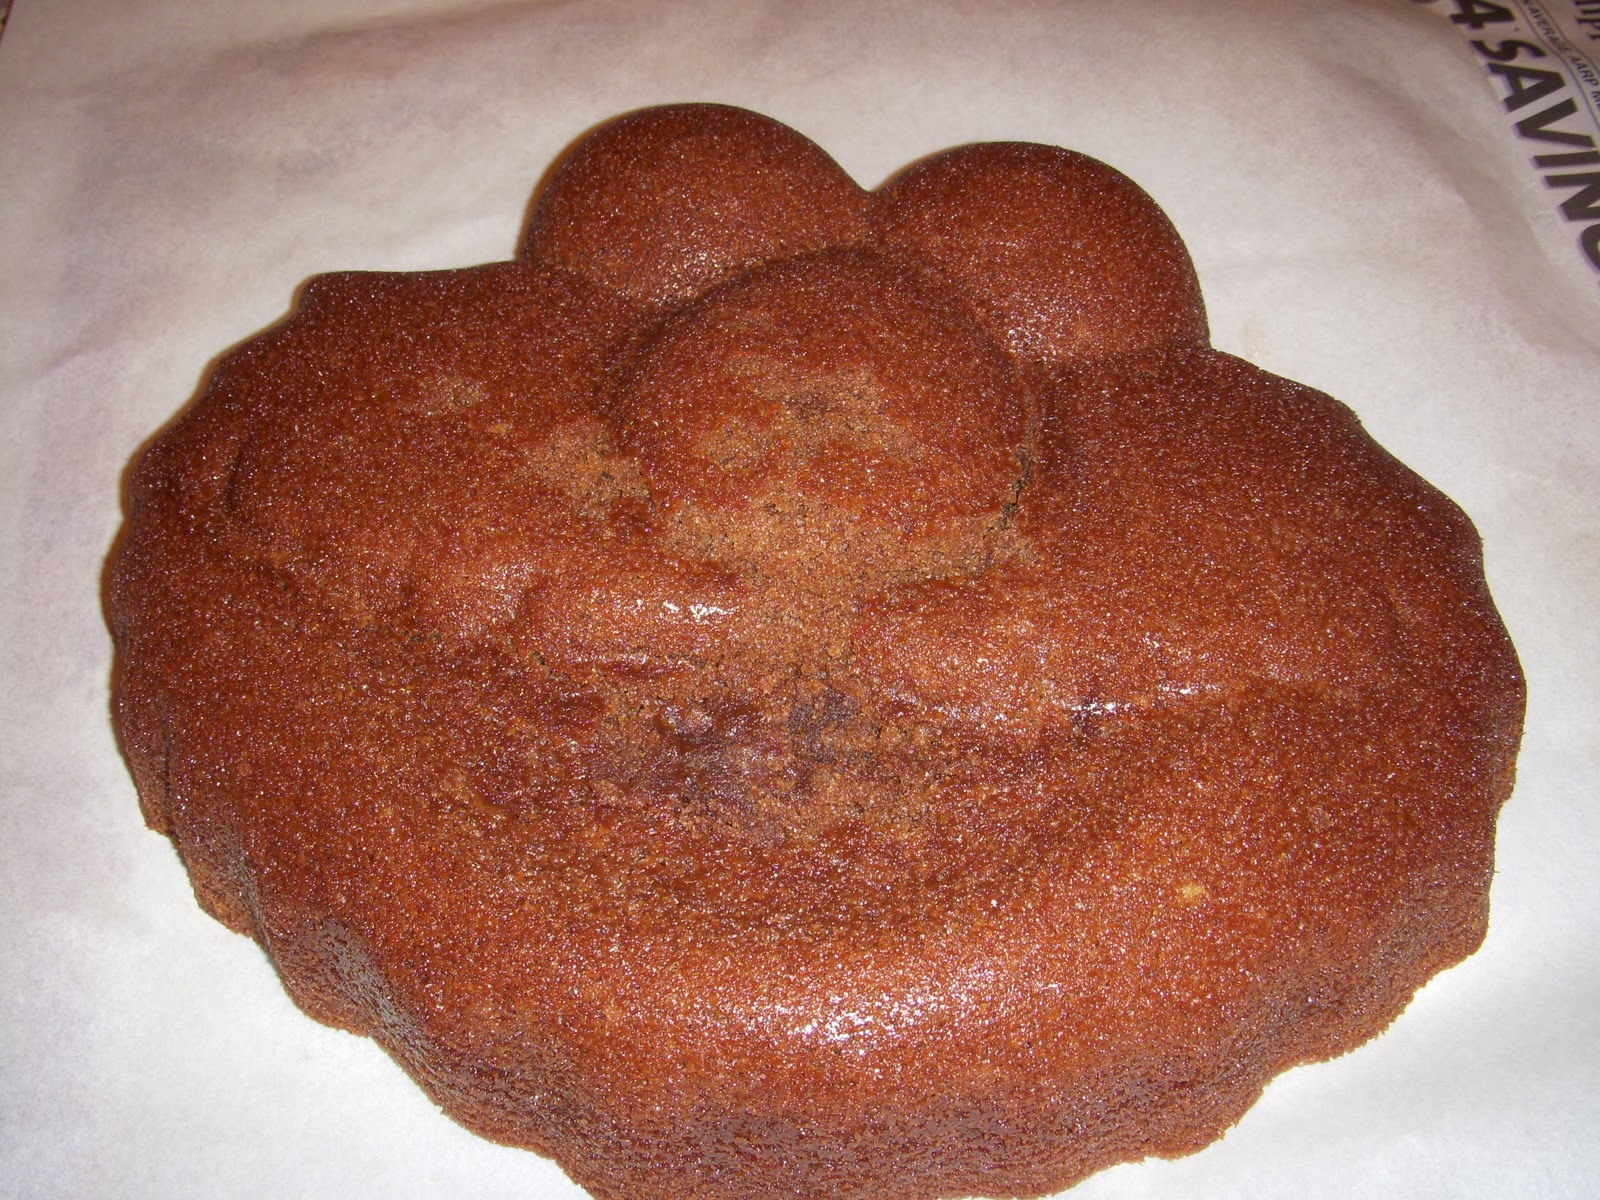
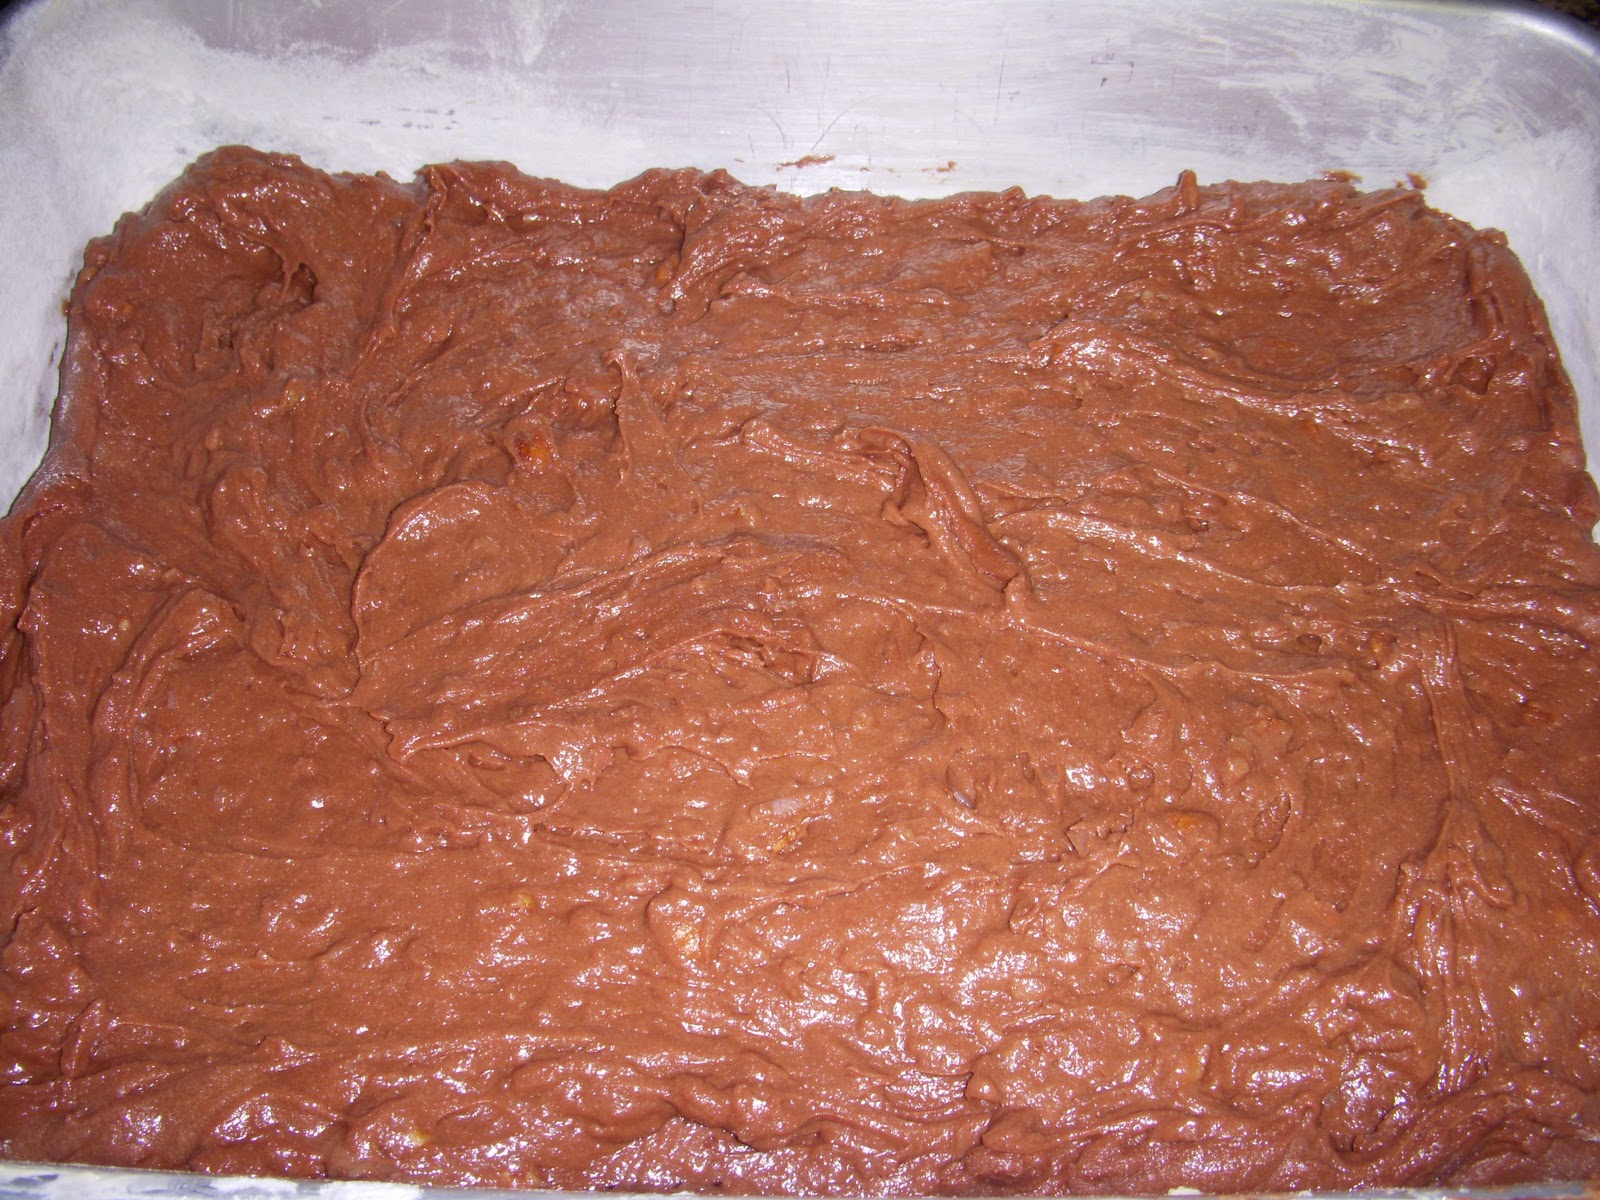
Pour into a greased and floured 9 x 13-inch baking pan (or Elmo cake pan) and bake at 350 degrees for 35 to 40 minutes, or until a cake tester comes out clean.
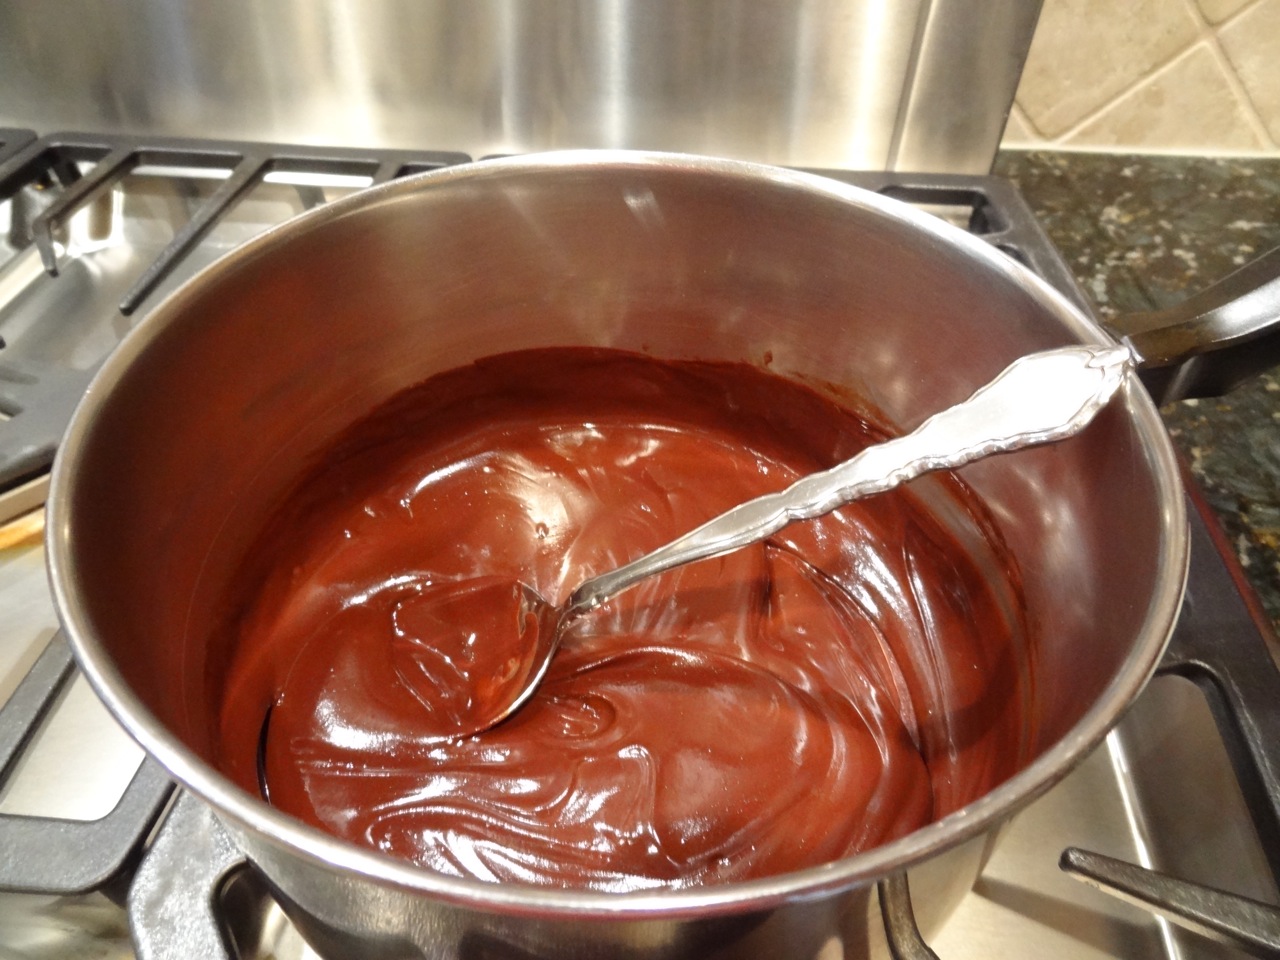
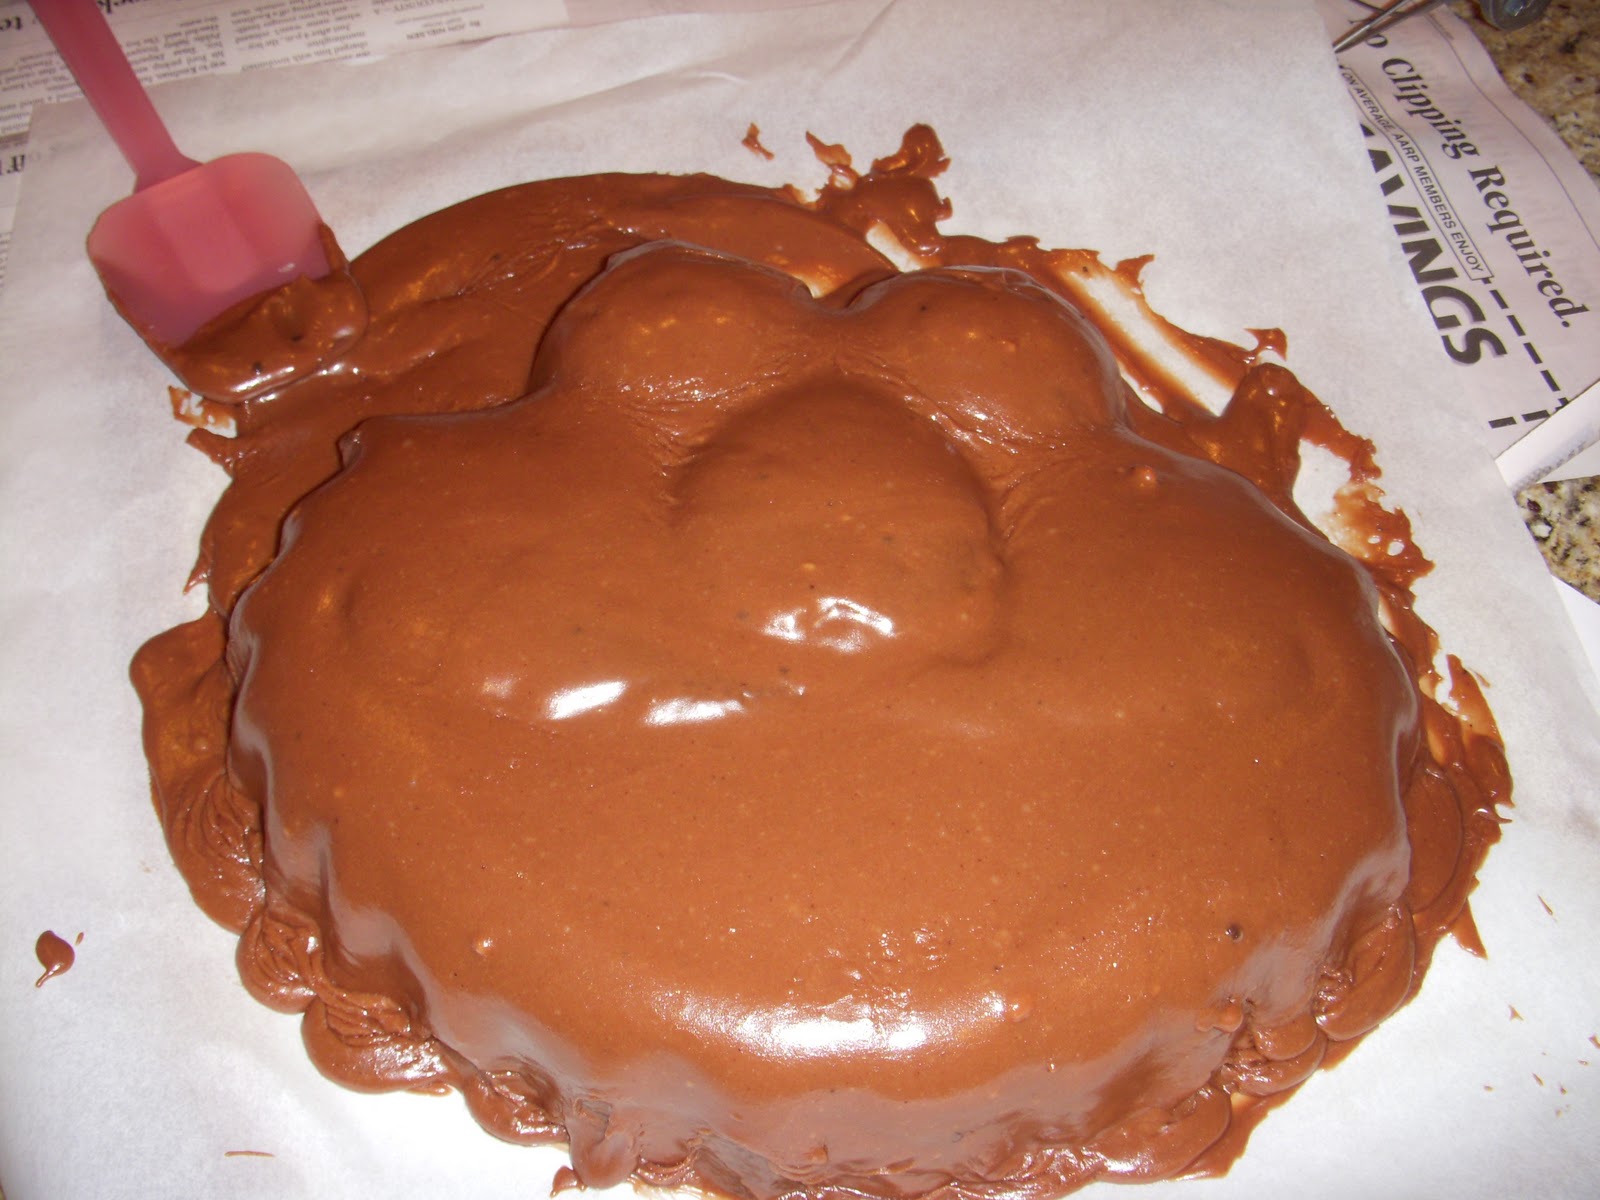
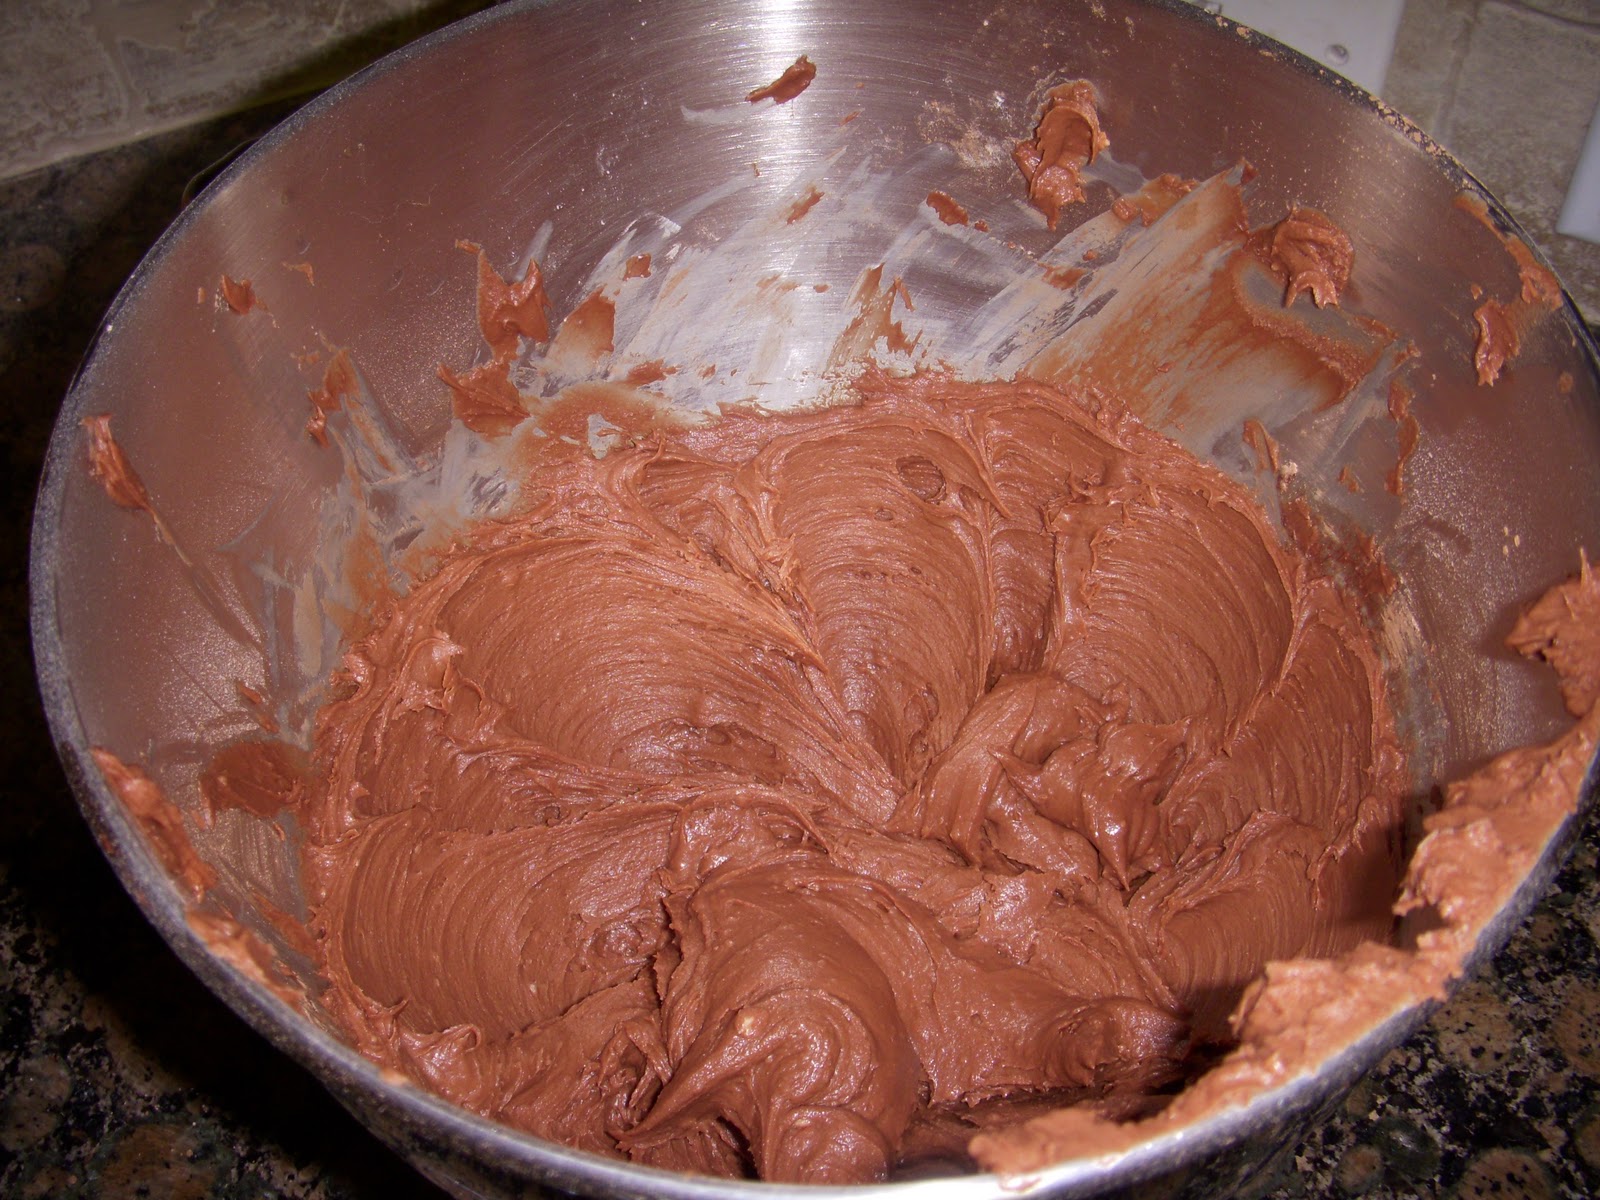
During the last 5 minutes of baking, make chocolate icing. Melt butter, cocoa, and milk in a sauce pan. Mix and heat over low heat, do not boil.
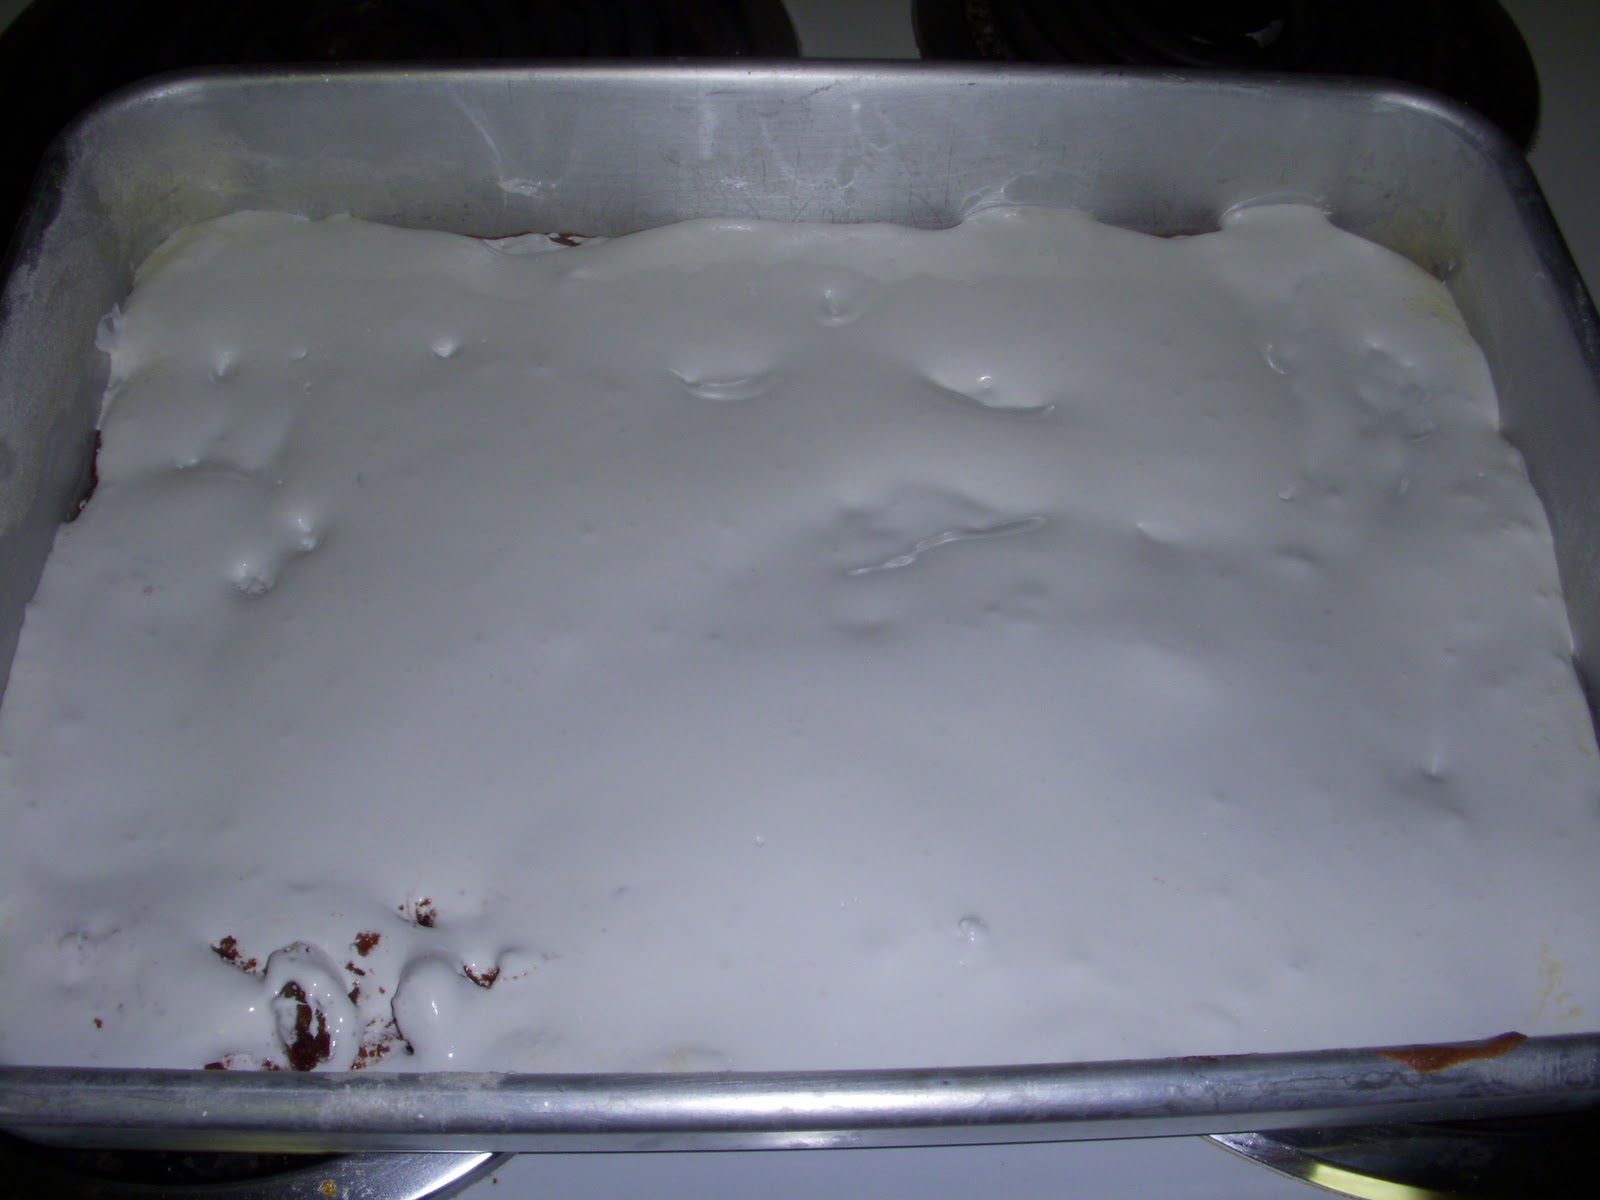
Turn off heat and add a box of powdered sugar and vanilla.
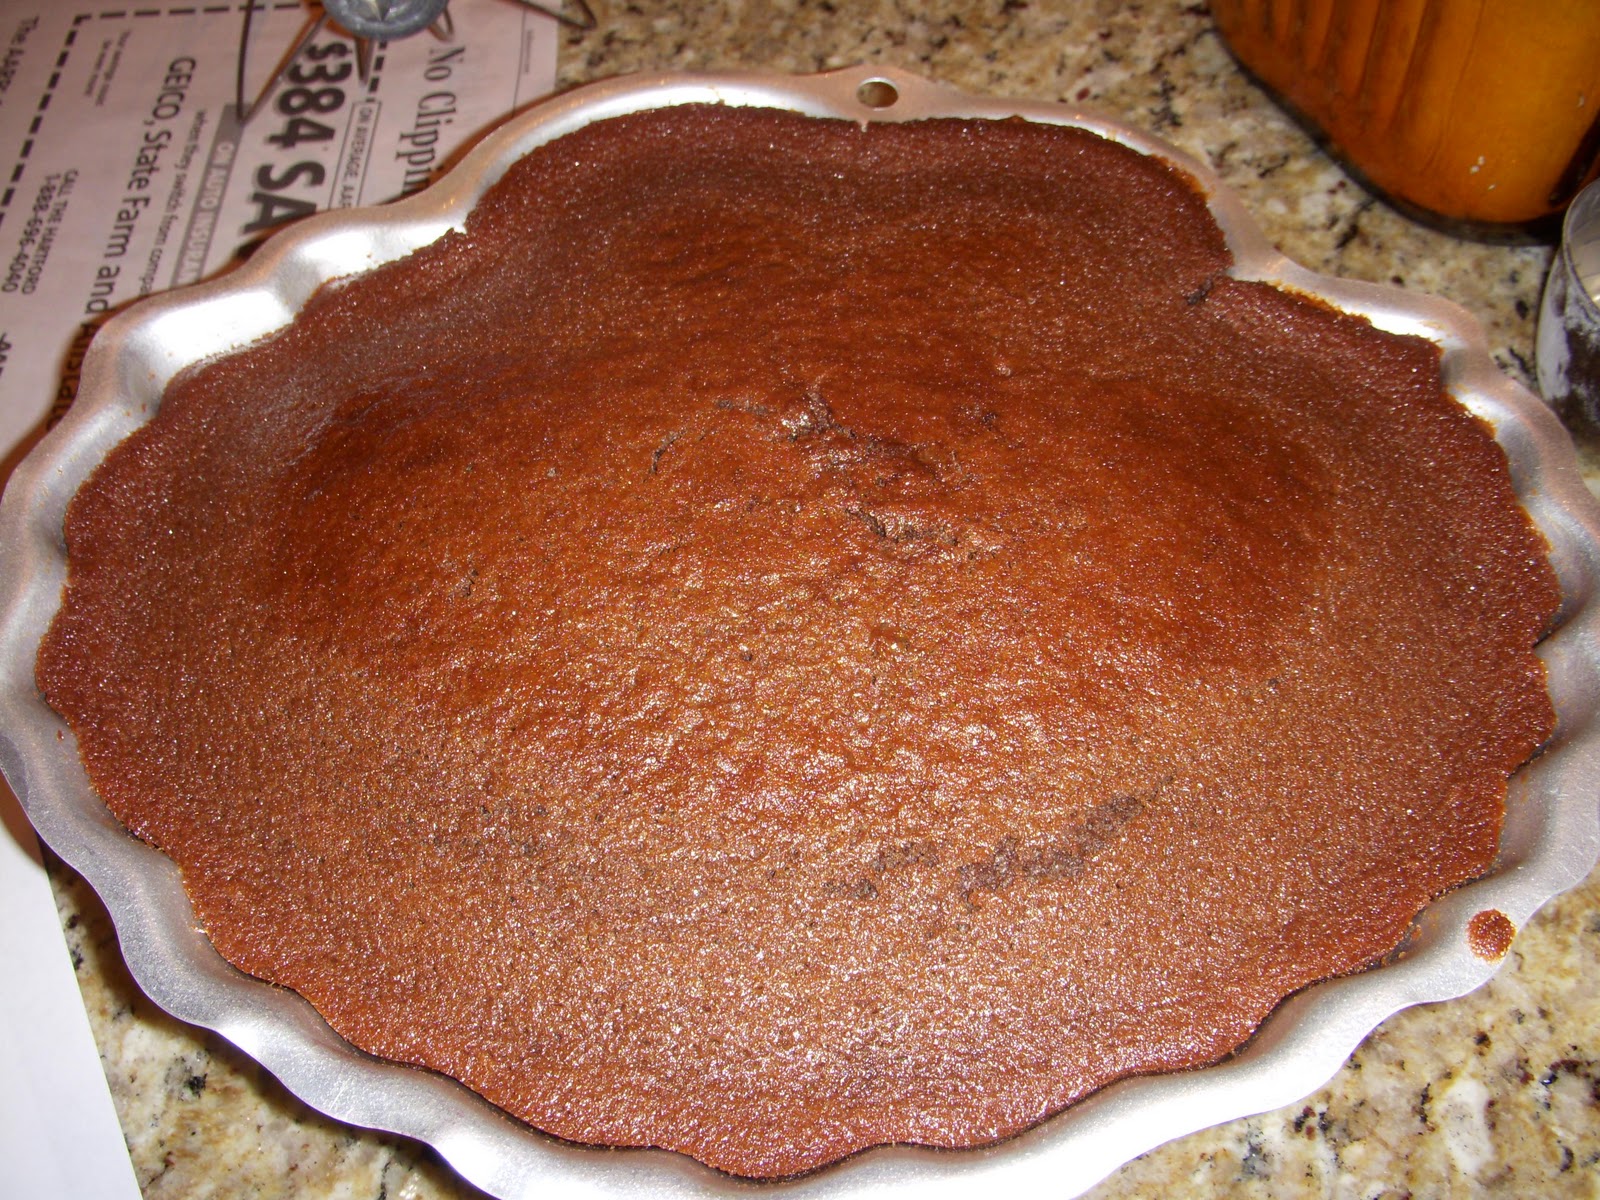
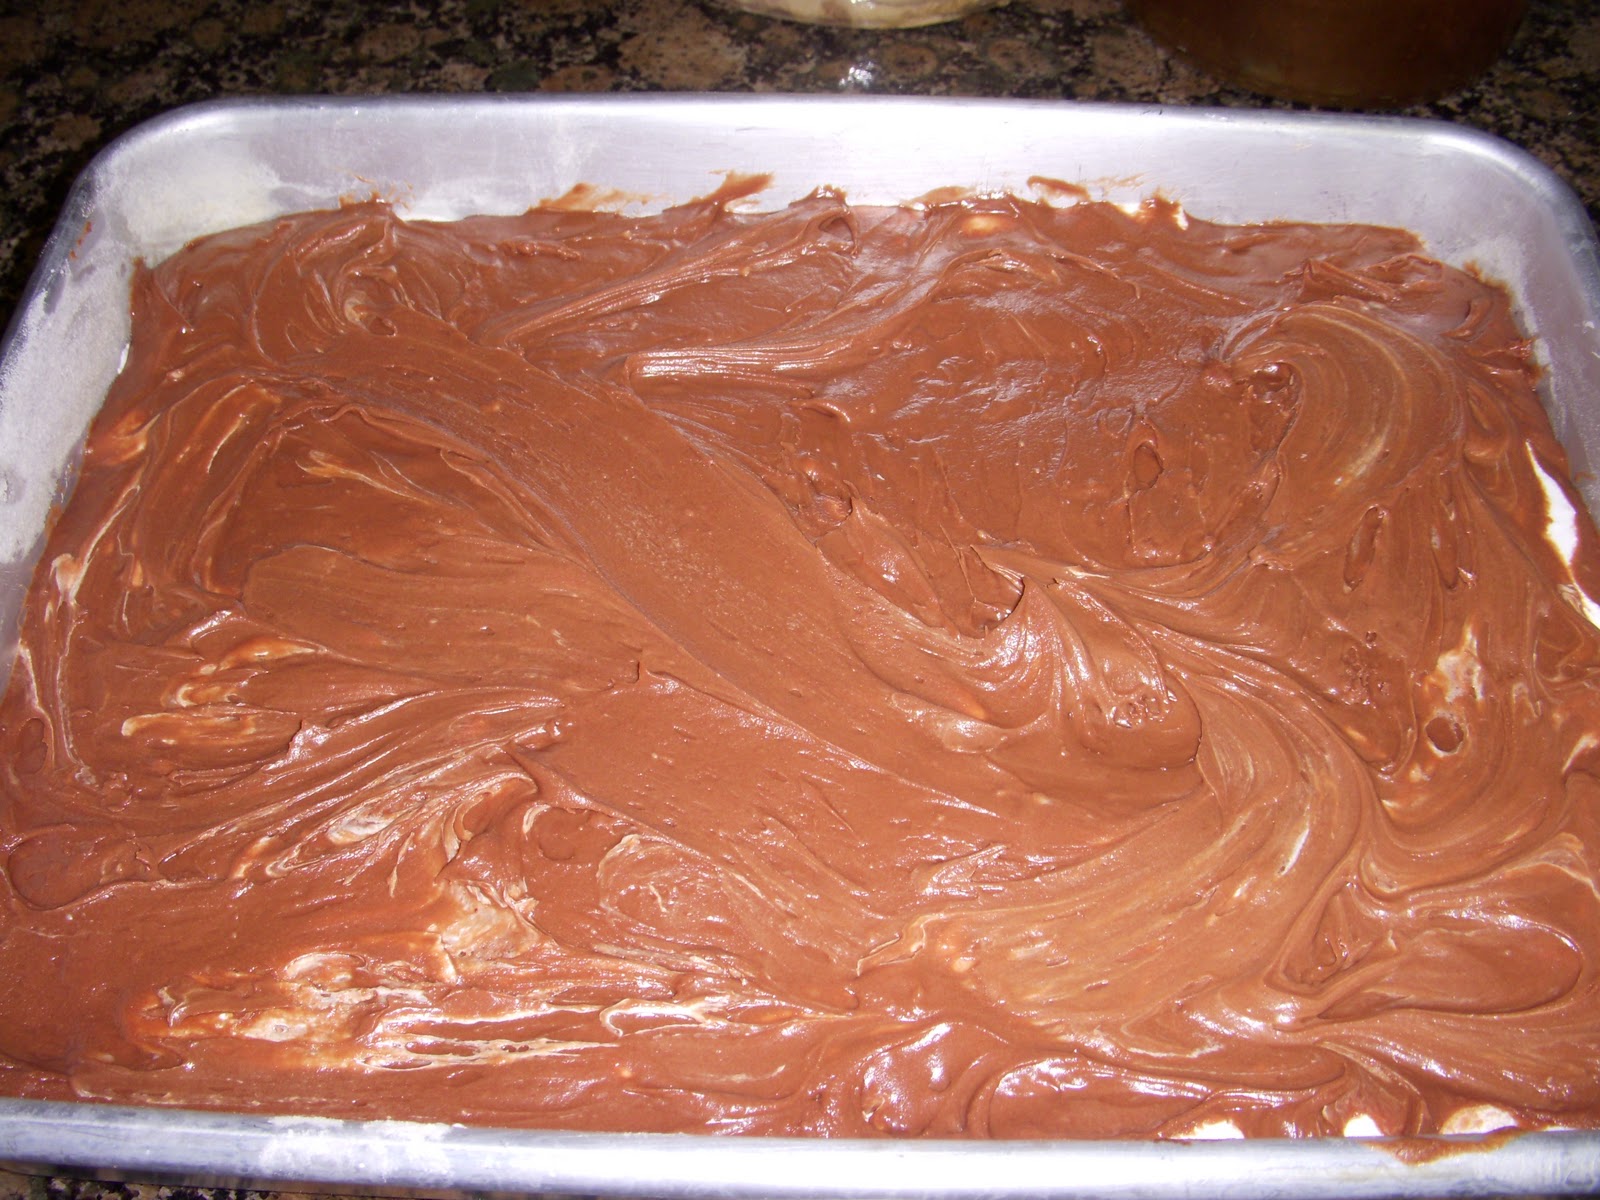
Pour icing over warm cake.
Let cool completely.
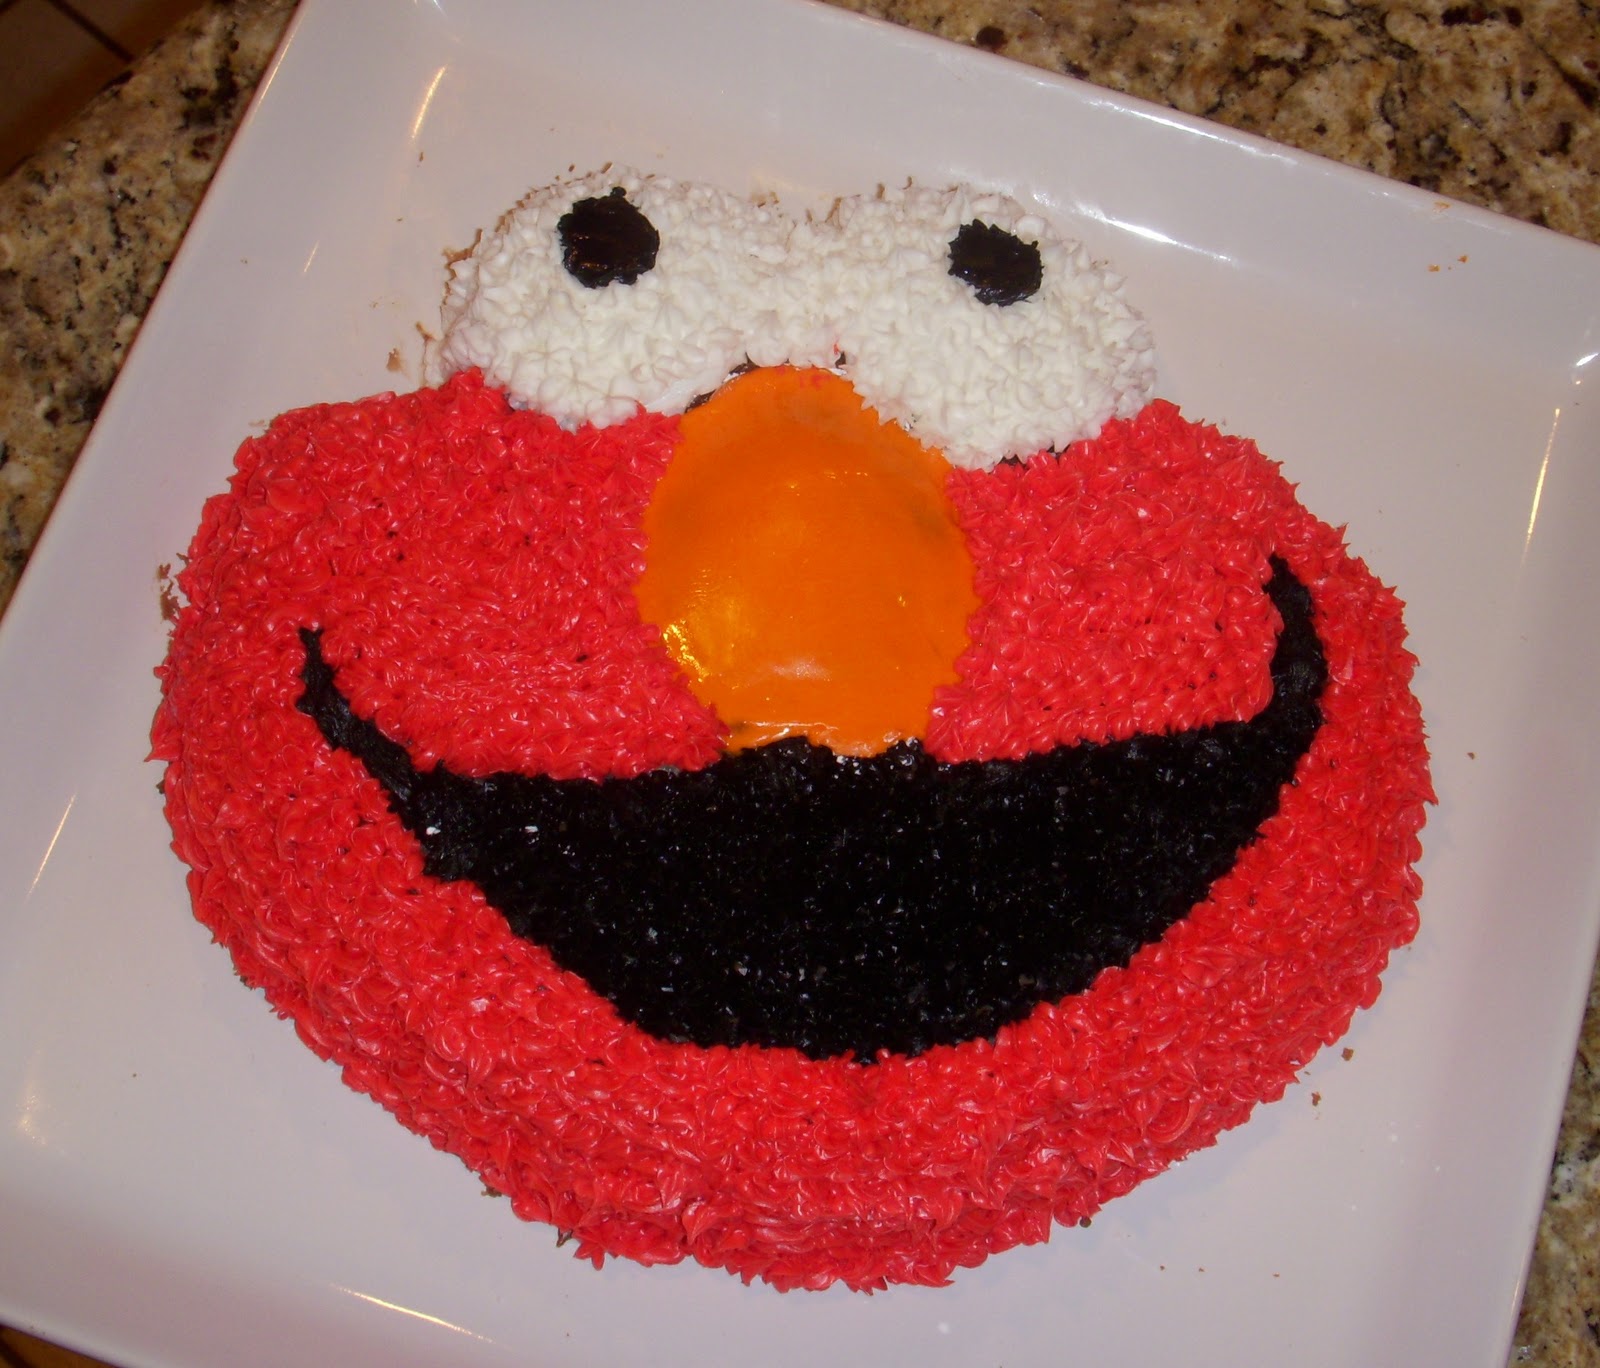
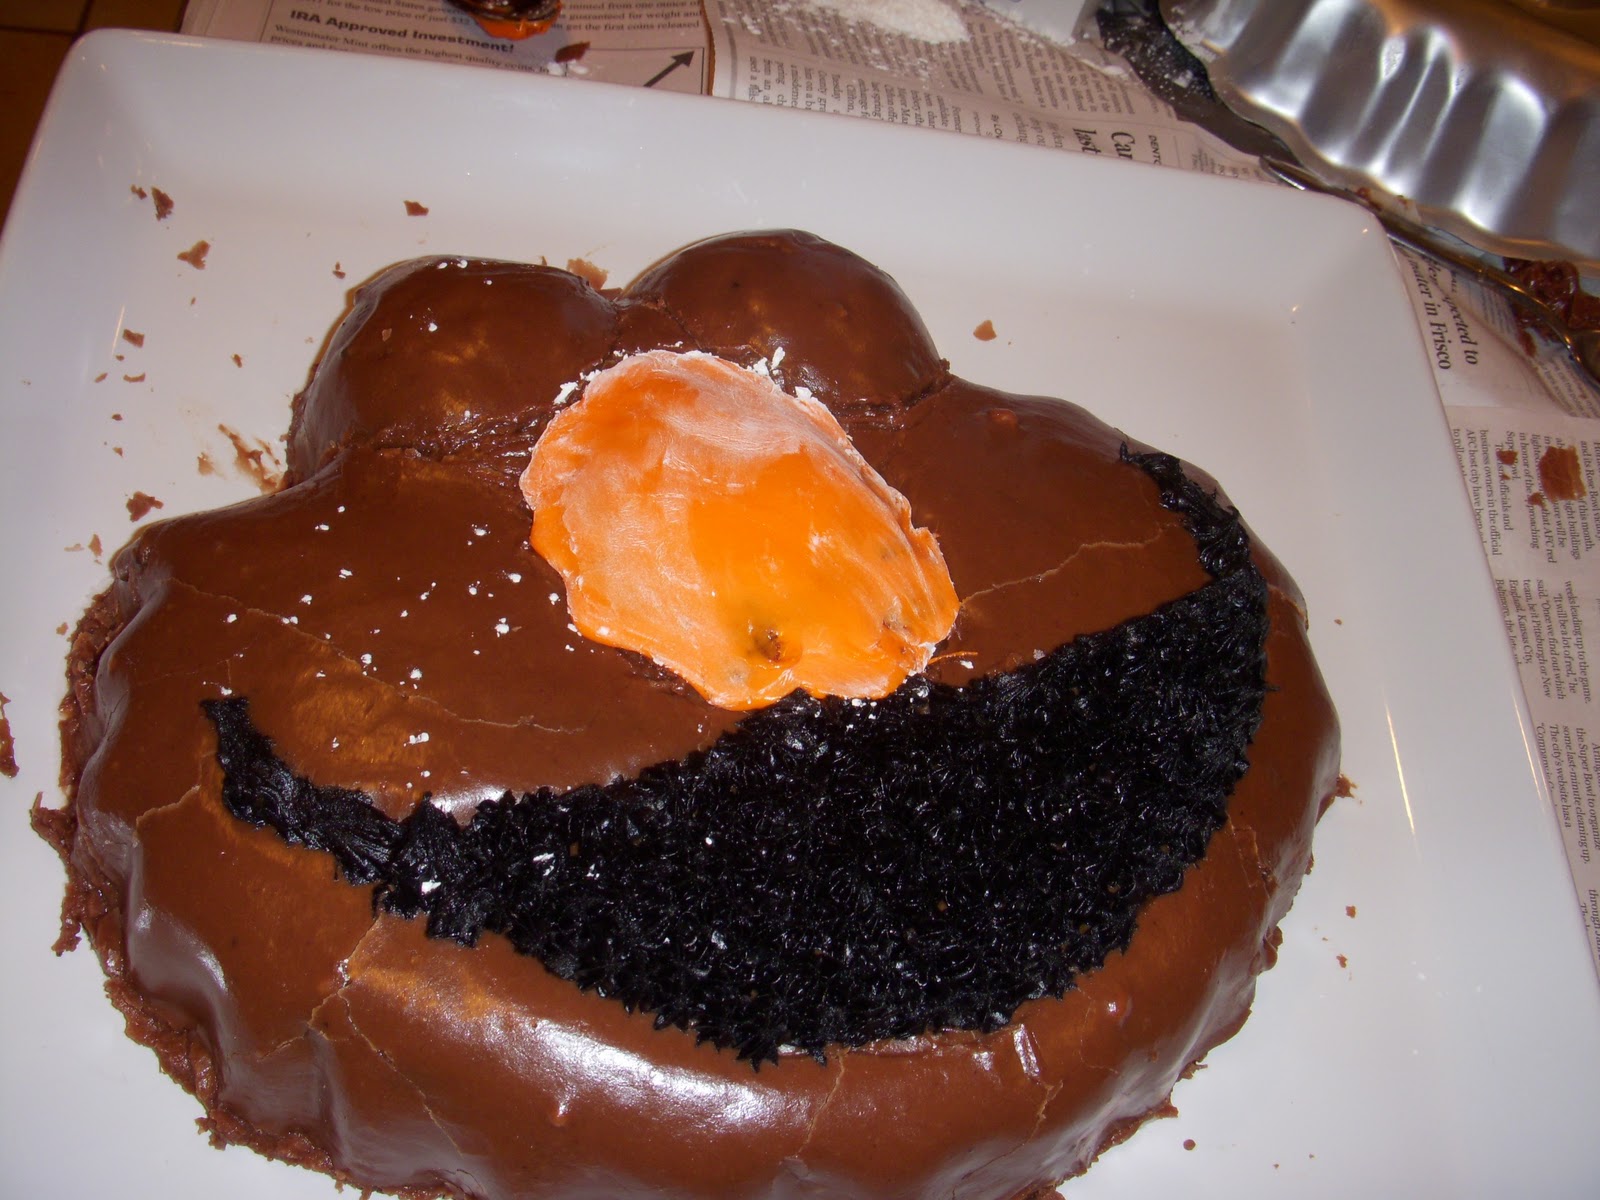
Once cooled, begin decorating! We started with Elmo’s mouth and nose.
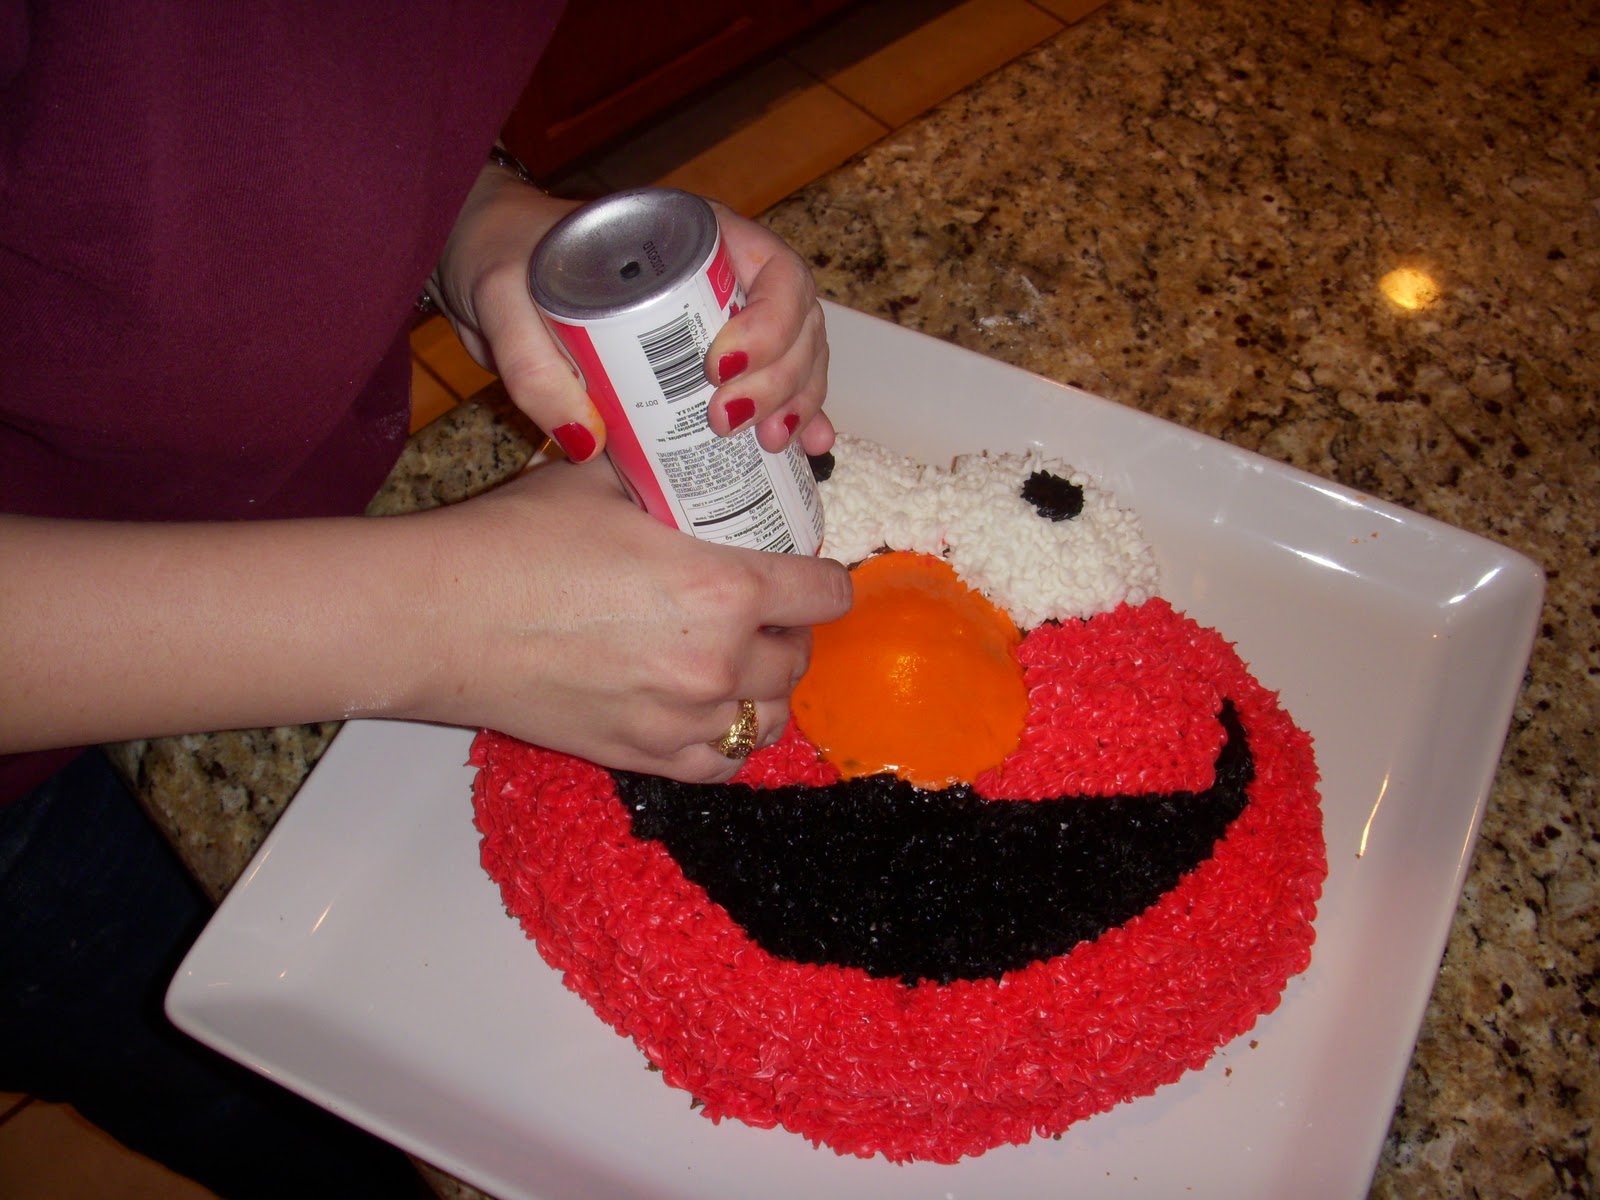
Now for his eyes and red face.
Leah (left), me (right).
Adding the finishing touches!
Bear’s Elmo cake is complete!
Mrs. Kelm’s Chocolate Cake
Ingredients
Cake
2 cups flour
2 cups sugar
1 1/2 tsp salt
1 cup (2 sticks) unsalted butter
1 cup water
3 tbsp cocoa
2 eggs, well beaten
1 tsp baking soda
1/2 cup buttermilk
1 tsp vanilla
1 tsp cinnamon
Frosting
1/2 cup (1 stick) unsalted butter
3 tbsp cocoa
5 tbsp milk
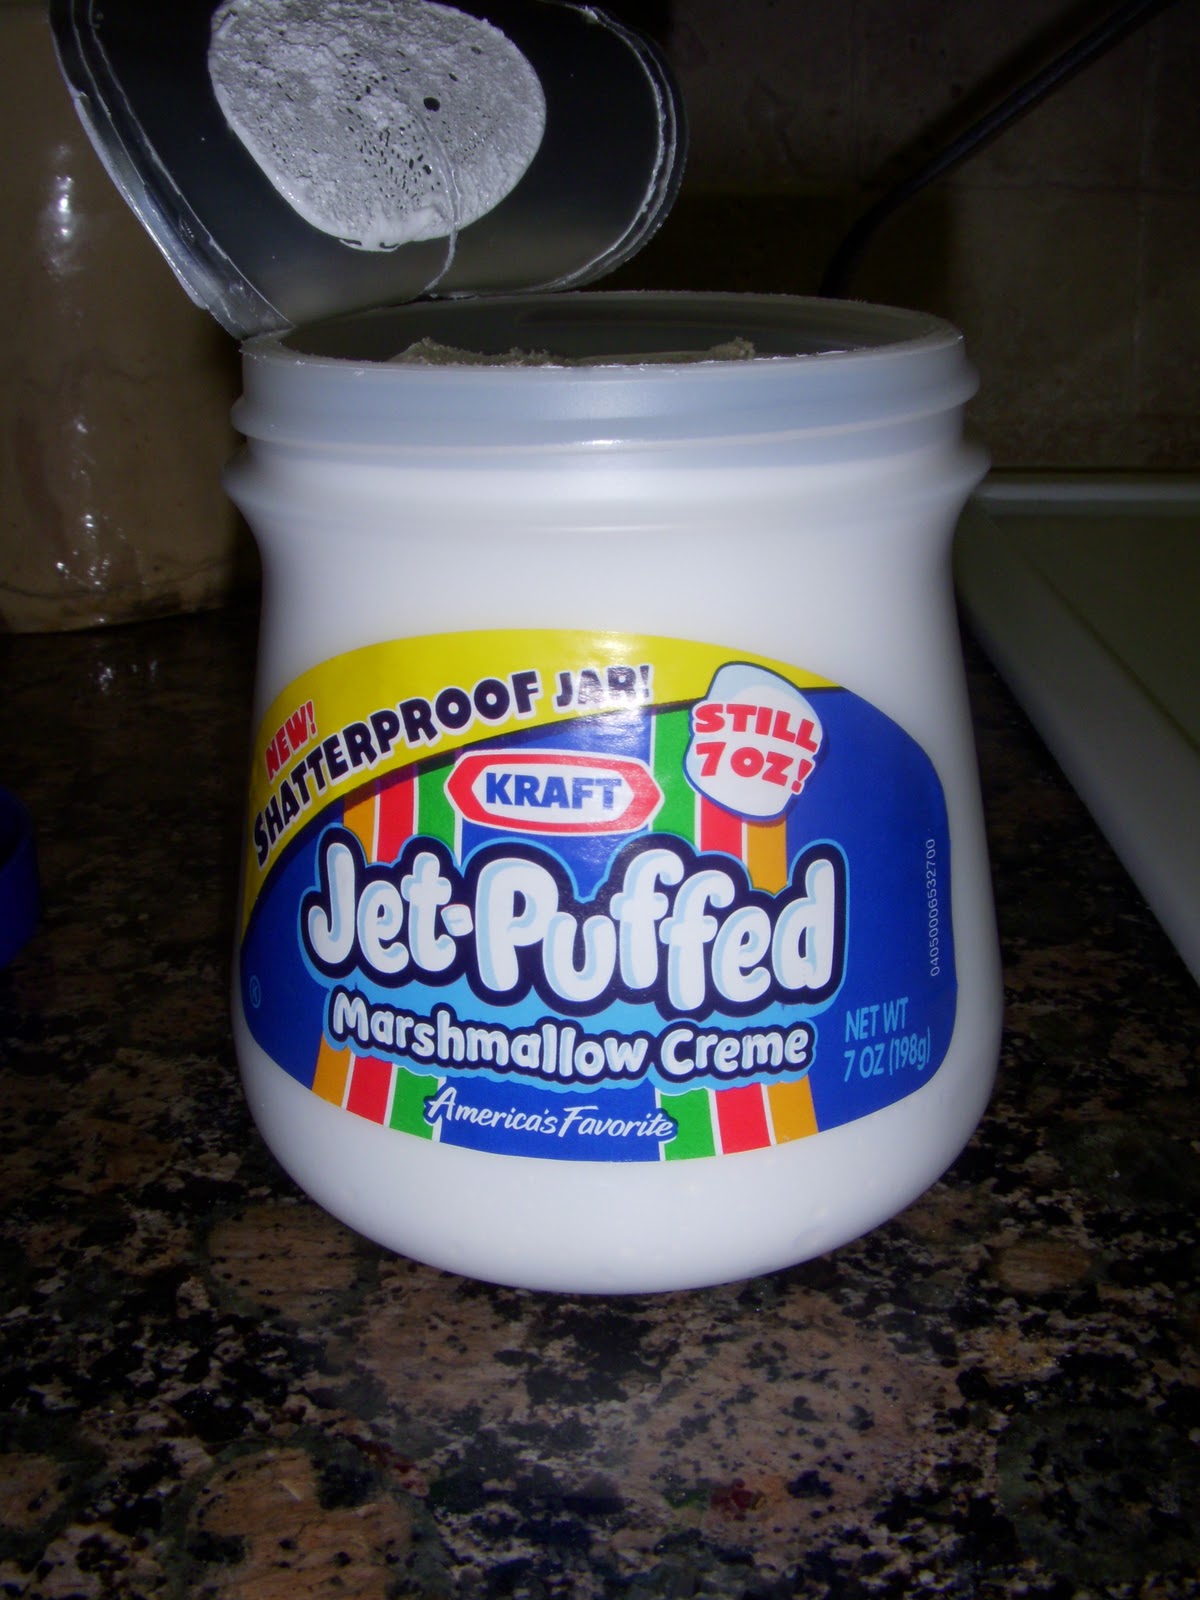
1 box (1 lb.) powdered sugar
1 tsp vanilla
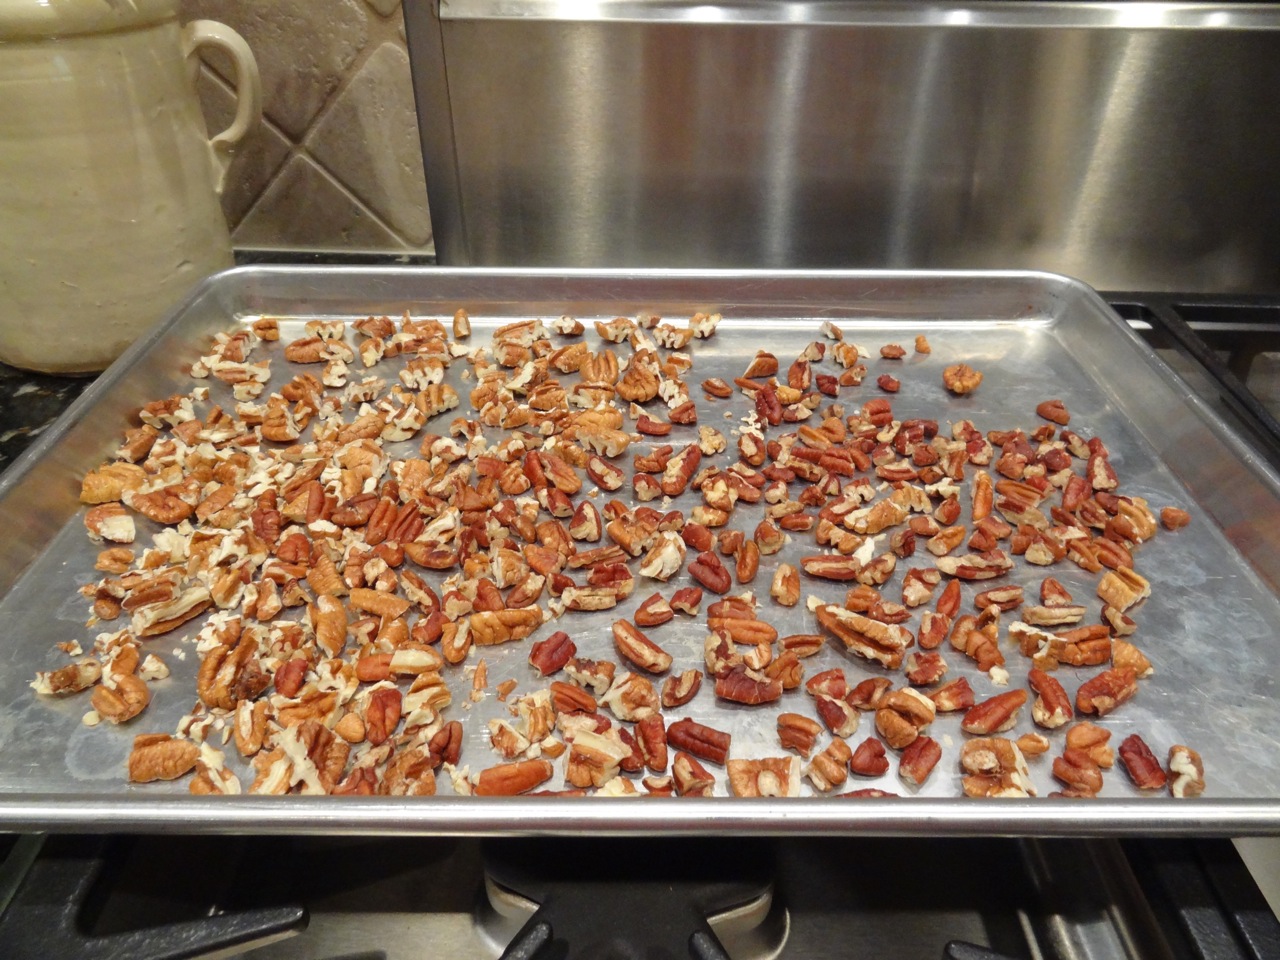
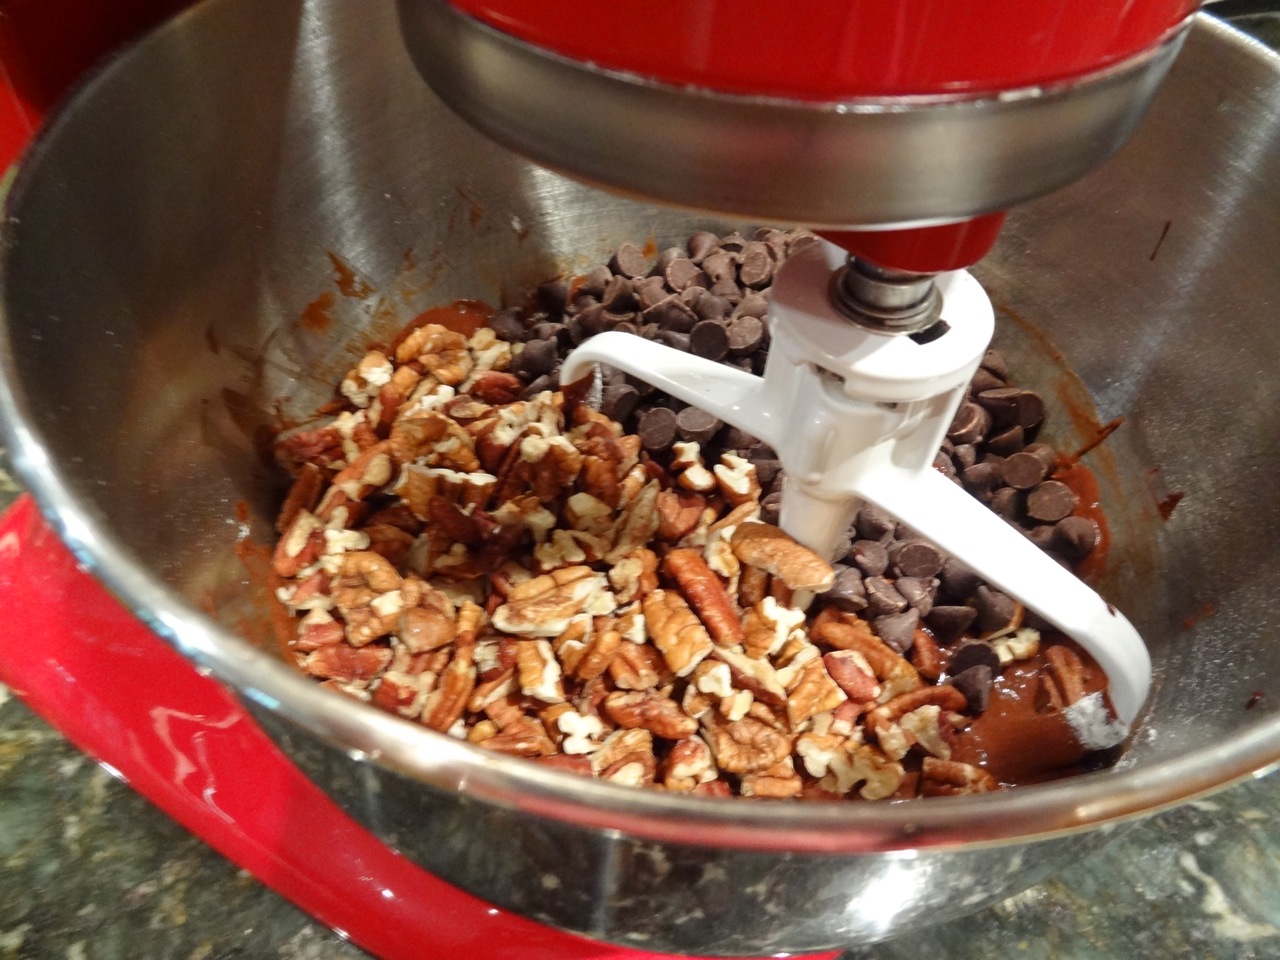
1/2 cup nuts, optional
Directions
For Cake:
1. Sift flour, add sugar, and salt, and resift.
2. Bring to a boil butter, water, and cocoa. Pour over flour and sugar mixture. Add remaining ingredients and mix well.
3. Bake in a greased and floured 9 x 13-inch pan for about 35-40 minutes at 350 degrees F.
For Frosting: Make during the last 5 minutes of cake baking time.
4. Place 1 stick of butter, 3 tablespoons of cocoa, and 5 tablespoons of milk in a sauce pan. Mix and heat over low heat, do not boil.
5. Remove from heat and add one box of powdered sugar, 1 teaspoon of vanilla, and 1/2 cup of nuts (optional). Mix well and frost cake.
Yield: one 9 x 13-inch cake or 12 servings