Chocolate Chip Cookie Cake

Happy Father’s Day weekend!  Today I wanted to show you a recipe for Chocolate Chip Cookie Cake.   I thought it very fitting for this special weekend, because what “Dad” doesn’t like cookie cake?
My family is notorious for making cookies.  You can probably find 20 different cookie recipes on my blog!  In the back of my mind, I’ve always wondered how to bake a cookie cake without it getting too crispy or overdone?  I like my cookies gooey and soft, and always err on the side of underdone.  In Flo Braker’s cookbook, Baking For All Occasions, my mom discovered this cookie cake recipe and we were curious to try it.  The batter is like any regular cookie dough batter.  The only difference is the baking time.  Instead of baking cookies for 10 minutes in a 350 degree F oven, this cookie cake is baked for 30 to 40 minutes.  Honestly, I don’t know why you couldn’t transform your favorite cookie dough batter into a cookie cake?  Someone test it out and let me know!
I know a lot of people who hate “cake”, but love cookies.  I’m not a big fan of the “cake” myself…the only reason I eat it is for the icing!  Here, you can have the best of both worlds…cake and icing!  Decorate your cookie cake for Father’s Day, Birthdays, Congratulations, or just leave it plain like we did.
Either way, enjoy this Chocolate Chip Cookie Cake.

Chocolate Chip Cookie Cake
Ingredients
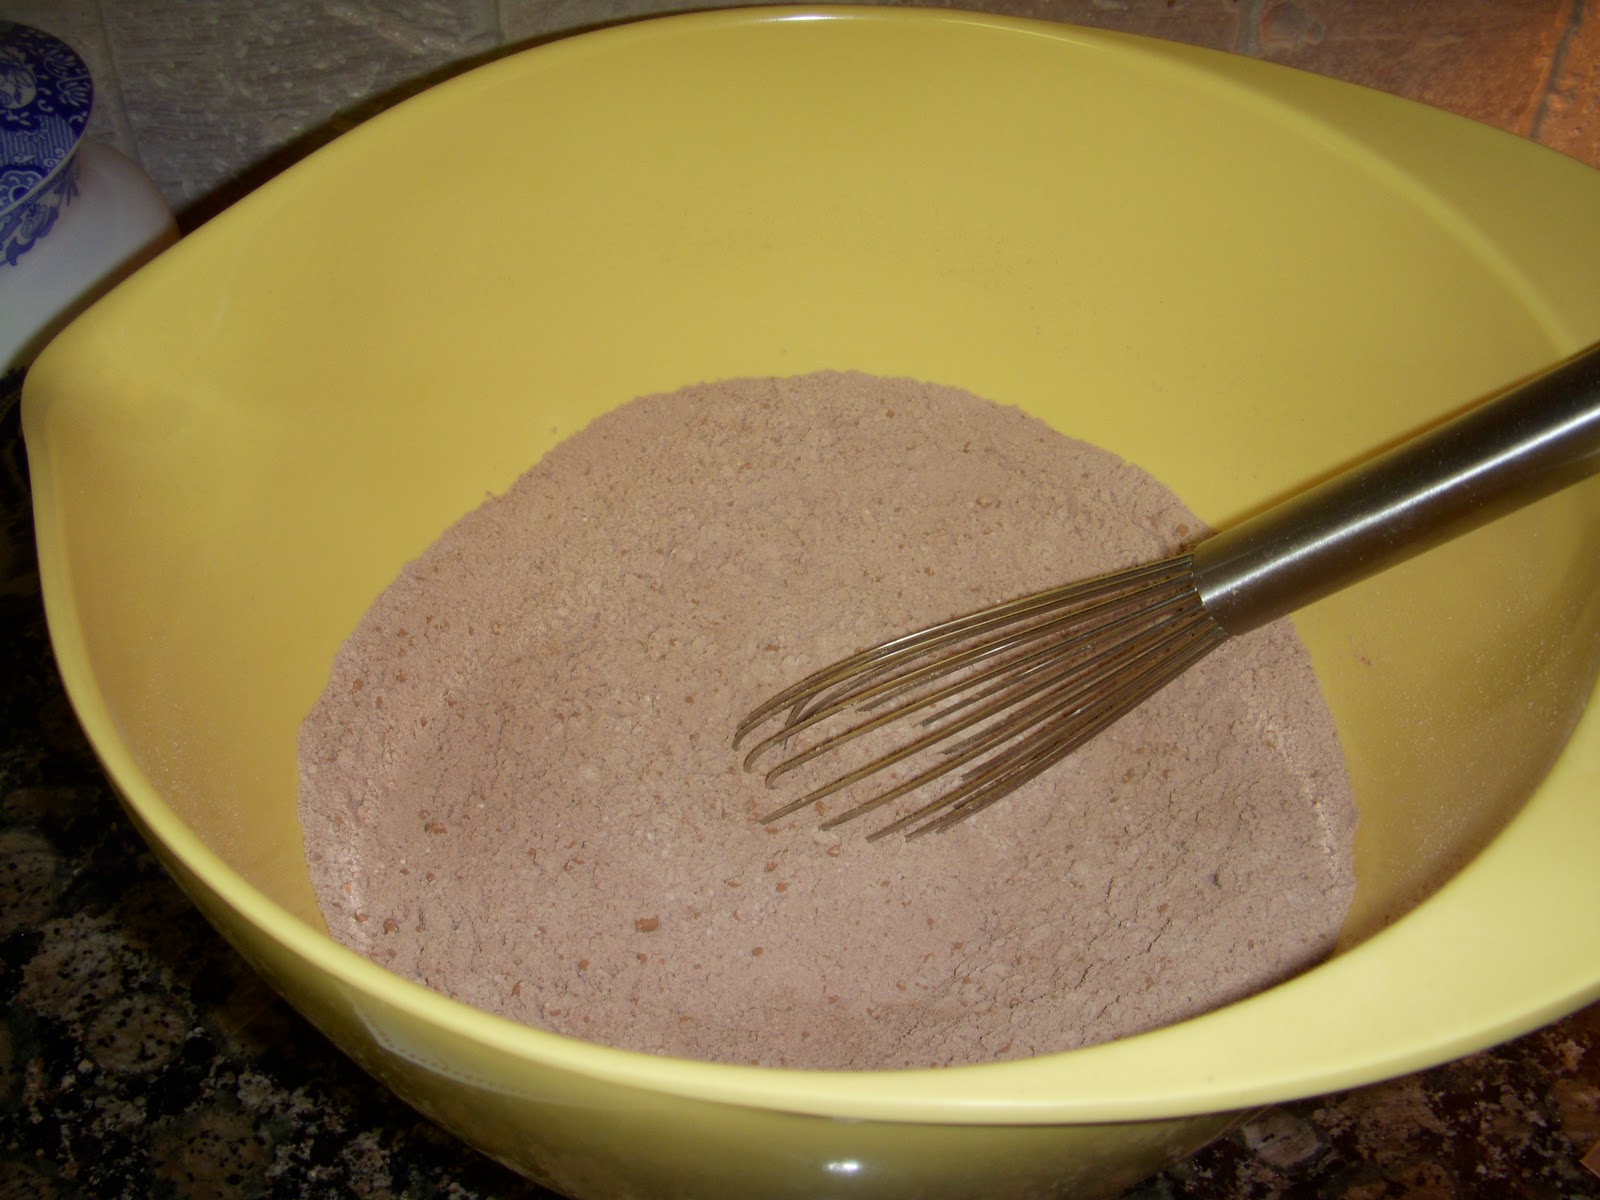
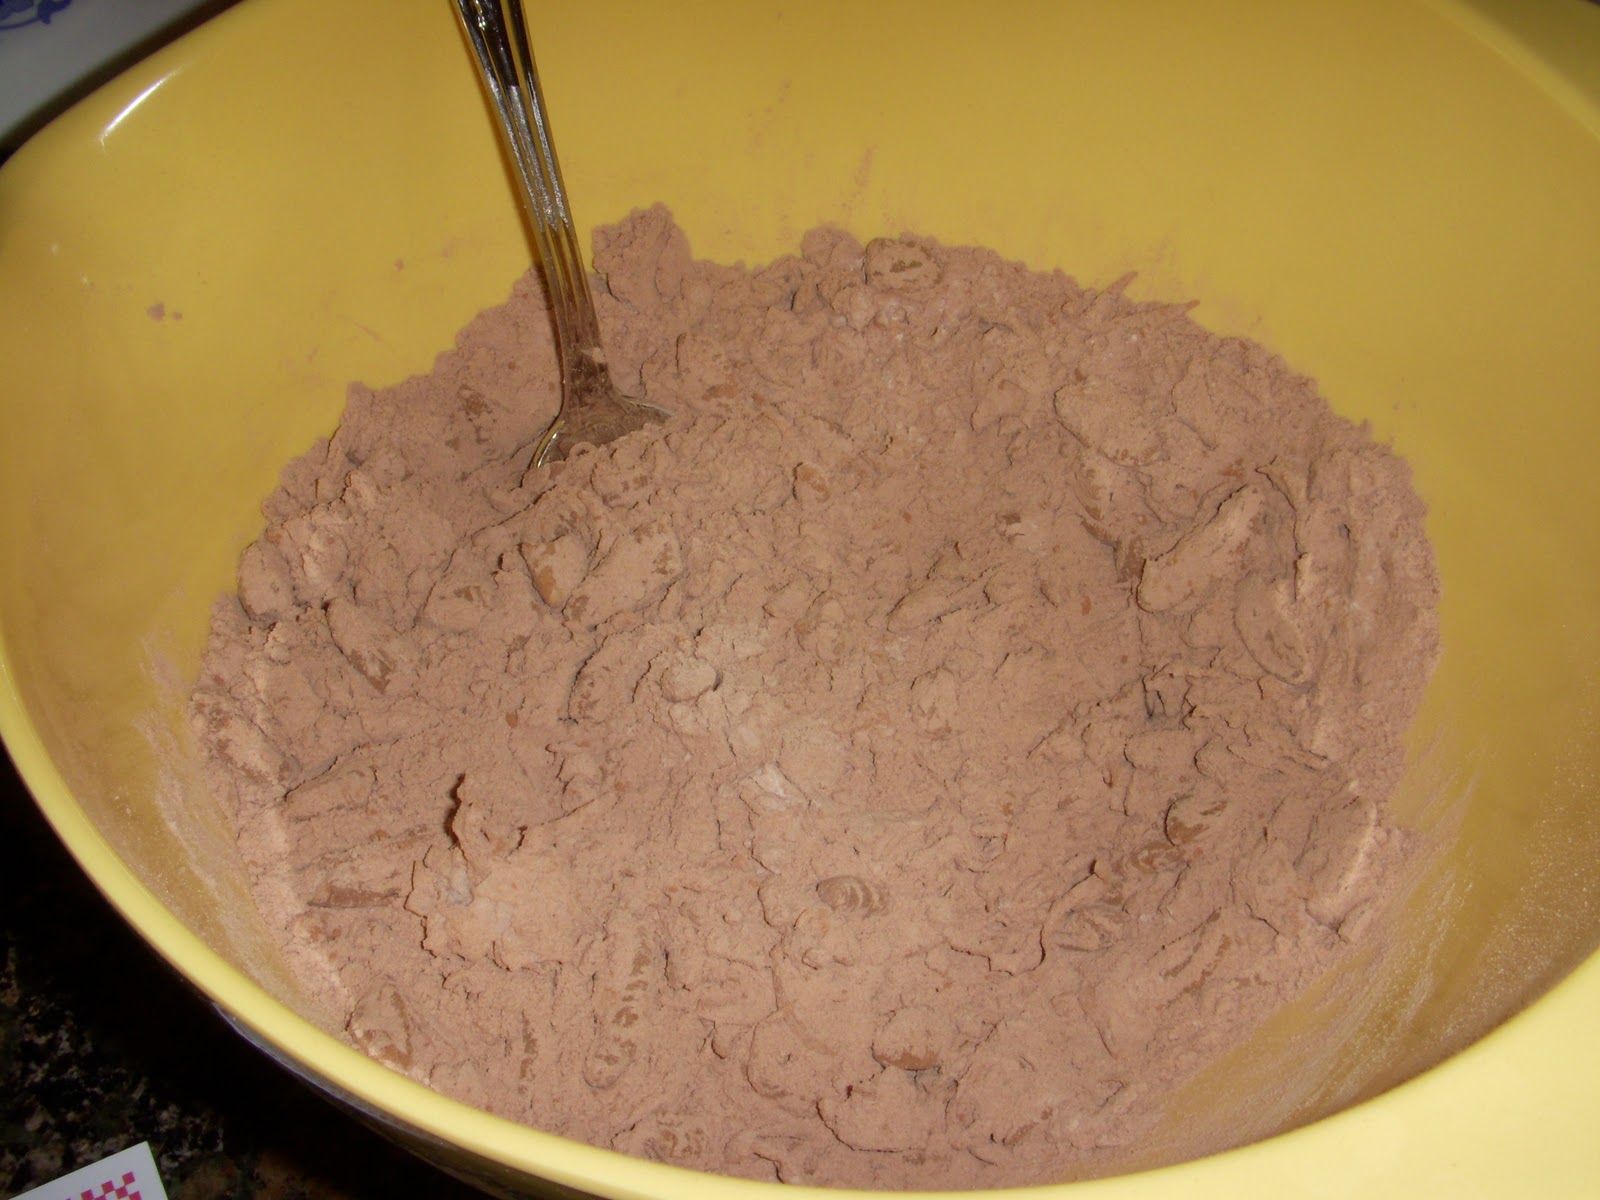
2 1/3 cup all-purpose flour
2/3 cup granulated sugar
2/3 cup light brown sugar
1 tsp salt
1/2 tsp baking soda
1 tsp ground cinnamon or 1/2 tsp ground cardamom
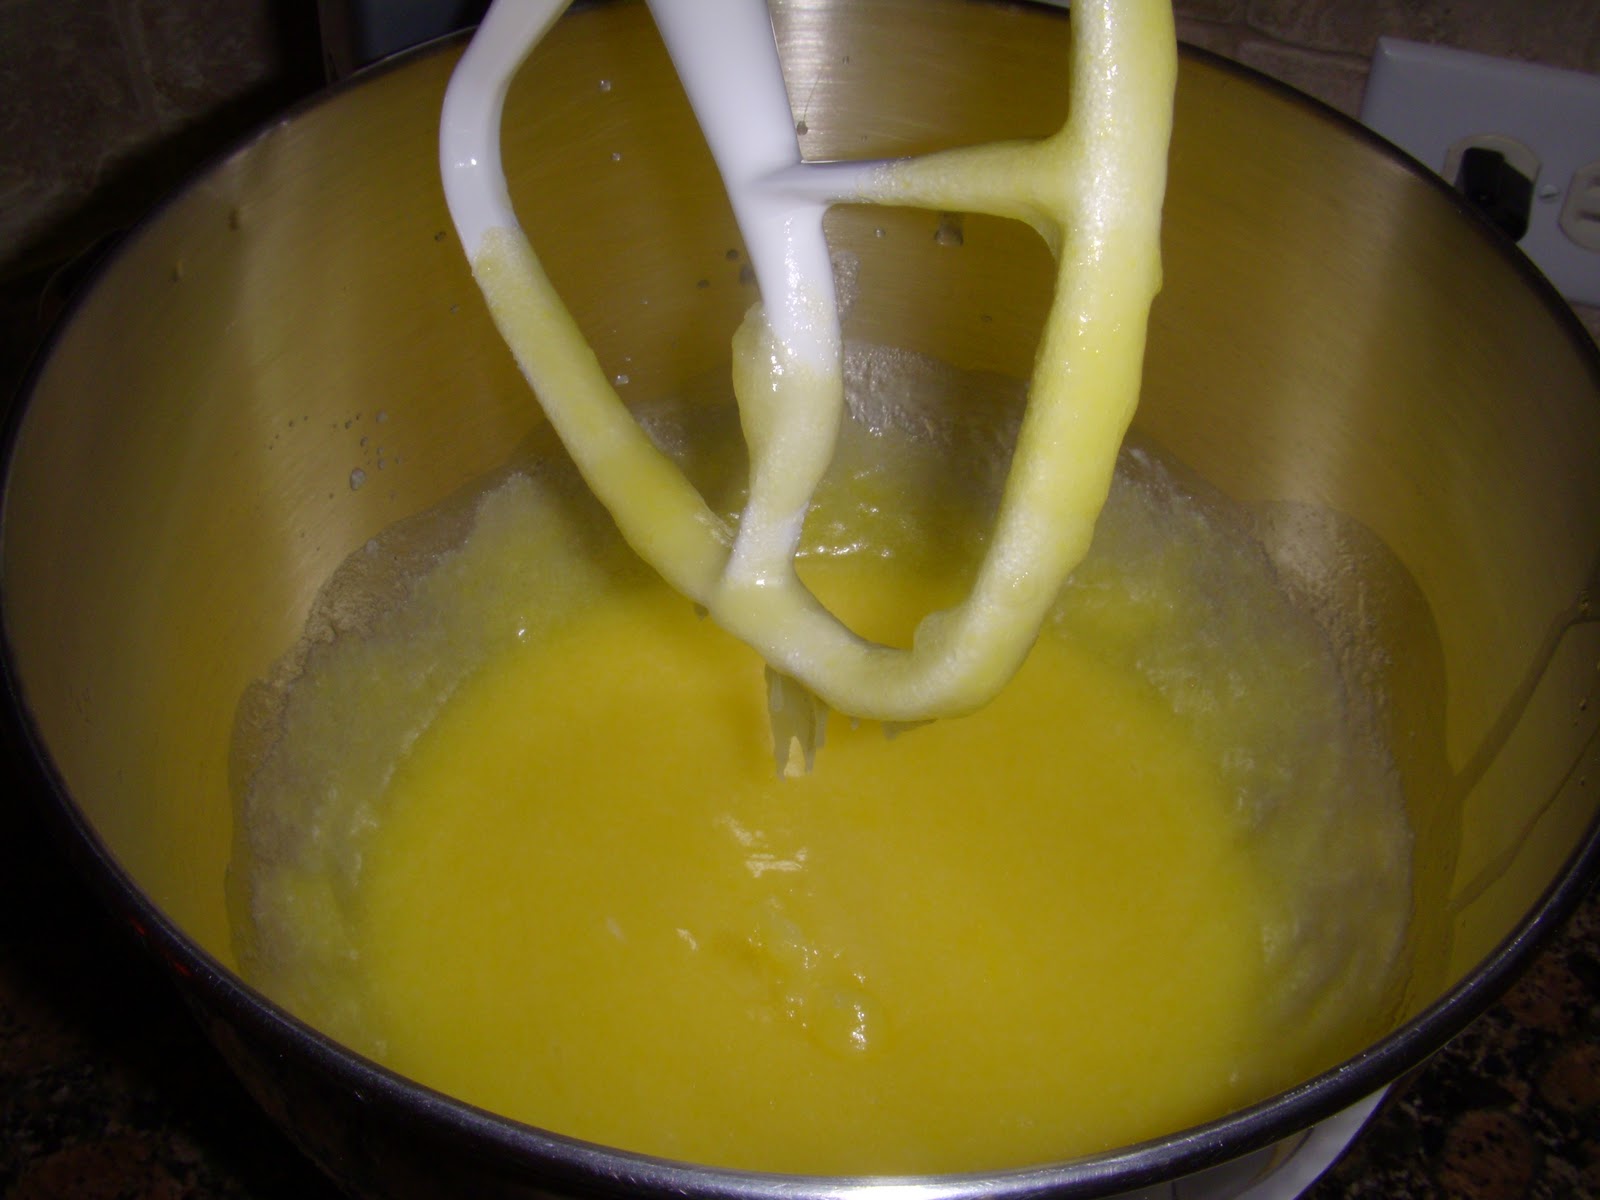
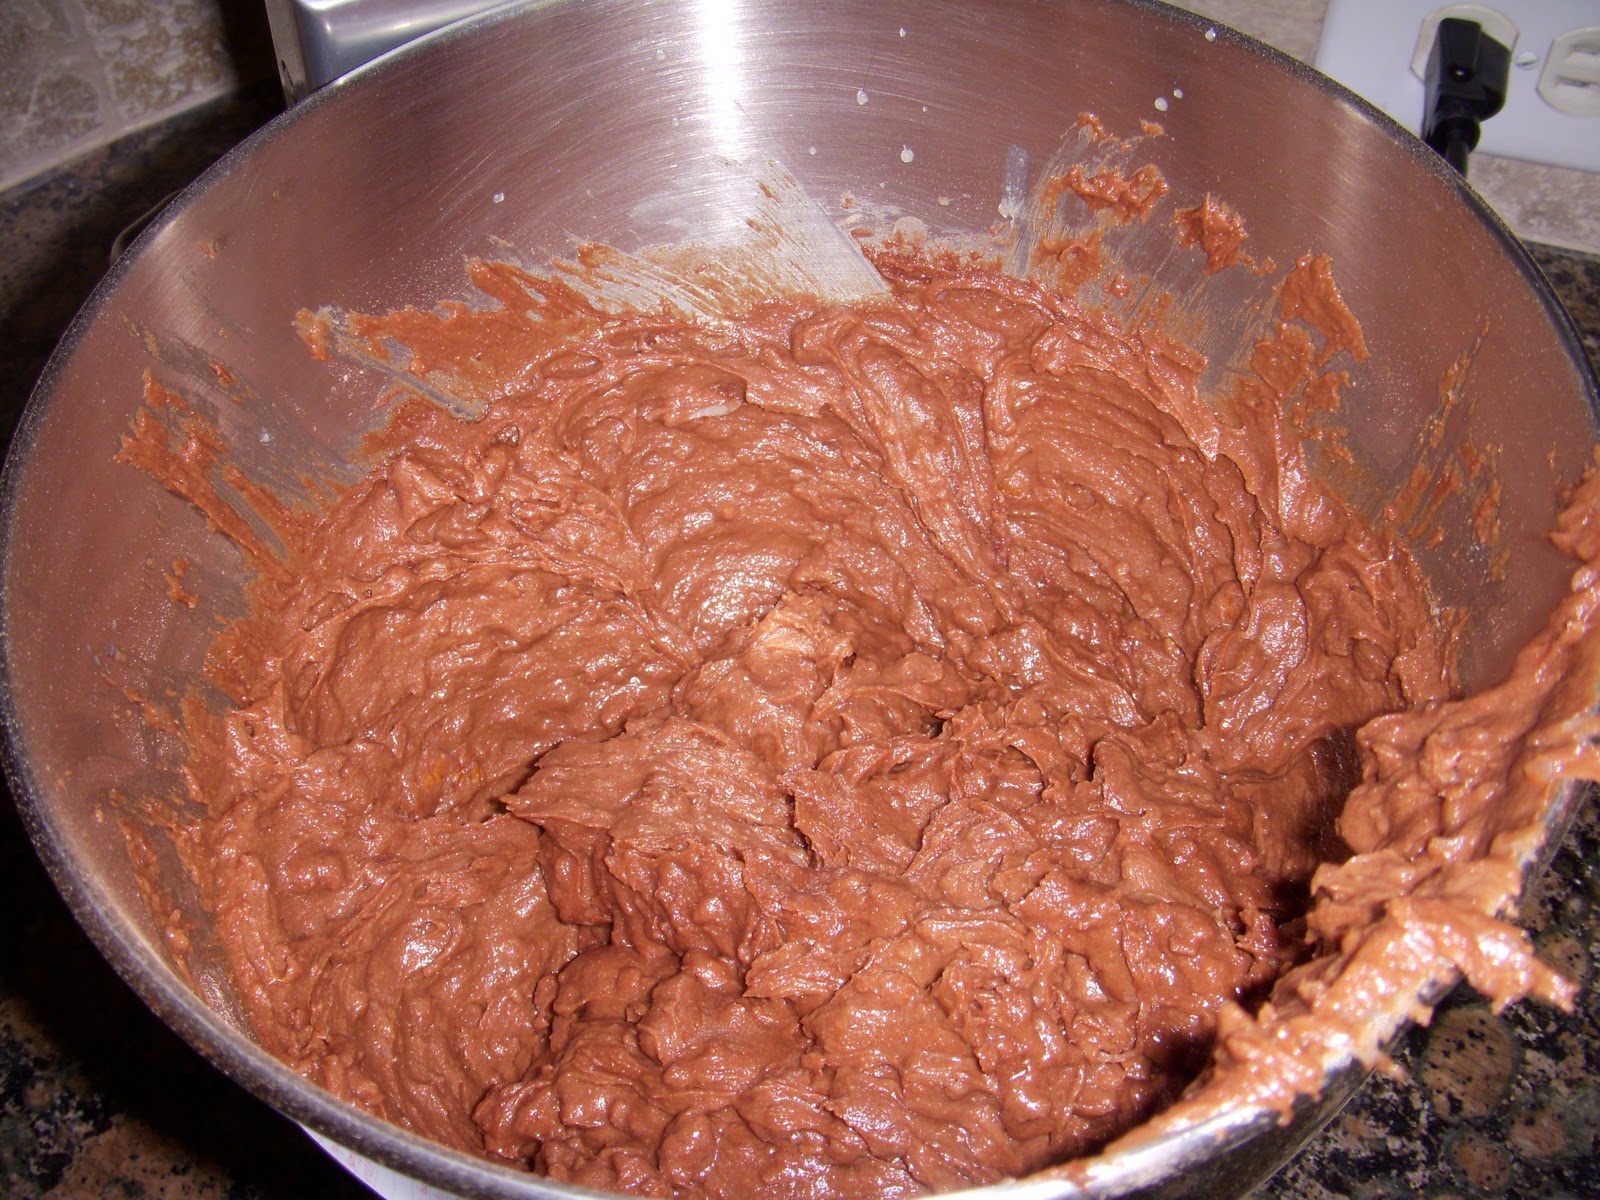
1 cup (2 sticks) unsalted butter, softened
1 large egg
1 tsp pure vanilla extract
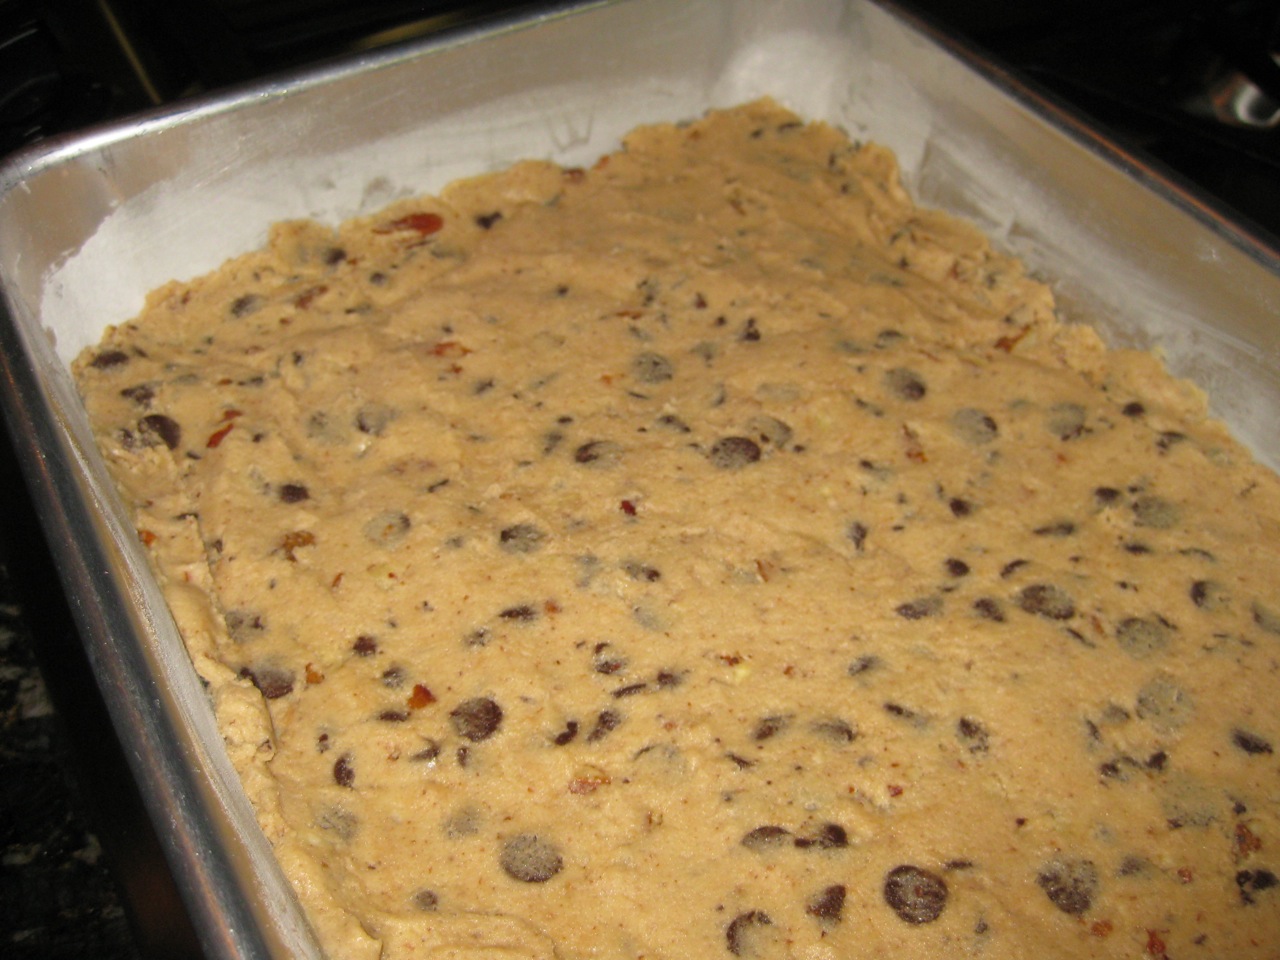
2 cups semisweet chocolate chips
1 cup chopped walnuts, pecans, hazelnuts, or a combination

Directions
1.  Center a rack in the oven and preheat to 350 degrees F.  Butter a 9 x 13-inch pan and set aside.
2.  In a stand mixer fitted with a paddle attachment, combine the flours, sugars, salt, cinnamon (if using), and baking soda and mix on the lowest speed until just blended.  Add the butter and continue to mix until small, moist crumbs form that look similar to streusel, about 1 minute.  Add the egg and vanilla and beat on low speed until the mixture begins to form a cohesive dough.  Increase the speed to medium and add the chocolate chips and nuts.  Beat just until they are incorporated, 20 to 30 seconds.
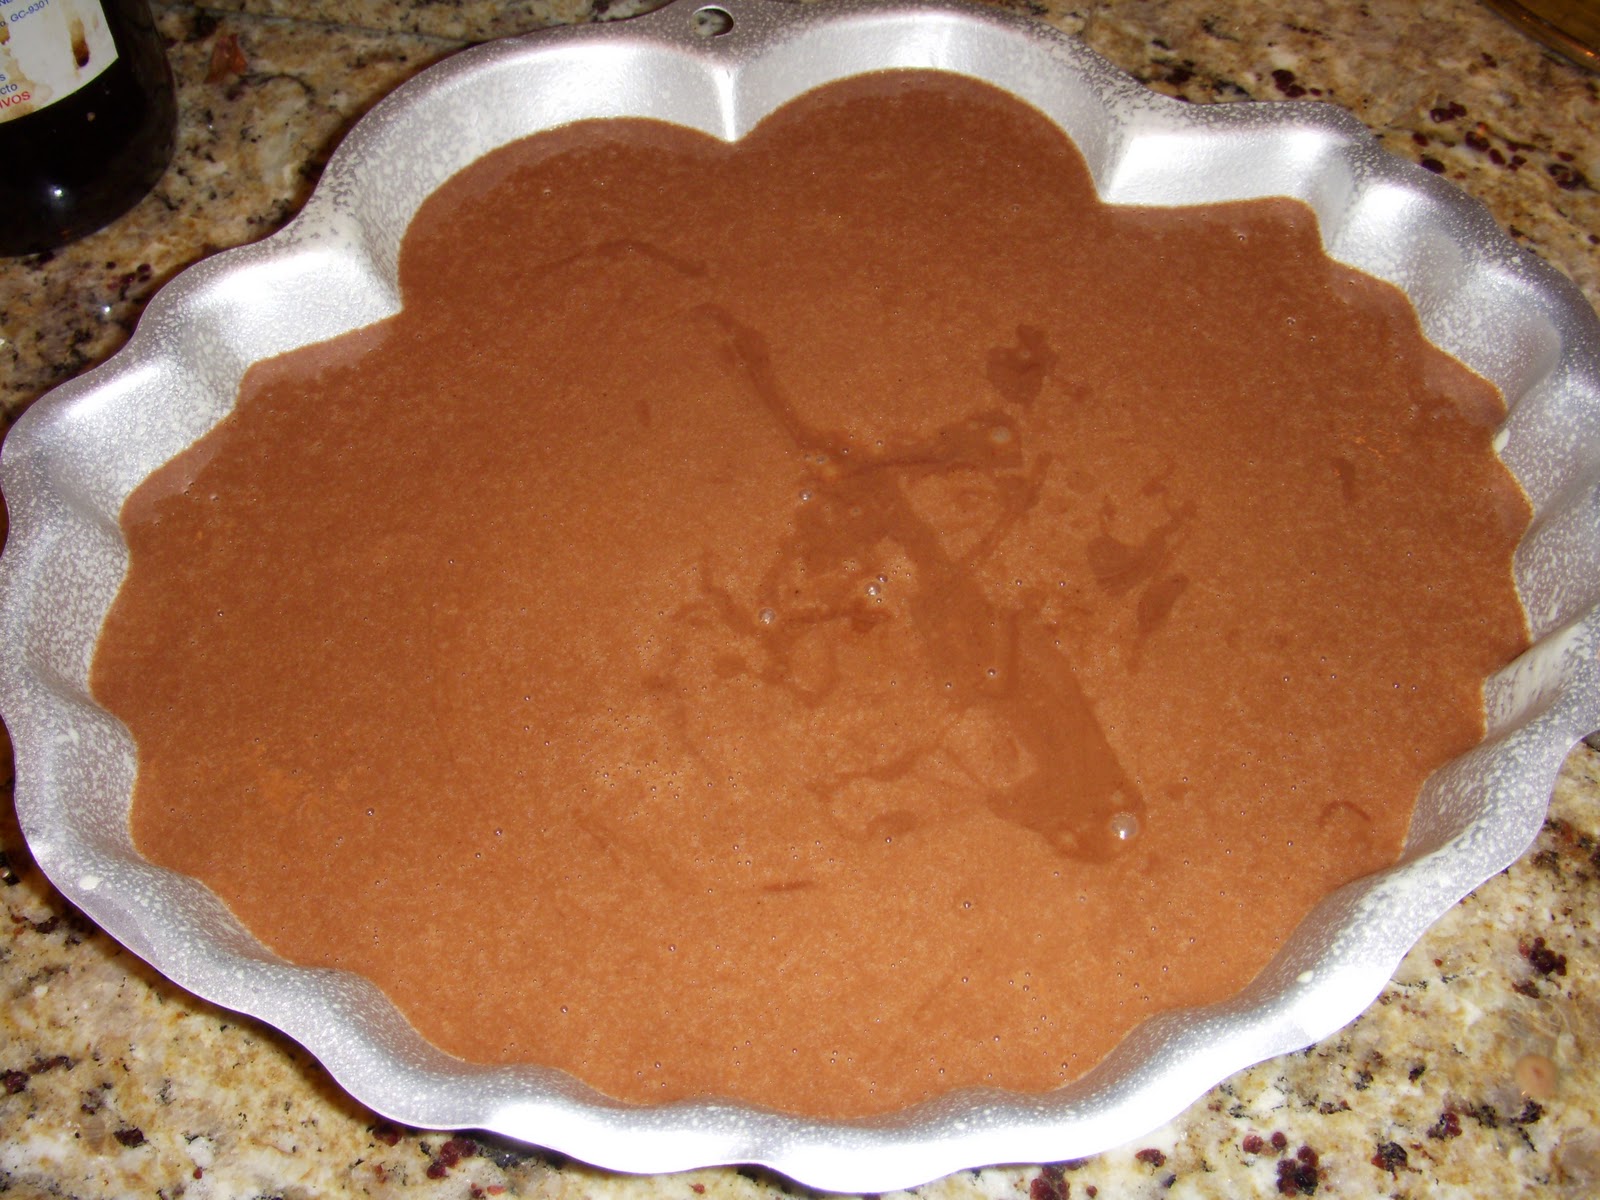
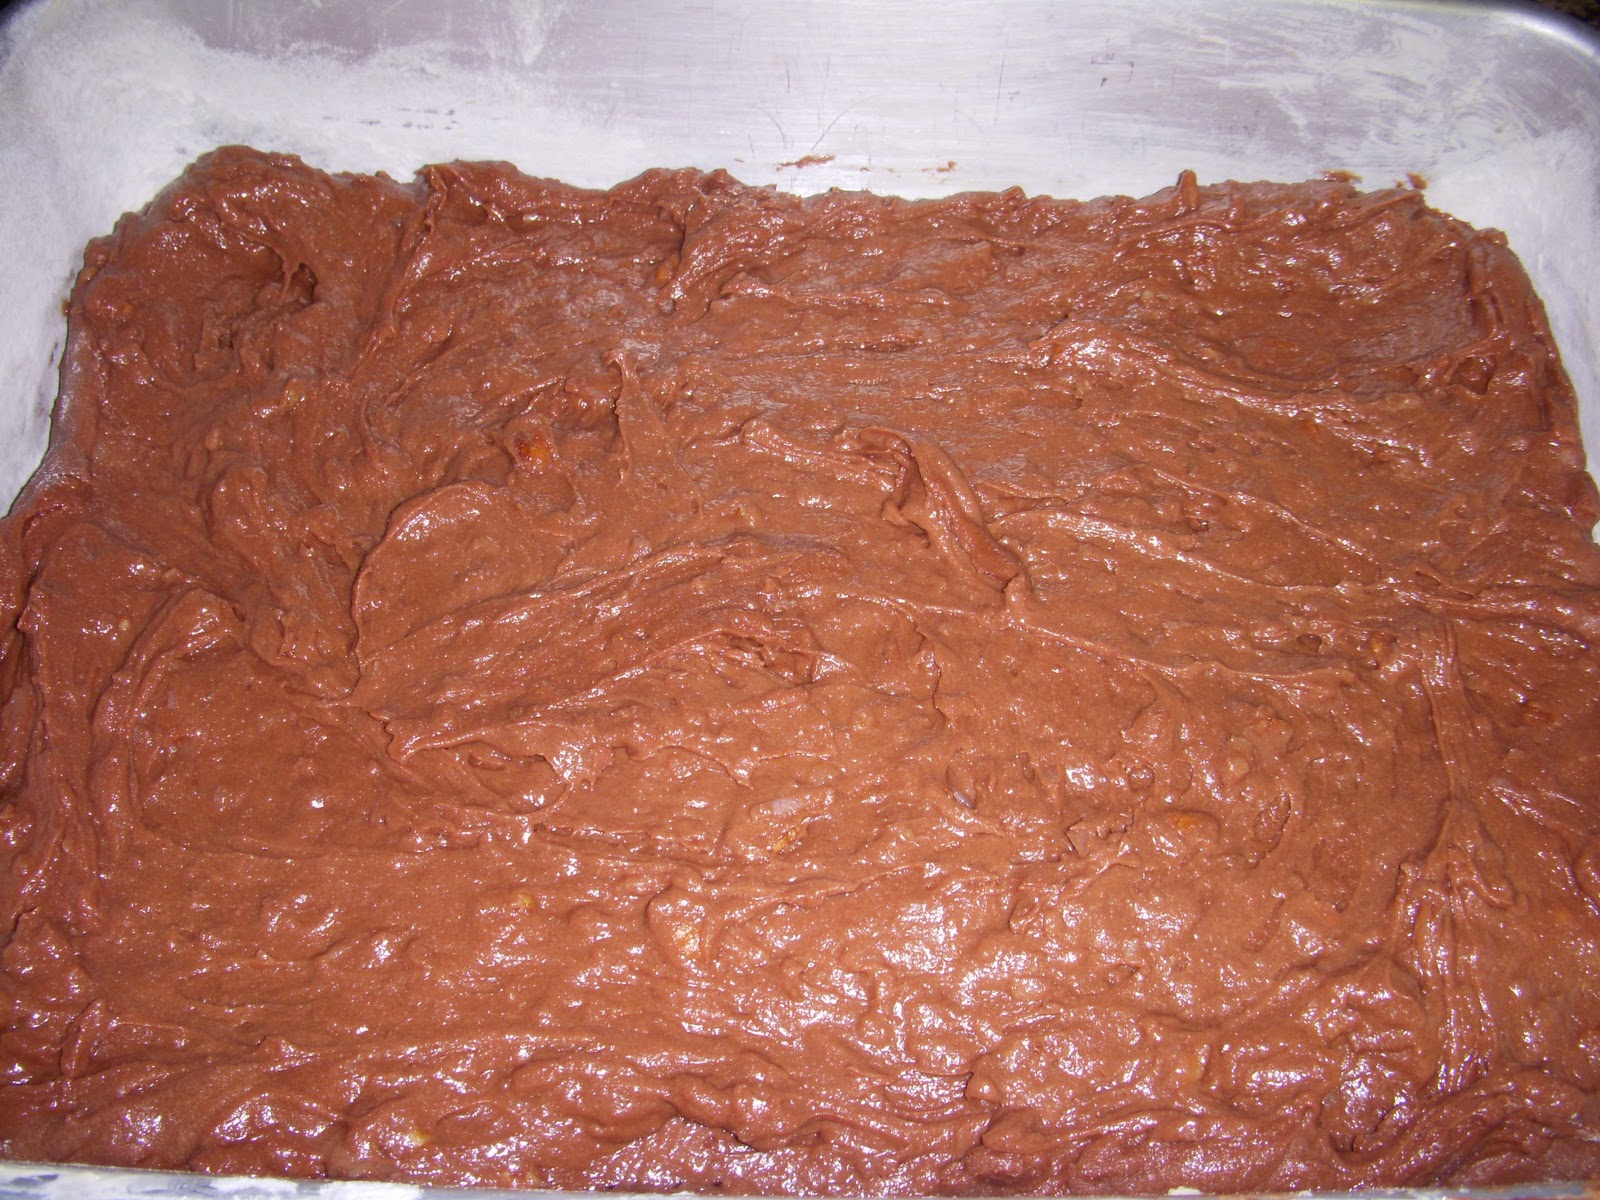
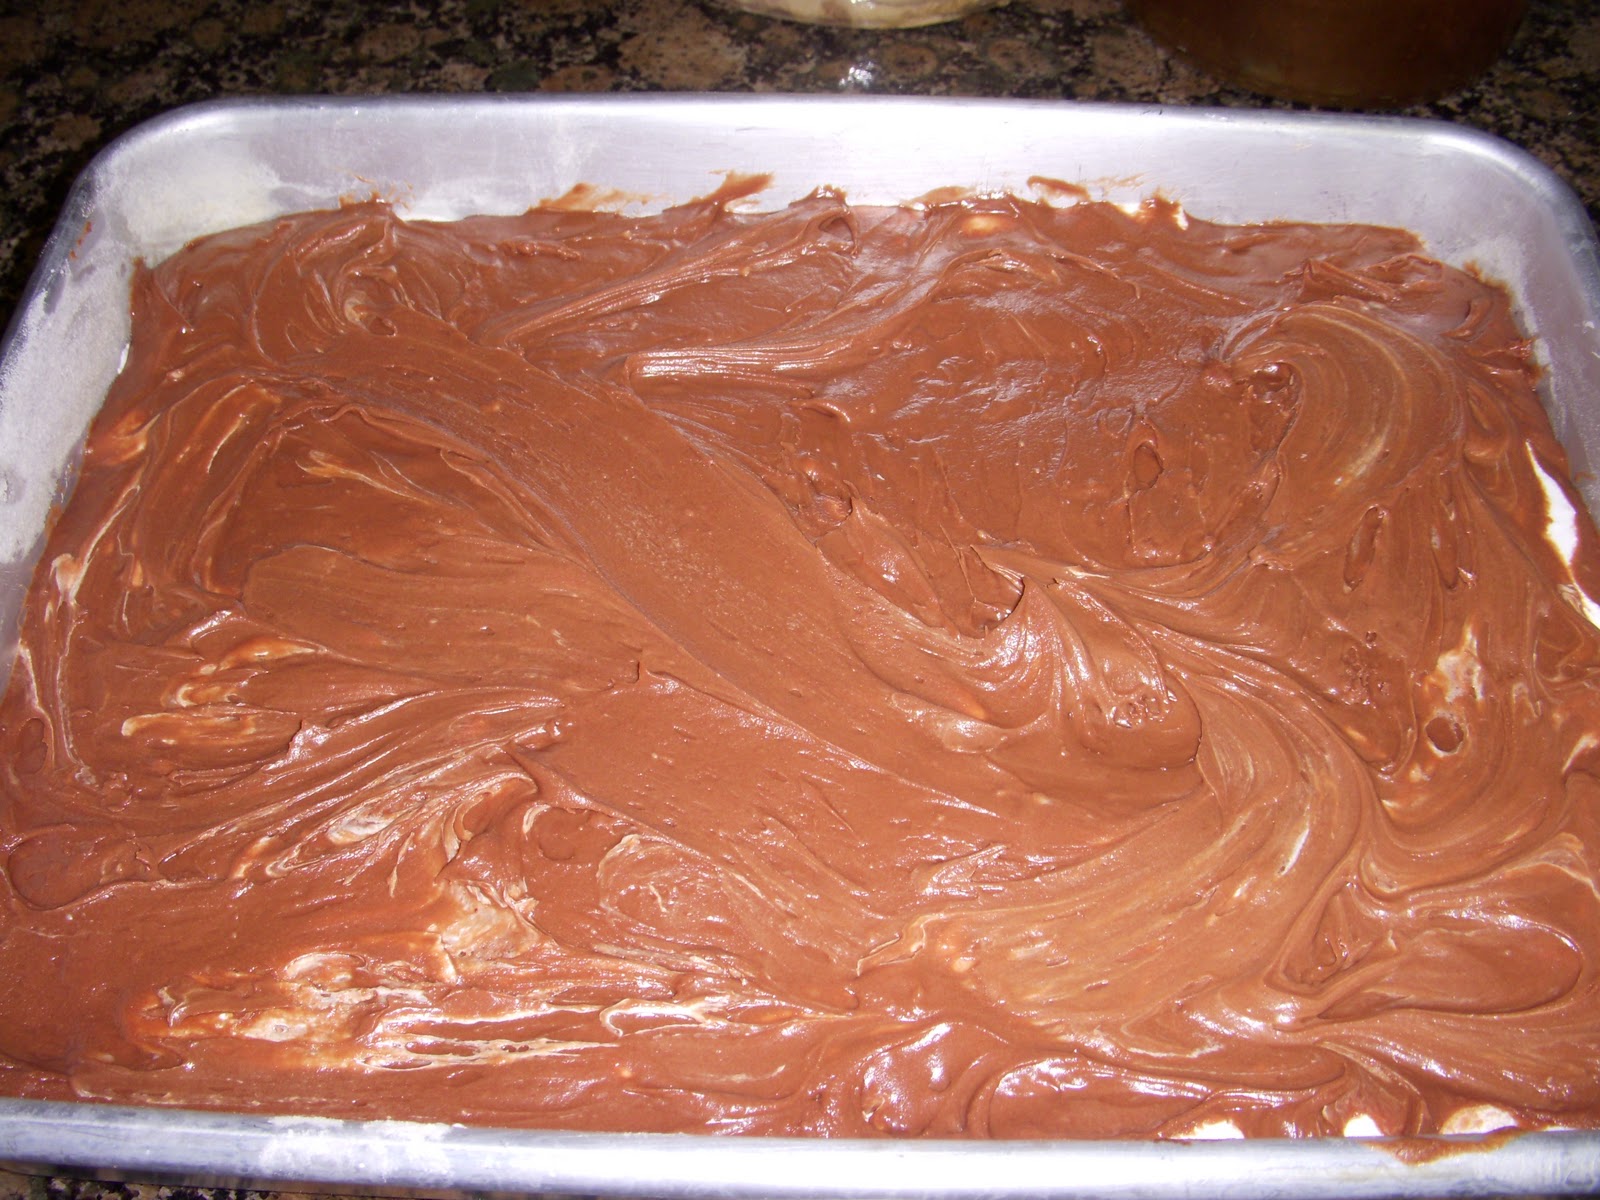
3.  Spoon dollops of the thick dough evenly over the bottom of the baking pan with a rubber spatula.  To distribute the dough evenly, lay a sheet of plastic wrap or parchment paper over the dough and pat it evenly with your fingertips.
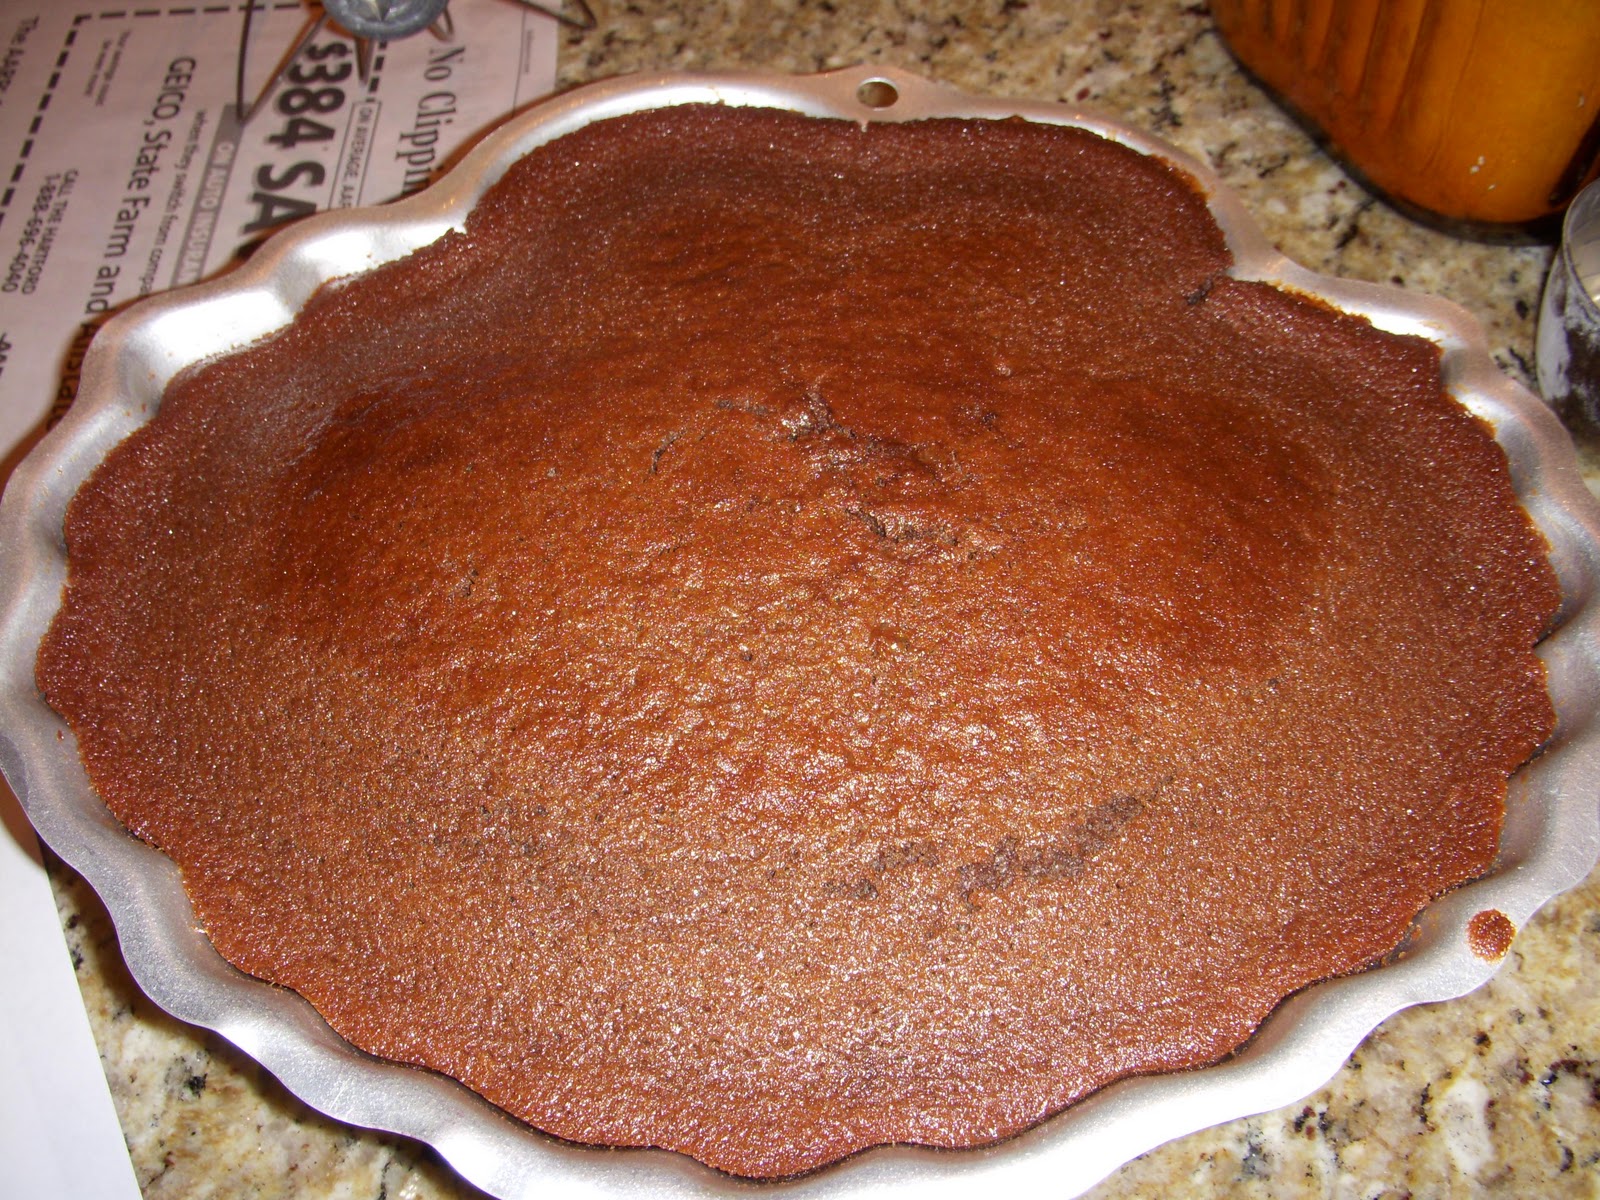
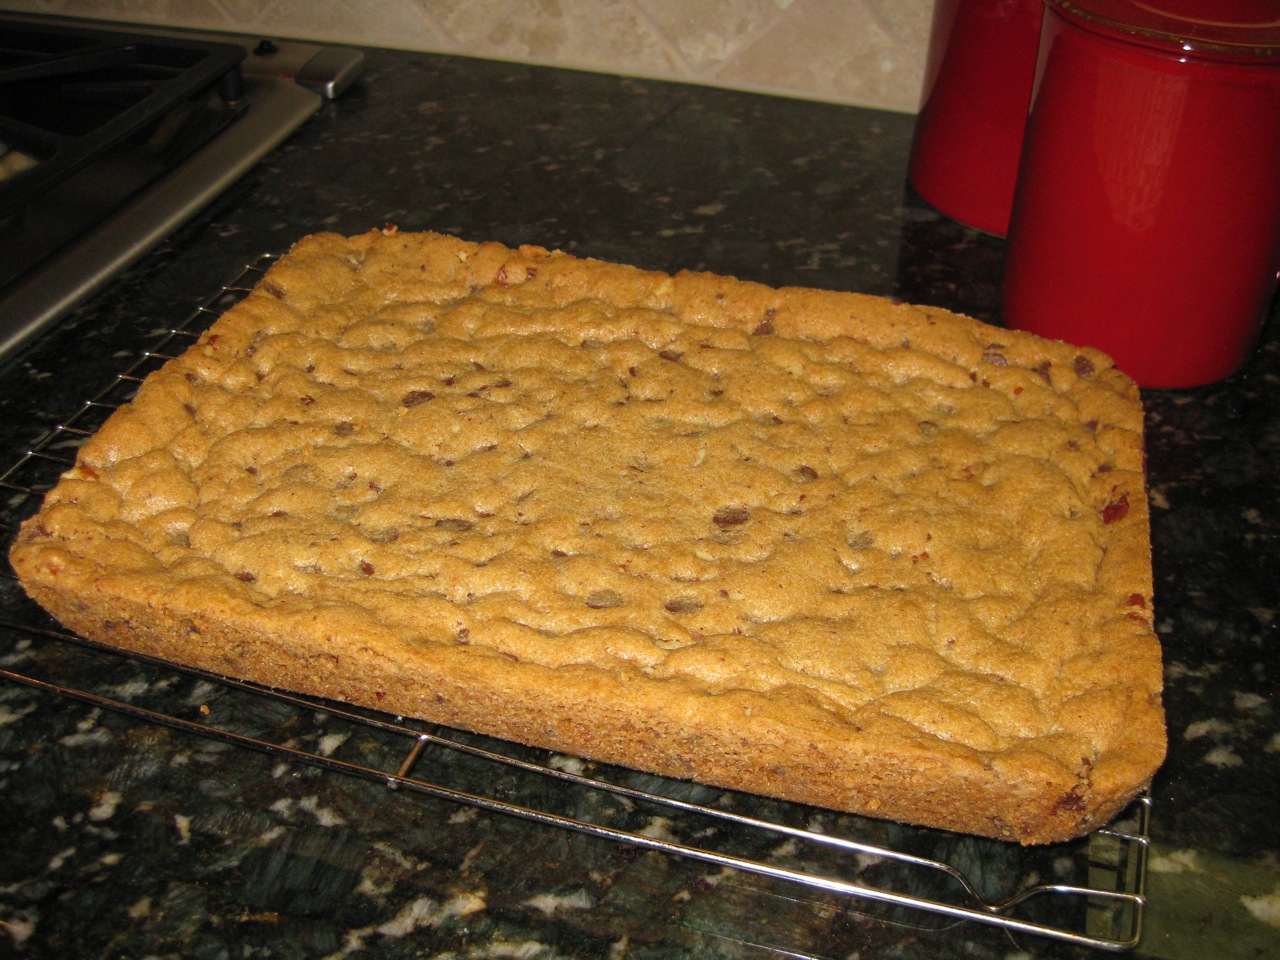
4.  Bake the cake until it is golden brown and feels more solid than soft when pressed in the center, 30-40 minutes.  Be careful not to overbake, it will firm as it cools.  Transfer to a wire rack and let cool in the pan for 30-35 minutes.
5.  Slip a thin metal spatula between the cake and the pan and run the spatula along the entire perimeter of the pan.  Lift the pan, tilt it slightly, and tap it on a counter to help release the cake.  Invert the cake onto a wire rack and lift it out of the pan.  Invert so it is right side up and let cool completely.

Yield: one 9 x 13-inch pan
Baking For All Occasions by Flo Braker

Texas Sheet Cake

Texas sheet cake, the official state cake of Texas, is a huge, pecan-topped chocolate cake with three distinct layers of chocolaty goodness.  It has a diverse range of textures created when the sweet chocolate icing is poured over the hot cake.  When the cake has cooled, you’re left with an icing layer, a fudgy layer where the icing and hot cake have melded together, and a bottom layer of moist cake.  This cake is easy to make (no mixer is required) and is great to take to potlucks and parties because as the name suggests, it’s baked in a sheet pan and serves a crowd.
My sister, Brittany made this recipe for her boyfriend and his Oklahoma State University teammates after (not before, or else they’ll get sick in their 2 mile race!) they run in the Track & Field:  Big 12 Championships in Norman, Oklahoma.  I know they will love Texas sheet cake, just like our whole family. My husband likes to call these “brownies with icing,” but Texas sheet cake really tastes more like cake, just like the name implies.  Brownies are denser, and heavier.  These are lighter, and cakey in texture, but no less chocolaty than brownies.  Leave these in the refrigerator for a more intense flavor.
Enjoy!

Texas Sheet Cake
Ingredients
Cake
2 cups (10 ounces) unbleached all-purpose flour
2 cups (14 ounces) granulated sugar
1/2 tsp baking soda
1/2 tsp salt
2 large eggs, at room temperature
2 large egg yolks, at room temperature
2 tsp vanilla extract
1/4 cup sour cream
8 ounces semisweet chocolate, chopped
4 Tbsp (1/2 stick) unsalted butter
3/4 cup vegetable oil
3/4 cup water
1/2 cup (1 1/2 ounces) Dutch-processed cocoa powder

Chocolate Icing
8 Tbsp (1 stick) unsalted butter
1/2 cup heavy cream
1/2 cup (1 1/2 ounces) Dutch-processed cocoa powder
1 Tbsp light corn syrup
3 cups (12 ounces) confectioners’ sugar
1 Tbsp vanilla extract
1 cup toasted pecans, chopped

Directions
1.  For the cake:  Adjust the oven rack to the middle position and heat oven to 350 degrees F.  Grease an 18-by-13-inch rimmed baking sheet.  Combine the flour, sugar, baking soda, and salt in a large bowl.  Whisk the eggs, yolks, vanilla, and sour cream in another bowl until smooth.
2.  Heat the chocolate, butter, oil, water, and cocoa in a large saucepan over medium heat, stirring occasionally, until smooth, 3 to 5 minutes.  Whisk the chocolate mixture into the flour mixture until incorporated.  Whisk the egg mixture into the batter, then pour into the prepared baking sheet.  Bake until a toothpick inserted into the center of the cake comes out clean, 18 to 20 minutes.  Transfer to a wire rack.
3.  For the icing:  About 5 minutes before the cake is done, heat the butter, cream, cocoa, and corn syrup in a large saucepan over medium heat stirring occasionally, until smooth.  Off the heat, whisk in the confectioners’ sugar and vanilla.  Spread the warm icing evenly over the hot cake and sprinkle with the pecans.  Let the cake cool to room temperature on the wire rack, about 1 hour, then refrigerate until the icing is set, about 1 hour longer.  Cut into 3-inch squares.  Serve.  (The cake can be wrapped in plastic wrap and refrigerated for up to 2 days.  Bring to room temperature before serving.)

Yield:  24 servings
The Best of America’s Test Kitchen 2009

Lemon-Scented Pull-Apart Coffee Cake

This Lemon-Scented Pull-Apart Coffee Cake is like nothing I’ve ever had before.  The final product looks gorgeous and the Pull-Apart Coffee Cake tastes more like a pull-apart, soft and chewy yeast bread with a sweet yet tart lemony flavor.  I love how you get to eat this coffee cake with your fingers, hence the name “Pull-Apart” coffee cake!  No cutting knife or fork involved!  
My mom made this pull-apart coffee cake last week for Easter.  I thought it was very good and the yeasty bread reminded me of the dough in the bread you would eat in a cinnamon roll.  In fact, we all decided that next time we make this coffee cake, we are going to substitute a cinnamon-sugar filling for the lemon paste filling and keep the tangy cream cheese icing, but omit the lemon juice.  That would be a nice twist on the typical cinnamon roll.  We’ll have to change the name to Cinnamon-Sugar Pull-Apart Coffee Cake.  I can’t wait to try it!  

That is not say that the lemon paste filling was not good…it was delicious.  However, if you’d read my blog before, you know that the men in our family are NOT big fans of “fruity” desserts.   They would rather you slather something in chocolate or just make chocolate chip cookies and brownies all day.  In fact, on Easter we had David Lebovitz’s Nutty Chocolate Chunk cookiesCocoa Brownies with Browned Butter and WalnutsMartha Stewart’s Key Lime Bars, and Lemon-Scented Pull-Apart Coffee Cake.  Quite a few desserts for only five people in my family!  The girls (my mom, sister, and I) ate the lemon and lime desserts, while my dad and husband ate the cookies and brownies.

Enjoy this new twist on coffee cake!  

NOTE:  This recipe looks long and complicated, but my mom said that it is actually fun and pretty easy to make.   Flo Braker, the author of the cookbook Baking for All Occasions (where this recipe comes from), is very detailed in her directions.  That way, you do not miss a step or get confused in preparing this wonderful dessert.


Lemon-Scented Pull-Apart Coffee Cake


Ingredients
Sweet Yeast Dough
About 2 3/4 cups (12 1/4 ounces/350g) all-purpose flour
1/4 cup (1 3/4 ounces/50 g)granulated sugar
2 1/4 tsp (1 envelope) instant yeast
1/2 tsp salt
1/3 cup (2 1/2 fl ounces/75ml) whole milk
2 ounces (1/2 stick/55g) unsalted butter
1/4 cup (2 fl ounces/60ml) water
1 1/2 tsp pure vanilla extract
2 large eggs, at room temperature

Lemon Paste Filling
1/2 cup (3 1/2 ounces/100g) granulated sugar
3 tbsp finely grated lemon zest (3 lemons)
1 tbsp finely grated orange zest
2 ounces (1/2 stick/55g) unsalted butter, melted

Tangy Cream Cheese Icing
3 ounces (85g) cream cheese, softened
1/3 cup (1 1/4 ounces/35g) powdered sugar
1 tbsp whole milk
1 tbsp fresh lemon juice

Directions
1.  To make the Sweet Yeast Dough:  Stir together 2 cups (9 ounces/255g) of the flour, the sugar, the yeast, and the salt in the bowl of a stand mixer; set aside.  In a small saucepan, heat the milk and butter over low heat just until the butter is melted.  Remove from the heat, add the water, and set aside until warm (120 to 130 degrees F), about 1 minute.  Add the vanilla extract.
2.  Pour the milk mixture over the flour-yeast mixture and, using a rubber spatula, mix until the dry ingredients are evenly moistened.  Attach the bowl to the mixer, and fit the mixer with the paddle attachment.  With the mixer on low speed, add the eggs, one at at time, mixing after each addition just until incorporated.  Stop the mixer, add 1/ 2 cup (2 1/4 ounces/65g) of the remaining flour, and resume mixing on low speed until the dough is smooth, soft, and slightly sticky, about 45 seconds.
3.  Sprinkle a work surface with 1 tablespoon flour and center the dough on the flour.  Knead gently until smooth and no longer sticky, about 1 minute, adding an additional 1 to 2 tablespoons flour only if necessary to lesson the stickiness.  Place the dough in a large bowl, cover the bowl securely with plastic wrap, and let the dough rise in a warm place (about 70 degrees F) until doubled in size, 45 to 60 minutes.  Press the dough gently with a fingertip.  If the indention remains, the dough is ready for the next step.  While the dough is rising, make the filling.
4.  To make the Lemon Paste Filling:  In a small bowl, mix together the sugar and the lemon and orange zests.  Set the sandy-wet mixture nearby (the sugar draws out moisture from the zests to create the consistency).
5.  Before baking:  Center a rack in the oven and preheat the oven to 350 degrees F.  Lightly butter a 9 x 5 x 3-inch loaf pan.  Or, lightly coat the pan with nonstick spray.
6.  To shape the coffee cake:  Gently deflate the dough.  On a lightly floured work surface, roll out the dough into a 20 x 12-inch rectangle.  Using a a pasty brush, spread the melted butter generously over the dough.  Cut the dough crosswise into 5 strips, each about 12 x 4 inches.  (A pizza cutter is helpful here.) Sprinkle 1 1/2 tablespoons of the zest-sugar mixture over one of the buttered rectangles.  Top with a second rectangle and sprinkle it with 1 1/2 tablespoons of the zest-sugar mixture.  Repeat with the remaining dough rectangles and zest-sugar mixture, ending with a stack of 5 rectangles.  Work carefully when adding the crumbly zest filling, or it will fall off when you have to lift the stacked pastry later.
7.  Slice the stack crosswise through the 5 layers to create 6 equal strips, each about 4 x 2 inches.  Fit these layered strips into the prepared loaf pan, cut edges up and side by side.  (While there is plenty of space on either side of the 6 strips widthwise in the pan, fitting the strips lengthwise is tight.  But that’s fine because the spaces between the dough and the sides of the pan fill in during baking.)  Loosely cover the pan with plastic wrap and let the dough rise in a warm place (70 degrees F) until puffy and almost doubled in size, 30 to 50 minutes.  Press the dough gently with a fingertip.  If the indentation remains, the dough is ready for baking.
8.  Bake the coffee cake until the top is golden brown, 30 to 35 minutes.  Transfer to a wire rack and let cool in the pan for 10 to 15 minutes.
9.  While the coffee cake bakes, make the Tangy Cream Cheese Cheese Icing:  In medium bowl, using a rubber spatula, vigorously mix the cream cheese and sugar until smooth.  Beat in the milk and lemon juice until the mixture is creamy and smooth.
10.  To remove the coffee cake from the pan, tilt and rotate the pan while gently tapping it on a counter to release the cakes sides.  Invert a wire rack on top of the coffee cake, invert the cake onto the rack, and carefully lift off the pan.  Invert another rack on top, invert the cake so it is right side up, and remove the original rack.  Slip a sheet of waxed paper under the rack to catch any drips from the icing.  Using a pastry brush, coat the top of the warm cake with the icing to glaze it.  (Cover and refrigerate the leftover icing for another use.  It will keep for up to 2 days.)
11.  Serve the coffee cake warm or at room temperature.  To serve, you can pull apart the layers, or you can cut the cake into 1-inch thick slices on a slight diagonal with a long, serrated knife.  If you decide to cut the cake, don’t attempt to cut it until it is almost completely cool.

Yield:  one 9 x 5-inch coffee cake, about 15 servings
Baking for All Occasions by Flo Braker

Collins Chocolate Cake with Chocolate Buttercream Frosting

This may throw you off your weight watcher’s diet compared to the salad I posted yesterday!

Here is another dessert my sister made for a freshman Oklahoma State cross country runner for his 19th birthday.  The freshman runner loved this cake and quotes, “It was the best cake I ever had!”  The chocolate cake recipe is from the Peach Tree Cookbook by Cynthia Collins Pedregon, and the chocolate buttercream frosting is from The Perfect Cake by Susan G. Purdy.

My sister made a two-layer cake and decorated the top with colored sprinkles.  The cake was extremely rich with chocolate flavor, and was very moist.  It took her a week and sifting through over ten cookbooks to finally decide on this recipe!!

Half of the cake was gone in a matter of minutes, complements of the seven people eating on it.  By day two, the cake had disappeared.  Enjoy!

Collins Chocolate Cake
Ingredients
4 ounces unsweetened baking chocolate
1 cup butter or margarine
1 cup brewed coffee
2 cups sugar
2/3 cup buttermilk
1 tsp baking soda
2 eggs
1/2 tsp cinnamon
2 tsp vanilla
2 cups flour
Directions
1.  Preheat oven to 350 degrees F. 
2.  In  large saucepan, combine chocolate, butter, or margarine, and coffee.  Heat, stirring constantly, until chocolate and butter are melted.  Add sugar and continue cooking over low heat until sugar is dissolved.
3.  Combine buttermilk, soda, eggs, cinnamon and vanilla.  Stir into chocolate mixture.
4.  Stir in flour, blending well.  Pour into 9 x 13-inch pan that has been greased and floured.  Bake for 30 minutes or until toothpick inserted in center comes out clean.  Frost with Chocolate Buttercream Frosting (see below)
Serves:  12
The Peach Tree Family Cookbook by Cynthia Collins Pedregon
Chocolate Buttercream Frosting
Ingredients
1/2 cup unsalted butter (1 stick; 110 g), softened but not melted
1 large egg yolk (optional)
Pinch of salt
1 tsp vanilla extract
4 to 4 1/2 cups sifted confectioners’ sugar (16 ounces; 454 g)
5 or 6 tablespoons heavy cream or milk, or as needed
4 to 6 ounces melted semisweet chocolate
Directions
1.  In an electric mixer or food processor, cream the butter until soft, then beat in the egg yolk if using it, the salt, and the vanilla.  With the mixer on low speed or pulsing the processor, add about 1/4 cup of the sugar.  Beat in the 4 to 6 ounces of melted and cooled semisweet chocolate.  Alternately add cream and remaining sugar, blending smooth between additions.  (Use only as much cream as necessary to reach spreading consistency).  Scrape down sides of bowl.  Add more cream if too stiff, chill to harden if too soft.
Quantity: About 2 1/2 cups, to fill and frost an 8- or 9-inch 2 -layer cake.
The Perfect Cake by Susan G. Purdy

Basic Yellow Cake with Chocolate Frosting

The yellow cake is a 19th century classic that is the basis for many of today’s recipes.  It is light, moist, and full of vanilla flavorings.  This basic cake is easy to remember (1 cup butter, 2 cups sugar, 3 cups flour, 4 eggs), simple to prepare, and foolproof, thus it was one of the first cakes taught to beginning bakers.  We got this recipe out of The Perfect Cake by Susan G. Purdy.

My husband is a huge fan of yellow cake, so of course he loved it.  One time he bought a yellow cake mix at the store with chocolate frosting from a jar (yuck) and had me make a yellow cake and chocolate frosting the “easy” way.  I personally HATE cake mixes, unless you do something to it, like the Gooey Butter Cake (Neiman Marcus Cake) or Cherry Pineapple Pecan Cobbler, also known as Dump Cake.  Plain old cake mix by itself is dry, flavorless, and dry…do I have to repeat myself?  Dry!! The chocolate frosting in a can is too sweet, too thick, and not creamy.  After making that awful cake, I really had no desire to ever eat a yellow cake again… until we tried this recipe.  My mom made it, and it was the exact opposite of the box mix you buy at the store.  Flavorful, moist, buttery, and a touch of vanilla are words that describe this homemade yellow cake.

This Basic 1-2-3-4 cake can be modified in many ways.   You can make it an almond cake, an orange cake, a yellow cake, a chocolate cake, etc. based on the extra ingredients and modifications you use to personalize your cake.  I used one of the variations in the book, the Basic Yellow Cake, and topped it with with my favorite chocolate icing recipe from The Junior League of Houston, Inc.’s cookbook, Stop and Smell the Rosemary.  

Classic Yellow Cake with Chocolate Frosting
Basic 1-2-3-4
Ingredients
3 cups sifted all-purpose flour (12 3/4 ounces; 360g)
1 Tbsp baking powder
1/2 tsp salt
1 cup unsalted butter (2 sticks; 230g) at room temperature
2 cups granulated sugar (14 ounces; 400g)
*4 large eggs, separated
*1 cup milk (we used whole milk)
1 tsp vanilla extract

Directions
1.  Prepare pans (two 8 or 9-inch round cake pans or one sheet 13 x 9-inches) by spreading solid shortening all over the bottom and sides of pans, then dust evenly with flour; tap out excess flour.
2.  Sift together flour, baking powder, and salt.  Set aside.
3.  In the large bowl of an electric mixer, beat the butter until soft and smooth.  Add the sugar and beat until light and smooth.  Ad egg yolks, one at a time, beating after each addition.  Stop the mixer and scrape down the sides of the bowl and the beaters several times.
4.  With the mixer on low speed, alternatively add the flour mixture and milk, beginning and ending with flour.  Stir in the vanilla.  At this point, add any personal flavoring touches (grated lemon zest, coconut, etc.)
5.  In another bowl, with a clean beater, beat the whites until stiff but not dry.  Stir about 1/2 cup of whites into the batter to lighten it, then fold in remaining whites in several additions.
6.  Divide the batter evenly between the pans.  Smooth the batter level, then spread it slightly from the center toward the edges of the pan so it will rise evenly.  Bake 30 to 35 minutes, or just until a cake tester comes out clean and the cake tops are lightly springy to the touch.
7.  Cool the cakes in their pans on a wire rack for 10 minutes.  Top with a wire rack and invert; lift off pans.  Completely cool layers before frosting.  Or you can leave a sheet cake in its pan to cool, and frost and serve it from the pan (which is what we did).

*Variations (We used the variation below to turn the Basic 1-2-3-4 Cake into a Basic Yellow Cake)
Basic Yellow Cake:  Prepare Basic 1-2-3-4 Cake but use 5 eggs; do not separate them.  Add whole eggs in step 3.  Increase milk to 1 1/4 cups.

**Note:  For the lightest texture, follow the recipe as written, separating the eggs and beating the whites stiff.  For an even simpler method with just a slightly more compact texture, you can beat in whole eggs in place of the yolks, omitting the beaten whites.

Yield:  one 2-layer cake or one 9 x 13-inch cake
The Perfect Cake by Susan G. Purdy

Chocolate Frosting
Ingredients
1 pound powdered sugar, sifted
6 Tbsp milk
1 tsp vanilla extract
4 Tbsp unsalted butter, at room temperature
1 Tbsp brewed coffee
1/3 cup unsweetened cocoa
1 tsp ground cinnamon

Directions
Mix powdered sugar, milk, vanilla, butter, coffee, cocoa, and cinnamon.  Spread frosting on top of two layers, then stack layers on serving plate.  Hold together with wooden toothpicks.  Add third layer.  Frost top and sides.  (We spread the frosting on a single layer, 9 x 13-inch cake).

Yield:  one three-layer cake or one 9 x 13-inch cake
Stop and Smell the Rosemary:  Recipes and Traditions to Remember:  A Cookbook by the Junior League of Houston, Inc.

Strawberry Layer Cake

Believe it or not, this cake is actually “healthy”.  It comes from the Cooking Light:  Cooking Through the Seasons cookbook.  This is a nice and refreshing springtime cake with real strawberries, lowfat buttermilk, and egg whites in the batter, rather than a boring old cake mix.  The icing has 1/3-less-fat cream cheese, orange juice, and powdered sugar, for an exceptionally sweet frosting.
My mom decided to make this cake last Sunday for our family because we were in the  mood for something fruity, not chocolatey.  If you have ever been to Celebrity Cafe’ & Bakery in Colleyville, Highland Park, or Frisco, you’ll think we catered this cake from them because of its sweetness, and the fact it is pink (the entire inside, walls and everything are painted pink at Celebrity Bakery, and you’d be hard pressed to see a man in there!)
Enjoy this wonderful Strawberry Layer Cake….which I almost forgot to mention, we made into a one-layer, 9 x 13-inch pan rather than a two layer round cake.  It doesn’t matter if you choose the one or two layer presentation, it still tastes the same.  Enjoy!


Strawberry Layer Cake
Ingredients
1 1/4 cups sliced strawberries
10 oz. all-purpose flour (about 2 1/4 cups)
2 1/4 tsp. baking powder
1/8 tsp. salt
1 1/2 cups granulated sugar
1/2 cup butter, softened
2 large eggs
2 large egg whites
1 cup low-fat buttermilk
1/4 tsp. red food coloring
Cooking Spray

Frosting:
1/3 cup (3 oz.) 1/3-less-fat cream cheese
1/3 cup butter, softened
2 Tbsp. Grand Marnier (orange-flavored liquor or orange juice may be substituted)
3 cups powdered sugar
12 whole strawberries

Directions
1.  Preheat oven to 350 degrees F.
2.  To prepare cake, place sliced strawberries in a food processor; process until smooth.
3.  Weigh or lightly spoon flour into dry measuring cups; level with a knife.  Combine flour, baking powder, and salt, stirring with a whisk.  Place granulated sugar and 1/2 cup butter in a large bowl; beat with a mixer at medium speed until well blended.  Add eggs, one at a time, beating well after each addition.  Beat in egg whites.  Add flour mixture and buttermilk alternatively to sugar mixture, beginning and ending with flour mixture.  Add pureed strawberries and food coloring; beat just until blended.
4.  Divide batter between 2 (8-inch) round cake pans coated with cooking spray.  (We just used one 9 x 13-inch pan).  Bake at 350 degrees F. for 30 minutes or until a wooden pick inserted in center comes out clean.  Cool pans on a wire rack for 10 minutes.  Remove from pans; cool completely on wire racks.
5.  To prepare frosting, place cream cheese, 1/3 cup butter, and liqueur in a medium bowl; beat with a mixer at medium speed until blended.  Gradually add powdered sugar, and beat until just blended.
6.  Place 1 cake layer on a plate; spread with 1/2 cup frosting.  Top with remaining cake layer.  Spread remaining frosting over top and sides of cake.  Cut 1 whole strawberry into thin slices, cutting to, but not through, the stem end.  Fan strawberry on top of cake just before serving, if desired.  Cut remaining 11 strawberries in half.  Garnish cake with strawberry halves, if desired.  (If frosting a 9 x 13-inch cake, just layer frosting, evenly, on the top of the cake.)

Serves:  16
Cooking Light, May 2009

Nutritional Information
Calories:  348
Fat:  11.3 g
Protein:  4.3 g
Carbohydrate:  57.7g
Fiber:  0.7g
Cholesterol:  55mg
Iron:  1.1mg
Sodium:  212mg
Calcium:  74mg

Classic Pound Cake

This is your Classic Pound Cake recipe comes out of the Fine Cooking Magazine April/May 2011 issue. We thought this pound cake looked gorgeous in the magazine, so we decided to make it last Sunday afternoon. 
 
I have only eaten one kind of pound cake in my life, and that is my Great Aunt Nanny’s Pound Cake recipe.  It is delicious and has been in our family for years.  The Classic Pound Cake from Fine Cooking is completely different:  it is extremely thick and dense. Nanny’s Pound Cake is much lighter, and more like an airy cake.  I have never had a cake this dense before, so I was a bit unsure at first.  My mother-in-law, Paula, loved the denseness of this cake, and raved to me about how wonderful the cake was.
I reflect on this dessert, I would give it a “thumbs up” and would make it again.  I would rate Nanny’s Pound Cake as number one though, probably because I grew up with that recipe. 
Pound cake is a classic dessert that can be “dressed up” in many ways.  Make it a Simple Shortcake and top slices of pound cake with fresh berries or poached or sauteed fruit (like peaches or pears) and add a dollop of whipped cream…like we did below.
Other ways to “dress up” your pound cake include making an Easy Triffle.  Drizzle cubes of cake with liqueur and in a large bowl, layer with custard, fruit, and whipped cream.  
Finally, call it Pound Cake a la Mode and serve slices with a scoop of vanilla ice cream and hot fudge sauce; with butter pecan ice cream and caramel sauce; or with chocolate ice cream, raspberry puree’ and fresh raspberries.  It’s up to you…make your pound cake your own work of art.  Enjoy!


Classic Pound Cake
Ingredients
8 oz. (1 cup) unsalted butter, slightly firm, plus 1 Tbsp. softened
8 oz. (1 3/4 cups) all-purpose flour, sifted
1/2 tsp. table salt
5 large eggs
1 1/2 tsp. pure vanilla extract
8 3/4 oz. (1 3/4 cups) superfine sugar
Nonstick cooking spray
Confectioner’s sugar, for dusting

Directions
1.  Position a rack in the center of the oven and heat the oven to 325 degrees F.  Using a pastry brush, thoroughly coat an 8 1/2 by 4 1/2 by 2 3/4-inch loaf pan with the 1 tablespoon softened butter.  Line the bottom with a rectangle of parchment.
2.  In a medium bowl, combine the flour, salt, and whisk thoroughly.
3.  Using a stand mixer fitted with the whisk attachment, beat the eggs on medium-high speed until thickened and lightened in color, 3 to 4 minutes.  Transfer to a medium bowl and set aside.  Clean the bowl of the stand mixer and fit with the paddle attachment.  Beat the butter on medium-low speed until smooth and creamy, 1 to 2 minutes.  Add the vanilla extract and mix 1 minute longer.  Add the sugar 1 to 2 tablespoons at a time, taking about 4 minutes to add it all and scraping the bowl as needed.
4.  Still on medium-low speed, slowly add half of the beaten eggs, taking about 2 minutes to add them.  Scrap the bowl as needed and beat for 30 seconds more.  Reduce the speed to low and add the dry ingredients alternatively with the remaining eggs (divide the flour into 3 parts and the eggs into 2 parts), mixing just until each addition is incorporated.  Scrape the bowl and beat on medium low for 10 seconds more.
5.  Spoon the batter into the prepared pan.  Smooth the top with the back of a large soup spoon, making sure to reach well into the corners.  Bang the pan on the counter two times to remove air pockets.
6.  Bake the cake until the top is golden-brown, the sides begin to pull away from the pan, and a thin wooden skewer inserted slightly off center into the cake (not into the crack) comes out clean, 1 hour and 20 to 25 minutes.  During the last 15 minutes of baking, lightly spray a 12-inch strip of aluminum foil with nonstick cooking spray and rest it loosely on top of the cake.  Transfer to a wire rack and let cool for at least 20 minutes before removing from the pan.
7.  To serve, dust the top with confectioners’ sugar and use a serrated knife to cut the cake into 1/2-inch slices.  Tightly wrap any remaining cake in plastic wrap and store at room temperature for up to 5 days.  (Do not refrigerate).

Serves:  6 to 8
Fine Cooking Magazine, April/May 2011

Carrot Cake for my birthday!!!

As most of you may know, Thursday, March 3rd was my birthday.  As I’ve said before, growing up I would request Mrs. Kelm’s Chocolate Cake every year for my birthday.  My dad would take pictures of my laying down next to the decorated cake or some character like Barney, or some ballerina that my mom would make.  As I grew older, we discovered Mississippi Mud Cake, out of the “Pigtails and Froglegs” cookbook from Neiman Marcus.  This become our “birthday tradition” every year since.  If you know me well enough, you also know that I LOVE Oreos, so last year I requested an Oreo Cheesecake…yet to be blogged.  It is absolutely devine, sinfully rich, and delicious.
This year, on the contrast, I thought I would be “healthy”, so I requested a Carrot Cake, my most favorite “flavor” of cake in the whole world.  Since I had just recently made the Mississippi Mud and Mrs. Kelm’s Chocolate Cake, I was definitely not craving chocolate this year for my birthday.  My mom made this same delicious Carrot Cake last year for Easter out of Dorie Greenspan’s “Baking From My Home to Yours” cookbook.  We loved it…obviously!  Why else would I request this cake again?  My mom used her own recipe for the icing.
When we made this cake for Easter last year, we made it in a 9 x 13 inch pan…the easier method.
For my birthday, I requested, that she make it into a three-tiered cake….the most beautiful way you can bake a cake.  It turned out gorgeous and delicious and was the best birthday I could have ever asked for!
Carrot Cake
INGREDIENTS
2 cups flour
2 tsp baking powder
2 tsp baking soda
2 tsp ground cinnamon
3/4 tsp salt
3 cups grated carrots (about 9 carrots; we grated them in a food processor fitted with a shredding blade)
1 cup coarsley chopped walnuts or pecans
1 cup shredded coconut (sweetened or unsweetened)
1/2 cup moist, plump raisins (we omitted because the males in our family don’t like dried fruit)
2 cups sugar
1 cup canola or safflower oil
4 large eggs
DIRECTIONS
1. Preheat oven to 325 degrees. Butter a 9×13 inch cake pan, flour the insides and tap out the excess. (Can make into three 9×2 inch round cake pans instead).
2. Whisk together the flour, baking powder, baking soda, cinnamon and salt. In another bowl, stir together the carrots, chopped nuts, coconut, and raisins (if using).
3. In an electric mixer with a paddle attachment, beat the sugar and oil together on medium speed until smooth. Add the eggs one by one, and continue to beat until the batter is even smoother.
4. Reduce the speed to low and add the flour mixture, mixing only until the dry ingredients disappear. Gently mix in the chunky ingredients.
5. Pour batter in baking pan and bake for 40-50 minutes, until a thin knife inserted into the center comes out clean.
6. Cool until room temperature and then add the frosting.
Yield 8-10 servings
Baking From My Home to Yours by Dorie Greenspan
Cream Cheese Frosting
Ingredients
1 stick butter, softened
1 package (8 oz) cream cheese,
1 pound powdered sugar
1 tsp vanilla
1 cup pecans, chopped finely
Directions
1. In a large bowl, cream butter and cream cheese.
2. Add sugar and vanilla and blend, then mix in the nuts.
3. Spread on cooled carrot cake.
Yield: enough icing to ice one cake
My mother’s recipe

Elmo Cake (using Mrs. Kelm’s Chocolate Cake recipe)

Happy Birthday to my little 2 year old nephew named Bear!  Yes, if you are wondering, his name really is “Bear”!  For Bear’s 2 year old birthday party, his mom (my sister-in-law, Leah) asked me if I would help her make an Elmo cake and I said yes.  How could I pass up an opportunity to bake?  Leah had already bought the cake pan, but needed a cake recipe and I had the perfect one….
The cake is called “Mrs. Kelm’s Chocolate Cake”, and it is my great aunt Jolene’s recipe that my family and I have used for my sister and I’s birthday cakes ever since I was 3 years old!  I remember my mom making me a Barney cake, and a purple ballerina cake, (my sister had a pink ballerina cake).  When my mom had finished decorating the cake, she would place it on the ground, and my dad would make my sister and I lie down right next to the cake to take a picture.  We probably have 22 years worth of “my cake and me” pictures!
As my sister and I grew older, my mom would still make this cake for us, but instead of making “ballerina” cakes, we just used a regular 9 x 13 inch pan.  Then, together, we would decorate the top by just writing “Happy Birthday Lauren or Brittany” and using different colored icing to make pretty flowers.  (Here is a picture of me turning 16 years old, holding Mrs. Kelm’s Chocolate Cake.)
So, that is the story of the “famous” Mrs. Kelm’s Chocolate Cake that is a birthday tradition in our family.  I’m excited I got to share that tradition with my sister-in-law, Leah.  I wasn’t able to attend Bear’s birthday, but Leah said the cake was a success and it was sooo moist and delicious!  Enjoy!
Sift flour, add sugar, and salt, and resift.

Bring to a boil the cocoa, butter, and water.  Pour over flour and sugar mixture.

Lightly beat eggs. It calls for two eggs, but when we cracked them, two yolks came out of one egg!  Now it looks like we have three!

Temper egg with chocolate mixture.

Pour egg and remaining ingrediens (baking soda, buttermilk, vanilla, and cinnamon) into chocolate mixture and combine.

Pour into a greased and floured 9 x 13-inch baking pan (or Elmo cake pan) and bake at 350 degrees for 35 to 40 minutes, or until a cake tester comes out clean.

During the last 5 minutes of baking, make chocolate icing.  Melt butter, cocoa, and milk in a sauce pan.  Mix and heat over low heat, do not boil.

Turn off heat and add a box of powdered sugar and vanilla.

Pour icing over warm cake.

Let cool completely.

Once cooled, begin decorating!  We started with Elmo’s mouth and nose.

Now for his eyes and red face.

Leah (left), me (right).

Adding the finishing touches!

Bear’s Elmo cake is complete!


Mrs. Kelm’s Chocolate Cake
Ingredients
Cake
2 cups flour
2 cups sugar
1 1/2 tsp salt
1 cup (2 sticks) unsalted butter
1 cup water
3 tbsp cocoa
2 eggs, well beaten
1 tsp baking soda
1/2 cup buttermilk
1 tsp vanilla
1 tsp cinnamon

Frosting
1/2 cup (1 stick) unsalted butter
3 tbsp cocoa
5 tbsp milk
1 box (1 lb.) powdered sugar
1 tsp vanilla
1/2 cup nuts, optional

Directions
For Cake:  
1.  Sift flour, add sugar, and salt, and resift.
2.  Bring to a boil butter, water, and cocoa.  Pour over flour and sugar mixture.  Add remaining ingredients and mix well.
3.  Bake in a greased and floured 9 x 13-inch pan for about 35-40 minutes at 350 degrees F.

For Frosting: Make during the last 5 minutes of cake baking time.
4.  Place 1 stick of butter, 3 tablespoons of cocoa, and 5 tablespoons of milk in a sauce pan.  Mix and heat over low heat, do not boil.
5.  Remove from heat and add one box of powdered sugar, 1 teaspoon of vanilla, and 1/2 cup of nuts (optional).  Mix well and frost cake.

Yield: one 9 x 13-inch cake or 12 servings

Mississippi Mud Cake

Mississippi Mud Cake is one of my most favorite chocolate cake recipes!  We discovered this cake a few years ago from the Neiman Marcus cookbook, “Pigtails and Froglegs”, and ever since then, it has been the most requested recipe for birthday cake in our family.  I made this for my cousin and her husband who visited us last weekend from Lubbock.  Mississippi Mud is one of their favorites as well!

I love this cake because of it’s three different layers:  a chocolate brownie-like cake base with coconut, cocoa, and nuts; a marshmallow cream middle, and a super-sweet chocolatey fudge icing that is to die for on top!

Enjoy!  This will be your new favorite!

Combine margarine with sugar and eggs.

Combine flour and cocoa.

Add coconut, and pecans and mix until combined.

Add dry mix to sugar and egg mixture and blend thoroughly.

Pour cake batter into greased and floured 9 x 13-inch baking pan.

Bake at 350 degrees F for 30 minutes.

Spread marshmallow cream onto hot cake.

While cake is cooling, combine evaporated milk or plain milk, powdered sugar, vanilla, cocoa, and margarine.

When cake is cooled, spread icing on top of cake.  Refrigerate until chilled.


Cut in squares and serve with a class of cold milk.


Mississippi Mud Cake
Ingredients
Cake:
1 cup margarine, melted
2 cups sugar
4 eggs
1 1/2 cups flour
1/2 cup cocoa
1 can (3 1/2 oz) coconut, or 1 1/3 cups shredded coconut
1 cup pecans, chopped

Topping:
1 jar (7 oz) marshmallow cream
1/2 cup evaporated milk or 1/4 cup plain milk
1 box powdered sugar
1 Tbsp. vanilla extract
1/3 cup cocoa
6 Tbsp. margarine, softened

Directions
1.  For the cake:  Combine margarine with sugar and eggs.  Combine flour, cocoa, coconut, and pecans in a bowl and mix well.  Blend thoroughly with sugar and egg mixture.
2.  Pour cake batter into a greased and floured 9 x 13-inch pan.  Bake at 350 degrees F for 30 minutes.
3.  For the topping:  While cake is still hot, spread on marshmallow cream.  While cake is cooling, combine evaporated milk or plain milk, powdered sugar, vanilla, cocoa, and margarine.
4.  Let cake cool, then spread with topping.  Refrigerate until chilled and then cut into squares.  Keep refrigerated.

Yield:  10-12 servings
“Pigtails and Froglegs:  A Family Cookbook from Neiman Marcus”