Chocolate Oatmeal Cake and the Lake

chocolate oatmeal cake

I hope everyone had a wonderful 4th of July weekend. As always we headed down to Cedar Creek Lake for our annual 4th of July lake trip. Harper got to hang out with her great grandparents (we call them the Boogs), her grandparents Yogi and Lala, her aunt Leah and uncle Jeffery, and cousins Bear, Georgia, and Mary Martha.

It’s so much fun to see little kids play together. Harper could not stop laughing at Georgia who is 4 years old. Georgia was making funny faces with Harper which tickled her to no end. Bear, who is 6 years old, is super sweet and gave Harper lots of kisses.

lake
4th of July at the lake with the whole family.

We rode jet skis, played dominoes, and saw the best fireworks show ever! Words can’t explain how cool it was to sit out in the middle of a dark lake, surrounded by probably 30 concurrent firework shows all happening at the same time. Unreal!

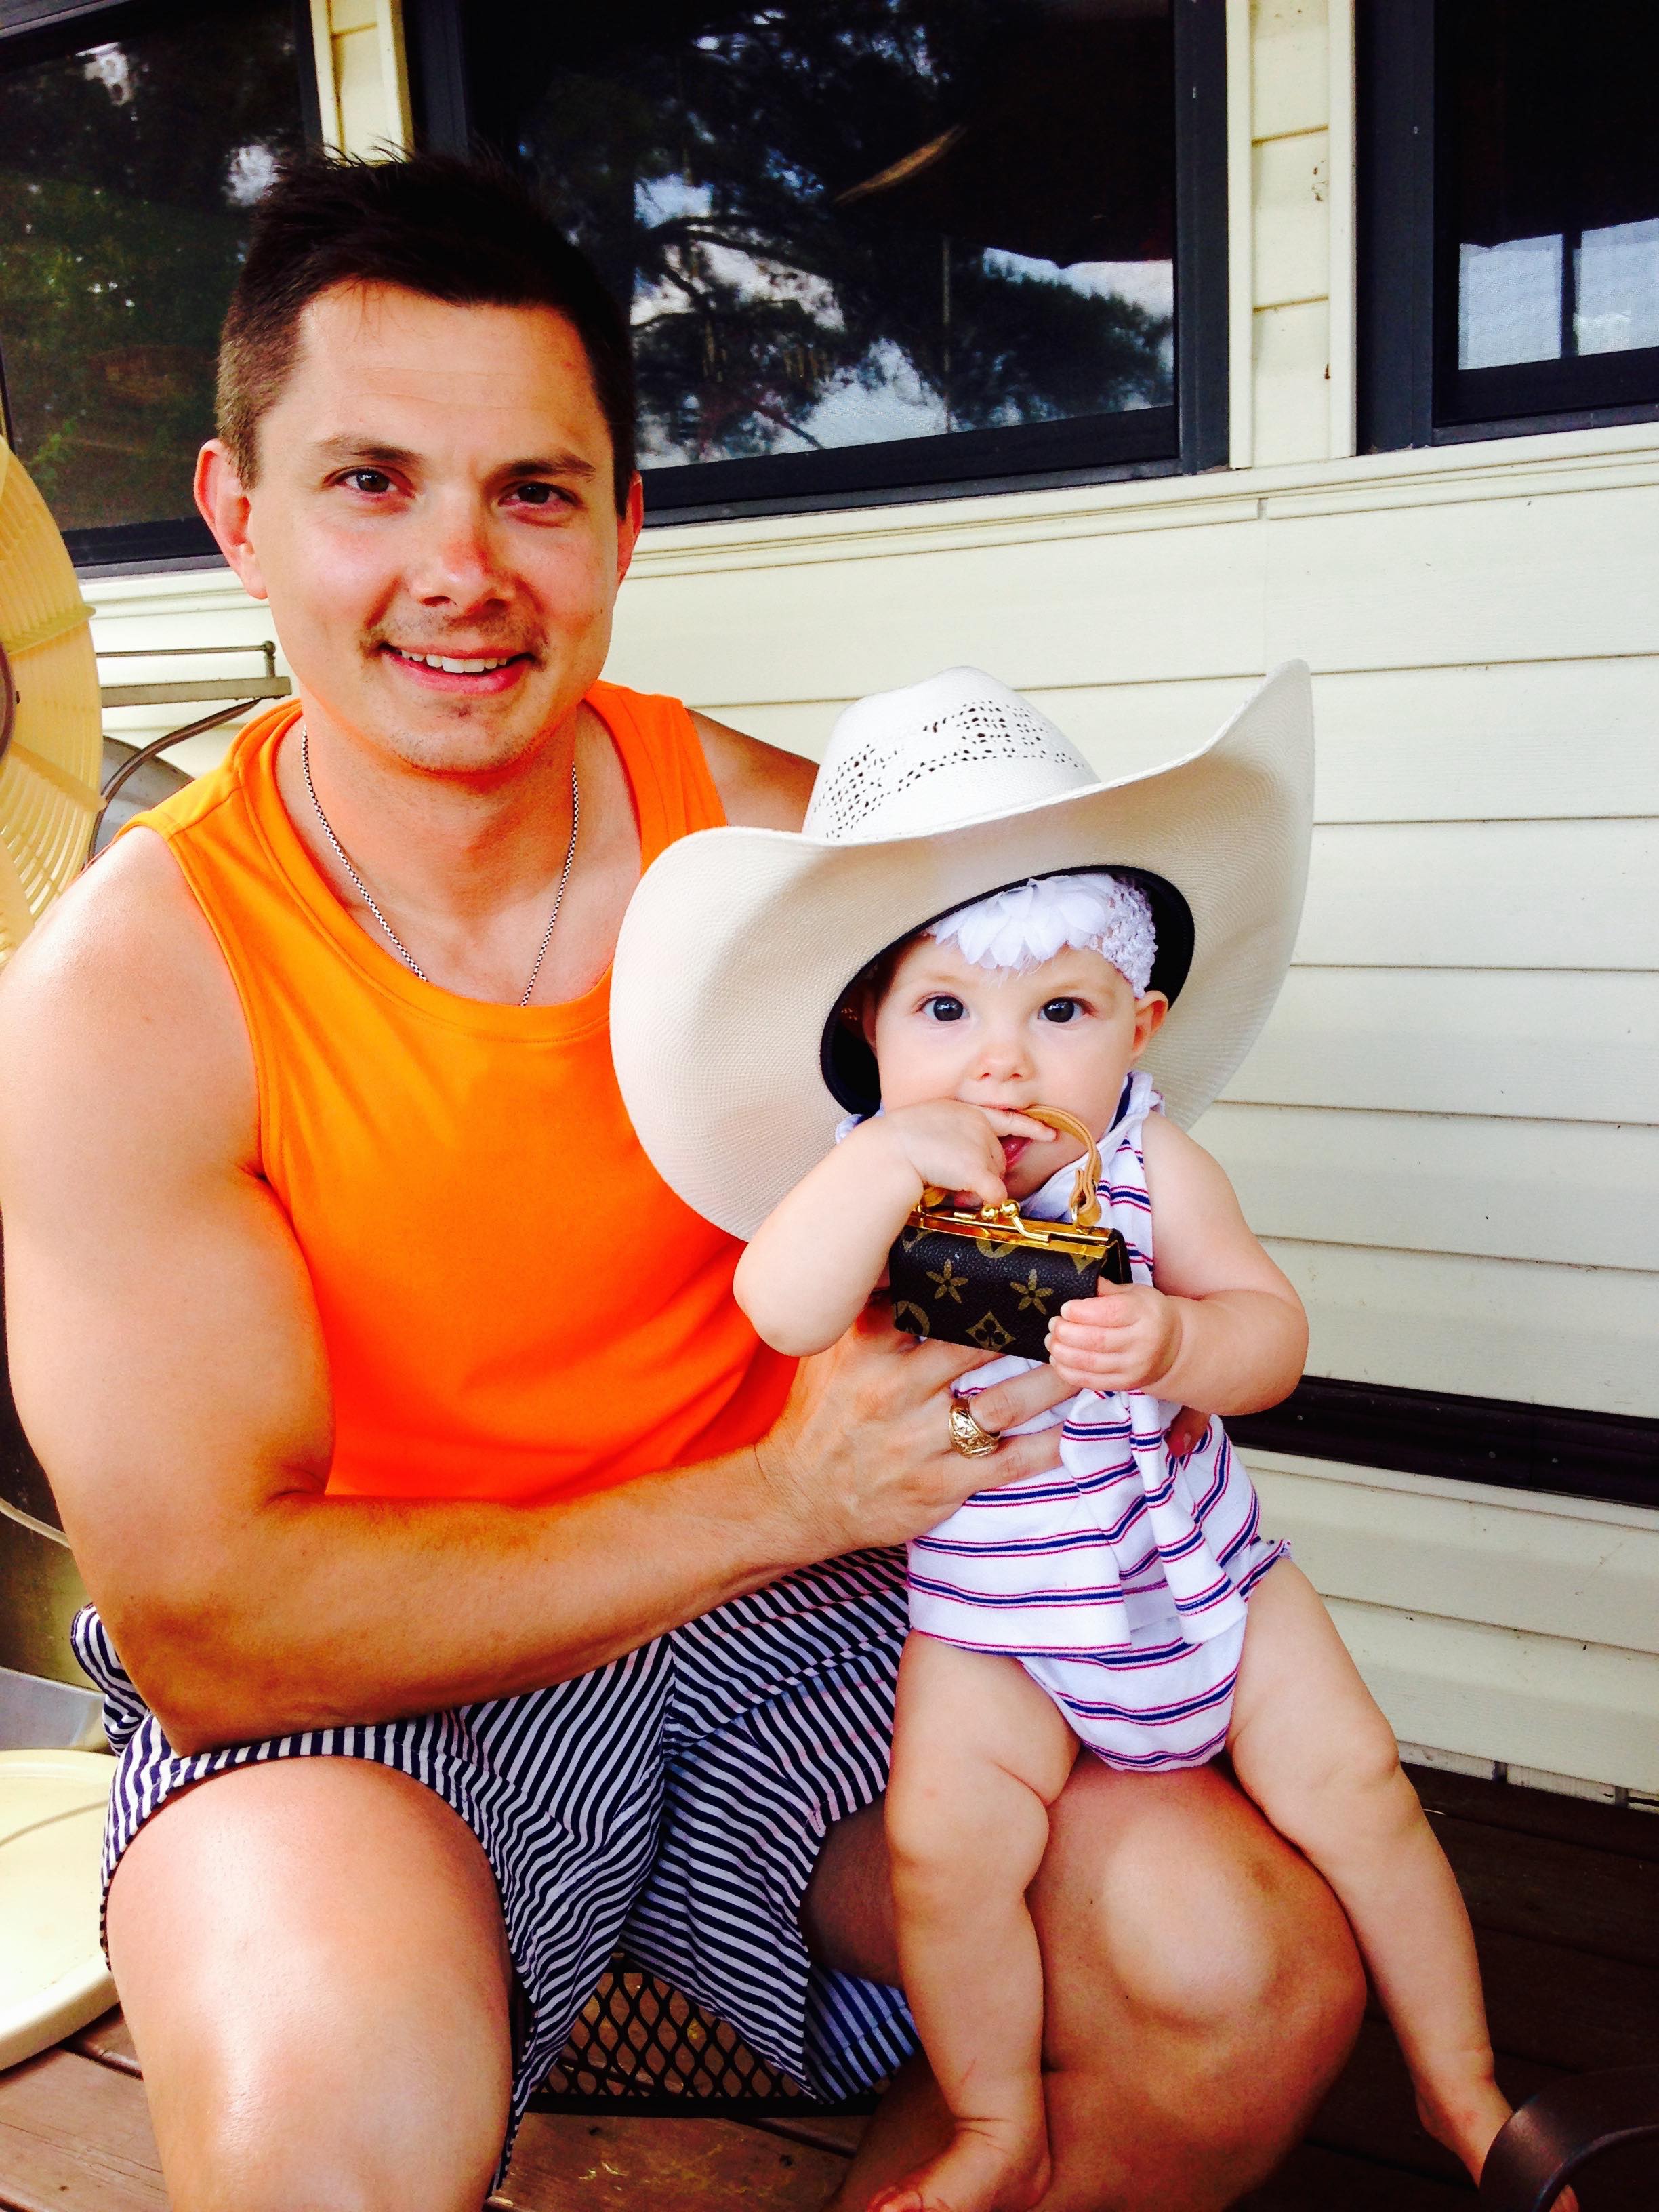
Matt brought his cowboy hat and everyone seemed to enjoy wearing it as well.

cowboy hat
This captures our parenting style exactly. My parenting style – city slicker with the Louis Vuitton purse. Matt’s parenting style – good ole country with the cowboy hat.
cowboy hat
Bear showing off that cowboy hat!
cowboy hat
Fun with Georgia.

The food we had at the lake was sooo good! For lunch Paula made chicken salad, and homemade pico de gallo. For dinner we grilled out chicken, and corn on the cob, and had ribs and brisket.

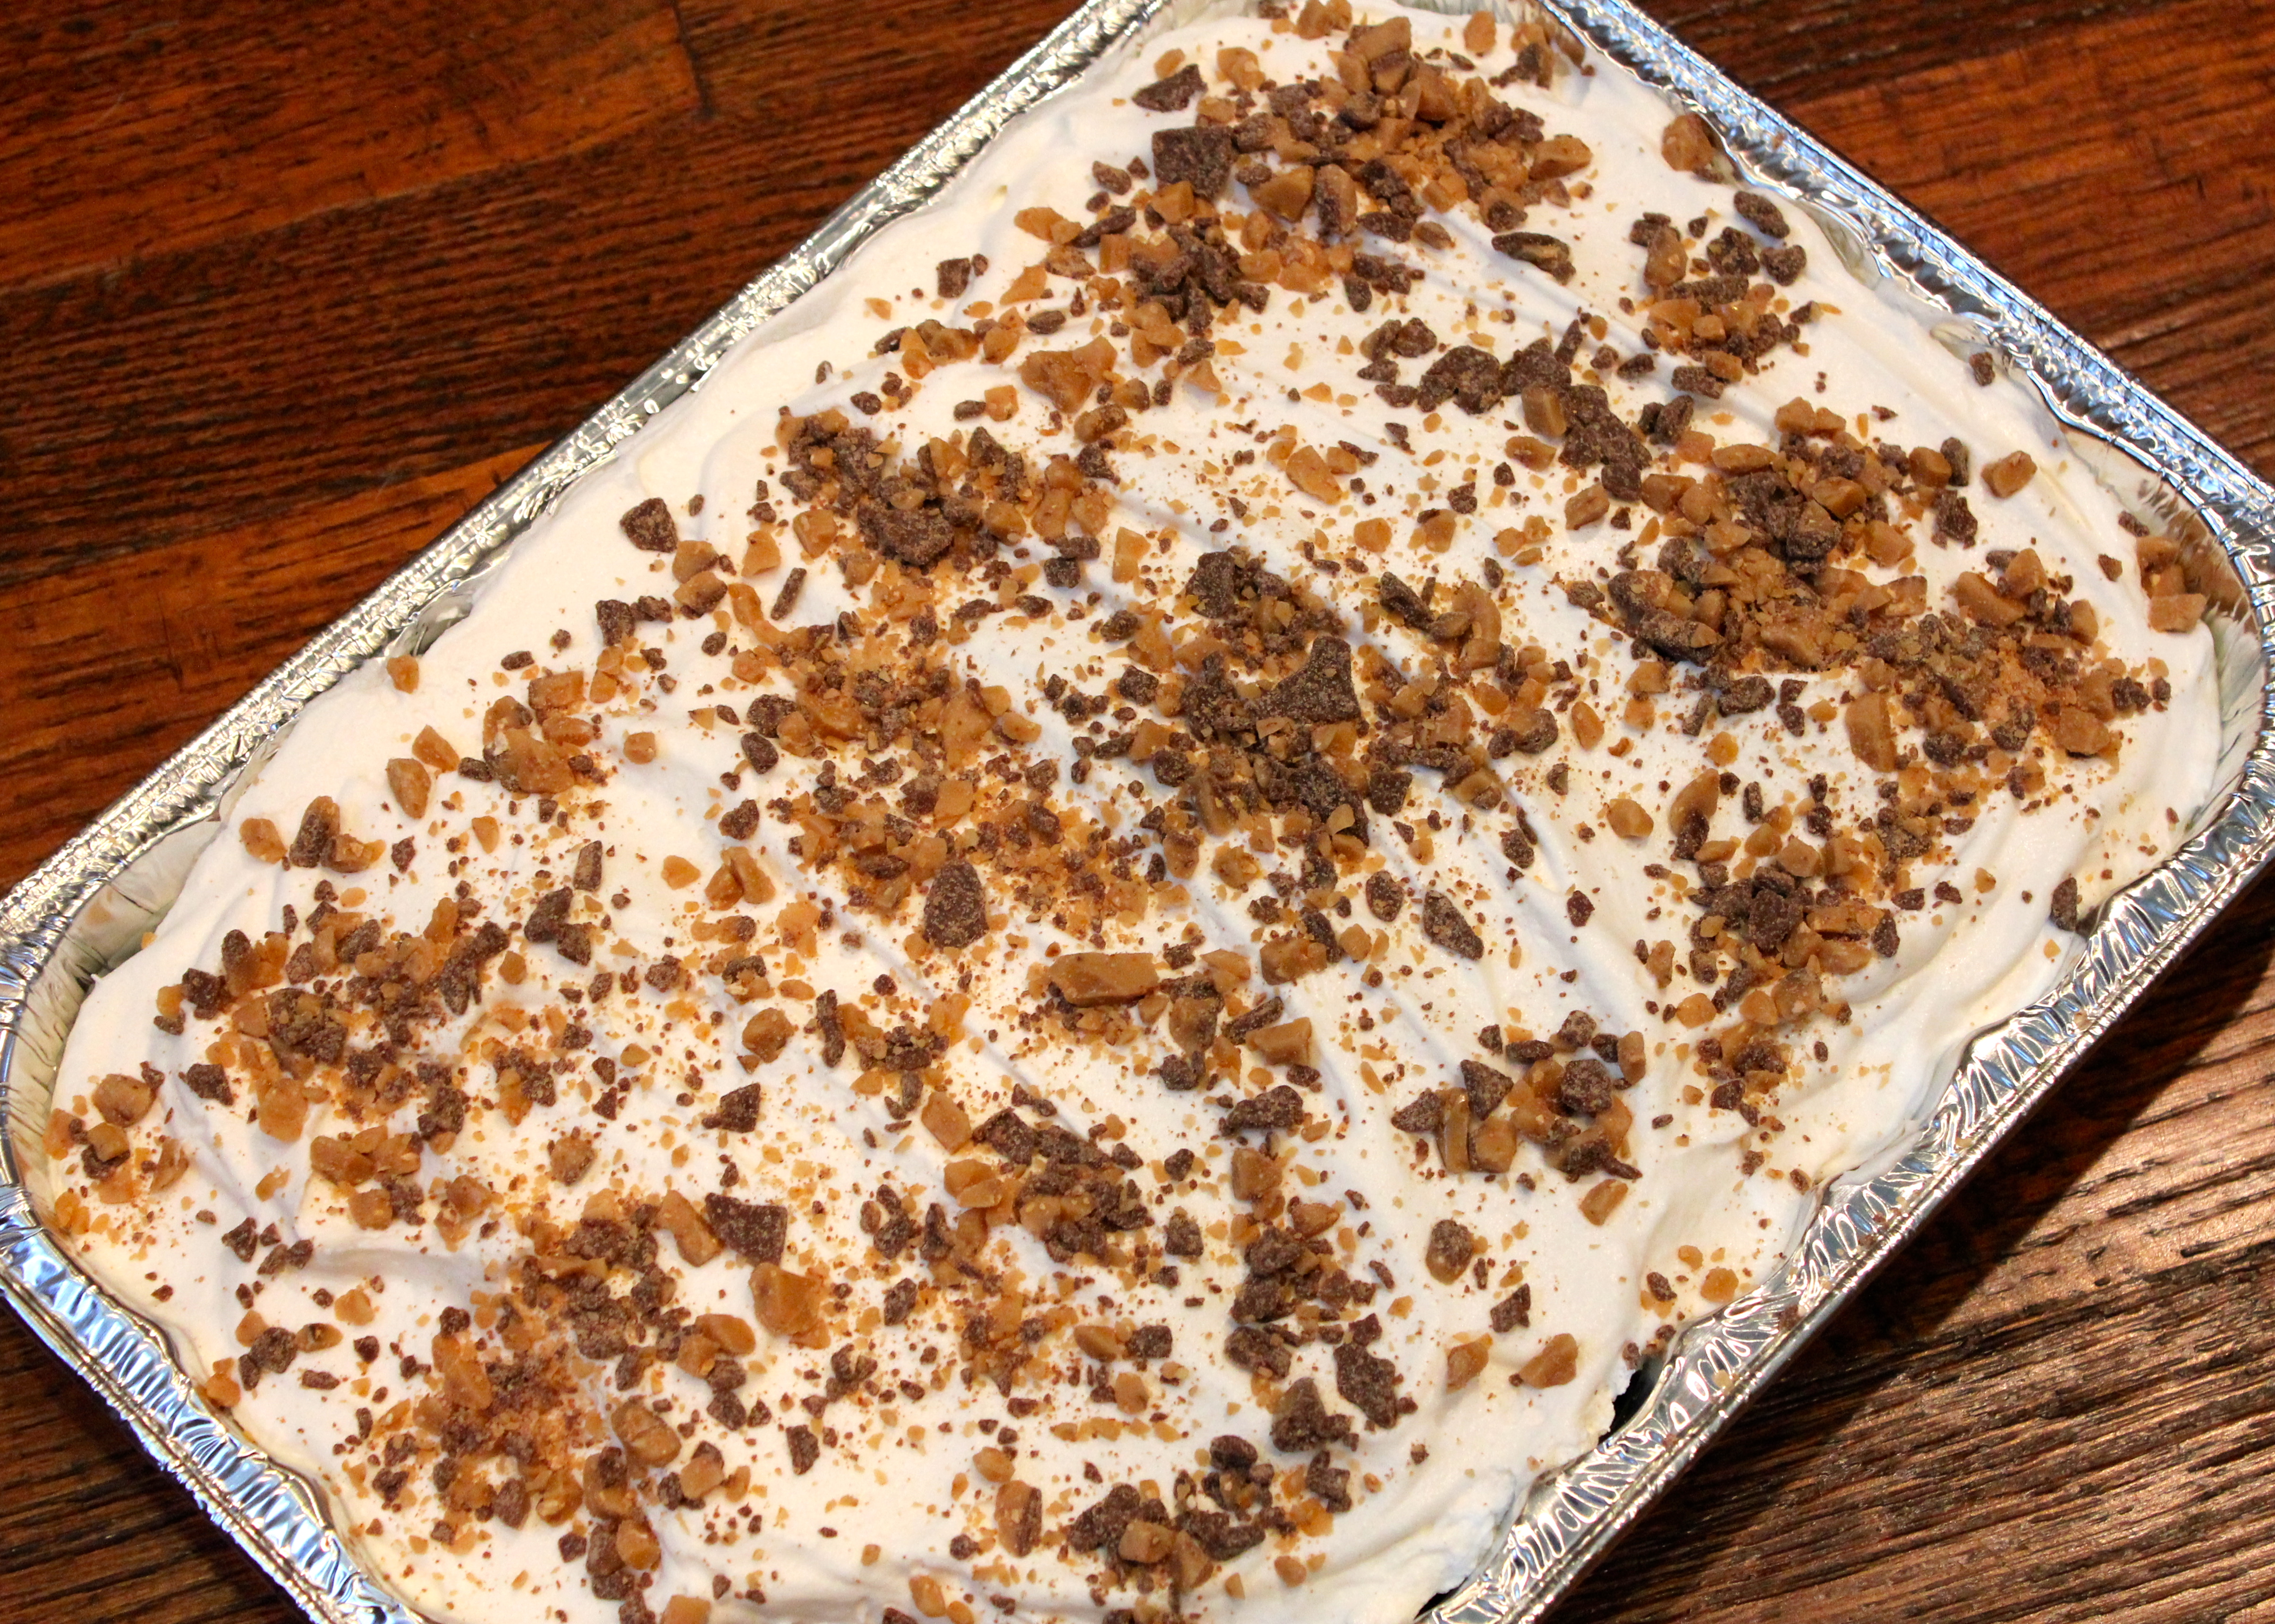
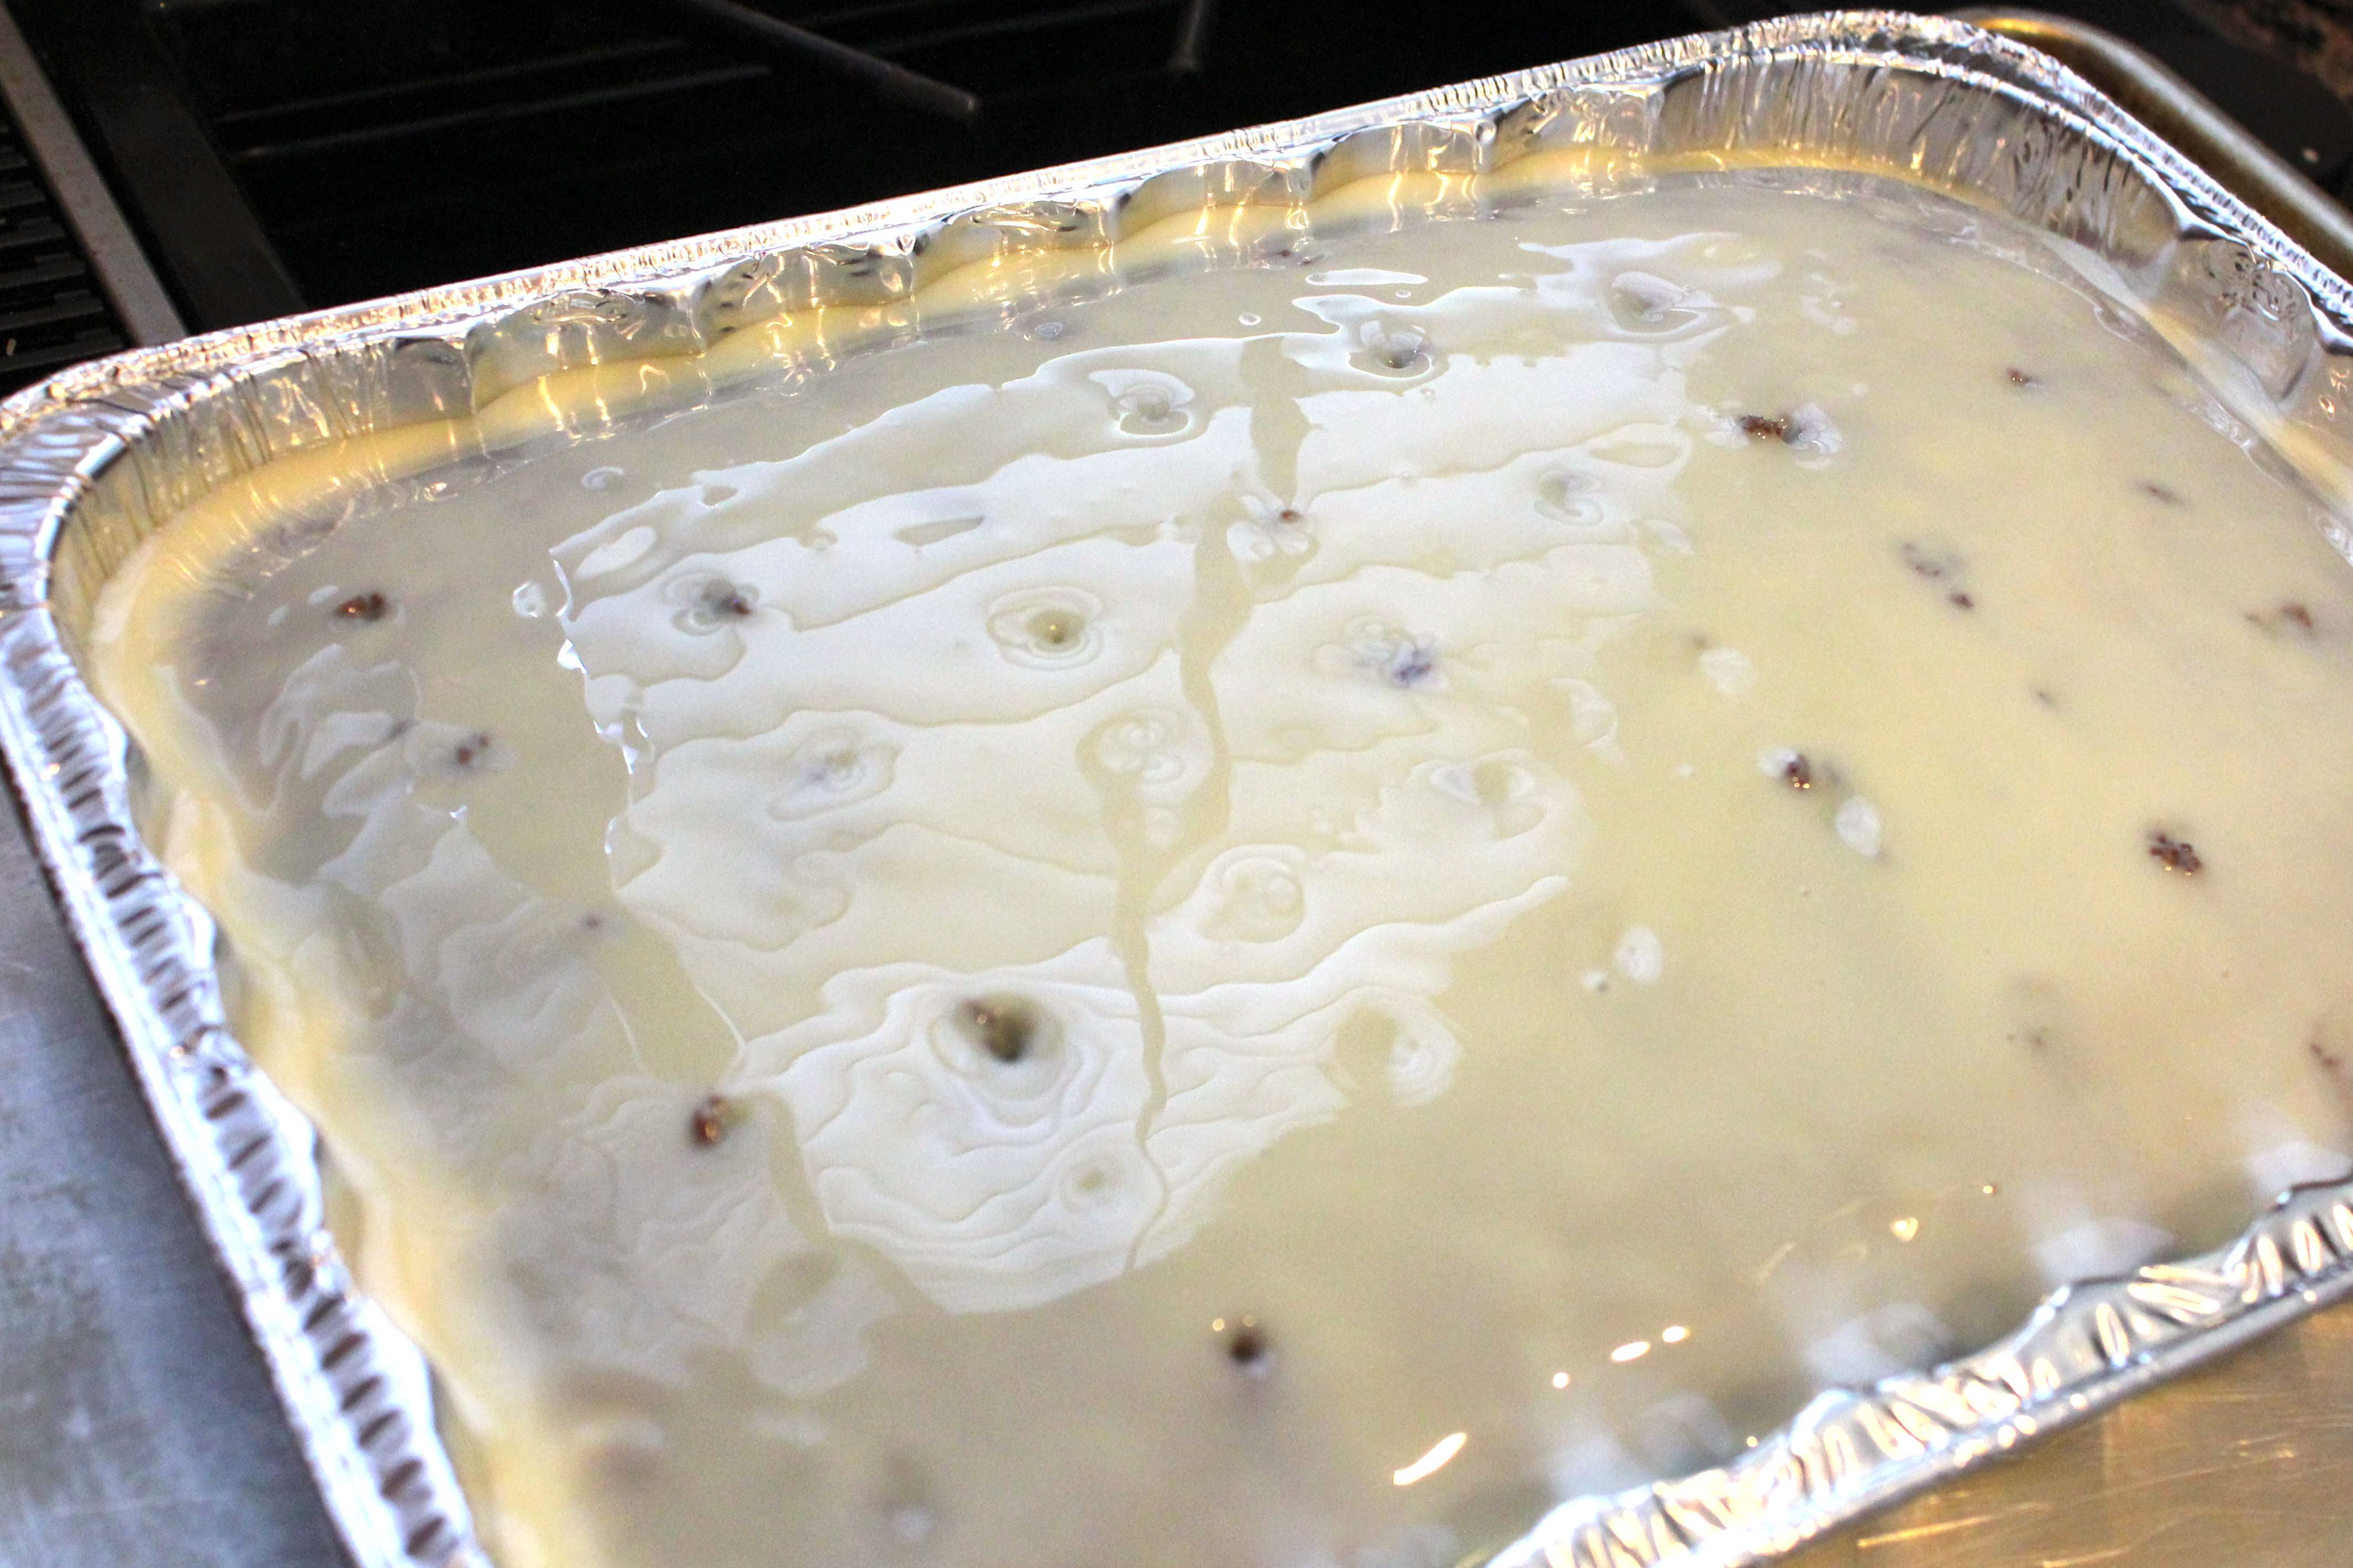
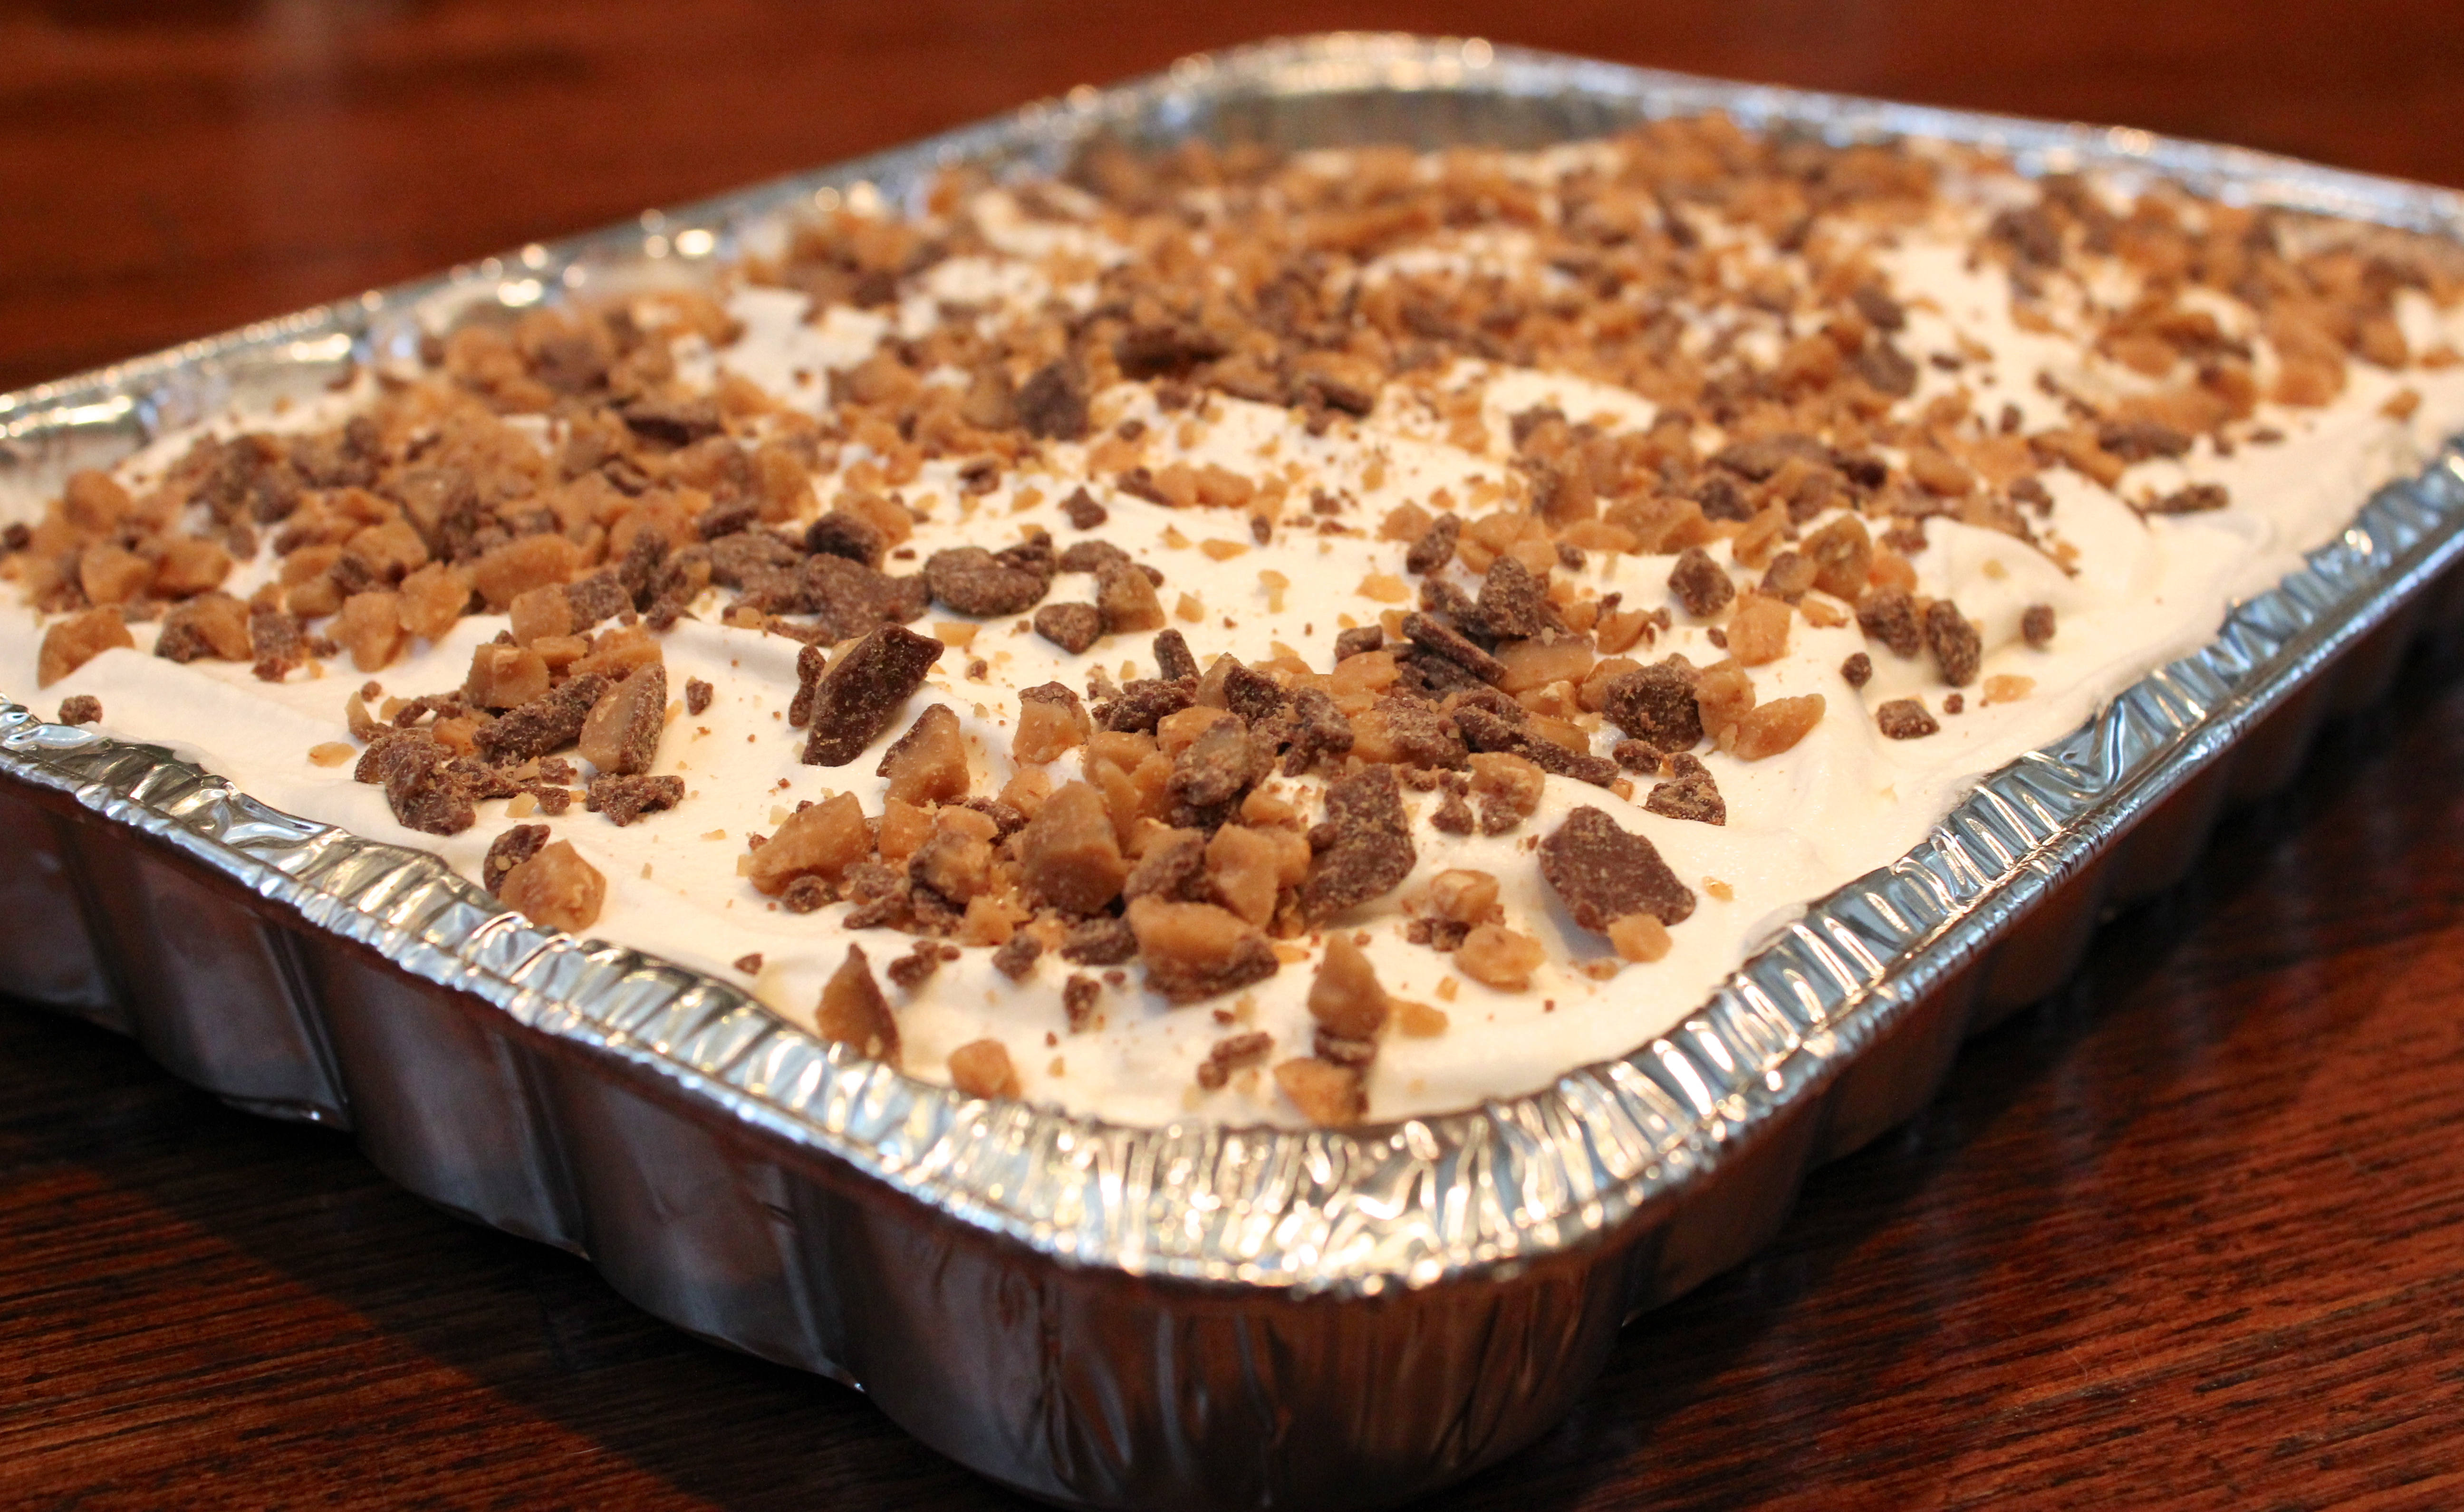
Desserts are always the showstoppers. We’re never short for sweets at the lake. Boog made her famous chocolate chip bundt cake, and two pecan pies. Paula made four layer dessert and a 4th of July berry trifle with strawberries, blueberries, and pound cake.

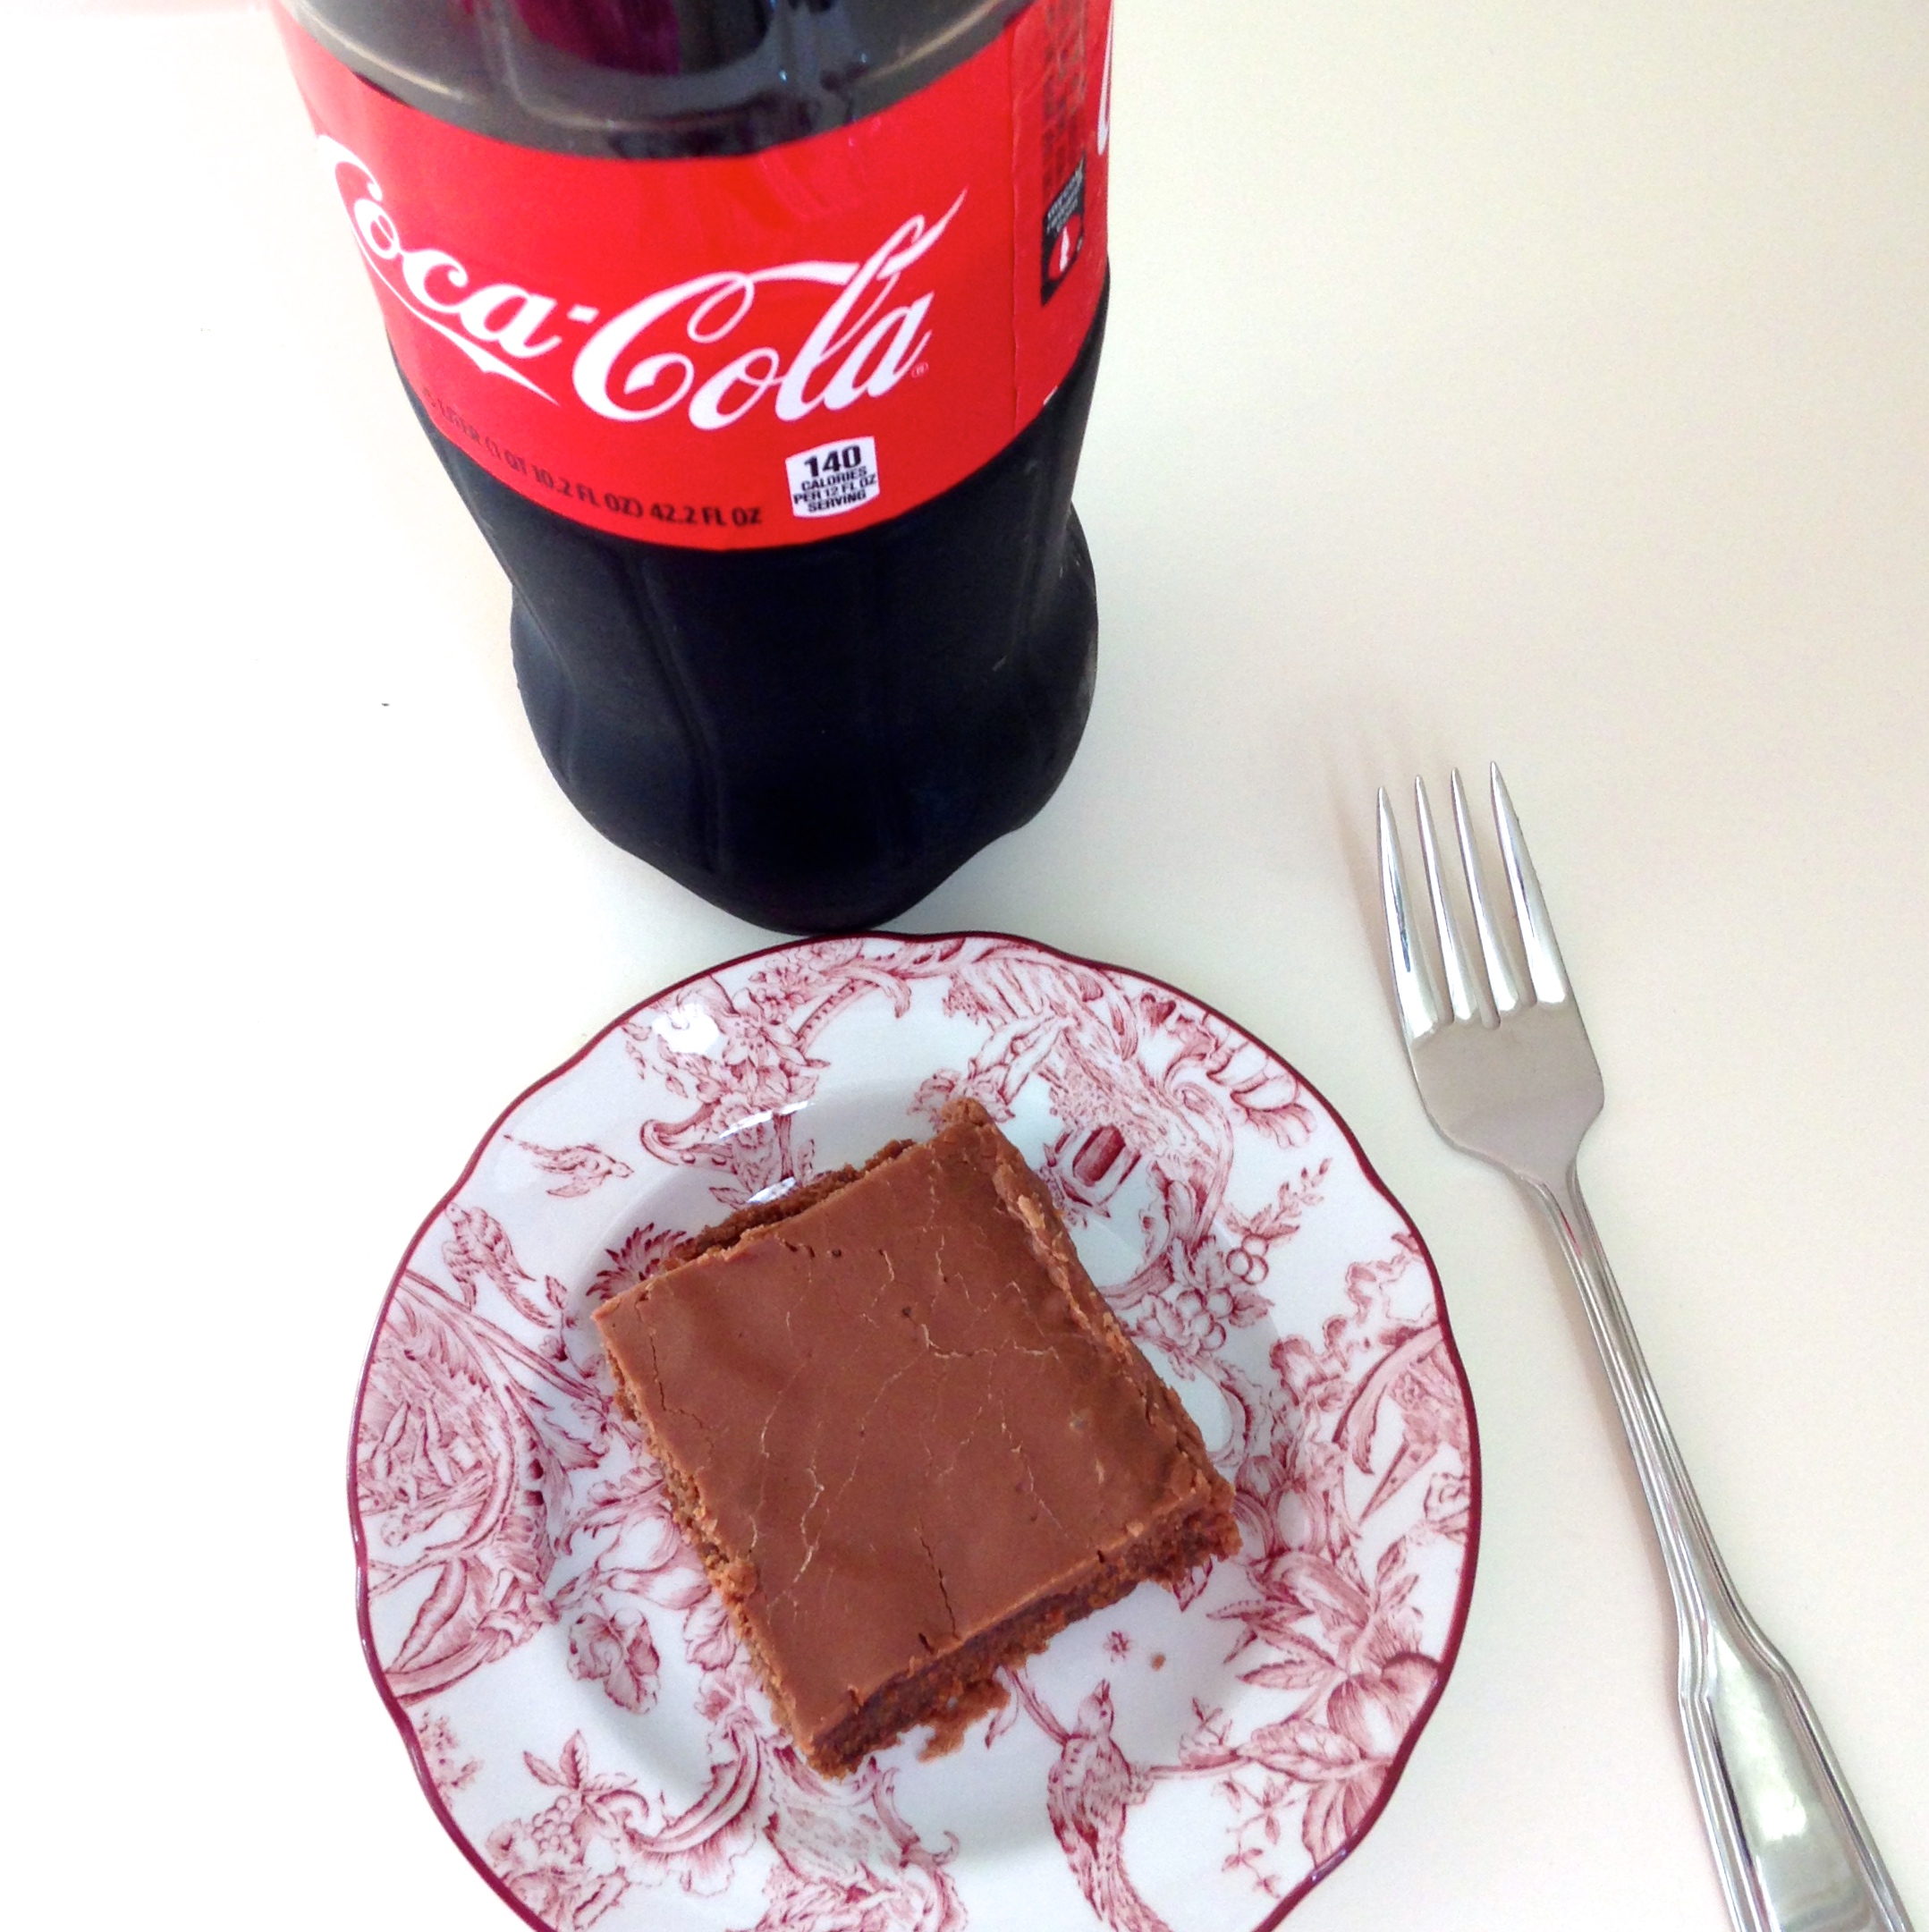
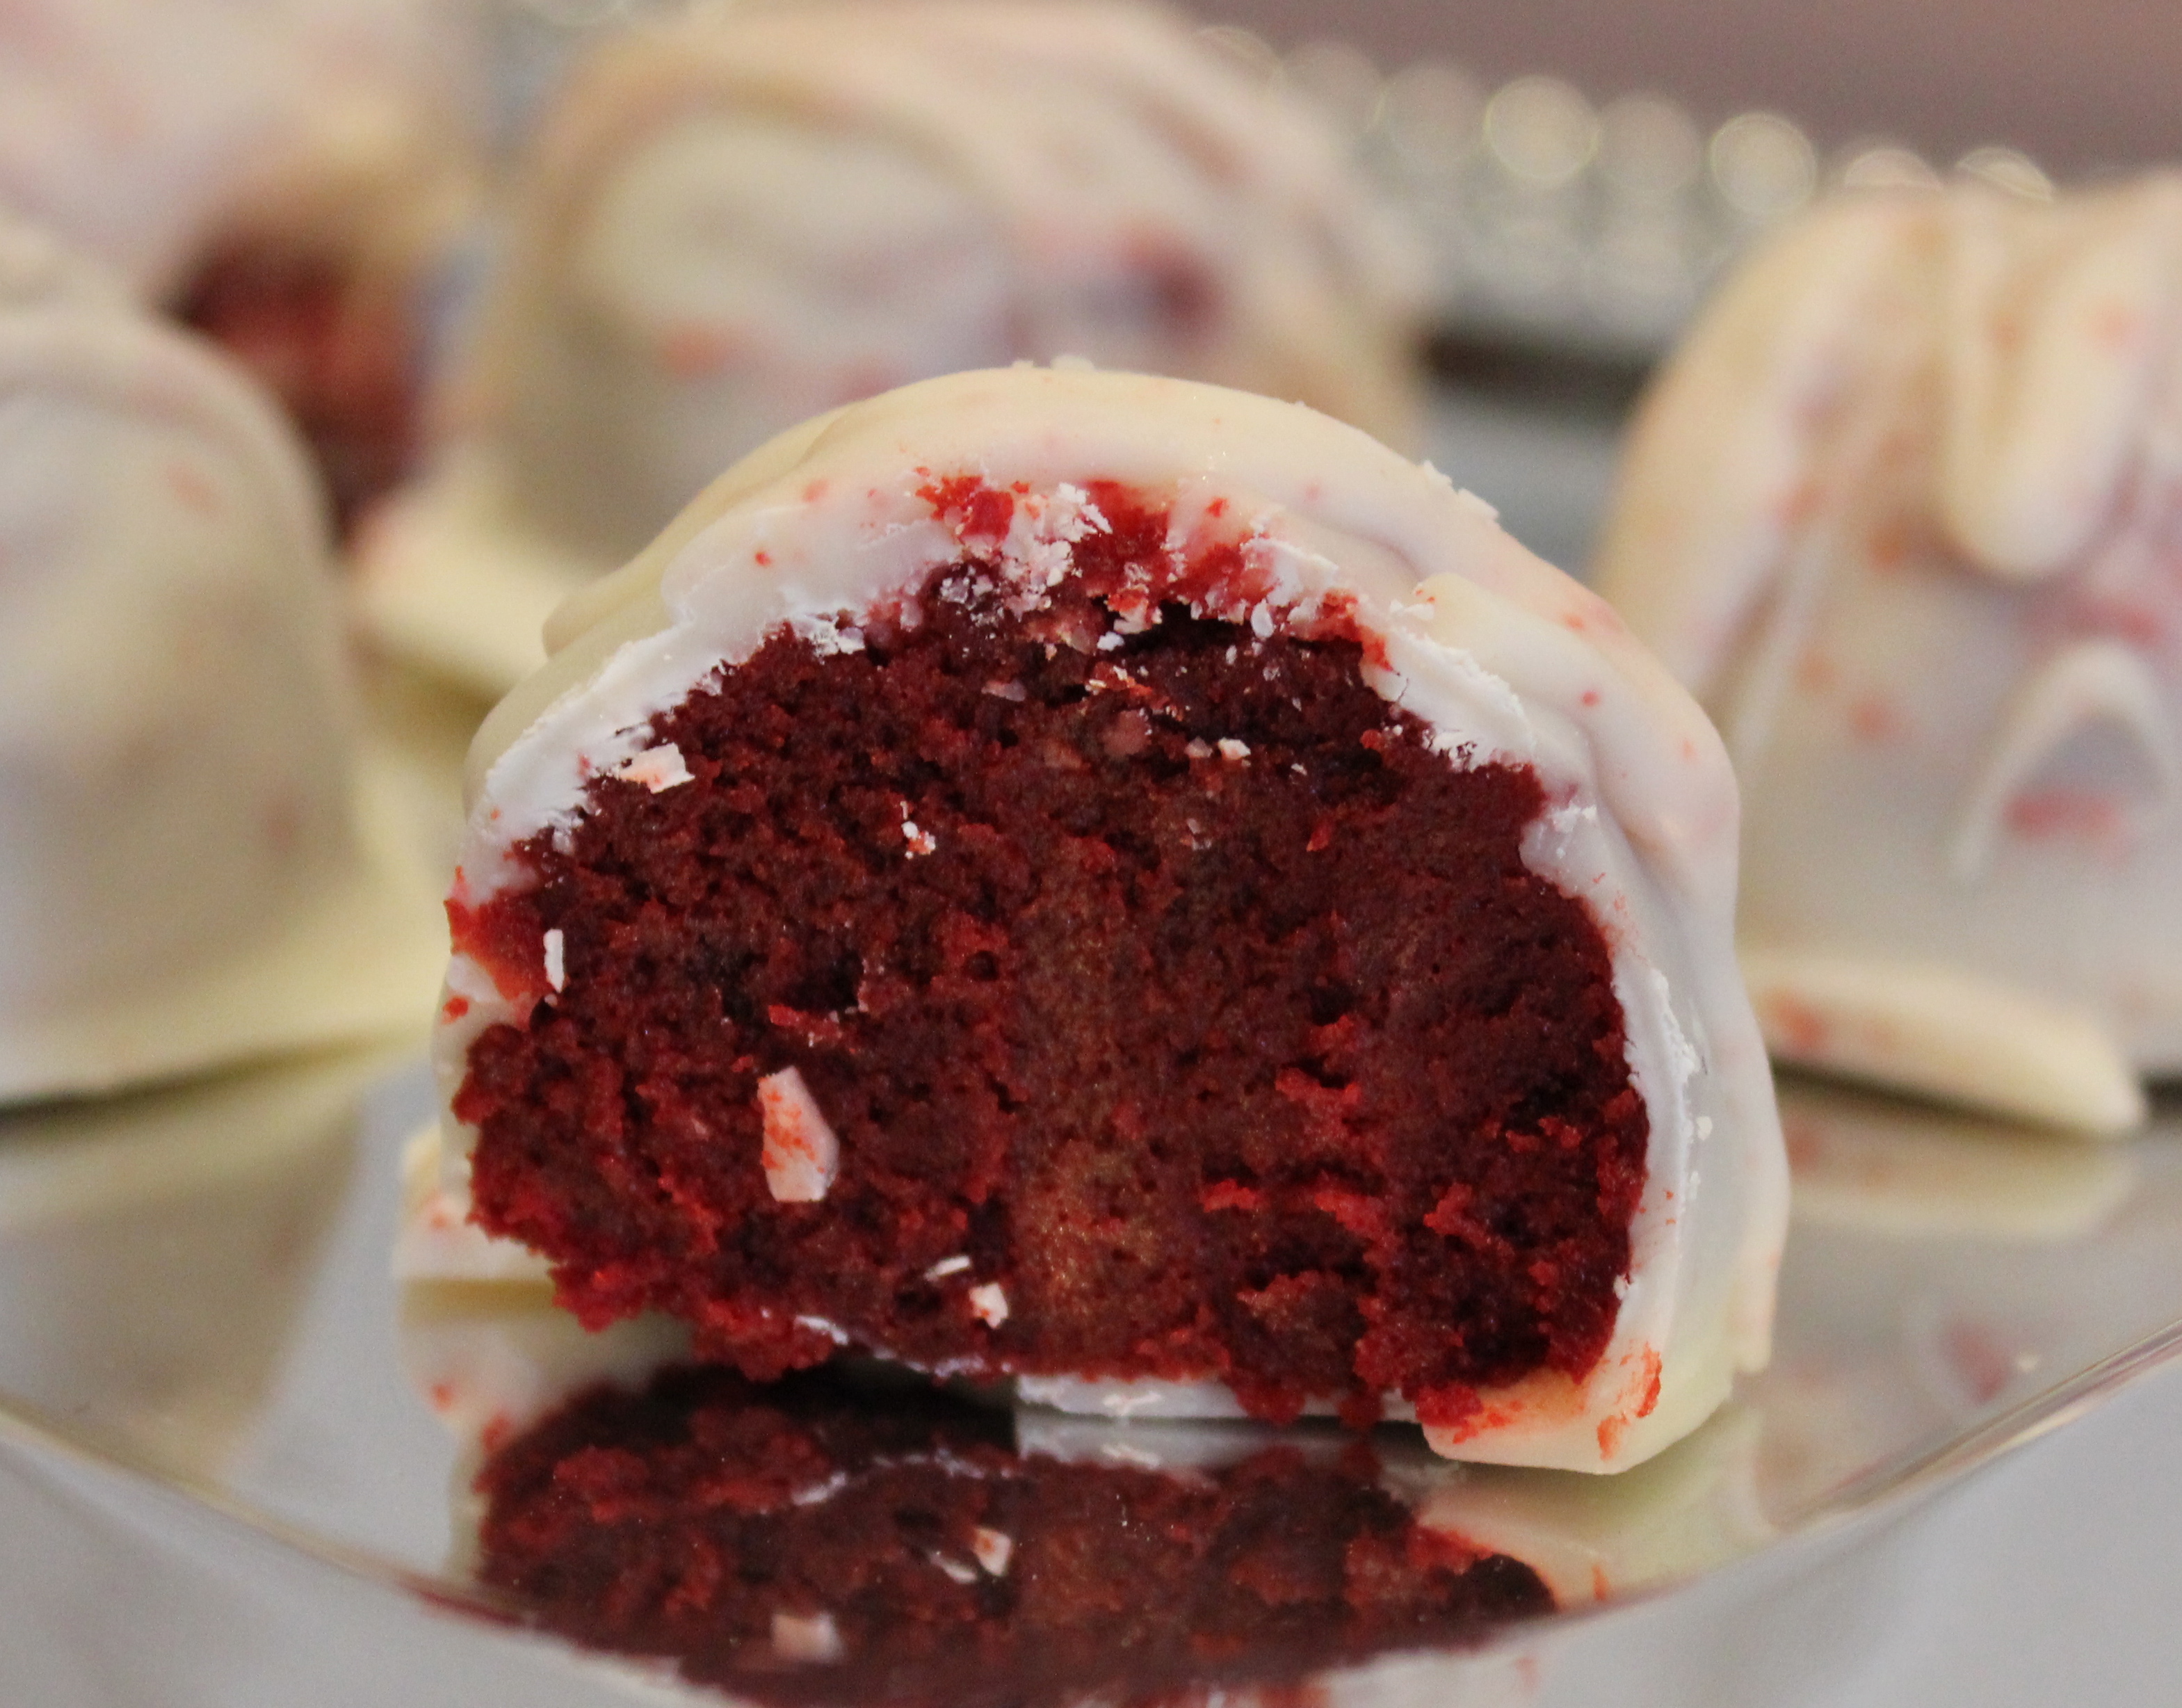
I always bring my Neiman Marcus chocolate chip cookies, and this year I also brought a few slices of this chocolate oatmeal cake my mom made.

chocolate oatmeal cake

chocolate oatmeal cake

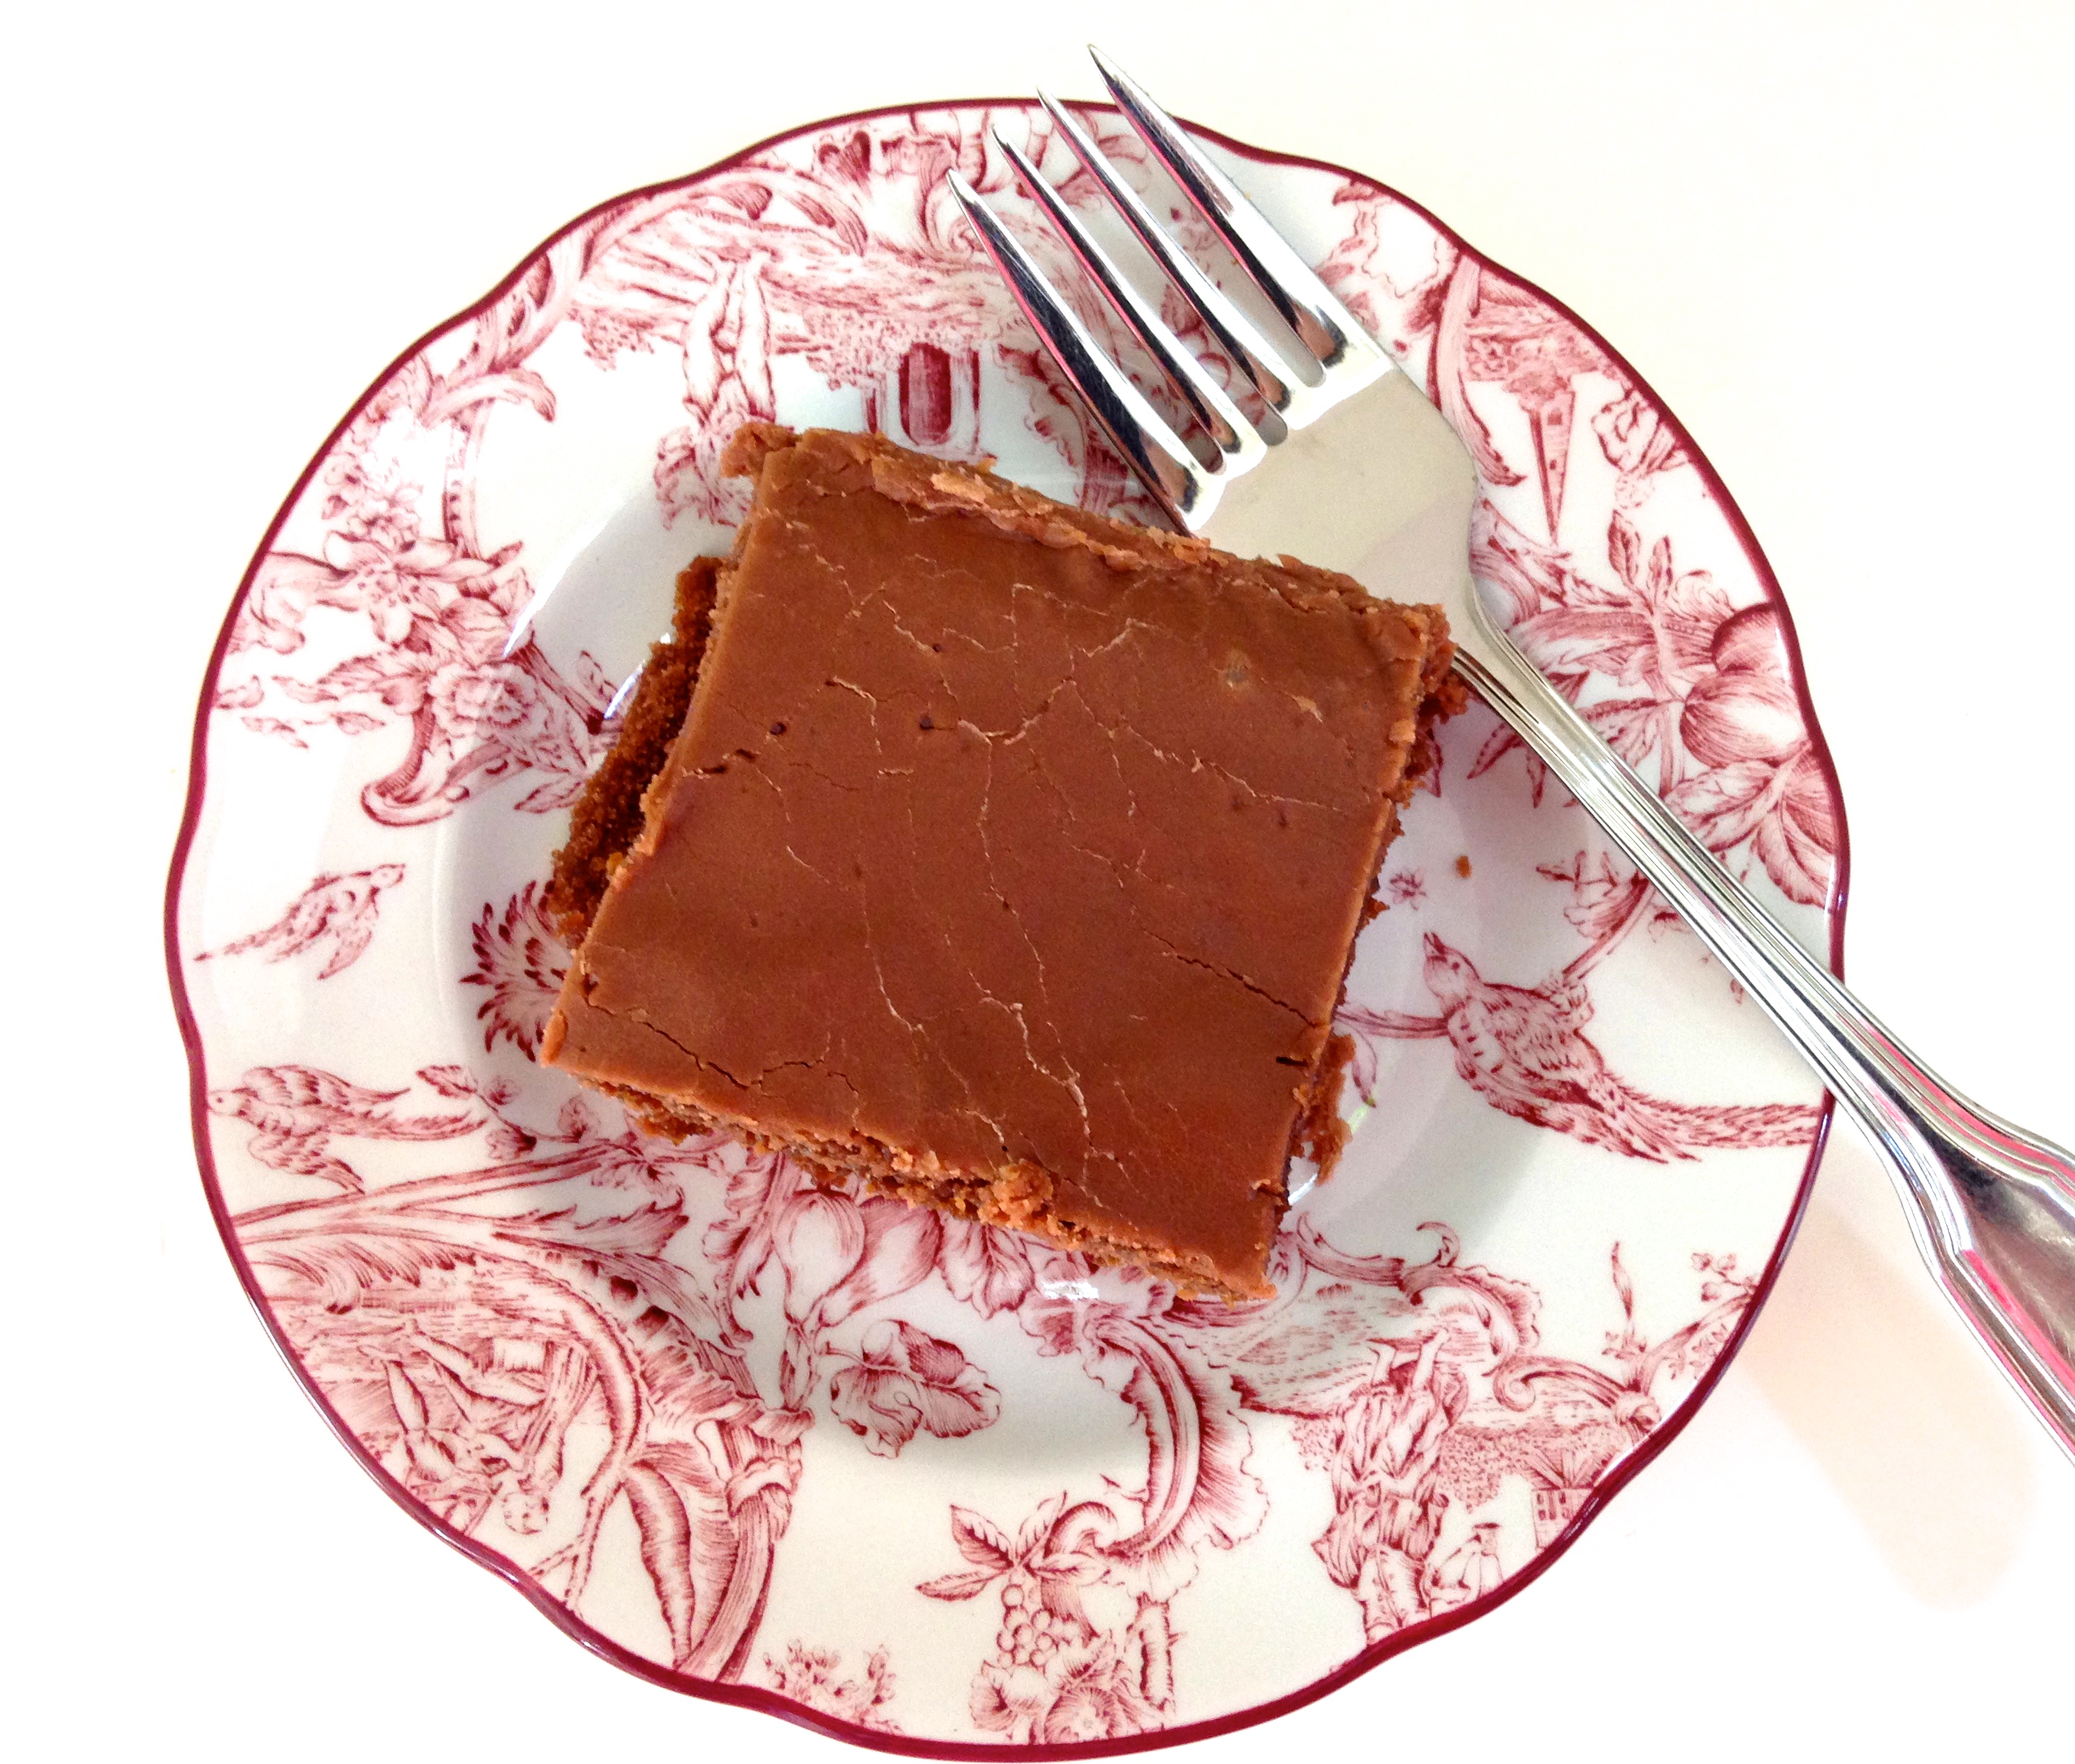
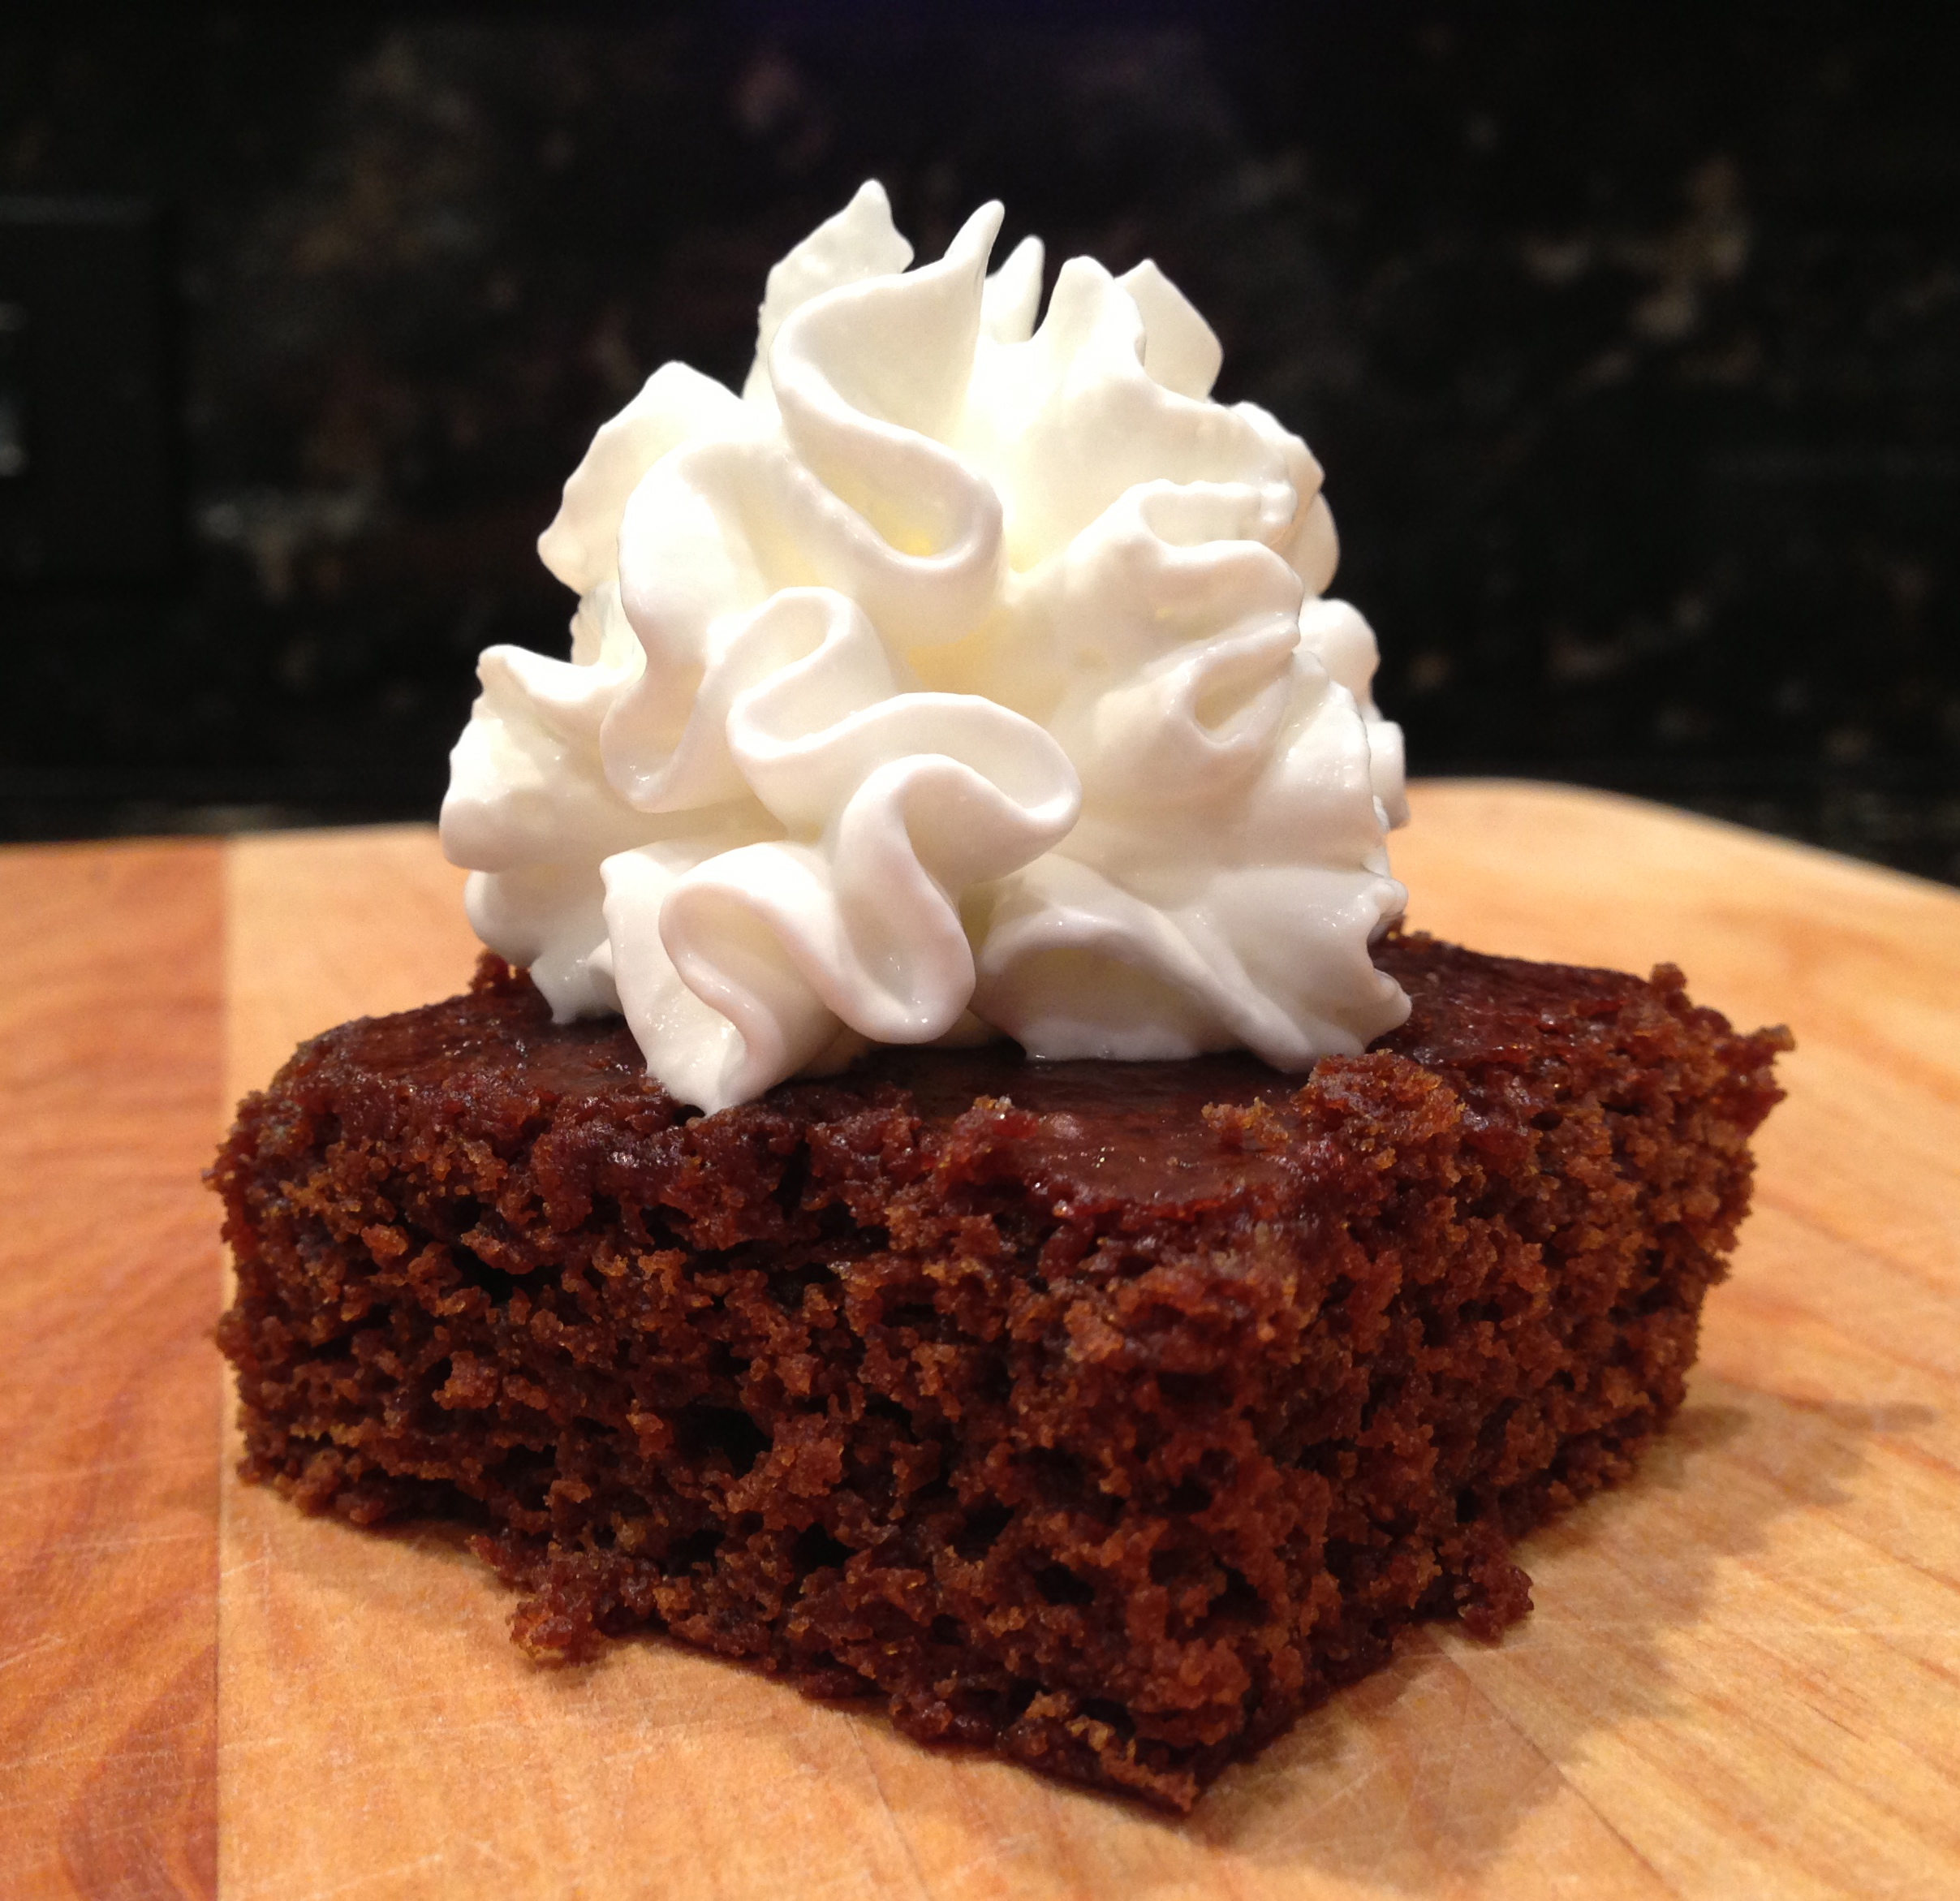
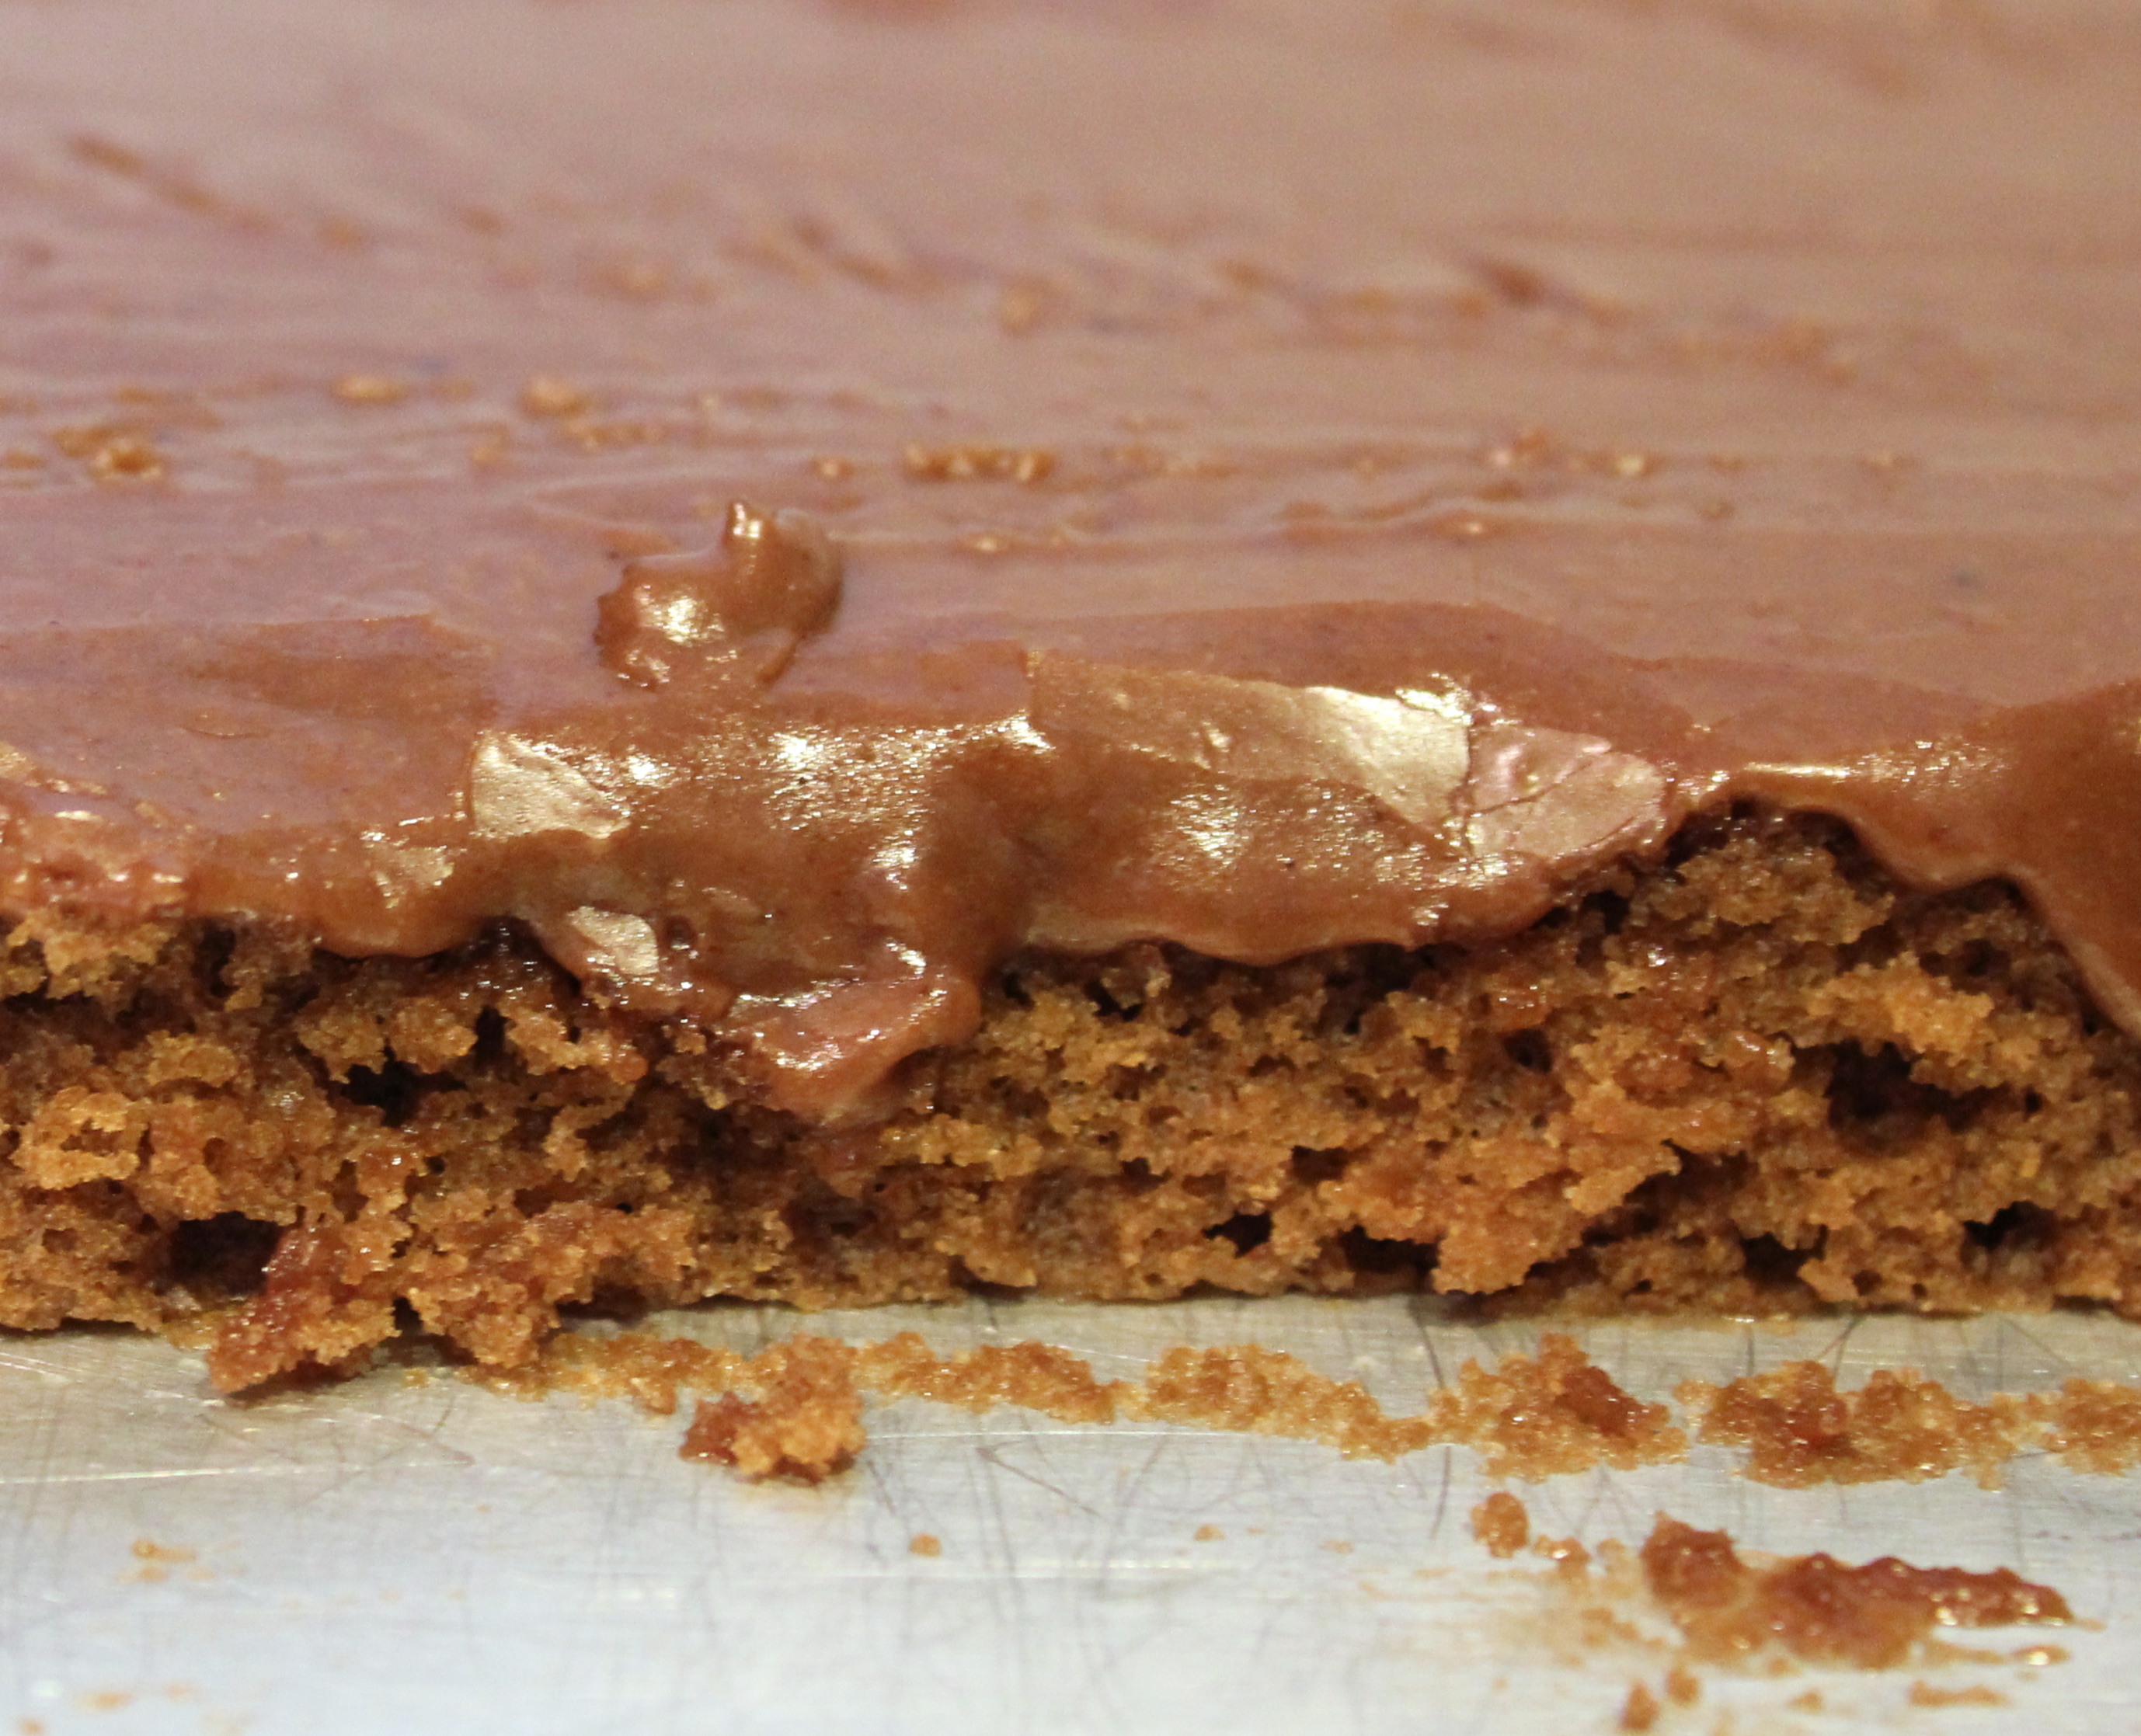
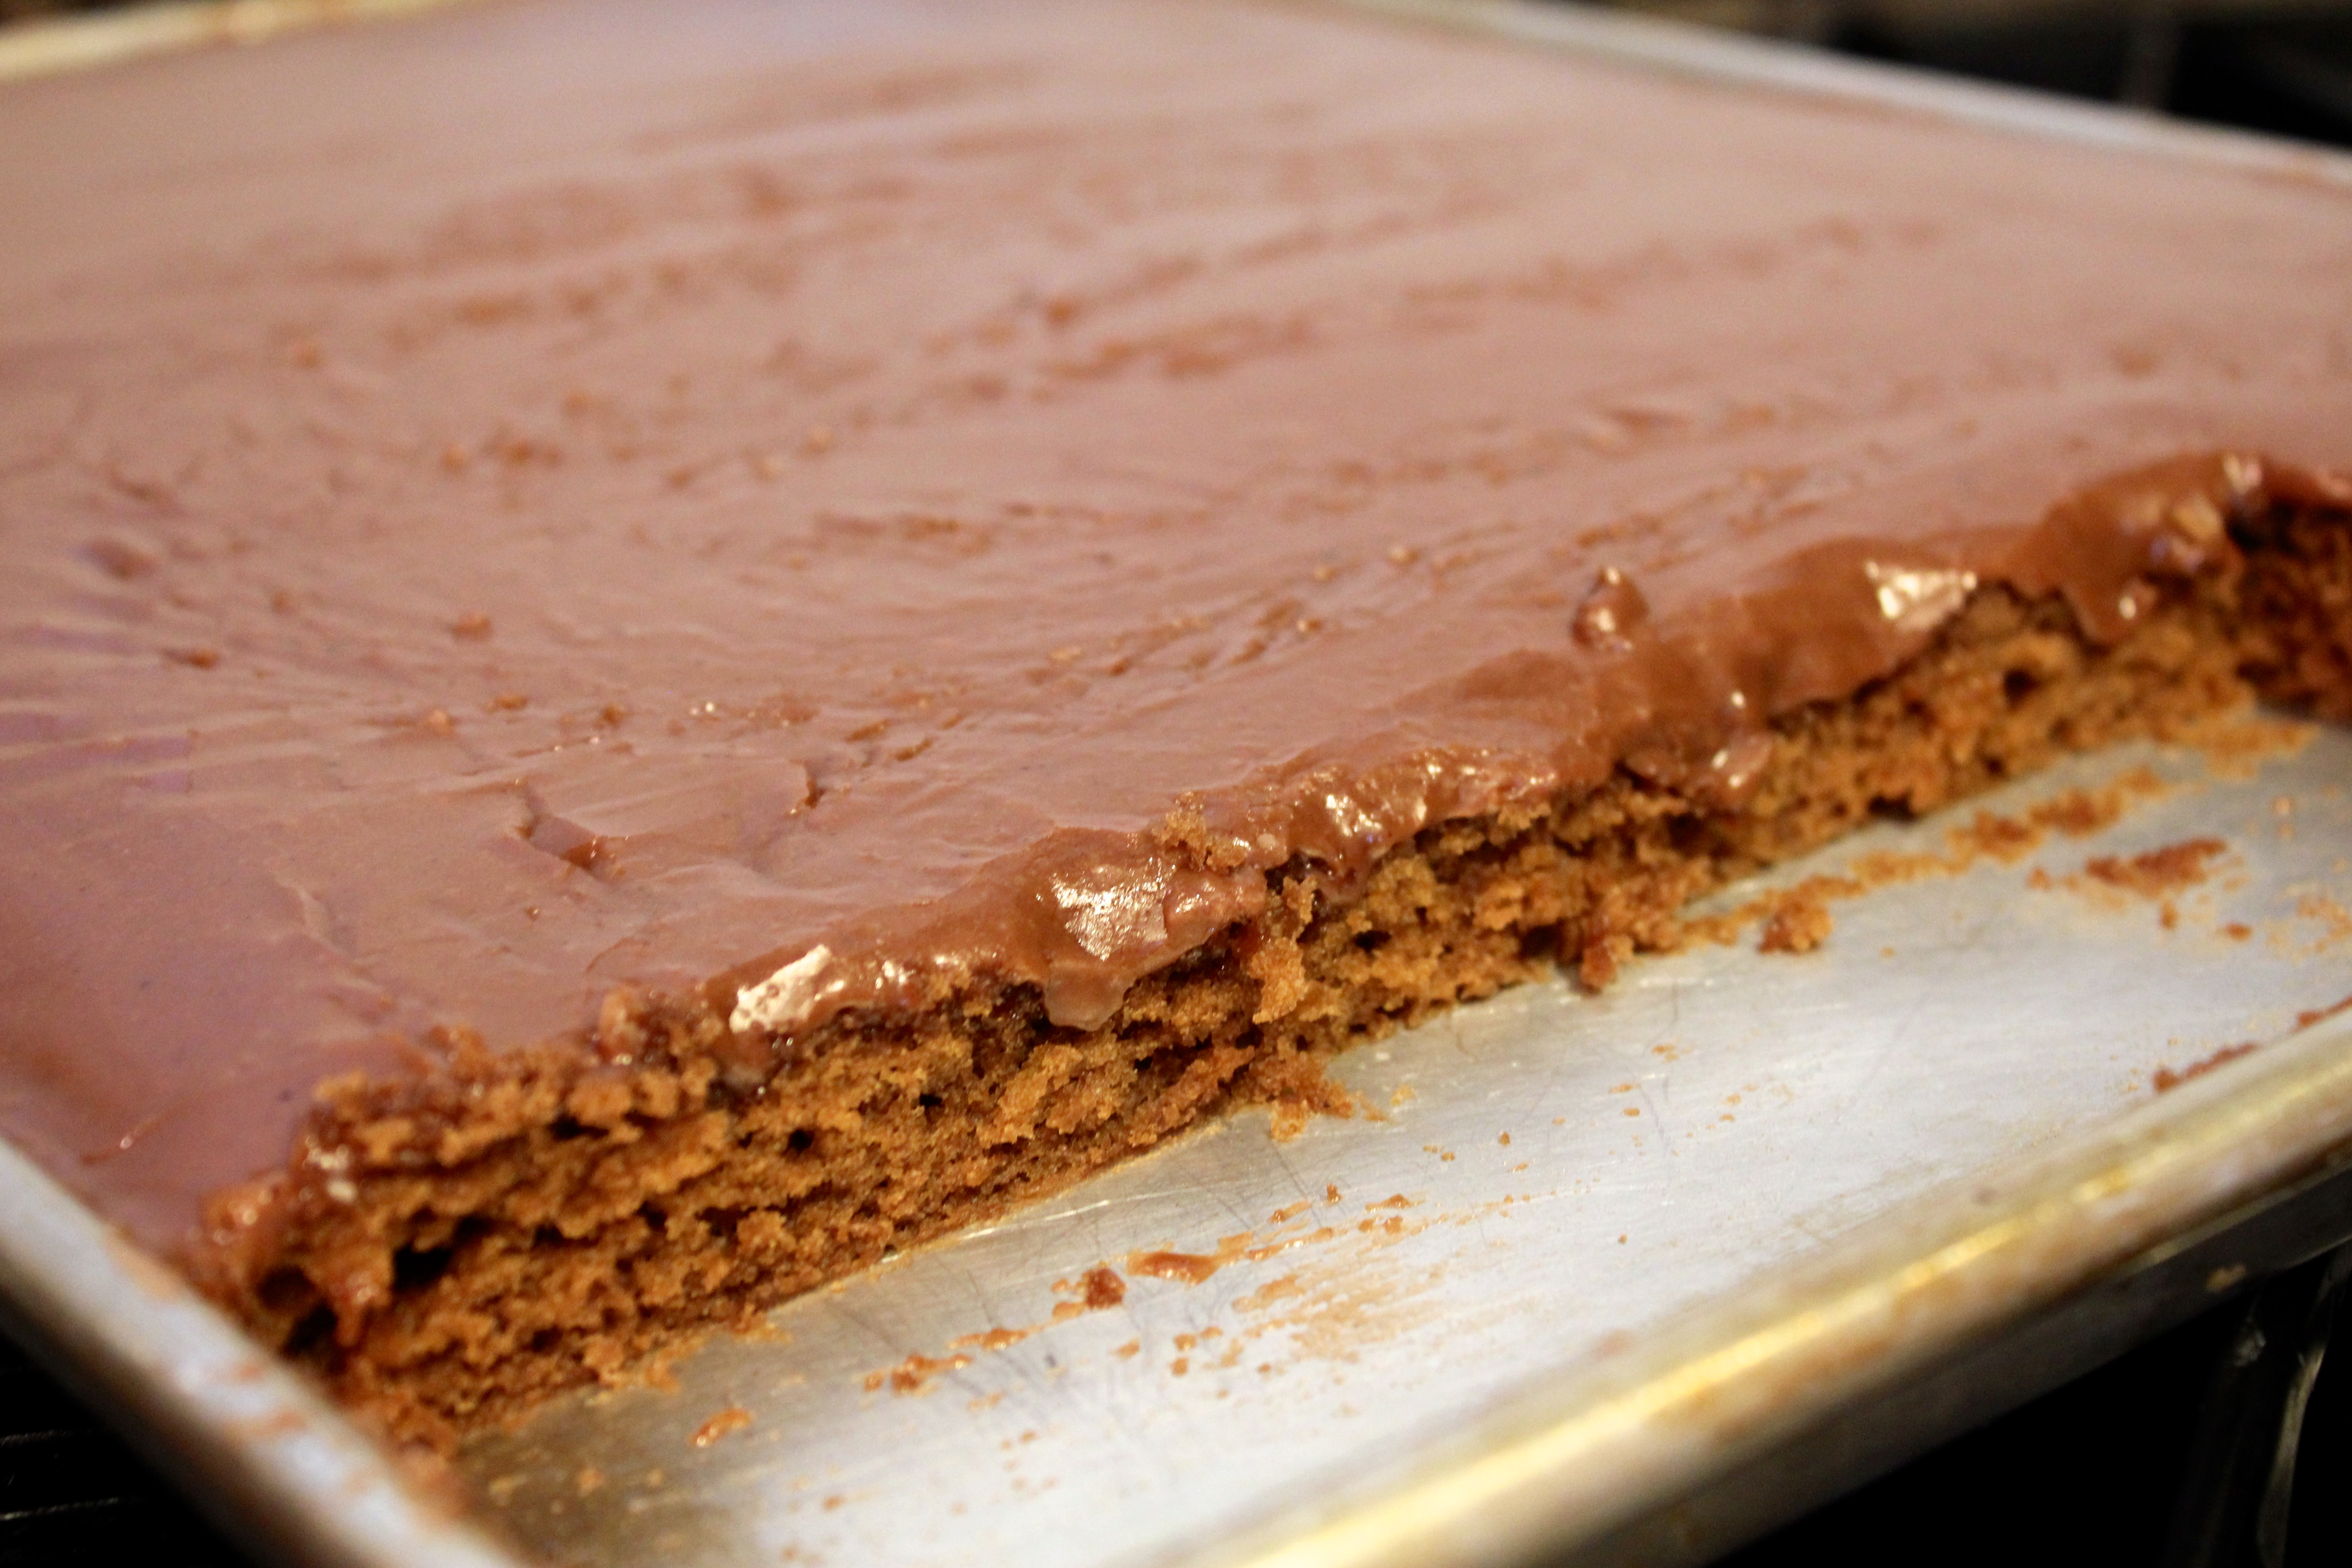
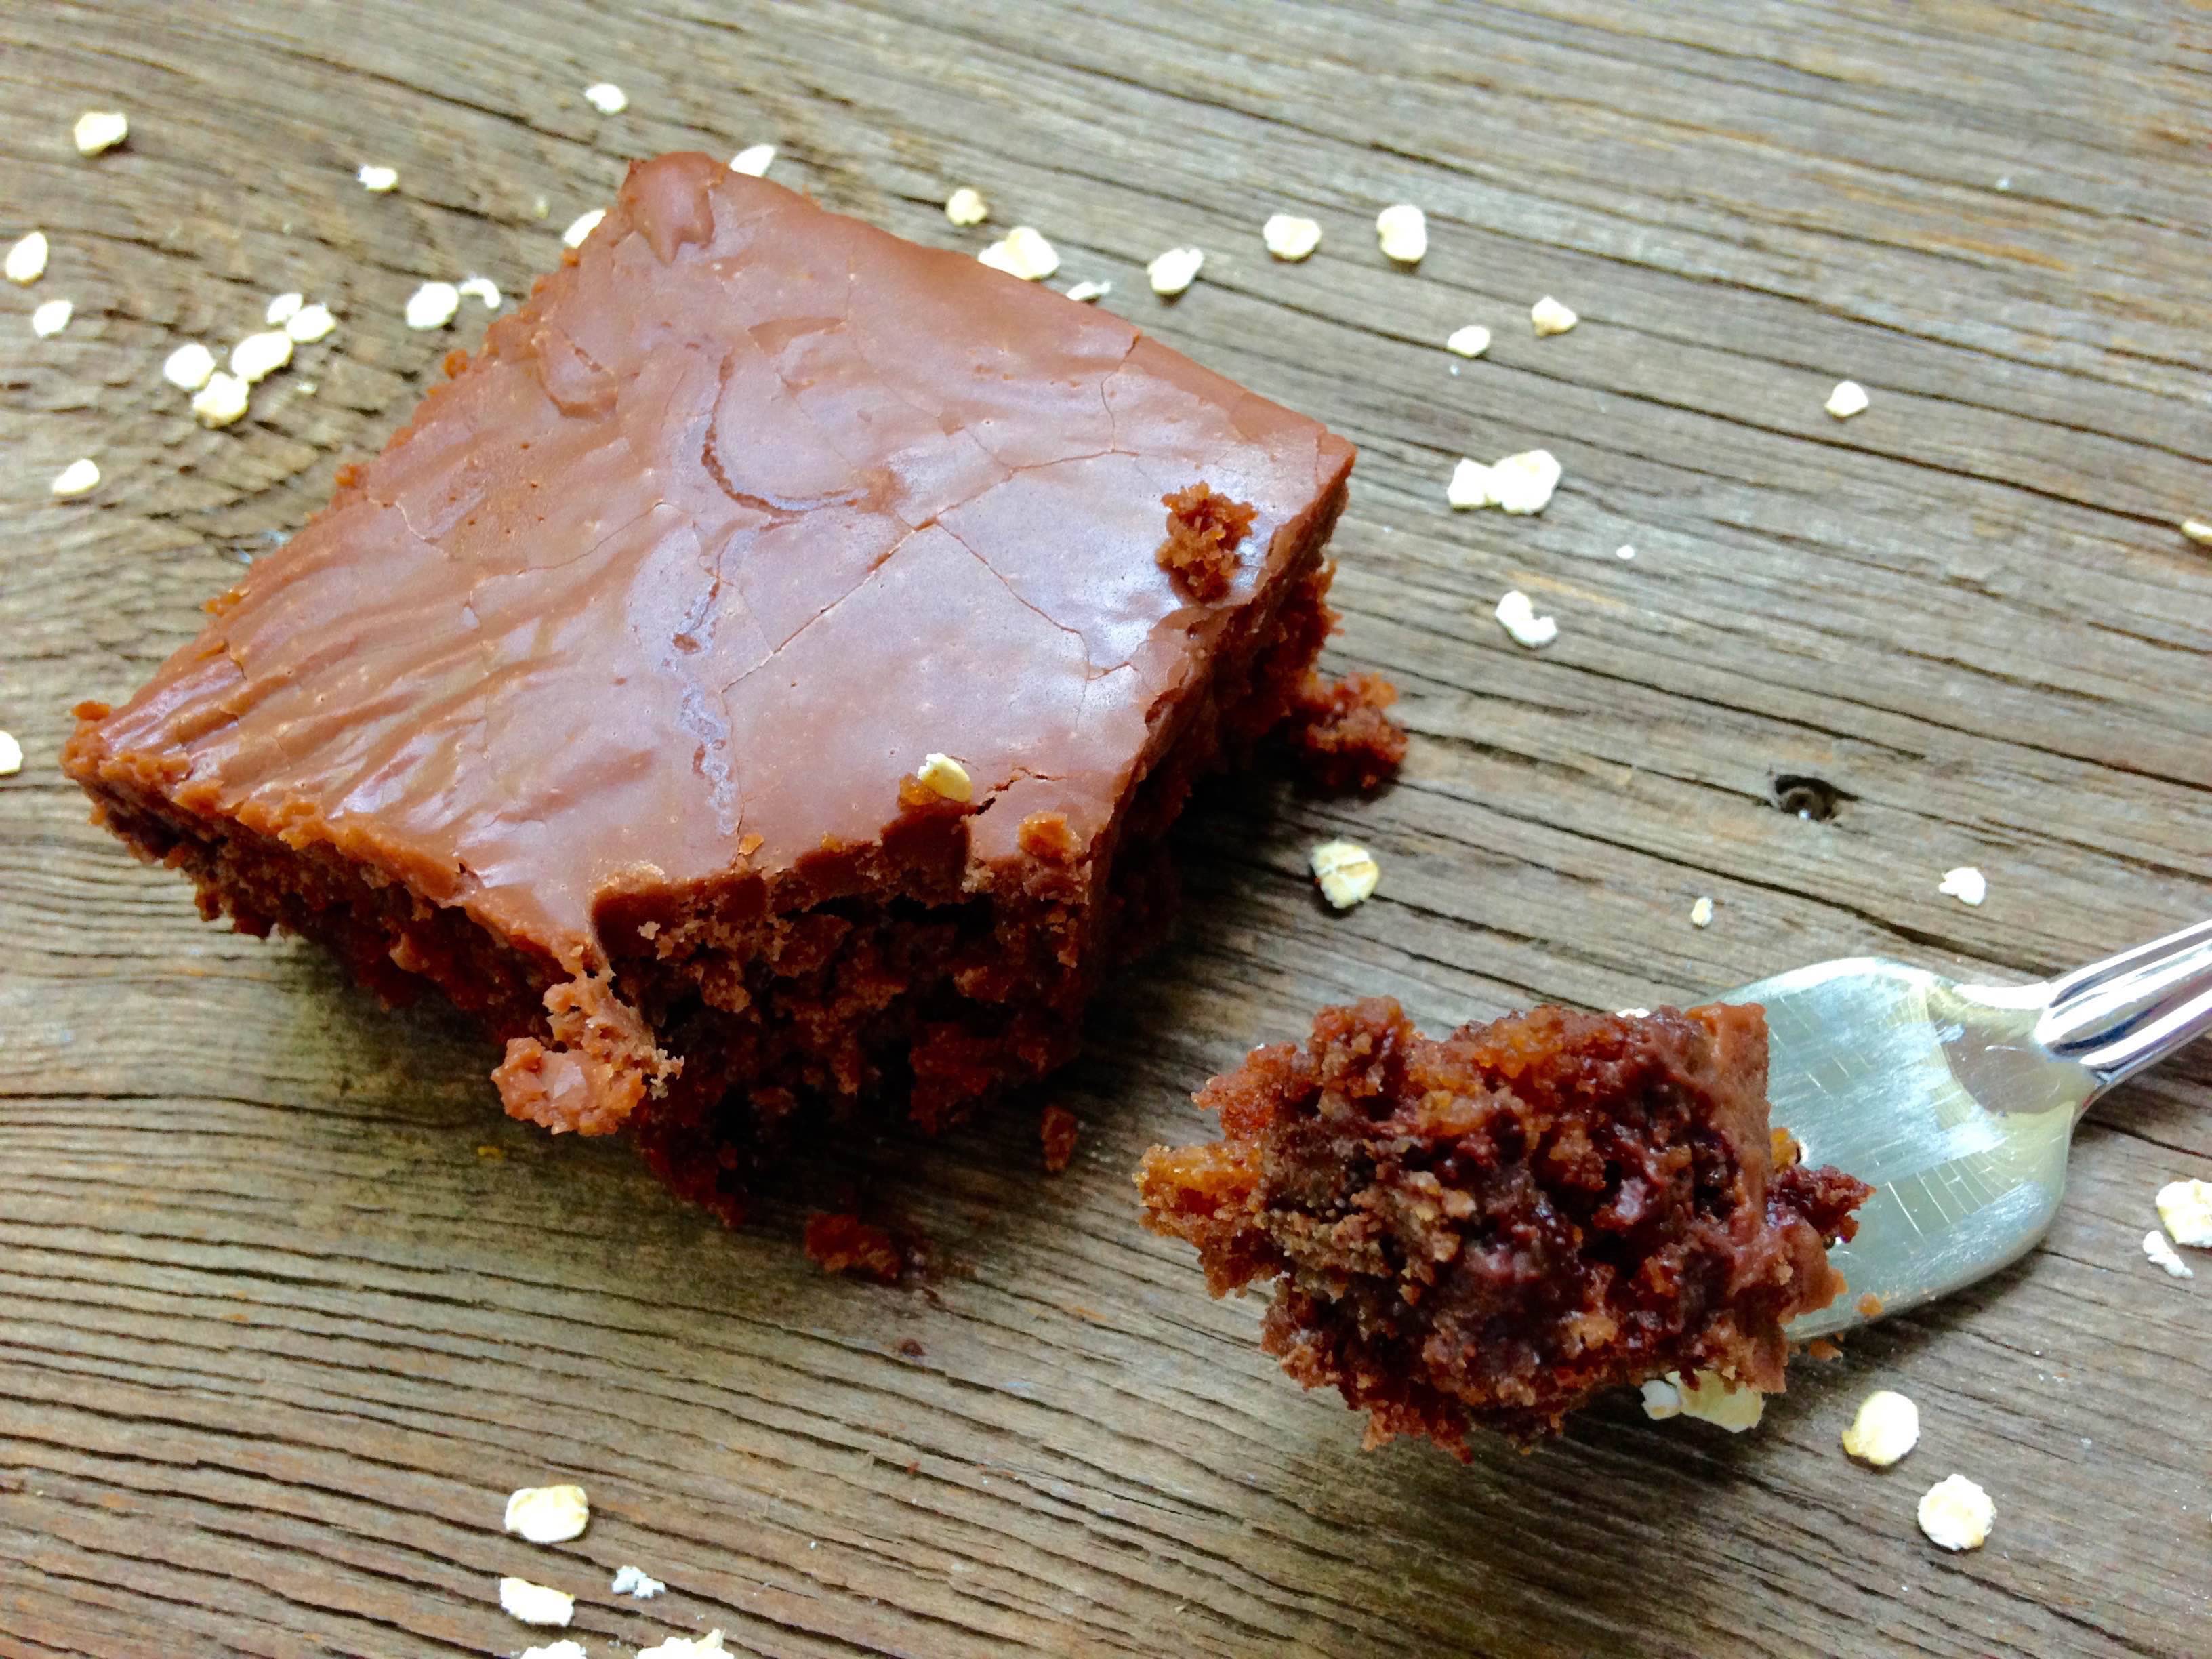
Adapted from Pinch of Yum blog, this chocolate oatmeal cake is a unique twist on the classic chocolate sheet cake.

I’m not going to lie, this chocolate oatmeal cake may require a tie-breaker with my all-time favorite Mrs. Kelm’s chocolate cake. That’s saying a lot given that I’ve eaten Mrs. Kelm’s chocolate cake for the past 27 years!!

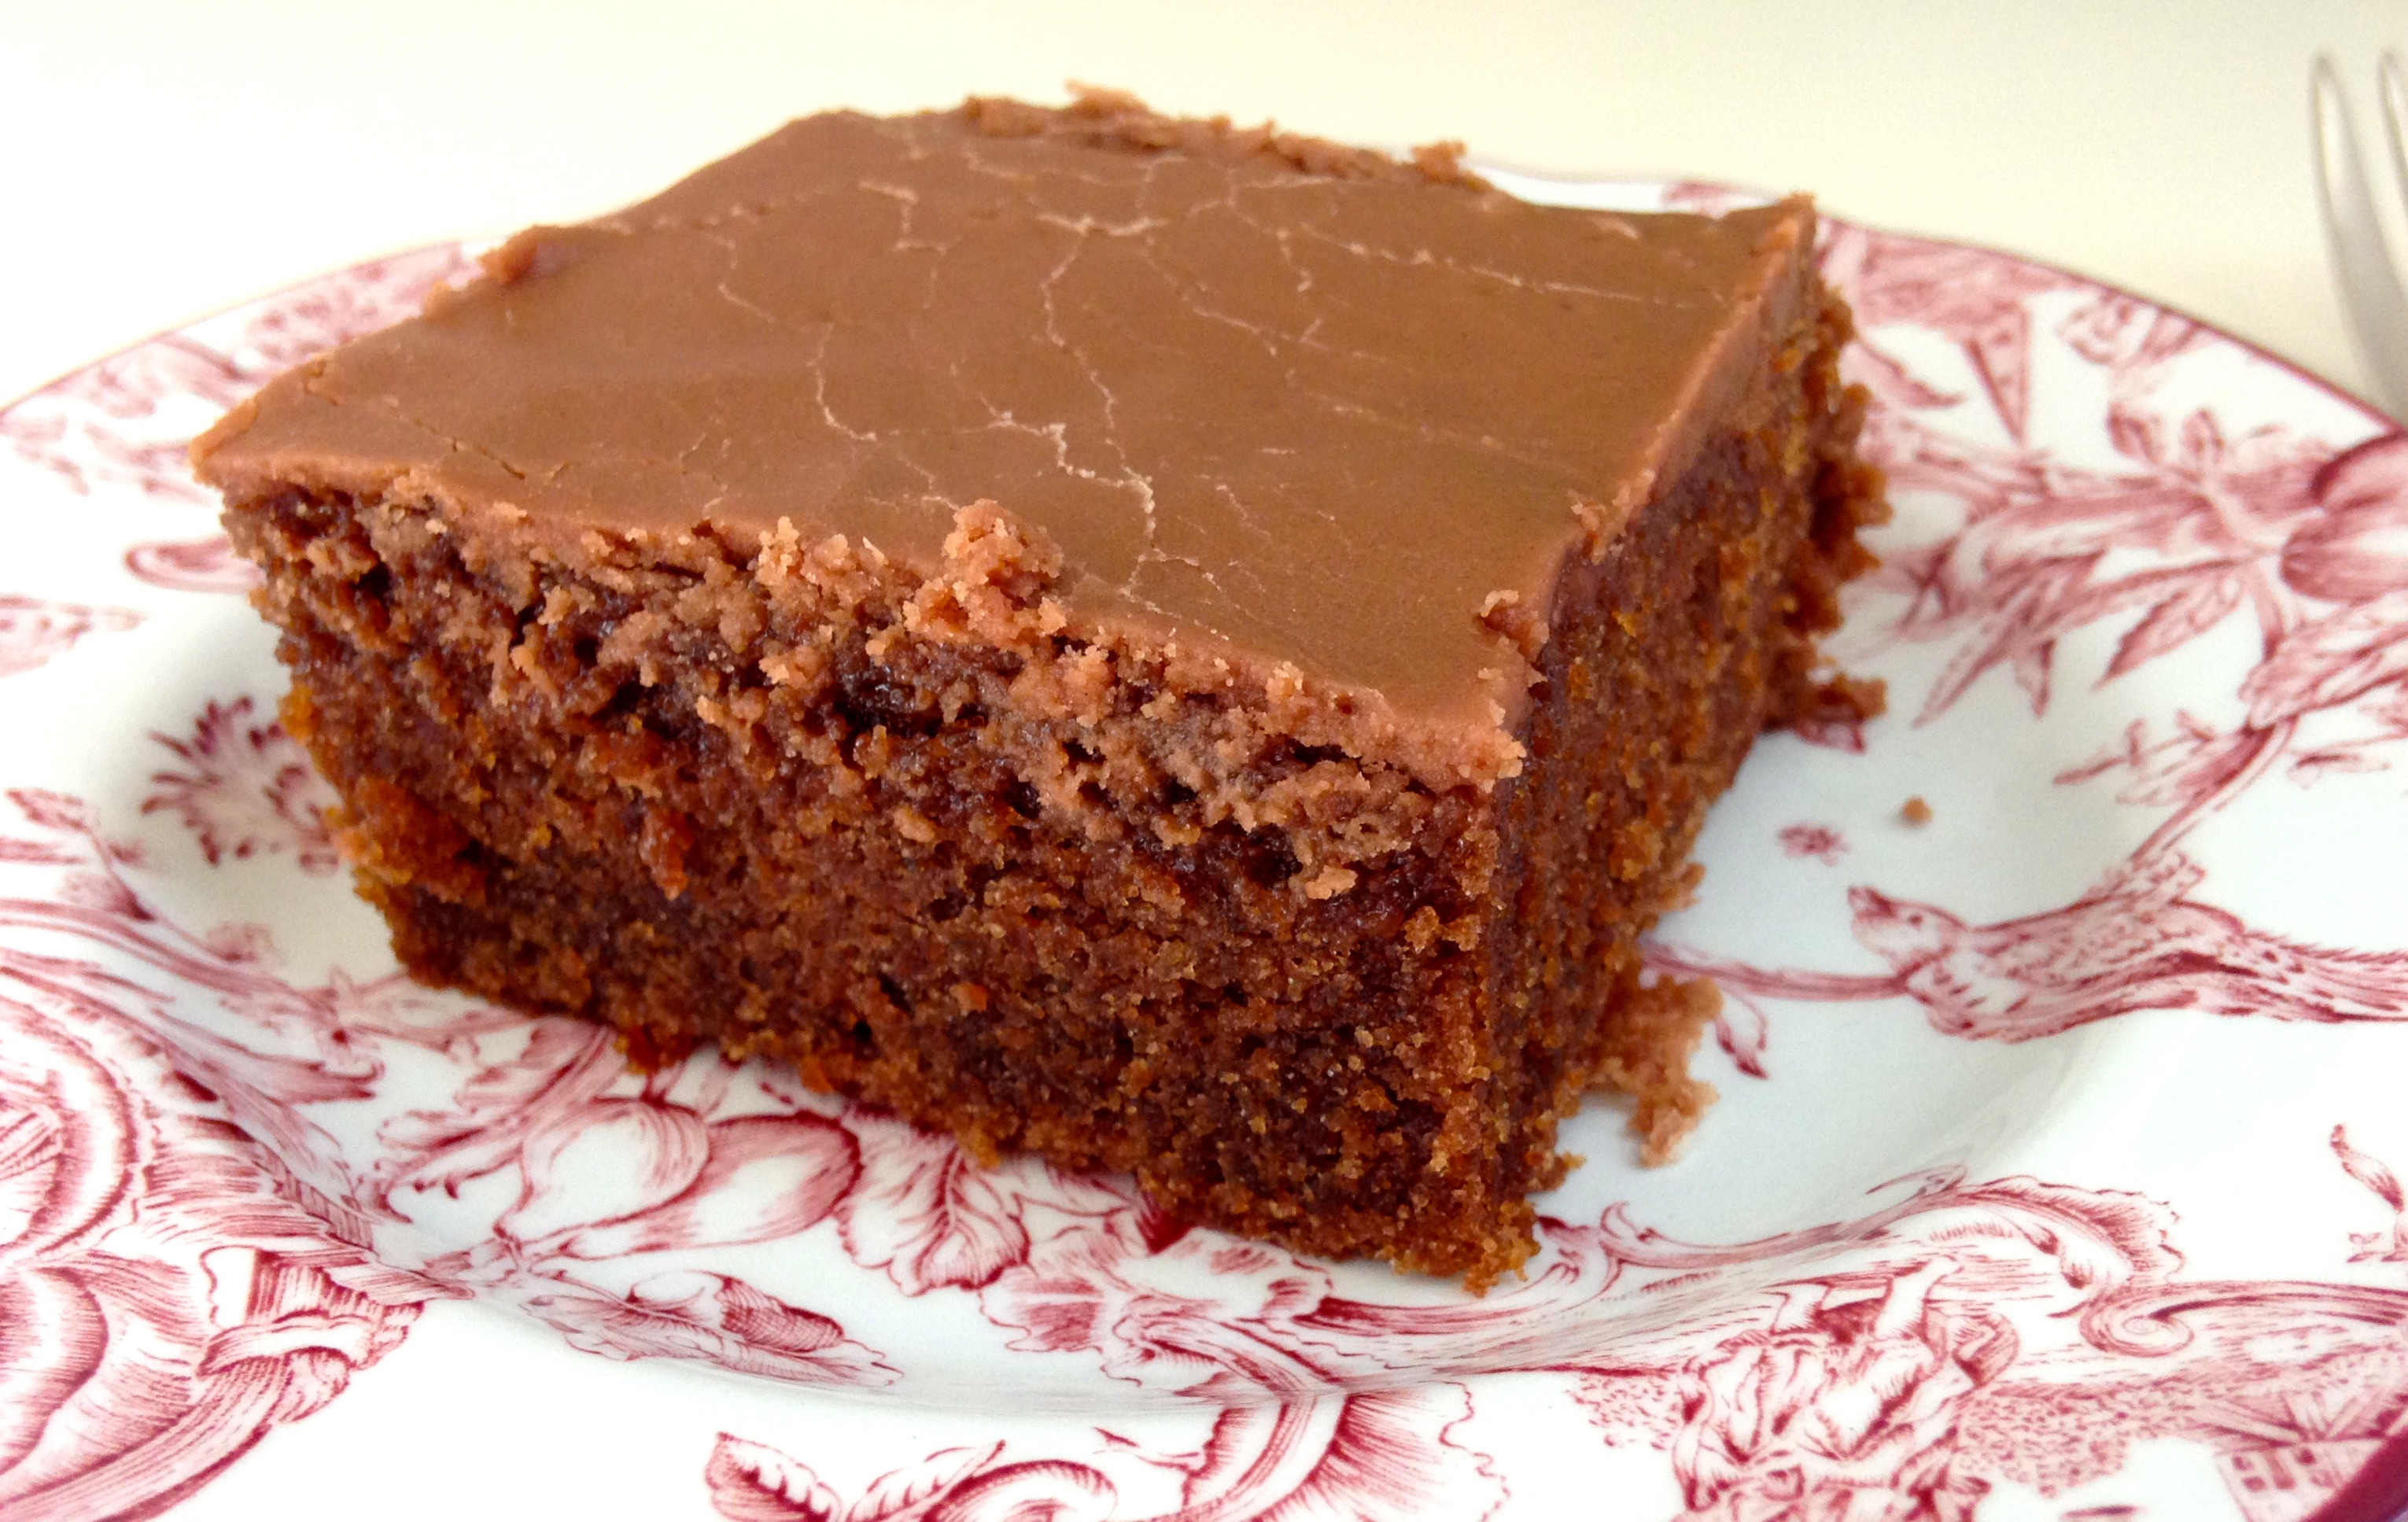
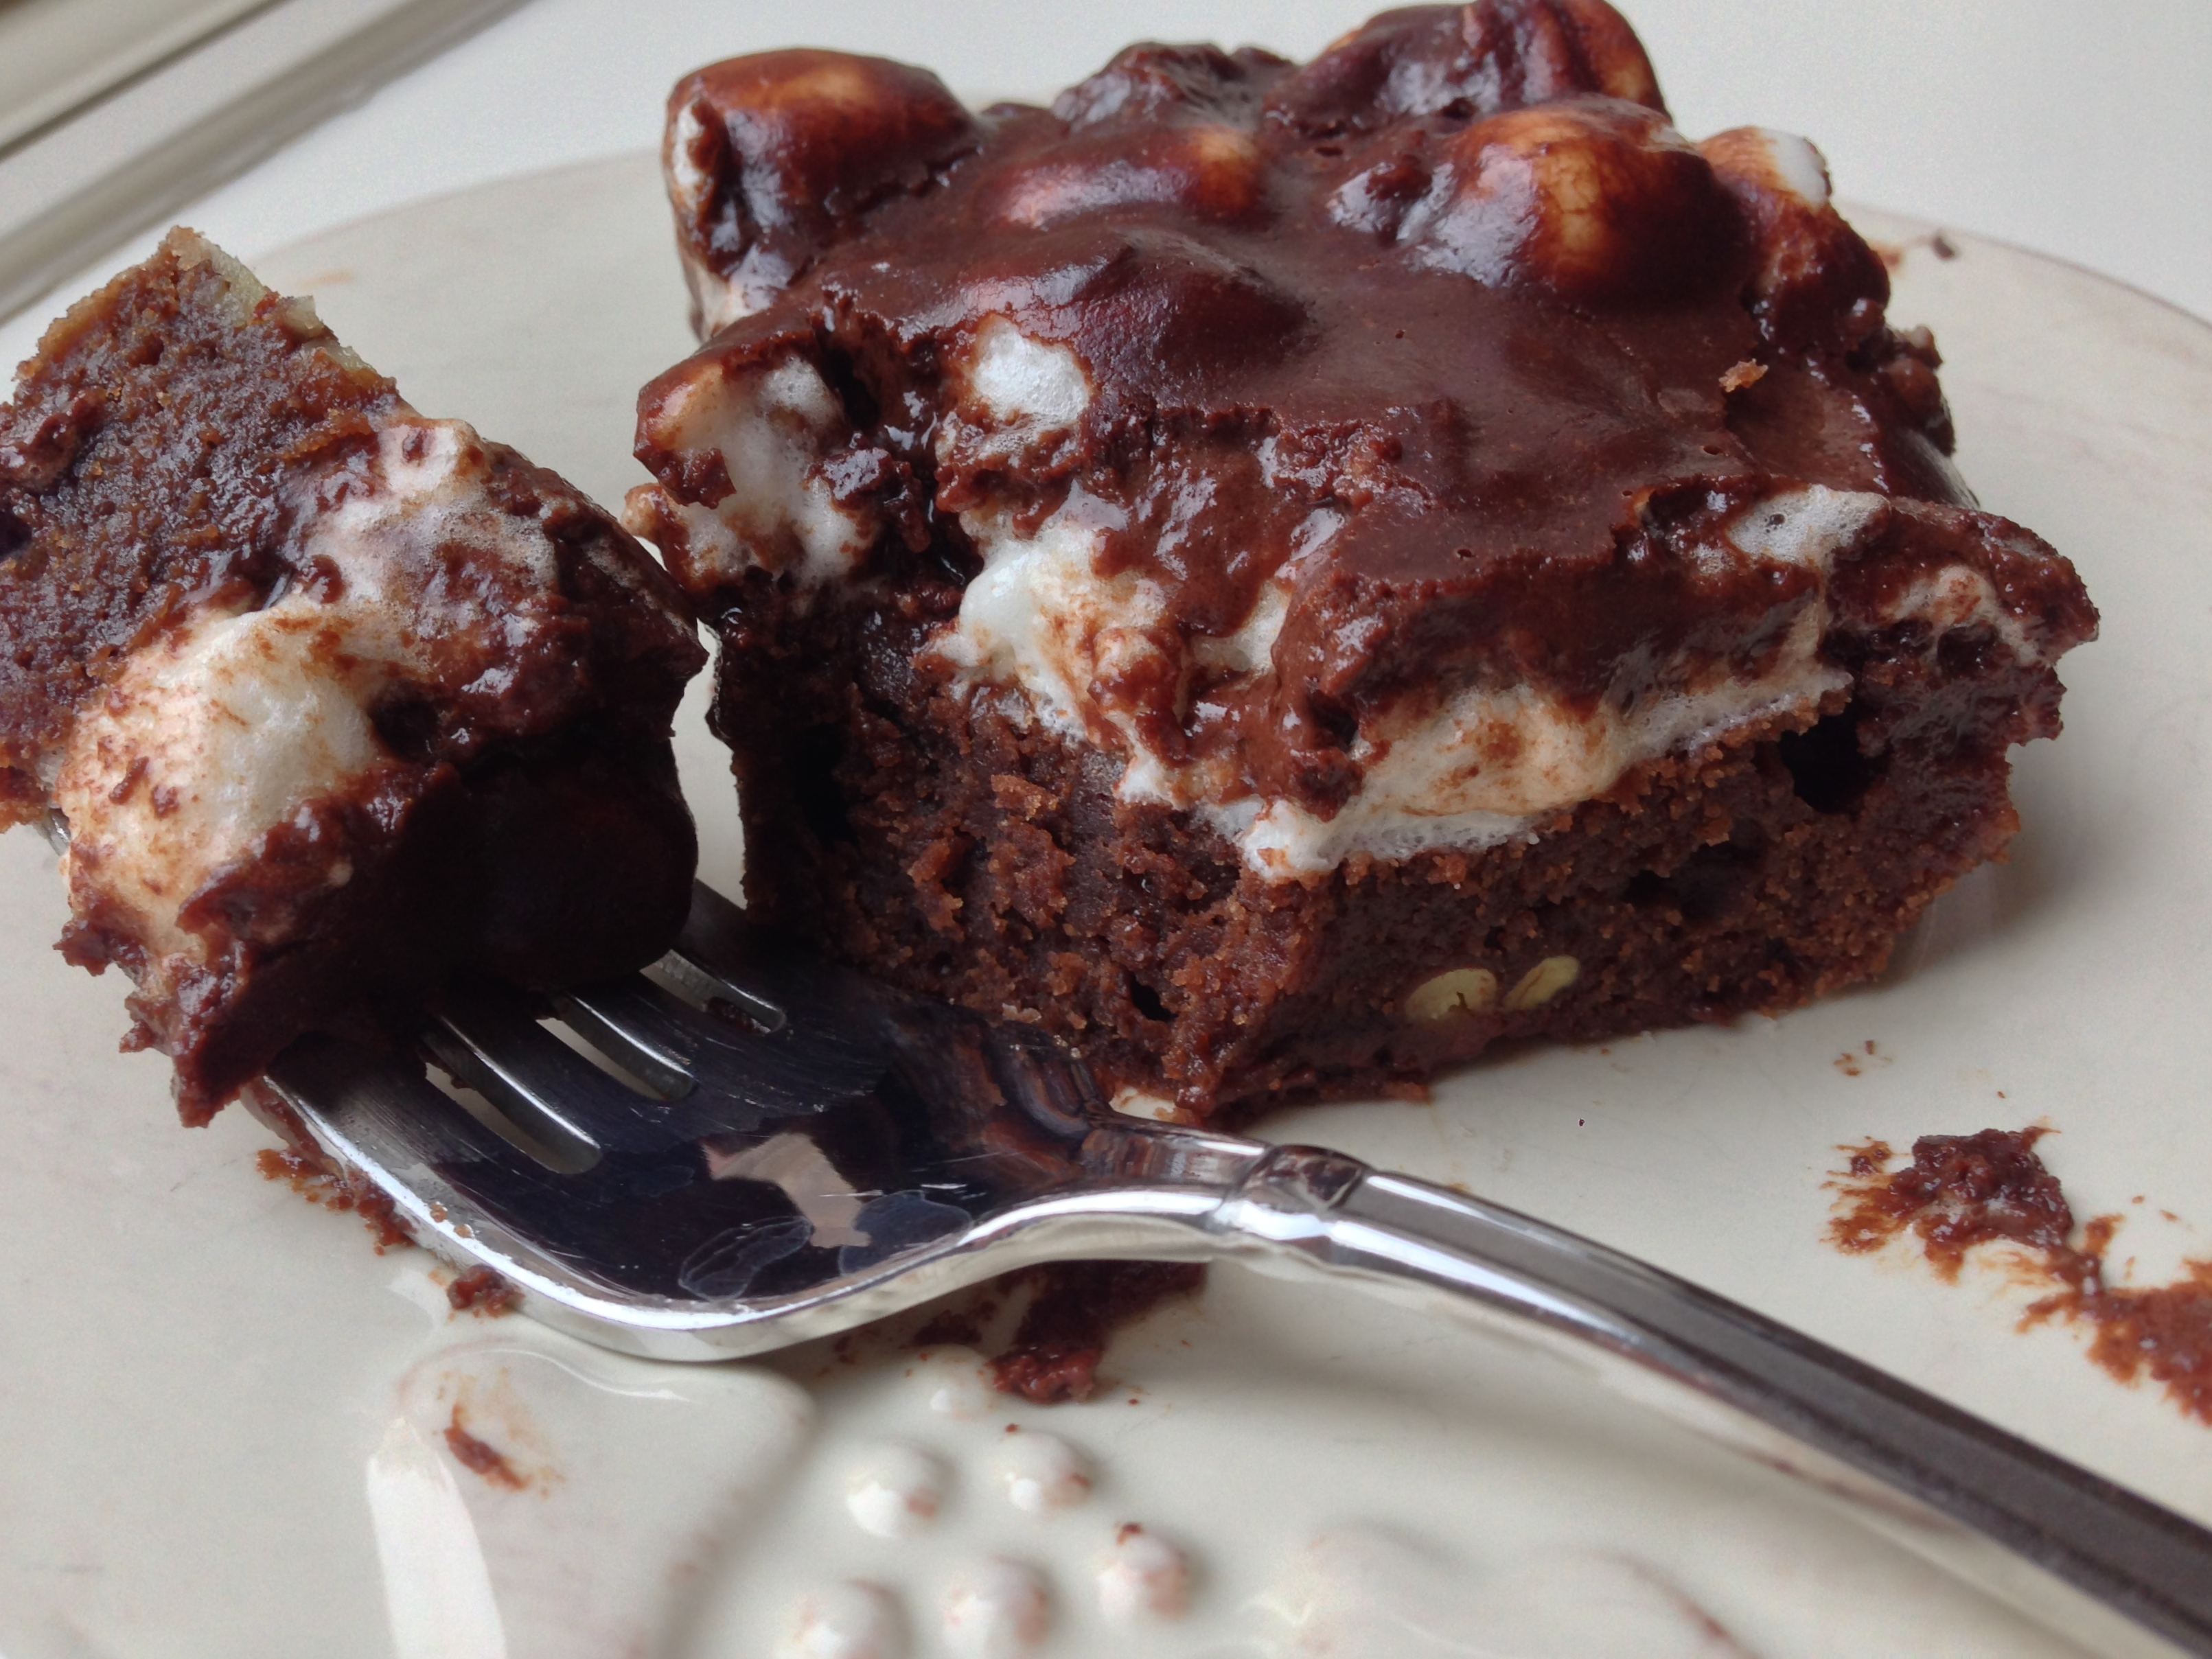
The great thing about this cake (in my opinion), is the texture. Some people may not like it, but you can taste the chewiness from the quick oats, and chunks of chocolate chips that didn’t quite melt in the cake. Whereas Mrs. Kelm’s cake is smooth, this one has a unique consistency. They both have that sweet, milk-chocolatey delicate taste that I love.

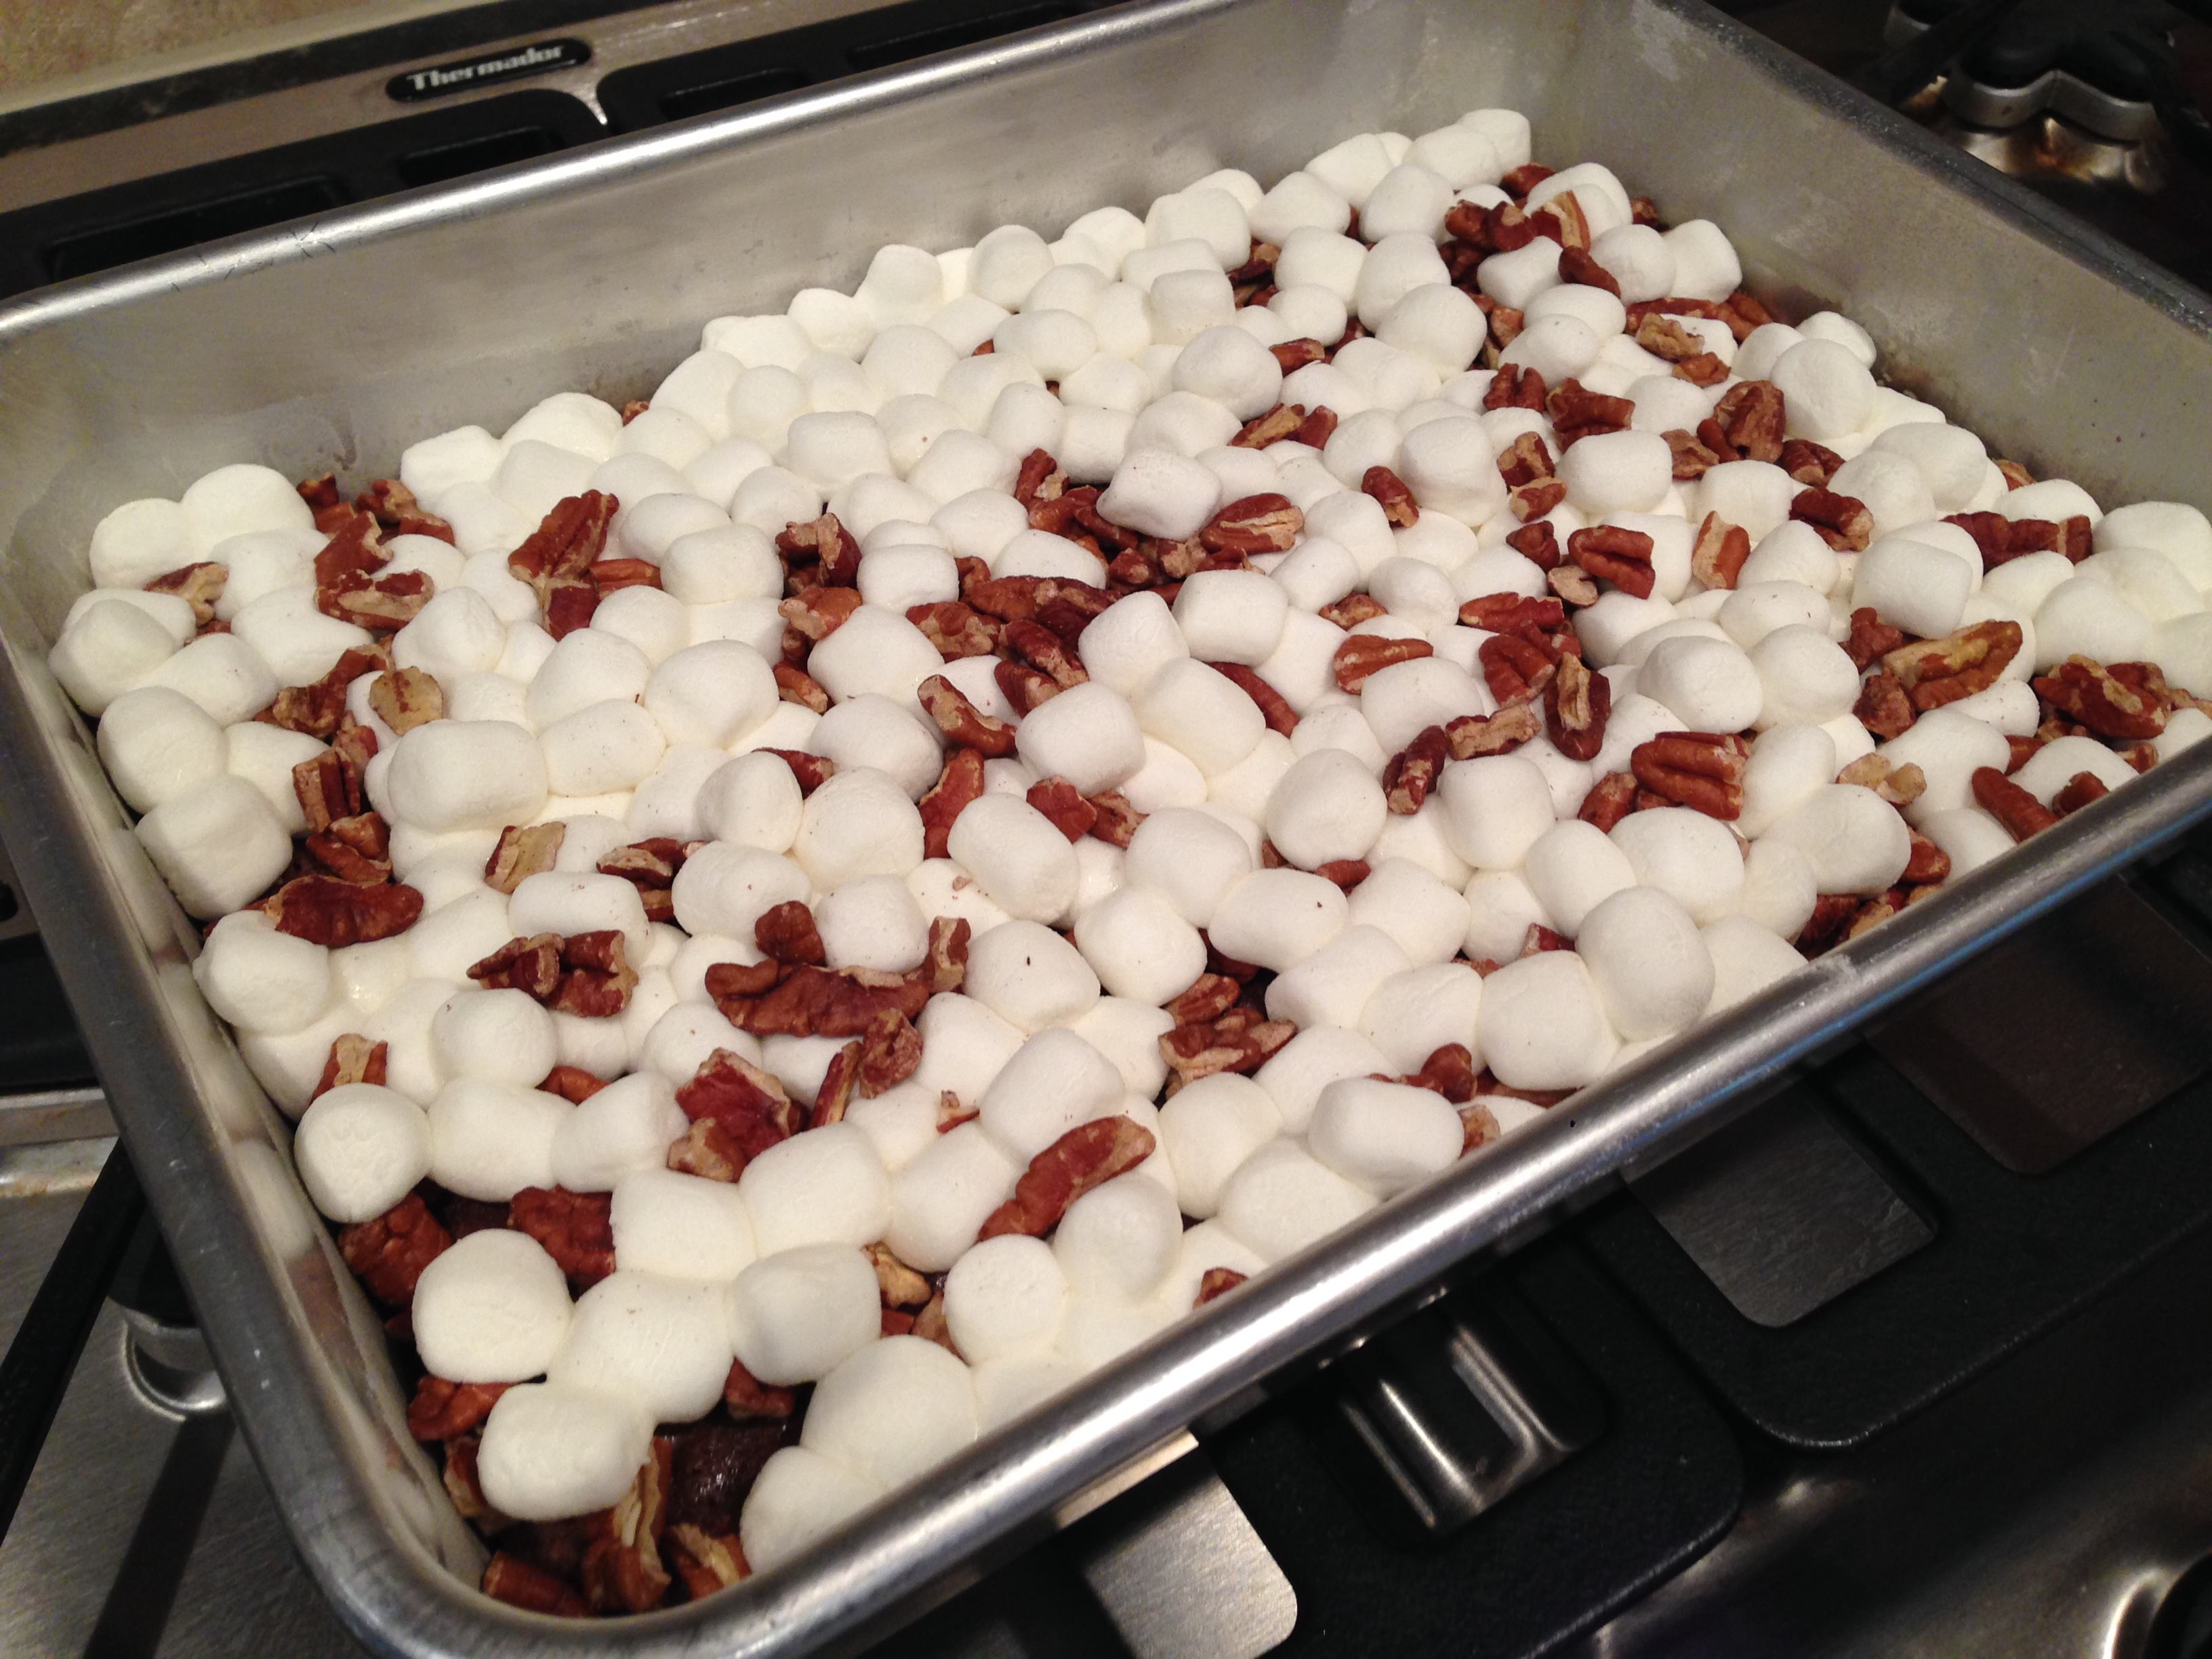
Mini marshmallows are the secret ingredient and are used in the frosting. They melt, so you can’t see them, but leave behind a subtly sweet flavor, and add to the thickness of the gooey chocolate frosting.

chocolate oatmeal cake

chocolate oatmeal cake

If you like oatmeal and chocolate sheet cake, this is the cake for you. If new textures don’t bother you, you’ll love this cake just as much as I did. I may be switching off birthday cakes from now on!

Enjoy!

Chocolate Oatmeal Cake
Prep time:
Cook time:
Total time:
Serves: 20
Adapted from Pinch of Yum
Ingredients
  • 1 cup brown sugar
  • 1 cup white sugar
  • 1/2 cup butter, melted
  • 2 eggs, lightly beaten with a fork
  • 1 3/4 cups flour
  • 1 tsp. baking soda
  • 1/2 tsp. salt
  • 1 1/2 Tbsp. unsweetened cocoa powder
  • 1 cup quick cooking oats
  • 1 3/4 cup boiling water
  • 1 (12 oz) bag chocolate chips, divided (go for Ghirardelli)
  • 6 Tbsp. unsalted butter
  • 6 Tbsp. milk
  • 1 1/2 cups sugar
  • 3/4 cup chocolate chips (Ghirardelli)
  • 3/4 cup mini marshmallows
Instructions
  1. Preheat oven to 350 degrees F.
  2. FOR THE CAKE: With an electric mixer, cream the butter and sugars. Add the eggs and mix well. Add flour, soda, salt and cocoa and mix until just incorporated. The batter will be very thick.
  3. Add boiling water to oatmeal and let stand for a few minutes. Once oats are soft, add oats/water mixture to the batter and mix well. Stir in half the bag of chocolate chips (6 ounces).
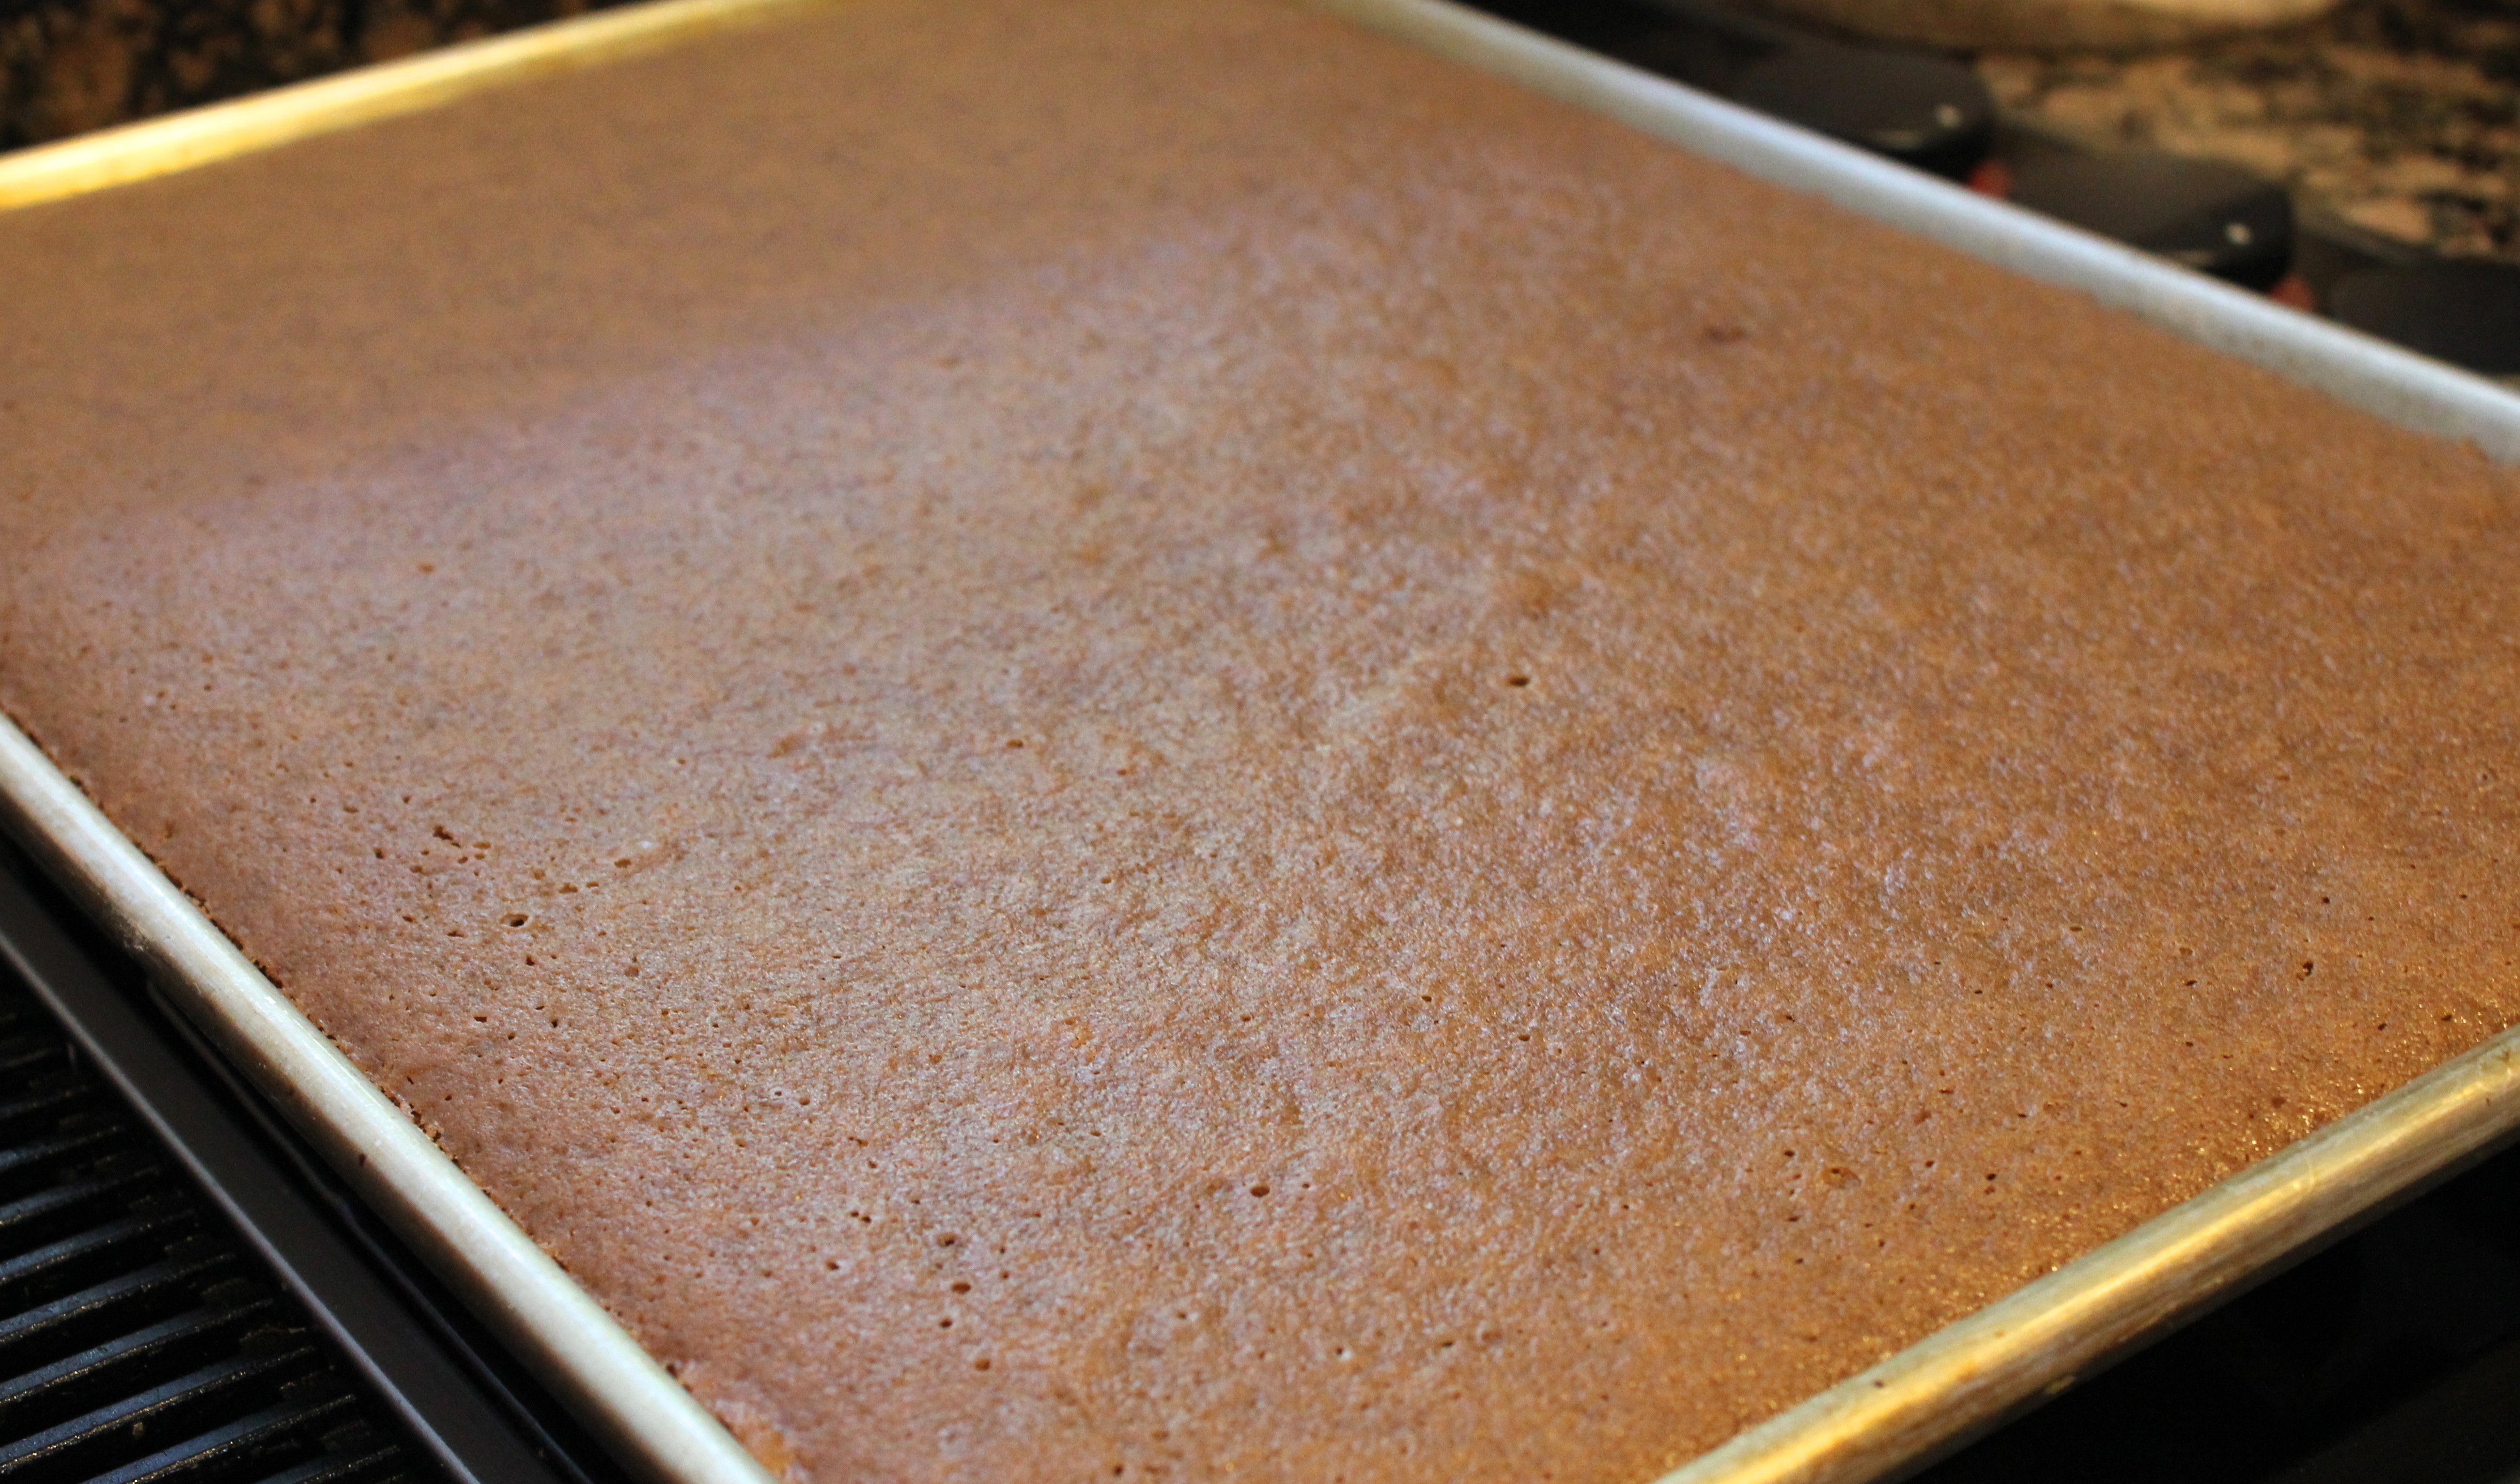
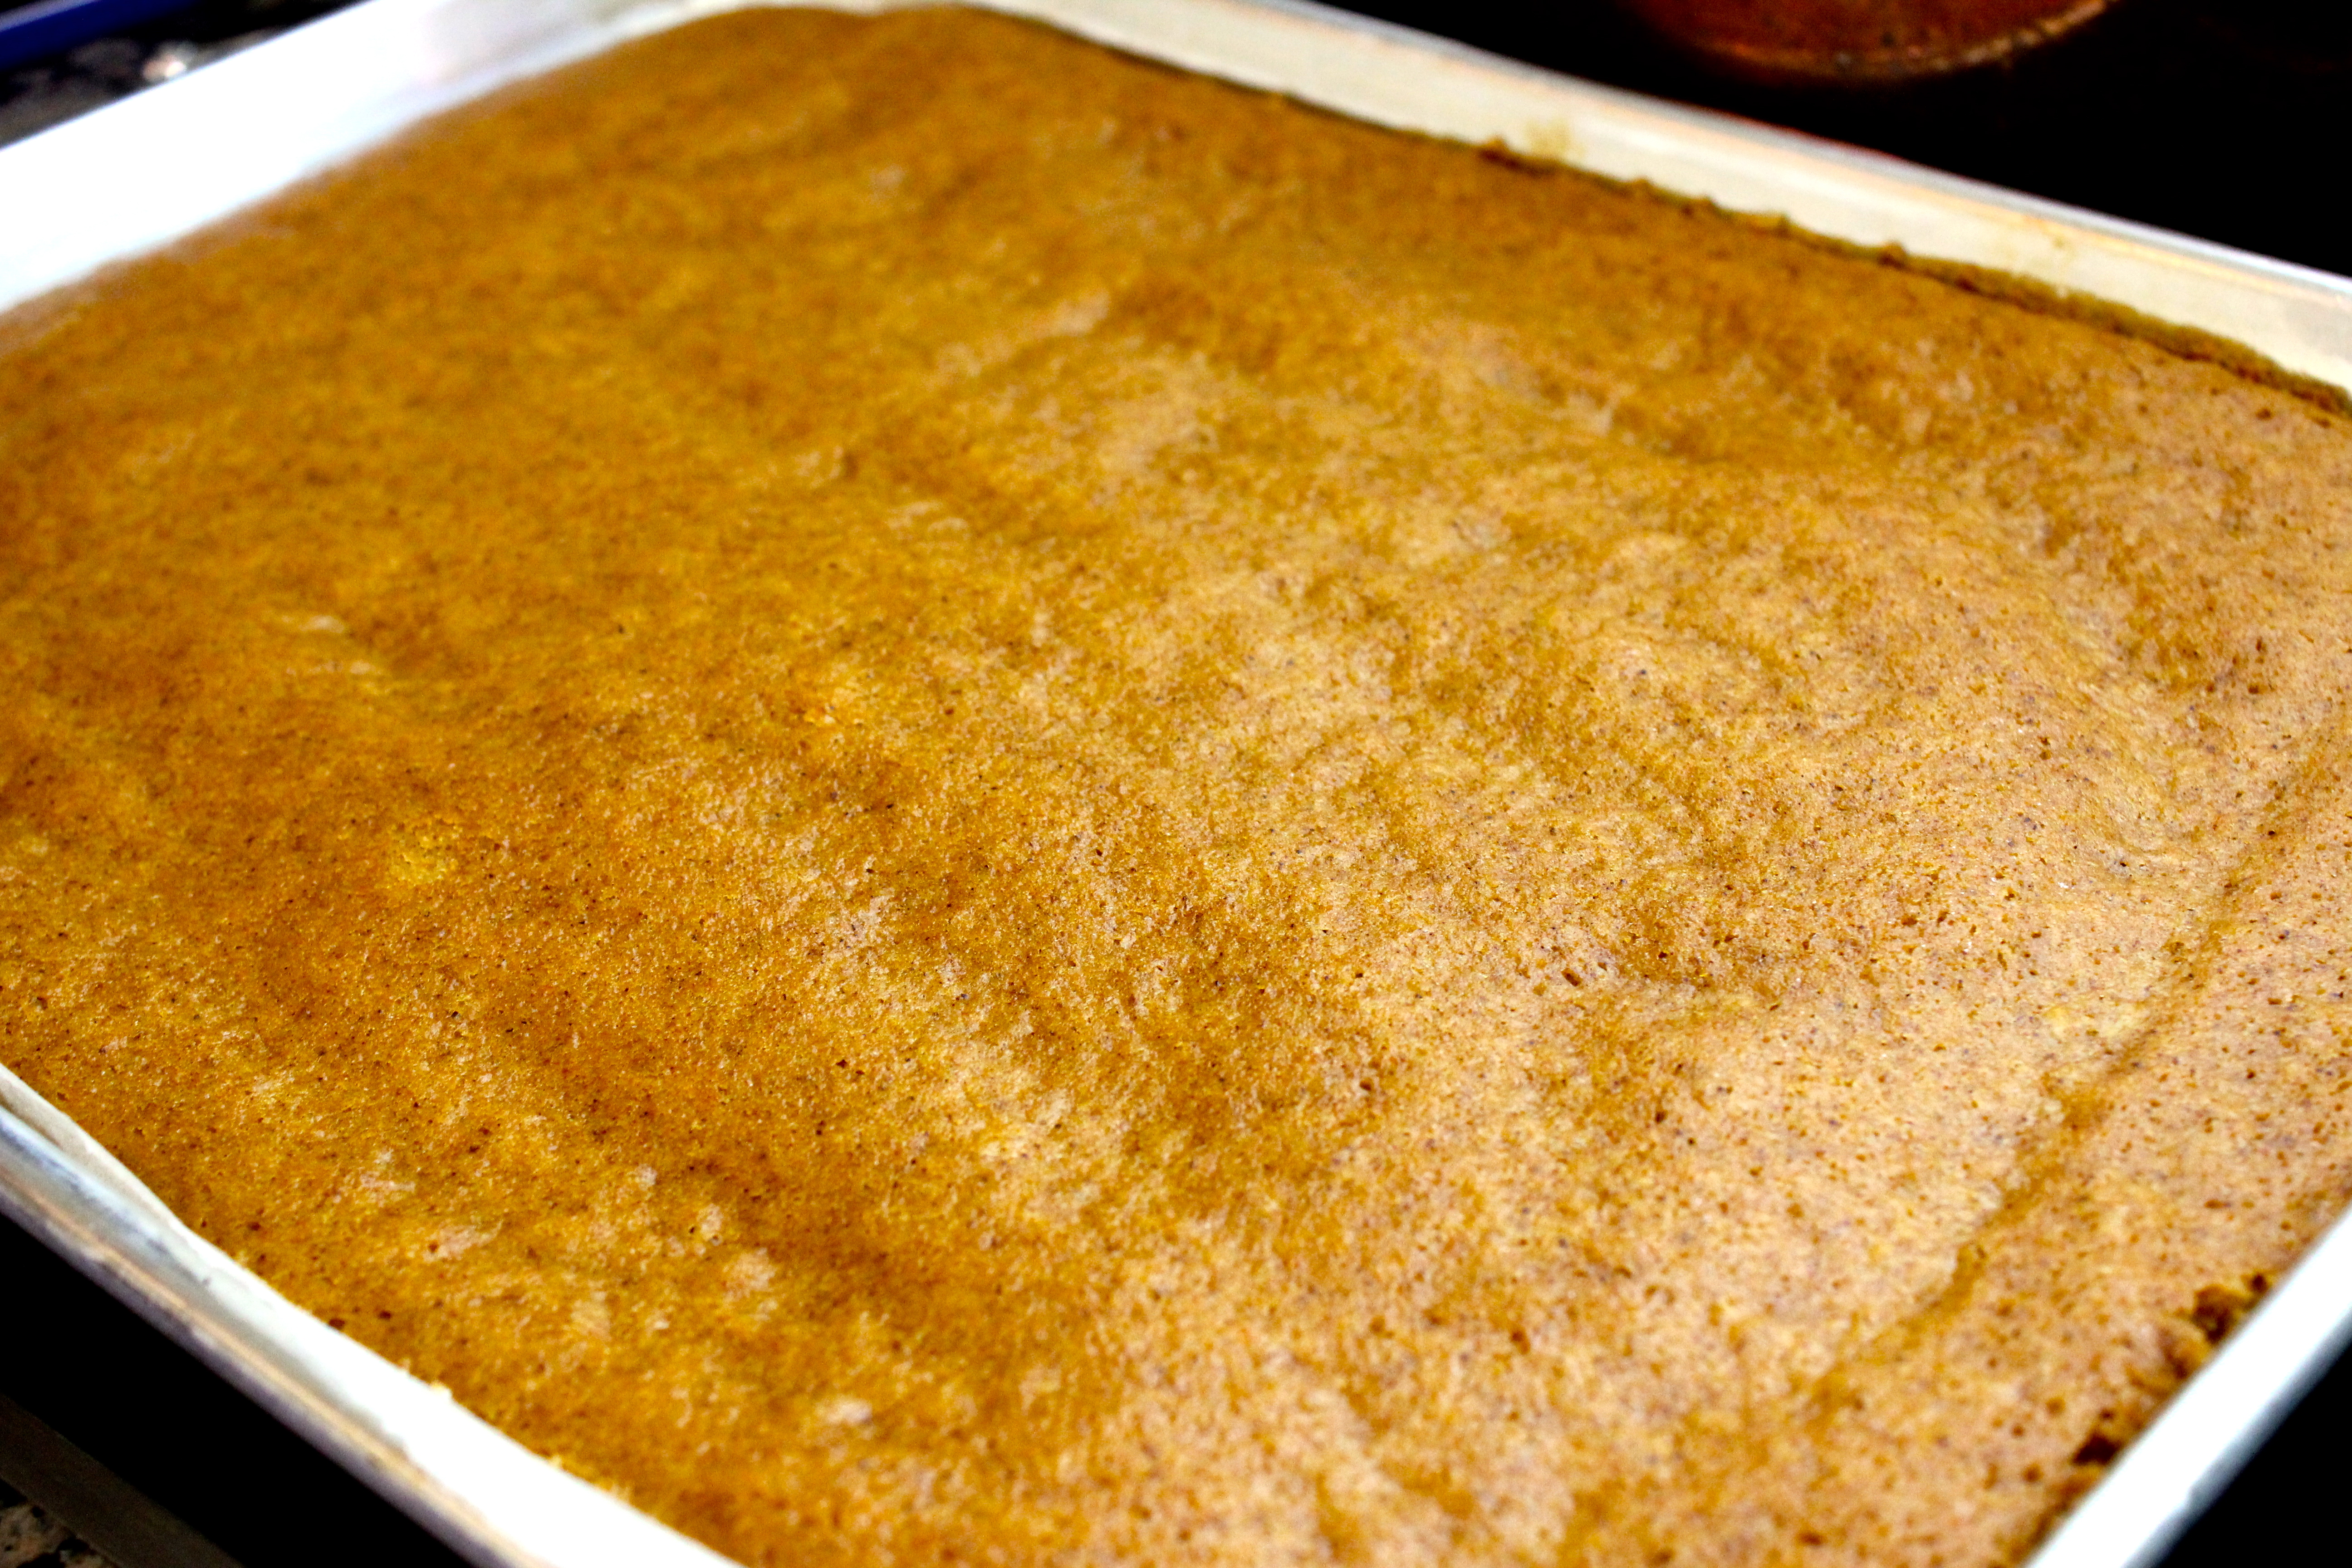
  4. Pour into a greased or buttered 9×13-inch cake pan. Sprinkle the top of the cake with the rest of the bag of chocolate chips (6 ounces).
  5. Bake for 350 degrees for 30-40 minutes or until the surface springs back lightly when touched. Do not overbake. Let cool completely.
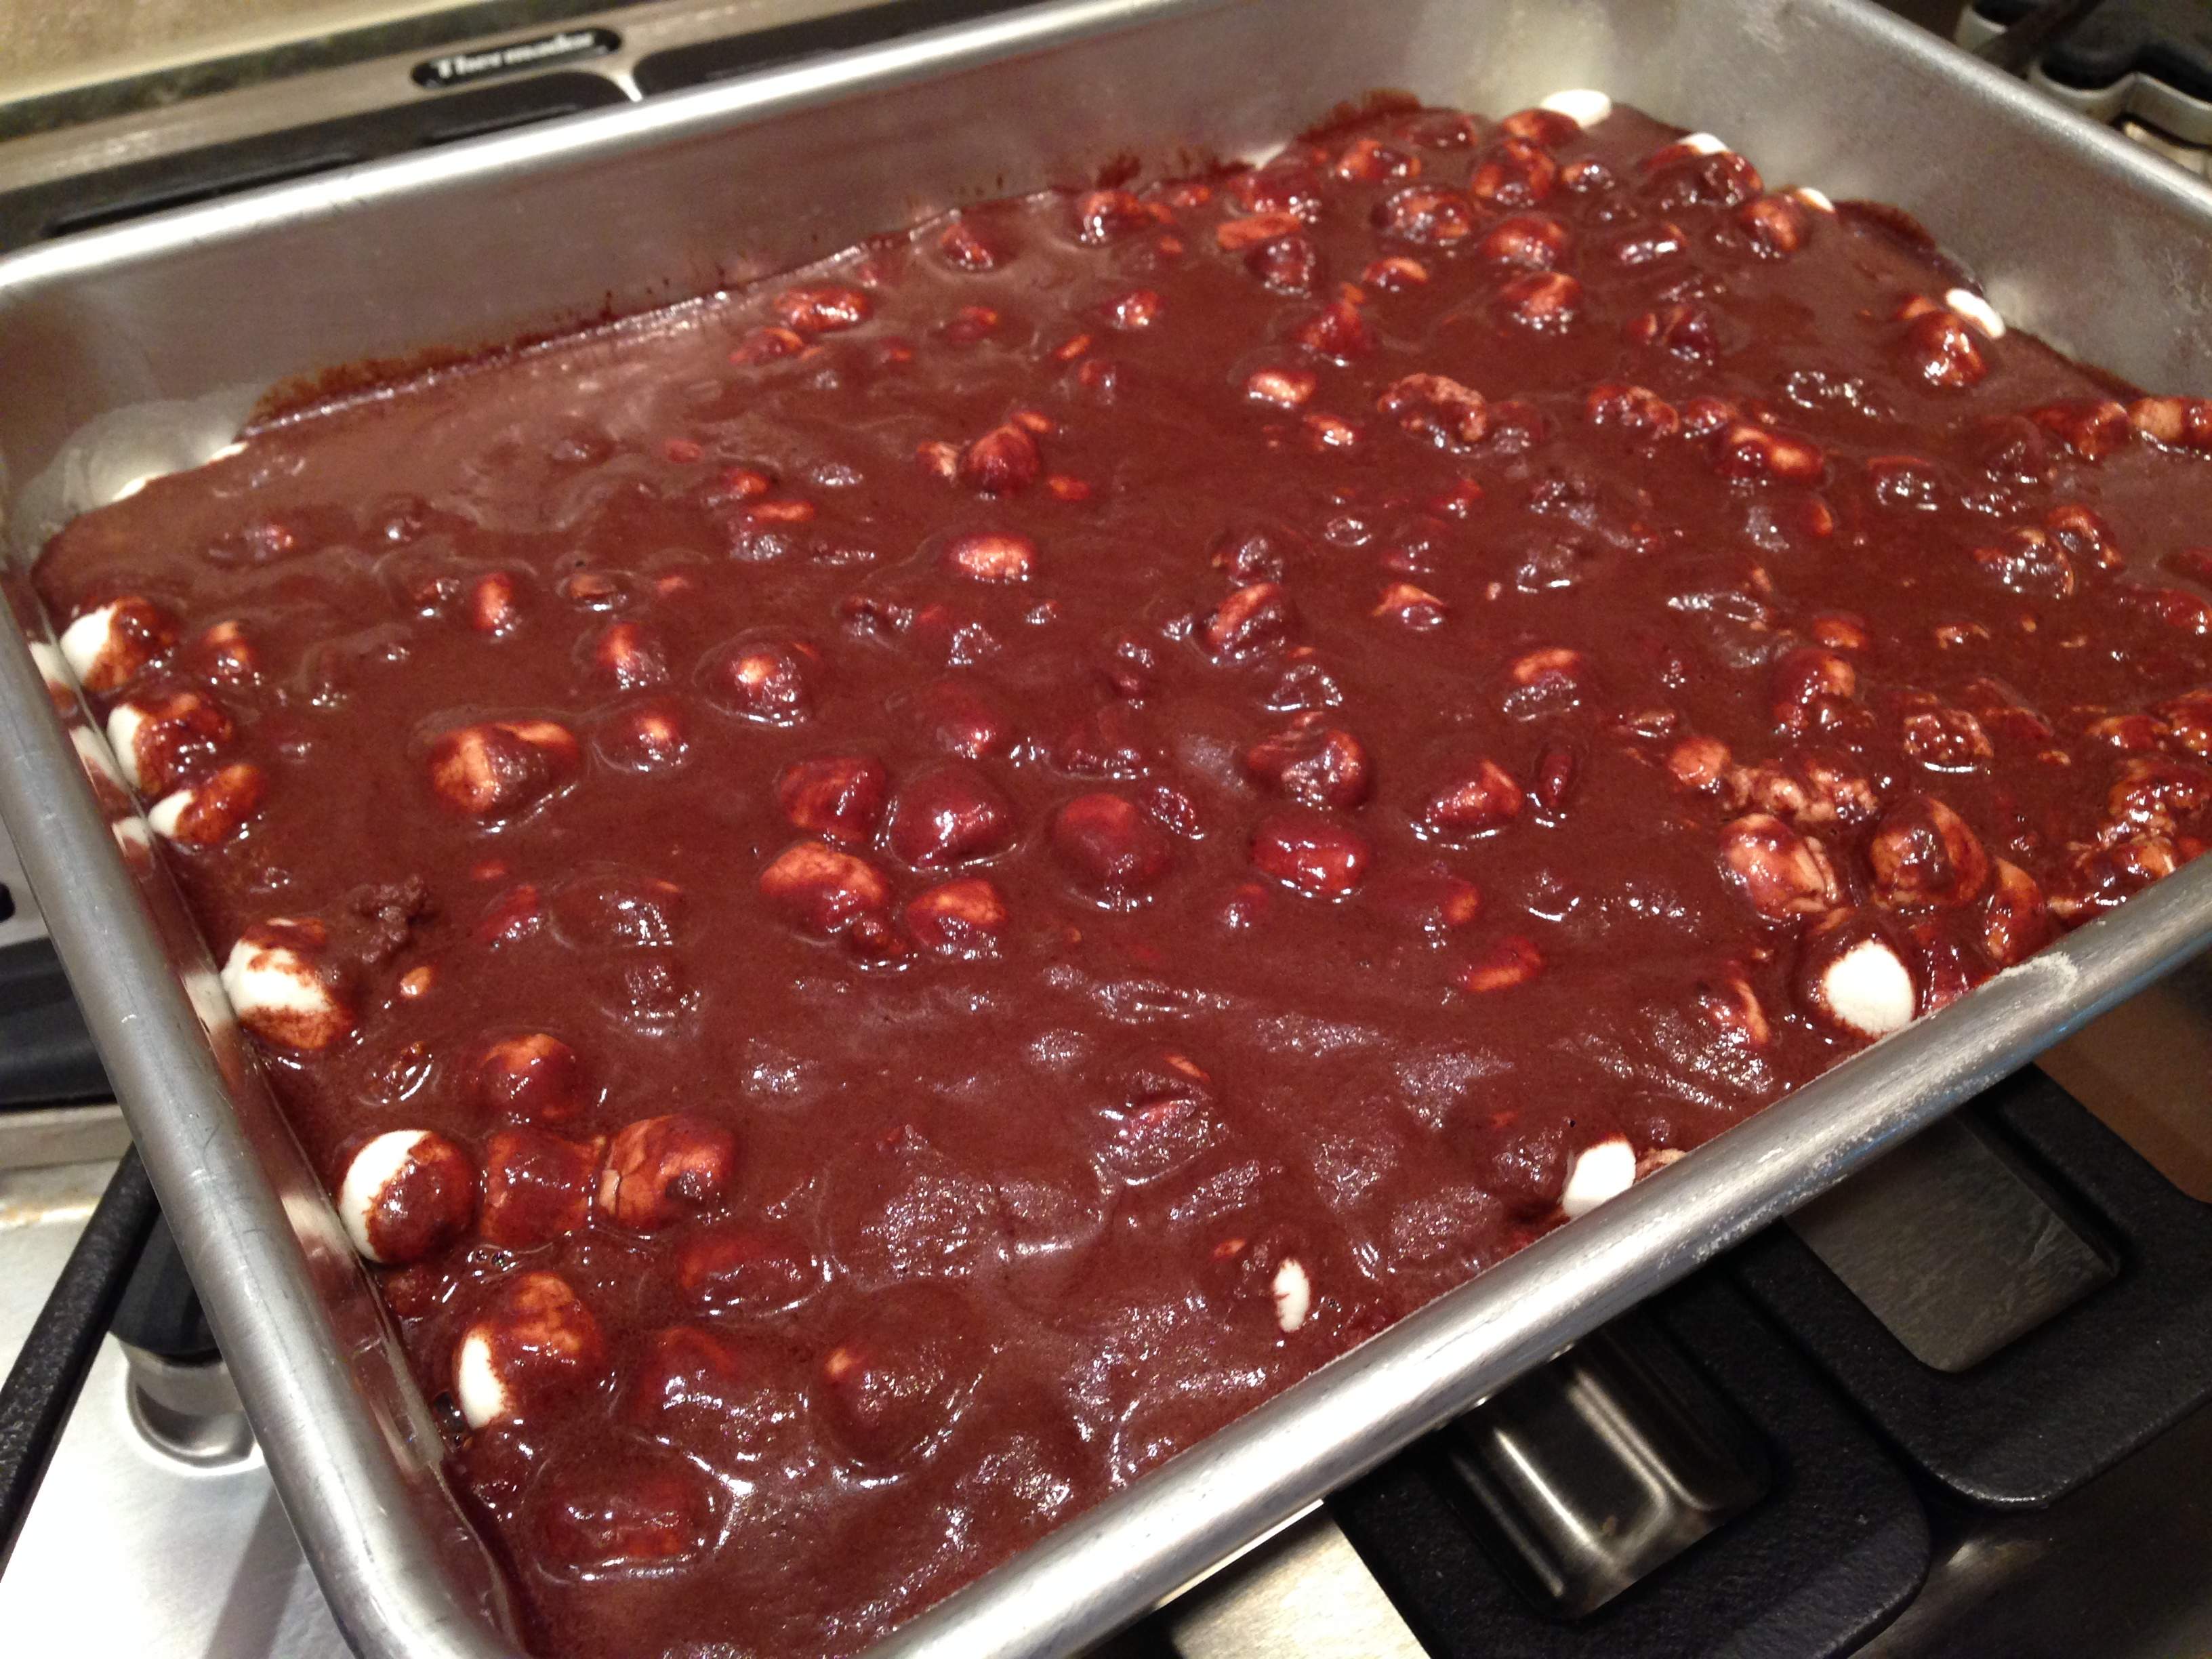
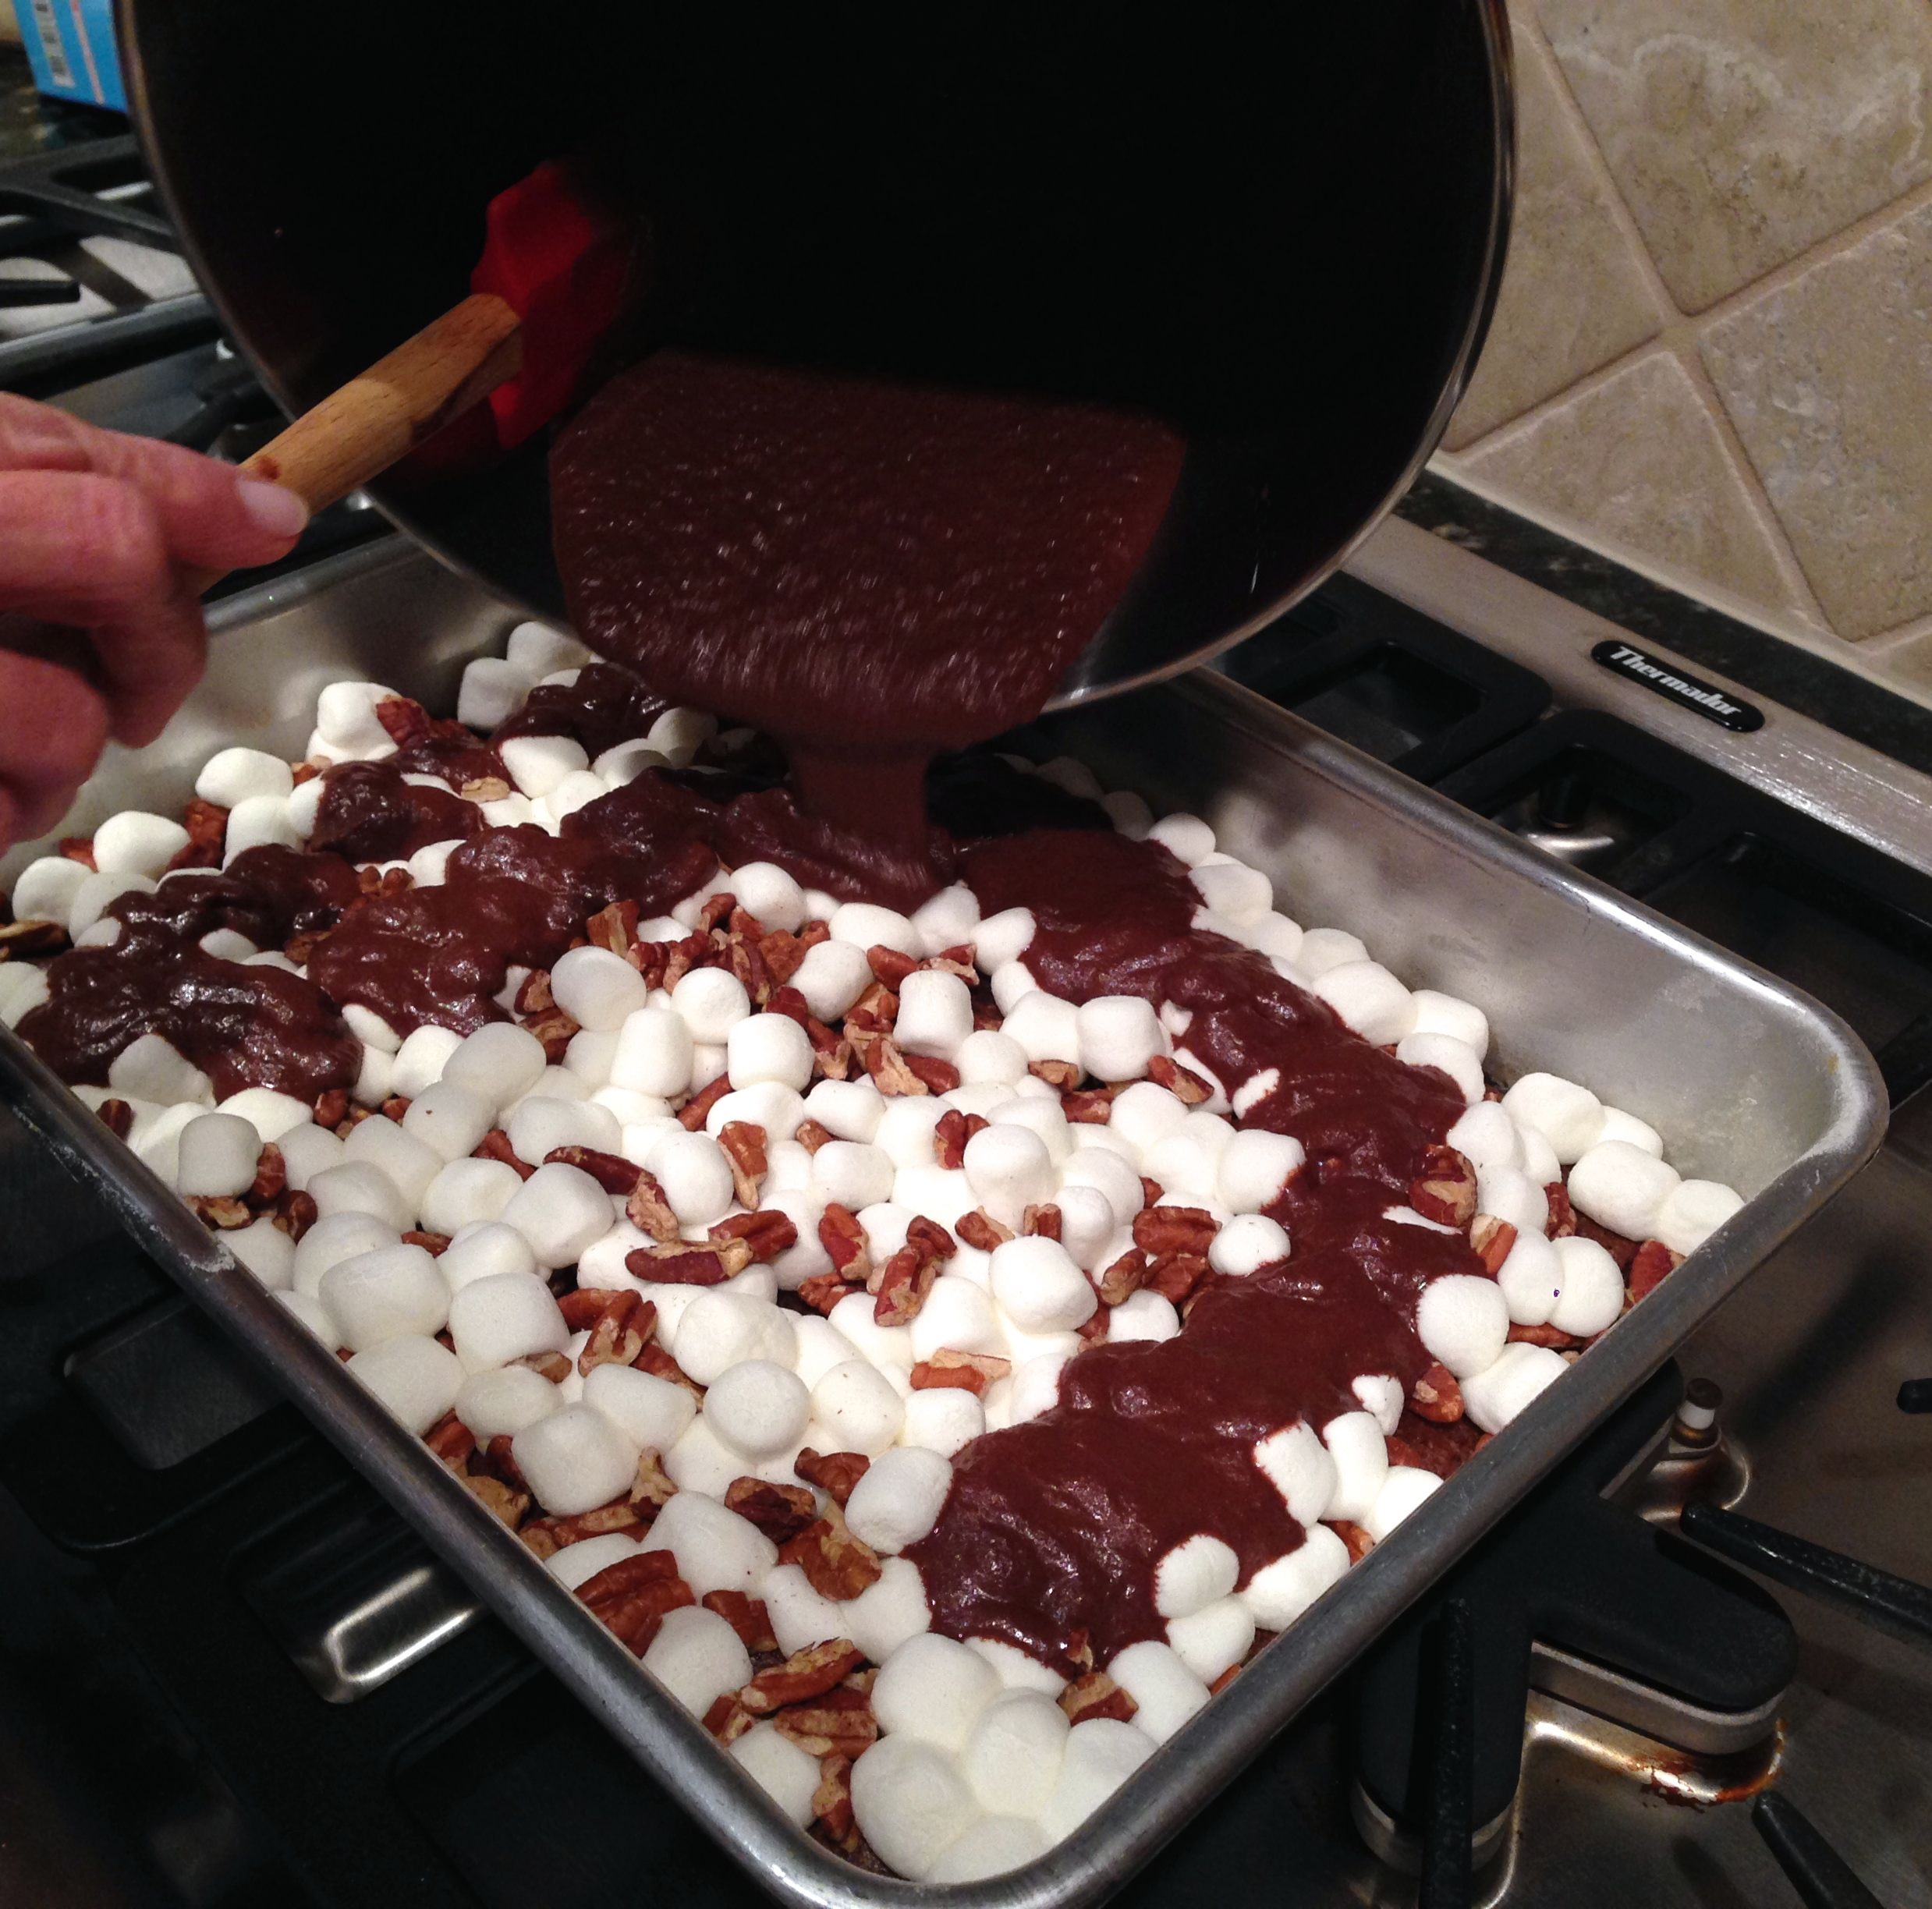
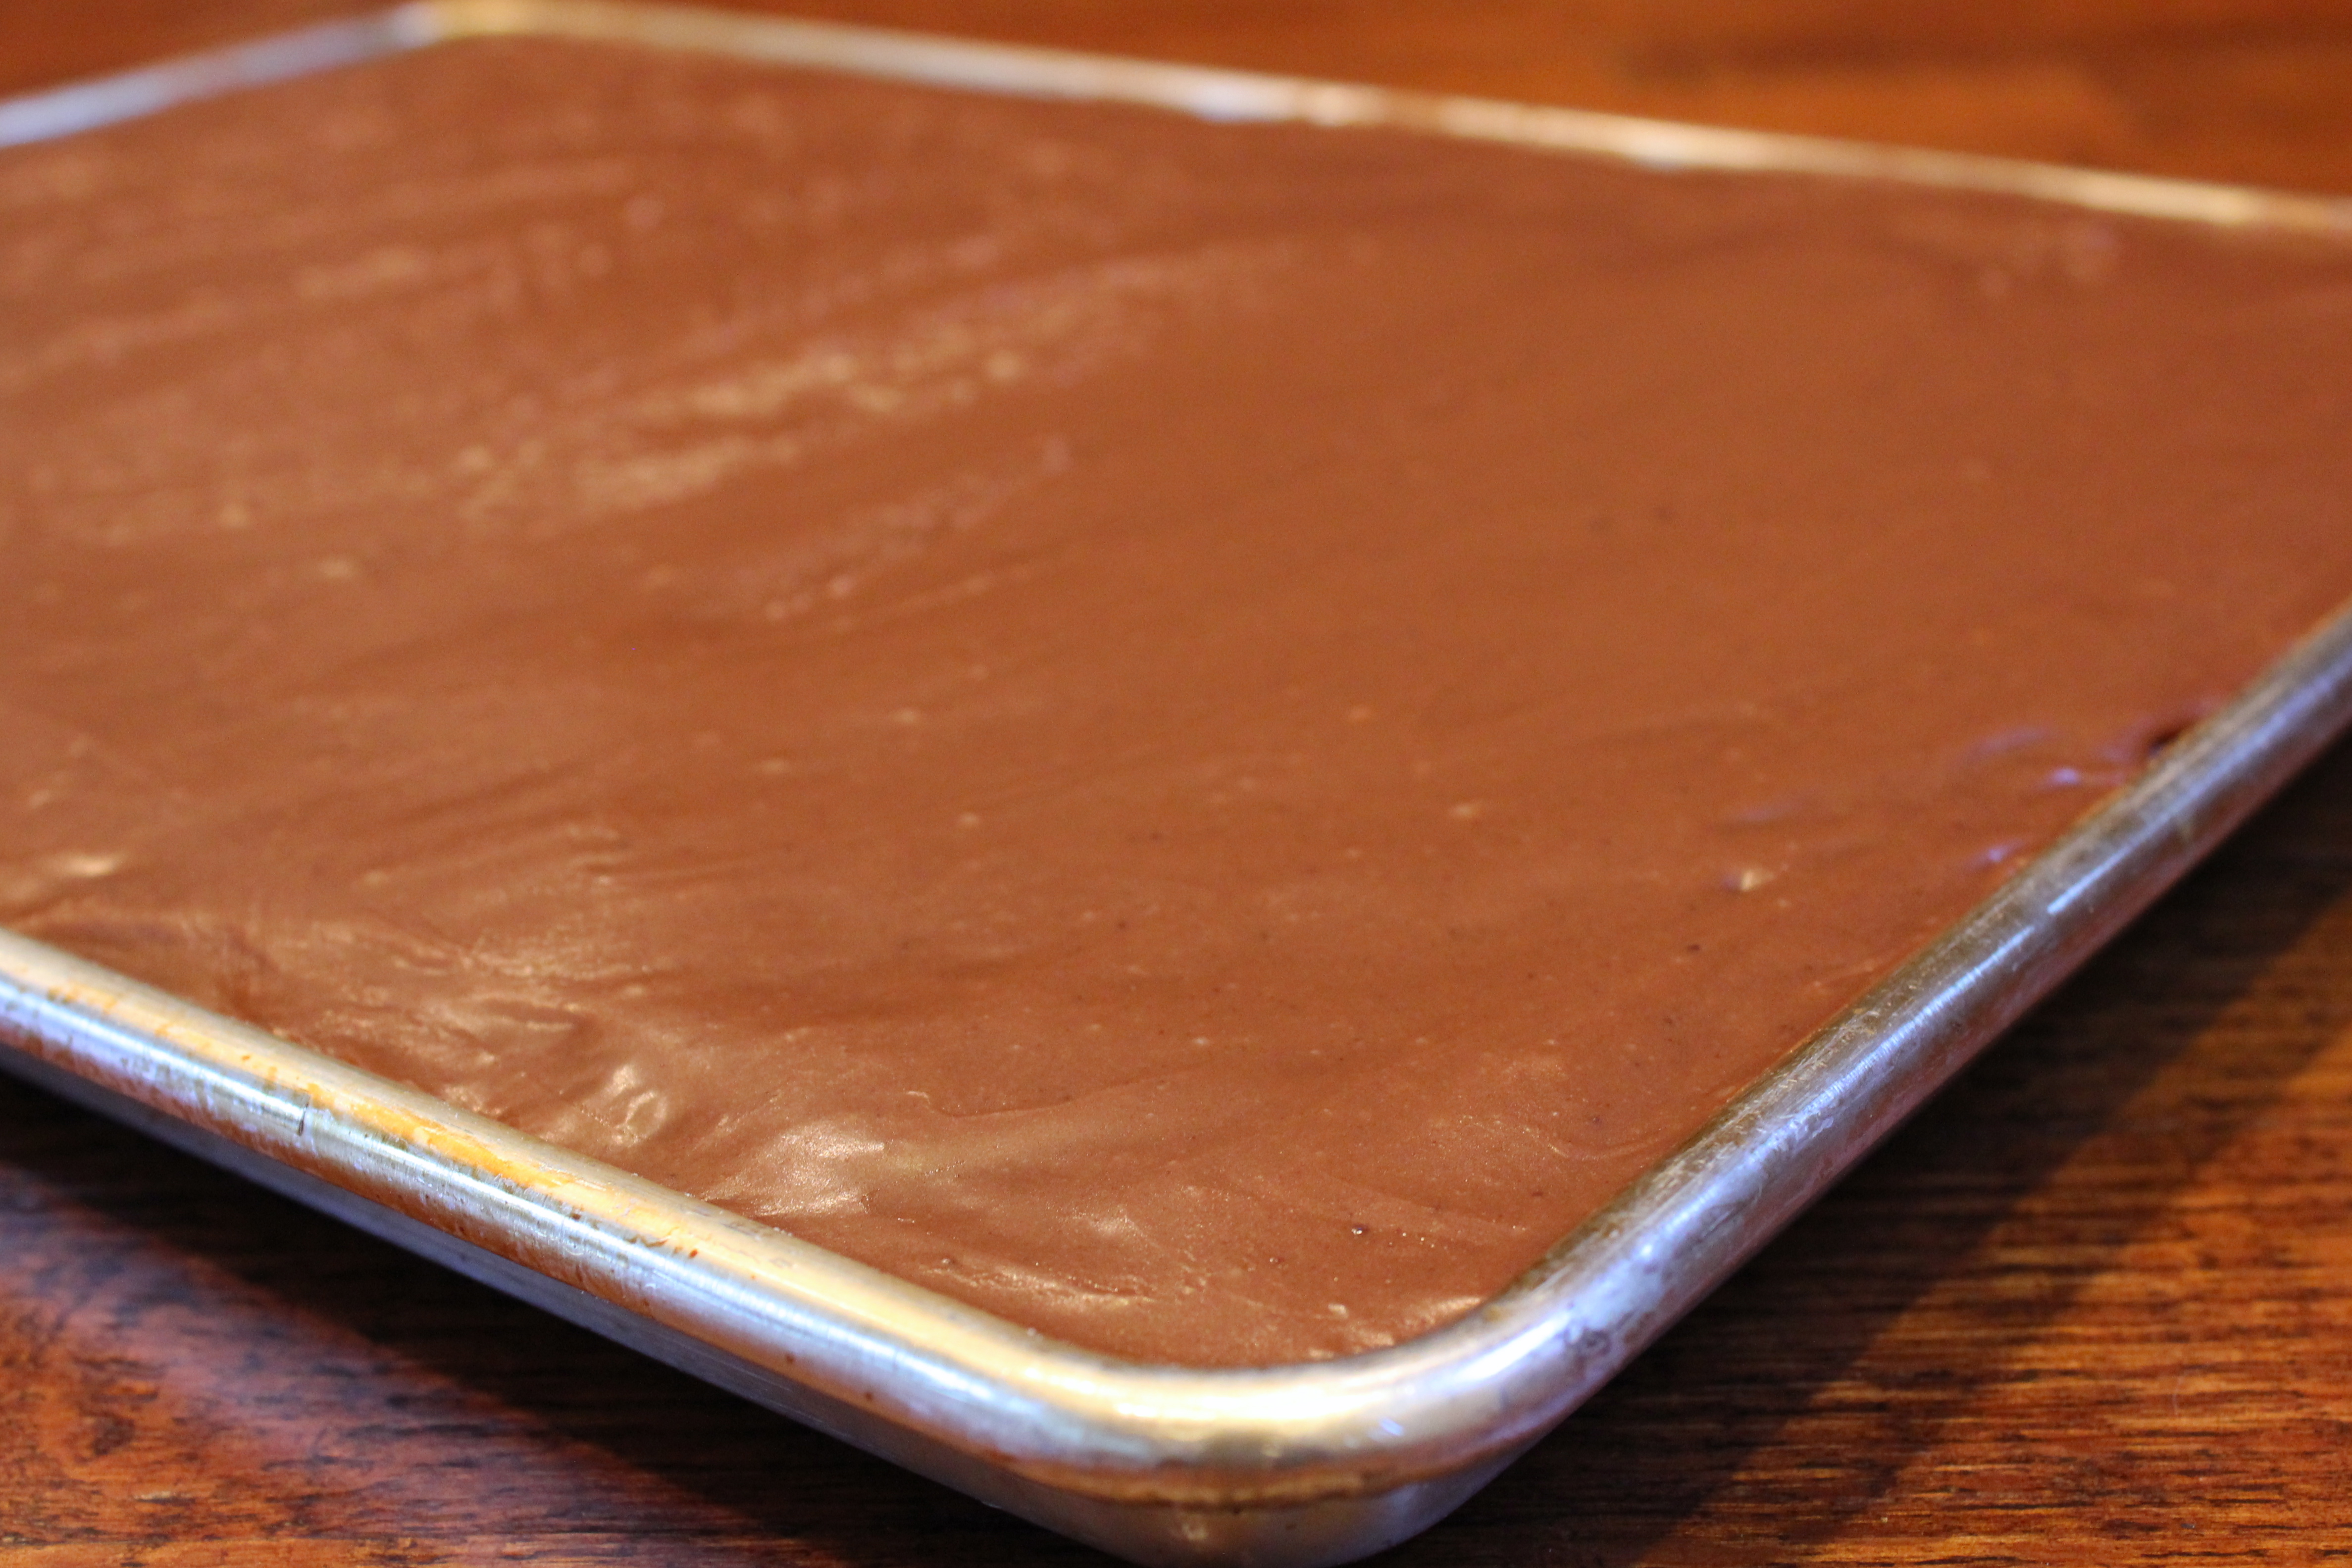
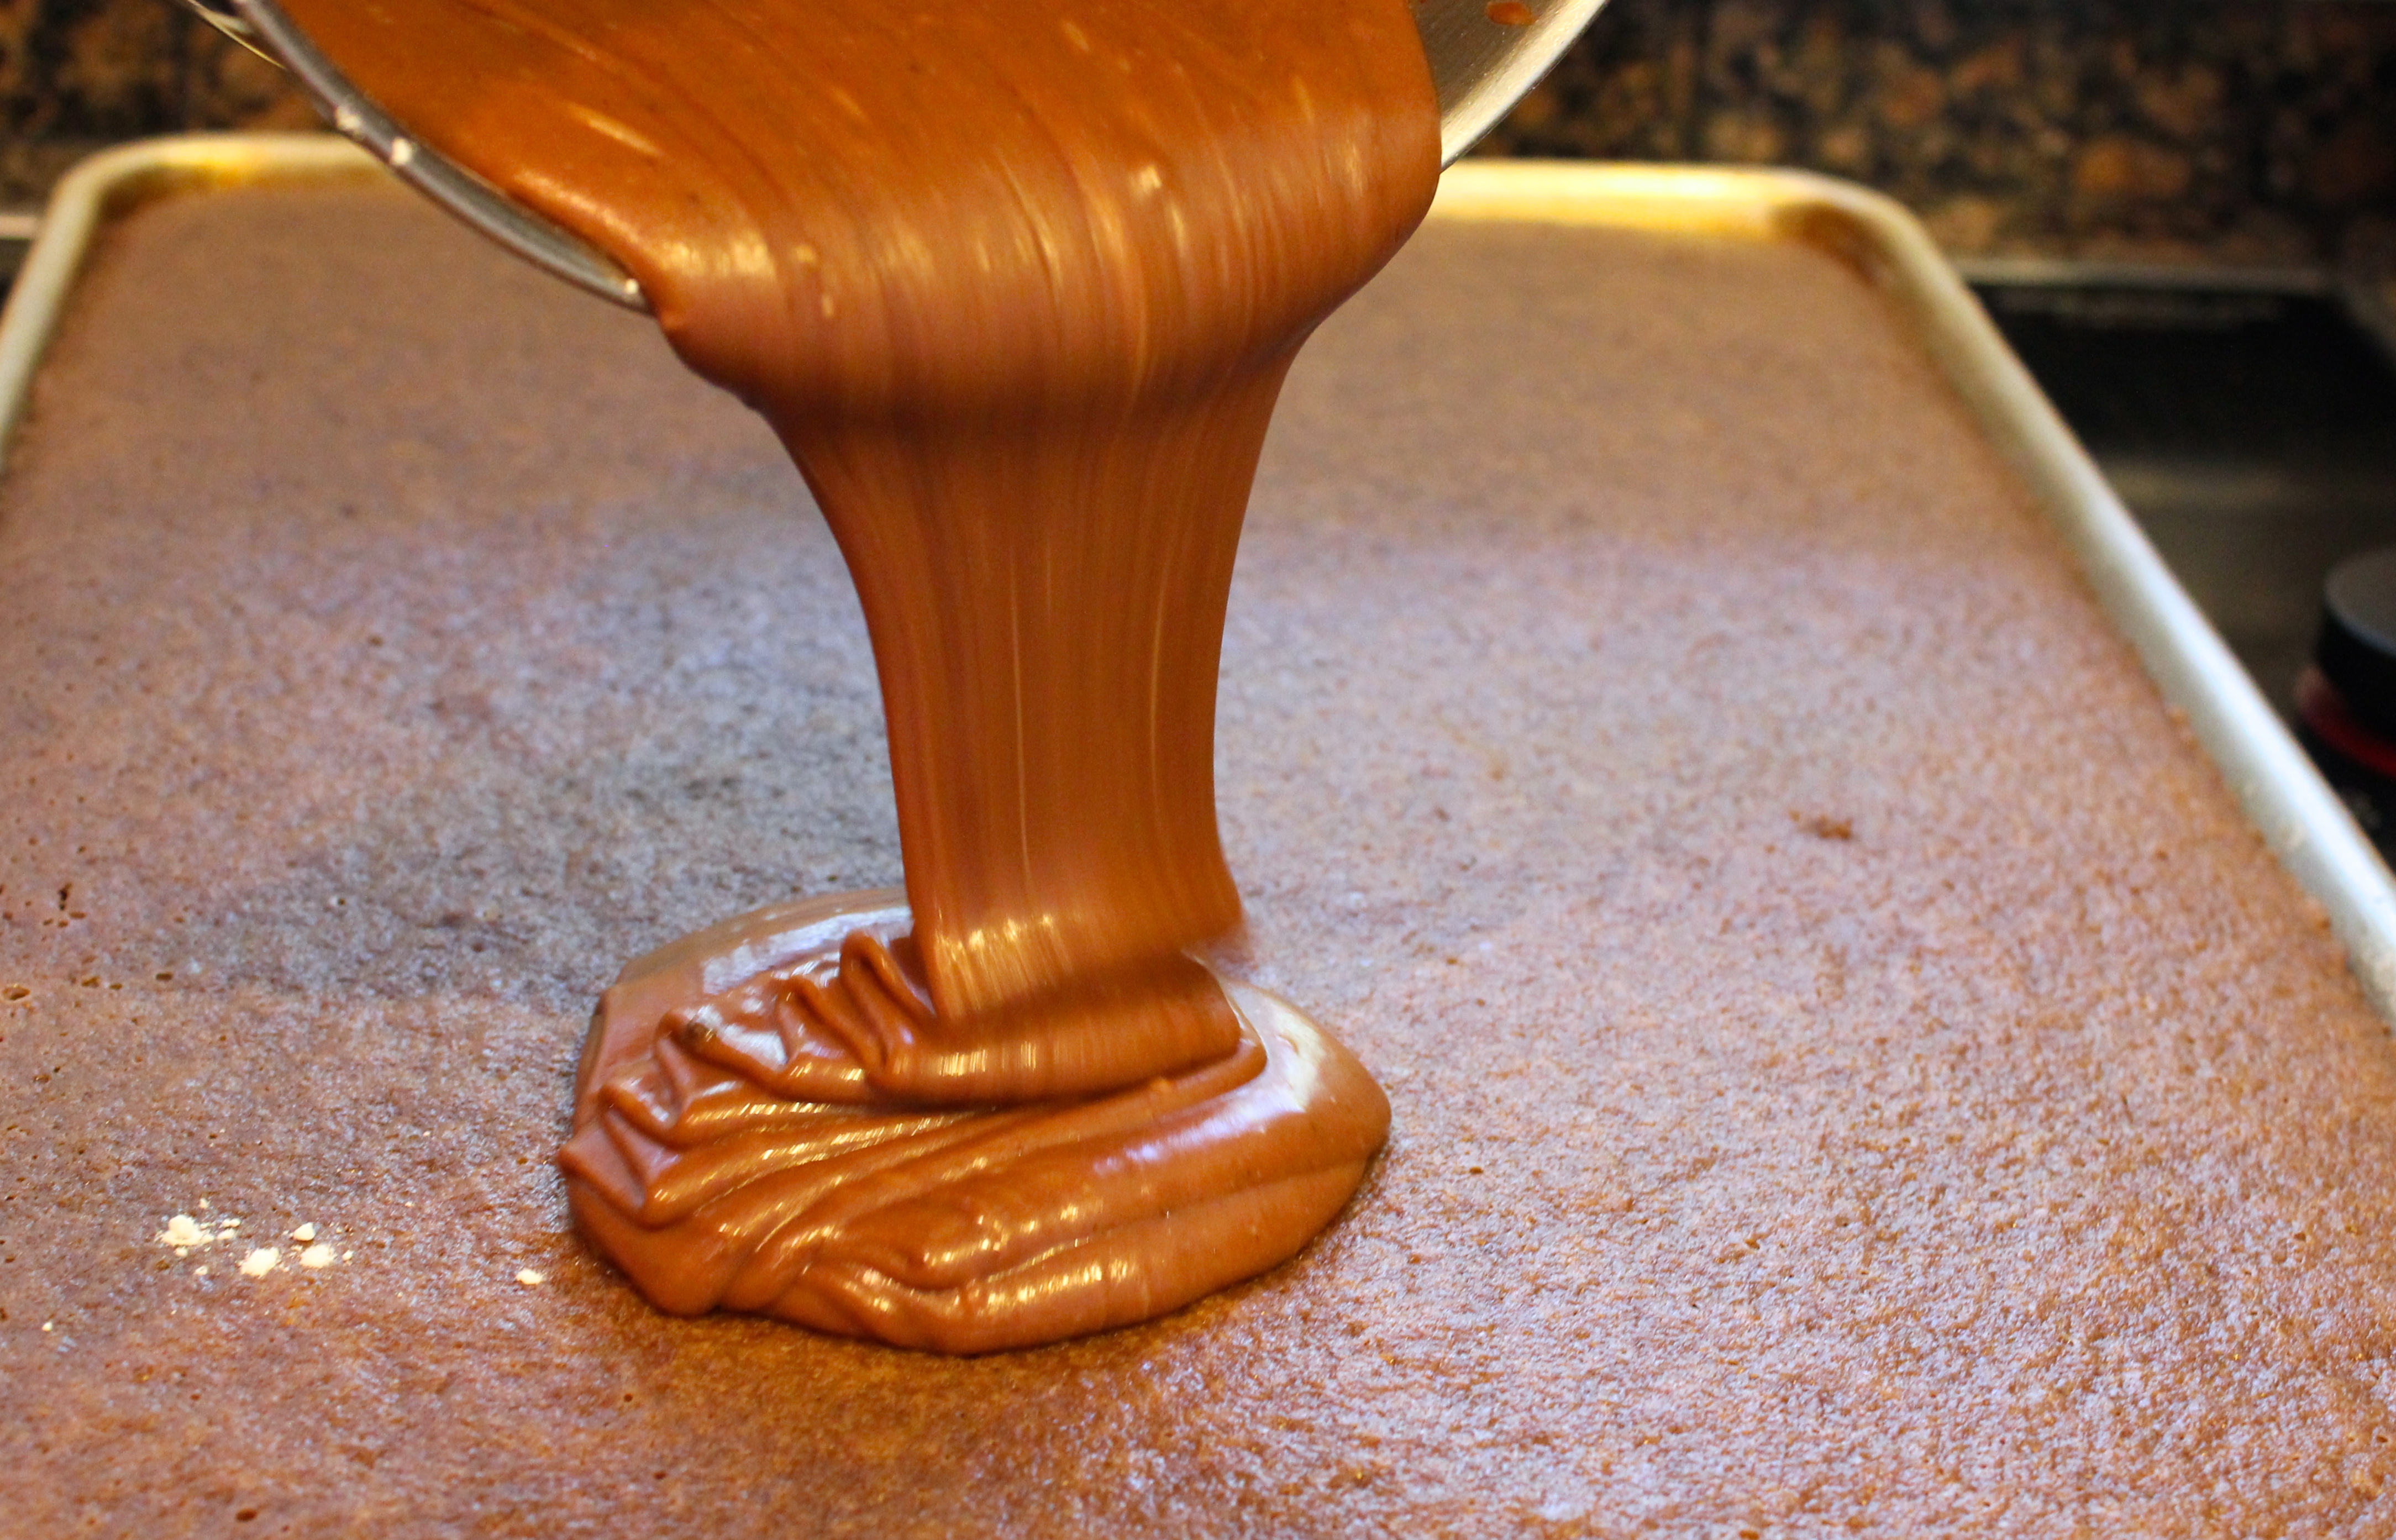
  6. FOR THE FROSTING: Melt the butter, sugar, and milk in a large saucepan over medium-low heat. Bring to a boil and boil for 30 seconds.
  7. Reduce heat to low and add chocolate chips and marshmallows. Stir or whisk until frosting is smooth. Pour immediately over the cooled cake. The frosting crystalizes almost immediately as it cools so it’s important to get it on the cake while it’s still piping hot. Allow the frosted cake to cool before serving.


Coca-Cola Cake

coca-cola cake

My mom and I have always seen recipes for Coke Cake via Pinterest, blogs, and other magazines, and have been wanting to make one. This cake is very similar to Mrs. Kelm’s Chocolate Cake, except you add Coca-Cola in the Coke cake!

Mrs. Kelm’s is still hands down our favorite chocolate cake, but this cake was still very tasty. It has bit more of a sugary taste than Mrs. Kelm’s due to the Coca-Cola, so that’s good news if you’re a sugarholic!

The recipe is super easy to whip up so enjoy!

coca-cola cake coca-cola cake coca-cola cake

coca-cola cake

A little history behind Coca-Cola: John Pemberton, an Atlanta druggist first sold his caramel-colored concoction in 1886. Using a three-legged pot, he stirred up his mixture and carried it a few doors down to Jacobs’ Pharmacy where he mixed it with carbonated water. The drugstore began selling the fizzy delight for just 5 cents a glass; and the rest is history.

Coke has some of the catchiest advertising slogans in the industry. Which ones do you remember?

  • “Drink Coca-Cola” (1886)
  • “The Pause That Refreshes” (1929)
  • “Ice-cold Sunshine” (1932)
  • “The Best Friend Thirst Ever Had” (1938)
  • “Where There’s Coke, There’s Hospitality” (1948)
  • “Sign of Good Taste” (1957)
  • “Things Go Better With Coke” (1963)
  • “It’s a Real Thing” (1971)
  • “Coke Adds Life” (1976)
  • “Have a Coke and a Smile” (1979)
  • “Coke Is It!” (1982)
  • “Can’t Beat the Feeling” (1989)
  • “Always Coca-Cola” (1993)
  • “Life Tastes Good” (2001)
  • “Coca-Cola…Real” (2003)
  • “Make It Real” (2005)
  • “The Coke Side of Life” (2006)
  • “Open Happiness” (2009)

Harper says “Next time make a Dr. Pepper cake please!!” Lol. 🙂 Harper’s granddad is a huge Coca-Cola fan, but her daddy loves Dr. Pepper!

baby


Coca-Cola Cake
Prep time:
Cook time:
Total time:
Serves: 15
Ingredients
  • FOR THE CAKE
  • 2 cups all-purpose flour
  • 1 3/4 cups granulated sugar
  • 1 tsp. baking soda
  • 1/2 tsp. ground cinnamon
  • 1 cup coca-cola
  • 1 cup unsalted butter
  • 1/4 cup unsweetened cocoa powder
  • 2 eggs
  • 1/2 cup buttermilk
  • 2 tsp. vanilla extract
  • 1 1/2 cups mini marshmallows
  • FOR THE FROSTING
  • 1/3 cup coca-cola
  • 1/2 cup unsalted butter
  • 3 Tbsp. unsweetened cocoa powder
  • 1 pkg. (16 oz.) powdered sugar
  • 1 Tbsp. vanilla
Instructions
  1. FOR THE CAKE: Preheat oven to 350 degrees F. Grease and flour a 9 x 13-inch baking pan.
  2. In an electric mixer, whisk together the flour, sugar, baking soda, salt and cinnamon.
  3. In a small saucepan, stir together the cola, butter and cocoa powder over medium-high heat and bring to a boil, stirring occasionally. Pour into the flour mixture and stir with a rubber spatula until moistened.
  4. In a small bowl, whisk together the eggs, buttermilk and vanilla until blended. Add to the batter, whisking constantly.
  5. Pour the batter into the prepared pan and bake until a toothpick inserted into the center comes out clean, 35 to 40 minutes.
  6. FOR THE FROSTING: About 5 minutes before the cake is finished, begin the frosting. In a small saucepan, bring the cola, cocoa powder and butter to a boil. Remove from heat. Whisk in the powdered sugar and vanilla until smooth. Pour immediately over the hot cake in an even layer. Leftovers should be covered and stored at room temperature or in the refrigerator for up to 4 days.


Rocky Road Cake

Mississippi Mud Cake

Expecting this cake to taste like Mrs. Kelm’s Chocolate Cake or Mississippi Mud Cake made my first bite a little disappointing. It’s kind of like when you think you are about to take a sip of regular water and come to find out it’s actually sparkling water….you’re in for a shocker! It’s not because you don’t like sparkling water, it’s just you weren’t expecting it.

Well, the same is true for this cake. Unlike the milk chocolatey flavors you get from Mrs. Kelm’s or the Mississippi Mud cake I’ve made in the past, this Rocky Road Cake yields a much darker flavor chocolate. If you look at the ingredients, there is unsweetened cocoa in the cake and frosting, and only 1/3 cup confectioners’ sugar in the frosting. Mrs. Kelm’s by comparison, has a WHOLE pound of confectioners’ sugar! 🙂

With that said, while this cake is not an overly sweet cake, the marshmallows, pecans and unsweetened chocolate make for a delicious rocky road treat. It’s a great make ahead cake for potlucks, tailgating or birthdays. Plus, how much more gorgeous can a cake get?

Enjoy!

Mississippi Mud Cake Mississippi Mud Cake Mississippi Mud Cake


Mississippi Mud Cake

Mississippi Mud Cake


Rocky Road Cake
Prep time:
Cook time:
Total time:
Serves: 10-12
Adapted from: Sara Foster’s Southern Kitchen
Ingredients
  • CAKE
  • 1 1/2 cups sugar
  • 1 1/2 cups all-purpose flour
  • pinch of kosher salt
  • 1/2 pound (2 sticks) unsalted butter, cut into chunks
  • 1/2 cup unsweetened cocoa
  • 4 large eggs, beaten
  • 1 Tbsp. pure vanilla extract
  • 1 cup chopped pecans
  • FROSTING
  • 1/2 cup unsweetened cocoa
  • 1/3 cup confectioners’ sugar, sifted
  • 12 Tbsp. (1 1/2 sticks) unsalted butter, melted
  • 1/2 cup milk
  • 2 tsp. pure vanilla extract
  • 3 cups mini marshmallows
  • 1 cup chopped pecans, lightly toasted
Instructions
  1. CAKE: Preheat oven to 350 degrees F. Lightly grease and flour an 11×7-inch pan.
  2. Combine the sugar, flour, and salt in a large bowl and stir to mix.
  3. Melt the butter in a small saucepan and stir in the cocoa until well blended. Remove from the heat, let cool slightly, and stir in the eggs and vanilla. Pour the butter mixture into the flour mixture and stir until well combined. Add the pecans and stir to mix.
  4. Spoon the batter into the prepared pan and spread evenly. Bake for 25 to 30 minutes, or until a wooden skewer inserted in the center comes out clean. Remove the cake from the oven, but do not turn the oven off.
  5. FROSTING: While the cake is baking, combine the cocoa, and confectioners’ sugar in a large bowl and stir to mix. Add the melted butter, milk, and vanilla and stir until combined.
  6. ASSEMBLY: Scatter the marshmallows and pecans over the cake and return to the oven for about 4 minutes, just until the marshmallows are softened and puffy. Remove from the oven and pour the frosting over the marshmallows and pecans to cover, while the cake is warm. Cool completely, cut into squares, and serve.


Poppy’s Perfect Gingerbread

ginger bread cake

I love finding old family recipes. This day and age, most everything is digitalized, so reading handwritten recipes make me smile.

Plus, I often find the simplicity of older recipes taste better than the overly complicated new recipes.

In the early 80s and before I was born, my mom and dad would regularly travel to east Texas (Tyler) to visit my mom’s parents, Nila and Fred (I called him Poppy). For those that haven’t been to Tyler, Texas, it’s actually very beautiful. There’s lots of tall pine trees, and for Texas everything is so green! Plus, Tyler is nicknamed the “Rose Capital of the World”, so make sure you pull off the side of the highway to buy a rose. You’ll see lots of rose stands as you get close to town. It’s the honor system here in Texas, so you’ll have to be a good citizen and make sure you deposit your $2 into a silver bucket for the rose of your choice. 🙂

Tyler, Texas
Nila and Poppy’s old house in Tyler. Please excuse the trashcan and messy leaves. This photo was taken about 5 years after they had sold their house.

After making the drive from Dallas to Tyler, Mom and Dad would walk through the door to Nila and Poppy’s house and be greeted with either this gingerbread or Nila’s famous coconut cake sitting atop the dryer. I guess Nila placed the cake there to keep it warm…. good idea if you ask me!

This gingerbread cake is definitely one of Poppy and Dad’s favorite desserts. Nila got the recipe off the back of a Steen’s Syrup jar, and you can’t beat it. The flavors from the thick, natural molasses, ginger and cinnamon make for a perfect gingerbread snack cake that’s good at any time of the day. I like to add a dollop of Cool Whip or Reddi-Wip for extra-creaminess.

Enjoy!

IMG_0879

ginger bread cake

ginger bread cake


Poppy’s Perfect Gingerbread
Cook time:
Total time:
Ingredients
  • 2 cups flour
  • 1/2 cup sugar
  • 1 1/2 tsp. ginger
  • 1/2 tsp. cinnamon
  • 2 tsp. baking powder
  • 2/3 tsp. baking soda
  • 1/2 tsp. salt
  • 3/4 cup molasses
  • 1 egg
  • 1 cup buttermilk
  • 1/4 cup cooking oil
Instructions
  1. Preheat oven to 350 degrees F.
  2. Combine all ingredients in a large bowl.
  3. Pour into a greased and floured 9 x 13-inch baking dish. Bake for 45 minutes or until toothpick inserted into the center of the cake comes out clean, or with only a few crumbs.


Leah’s Texas Chocolate Sheet Cake

texas sheet cake

Note to self: Don’t ever bring a cake to a luncheon, small groups event, or any type of potluck unless I’m prepared to bring it with a slice (or two or three) missing.

The way I like to cook, I like everything to look presentable. Many times, the way the food appears on the plate or in the dish influences whether or not people will try your food. It’s amazing how much more appetizing food looks on a simple white plate  as opposed to a paper plate. That’s why when bringing food to a luncheon or potluck, I like my food to look attractive.

Well, Matt didn’t exactly grow up the way I do. He doesn’t care if a cake has a piece or two missing from it, or if he’s eating it with a plastic fork and paper plate.  He just cares about the food! Me on the other hand, I hate using paper plates and only use them for cutting fruit or eating a PB&J.

So, as I bring this cake to our small groups tonight, this is the reason why there’s a few pieces of cake missing. I always tell people that Matt had to do a little “quality control”.

This Texas sheet cake is my sister-in-law Leah’s recipe. Many a times I’ve been over to visit and there’s a freshly prepared Texas chocolate sheet sitting out on the island. It’s one of Leah’s signature desserts that she makes for her husband Jeffrey and the rest of us. Leah even has a vanilla version of this Texas sheet cake, which is outstanding!

As evidenced by the missing pieces, this cake is best when it’s hot.  Nothing beats a warm chocolate cake, drizzled with hot, chocolatey, sweet frosting on top. It’s almost like eating chocolate pudding!  Pour yourself a tall glass of milk, and you’ve got yourself quite a dessert.

Enjoy!

texas sheet cake
Bring to a boil 2 sticks butter, 4 Tbsp. cocoa and 1 cup water. Pour it over the flour mixture and add the remaining ingredients.
texas sheet cake
Bake at 350 degrees for about 20 minutes, or until done.
texas sheet cake
While the cake is hot, pour the frosting on top.
texas sheet cake
Get ready to dig in. Matt doesn’t wait for the cake to cool. 🙂
texas sheet cake
The icing is still hot!
texas sheet cake
In less than 5 minutes, one whole row has been eaten!
Leah’s Texas Chocolate Sheet Cake
Serves: 10-12
Ingredients
  • CAKE
  • 2 cups flour
  • 2 cups sugar
  • 1 tsp. baking soda
  • 1/2 tsp. salt
  • 2 eggs, lightly beaten
  • 1 tsp. vanilla
  • 1/2 cup buttermilk (I used sour cream)
  • 2 sticks butter
  • 4 Tbsp. cocoa
  • 1 cup water
  • FROSTING
  • 1 stick butter
  • 4 Tbsp. cocoa
  • 6 Tbsp. milk
  • 1 lb. box powdered sugar
  • 1/2 tsp. vanilla
Instructions
  1. FOR THE CAKE: Place 2 sticks of butter, 4 tablespoons cocoa, and 1 cup water over medium heat and bring to a boil.
  2. Pour over flour and sugar mixture. Mix well. Add eggs, buttermilk (or sour cream), baking soda, salt, and vanilla. Mix well.
  3. Pour into a greased and floured cookie sheet pan (15 1/2 x 10 1/2 inches). My pan was slightly larger; about 18 x 12 inches. Cookie sheet must be a deep cookie sheet pan.
  4. Bake at 350 degrees for 20 minutes, or until a toothpick comes out clean from the center of the cake. Ice while cake is hot.
  5. FOR THE FROSTING: Five minutes before the cake is finished, make frosting. Mix together butter, cocoa and milk. Cook over medium heat and bring to a boil.
  6. Remove from stove and add powdered sugar and vanilla. Mix well. Pour over cake while hot.


Upside-Down Wedding Cake (No really!)

wedding cake

Gorgeous cake right?

It sure was!!! While the bridal party, the parents, the in-laws, the grandparents, the kids, the wedding guests and I got to thoroughly enjoy this cake, my sister Brittany and her husband Colby did not. 😦

That’s what typically happens during weddings, right? (Wrong if you’re my mother in-law Paula.  She  wouldn’t have had the slightest bit of trouble sitting down to enjoy a nice big slice of cake!) But the bride and groom are not at all like Paula, and thus didn’t really get a chance to enjoy their beautifully crafted wedding cake. They were doing their due diligence of visiting and thanking people for coming.

Like I said, the cake was AWESOME!!! Each layer of the tiered cake had a different flavor. One was red velvet with mini chocolate chips, another was strawberry, and the last was white chocolate pound cake.

I had the red velvet. BEST. RED VELVET CAKE. EVER!!!

grooms cake

grooms cake

Let’s not forget the groom’s cake, which was chocolate s’mores: a chocolate cake with a thin filling of crushed graham crackers and marshmallow creme. The top of the cake mirrored a track and it had chocolate and white chocolate tuxedo dipped strawberry groomsmen running around it.

Plus, instead of alcohol (we don’t drink), there was a coffee/hot chocolate bar, and party favor bags with pink and white M&Ms, white chocolate covered pretzels, Hershey’s Kisses, popcorn and jelly beans!

Don’t worry, it wasn’t a sugar reception. There was normal food too like pb&j, ham and cheese and chicken salad sandwiches. Talk about walking away full!

169533_10151113907924206_1767173077_o

But anyways… Happy 1st Anniversary to my sister Brittany and her husband Colby!!!

One of my favorite wedding traditions is the 1 year “save a piece of your cake” tradition. While the taste of the cake one year later isn’t all that good, it’s still fun cutting a large slice and remembering the good times from your wedding.

wedding cake

BUT UNFORTUNATELY for Brittany and Colby, someone at the reception venue threw her cake into the trash!!!!

My mom was the one who realized it late that night and had to break the bad news to Brittany. Yikes!!! And yikes for several reasons….

  1. Not only did their wedding cake get thrown in the trash…
  2. It was raining cats and dogs on the night of their wedding in the middle of August!!!
  3. Brittany’s wedding dress almost got ruined because a skunk sprayed the dogs two nights before her wedding and the dogs brought the skunk stench inside the house!
  4. Ask Brittany for the other mishaps…. there were quite a few!

Image 7

So in order to make things right, the bakery who made the wedding cake offered to ship Brittany and Colby a replica to them in Michigan. Sounds great, right?

Fresh cake. Check.

Something to look forward to in the mail. Check.

BUT…the bakery is in Dallas, and Brittany and Colby live in Michigan!!! Let’s hope for save travels for that cake.

And this is what arrived in the mail:
upside down wedding cake

Obviously safe travels weren’t necessarily obtained for the poor cake. Apparently it was thrown around in it’s box, huge gaps in the cake crushed, and buttercream frosting all over the place!

Honestly, I think its hilarious and “par for the course” as Matt would say. I told Brittany she should have ordered cake balls.

Matt called it an “upside-down wedding cake”.

Mom said that maybe the bakery was sending her a “replica” of the one in the trashcan!!! Hahaha. 🙂

upside down wedding cake

upside down wedding cake

upside down wedding cake

img1

Anyways, I hope ya’ll enjoyed your 1st Anniversary and Matt and I wish you many many more!!!!

Heath Bar Poke Cake

heath bar poke cake

There must be something in the water, because within the past year Matt and I have had no less than 10 baby showers/baby gift shopping that we’ve had to do!

Last night, it was my turn to make dinner for my friend Ashely and her husband, who just had a baby. For the main course I made aunt Jolene’s chicken enchiladas, spanish rice, ranch style beans and a side salad with Catalina dressing.

Is is crazy that when making meals for friends, the first thing that comes into my mind is dessert? LOL. I knew Ashely was a big fan of poke cakes, so this Heath Bar Poke Cake immediately came to mind!

I’ve never been much of a cake fan, that is….unless it is loaded with icing so as to cover up the dryness of the cake. I can’t stand dry cakes….so poke cakes are the perfect solution in yielding a moist cake!! 🙂

As for poke cakes, here are a few of my favorites: My friend Katie makes a great chocolate poke drizzled in vanilla Jell-O pudding  and topped with crushed Oreos. Yum!!! Then there’s this awesome Classic Vanilla Tres Leche Cake that my mom requested for her birthday last year.

Finally…. I just discovered the recipe for this Heath Bar Poke cake when Matt and I had dinner over at a friends house just a few weeks ago. What I like about this cake is that it is super easy to make, it’s sweet, and the Heath milk chocolate toffee bits add a nice crunch atop the Cool Whip frosting. Delicious!!!!

Do you have a favorite poke cake combination? Let me know!

heath bar poke cake
Once the cake is removed from the oven, poke holes evenly over the top of the cake using the end of a wooden spoon, a skewer or the tines of a fork.
heath bar poke cake
Evenly pour a can of sweetened condensed milk over the hot cake.
heath bar poke cake
Evenly pour the caramel sauce on top of the hot cake.
heath bar poke cake
Let cake cool completely before frosting with 8 ounces of Cool Whip and Heath milk chocolate toffee bits.

heath bar poke cake heath bar poke cake

Heath Bar Poke Cake
Cook time:
Total time:
Serves: 12
Ingredients
  • 1 chocolate cake mix (I used Duncan Hines milk chocolate)
  • 1 (14-ounce) can sweetened condensed milk
  • 1 12-ounce) jar caramel sauce
  • 8 ounces Cool Whip
  • 1/2 of a 1 (8-ounce) package Heath milk chocolate toffee bits
Instructions
  1. Bake chocolate cake according to box instructions in a 9 x 13-inch cake pan.
  2. While cake is still hot, immediately poke holes all over the top of the cake. You can use the end of a wooden spoon, a skewer, the tines of a fork, etc.
  3. Slowly pour the can of condensed milk all over the top of the cake, making sure to drizzle it evenly all over the top. Then pour the caramel sauce all over the cake.
  4. After the cake has cooled completely, spread Cool Whip over the top of the cake. Decorate with Heath milk chocolate toffee bits.


Pumpkin Roll

pumpkin roll

I promised John, a coworker of mine, I would make him a pumpkin roll for Thanksgiving.

Well, 6 months and 21 days later I’m finally fulfilling my promise of a pumpkin roll!  Better late than never!!!

To be honest, I was quite intimidated when John requested I make this cake back in November.  I had heard that pumpkin rolls were hard to make, and I was nervous that the cake would crack as I was rolling it, or that it would not stay together.

DO NOT BE AFRAID… Pumpkin rolls are easier than you think, so don’t be intimidated!!! Mixing the cake batter takes only minutes, and baking the cake takes less than 15 minutes. Plus, unlike a layer cake, there is no slicing cake layers, filling, frosting or decorating. Simply lather the cake with cream cheese filling, roll it up, dust with powdered sugar and you’re done!

A big thanks goes out to to the Brown-Eyed Baker, who posted a great pumpkin roll recipe with excellent instructions and ingredients for this no-fail, traditional Thanksgiving dessert.

John – If you’re reading this, I hope you enjoyed your three slices of pumpkin roll today!!  I do indeed keep my promises. 🙂

IMG_3792
Bake cake for 12-15 minutes.
IMG_3795
While cake is baking, sprinkle powdered sugar on a piece of parchment paper.
pumpkin roll
Flip cake out onto powdered sugar-lined parchment paper.
pumpkin roll
Carefully peel back parchment paper from top of cake.
IMG_3804
Roll the cake into a cylinder using the parchment paper to help you.
IMG_3805
Let cake cool to room temperature on a wire rack.
IMG_3808
Carefully unroll the cake. Spread the cream cheese filling evenly over the surface of the cake, then re-roll the cake.
IMG_3812
Tidy/pretty-up the end of the cake by trimming off the ends.
pumpkin roll
Don’t forget to dust the pumpkin roll with powdered sugar!
pumpkin roll
Cut a nice-sized slice and enjoy!

A neat story about John’s request for pumpkin rolls:

A lady his mom used to work with would take requests every holiday season for pumpkin rolls. The lady would charge her coworkers $12 for each roll, which seems like a pretty good deal to me. One year the lady had over 500 orders from her friends and coworkers. John’s mom would buy one every year and thus you can see how his love for pumpkin rolls developed!

Pumpkin Roll
Serves: 8
Ingredients
  • ¾ cup all-purpose flour
  • ½ teaspoon baking powder
  • ½ teaspoon baking soda
  • ½ teaspoon ground cinnamon
  • ½ teaspoon ground cloves
  • ¼ teaspoon salt
  • 1 cup granulated sugar
  • 3 eggs
  • ⅔ cup canned pure pumpkin
  • 8 ounces 1/3-less fat cream cheese, at room temperature
  • 6 tablespoons unsalted butter, at room temperature
  • 1 1/4 cups powdered sugar
  • 1 teaspoon vanilla extract
  • Powdered sugar, for sprinkling
Instructions
  1. MAKE THE CAKE: Preheat oven to 375 degrees F. Grease a 15×10-inch jelly roll pan. Line the pan with parchment paper, then grease and flour the parchment. Set aside.
  2. In a small bowl, whisk together the flour, baking powder, baking soda, cinnamon, cloves and salt; set aside.
  3. With an electric mixer on medium speed, beat the sugar and eggs together until combined and thick, about 2 minutes. Add the pumpkin and mix to combine. Add the dry ingredients and use a rubber spatula to fold and mix until no flour is remaining. Pour the batter into the prepared pan and smooth into an even layer.
  4. Bake for 12 to 14 minutes, or until the top of the cake springs back when lightly pressed. While the cake is in the oven, place a piece of parchment paper on the counter and sprinkle liberally with powdered sugar.
  5. When the cake comes out of the oven, immediately run a knife around the sides of the pan to loosen the cake. Turn the cake out onto the prepared piece of parchment paper. Carefully peel off the parchment paper from the top of the cake and discard. Starting with a short end, carefully roll up the cake with the parchment paper. Place the rolled cake on a wire rack seam-side down and allow to cool to room temperature.
  6. MAKE THE FILLING: Using an electric mixer on medium speed, beat together the cream cheese and butter until smooth and creamy. Add the powdered sugar and beat until completely smooth and light. Add the vanilla extract and mix briefly to combine.
  7. Carefully unroll the cake. Spread the cream cheese filling evenly over the surface of the cake. Re-roll the cake, then wrap tightly in plastic wrap and refrigerate for at least 1 hour. When ready to serve, place the pumpkin roll on a serving platter and dust with powdered sugar. Leftovers should be wrapped in plastic wrap or placed in an airtight container and refrigerated.
Notes
Adapted from: Brown-Eyed Baker

White Chocolate Covered Red Velvet Cake Balls

red velvet

How was everyone’s Valentine’s Day? Hopefully you enjoyed some quality time with your sweetheart. 🙂 I know I did. Matt and I went to our favorite sushi restaurant called RA, walked around the Shops of Legacy and then had a relaxing evening at the house.

I debated posting these white chocolate covered red velvet cake balls because for one, I sort of cheated… I used a cake mix and canned frosting, which is very uncharacteristic of me. I grew up where all of our desserts were made from scratch… brownies, cookies, cakes, you name it. We NEVER bought the mixes.

This time, I wanted to make something quick and easy and was not in the mood to go “all-out” and make a cake from scratch. Fortunately, these cake balls were AWESOME! I made some for the guys at work for and they loved them. Matt loved them, and so did my friends  at dinner last night.

This was also my first time to make cake balls. I’ve made truffles before (Oreo Cheesecake Truffles and White Chocolate Oreo Truffles), but never cake balls. The only trouble I had with these was rolling the cake balls into the melted chocolate. Unfortunately, bits of red cake mixture came off and blended with the frosting. It kind of looks like I used red sprinkles! I think since the white chocolate was warm, it caused small bits of the cake to bleed into the chocolate. If you use milk chocolate, you will probably not even notice. Since I’m a perfectionist, I thought about throwing the cake balls away in the trash since they weren’t “perfect”. I’m glad I didn’t because they tasted delicious.

Have a great Saturday and if you’re lucky enough to have Presidents Day off, enjoy the looong weekend!

IMG_3029
Crumble cake and mix with cream cheese frosting.
IMG_3032
Roll into balls and refrigerate until firm.
IMG_3046
Roll in melted white chocolate and then serve once the chocolate has set up.

Like the pretty silver tray? My aunt Jolene in Houston gave it to last week as an early birthday present! It’s so elegant and I just LOVE it. The tray from the BEATRIZ BALL Collection, and is “made by hand, one at a time, using the ancient art of sand casting: pouring a premium quality of alloy of molten aluminum into sand molds, and then going through four levels of polishing.” It’s a perfect piece for entertaining and is super durable.
IMG_3049IMG_3053

IMG_3053 - Version 2 White Chocolate Covered Red Velvet Cake Balls
INGREDIENTS
1 box Duncan Hines Red Velvet Cake Mix
1 can cream cheese frosting (14 oz.)
1 package vanilla (white chocolate) almond bark

DIRECTIONS
1. Cook cake as directed on box for a 9 x 13-inch cake.
2. After cake is cooked and cooled completely, crumble into a large bowl.
3. Mix thoroughly with 1 can cream cheese frosting.
3. Roll mixture (I used a mini ice-cream cream scoop) to form about 40 quarter-sized balls. Chill for several hours. You can speed up the process by putting them in the freezer.
4. Melt chocolate according to package directions. (I melted the chocolate in the oven for about 12 minutes at 250 degrees F.)
5. Roll balls in chocolate and lay on wax paper until firm. This can get messy. The best way is to use a spoon to dip and roll the balls in chocolate and then tap off the extra.

*Tip: Melt only few pieces of chocolate bark at a time because the bark starts to cool and thicken very quickly.