King Arthur Fudge Brownies For Nanny’s 93rd Birthday

King Arthur Brownies

This past weekend we headed out to Gordon, Texas to celebrate my great aunt Nanny’s 93rd birthday! A small group of our extended family came out, and we had a blast.

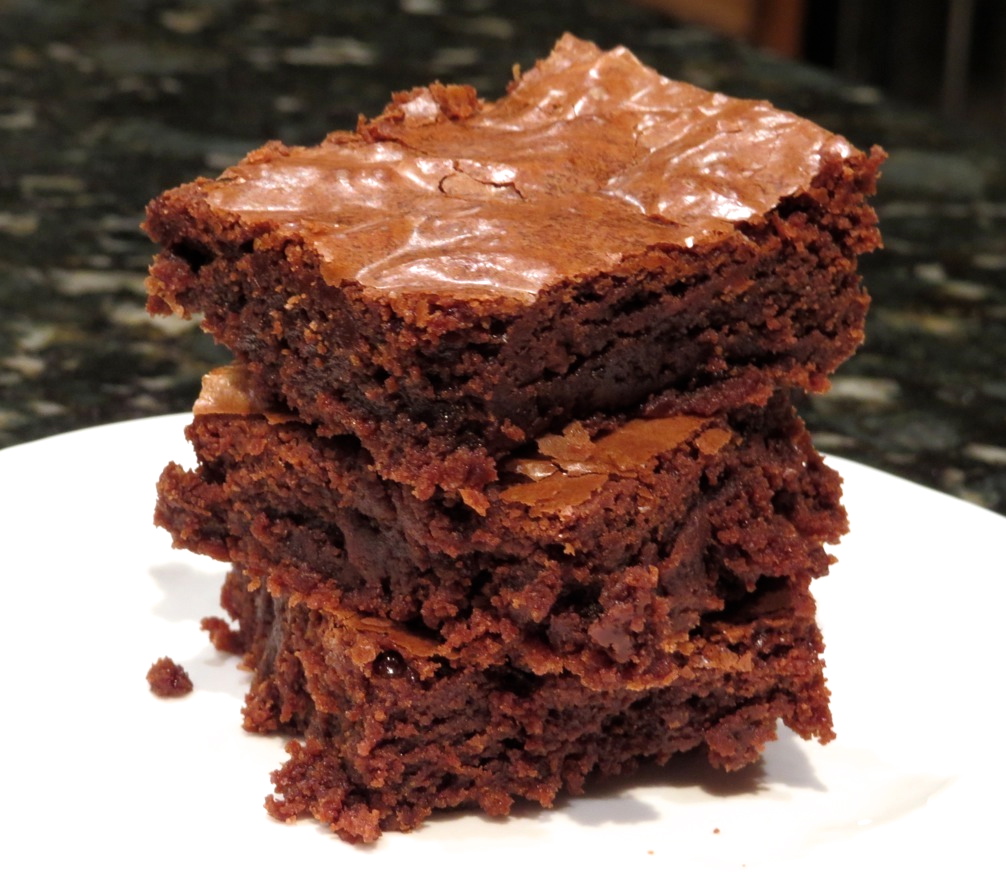
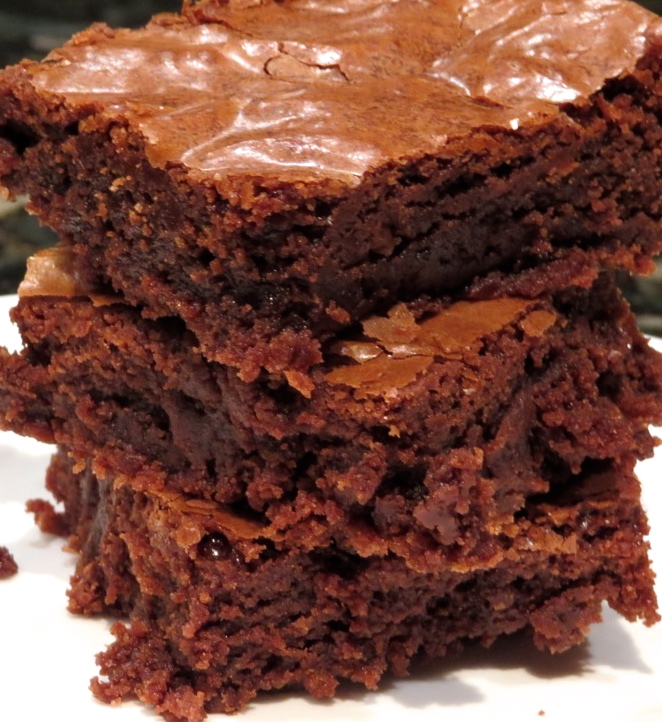
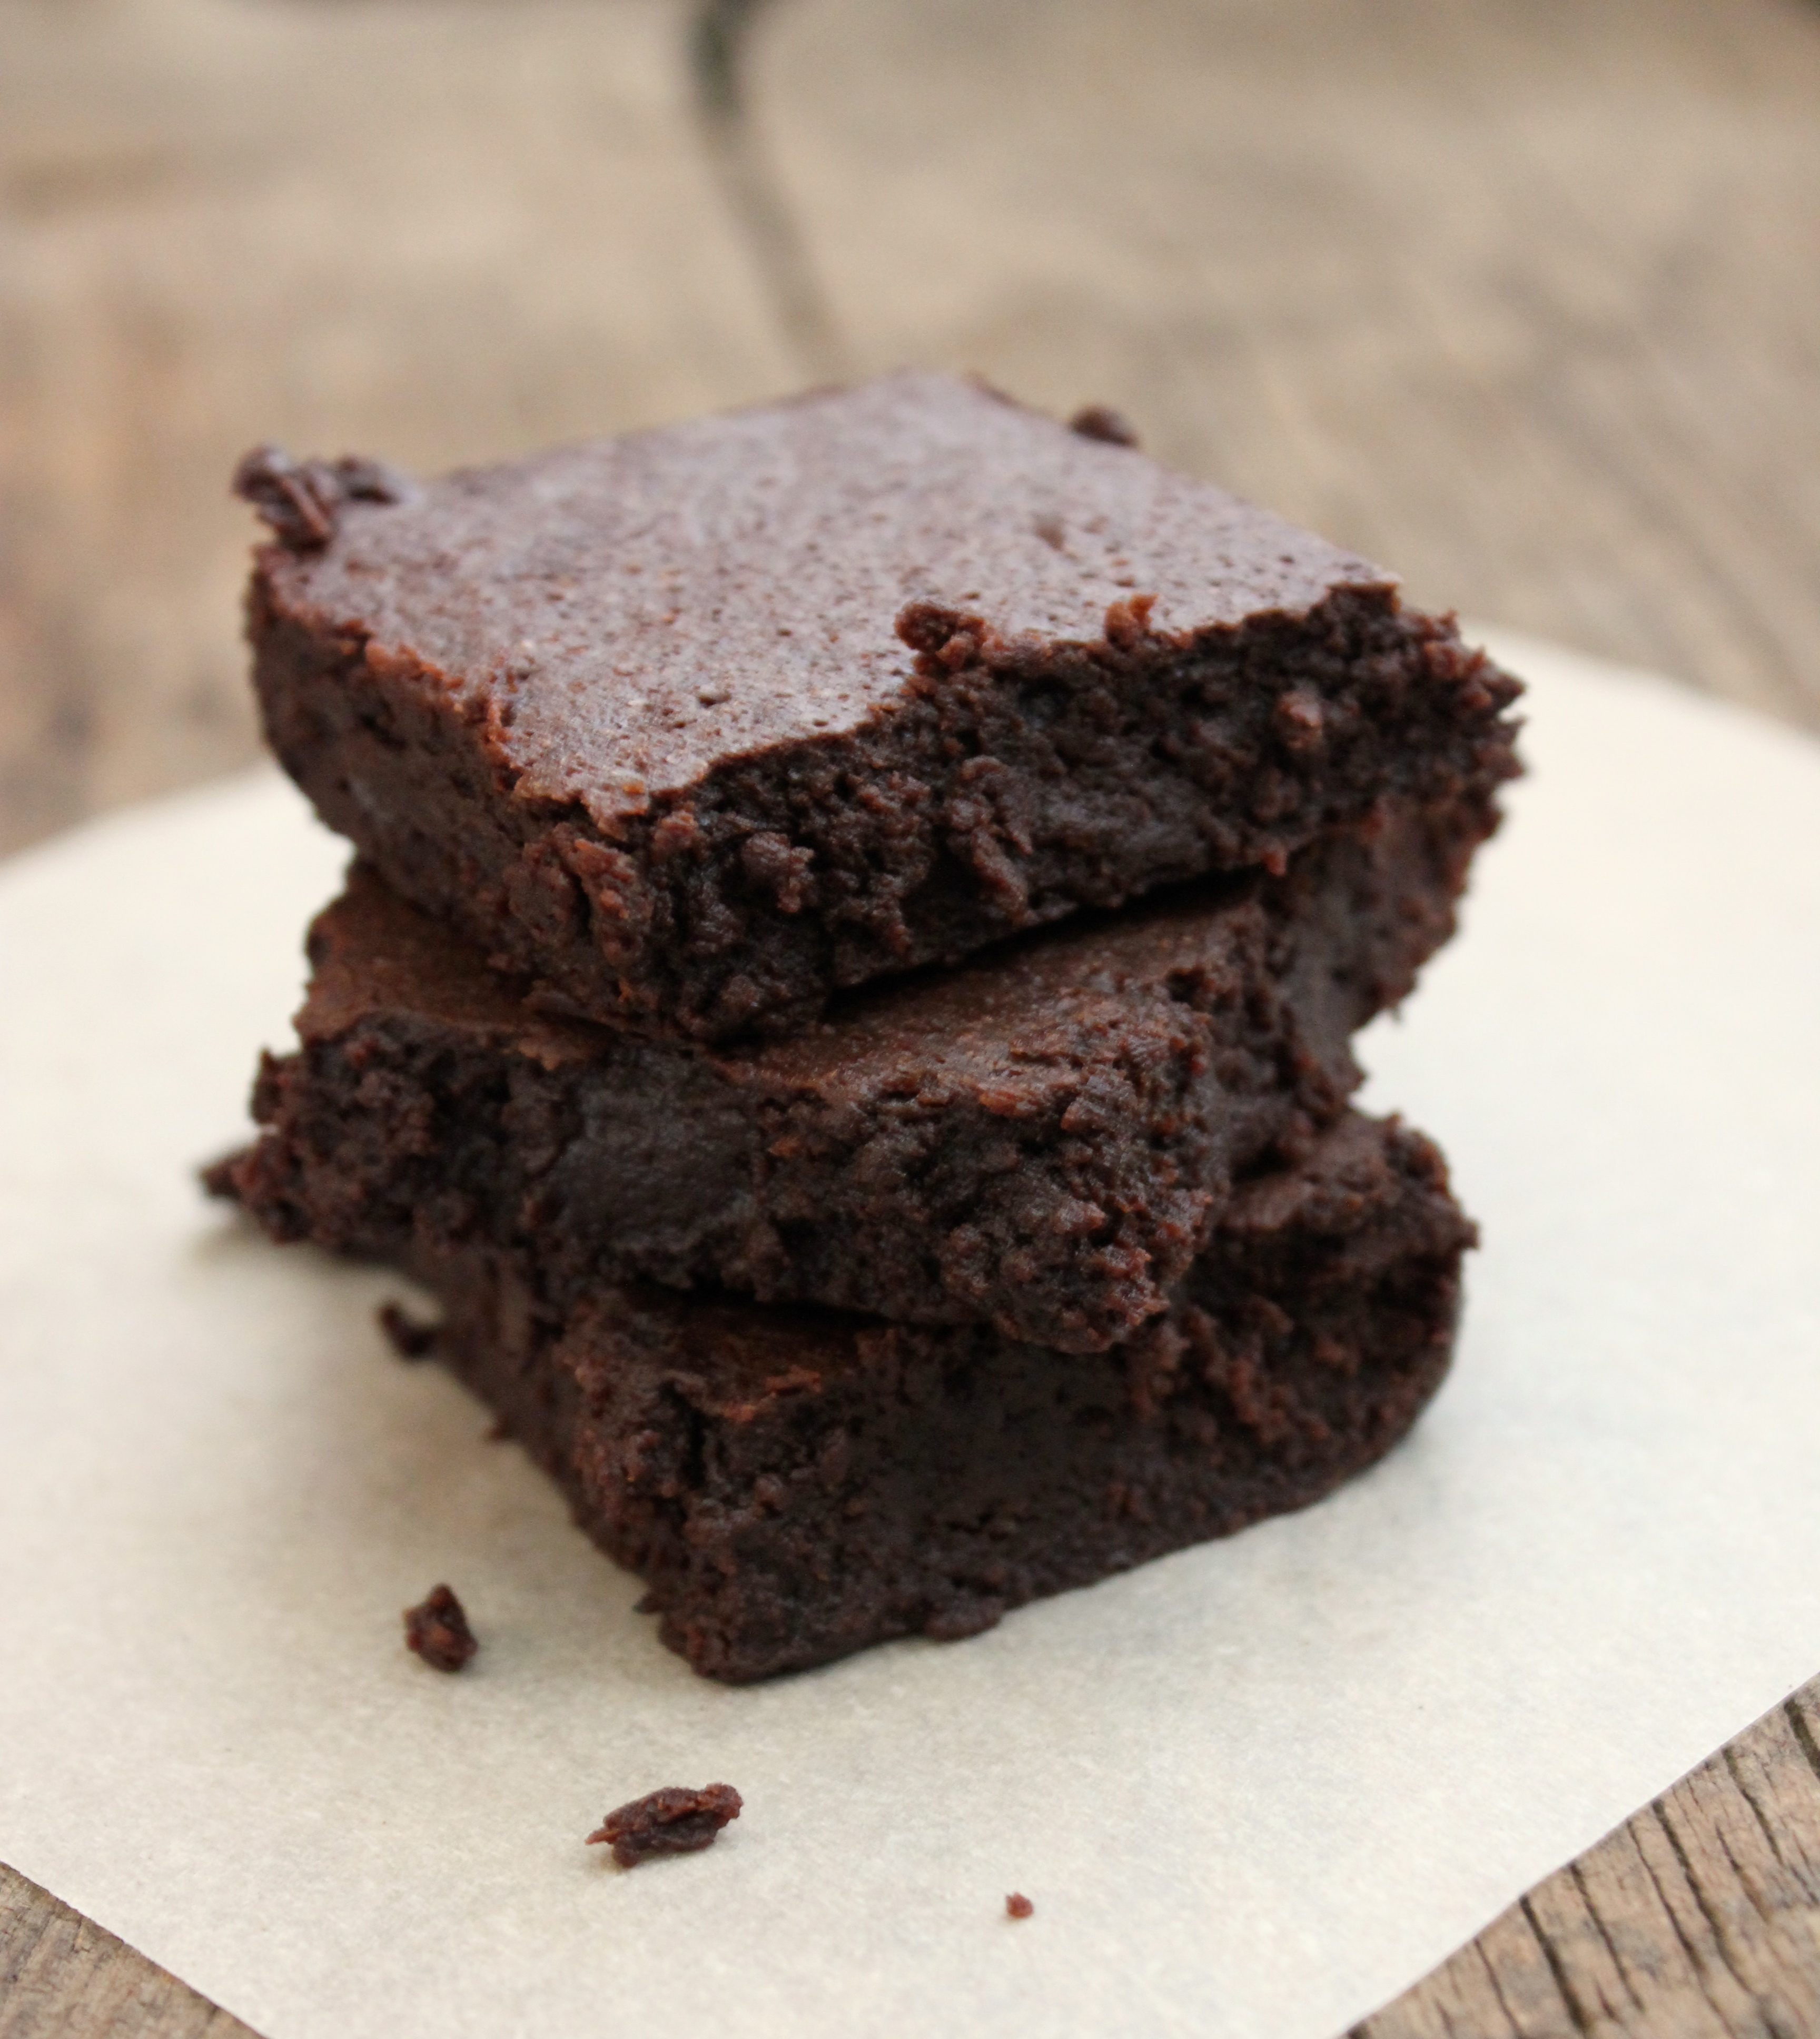
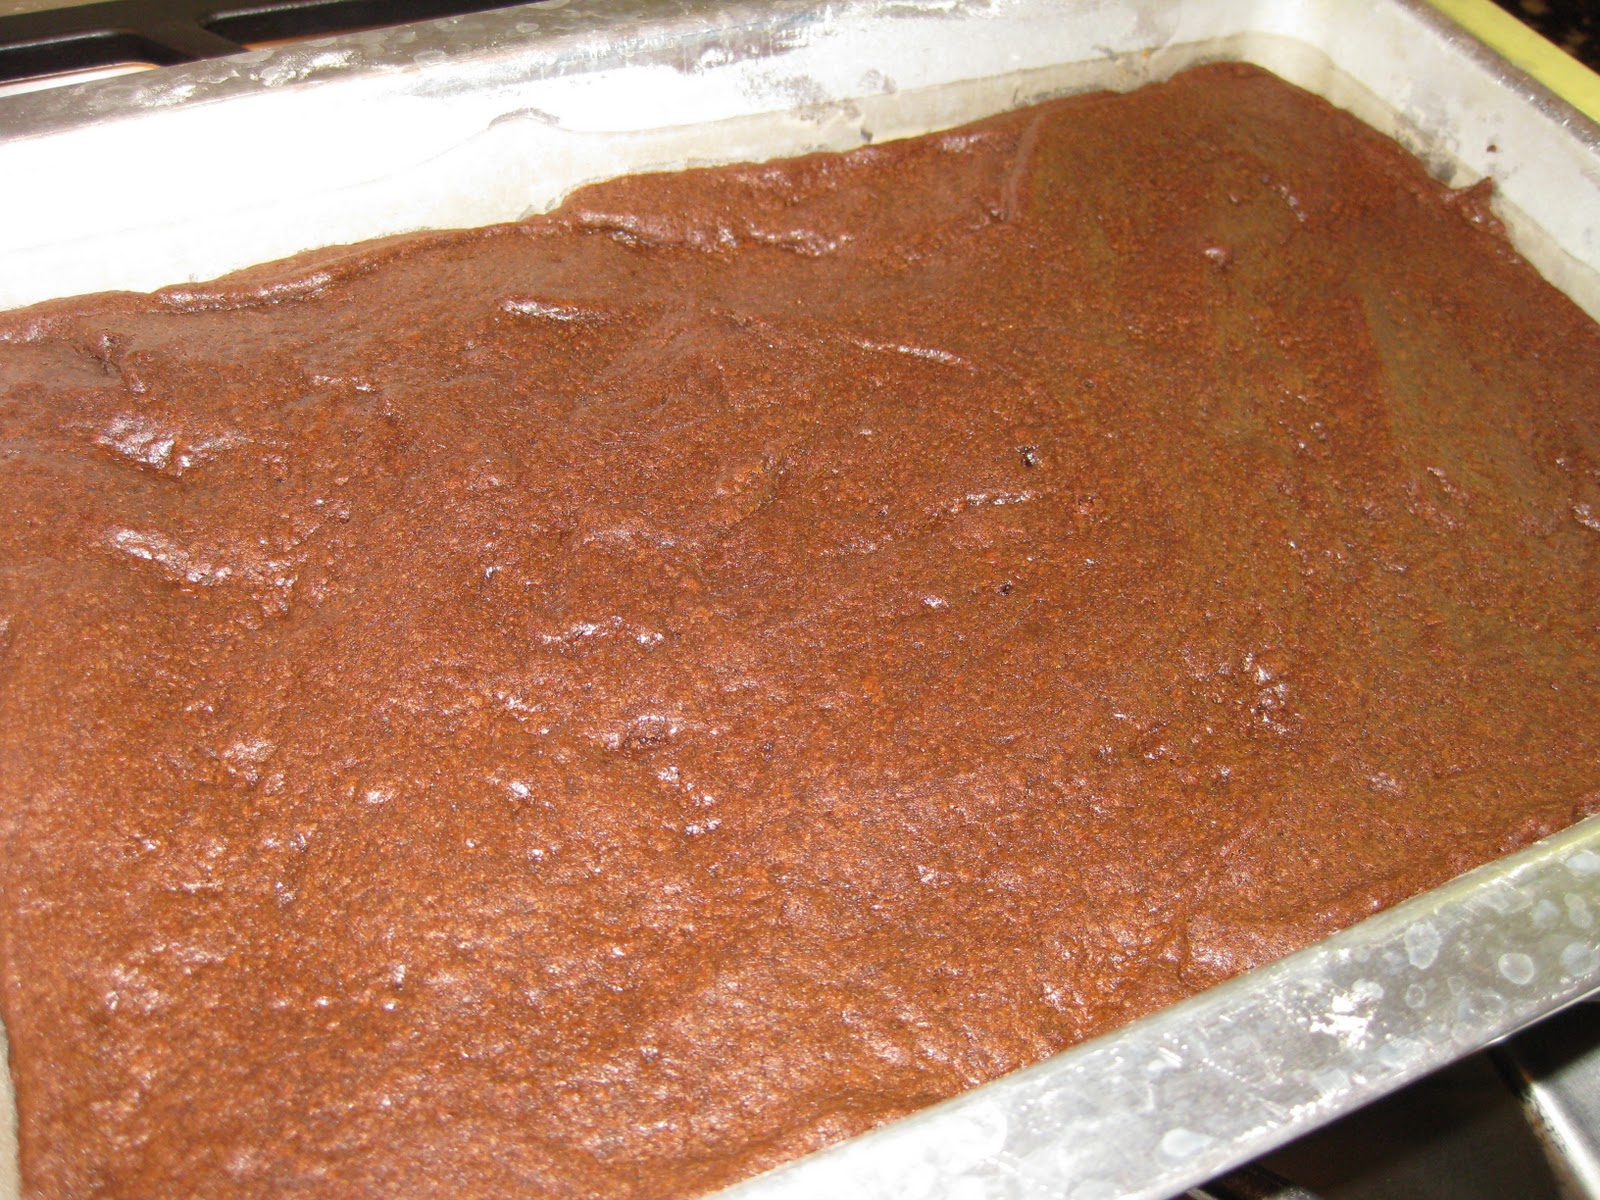
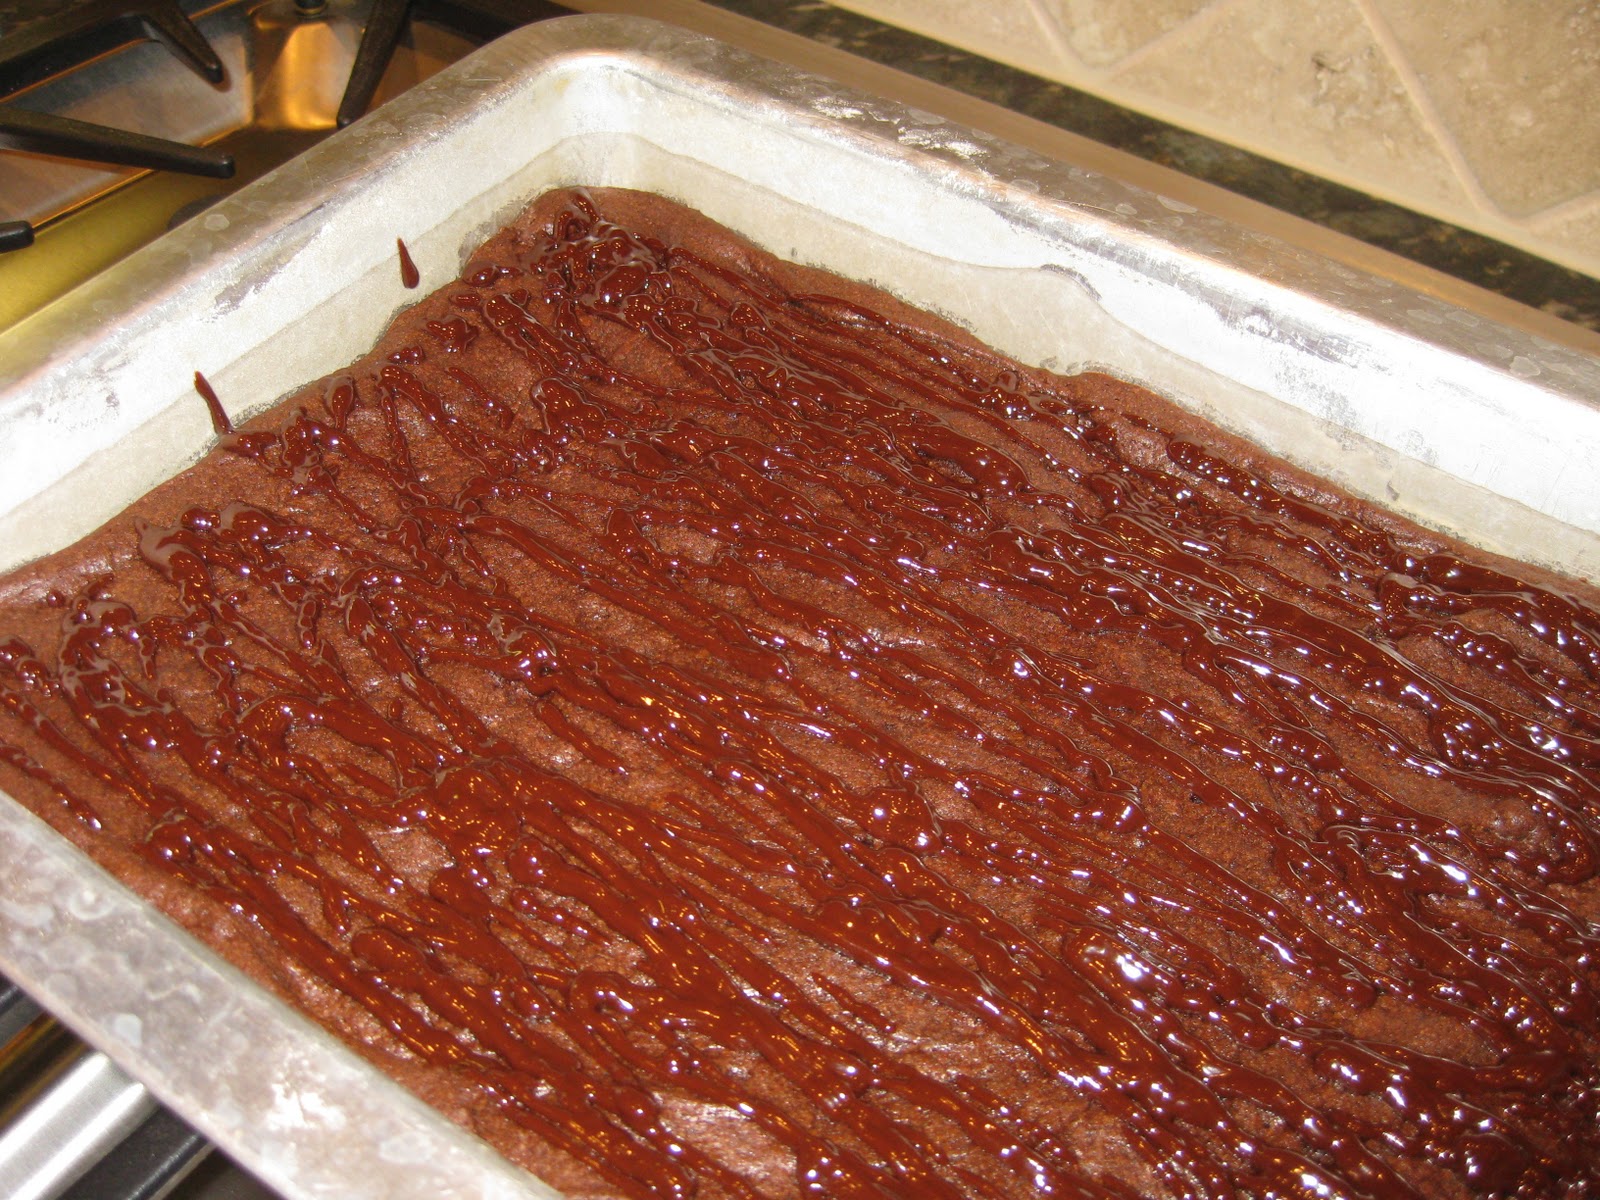
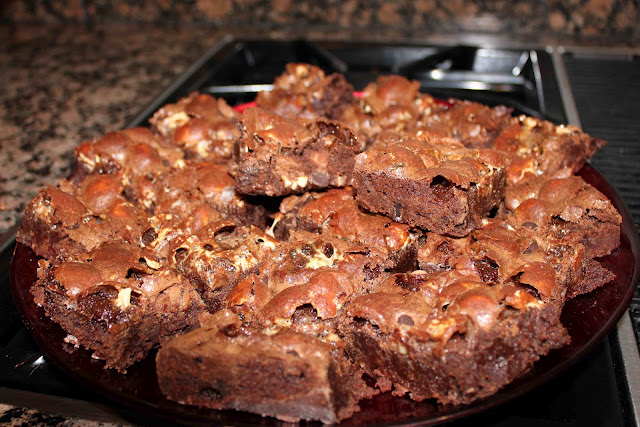
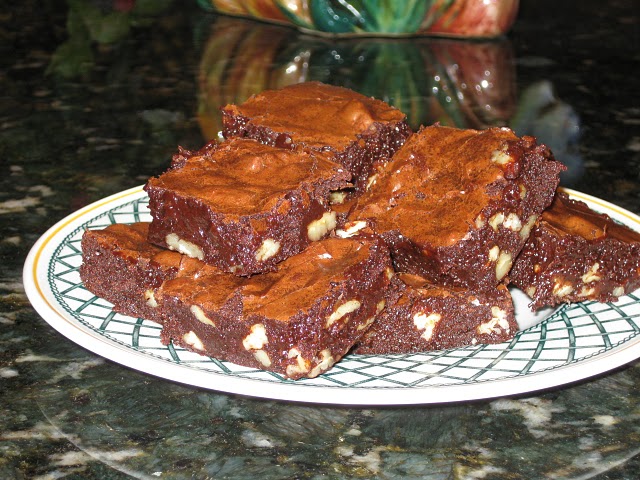
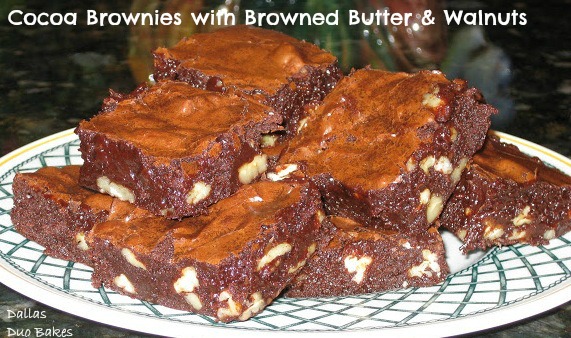
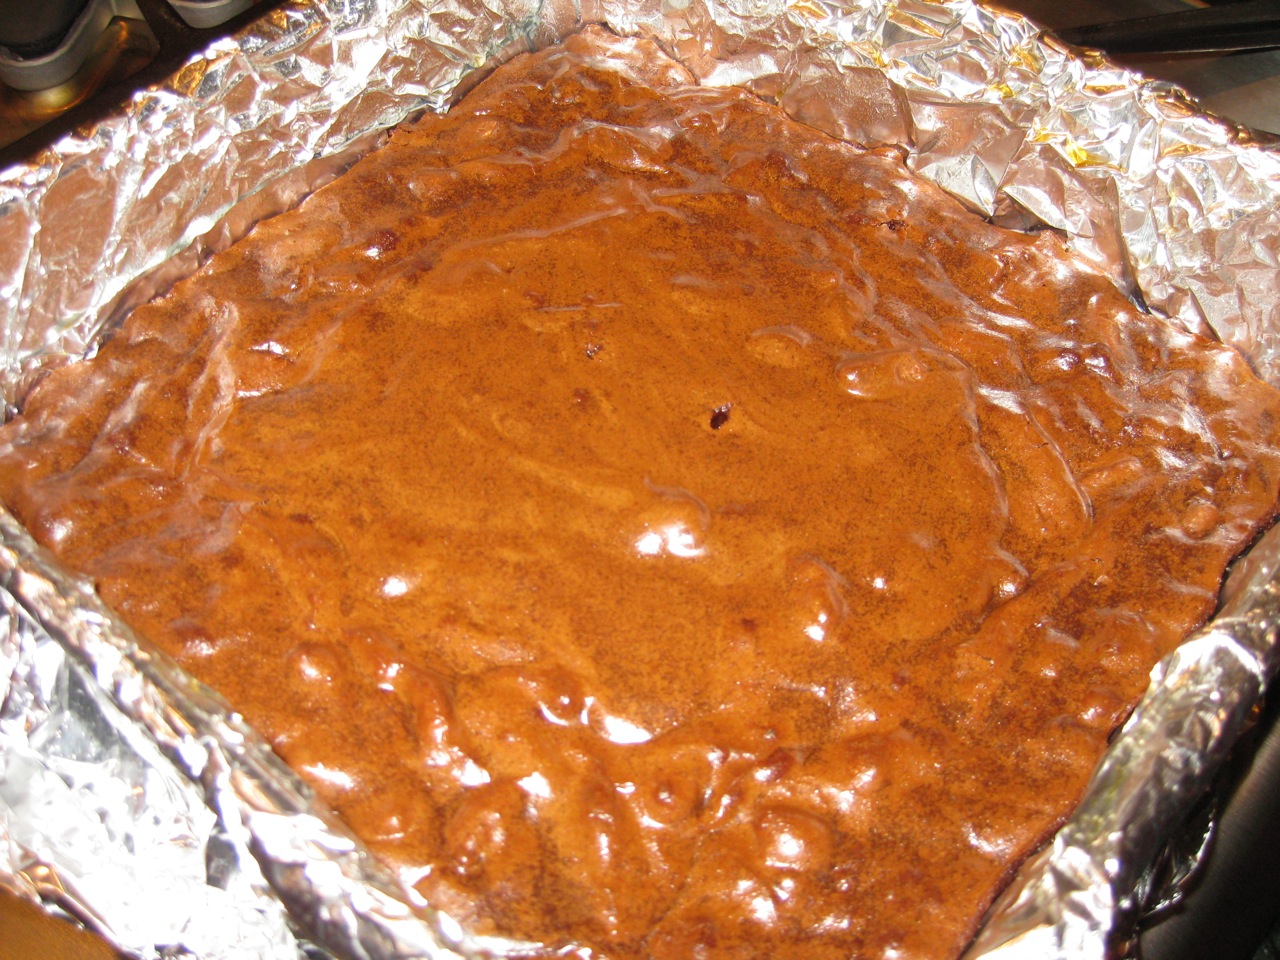
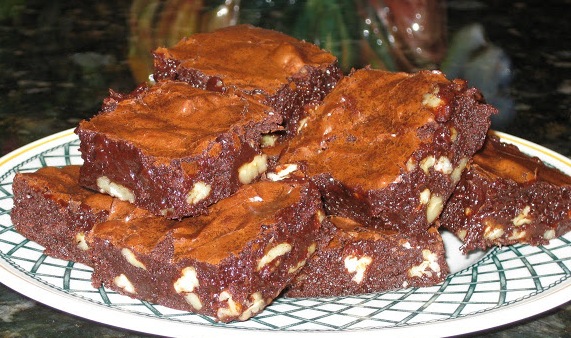
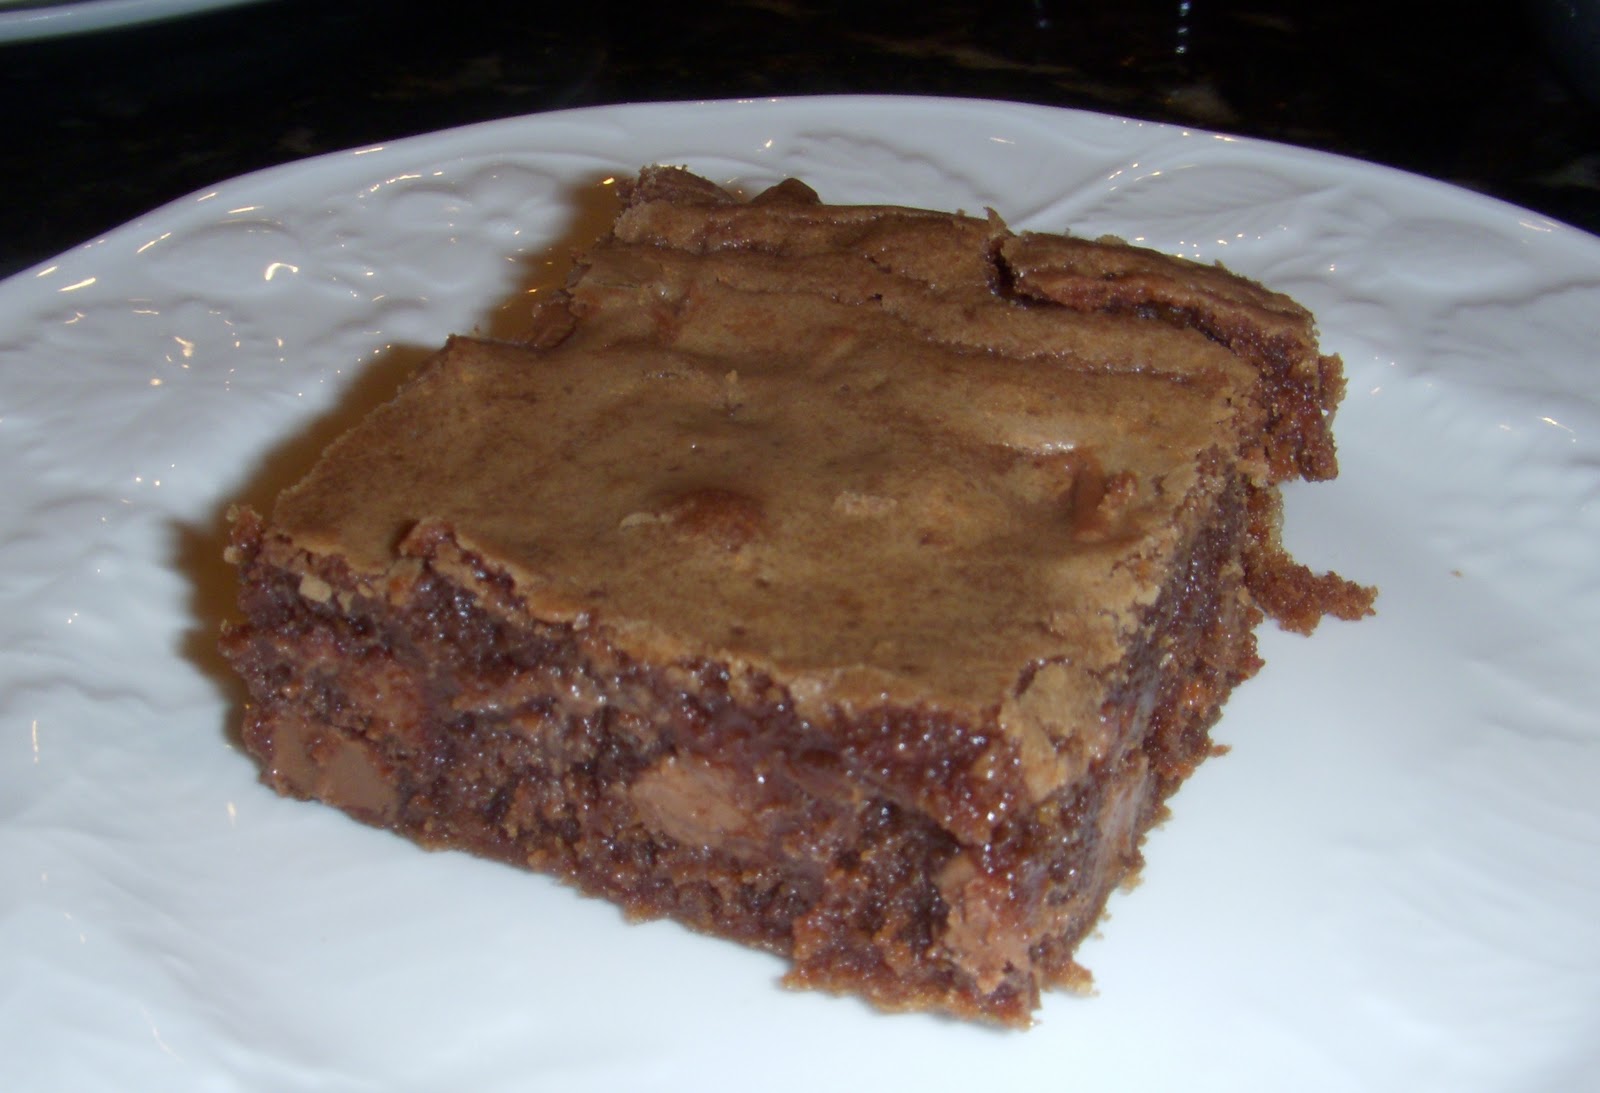
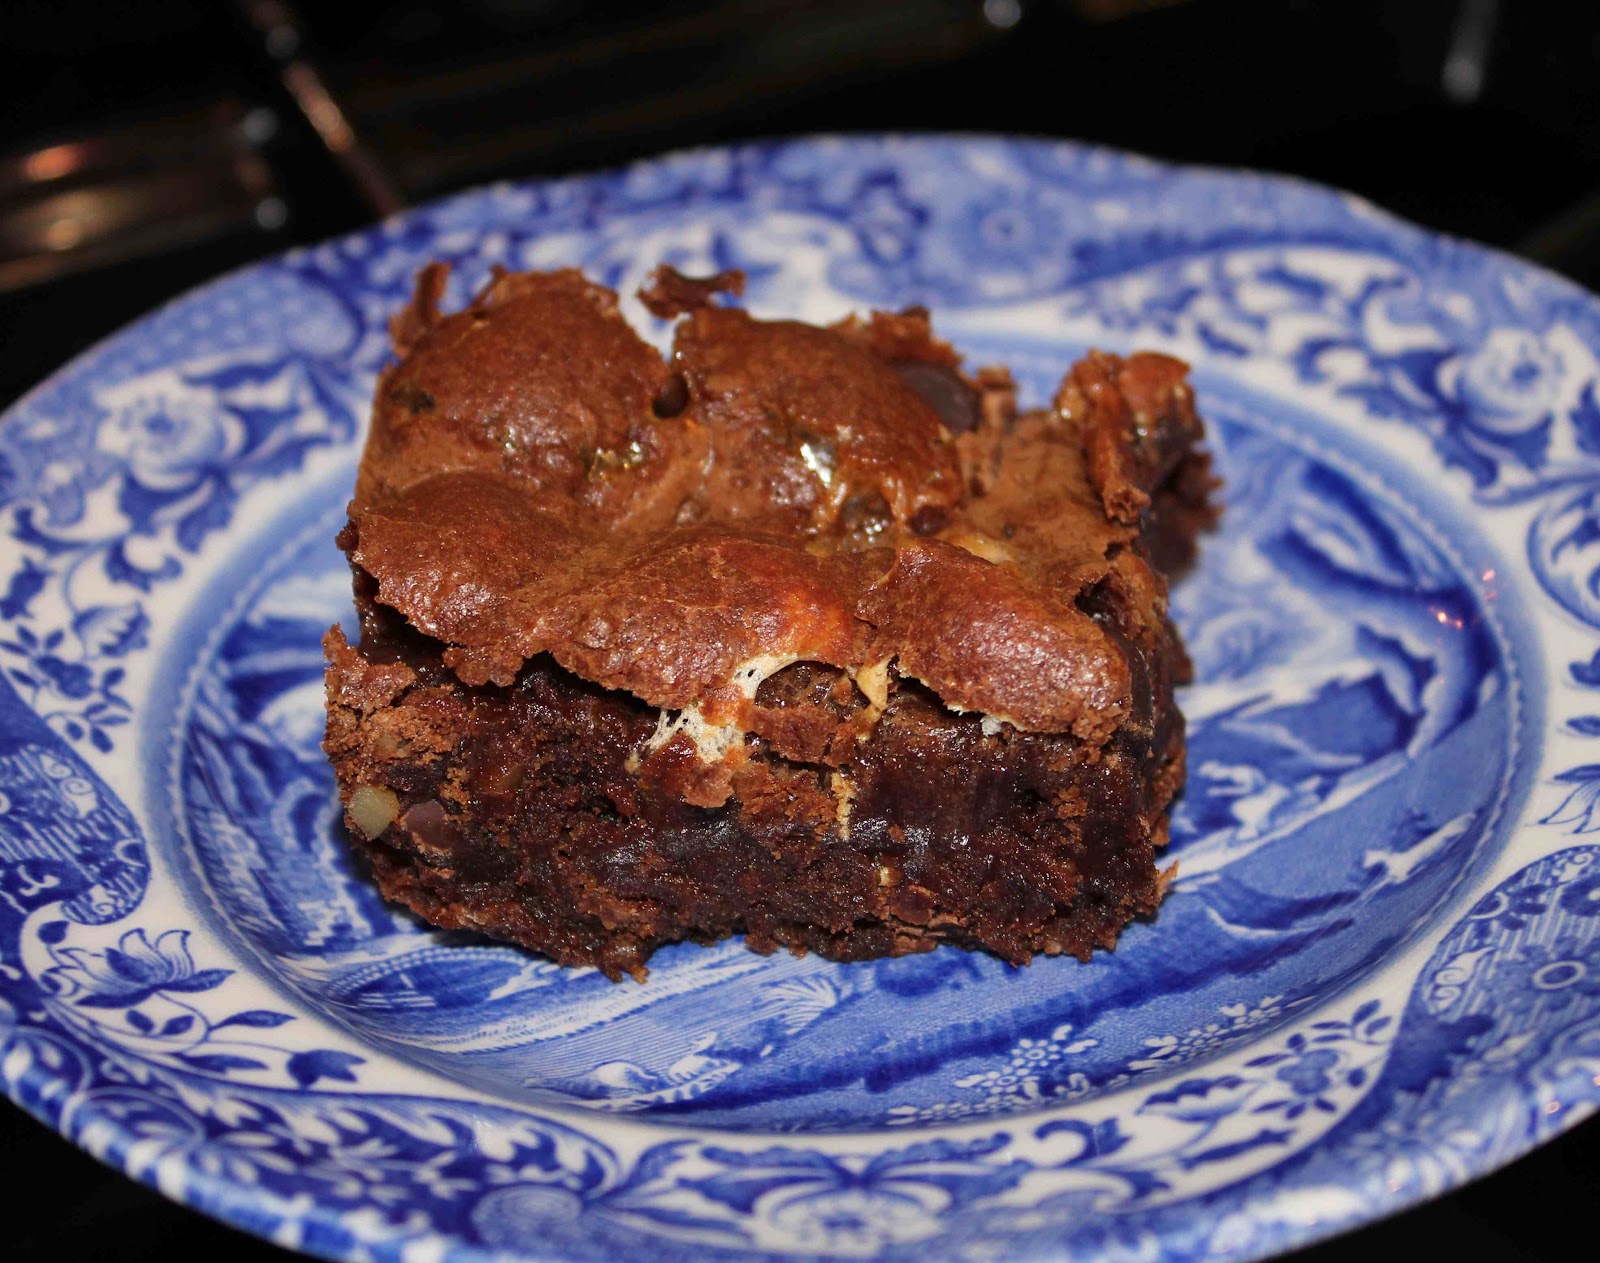
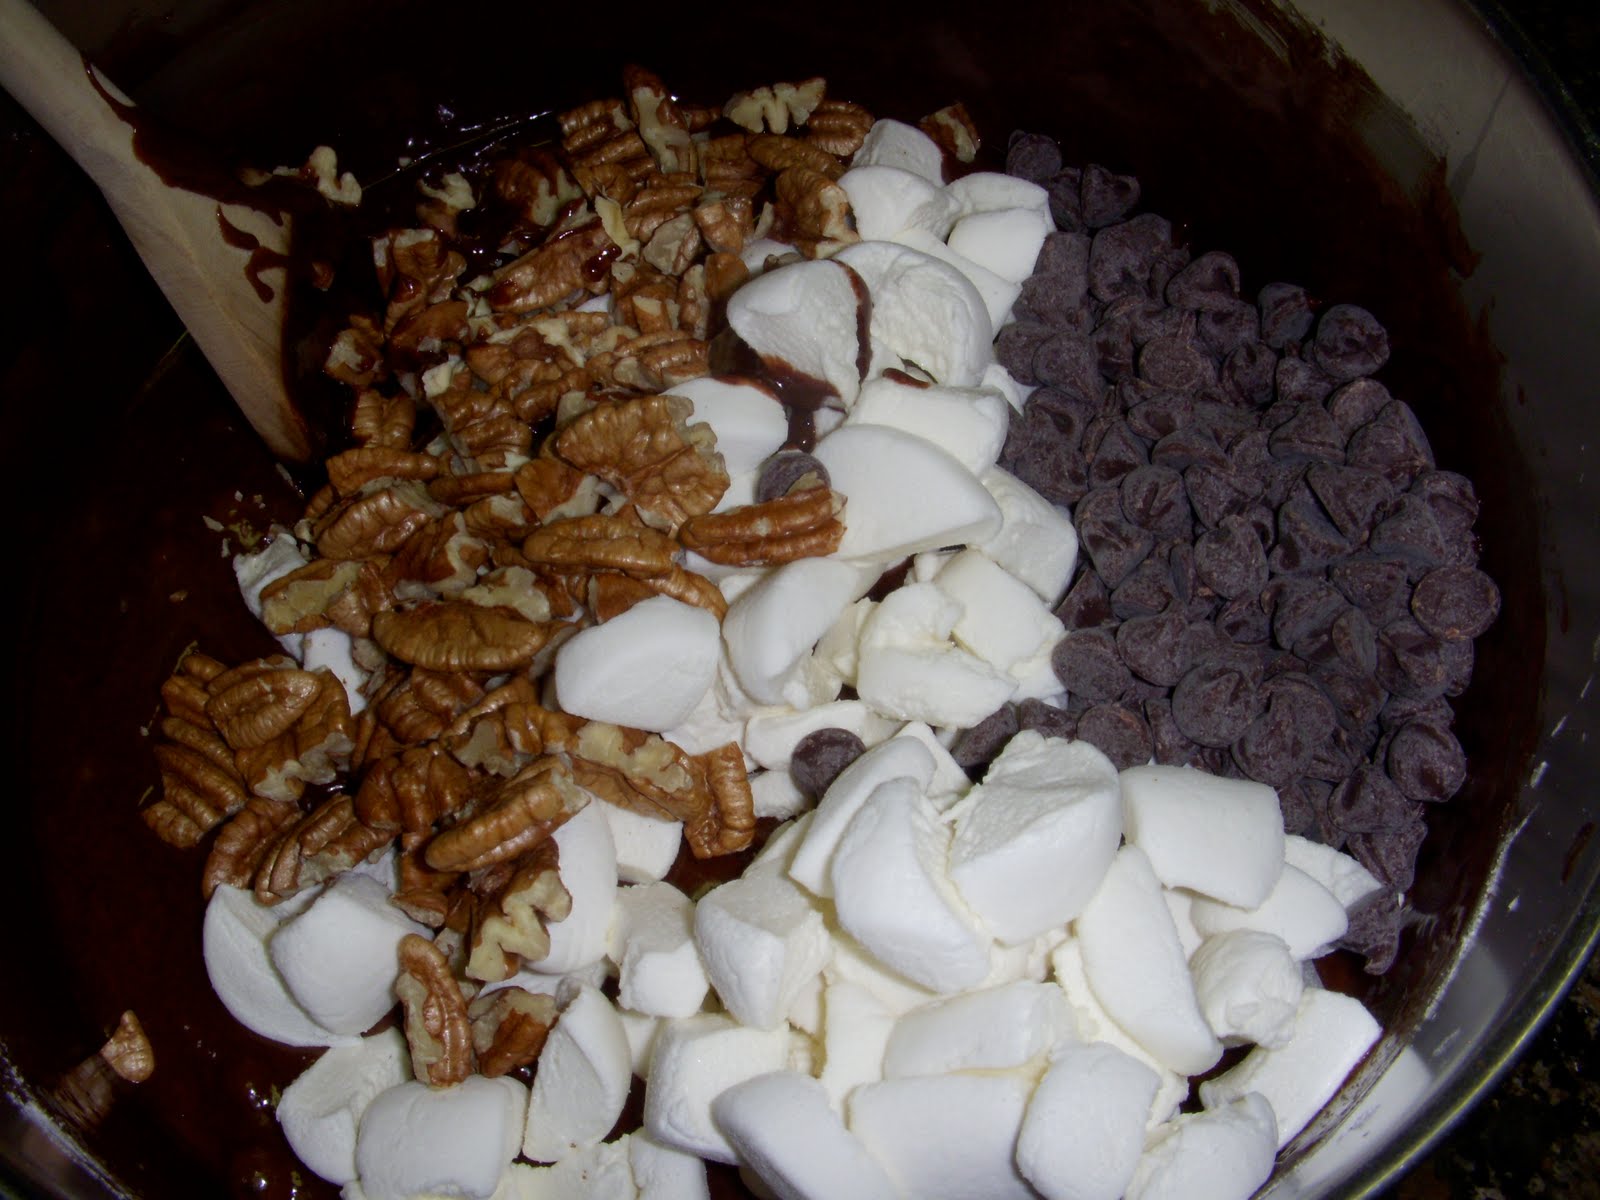
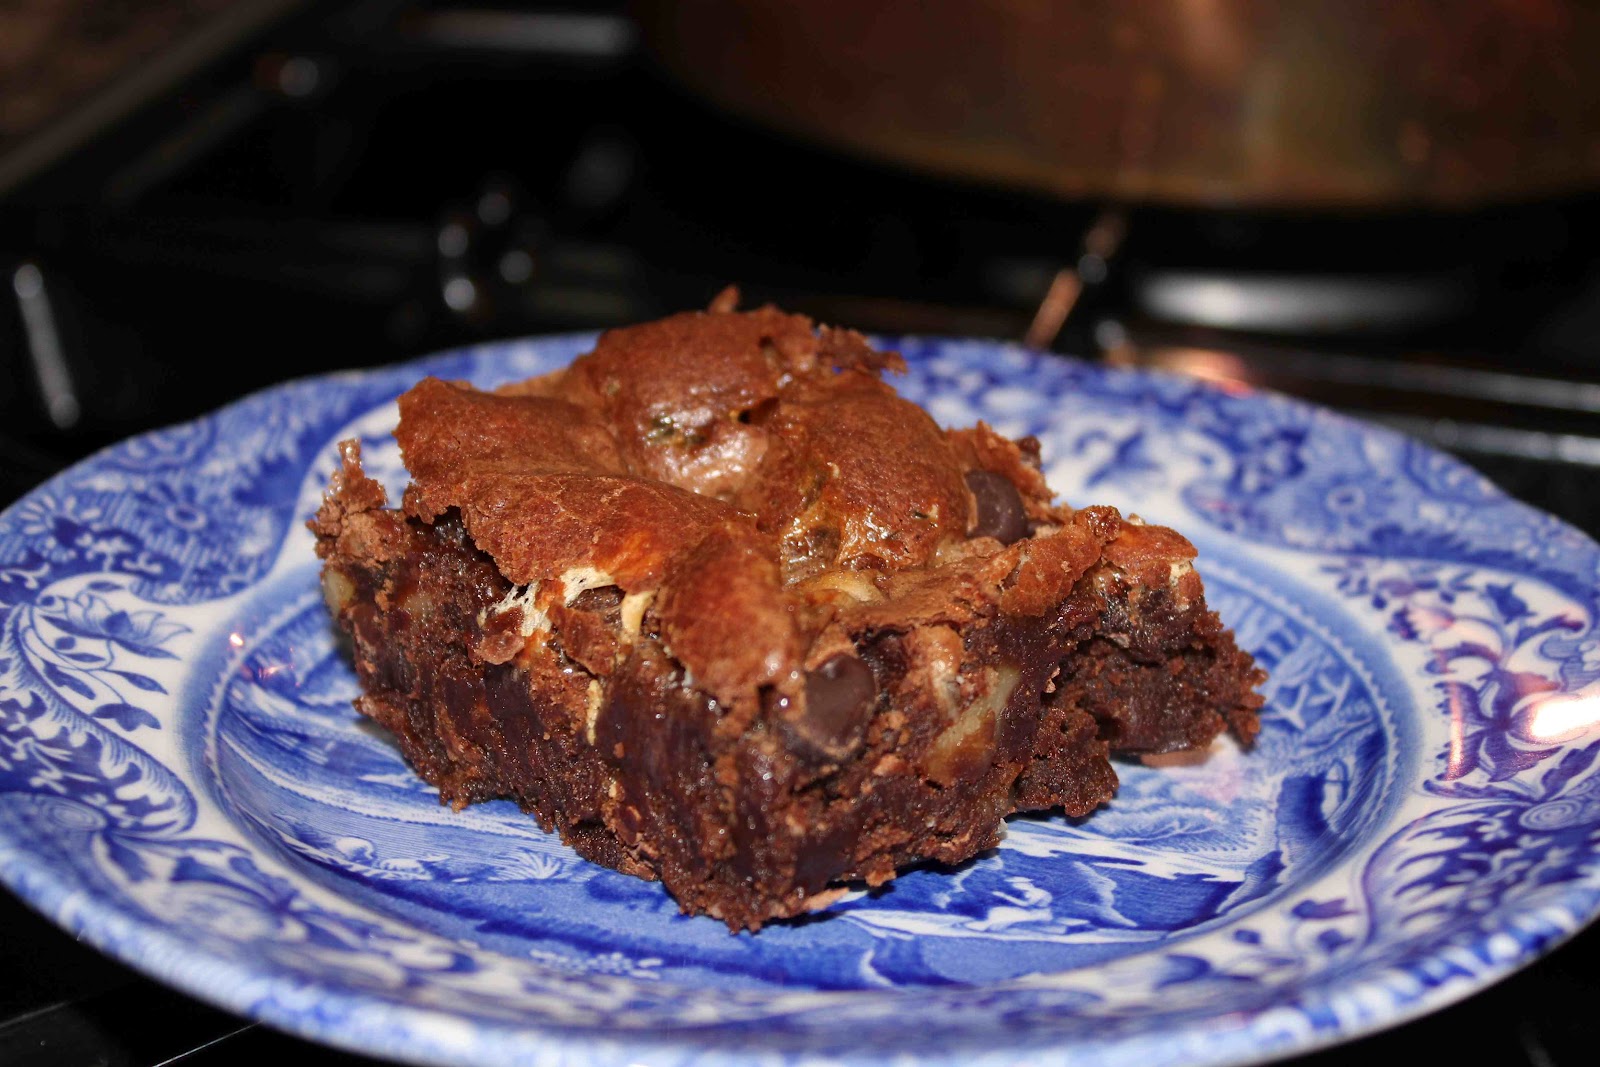
Nanny LOVES chocolate so my mom and sister and I made her these King Arthur Fudge Brownies. We brought four containers of individually wrapped brownies so Nanny could freeze them and pull them out one at a time when she had a craving for something sweet.

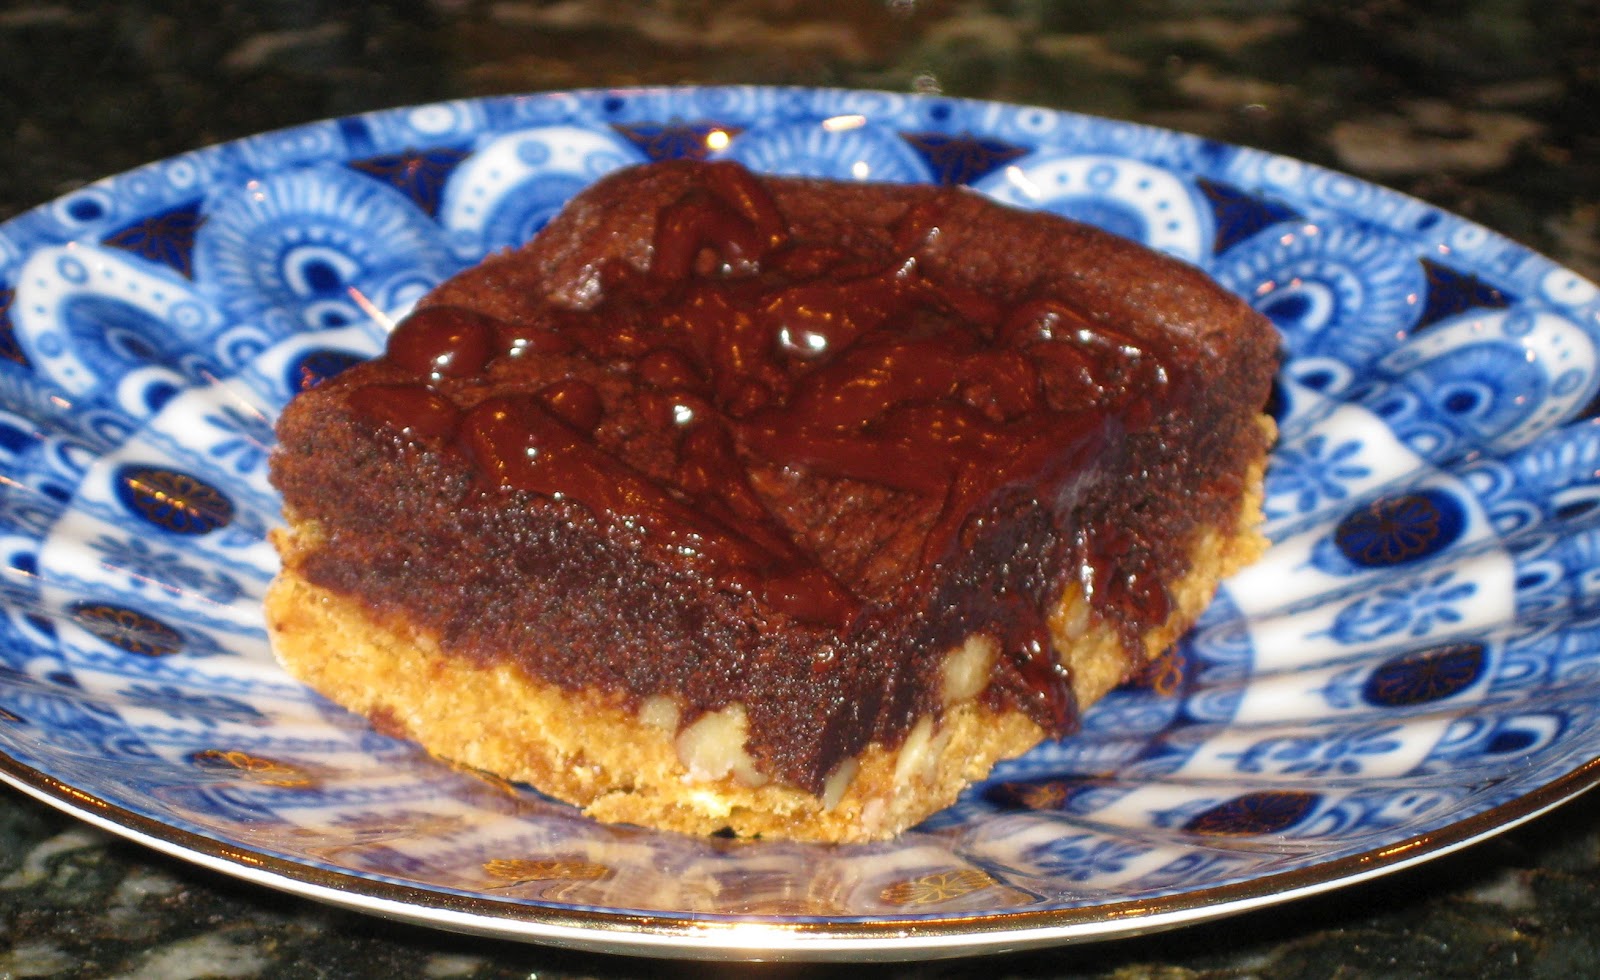
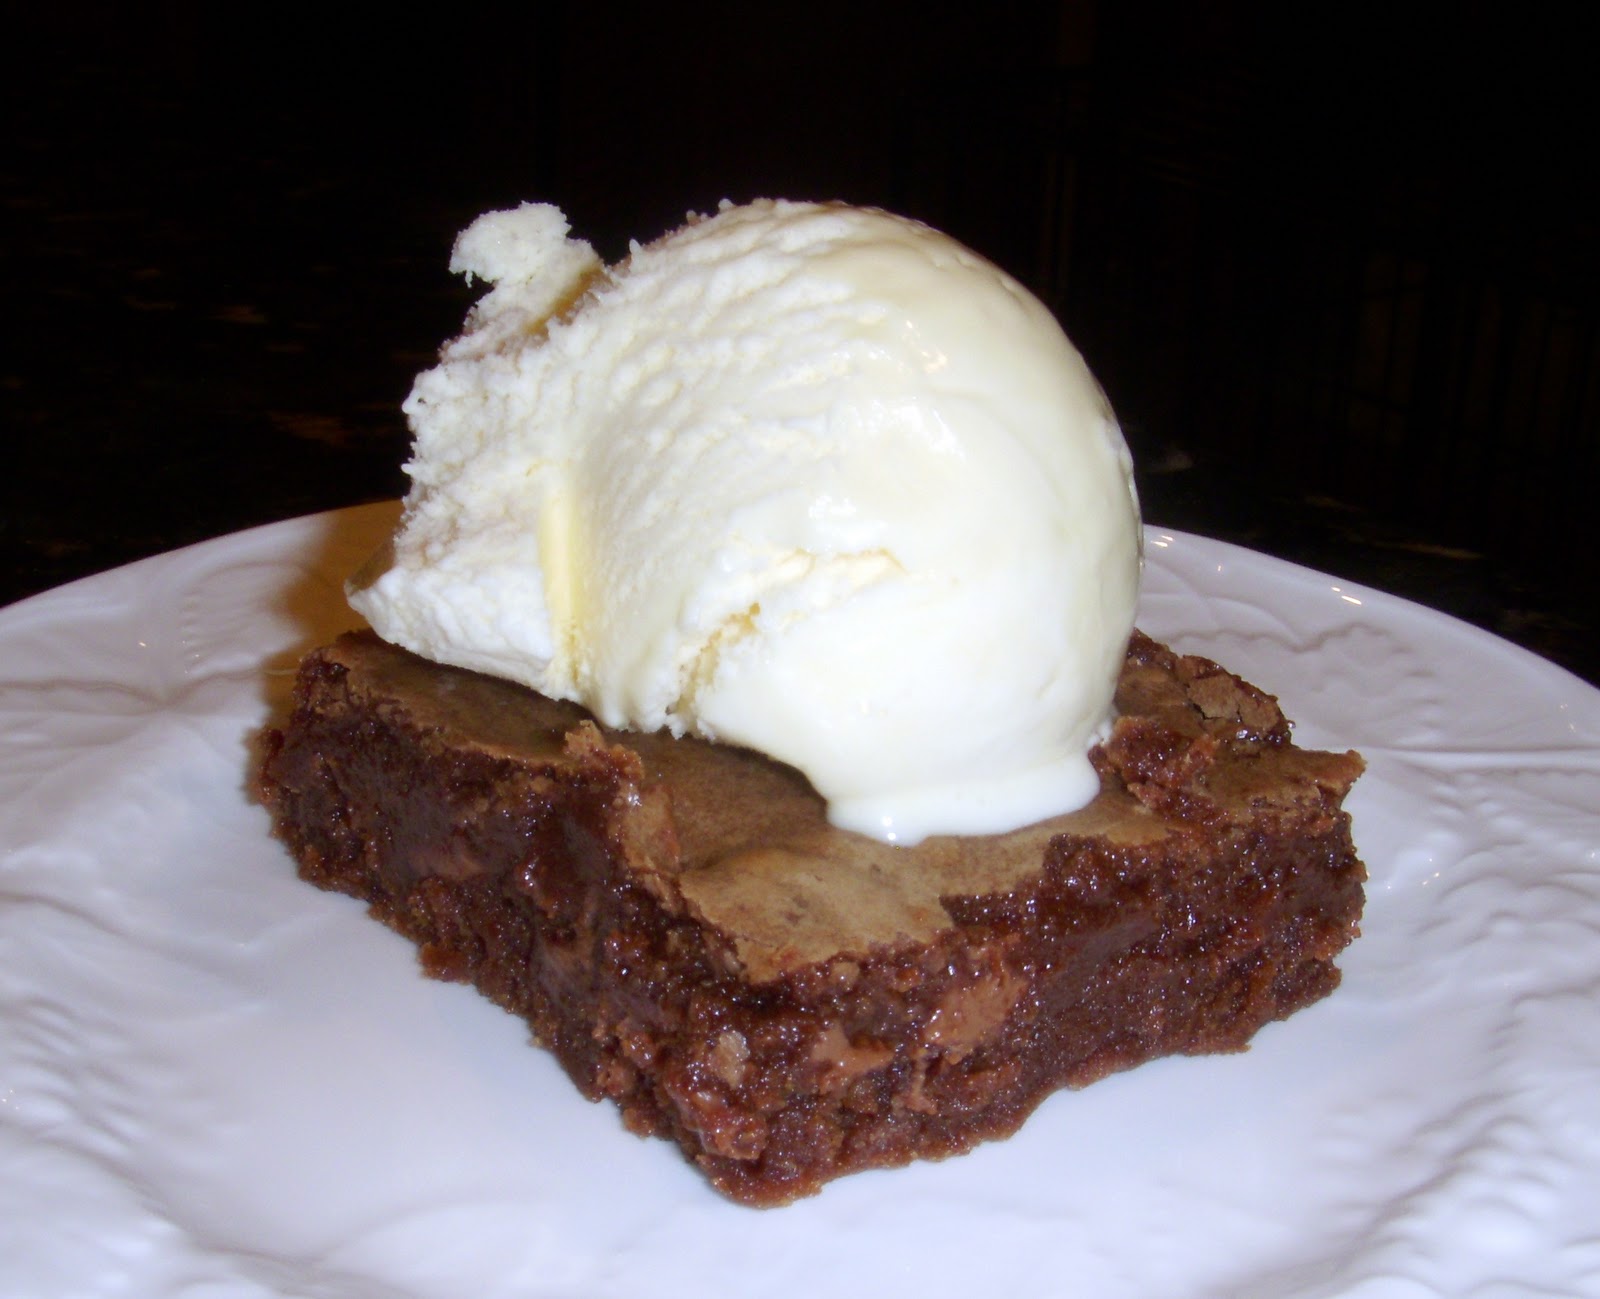
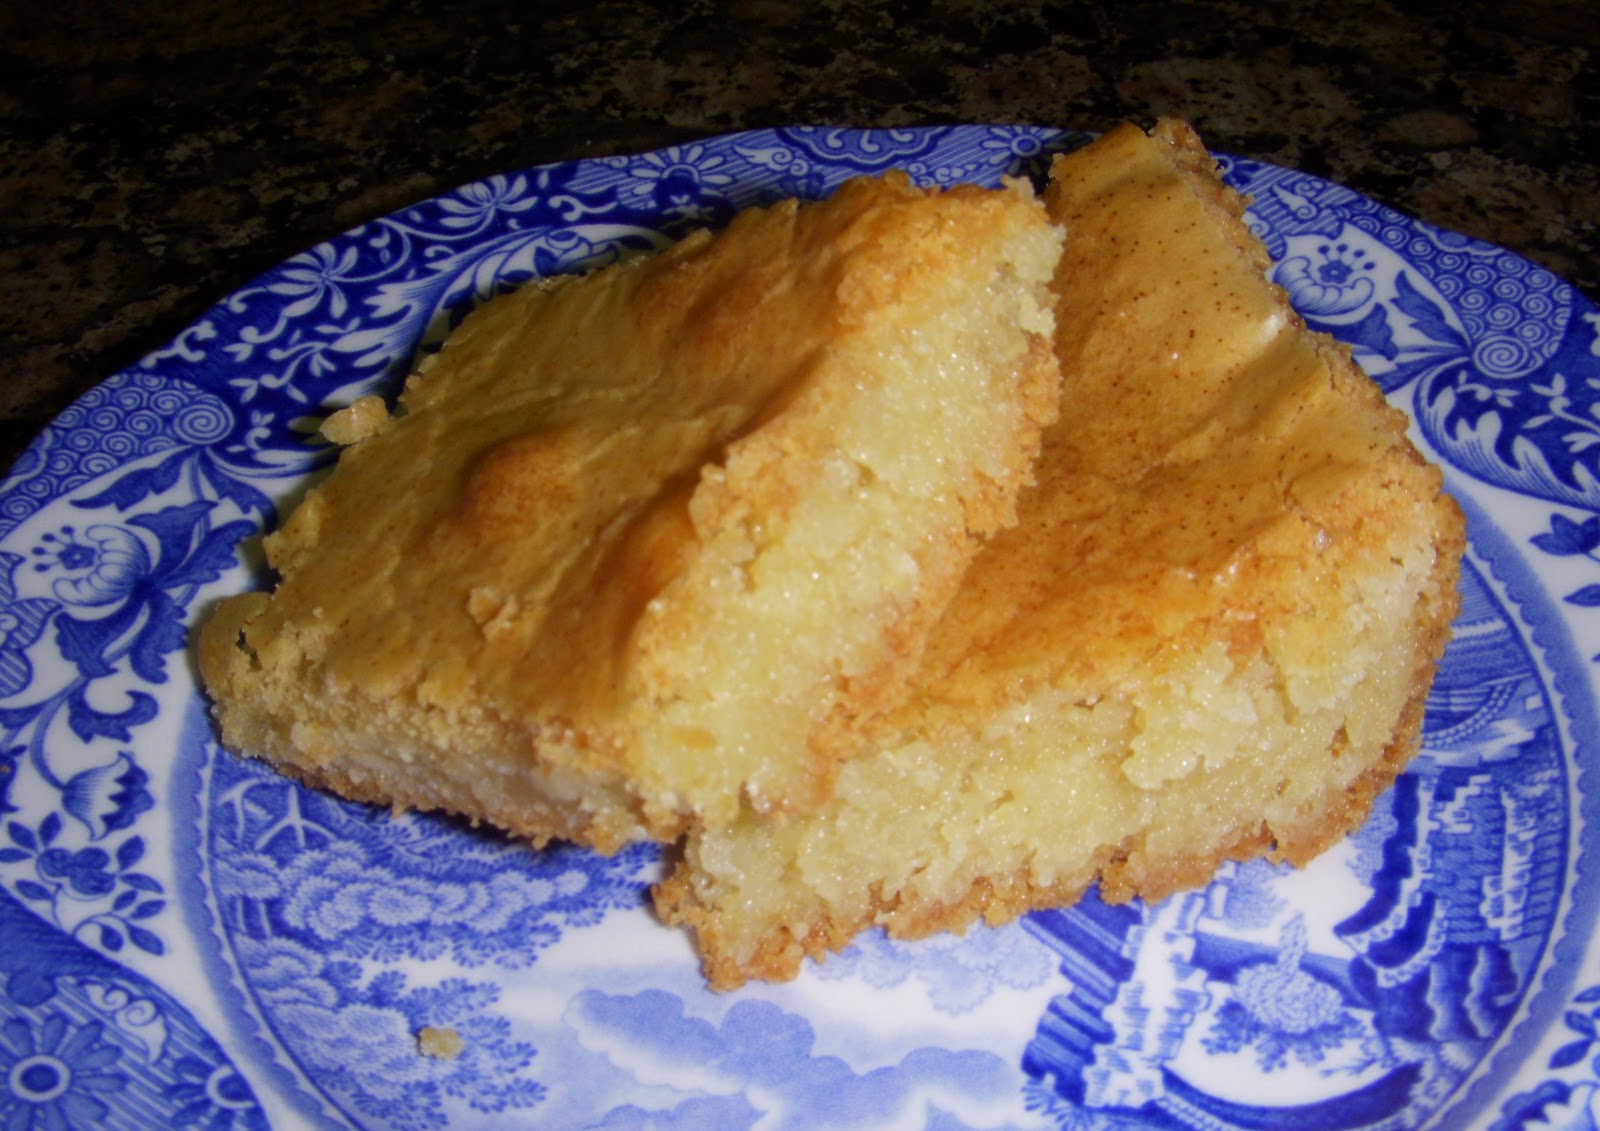
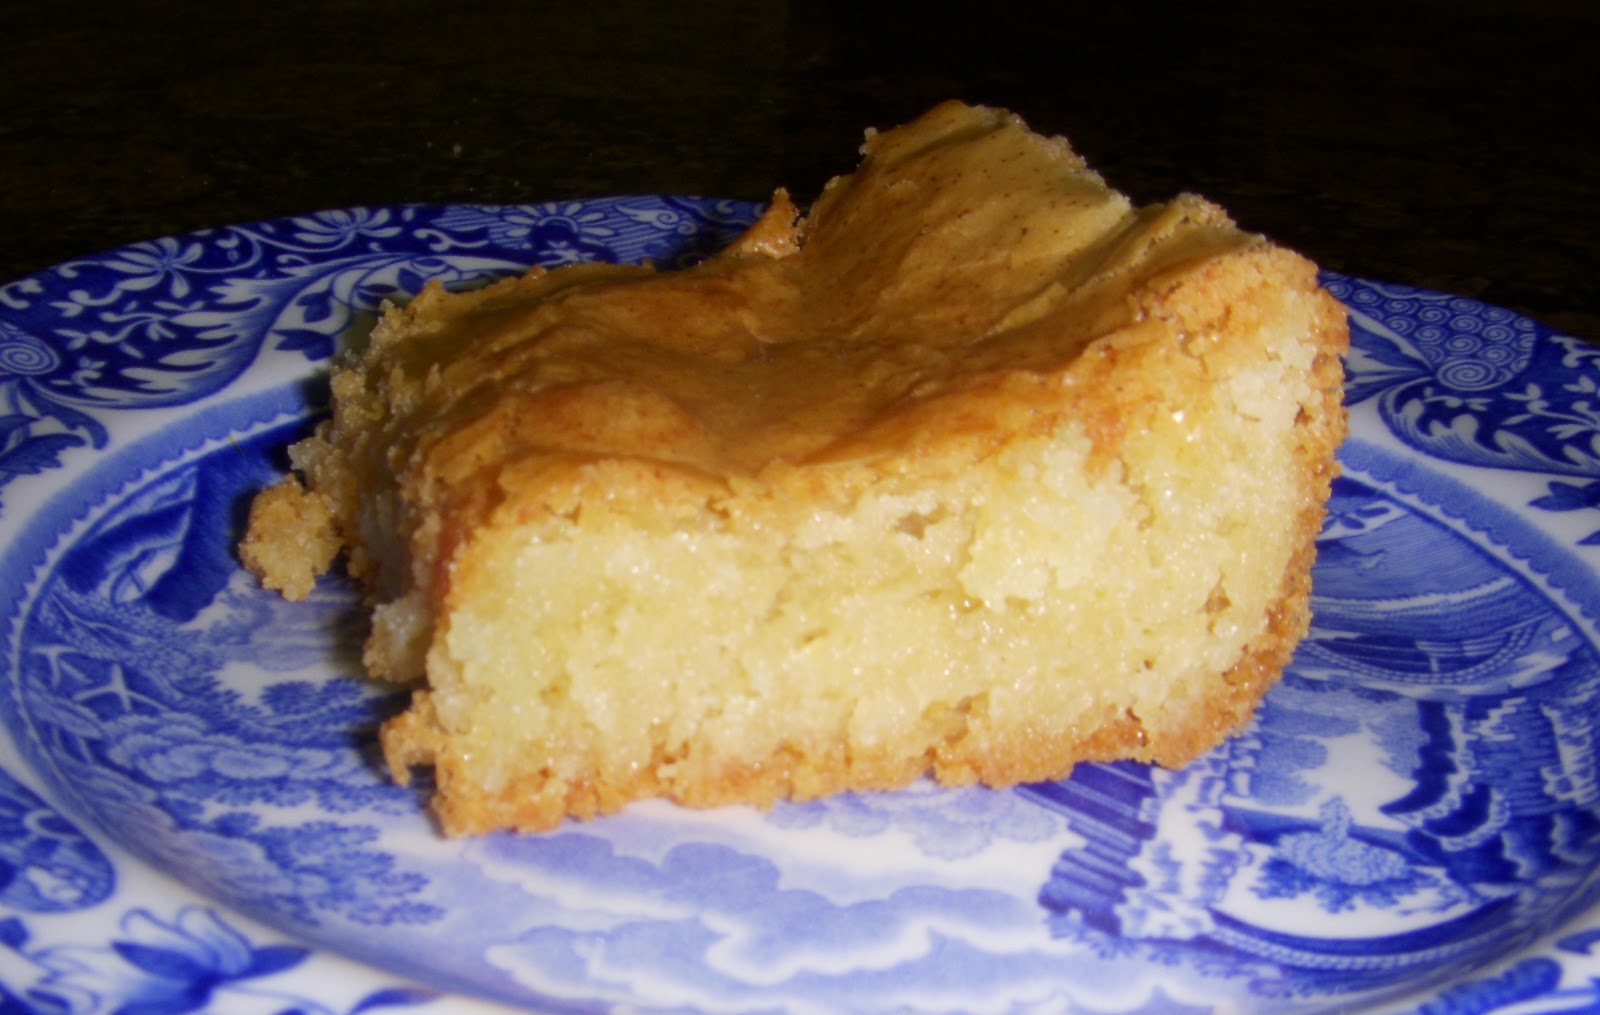
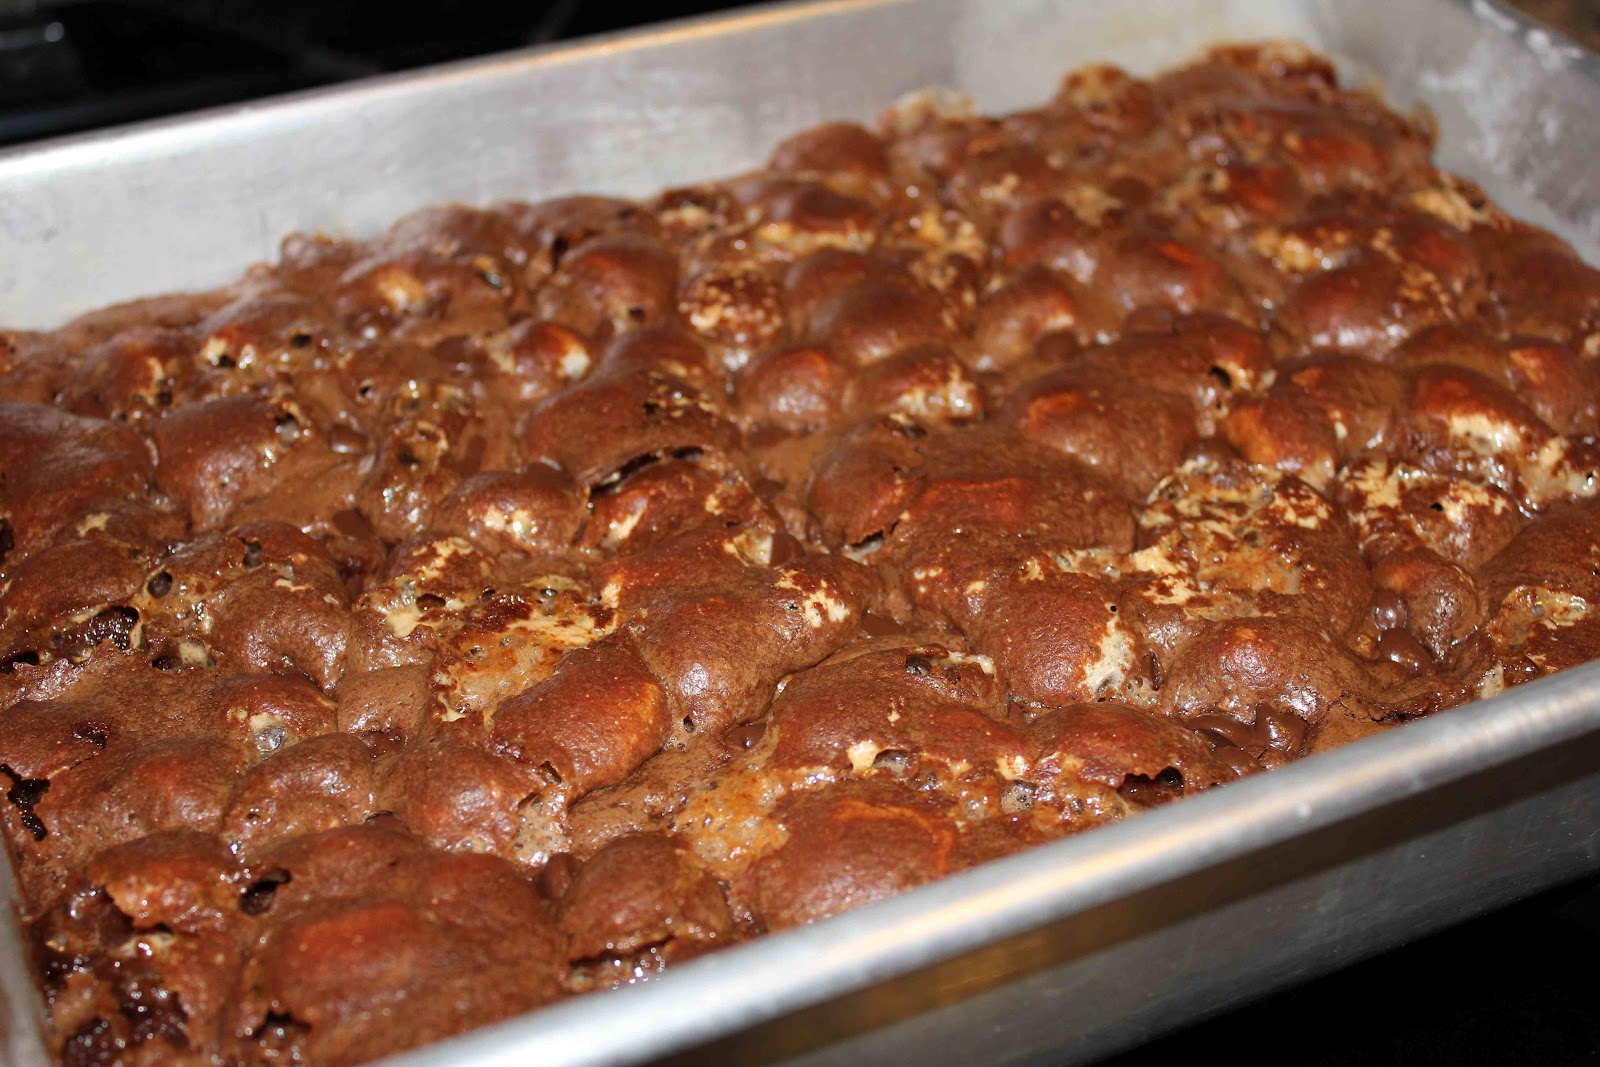
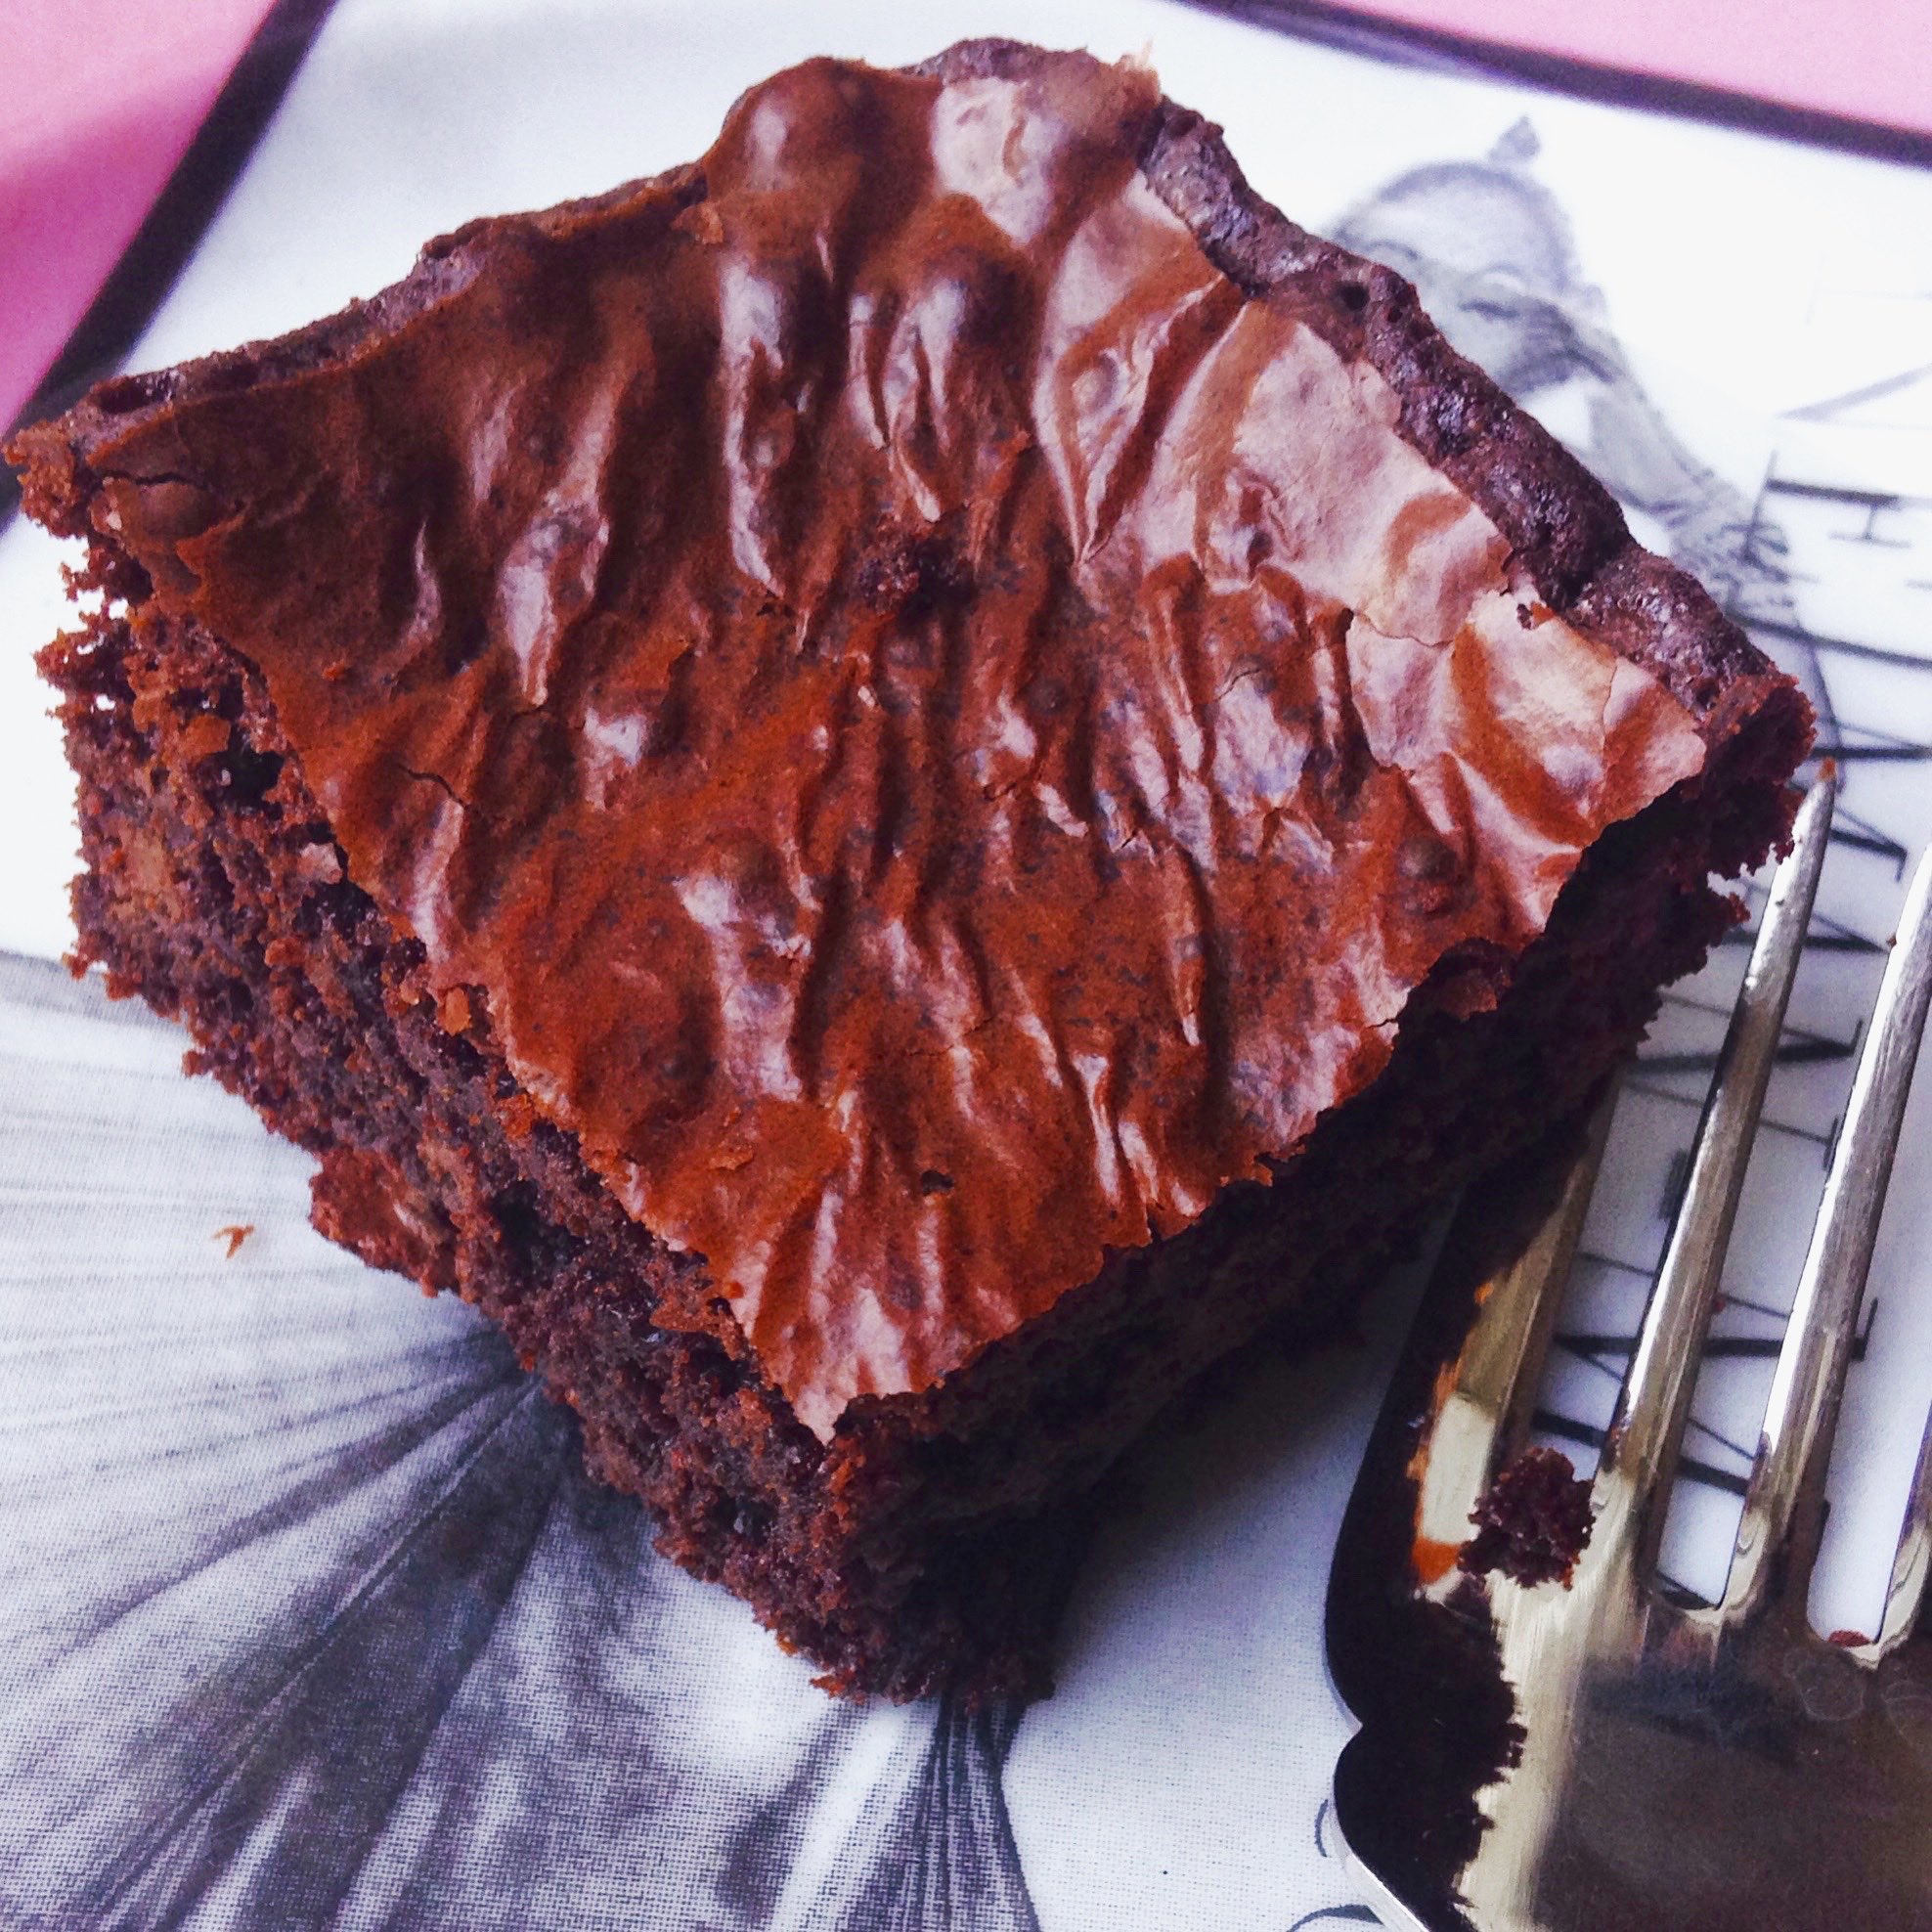
Of course before we gave Nanny her brownies, they had to pass the “taste test” with my Dad. 🙂 They passed  his test, as well as mine. True to their name, they are nice and fudgy and would be perfect with a scoop of vanilla ice cream on top!

Birthday
Nanny with her great grandkids and great niece. Let’s cut into the cake already!

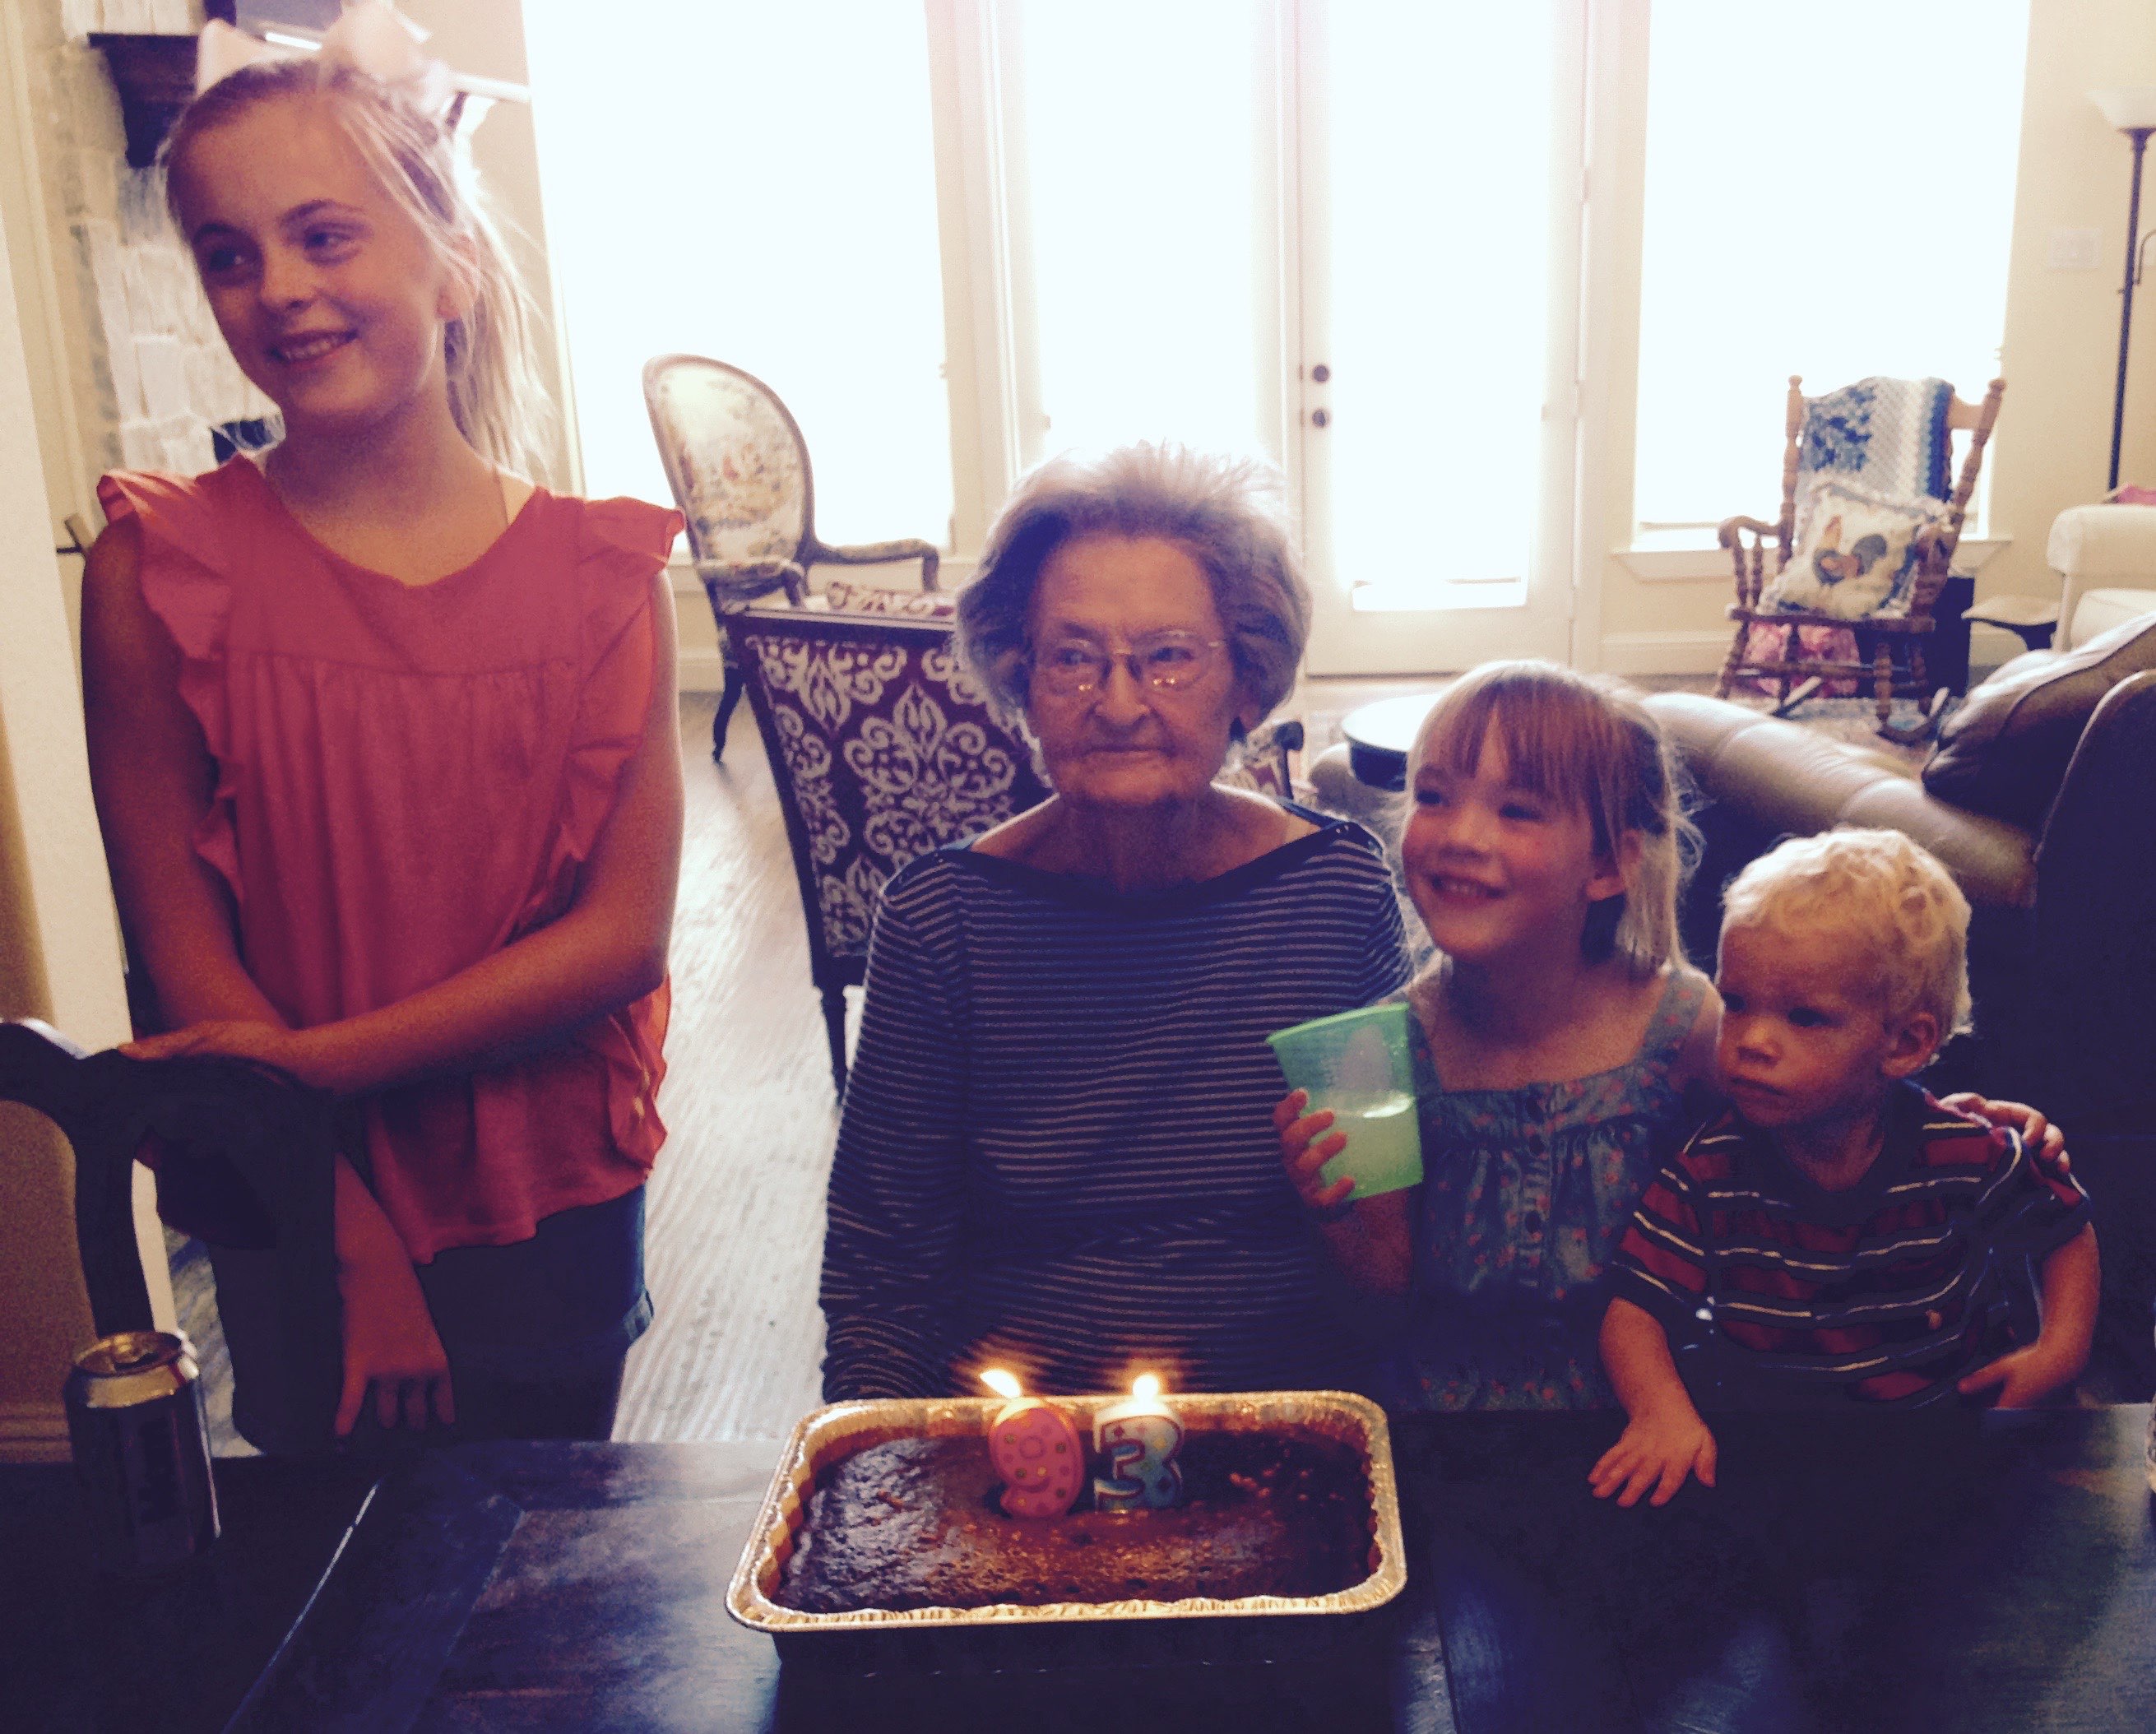
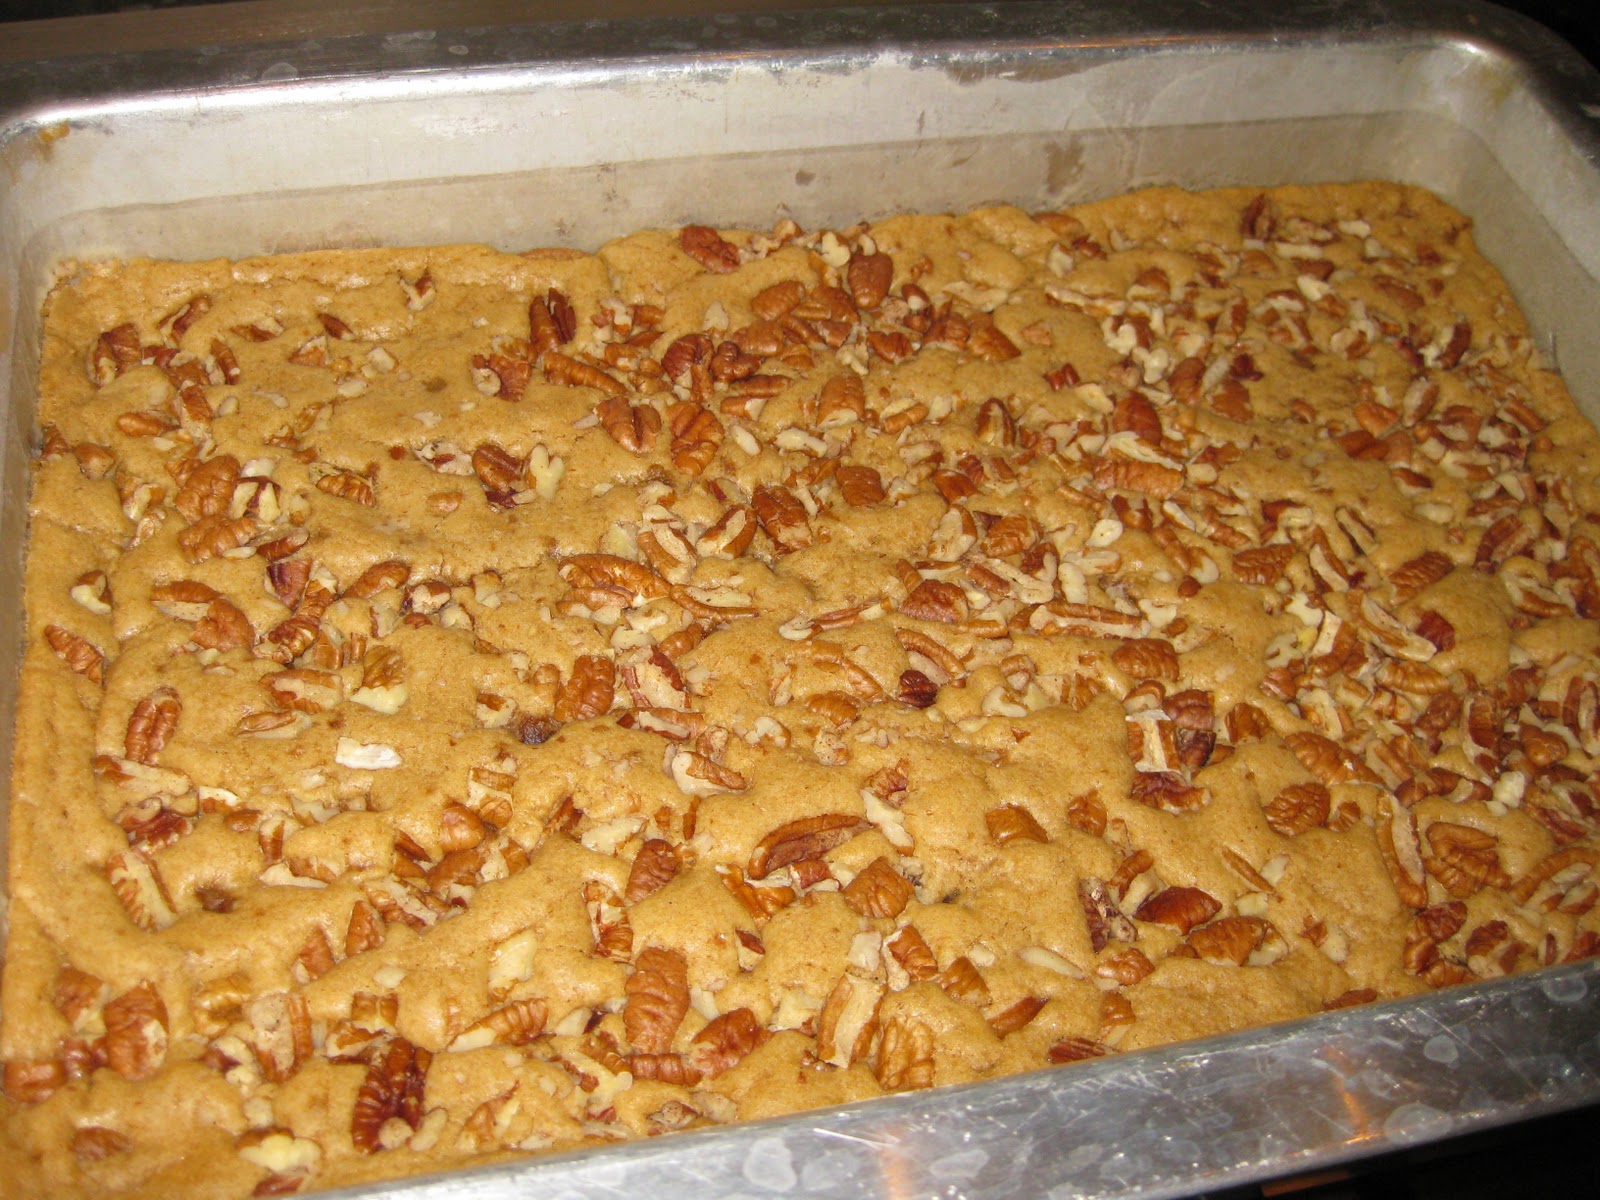
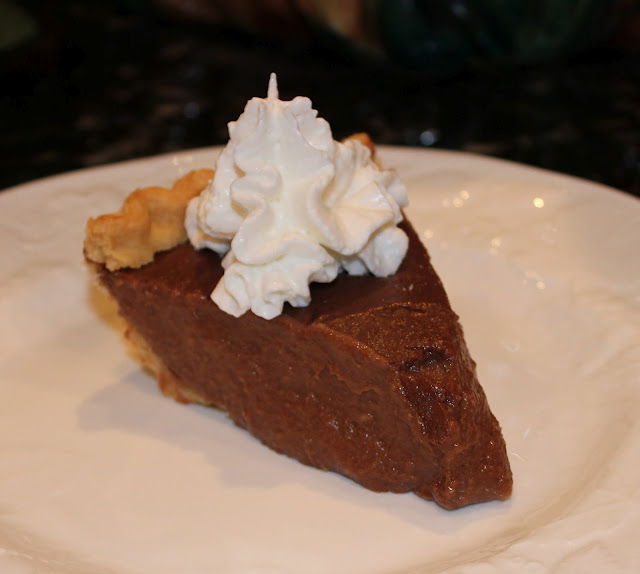
For the whole family, my cousin Brooke made her grandmother Nanny a chocolate cake, as seen above. Her little 2 year old boys loved it, and while they are only two years old, they definitely know the word, “more”! lol.

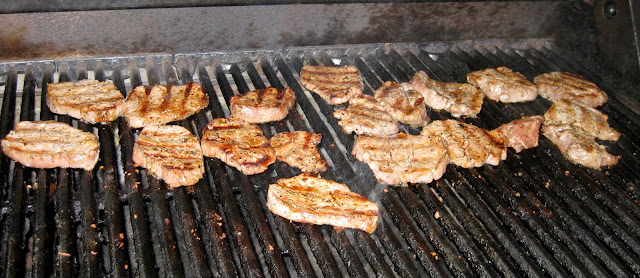
We had a great time in Gordon as usual and want to thank Aunt Jan and Uncle Kimmy for hosting and for the great BBQ. We had delicious sausage, briquet, baked beans, fresh fruit and a strawberry spinach salad. Yum!

Happy Birthday again Nanny, and can’t wait until the 94th!

Nanny
Harper and her great great aunt Nanny!

King Arthur Brownies King Arthur Brownies


King Arthur Fudge Brownies
Prep time:
Cook time:
Total time:
Serves: 24
Ingredients
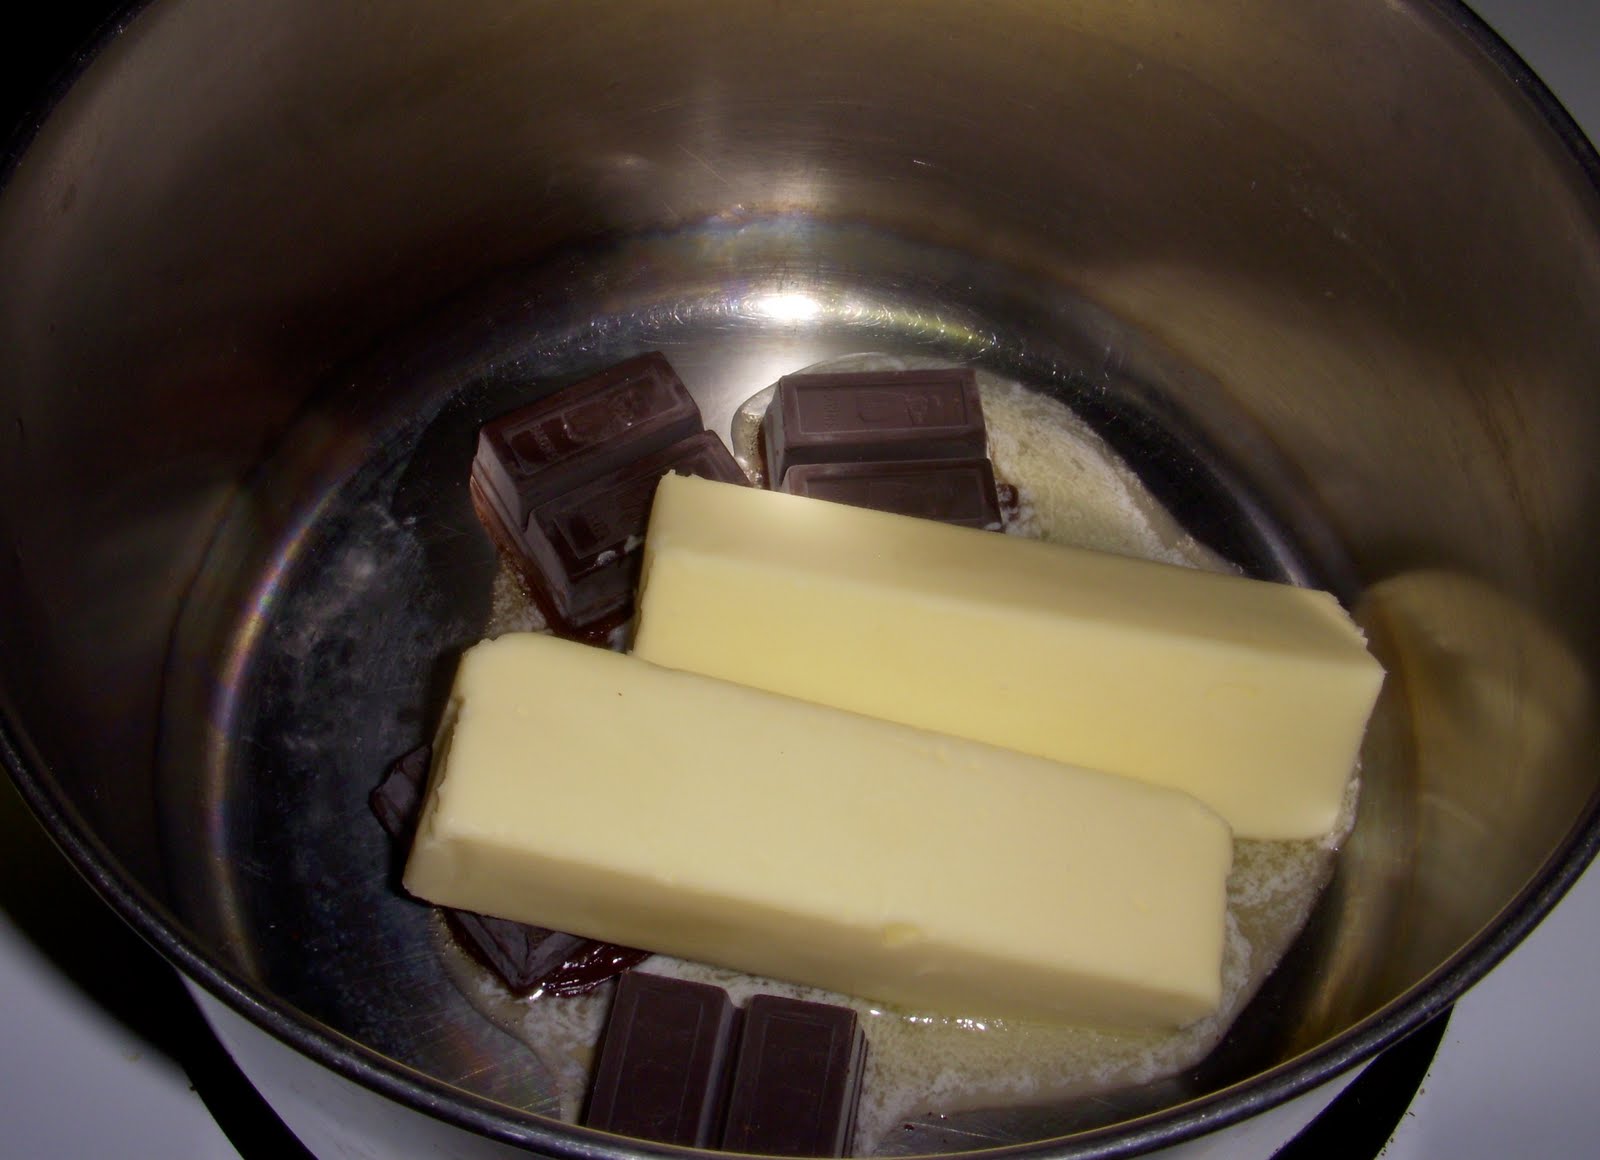
  • 1 cup (2 sticks) unsalted butter
  • 2 1/4 cups sugar
  • 1 1/4 cups Dutch-process cocoa
  • 1 tsp. baking powder
  • 1 tsp. salt
  • 1 tsp. expresso powder
  • 1 Tbsp. vanilla extract
  • 4 large eggs
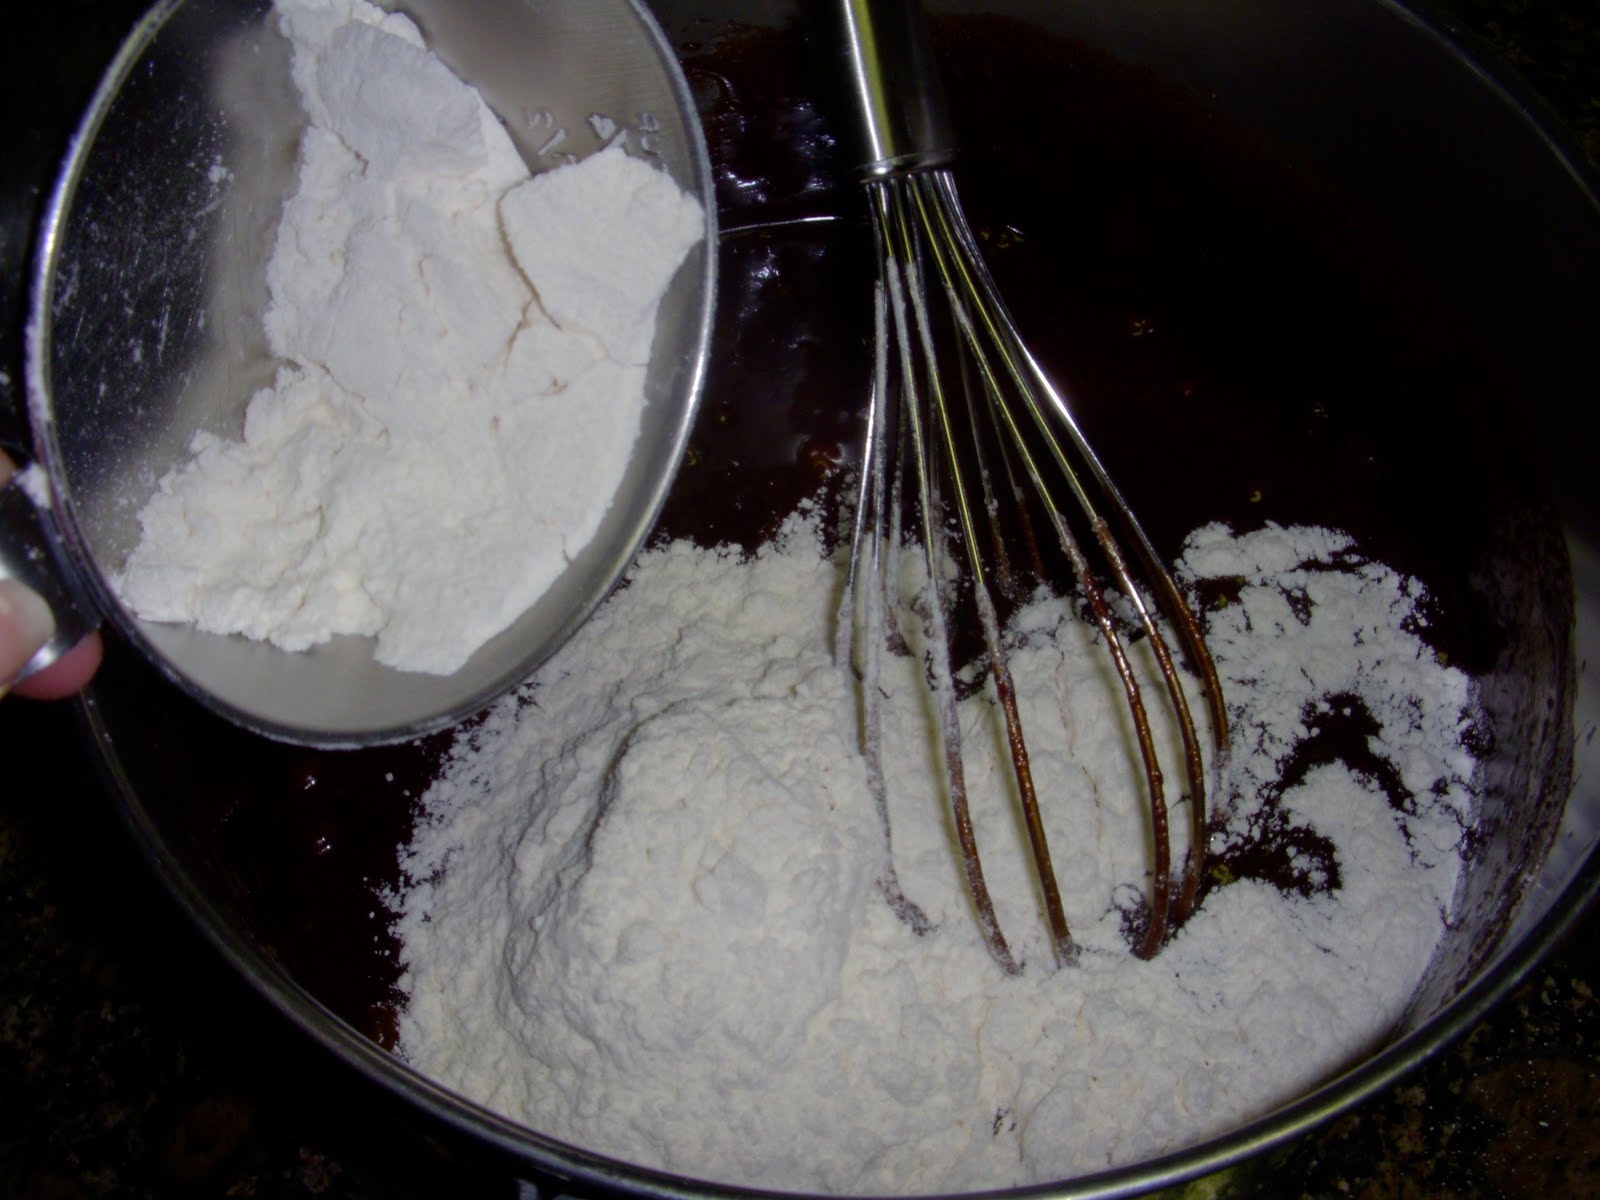
  • 1 1/2 cups all-purpose flour
  • 2 cups semi-sweet chocolate chips
Instructions
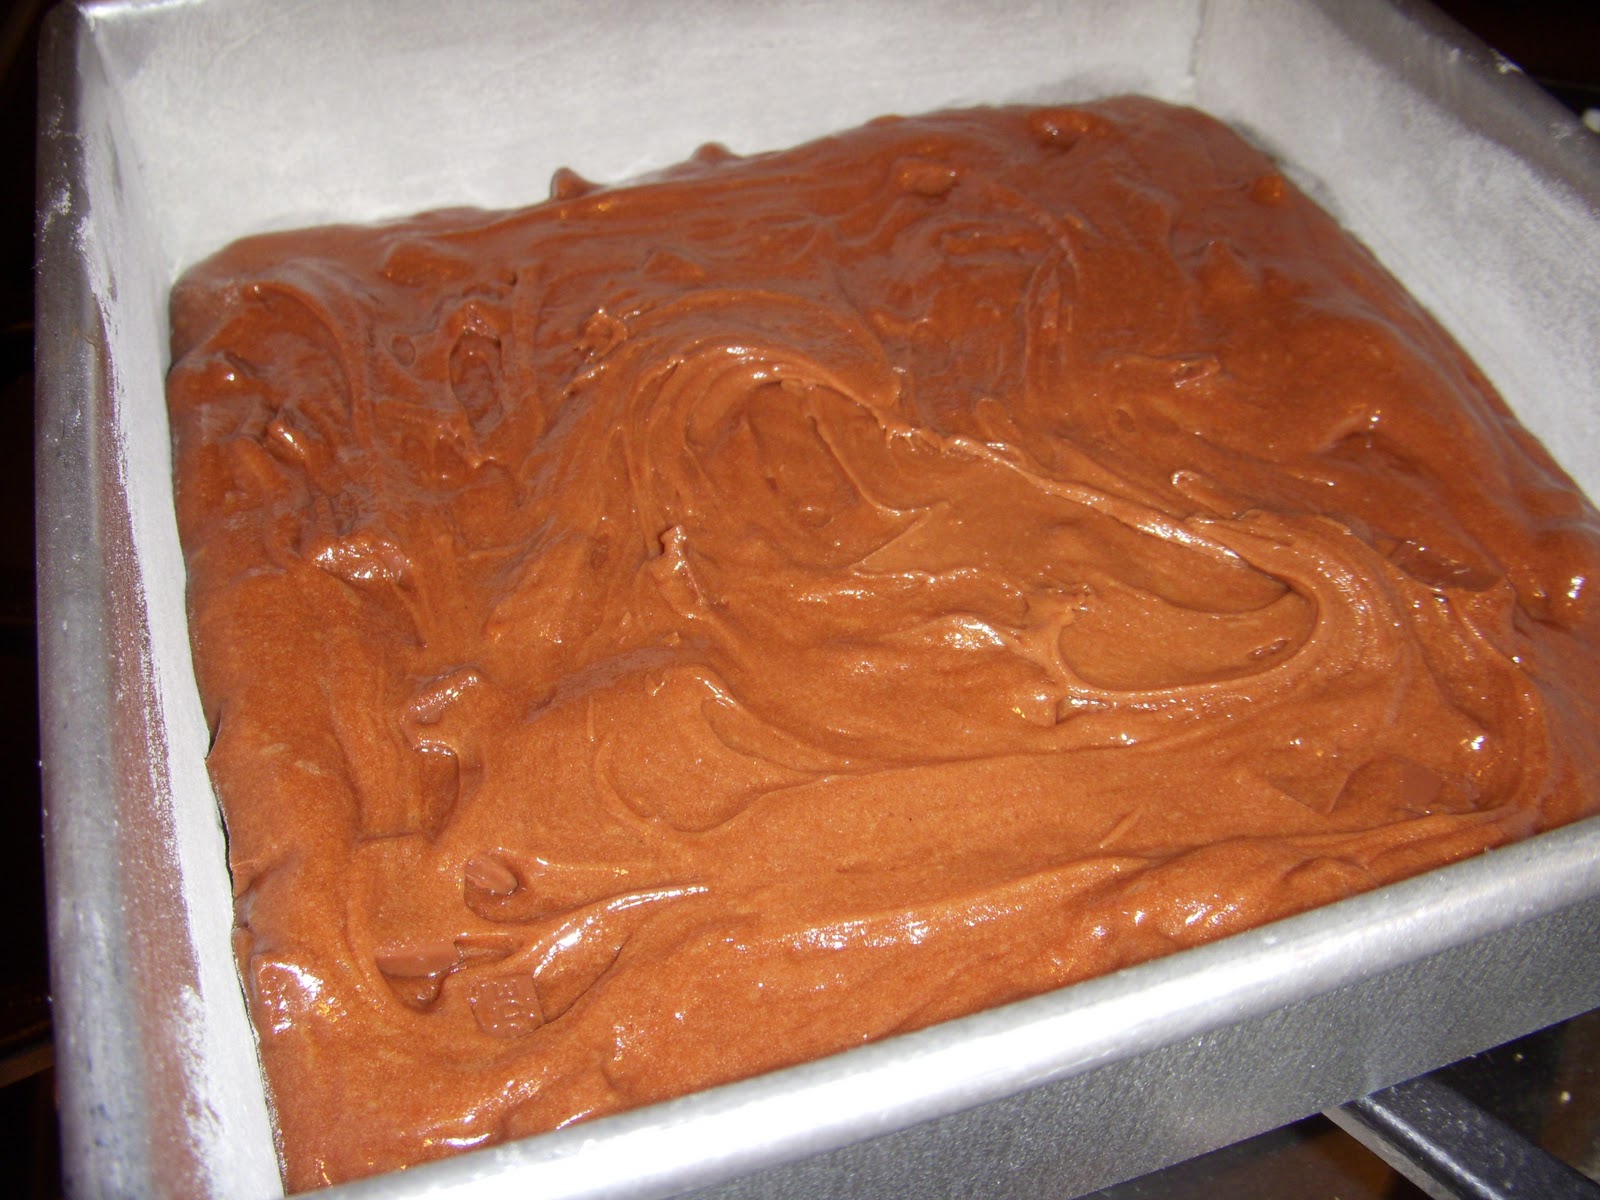
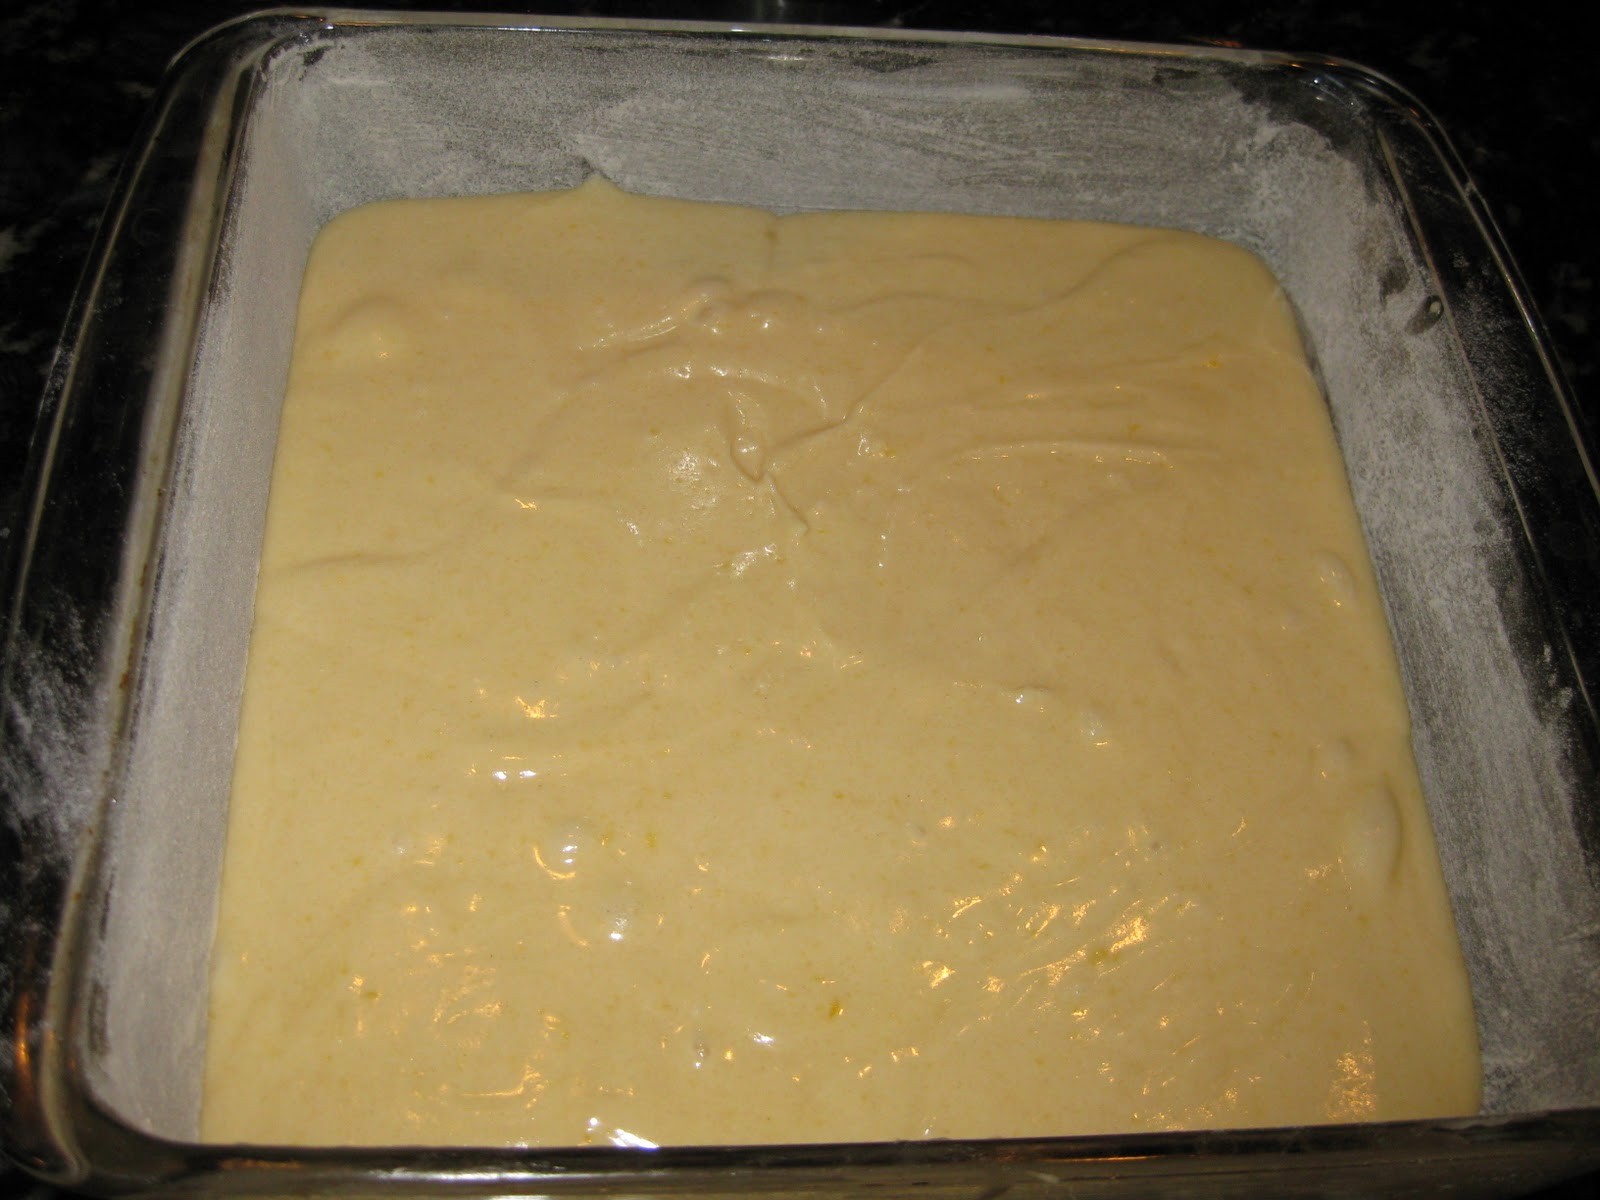
  1. Preheat oven to 350 degrees F. Grease a 9 x 13-inch pan and set aside.
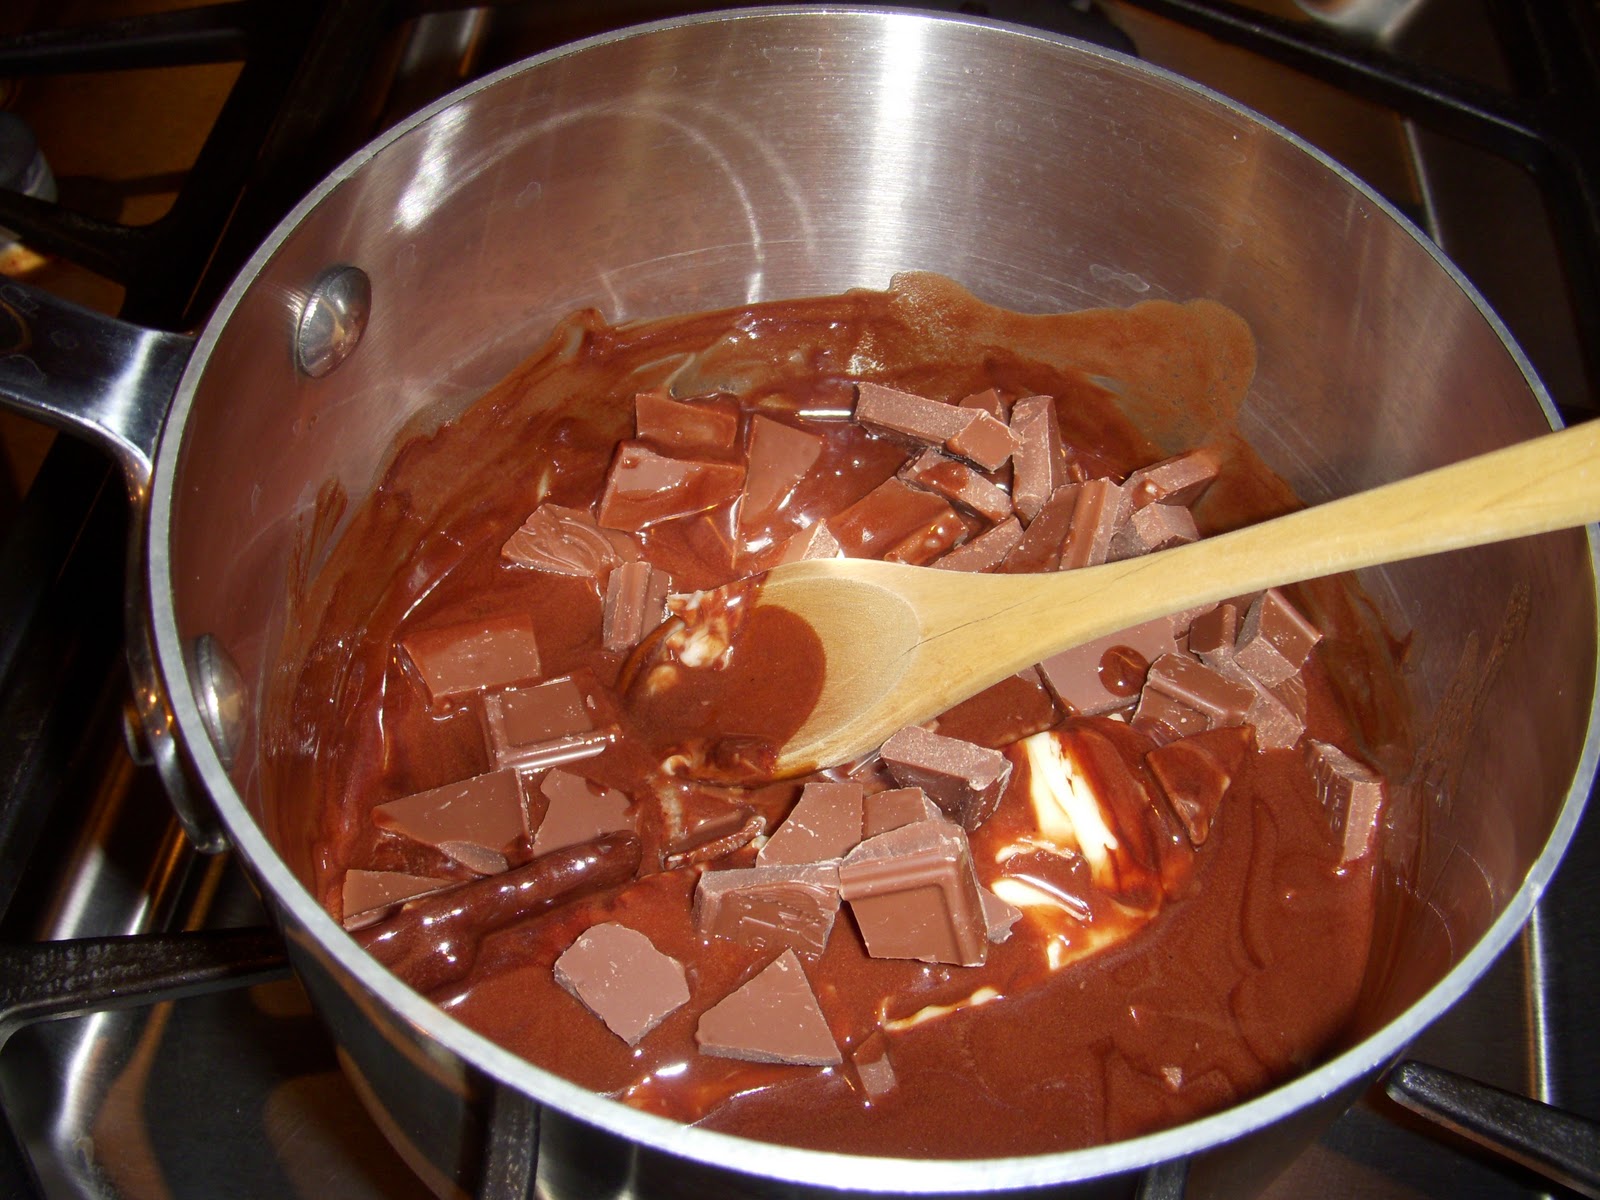
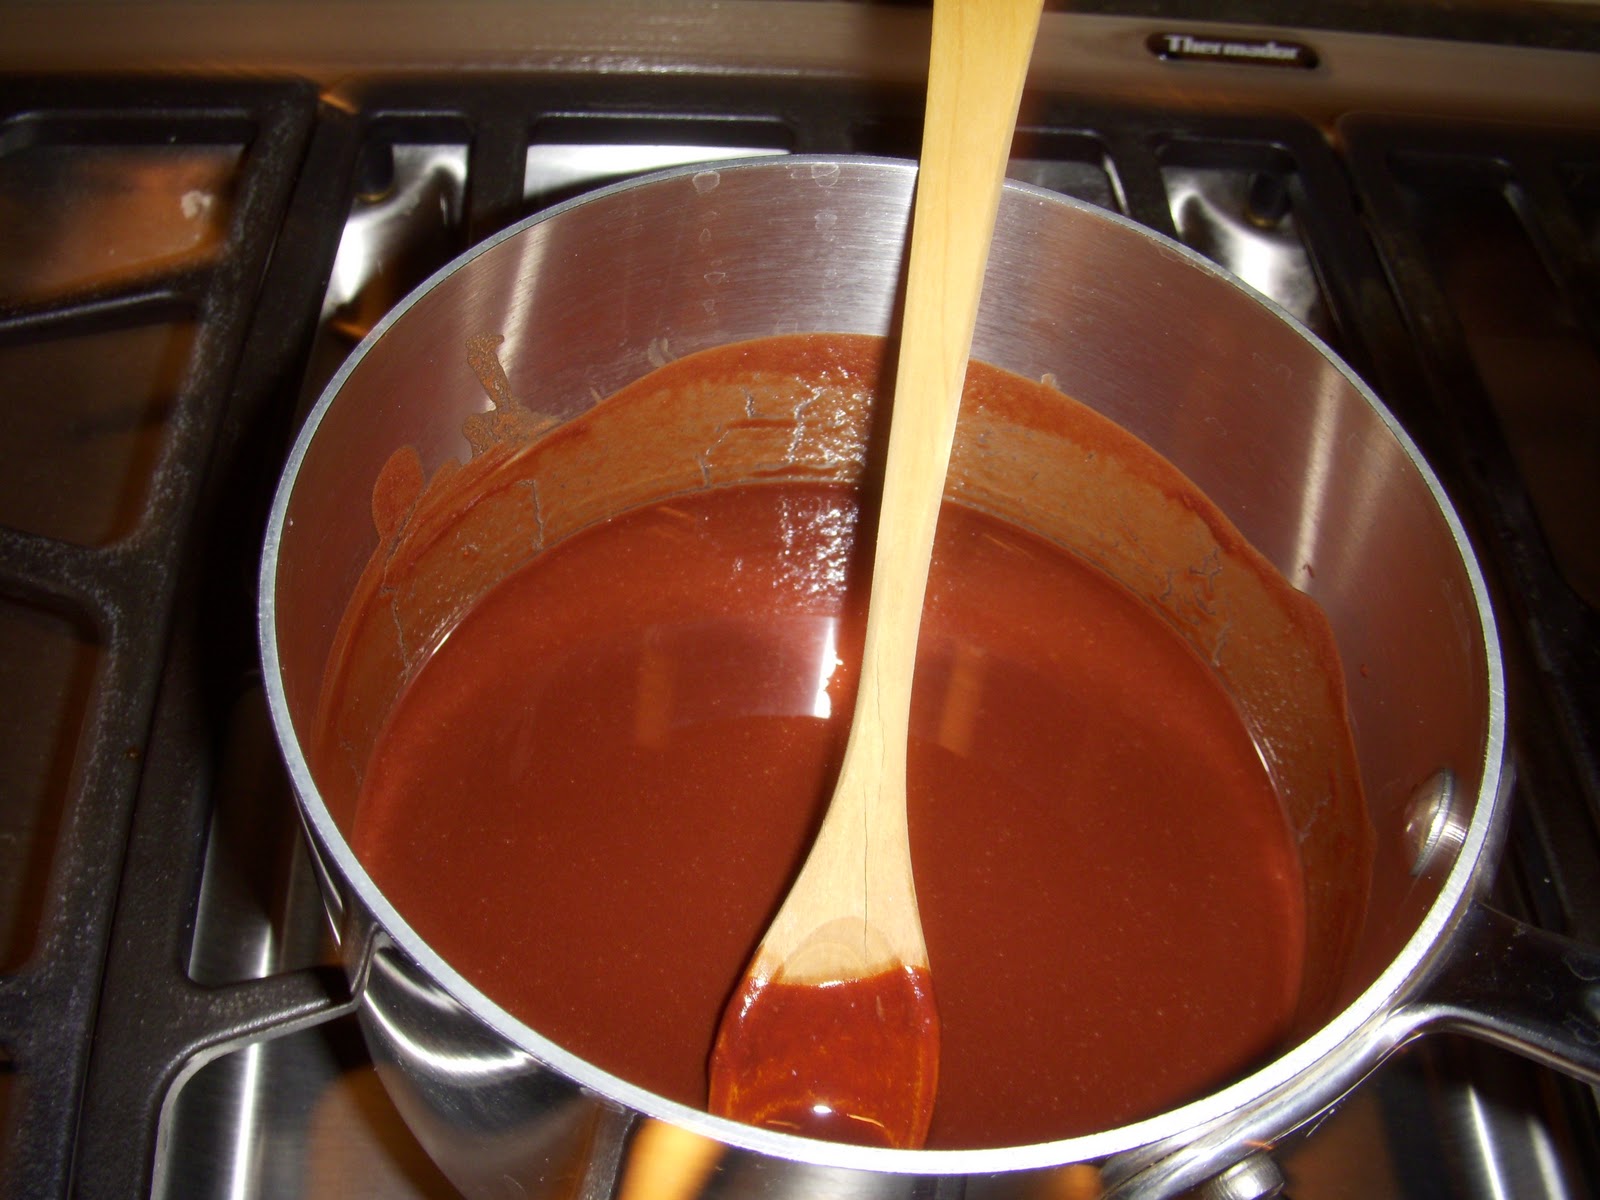
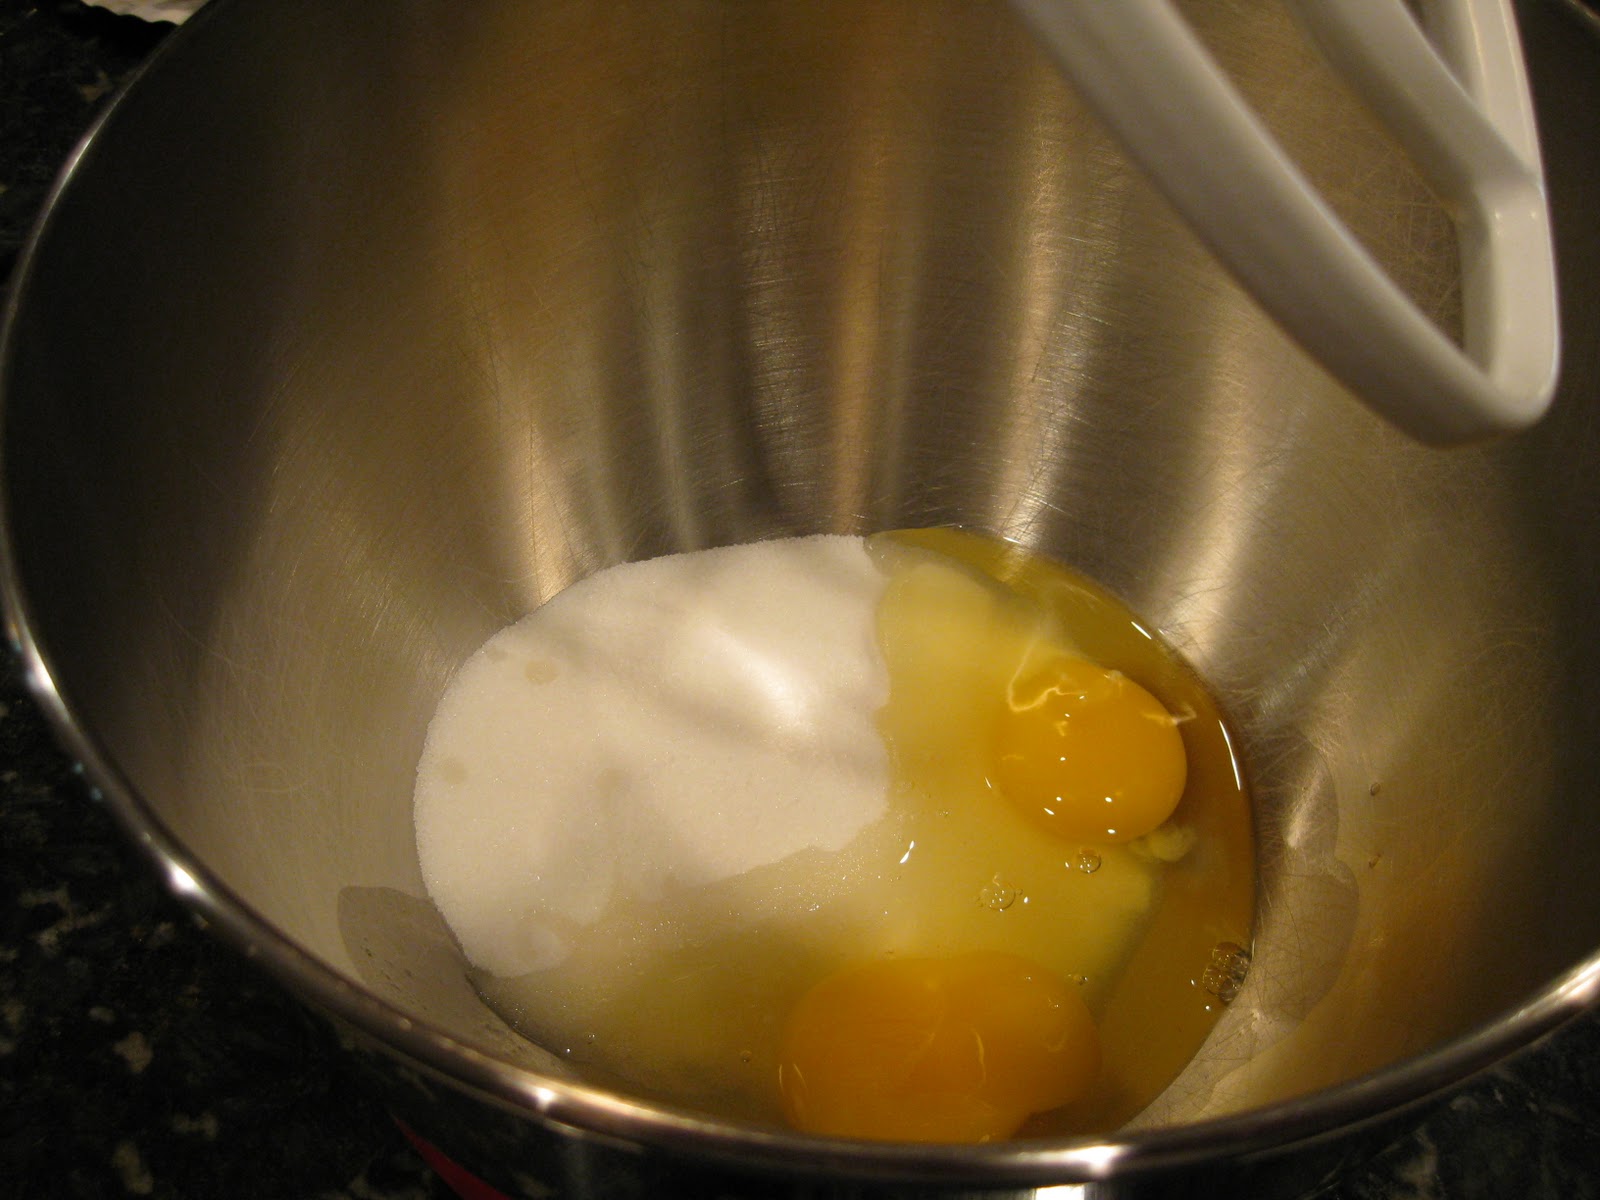
  2. In a saucepan set over low heat, melt the butter, then add the sugar and stir to combine. Return the mixture to the heat briefly, just until it’s hot (about 110-120 degrees F), but not bubbling; it’ll become shiny looking as you stir it. Heating this mixture the second time will dissolve more of the sugar, which will yield a shiny top crust on your brownies.
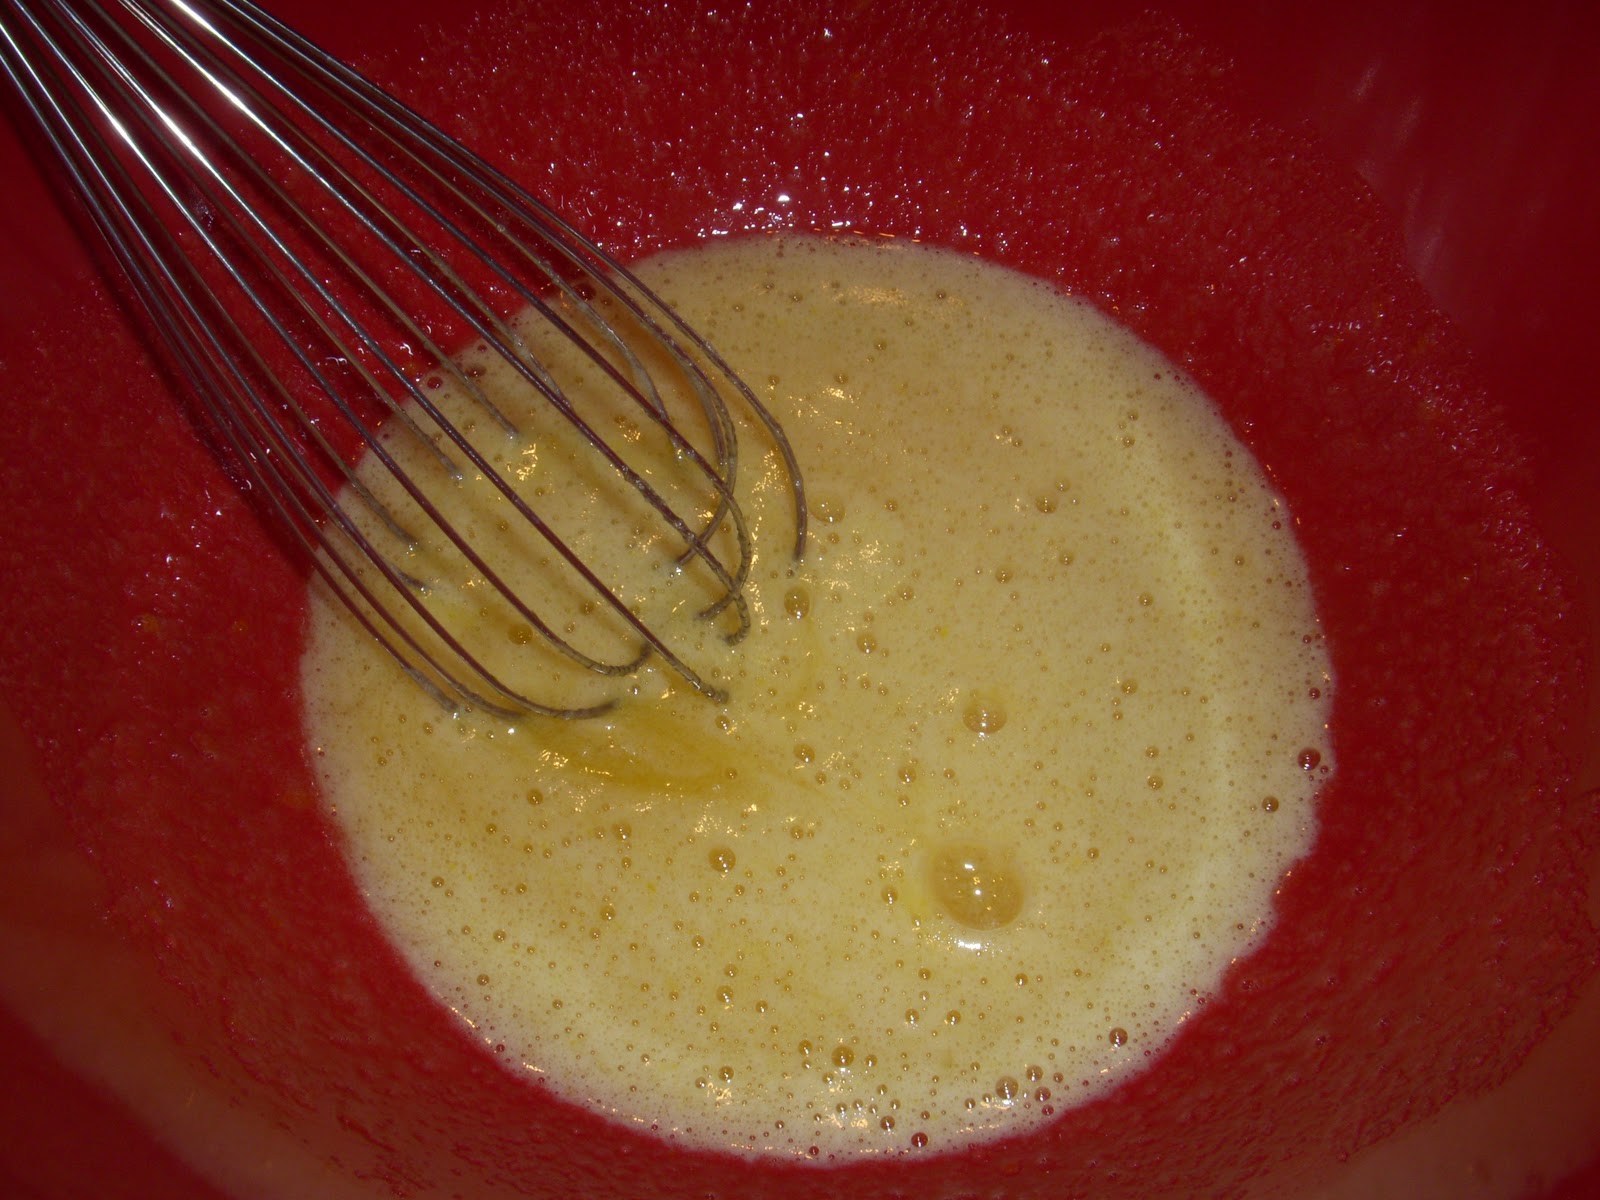
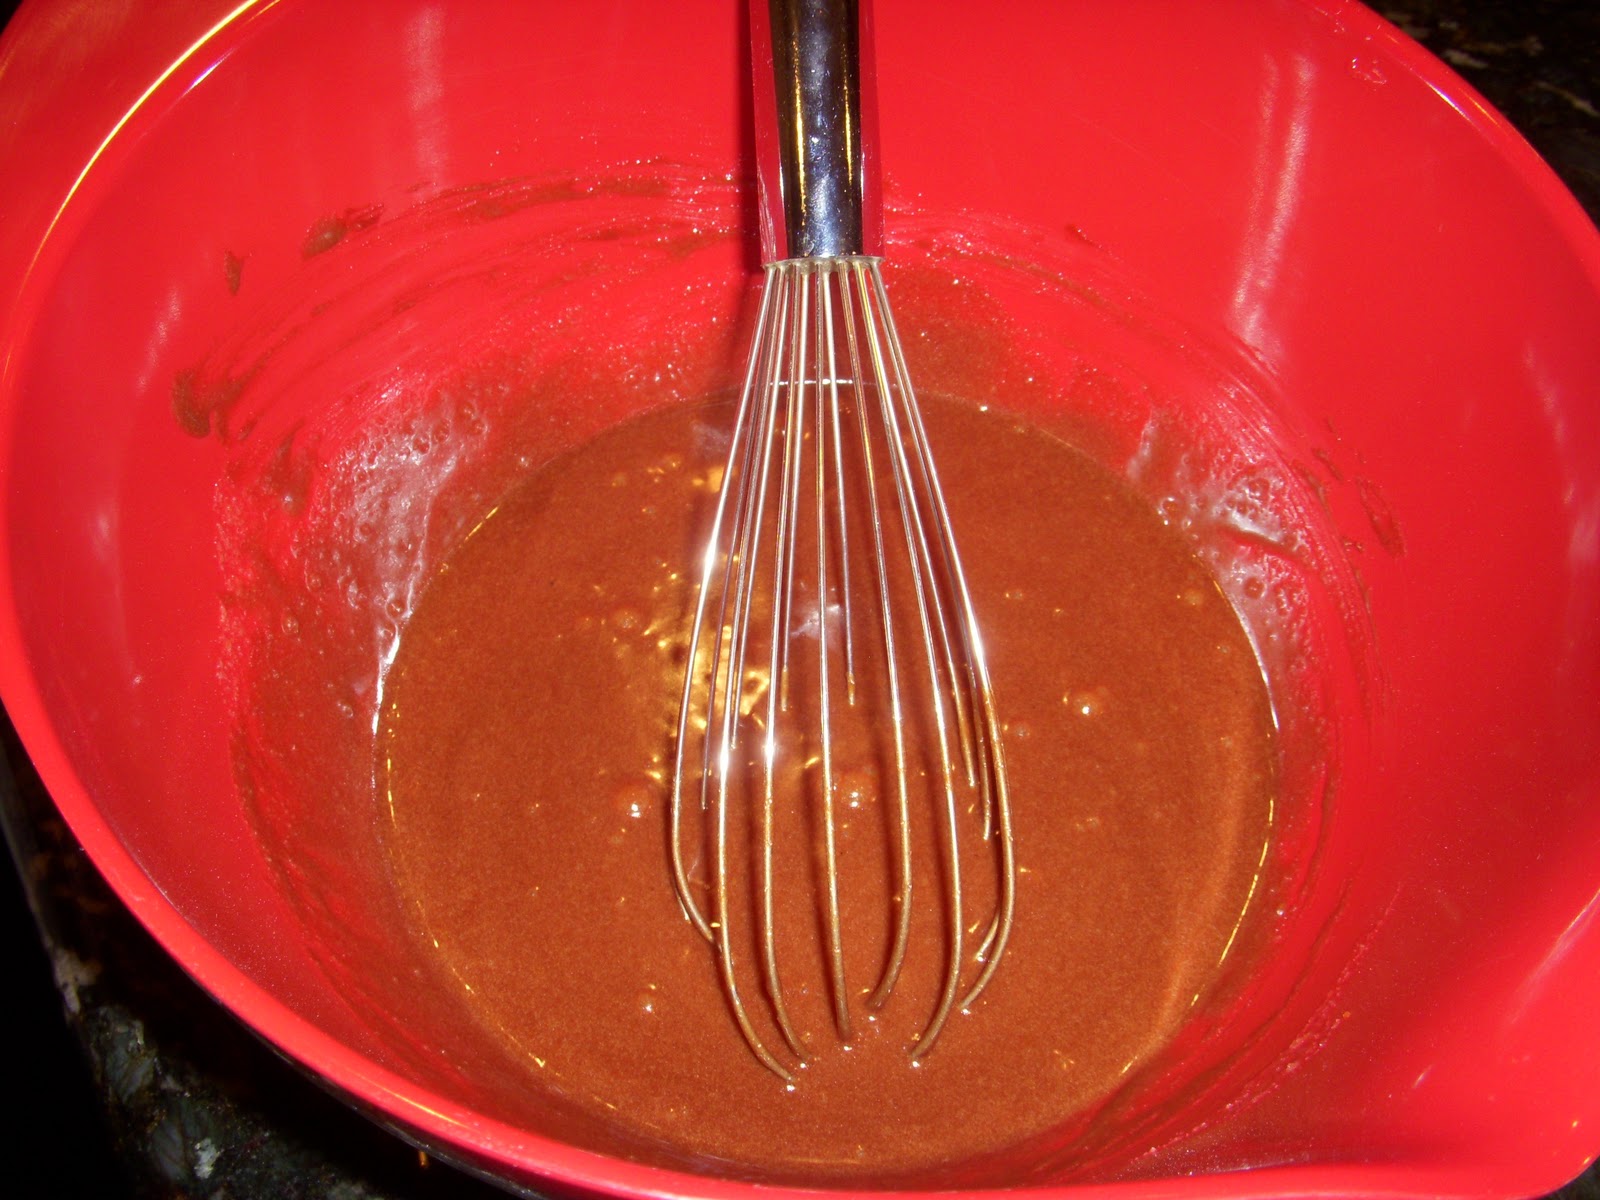
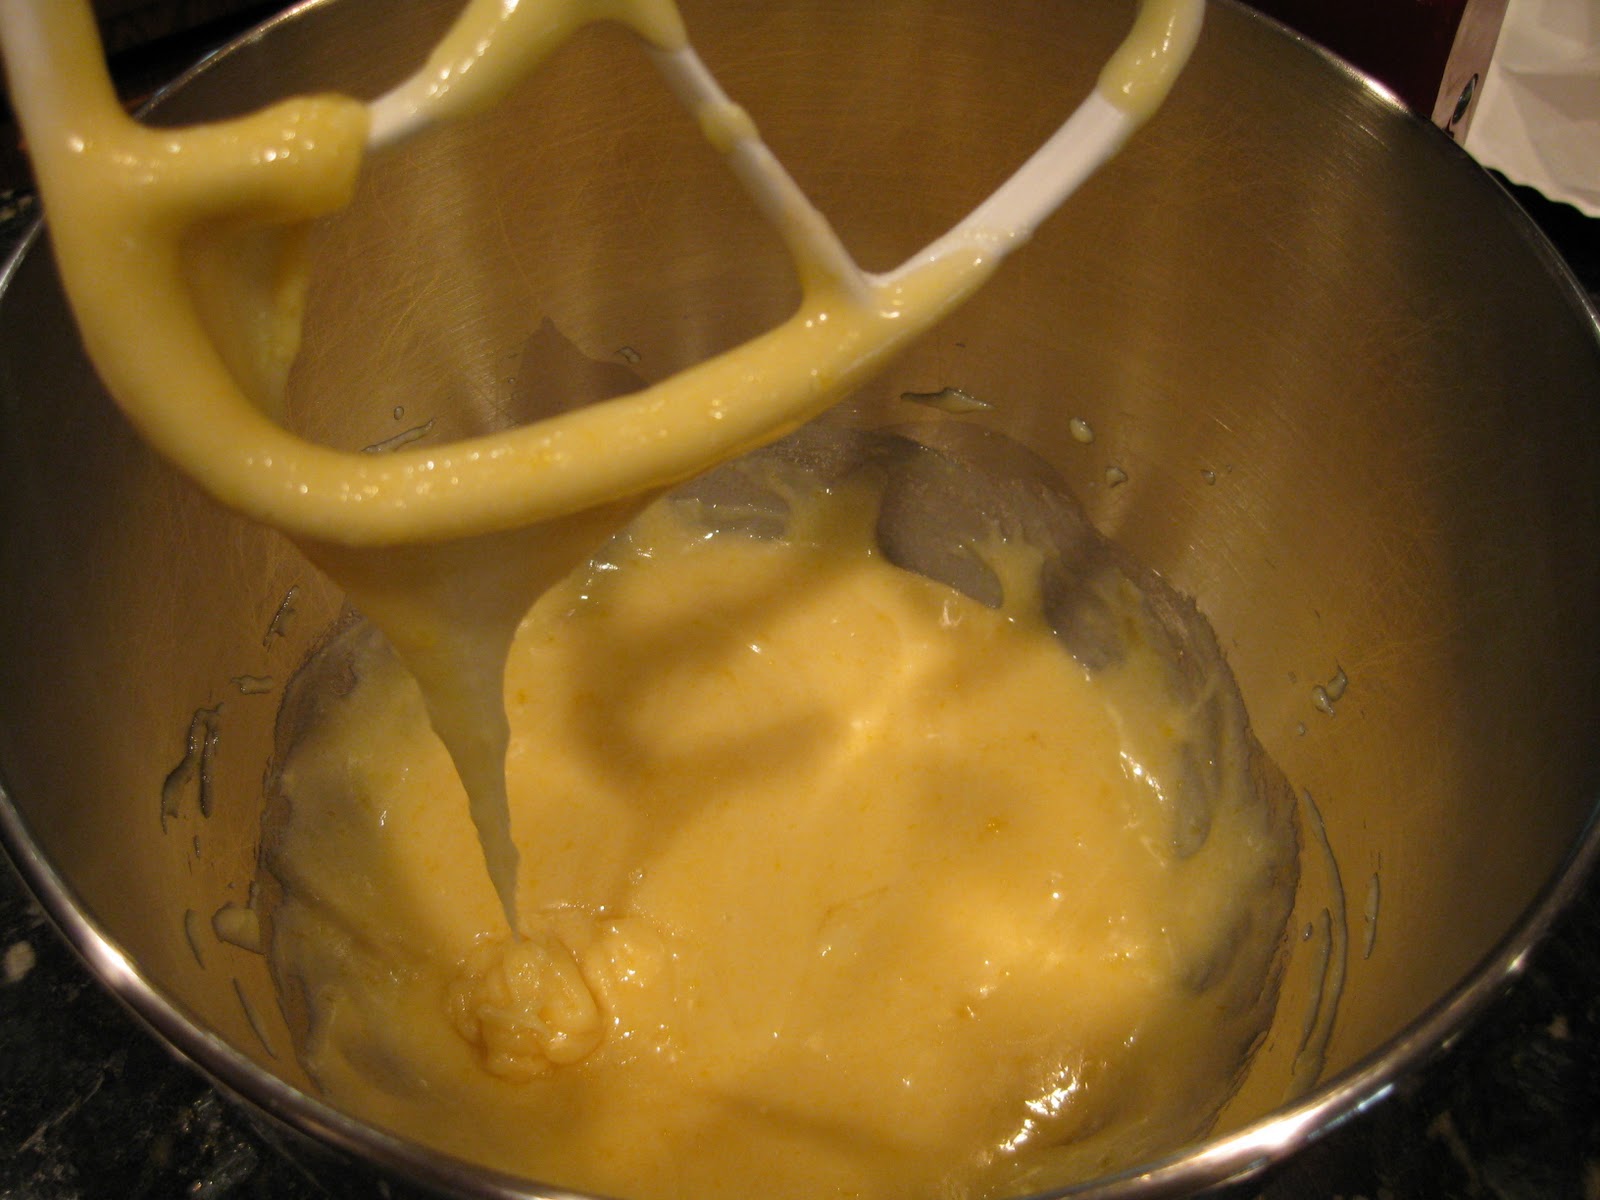
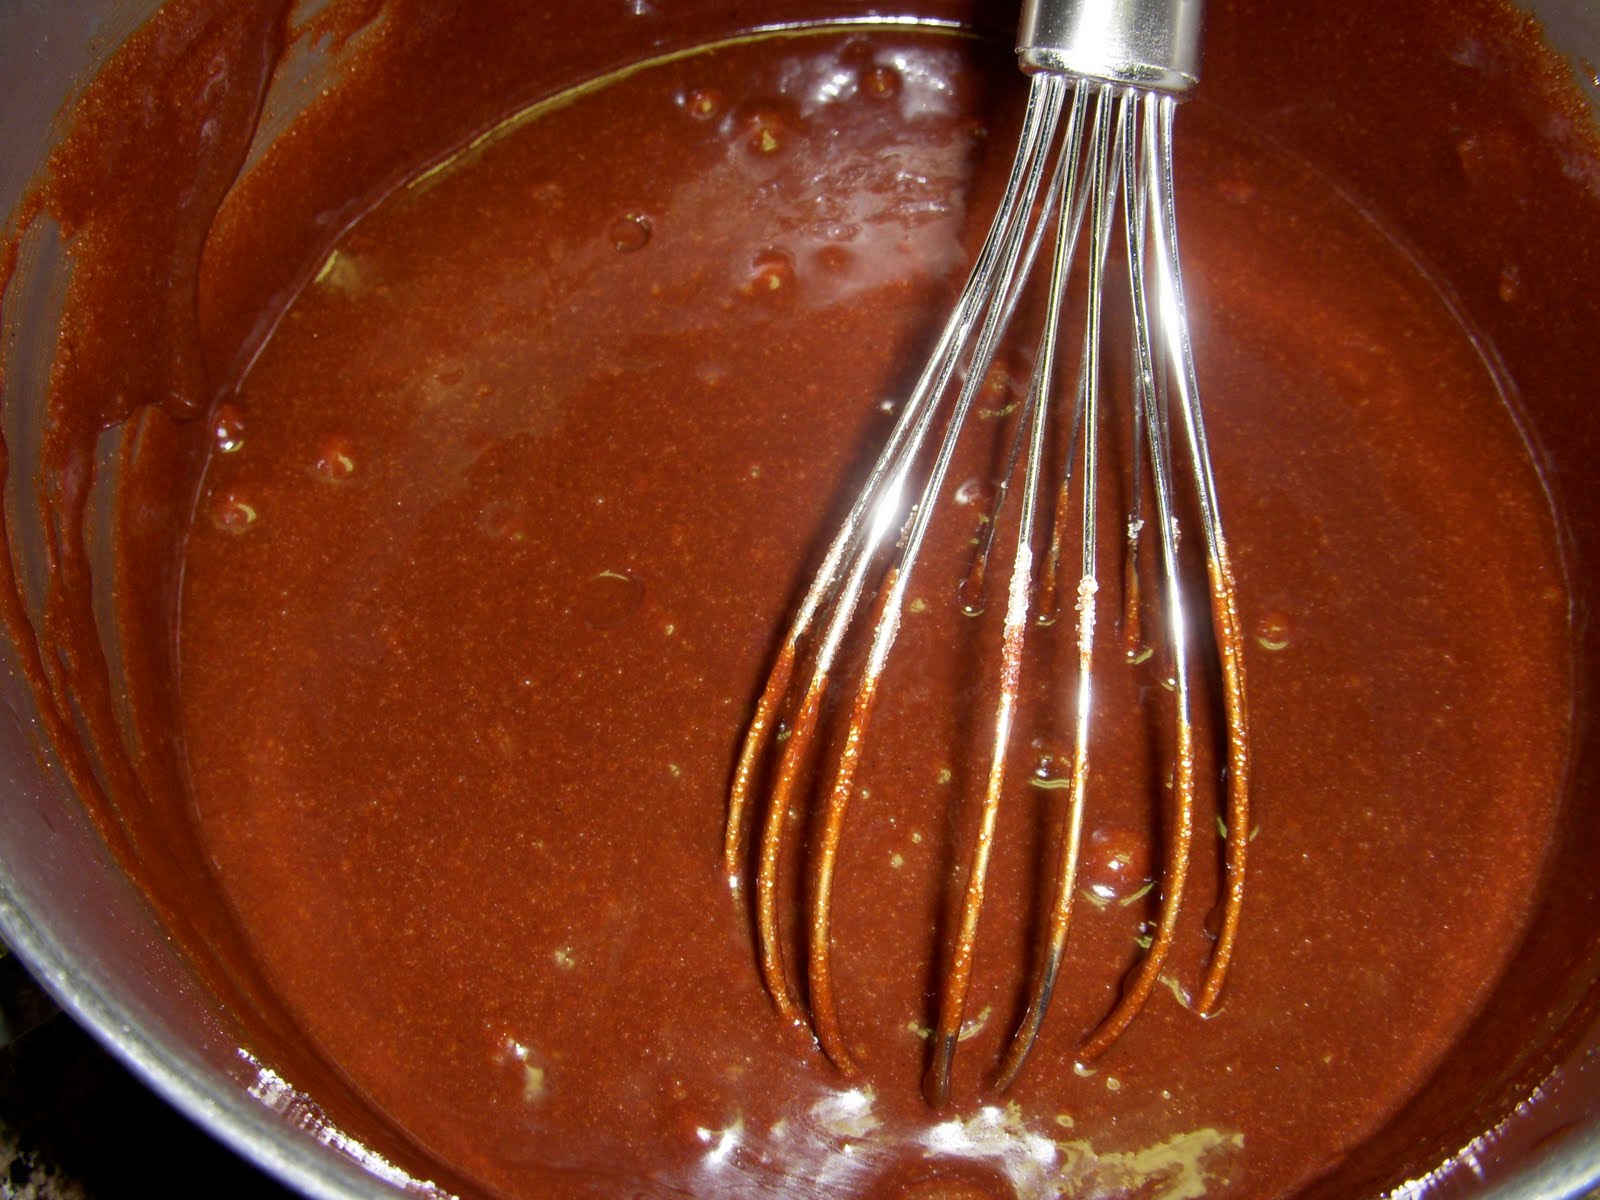
  3. Transfer the sugar mixture to a medium-sized mixing bowl. Stir in the cocoa, baking powder, salt, espresso powder and vanilla. Whisk in the eggs, stirring until smooth.
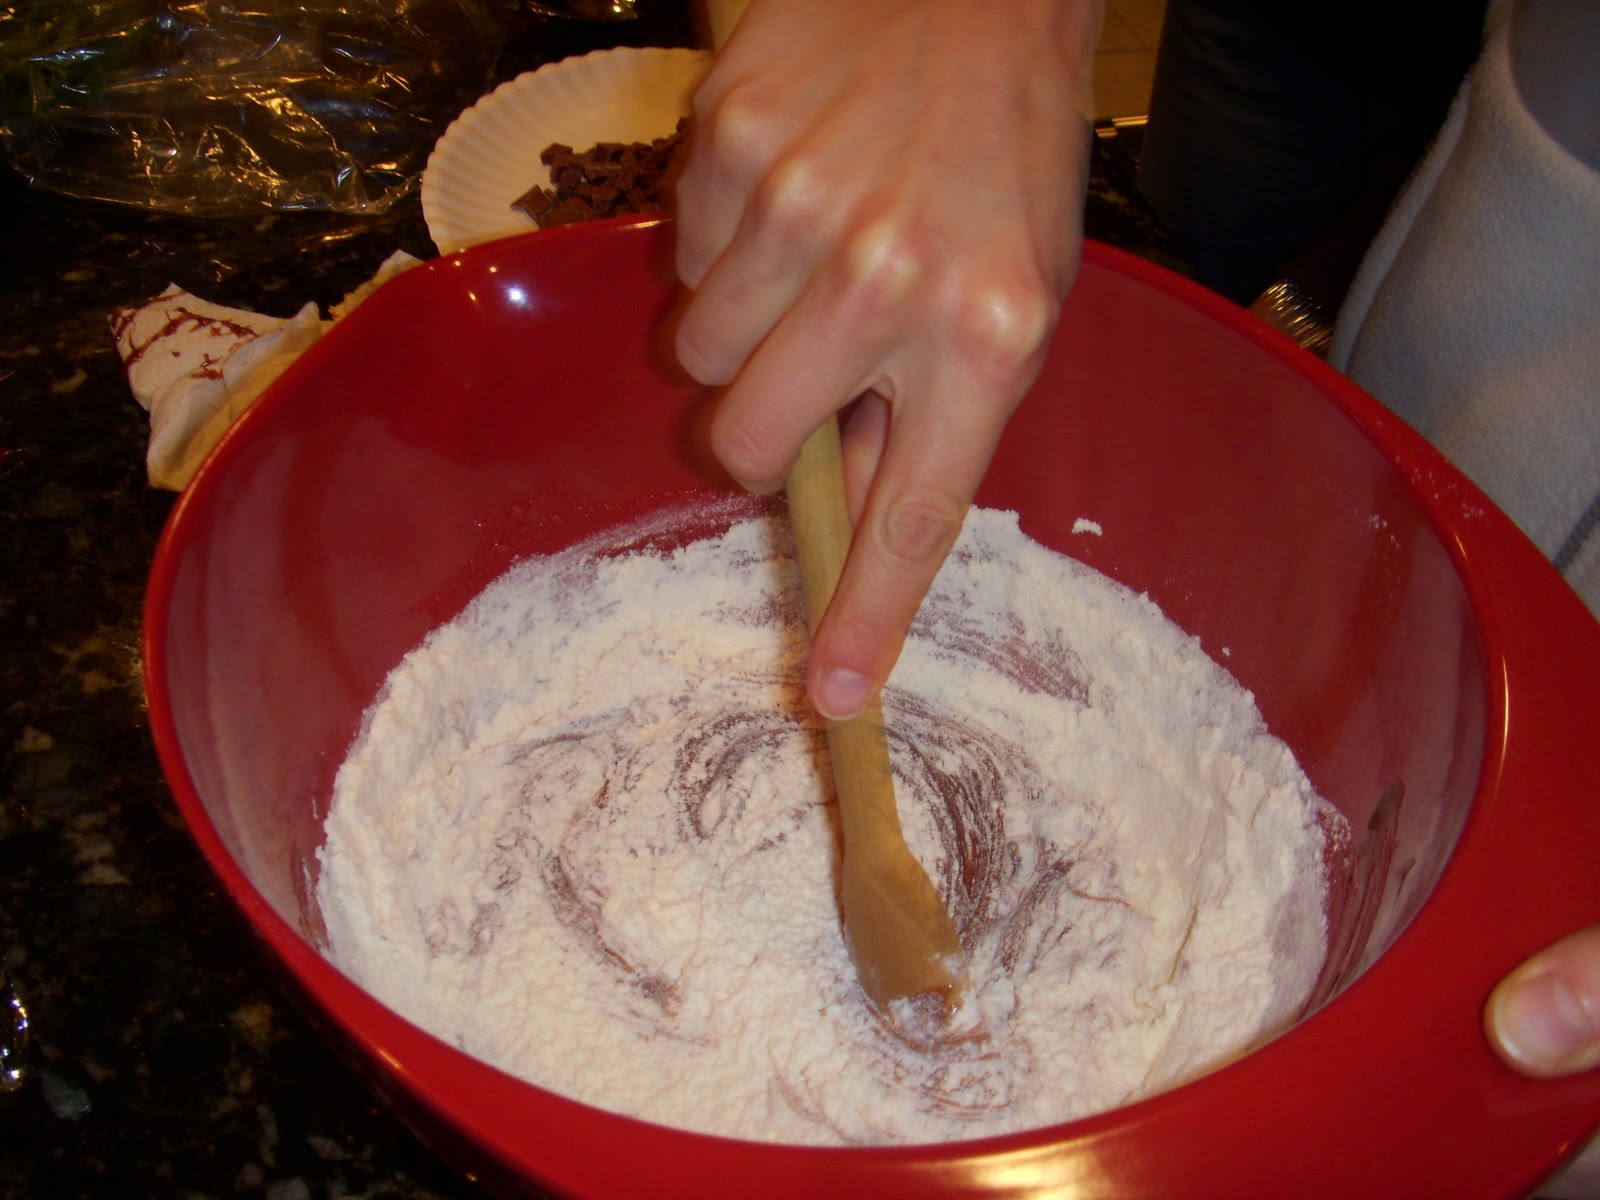
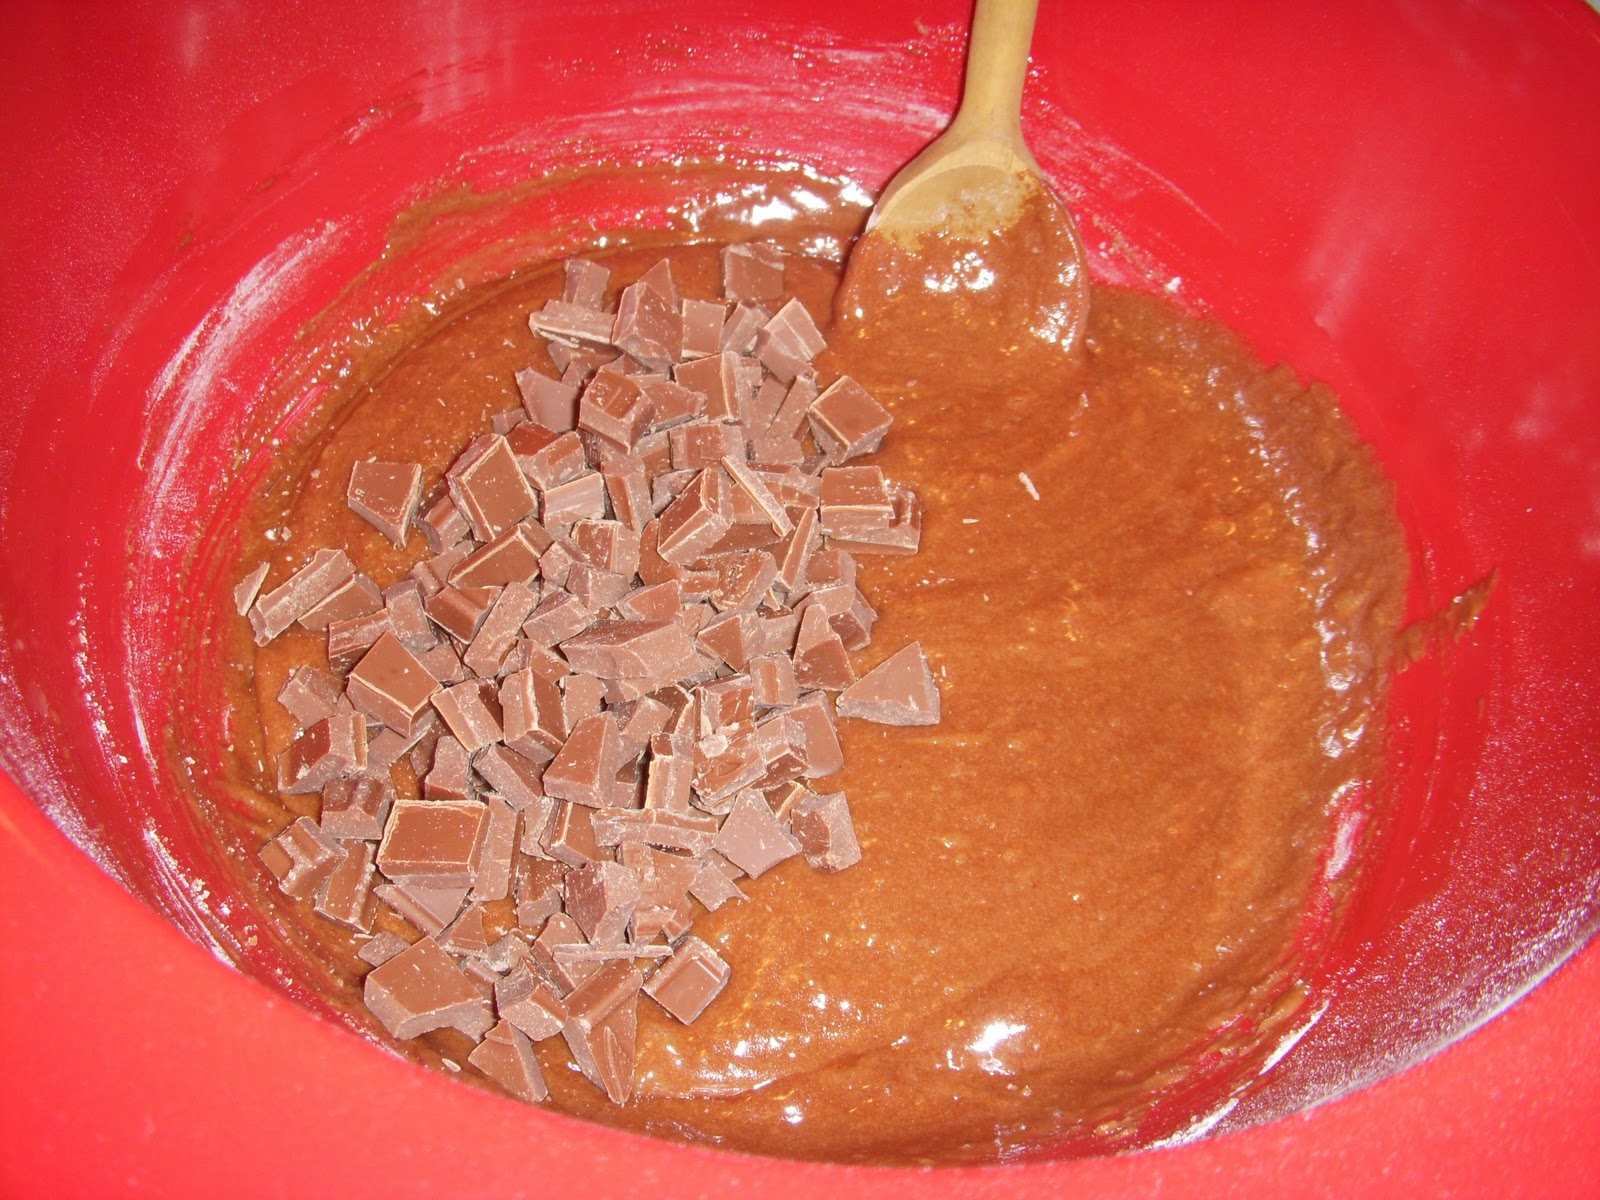
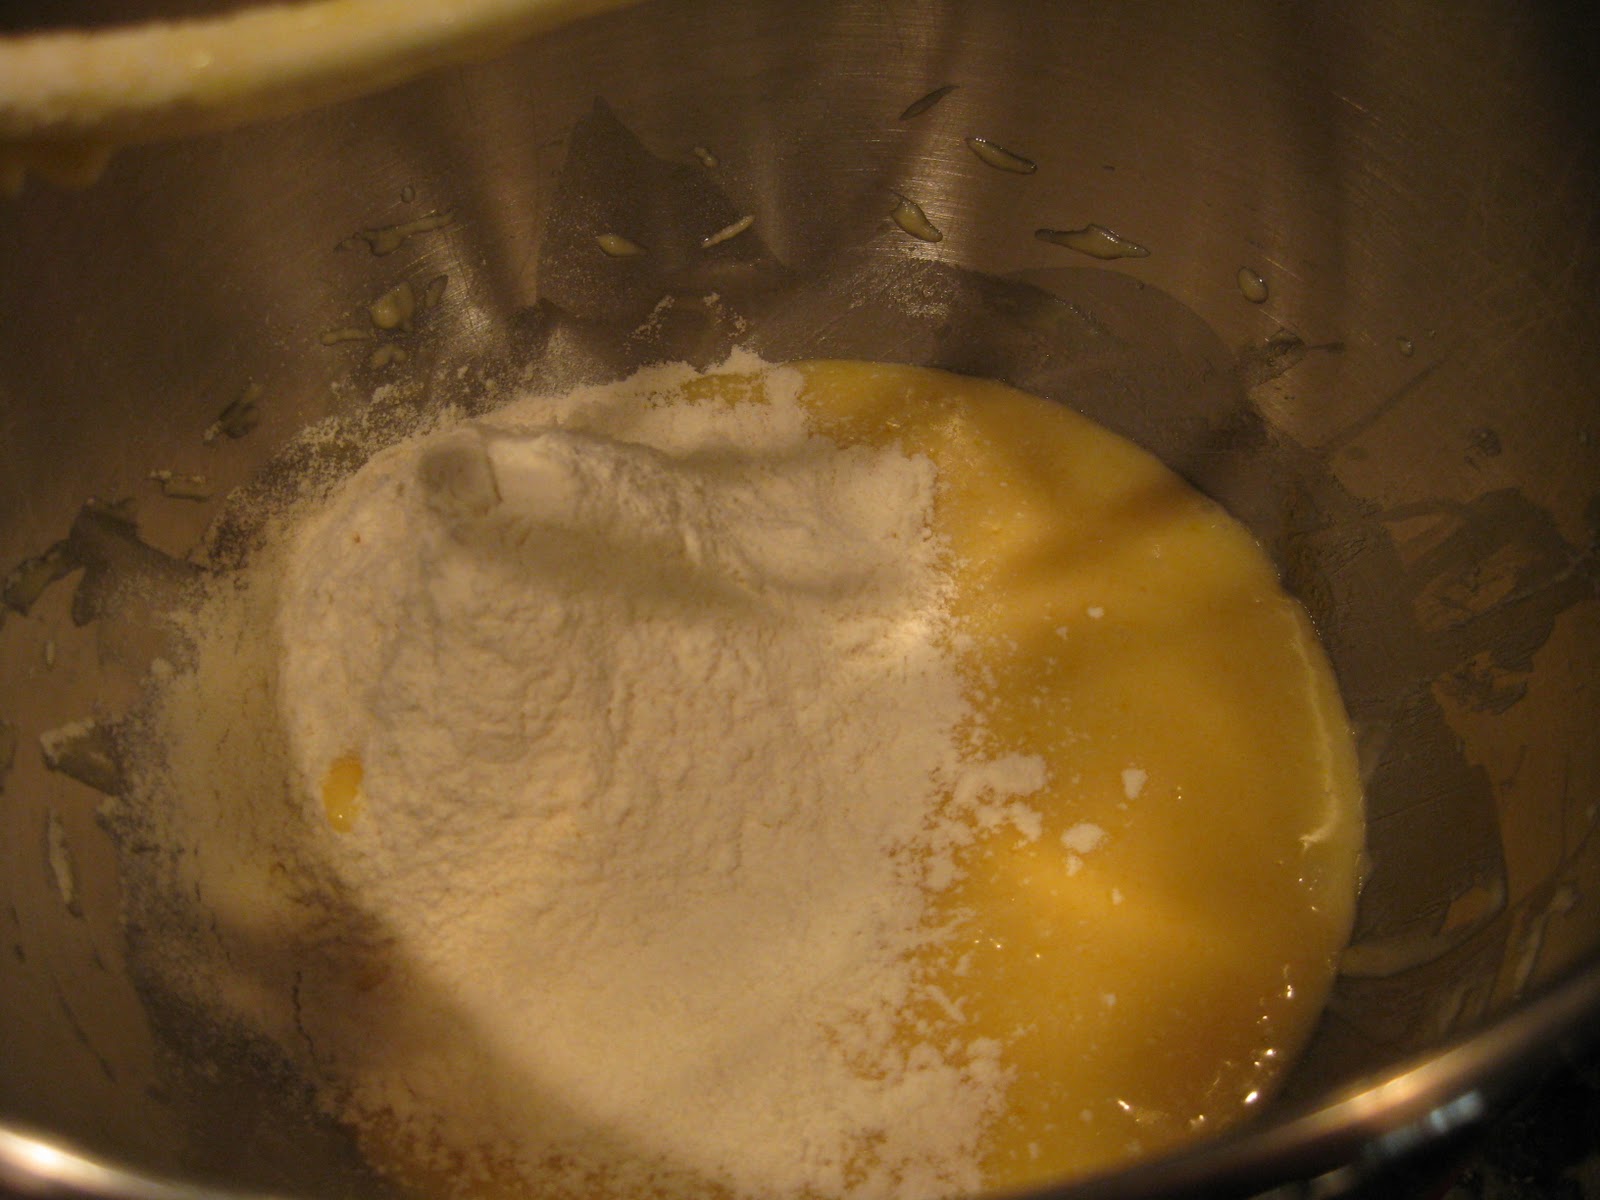
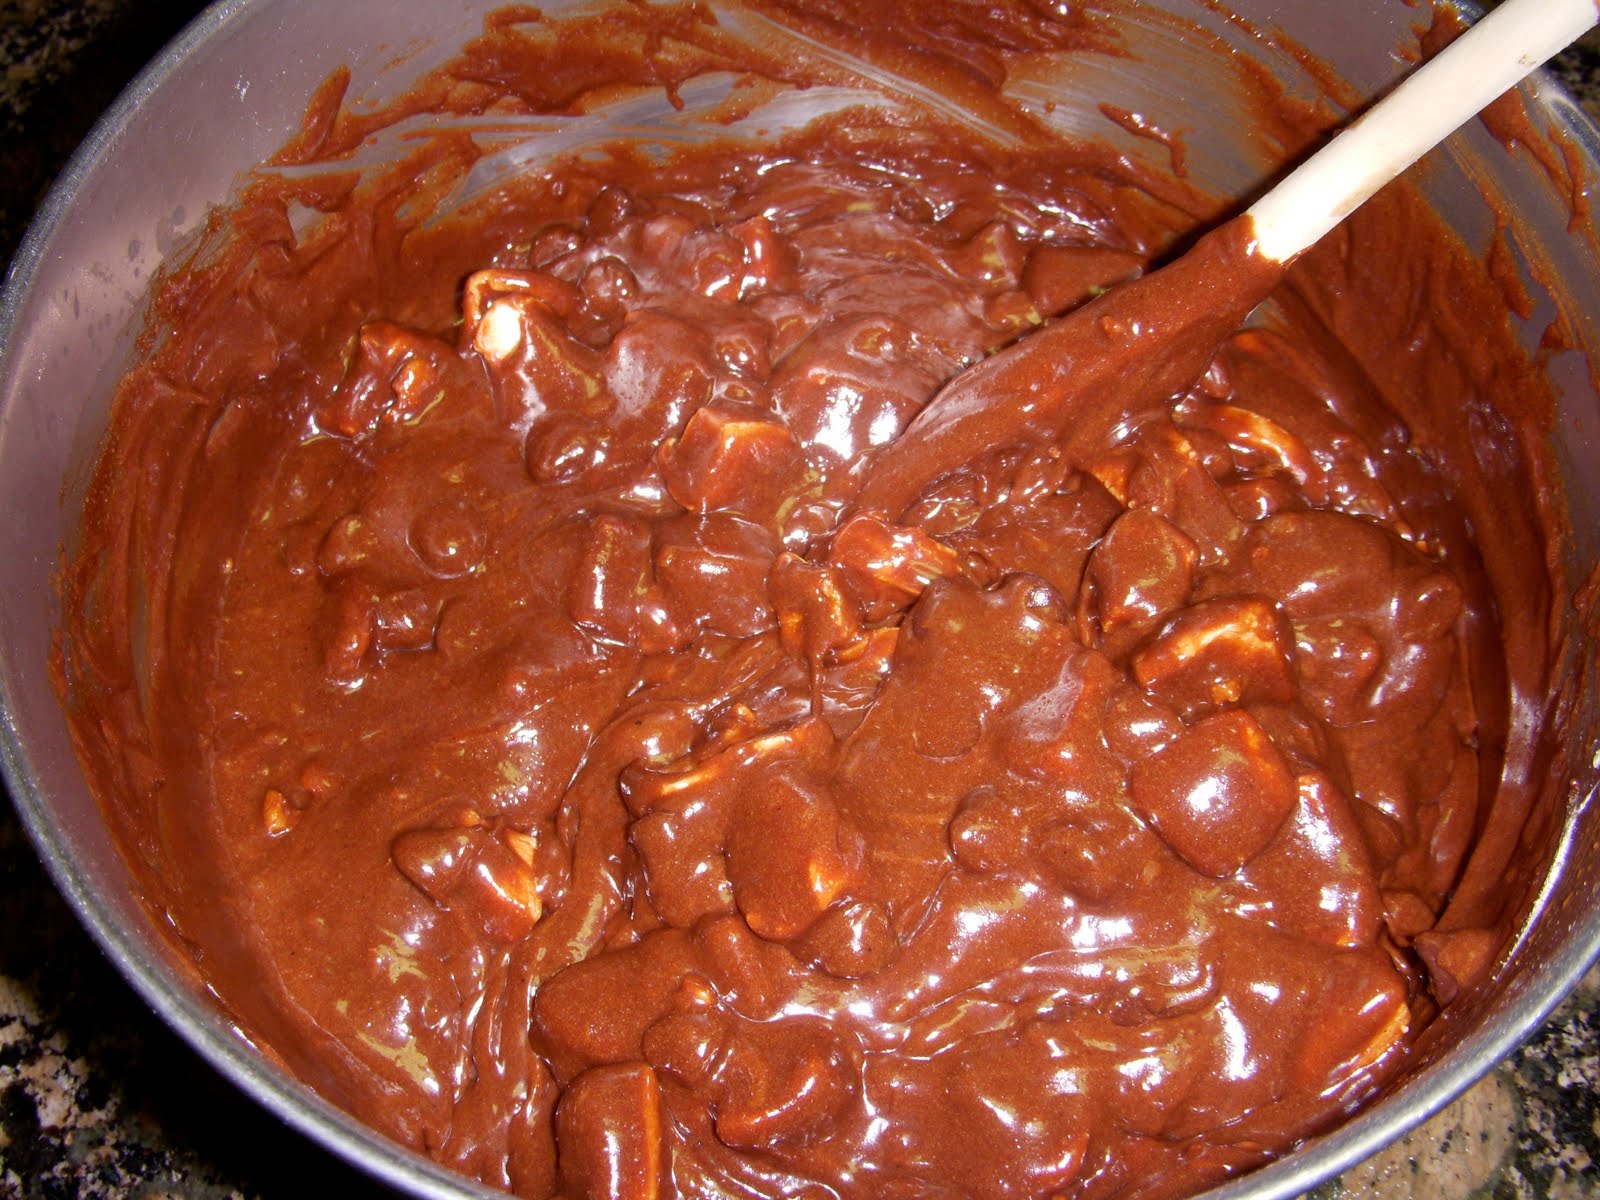
  4. Add the flour and chocolate chips. Stir until smooth.
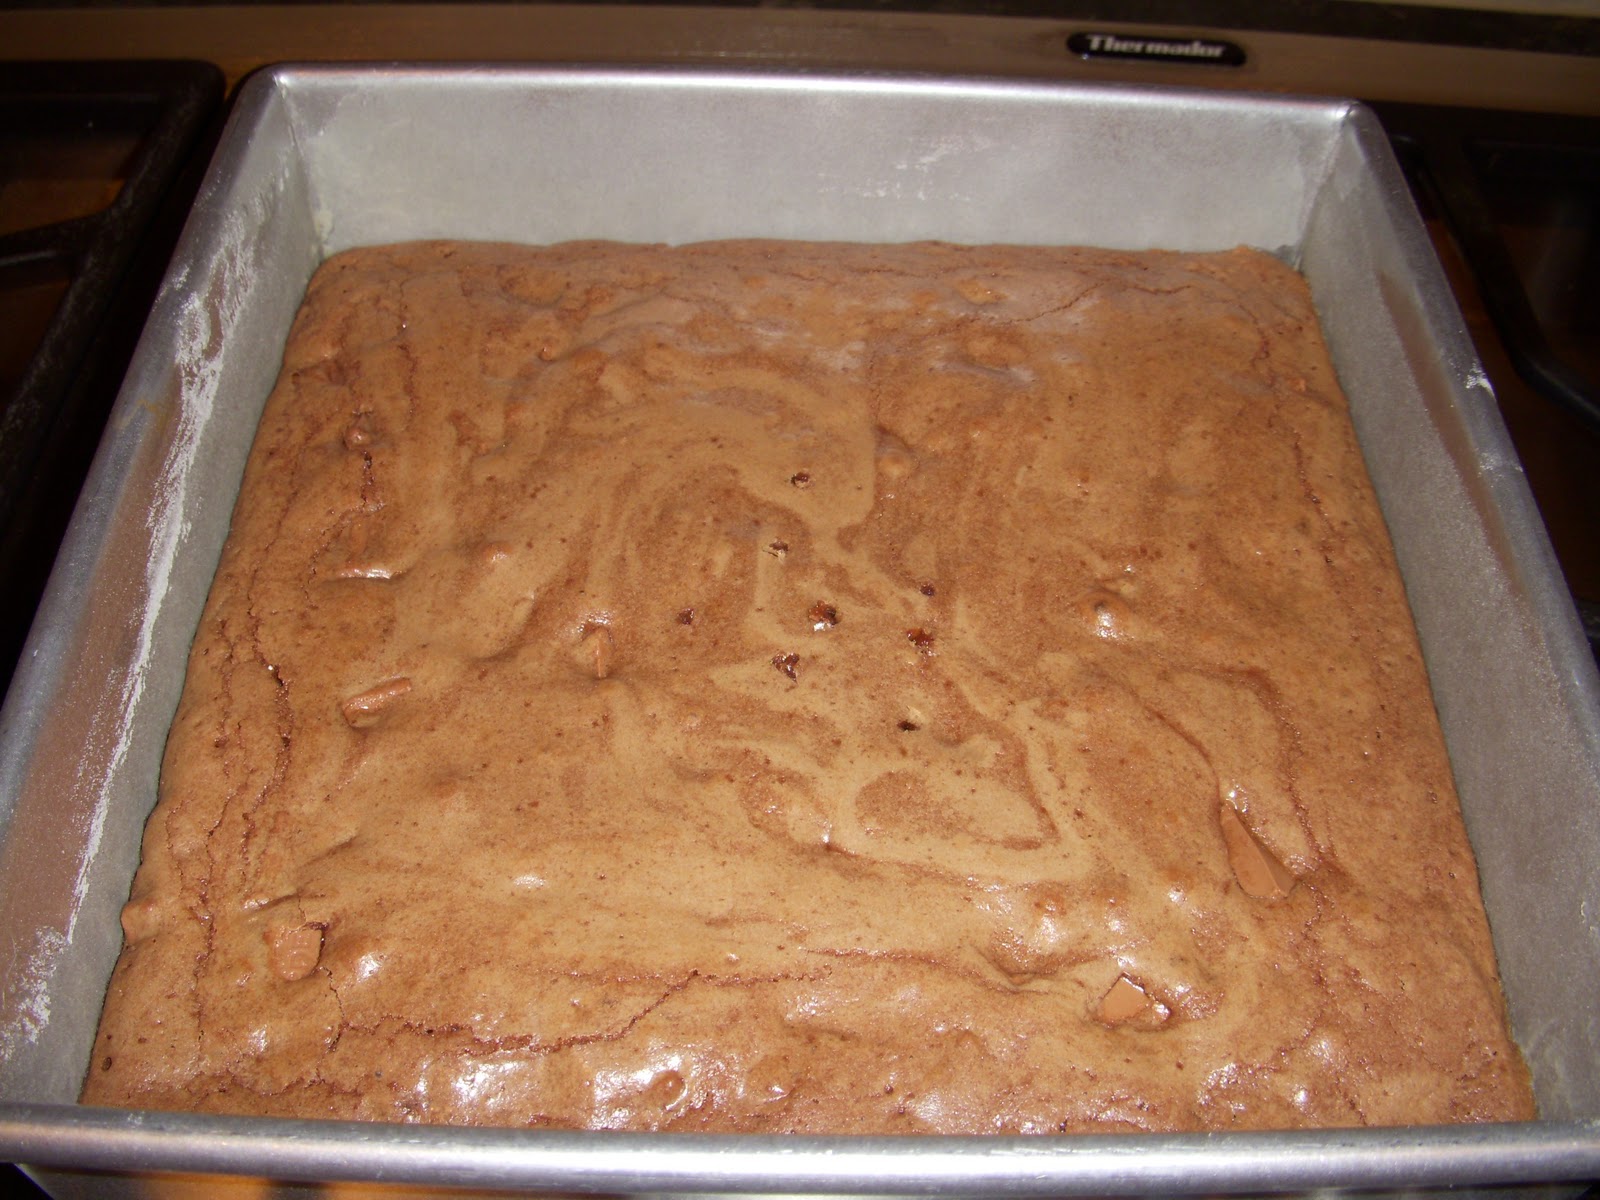
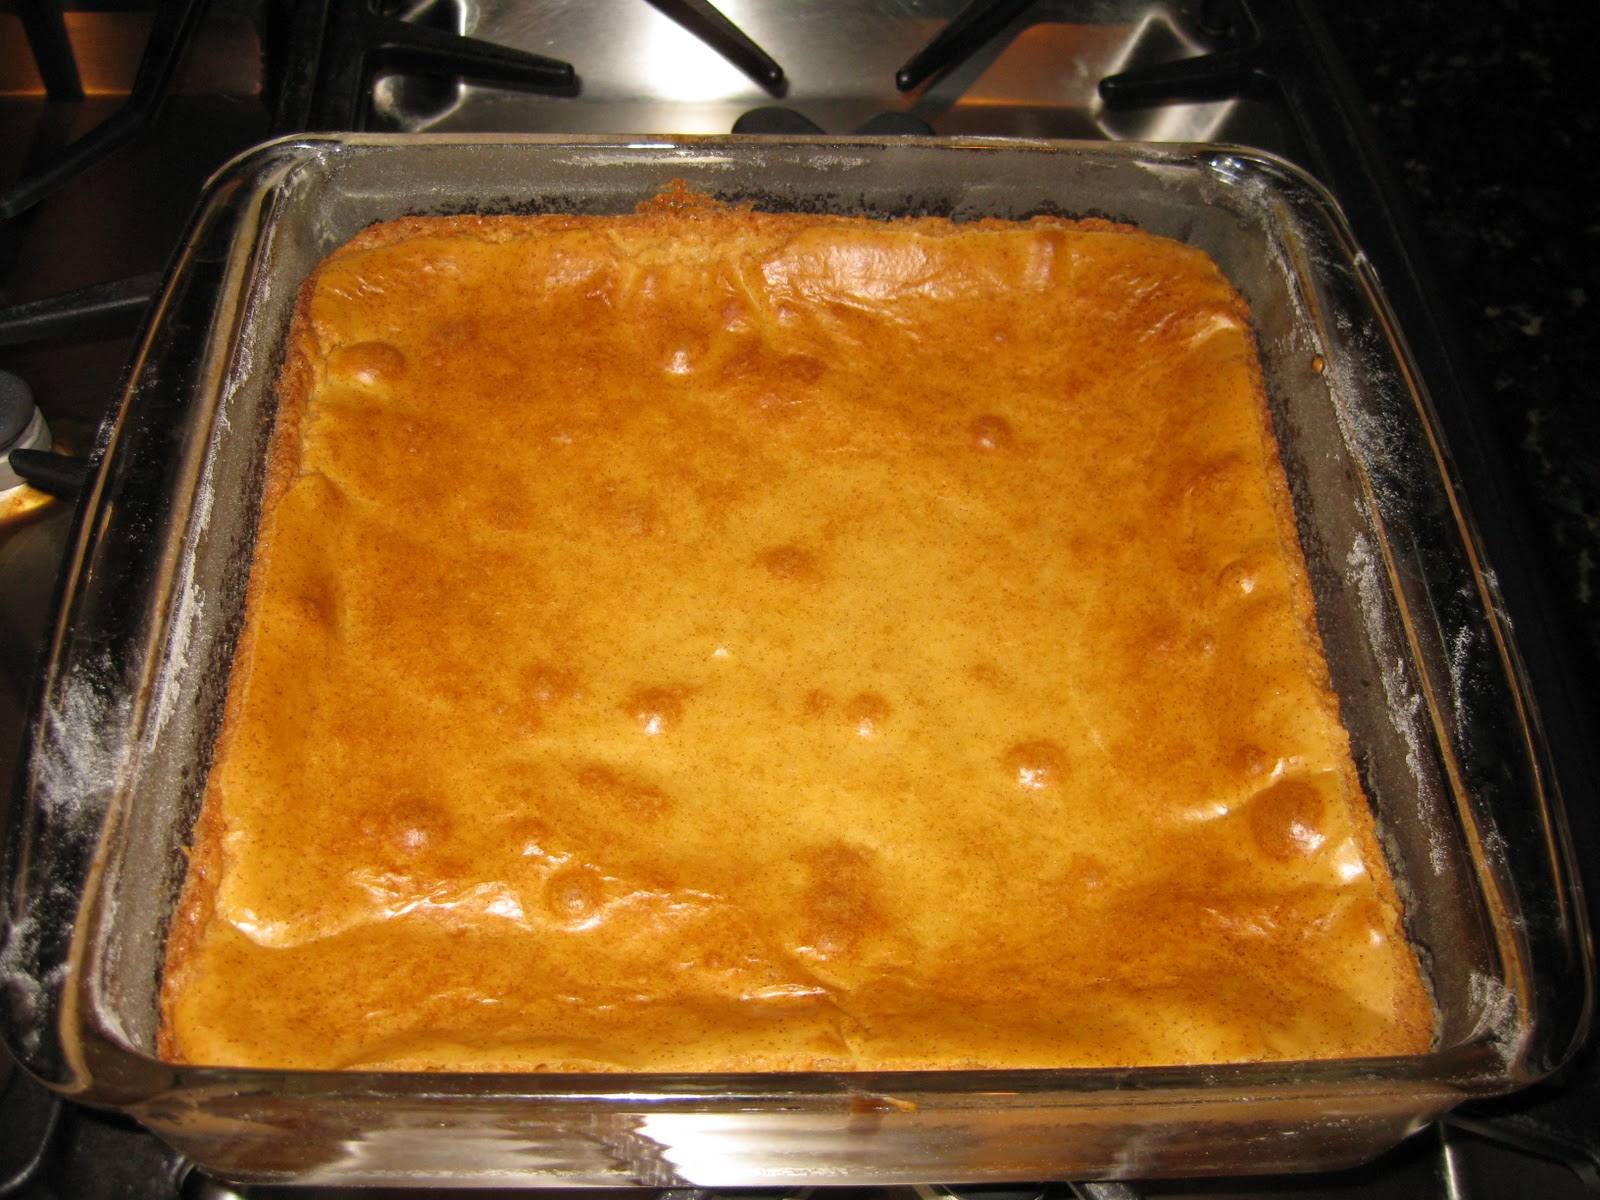
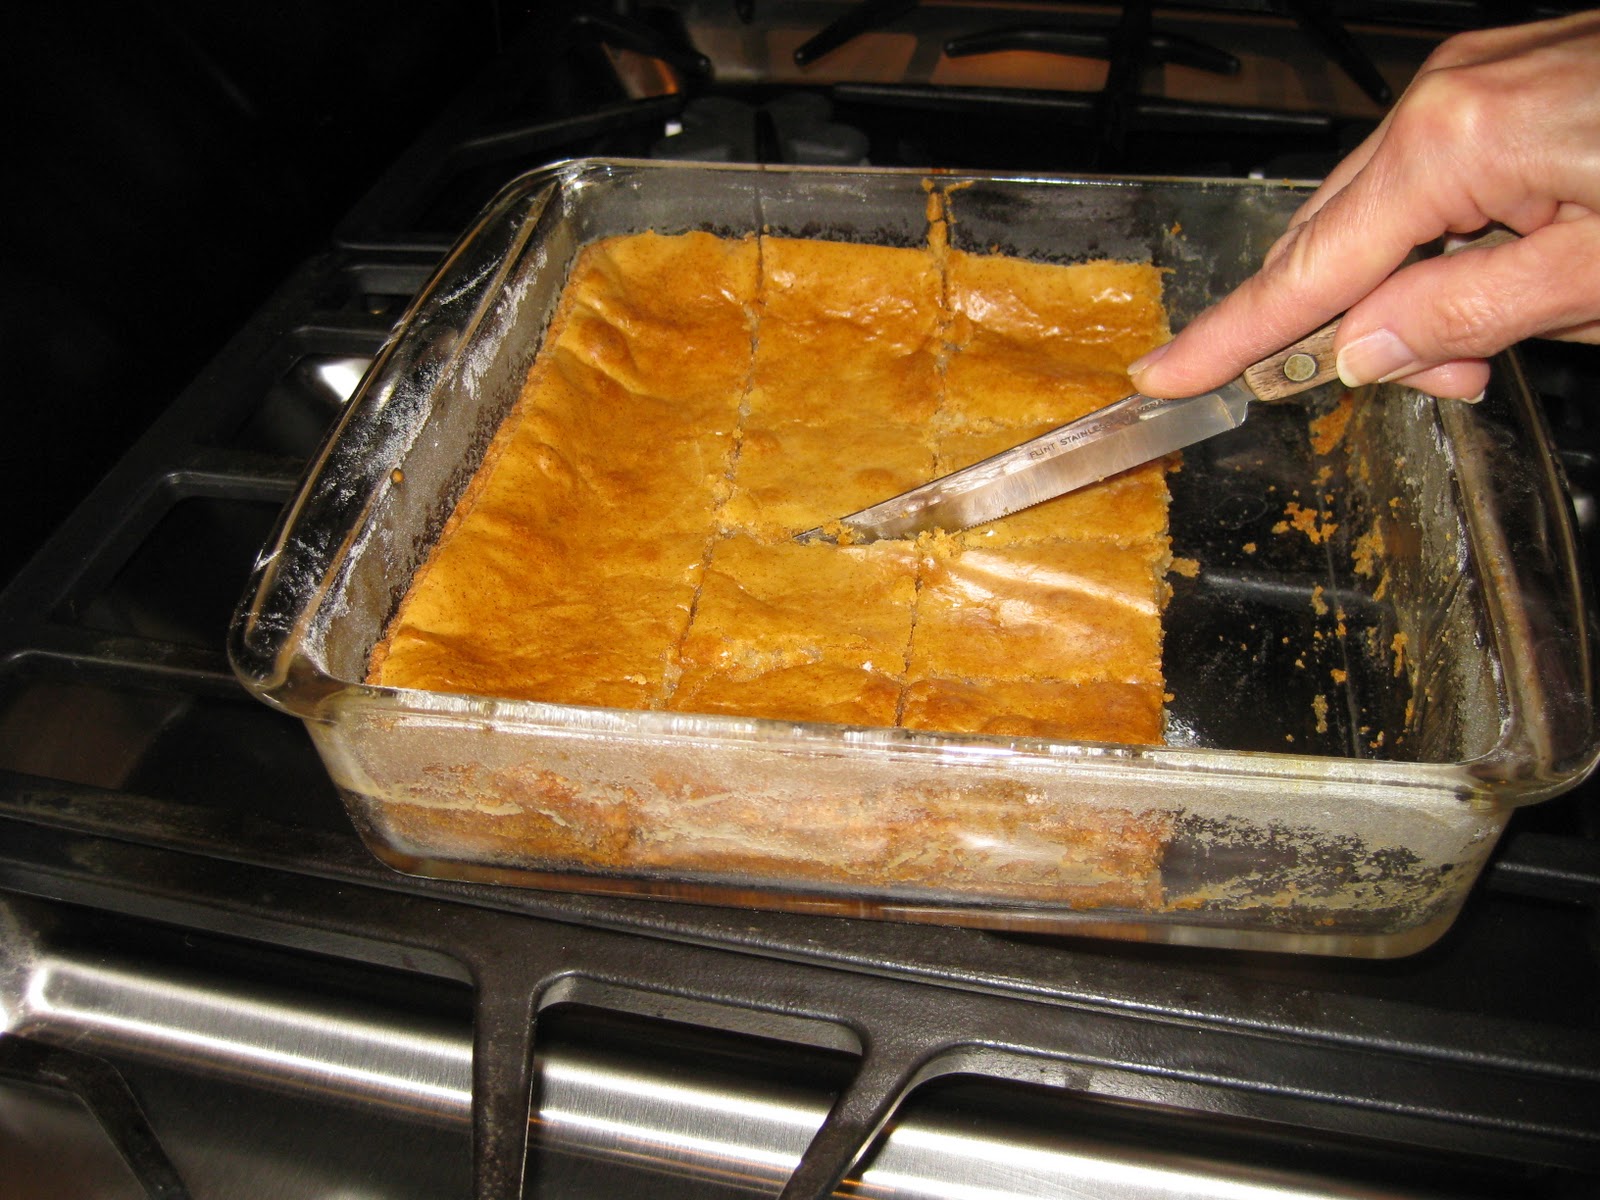
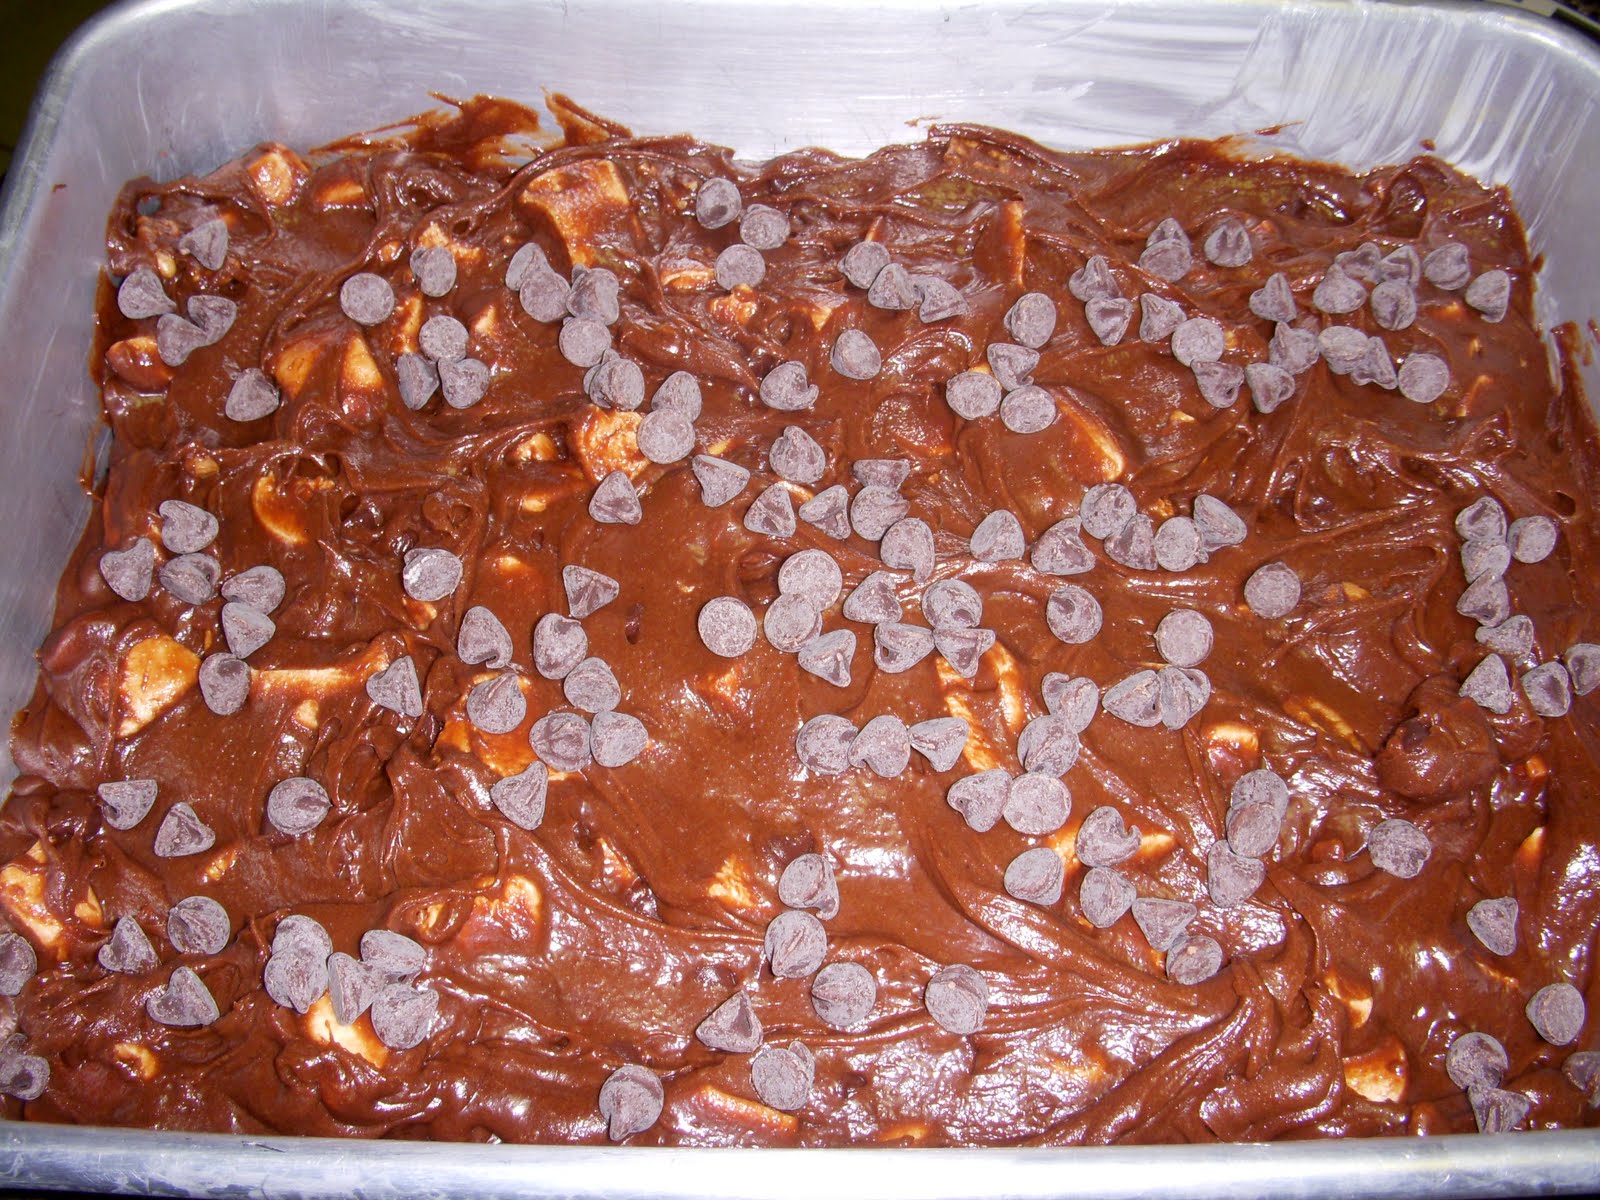
  5. Spoon the batter into the prepared pan. Bake the brownies for about 30 minutes, until a cake tester inserted into the center comes out clean, or with just a few moist crumbs clinging to it. The brownies should feel set on the edges, and the center should look very moist, but not uncooked. Remove them from the oven and let cool on a rack before cutting and serving.


‘Supernatural’ Brownies and Happy Father’s Day


IMG_7450

Happy Father’s Day to all who are Dads!

For those of you who know my Dad, you know that he LOVES chocolate. Fortunately for him, he had a DOUBLE-DOSE of brownies this weekend!!

My sister Brittany came in from Michigan this weekend and while she and my mom were perusing the Internet, they came across a recipe for brownies from Saveur called Nick’s Supernatural Brownies. Mom and Brittany made the brownies on Friday, and called me up that night to tell me how good they were!

I was a little jealous that I wasn’t at my parent’s house to try the brownies, so the next day I decided to whip up a batch for myself… and with hopes to give some to my father-in-law, Tony. (Sorry Tony – As I’m writing this, there are only 3-4 brownies left!!)

On Sunday when my parent’s came over to my house for Father’s Day, they brought over 4 of their brownies. We did a little comparing, and noticed that our brownies looked a little different.

Mom’s were thicker, lighter in color and slightly sweeter. The reason:

  • she baked her’s in a 9 x 13″ pan
  • she used light brown sugar
  • she used semi-sweet chocolate.
supernatural brownies
Mom’s brownies: thicker, lighter in color and slightly sweeter.
supernatural brownies
Close-up of my mom’s version.

My version of the supernatural brownies were darker, slightly more fudgy, thinner, and not quite as sweet. The reason:

  • I baked mine in an 8″ square pan since I halved the recipe.
  • I used dark brown sugar
  • I used unsweetened chocolate
supernatural brownies
My brownies: slightly thinner, darker, and more fudgy.
brownie sundae
These brownies are great with a scoop of vanilla bean ice cream and chocolate fudge sauce!

So, which brownies are better, my mom’s version or mine?

It’s hard to tell. Matt likes mine better, I like Mom’s because they were slightly sweeter, and Dad was indifferent… chocolate is chocolate in his opinion!

Anyways, Happy Father’s Day!!!

‘Supernatural Brownies’
Cook time:
Total time:
Serves: 24
Ingredients
  • 16 Tbsp. unsalted butter, plus more for greasing
  • 8 oz. bittersweet chocolate, cut into 1/4″ pieces (Mom used semi-sweet, I used unsweetened)
  • 4 eggs
  • 1 cup sugar
  • 1 cup firmly packed light brown sugar (I used dark brown sugar)
  • 2 tsp. vanilla extract
  • 1/2 tsp. fine salt
  • 1 cup flour
Instructions
  1. Heat oven to 350°. Grease a 9″ x 13″ baking pan with butter and line with parchment paper; grease paper. Set pan aside.
  2. Pour enough water into a 4-quart saucepan that it reaches a depth of 1″. Bring to a boil; reduce heat to low. Combine butter and chocolate in a medium bowl; set bowl over saucepan. Cook, stirring, until melted and smooth, about 5 minutes. Remove from heat; set aside.
  3. Whisk together eggs in a large bowl. Add sugar, brown sugar, vanilla, and salt; whisk to combine. Stir in chocolate mixture; fold in flour. Pour batter into prepared pan; spread evenly. Bake until a toothpick inserted into center comes out clean, 30–35 minutes. Let cool on a rack. Cut and serve.
Notes
Recipe adapted from: Nick Malgieri


Congo Bars

Can’t decide between a brownie, blondie or cookie? If you want something sweet that combines the flavors of all three of your favorite sweets, they you’ve got to give these these dessert bars at try.  
While officially named “Congo Bars”, you could call them cookies…or brownies….or even brookies! Whatever the name you choose, they are good. My sister and mom made these a while ago for the mens cross country team at Oklahoma State. I don’t remember even getting to try one because the pan was empty. At least they didn’t go to waste. 🙂
Anyways, happy cooking and enjoy your Saturday!
Make the congo layer. Let cool completely.
Make the brownie layer. Cool completely.
Make the chocolate glaze and drizzle over cooled brownie layer.
Let the glaze set, then cut into squares.

Congo Bars
Ingredients
CONGO LAYER
1 1/3 cups (6 1/4 oz.) all-purpose flour
1 1/4 tsp. baking powder
1/4 tsp. salt
3 oz. (3/4 stick) unsalted butter, melted and cooled
1 1/4 cups firmly packed (8 oz.) light brown sugar
1 large egg
1 large egg white
1 tsp. pure vanilla extract
1 cup (4 oz.) chopped walnuts

BROWNIE LAYER
1 cup plus 2 Tbsp. (5 oz.) all-purpose flour
1/4 cup (3/4 oz.) unsweetened dutch processed cocoa powder
1/8 tsp. baking powder
1/4 tsp. salt
4 oz. (1 stick) unsalted butter
4 oz. unsweetened chocolate, coarsely chopped
1 1/3 cups (9 1/4 oz.) granulated sugar
2 large eggs, lightly beaten
1 large egg yolk
2 tsp. pure vanilla extract

CHOCOLATE GLAZE
3 oz. semisweet or bittersweet chocolate, finely chopped
3 Tbsp. heavy cream

Directions
1. Preheat oven to 350 degrees F. Lightly butter and flour a 9 x 13-inch baking pan. Tap out the excess flour.
2. To make Congo Layer: Sift together the flour, baking powder, and salt onto a sheet of waxed paper; set aside. In a large bowl, stir together the butter, brown sugar, egg, egg white, and vanilla just until blended. Stir in the flour mixture just until the batter is smooth.
3. Scoop the thick, sticky batter onto 8 or 9 different areas on the bottom of the prepared pan. With an offset spatula, spread the batter to cover the pan as evenly as possible. Sprinkle the walnuts evenly on top and gently press them into the batter.
4. Partially bake the layer until it is no longer shiny on top and is beginning to come away from the sides of the pan, about 20 minutes. Transfer the pan to a wire rack to cool while you prepare the Brownie layer.
5. To make the Brownie Layer: Sift together the flour, cocoa powder, baking powder and salt onto a sheet of waxed paper; set aside. In a small, heavy saucepan, melt the butter and chocolate over very low heat, stirring with a silicone spatula until smooth. Or, combine in a medium microwave-safe bowl and melt in a microwave oven at 50% power for 30 second bursts, stirring after each burst, until melted, 1 to 1 1/2 minutes. Transfer to a medium bowl and let cool for 5 minutes.
6. Stir the sugar into the chocolate mixture until incorporated. Add the eggs, egg yolk, and vanilla and stir until well blended. Stir in the flour mixture just until the batter is smooth. Scoop the thick, sticky batter onto 8 or 9 different areas of the still warm Congo Layer. With the offset spatula, spread the batter as evenly as possible.
7. Bake the brownie until the top is no longer shiny; appears set; feels firm, rather than soft; and a round wooden toothpick inserted in the center comes out with moist chocolate crumbs attached, about 25 minutes. Transfer the pan to a wire rack and let cool completely.
8. To make the Chocolate Glaze: Place the chocolate in a medium bowl. In a small saucepan, bring the cream just to a boil over medium-low heat. Pour the cream over the chocolate and let it stand for 30 seconds. Whisk together until smooth and creamy. Set the mixture aside at room temperature just until it cools a bit and begins to thicken slightly.
9. Fashion a small cone out of parchment paper and half fill it with the liquid glaze. Snip a small opening at the end of the paper cone to allow a thin flow of glaze. Pipe thin lines of chocolate in a zigzag pattern over the cooled surface of the brownie. Set aside at room temperature until the glaze is set, 1 to 1 1/2 hours.

Yield: 2 to 4 dozen bars, depending on the size
Recipe from: Baking for All Occasions: A Treasury of Recipes for Everyday Celebrations by Flo Braker.

Happy Father’s Day!

Happy Father’s Day to all those dads out there! If you need a last minute idea on what to make your dad on this special day, here’s some foodie inspiration! (All of these recipes are my dad’s favorite picks.)

Let’s start with breakfast. My dad LOVES pancakes, and here is his favorite recipe: Nigella’s pancake mix….and no, they’re not from a box!

Since its Father’s Day, and you probably slept in and had brunch, let’s move onto dinner ideas. My dad LOVES grilling out, and here is his famous chateaubriand steak recipe. Enjoy!

Let’s forget the sides! Men like my dad and husband would be fine just eating steak and dessert, so let’s take a look at some sweets! Notice how they are all chocolate? My dad is a chocoholic. Take your pick or make all three!

This first recipe is a chocolate ice box pie. My dad requests this one a lot, whether it’s his birthday or not!

Next up…Paula’s 4-layer pudding dessert. This is my dad’s new favorite. Ever since I got the recipe from my mother-in-law Paula, my dad requests I make it every time I come over.

Finally, are you ready for something super chocolatey? Mom’s secret ingredient brownies are just that….rich, sweet, and loaded with chocolate chips. My dad brings these to work for every company luncheon they have. He loves telling people there is a “secret ingredient” and always asks if they can guess it!


Brownies for Dinner!

Well, I am very disappointed in myself…. I did not cook a single home-cooked meal this week (I guess my Father’s Day Lunch wore me out).  Shame on me!  Between Monday night kickball games, getting my car inspected, and my husband, Matt’s, late-night dinners for work, there was no opportunity for me to cook!

Tonight’s dinner was not special either…Matt went out to eat with his buddy while I squeezed in a 3 mile run after work.  Sooo, at this point, I was officially “deprived” of cooking/baking all week.  As a remedy, I decided to make Cocoa Brownies with Browned Butter and Walnuts, Matt’s favorite. In addition, the weekends are Matt’s “cheat days”, meaning that he will drink Coke, eat whatever food or dessert he wants, and not feel bad about it at all!  Come Monday, he’s back to his “diet” of eating healthy again.

I must say, these are the BEST brownies in the world!  What makes them so good is the butter that is melted in a saucepan and then “browned” for 5 minutes to form little brown bits at the bottom of the pan.  It makes these brownies so rich, fudgy, and chocolatey.  The melted butter is something you could never pick out, but you will able to distinguish a distinctive and delightful additional flavor to these brownies.  Enjoy!

Cocoa Brownies with Browned Butter and Walnuts
Ingredients
Nonstick vegetable oil spray
10 Tbsp. (1 1/4 sticks) unsalted butter, cut into 1-inch pieces
1 1/4 cups sugar
3/4 cup natural unsweetened cocoa powder (spooned into cup to measure, then leveled)
1 tsp. vanilla extract
2 large eggs, chilled
1/3 cup plus 1 Tbsp. unbleached all-purpose flour
1 cup walnut pieces
Directions
1.  Position rack in bottom third of oven; preheat to 325 degrees F.  Line a 8 x 8 x 2-inch metal baking pan lined with foil, pressing foil firmly against pan sides and leaving 2-inch overhang.  Coat foil with nonstick spray.
2.  Melt butter in medium saucepan over medium heat.  Continue cooking until butter stops foaming and browned bits form at bottom of pan, stirring often, about 5 minutes.  Remove from heat; immediately add sugar, cocoa, 2 teaspoons of water, vanilla, and 1/4 teaspoon (generous amount) of salt.  Stir to blend.  Let cool for 5 minutes (mixture will still be hot).
3.  Add eggs to hot mixture 1 at a time, beating vigorously to blend after each addition.  When mixture looks thick and shiny, add flour and stir until blended.  Beat vigorously 60 strokes.  Stir in nuts.  Transfer batter to prepared pan.
4.  Bake brownies until toothpick inserted into center comes out almost clean (with a few moist crumbs attached), about 25 minutes.  Cool in pan on rack.  Using foil overhang, lift brownies from pan.  Cut into 4 strips.  Cut each strip crosswise into 4 brownies.  
Do ahead: Can be made 2 days ahead. Store airtight at room temperature.
Yield:  16 brownies
Bon Appetit, February 2011

Better-Than-Crack Brownies (Peanut Butter Cup Crunch Brownies)

My sister is a wonderful cook.  She made these “Better-Than-Crack Brownies” for her boyfriend, Colby, and his best friend, Prentice, for another one of their pre-race desserts.  (Both guys run cross country and track for Oklahoma State University.  The OSU Cross Country team has been NCAA Champions for the past two years in a row.)  
These brownies are actually referred to as Peanut Butter Cup Crunch Brownies (on Brown Eyed Baker’s blog, where she got this recipe), but they also can be called the other name above, which I think is hilarious.  I’ve never had crack before, nor do I know anyone who has, so I don’t know how these brownies can be better … but the name sure is funny though!
My sister said that Prentice took one bite of these and made a face like he had died and gone to Heaven.  I cannot wait to try these myself because they look sinfully delicious! Be forewarned though, these brownies are insanely rich, so you probably should just eat one…if you have self control!  Enjoy!
Lay out 8 Reese’s Peanut Butter cups.
Roughly chop into pieces.
Measure out 1/2 cup of salted peanuts.
Prepare your favorite brownie recipe for a 9 x 13-inch pan.  Bake 5 minutes less than baking time.
Remove brownies from oven and sprinkle with peanuts and chopped Reeses.  Bake for another 5 minutes.
Meanwhile, melt chocolate chips, peanut butter, and butter in a medium saucepan over medium-low heat.  Stir in the cereal to evenly coat.
Remove the brownies from the oven and pour the chocolate and peanut butter mixture over the top.  Spread evenly.  
Refrigerate for 2 hours before cutting and serving.  Yum!
Better-Than-Crack Brownies (Peanut Butter Cup Crunch Brownies)
Ingredients
1 batch of your favorite brownie recipe for a 9 x 13-inch pan (I recommend Chewy Brownies)
1/2 cup salted peanuts
8 Reese’s peanut butter cups, chopped
1 1/2 cups milk chocolate chips
1 1/2 cups creamy peanut butter
1/2 Tbsp. unsalted butter
1 1/2 cups Rice Krispies cereal
Directions
1.  Prepare the brownies according to the directions and bake for about 5 minutes less than the recipe states.  Remove from the oven and sprinkle the top with the peanuts and chopped peanut butter cups.  Return to the oven and bake for 5 additional minutes.
2.  While they are finishing baking, melt the chocolate chips, peanut butter and butter in a medium saucepan over medium-low heat.  Stir in the cereal to evenly coat.  Remove the brownies from the oven and evenly pour the chocolate and peanut butter mixture over top.  Spread to cover evenly.  Refrigerate for 2 hours before cutting and serving.  Store in airtight container in the refrigerator.
Yield: 24 brownies

Cocoa Brownies with Browned Butter and Walnuts

get-attachment.aspx

My dad took these brownies to work, and one of his coworkers said, “This is the best brownie I’ve ever eaten!”  These Cocoa Brownies with Browned Butter and Walnuts came from the February 2011 issue of Bon Appetit magazine.  We definitely agree with their quote that “these are some of the best brownies I’ve ever had — fudgy in the middle, and chewy on the outside with a shiny, crackly top.  The browned butter adds a rich, nutty flavor.”  In addition, these are super easy to make.  The entire recipe is made in just one pan…very easy cleanup if you ask me!  The only negative is that these brownies only make enough for an 8-inch square baking pan.  If you want more, you’ll have to double the recipe! haha 🙂  Actually maybe this is a good thing…if you are trying to retain some self control in the sweets you eat!  Enjoy!
P.S.  My husband wants you all to know that these brownies make for a wonderful, on-the-go breakfast! haha 🙂
get-attachment.aspx
 
Cocoa Brownies with Browned Butter and Walnuts
Ingredients
Nonstick vegetable oil spray
10 Tbsp. (1 1/4 sticks) unsalted butter, cut into 1-inch pieces
1 1/4 cups sugar
3/4 cup natural unsweetened cocoa powder (spooned into cup to measure, then leveled)
1 tsp. vanilla extract
2 large eggs, chilled
1/3 cup plus 1 Tbsp. unbleached all-purpose flour
1 cup walnut pieces
Directions
1.  Position rack in bottom third of oven; preheat to 325 degrees F.  Line a 8 x 8 x 2-inch metal baking pan lined with foil, pressing foil firmly against pan sides and leaving 2-inch overhang.  Coat foil with nonstick spray.
2.  Melt butter in medium saucepan over medium heat.  Continue cooking until butter stops foaming and browned bits form at bottom of pan, stirring often, about 5 minutes.  Remove from heat; immediately add sugar, cocoa, 2 teaspoons of water, vanilla, and 1/4 teaspoon (generous amount) of salt.  Stir to blend.  Let cool for 5 minutes (mixture will still be hot).
3.  Add eggs to hot mixture 1 at a time, beating vigorously to blend after each addition.  When mixture looks thick and shiny, add flour and stir until blended.  Beat vigorously 60 strokes.  Stir in nuts.  Transfer batter to prepared pan.
4.  Bake brownies until toothpick inserted into center comes out almost clean (with a few moist crumbs attached), about 25 minutes.  Cool in pan on rack.  Using foil overhang, lift brownies from pan.  Cut into 4 strips.  Cut each strip crosswise into 4 brownies.
Do ahead: Can be made 2 days ahead. Store airtight at room temperature.
Yield:  16 brownies
Bon Appetit, February 2011

Milk Chocolate Brownies

This will kill your New Years Resolution diet, but I have to tell you, they may be worth it! We made these for our New Years dinner with my family and everyone loved them!  Personally, I am not a huge brownie fan because in my opinion, most brownies are too rich and taste too much like dark chocolate (I like milk chocolate only).  However, I can get by with a dumping a large scoop of vanilla ice cream over my brownie to calm the richness of the chocolate.
That being said, these brownies are sooo much better than your typical brownie because of the milk chocolate!  I have a huge sweet tooth, and these are nothing but sweetness in your mouth!  They taste like a cakey Hershey’s bar with the creamy and fudgy flavors creating a bliss of a dessert.  The secret ingredient is 1 ounce of unsweetened chocolate, which adds depth of flavor to the milk chocolate bar and milk chocolate chips.  You can serve them topped with vanilla ice cream and (what else?) maybe a drizzle of chocolate syrup, however I could even eat these brownies on their own.
This recipe is from one of my favorite cookbooks, “Fat Witch Brownies:  Brownies, Blondies, and Bars From New York’s Legendary Fat Witch Bakery” by Patricia Helding.  Fat Witch Bakery is a legendary bakery in New York City that I vow to visit someday!  I’ve made their Snow Witches (white chocolate brownies), which are on the top 10 list of Dallas Duo’s recipes for 2010.  Enjoy!
Melt chocolates and butter in a saucepan over low heat.

Remove from heat, and let cool.

Beat eggs, sugar, and vanilla in a large bowl.

Add cooled chocolate to egg mixture.

Add flour and salt and mix until just combined.

By hand, stir in milk chocolate chips/chunks.

Pour into a greased and floured 9 x 9-inch baking pan.

Bake for 25 minutes in a 350 degree oven, or until a toothpick comes out clean or with only crumbs, not batter on it.

Let cool for 1 hour.  Cut just before serving.

H-E-B’s Creamy Creations, Vanilla Ice Cream on top… YUMM!!!

Milk Chocolate Brownies
Ingredients
8 tbsp (1 stick) unsalted butter
1 ounce unsweetened chocolate, coarsely chopped to same-sized pieces
1/2 cup milk chocolate, coarsely chopped to same-sized pieces
2 large eggs
3/4 cup granulated sugar
1 tsp pure vanilla extract
1 cup unbleached flour
1/4 tsp salt
3/4 cup milk chocolate chips (we didn’t have chips, so we chopped a milk chocolate bar)
Directions
1.  Grease a 9-inch x 9-inch baking pan with butter.  Dust with flour and tap out the excess.  Preheat the oven to 350 degrees F.
2.  Melt the butter and the coarsely chopped milk and unsweetened chocolates in a small saucepan over low heat, stirring frequently.  Set aside and let cool to room temperature.
3.  Cream the eggs, sugar, and vanilla in a large bowl until smooth.  Add the cooled chocolate mixture and continue mixing until well combined.
4.  Measure the flour and salt and then sift together into the batter.  Mix gently until well combined and no trace of the dry ingredients remains.  Stir in the milk chocolate chips by hand.
5.  Using a spatula, spread the batter evenly in the prepared baking pan.  Bake for 25 minutes or until a toothpick inserted in the center comes out clean or with only crumbs, not batter, on it.
6.  Remove from the oven and cool on a rack for 1 hour.  Cut just before serving.
Yield:  12 to 16 brownies
“Fat Witch Brownies:  Brownies, Blondies, and Bars From New York’s Legendary Fat Witch Bakery” by Patricia Helding

Snow Witches (White Chocolate Brownies)

My mom and I were in Barnes and Noble today and saw a cookbook with a delicious looking brownie on the front cover titled “Fat Witch Brownies:  Brownies, Blondies, and Bars from New York’s Legendary Fat Witch Bakery”. We flipped through the pages, drooling over every picture, so we ended up each buying a book.  Patricia Helding owns New York’s Legendary “Fat Witch Bakery”, and is the author of this cookbook.  She exposes the secrets to all her brownie recipes and writes her story of how she founded Fat Witch Bakery.  I absolutely LOVE Patricia’s cookbook.  All of her brownie recipe are made in one 9 x 9 inch pan, all have less than 10 ingredients, and all can go from mixing bowl to lunchbox in an hour or less! 
The first brownie on our list to try was the White Chocolate Brownie, also know as the “Snow Witch” brownie.  It was light, buttery and flavorful, and Patricia writes is “one of our top sellers, as the combination of creamy white chocolate, butter, and vanilla is so sensational after one bite, I promise even the most discerning aficionado will be converted”.  I’ve never had a white chocolate brownie before, but it was quite good.  They remind me of a cross between Neiman Marcus Cake/Gooey Butter Cake and our homemade Granola Bars.  Try it today and see what you think…they are very different, but very good!  Enjoy!
Melt white chocolate and butter in a small saucepan over low heat, stirring constantly.
Beat the eggs, sugar, and vanilla together in a large bowl until smooth.   

Add the white chocolate mixture and mix until well combined.

Sift the flour, baking powder, and salt into the batter.  Mix until well combined.

Spread batter evenly into greased and floured 9 x 9 inch baking pan.  

Bake at 350 degrees for 25 minutes or until the top is light brown and cracked.  Turn off the oven, leaving the pan inside for 8 minutes.  At this time, a toothpick inserted in the center should come out clean. Remove pan from oven and let cool on a rack for 1 hour.

Cool completely on a rack for 1 hour.  Cut just before serving.

Snow Witches (White Chocolate Brownies)
Ingredients
6 ounces coarsely chopped white chocolate or 3/4 cup high-quality white chocolate chips
5 tbsp unsalted butter
2 large eggs
1 cup granulated sugar
1 tsp pure vanilla extract
1 cup unbleached flour
1/2 tsp baking powder
1/4 tsp salt
Directions
1.  Grease a 9-inch x 9 baking pan with butter.  Dust with flour and tap out the excess.  Preheat the oven to 350 degrees.
2.  Melt the white chocolate and butter in a small saucepan over low heat, stirring constantly to make sure it doesn’t burn.  Remove from the heat before it is completely melted and continue stirring until it is completely smooth.  Set aside to cool.
3.  Beat the eggs, sugar, and vanilla together in a large bowl until smooth.  Add the white chocolate mixture and mix until well combined.
4.  Measure the flour, baking powder, and salt and sift together directly into the batter.  Mix until well combined and no trace of the dry ingredients remains.  Spread the batter evenly into the prepared baking pan with a spatula.
5.  Bake for 25 minutes or until the top is light brown and cracked.  Turn off the oven, leaving the pan inside for 8 more minutes.  After that time, a toothpick inserted in the center should come our clean or with only crumbs, not batter, on it.
6.  Remove from oven and let cool on a rack for 1 hour.  Cut just before serving.
Yield:  12 to 18 bars

Mom’s Secret Ingredient Brownies

This is my mom’s “famous” brownie recipe.  She has made them ever since I can remember and everyone at my dad’s work requests her to make these for company luncheons. My husband Matt is also a huge fan. One time he requested I make them three weekends in a row! By then, I was a little sick of them. 🙂

I’ve got lots of stories revolving around these brownies. One time a made these for some friends when I was in college. My best friend at the time told me that she had never heard of nor eaten “homemade” brownies!! WHAT? How is that possible, I thought?  She had always eaten brownies from a box. I of course introduced her to some homemade cookies too. Boy, she was sure missing out! Now she emails me all the time for recipes.

Another time was when Matt and I were at the lake with family. His cousins had just made brownies from a box. Since we were all chocoholics and finished the brownie pan in one night, Matt told everyone that they must try my secret ingredient brownies. We went to the store the next day and I taught Matt’s cousins how to bake using this recipe. I remember his youngest cousin just sitting in front of the oven, starring at it for 35-40 minutes while they cooked because she was so excited to try those brownies!

My dad always has people try and guess the secret ingredient.  Can you guess by the picture?  Well, the secret ingredient is…..MARSHMALLOWS!  During cooking time, the brownies puff up, but once they cool, the marshmallows seem to “disappear” and you are left with a large airy pocket within the brownies.

These are moist, chocolatey, chewy, and our most favorite brownie recipe.  I eat mine with a scoop of homemade vanilla ice cream when they are warm. Enjoy!!

Melt chocolate and butter in a large saucepan over medium-low heat.
When chocolate and butter have melted, let cool for 15 minutes.  Then beat in eggs and then whisk in sugar until combined.
Add flour and vanilla, and stir to combine.
When mixture is combined, fold in mini marshmallows, pecans, and chocolate chips.
Pour into greased 9 x 13 inch baking pan and sprinkle with remaining (1/2 cup) chocolate chips.
Bake at 350 degrees for 30-35 minutes or until brownies start to pull away from the edges of the pan.
Cool in pan and cut into squares.

Cool in pan on a wire rack for 10 minutes.  You can serve warm (with vanilla ice cream), or wait until they cool to room temperature.

Mom’s Secret Ingredient Brownies
Ingredients
4 (1-ounce) unsweetened chocolate squares
1 cup butter
4 eggs
2 cups sugar
1 cup flour
1 tsp vanilla
2 cups mini marshmallows
1 cup pecans, chopped
1 cup chocolate chips (in the batter), plus 1/2 cup to sprinkle on top

Directions
1.  Melt chocolate and butter in large saucepan over medium-low heat, stirring occasionally.  Cool 15 minutes.
2.  Add eggs; stir until blended.  Stir in sugar until combined.  Add flour and vanilla.  Fold in marshmallows, pecans, and chocolate chips.
3.  Pour batter in a greased and floured 9 x 13 inch pan and sprinkle with 1/2 cup chocolate chips over the top.
4.  Bake at 350 degrees for 35 to 40 minutes, or until the edges start to pull from the side of the pan.  Cool brownies in pan on a wire rack for 10 minutes.  Can be eaten warm or at room temperature.

Yield: 24 brownies