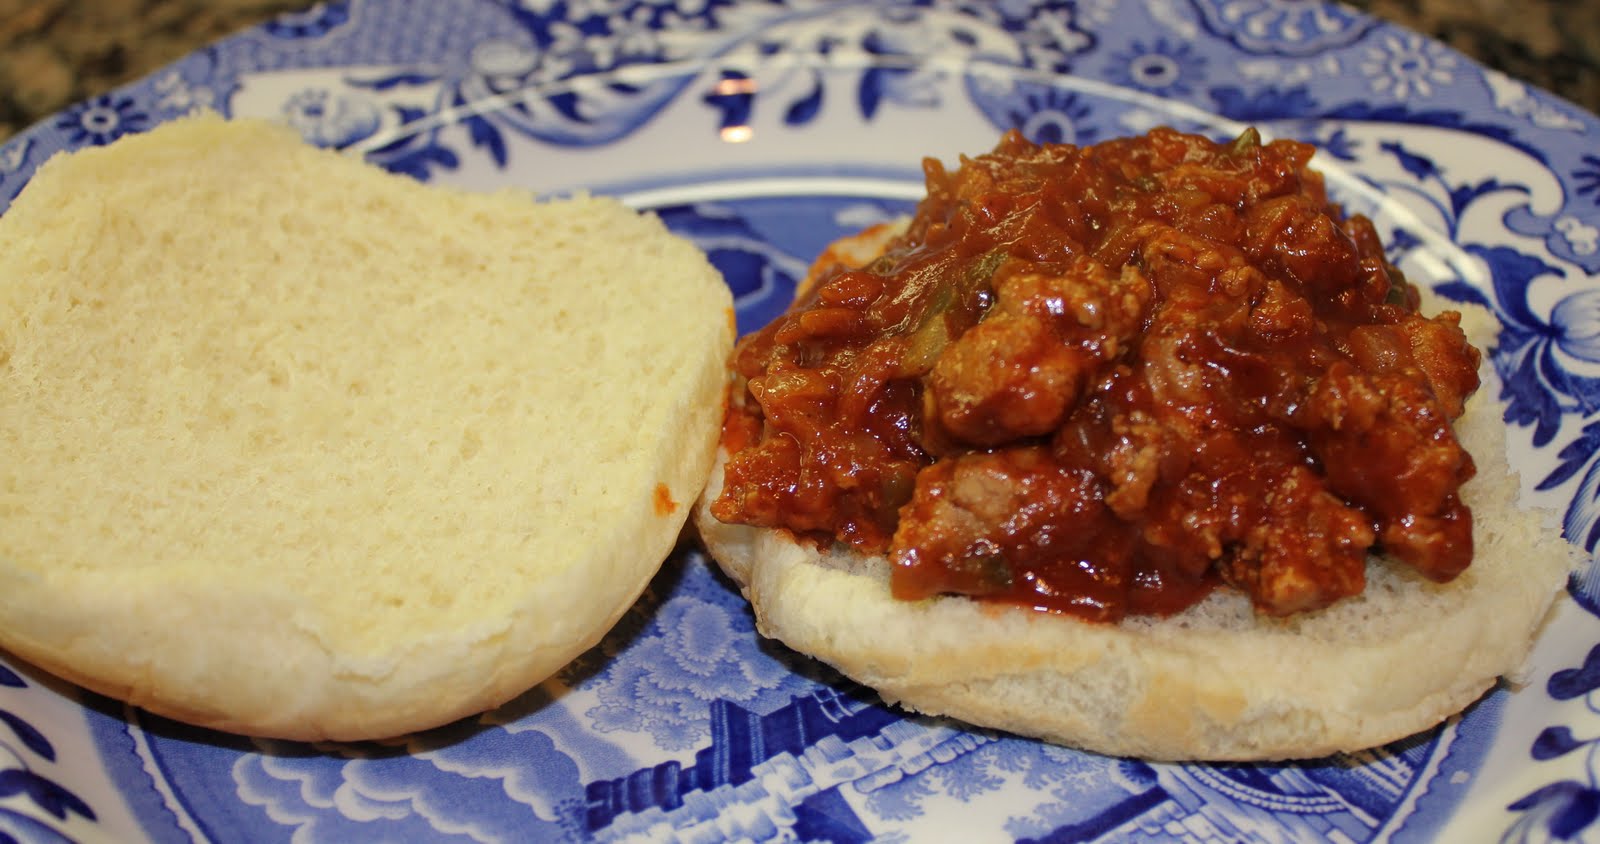
This is my second broccoli and beef stir fry recipe to post. My mom made the first (
Broccoli Beef) recipe back in May, and today I made this one (
Stir-Fried Beef and Broccoli). The only major difference is that mine has a red bell pepper and freshly ground ginger. I only had leftovers of my mom’s Broccoli Beef, so you will have to be the judge as to which recipe is better!!!
I really enjoyed my version, which I got from “America’s Test Kitchen: 10th Anniversary Best Recipes” magazine. I loved the garlic and ginger flavorings in the sauce, which made for a fragrant, but not overly-saucey dish. I consider this quite healthy, and the broccoli was my absolute favorite part. Try both of these stir fry recipes and let me know how you like them! Enjoy!!!
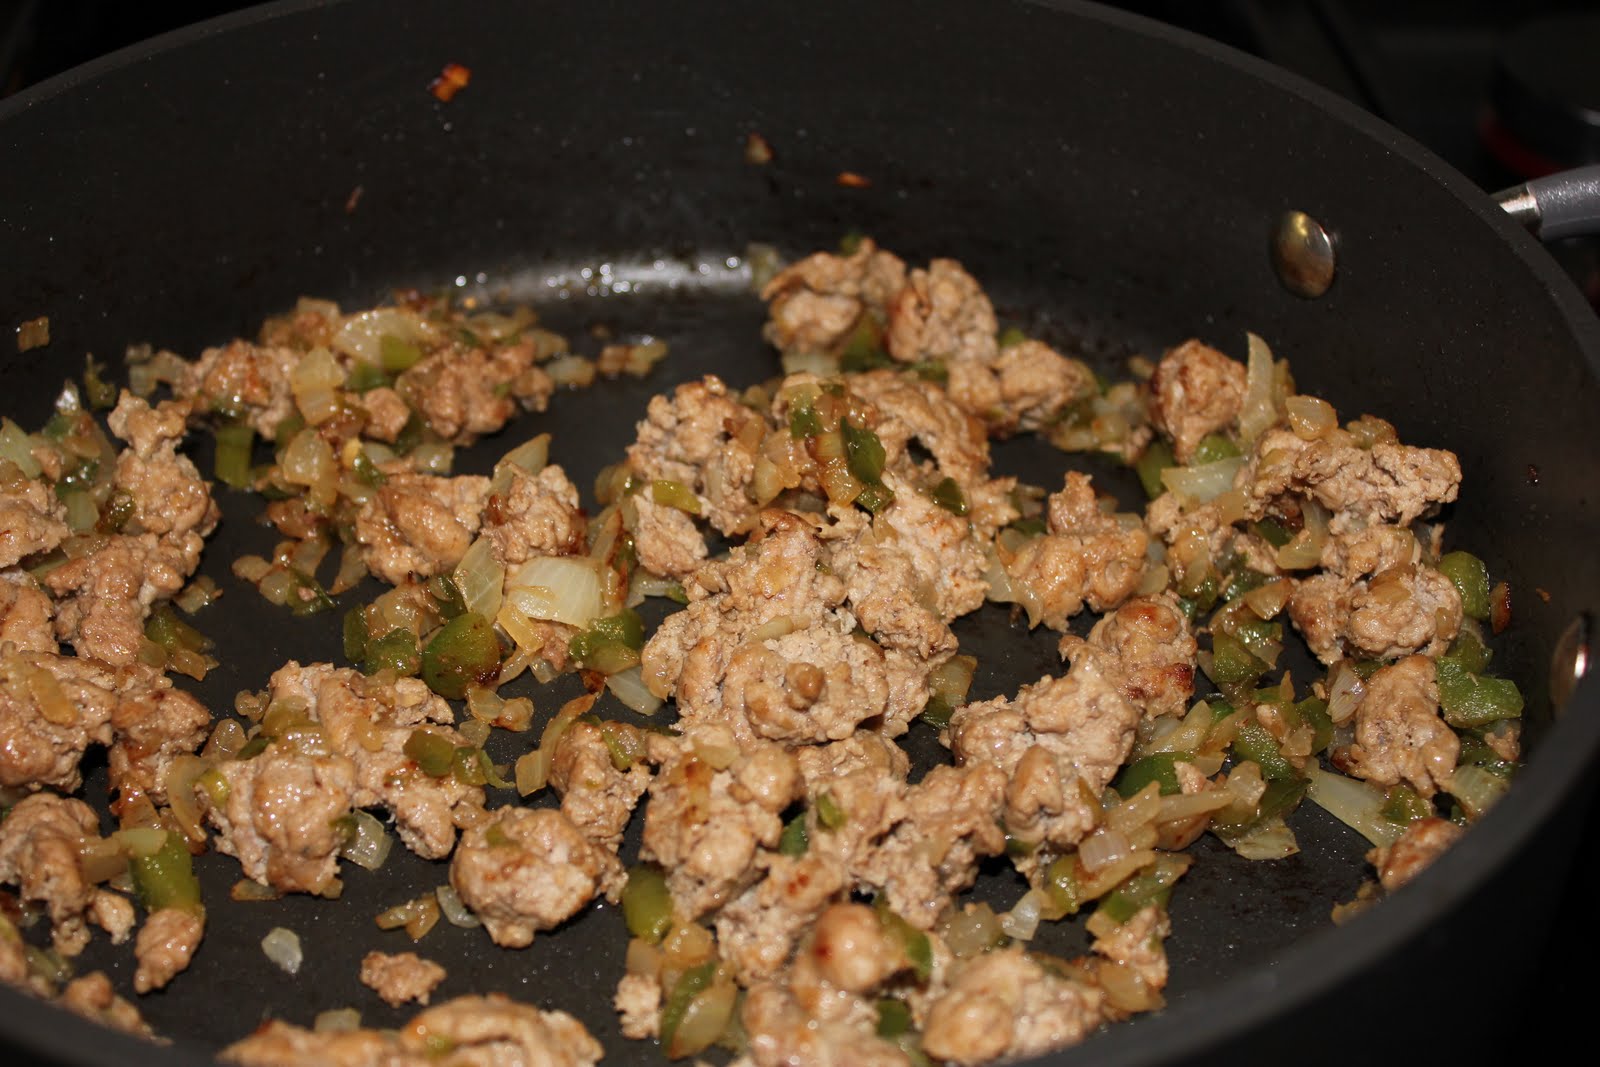
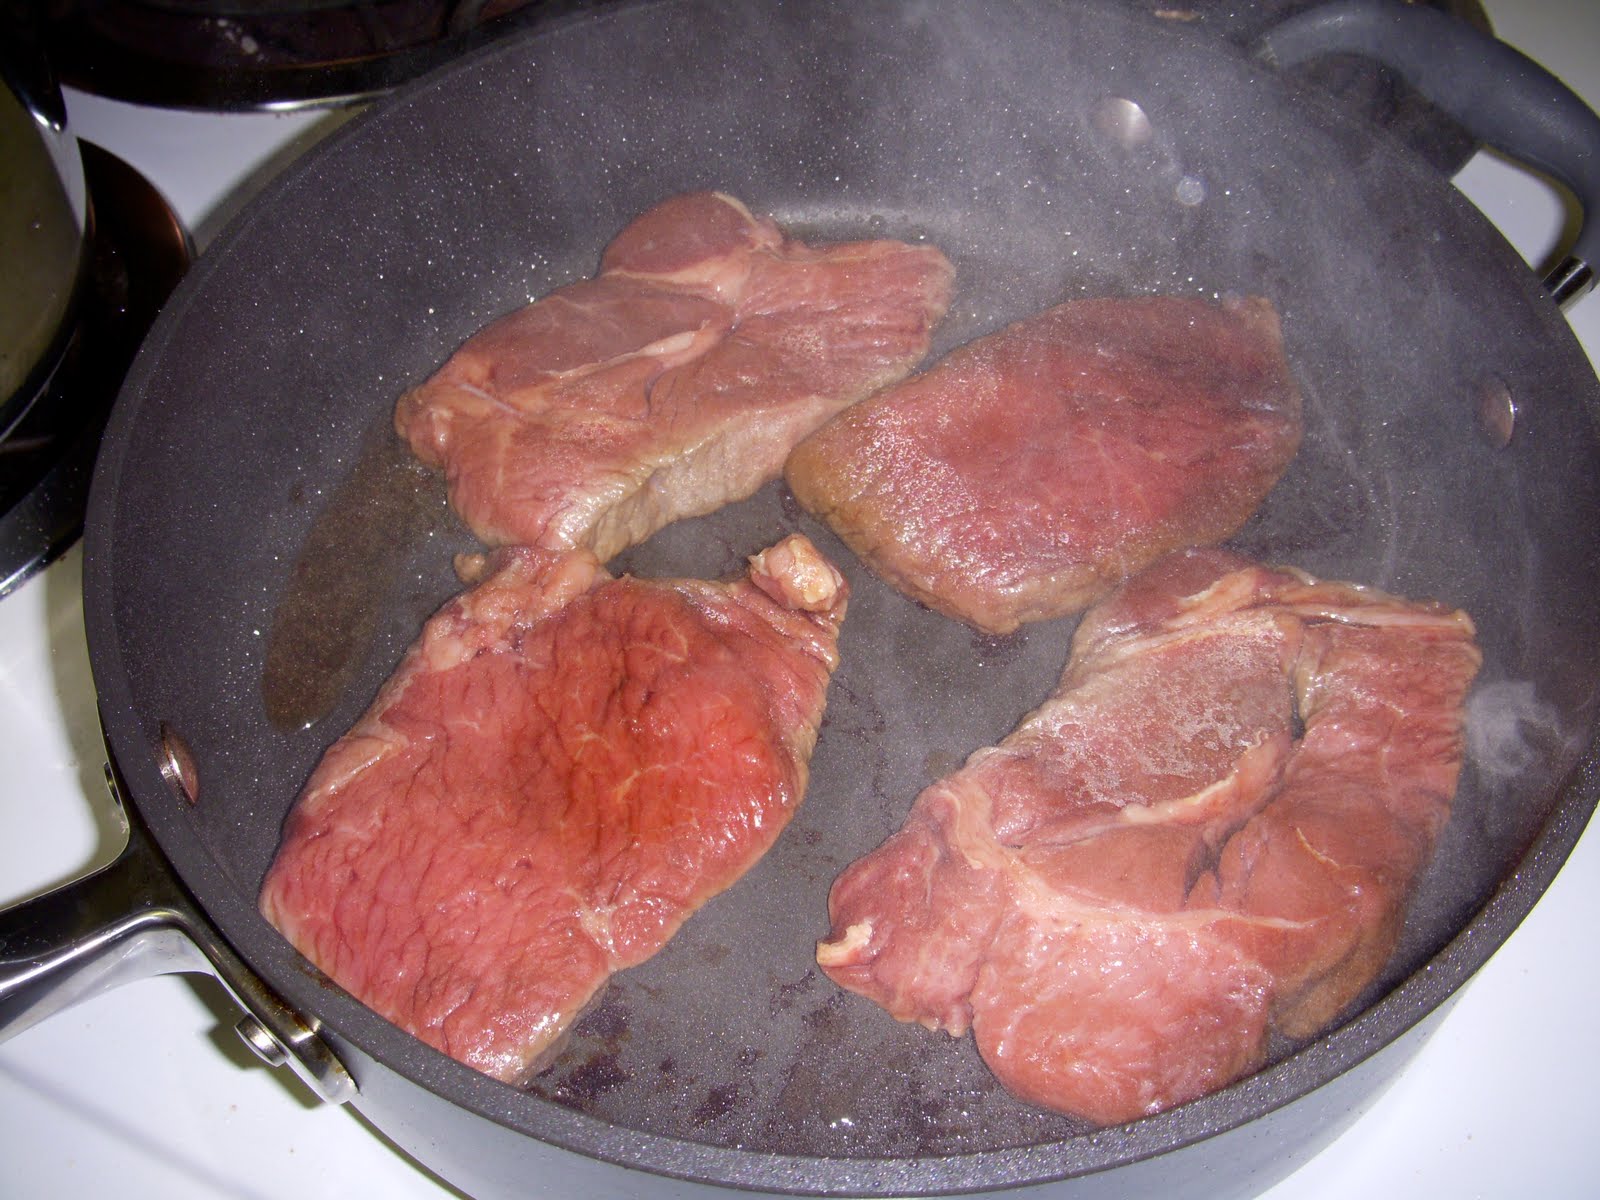
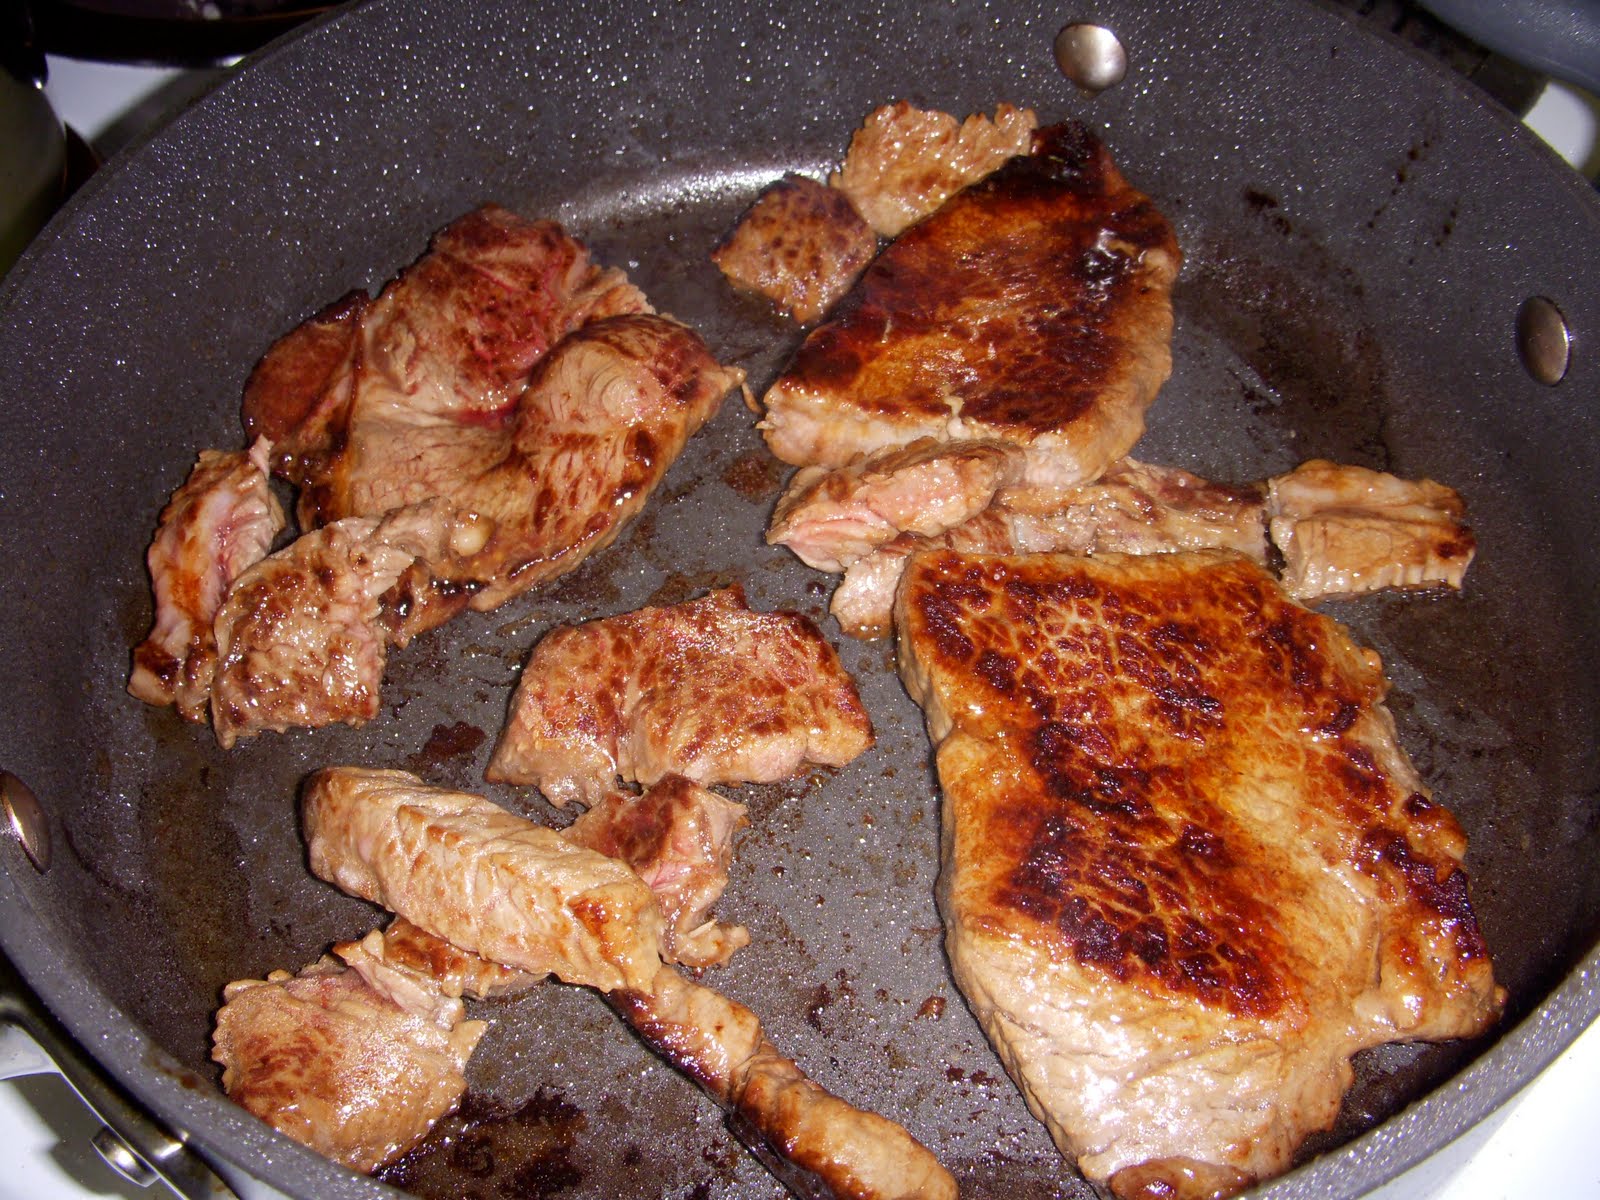
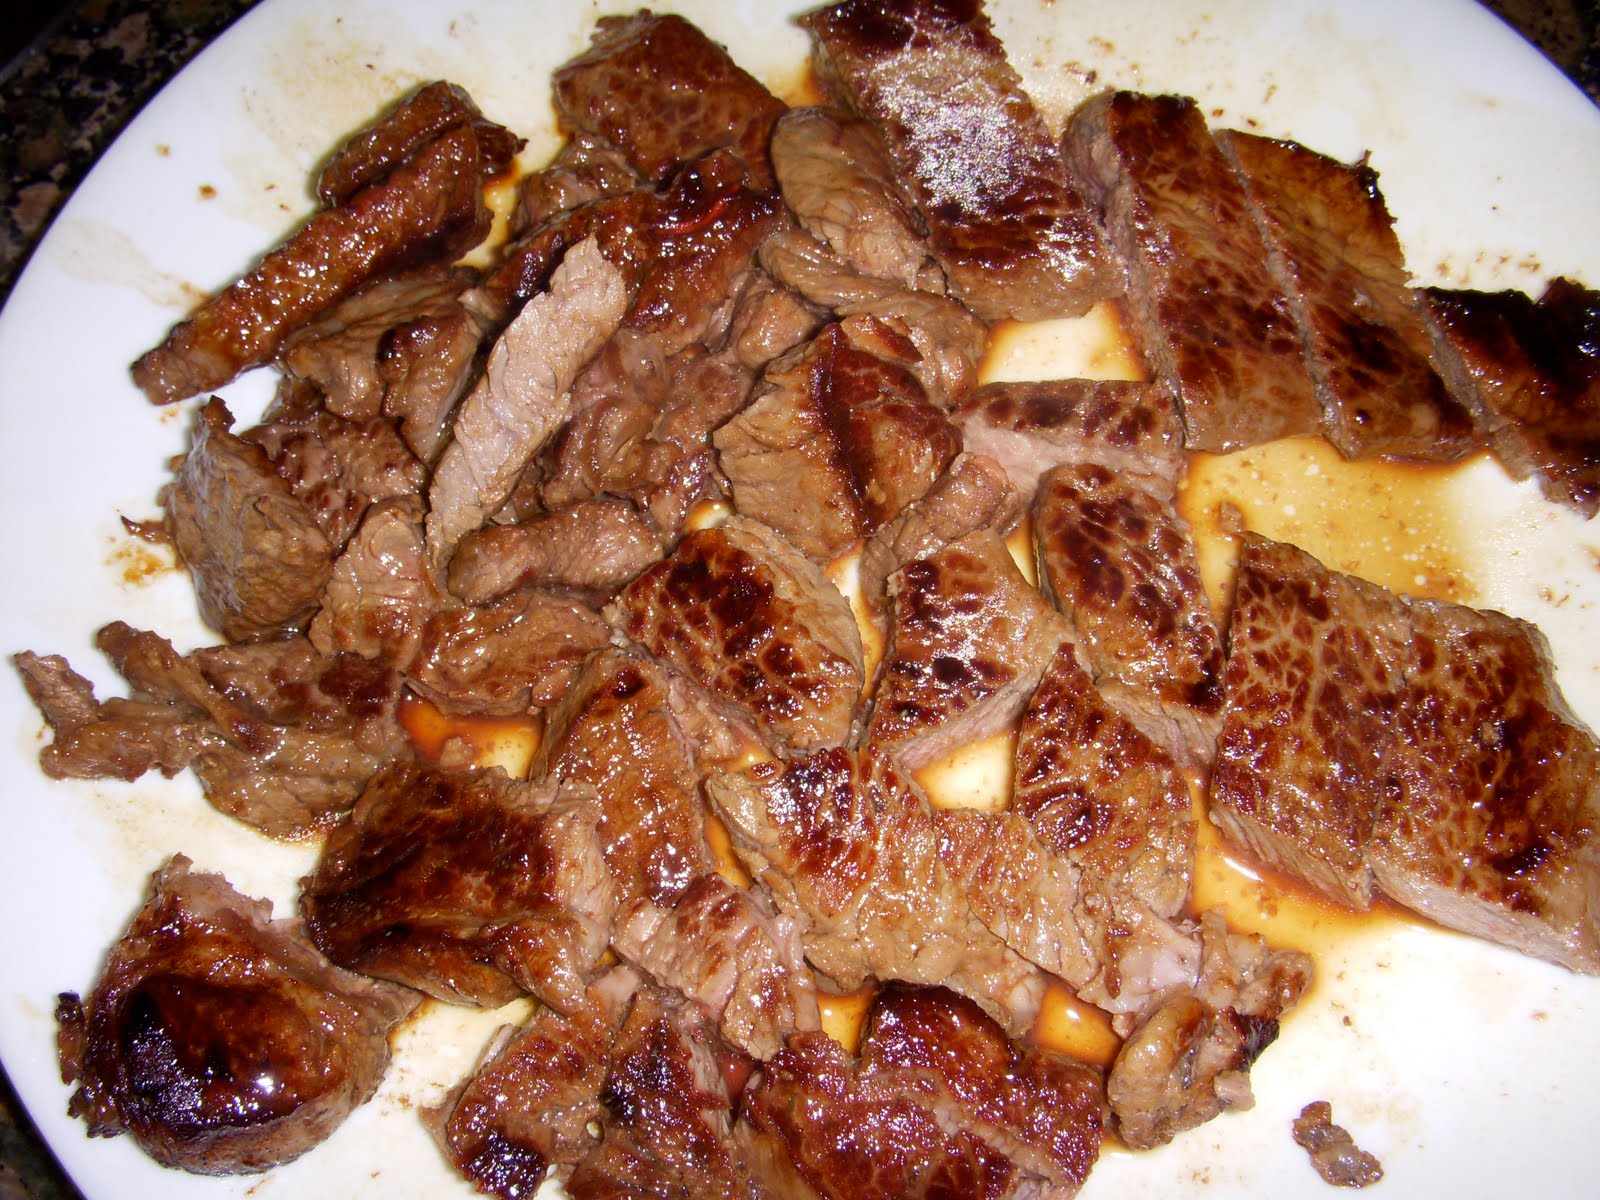
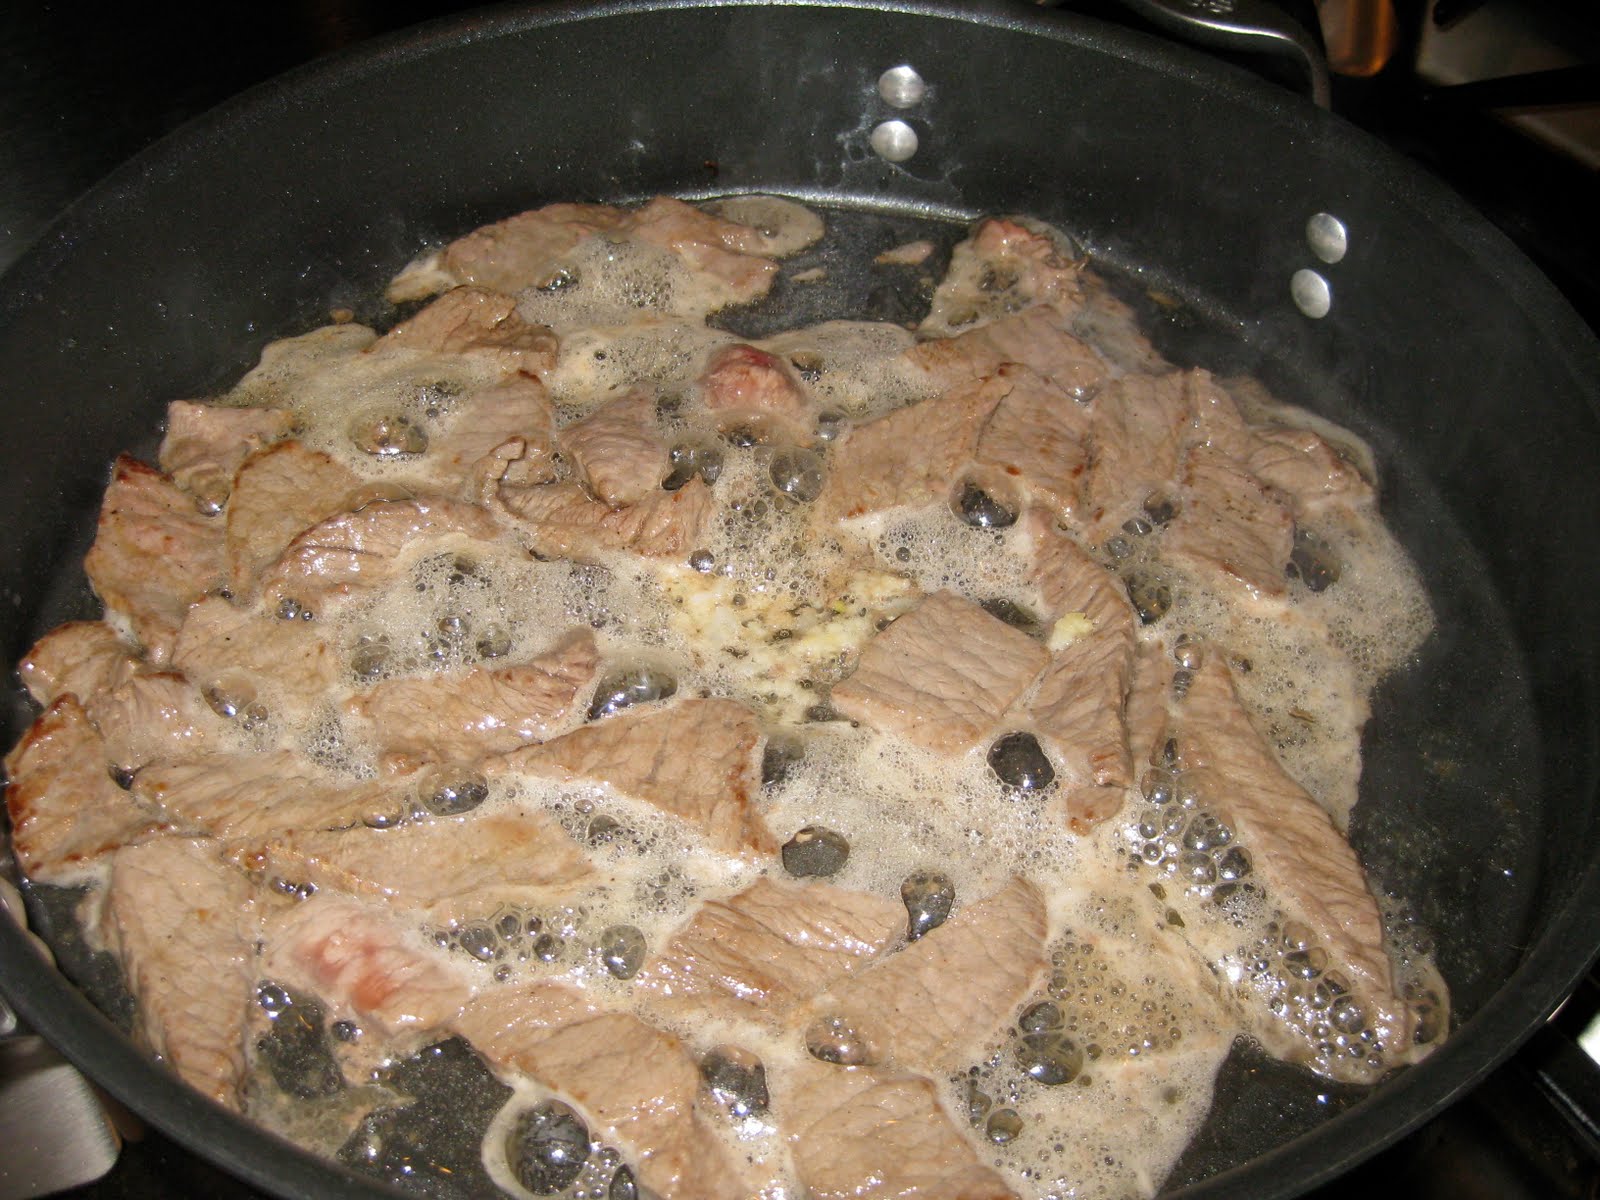
Cook steak strips over high heat in a skillet with vegetable oil for about 1 minute per side, or until browned and cooked through.
Cut the steak into bite-sized pieces, and transfer to a plate and cover with foil.
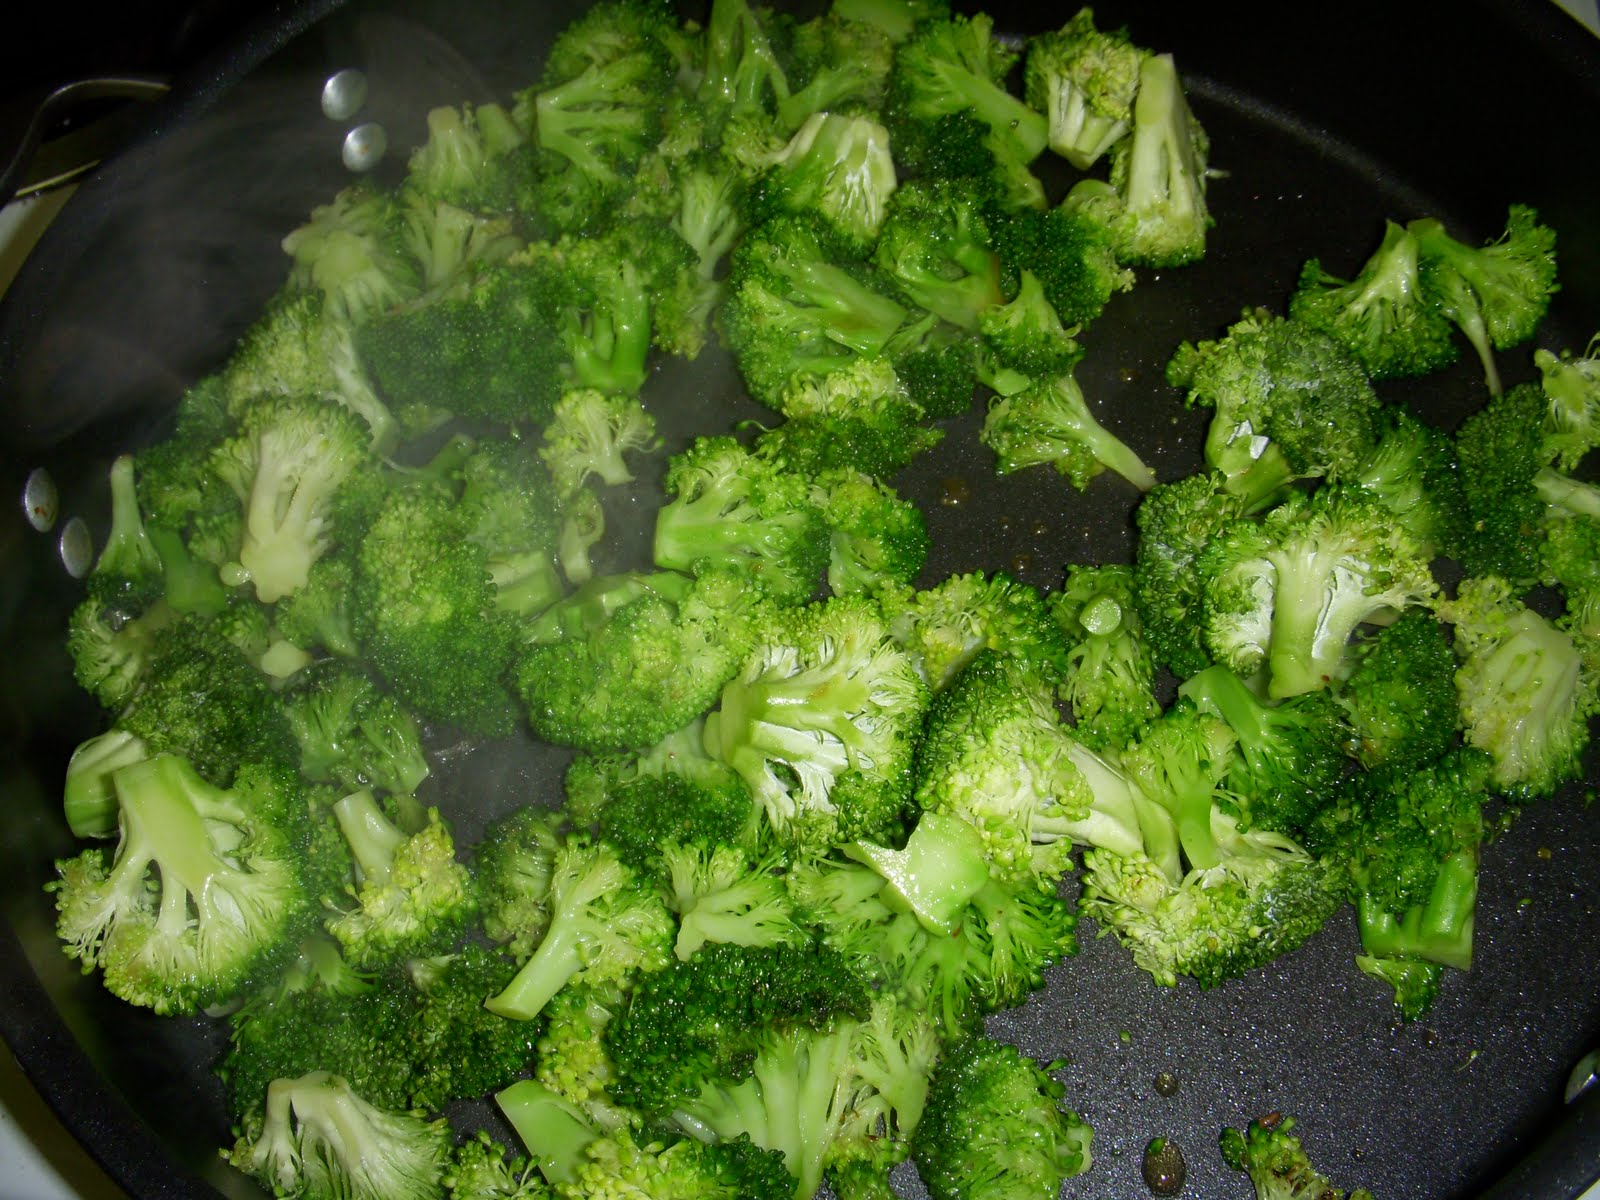
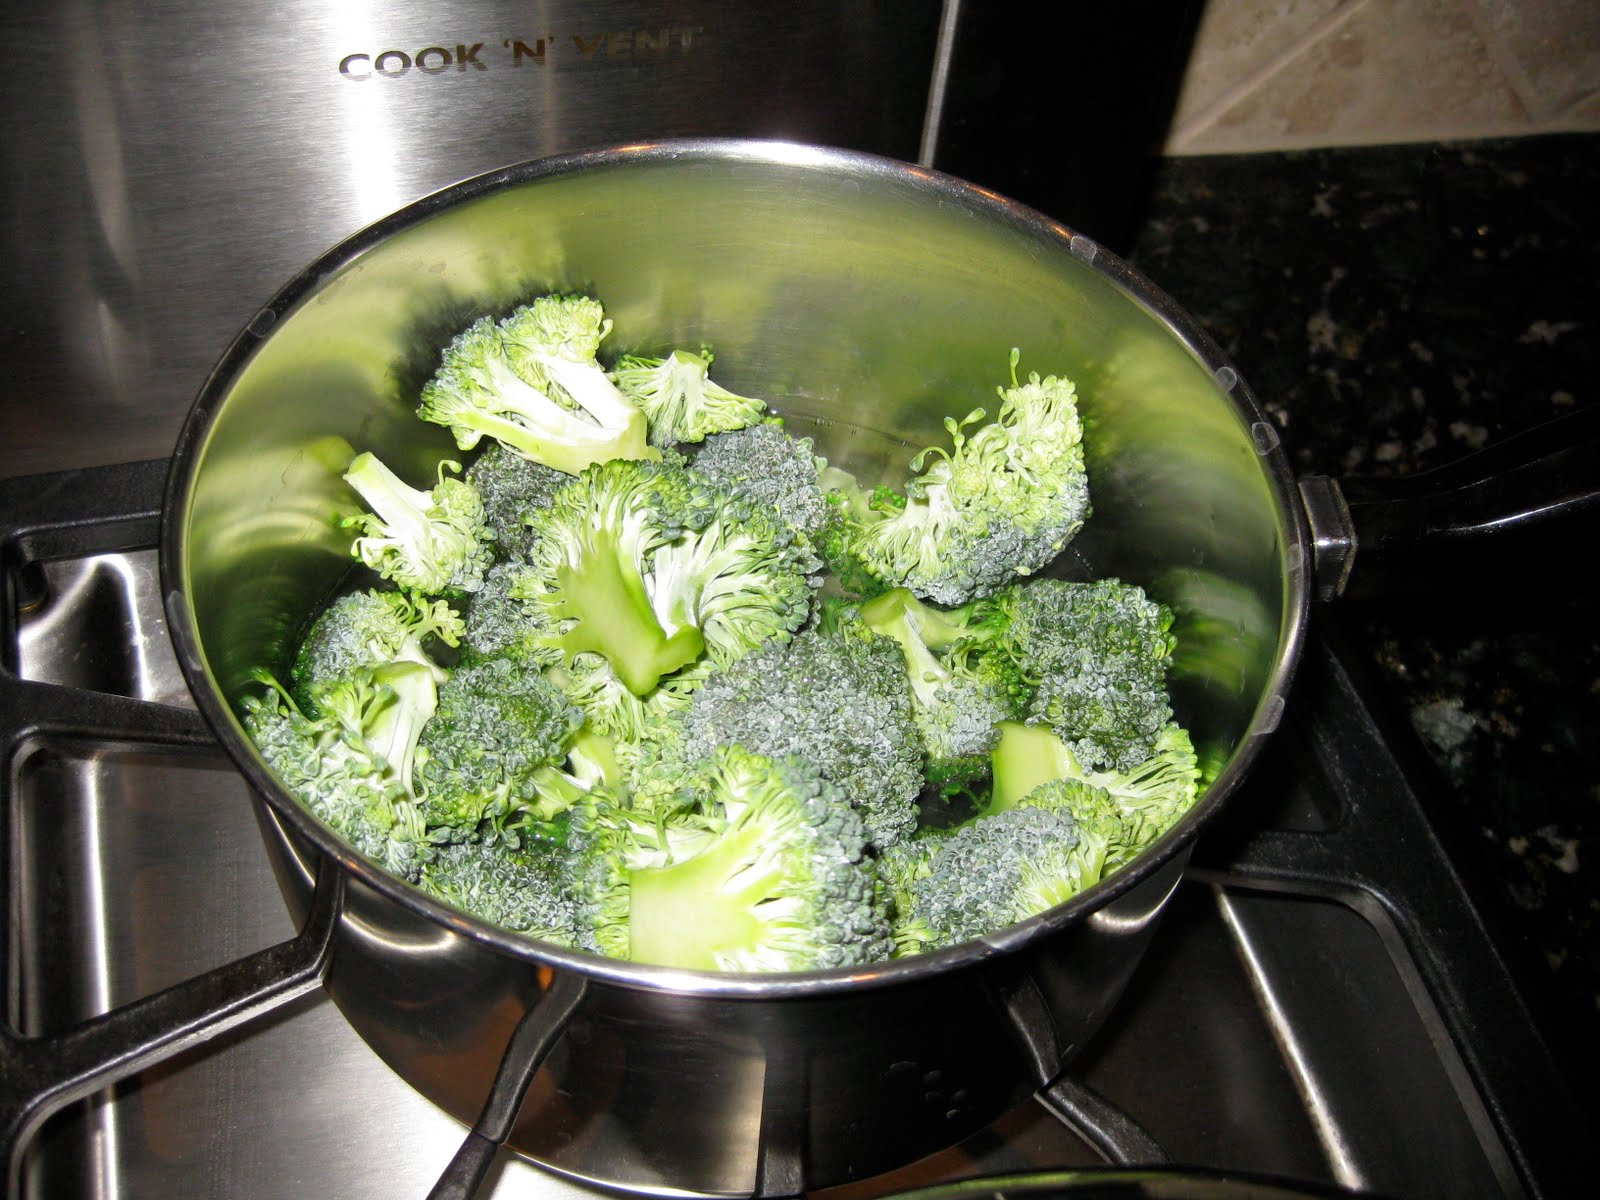
Add 1 tbsp of vegetable oil to the skillet and cook broccoli over high heat for 30 seconds. Add water, cover the skillet, and reduce heat to medium. Cook the broccoli for 2 more minutes or until crisp-tender. Transfer to a paper towel-lined plate.
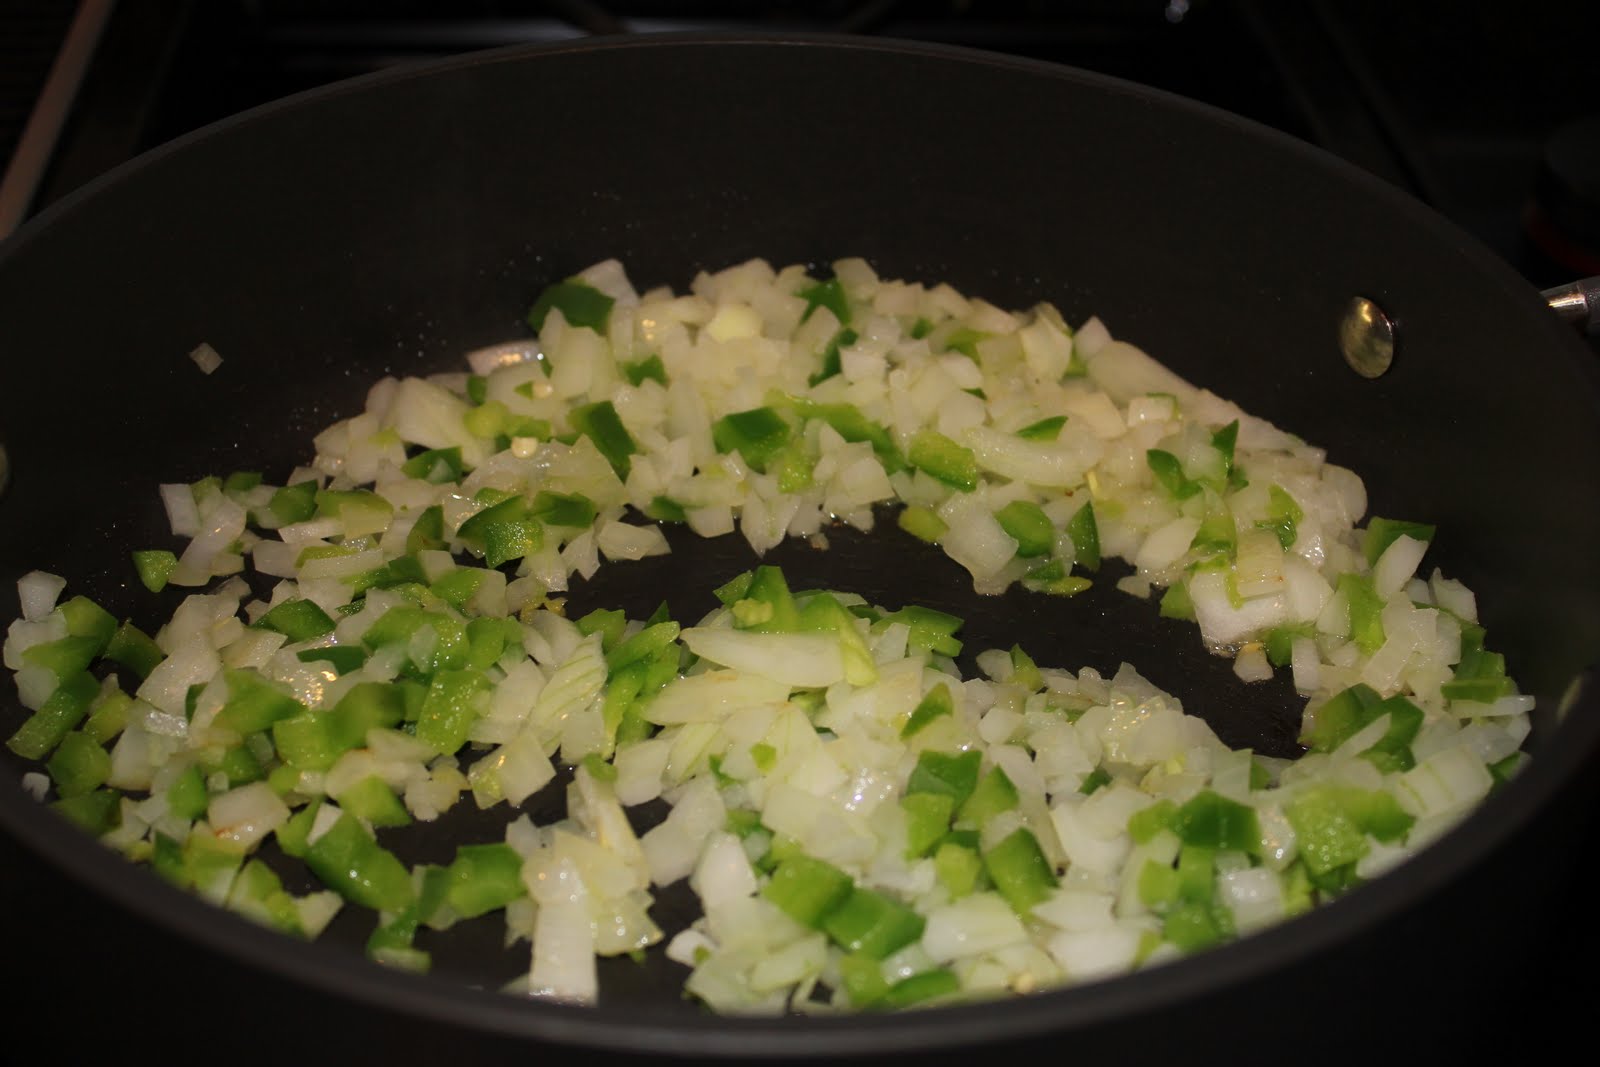
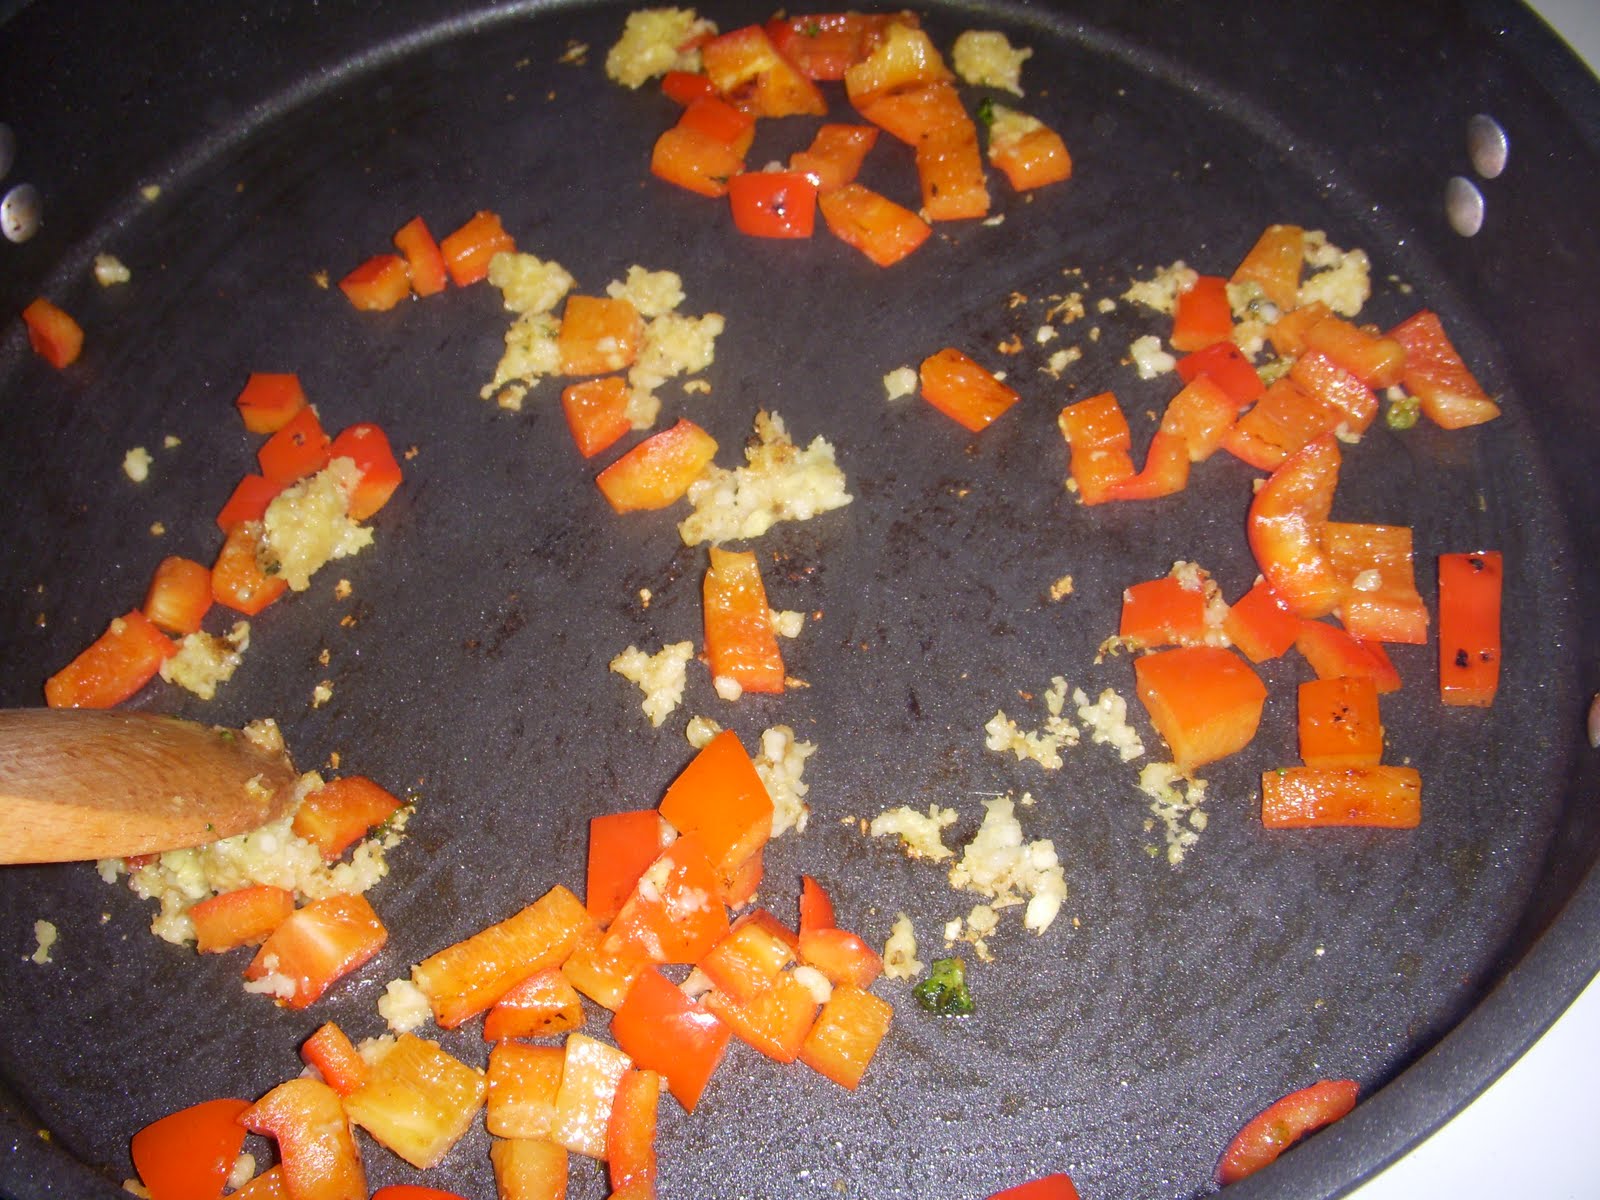
Add 1 tsp vegetable oil to the skillet and cook bell pepper on high heat until spotty brown, about 1 1/2 minutes.
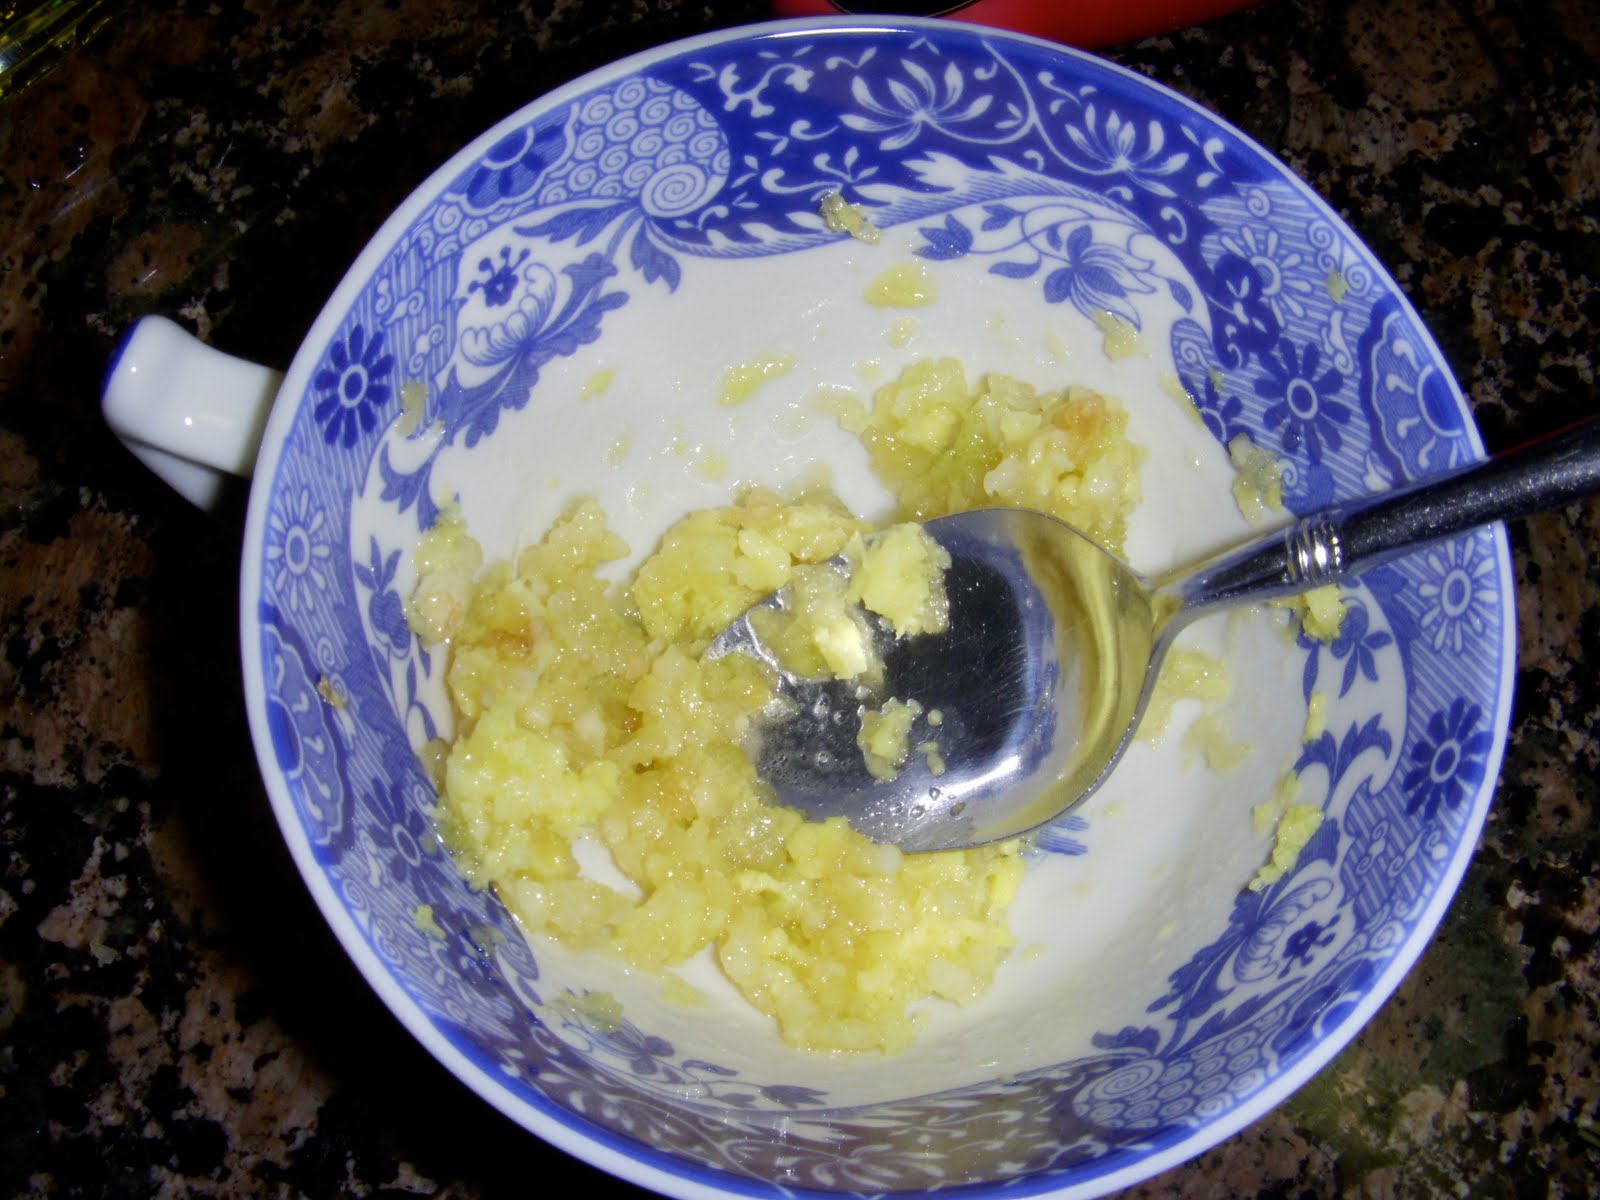
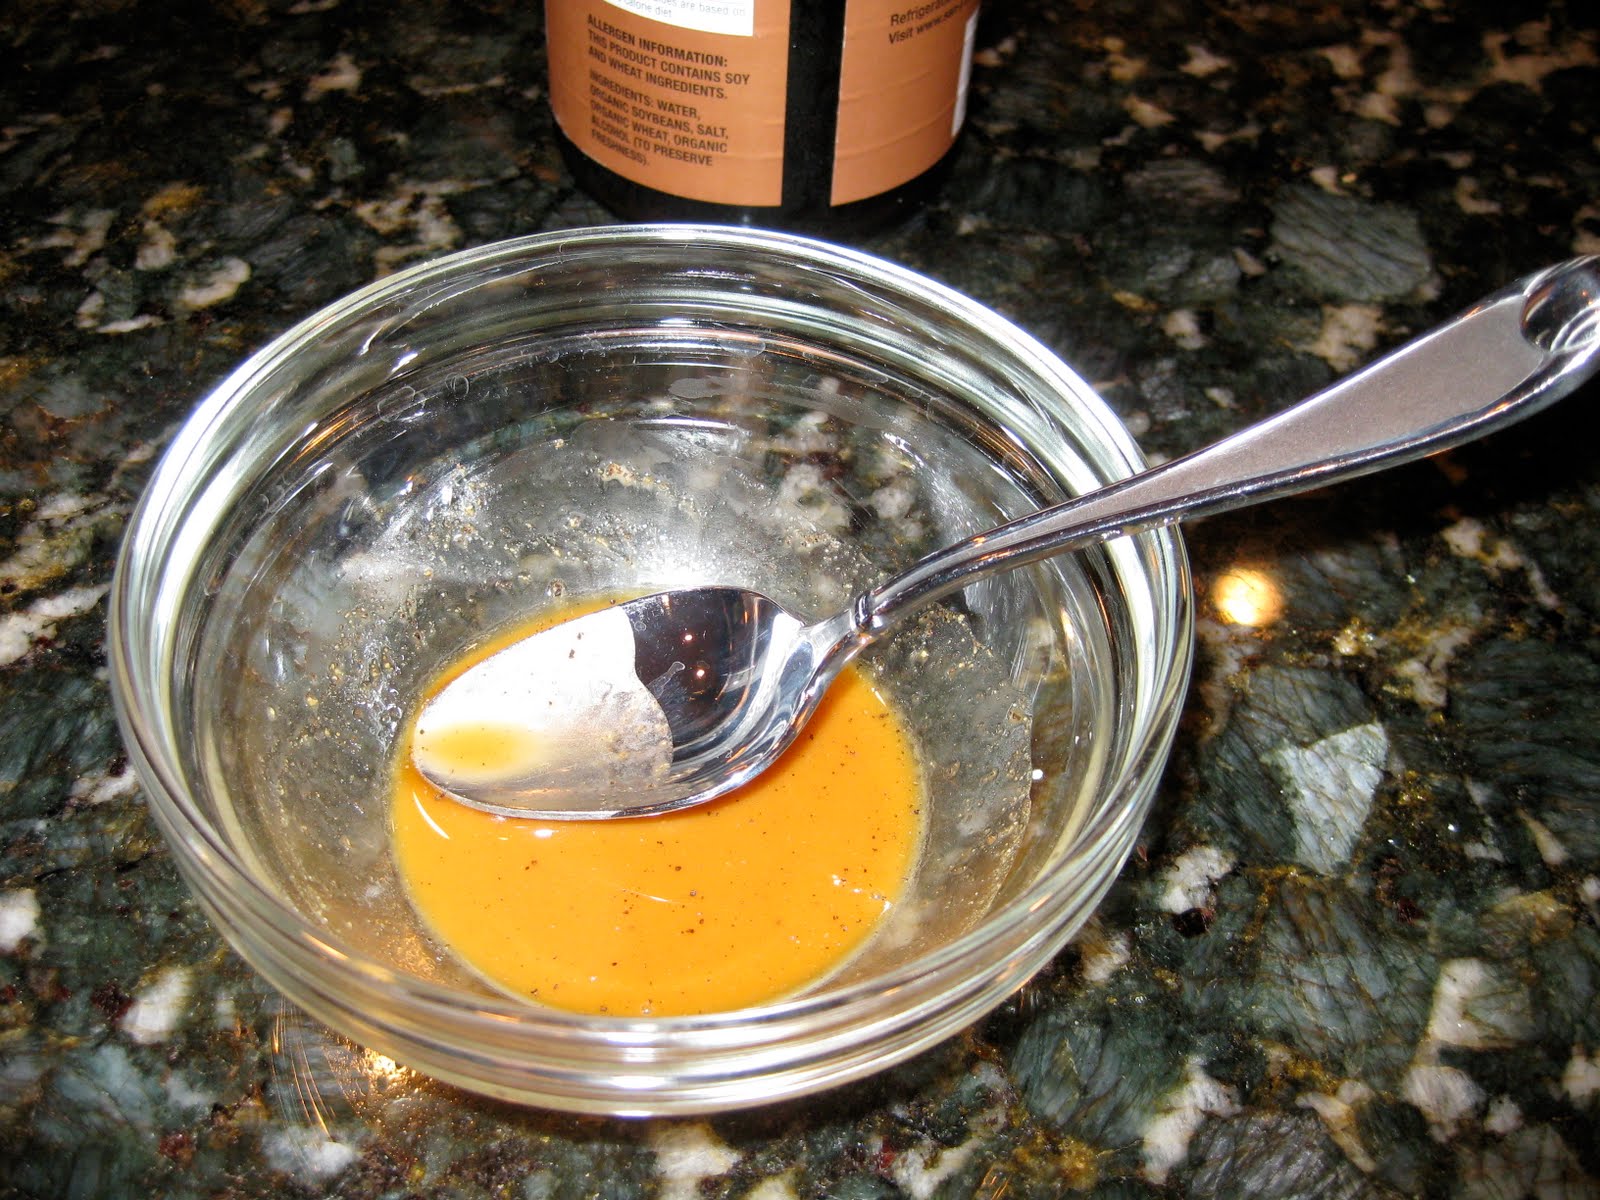
Stir together garlic, minced ginger, and 1 tsp vegetable oil.
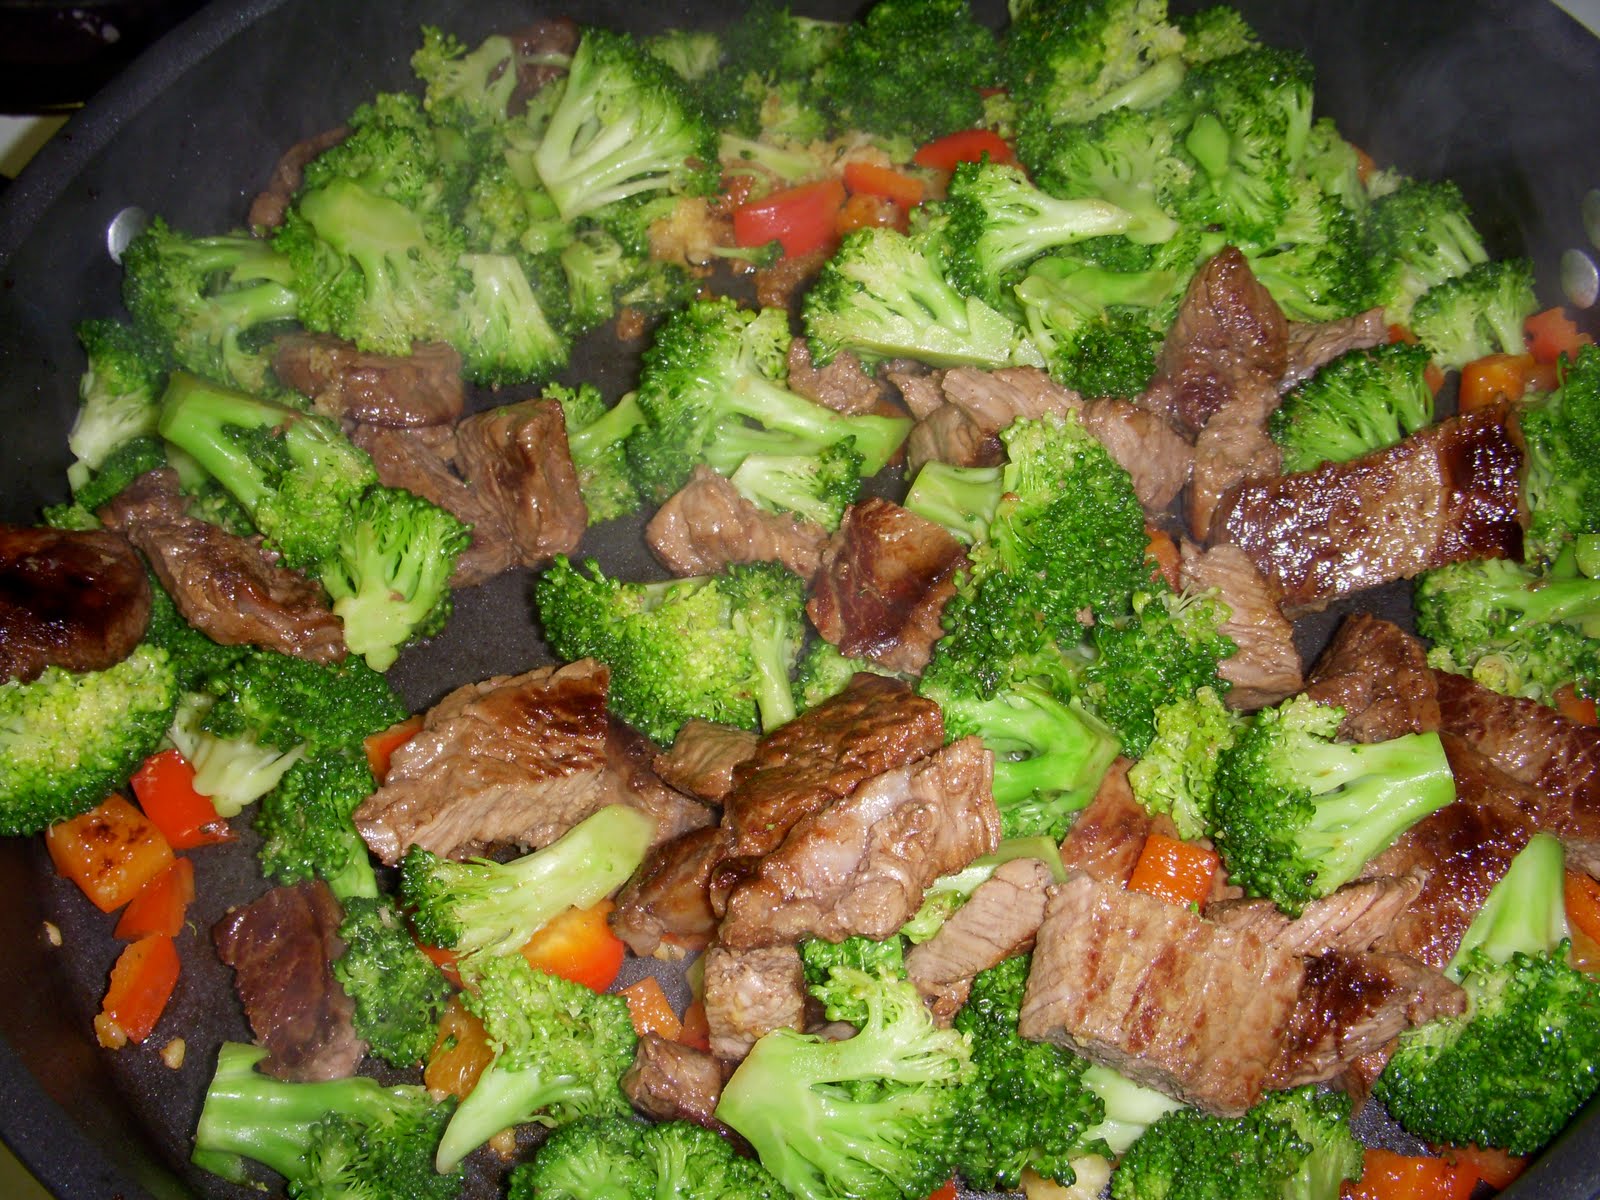
Add garlic mixture to center of skillet and cook for 15-20 seconds until fragrant. Then mix it together with the bell peppers.
Return broccoli and beef and accumulated juices to the skillet. Combine.
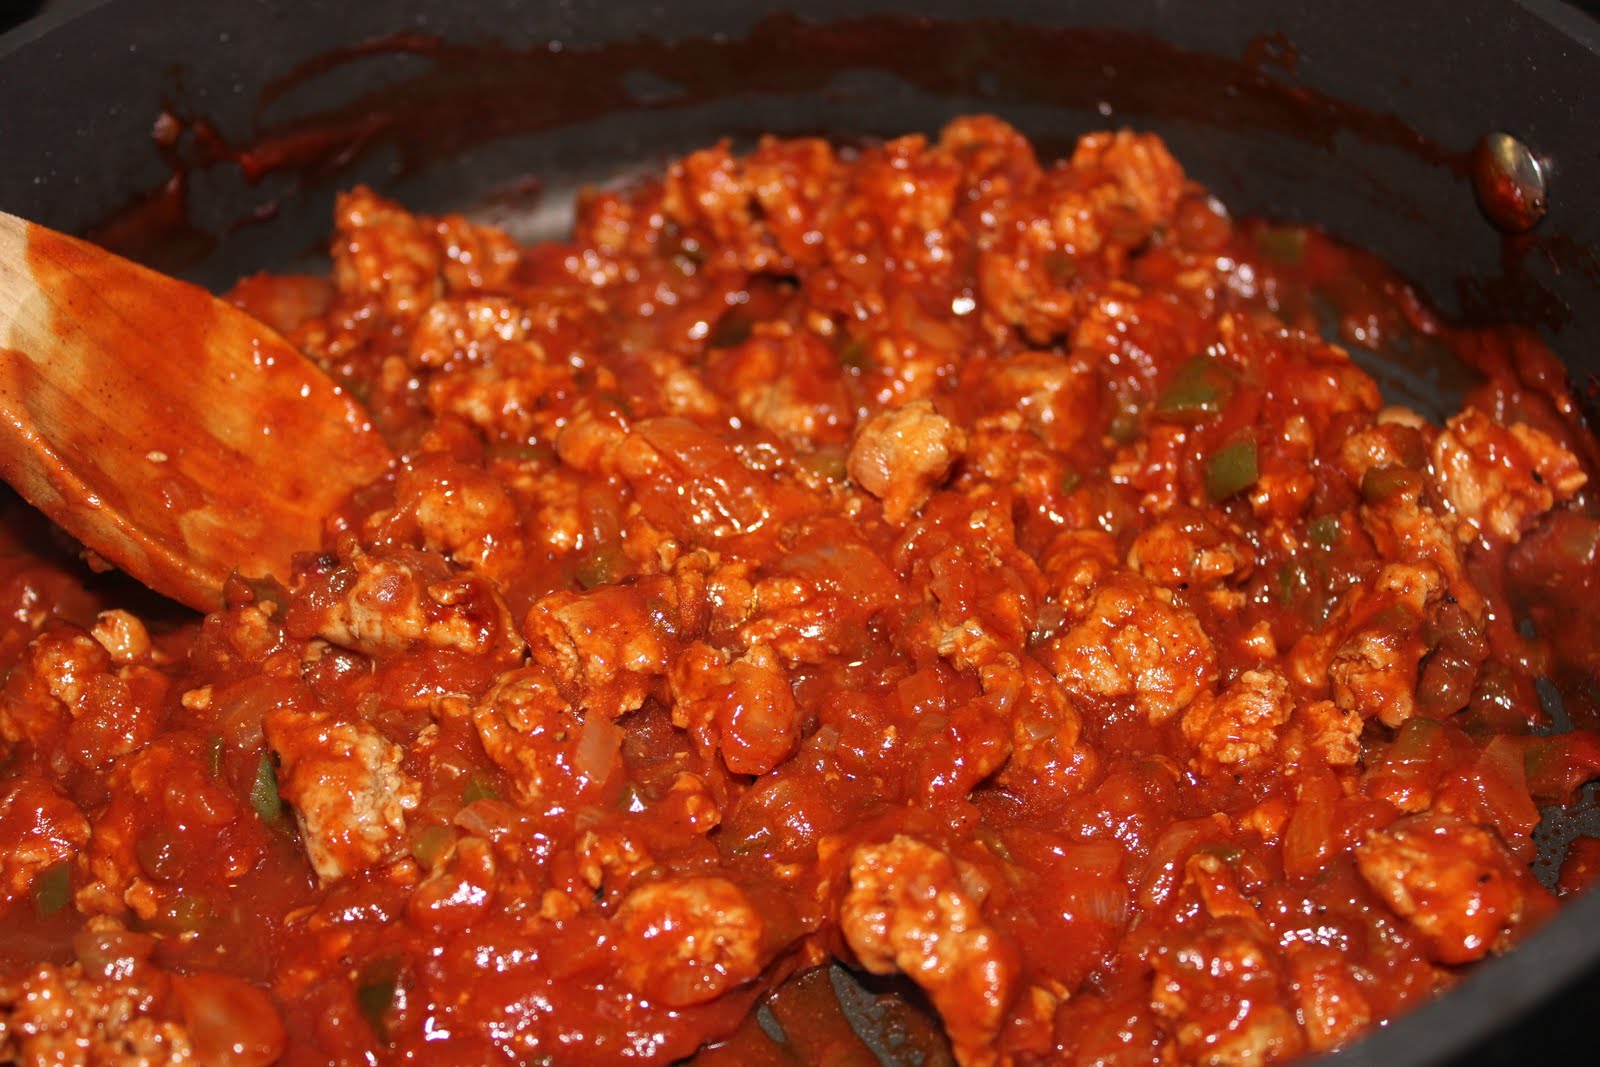
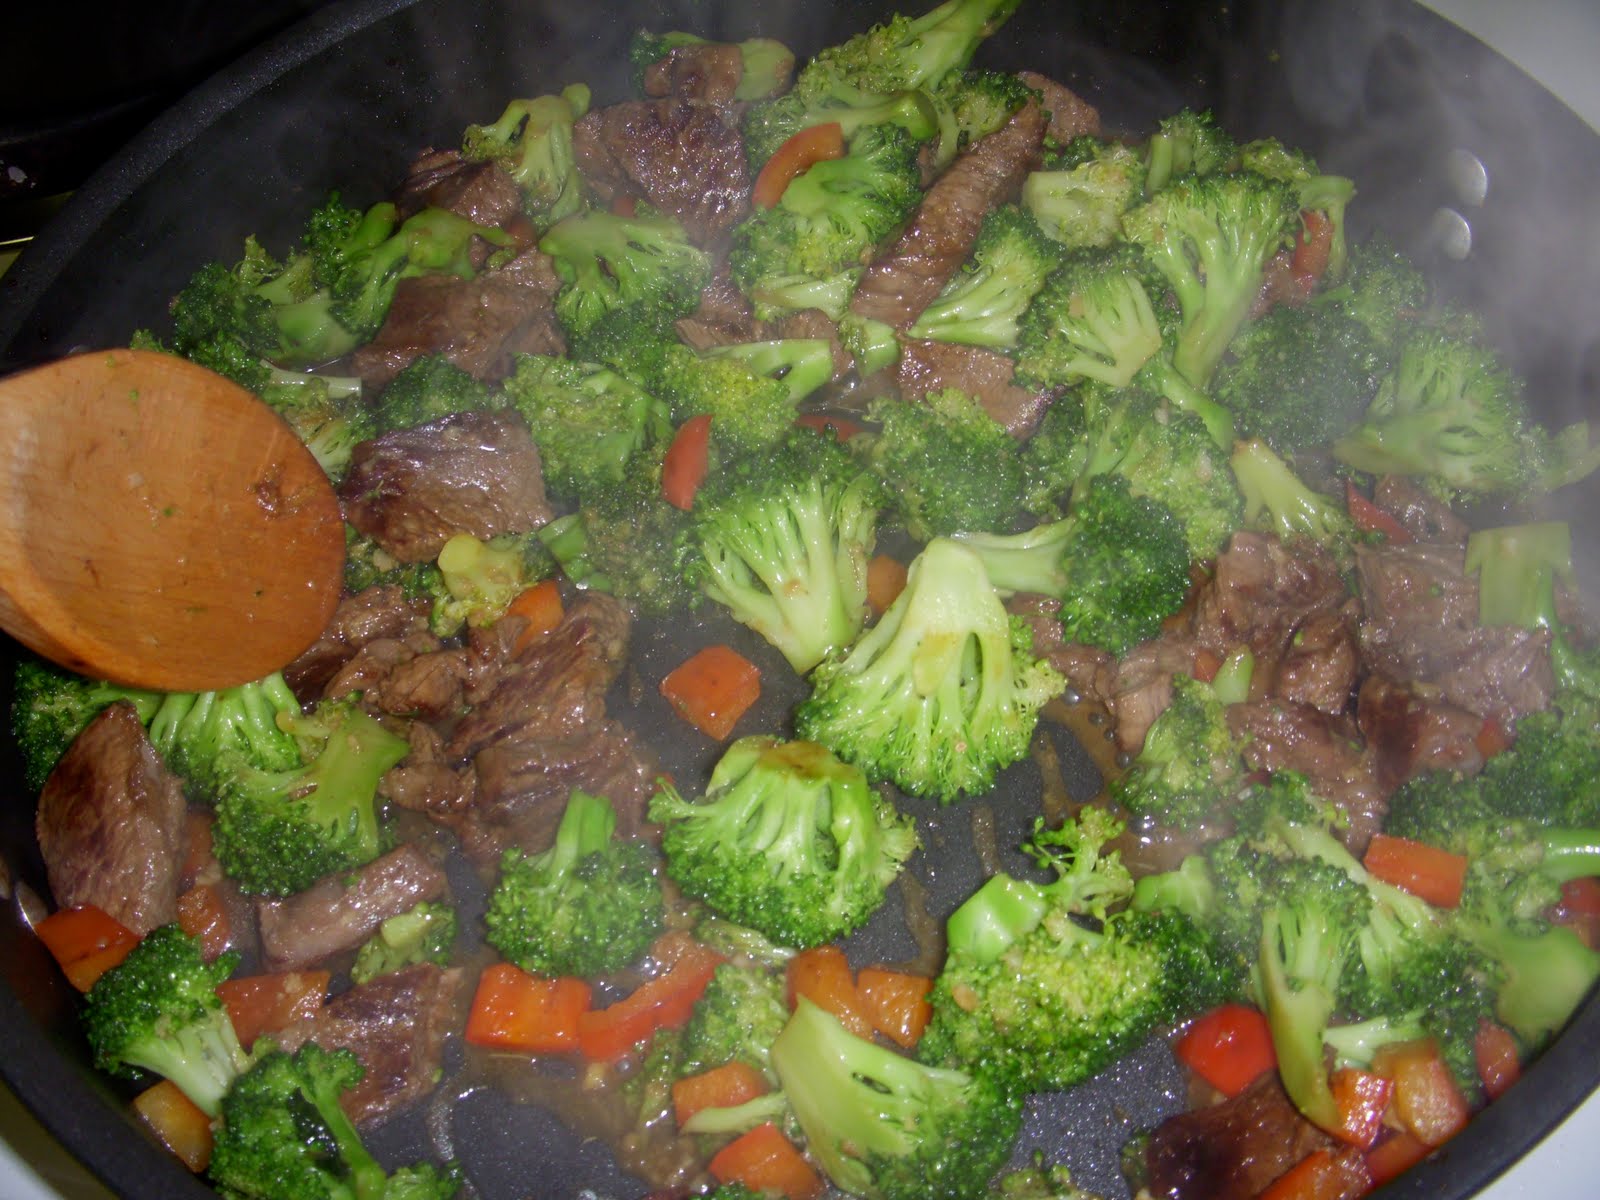
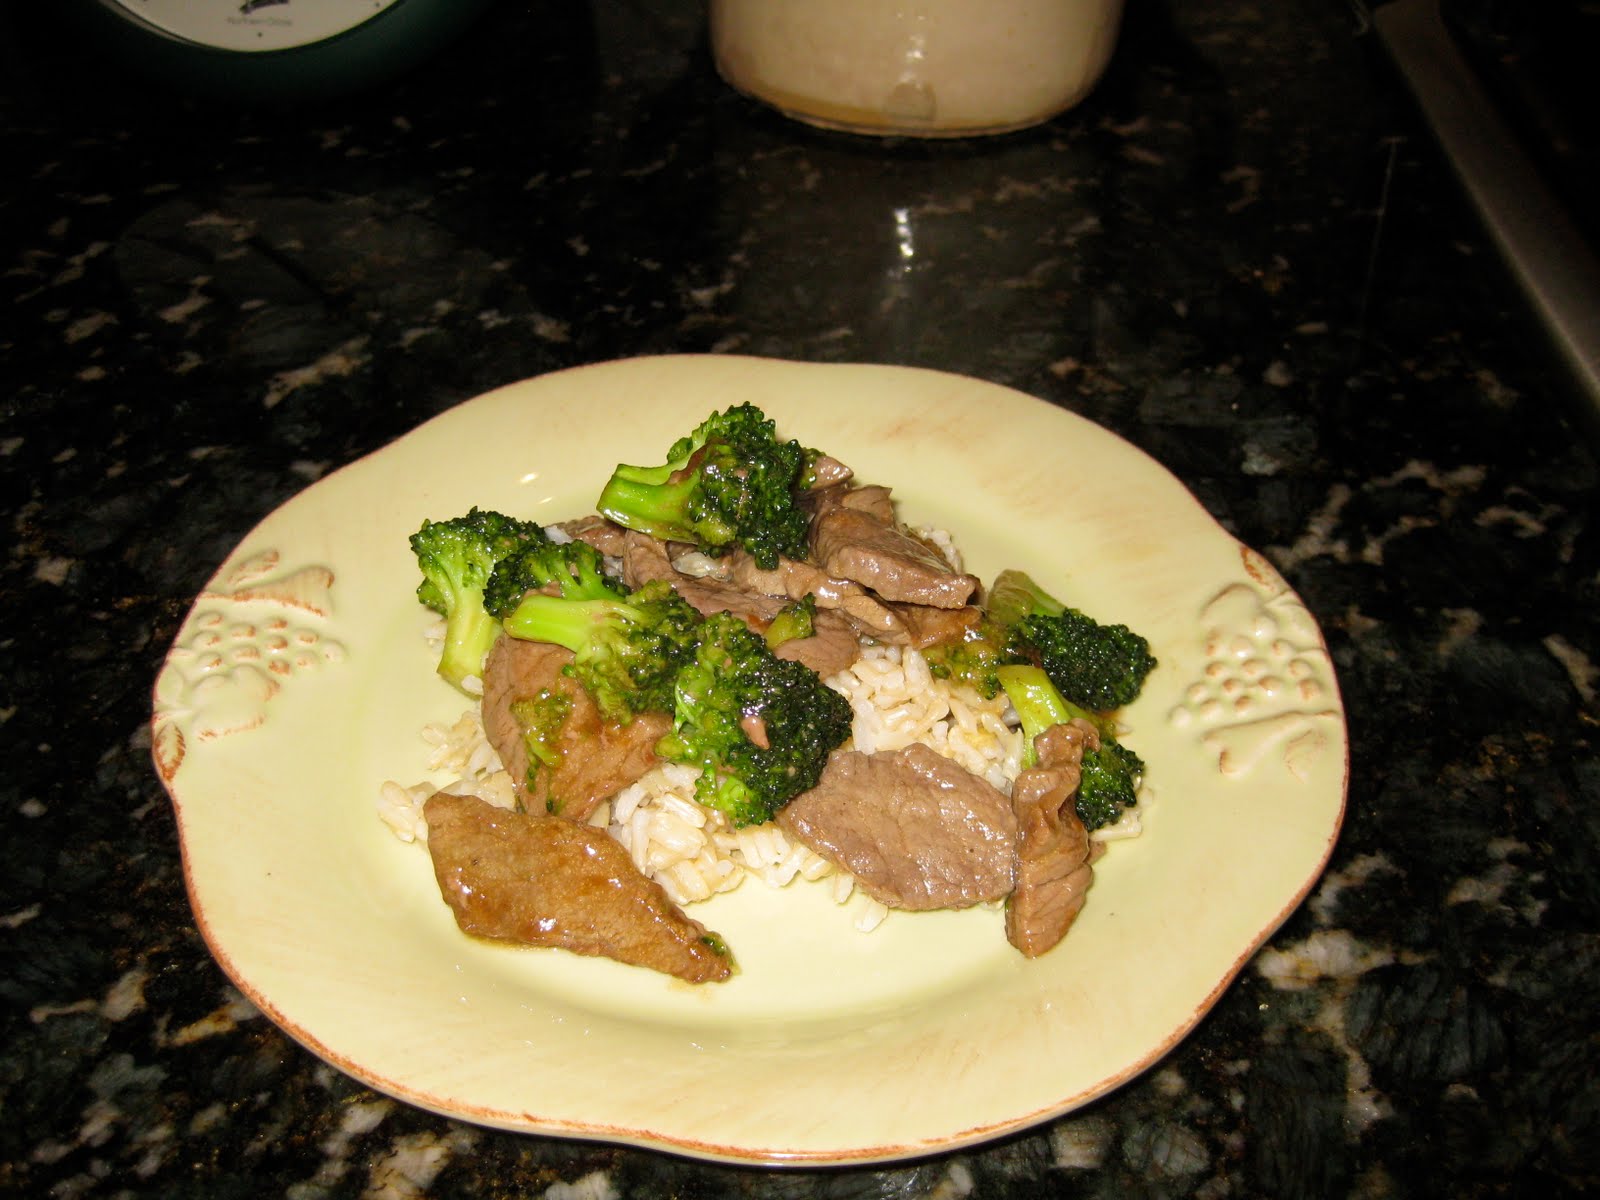
Whisk together the sauce and pour over broccoli beef mixture, tossing all together until the sauce thickens, about 30 seconds.
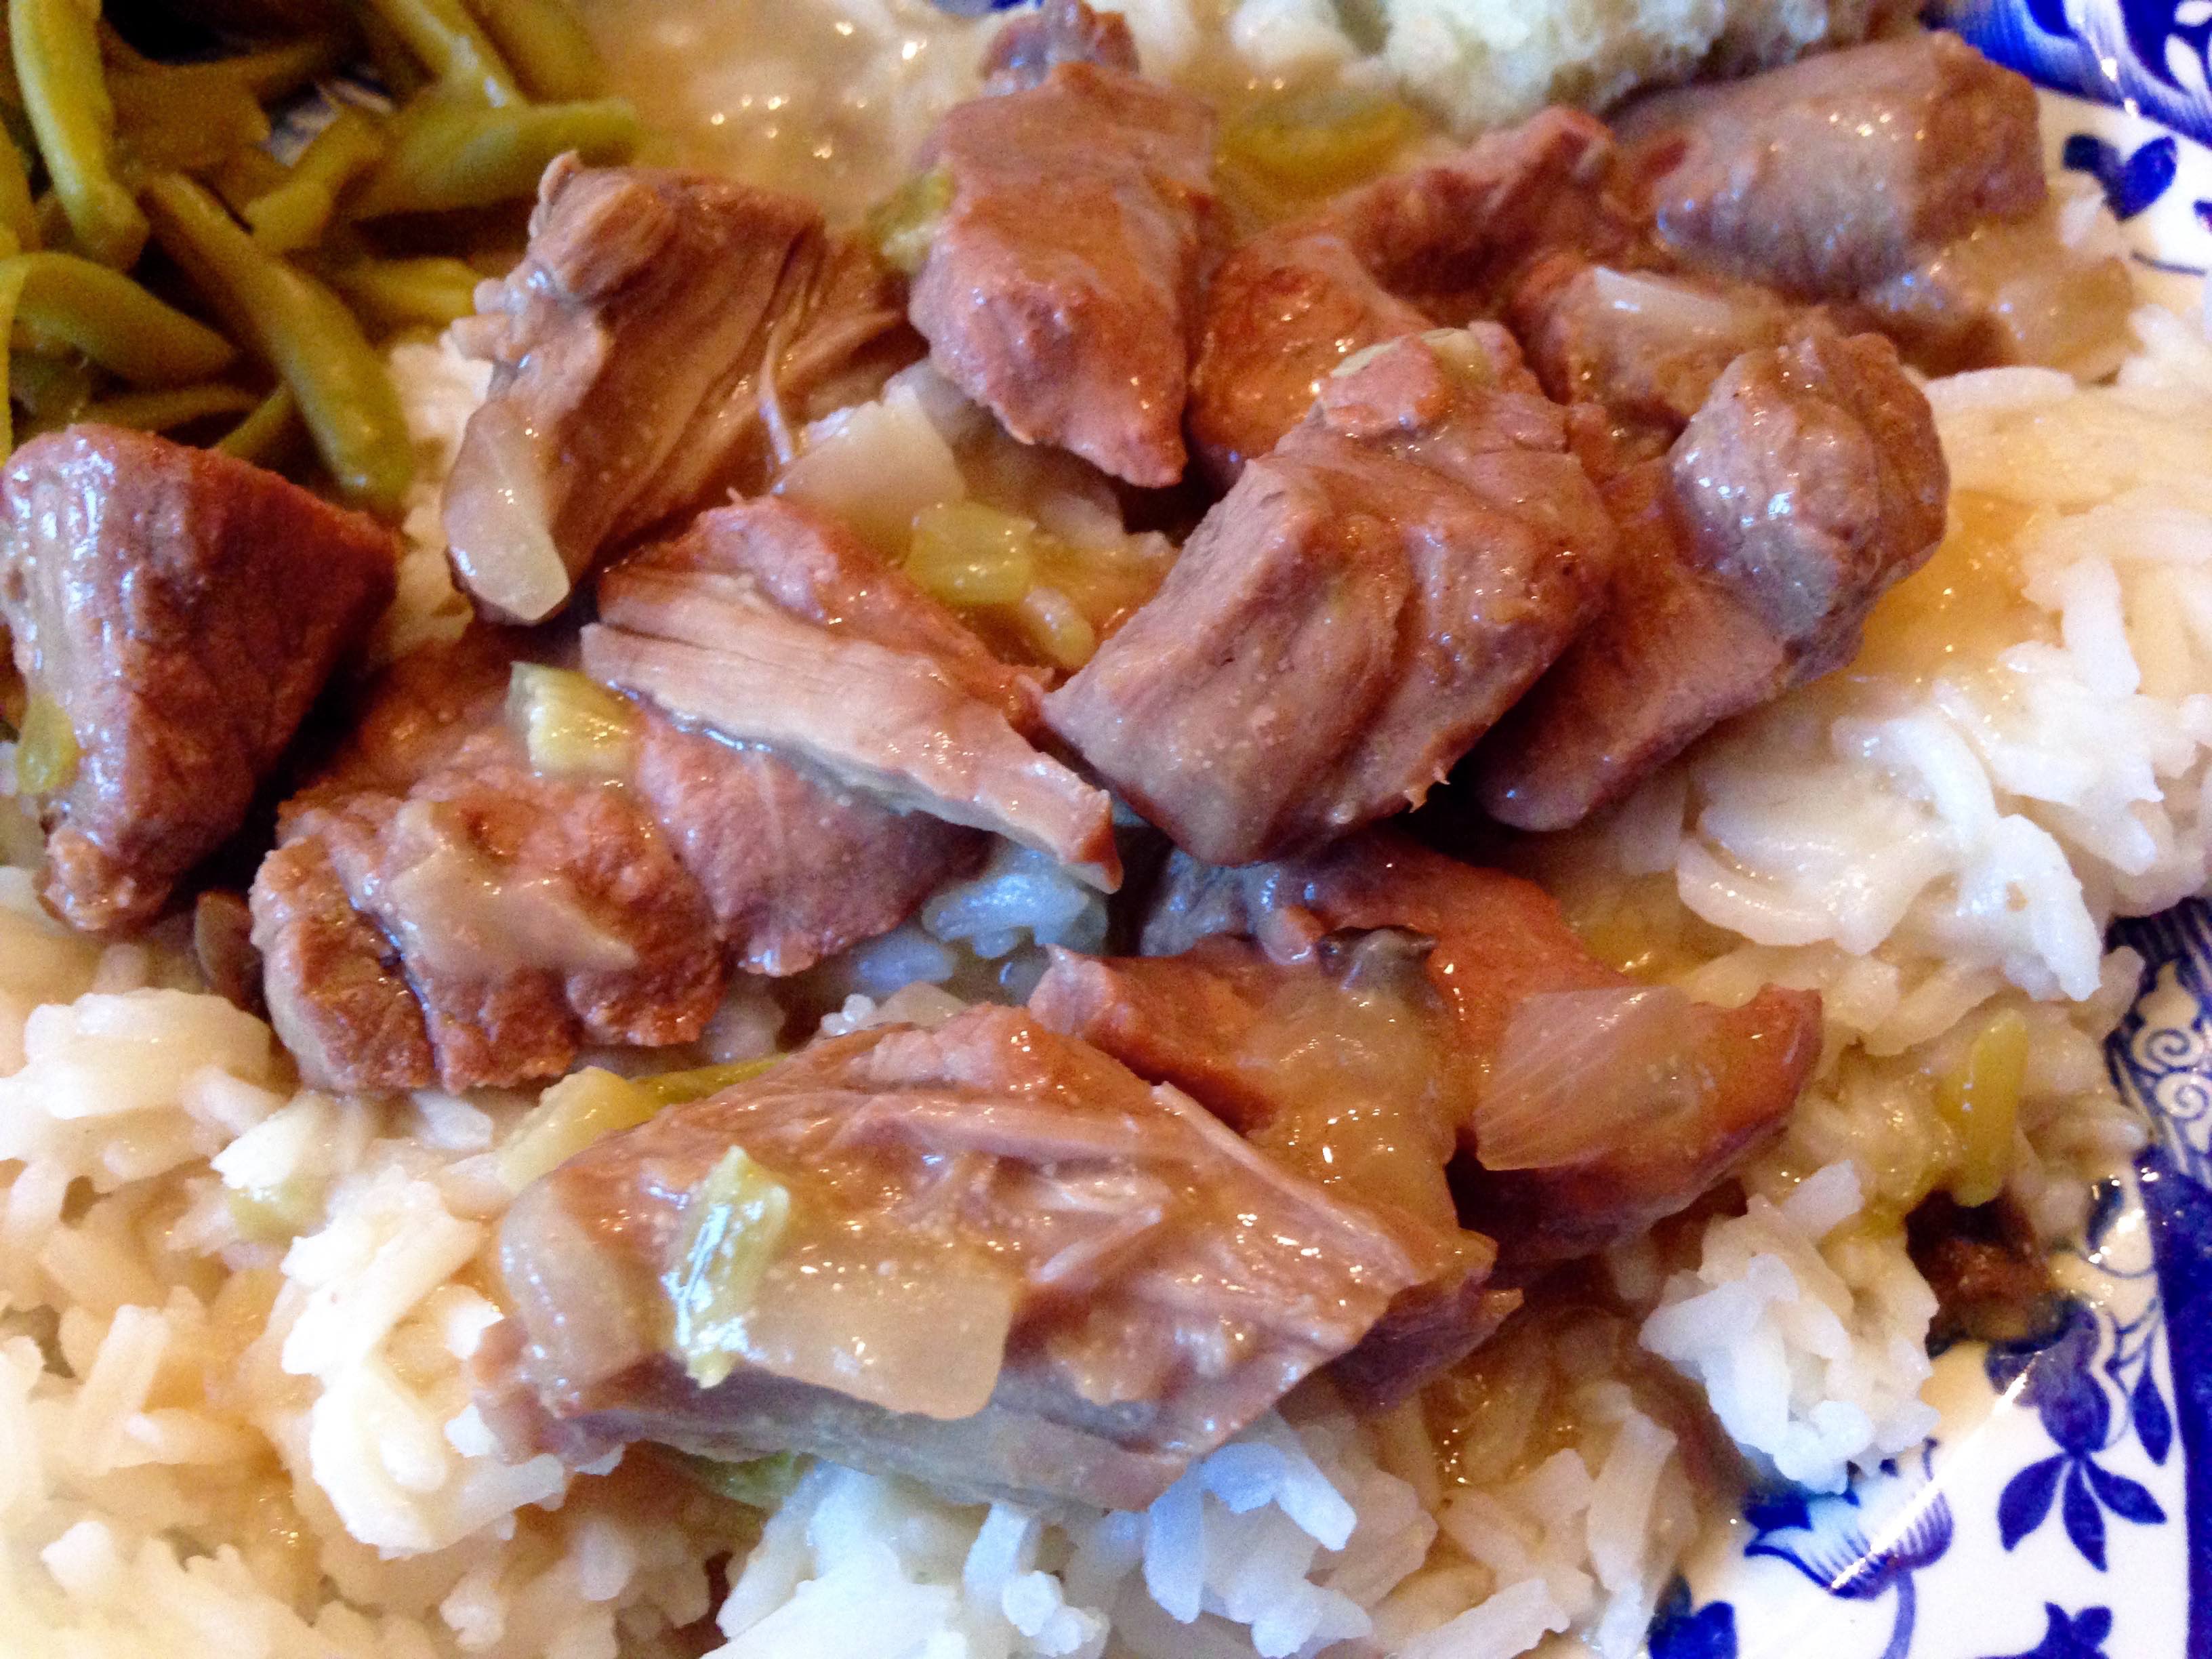
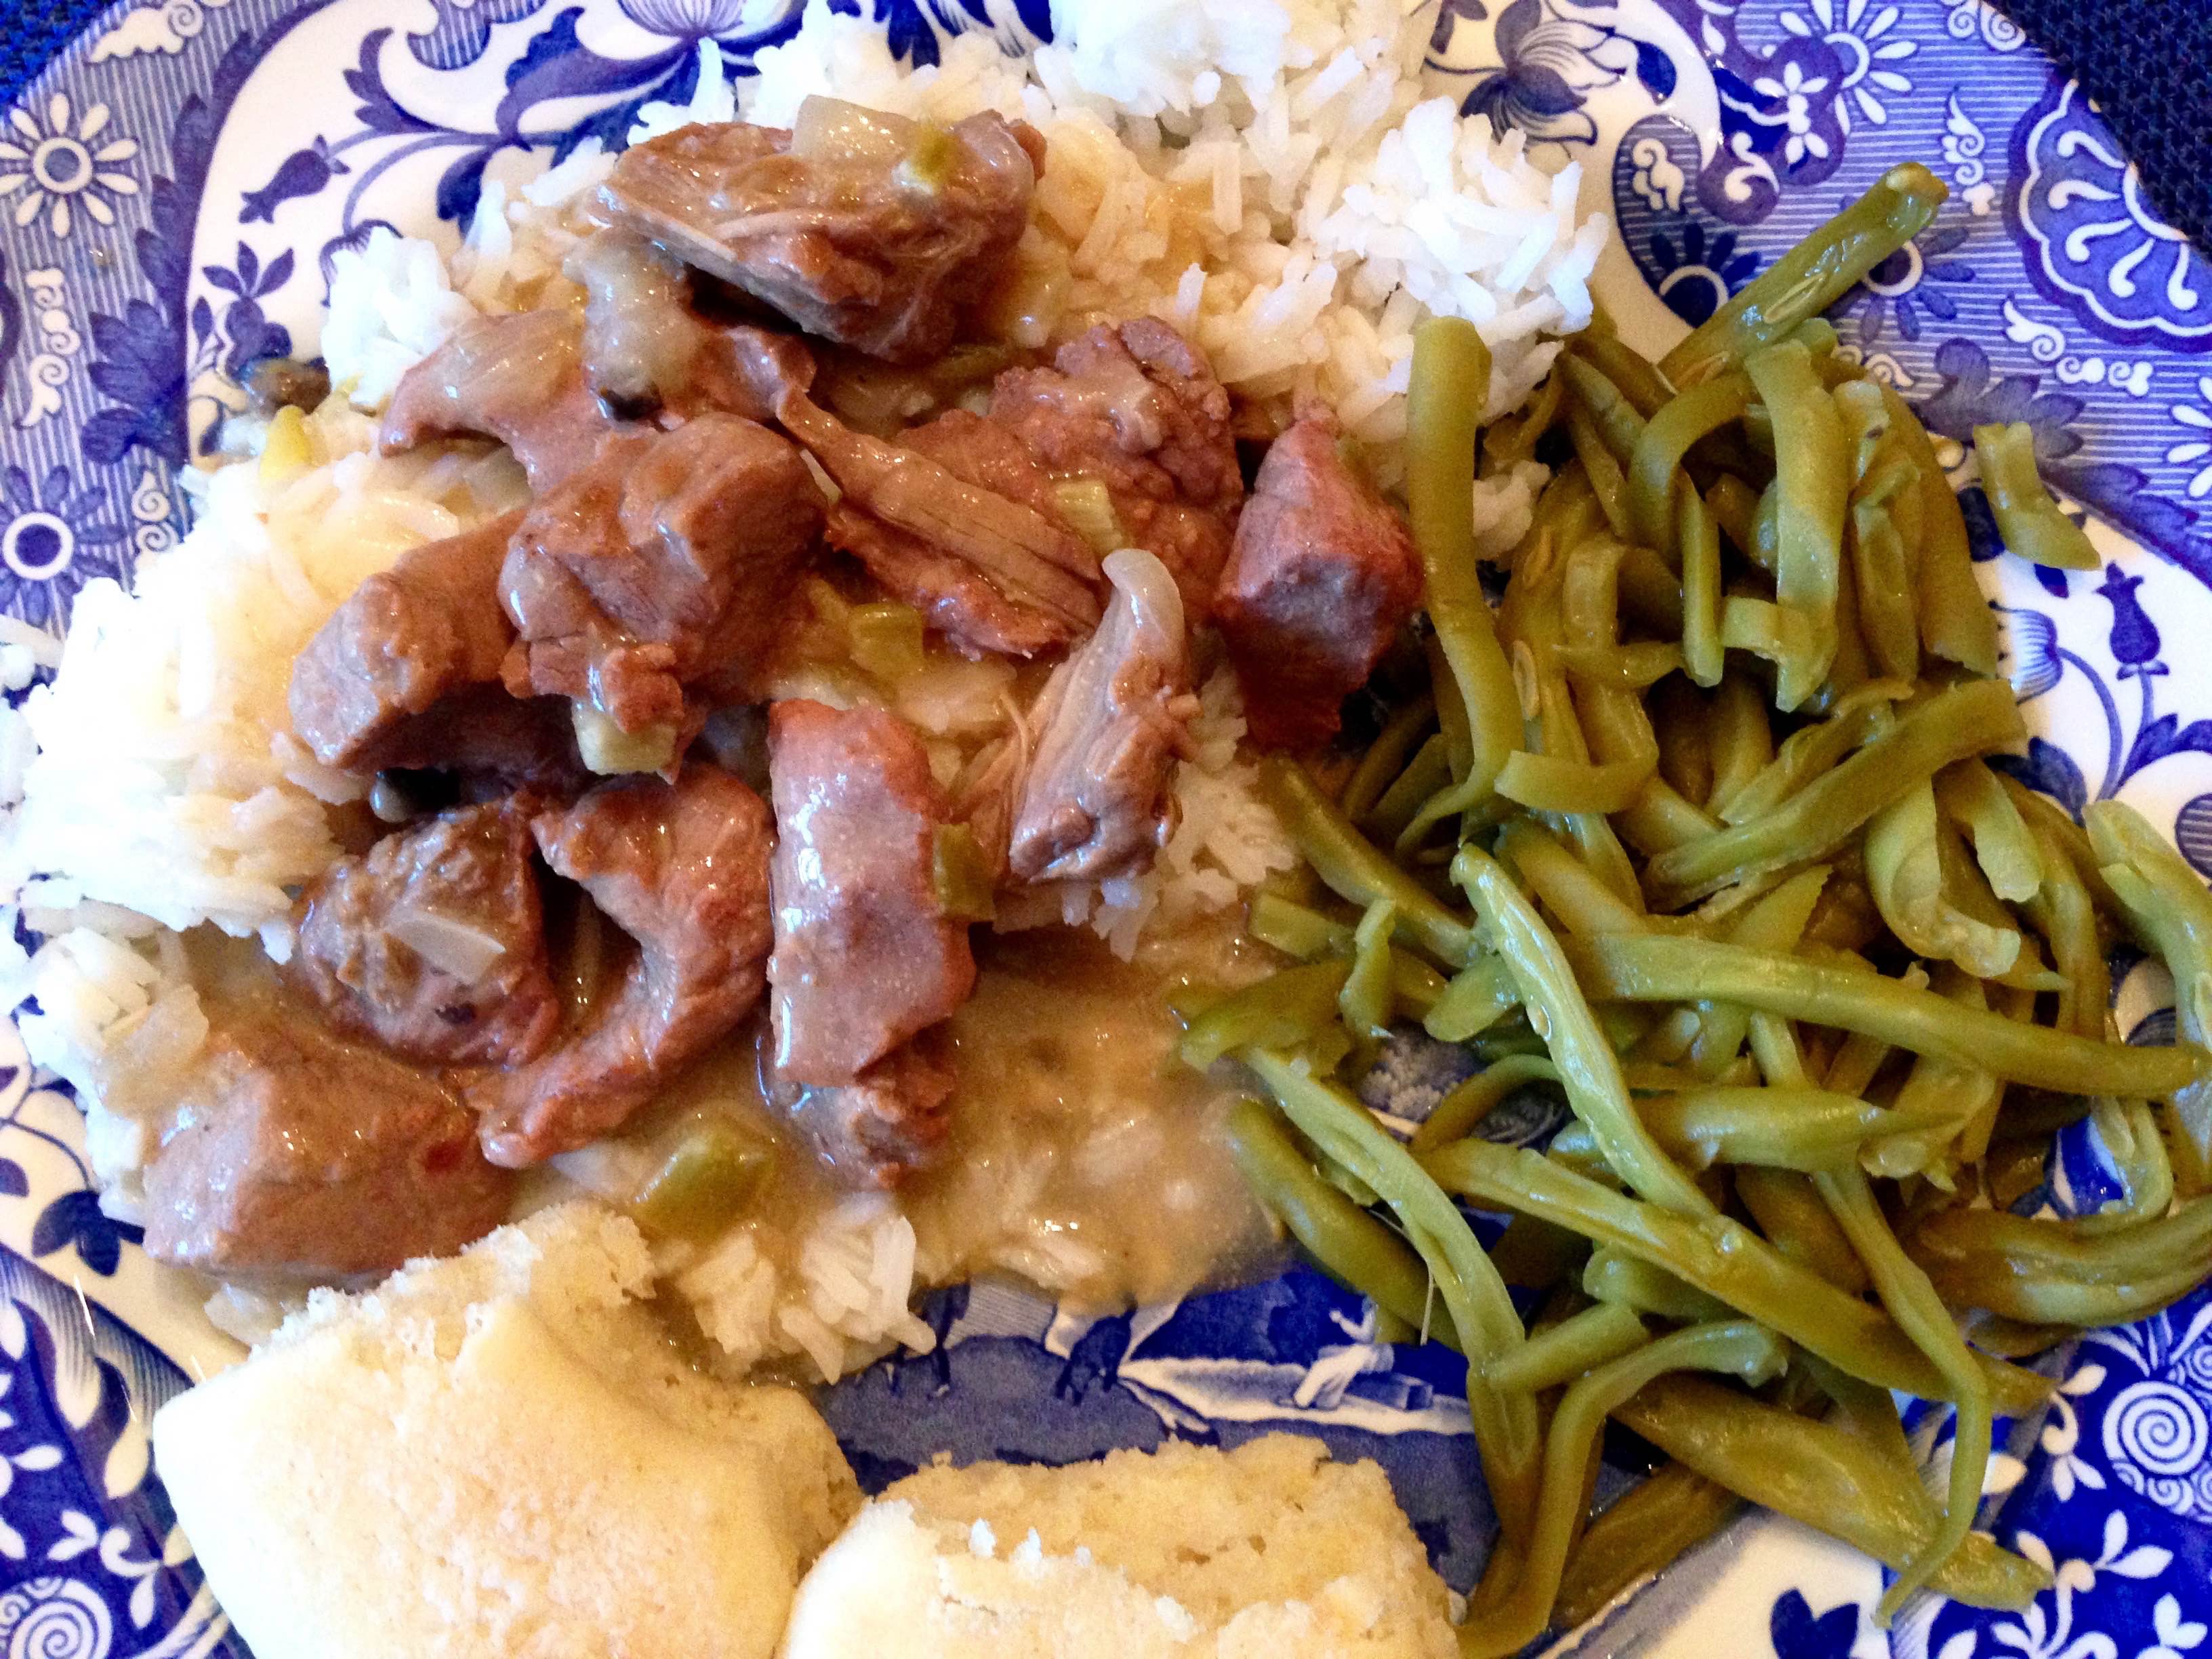
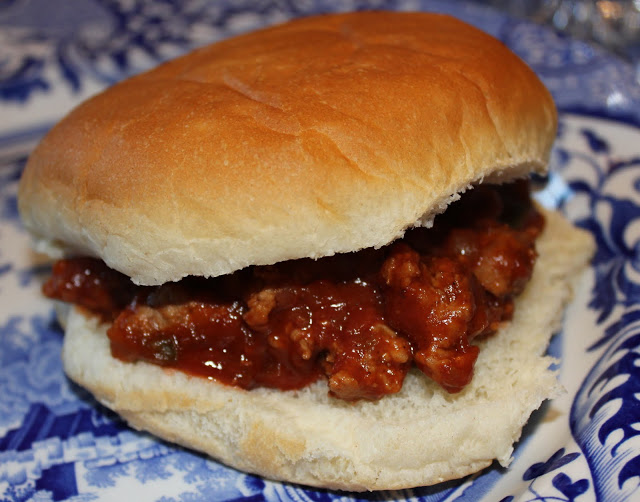
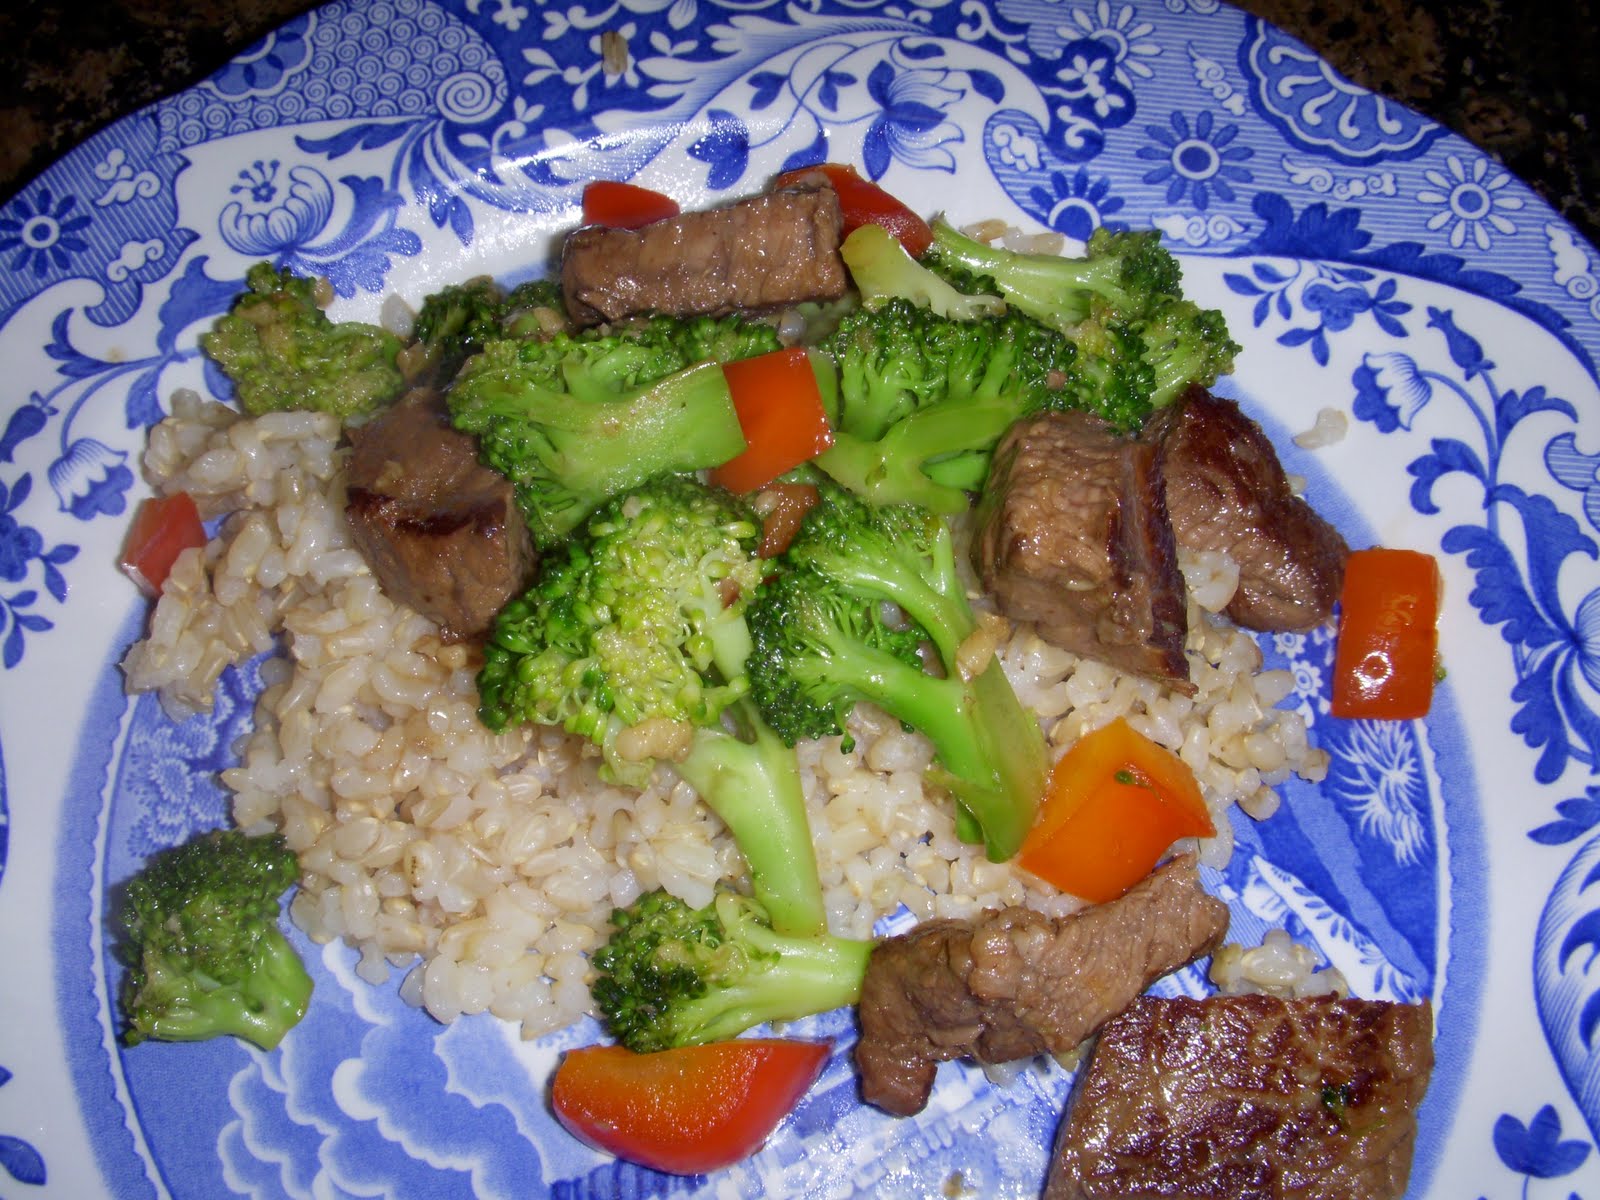
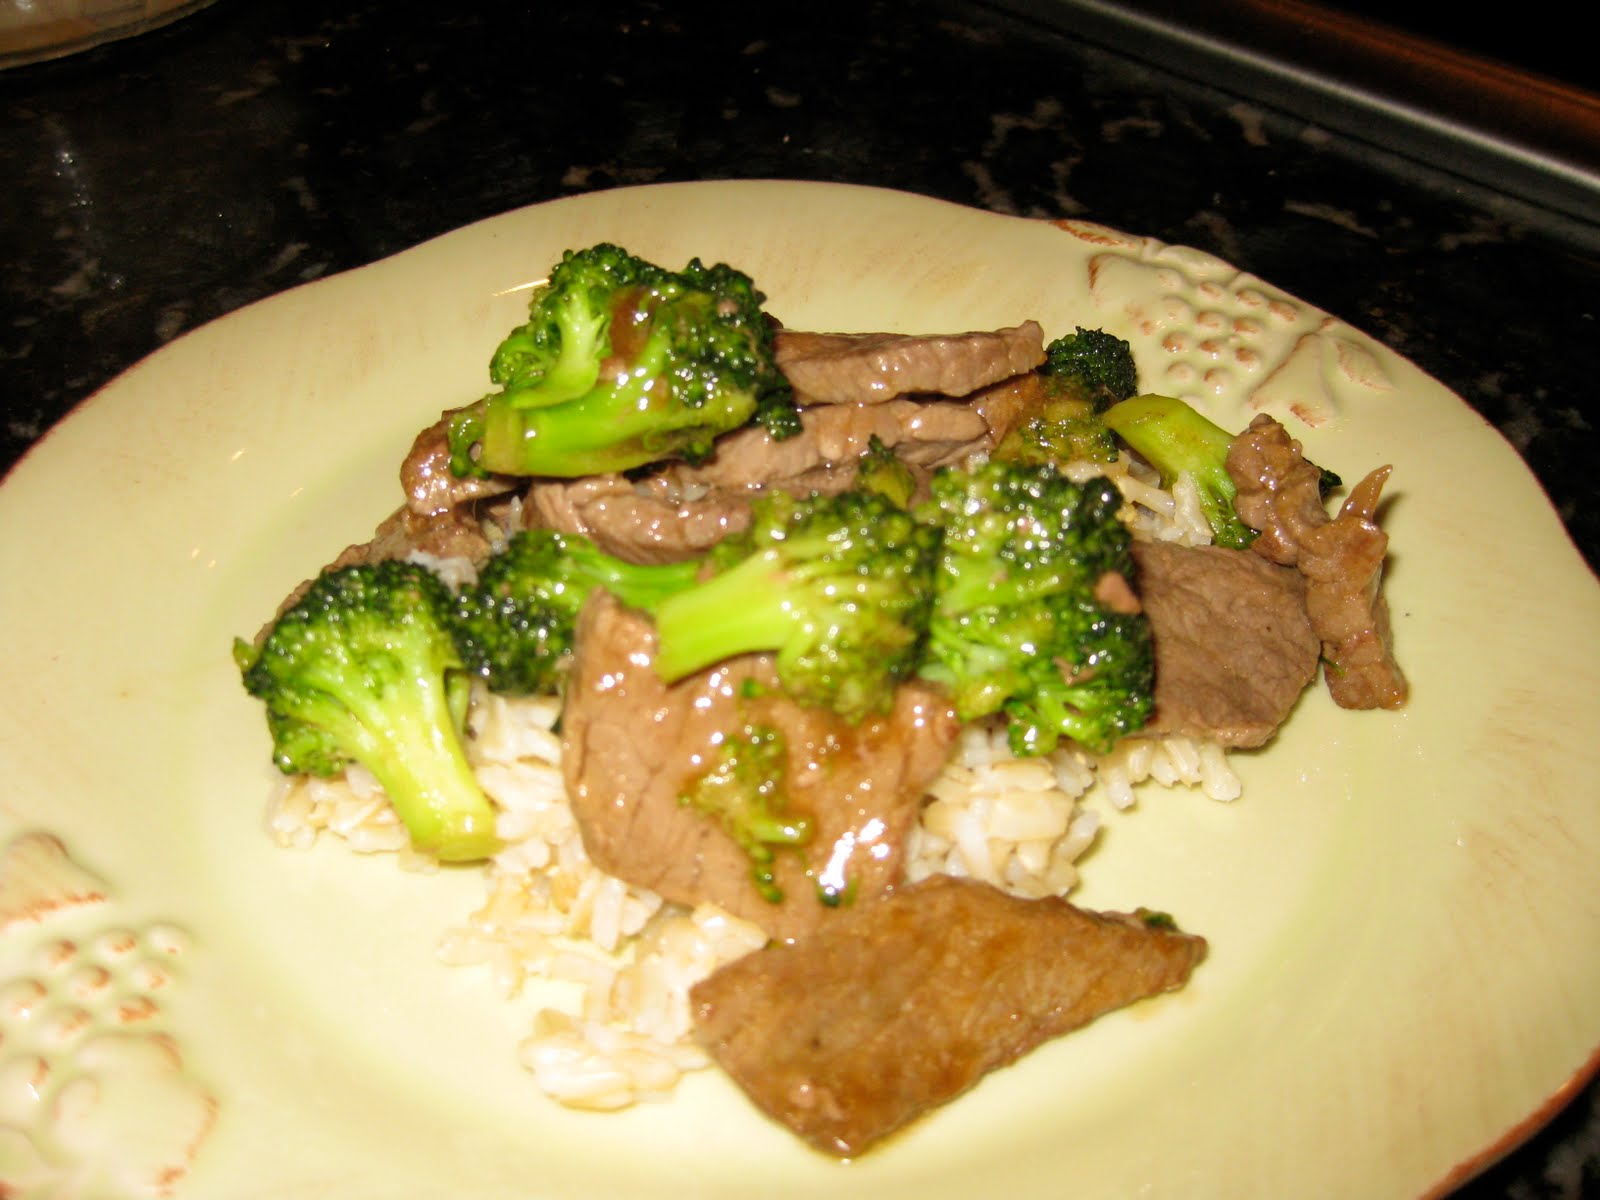
Serve over brown rice.
Stir-Fried Beef and Broccoli
Ingredients
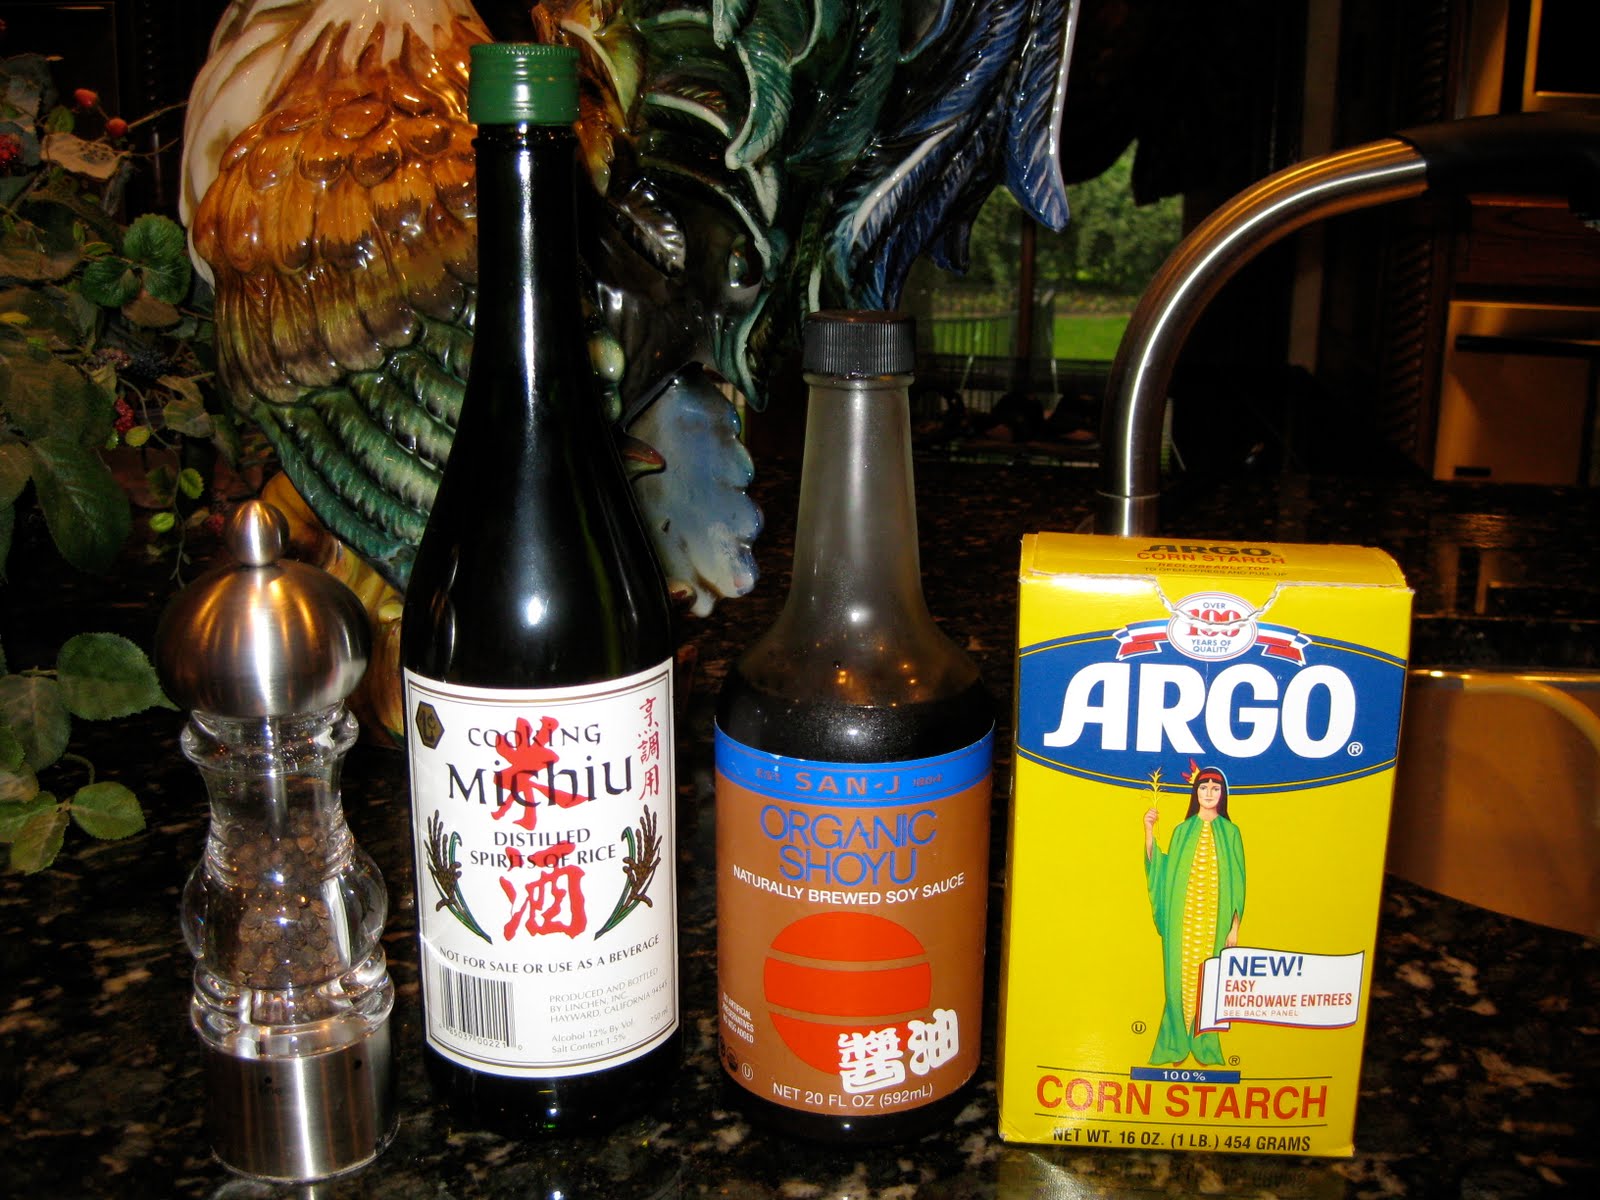
Sauce
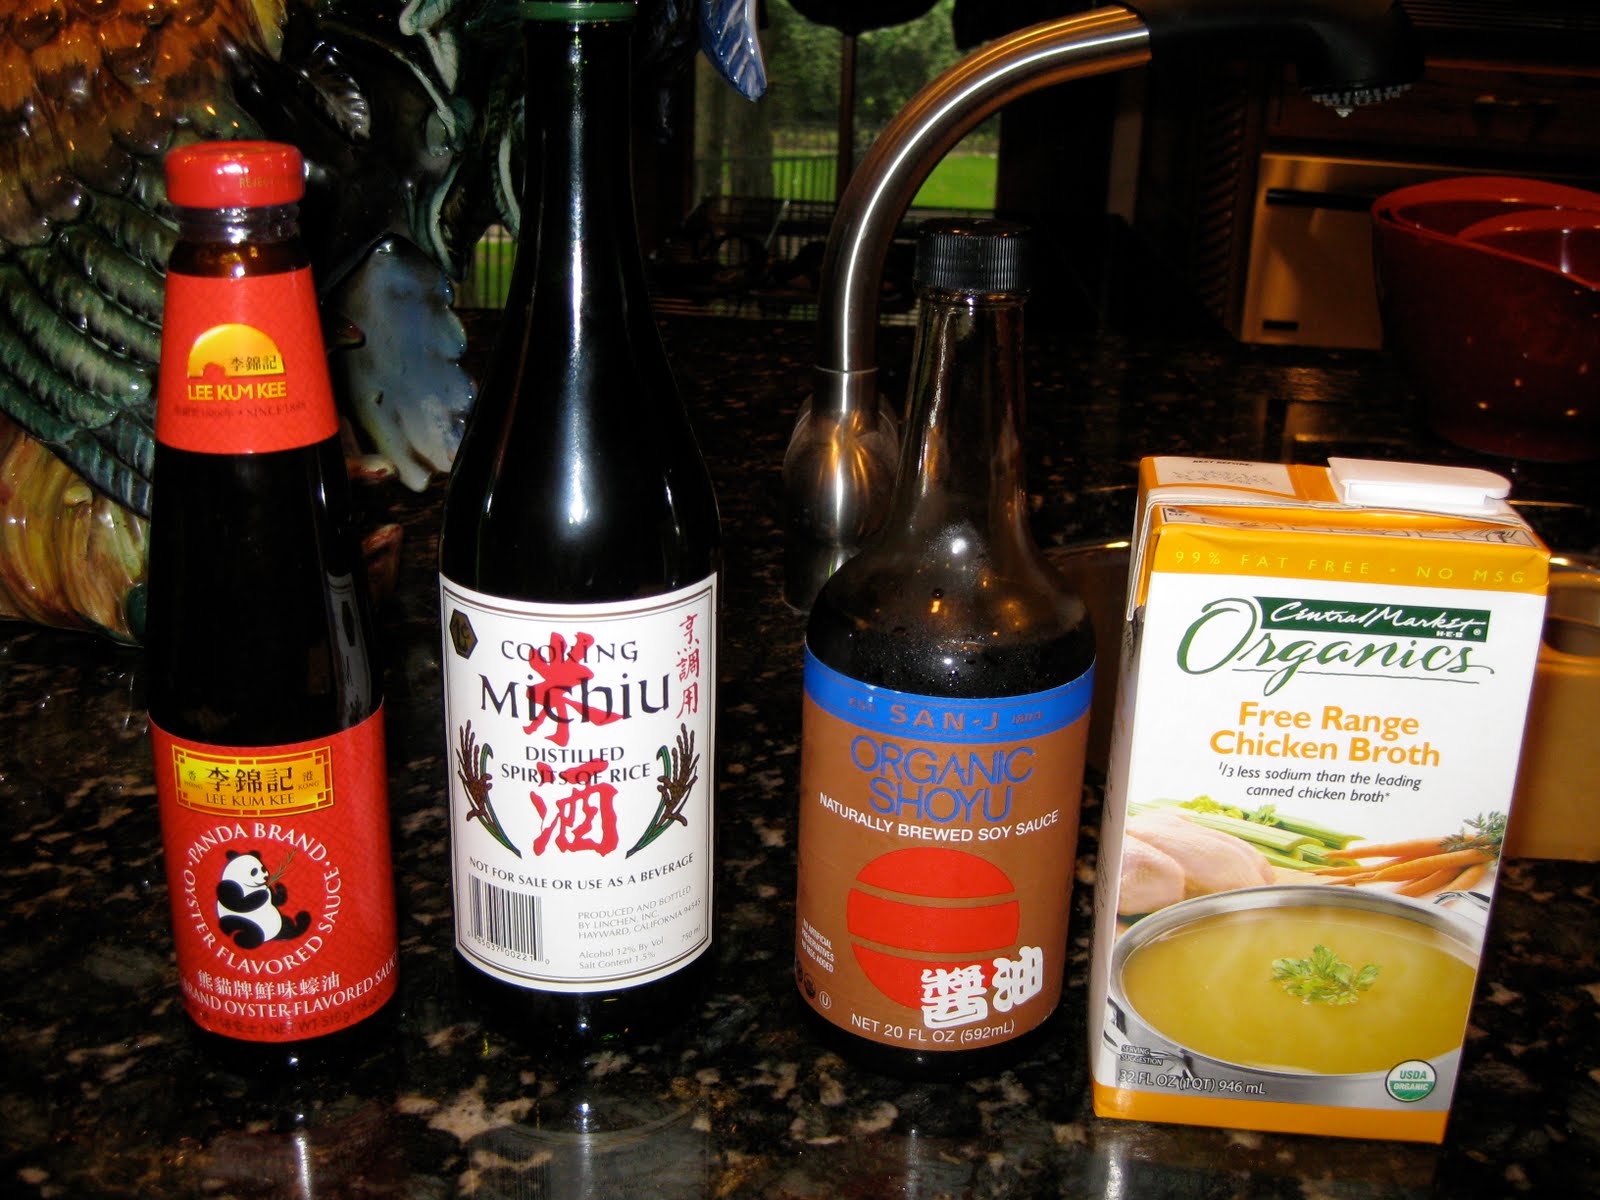
5 tbsp oyster-flavored sauce (I used clam sauce)
2 tbsp low-sodium chicken broth
1 tbsp dry sherry (I omitted)
1 tbsp light brown sugar
1 tsp toasted sesame oil
1 tsp cornstarch
Beef and Broccoli
1 lb. sirloin steak steak, trimmed and cut into 2-inch wide strips with the grain, then sliced across the grain into 1/8-inch thick slices
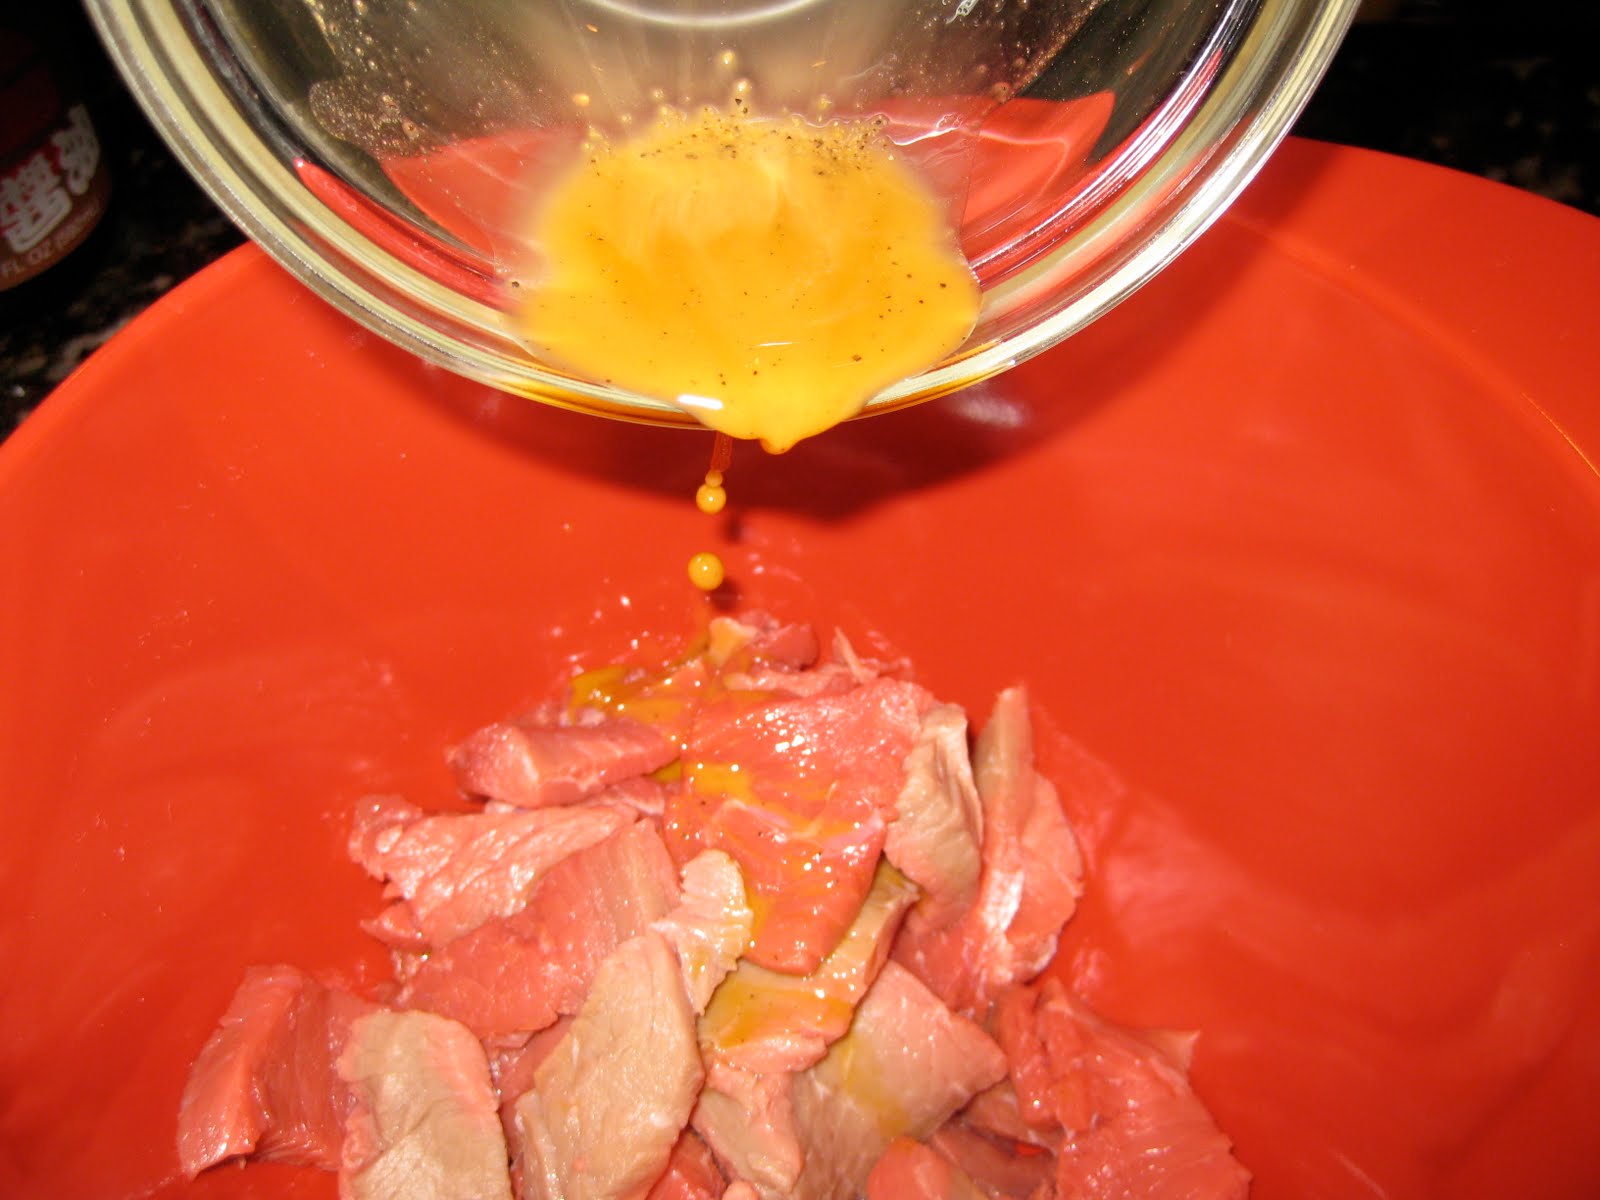
3 tbsp soy sauce
3 tbsp peanut or vegetable oil (I used vegetable oil)
6 medium garlic cloves, minced or pressed through a garlic press (about 2 tablespoons)
1 tbsp minced or grated fresh ginger
1 1/4 lbs. broccoli, florets, cut into 1-inch pieces, stems trimmed and sliced thin
1/3 cup water
1 small red bell pepper, stemmed, seeded, and cut into 1/2-inch pieces
3 scallions, sliced 1/2 inch thick on the bias
Directions
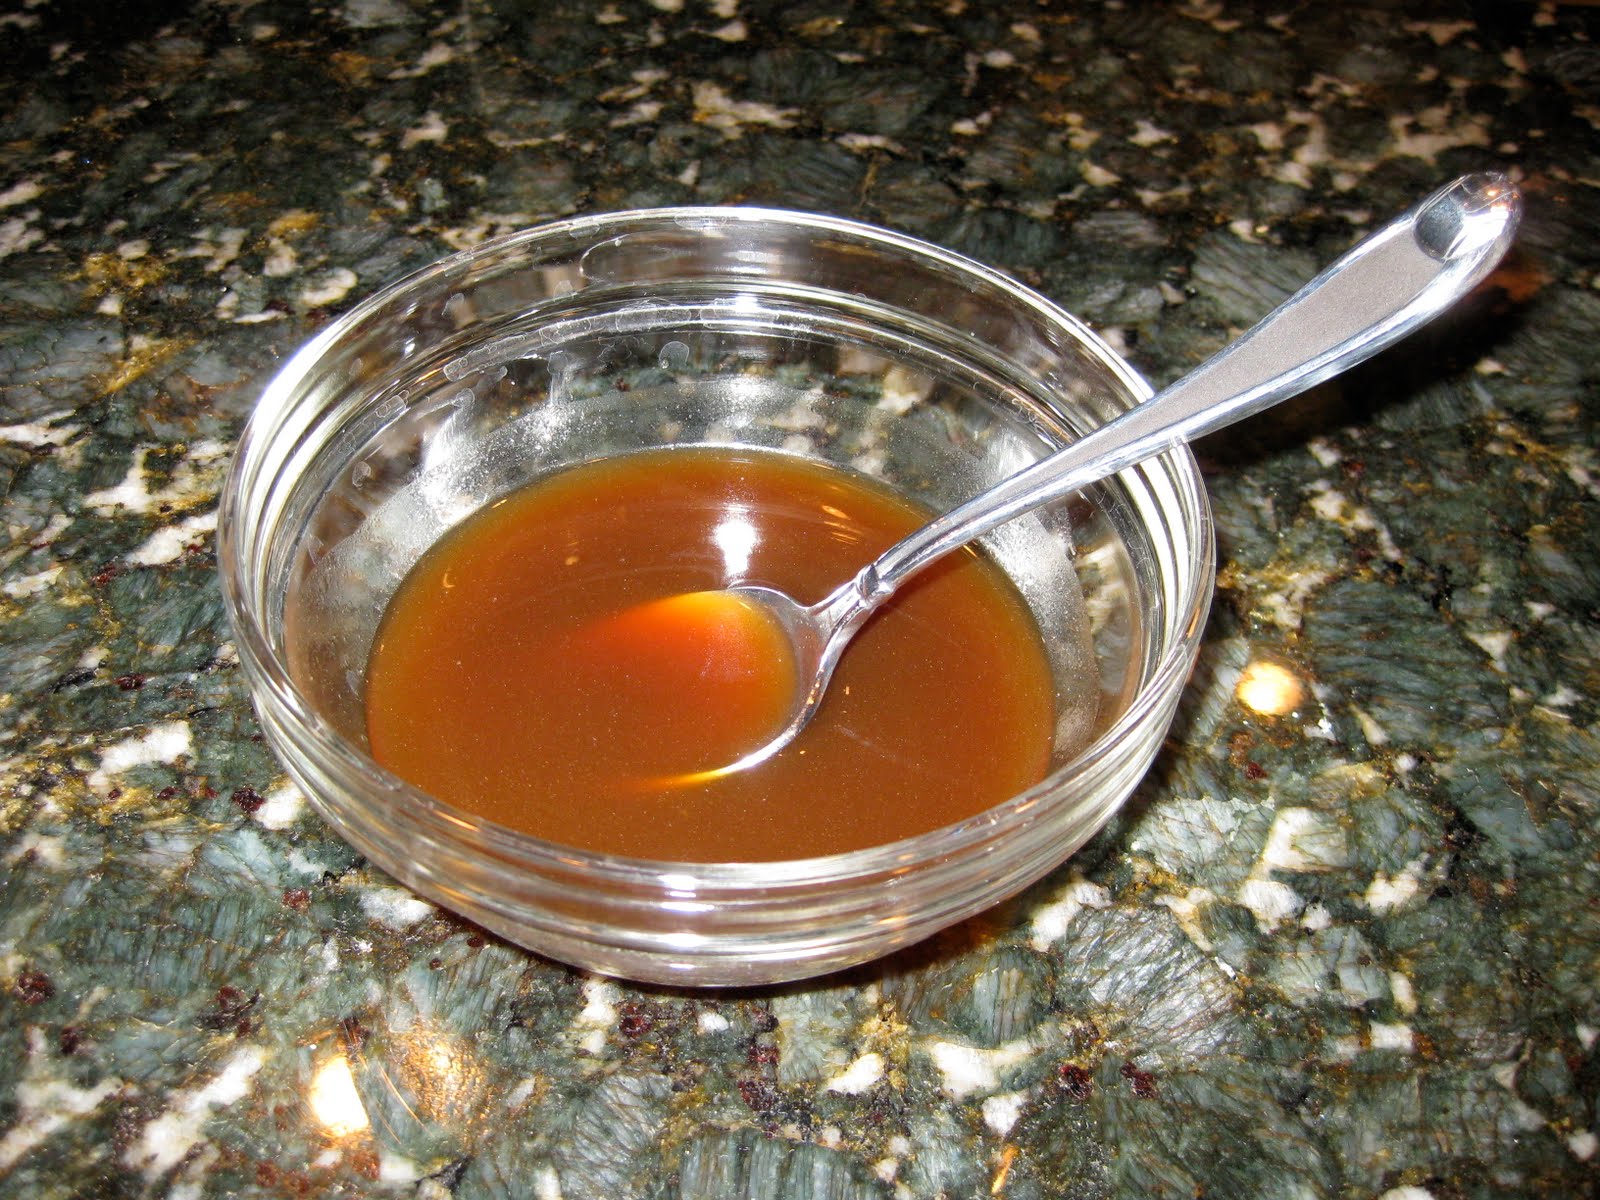
1. For the Sauce: Combine all the ingredients in a small bowl and set aside.
2. For the Beef and Broccoli: Toss the beef with the soy sauce in a medium bowl and let marinate for at least 10 minutes or up to 1 hour. In a small bowl, mix 1 teaspoon of the vegetable oil, the garlic, and ginger together.
3. Heat 2 teaspoons more vegetable oil in a 12-inch nonstick skillet over high heat until just smoking. Add half of the beef, break up any clumps, then cook without stirring until beef is browned at the edges, about 1 minute. Stir the beef and continue to cook until cooked through, about 1 minute longer. Transfer the beef to a clean bowl and cover with foil to keep warm. Repeat with 2 teaspoons more vegetable oil and the remaining beef.
4. Add 1 tablespoon more peanut oil to the skillet and return to high heat until just smoking. Add the broccoli and cook for 30 seconds. Add the water, cover the skillet, and lower the heat to medium. Cook the broccoli until crisp-tender, about 2 minutes. Transfer the broccoli to a paper towel-lined plate.
5. Add the remaining 1 teaspoon vegetable oil to the skillet and return to high heat until just smoking. Add the bell pepper and cook, stirring frequently, until spotty brown, about 1 1/2 minutes. Clear the center of the skillet, add the garlic mixture, and cook, mashing the mixture into the skillet, until fragrant, 15 to 20 seconds. Stir the garlic mixture into the bell pepper.
6. Stir in the broccoli and beef with any accumulated juices. Whisk the sauce to recombine, then add to the skillet and cook, tossing constantly, until the sauce is thickened, about 30 seconds. Transfer to a serving platter, sprinkle with the scallions, and serve over brown or white rice.
Serves 4