This is my first time to ever make mini quiches and they were wonderful! This is my “own” recipe, I didn’t borrow from any cookbook this time, so I am even extra-proud of my quiches. I did, however, get the Savory Tart Dough recipe from a Williams-Sonoma cookbook titled “Food Make Fast: Small Plates”. Enjoy these!
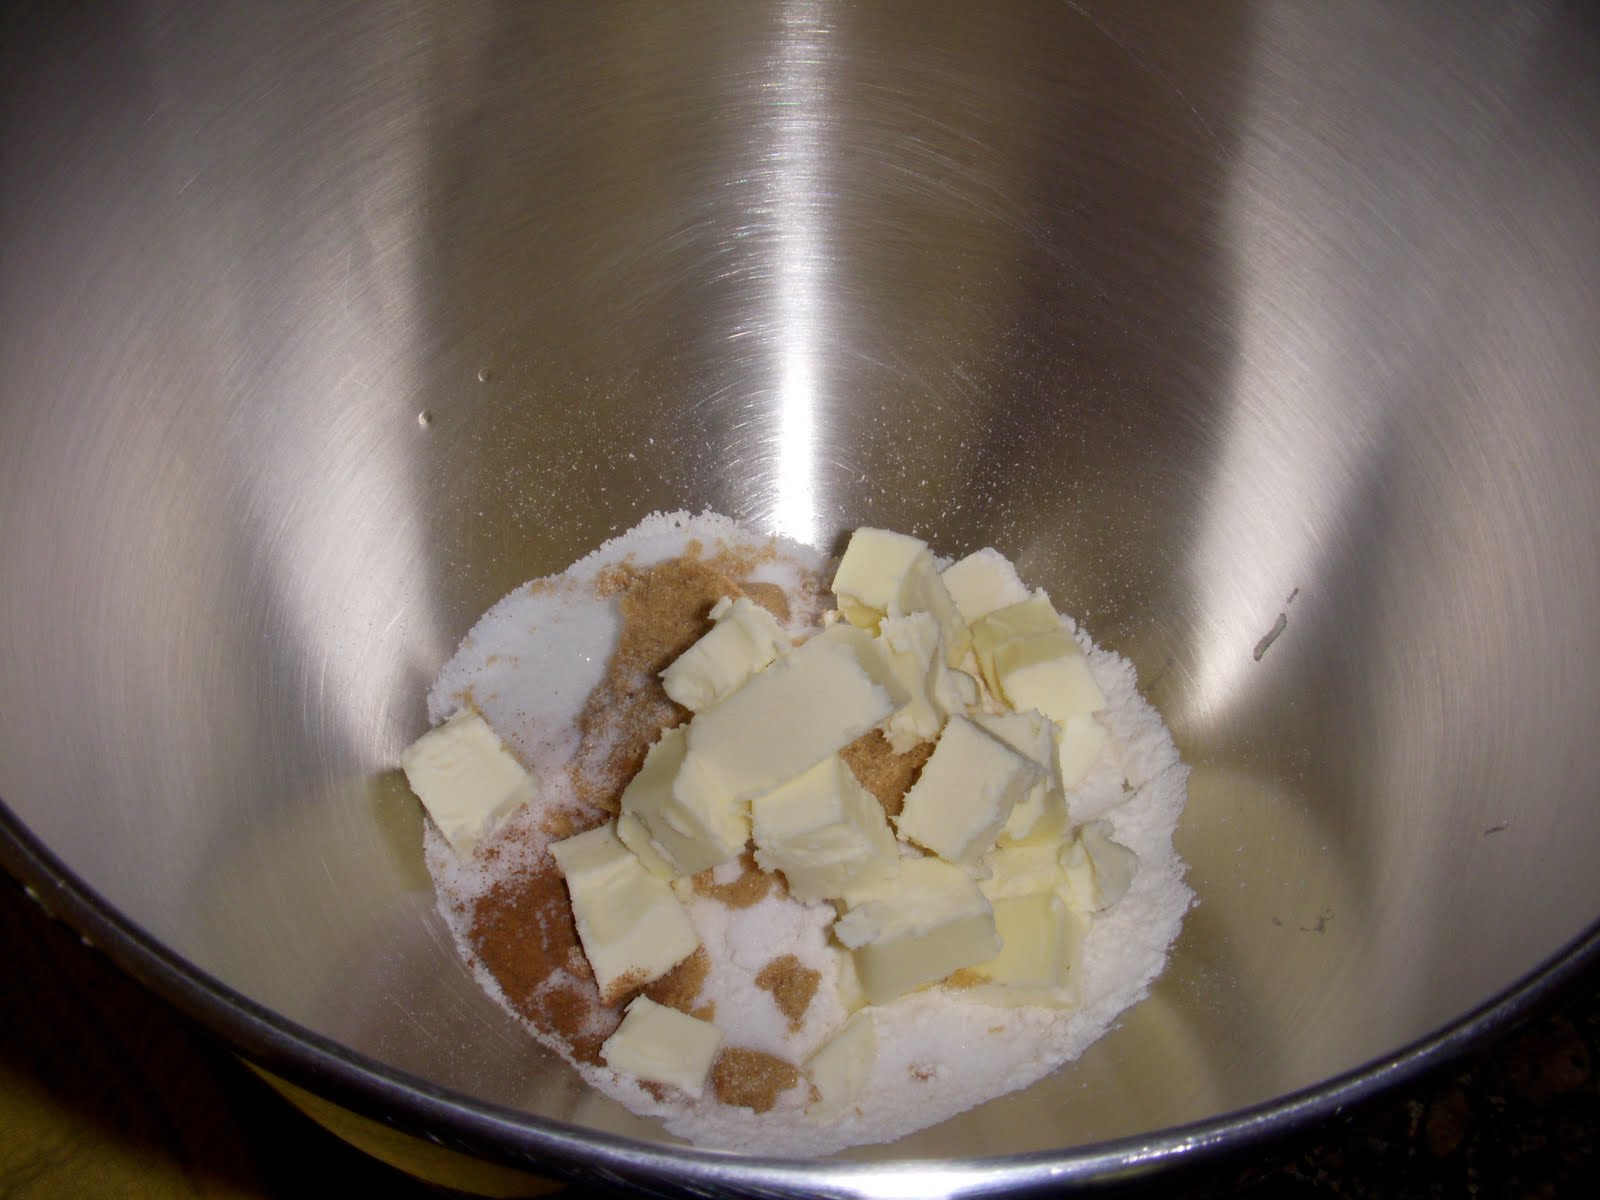
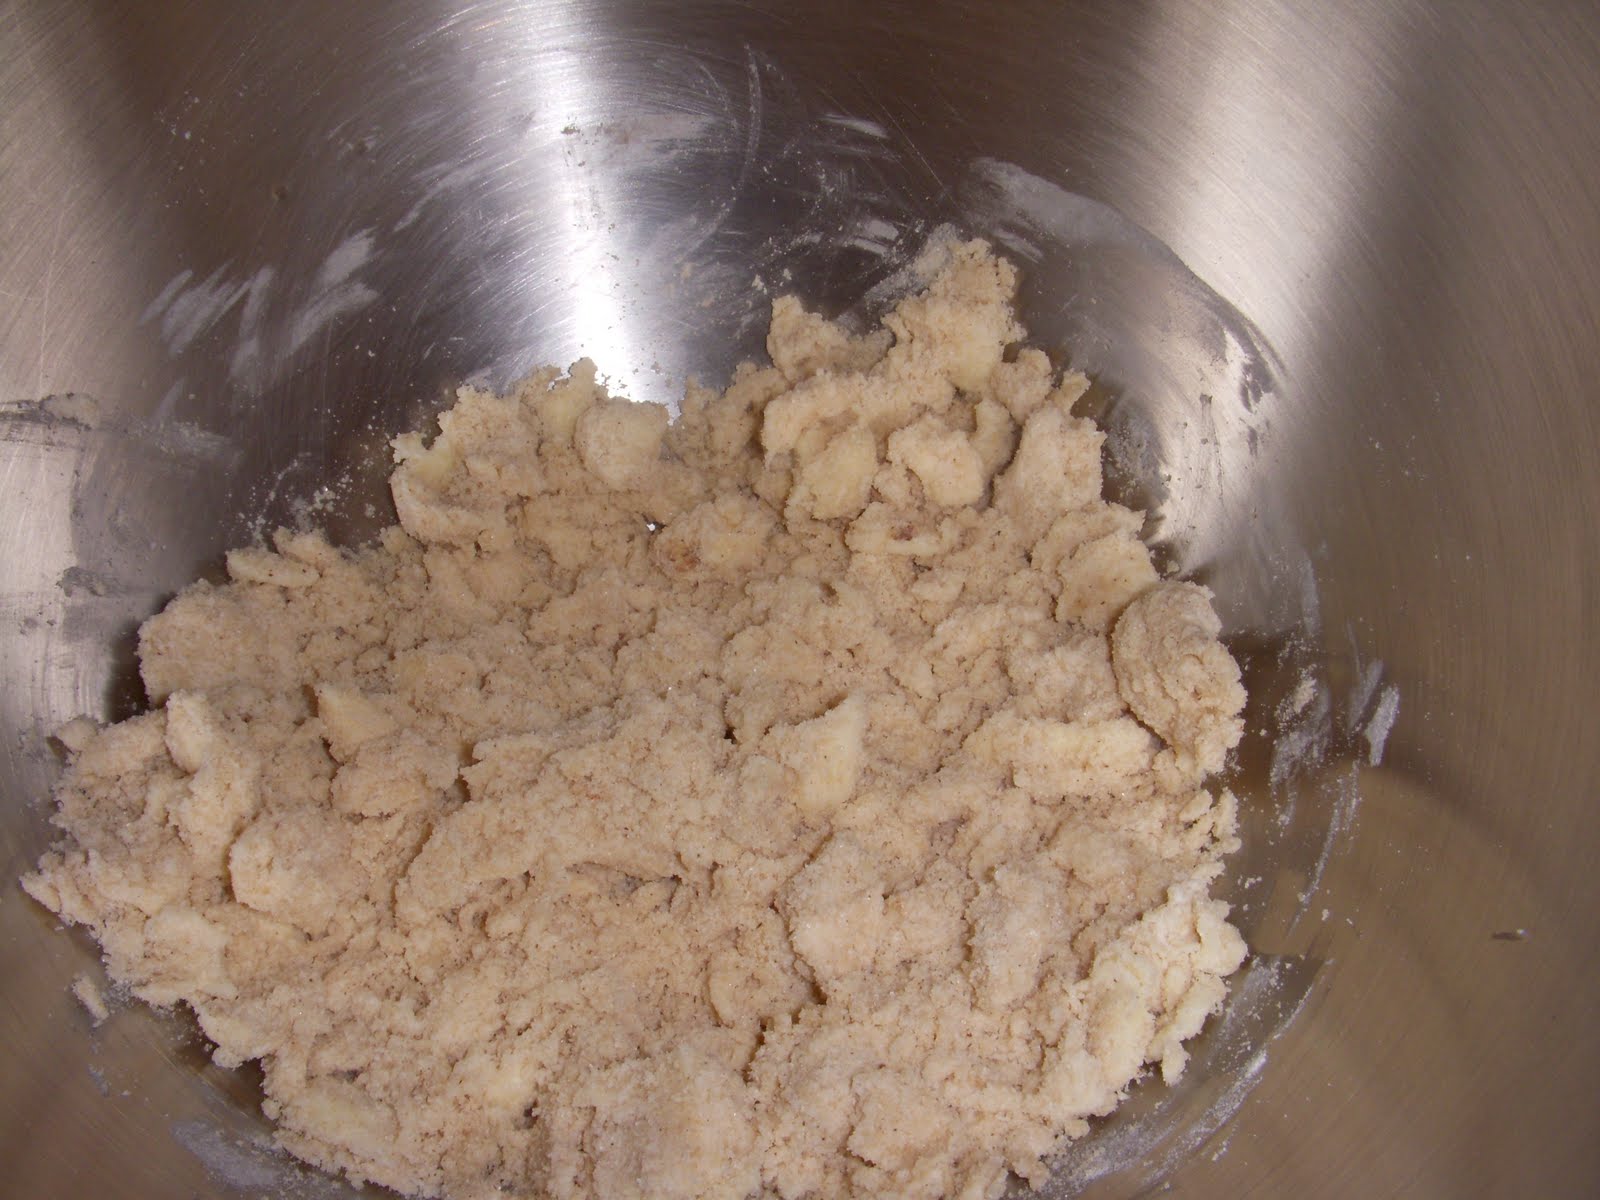
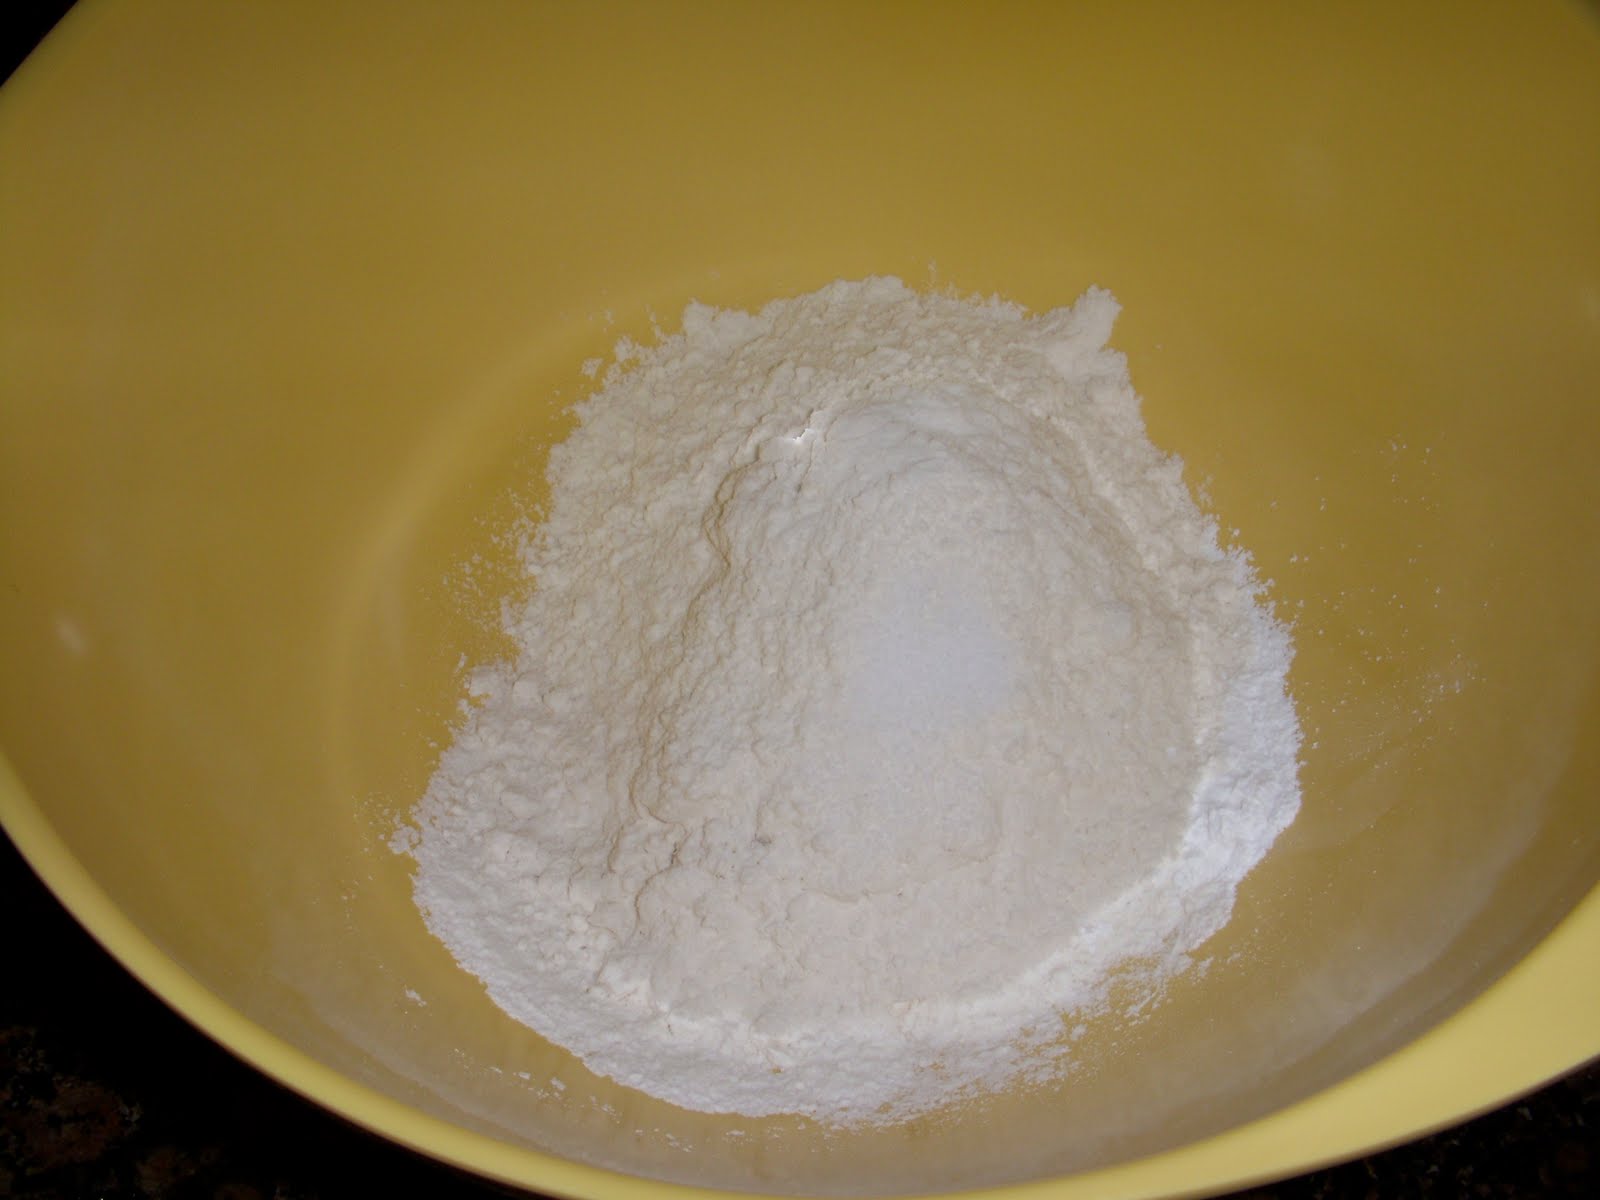
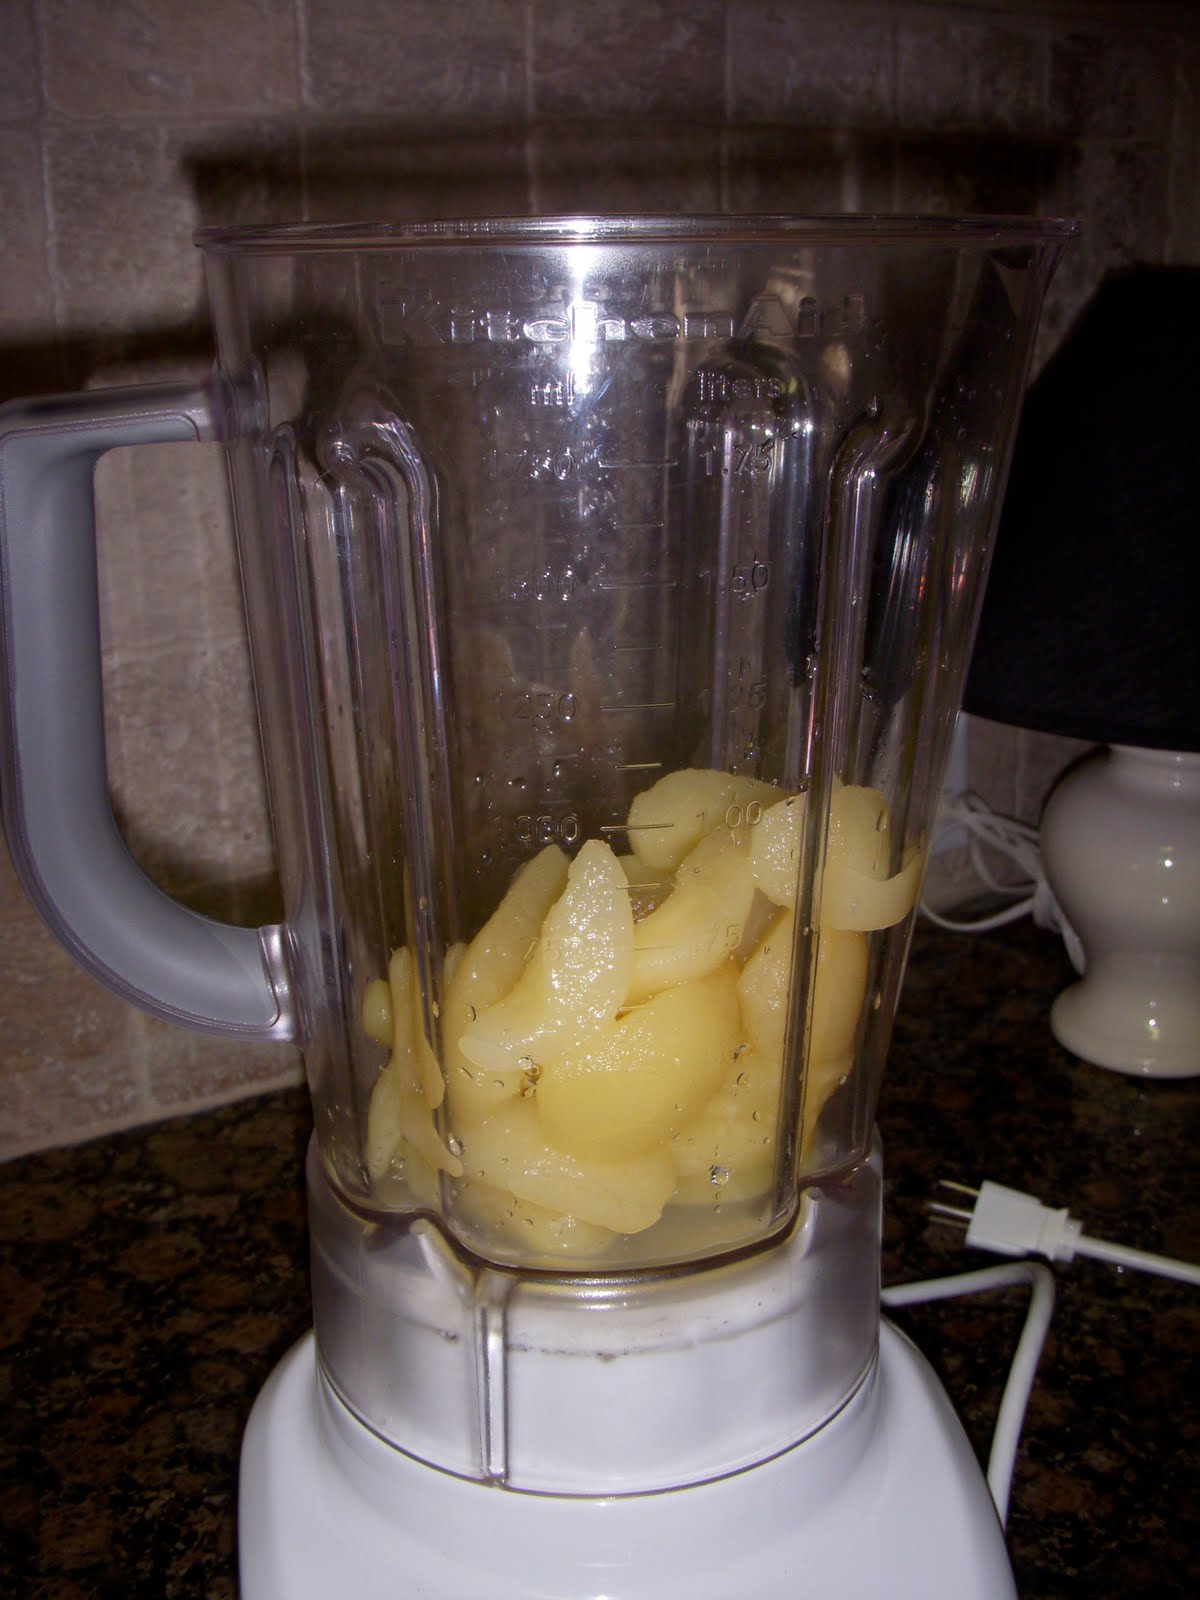
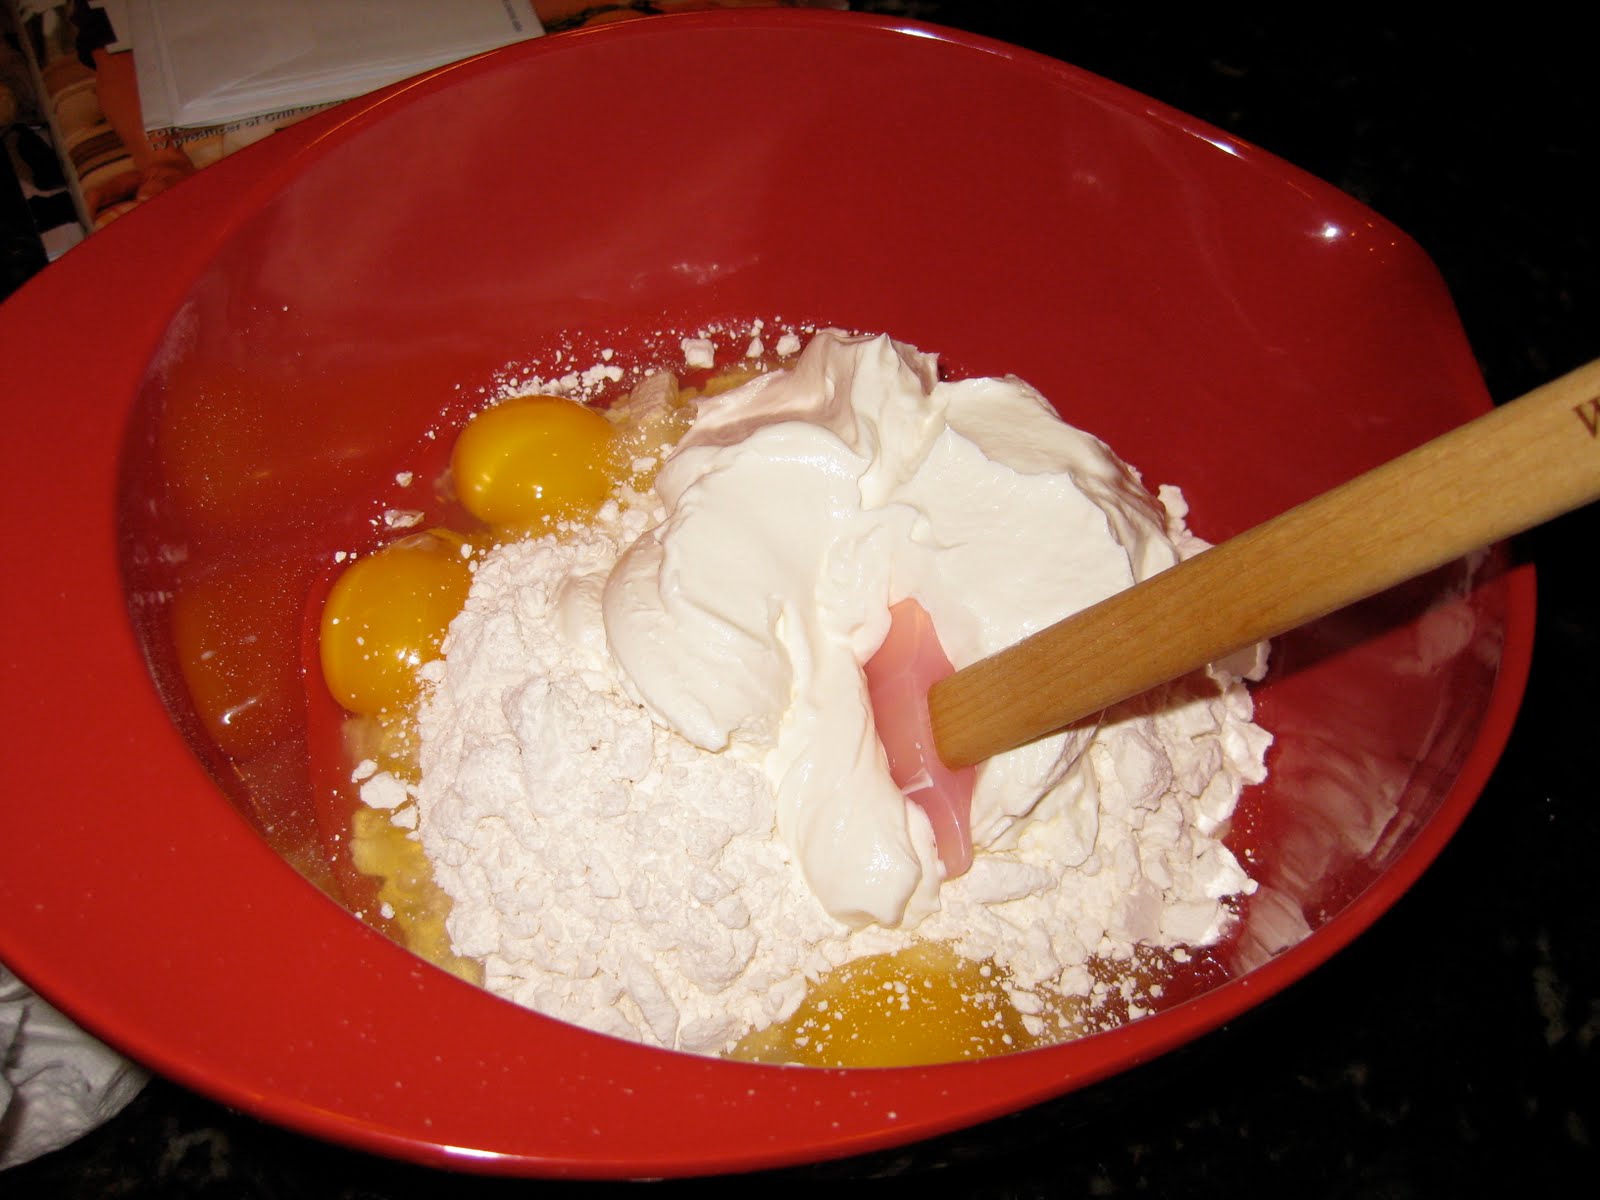
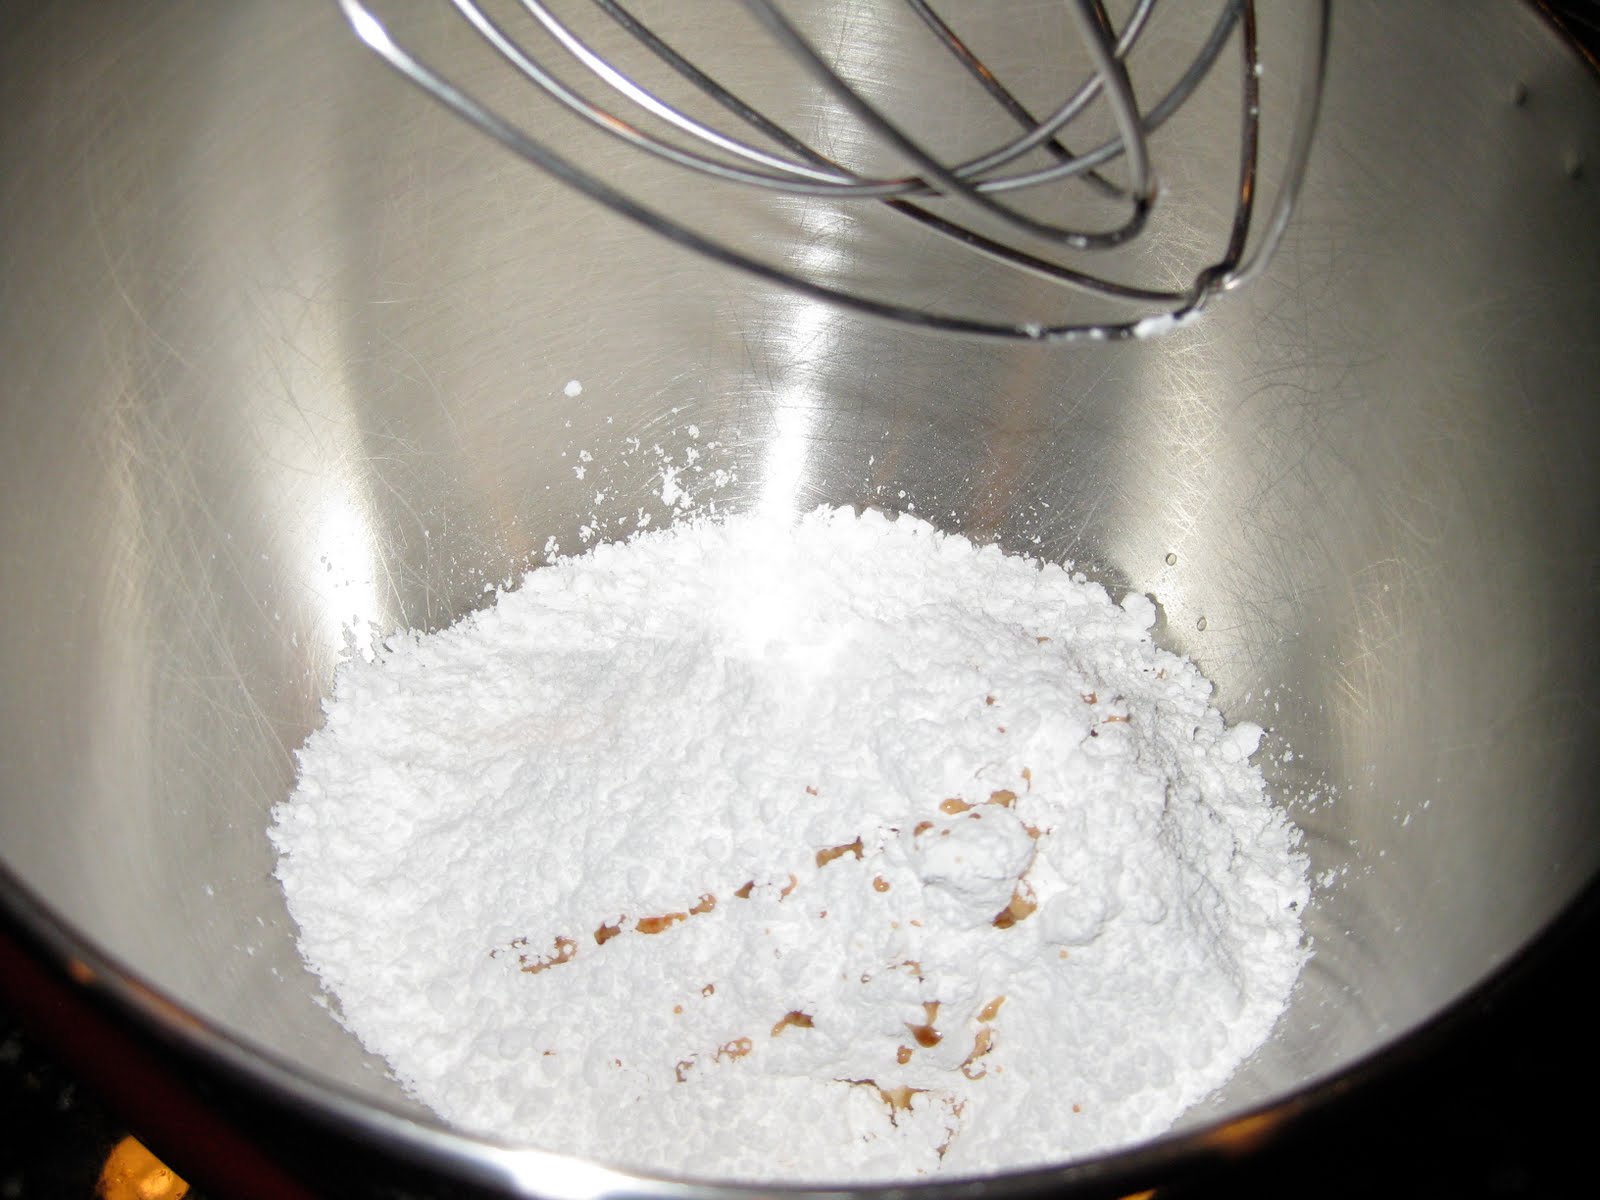
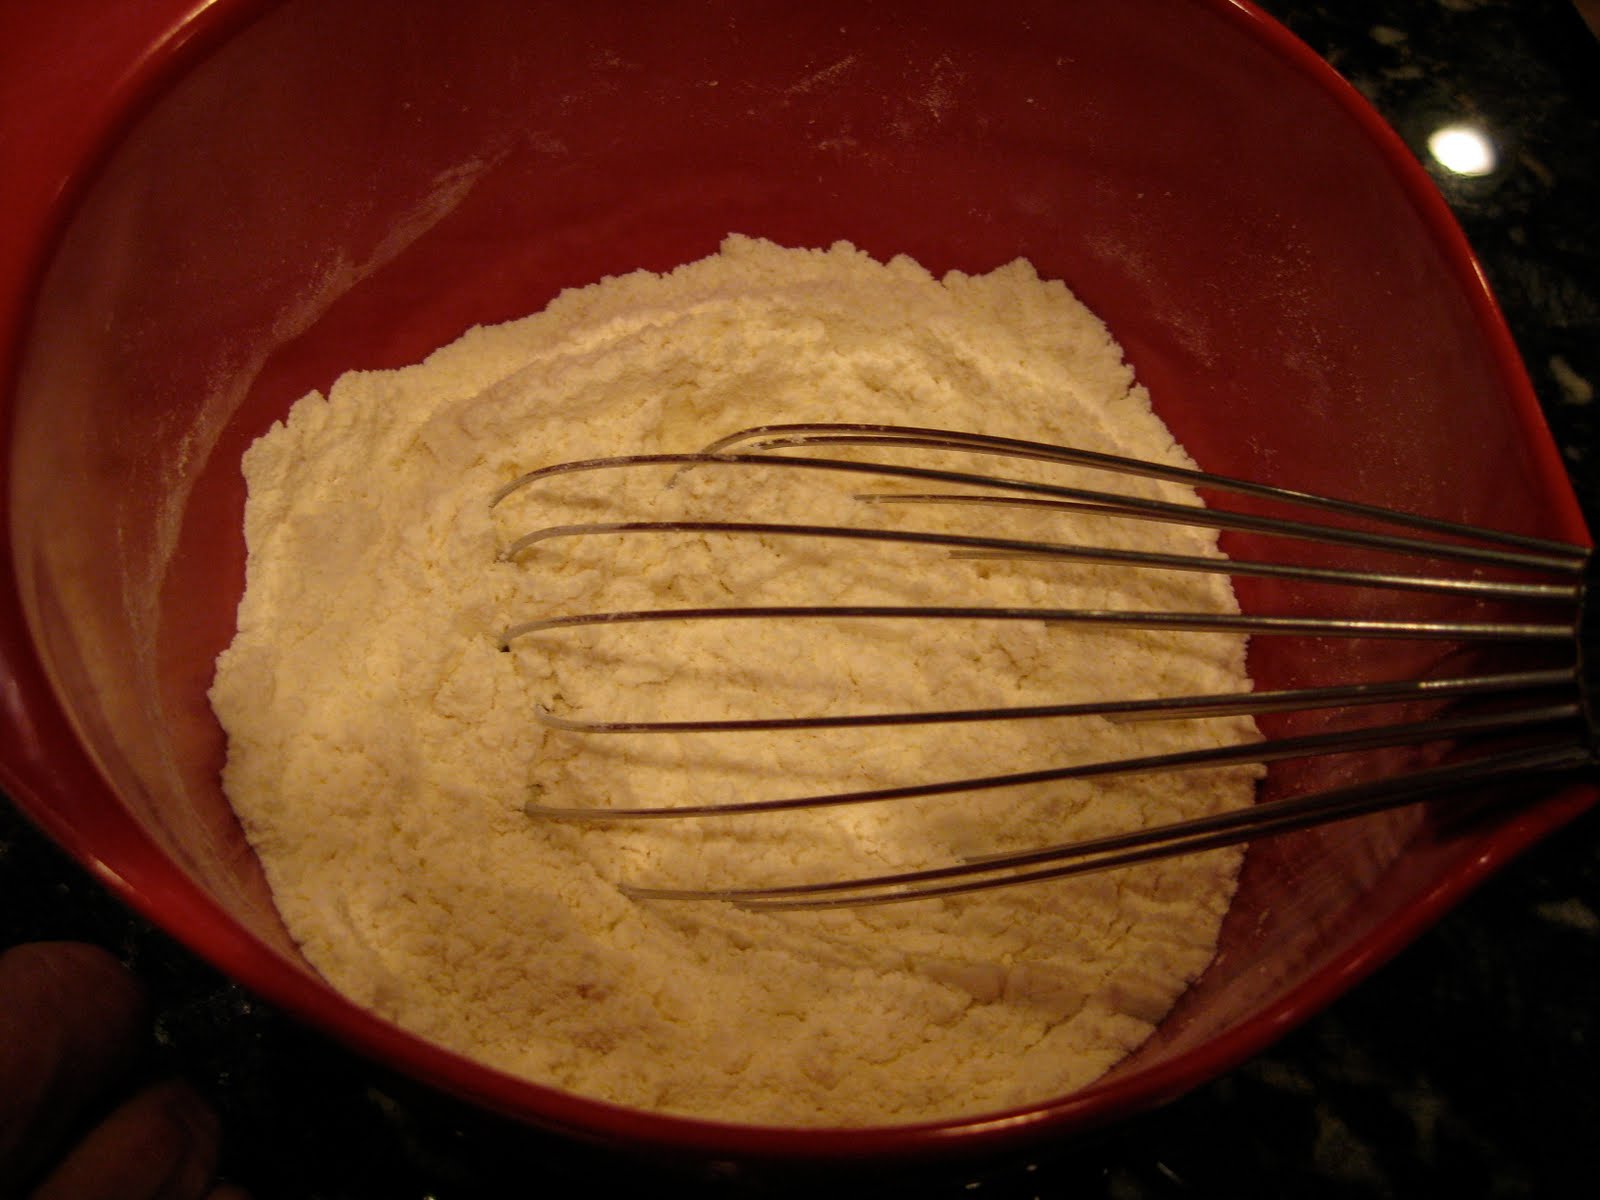
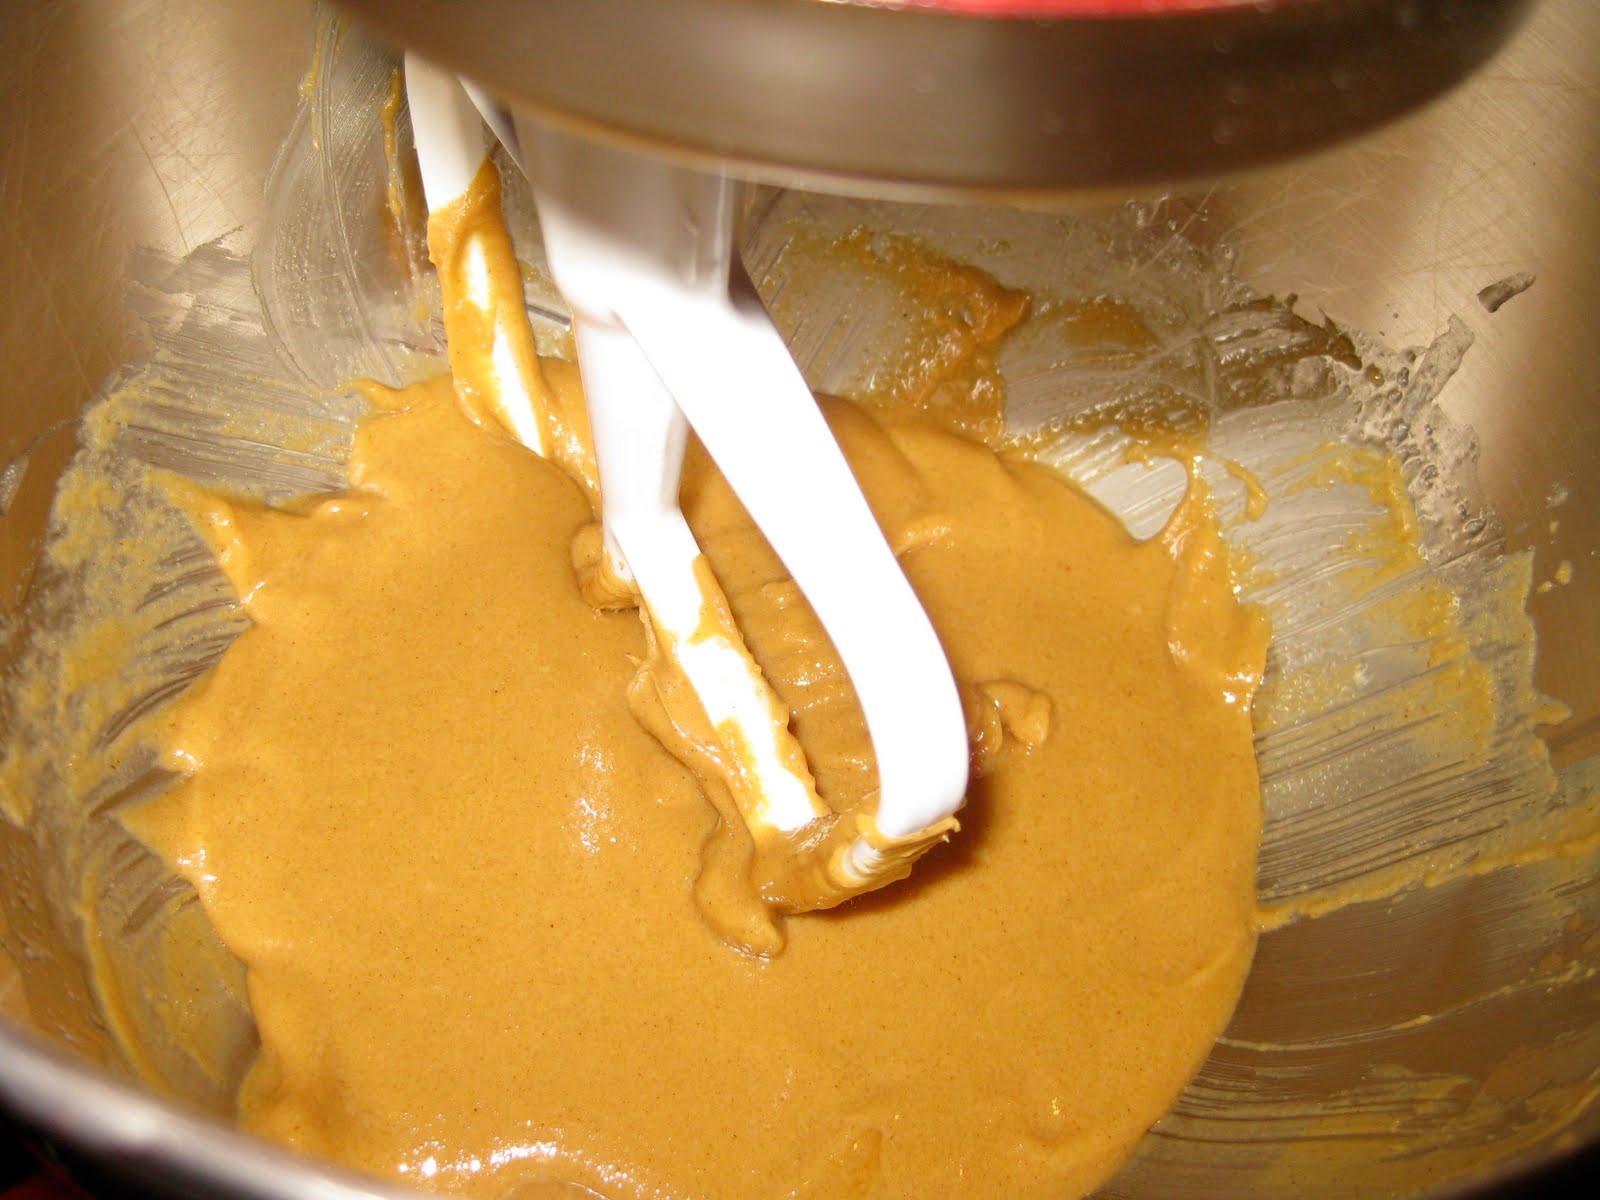
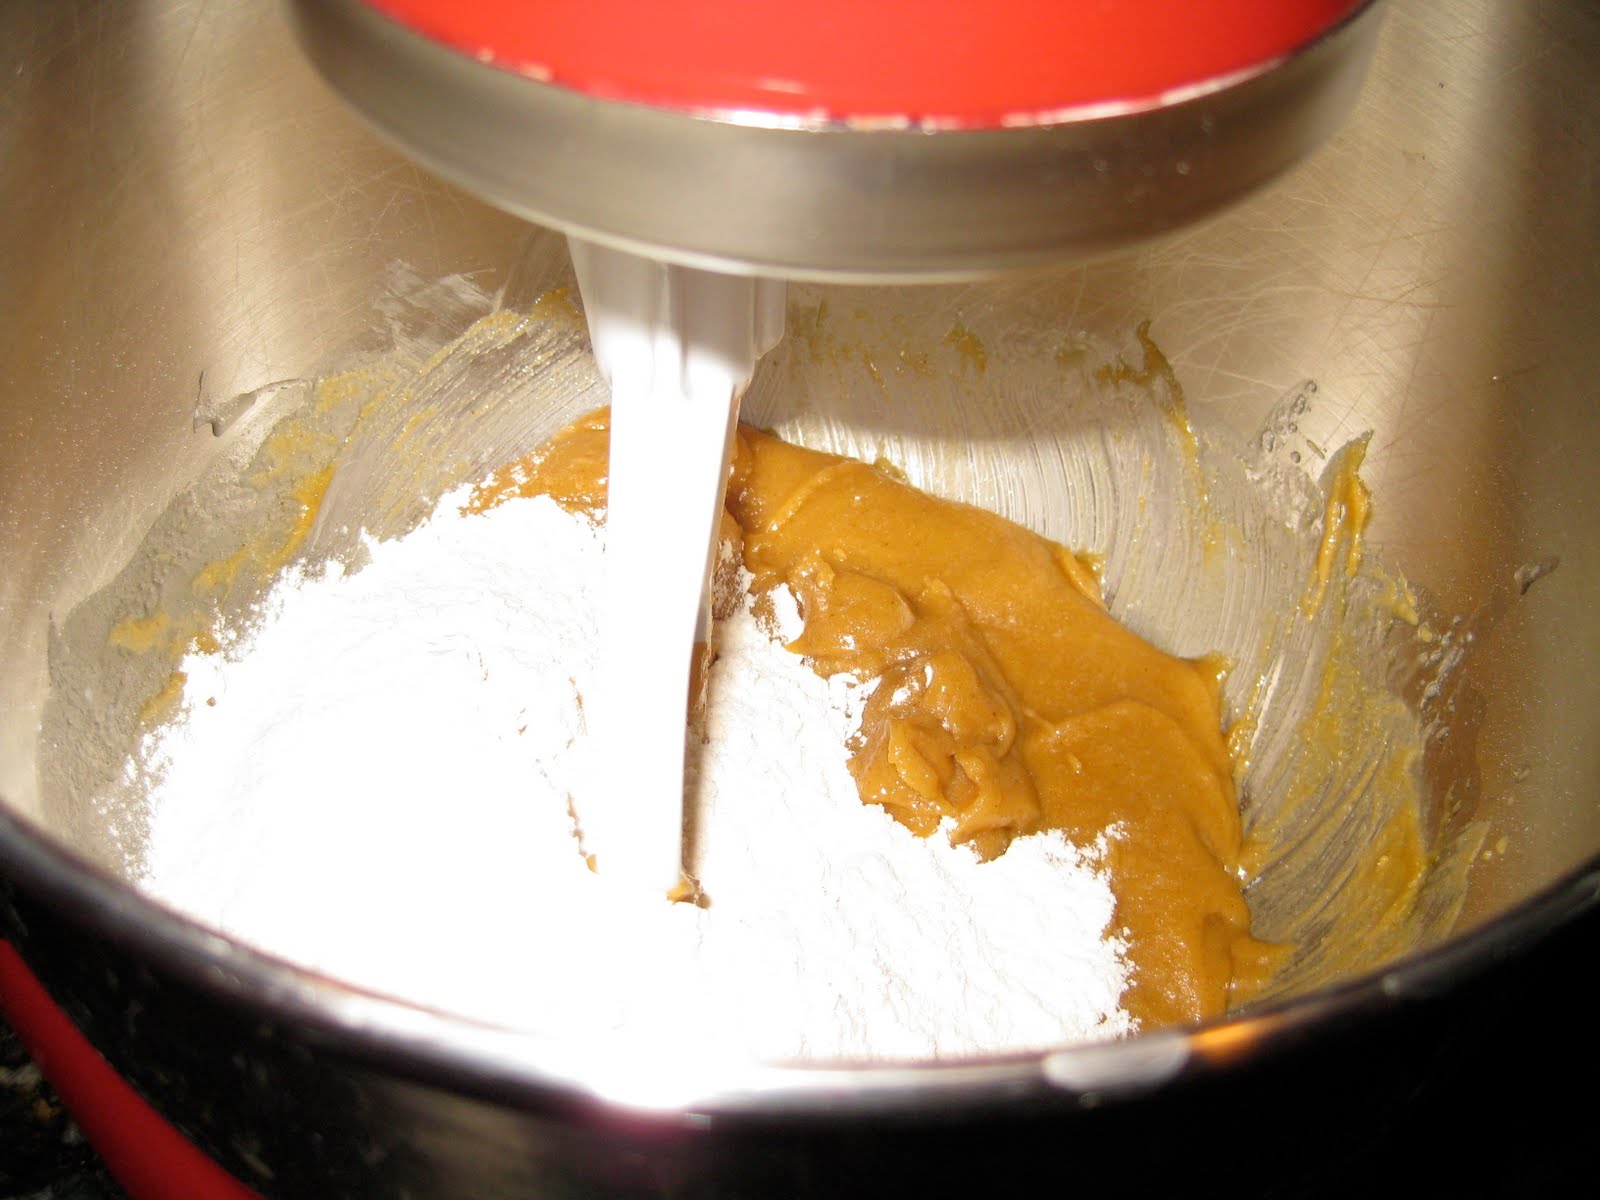
To make the tart dough: In a food processor, combine the flour, salt, and butter until coarse crumbs form.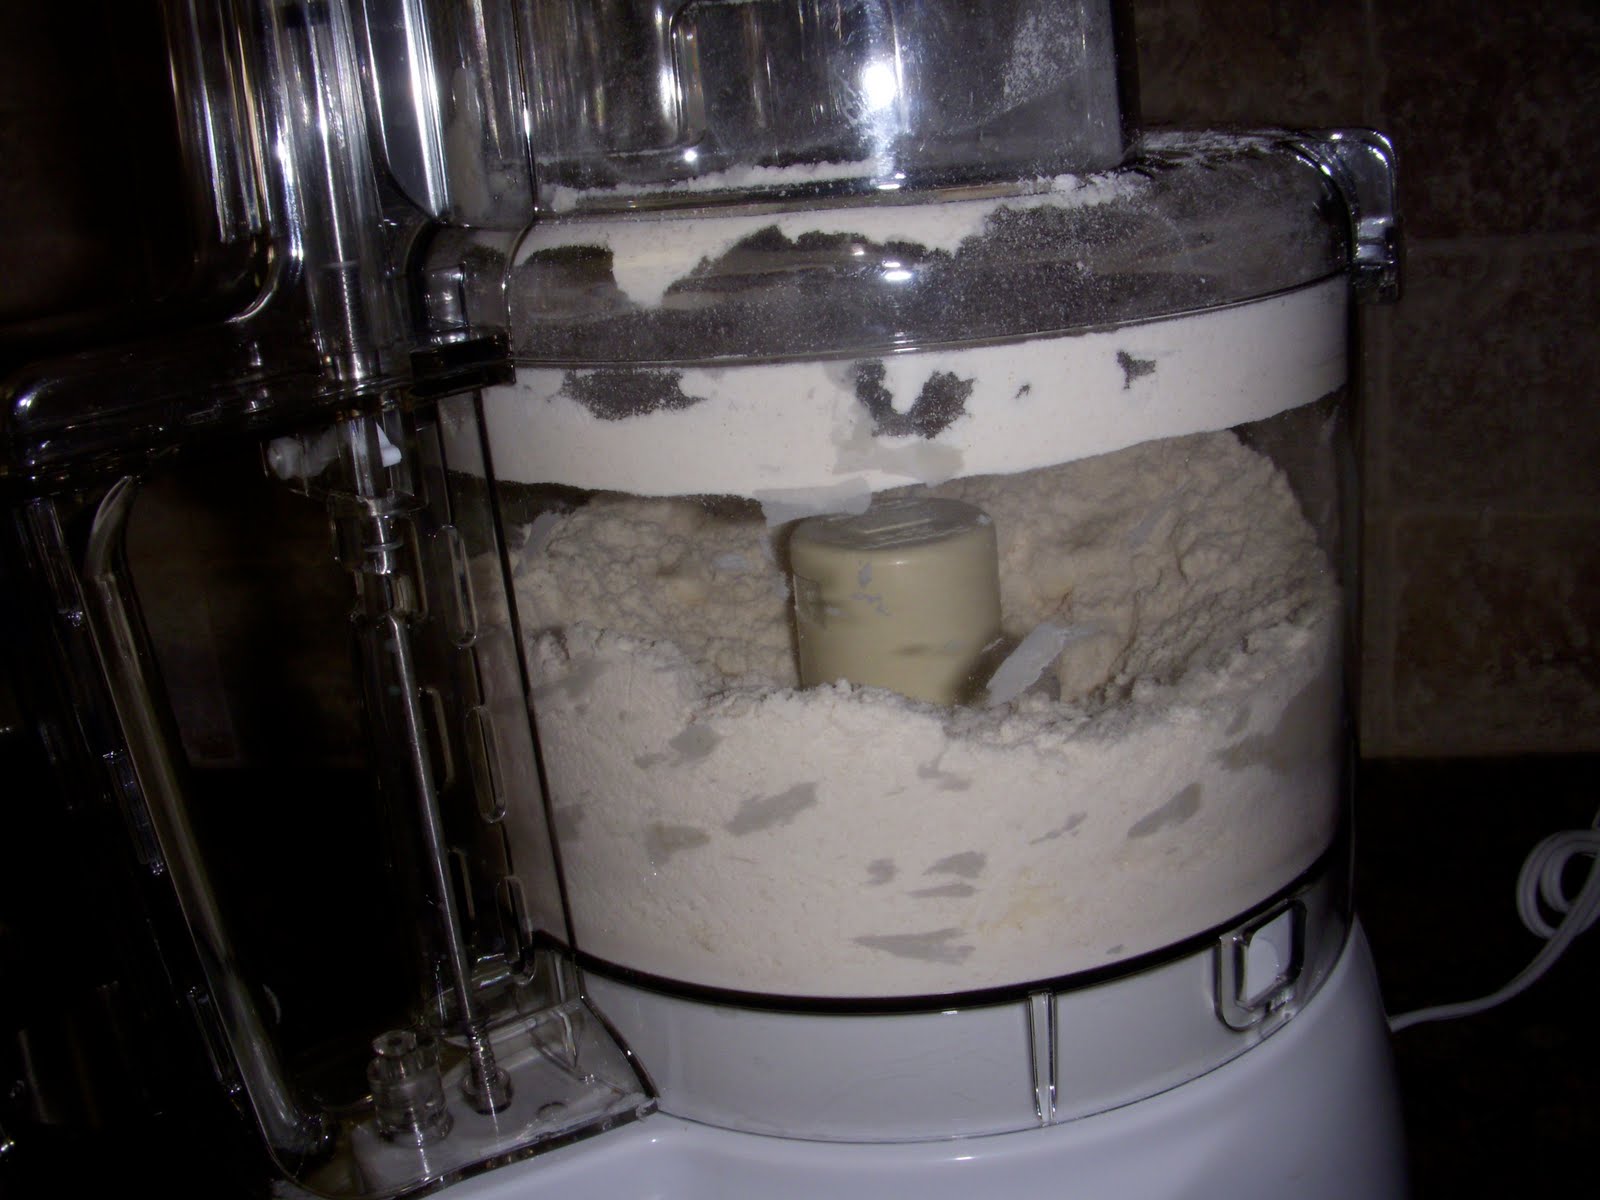
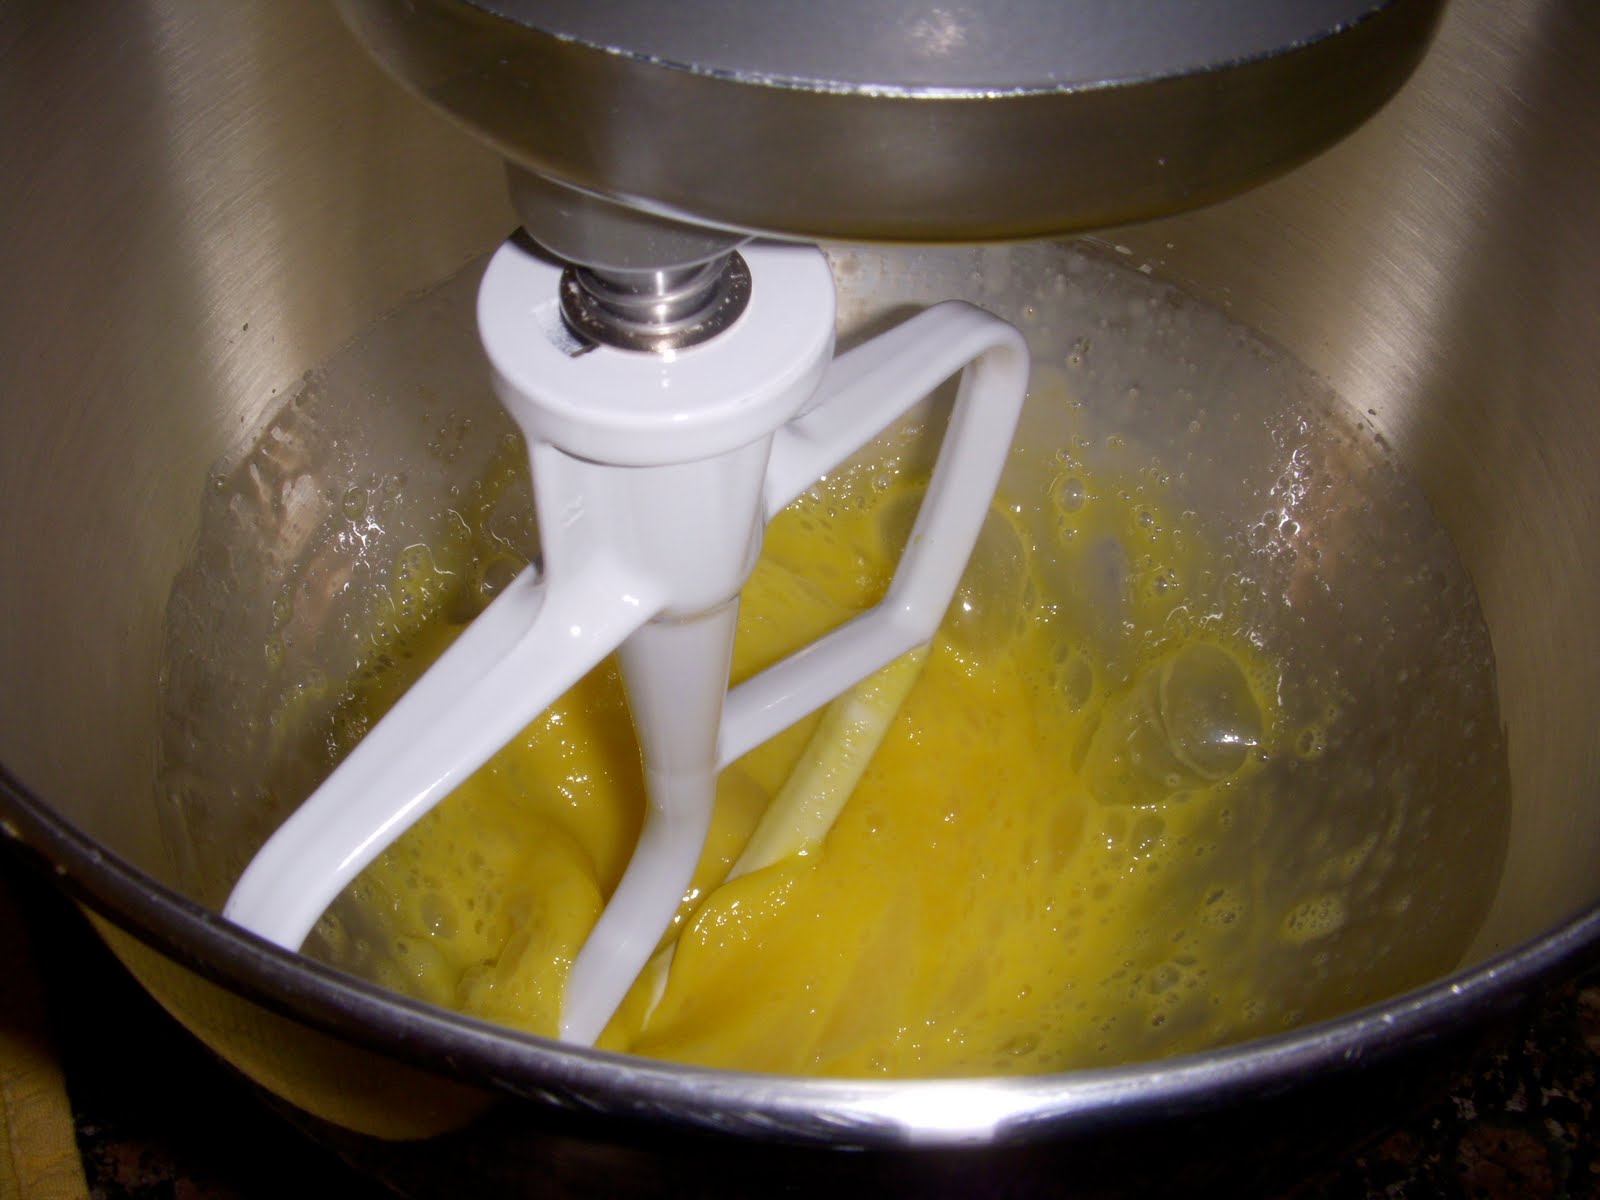
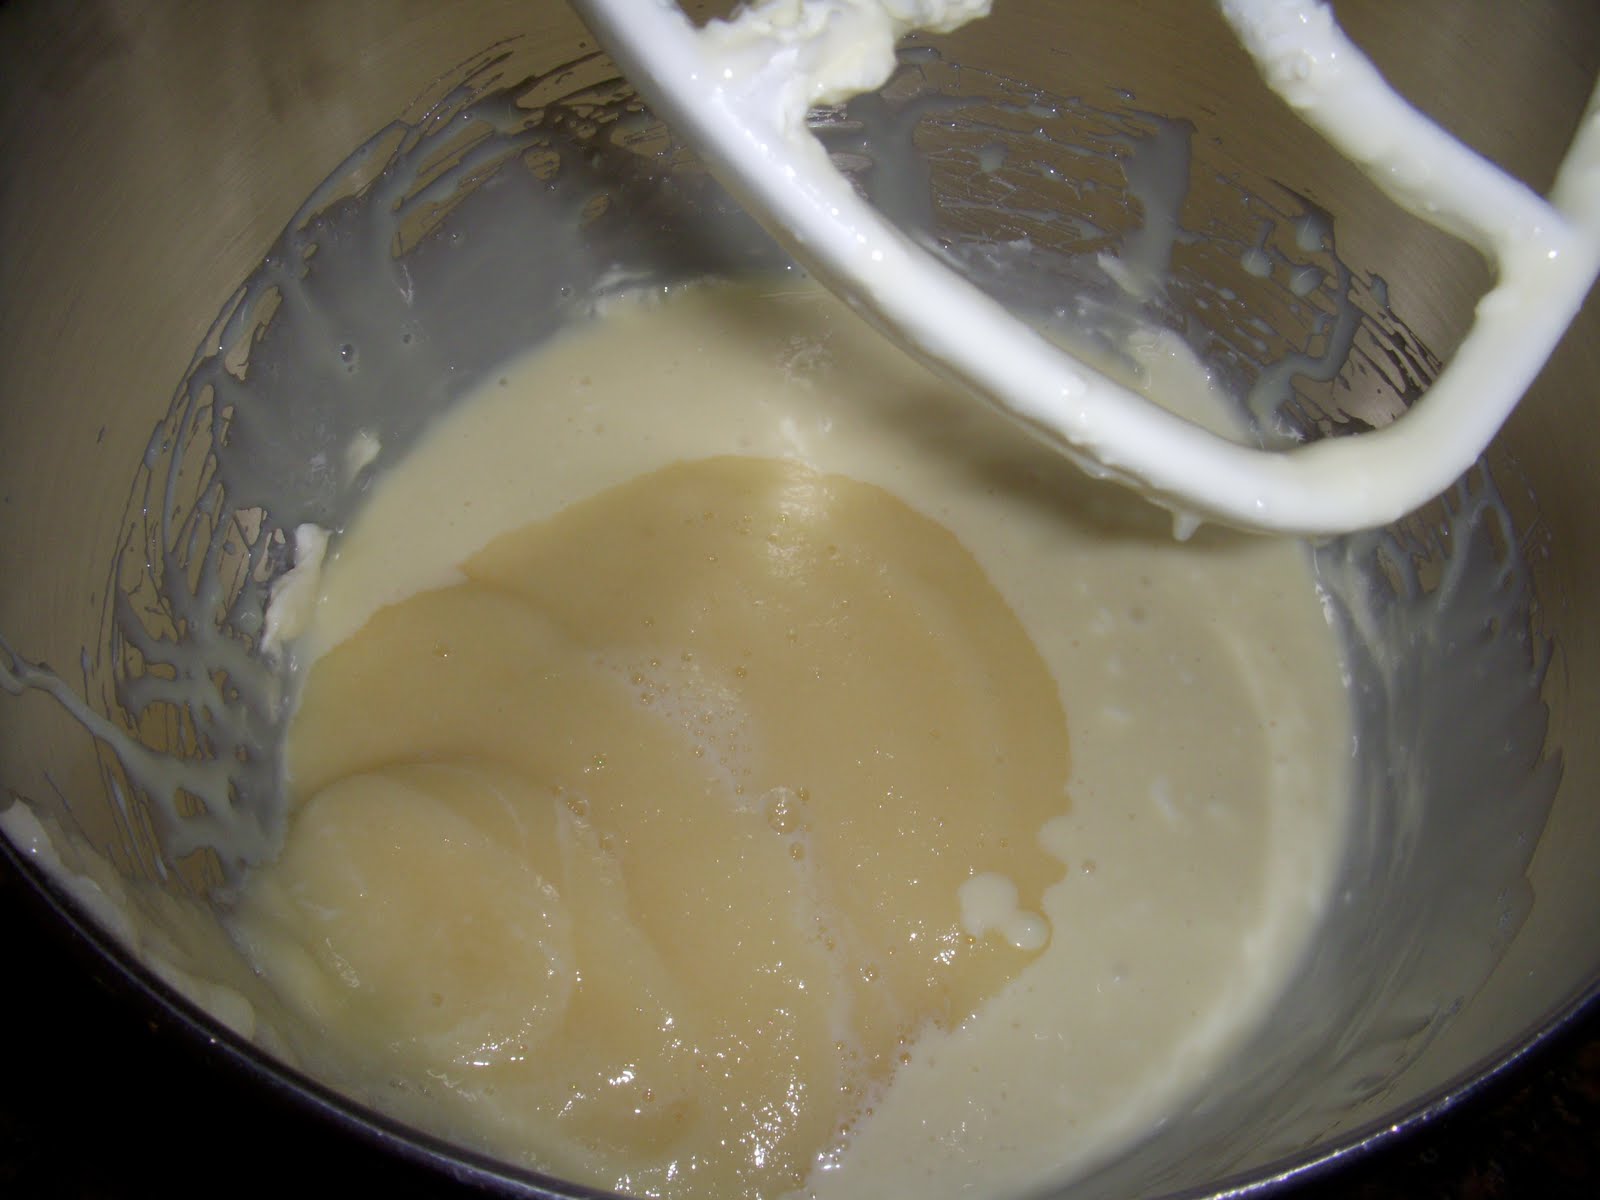
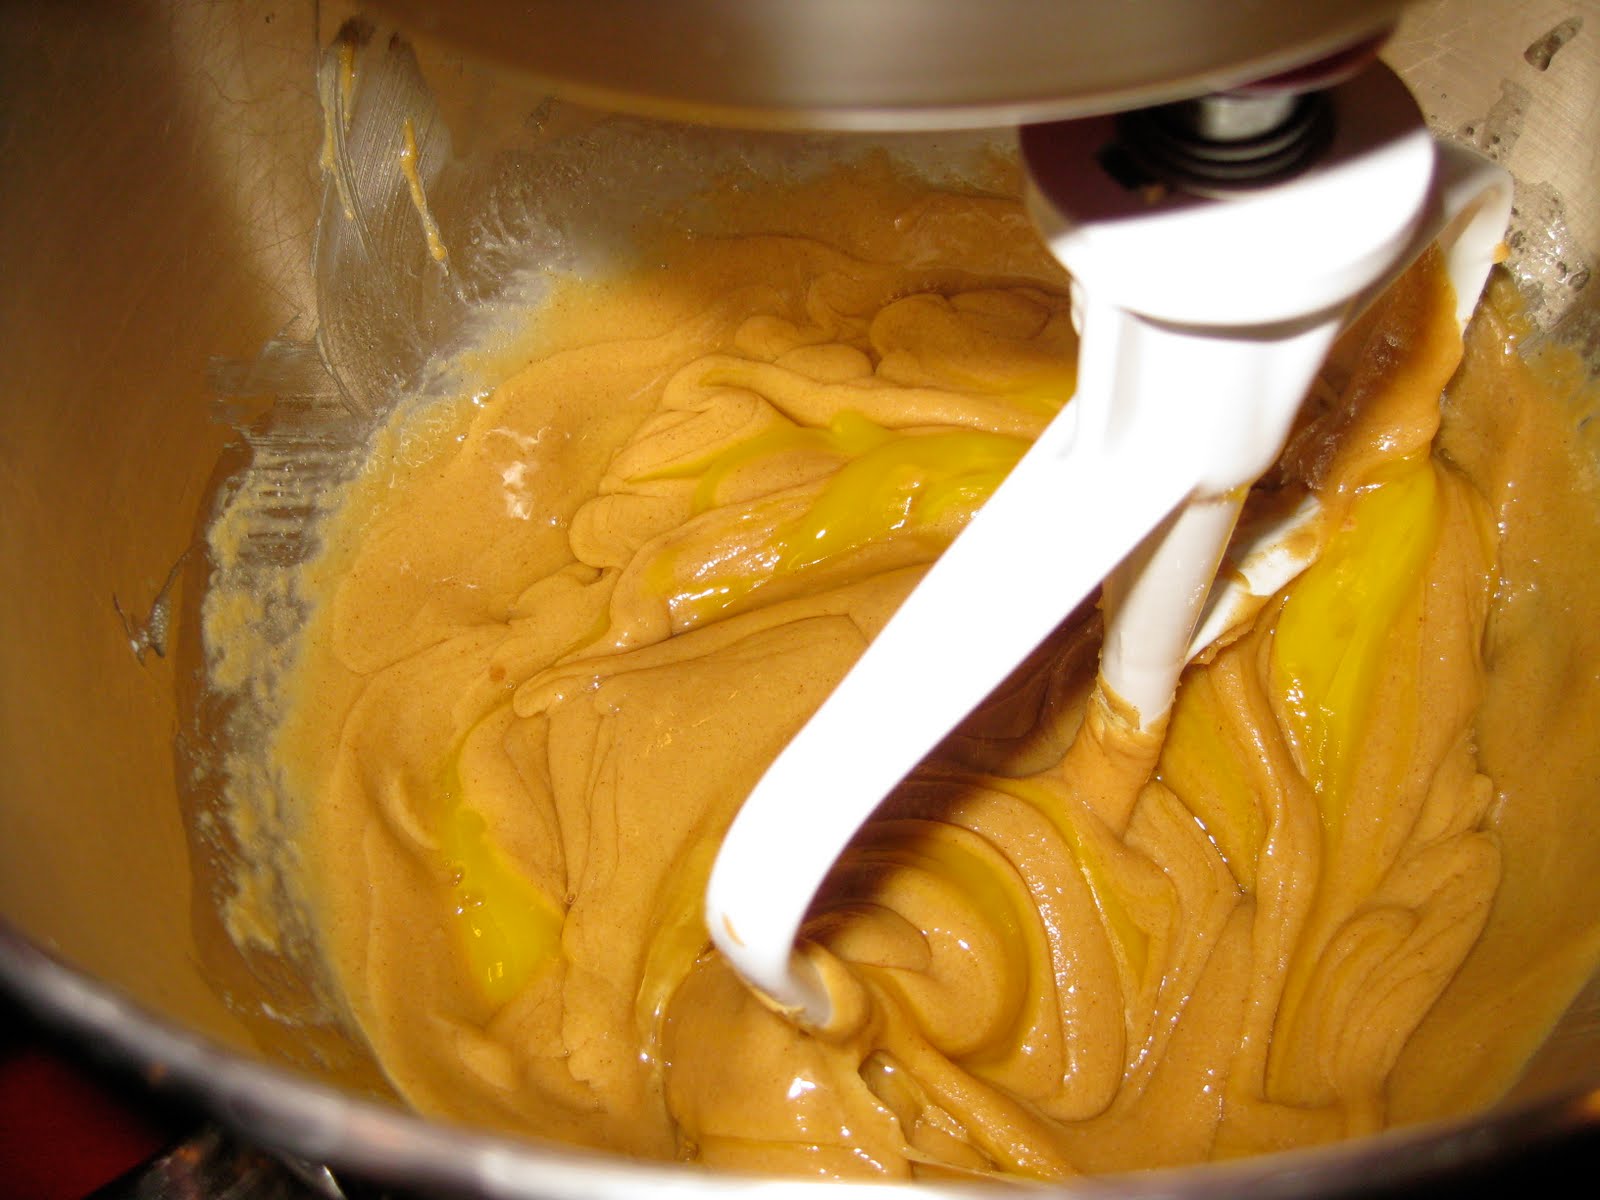
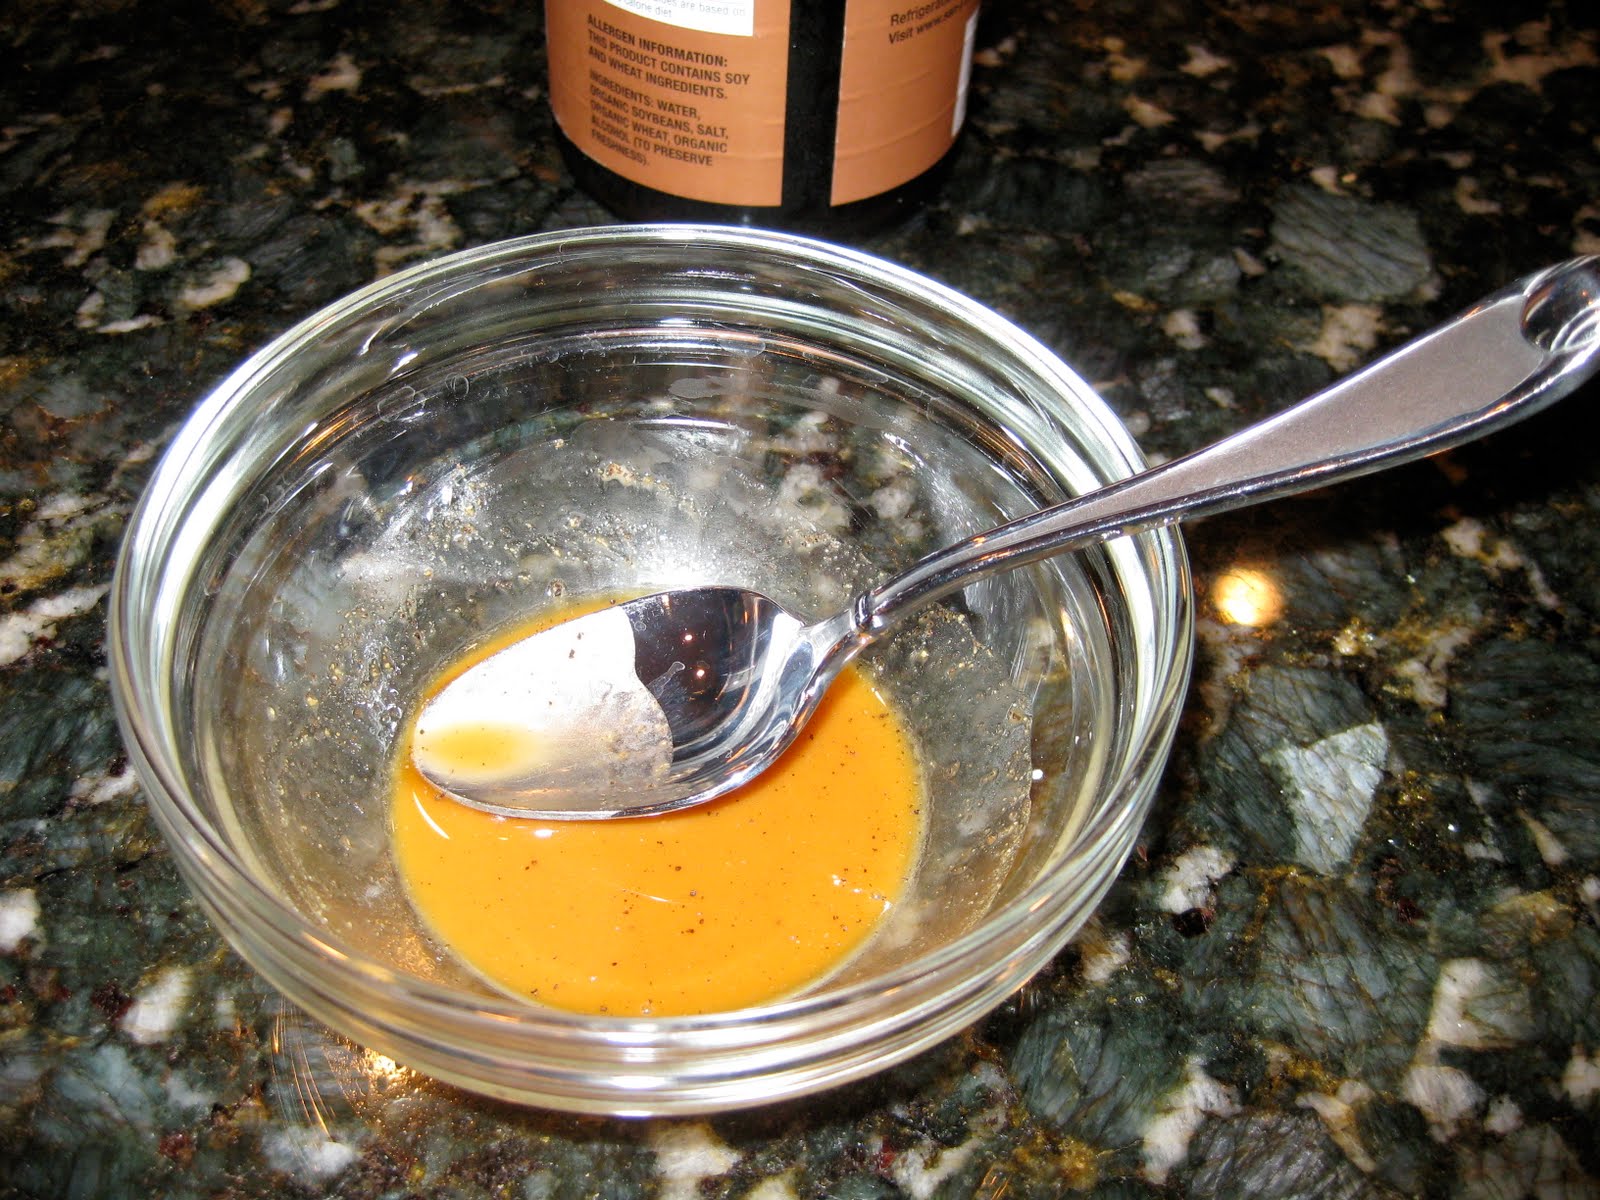
Whisk an egg, lemon juice, and ice water in a small bowl.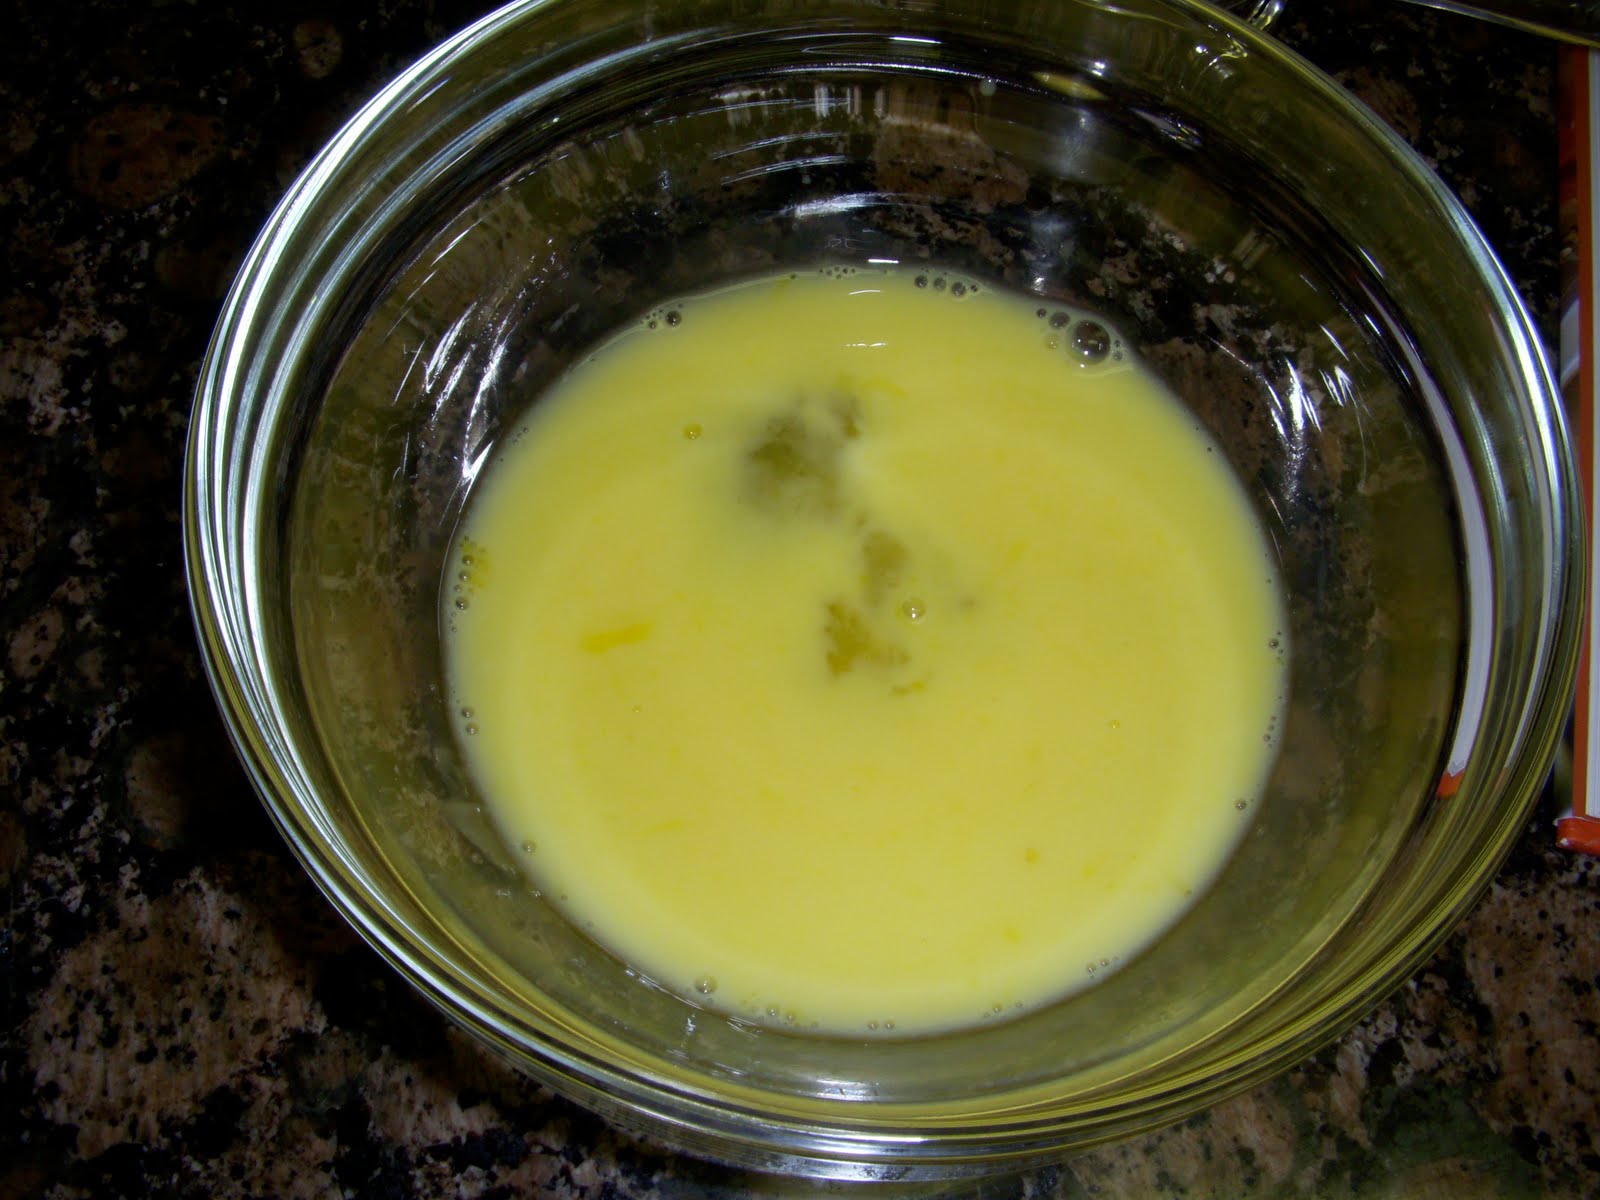
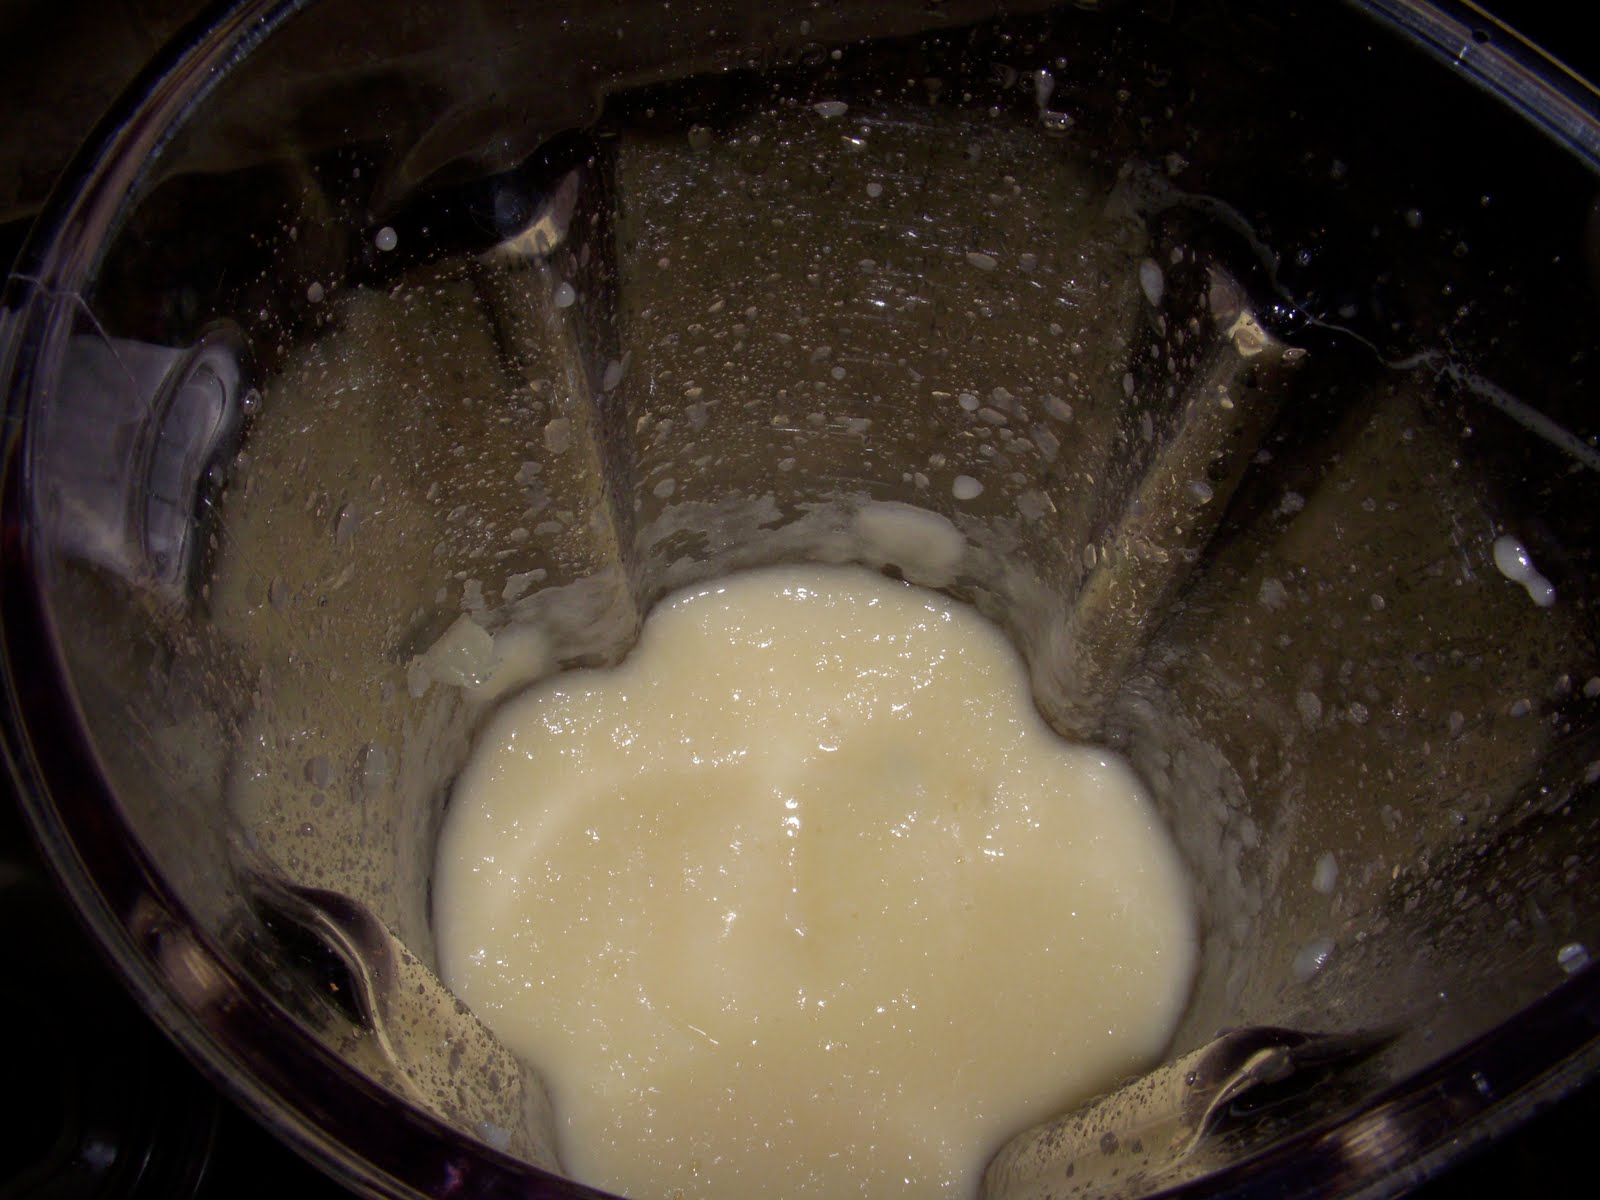
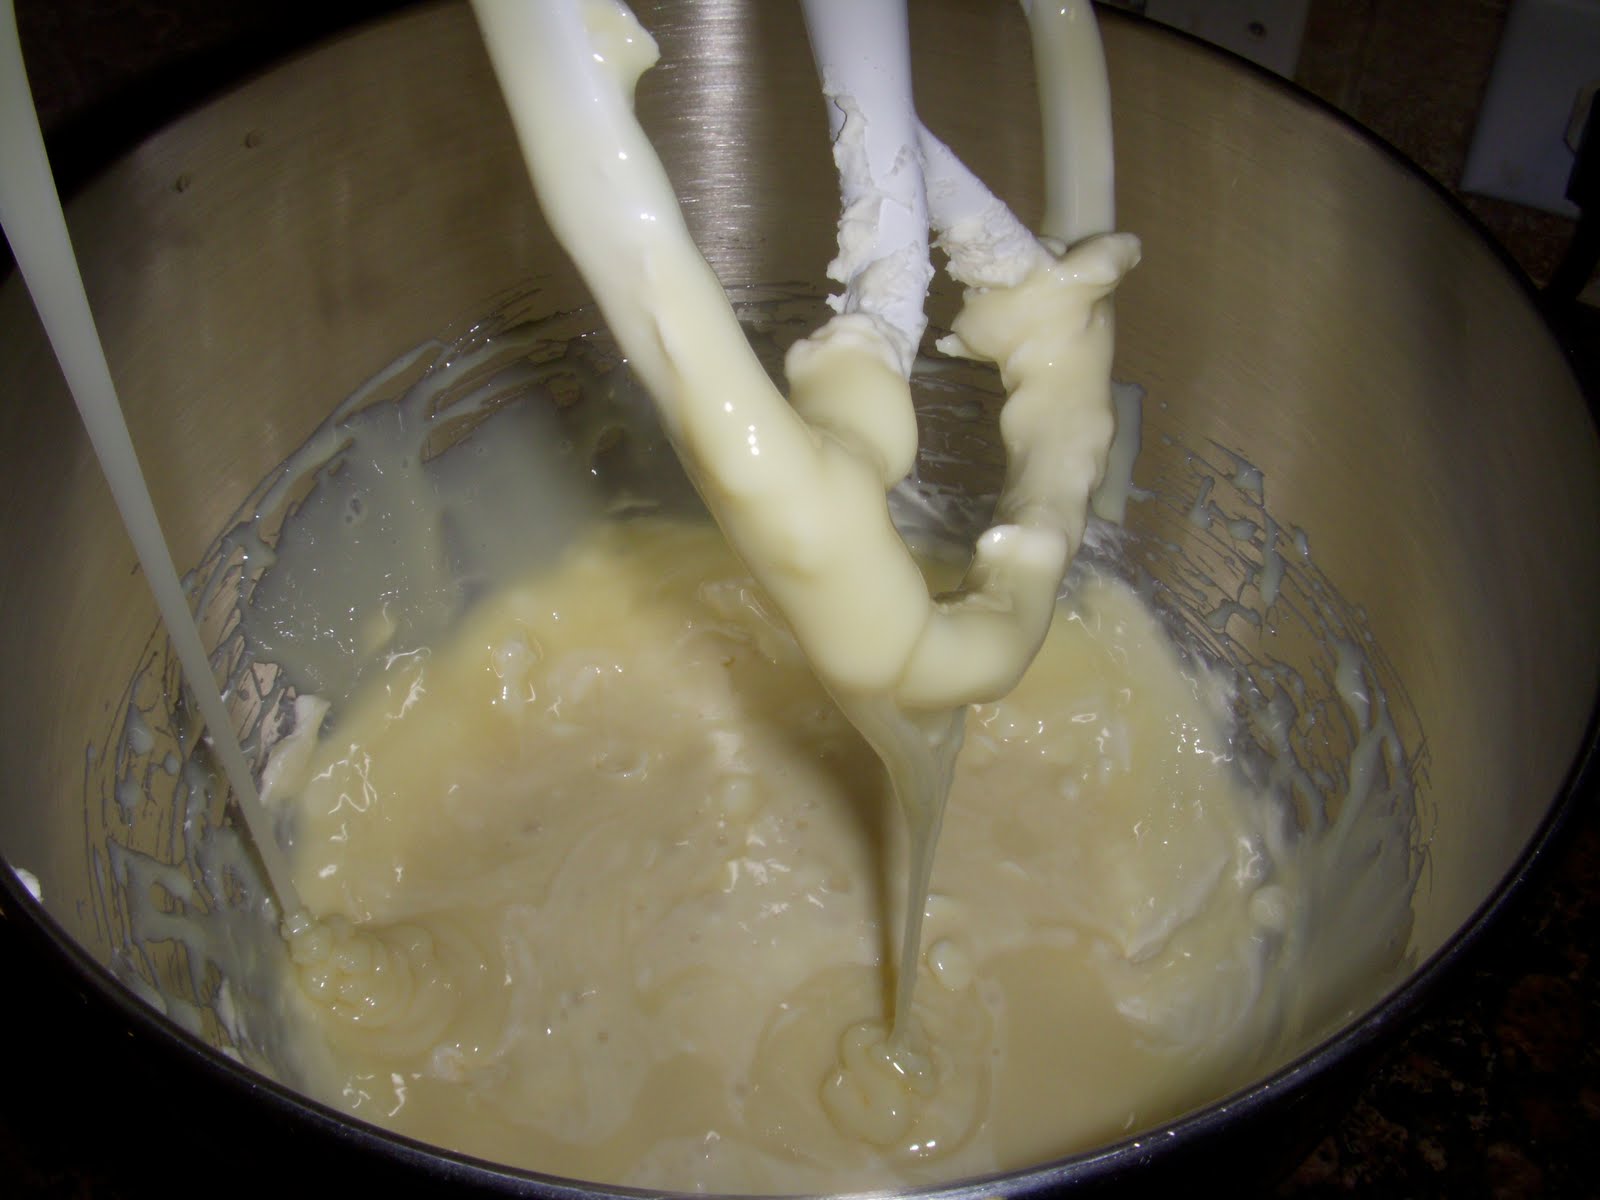
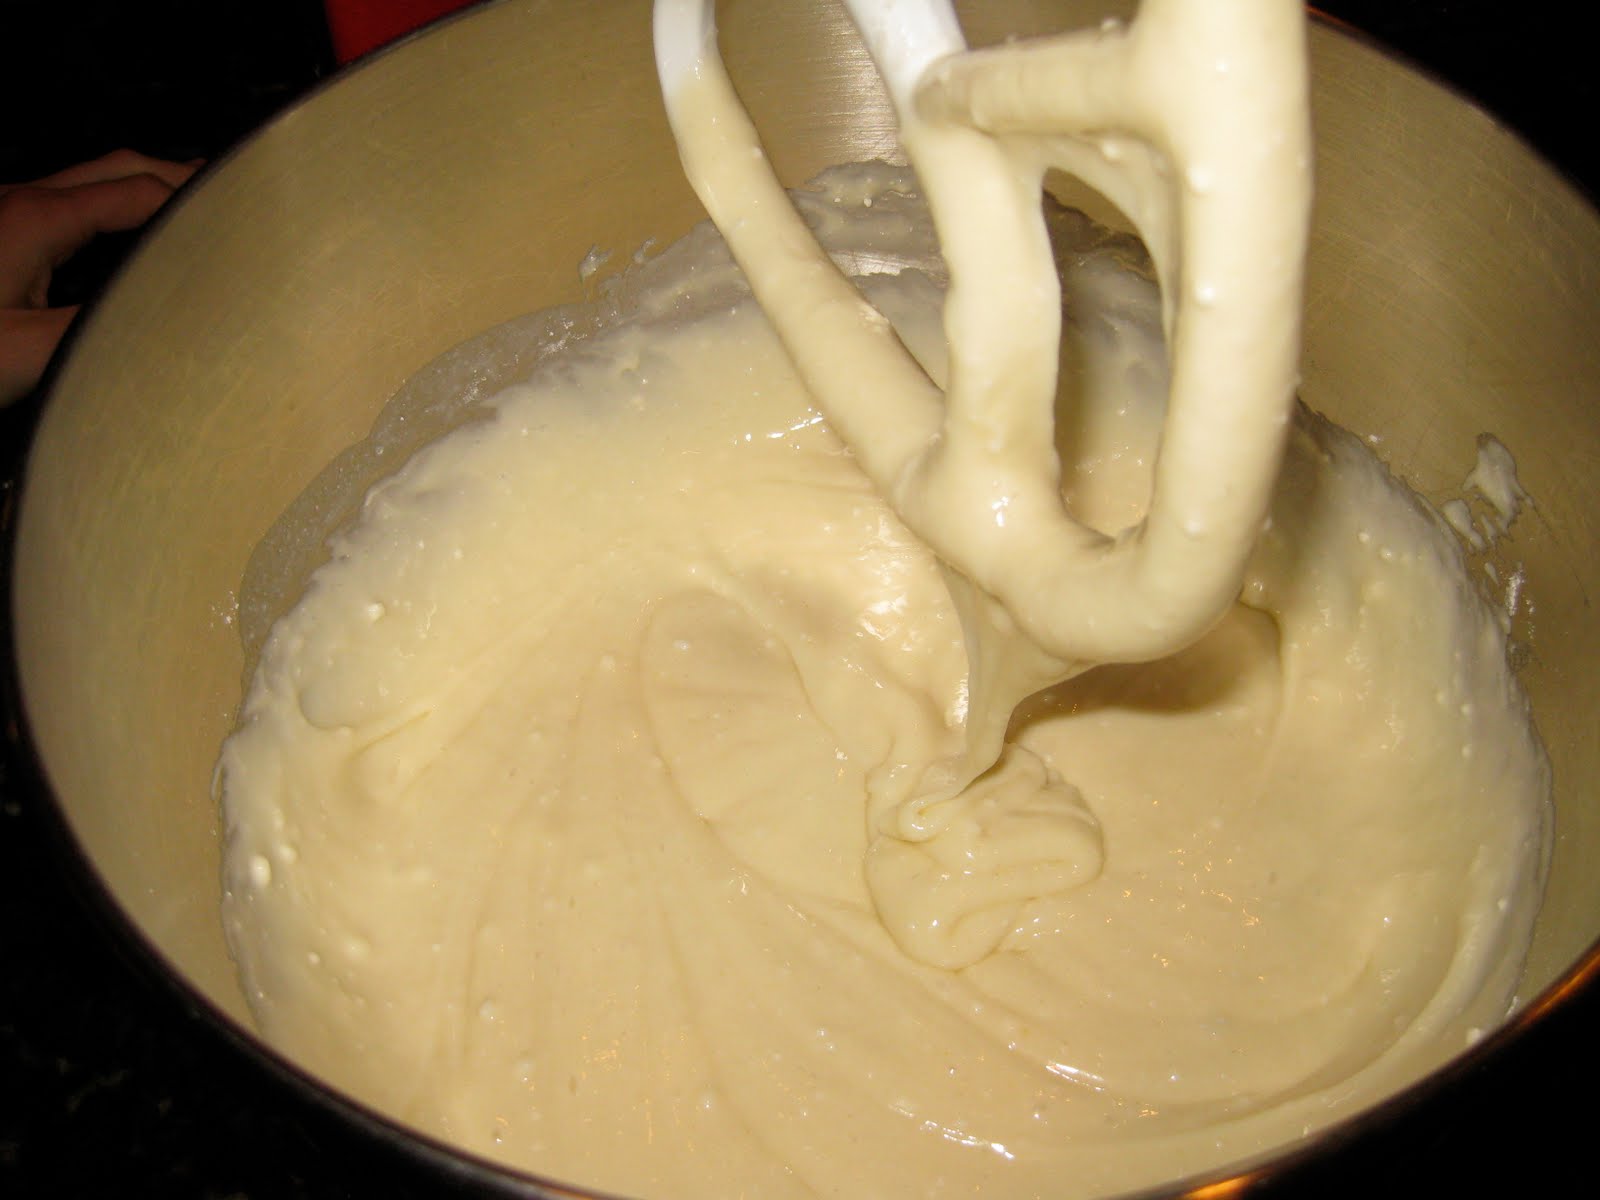
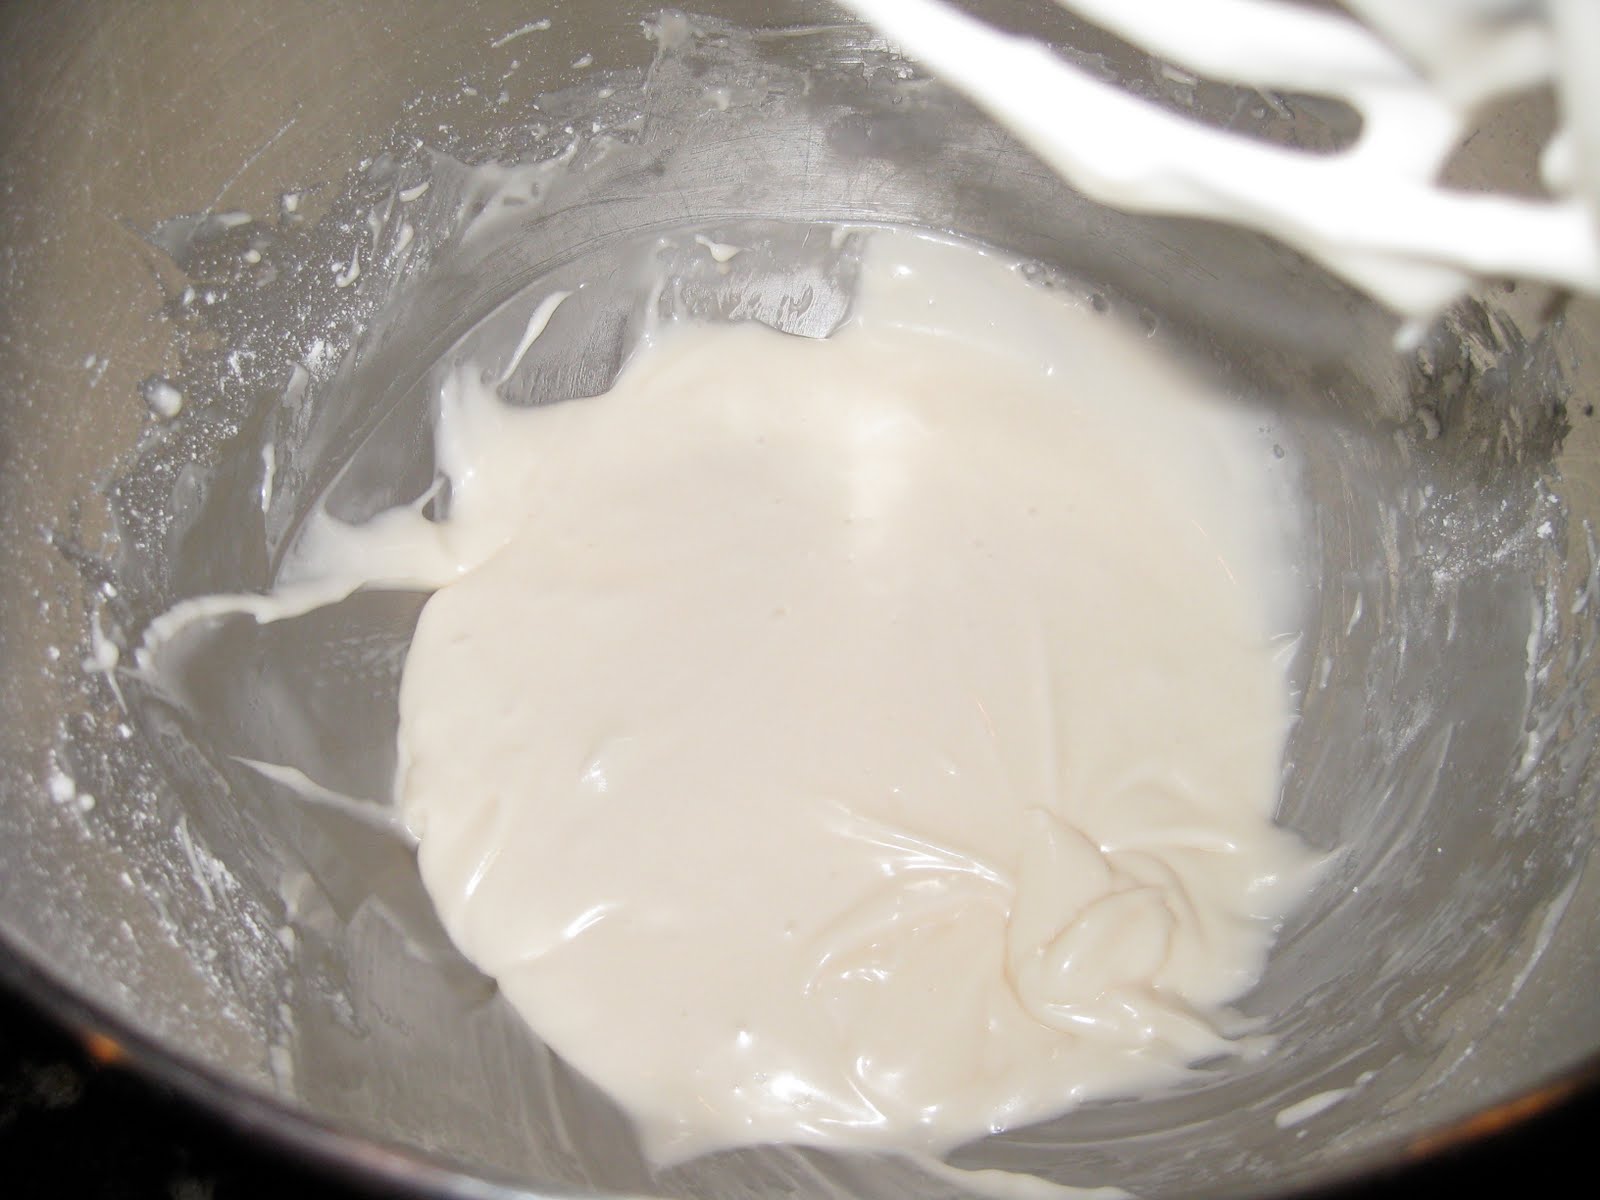
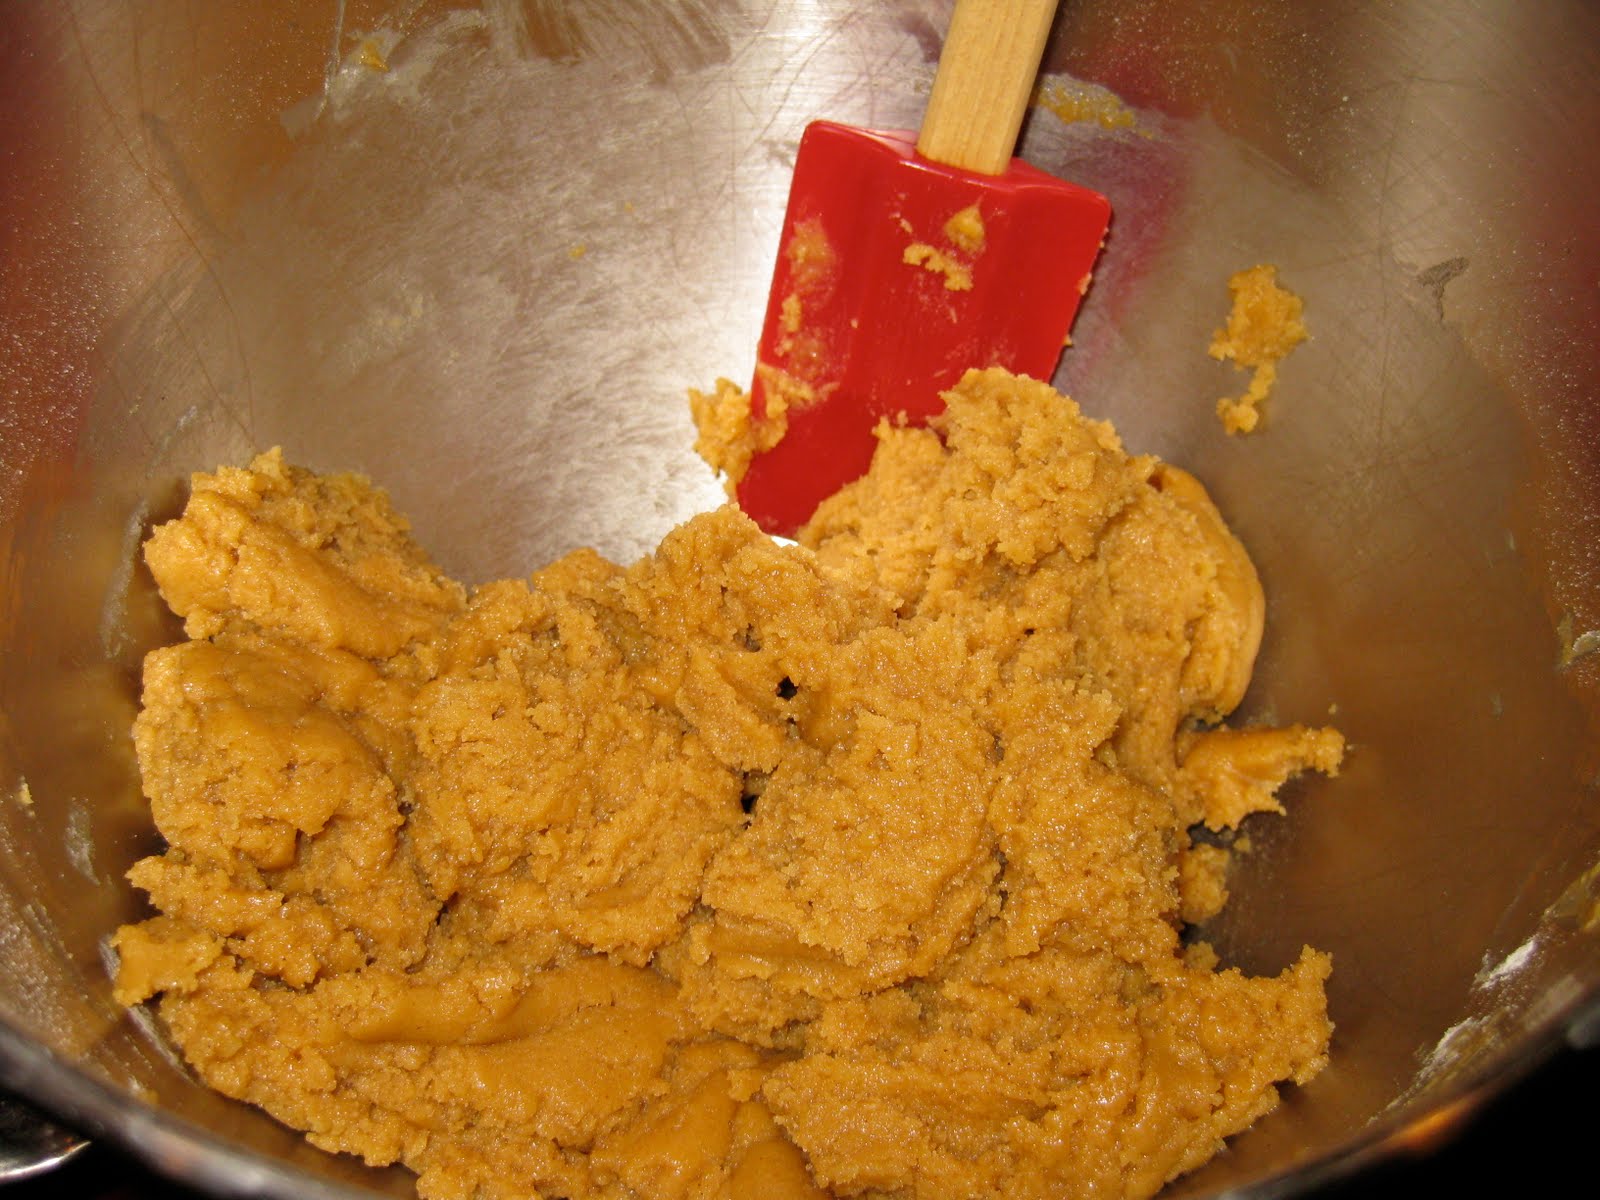
Pour egg mixture into flour mixture and process until dough comes together.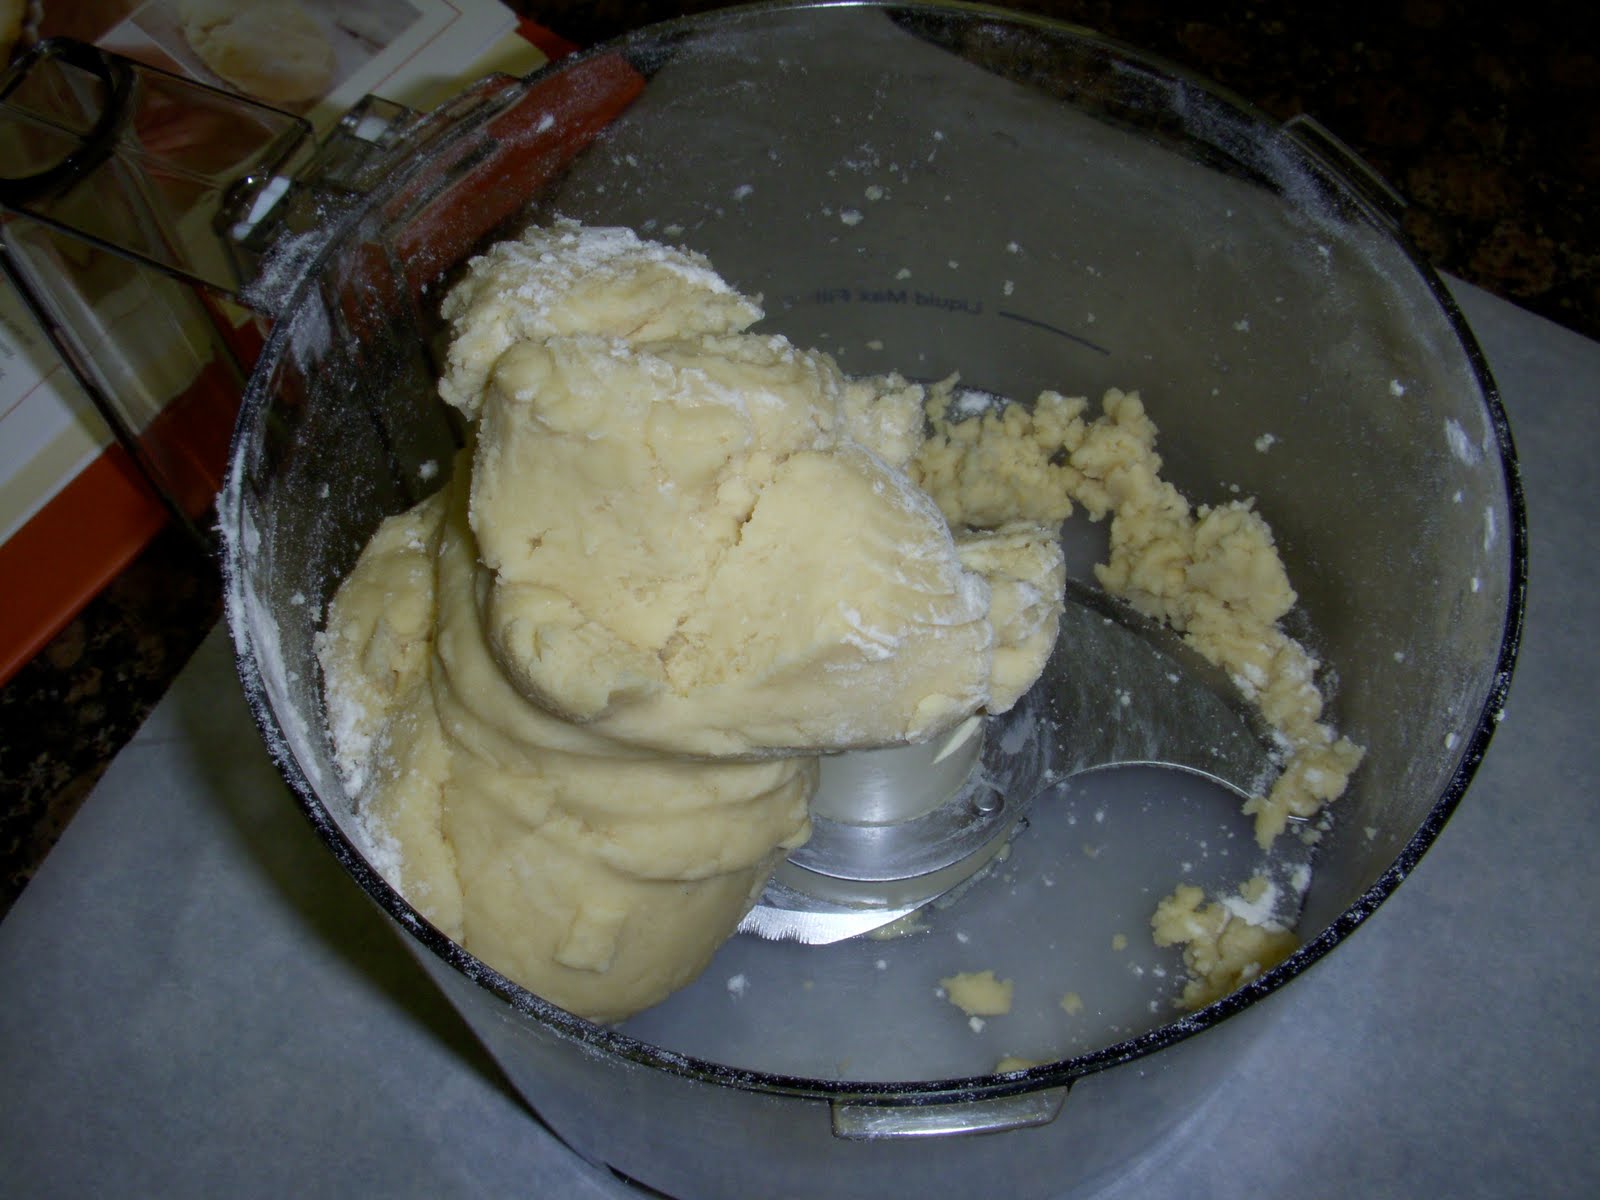
Turn dough out onto a floured surface and form two disks. Wrap one disk in plastic wrap and refrigerate for at least 30 minutes. Wrap the other disk to store in the freezer for future use.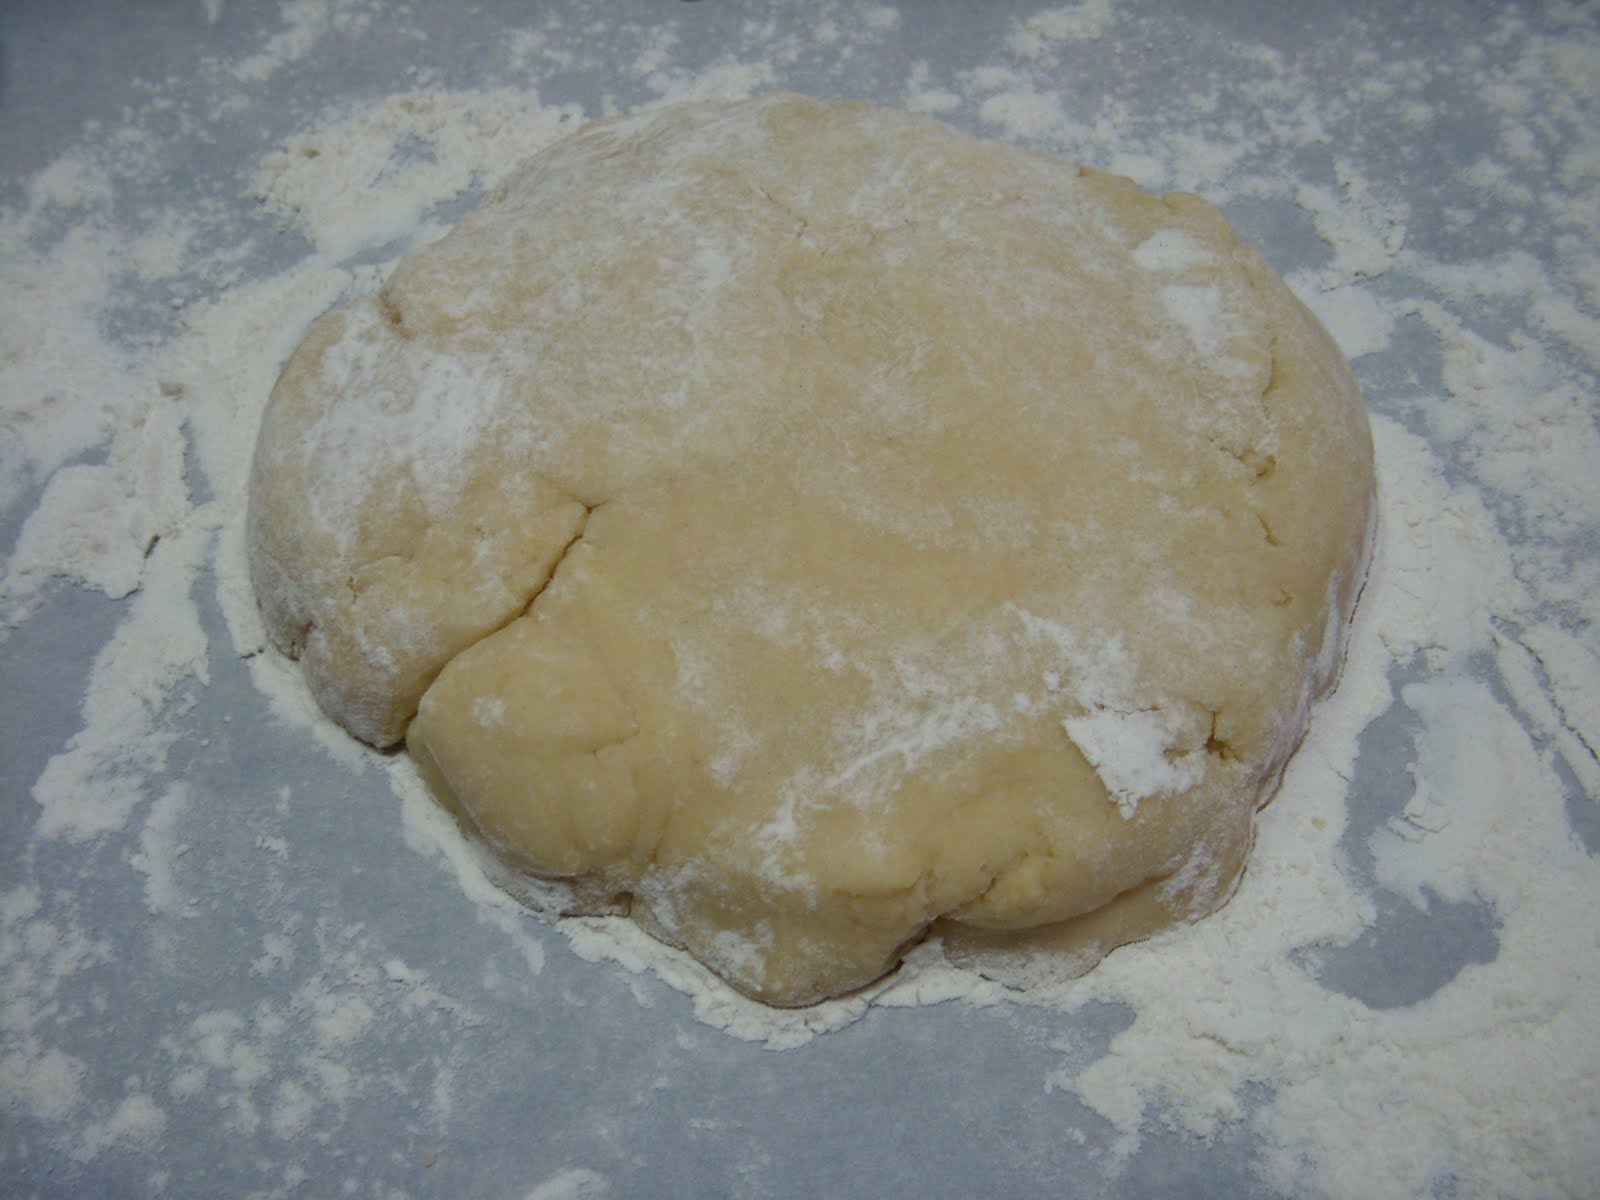
Take one disk out of the fridge and on a lightly floured surface, roll out the dough into a round 1/8 (3 mm) thick. Cut out as many rounds as possible and gently press into the cups of a muffin pan. The edges should be flush with the rim of the pan.
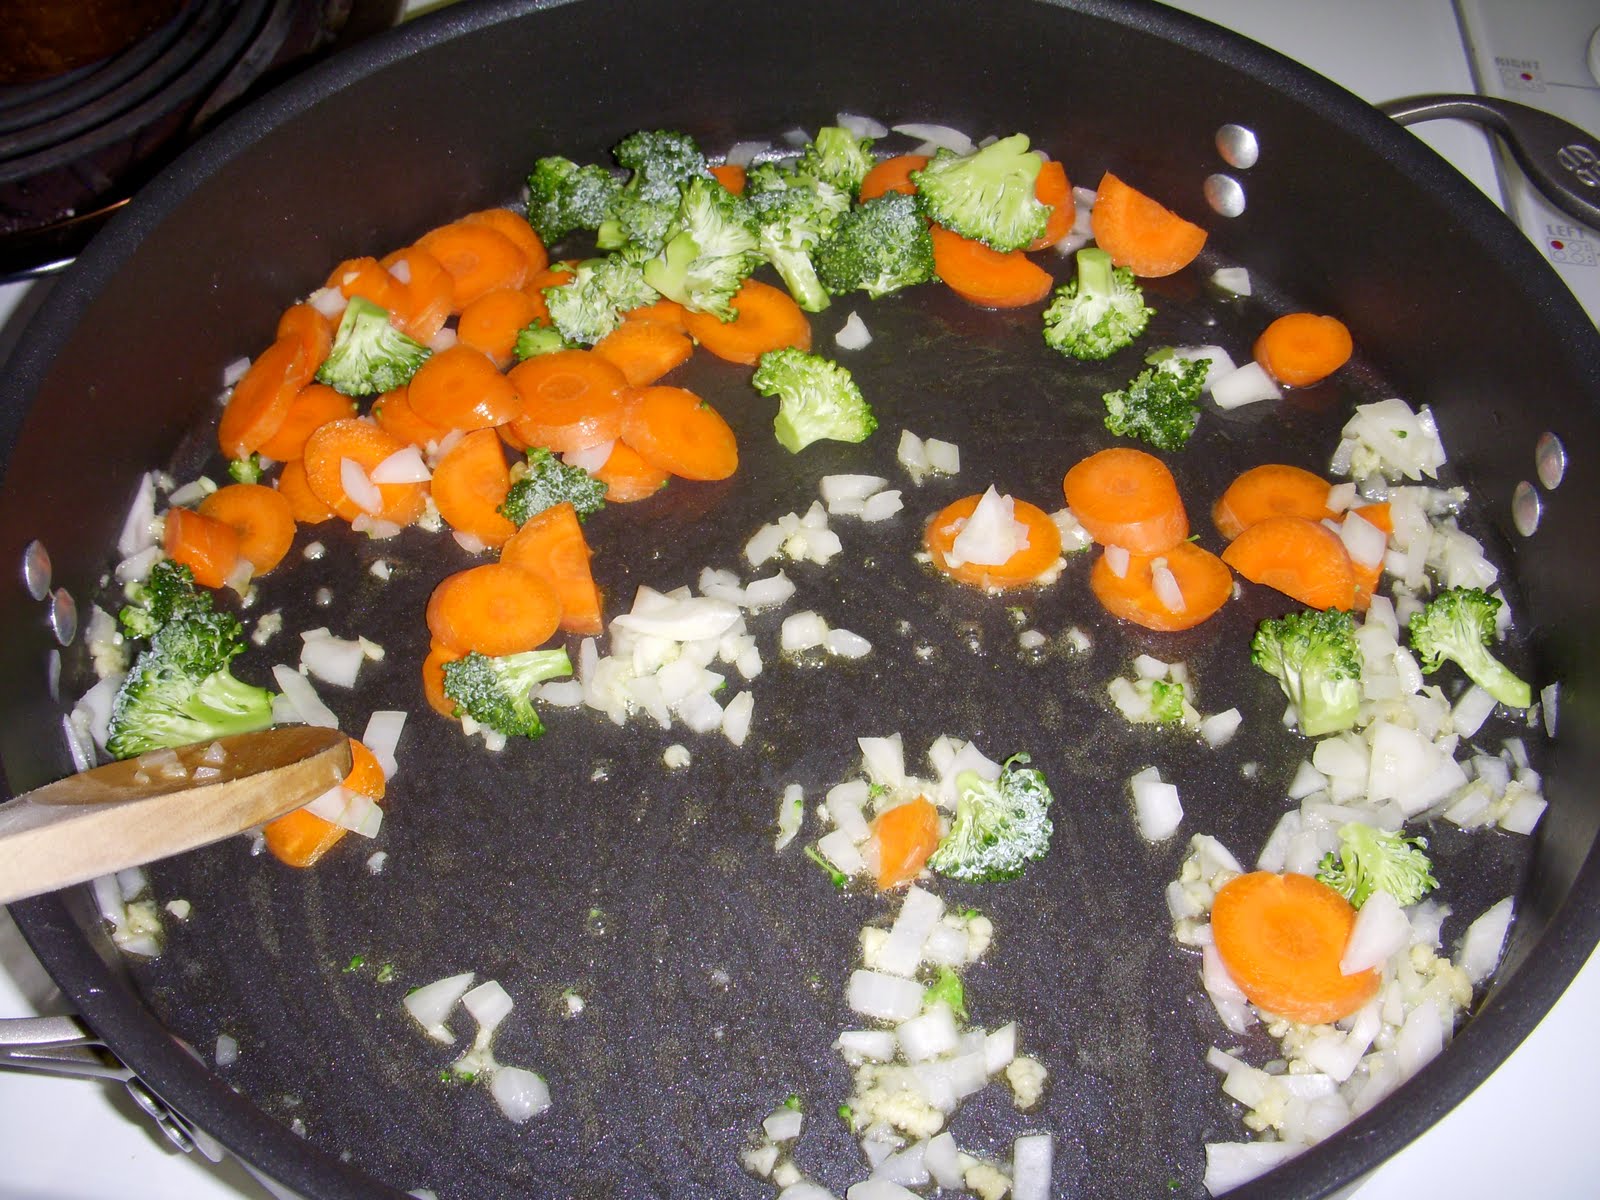
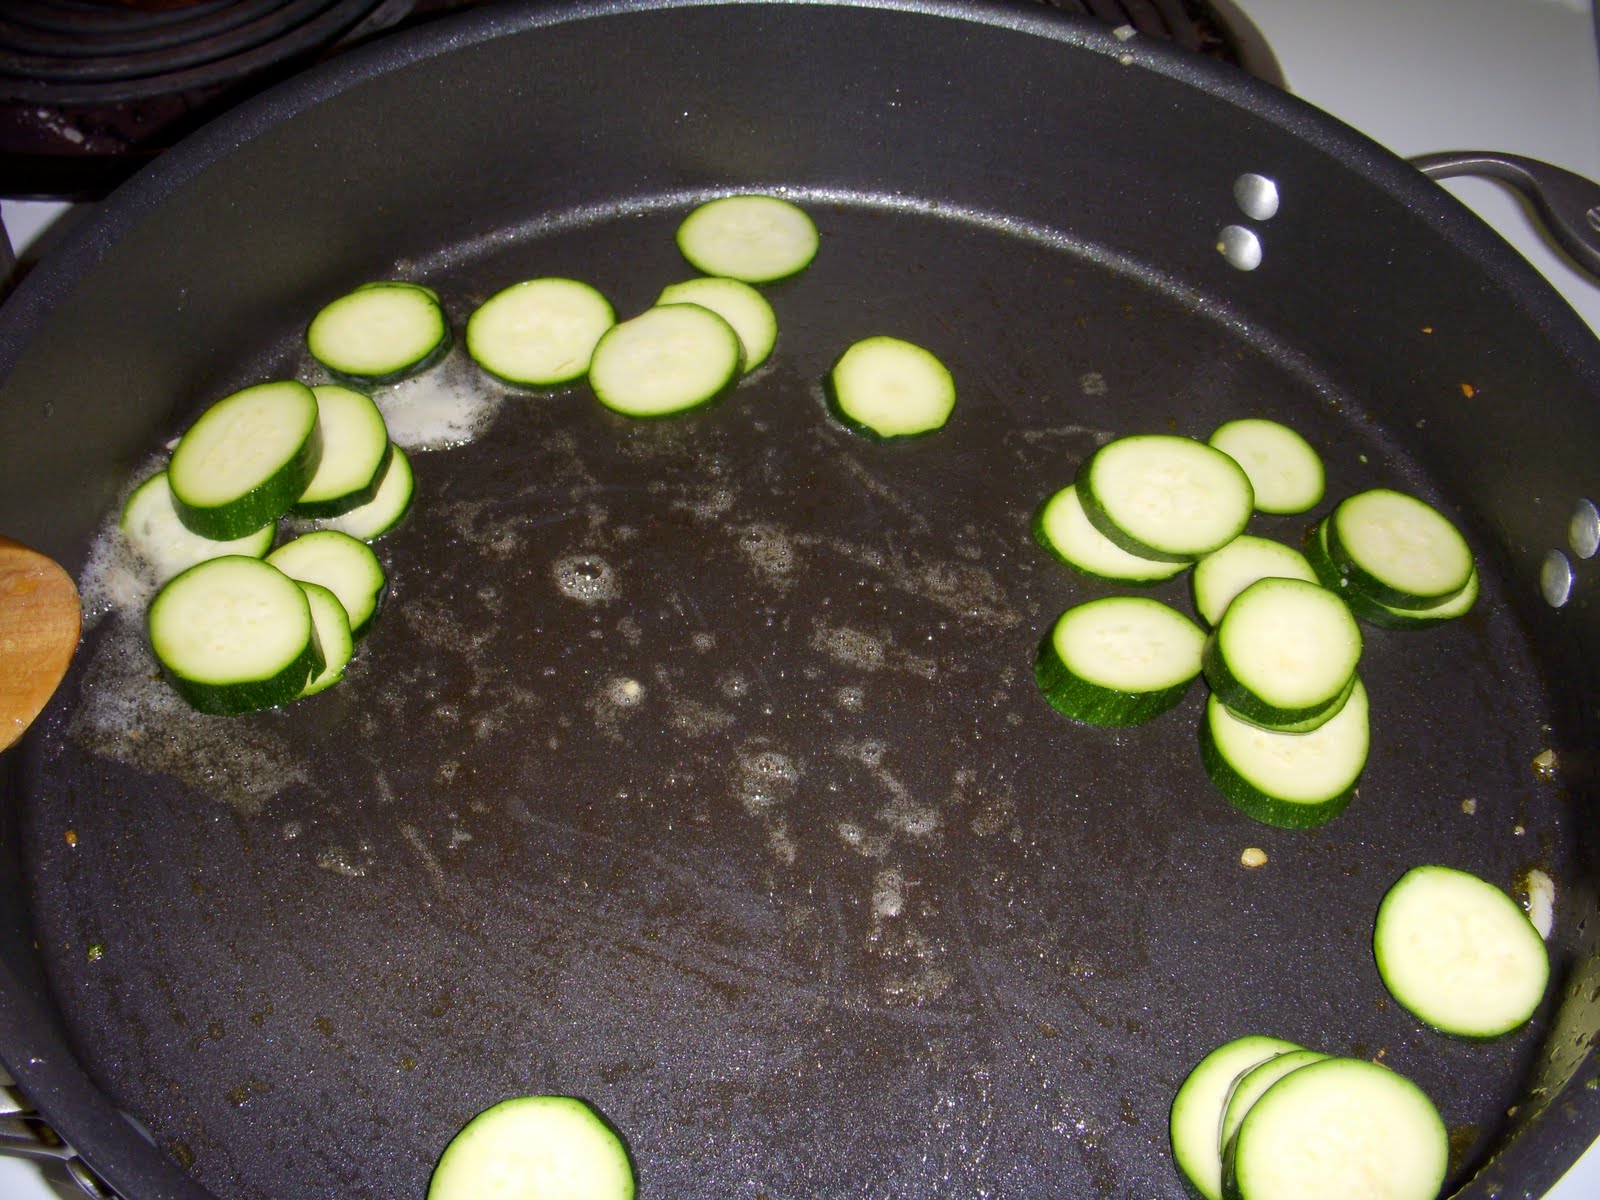
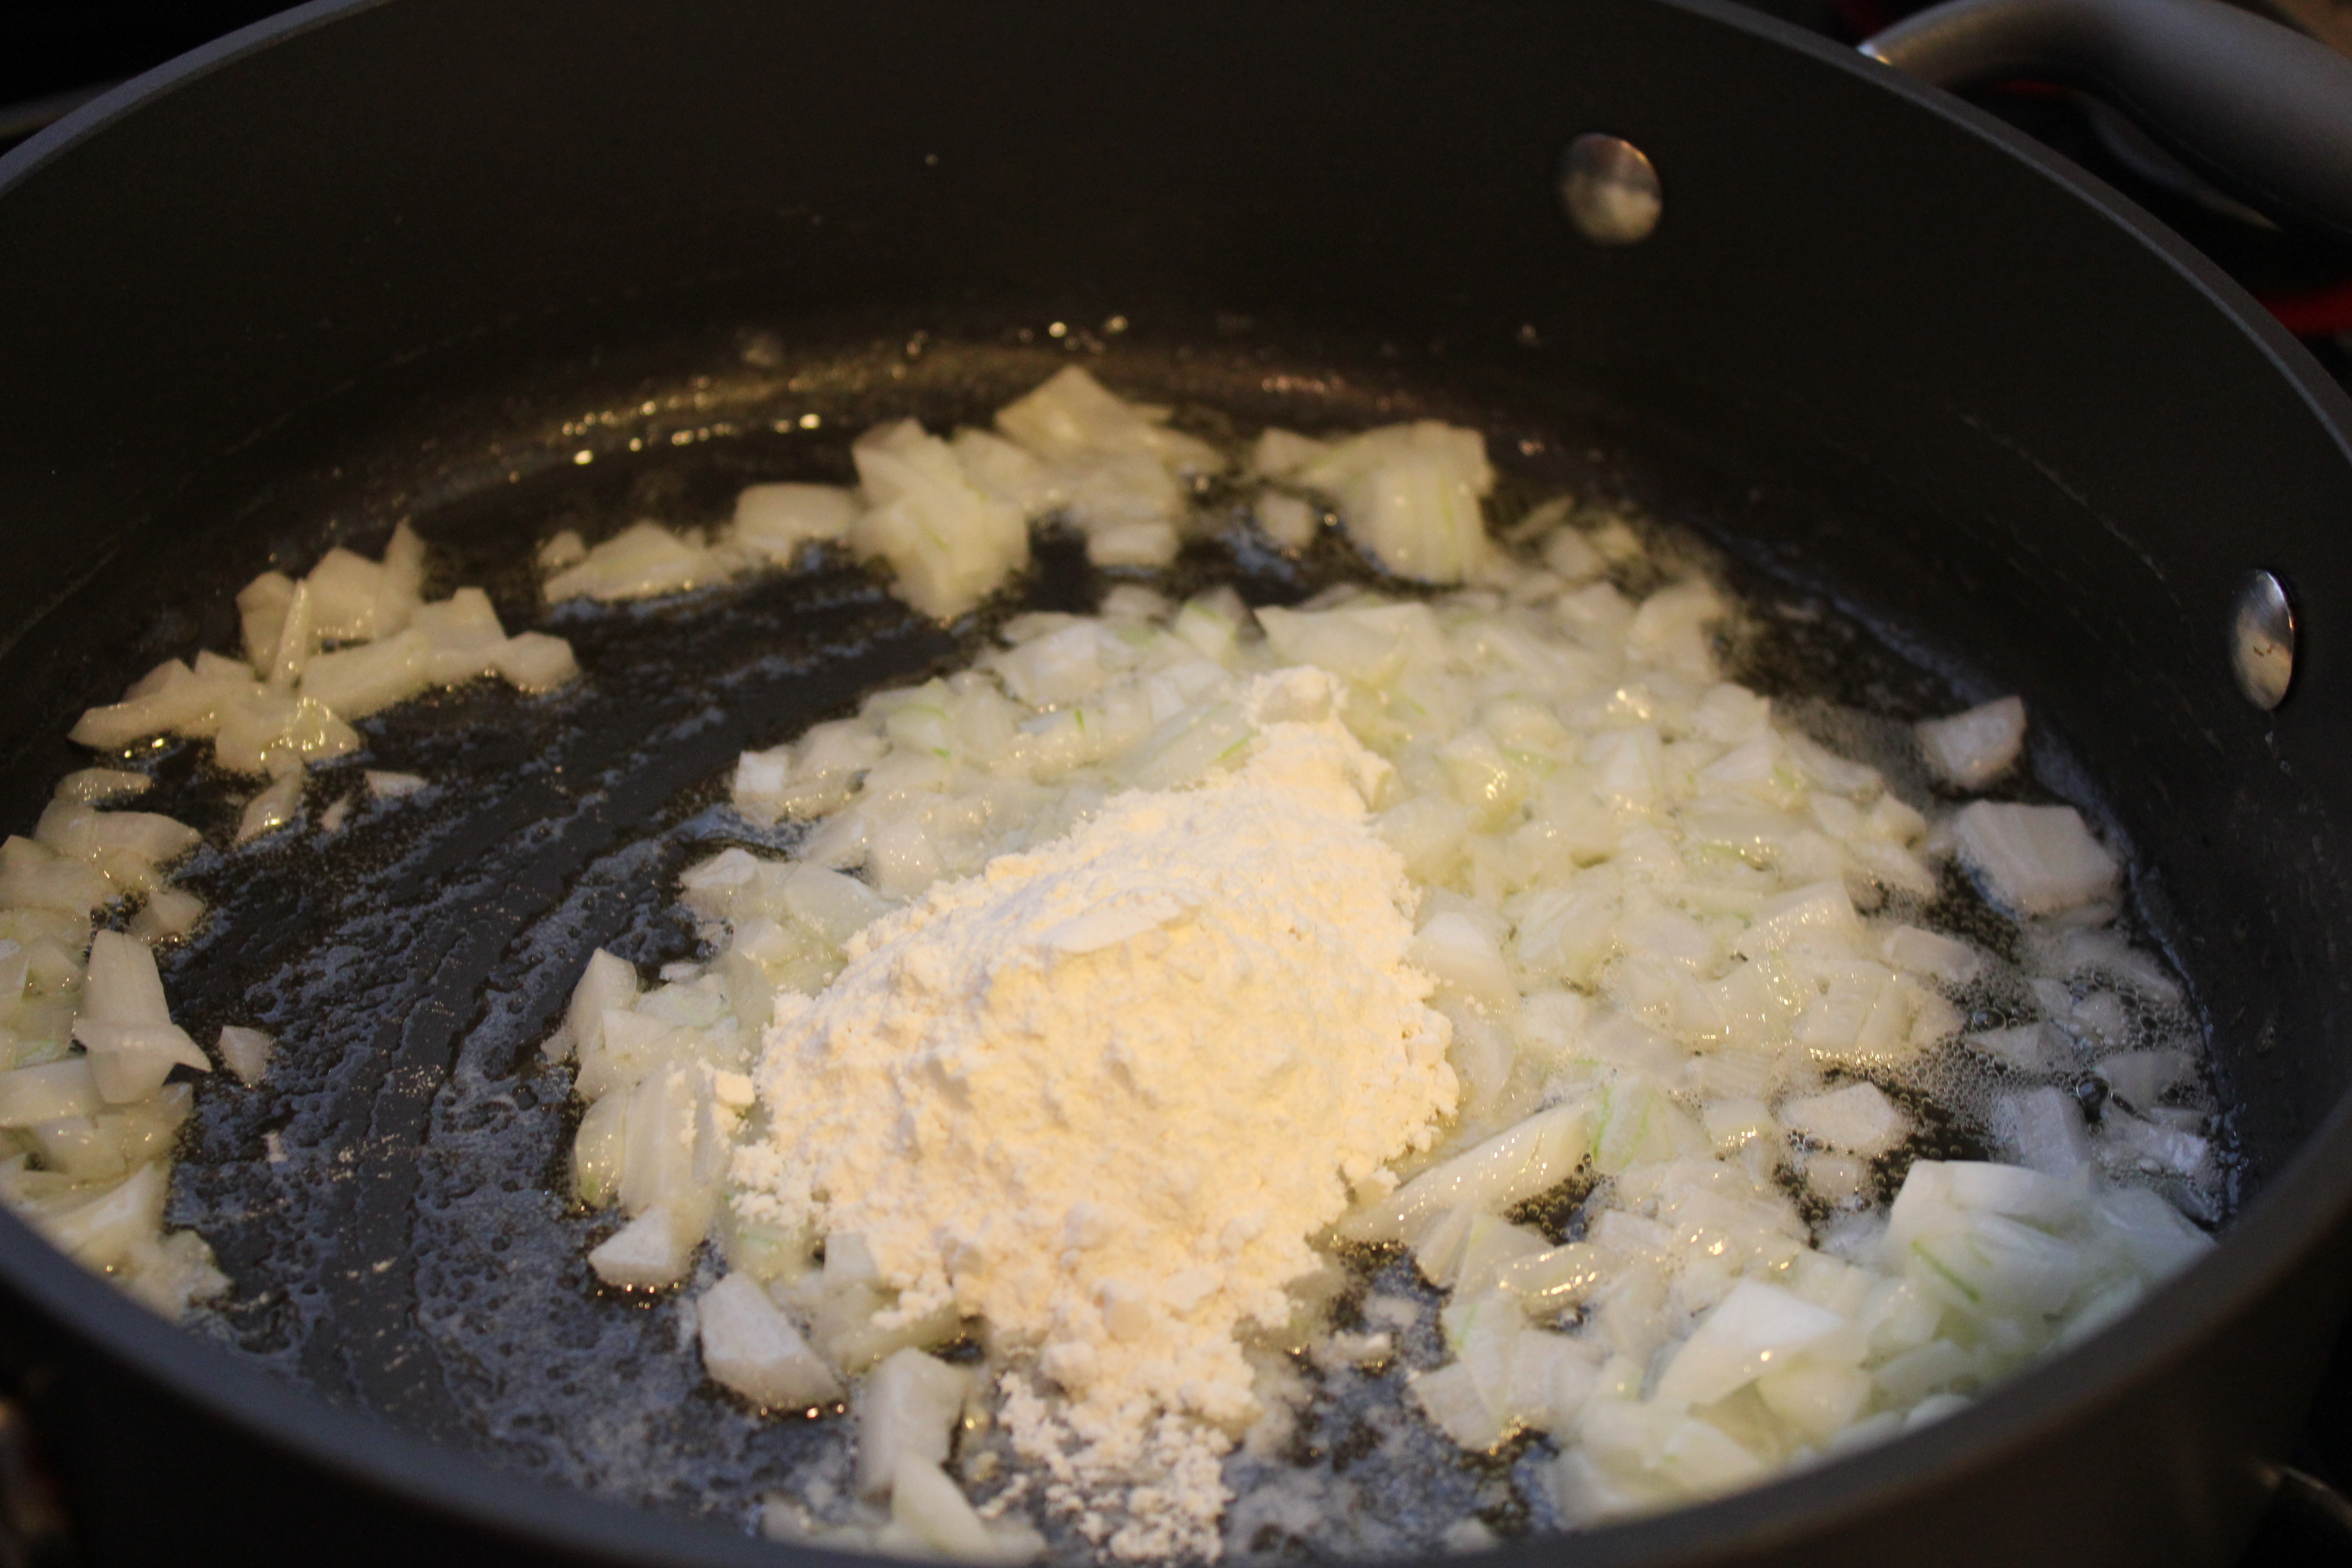
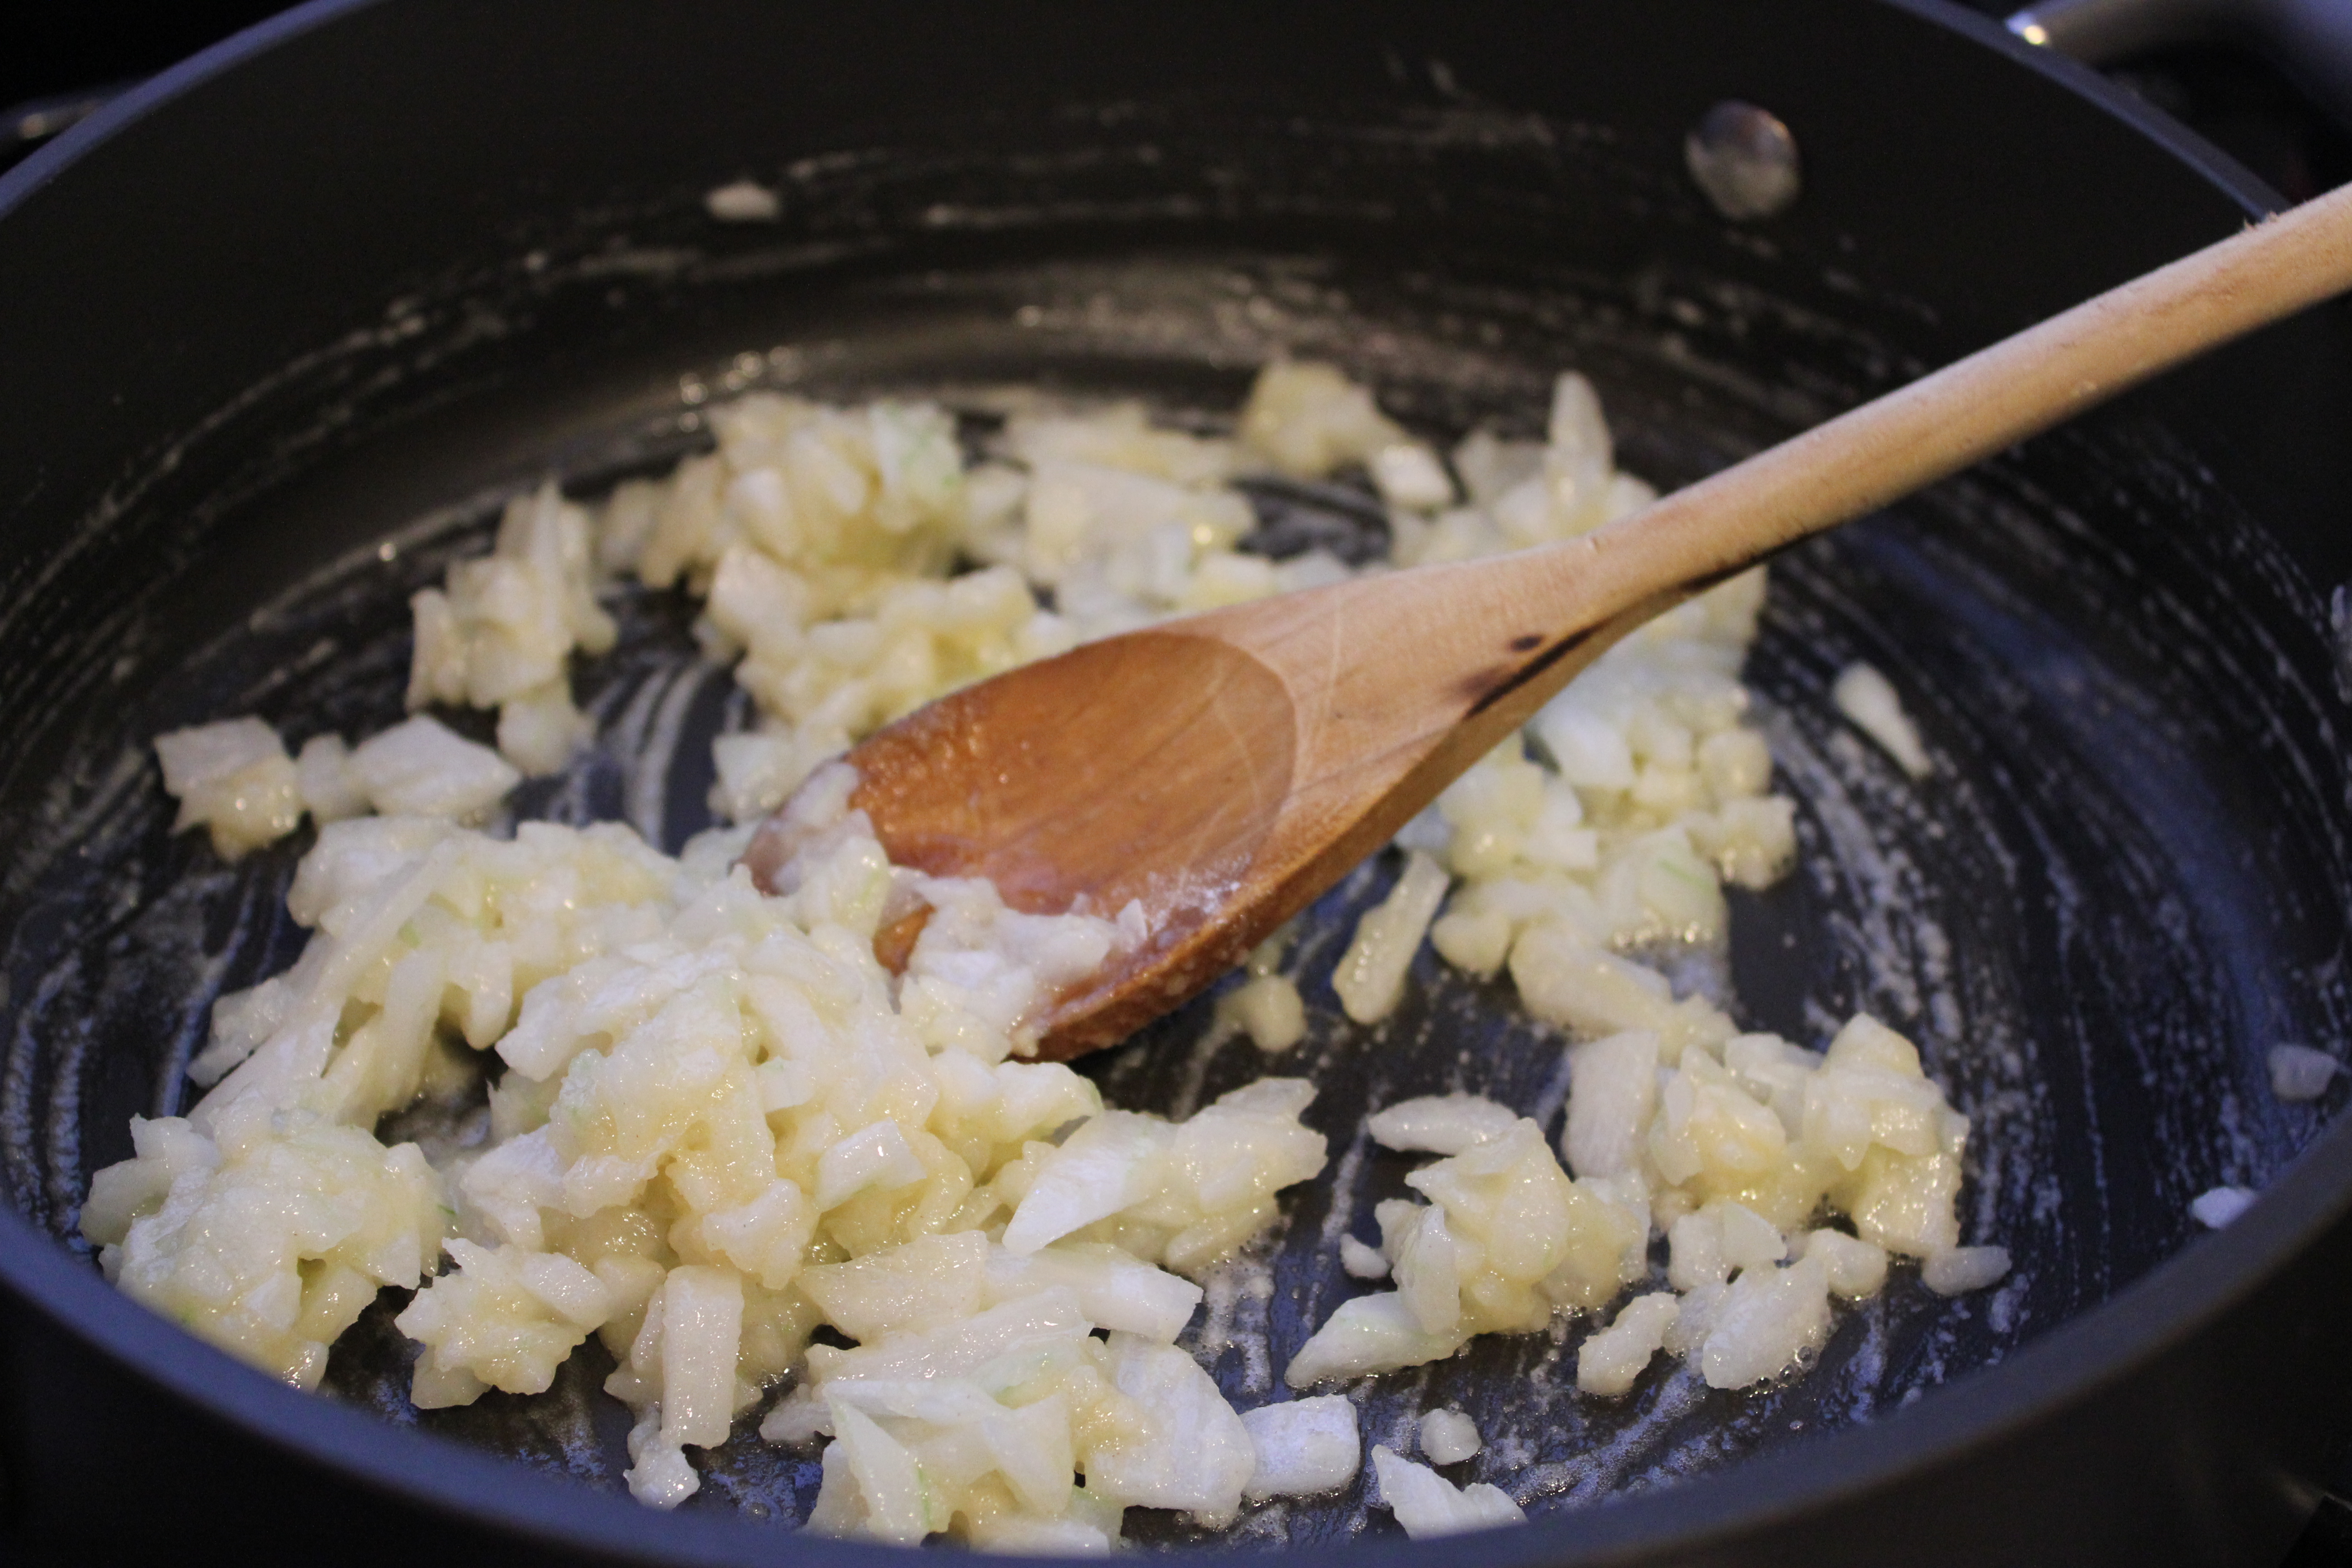
To make the filling: over low heat, melt the butter and cook the red onions for 5 minutes, until softened.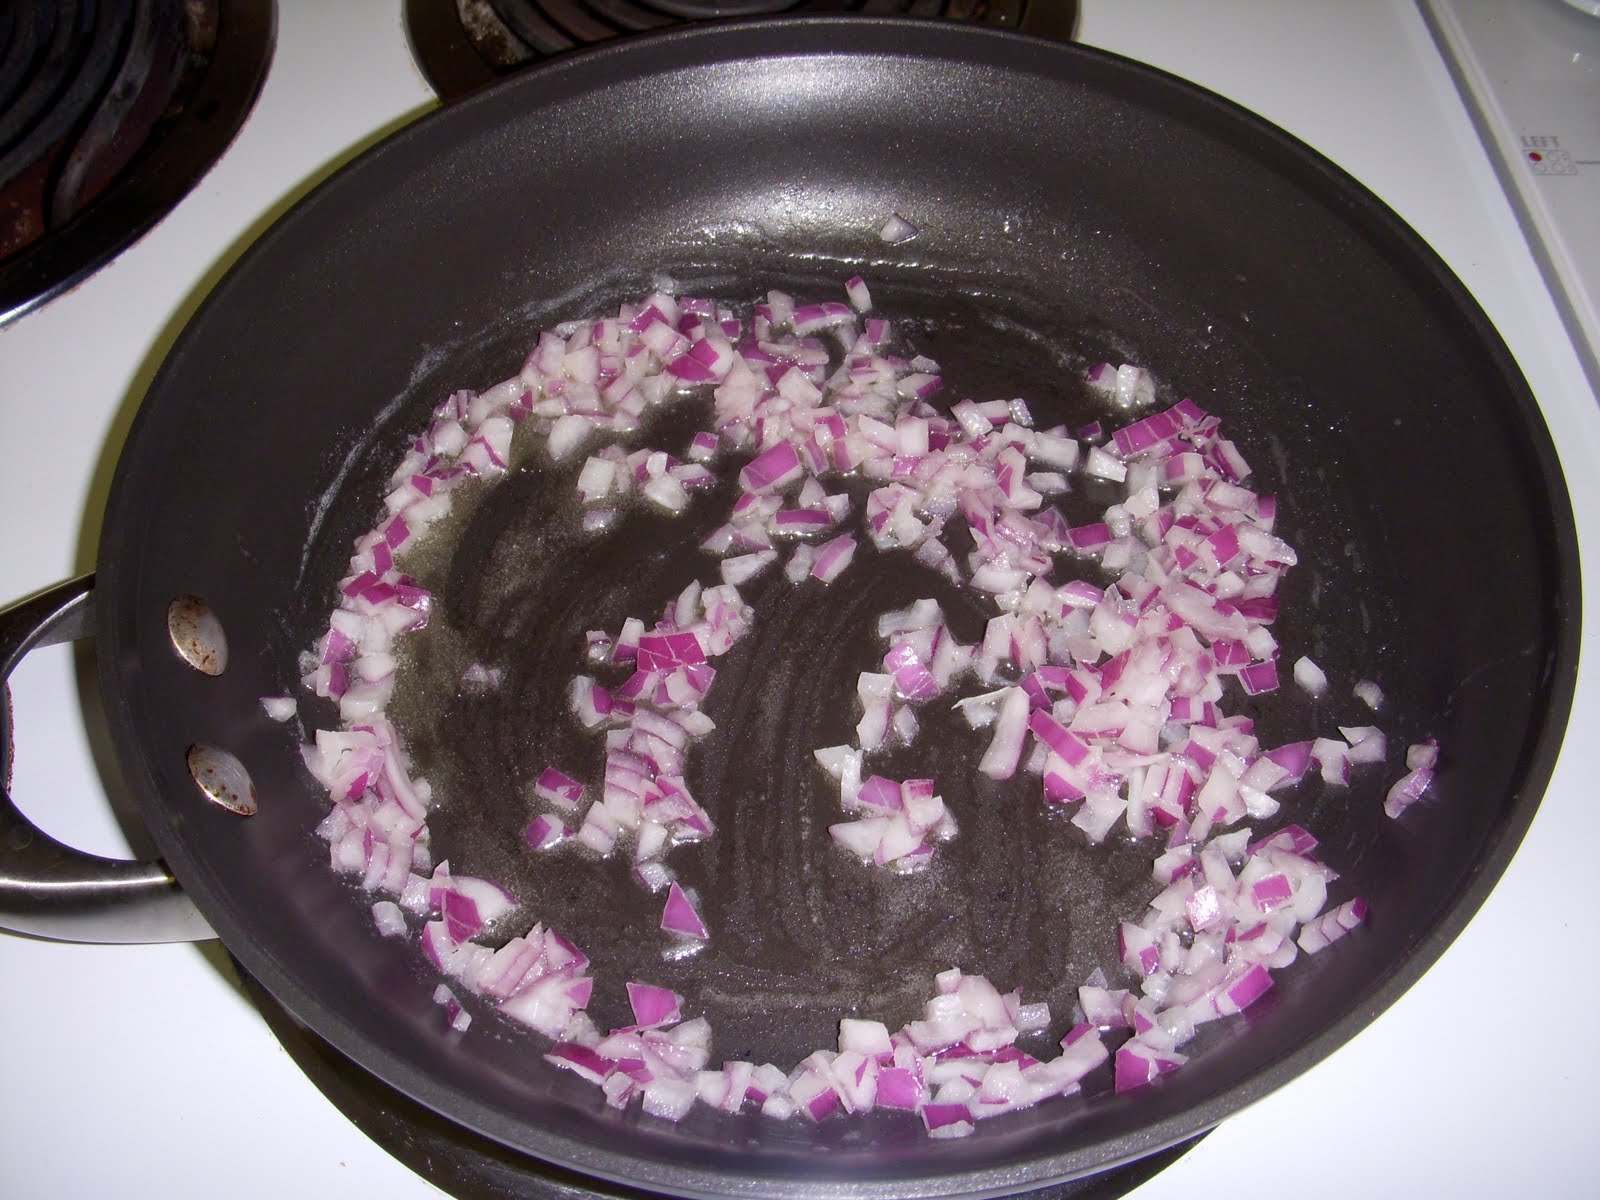
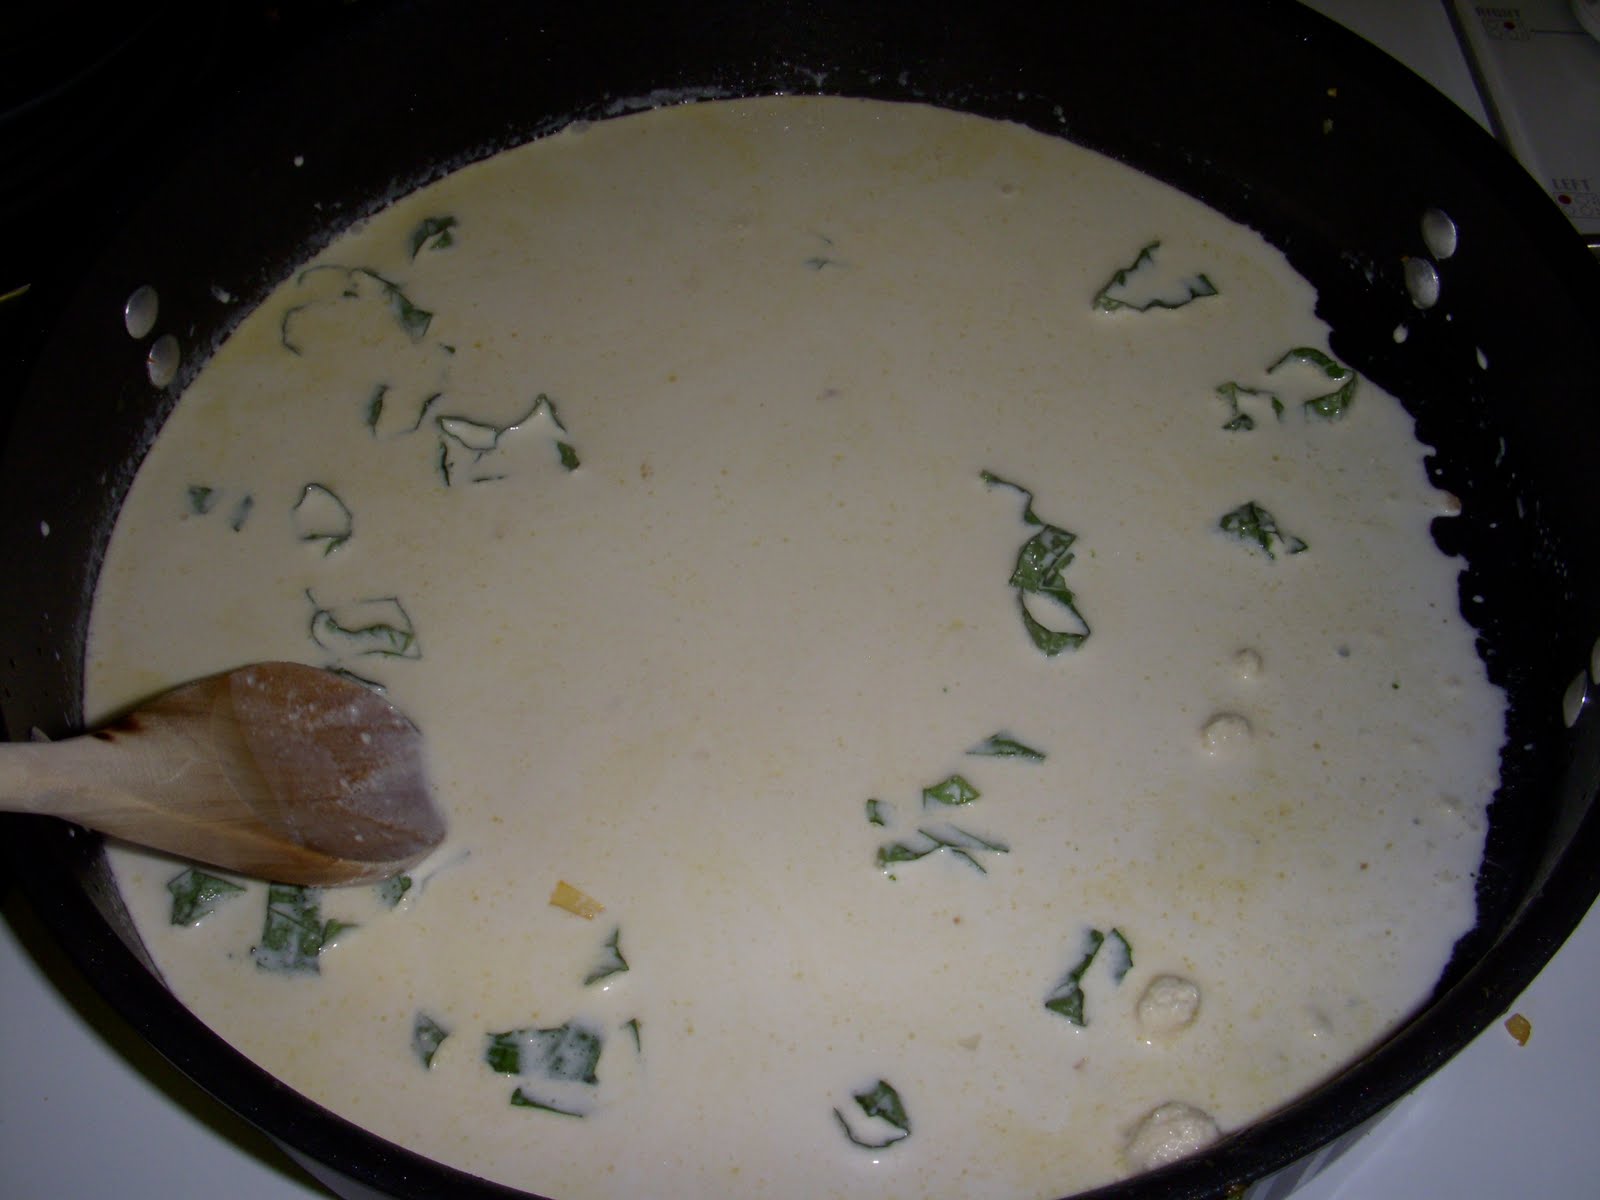
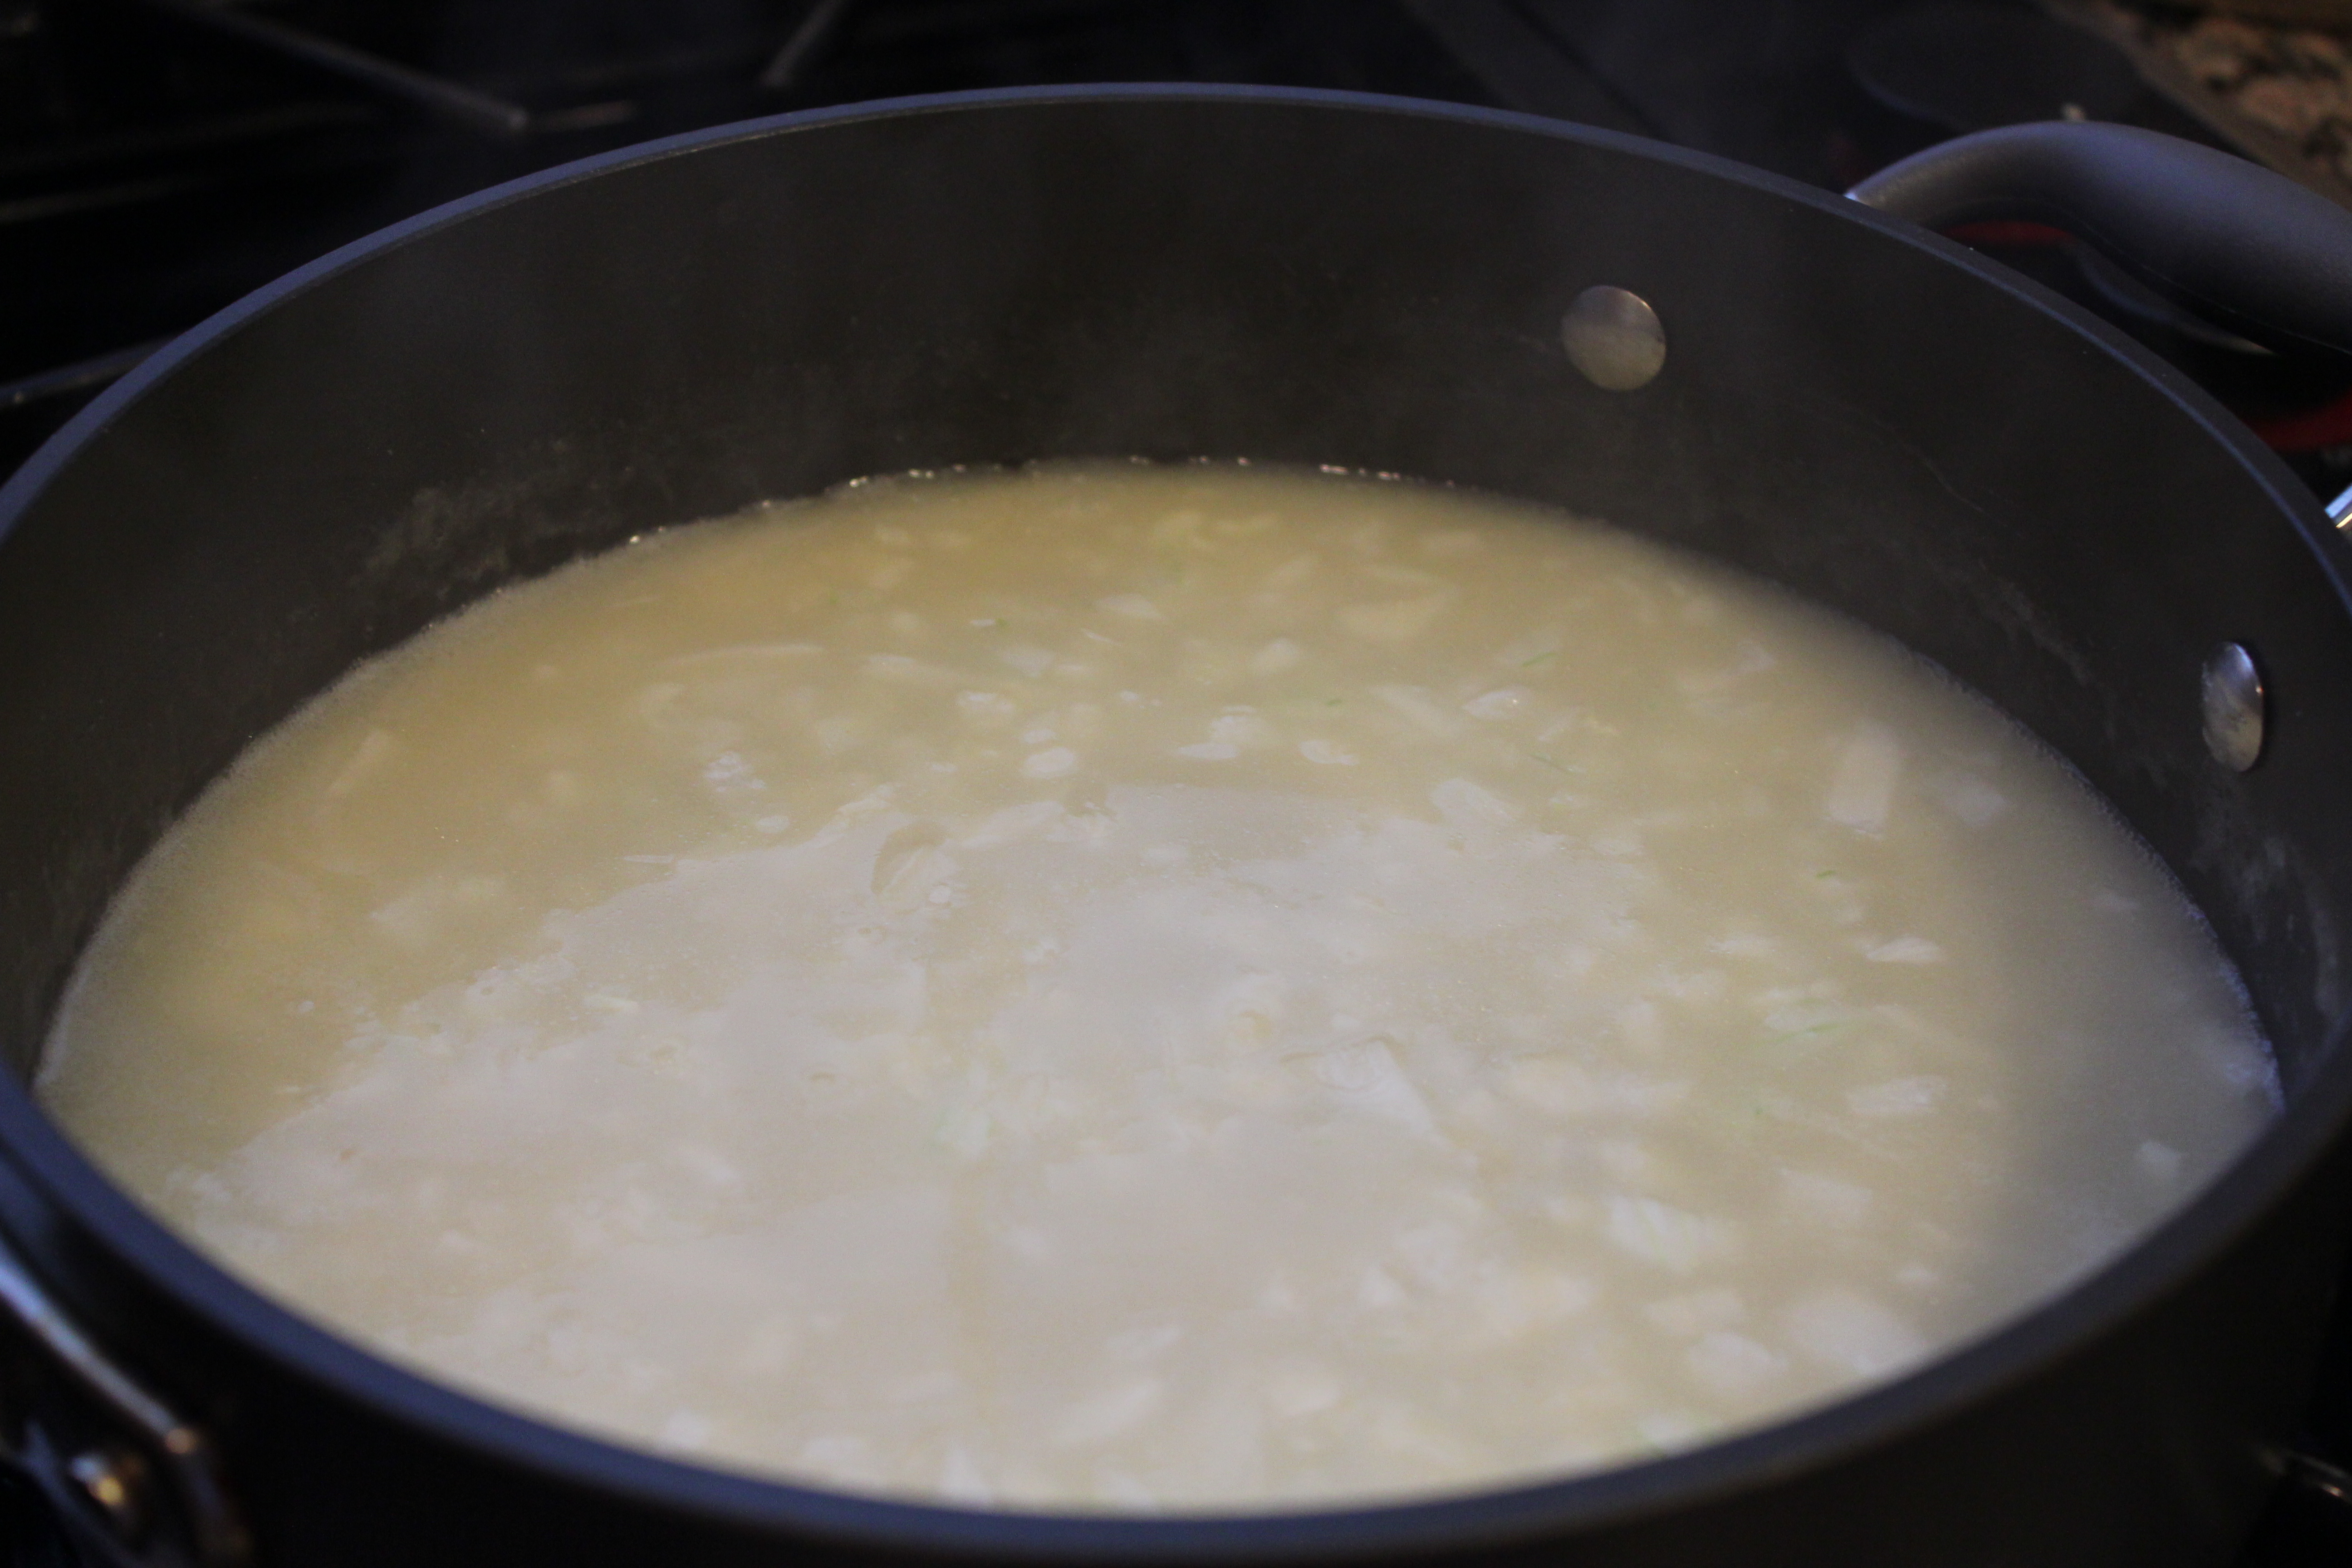
Raise the heat to medium-low and add the spinach and mushrooms, stirring constantly for 1 minute. The leaves should be wilted.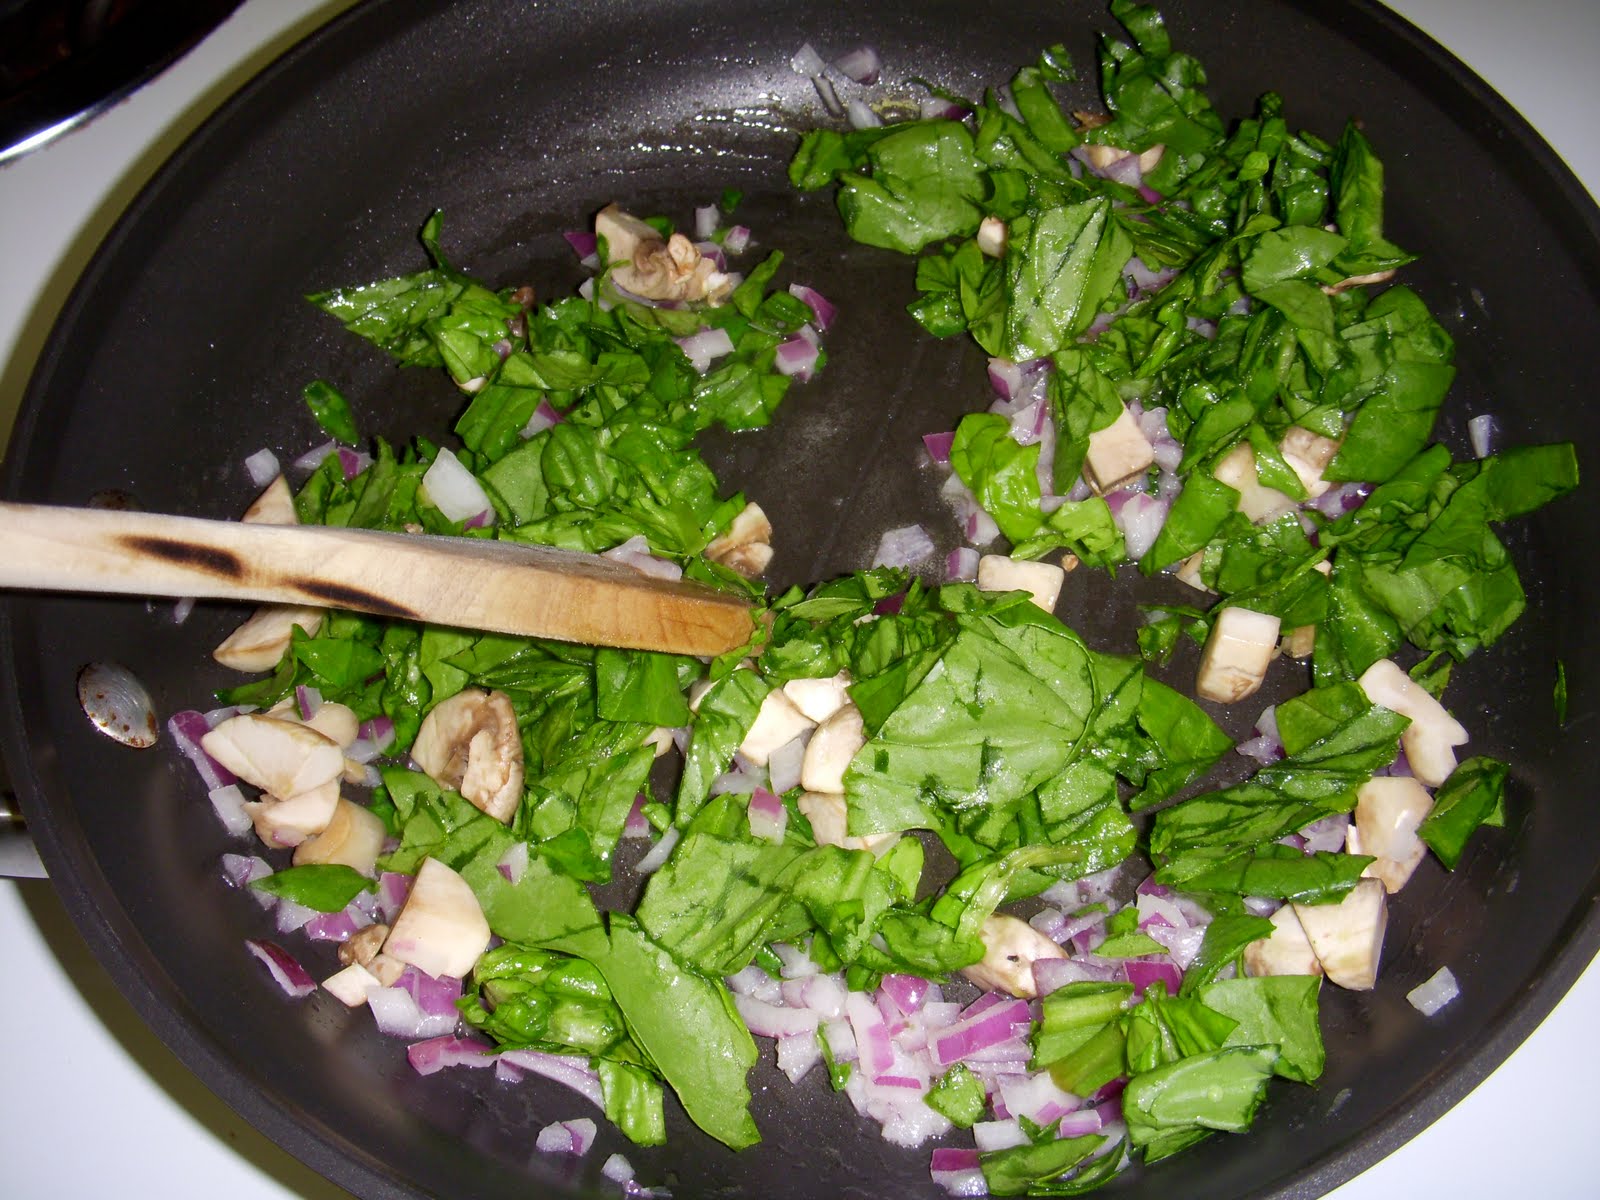
In a large measuring bowl, whisk together the egg, cream, mustard, 1/2 tsp salt, and a pinch of pepper.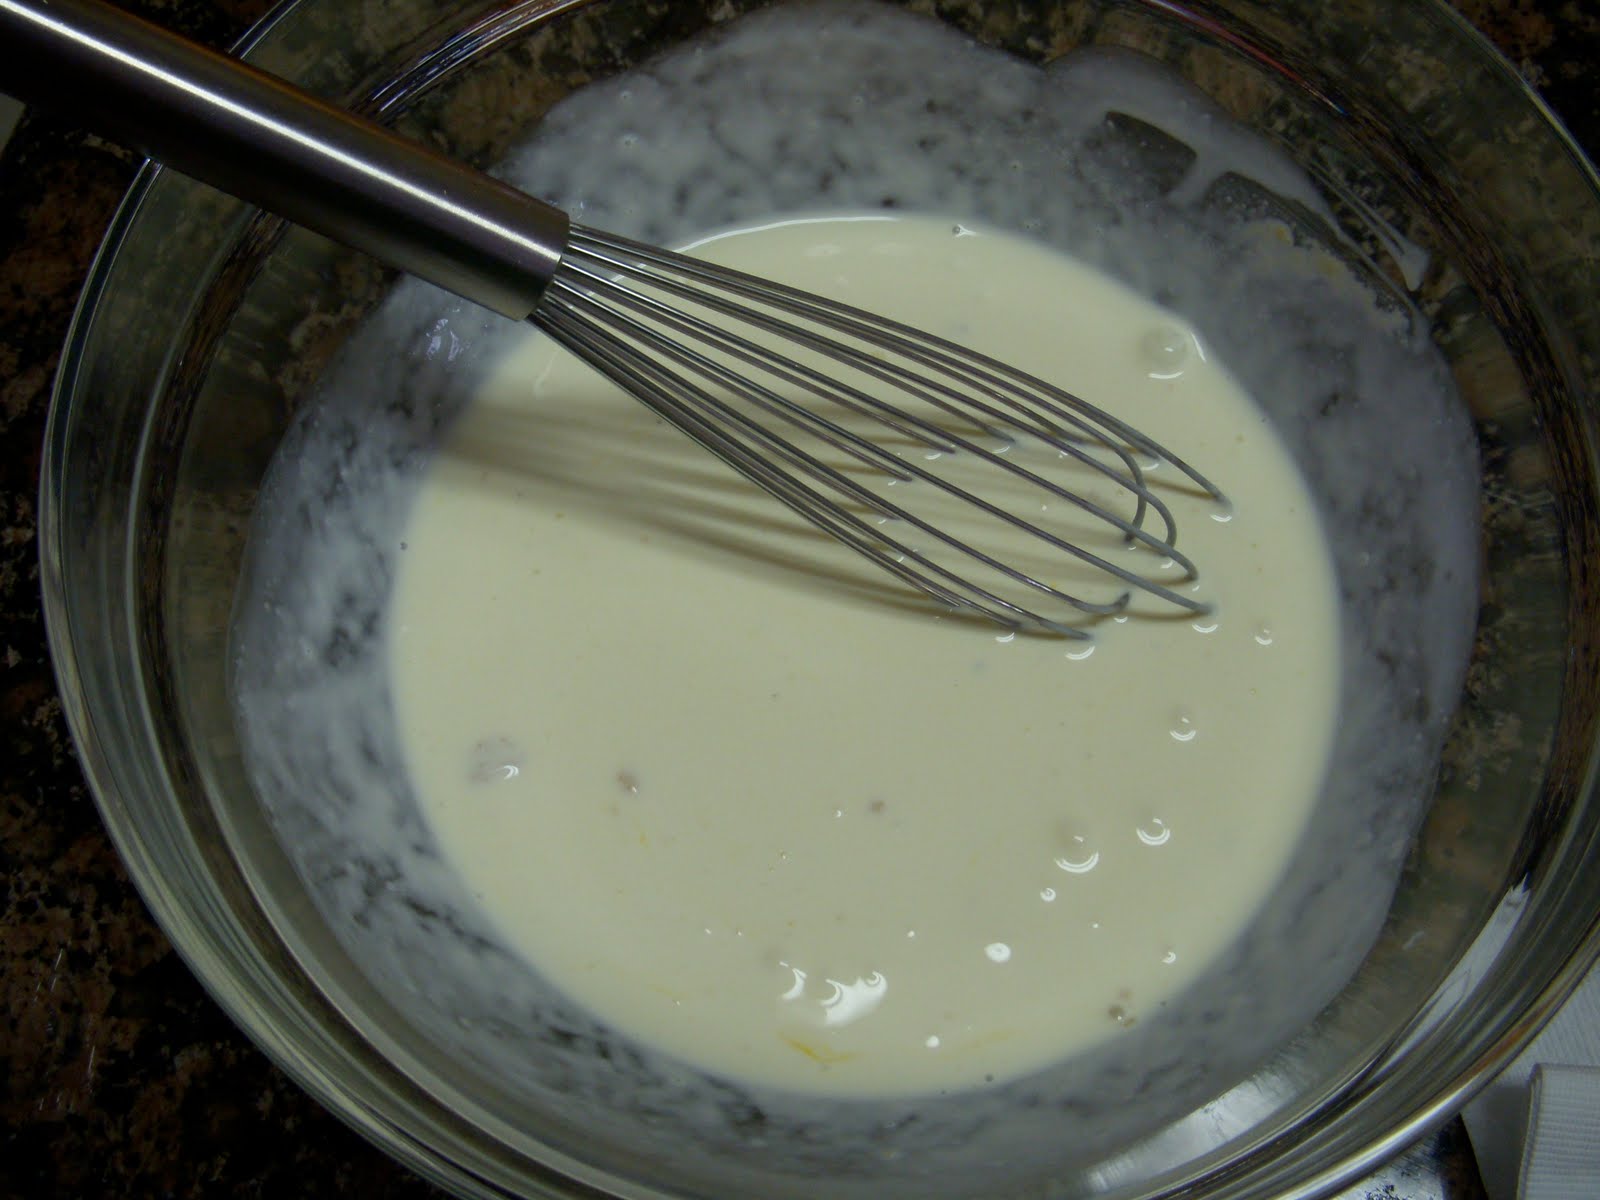
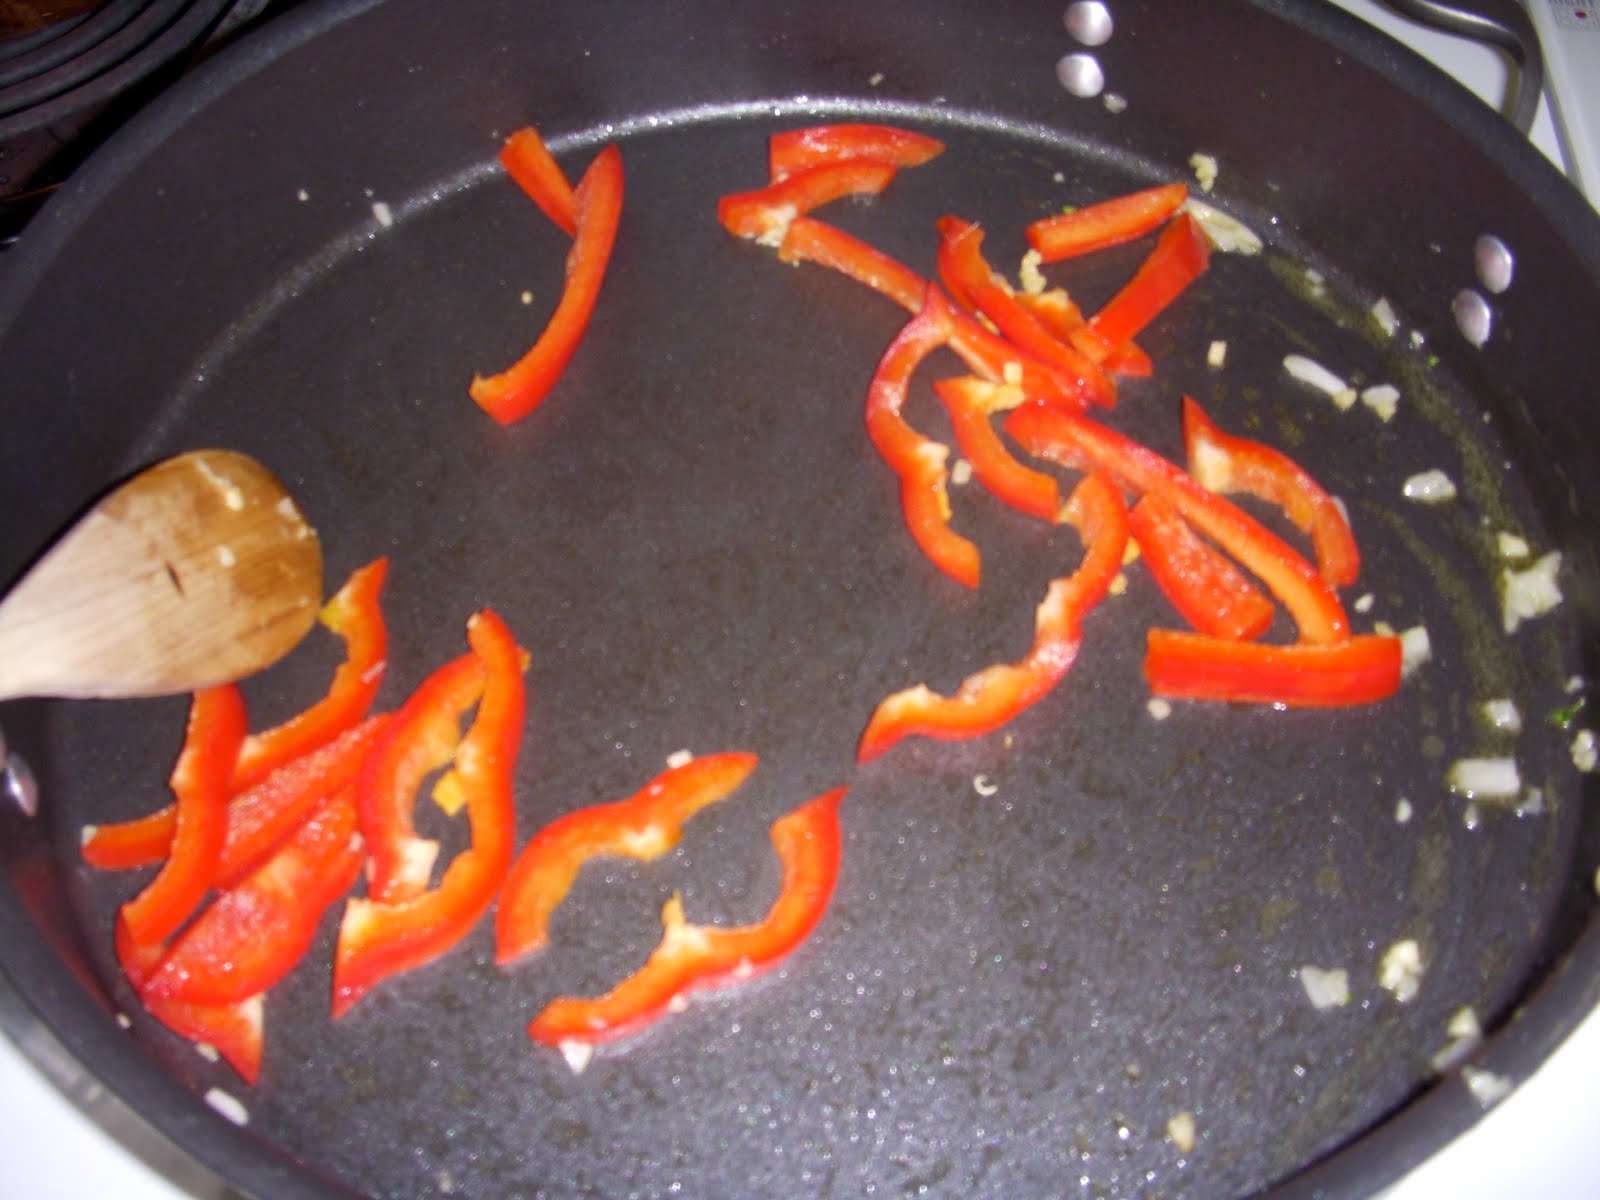
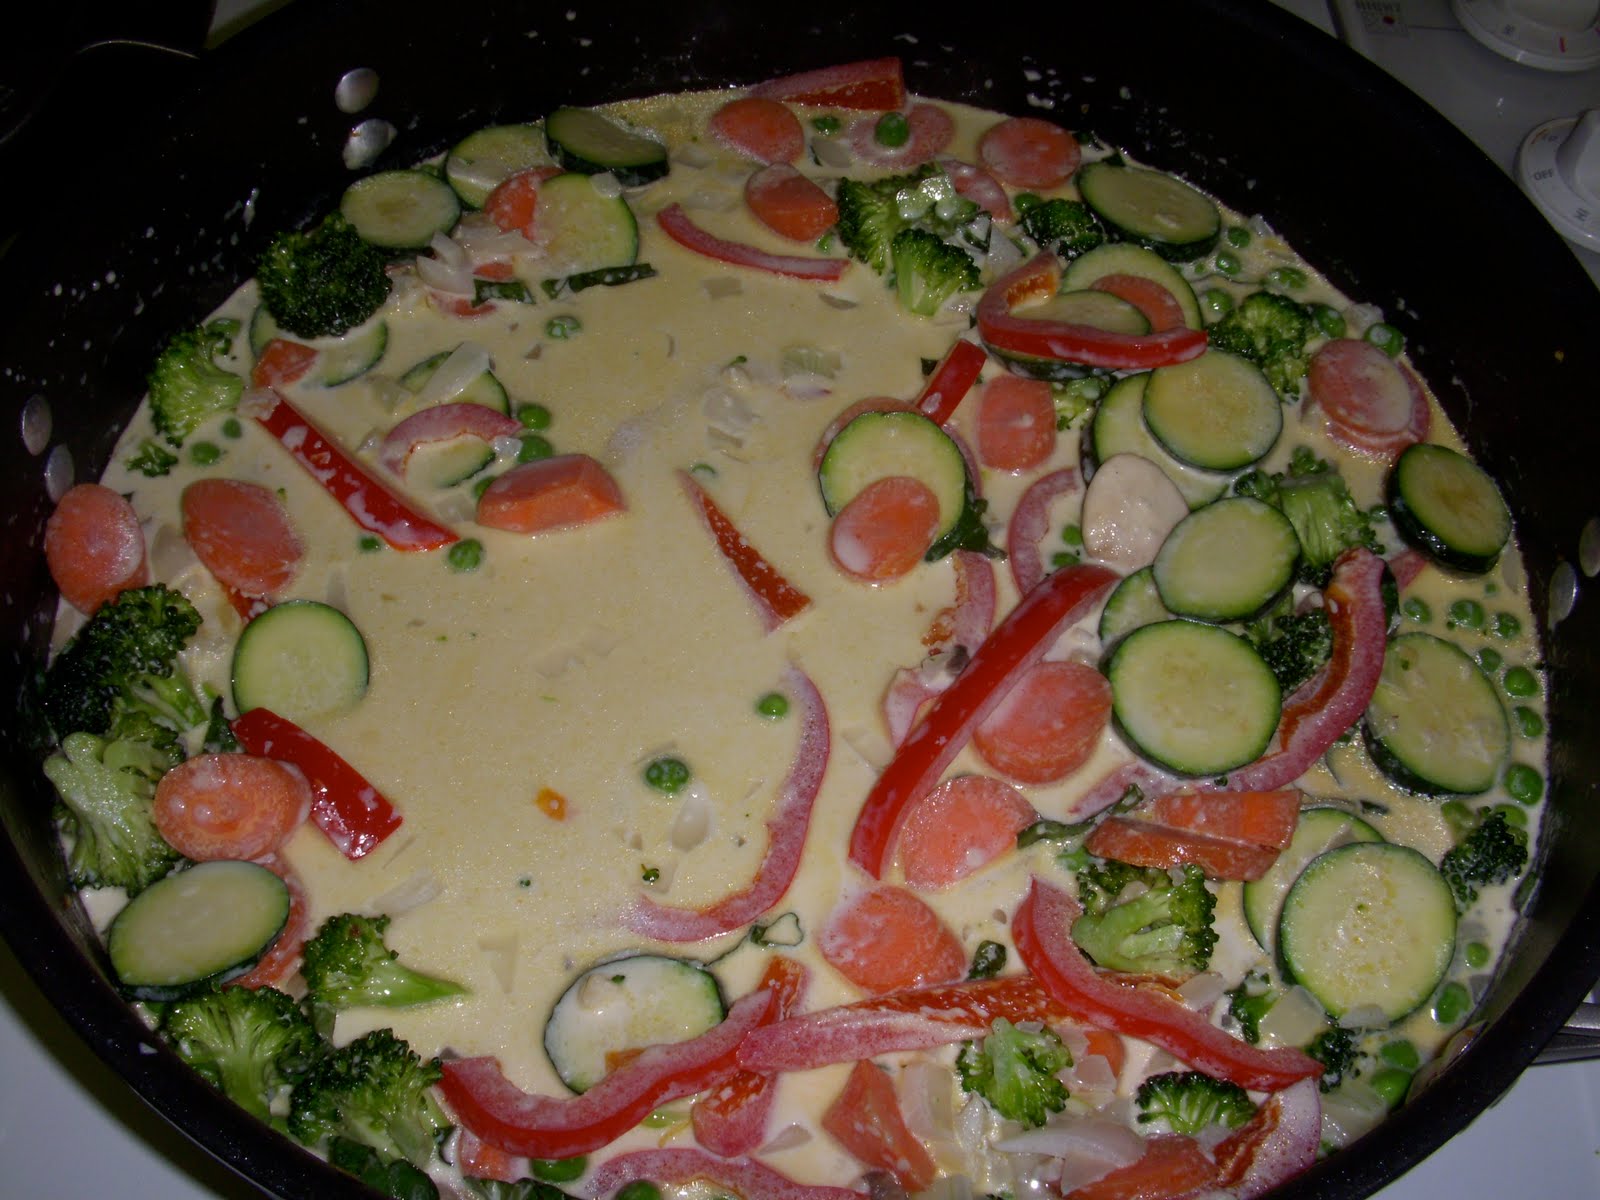
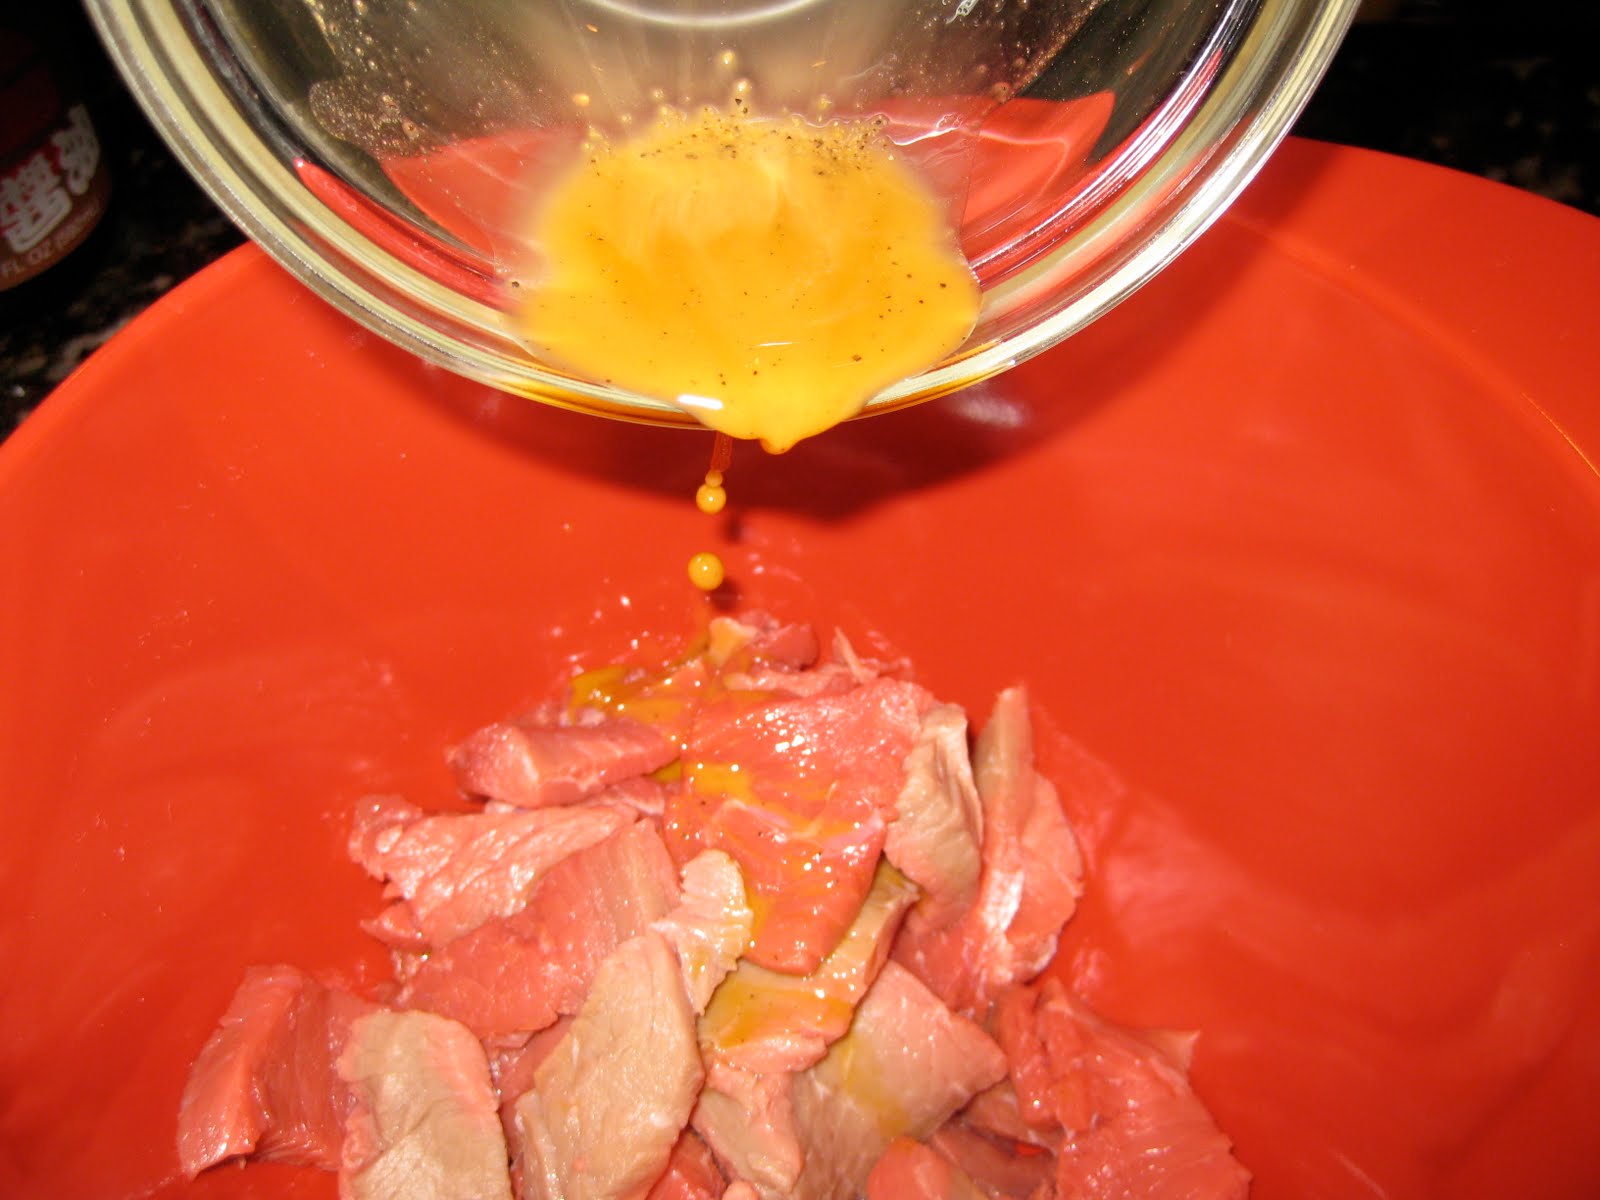
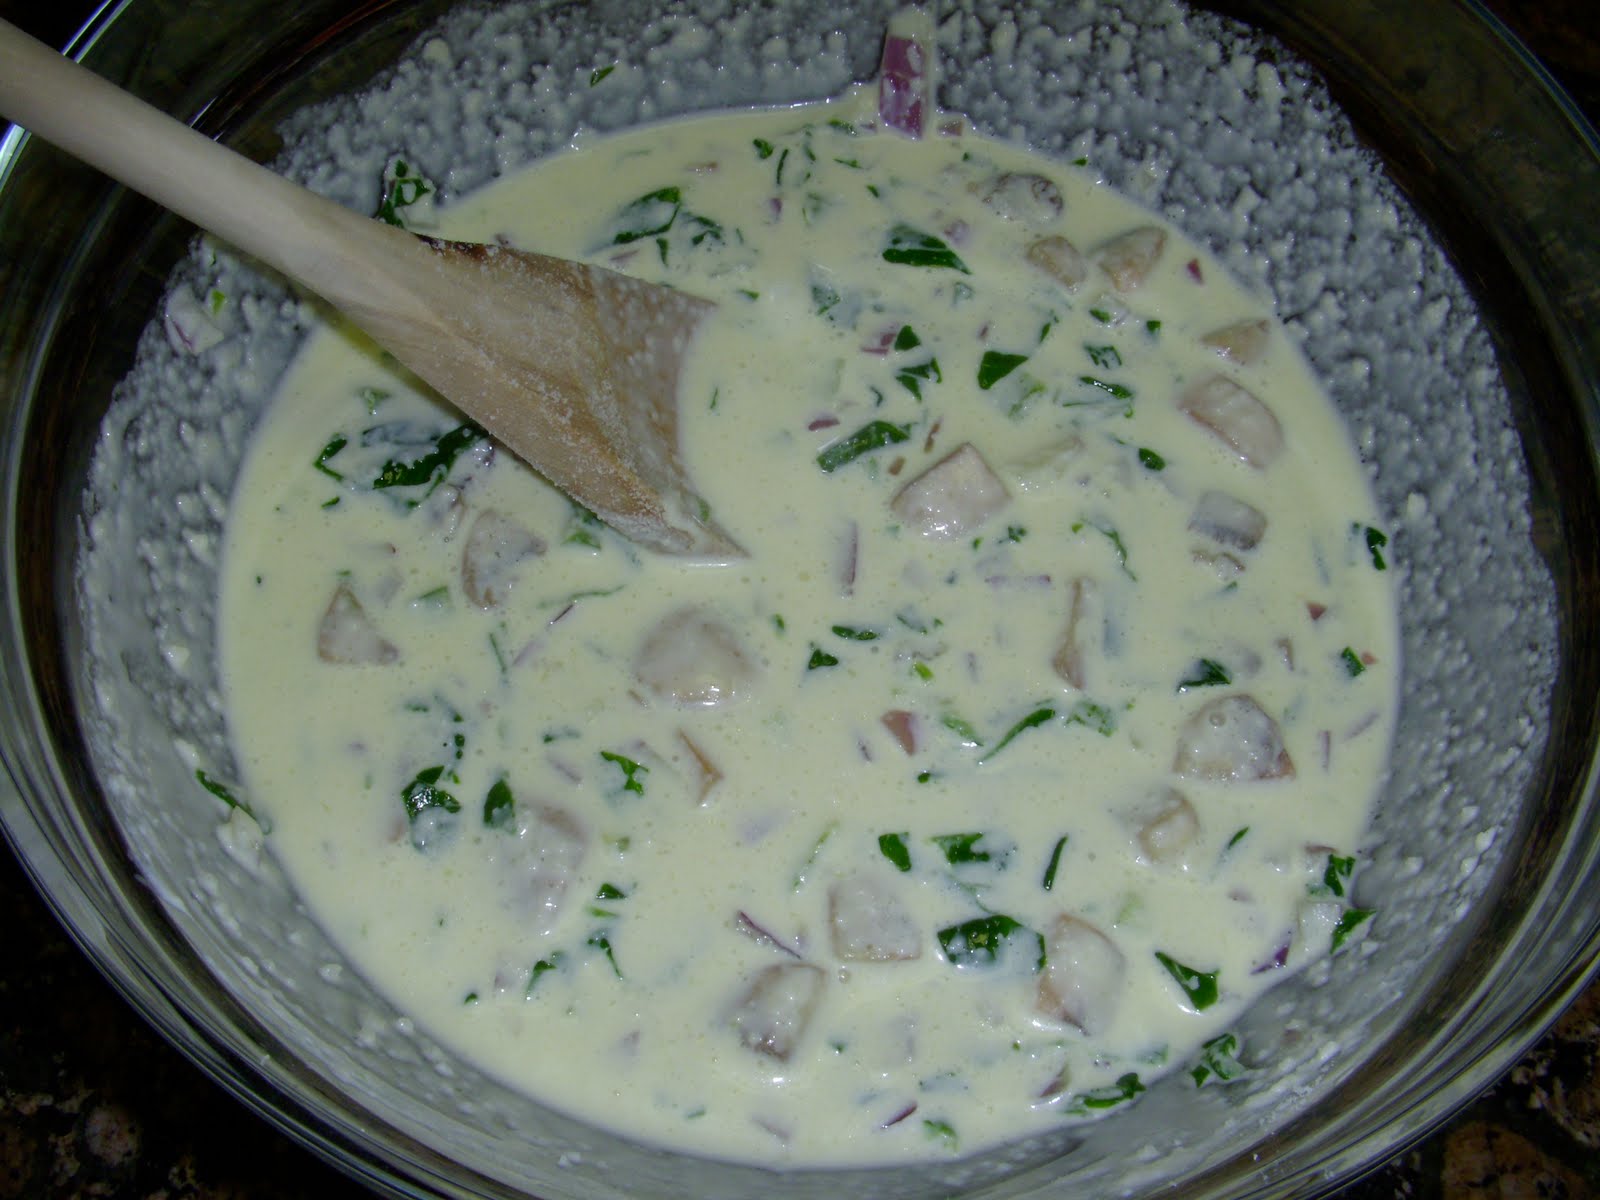
Add the spinach mixture, bell pepper, and cheese, and stir to combine. 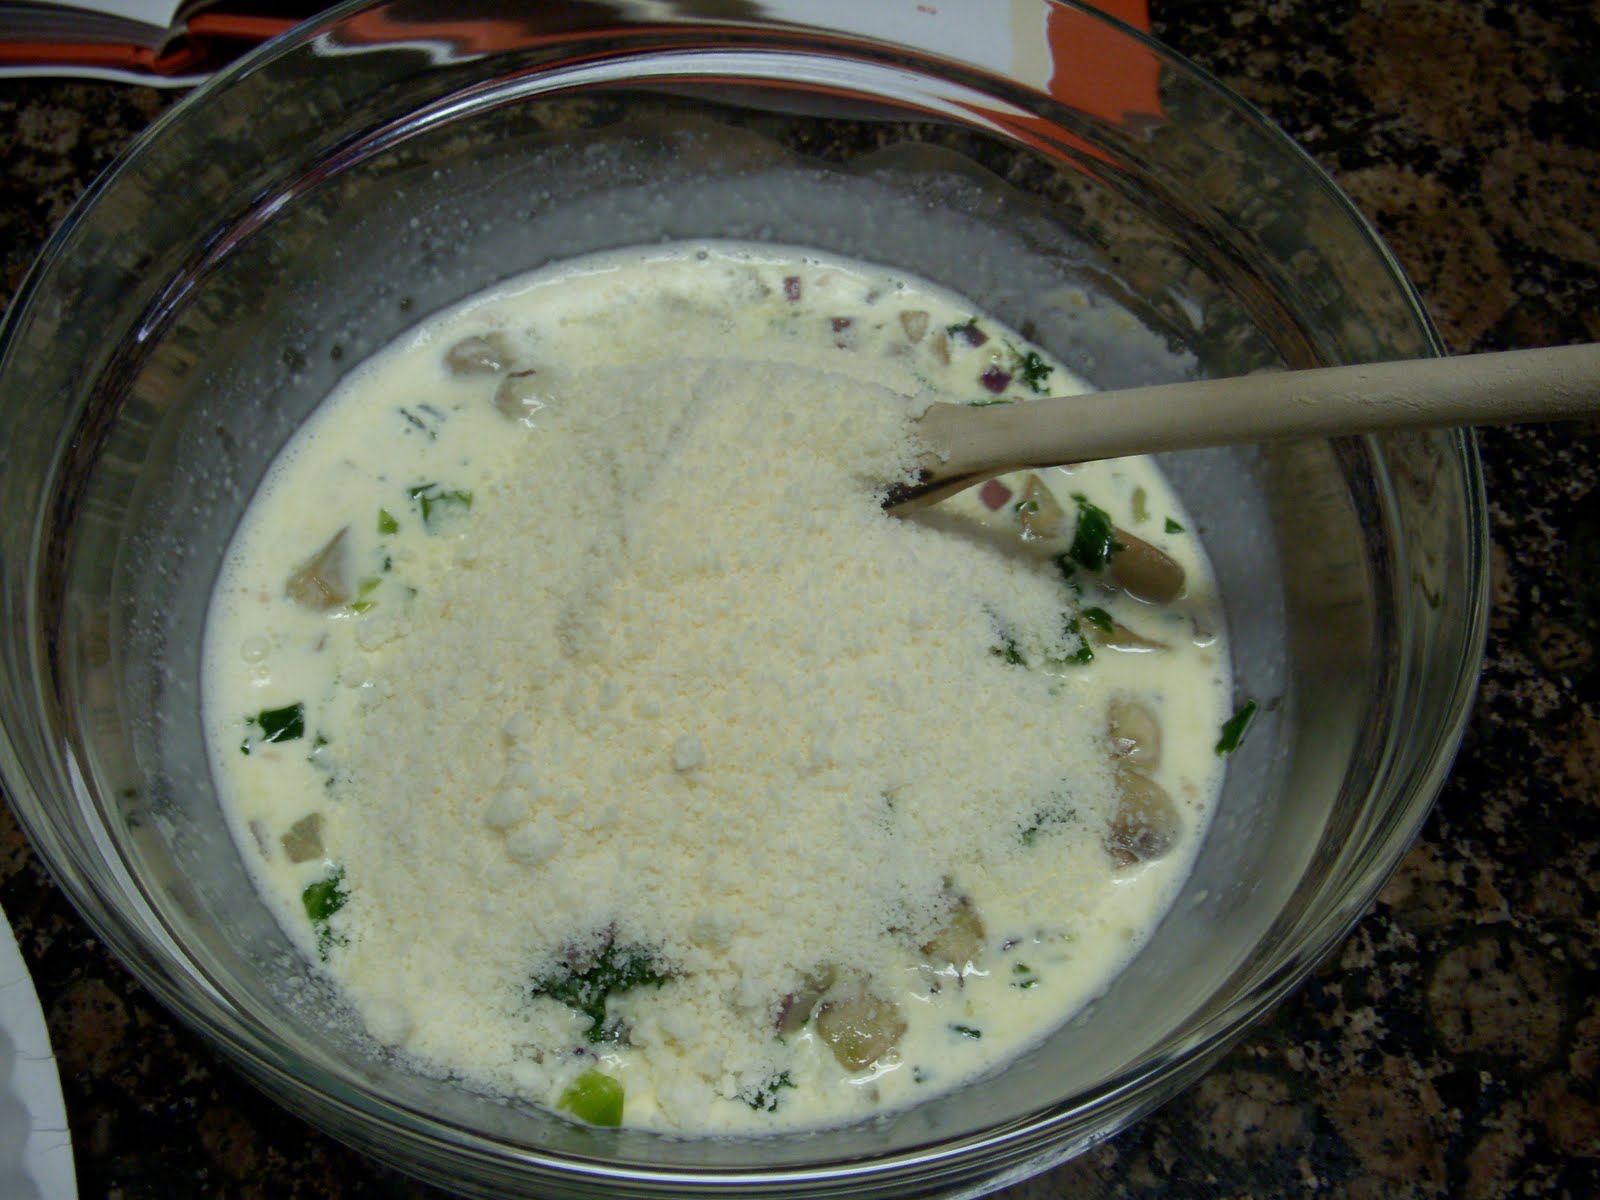
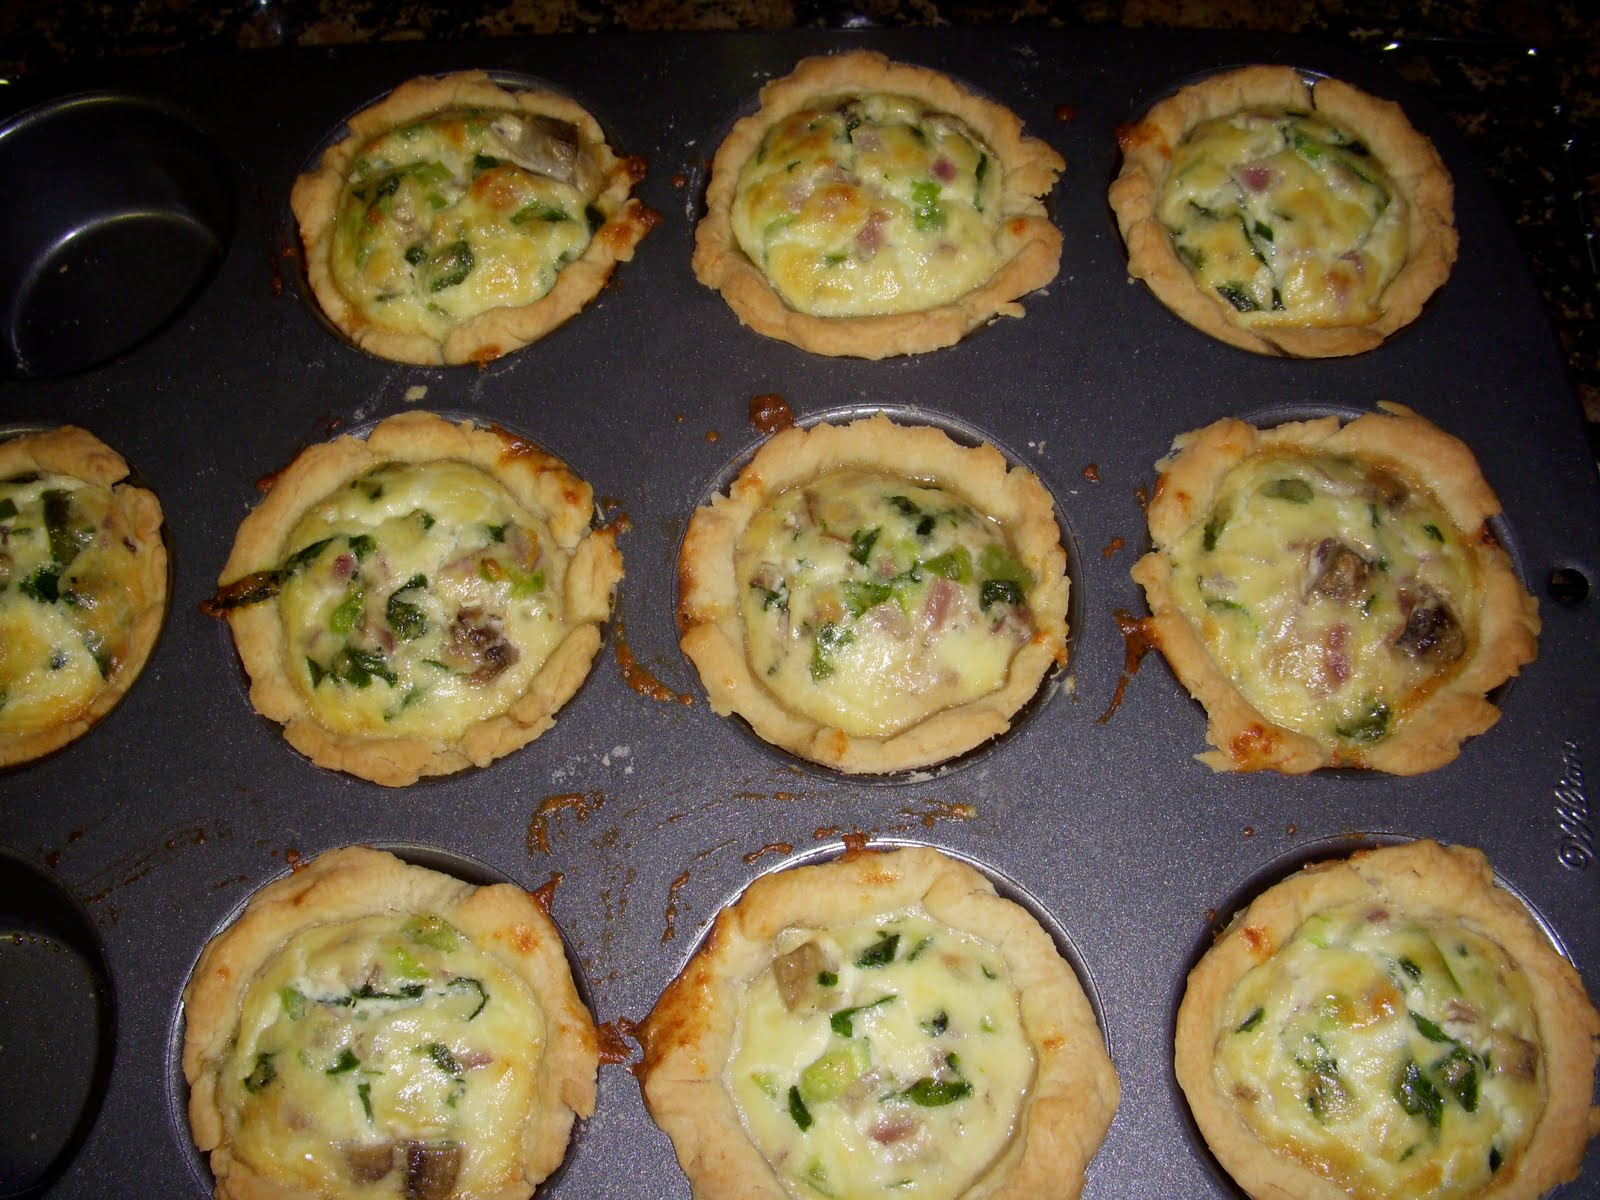
Divide the filling among the pastry lined cups.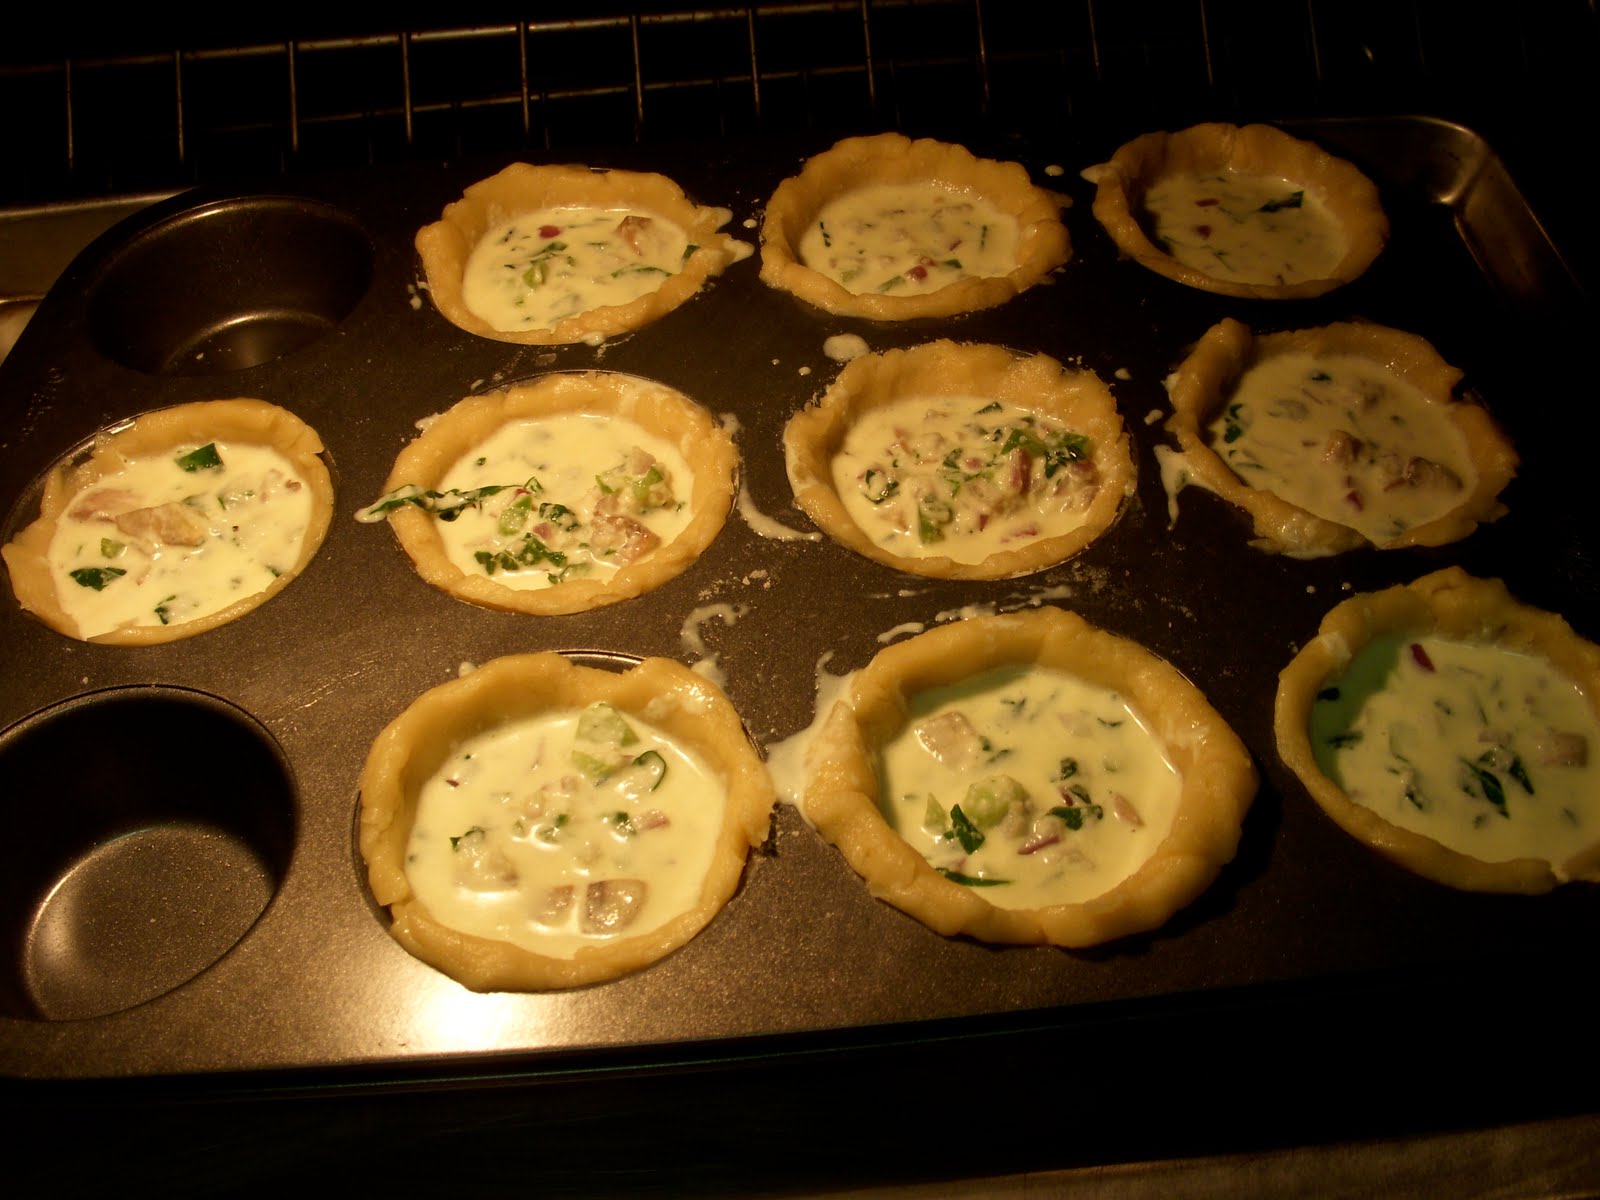
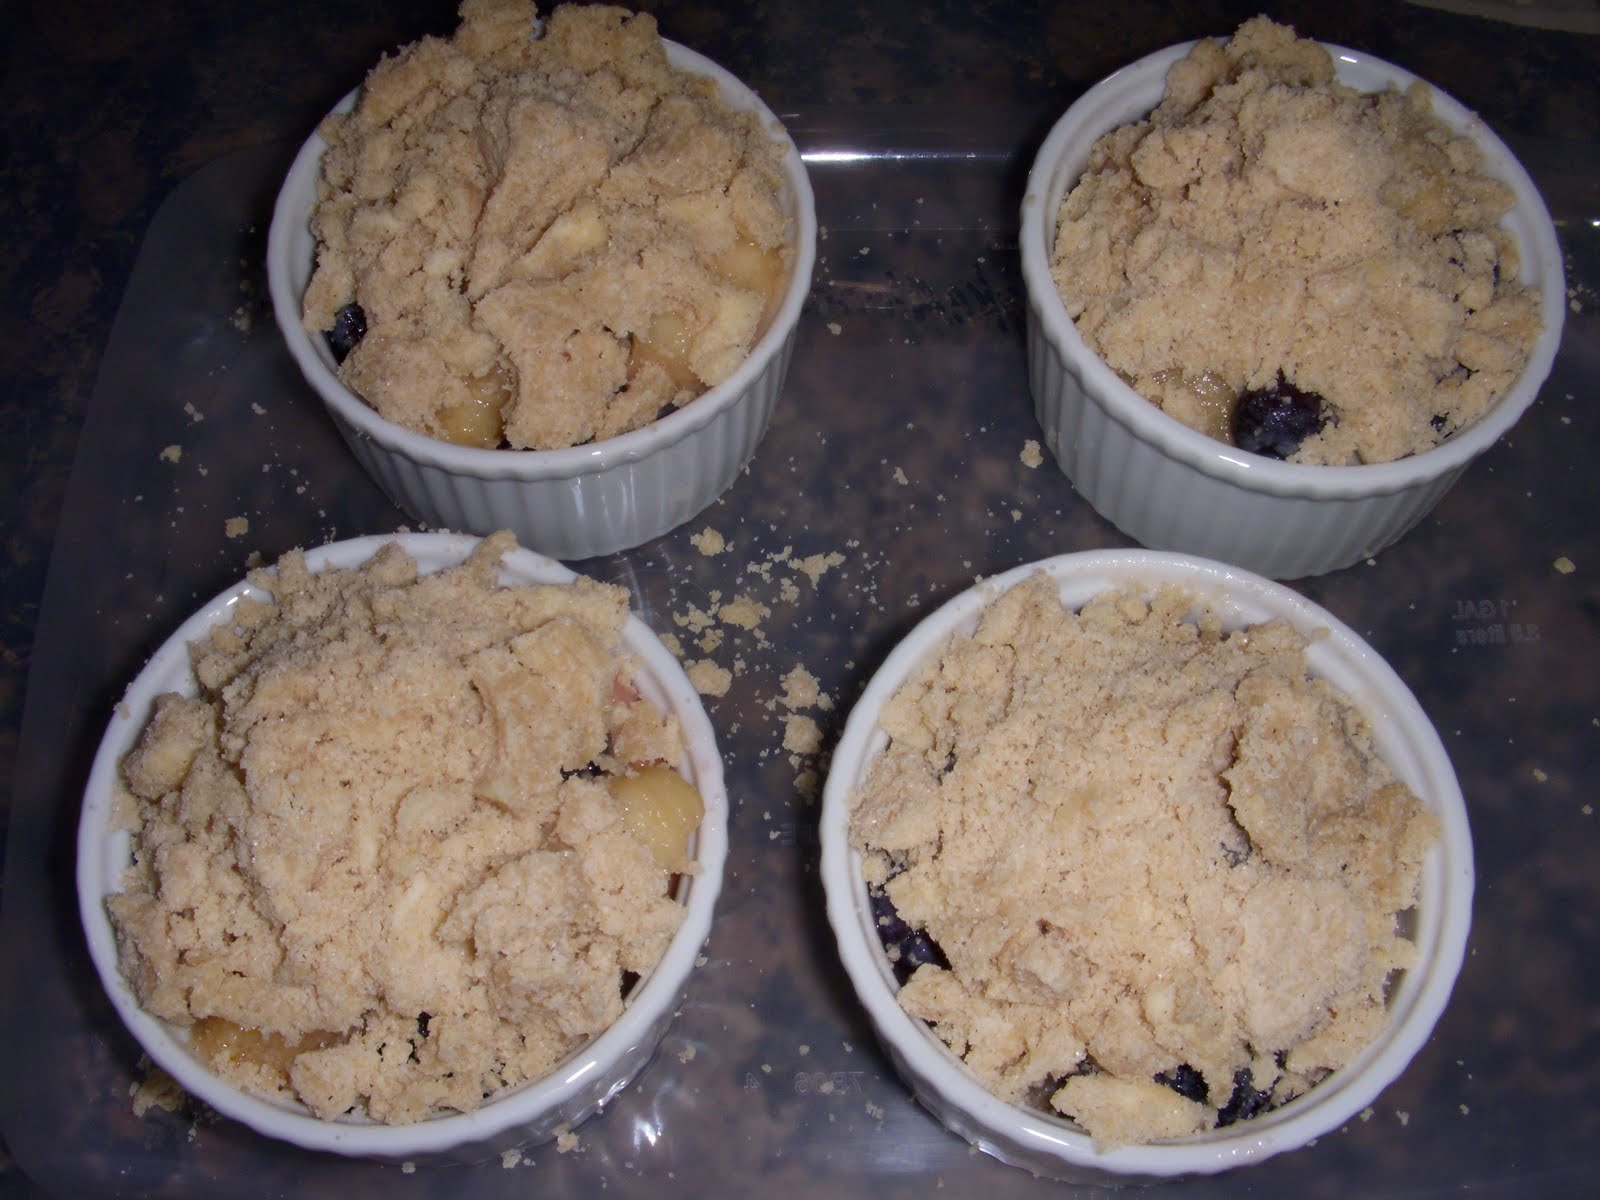
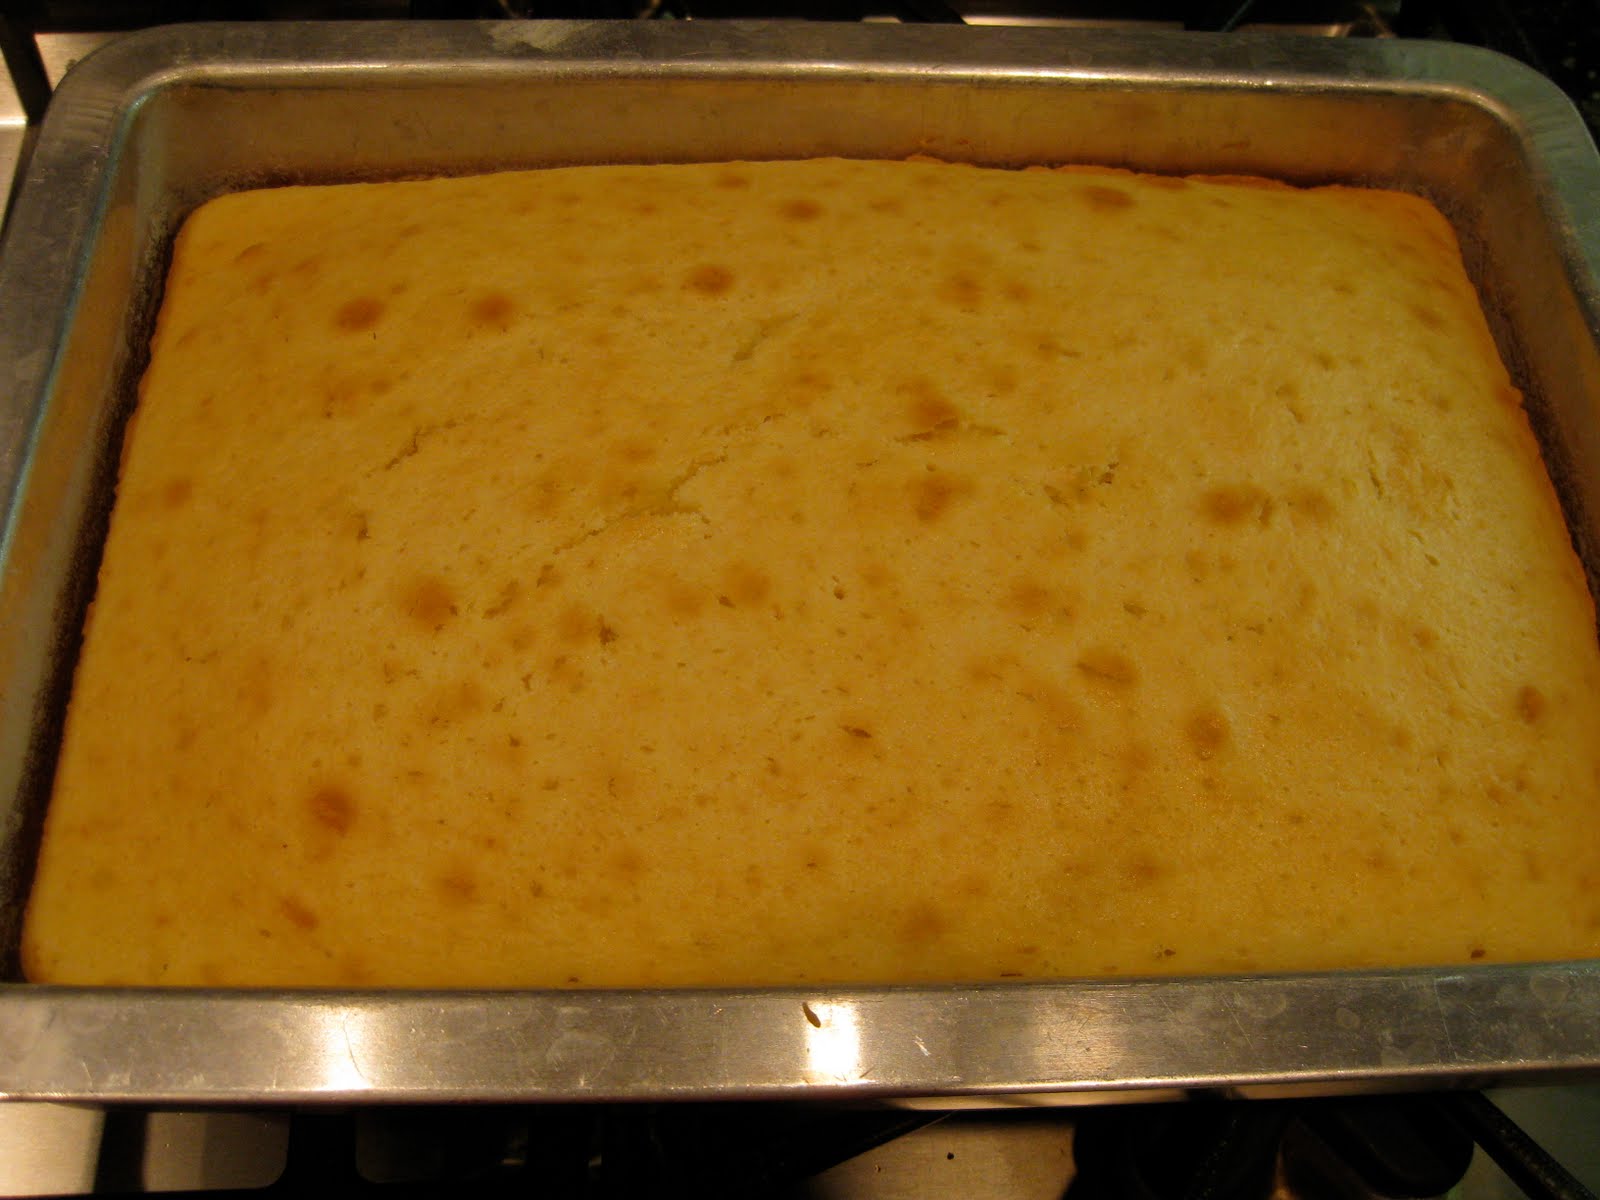
Bake the quiches for 20-25 minutes or until they are puffy and golden brown. 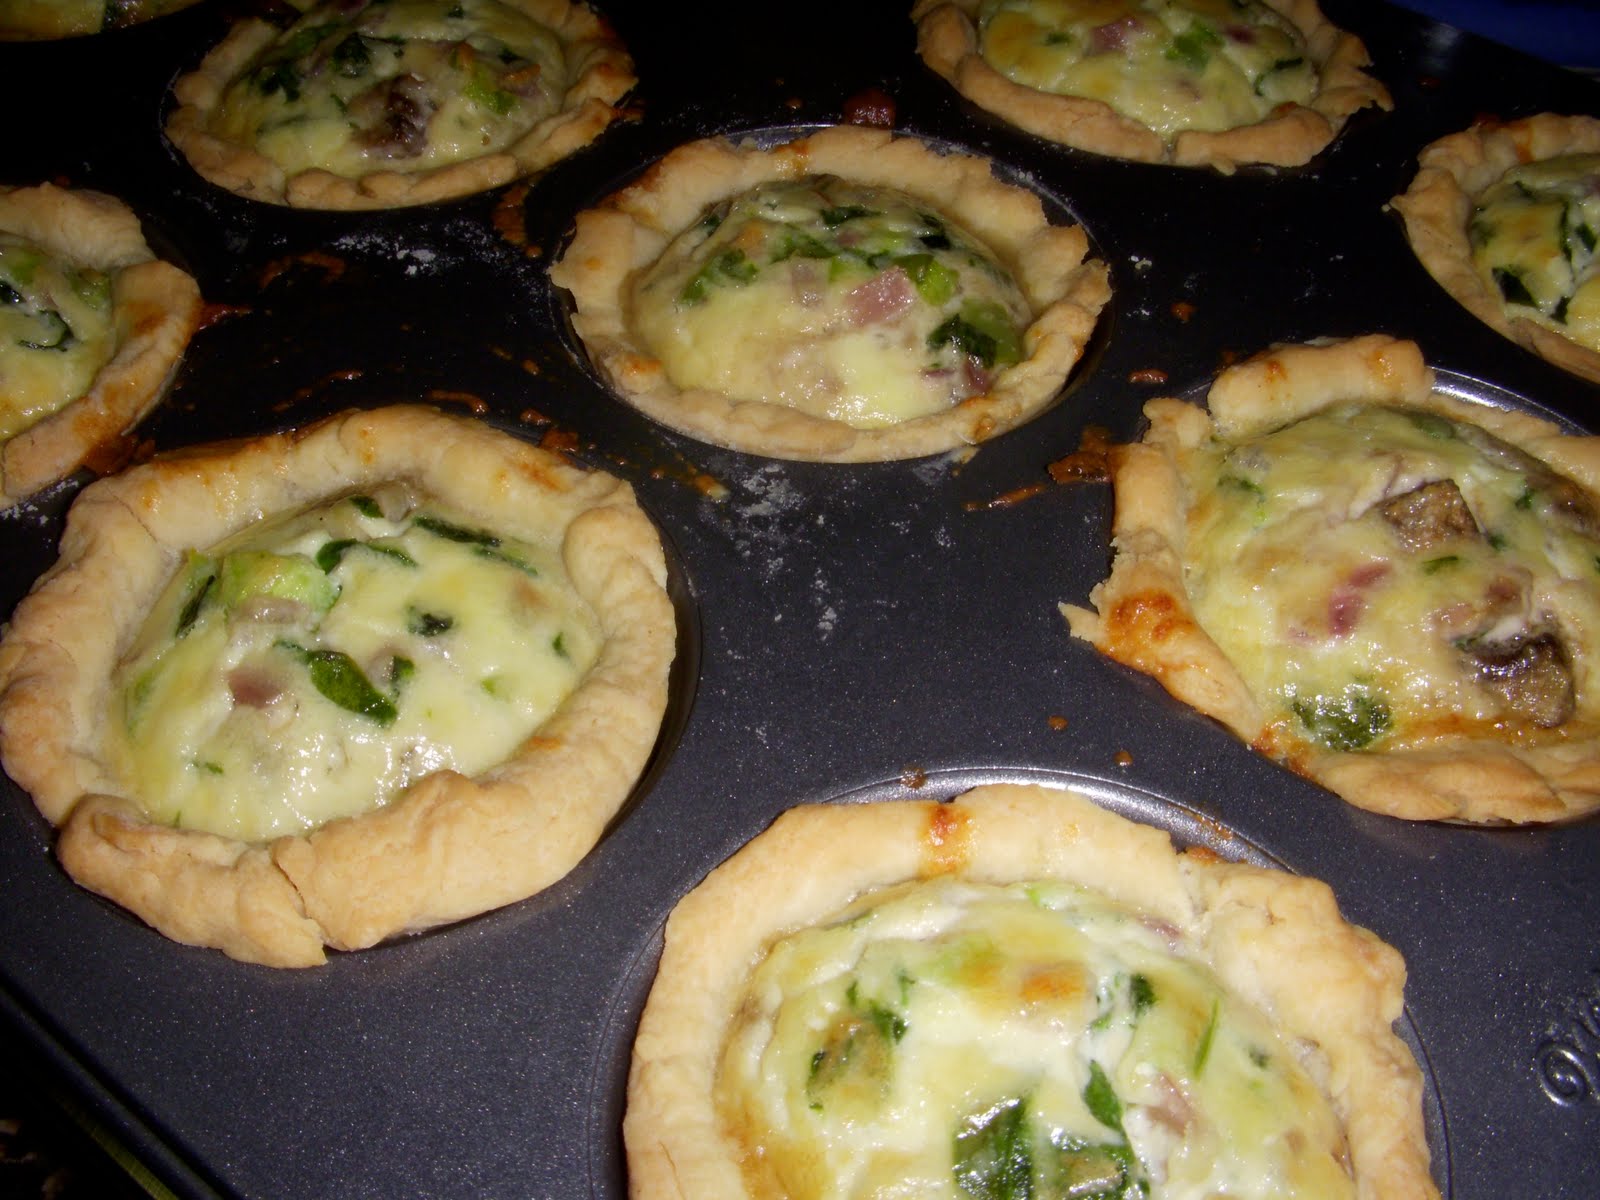
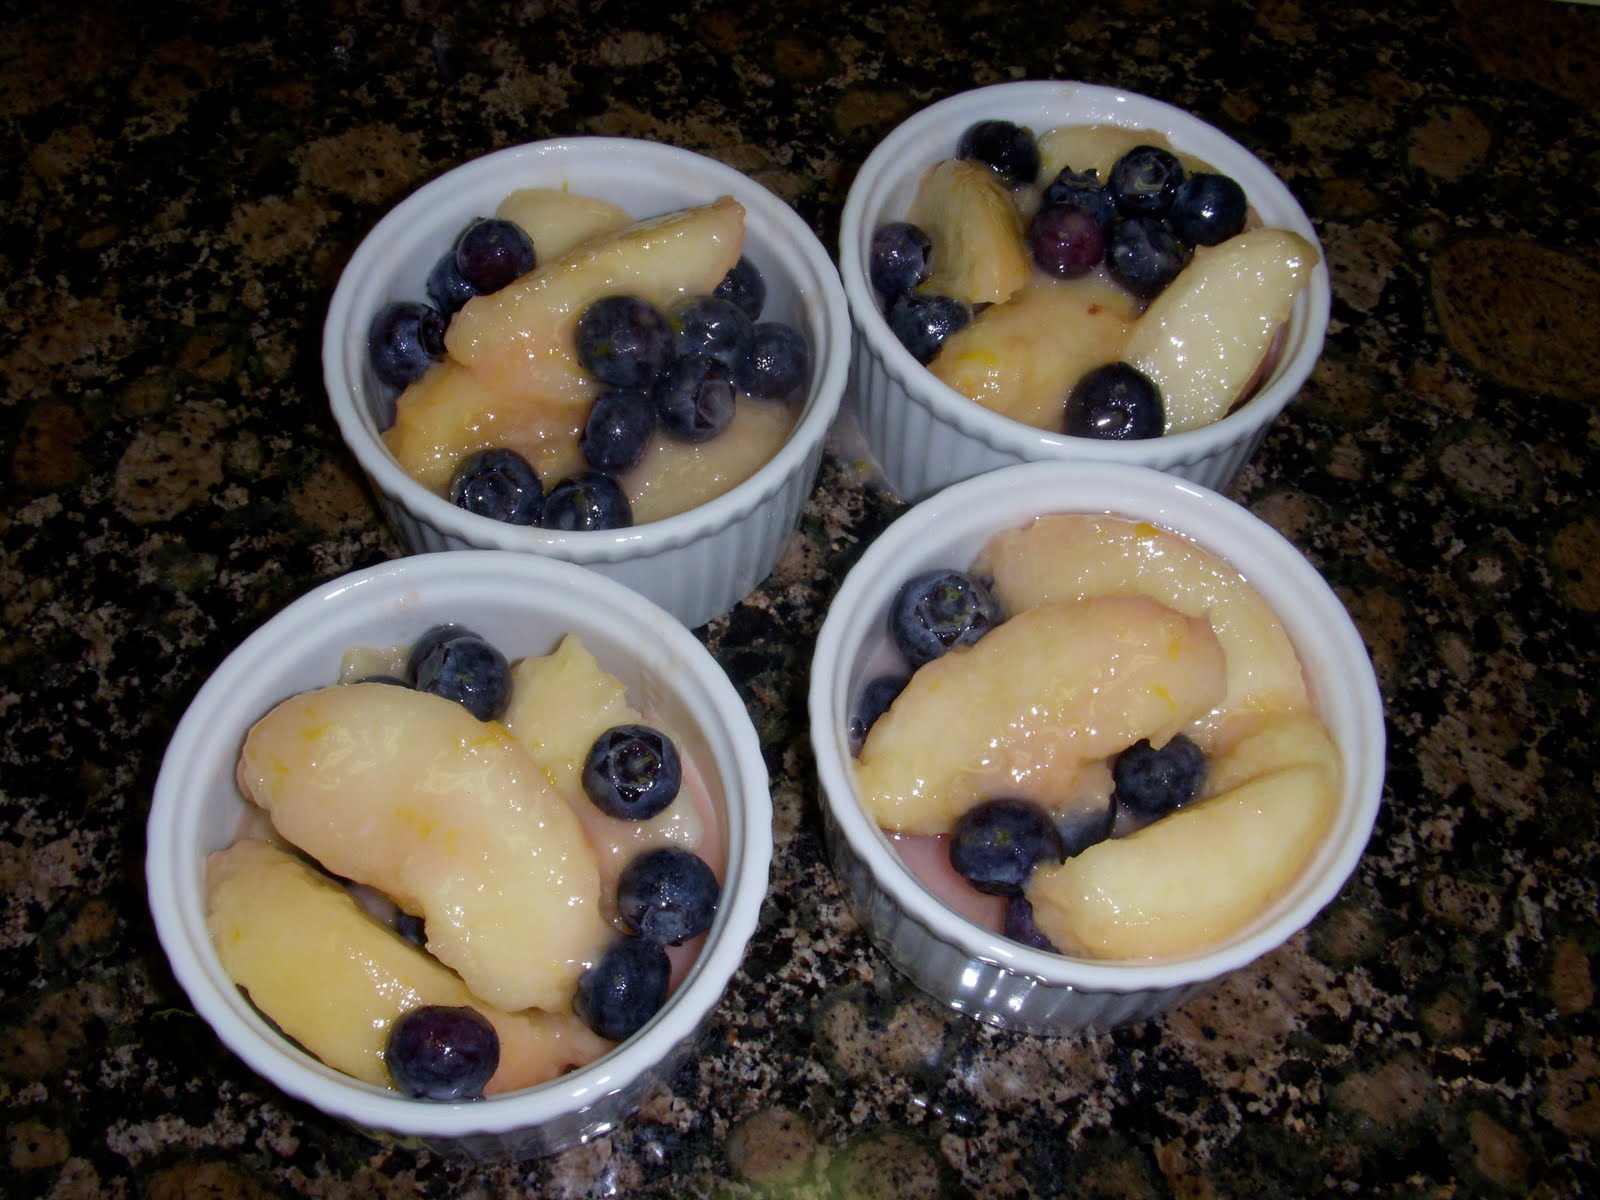
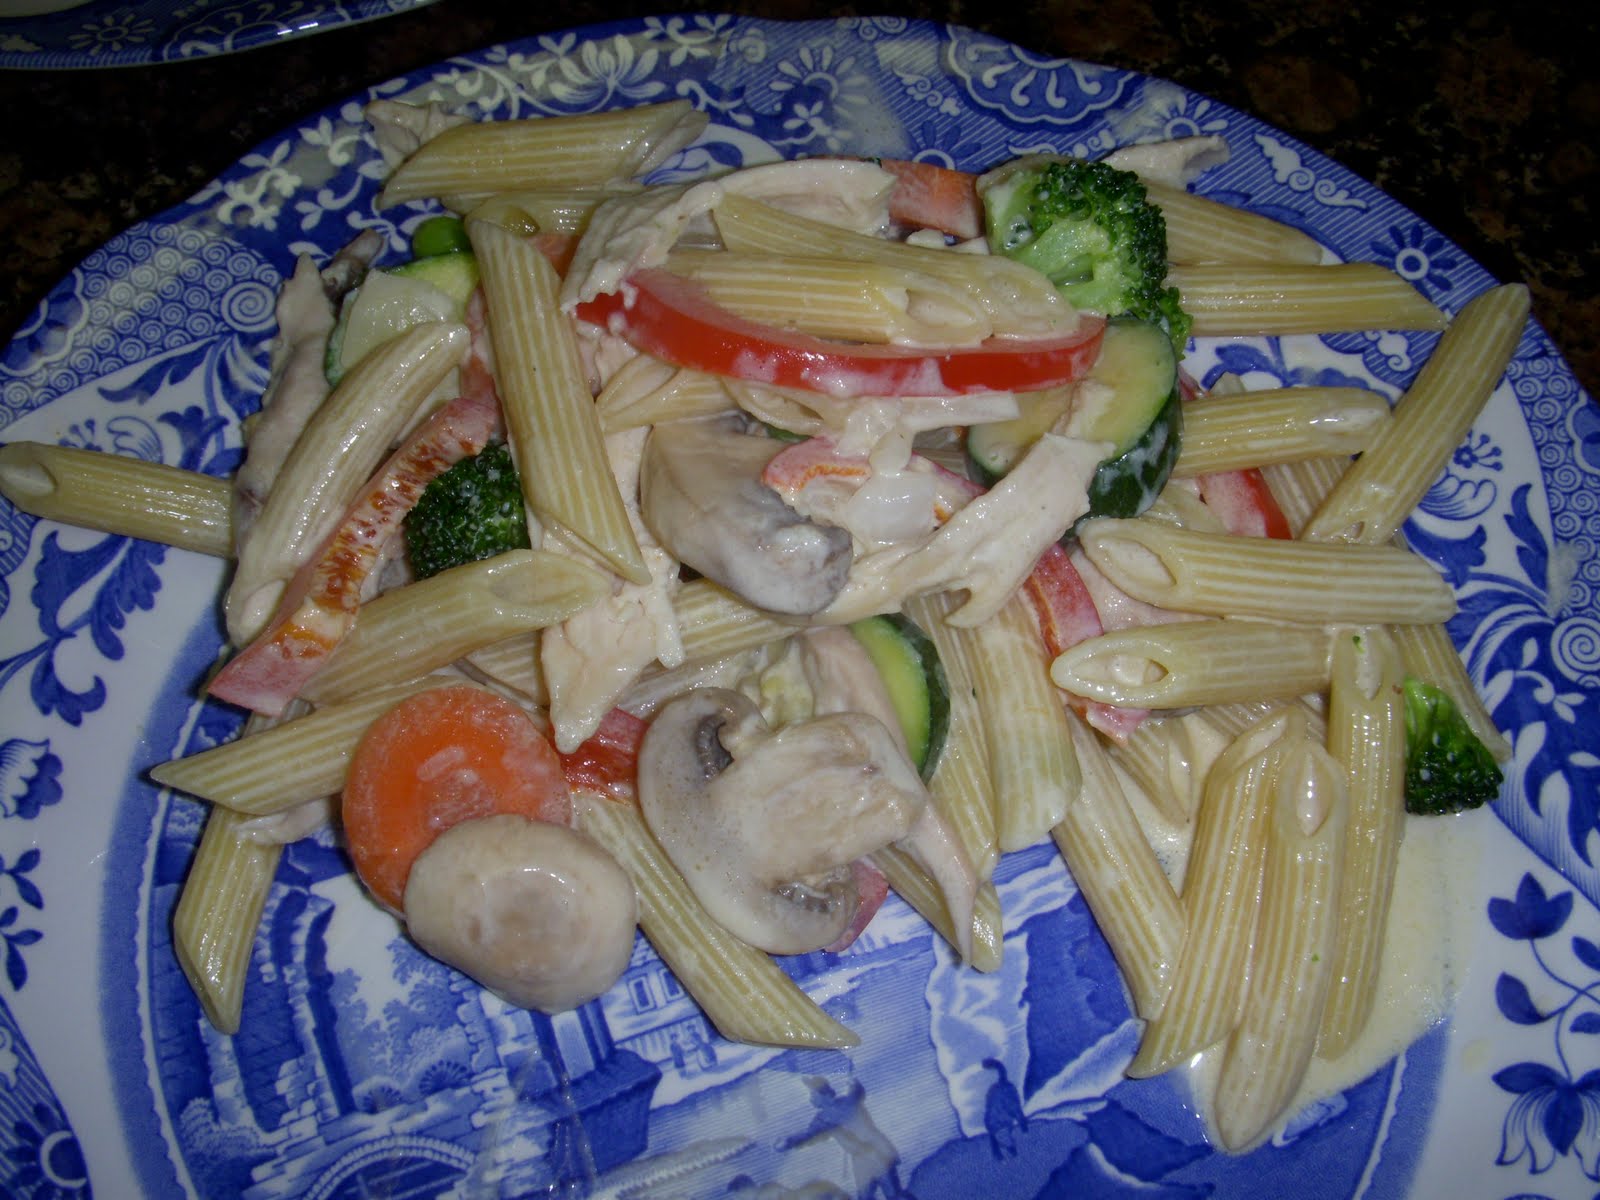
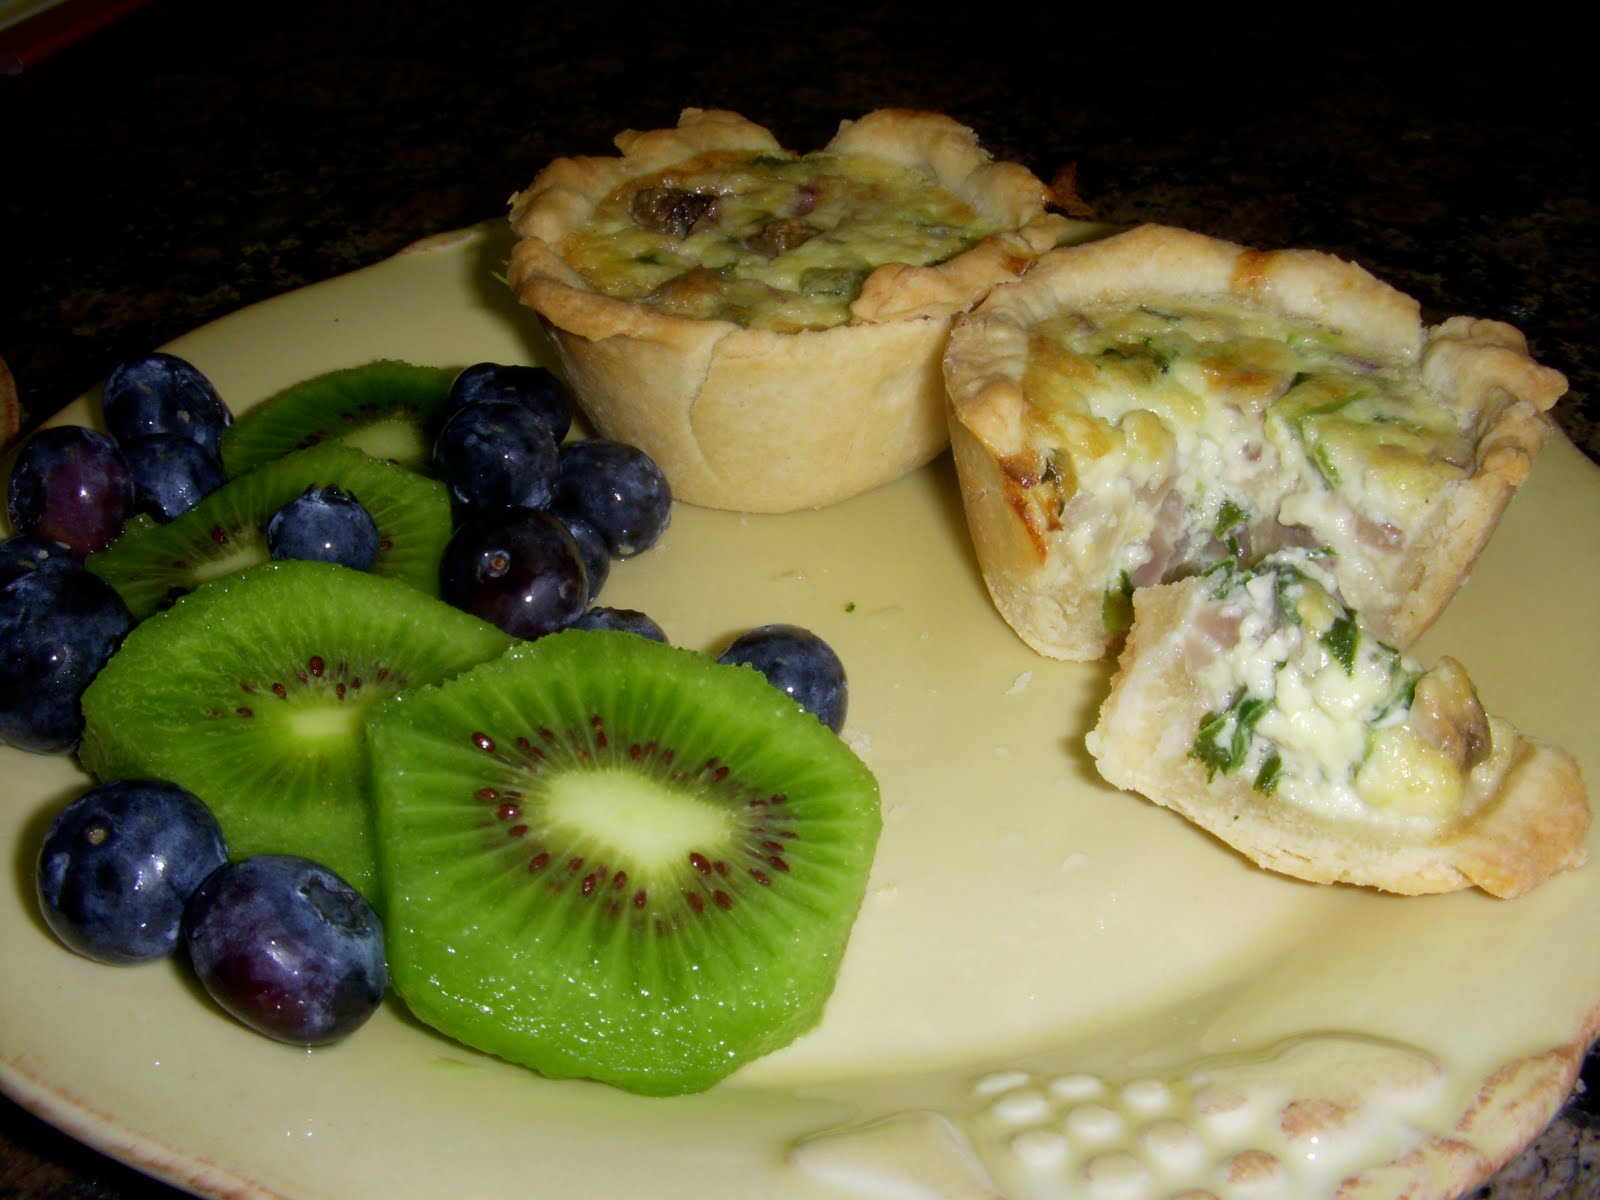
Let cool in the pan on a rack for 10 minutes. Run a knife around the sides of each cup and carefully life out the quiches. Serve with fruit.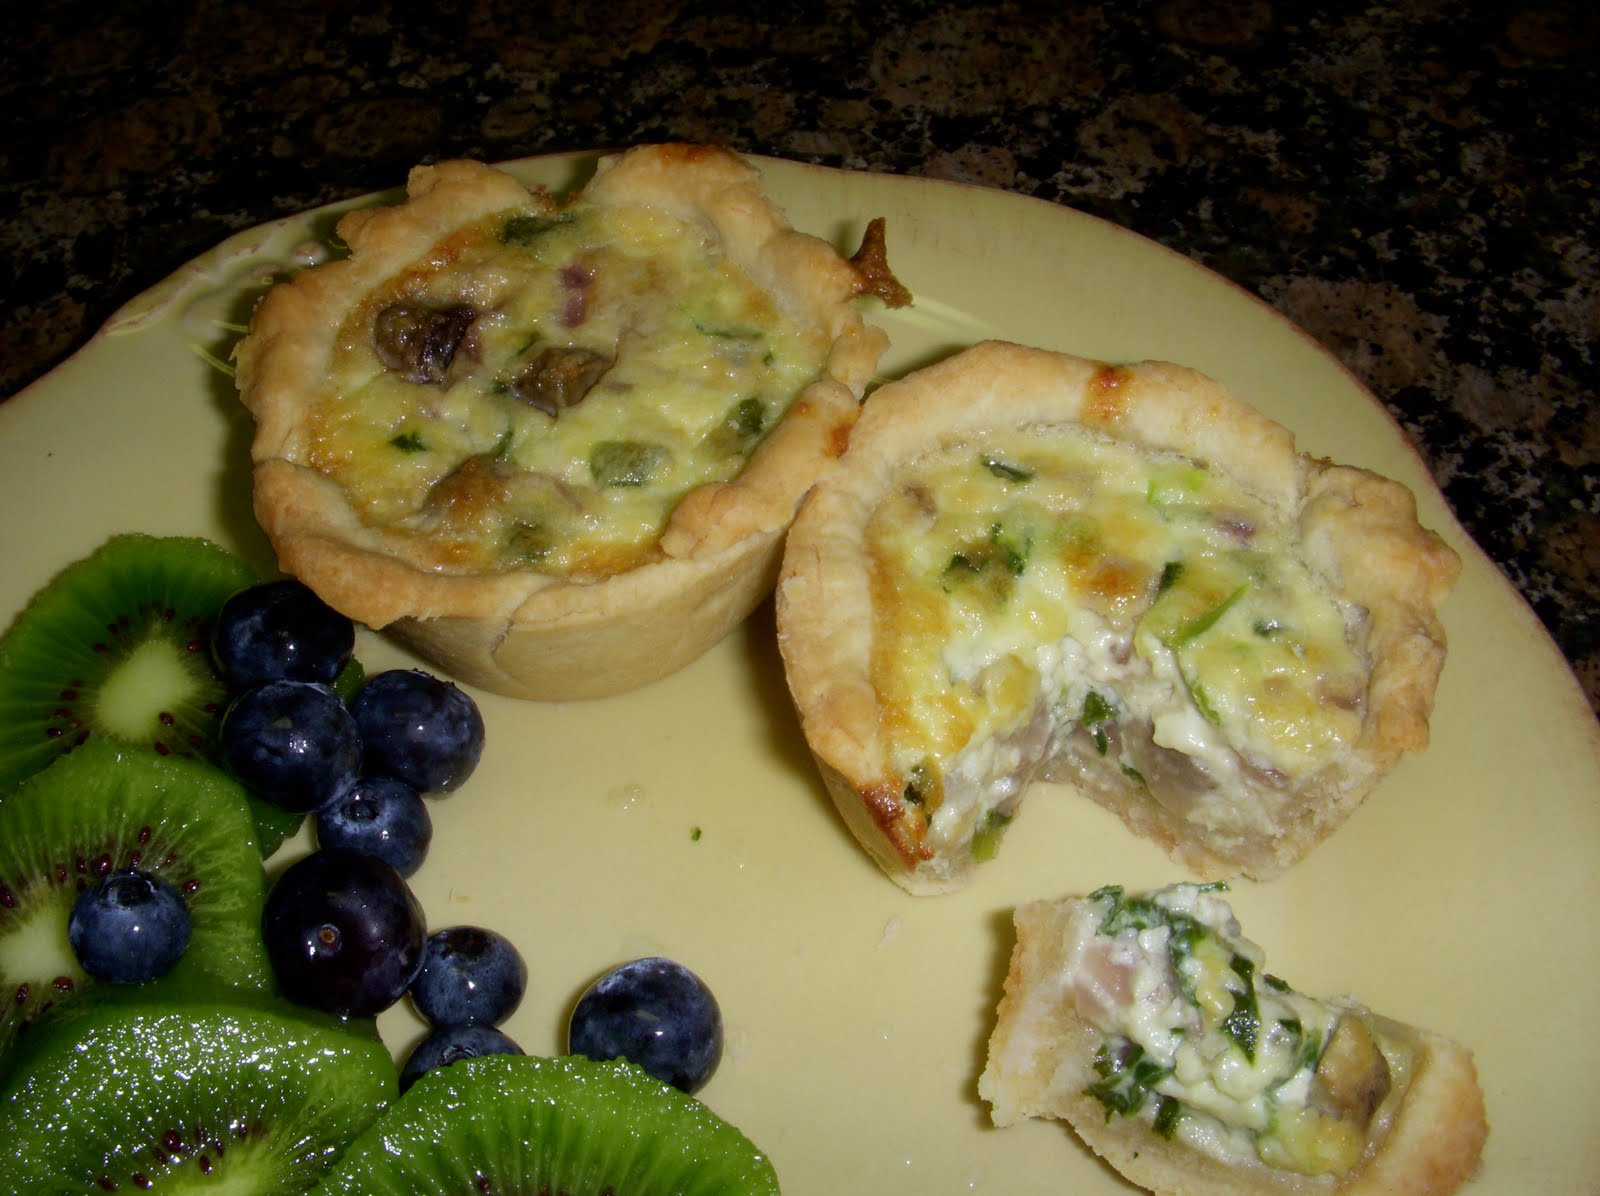
Mushroom & Spinach Quiches
Ingredients
Savory tart dough, 1 disk* (see recipe below)
1 1/2 tbsp unsalted butter
1/4 of a red onion
1 cup spinach, coarsely chopped
1 egg
2/3 cup heavy cream
1/4 tsp dry mustard
salt and freshly ground pepper
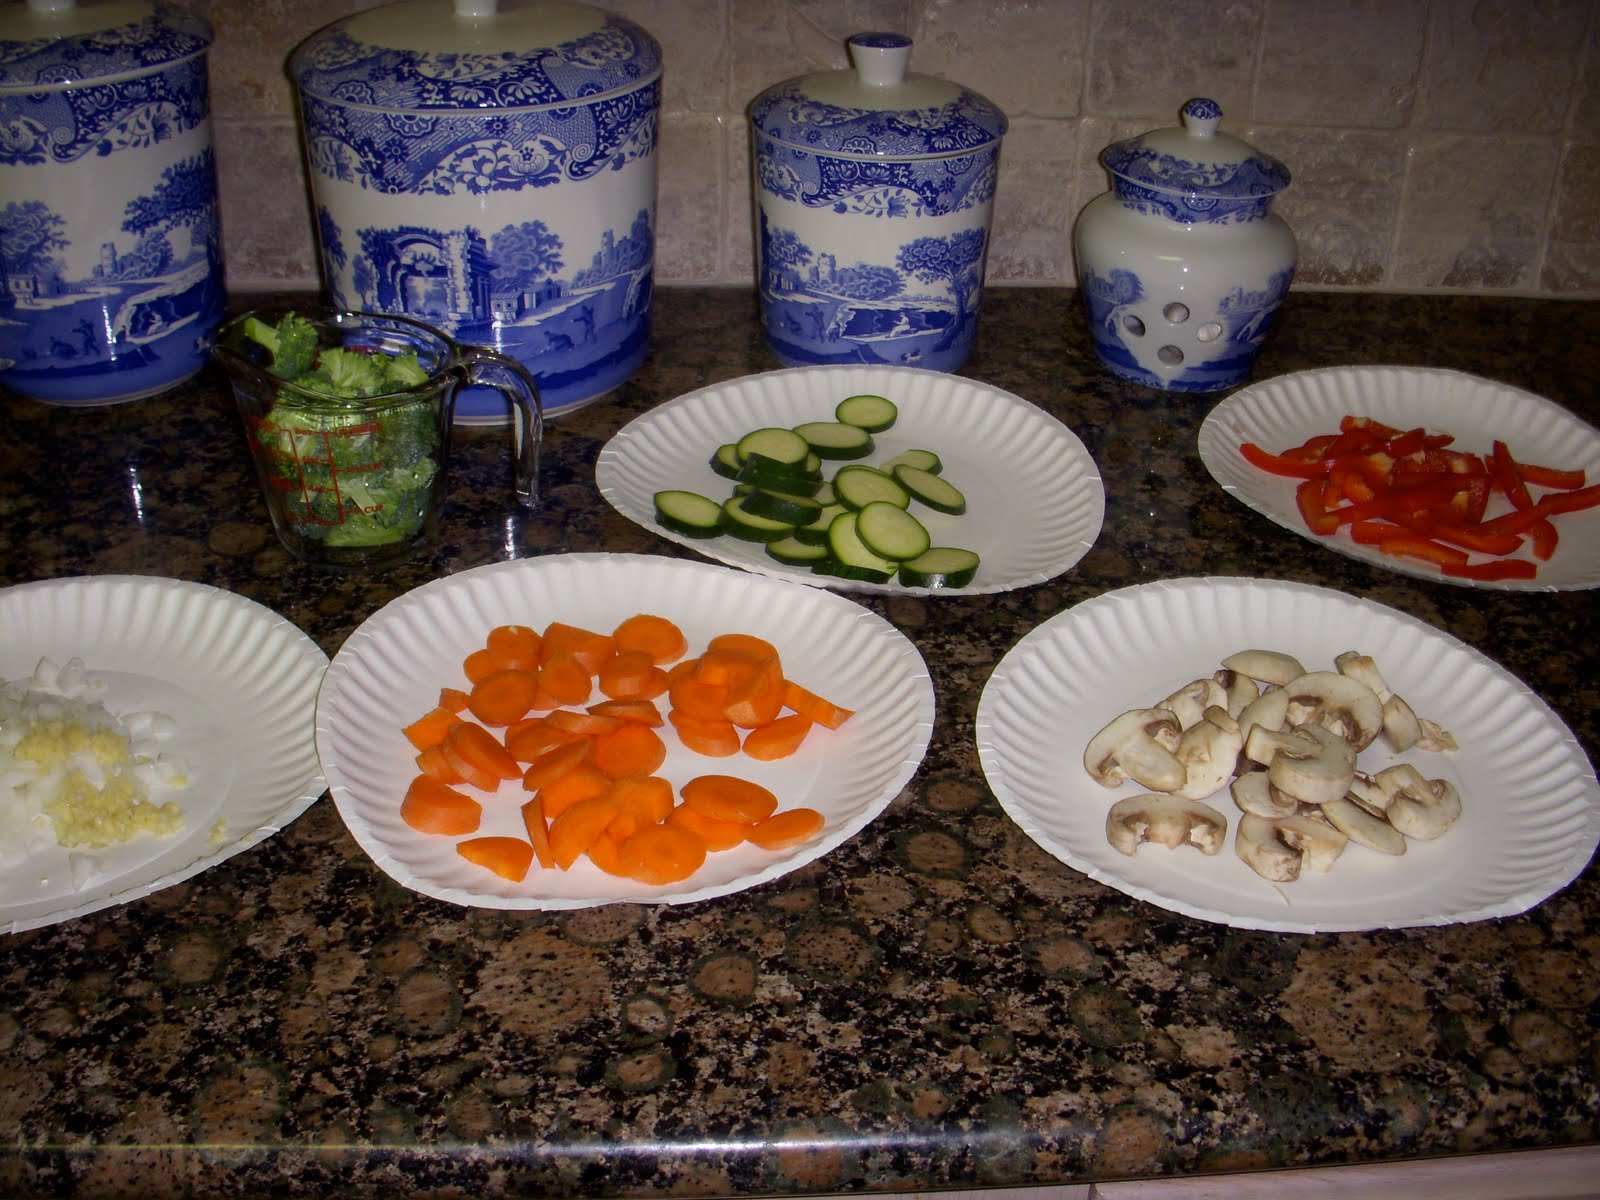
2 tbsp green bell pepper, finely chopped
1 oz mushrooms, chopped
2 oz parmesan cheese, finely grated
Directions
1. On a lightly floured surface, roll out the dough disk into a rough round 1/8 inch (3 mm) thick.
2. Cut as many rounds possible and ease the rounds gently into the cups of a regular muffin pan. The bottoms of the dough should remain rounded and the edges should be flush with the rim of the pan.
3. Preheat the oven to 400 degrees.
4. In a frying pan over low heat, melt the butter. Add the red onion and cook, stirring occasionally for 5 minutes, until softened.
5. Raise the heat to medium-low and add the spinach and mushrooms, stirring constantly for 1 minute. The spinach should look wilted.
6. In a large measuring bowl, whisk together the egg, cream, mustard, 1/2 tsp salt, and a pinch of pepper.
7. Add the spinach mixture, bell pepper, and cheese, and stir to combine.
8. Divide the filling among the pastry lined cups and bake quiches for 20-25 minutes, or until they are puffy and golden brown.
9. Let cool in the pan on a rack for 10 minutes. Run a knife around the sides of each cup and and carefully life out the quiches to serve.
Yield: 10 small quiches
*Savory Tart Dough
Ingredients
3 1/2 cups flour
1/2 tsp salt
1 cup unsalted butter, cubed
2 eggs, lightly beaten
1 tbsp lemon juice
1/4 cup ice water
Directions
1. In a food processor, combine the flour, salt, and butter. Pulse until the mixture forms coarse crumbs.
2. In a small bowl, whisk together the eggs, lemon juice, and ice water.
3. Pour the egg mixture into the flour mixture and process just until the dough comes together.
4. Turn out onto a lightly floured surface and form into a smooth cylinder.
5. Cut in half and shape into 2 thick disks.
6. Refrigerate 1 disk and wrap 1 disk to freeze for future use.
Makes 2 disks