Apple Crostada

This Apple Crostata is a cross between an apple pie and an apple crumble.  It has a flaky, buttery crust, coupled with tender, flavorful apples with the perfect amount of apple pie spice and crumble.  The crust is the best crust I’ve every eaten!  This is a perfect fall dessert that is sure to please all who like fruit.  This recipe is from Ina Garten, also known as the Barefoot Contessa.  Ina is my favorite Food Network Chef, and every recipe I’ve made from her has turned out wonderfully.  Enjoy!
Pulse butter with flour, sugar, and salt, until butter is the size of peas.

Add ice water and pulse until mixture just comes together.

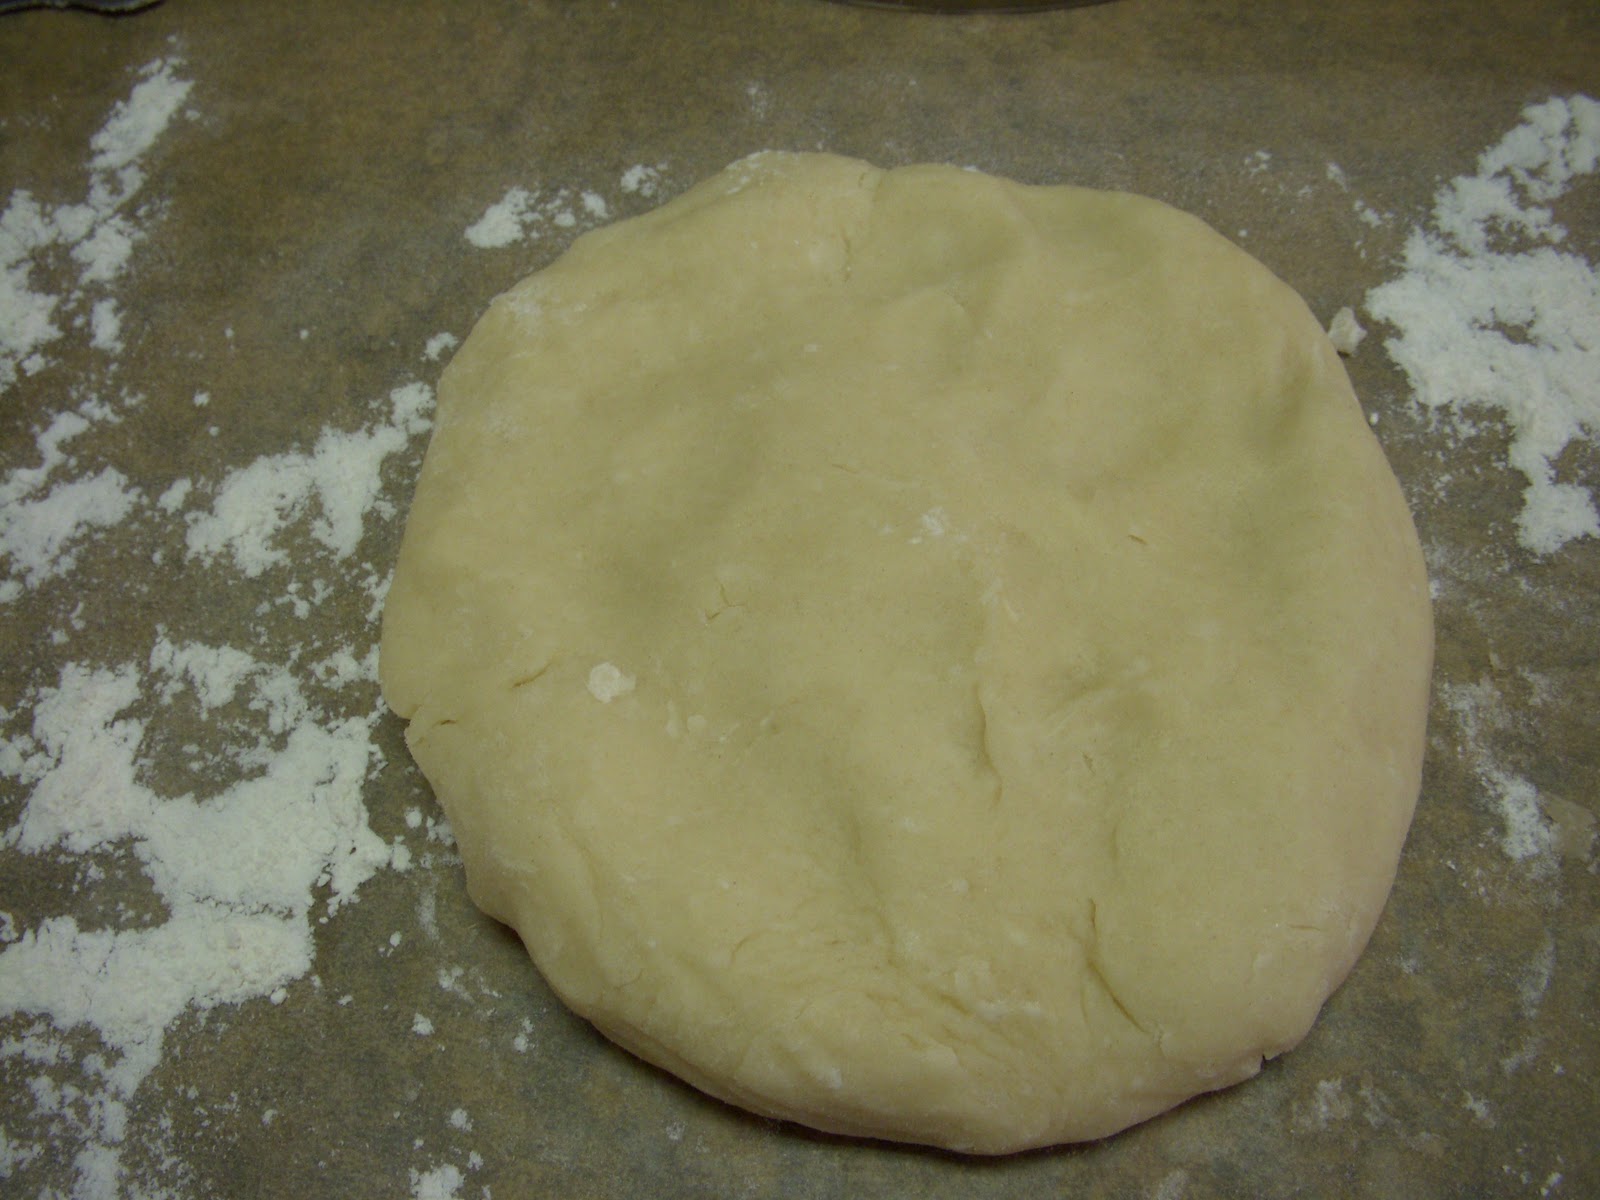
Form dough into a disk, then refrigerate for at least 1 hour.

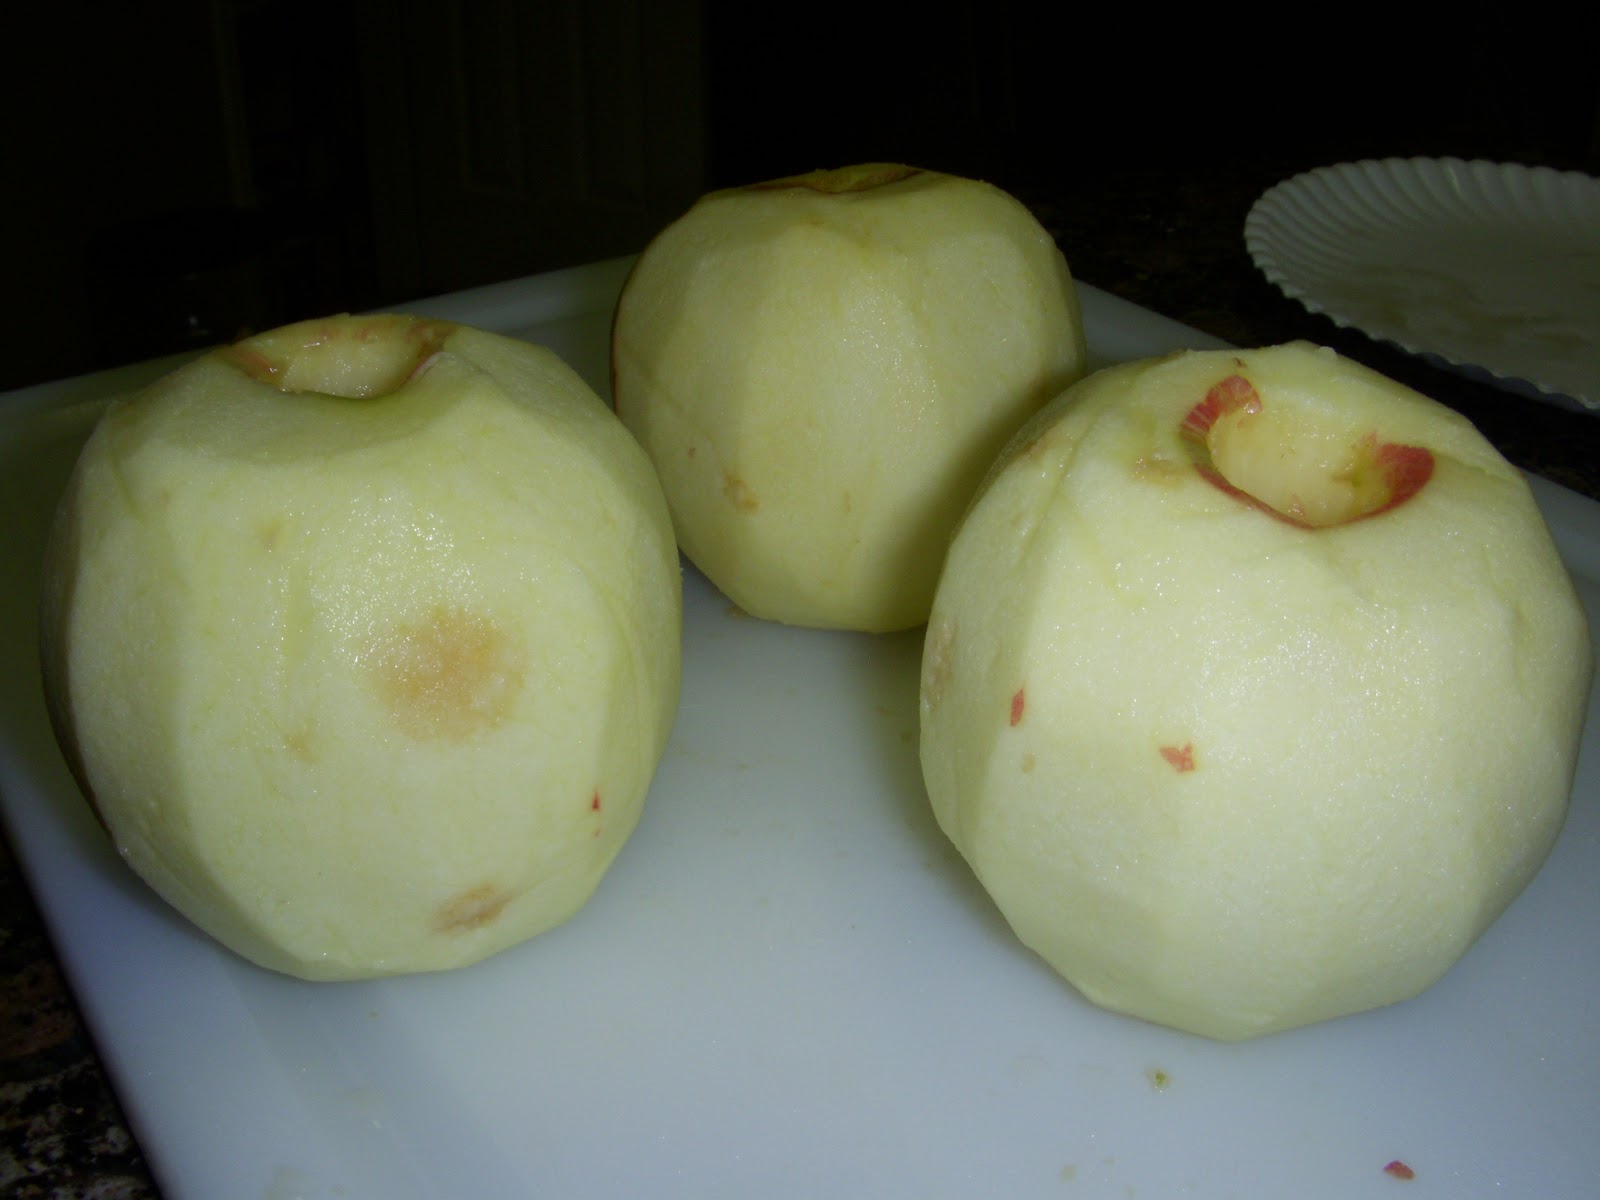
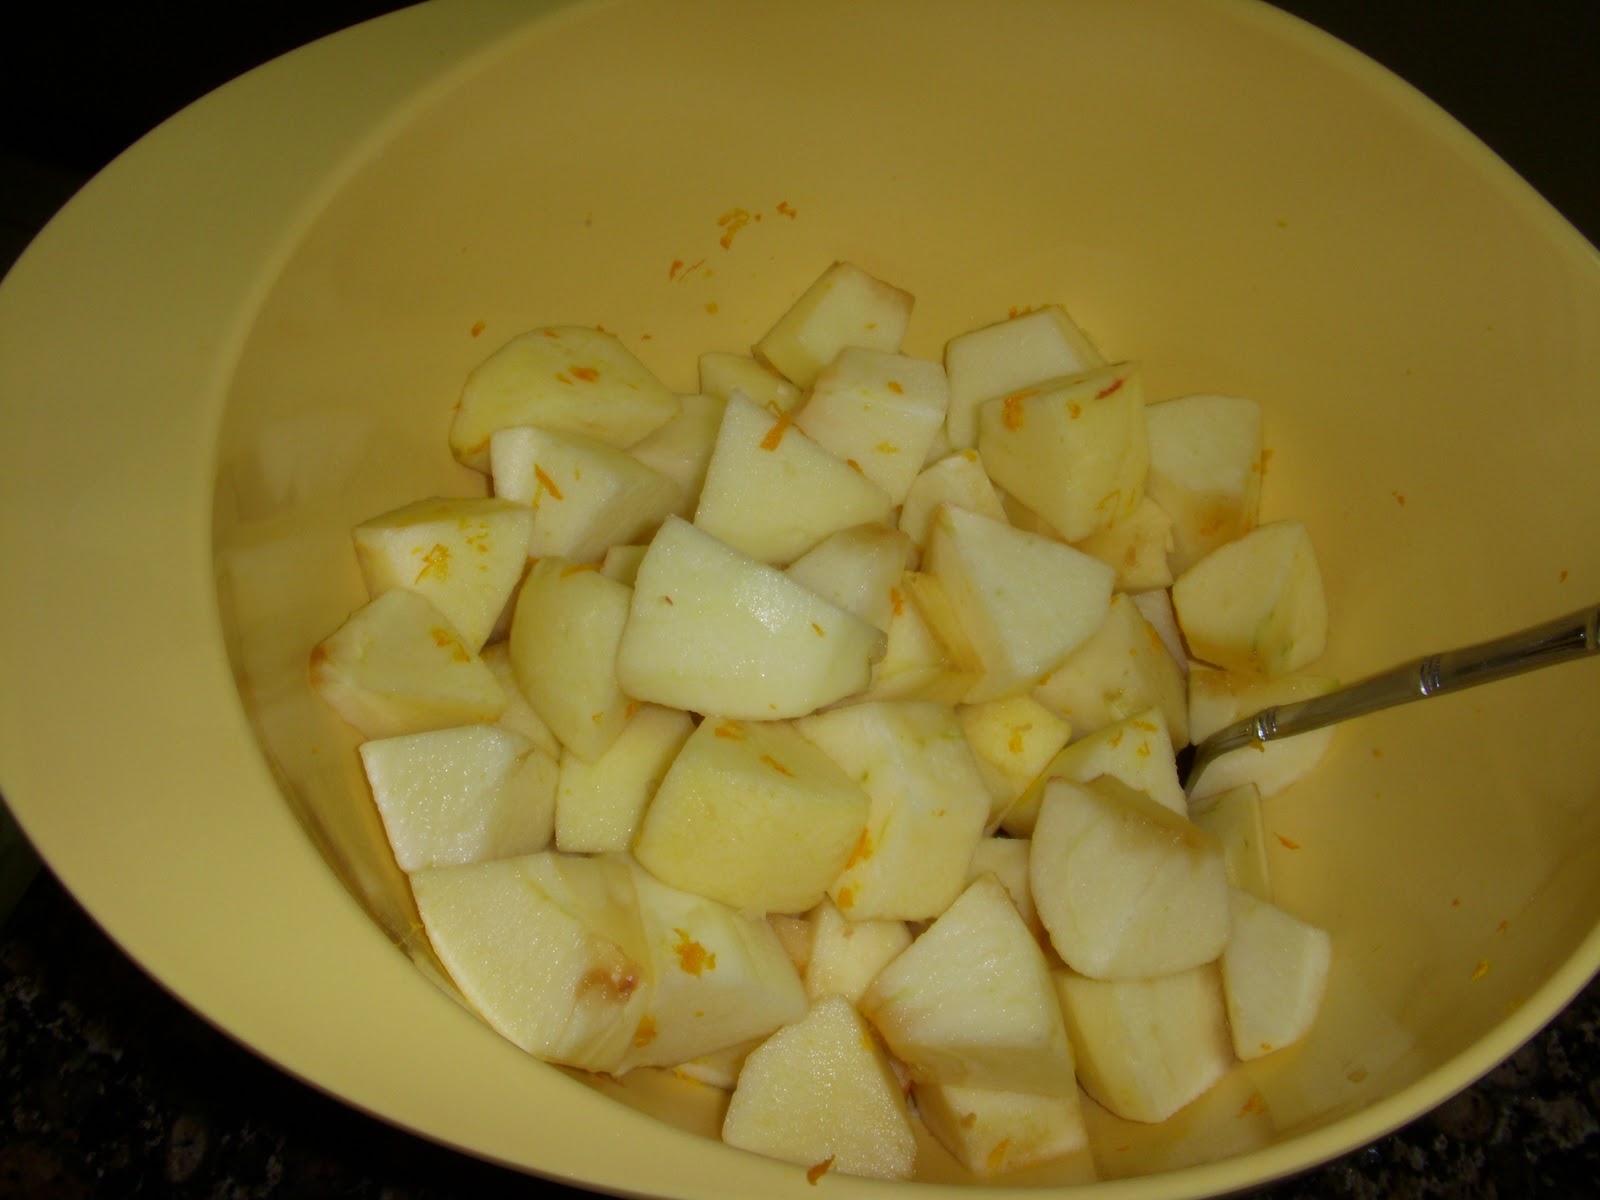
Peel, core, and cut apples into 8ths.  Cut each wedge into three chunks.

Combine orange zest with apple chunks.

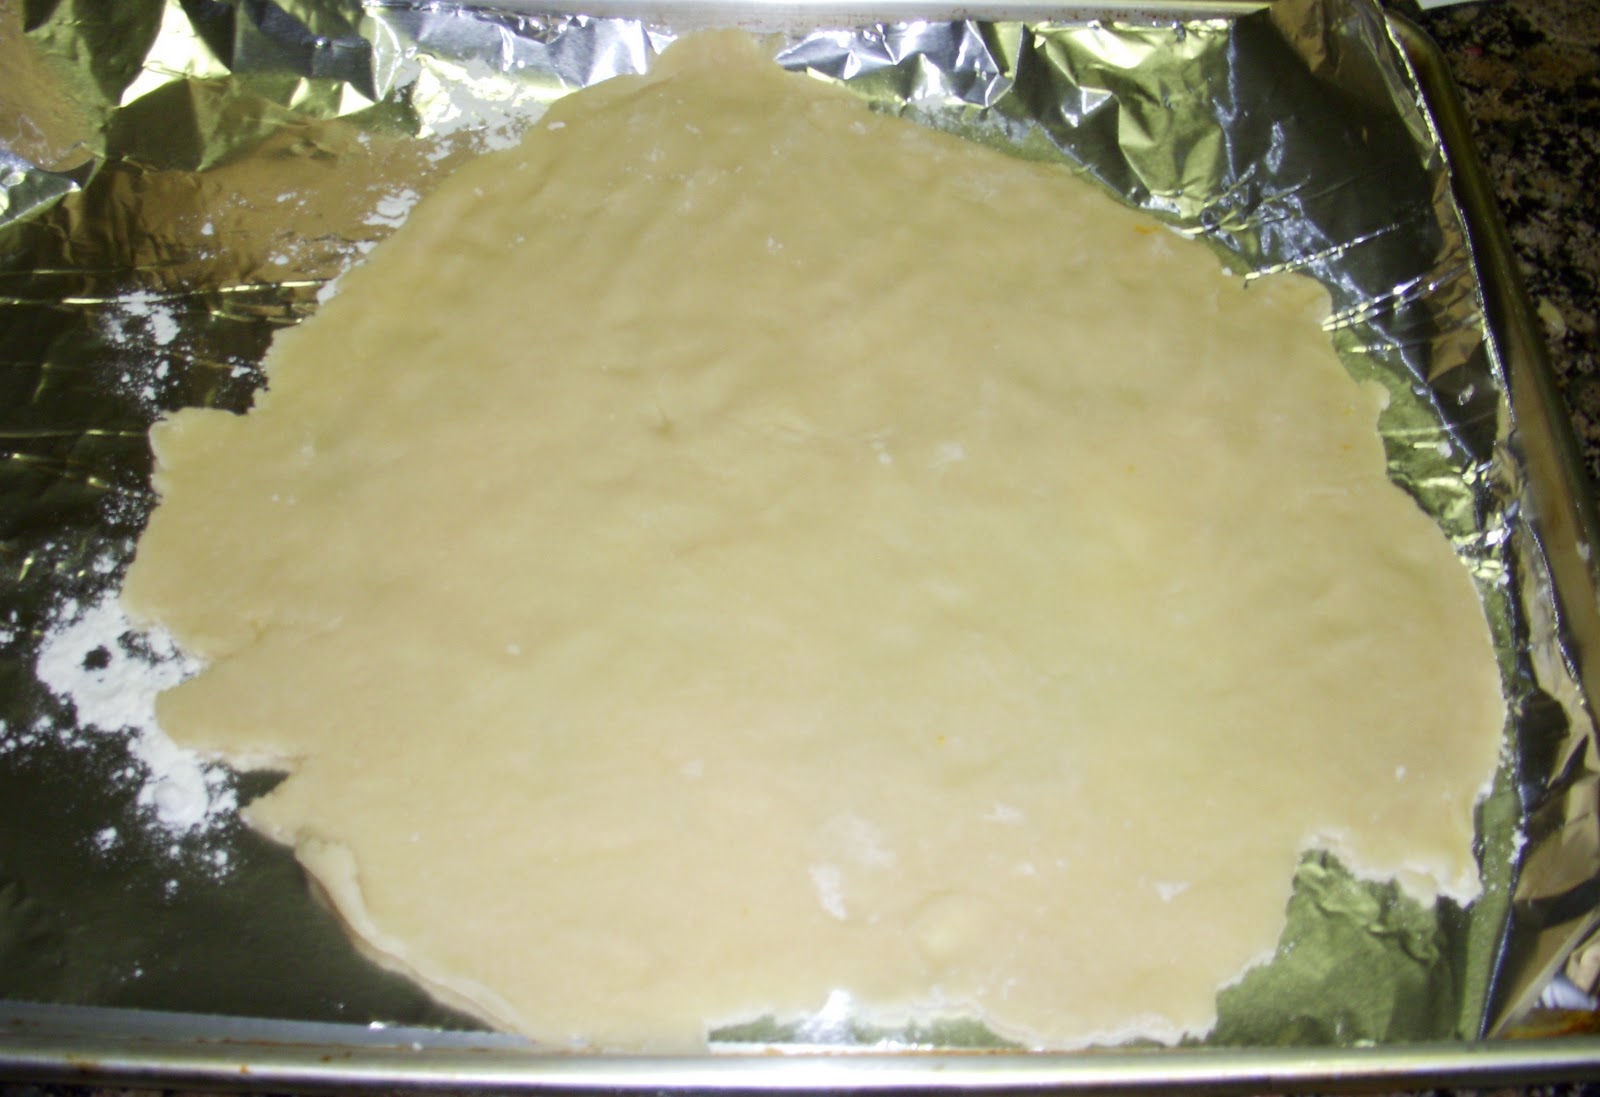
Roll out pastry dough into an 11-inch circle.

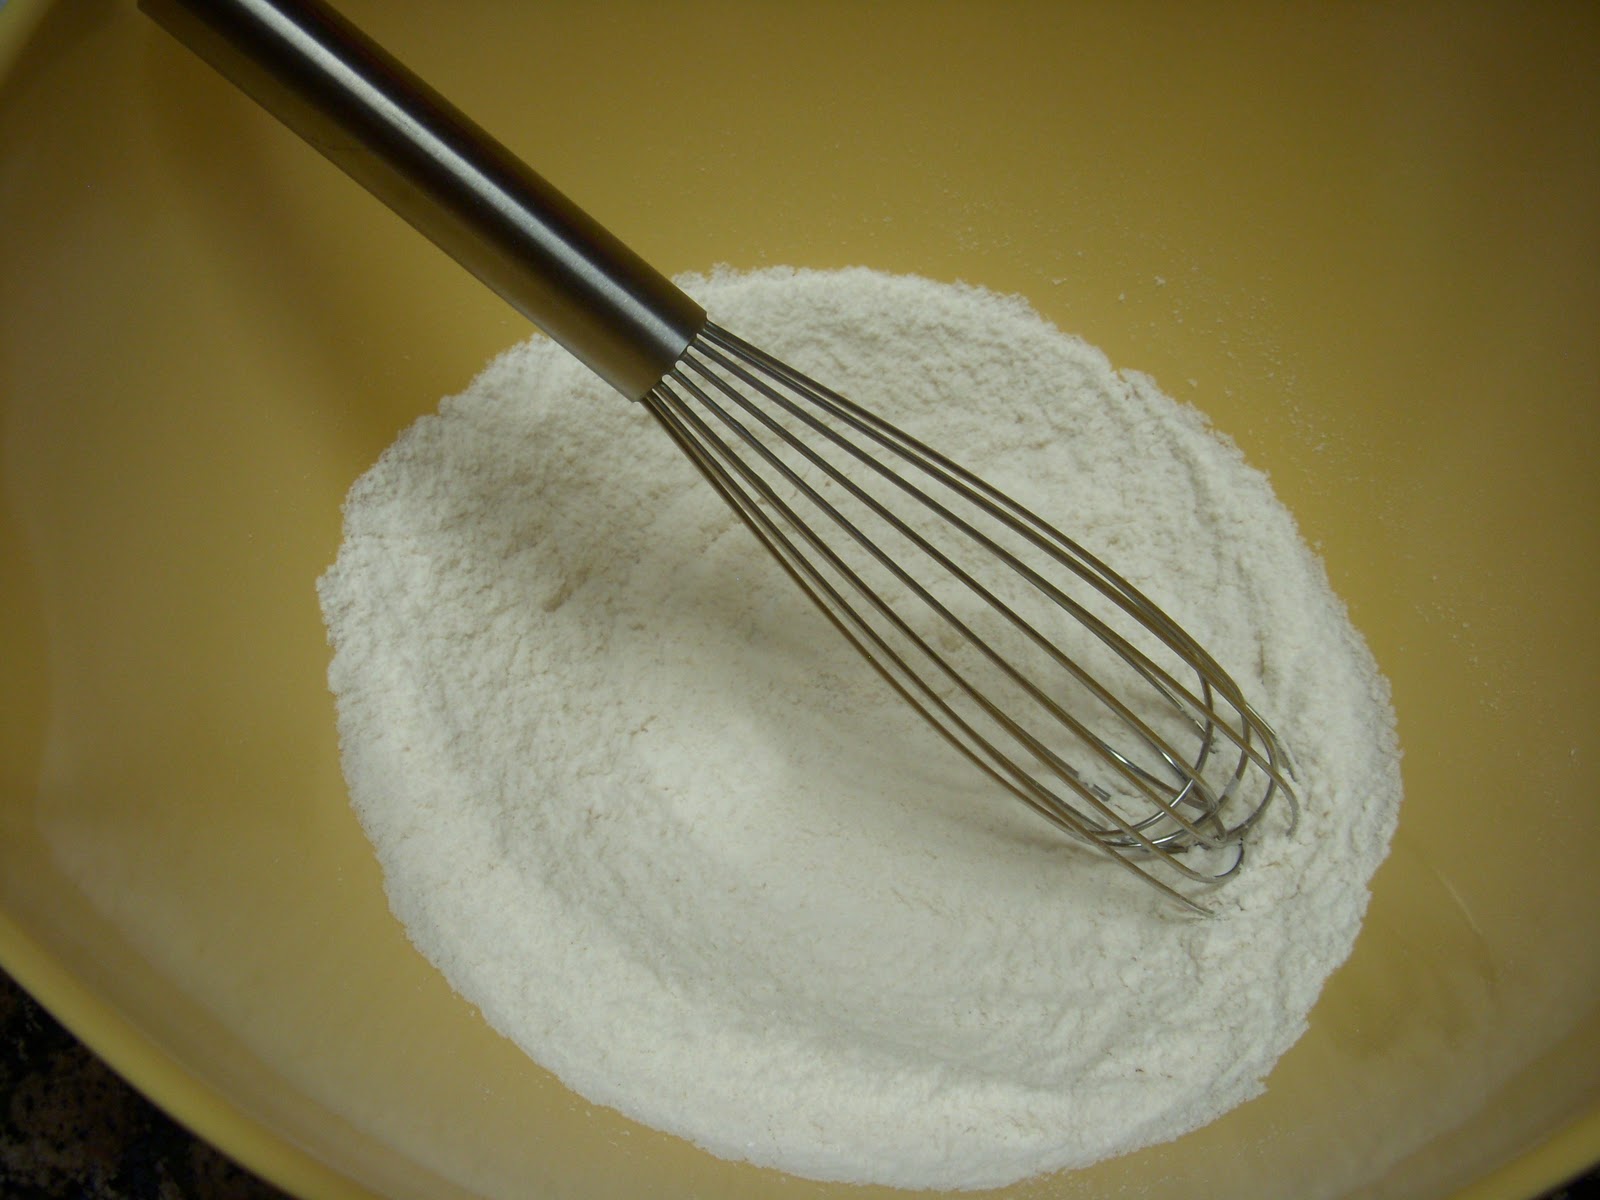
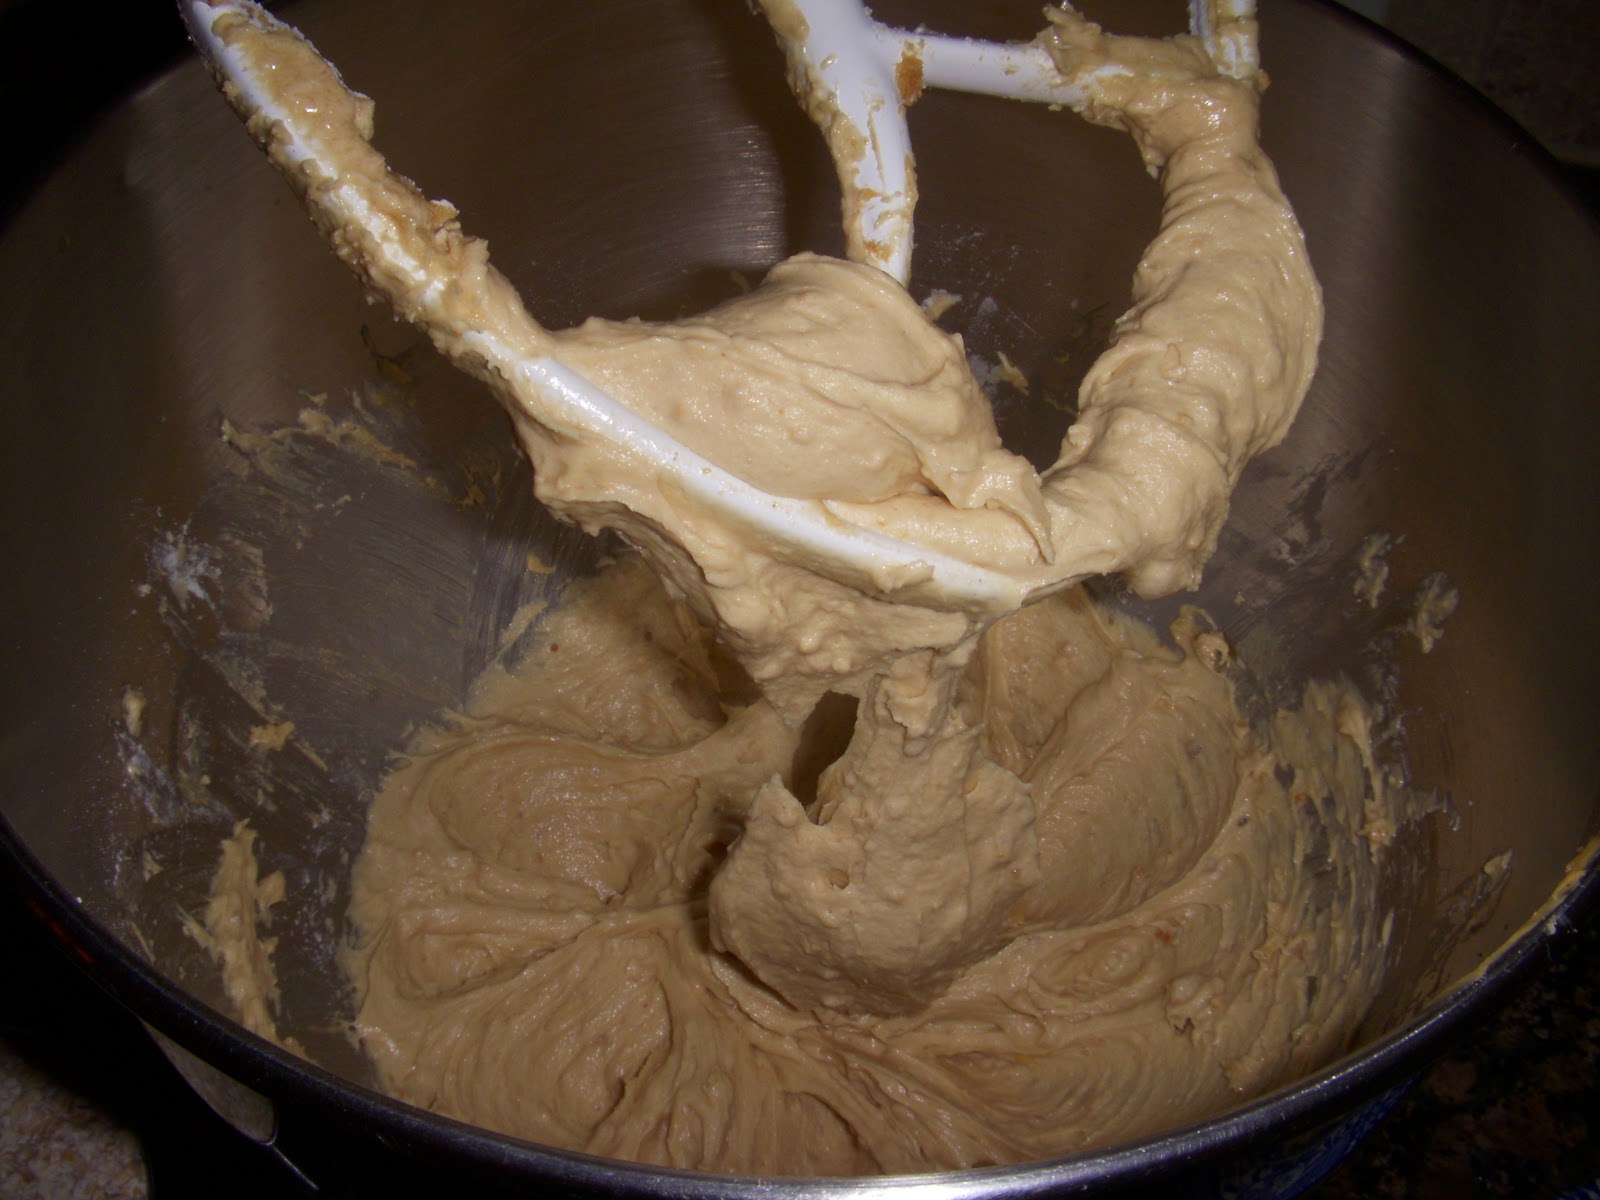
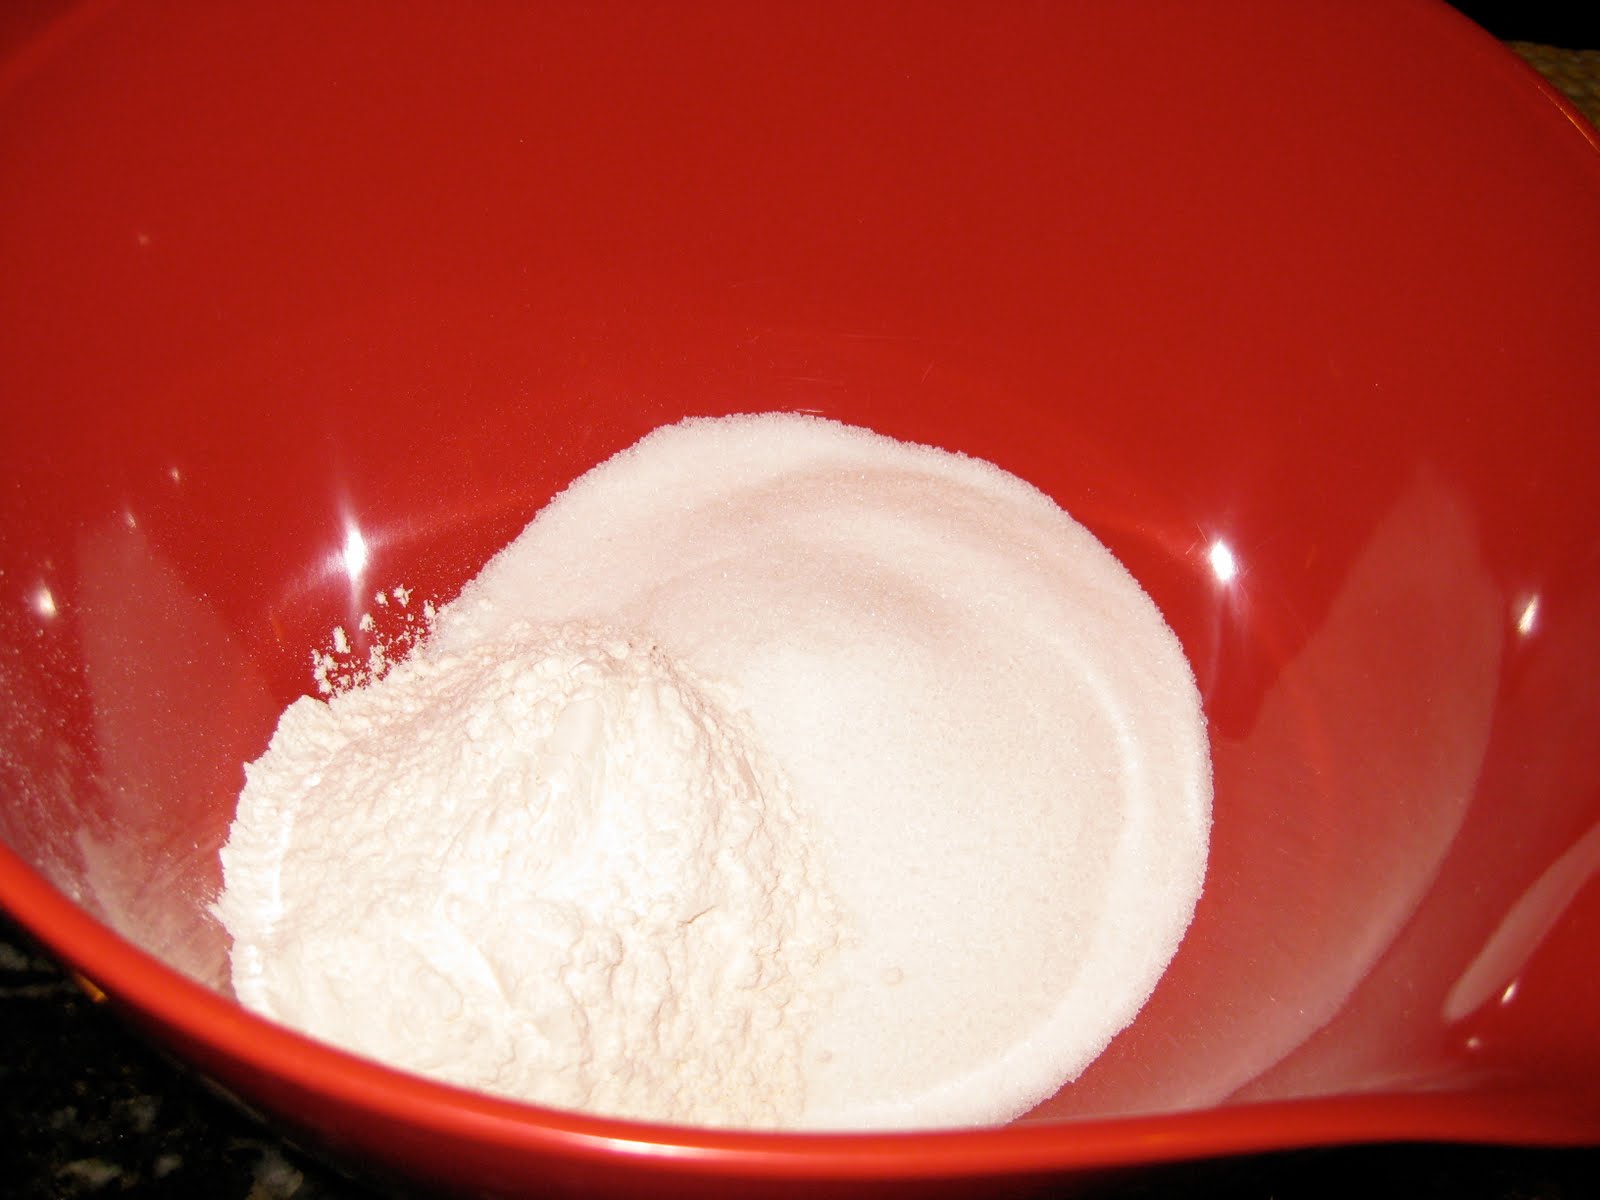
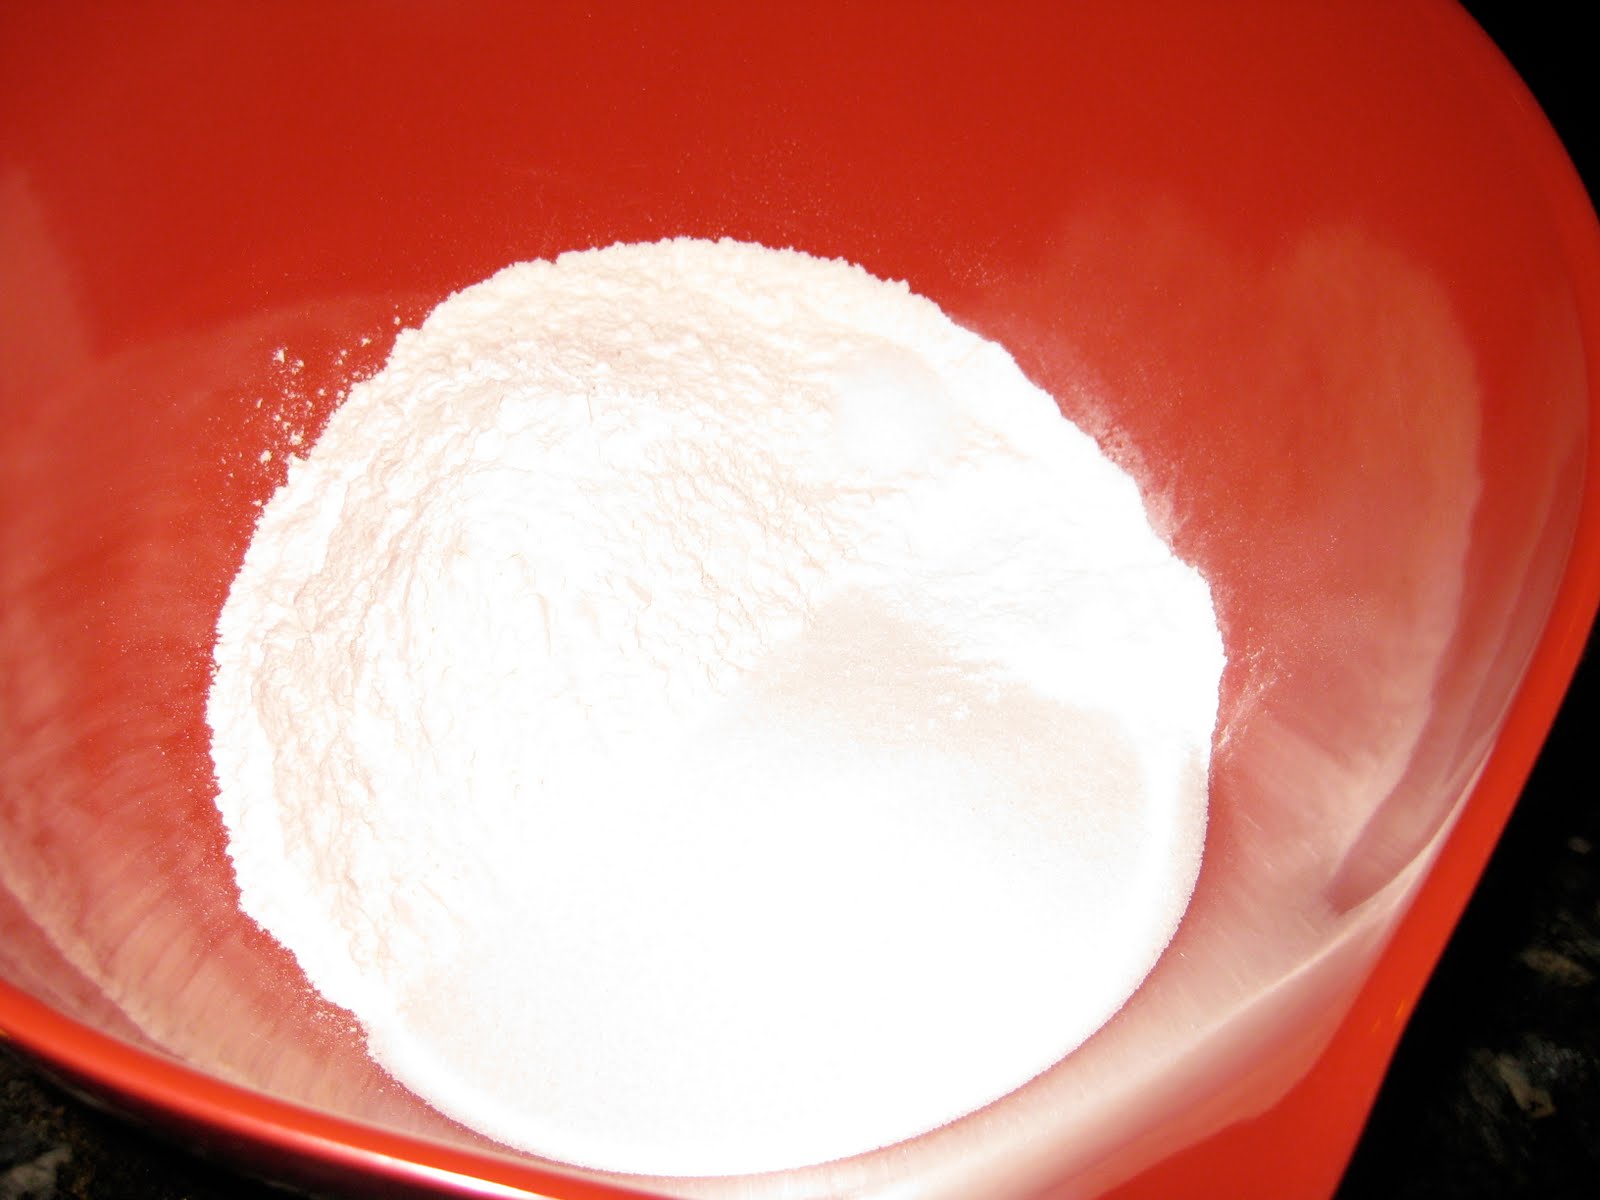
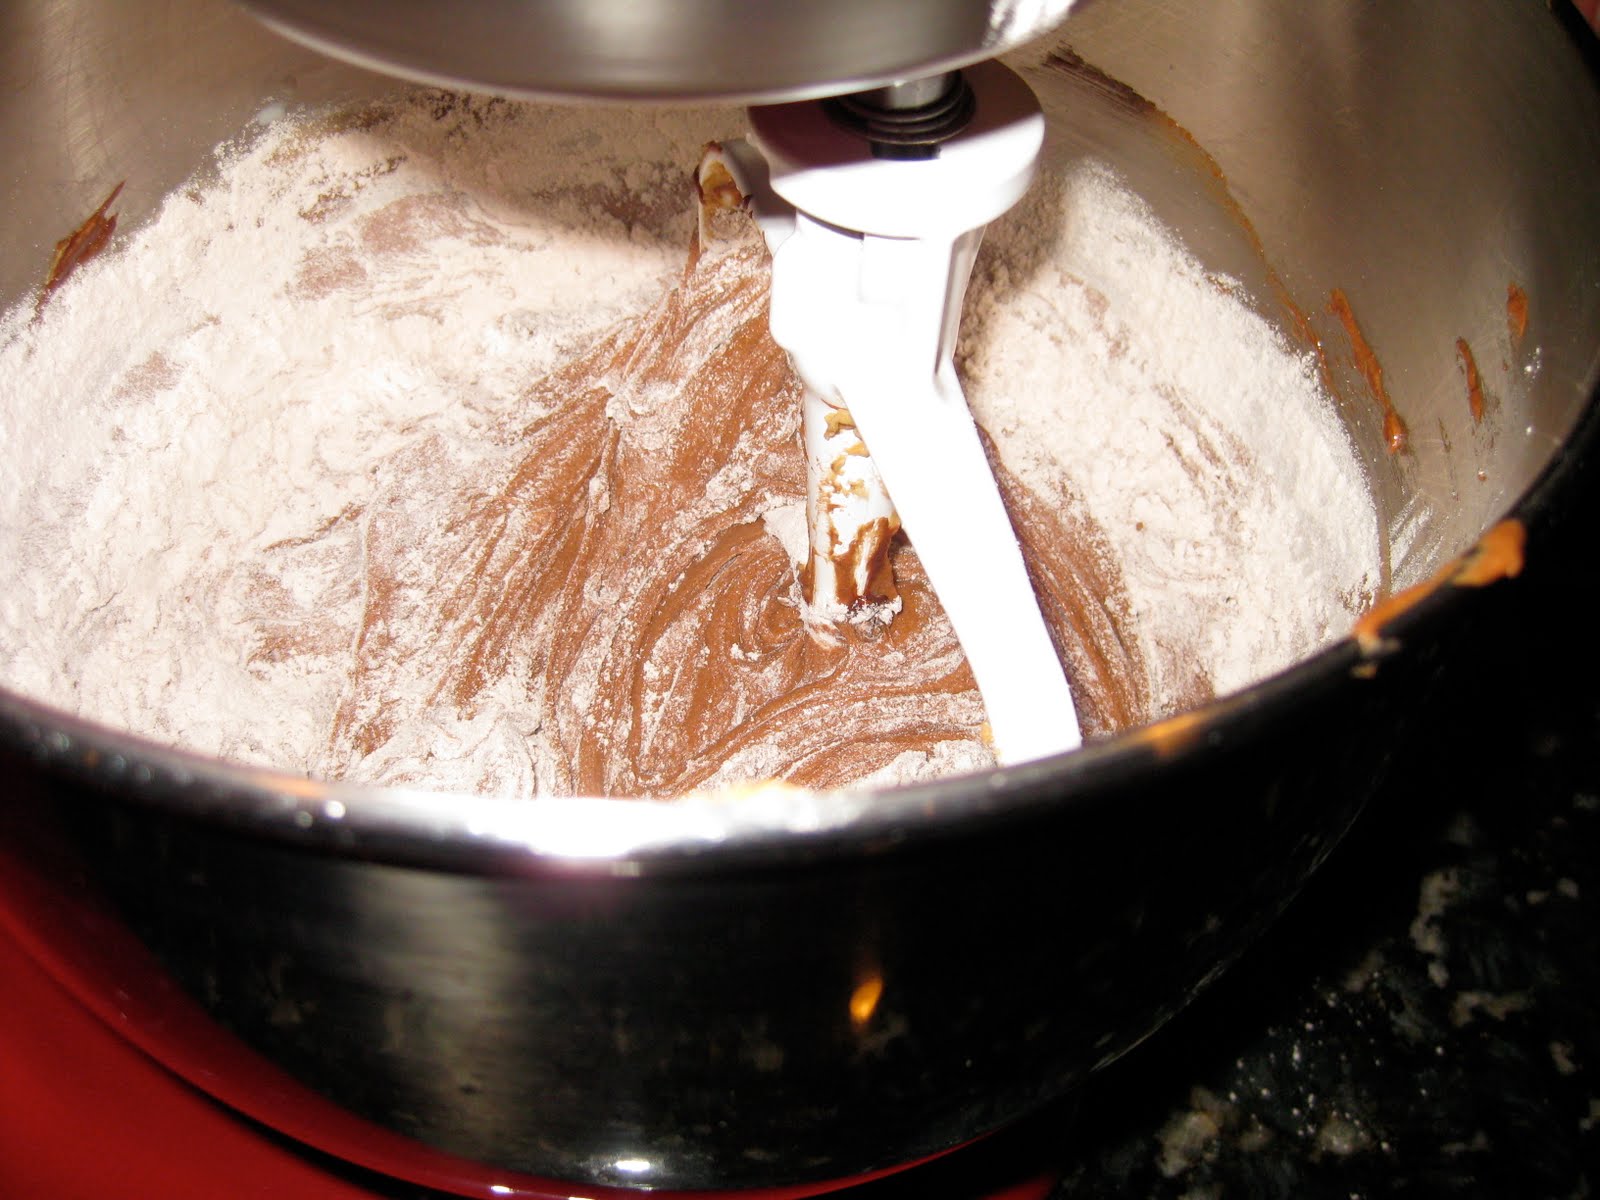
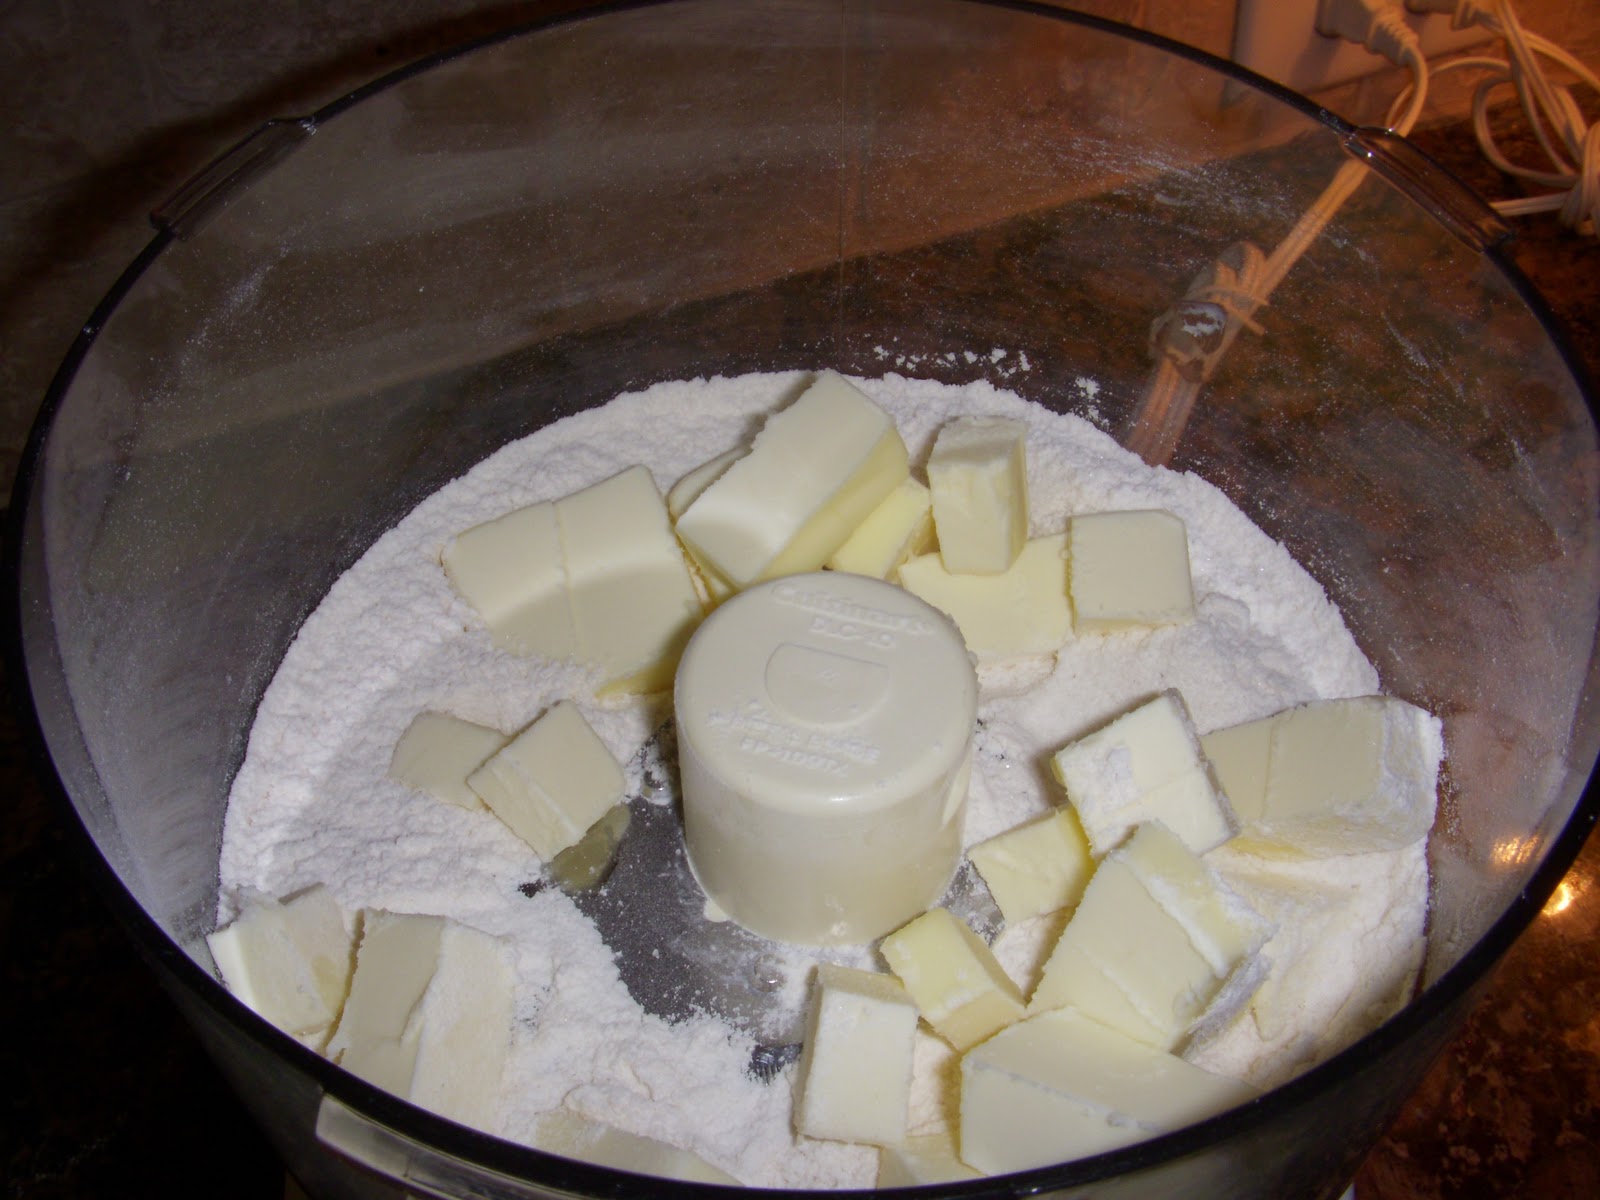
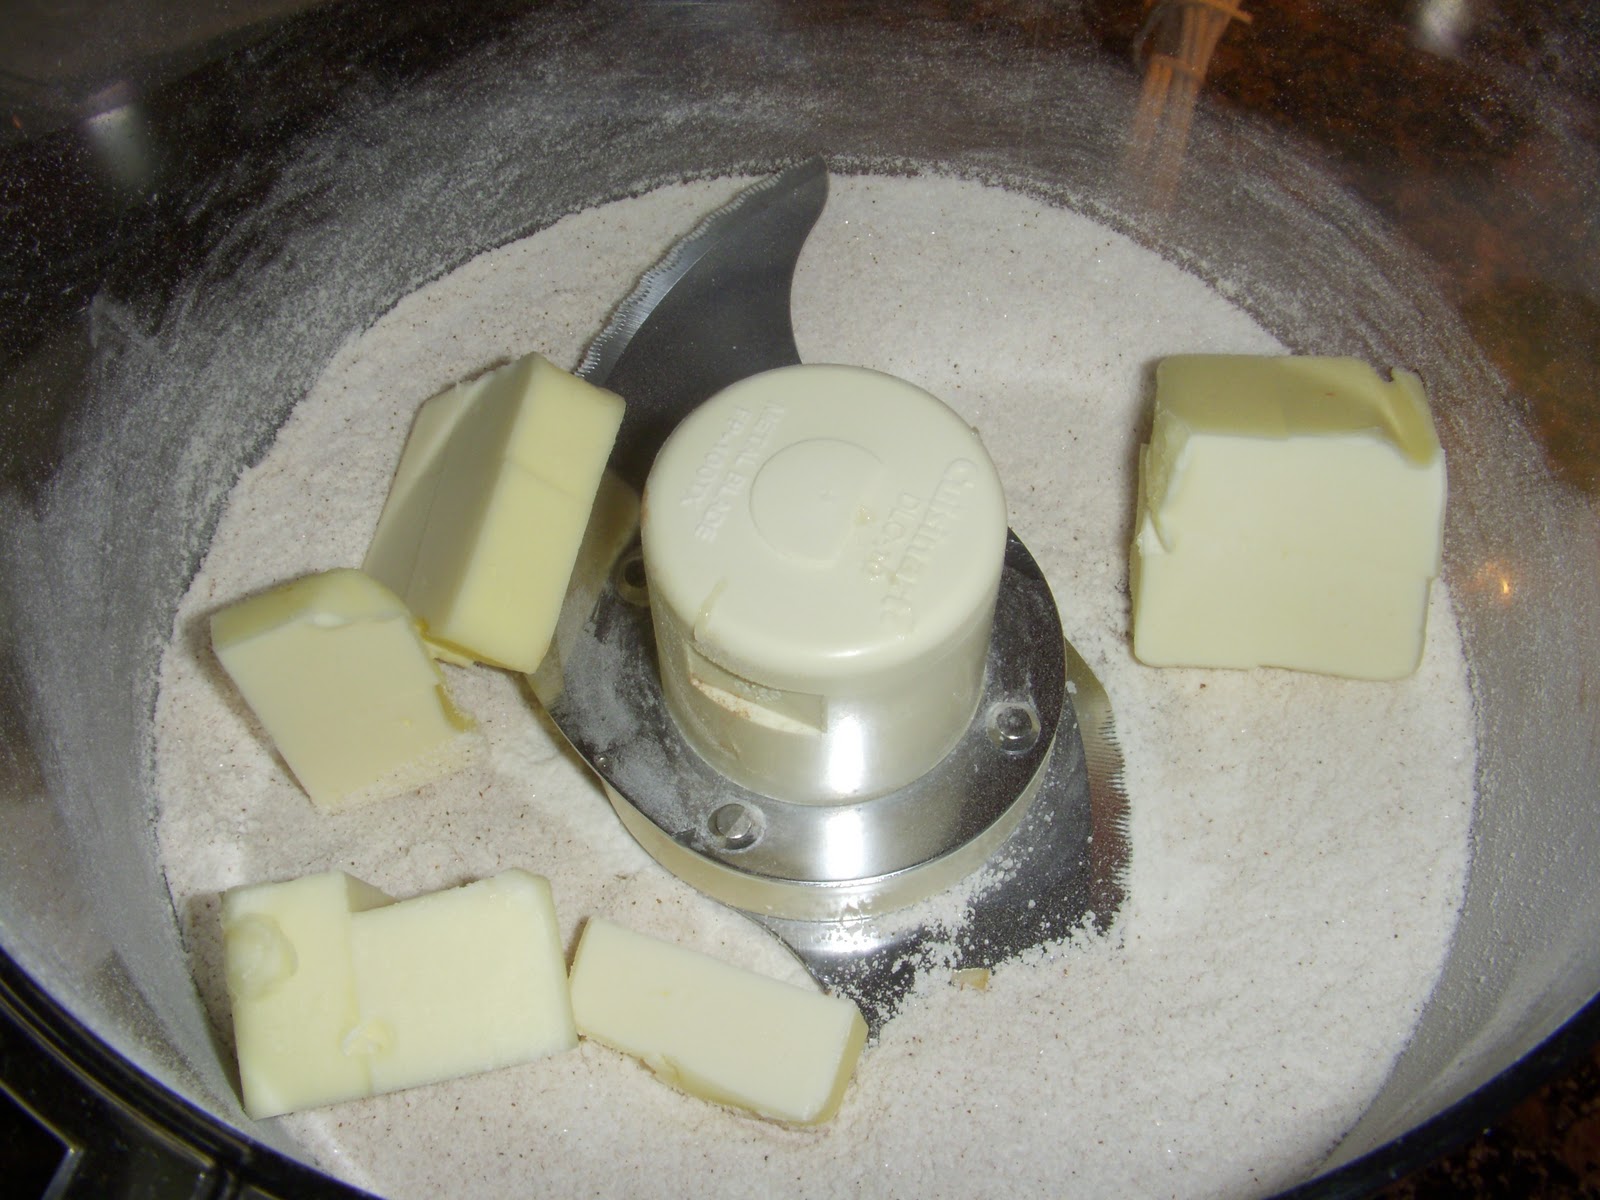
To make the crumble, pulse together the flour, sugar, cinnamon, allspice, and diced butter.

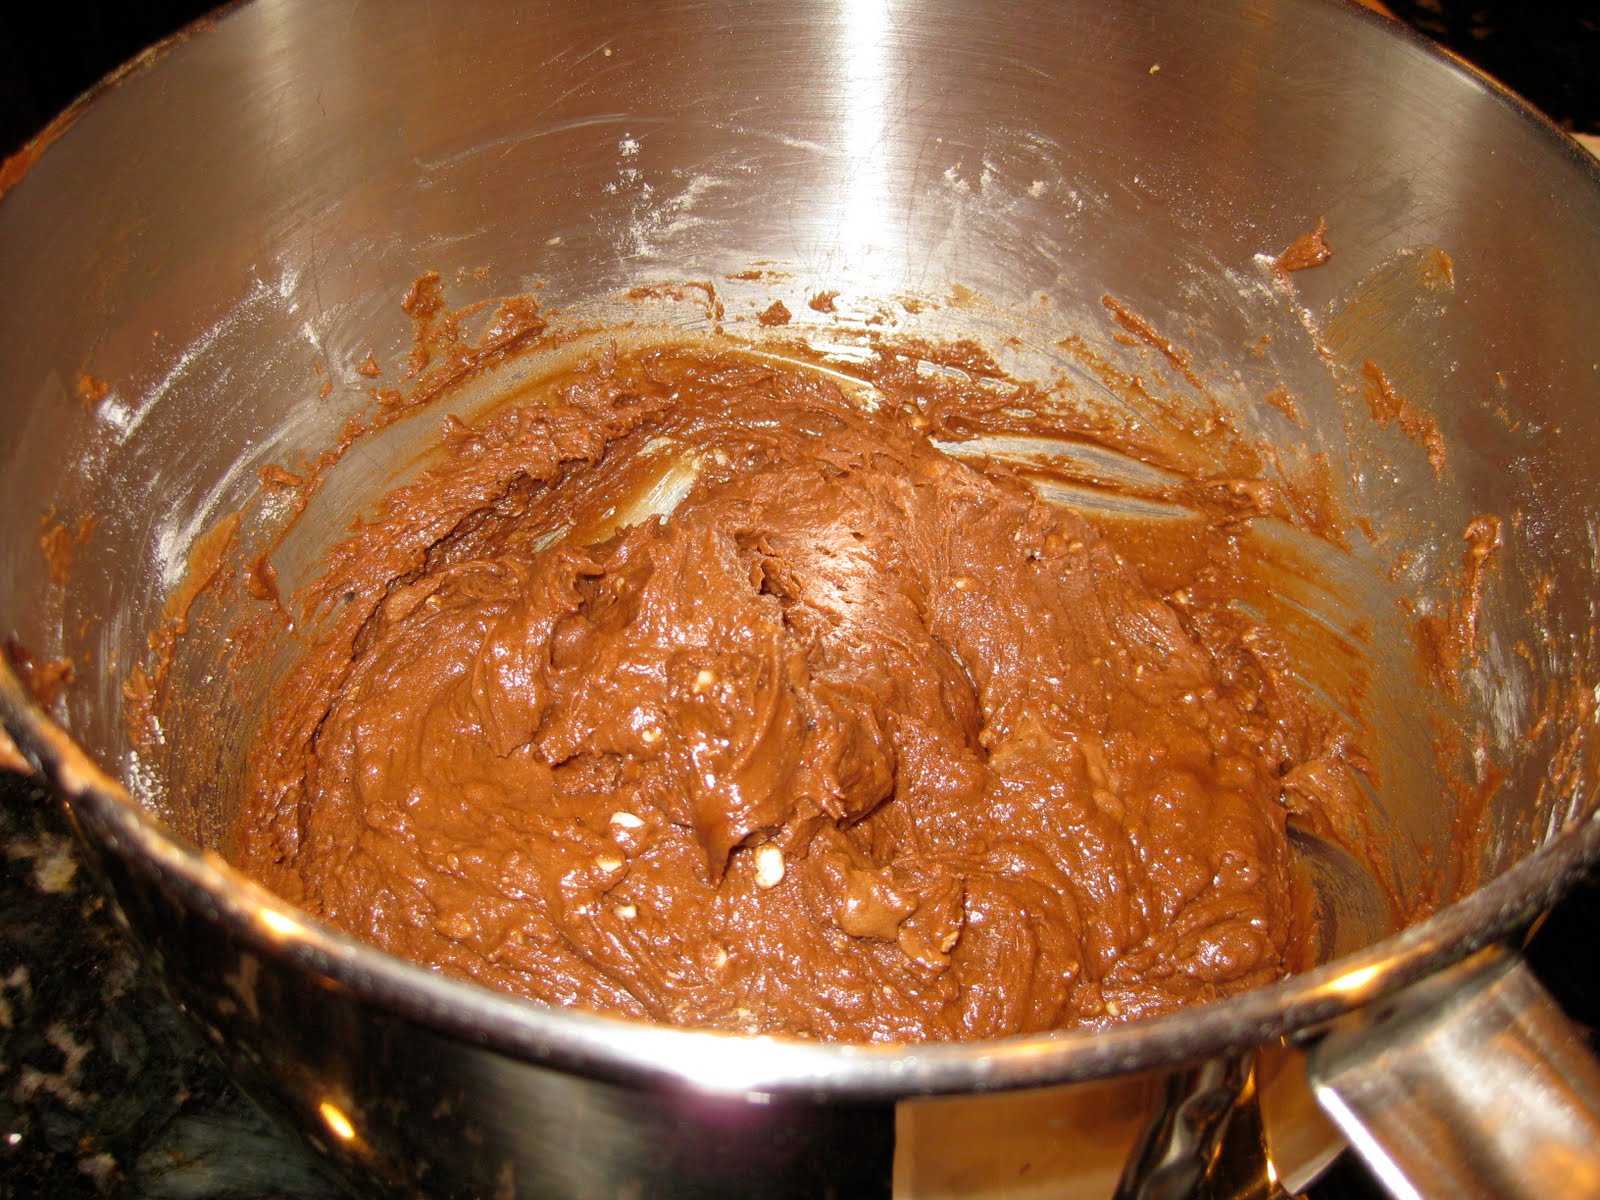
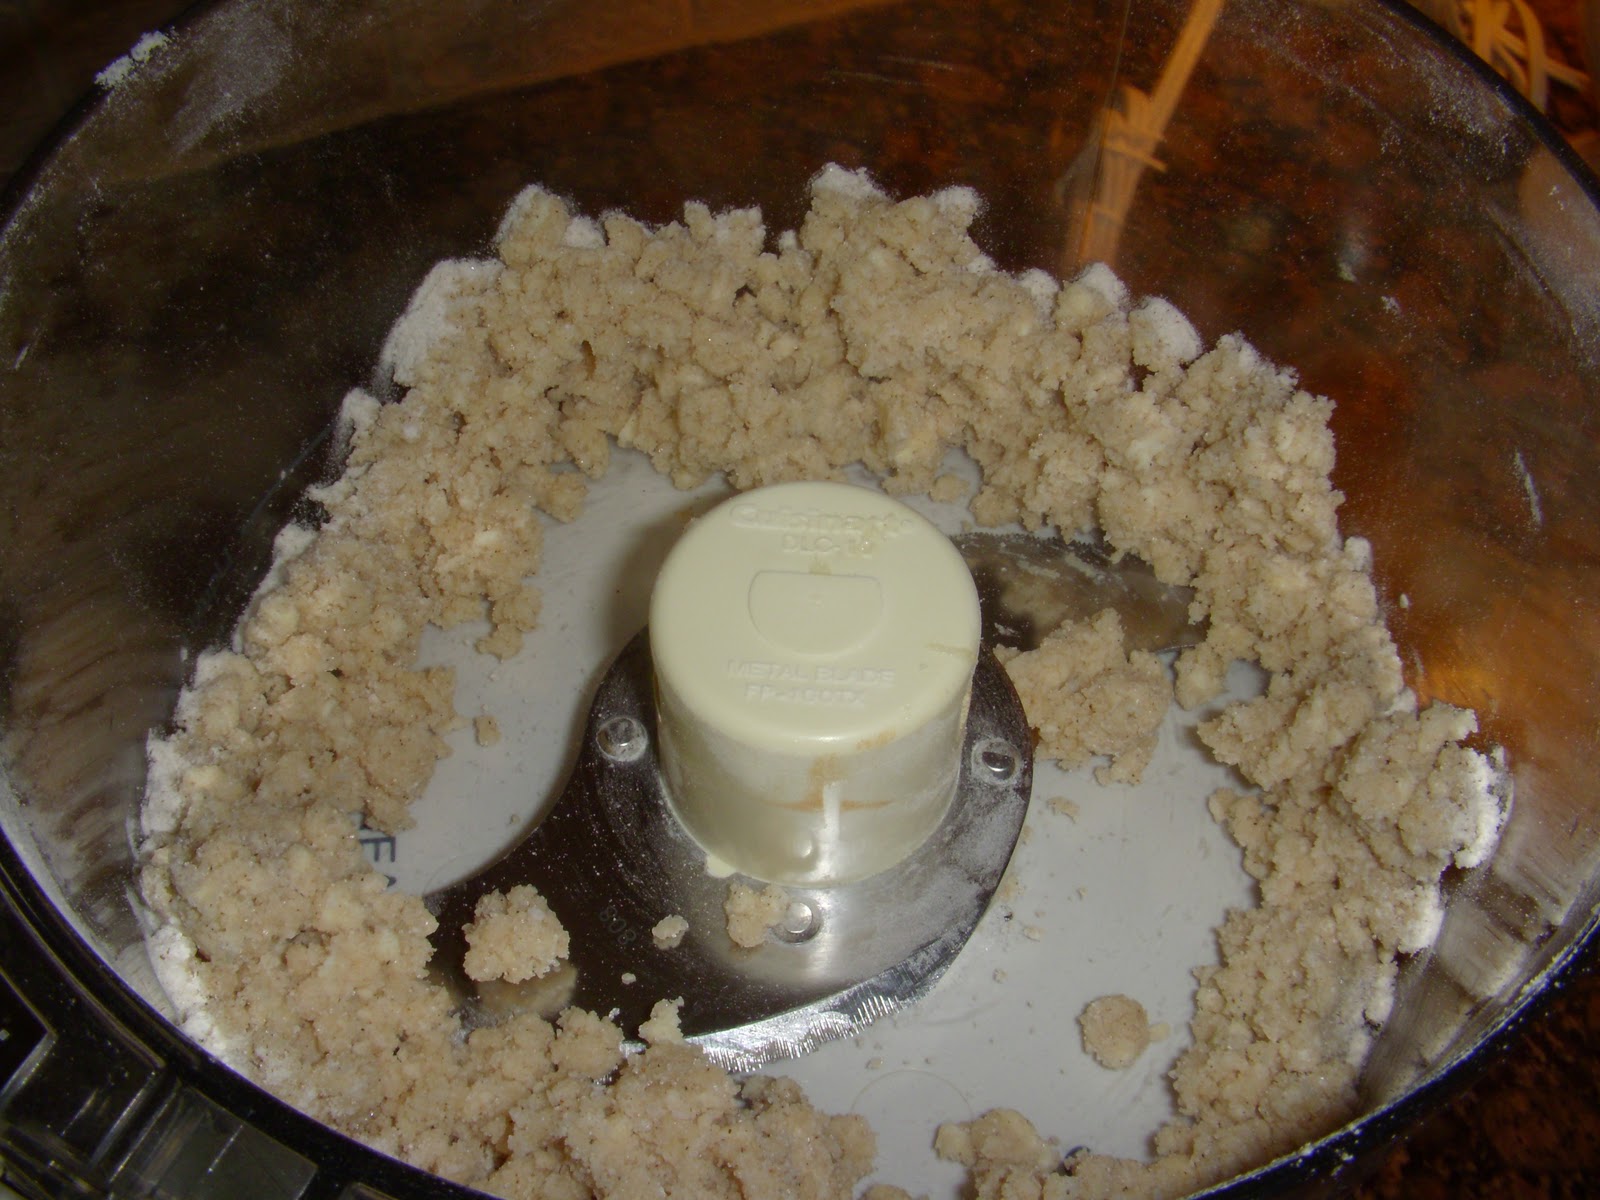
Pulse into mixture is crumbly.

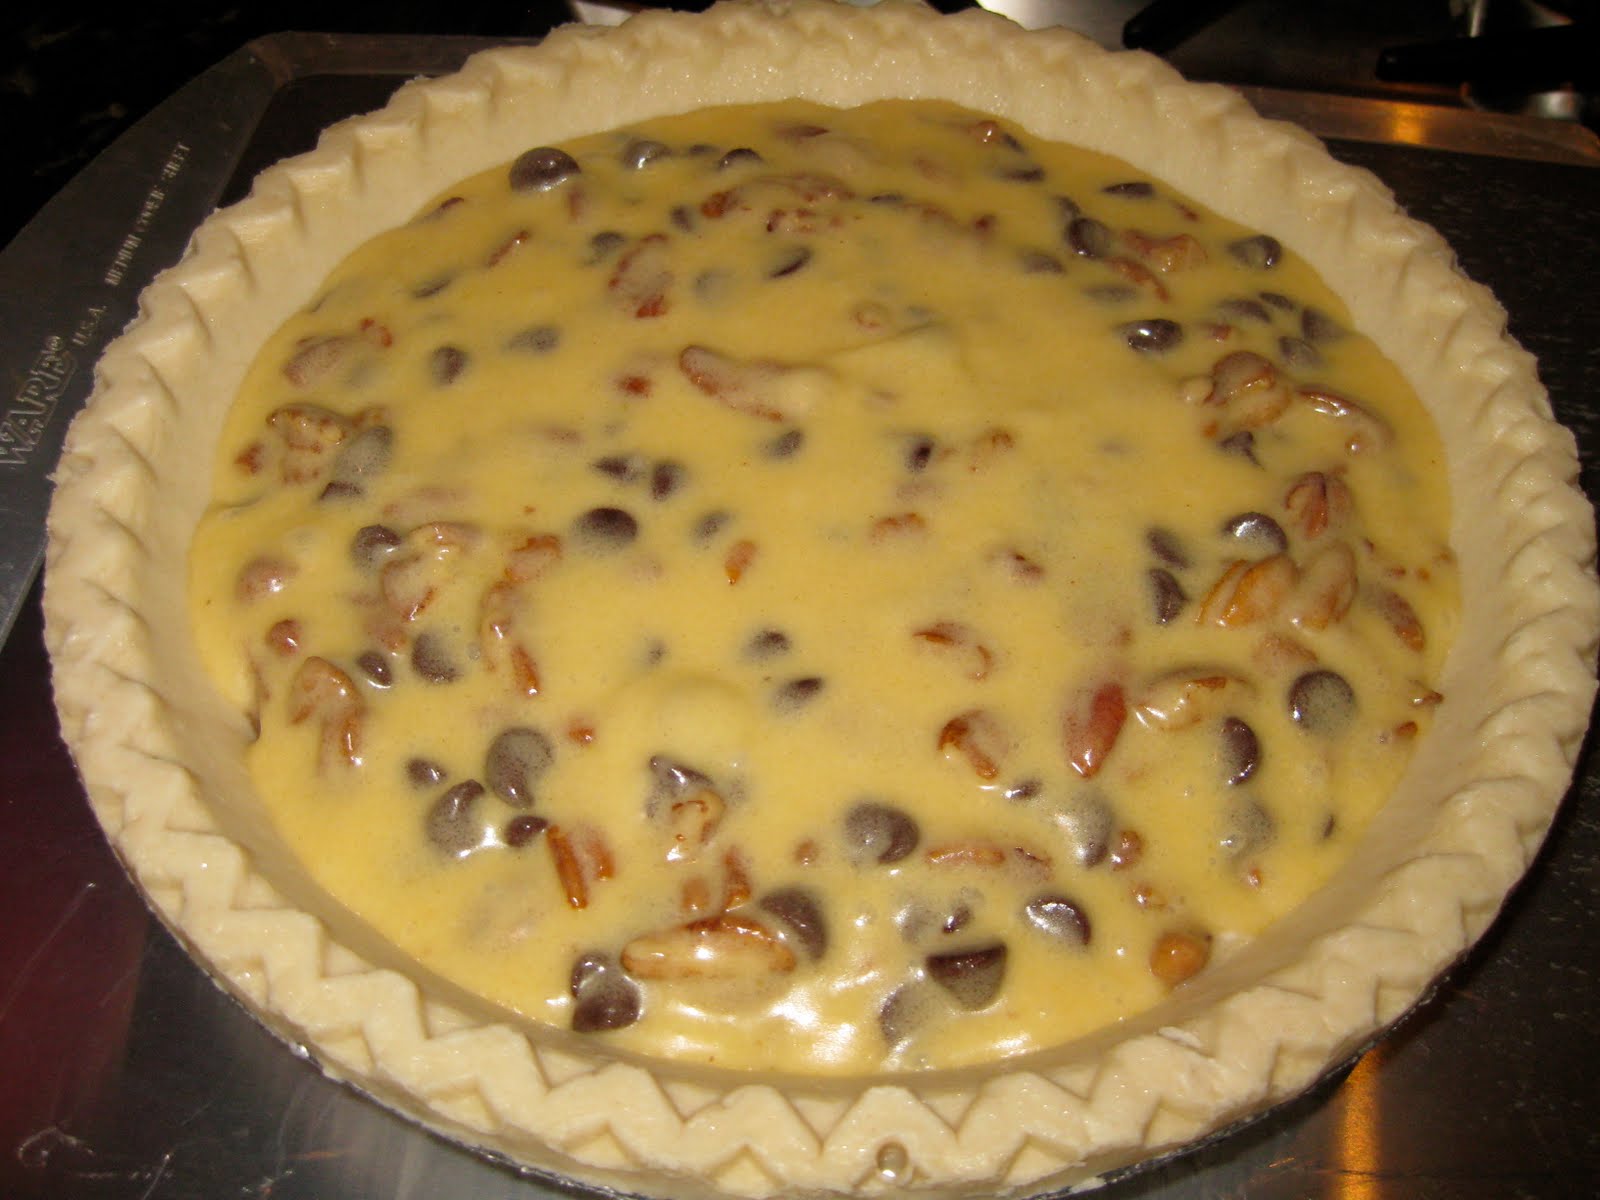
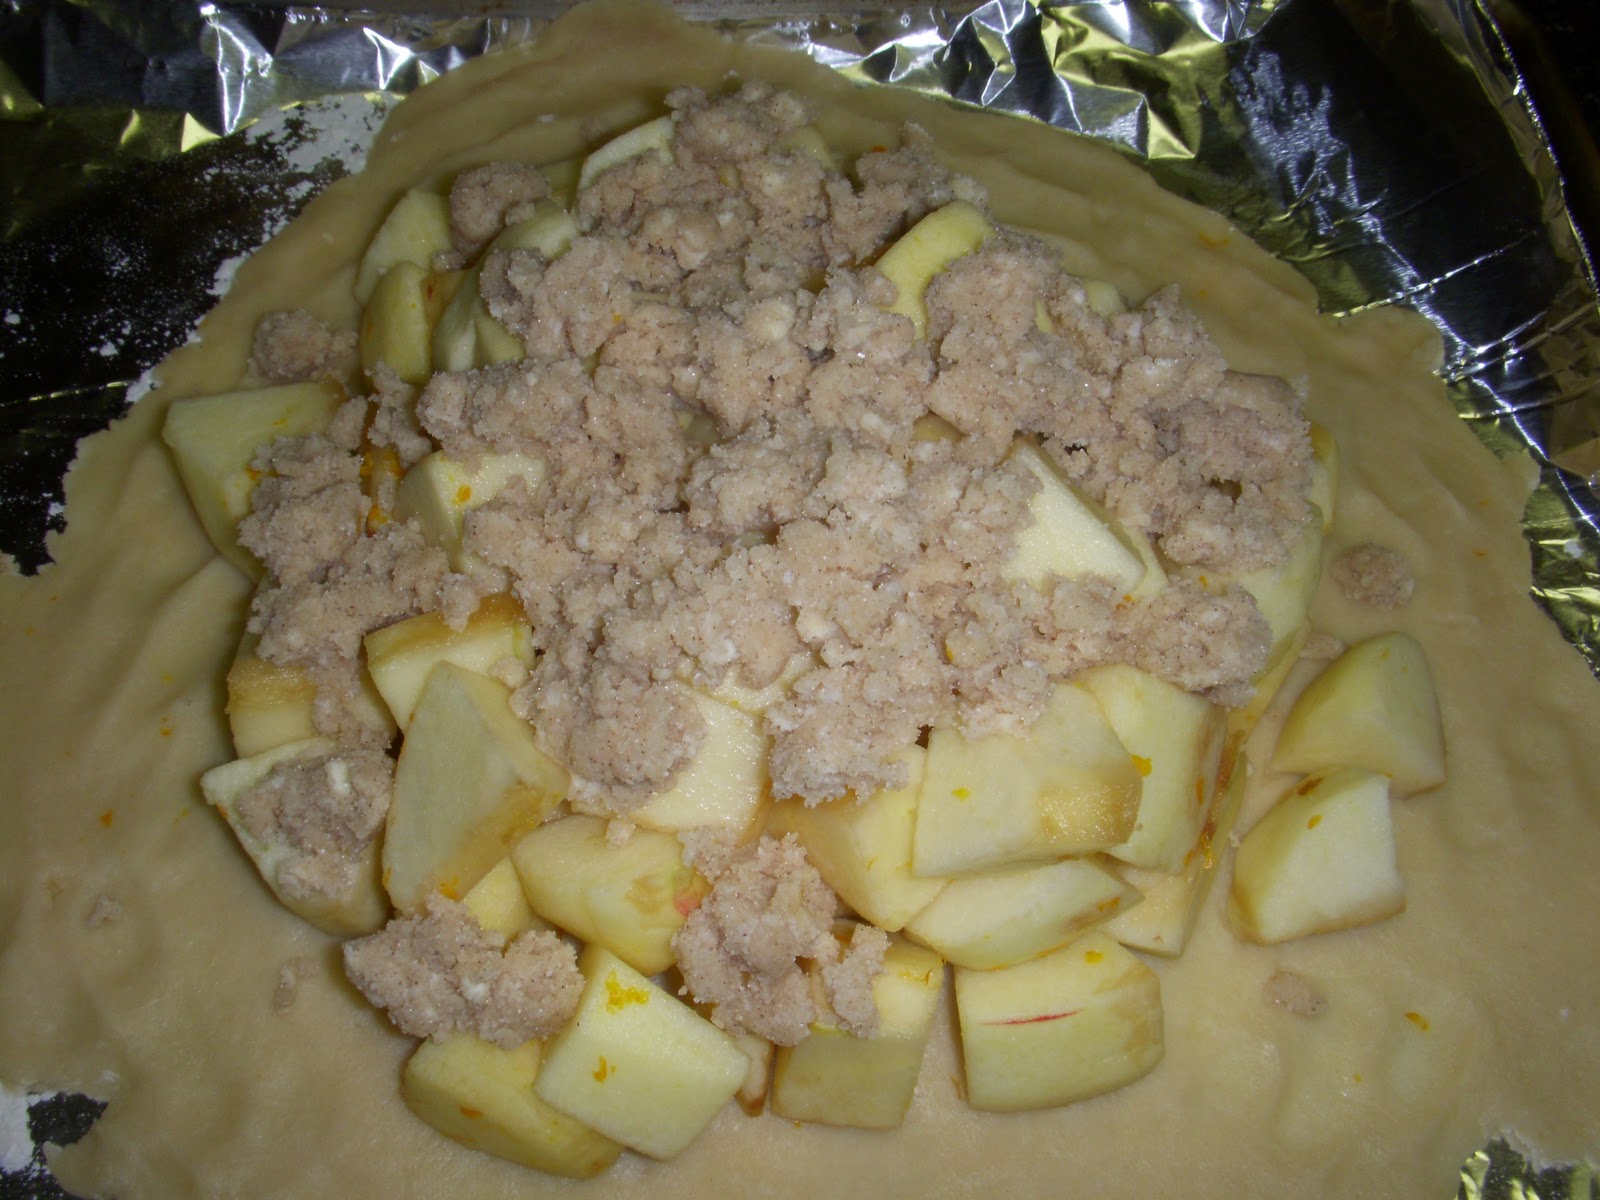
Pour apple chunks onto pastry dough, leaving a 1 1/2-inch border.  Sprinkle apples with crumble.

Fold edges over apples and crumble topping.

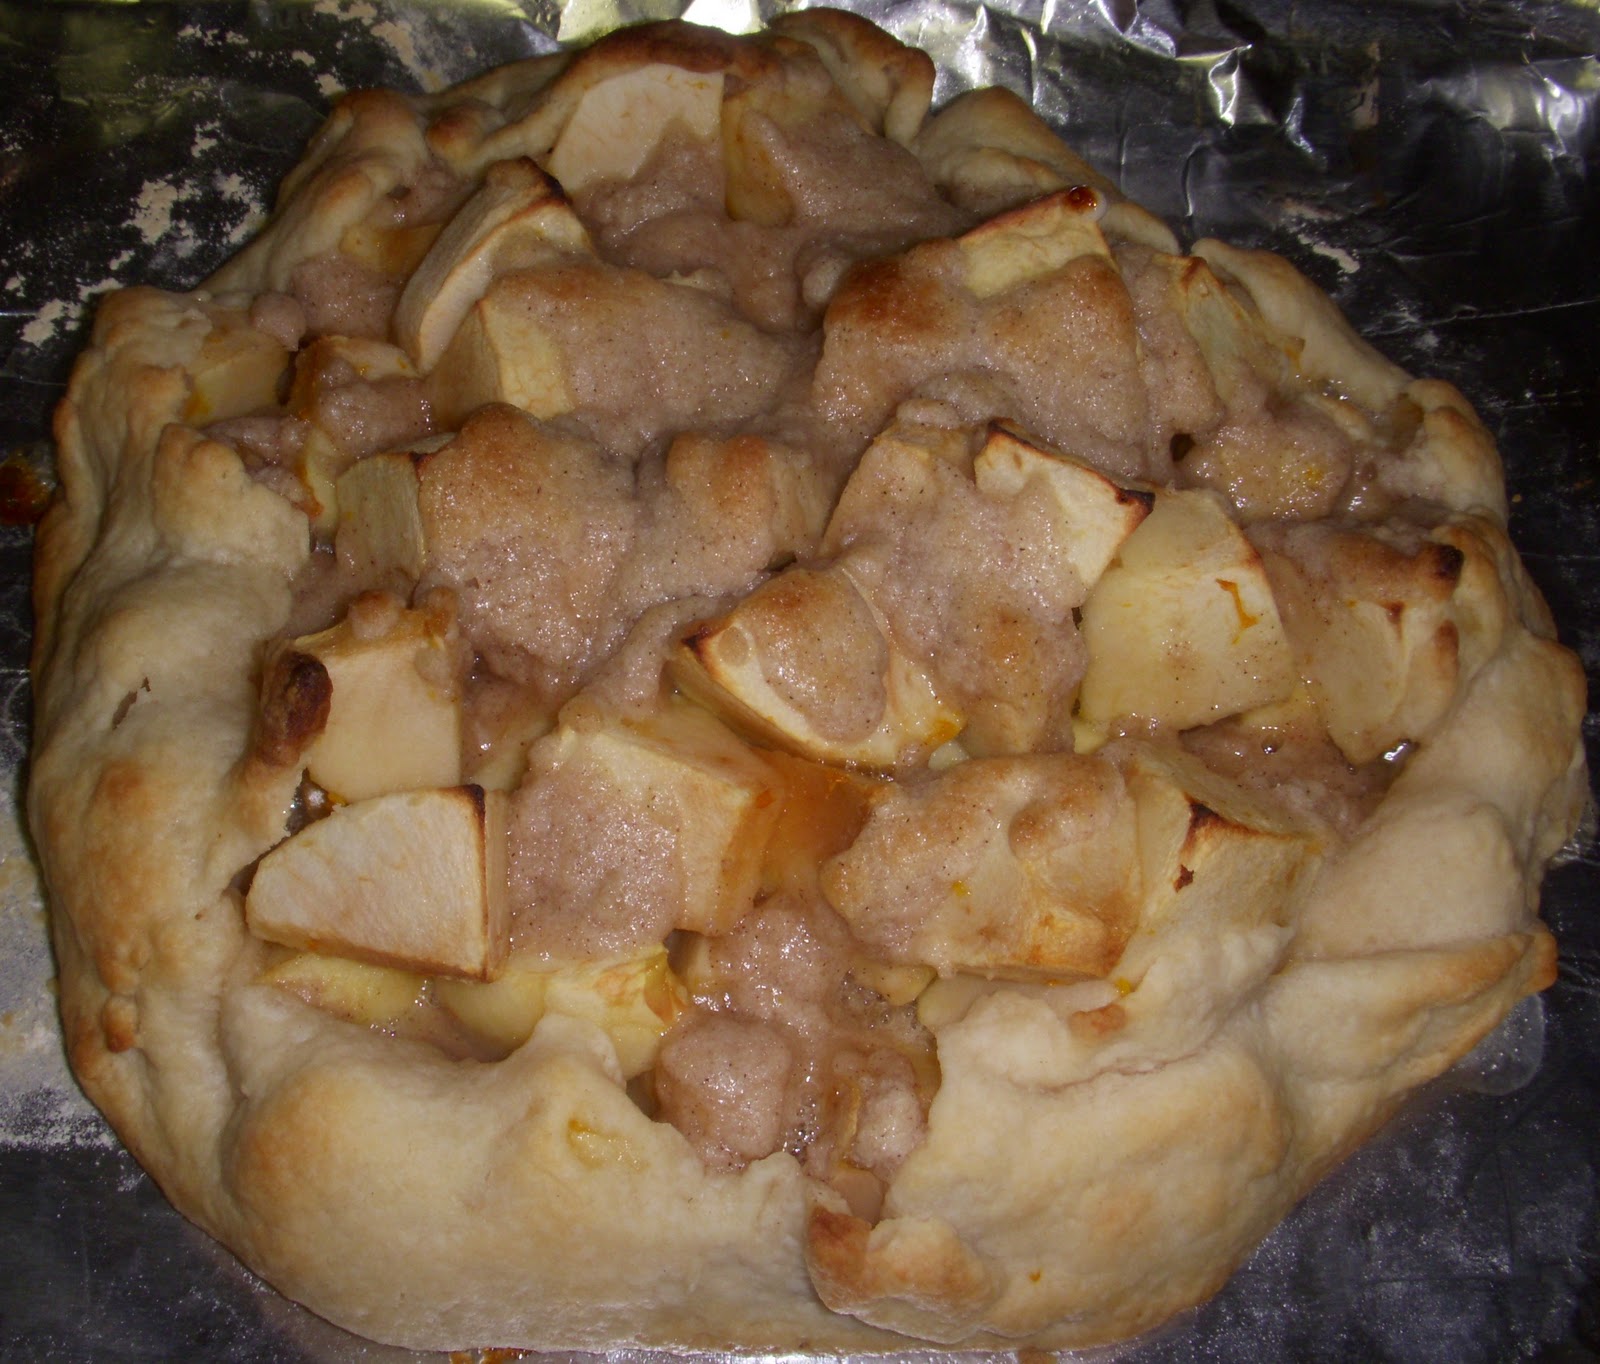
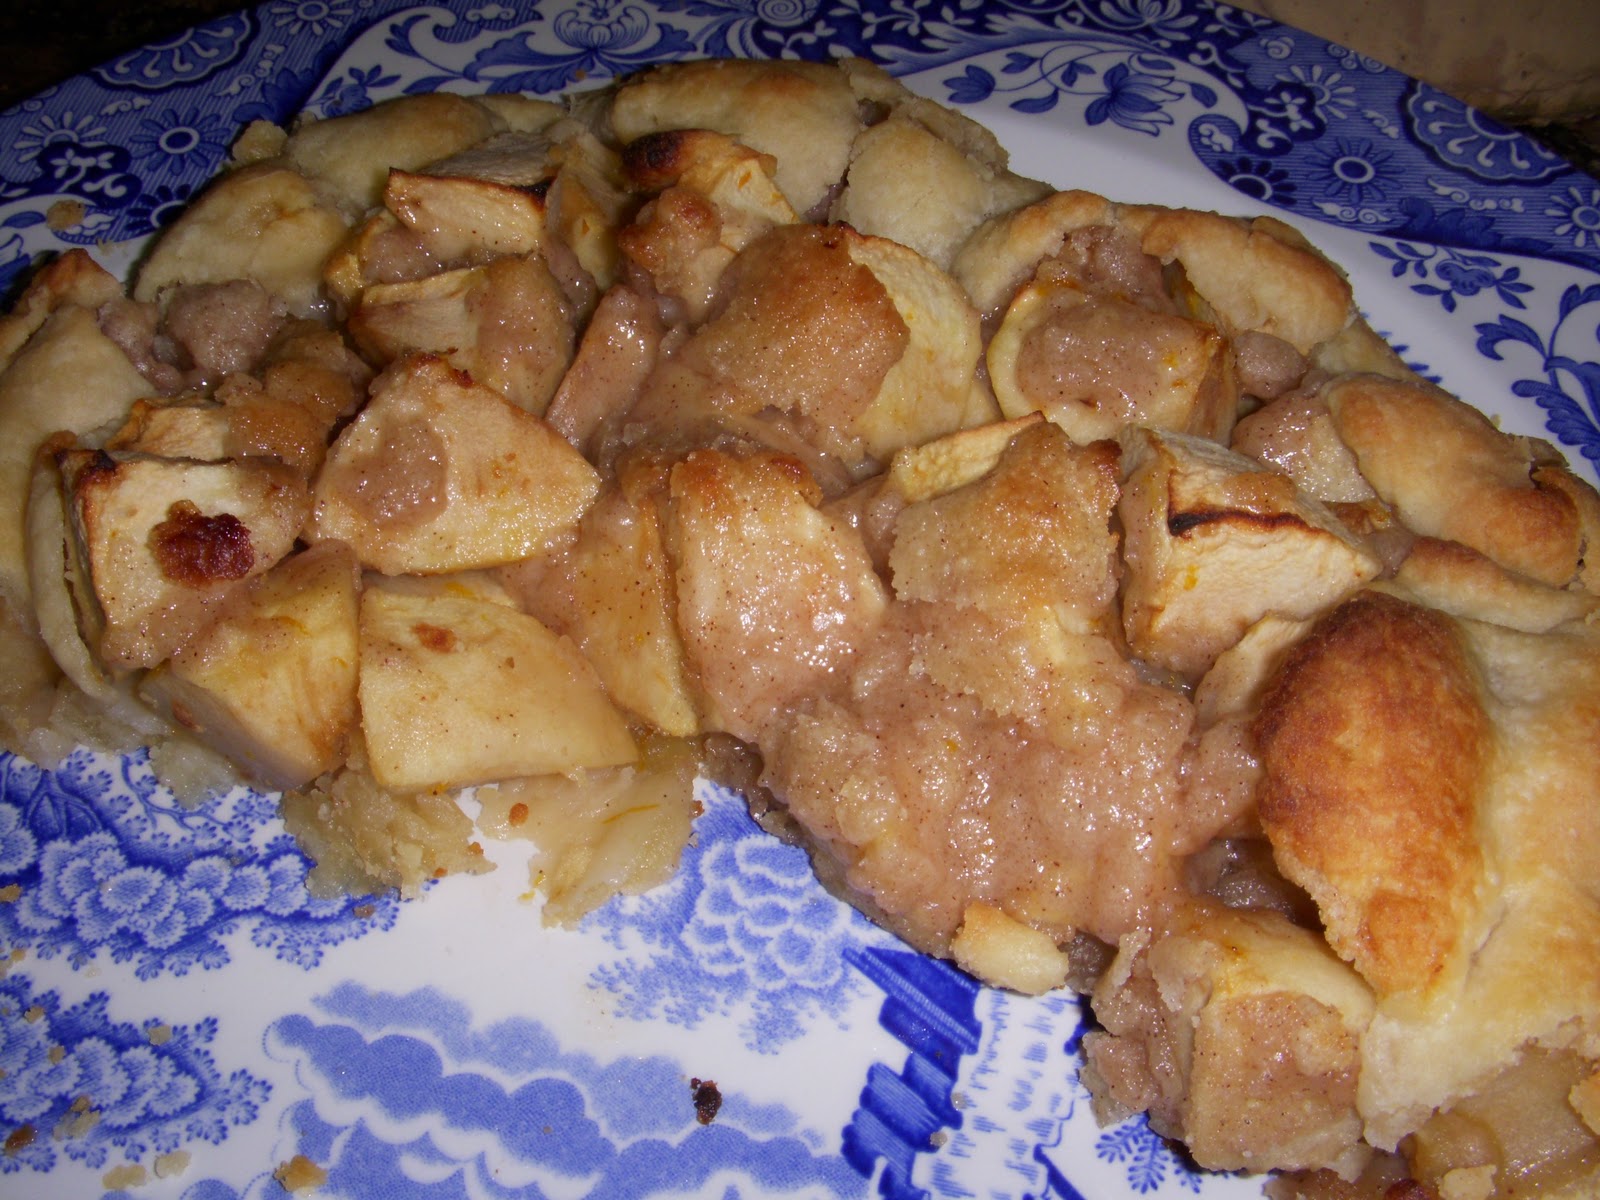
Bake in 450 degree oven for 20-25 minutes or until crust is golden and apples are tender.  (My apples were not tender, so I turned the oven down to 350 degrees, covered the crostata in foil, and baked it for another 15 minutes).

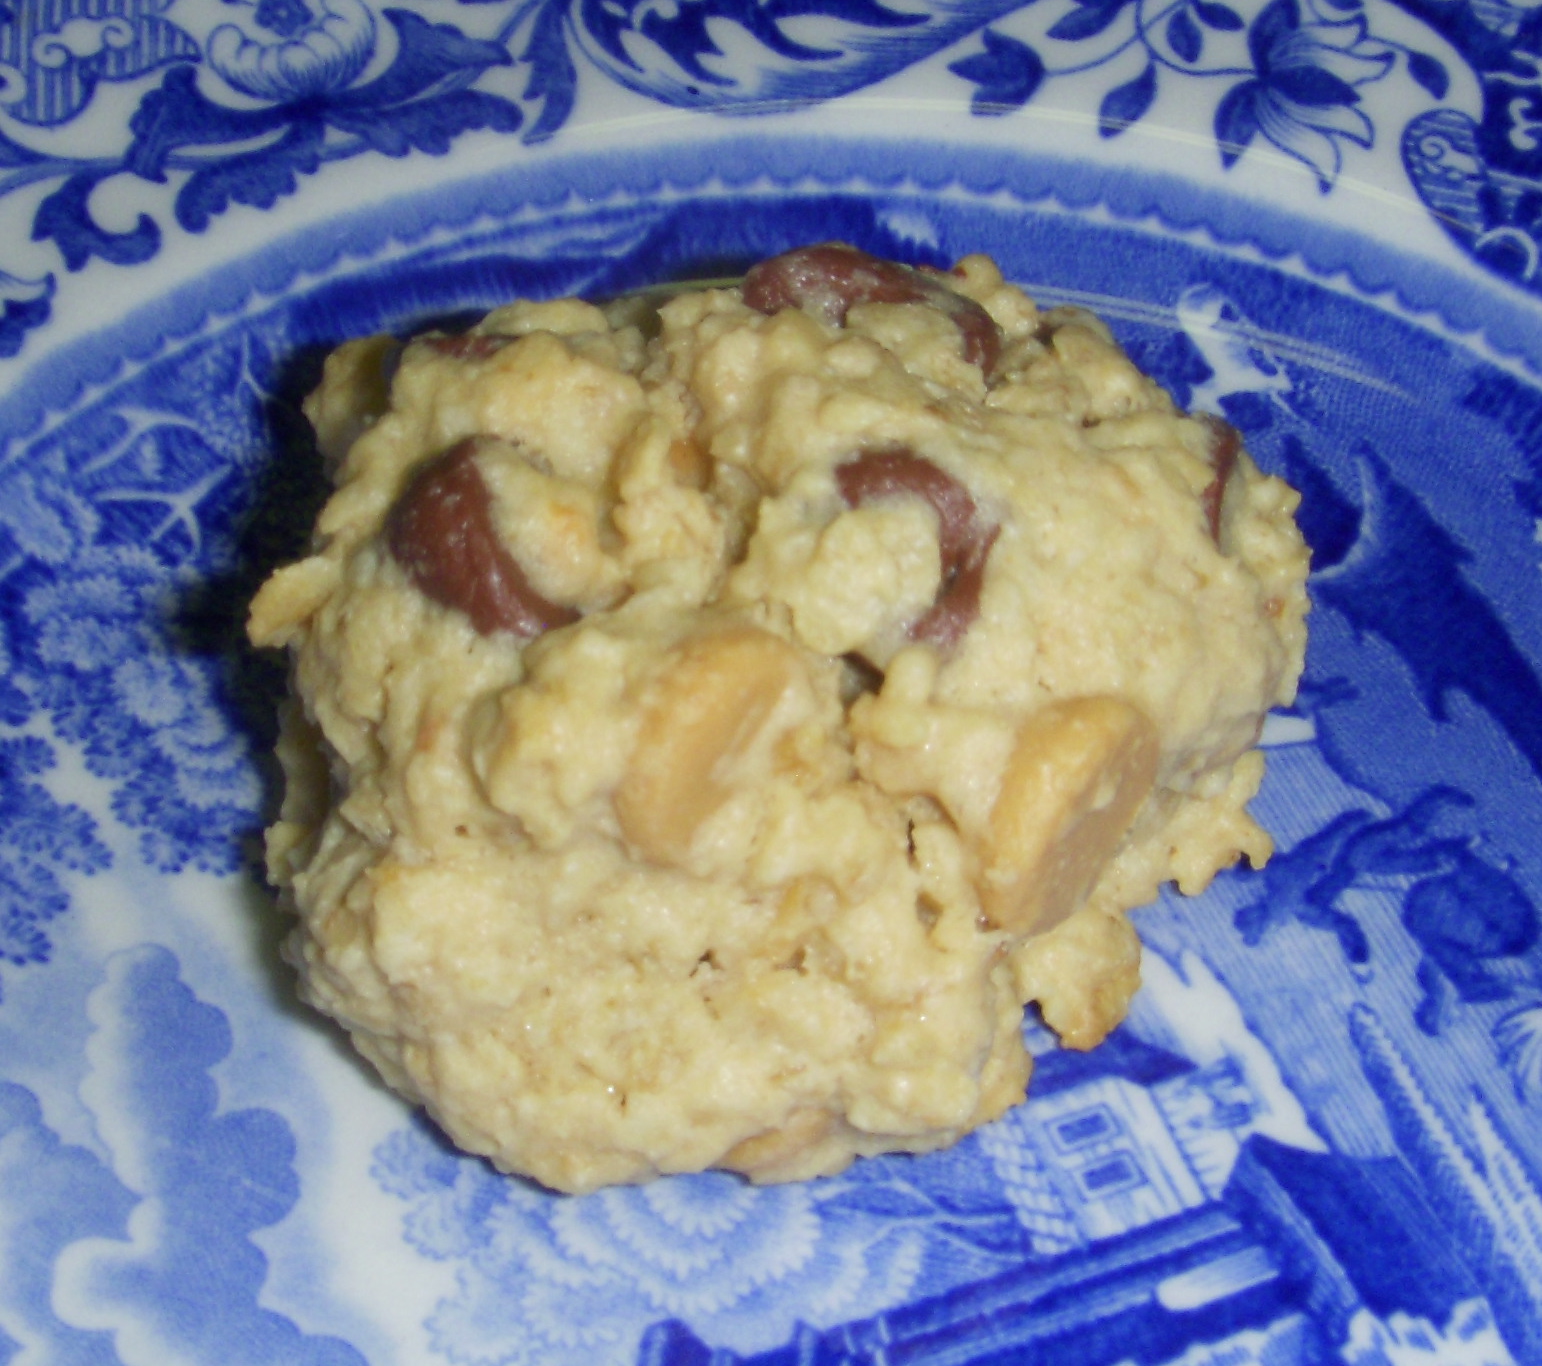
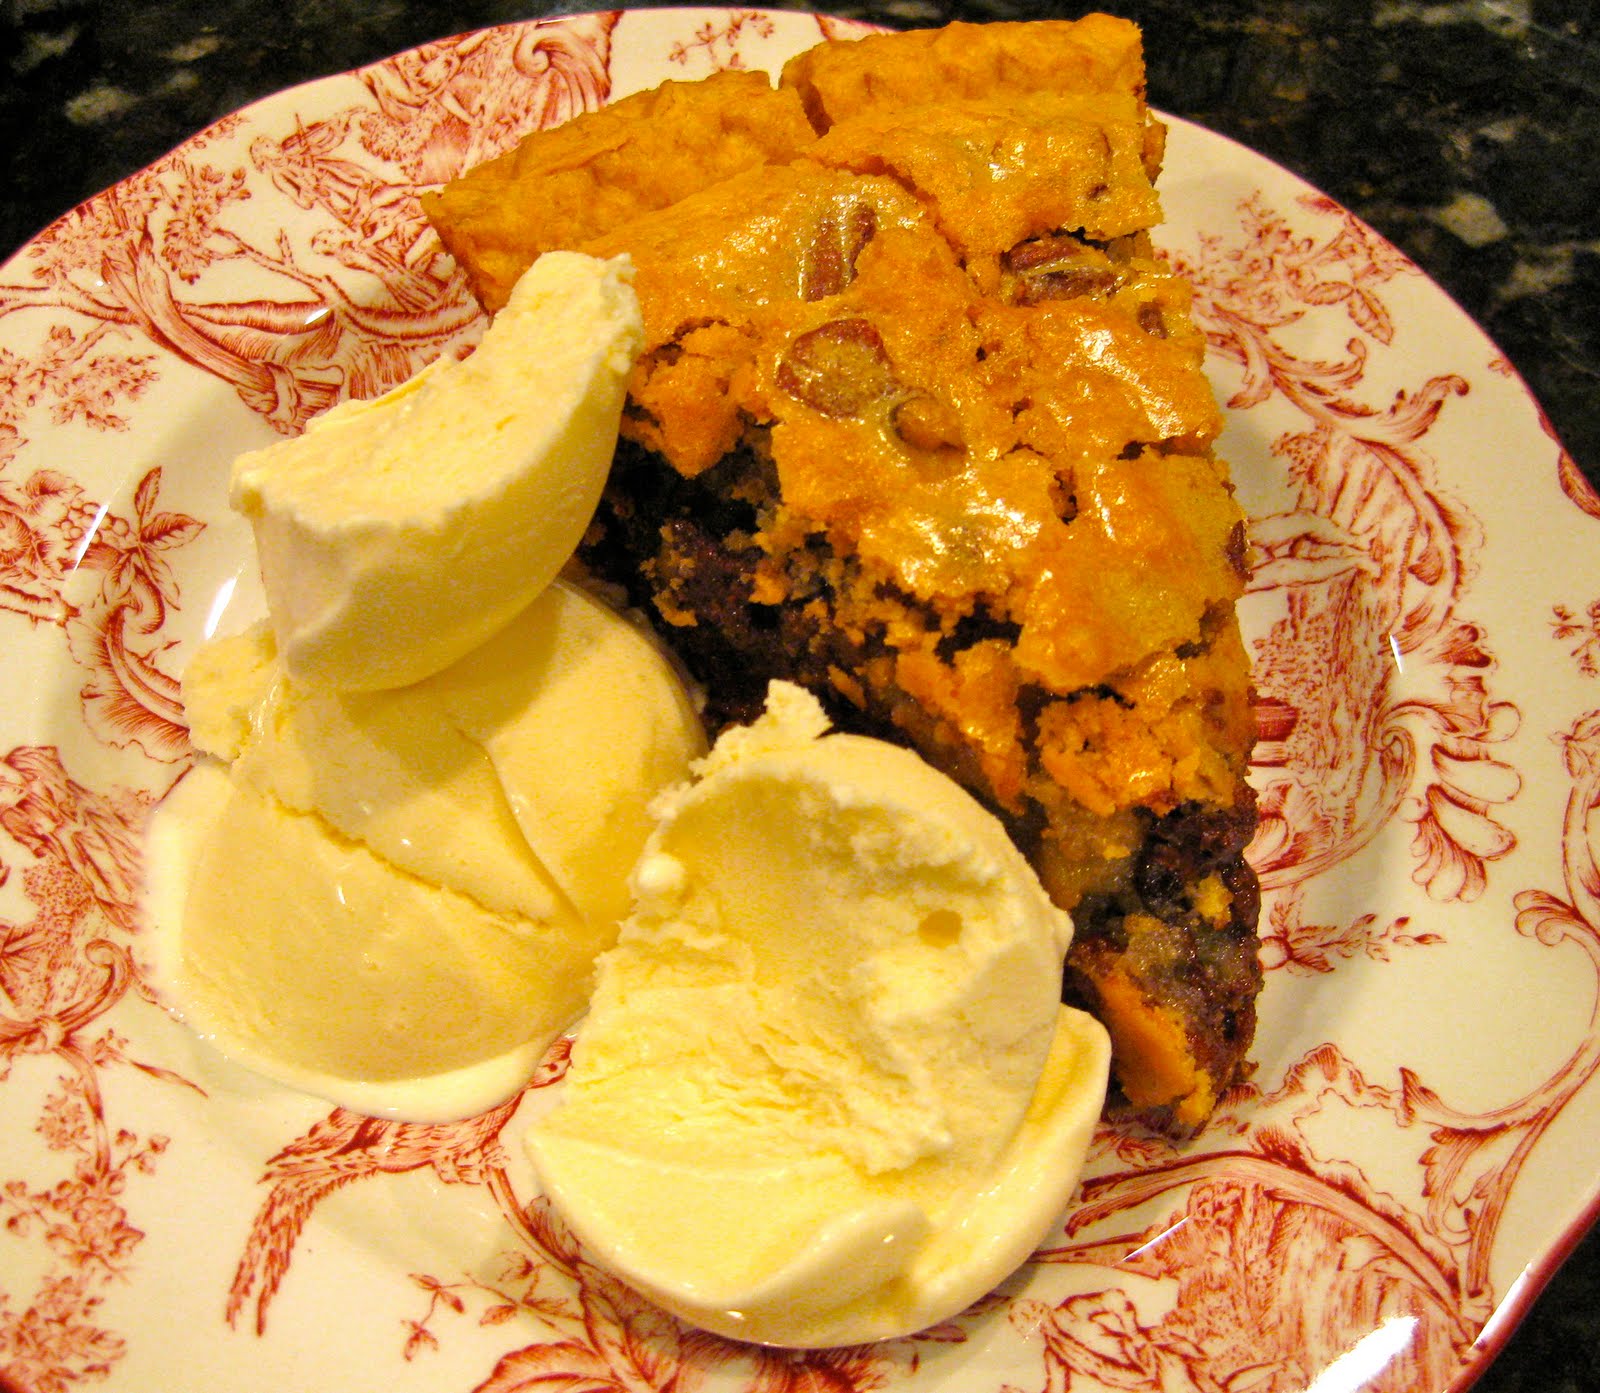
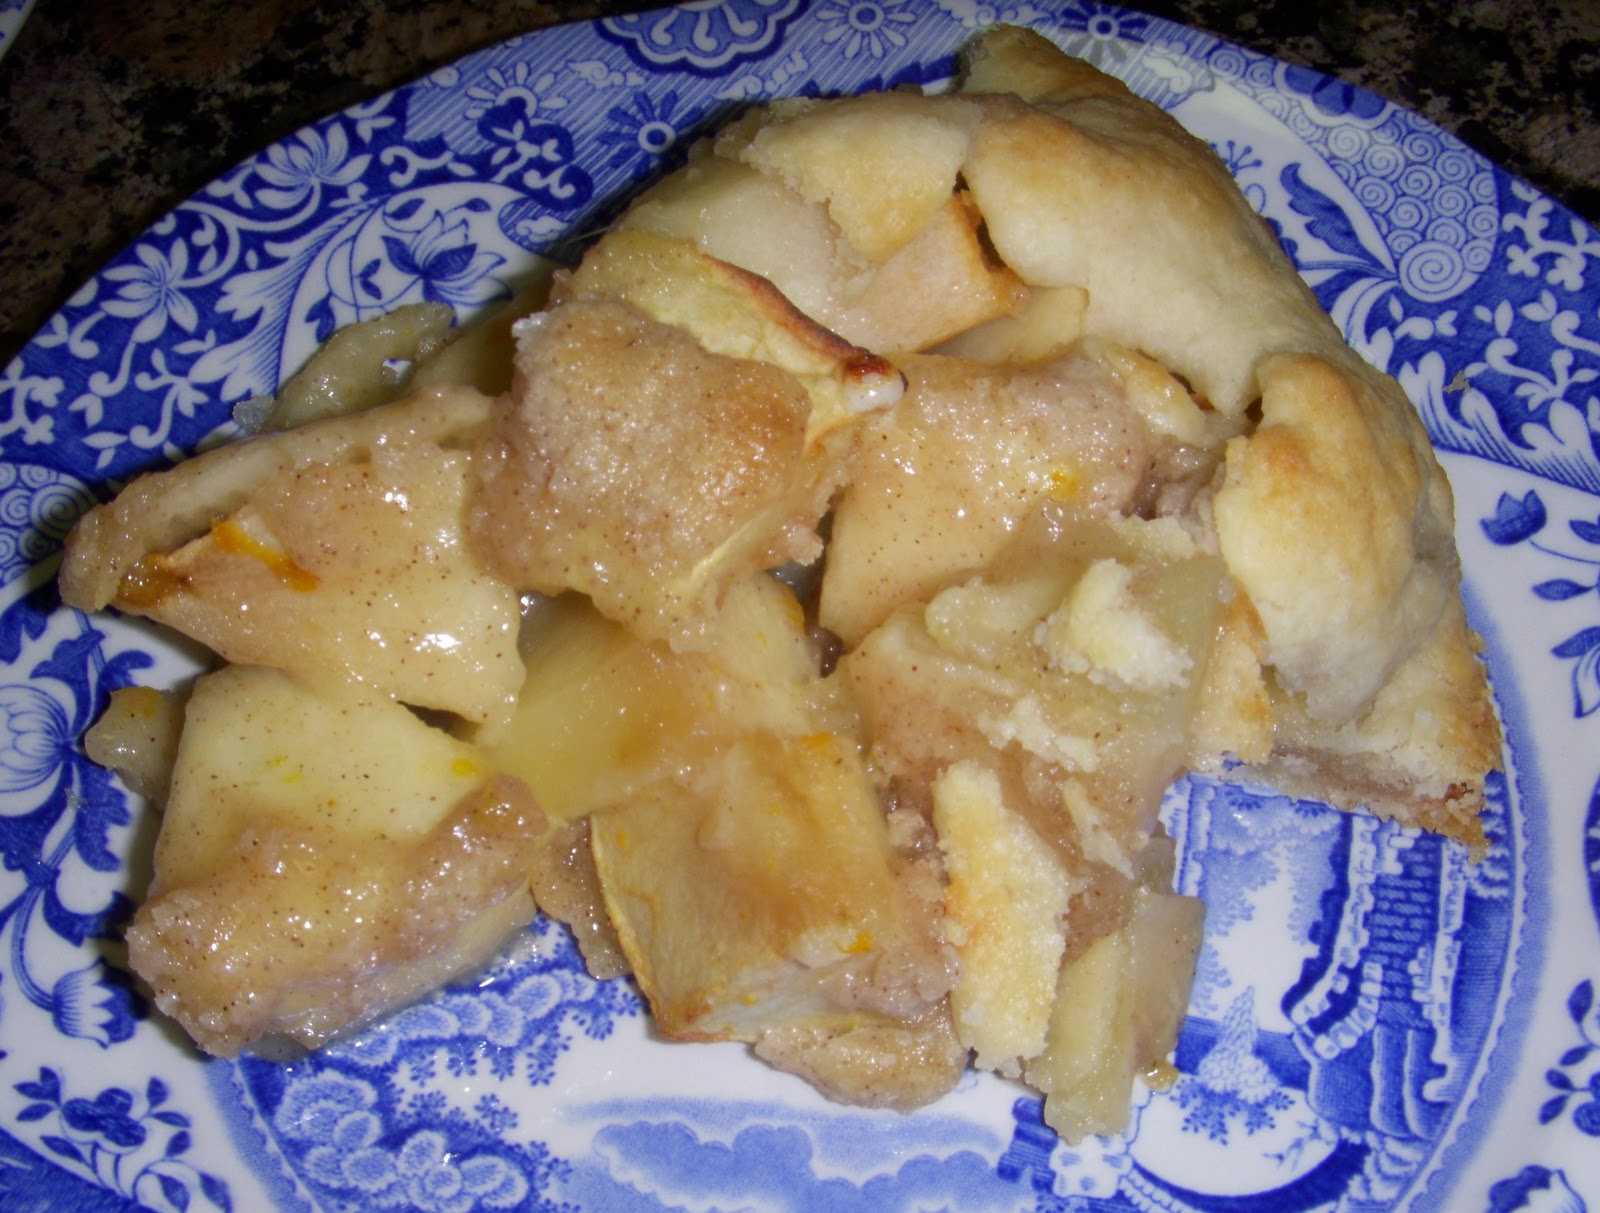
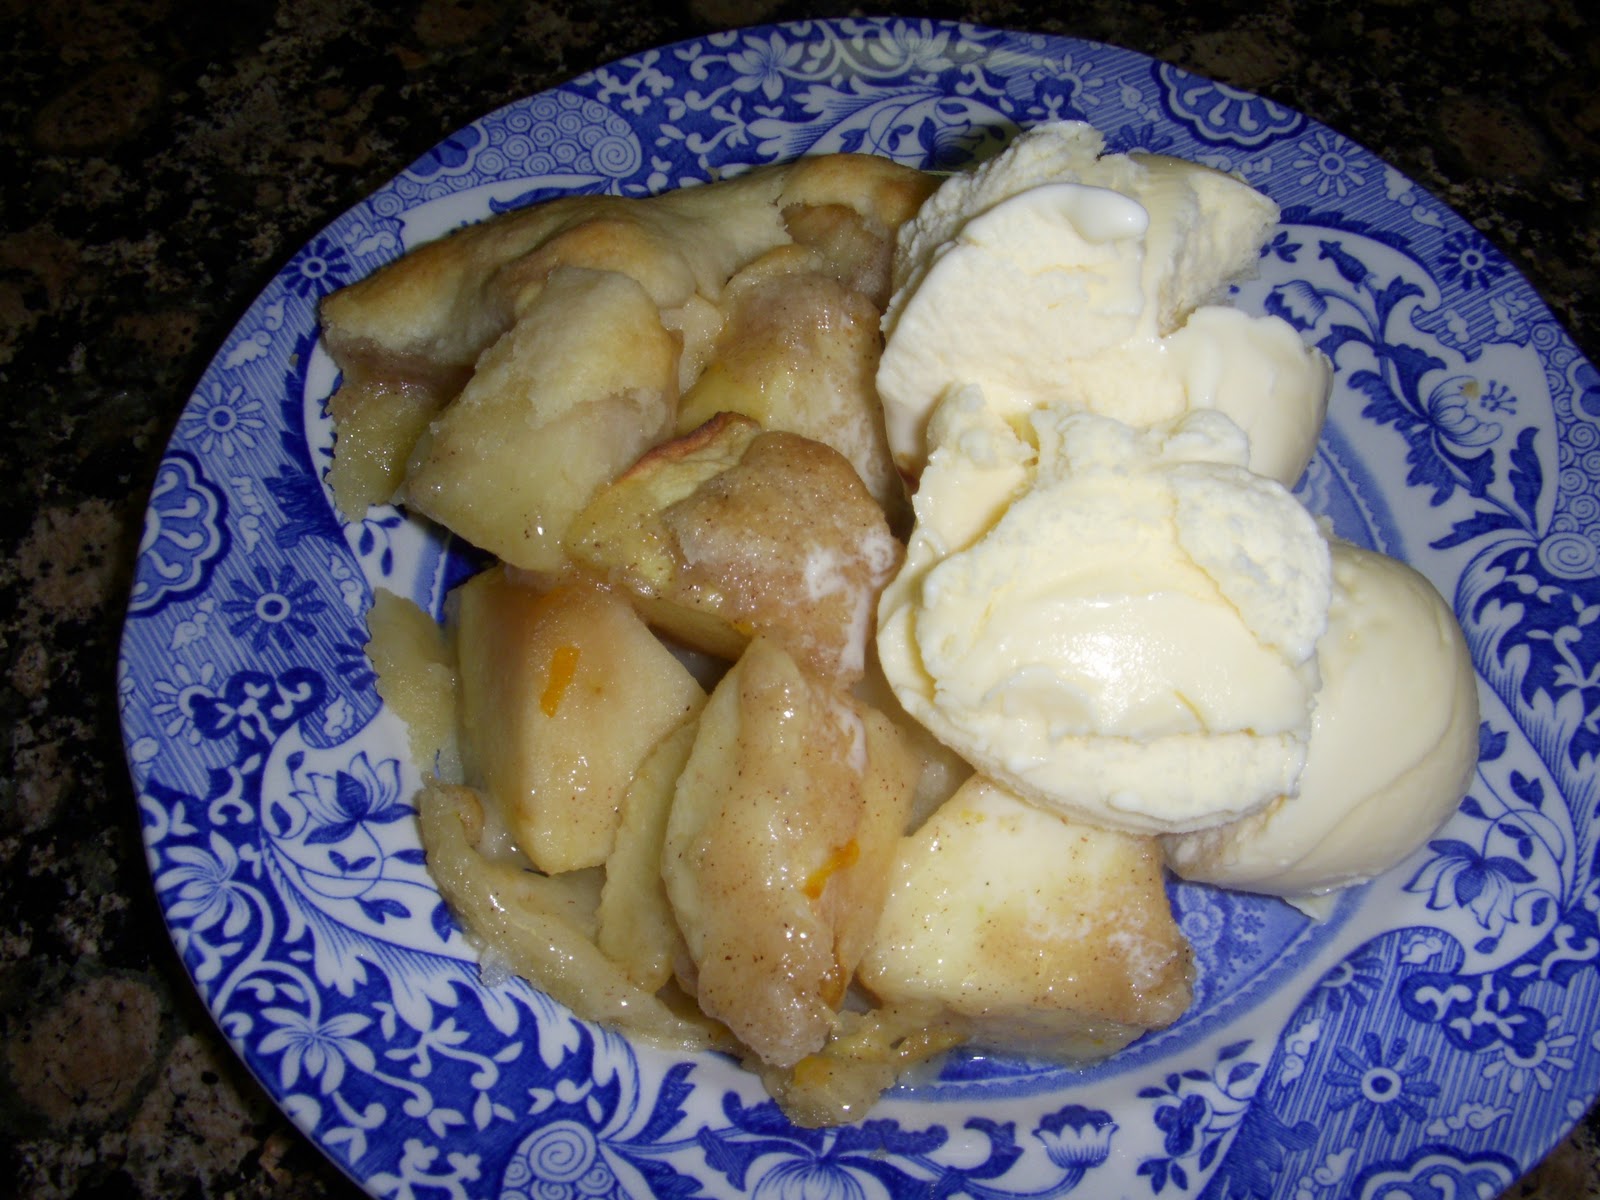
Cut into slices and serve warm or at room temperature.

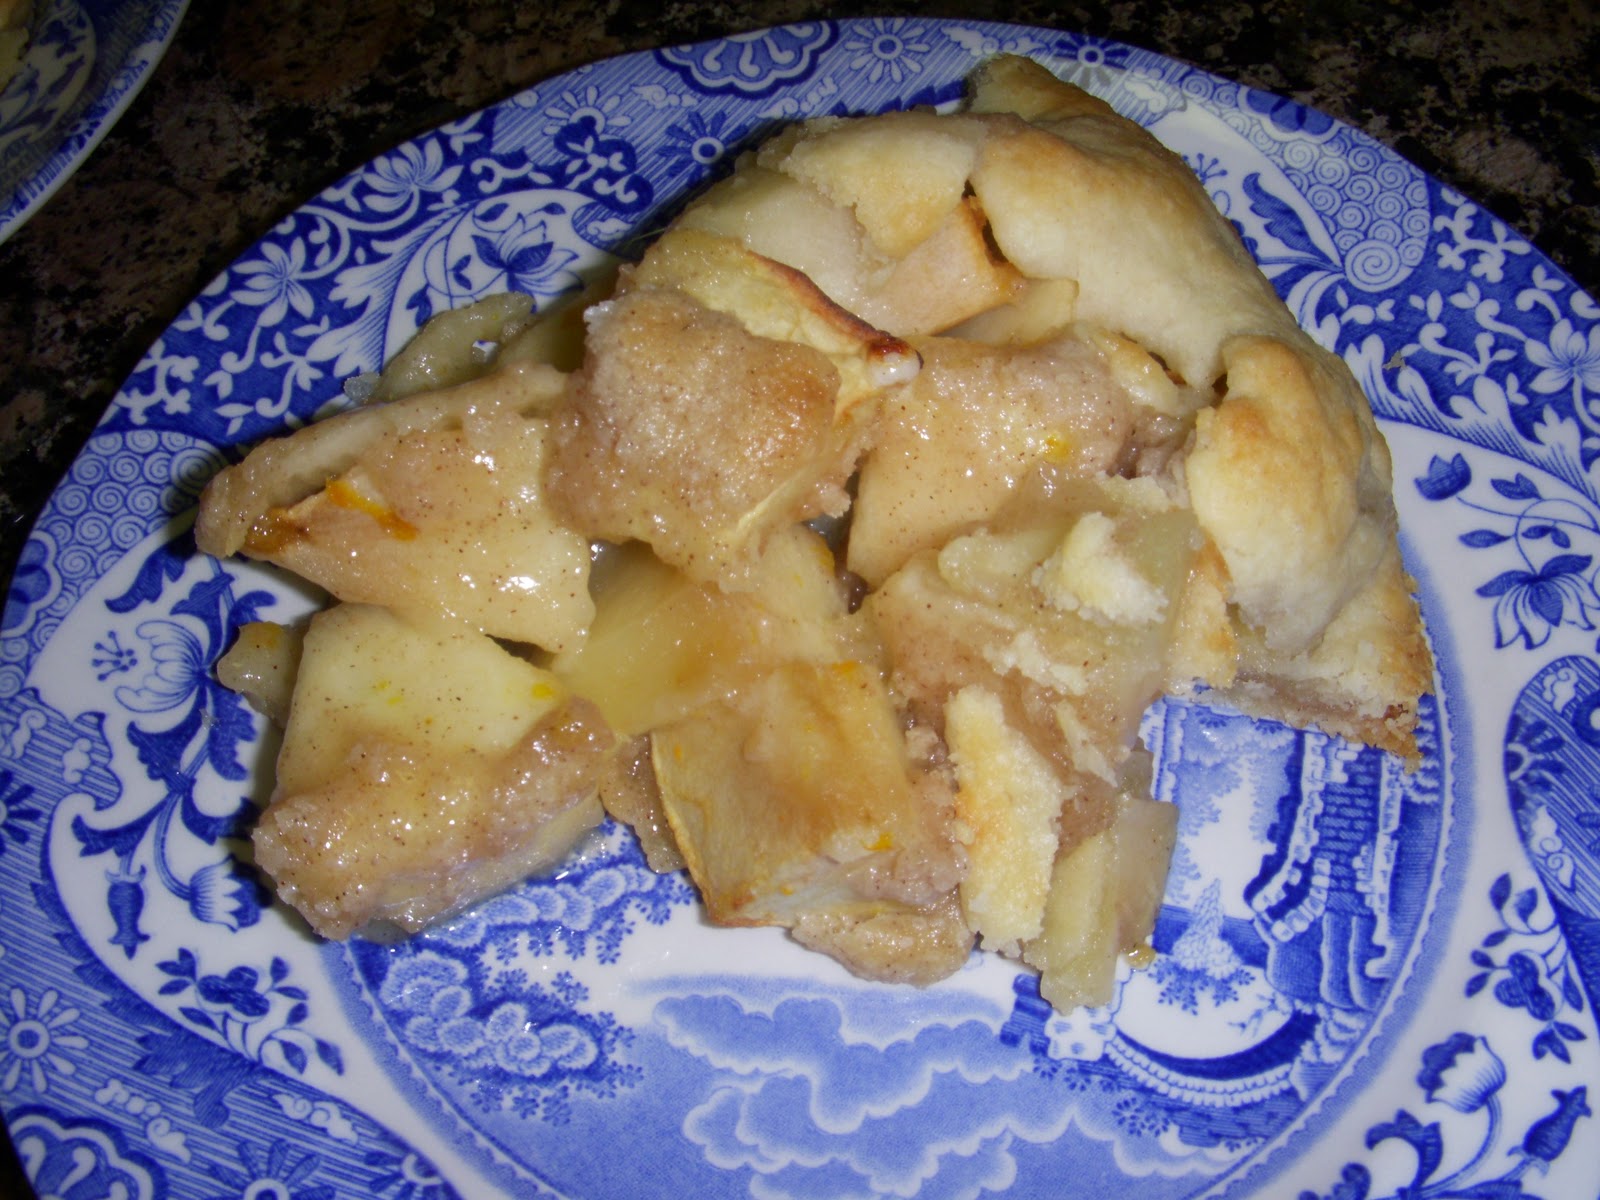
Optional:  Top with lots of vanilla ice cream!


Apple Crostata
Ingredients
For the pastry:
1 cup all-purpose flour
2 tbsp granulated or superfine sugar
1/4 tsp kosher salt
1/4 pound (1 stick) very cold unsalted butter, diced
2 tbsp ice water

For the filling:
1 1/2 pounds McIntosh, Macoun, or Empire apples (3 large) (I used Gala apples)
1/4 tsp grated orange zest
1/4 cup flour
1/4 cup granulated or superfine sugar
1/4 tsp kosher salt
1/4 tsp ground cinnamon
1/8 tsp ground allspice
4 tbsp (1/2 stick) cold unsalted butter, diced

Directions
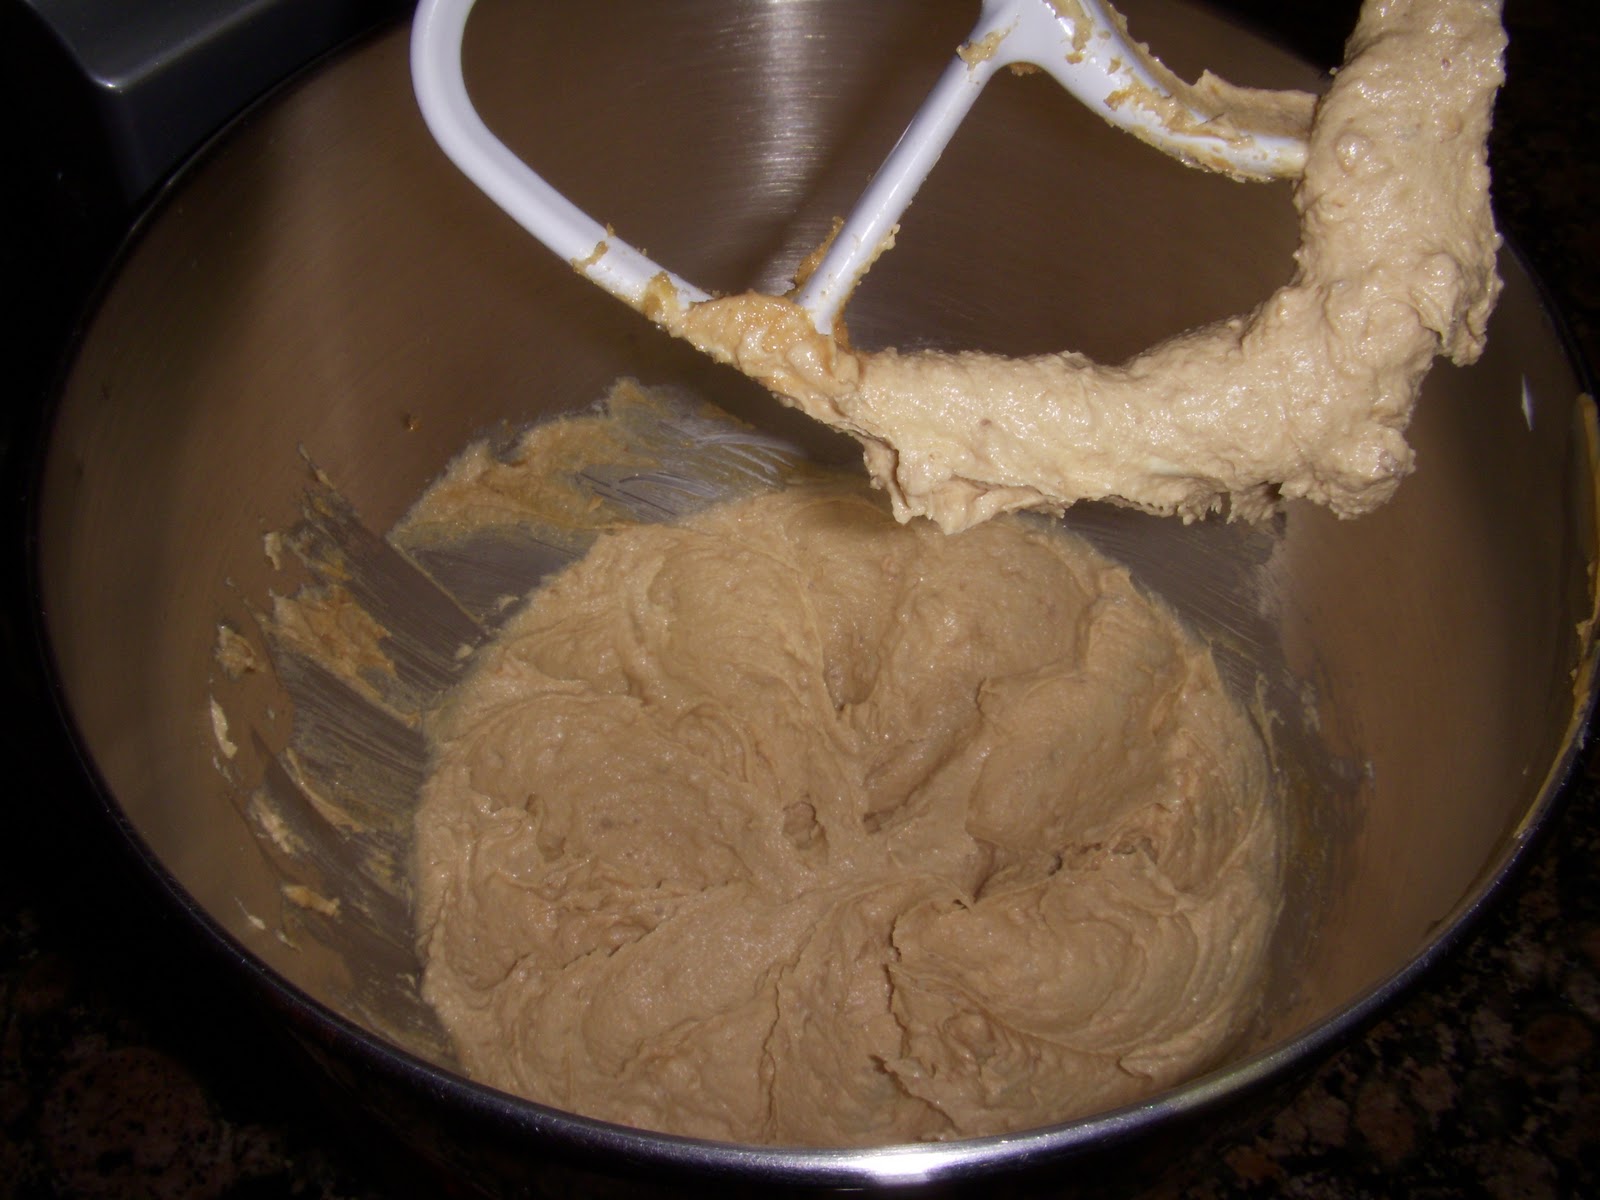
1.  For the pastry, place the flour, sugar, and salt in the bowl of a food processor fitted with a steel blade.  Pulse a few times to combine.  Add the butter and pulse 12 to 15 times, or until the butter is the size of peas.  With the motor running, add the ice water all at once through the feeding tube.  Keep hitting the pulse button to combine, but stop the machine just before the dough becomes a solid mass.  Turn the dough onto a well-floured board and form into a disk.  Wrap with plastic and refrigerate for at least 1 hour.
2.  Preheat the oven to 450 degrees F.
3.  Flour a rolling pin and roll the pastry into an 11-inch circle on a lightly floured surface.  Transfer it to a baking sheet.
4.  For the filling peel, core, and cut the apples into 8ths.  Cut each wedge into 3 chunks.  Toss the chunks with the orange zest.  Cover the tart dough with the apple chunks leaving a 1 1/2-inch border.
5.  Combine the flour, sugar, salt, cinnamon, and allspice in the bowl of a food processor fitted with a steel blade.  Add the butter and pulse until the mixture is crumbly.  Pour into a bowl and rub it with your fingers until it starts holding together.  Sprinkle evenly on the apples.  Gently fold the border over the apples to enclose the dough, pleating it to make a circle.
6.  Bake the crostata for 20 to 25 minutes, until the crust is golden and the apples are tender.  Allow to cool.  Serve warm or at room temperature.

Yield: 6 servings

Peanut Butter Oat Chippers


Here’s another cookie recipe we stumbled across called Peanut Butter Oat Chippers.  As you know, my family and I LOVE cookies, and we LOVE trying new cookie recipes.  If you like peanut butter and chocolate, these “golf ball” sized cookies will be a wonderful treat for you to try.  My sister and I both made these this week.  She gave hers to the Oklahoma State cross country team after their race, and they devoured them.  I took mine to work and they had “disappeared” by 11:00 am!

This recipe comes from Linda J. Amendt’s “400 Sensational Cookies” cookbook.  Enjoy!!

Cream together butter, peanut butter, and sugars, until fluffy.  Add eggs one at a time, beating after each addition.  Then beat in vanilla.

In a large bowl, whisk together flour, baking powder, and salt.

On low speed, gradually beat in the flour mixture.

Gradually stir in oats.

By hand, fold in chocolate and peanut butter chips.

Using a cookie scoop, drop tablespoonfuls onto cookie sheet lined with parchment paper.

Bake in 350 degree oven for 12 minutes, or until edges start to turn lightly golden.  Slide parchment paper on cooling rack to cool.  After 5 minutes, transfer cookies from parchment paper to cooing rack and cool completely.

Serve with a glass of cold milk.


Peanut Butter Oat Chippers
Ingredients
1 1/2 cups all-purpose flour
1 tbsp baking powder
1/2 tsp salt
3/4 cup unsalted butter, softened
3/4 cup chunky peanut butter
2/3 cup granulated sugar
2/3 cup packed light brown sugar
3 eggs
2 tsp vanilla extract
3 1/2 cups quick-cooking rolled oats
1 1/2 cups chopped semisweet chocolate or semisweet chocolate chips
1 1/2 cups peanut butter chips

Directions
1.  Preheat oven to 350 degrees.  Line cookie sheets with parchment paper.
2.  In a large bowl, whisk together flour, baking powder and salt until well combined.  Set aside.
3.  In a large bowl, using an electric mixer on medium speed, cream butter, peanut butter, granulated sugar and brown sugar until light and fluffy, about 3 minutes.  Add eggs one at a time, beating well after each addition.  Beat in vanilla.  Scrape down sides of bowl.  On low speed or using wooden spoon, gradually add flour mixture, beating until just blended.  Gradually stir in oats.  By hand, fold in chocolate and peanut butter chips.
4.  Using a cookie scoop or spoons, drop tablespoonfuls (15 mL) of dough about 2 inches apart on prepared cookie sheets.  Bake one sheet at a time in preheated oven for 12 minutes or until edges start to turn lightly golden.
5.  Immediately slide parchment paper onto a wire cooling rack.  Cool cookies for 5 minutes, then transfer from parchment paper to cooking rack and cool completely.

Makes about 5 dozen cookies

Chocolate Chip Pie

Chocolate Chip Pie
This Chocolate Chip Pie is the easiest pie in the world to make! It is a cross between a chocolate chip cookie and a pie.  To make this, you can prepare everything in one bowl, no electric mixer needed.  Just mix all the ingredients together and pour into a store-bought pie crust.  The only thing that takes a while, is waiting for the pie to bake:  it takes about 1 hour!  Then enjoy and top with vanilla ice cream.

My mom got this recipe from a lady in her quilting class.   This was one of the first desserts I made for my college friends at our weekly dinner parties.   Enjoy!!!

Combine flour and sugar.

Add beaten eggs and vanilla.

Pour in melted butter.

Whisk.

When butter has cooled down a bit, add the chocolate chips and pecans.

Fold to combine and pour batter into unbaked 10-inch pie shell.

Bake for 55 minutes to 1 hour.

Chocolate Chip PieServe warm with vanilla ice cream.

Chocolate Chip Pie
Serves: 8
Ingredients
  • 2 eggs
  • 1/2 cup melted margarine
  • 1 cup granulated sugar
  • 1/2 cup flour
  • 1 1/2 tsp vanilla
  • 1 cup semi-sweet chocolate chips
  • 1 cup pecan pieces
  • 1 (10-inch) pie shell
Instructions
  1. Directions
  2. Preheat oven to 350 degrees.
  3. Mix eggs, margarine, sugar, flour, and vanilla together.  Stir in chocolate chips and pecan pieces.
  4. Pour into 10-inch pie shell.  Bake for 55 minutes to 1 hour.  Serve with whipped topping or vanilla ice cream.
Notes
Never stir in chocolate chips into warm melted margarine.  They will melt, and you will have a completely different pie!

Chicken Milanese

chicken milanese 

Love, love this Chicken Milanese recipe from Fine Cooking Magazine. Not only is is super easy to make, it’s a meal all-in-one!

Matt, who’s not a big salad eater actually likes this and finishes his plate, including the salad portion!

The depth of flavor is outstanding from the red wine, dijon mustard vinaigrette accompanied by the nutty arugula, fresh tomatoes, and savory breaded chicken. My mom found this Chicken Milanese recipe from the “Fine Cooking” magazine, “The Best of Chicken 2010 Issue”, and I would definitely consider it one of the best chicken recipes out there!

This dish is super simple but it feels like you’re eating at a 5-star restaurant.  It is elegant, delicious, and a crowd pleaser.  Enjoy, you will love it!!!

DSCN4420
Whisk olive oil, red wine, shallots, dijon mustard and garlic.
DSCN4421
Toss in tomatoes.
DSCN4428
Add arugula.
DSCN4424
Dip chicken in beaten egg.
DSCN4425
Coat chicken in breadcrumbs.
IMG_3701-1024x682
Saute chicken in butter and olive oil, until golden brown and done.

chicken milanese

IMG_3705

Chicken Milanese
Serves: 2
Adapted from Fine Cooking Magazine
Ingredients
  • 1 Tbsp minced shallot
  • 2 tsp red wine vinegar
  • 1/2 tsp Dijon mustard
  • 1 small clove garlic, mashed to a paste with 1/4 tsp kosher salt with the side of a chef’s knife
  • 2 Tbsp plus 2 tsp extra-virgin olive oil
  • 1 medium (6-oz.) ripe tomato, cut into 8 wedges
  • 2 boneless, skinless chicken breast halves
  • 1 large egg
  • 1 cup dry homemade or store-bought medium-fine breadcrumbs
  • 2 Tbsp unsalted butter
  • 4 oz. baby arugula, washed and spun dry (4 cups loosely packed)
Instructions
  1. In a large bowl whisk the shallot, vinegar, mustard, garlic paste, and a large pinch of pepper. Add 2 tablespoons of the olive oil in a slow, stead stream, whisking constantly, until the dressing emulsifies. Add the tomatoes to the vinaigrette and set aside until ready to serve, up to 2 hours.
  2. Mix 1/4 teaspoon each salt and pepper in a small cup. Pound the chicken to 3/8 thick between two sheets of wax paper. Season with some of the salt and pepper.
  3. Beat the egg in a wide shallow bowl until smooth. Spread the breadcrumbs on a plate. Dip a chicken breast into the egg, coating thoroughly and shaking off any excess. Then dip it into the breadcrumbs, patting on the crumbs so both sides are well coated and shaking off any excess. Lay the breaded breast on a sheet of wax paper. Repeat with the other chicken breast.
  4. Heat the butter and the remaining 2 teaspoons olive oil in a large (12-inch), heavy skillet over medium-high heat. When the oil is hot enough to sizzle a breadcrumb, add the chicken breasts, keeping them separated. Cook, shaking the pan occasionally, until golden brown, about 2 minutes. Season each breast with some of the salt and pepper, gently turn over with tongs, taking care to keep the golden crust intact, and cook until the second side is golden brown, 1 to 2 minutes. Watch carefully and don’t let the crumbs get too dark. Season with salt and pepper and drain for just a moment on paper towels.
  5. To serve, add the arugula to the vinaigrette and tomatoes and toss. Arrange the sauteed chicken on warm serving plates and top each with a tall pile of the salad.


Perfect Banana Walnut Bread


Well, as you can see, my family and I LOVE banana bread!  This is my third banana bread recipe to post, so it is now up to you to decide which one you like the best! (My other two posts are Banana Bread and Coconut Banana Nut Bread).   In my opinion, the name says it all;  Perfect Banana Walnut Bread…that is just what it is… perfect!  This is a quick bread recipe that is one of the easiest to make, and you are more than likely to have all the ingredients on hand!

This Perfect Banana Walnut Bread recipe comes from Nick Malgieri’s cookbook, “Bake! Essential Techniques for Perfect Baking”.  In his book, he quotes, “There are only two secrets to making perfect banana bread:  use very ripe bananas with spotted or darkened skin and measure the quantity of mashed bananas.  All too often, home bakers mash a couple of bananas and just throw the resulting quantity into the batter – and usually it’s either too much or too little.  I like to add some chopped walnuts for texture; you could add raisins, currants, or even shredded sweetened coconut”.  Enjoy this one!

Stir together the flour, sugar, baking powder, and salt.


Whisk together the eggs.

Mash the bananas with a potato masher.


Whisk the bananas in with the eggs.


Now whisk in the butter.


Finally, whisk in the vanilla until smooth.  (My sister was an Emerald Belle… go Carroll Dragons!)


Pour the liquids into the bowl of the dry ingredients.


Using a rubber spatula, fold the ingredients in together.


Lastly, fold in the floured walnuts.


Pour the batter into a prepared loaf pan and smooth the top.


Bake the bread in a 350 degree oven for 55 to 60 minutes, or until a knife inserted in the center emerges clean.  Cool in pan on a rack for 10 minutes, then remove from pan and let cool completely.


Perfect Banana Walnut Bread
Serves: 16 slices
Yield: 1 (9×5-inch) loaf pan
Ingredients
  • 2 1/3 cups all-purpose flour (spoon into a dry-measure cup and level off)
  • 3/4 cup sugar
  • 2 1/2 tsp baking powder
  • 1/2 tsp salt
  • 2 large eggs
  • 1 1/2 cups mashed bananas (use a potato masher or a fork), about 3 medium
  • 8 tbsp (1 stick) unsalted butter, melted
  • 2 tsp vanilla extract
  • 1 cup walnut pieces (we used pecans), coarsely chopped and tossed with 1 tbsp flour
Instructions
  1. Set a rack in the middle level of the oven and preheat to 350 degrees F. Grease a 9 x 5 x 4 inch loaf pan, buttered and the bottom lined with a parchment or butter wax paper. (We used a silicone, non-stick loaf pan…therefore no need to grease it!)
  2. In a large mixing bowl, stir together the flour, sugar, baking powder, and salt.
  3. In another bowl whisk together the eggs to break them up, then whisk in the bananas, butter, and vanilla one at a time, whisking smooth between additions.
  4. Pour the liquids into the bowl of dry ingredients and use a large rubber spatula to fold them in. Fold in the floured walnuts.
  5. Scrape the batter into the prepared pan and smooth the top.
  6. Bake the bread until it is well risen and golden in color and the point of a pairing knife inserted in the center emerges clean, 55 to 60 minutes.
  7. Cool in the pan on a rack for 10 minutes, then unmold, remove the paper, and cool the loaf right side up.
Notes
Wrap the loaf in plastic after it has cooled completely and store it that way. For advance preparation, double wrap and freeze, then unwrap and bring to room temperate before serving.

Chocolate Peanut Crinkles


This is only the second time I’ve eaten a chocolate crinkle, and I LOVE them!  These soft, fudgy, chewy cookies with white, cracked confectioners’ sugar resemble the ordinary chocolate crinkle cookies you see at Christmas time, but the similarity stops there.  The difference in these is the gentle crunch you taste from the crushed peanuts before the cookies seem to melt on your tongue like a soft chocolate ganache.  Feel free to use any type of nuts you have on hand – hazelnuts, walnuts, peanuts, or almonds would work just as well in this recipe.

This Chocolate Peanut Crinkle cookie recipe comes from Bill Yosses and Melissa Clark’s cookbook, “The Perfect Finish: Special Desserts for Every Occasion”.  Bill Yosses is the Executive Pastry Chef at the White House.  Enjoy!!!

PS- I must give credit to my mom and sister for making the dough of these cookies.  I was out shopping in Dallas for the afternoon while they were back at home baking!  However I was home in time to help roll and bake the chocolate peanut crinkles!

In a food processor, finely chop the nuts with the granulated sugar.


In a double boiler, melt the chocolate.

Cream together the brown sugar and butter until light and fluffy.  Add the eggs one at a time, until incorporated.


Beat in the melted chocolate, stopping the mixer to scrape down the sides before beating again.


Mix in the milk and vanilla.


Mix in the flour mixture in three additions.


Fold in the nuts.


Form the dough in a ball, cover with plastic wrap, and refrigerate for at least 3 hours or overnight.


Measure out powdered sugar/confectioners’ sugar in a shallow bowl.


Scoop out a heaping tablespoon of dough and roll into a ball.  Coat generously with powdered sugar and transfer to a baking sheet.


Bake in a 350 degree oven for 12 to 15 minutes, until cracked, but not completely firm.


Cool on the baking sheet for 2 minutes, then transfer to a wire rack to cool.


Serve the crinkles with a cold glass of milk.  Enjoy!!


Chocolate Peanut Crinkles
Ingredients
2/3 cup toasted, skinned unsalted peanuts
2 tbsp granulated sugar
6 ounces bittersweet chocolate (preferably 60 to 66% cacao content), chopped (about 1 cup)
2 3/4 cups all-purpose flour
2 tbsp Dutch-processed unsweetened cocoa powder
2 tsp baking soda
3/4 tsp salt
1 1/2 cups light brown brown sugar
8 tbsp (1 stick) unsalted butter, softened, plus additional for the pan
2 large eggs
1/4 cup whole milk
1 tsp vanilla extract
3/4 cup confectioners’ sugar

Directions
1.  In the bowl of a food processor fitted with the blade attachment, finely chop the nuts with the granulated sugar.  In the top of a double boiler or in a bowl set over (not in) in a pot of simmering water, melt the chocolate.
2.  In a large bowl, sift together the flour, cocoa powder, baking soda, and salt.  In the bowl of an electric mixer fitted with the paddle attachment, cream the brown sugar and butter until light and fluffy.  Add the eggs one at a time, until incorporated.  Beat in the melted chocolate, stopping the mixer to scrape down the sides before beating again.  Mix in the milk and vanilla.  Mix in the flour mixture in three additions.  Fold in the nuts.
3.  Form the dough into a ball and cover tightly with plastic wrap.  Refrigerate the dough for 3 hours or overnight.
4.  When you are ready to bake the cookies, preheat the oven to 350 degrees F.  Grease two 11 x 17-inch baking sheets with the unsalted butter.  Place the confectioners’ sugar in a wide, shallow bowl.  Scoop out a heaping tablespoon of dough and roll into a ball.  Coat generously with sugar and transfer to a baking sheet.  Repeat with the remaining dough and sugar.
5.  Bake the cookies, turning the baking sheets from back to front and switching them between the top rack and the bottom halfway through, until cracked but not completely firm, 12 to 15 minutes.  Let cool on the baking sheet so they can firm up a bit, about 2 minutes, then use a spatula to transfer to a wire rack to cool.  These can be stored in an airtight container for up to 2 days.

Yield:  3 dozen (1 3/4-inch) cookies

Chicken Kiev (Stuffed Chicken Breasts)

Chicken Kiev has its origins in Ukraine, and is a recipe involving chicken breast pounded and rolled around cold garlic butter and herbs, and then baked or fried.  It is wonderful and a crowd pleaser!  I remember making this for my friends in college for our weekly dinner parties.  Everyone loved it!  This dish is very moist, and the butter melts out of the chicken as you cut into it.

Occasionally, I will alter this recipe by changing the ingredients “stuffed” inside the chicken.  For example, I put a “Greek” spin on this by rolling spinach and feta cheese inside the chicken rather than the butter-garlic mixture.  It was amazing!  Feel free to substitute other ingredients for the inside of the chicken breast such as ham and swiss, cheddar, peppers, etc.

This recipe is an alteration from the cookbook, “Ricky Lauren:  Cuisine, Lifetime and Legend of the Double RL Ranch”.  Ricky Lauren is the famous Ralph Lauren’s wife.   Enjoy!!!

Pound chicken breast until very thin.  Combine butter, garlic, and chives, and place one portion on the flattened chicken breast.

Roll chicken breast around the butter mixture, forming an “envelope”.  Secure edges with toothpicks.

Dredge rolled chicken in flour, then egg, then Panko crumbs.

Place chicken in a preheated 425 degree oven and bake for 25 minutes, or until no longer pink.  Serve immediately.

Chicken Kiev (Stuffed Chicken)
Ingredients
4 skinless, boneless chicken breasts, halved
1/2 tsp salt
1/4 tsp ground black pepper
4 tbsp unsalted butter
2 cloves garlic, chopped
4 tbsp chopped chives
1/2 cup all-purpose flour
2 eggs, beaten
1 cup Panko (Japanese bread crumbs)
vegetable cooking spray

Directions
1.  Preheat oven to 425 degrees.  Spray an oven-proof dish with nonstick vegetable cooking spray.
2.  Pound chicken breasts until thin between wax paper.  Season chicken with salt and pepper.
3.  Mix butter, garlic, and chives.  Divide into 8 portions.
4.  Place 1 portion of butter in center of each breast and fold edges to center like an envelope, overlapping edges to seal in butter.  Rub edges with flour and insert toothpicks to seal.
5.  Dredge rolled chicken in flour, egg, and then Panko crumbs.
6.  Place in ovenproof dish sprayed with vegetable oil and bake for 25 minutes or until no longer pink.  Serve immediately.

Yield:  8


“Greek” Style Chicken Kiev
Ingredients
Same as above, except substitute spinach and feta cheese for the butter, garlic, and chives.

Directions
Same as above.

Pound chicken breasts and top with fresh spinach leaves and feta cheese.

Roll up chicken breast and secure with toothpicks.  Dredge in flour, egg, then Panko crumbs.

Bake in a 425 degree oven for 25 minutes, or until no longer pink.

Mom’s Secret Ingredient Brownies

This is my mom’s “famous” brownie recipe.  She has made them ever since I can remember and everyone at my dad’s work requests her to make these for company luncheons. My husband Matt is also a huge fan. One time he requested I make them three weekends in a row! By then, I was a little sick of them. 🙂

I’ve got lots of stories revolving around these brownies. One time a made these for some friends when I was in college. My best friend at the time told me that she had never heard of nor eaten “homemade” brownies!! WHAT? How is that possible, I thought?  She had always eaten brownies from a box. I of course introduced her to some homemade cookies too. Boy, she was sure missing out! Now she emails me all the time for recipes.

Another time was when Matt and I were at the lake with family. His cousins had just made brownies from a box. Since we were all chocoholics and finished the brownie pan in one night, Matt told everyone that they must try my secret ingredient brownies. We went to the store the next day and I taught Matt’s cousins how to bake using this recipe. I remember his youngest cousin just sitting in front of the oven, starring at it for 35-40 minutes while they cooked because she was so excited to try those brownies!

My dad always has people try and guess the secret ingredient.  Can you guess by the picture?  Well, the secret ingredient is…..MARSHMALLOWS!  During cooking time, the brownies puff up, but once they cool, the marshmallows seem to “disappear” and you are left with a large airy pocket within the brownies.

These are moist, chocolatey, chewy, and our most favorite brownie recipe.  I eat mine with a scoop of homemade vanilla ice cream when they are warm. Enjoy!!

Melt chocolate and butter in a large saucepan over medium-low heat.
When chocolate and butter have melted, let cool for 15 minutes.  Then beat in eggs and then whisk in sugar until combined.
Add flour and vanilla, and stir to combine.
When mixture is combined, fold in mini marshmallows, pecans, and chocolate chips.
Pour into greased 9 x 13 inch baking pan and sprinkle with remaining (1/2 cup) chocolate chips.
Bake at 350 degrees for 30-35 minutes or until brownies start to pull away from the edges of the pan.
Cool in pan and cut into squares.

Cool in pan on a wire rack for 10 minutes.  You can serve warm (with vanilla ice cream), or wait until they cool to room temperature.

Mom’s Secret Ingredient Brownies
Ingredients
4 (1-ounce) unsweetened chocolate squares
1 cup butter
4 eggs
2 cups sugar
1 cup flour
1 tsp vanilla
2 cups mini marshmallows
1 cup pecans, chopped
1 cup chocolate chips (in the batter), plus 1/2 cup to sprinkle on top

Directions
1.  Melt chocolate and butter in large saucepan over medium-low heat, stirring occasionally.  Cool 15 minutes.
2.  Add eggs; stir until blended.  Stir in sugar until combined.  Add flour and vanilla.  Fold in marshmallows, pecans, and chocolate chips.
3.  Pour batter in a greased and floured 9 x 13 inch pan and sprinkle with 1/2 cup chocolate chips over the top.
4.  Bake at 350 degrees for 35 to 40 minutes, or until the edges start to pull from the side of the pan.  Cool brownies in pan on a wire rack for 10 minutes.  Can be eaten warm or at room temperature.

Yield: 24 brownies

Chicken and Guacamole Tostadas

This was a super easy and simple recipe that everyone will love!  My husband told me I can add this his “favorites” list.  The smoked paprika gives the chicken a rich, grill-like flavor with no cooking…you just buy a rotisserie chicken!  Tostada shells are flat, fried corn tortillas, found in the Mexican food section.  I ate my chicken and pico de gallo on corn tortillas, and my husband ate his with taco shells.  You can use whatever you like.  The Chicken and Guacamole Tostada recipe comes from Cooking Light Magazine, the August 2010 issue.  Enjoy!!!

Finely dice tomato to make 1 cup.
Add 2 tablespoons minced fresh onion.

Add 1/4 tsp salt, 2 tbsp lime juice, 1 tbsp minced seeded jalapeno pepper, and 1 tbsp chopped fresh cilantro.  Combine.  You now have pico de gallo!

Combine chicken, remaining 1 tbsp lime juice, and smoked paprika.
Spread guacamole over tostada (I omitted).  Then top with chicken, pico de gallo, and shredded cheddar cheese (optional).

Chicken and Guacamole Tostadas
Ingredients
1 ripe peeled avocado
1 cup plus 2 tbsp finely chopped tomato, divided
3 tbsp minced fresh onion, divided
3 tbsp fresh lime juice, divide
1/2 tsp salt, divided
1 small garlic clove, minced
1 tbsp chopped fresh cilantro
1 tbsp minced seeded jalapeno pepper
2 cups shredded skinless, boneless rotisserie chicken breast
1/4 tsp smoked paprika
8 (6-inch) corn tostada shells (I used corn tortillas for mine)

Directions
1.  Place avocado in a small bowl; mash with a fork.  Stir in 2 tablespoons tomato, 1 tablespoon onion, 1 tablespoon juice, 1/4 teaspoon salt, and garlic.
2.  Combine remaining 1 cup tomato, 2 tablespoons onion, 1 tablespoon lime juice, 1/4 teaspoon salt, cilantro, and jalapeno; toss well.
3.  Combine chicken, remaining 1 tablespoon juice, and paprika; toss well to combine.  Spread about 1 tablespoon guacamole over each tostada shell; top each with 1/4 cup chicken mixture and about 2 tablespoons salsa.

Yield:  4 servings (serving size:  2 tostadas)
Recipe from: Cooking Light Magazine

Calories: 345 |  Fat: 15.4g |  Protein: 25.4g |  Carb: 26.9g |  Fiber: 5.4g |  Sodium: 548mg

Stir-Fried Beef and Broccoli

This is my second broccoli and beef stir fry recipe to post.  My mom made the first (Broccoli Beef) recipe back in May, and today I made this one (Stir-Fried Beef and Broccoli).  The only major difference is that mine has a red bell pepper and freshly ground ginger.  I only had leftovers of my mom’s Broccoli Beef, so you will have to be the judge as to which recipe is better!!! 
I really enjoyed my version, which I got from “America’s Test Kitchen:  10th Anniversary Best Recipes” magazine.  I loved the garlic and ginger flavorings in the sauce, which made for a fragrant, but not overly-saucey dish.  I consider this quite healthy, and the broccoli was my absolute favorite part.  Try both of these stir fry recipes and let me know how you like them!  Enjoy!!!


Cook steak strips over high heat in a skillet with vegetable oil for about 1 minute per side, or until browned and cooked through.

Cut the steak into bite-sized pieces, and transfer to a plate and cover with foil.

Add 1 tbsp of vegetable oil to the skillet and cook broccoli over high heat for 30 seconds.  Add water, cover the skillet, and reduce heat to medium.  Cook the broccoli for 2 more minutes or until crisp-tender. Transfer to a paper towel-lined plate.

Add 1 tsp vegetable oil to the skillet and cook bell pepper on high heat until spotty brown, about 1 1/2 minutes.

Stir together garlic, minced ginger, and 1 tsp vegetable oil.

Add garlic mixture to center of skillet and cook for 15-20 seconds until fragrant.  Then mix it together with the bell peppers.

Return broccoli and beef and accumulated juices to the skillet.  Combine.

Whisk together the sauce and pour over broccoli beef mixture, tossing all together until the sauce thickens, about 30 seconds.

Serve over brown rice.

Stir-Fried Beef and Broccoli
Ingredients
Sauce
5 tbsp oyster-flavored sauce (I used clam sauce)
2 tbsp low-sodium chicken broth
1 tbsp dry sherry (I omitted)
1 tbsp light brown sugar
1 tsp toasted sesame oil
1 tsp cornstarch

Beef and Broccoli
1 lb. sirloin steak steak, trimmed and cut into 2-inch wide strips with the grain, then sliced across the grain into 1/8-inch thick slices
3 tbsp soy sauce
3 tbsp peanut or vegetable oil (I used vegetable oil)
6 medium garlic cloves, minced or pressed through a garlic press (about 2 tablespoons)
1 tbsp minced or grated fresh ginger
1 1/4 lbs. broccoli, florets, cut into 1-inch pieces, stems trimmed and sliced thin
1/3 cup water
1 small red bell pepper, stemmed, seeded, and cut into 1/2-inch pieces
3 scallions, sliced 1/2 inch thick on the bias

Directions
1.  For the Sauce:  Combine all the ingredients in a small bowl and set aside.
2.  For the Beef and Broccoli:  Toss the beef with the soy sauce in a medium bowl and let marinate for at least 10 minutes or up to 1 hour.  In a small bowl, mix 1 teaspoon of the vegetable oil, the garlic, and ginger together.
3.  Heat 2 teaspoons more vegetable oil in a 12-inch nonstick skillet over high heat until just smoking.  Add half of the beef, break up any clumps, then cook without stirring until beef is browned at the edges, about 1 minute.  Stir the beef and continue to cook until cooked through, about 1 minute longer.  Transfer the beef to a clean bowl and cover with foil to keep warm.  Repeat with 2 teaspoons more vegetable oil and the remaining beef.
4.  Add 1 tablespoon more peanut oil to the skillet and return to high heat until just smoking.  Add the broccoli and cook for 30 seconds.  Add the water, cover the skillet, and lower the heat to medium.  Cook the broccoli until crisp-tender, about 2 minutes.  Transfer the broccoli to a paper towel-lined plate.
5.  Add the remaining 1 teaspoon vegetable oil to the skillet and return to high heat until just smoking.  Add the bell pepper and cook, stirring frequently, until spotty brown, about 1 1/2 minutes.  Clear the center of the skillet, add the garlic mixture, and cook, mashing the mixture into the skillet, until fragrant, 15 to 20 seconds.  Stir the garlic mixture into the bell pepper.
6.  Stir in the broccoli and beef with any accumulated juices.  Whisk the sauce to recombine, then add to the skillet and cook, tossing constantly, until the sauce is thickened, about 30 seconds.  Transfer to a serving platter, sprinkle with the scallions, and serve over brown or white rice.

Serves 4