Neiman Marcus Chicken Salad

Neiman Marcus Chicken Salad is a classic “go-to” recipe in our family.  Every time I am shopping at  Northpark’s Neiman Marcus in Dallas,  for lunch I will order the “Mermaid Legends” from the “Mermaid Bar Cafe” on the first floor.  The “Mermaid Legends” includes a scoop of chicken salad, a cup of fruit, and tortilla soup.  I just love it and have been ordering this for years…
 Because I am such a Neiman’s fan, I have the “Neiman Marcus Cookbook”, and from it I’ve made popovers and strawberry butter, chocolate chip cookies, mississippi mud cake (I need to put this on the blog!), tortilla soup, and now I’m sharing with you the Neiman Marcus Chicken Salad recipe.  It is my all-time favorite chicken salad recipe, is extremely simple to make, and tastes just like when I order it from Neimans.  The simplicity of this recipe is all you need for a great chicken salad.  Sometimes I find that too many ingredients in chicken salad can be a bit overwhelming, as it takes away from the salad.  However, I did decide to add some slivered almonds to my chicken salad to give it that extra “crunch”.   Enjoy!
Place cooked chicken in a large bowl.  Sprinkle with vinegar.

Add chopped celery, mayonnaise, and cream.  Season with salt and pepper.

Fold ingredients gently to combine and adjust seasoning if necessary.  Cover and chill in the refrigerator.

My husband’s plate:  chicken salad on toasted whole grain bread and spinach, with a side of fruit.

My plate:  scoop of chicken salad next to a bed of spinach, with a side of fruit.

Neiman Marcus Chicken Salad

Ingredients
2 3/4 cup diced poached chicken breast
1 tbsp cider vinegar
1/2 cup minced celery
3/4 cup mayonnaise
3 tbsp heavy cream
1 1/2 tsp salt
1/8 tsp freshly ground white pepper (I used black pepper)
*sliced almonds or pecans (optional)

Directions
1.  Transfer the diced chicken to a mixing bowl and sprinkle with the vinegar.  Add the celery, mayonnaise, and cream, and almonds (optional).  Season with salt and pepper.
2.  Fold the ingredients gently to combine and adjust the seasoning to taste.
3.  Cover and let chill in the refrigerator.

Yield:  4 servings

Snow Witches (White Chocolate Brownies)

My mom and I were in Barnes and Noble today and saw a cookbook with a delicious looking brownie on the front cover titled “Fat Witch Brownies:  Brownies, Blondies, and Bars from New York’s Legendary Fat Witch Bakery”. We flipped through the pages, drooling over every picture, so we ended up each buying a book.  Patricia Helding owns New York’s Legendary “Fat Witch Bakery”, and is the author of this cookbook.  She exposes the secrets to all her brownie recipes and writes her story of how she founded Fat Witch Bakery.  I absolutely LOVE Patricia’s cookbook.  All of her brownie recipe are made in one 9 x 9 inch pan, all have less than 10 ingredients, and all can go from mixing bowl to lunchbox in an hour or less! 
The first brownie on our list to try was the White Chocolate Brownie, also know as the “Snow Witch” brownie.  It was light, buttery and flavorful, and Patricia writes is “one of our top sellers, as the combination of creamy white chocolate, butter, and vanilla is so sensational after one bite, I promise even the most discerning aficionado will be converted”.  I’ve never had a white chocolate brownie before, but it was quite good.  They remind me of a cross between Neiman Marcus Cake/Gooey Butter Cake and our homemade Granola Bars.  Try it today and see what you think…they are very different, but very good!  Enjoy!
Melt white chocolate and butter in a small saucepan over low heat, stirring constantly.
Beat the eggs, sugar, and vanilla together in a large bowl until smooth.   

Add the white chocolate mixture and mix until well combined.

Sift the flour, baking powder, and salt into the batter.  Mix until well combined.

Spread batter evenly into greased and floured 9 x 9 inch baking pan.  

Bake at 350 degrees for 25 minutes or until the top is light brown and cracked.  Turn off the oven, leaving the pan inside for 8 minutes.  At this time, a toothpick inserted in the center should come out clean. Remove pan from oven and let cool on a rack for 1 hour.

Cool completely on a rack for 1 hour.  Cut just before serving.

Snow Witches (White Chocolate Brownies)
Ingredients
6 ounces coarsely chopped white chocolate or 3/4 cup high-quality white chocolate chips
5 tbsp unsalted butter
2 large eggs
1 cup granulated sugar
1 tsp pure vanilla extract
1 cup unbleached flour
1/2 tsp baking powder
1/4 tsp salt
Directions
1.  Grease a 9-inch x 9 baking pan with butter.  Dust with flour and tap out the excess.  Preheat the oven to 350 degrees.
2.  Melt the white chocolate and butter in a small saucepan over low heat, stirring constantly to make sure it doesn’t burn.  Remove from the heat before it is completely melted and continue stirring until it is completely smooth.  Set aside to cool.
3.  Beat the eggs, sugar, and vanilla together in a large bowl until smooth.  Add the white chocolate mixture and mix until well combined.
4.  Measure the flour, baking powder, and salt and sift together directly into the batter.  Mix until well combined and no trace of the dry ingredients remains.  Spread the batter evenly into the prepared baking pan with a spatula.
5.  Bake for 25 minutes or until the top is light brown and cracked.  Turn off the oven, leaving the pan inside for 8 more minutes.  After that time, a toothpick inserted in the center should come our clean or with only crumbs, not batter, on it.
6.  Remove from oven and let cool on a rack for 1 hour.  Cut just before serving.
Yield:  12 to 18 bars

Pineapple Salad (Hurry Up Fruit Salad)

This “Hurry Up Fruit Salad” or Pineapple Salad is one of my favorite fruit side dishes.  It is a perfect accompaniment with any main dish, especially for your turkey dinners coming up this Thanksgiving.  The wonderful combination of bananas, mandrain oranges, pineapples, flaked coconut, golden raisins, and chopped walnuts bring out this recipe’s perfect tropical and sweet flavors with every bite you eat.   Enjoy…Pineapple Salad is super easy and fast.  It is also a classic.  This fruit salad recipe is from the 1987 Southern Living Magazine.
Slice bananas and place in pineapple juice.

Pour the drained pineapple into a large bowl.

Add the drained mandrain oranges.

Next add the flaked coconut, golden raisins, bananas (drained of pineapple juice), and chopped walnuts.

Gently toss to combine.

Pineapple Salad (Hurry Up Fruit Salad)
Ingredients
1 (15 1/4 oz.) can pineapple chunks, drained, but reserve the juice
2 bananas, sliced
2 (11 oz.) cans mandrain oranges, drained
1/4 cup flaked coconut
1/4 cup golden raisins
1/2 cup chopped walnuts

Directions
1.  Drain pineapple chunks, and reserve juice.  Gently toss sliced bananas with pineapple juice.  Let sit while you combine your other ingredients, then drain.
2.  Gently fold all ingredients together in a medium bowl.

Banana Nut Muffins

These are the best tasting and easiest Banana Nut Muffins you will ever eat.  I always make these when we have bananas that have have become overly ripe.  The riper (mushier and darker) the bananas are, the sweeter and better tasting the banana nut muffins will be.  No mixer is required, and you should have all these ingredients on hand.  Unlike banana bread, these muffins cook in half the time, so you should have one from oven to plate just under 20 minutes!  Enjoy!
Combine the flour, baking powder, soda, and salt together in a large bowl.
Mix together the egg, brown sugar, melted butter, and vanilla.

Add the mashed bananas and chopped nuts.

Fold wet ingredients into dry mixture.

Pour batter into greased muffins pan, or directly into a silicone muffin pan.

Bake at 400 degrees for about 18-20 minutes, or until lightly browned.  Toothpick inserted in center of muffin should come out clean.

Cool in pan for a few minutes, then transfer muffins to wire rack to let cool completely.  Serve muffins fresh and warm from the oven…they are best the day you make them!

I love drizzling a bit of honey on the top of mine.

Banana Nut Muffins
 
Ingredients
2 cups flour
2 tsp baking powder
1 tsp baking soda
1 tsp salt
1 1/2 cups mashed ripe bananas
2/3 cups packed light brown sugar
1/3 cup melted butter
1 egg
1 tsp vanilla
1/2 cup chopped nuts
Directions
1.  Mix together the first 4 ingredients in a large bowl.
2.  Combine the rest of the ingredients together, and fold in with the dry mixture.
3.  Lightly butter a regular sized (12 capacity ) muffin pan and pour batter in.  Bake at 400 degrees for 18-20 minutes, or until lightly brown, and a toothpick inserted in the middle comes out clean.Yield:  12 muffins

Skillet Cornbread


My mom and I agree that this is our all-time favorite cornbread recipe.   It is the Pioneer Woman’s recipe, except we altered it a little by adding sugar for sweetness and cooking it at a lower temperature to not burn the bottom (like I did the first time).  For those in your family who like the soft part of cornbread, give them the center.  However, save me the edges because I love the crispy parts!  
This cornbread is super easy, super fast, and should not disappoint.  Serve it with my homemade taco soup, or eat it in cold milk, like my sister does!  Enjoy!
Combine the milk, buttermilk, and baking soda.
In a separate bowl, mix together the cornmeal, flour, sugar, salt, and baking powder.
Pour the milk mixture in with the dry, and whisk together.  Slowly add the melted shortening to the batter, stirring constantly until just combined.
 

Melt shortening in a hot skillet.

 Pour the cornbread batter into the hot skillet with melted shortening.  Place skillet in preheated 425 degree oven.

Bake for 20 to 25 minutes, until golden brown and edges are crispy.

Slice into squares and serve.

Skillet Cornbread
Ingredients
1 cup yellow cornmeal
1/2 cup all-purpose flour
1 tsp salt
3 tbsp sugar
1 tbsp baking powder
1 cup buttermilk (if you don’t have any, add 1 tbsp distilled white vinegar to just under 1 cup low-fat milk and stir together)
1/2  cup milk
1 egg
1/2 tsp baking soda
1/4 cup plus 2 tbsp shortening

Directions
1.  Preheat oven to 425 degrees.  In a bowl, combine the cornmeal, flour, sugar, salt, and baking powder and stir together.
2.  Measure the buttermilk and milk in a measuring cup and add the egg.  Stir together with a fork.  Add the baking soda and stir.
3.  Pour the milk mixture into the dry ingredients.  Stir with a fork until just combined.  Do not over stir.
4.  In a small bowl, melt 1/4 cup of the shortening in the microwave.  Slowly add the melted shortening to the batter, stirring constantly until just combined.
5.  In an iron skillet over high heat, melt the remaining 2 tablespoons shortening.  Pour the batter into the hot skillet and spread to even out the surface.
6.  Place skillet in oven and bake for 20 to 25 minutes, until golden brown.  The edges should be crispy. Slice into squares and serve.

Variation:  Stir 1 small can diced green chiles or 1 diced fresh jalapeno into the cornbread batter before pouring it into the skillet.

Farmhouse Waffles (Stonewall Kitchen)

Check out my review of this wonderful Stonewall Kitchen Farmhouse Pancake and Waffle Mix under the “Product Review” section of my blog.  These waffles are simple to make, taste and smell wonderful, and are a keeper in our family.  You’ll have to buy the “Stonewall Kitchen Farmhouse Pancake and Waffle Mix” to understand what I am talking about.  Enjoy!

Beat egg and water together.

Add dry mix (Farmhouse Pancake and Waffle Mix).

Blend well.  Pour in melted butter and mix throughly.

Ladle batter onto hot waffle iron. Remove when golden brown.  (My waffle mix will “chirp” at me when my waffles are done.)

Serve on plate.

Sprinkle with powdered sugar, fresh blueberries, and a drizzle of pure maple syrup.

Stonewall Kitchen Farmhouse Waffles
Ingredients
1 medium egg
1/2 cup + 2 tbsp water
2 tbsp melted butter
1 cup Farmhouse Pancake and Waffle Mix

Directions
1.  Beat egg and water together.  Add dry mix and blend well.  Stir in melted butter and mix throughly.
2.  Ladle onto hot waffle iron and remove when golden brown.

Makes 3-4 waffles, depending on the size of the waffle maker.

Taco Soup

This is my mom’s classic taco soup recipe.  I don’t know anyone who doesn’t like it!  It is a crowd pleaser, and is perfect for the fall season as the weather is cooling down for us here in Texas.  Taco Soup serves a lot, so my mom will usually make it when my Dad is on business trips.  She will just eat taco soup all by herself for a whole week.  That was she can sew and not have to cook!  Enjoy!
Brown meat with onions and green chiles over medium-high heat.

When meat is browned, add the rest of the ingredients and bring to a boil.

Simmer for 30 minutes.

Taco Soup
Ingredients
2 lbs. ground beef
1 small onion
1 can (4 oz.) chopped green chiles (we used rotel instead)
1 tsp salt
1 package (1 1/4 oz.) taco seasoning
1 package (1 oz.) ranch dressing mix
1 can (14 1/2 oz.) hominy, undrained
2 cans (14 1/2 oz. each) stewed tomatoes, undrained
1 can (15 oz.) kidney beans, undrained
1 can (15 oz.) pinto beans, undrained
1 1/2 cups water

Directions
1.  Brown ground beef with onion and green chiles on medium high heat in large dutch oven or pot.  Make sure meat is not pink on the inside.
2.  Stir in remaining ingredients, bring to a boil.
3.  Simmer 30 minutes on low.

Yield:  10 servings

Cinnamon Rolls


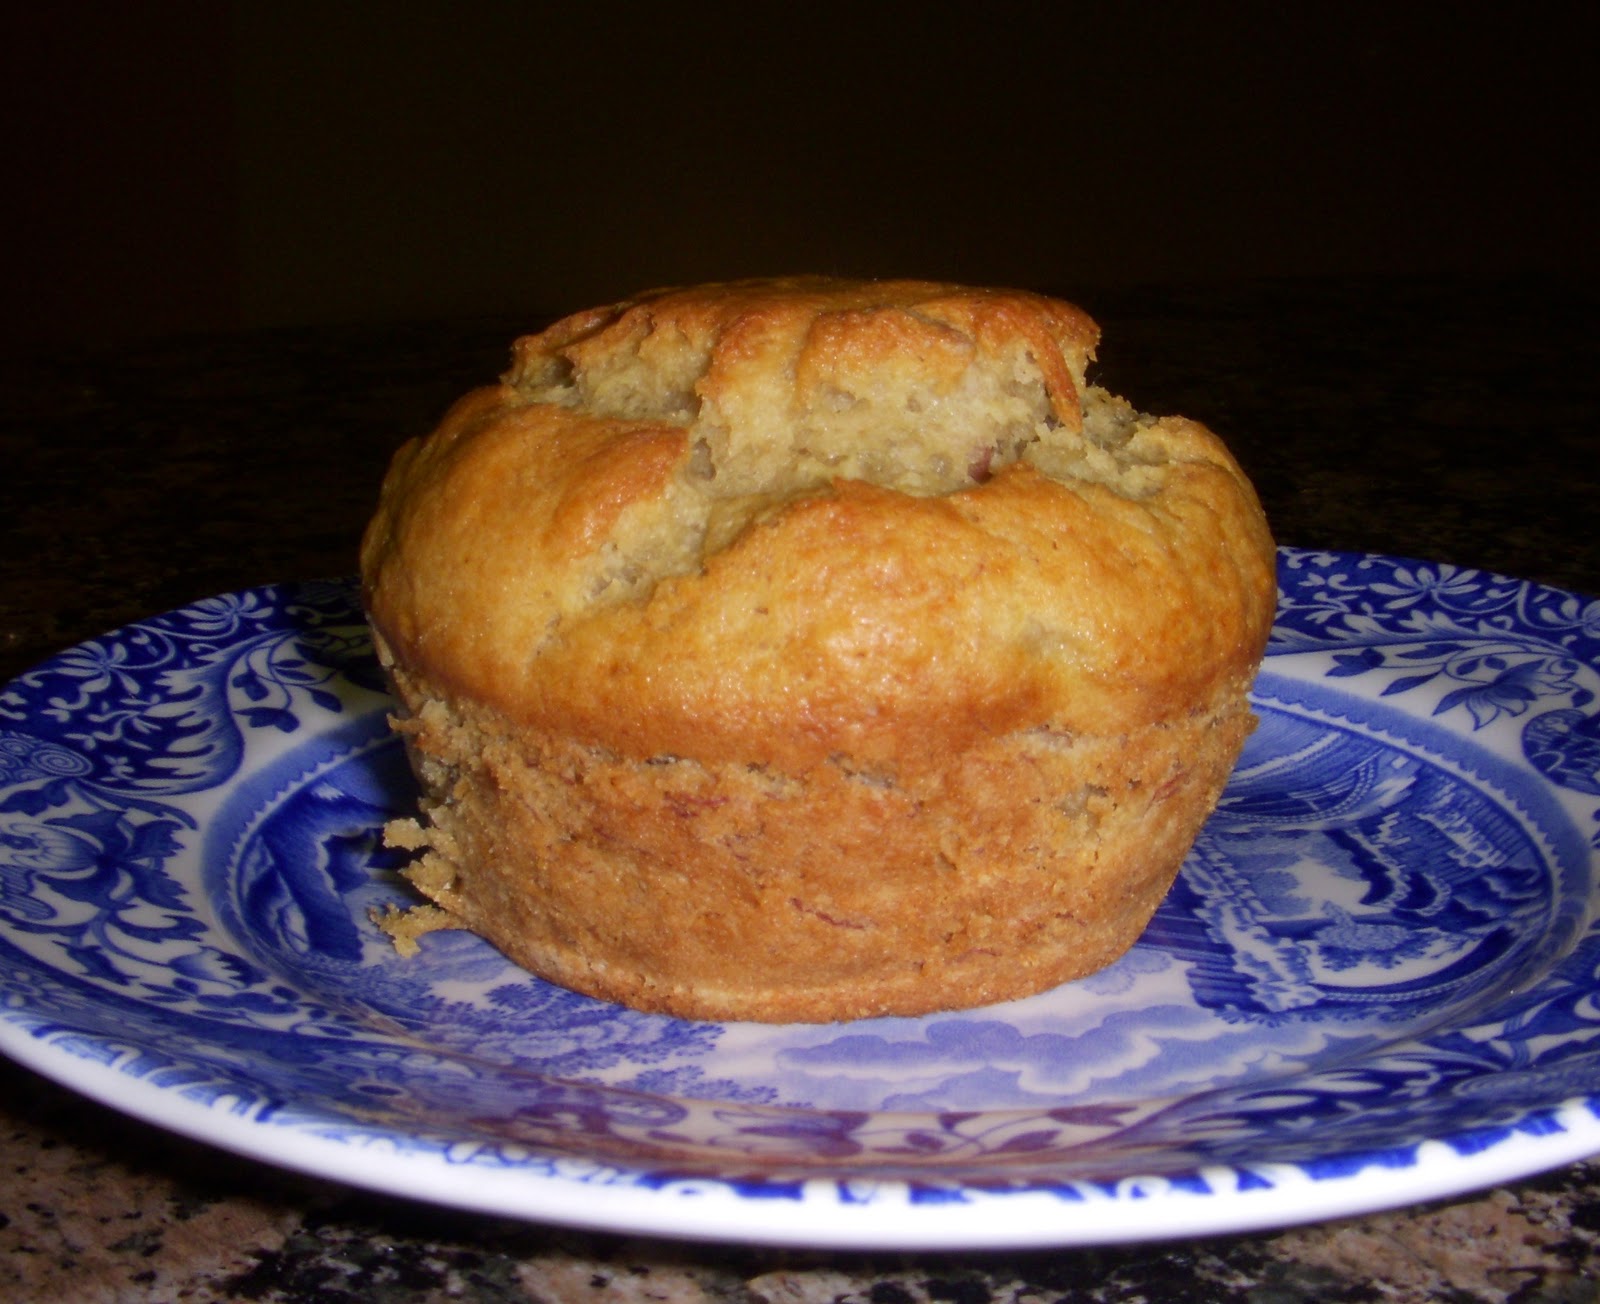
One of my husband’s favorite desserts are my mom’s cinnamon rolls.  She made them for him while we were dating, and I have still yet to make them by myself.  My mom and I made these cinnamon rolls for Matt this weekend.  (The weekends are our “cheat” days).

We usually make the dough from the Better Homes and Garden cookbook, but this time we decided to make Pioneer Woman’s cinnamon roll dough.  Her dough recipe was very good… buttery, moist, and melt-in-your mouth good.

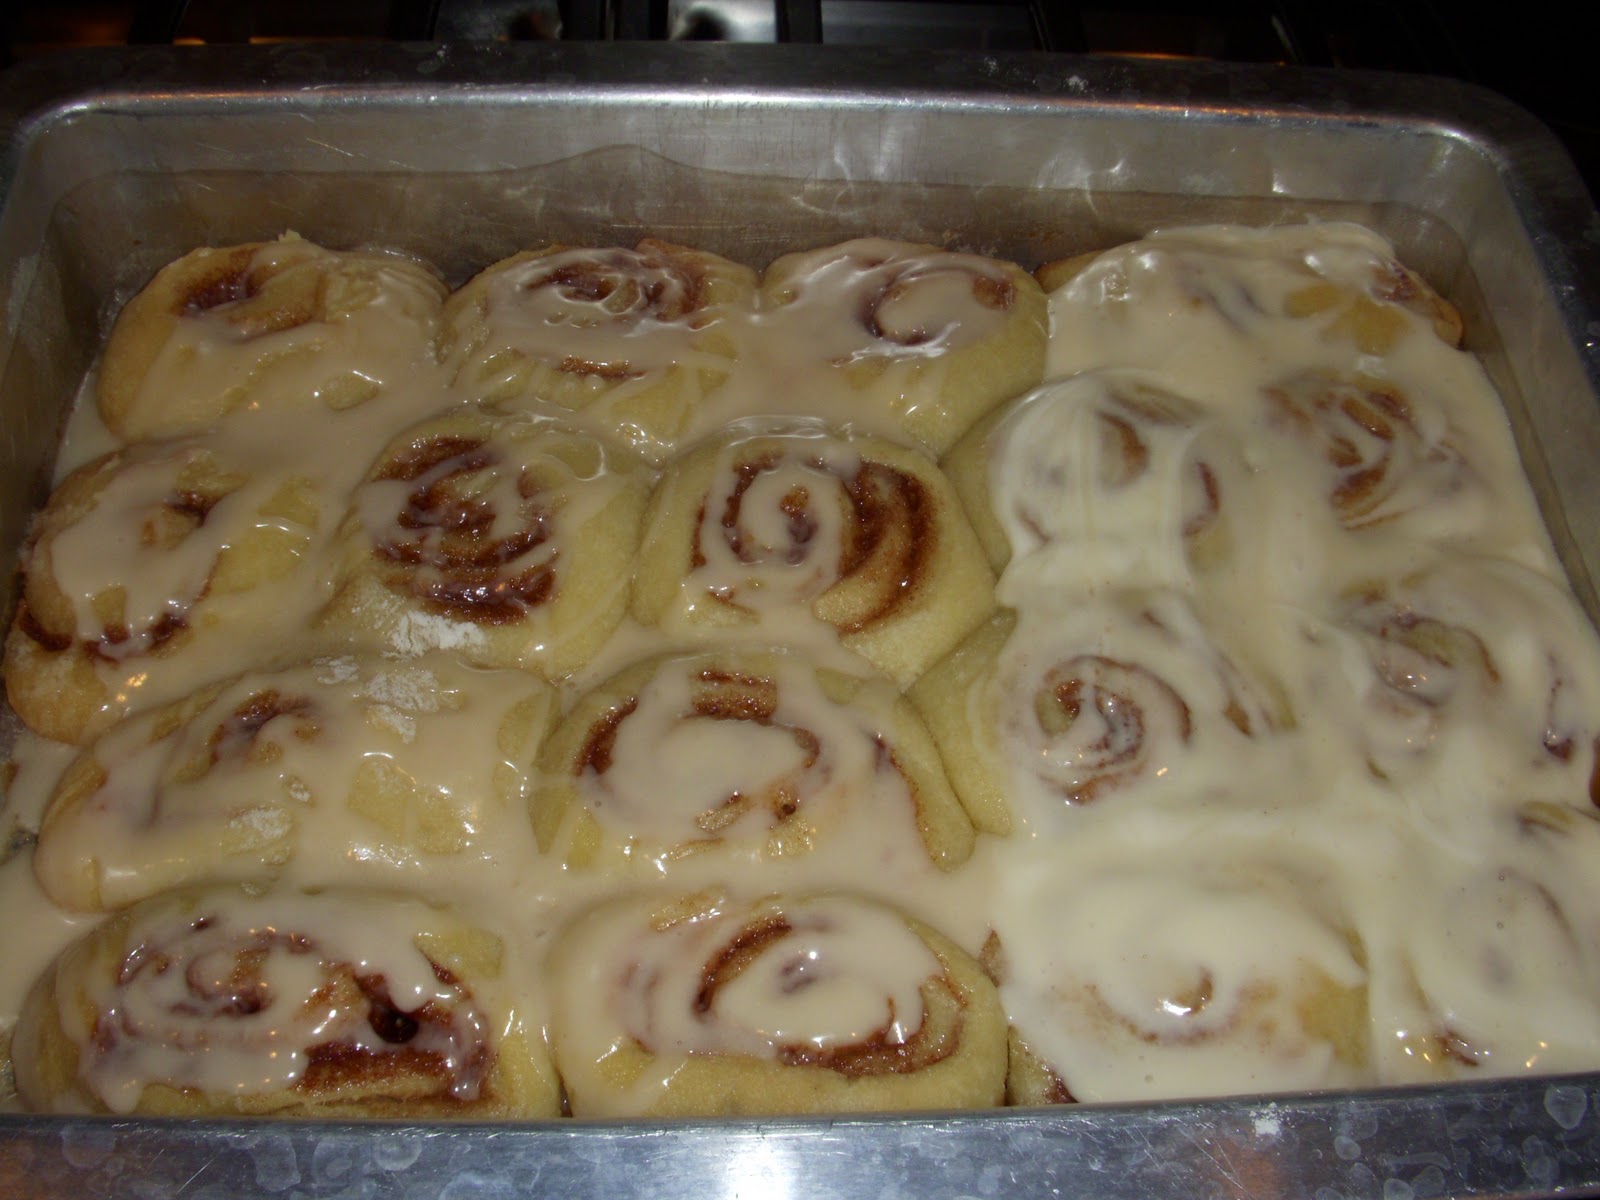
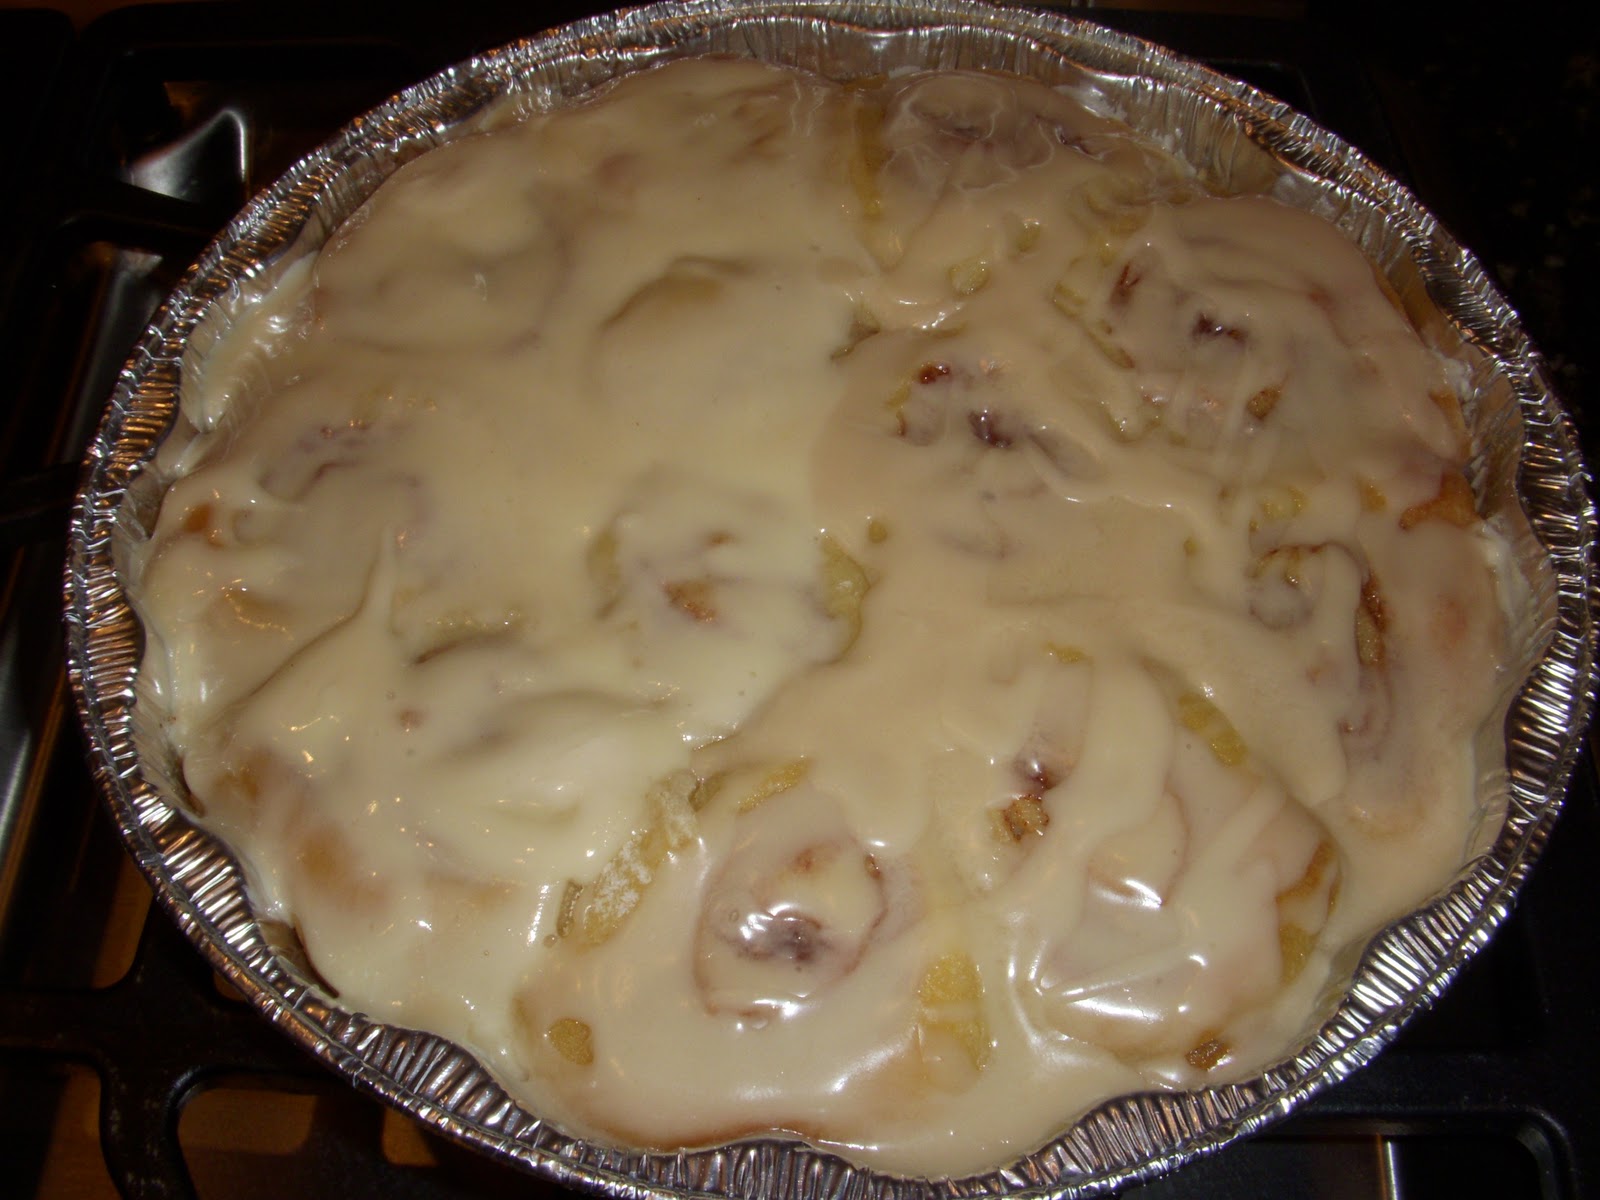
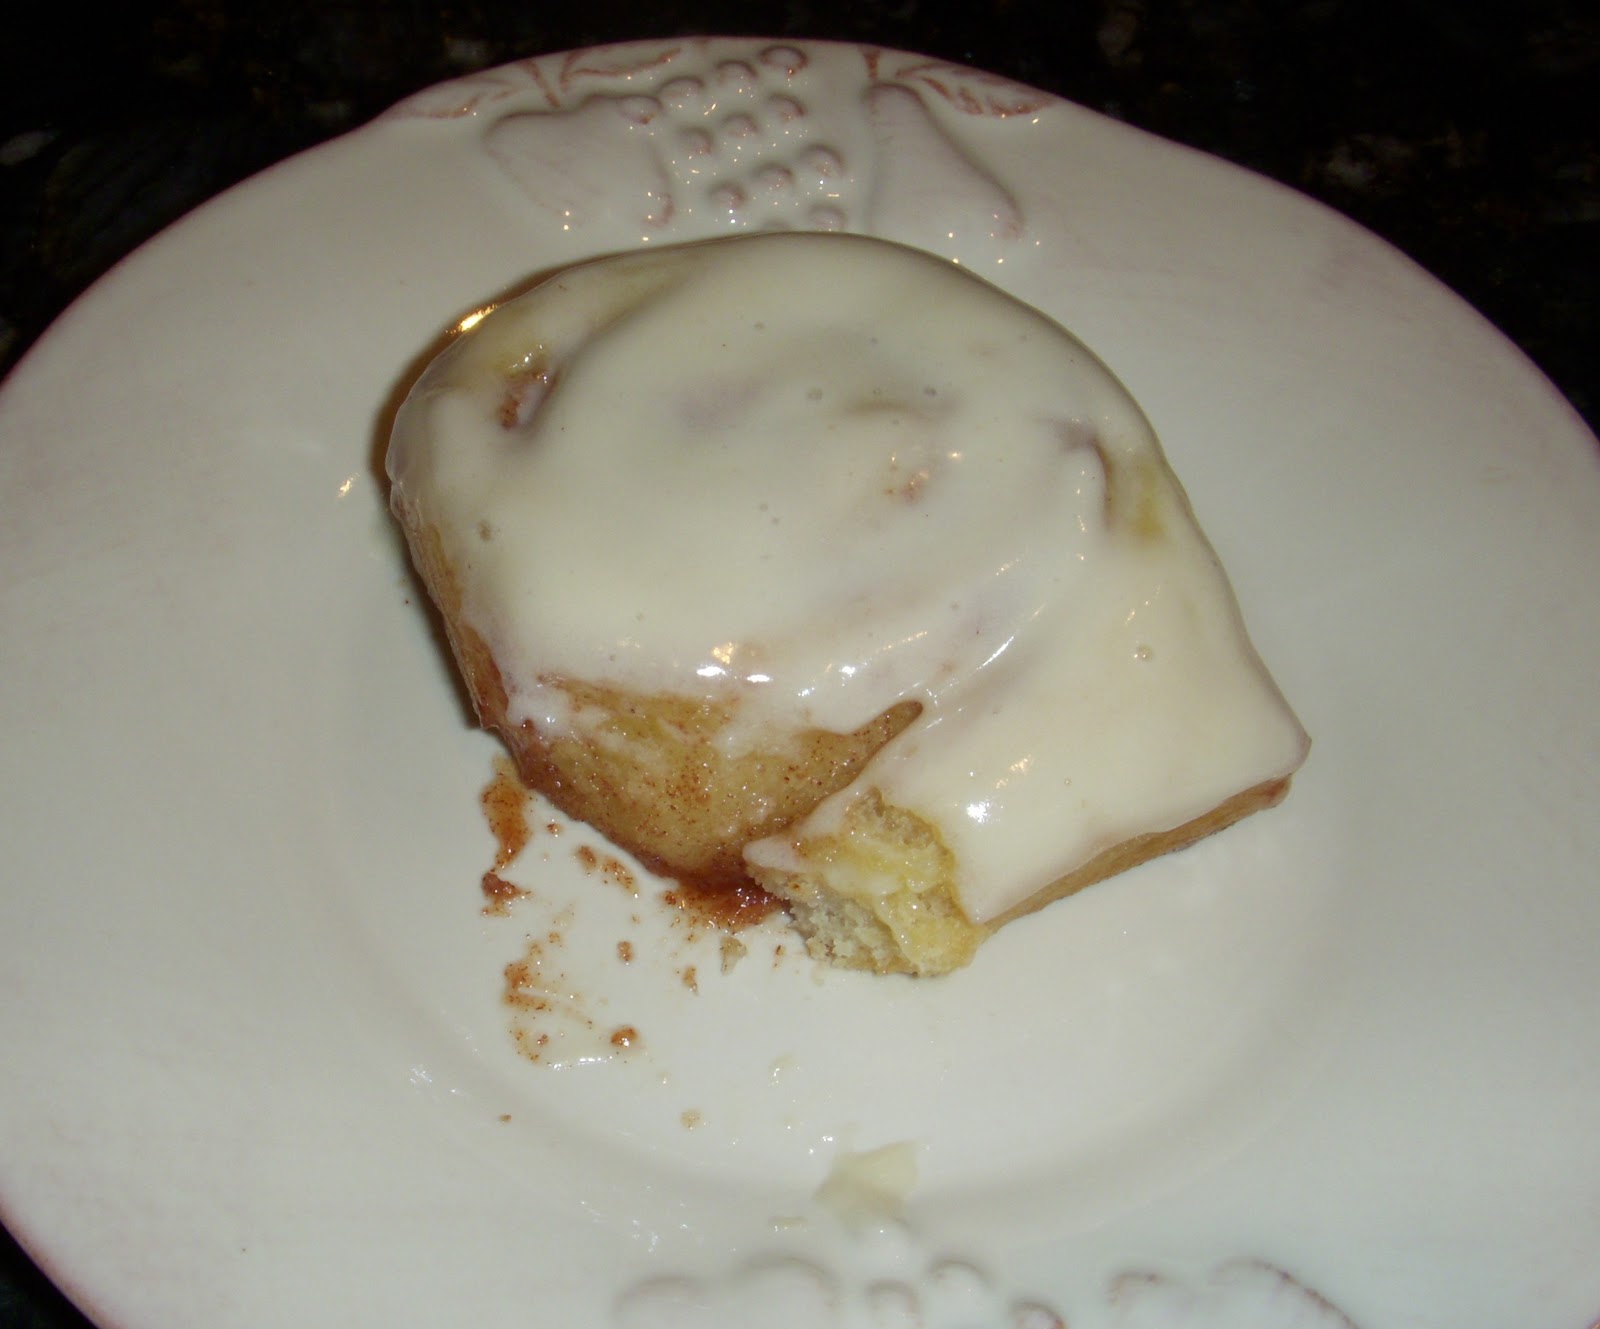
We made two different types of icing:  regular confectioner’s sugar icing, and cream cheese icing.  Both are very good, but I prefer regular icing.  The cream cheese icing is too sweet and over-powering for me on a cinnamon roll.  I’d rather eat cream cheese icing on cake or cupcakes.  It’s up to you though… make whichever icing you prefer!

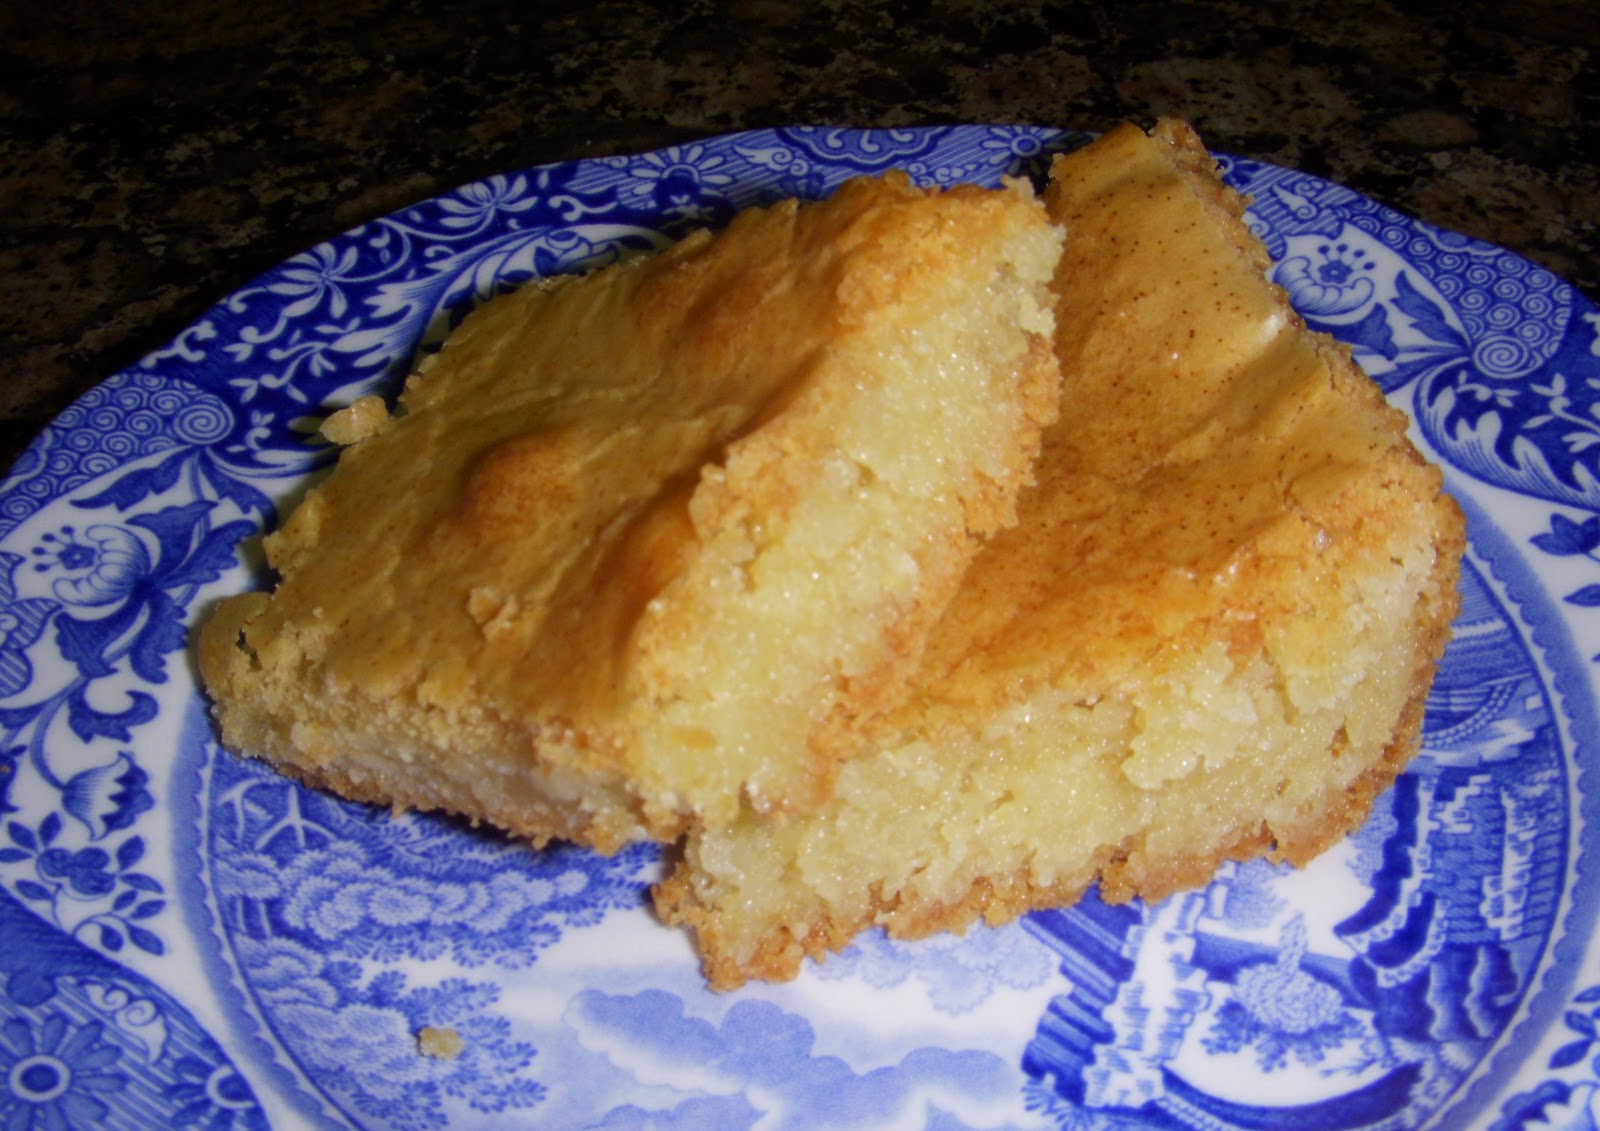
Enjoy these hot out of the oven…they are best eaten the day of!

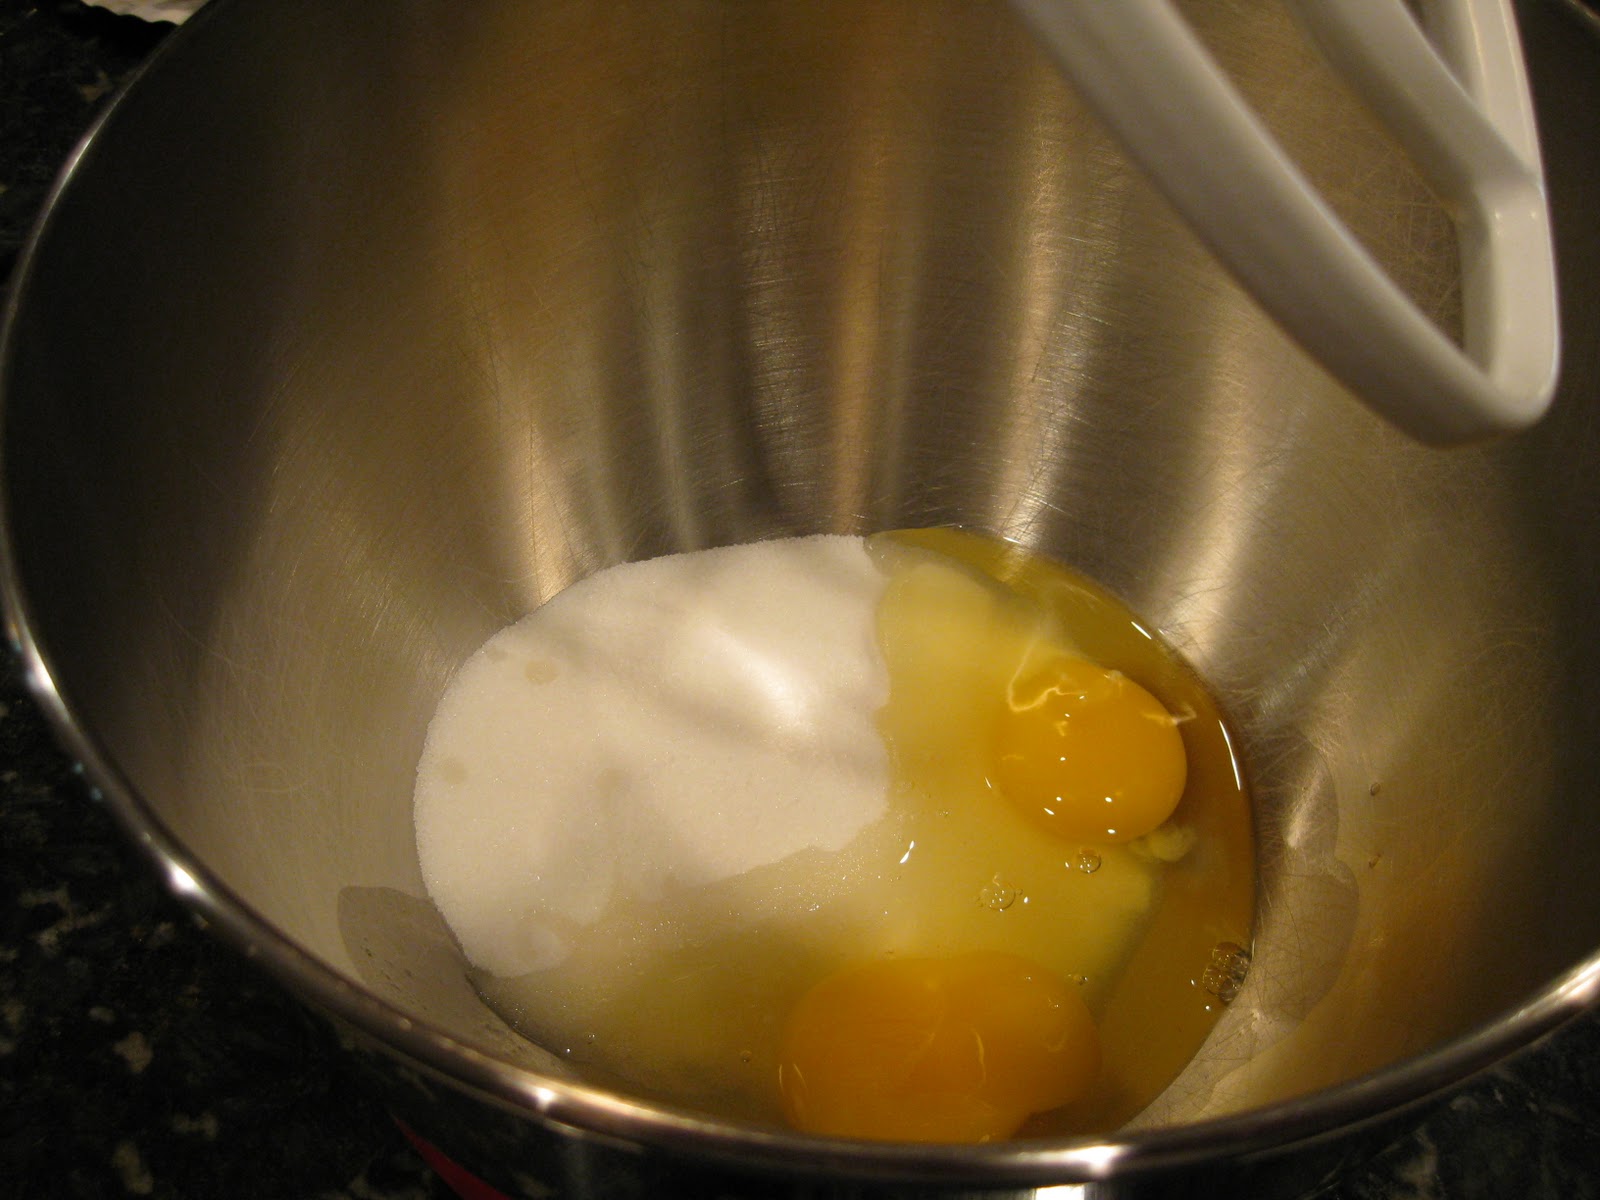
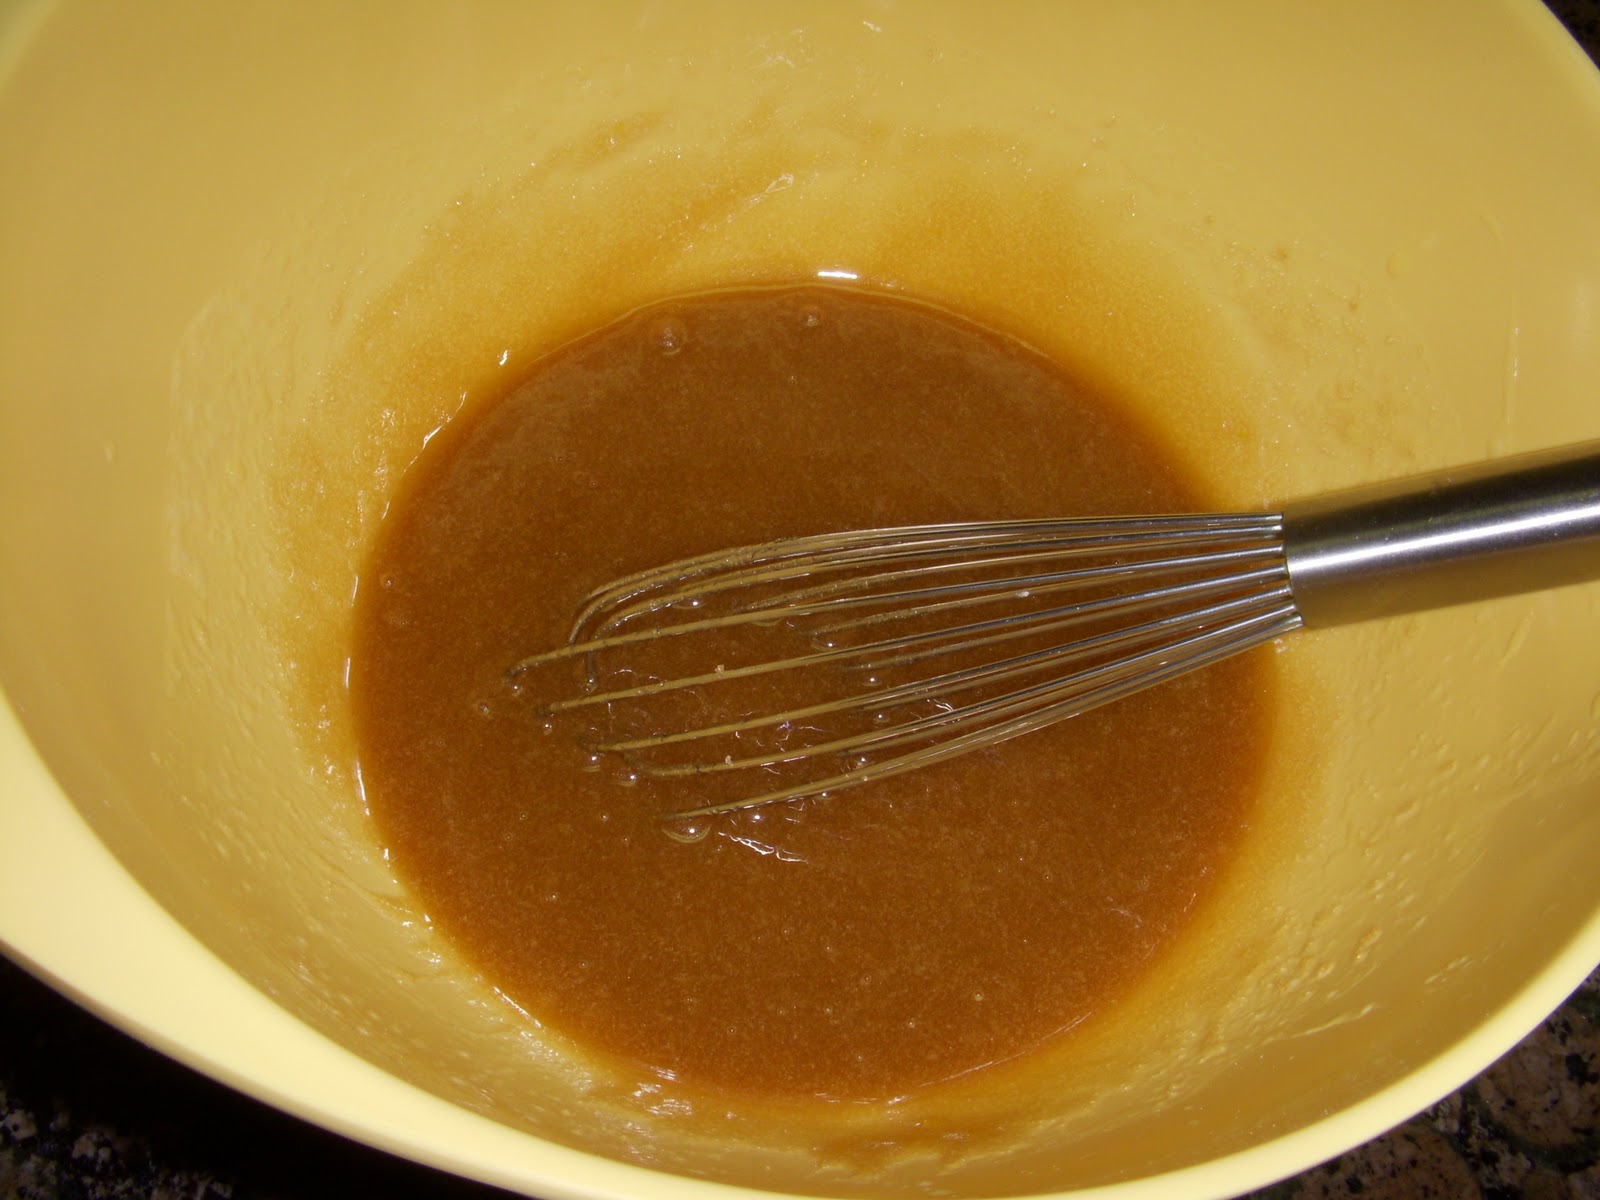
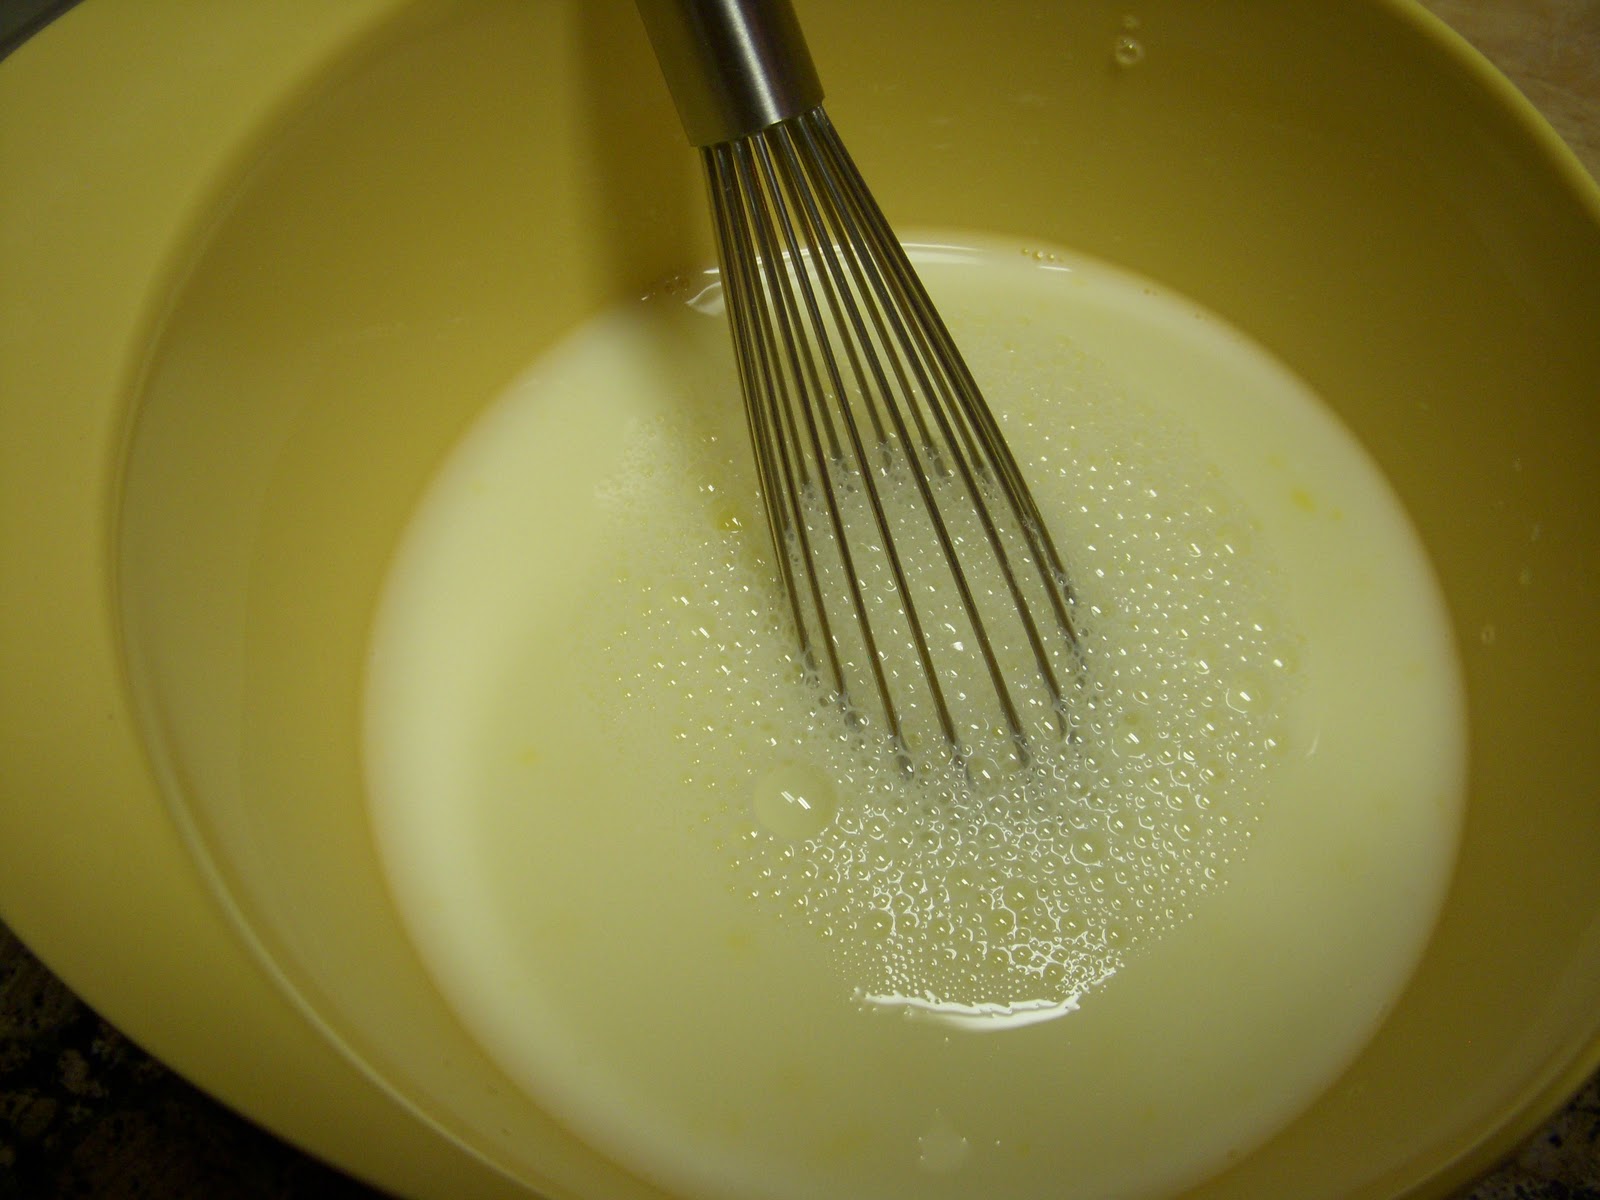
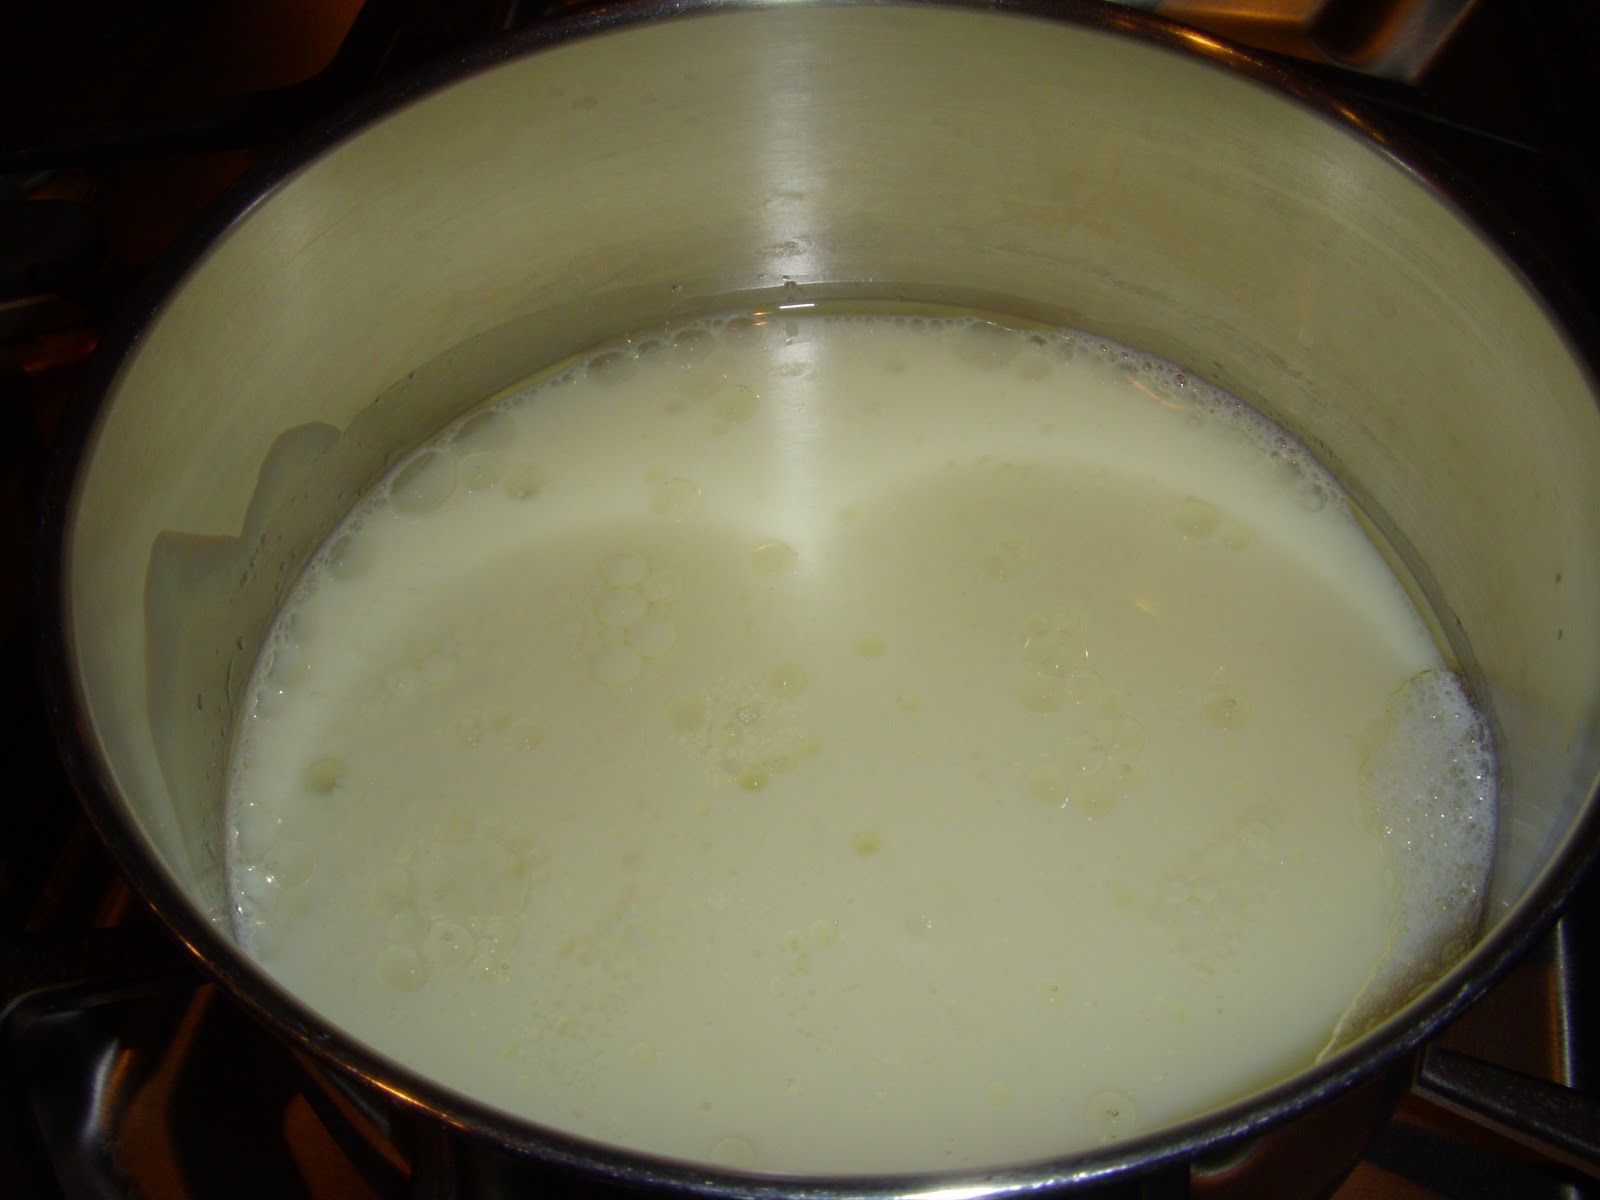
For the dough:  heat milk, vegetable oil, and sugar in medium saucepan until 115-120 degrees.

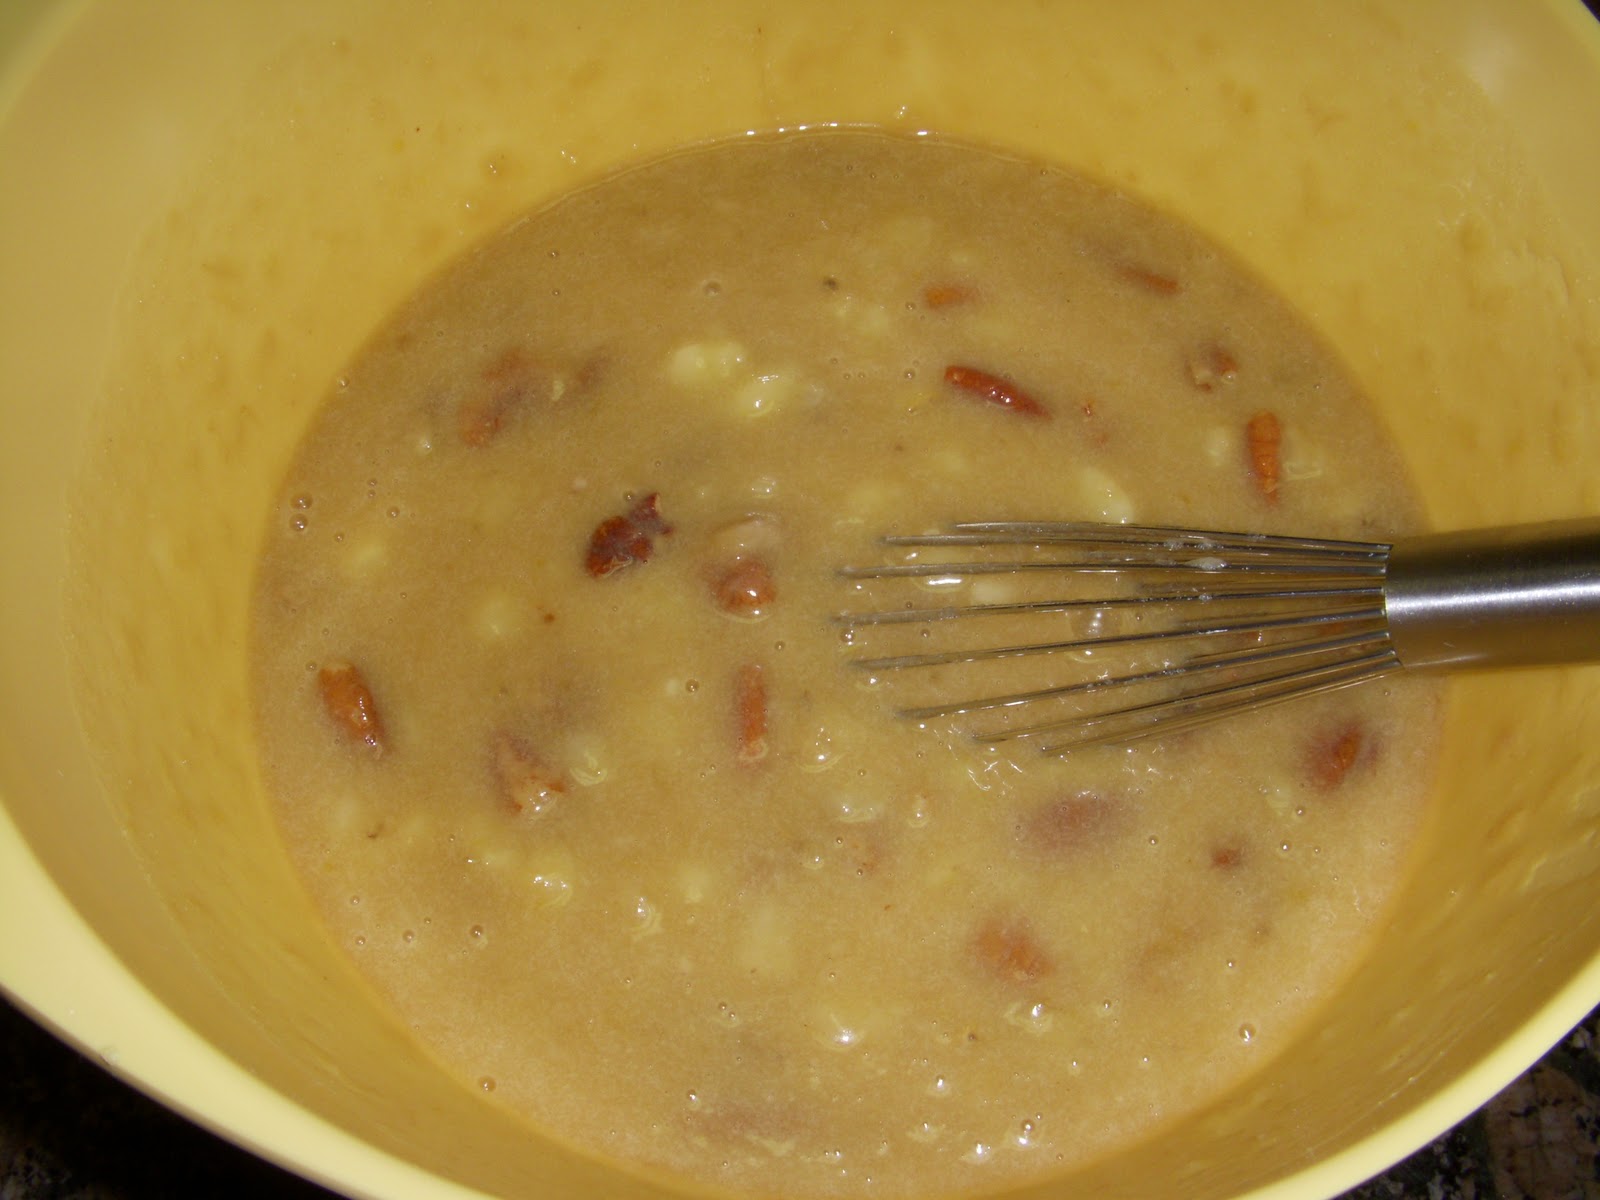
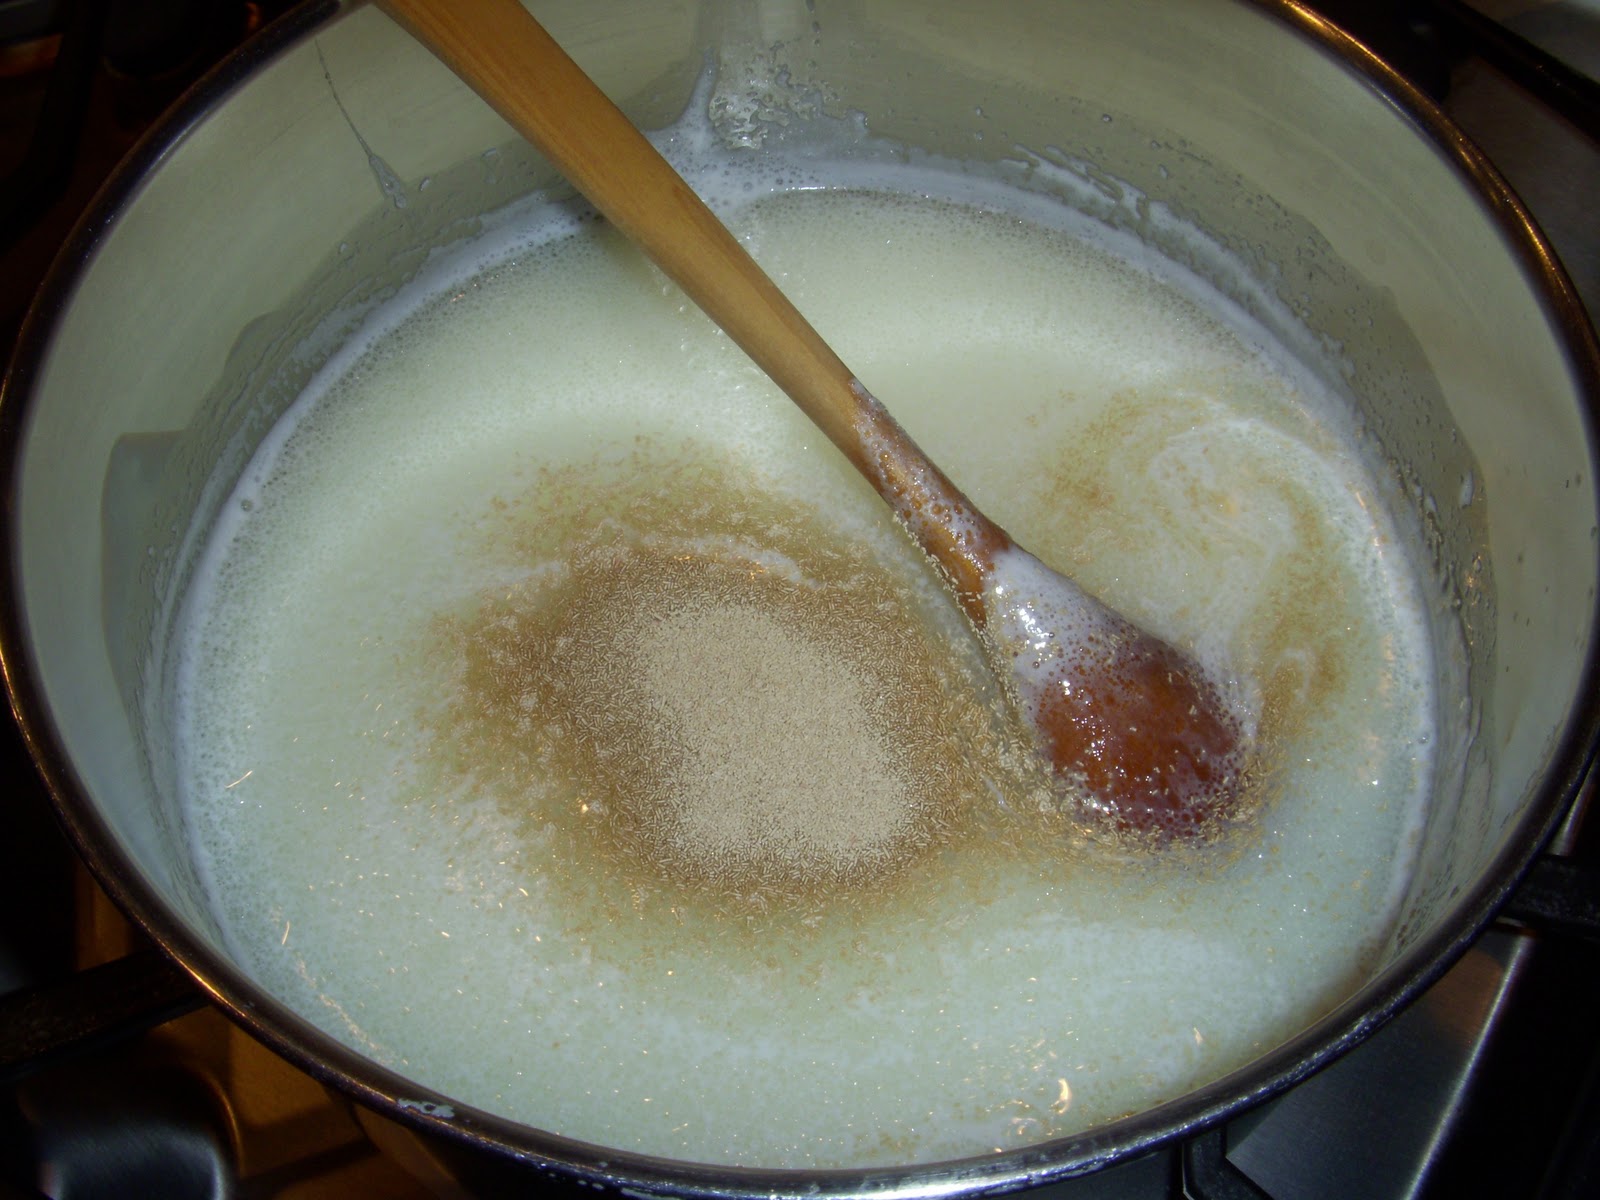
Sprinkle yeast on top and let sit for 1 minute.

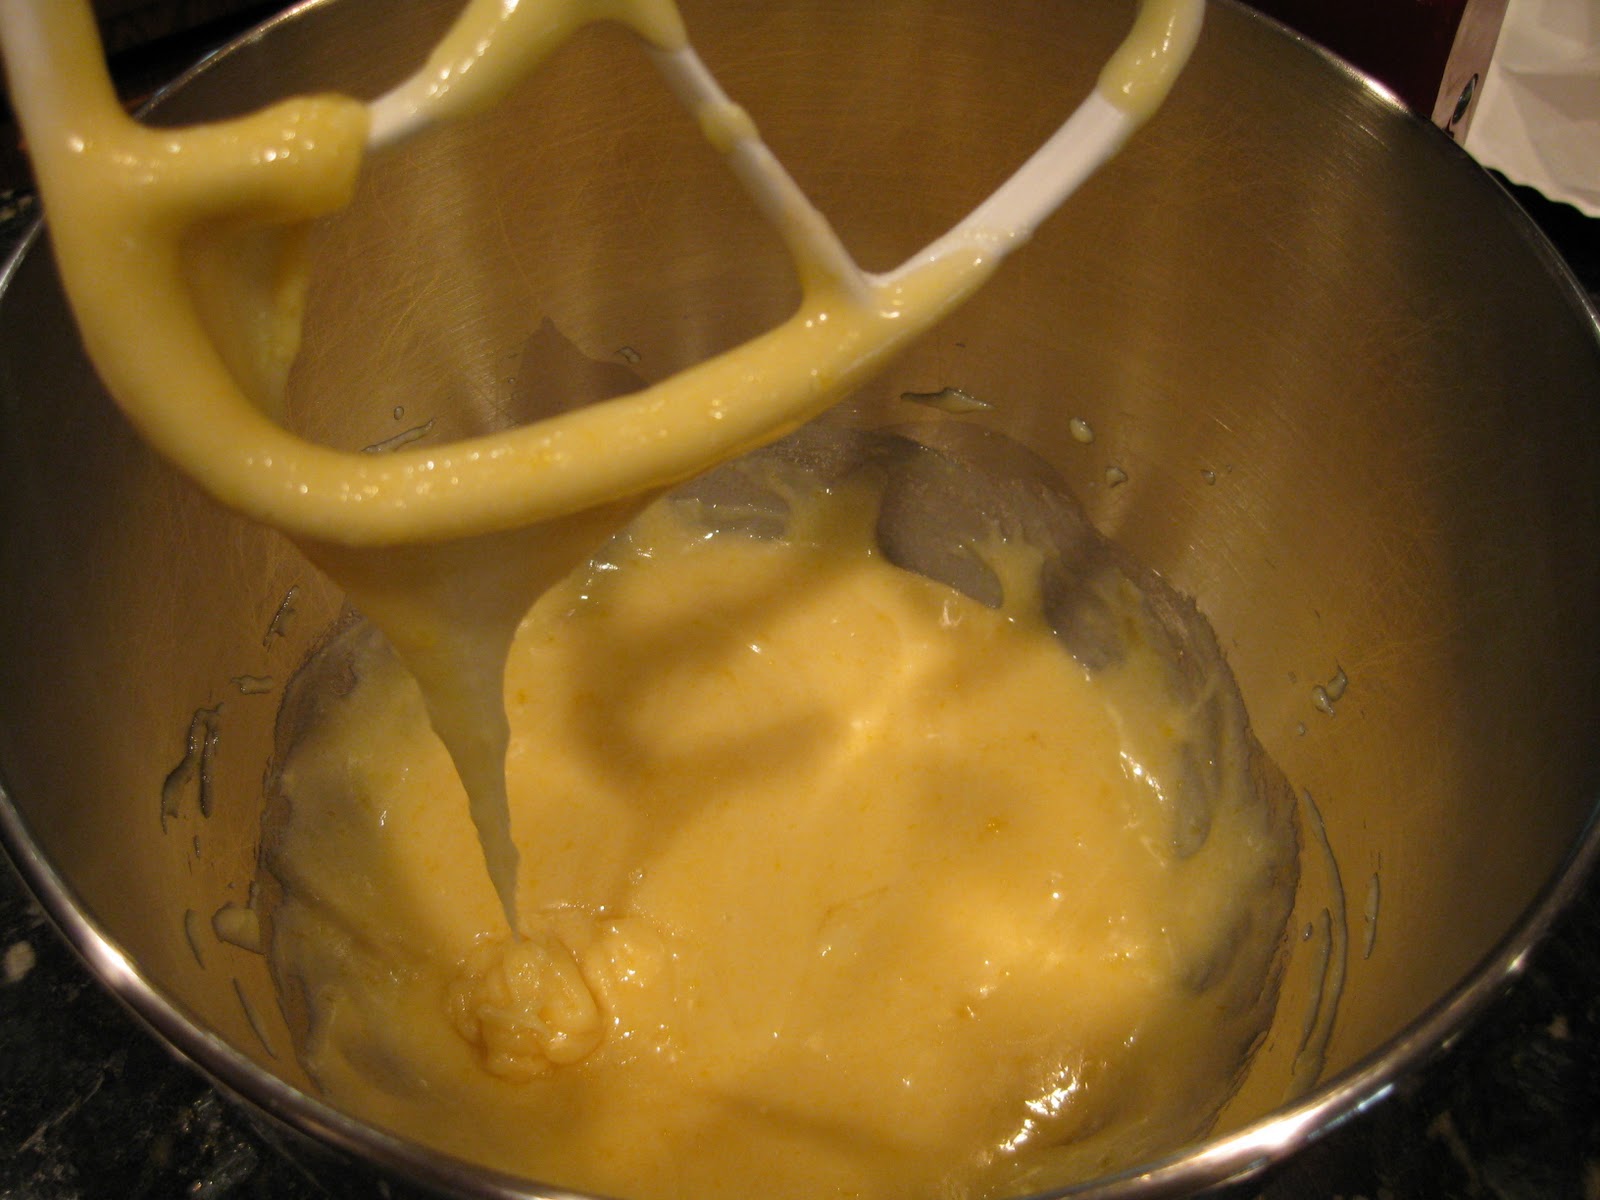
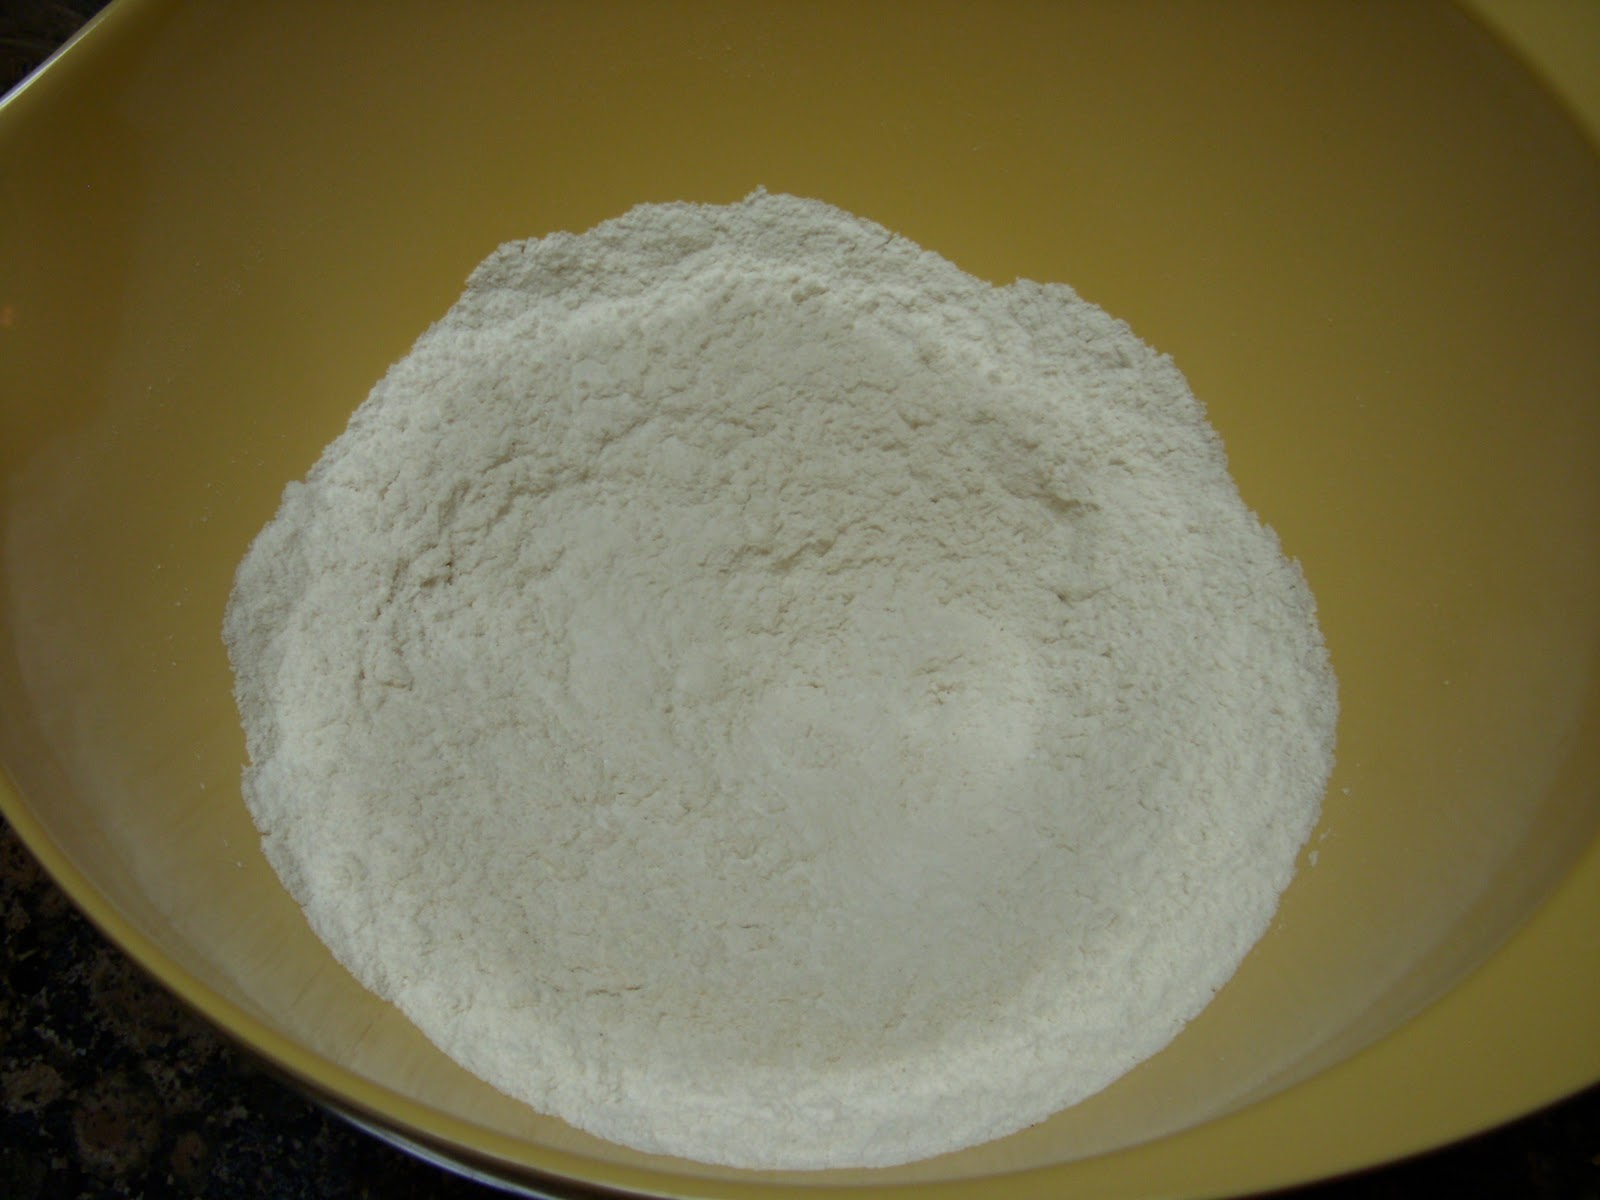
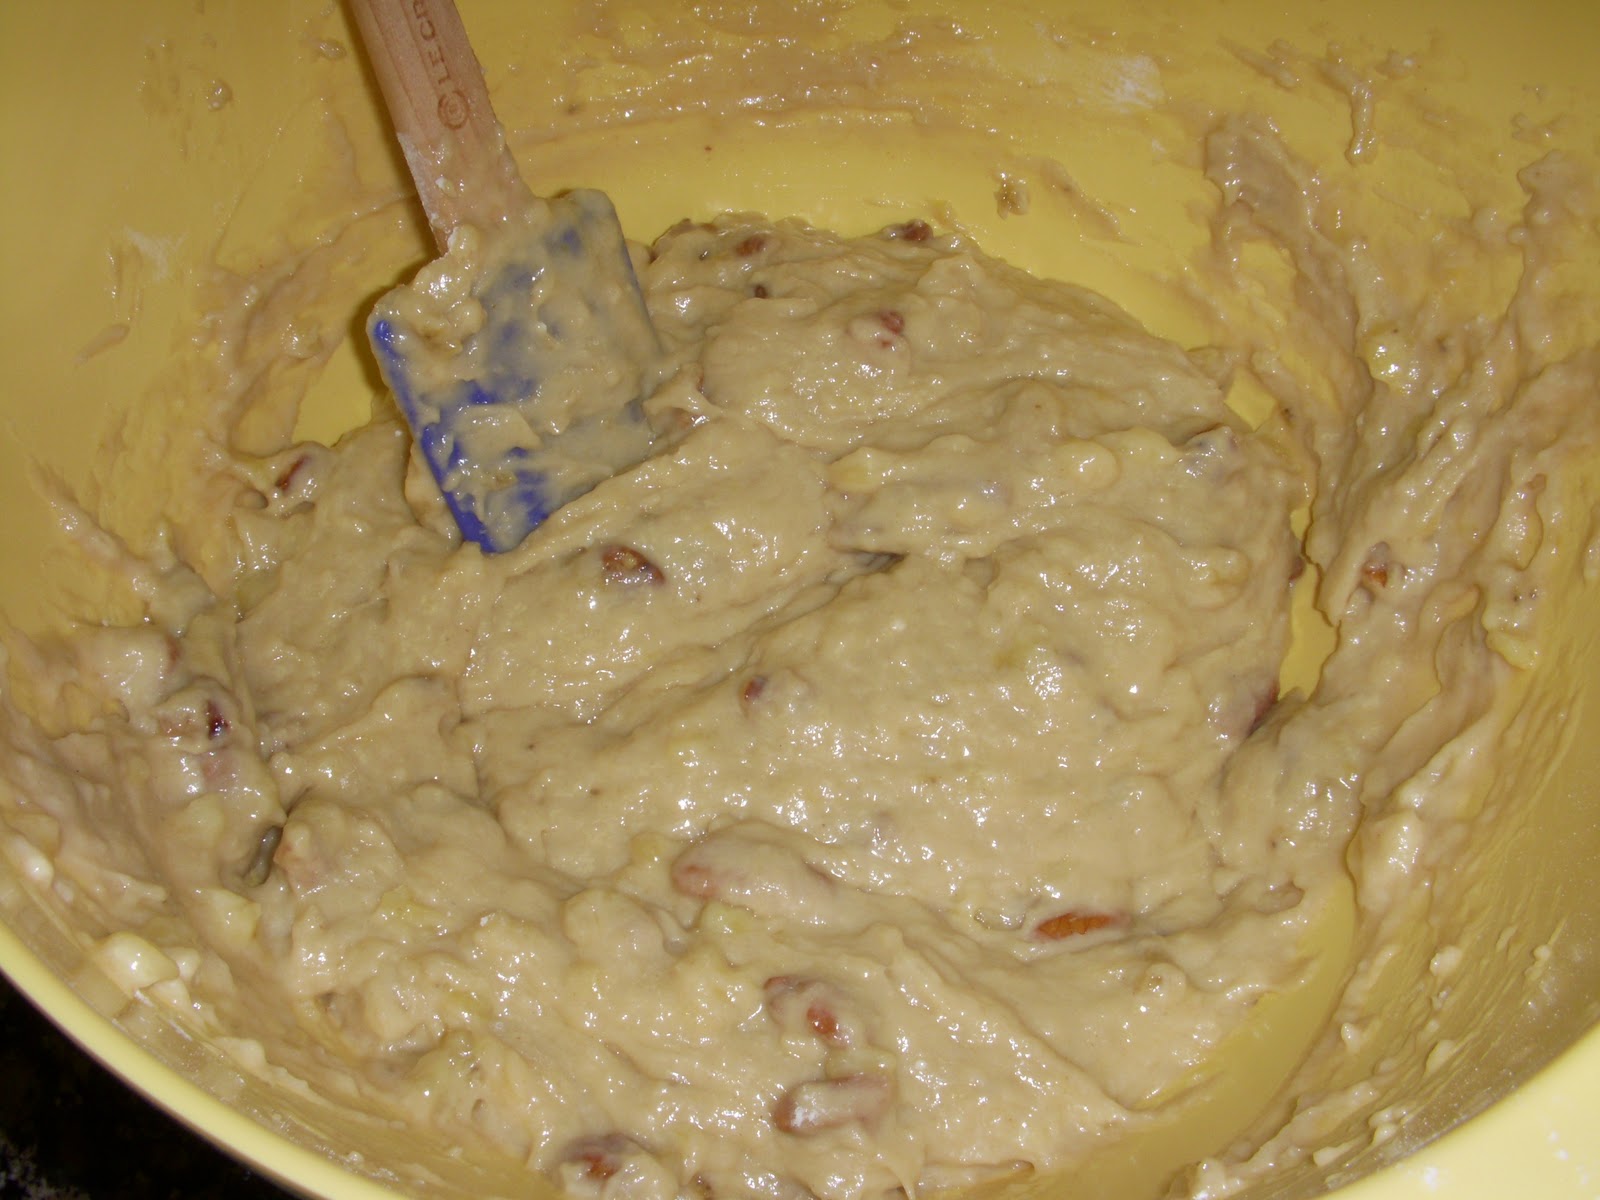
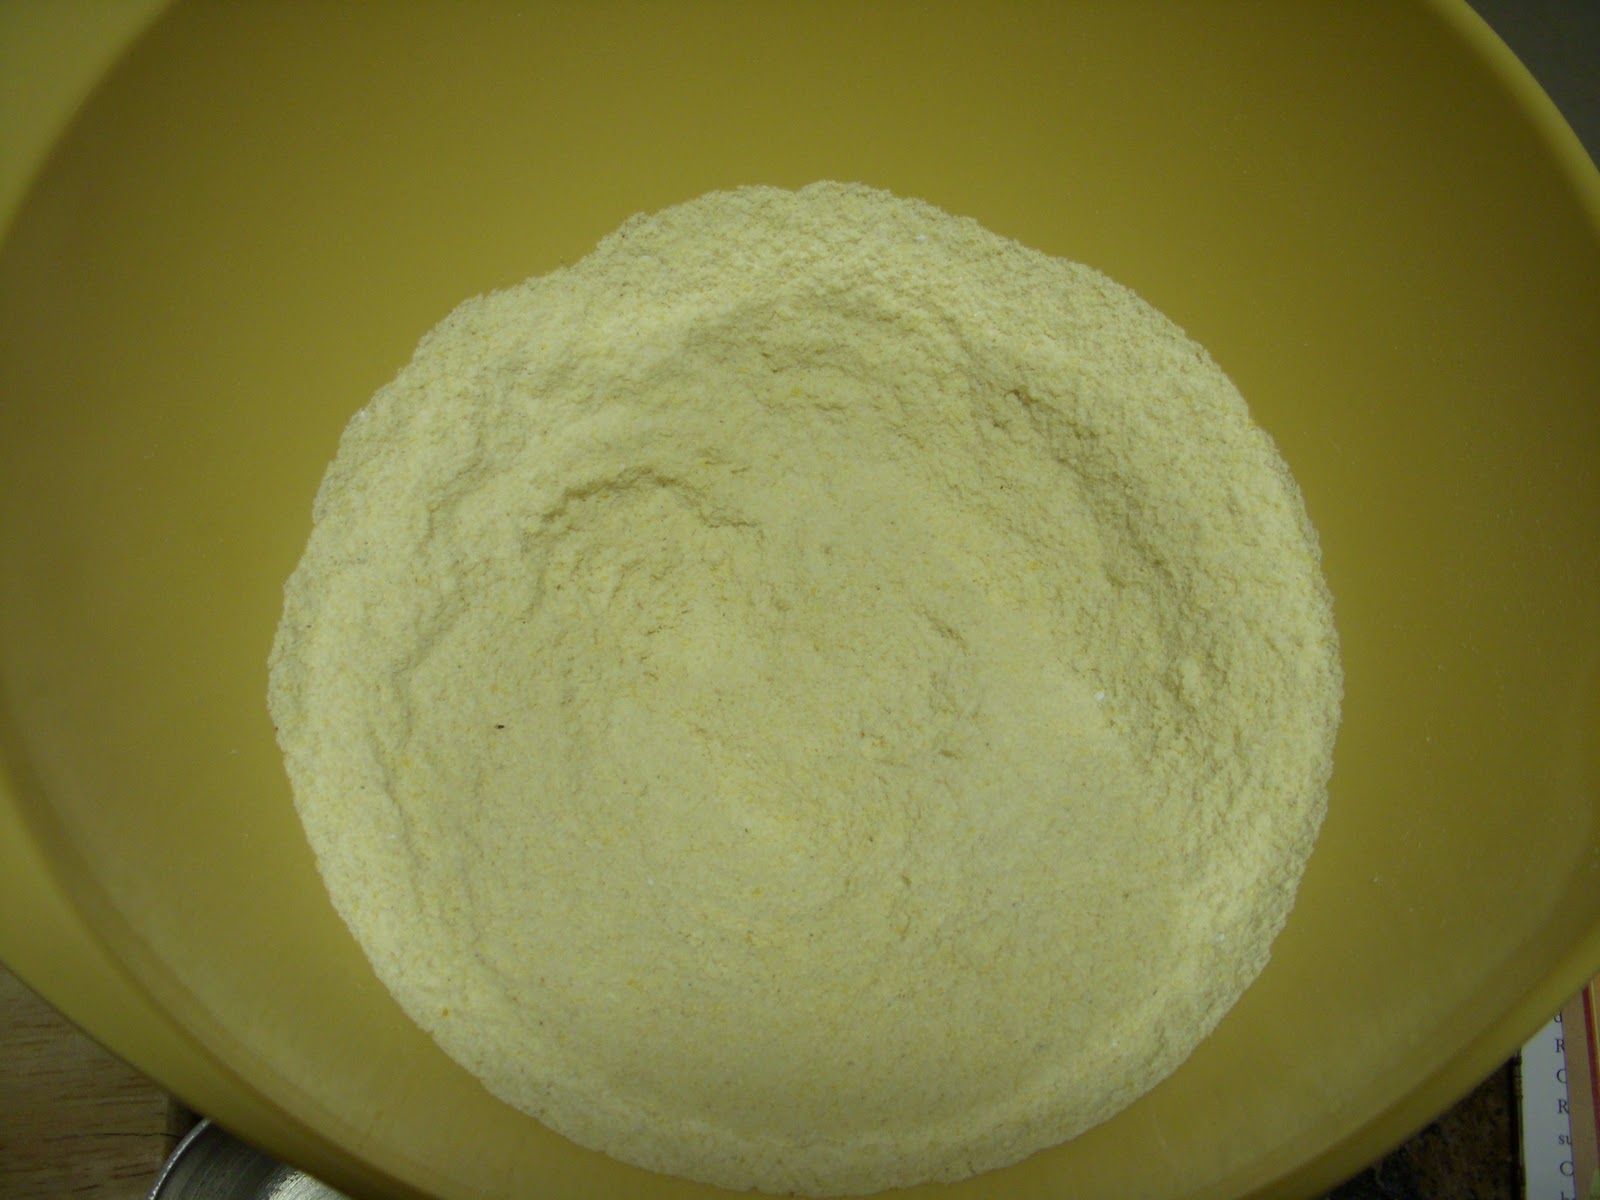
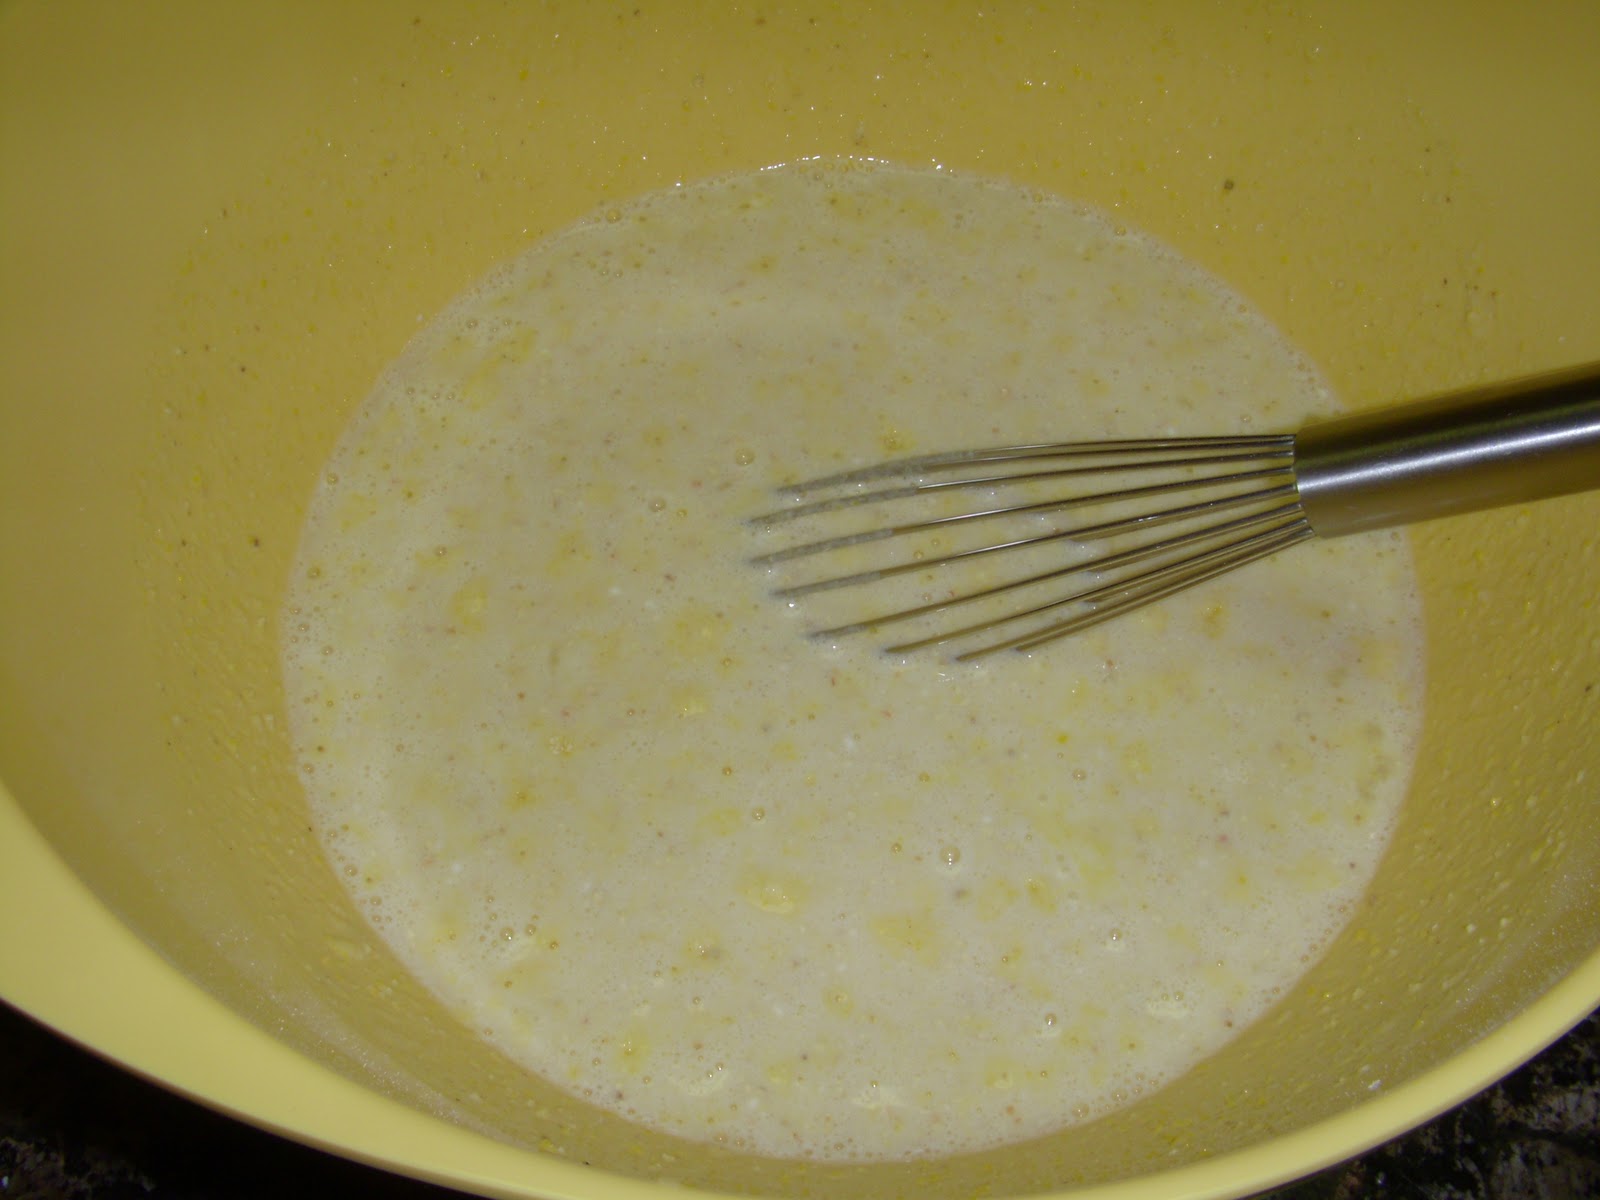
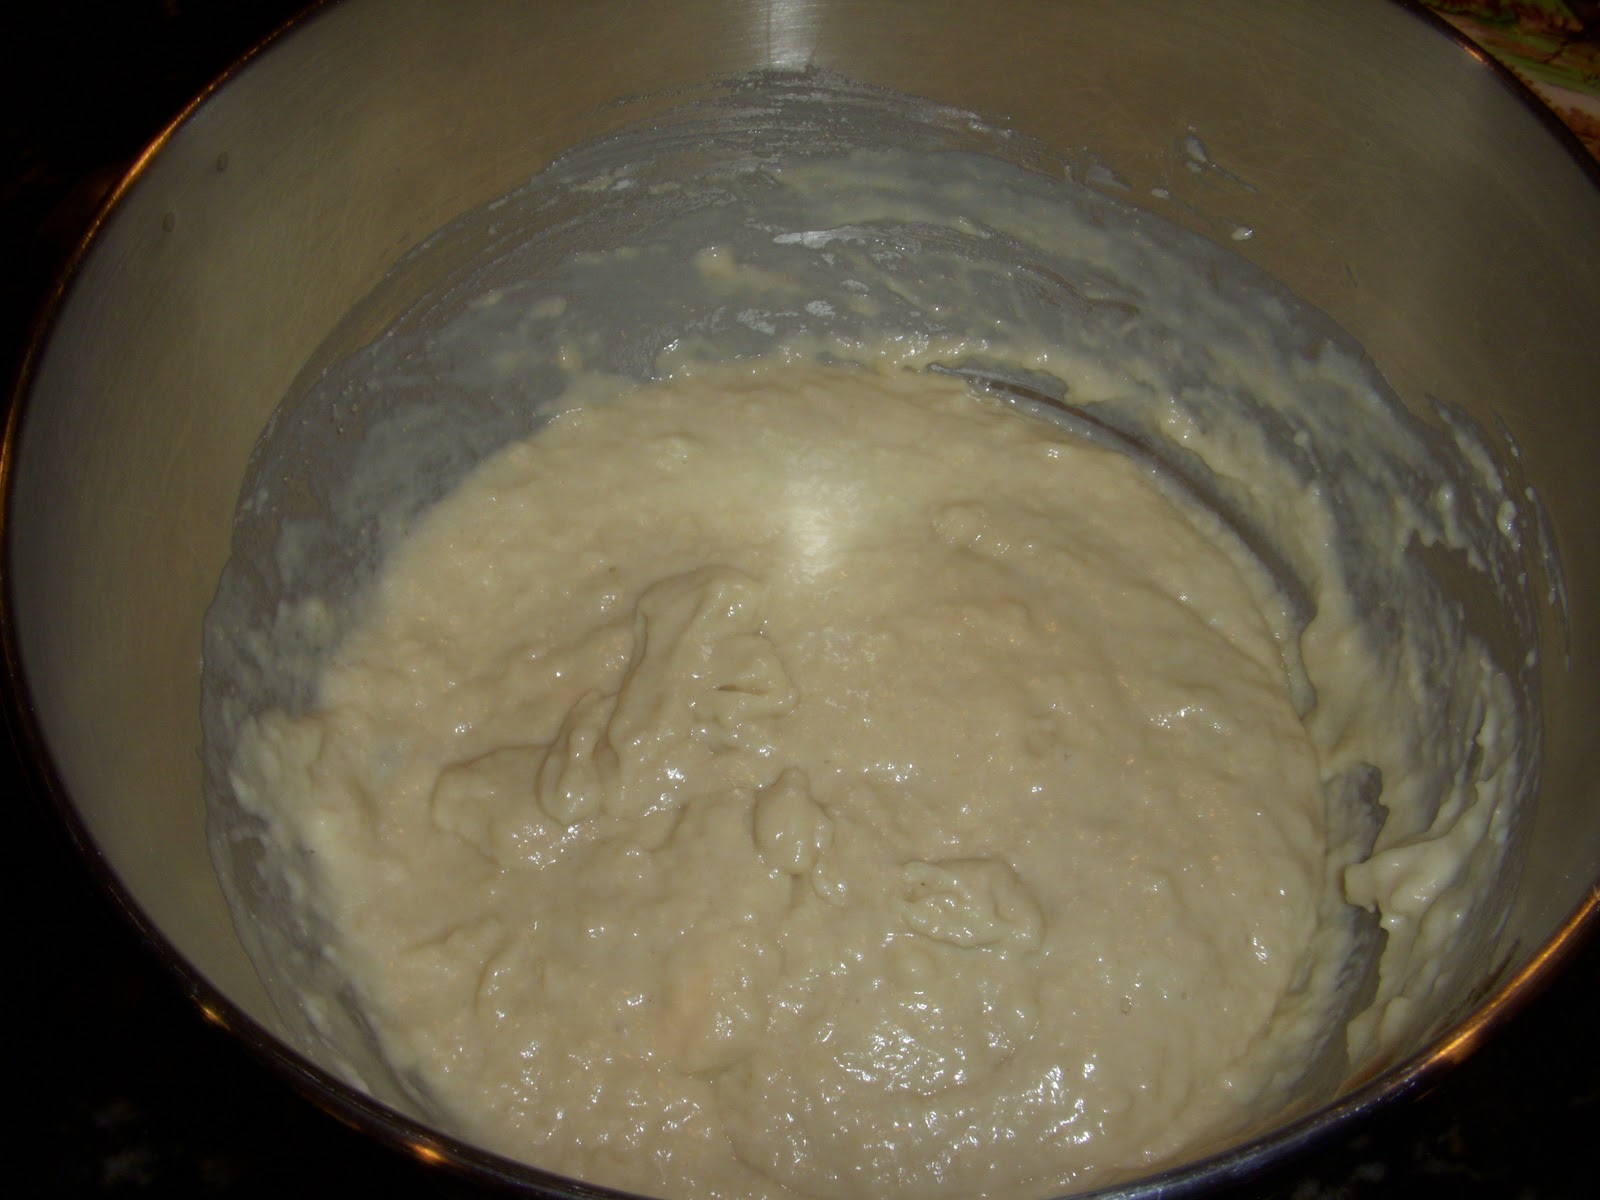
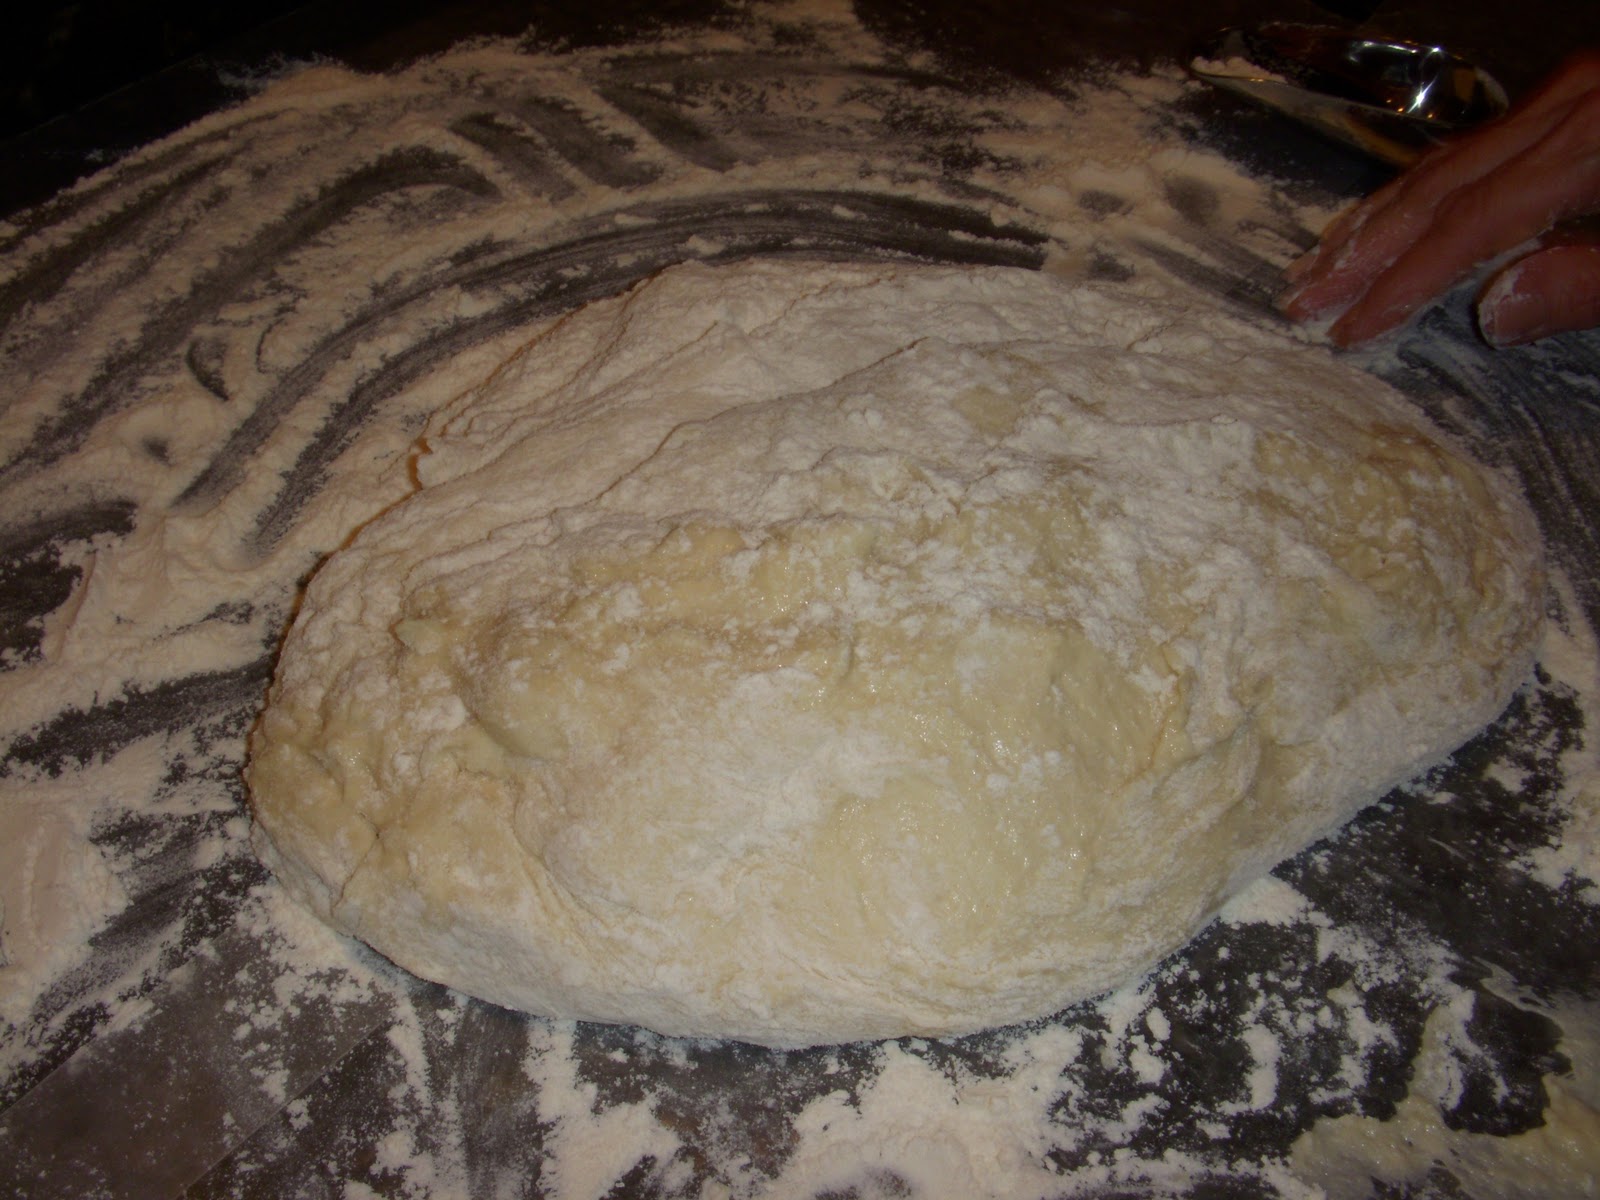
Add 4 cups flour.  Stir until just combined, and let sit in warm place for 1 hour.

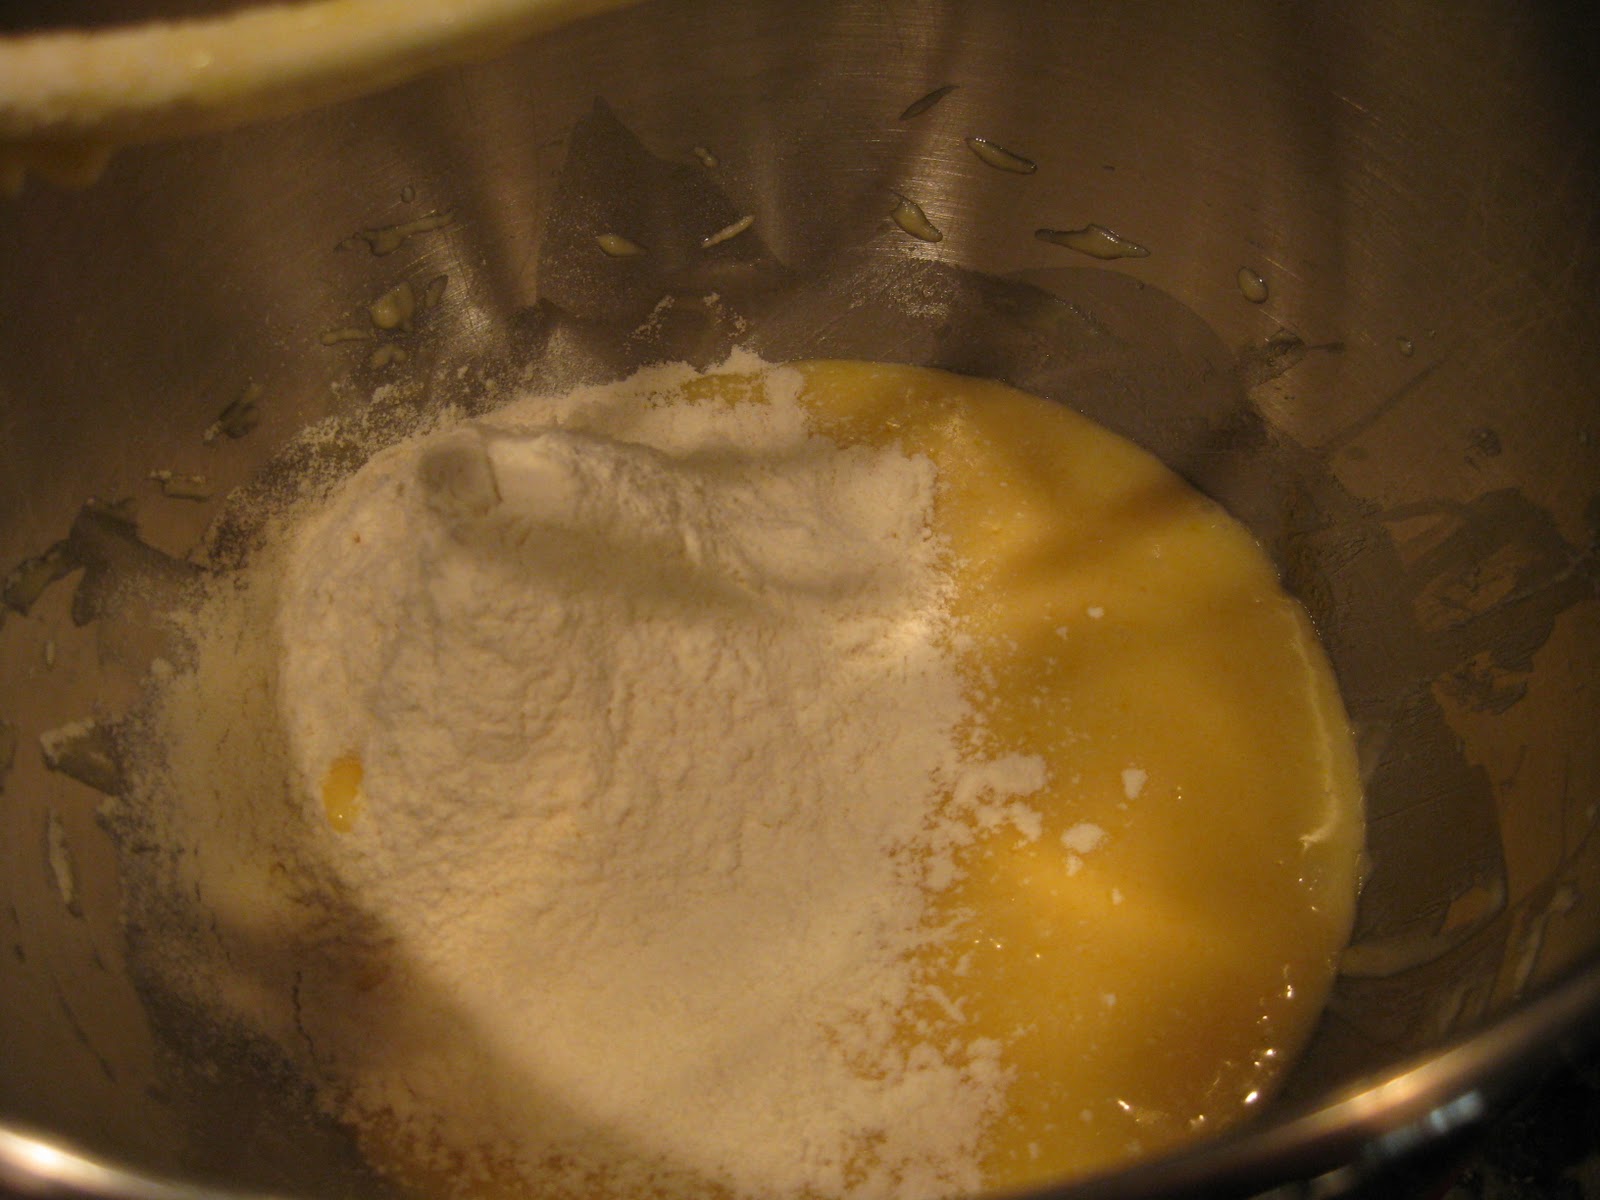
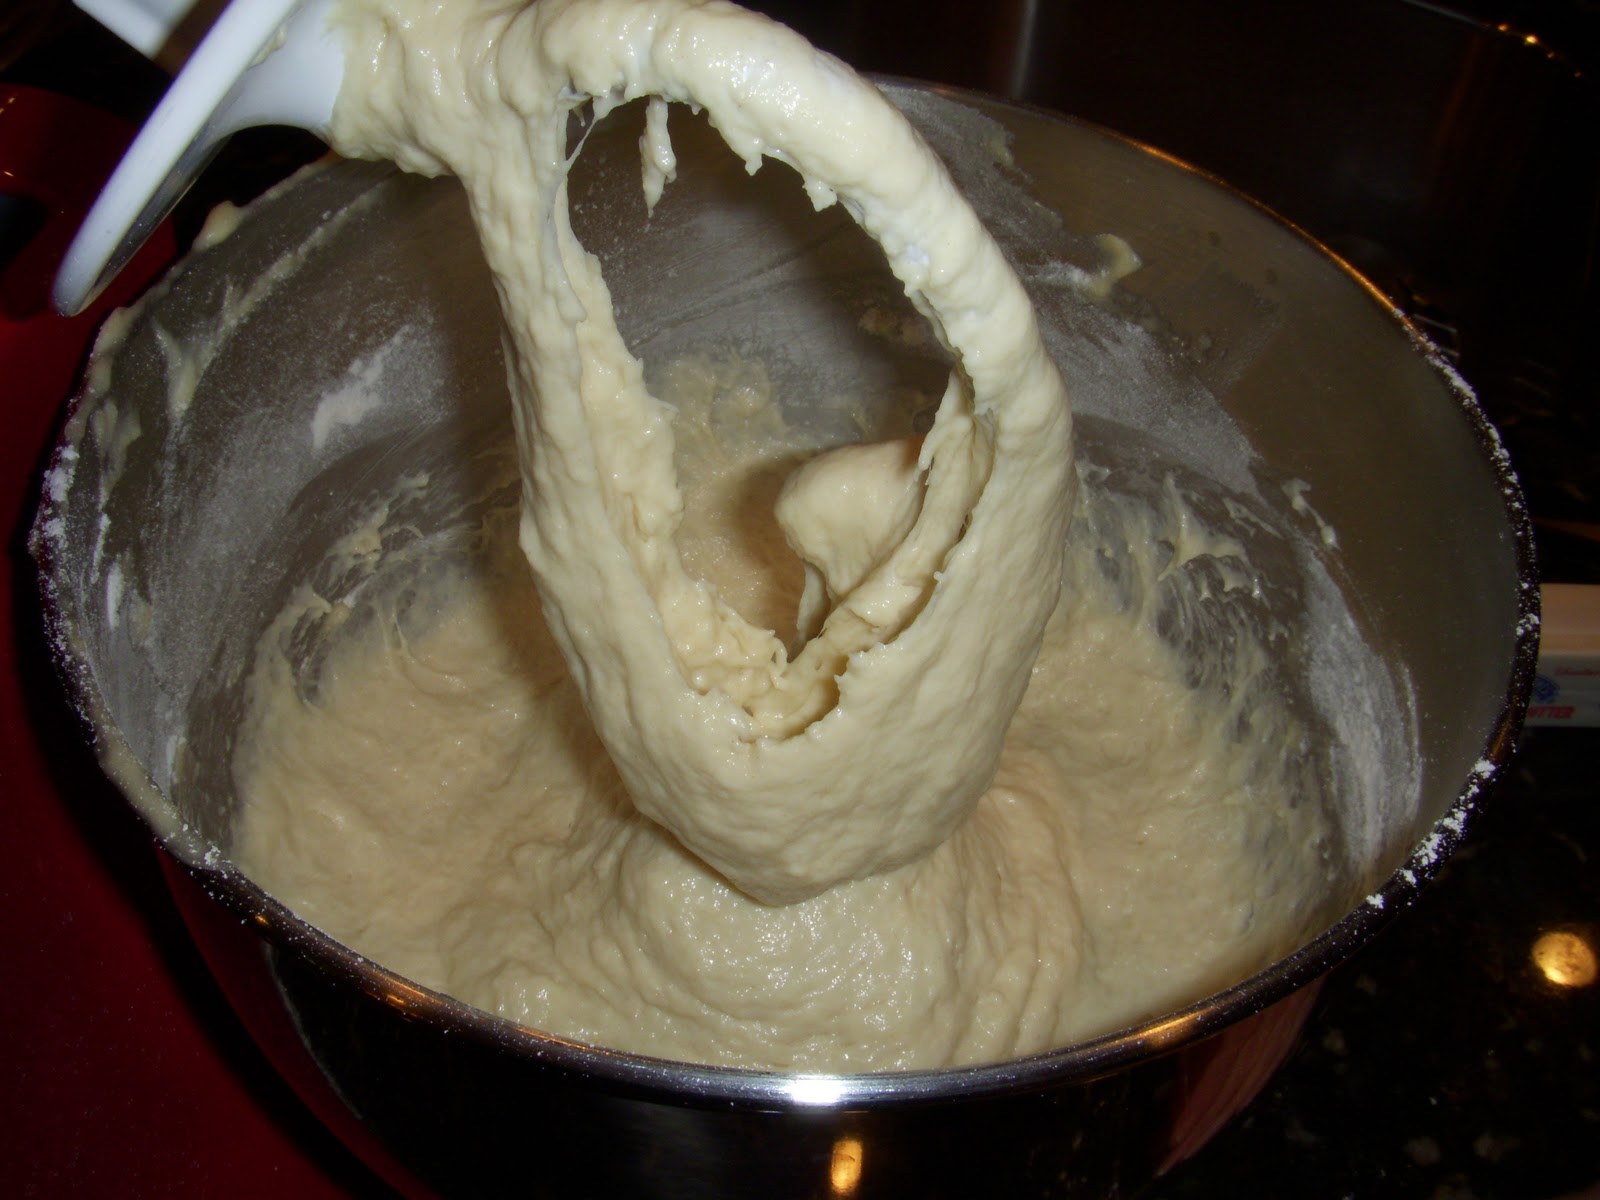
Add baking powder, baking soda, salt, and remaining 1/2 cup flour.  (We beat it in an electric mixer with a bread hook).

Punch dough down, and turn out onto floured surface.  

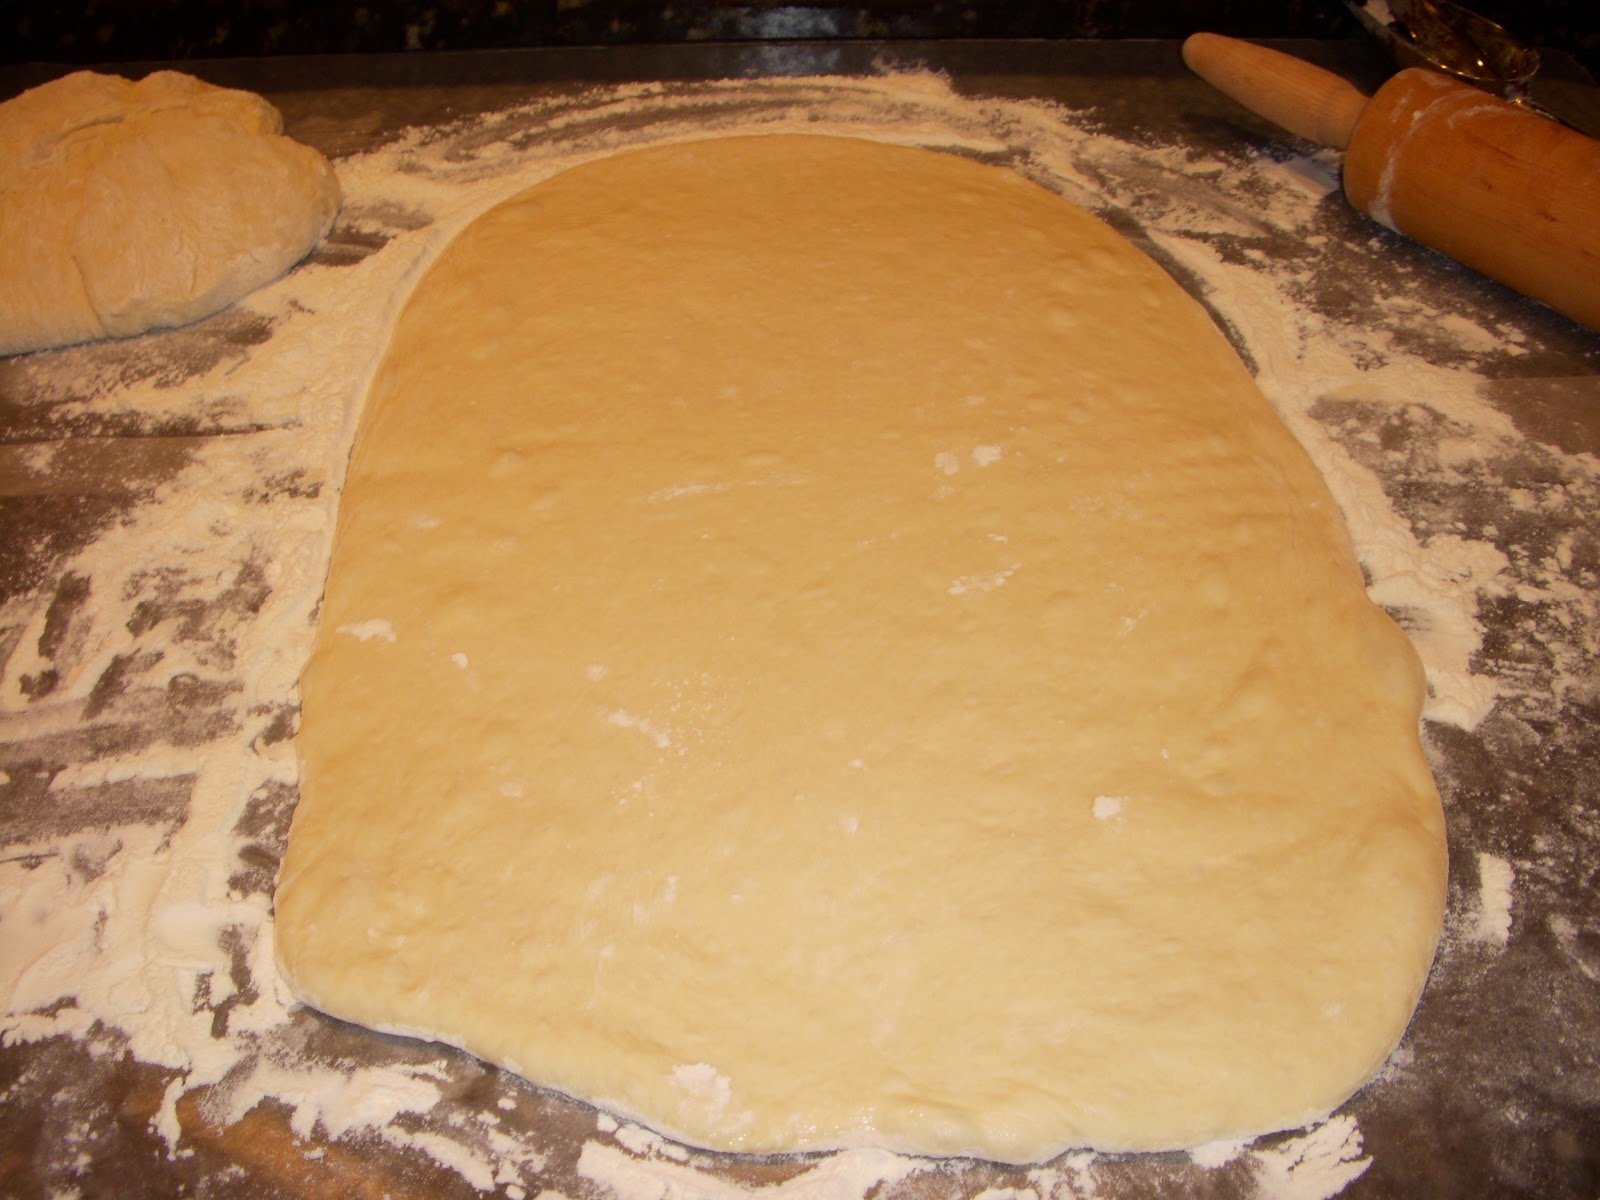
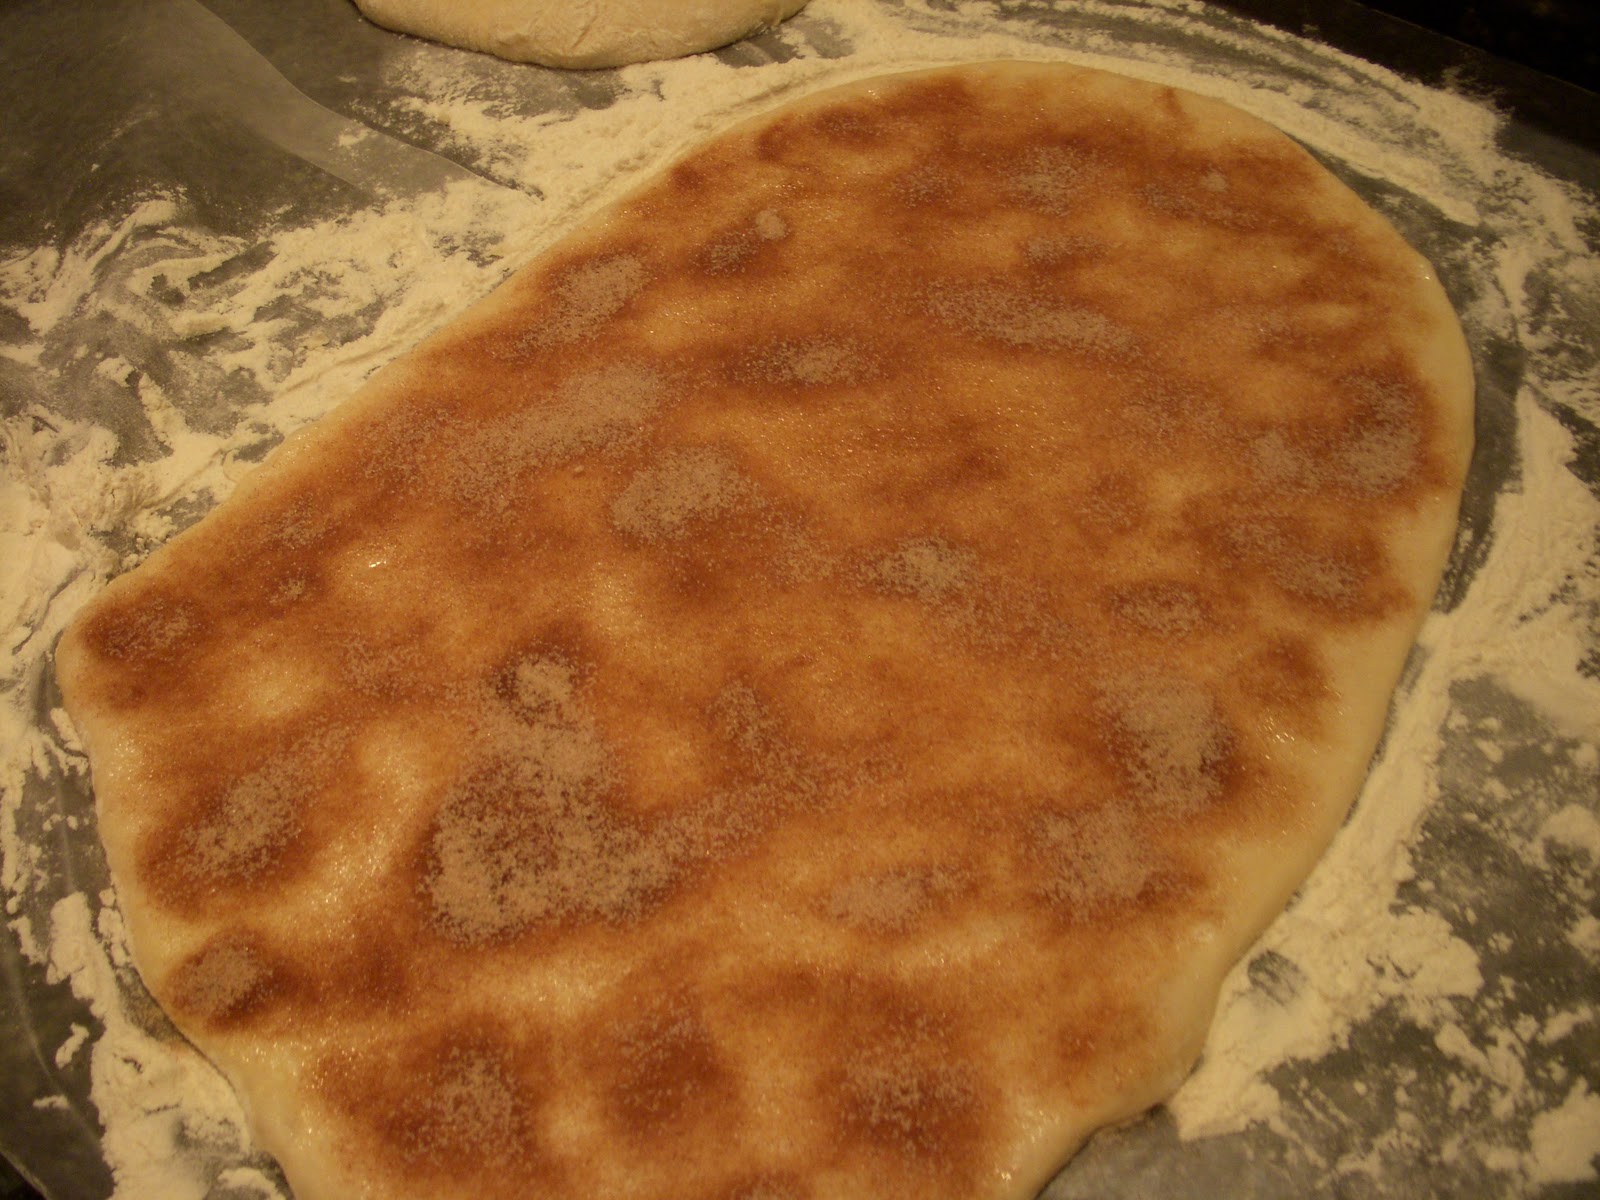
Roll dough into a large 30 x 10 inch rectangle, about 1/8 inch thick.

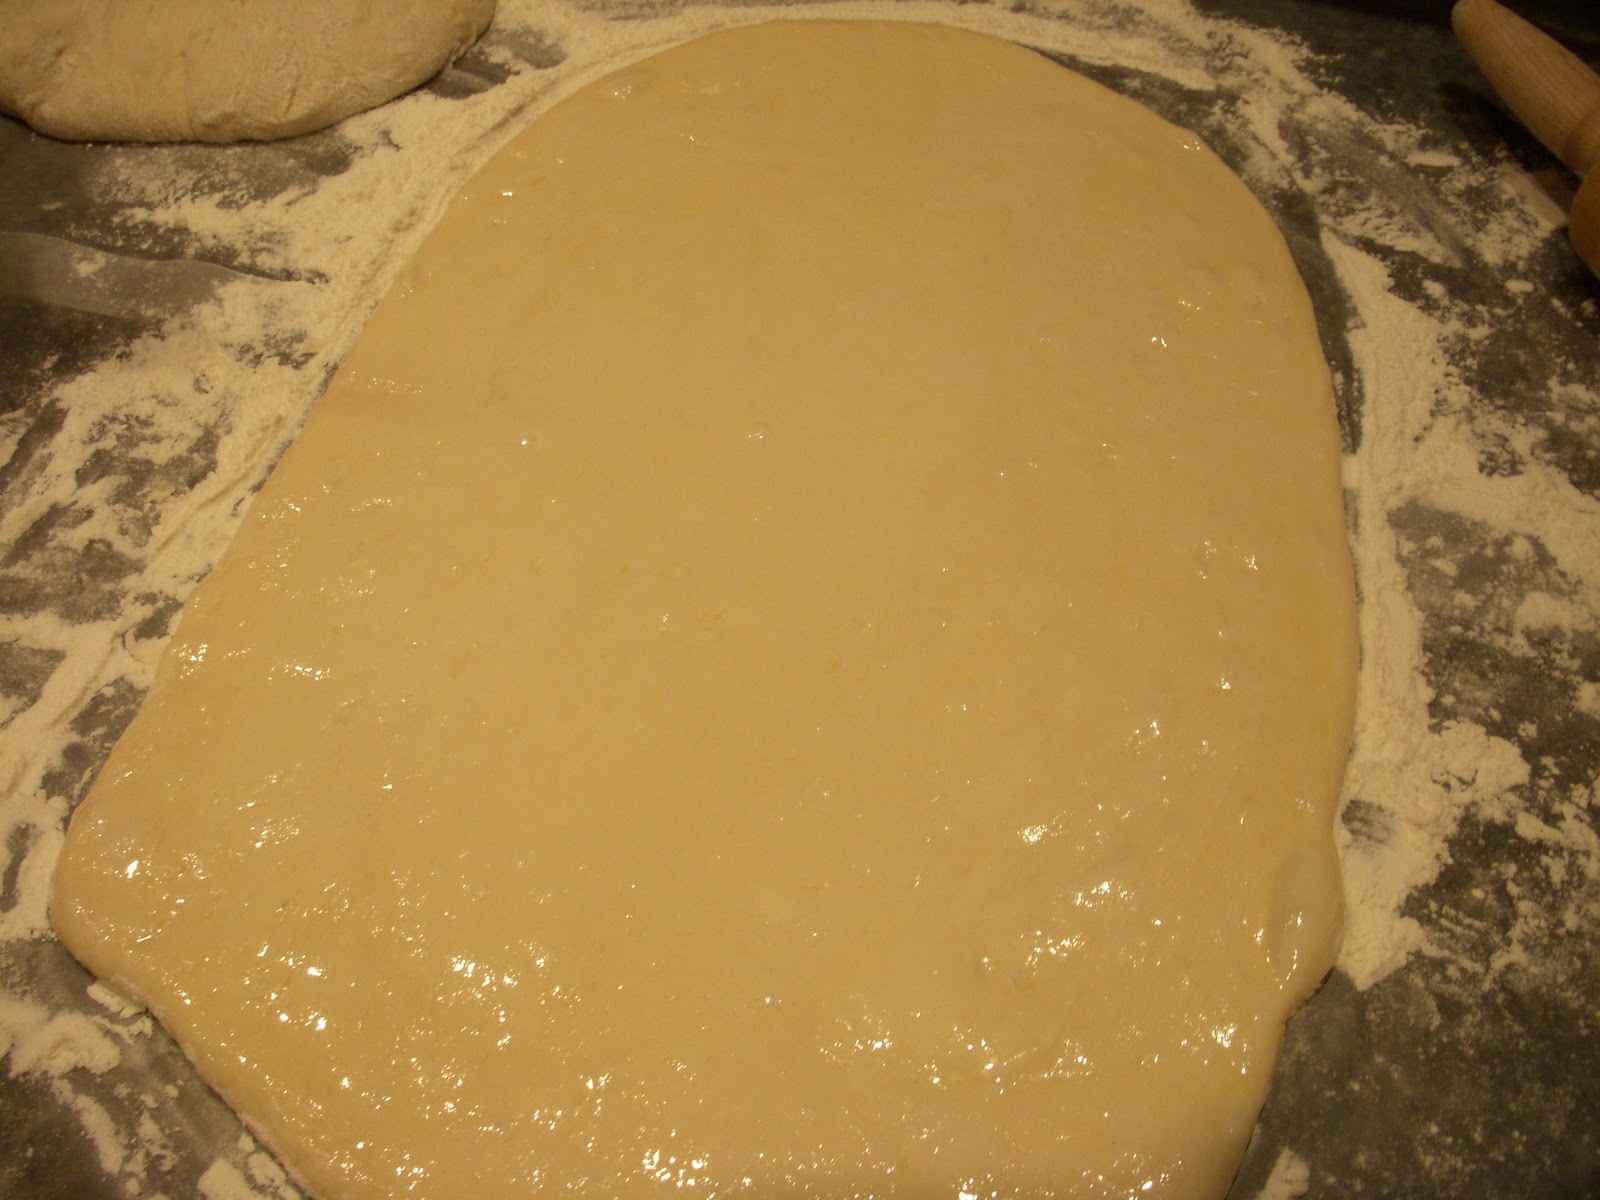
To make filling:  Pour melted butter on top of dough.  Using pastry brush or fingers to spread butter evenly over dough.

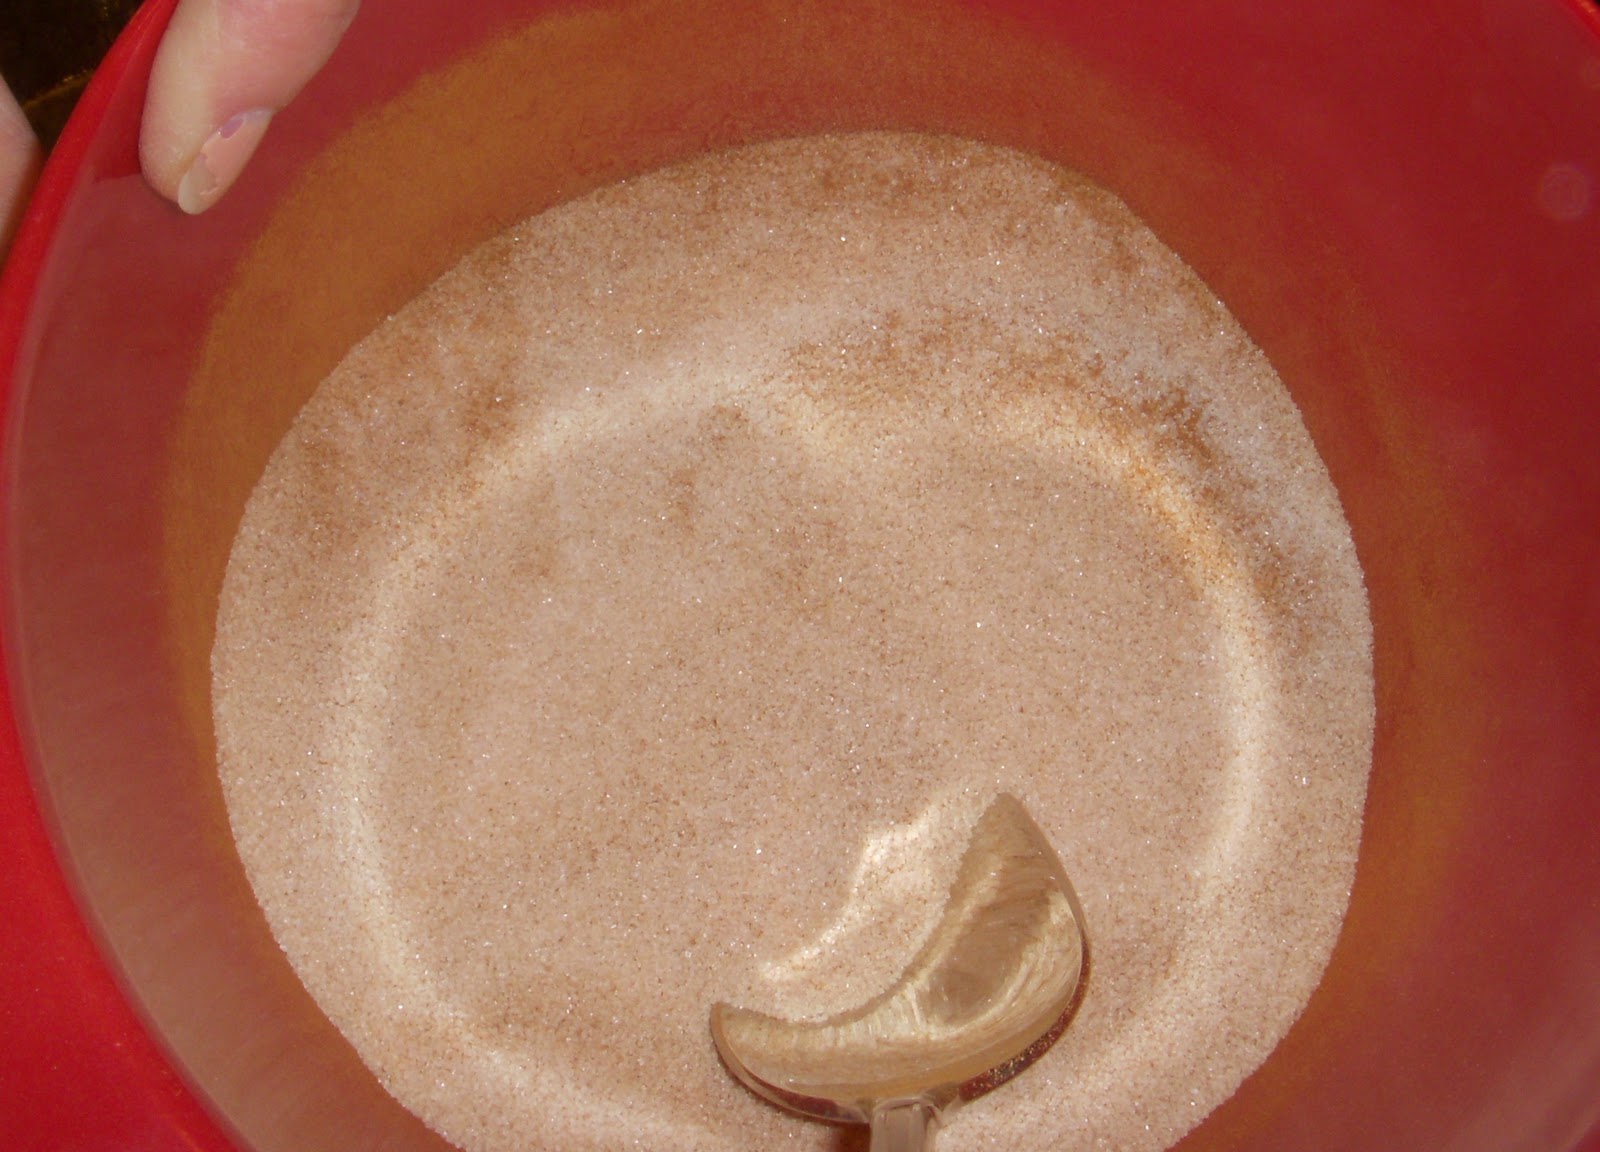
Combine cinnamon and sugar mixture.

Sprinkle over melted butter on dough.

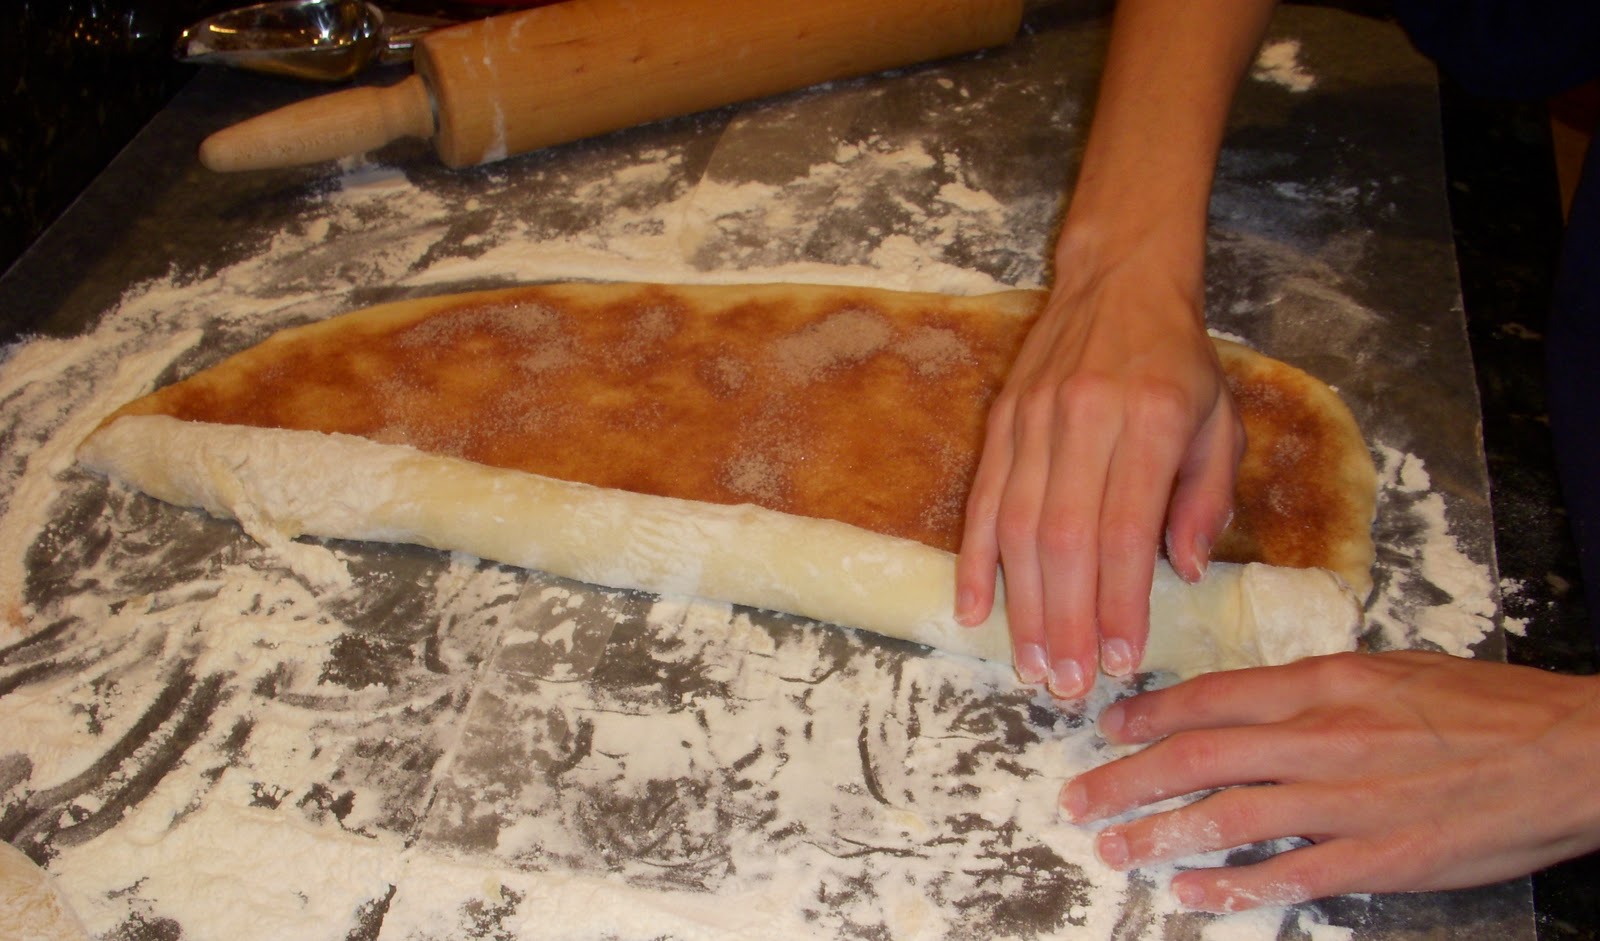
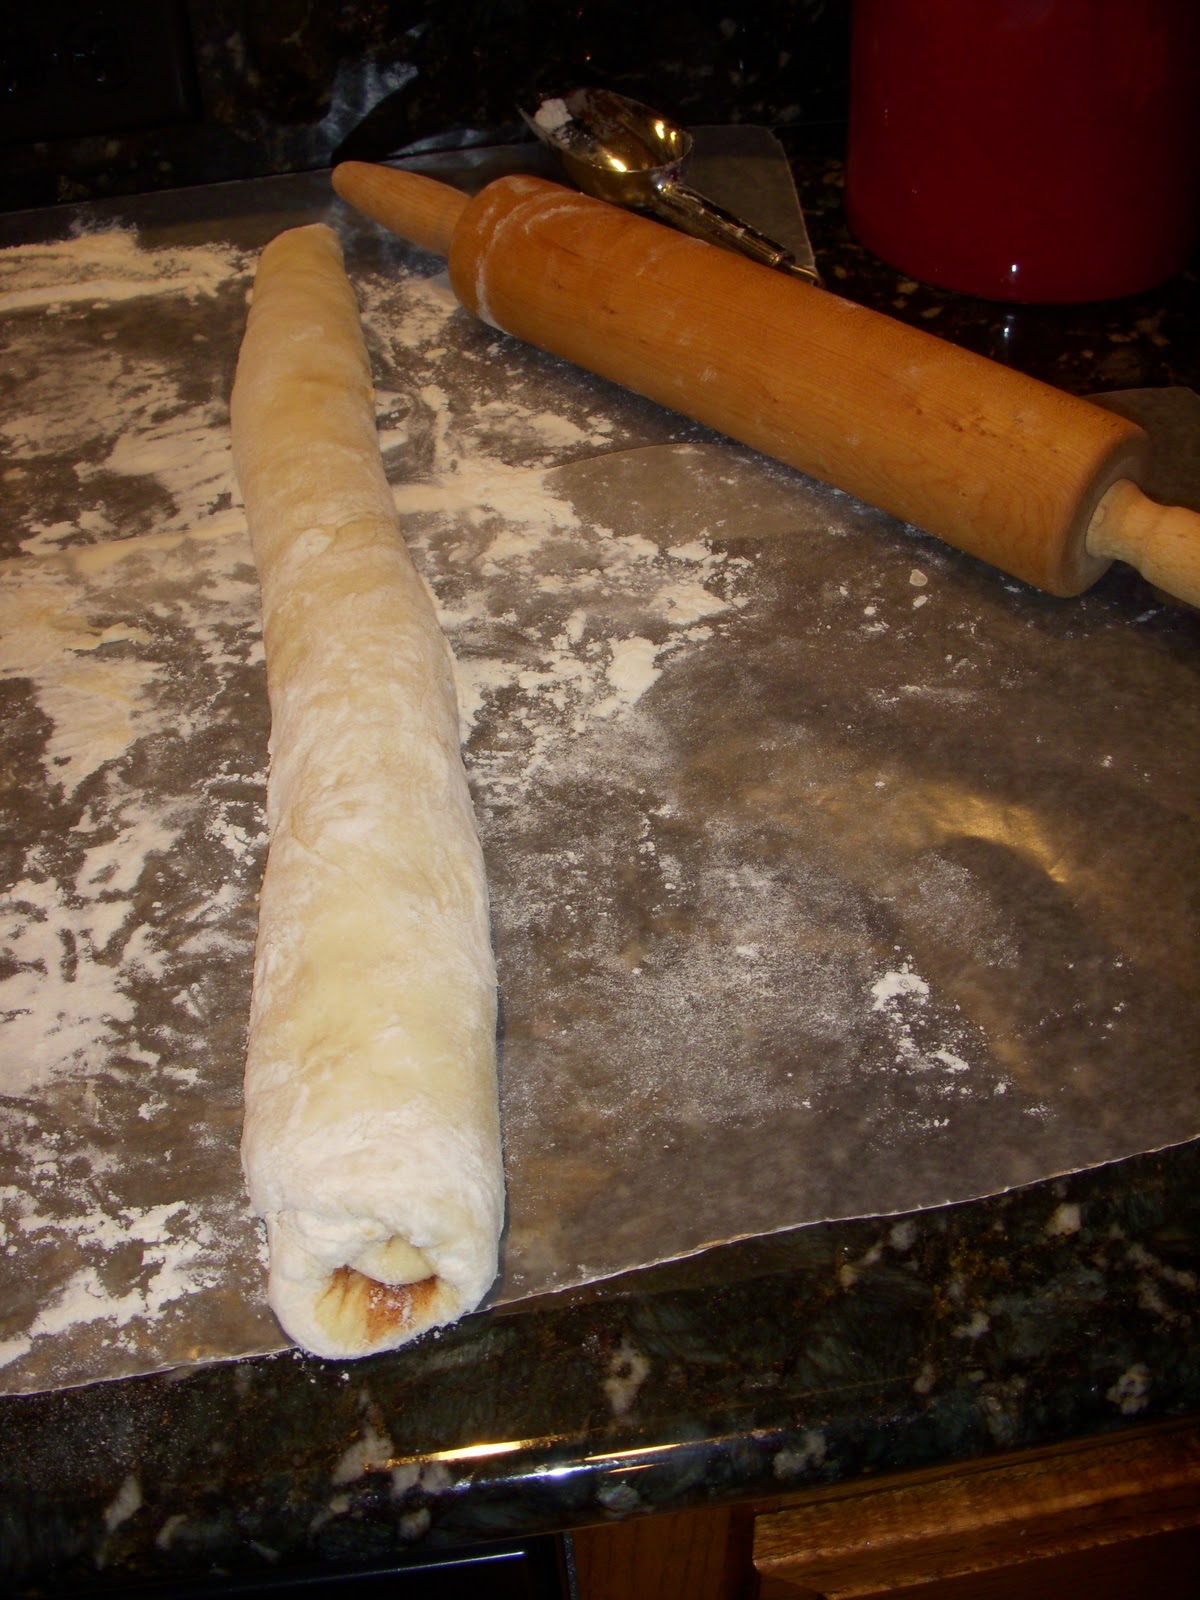
Roll dough tightly into a long log.  

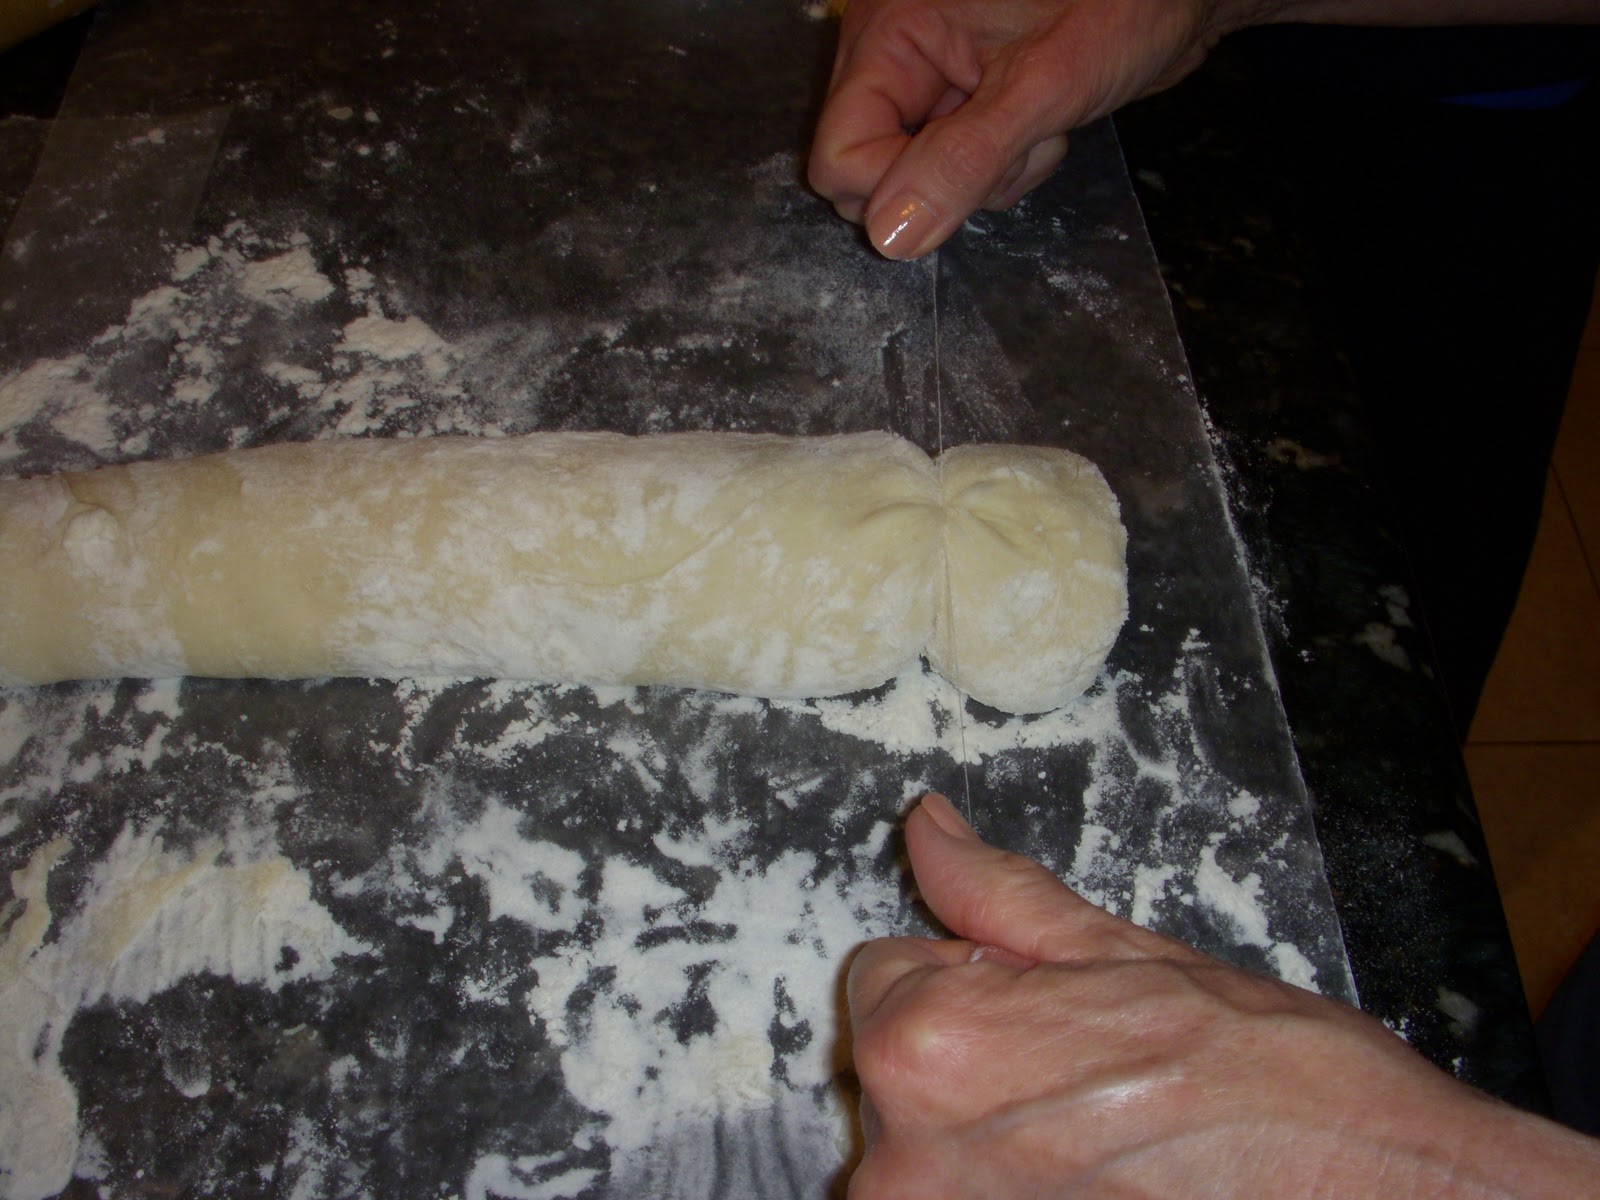
Cut dough into 1 1/2 inch slices with either a large butcher knife, or use thread to pinch off dough (like we did).

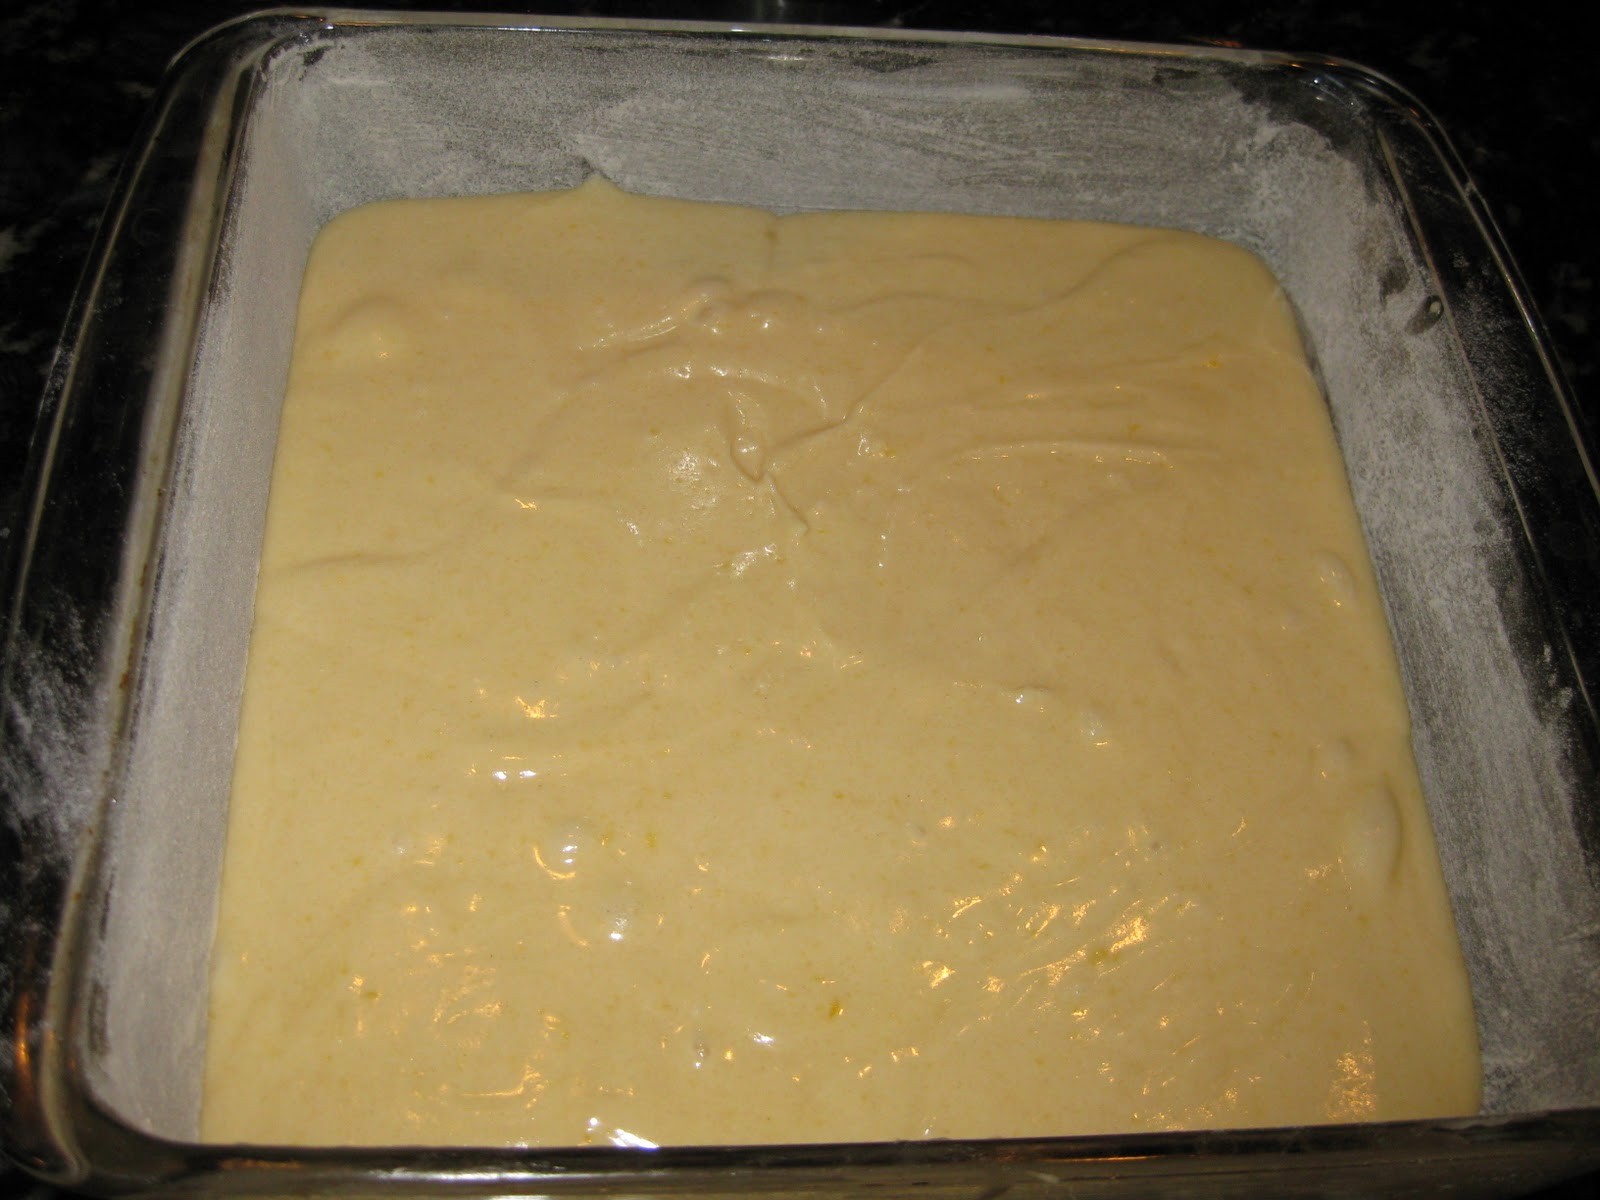
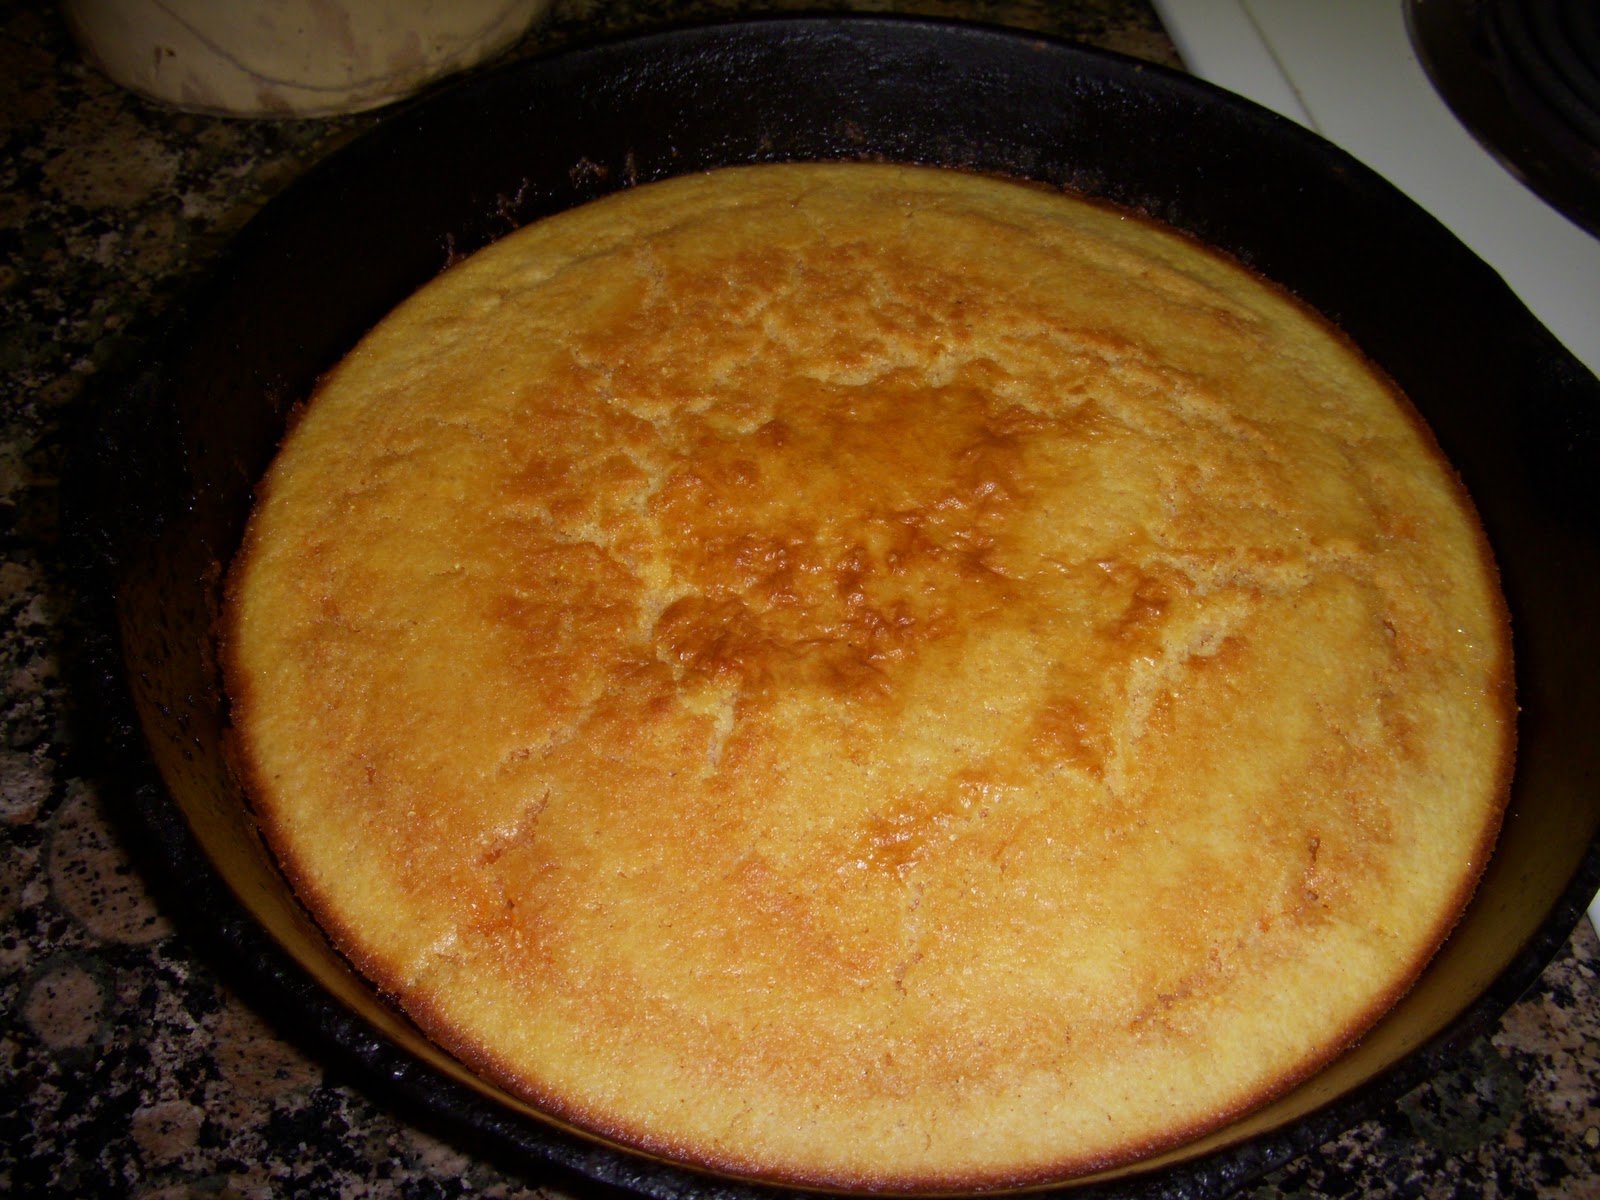
Place dough slices into buttered pie pan or 9 x 13 inch pan.  Preheat oven to 375 degrees.  Let cinnamon rolls rise for at least 20 minutes before baking.  Bake rolls for 13 to 17 minutes, or until golden brown, but not overly brown.

While rolls are baking, make icing.  
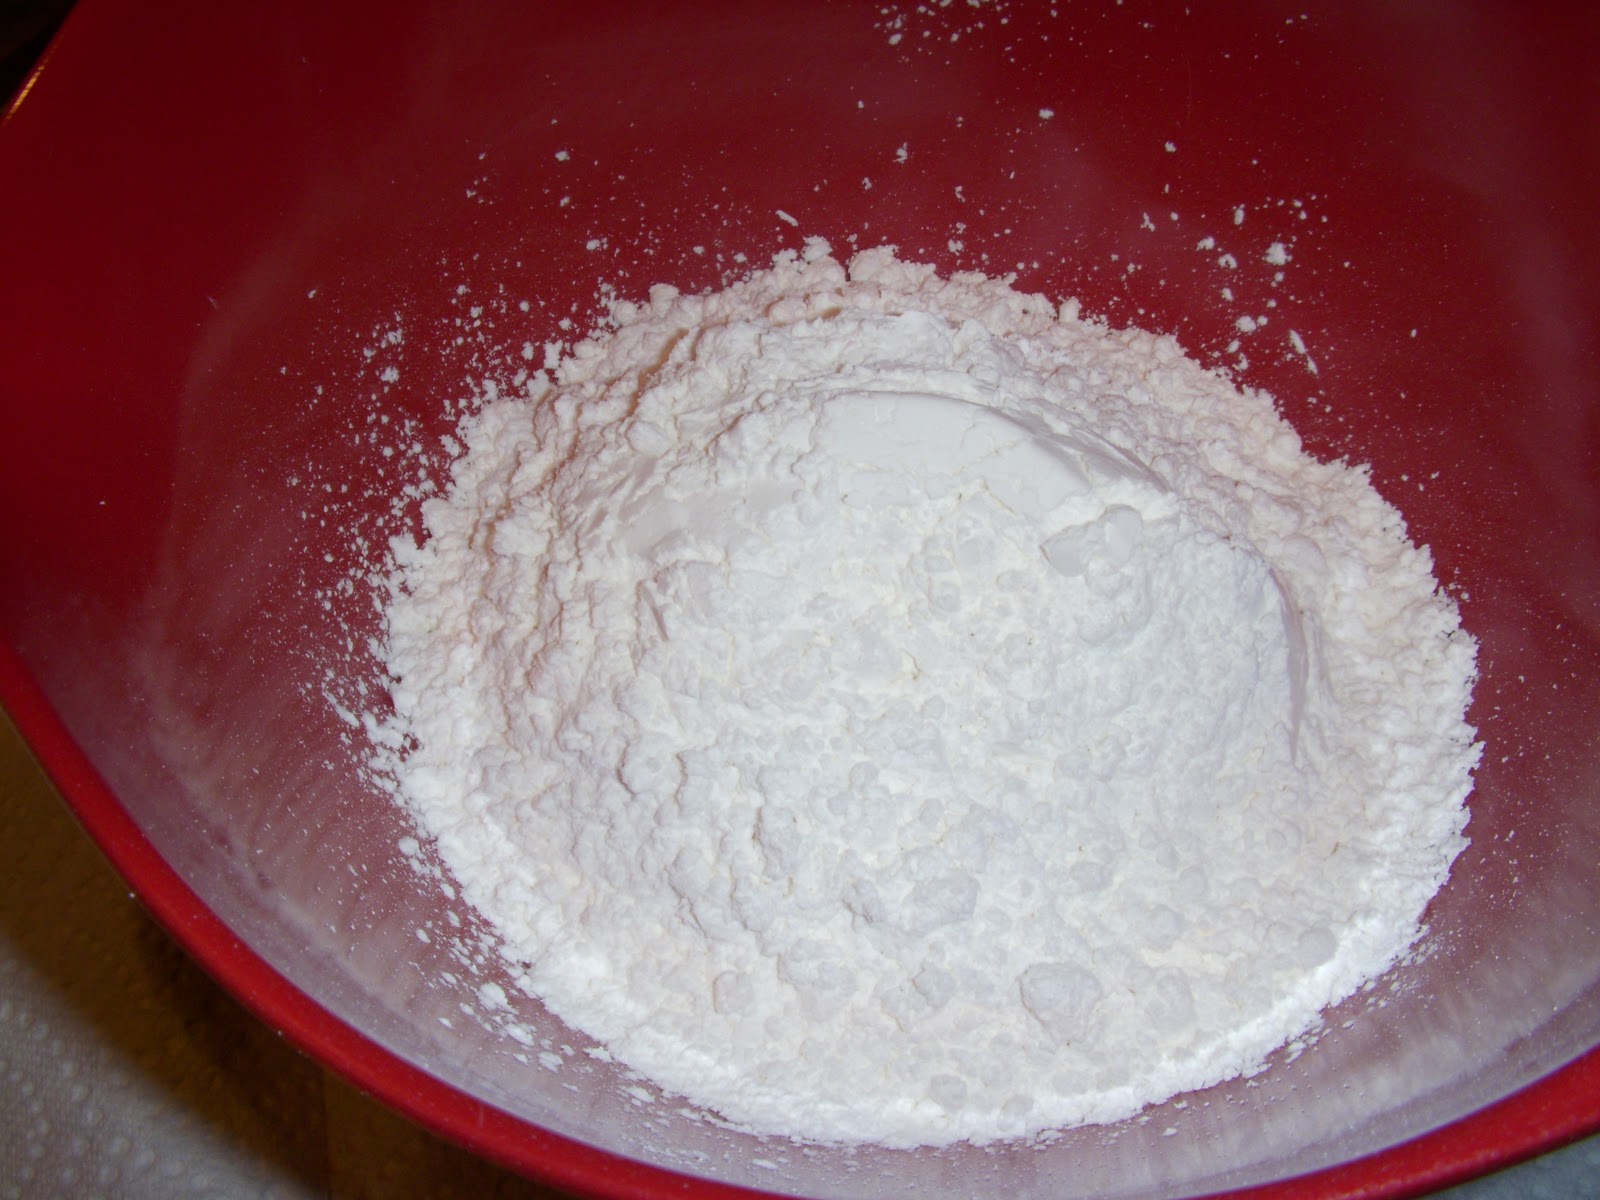
Regular Confectioner’s Icing:  Sift powdered sugar into mixing bowl.

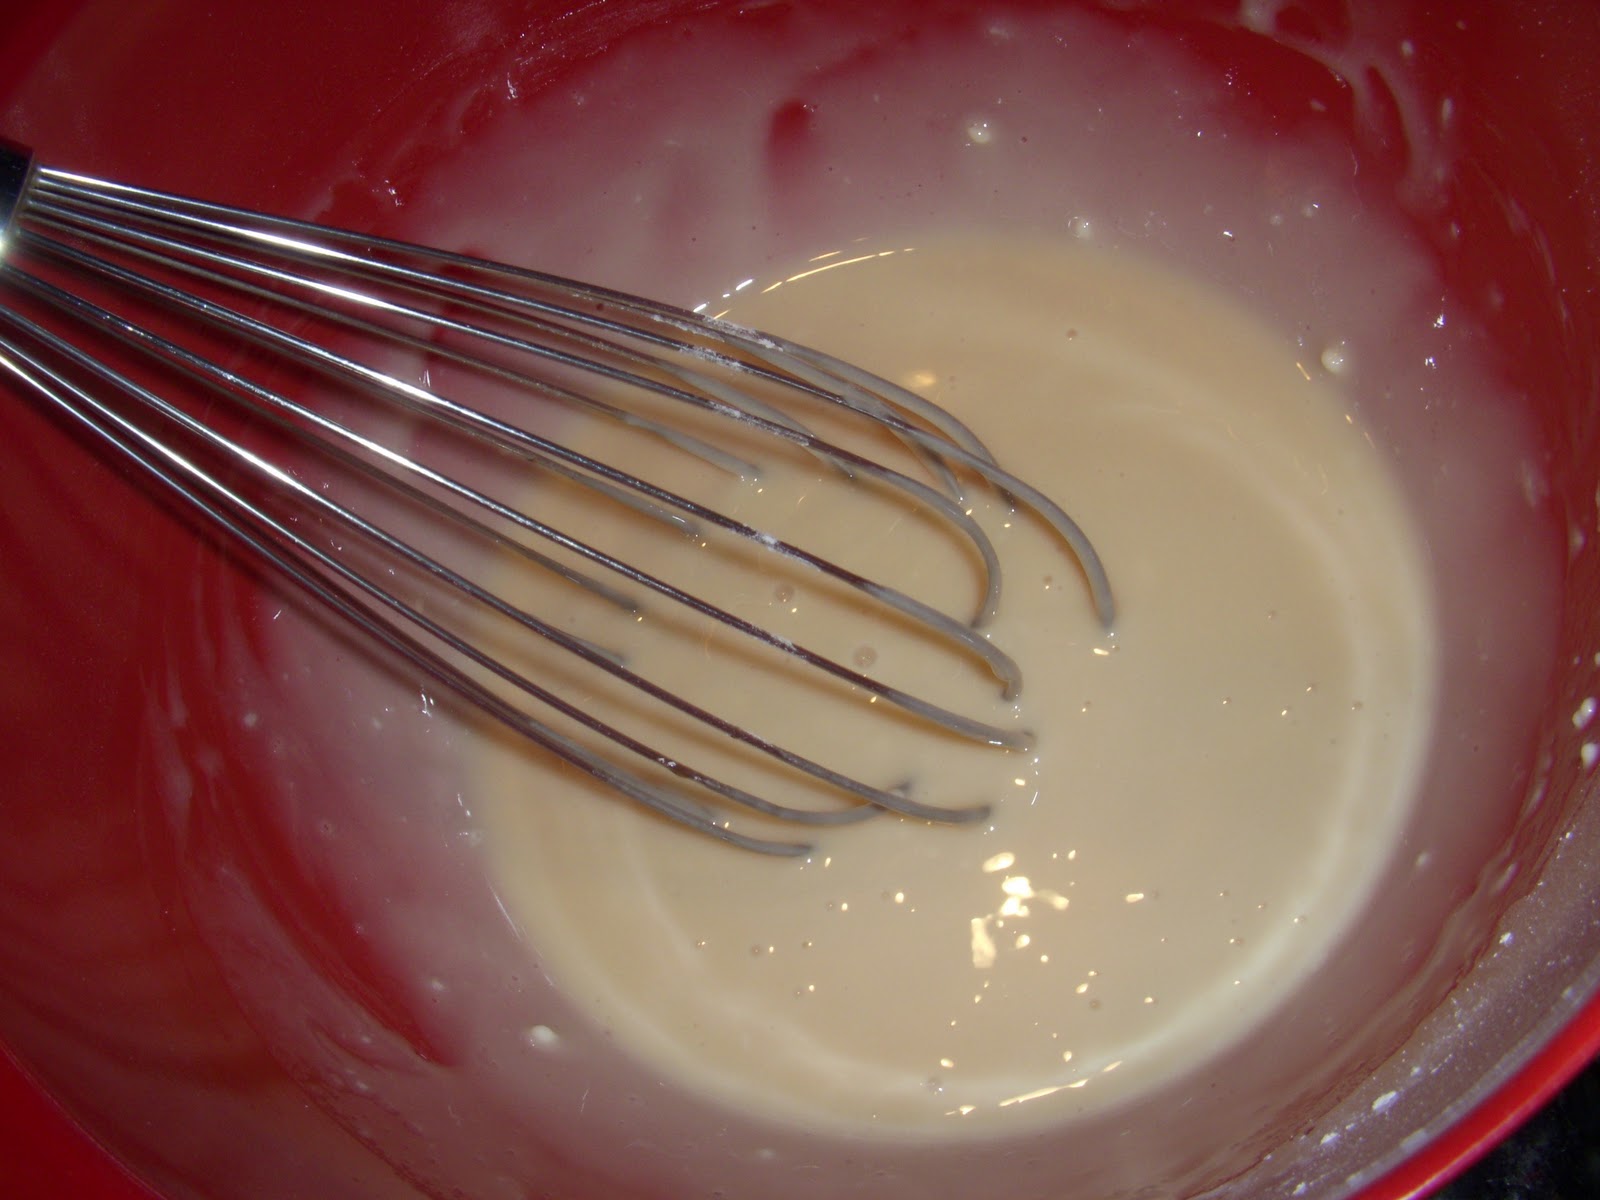
Whisk in vanilla, salt, and milk, until very smooth and desired consistency is obtained.

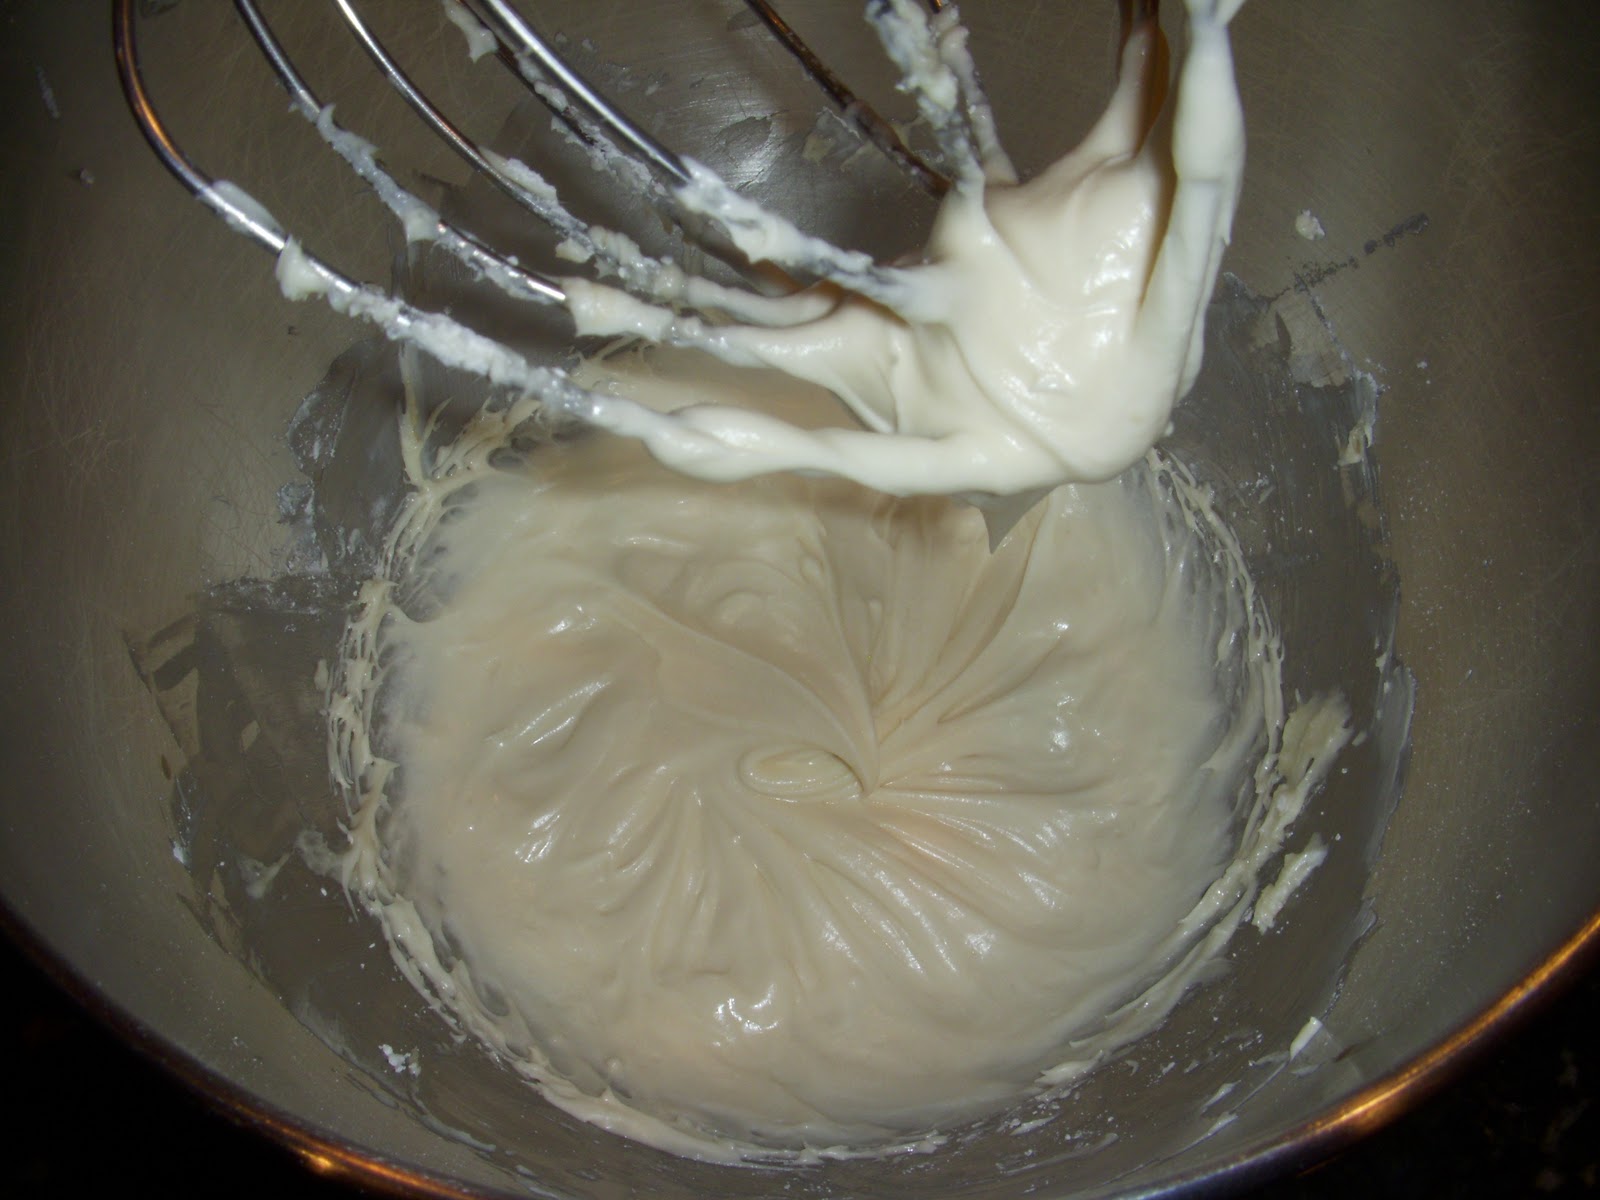
Cream Cheese Icing:  Beat together butter and cream cheese in an electric mixer with wire whisk until smooth.  Whisk in powdered sugar and vanilla until smooth.

Pour icing over warm cinnamon rolls.
In this round pan, the cream cheese icing is on the left, and the confectioner’s sugar icing is on the right side.

In the 9 x 13 inch pan, the confectioner’s sugar icing is on the left, and the cream cheese icing is on the right side.

Enjoy hot!


Cinnamon Rolls
Ingredients
Dough
2 cups whole milk
1/2 cup vegetable oil
1 packages (2 1/4 tsp) active dry yeast
4 1/2 cups all-purpose flour
1/2 heaping tsp baking powder
1/2 scant tsp baking soda
2 tsp salt

Filling
1/2 cup sugar
2 tsp cinnamon
4 tbsp butter, melted

Confectioner’s Sugar Icing
2 cups powdered sugar
2 tbsp milk, plus more depending on thickness of icing
1 tsp vanilla
dash of salt

or

Cream Cheese Icing
4 oz cream cheese, room temperature
1 cup powdered sugar
1/4 cup (1/2 stick) unsalted butter, room temperature
1/2 tsp vanilla extract


Directions
1. For the dough:  heat the milk, vegetable oil, and sugar in medium saucepan over medium heat to 115-120 degrees.  Sprinkle the yeast on top and let sit for 1 minute.  Add 4 cups flour.  Stir until just combined, cover with a clean kitchen towel, and set aside in a warm place for 1 hour.
2.  Remove the towel and add the baking powder, baking soda, salt, and remaining 1/2 cup flour.  Stir thoroughly to combine.  Punch dough down; turn onto a floured baking surface.  Roll the dough into a large rectangle, about 30 x 10 inches. (I split the dough in half and made two rectangles).
3.  To make the filling:  pour half of the melted butter over the surface of the dough.  Use your fingers to spread the butter evenly (I used a pastry brush).  Sprinkle half of the  cinnamon/sugar mixture over the butter.  Pour the remaining half of the butter and cinnamon sugar over the top of the other half of the dough.
4.  Beginning at the end farthest from you, roll each rectangle tightly toward you.  Use both hands and work slowly, being careful to keep the roll tight.  Transfer dough logs to a cutting board and cut into 1 1/2 inch slices.
5.  Grease pie pans or 9 x 13 inch pan with melted butter; swirl to coat.  Place sliced rolls in the pans; do not overcrowd.
6.  Preheat oven to 375 degrees.  Cover pans with kitchen towel and let rise for at least 20 minutes before baking.  Remove the towel and bake for 13 to 17 minutes, until golden brown.  Don’t let rolls become overly brown.
7.  To make confectioner’s sugar icing:  In a large bowl, whisk together the powdered sugar, milk, salt, and vanilla.  Whisk until very smooth and icing reaches the desired consistency.  The icing should be thick but still pourable. To thin the icing, add more milk.  To thicken the icing, add more powdered sugar.
8.  To make cream cheese icing:  In a bowl of an electric mixer, cream together the butter and cream cheese until smooth.  Beat in the powdered sugar, vanilla, and salt.  Beat until very smooth.
9.  While the rolls are still warm, generously drizzle icing over the top.

Yield:  20 – 25 rolls

Chateaubriand Steak

I think my Dad’s steaks are the best steaks in the world.  They are so good that I will not even order a steak from a restaurant, even a fancy one!  He says the key to an excellent steak is how good the meat is.  We found that Central Market has the freshest and best tasting steaks (and meat in general).  Before we had a Central Market, we stopped cooking steaks because none of the grocery stores we shopped at had good enough meat.  However, steak has become a weekly/biweekly tradition in our family.  A good cut of meat is just about as lean a boneless, skinless chicken breast.
When my Dad grills steak, he buys a cut of beef called Chateaubriand.  He made it this weekend and I said it was the best steak I’ve ever put in my mouth!  
To season the steak he pours a little soy sauce and Montreal Steak seasoning on one side.  Super simple, super easy, extremely delicious!  Enjoy!
Slice the Chateaubriand Steak into about 1-inch slices.  (We like ours thin so the steaks are “well-done”, no pink).

Drizzle with soy sauce and sprinkle Montreal Steak seasoning on top.
Preheat your grill and cook for about 15 minutes (4-5 minutes on one side, flip, and cook another 8-10 minutes).  Adjust time for thickness and doneness.  We like our steaks cooked “well-done”, no pink.

Let rest on a plate.

Serve and enjoy.
Chateaubriand Steak
Ingredients
Chateaubriand steak, enough to serve everyone in your household
Soy sauce
Montreal Steak seasoning
Directions
1.  Preheat grill.
2.  Slice Chateaubriand steak in about 1 inch slices.
3.  Drizzle with soy sauce and Montreal Steak seasoning.
4.  Grill for about 15 minutes (4-5 minutes on one side, flip, then cook another 8-10 minutes).  Adjust cooking time for doneness…we like ours “well-done”, no pink.

Chateaubriand steak

Spaghetti and Meatballs

I had a long day at work today, so when my mom told me she had made homemade spaghetti and meatballs, I had to go over and try them!  This was a new recipe my mom tried out of the Bon Appetit Magazine, October 2010 issue.  What was nice about these meatballs is that you do not brown them on the stove… they cook in the tomato sauce for 15-20 minutes, no turning or browning required!   We loved this Spaghetti and Meatballs recipe and plan on making it for company in the future.  My Garlic Ciabatta Bread recipe would be a perfect accompaniment to this flavorful Italian dish.  Enjoy! 
Combine tomatoes with juice, butter, onion, and salt in large pot.  Bring to simmer over medium heat, then reduce heat to low and simmer uncovered for 45 minutes.

Combine breadcrumbs and milk in small bowl.  Let stand for 10 minutes.

Place beef and pork in large bowl.  Add Parmesan, parsley, salt, and pepper.

Whisk eggs in small bowl. Whisk in garlic.  Add to meat mixture.

Add breadcrumbs to meat mixture.  Using your hands gently mix meat mixture until all ingredients are combined.  Chill at least 15 minutes, or up to 1 hour.

Roll meat mixture with your hands into golf-ball sized balls.

Arrange meatballs in single layer in sauce in pot.  Bring to simmer, reduce heat to medium-low, cover and simmer until meatballs are cooked through, 15-20 minutes.

Transfer meatballs to platter.  Add pasta to sauce in pot and toss to coat.  Top each serving of pasta with meatballs.  Sprinkle with Parmesan cheese (optional) and serve.


Spaghetti and Meatballs
Ingredients
Sauce
2 (28 ounce) cans whole peeled tomatoes in juice, drained, juice reserved, tomatoes finely chopped
1/2 cup (1 stick) unsalted butter
2 medium onions, peeled, halved through root end
1/2 tsp salt

Meatballs
1 cup fresh breadcrumbs made from crustless French or country-style bread (we used store-bought)
1/3 cup whole milk
8 ounces ground beef (15% fat)
8 ounces ground pork
1 cup finely ground (not grated) Parmesan cheese
1/3 cup finely chopped Italian parsley
1 tsp salt
1/4 tsp freshly ground black pepper
2 large eggs
2 large garlic cloves, pressed
1 pound spaghetti
Freshly ground Parmesan cheese (for serving)

Directions
1.  For the sauce:  Combine tomatoes with juice, butter, onions, and salt in large wide pot.  Bring to simmer over medium over medium heat.  Reduce heat; simmer uncovered 45 minutes, stirring occasionally.  Discard onions.  Using immersion blender (use kitchen scissors to cut up tomato pieces), process sauce briefly to break up any large pieces of tomato (texture should be even but not completely smooth).  Season sauce with more salt and freshly ground black pepper.  Remove from heat.
2.  For the meatballs:  Combine breadcrumbs and milk in small; stir until breadcrumbs are evenly moistened.  Let stand 10 minutes.
3.  Place beef and pork in large bowl and break up into small chunks.  Add 1 cup ground Parmesan, parsley, salt, and pepper.
4.  Whisk eggs to blend in small bowl; whisk in garlic.  Add to meat mixture.
5.  Using hands, squeeze milk from breadcrumbs, reserving milk.  Add breadcrumbs to meat mixture.  Using hands, quickly and gently mix meat mixture just until all ingredients are evenly combined (do not overmix).  Chill mixture at least 15 minutes and up to 1 hour.
6.  Moisten hands with some of reserved milk from breadcrumbs, roll meat mixture between palms into golf-ball size balls, occasionally moistening hands with milk as needed and arranging meatballs in single layer in sauce in pot.  Bring to simmer.  Reduce heat to medium-low, cover, and simmer until meatballs are cooked through, 15 to 20 minutes.
(Do ahead):  Can be made 2 days ahead.  Cool slightly.  Chill uncovered until cold, then cover and keep chilled.  Rewarm before continuing.
7.  Cook spaghetti in large pot of boiling salted water until just tender but still firm to bite, stirring occasionally.  Drain.
8.  Using slotted spoon, transfer meatballs to platter.  Add pasta to sauce in pot and toss to coat.  Divide pasta among 6 plates.  Top each serving with meatballs.  Sprinkle meatballs with freshly grated Parmesan cheese and serve.

Yield:  6 servings