Dried Apricot Scones with Pecans and Shredded Coconut

Dense and packed full of healthy bits of fruits and nuts, these are the energy bar of scones, and my sister’s all-time favorite scone recipe!  These scones call for dried apricots, but dried mango, papaya, and pineapple all work well as substitutes.  These Dried Apricot Scones with Pecans and Shredded Coconut came from “Once Upon a Tart… Soups Salads, Muffins, and More From New York City’s Favorite Bakeshop and Cafe” by Frank Mentesana and Jerome Audureau with Carolyn Carreno.  Enjoy!

Dried Apricot Scones with Pecans and Shredded Coconut
Ingredients
2 1/2 cups unbleached all-purpose flour
2 tbsp baking powder
1/2 tsp salt
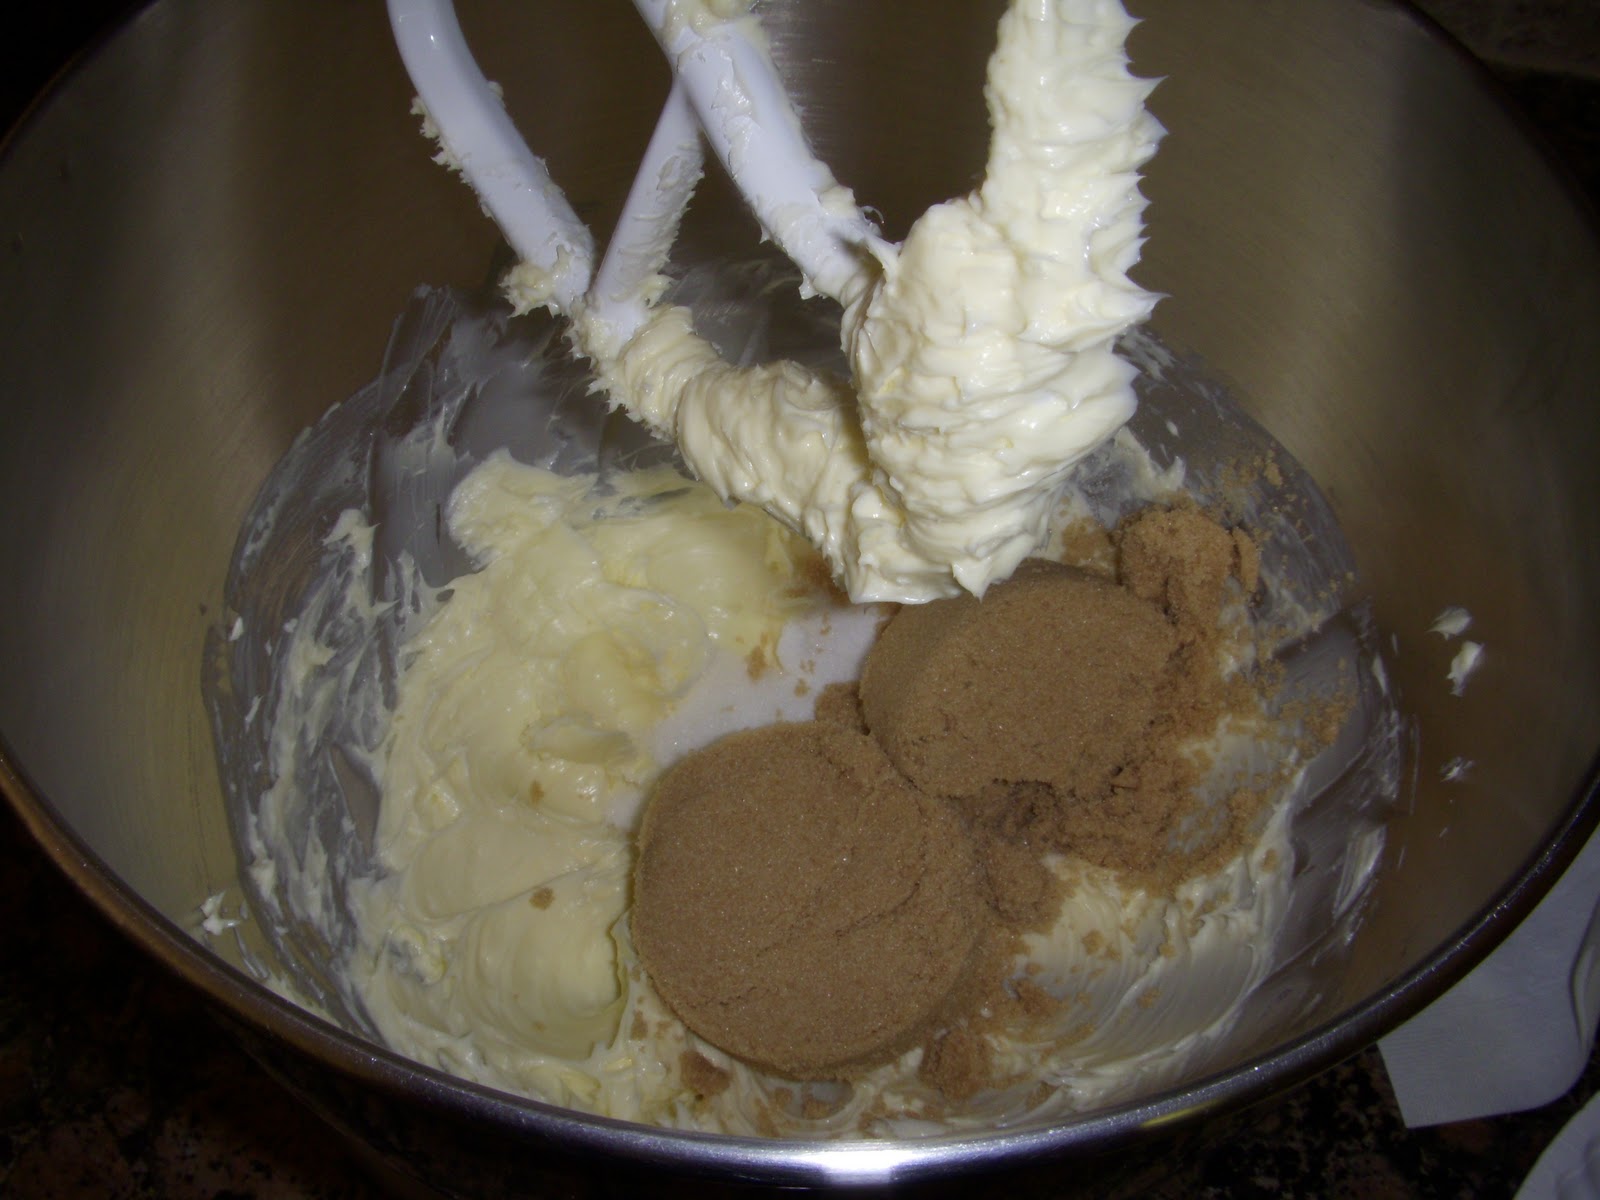
1/2 cup packed light brown sugar
10 tbsp (1 stick plus 2 tbsp) cold unsalted butter, cut into 1/4-inch cubes
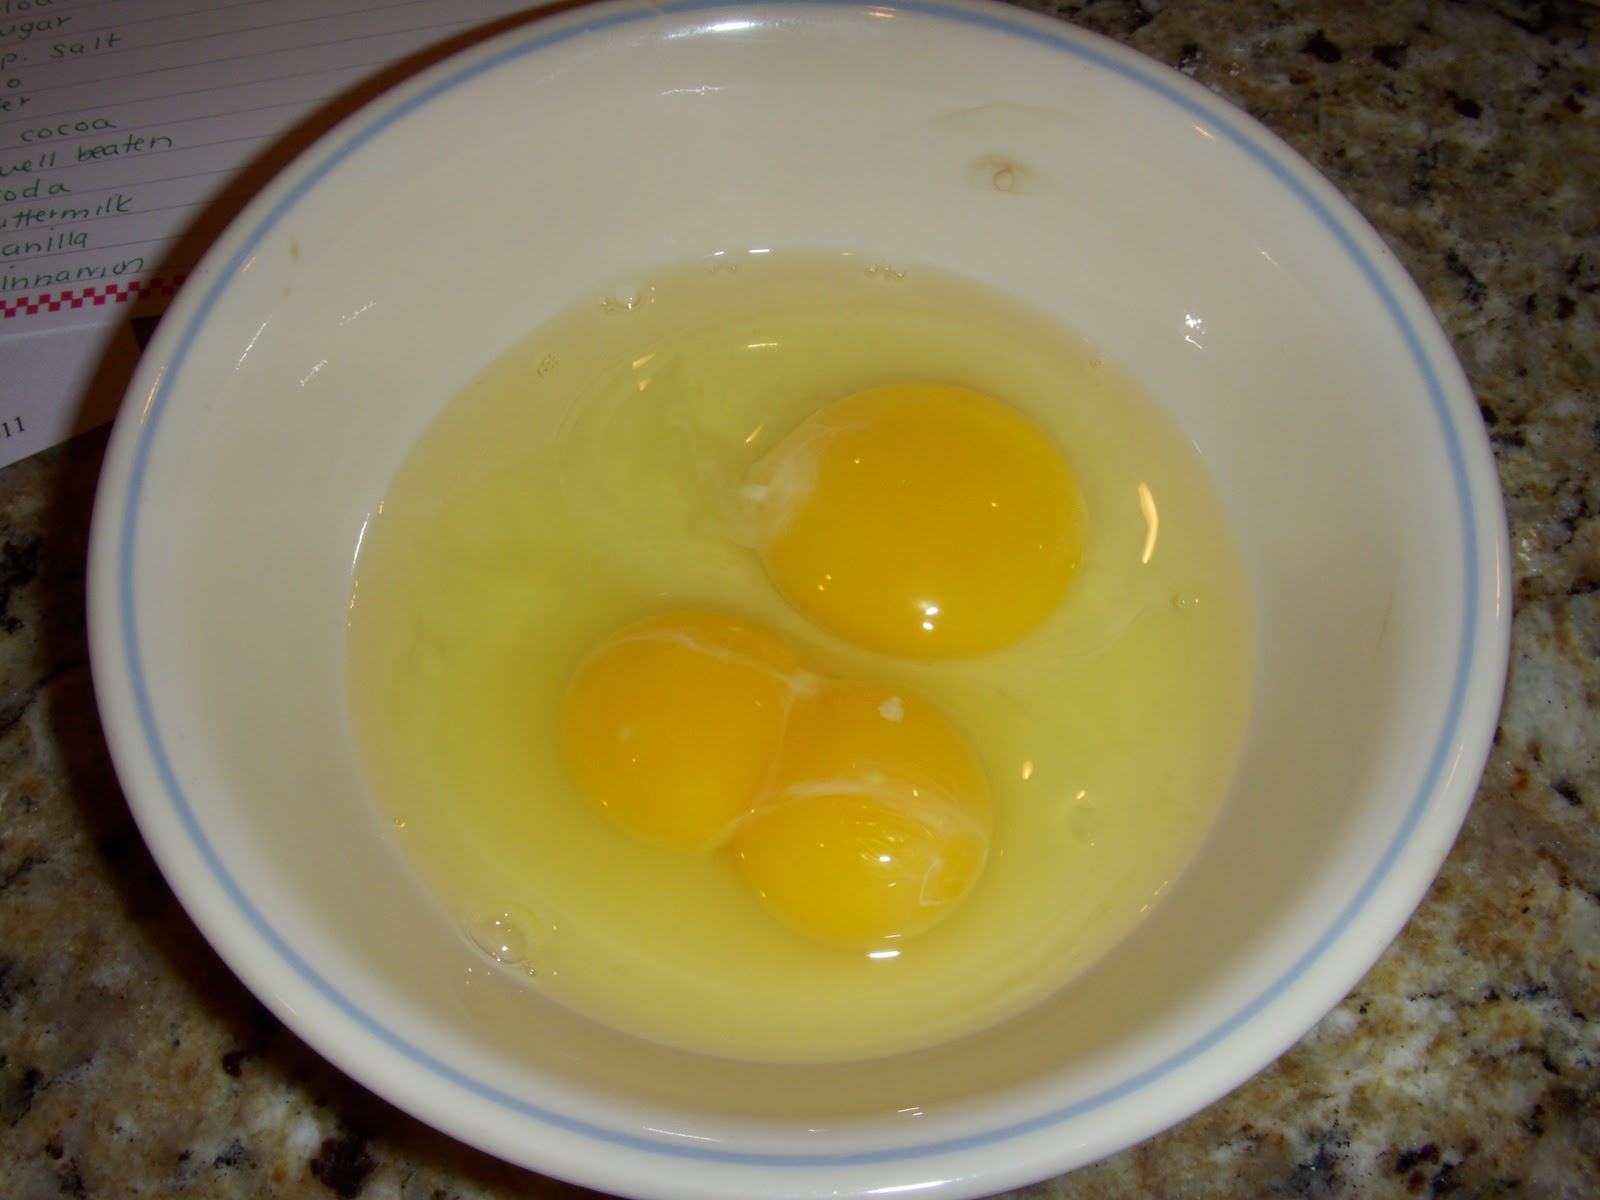
2 large eggs
1/4 cup cold milk
1 tsp vanilla extract
1/2 cup pecans, coarsely chopped
1/2 cup dried apricots, chopped
1/4 cup shredded unsweetened coconut
Directions
1.  Position your oven racks so that one is in the center, and preheat the oven to 400 degrees F.  Line a baking sheet with parchment paper.
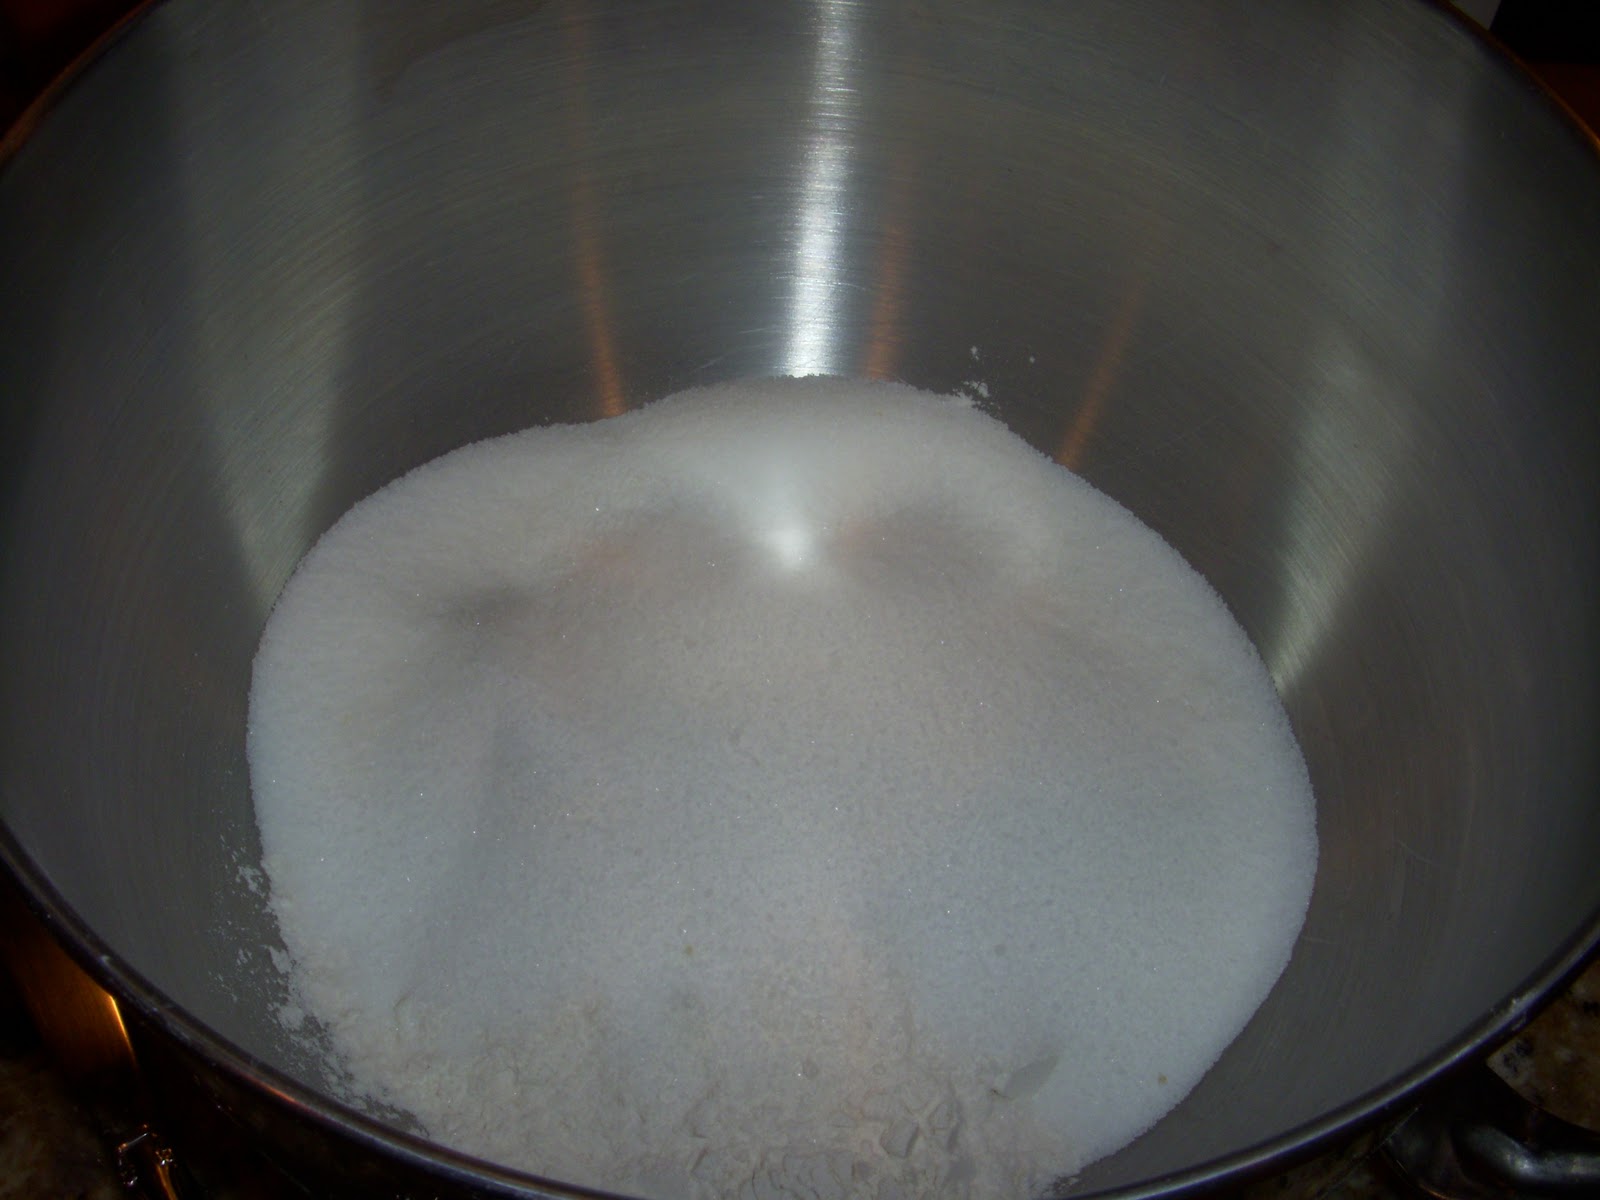
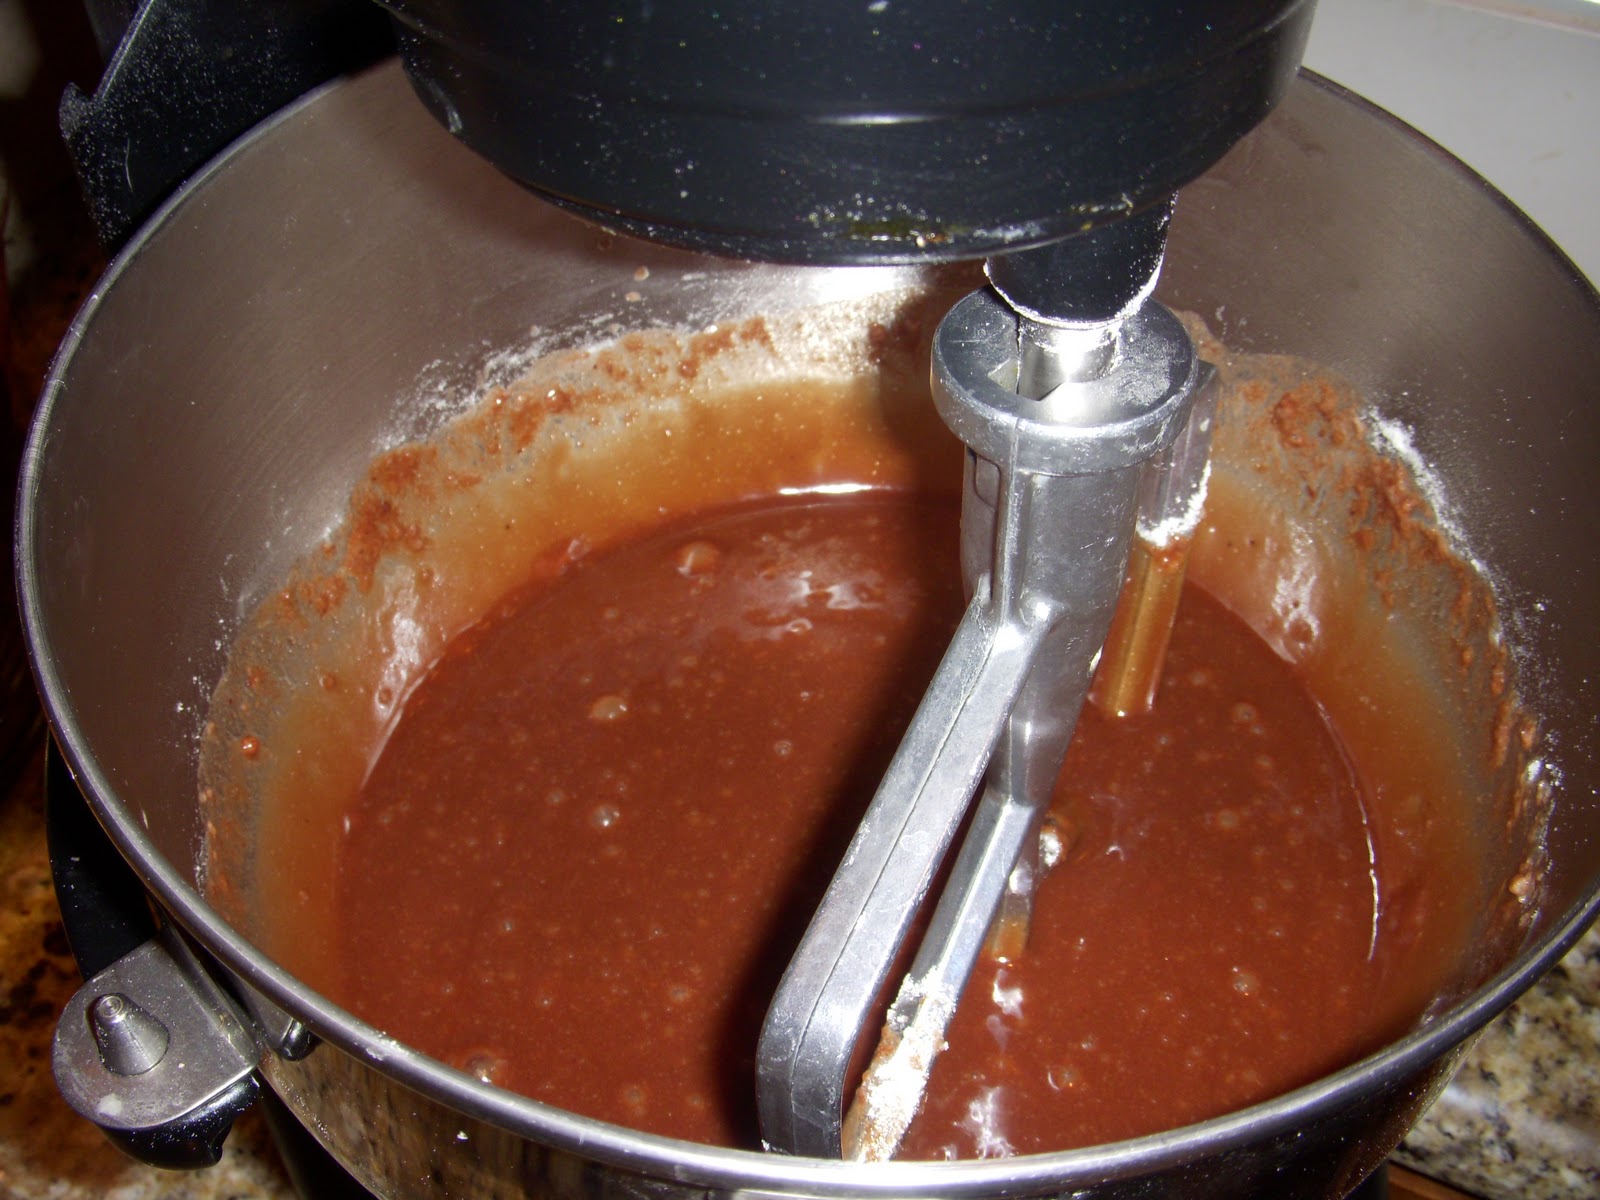
2.  Dump the dry ingredients into the bowl of a food processor fitted with a metal blade, and pulse to mix.
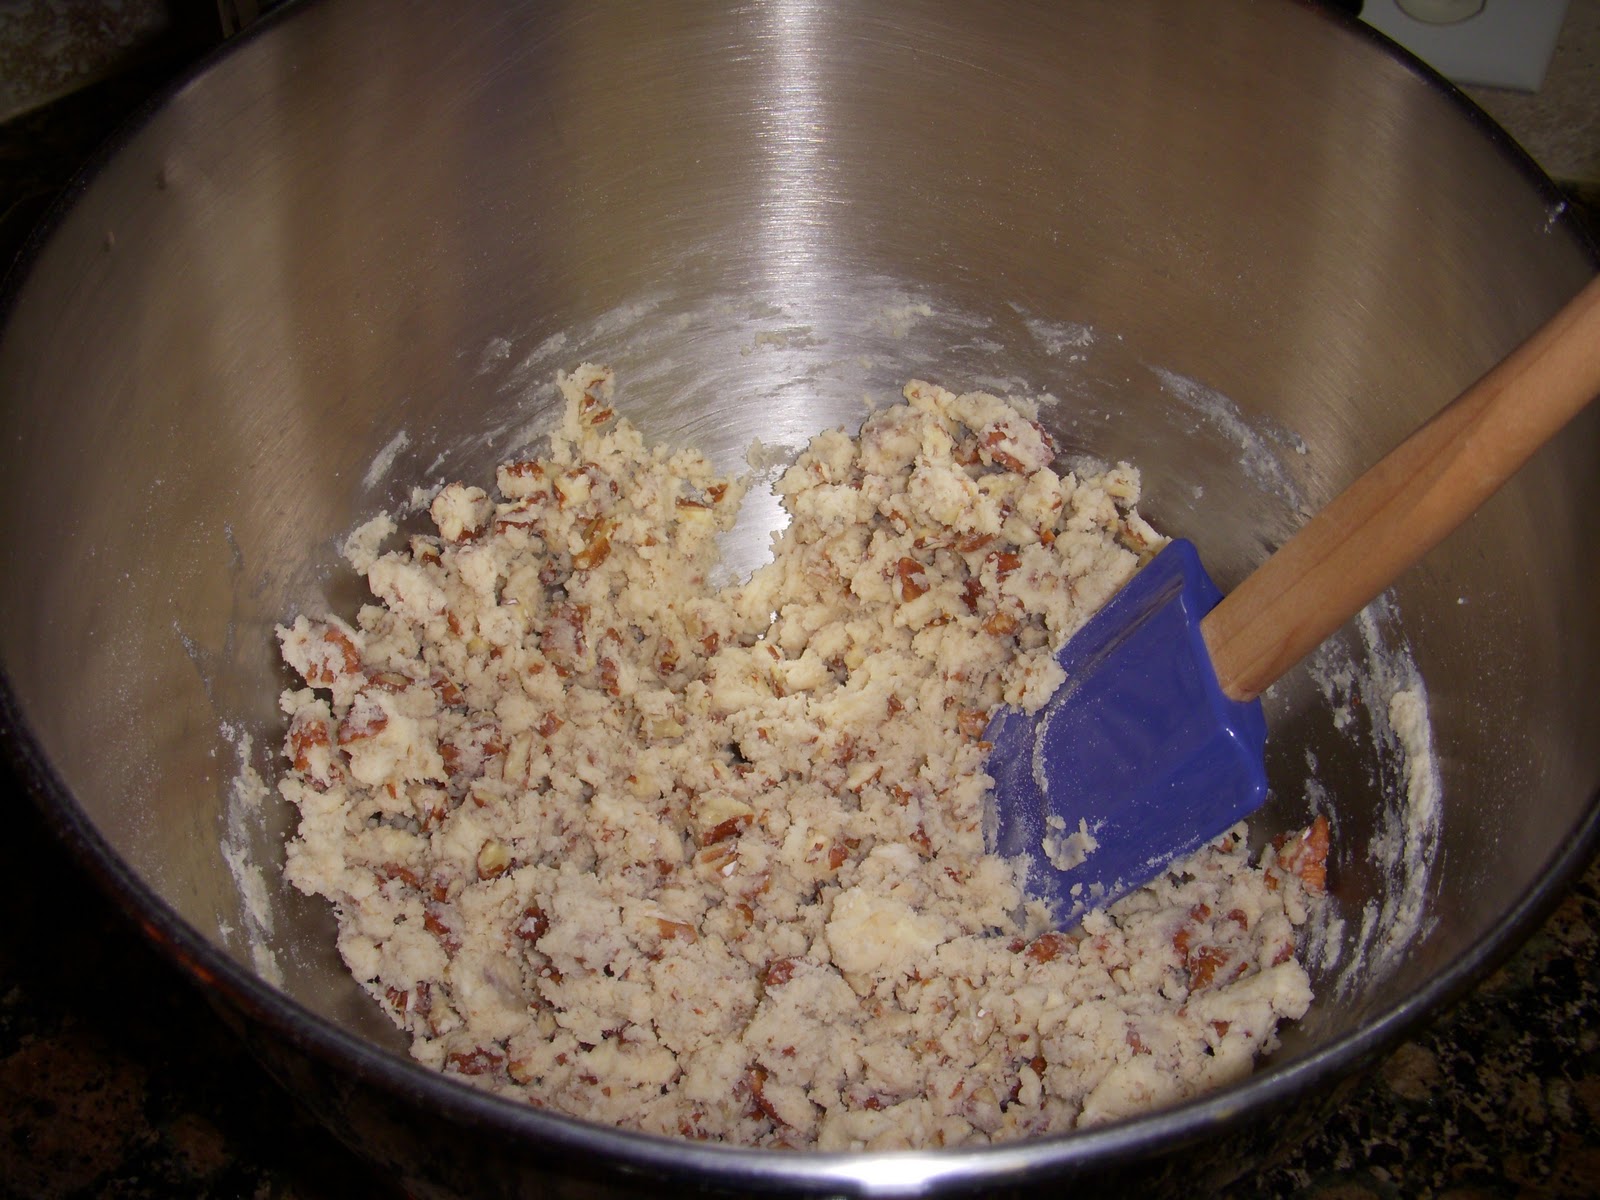
3.  Add the butter to the bowl all at once, and run the food processor for about 15 seconds.  Switch to pulse, and continue pulsing until there are no chunks of butter left and the mixture looks like moist crumbs.  Remove the blade from the food processor, and dump the crumbs into a big bowl.
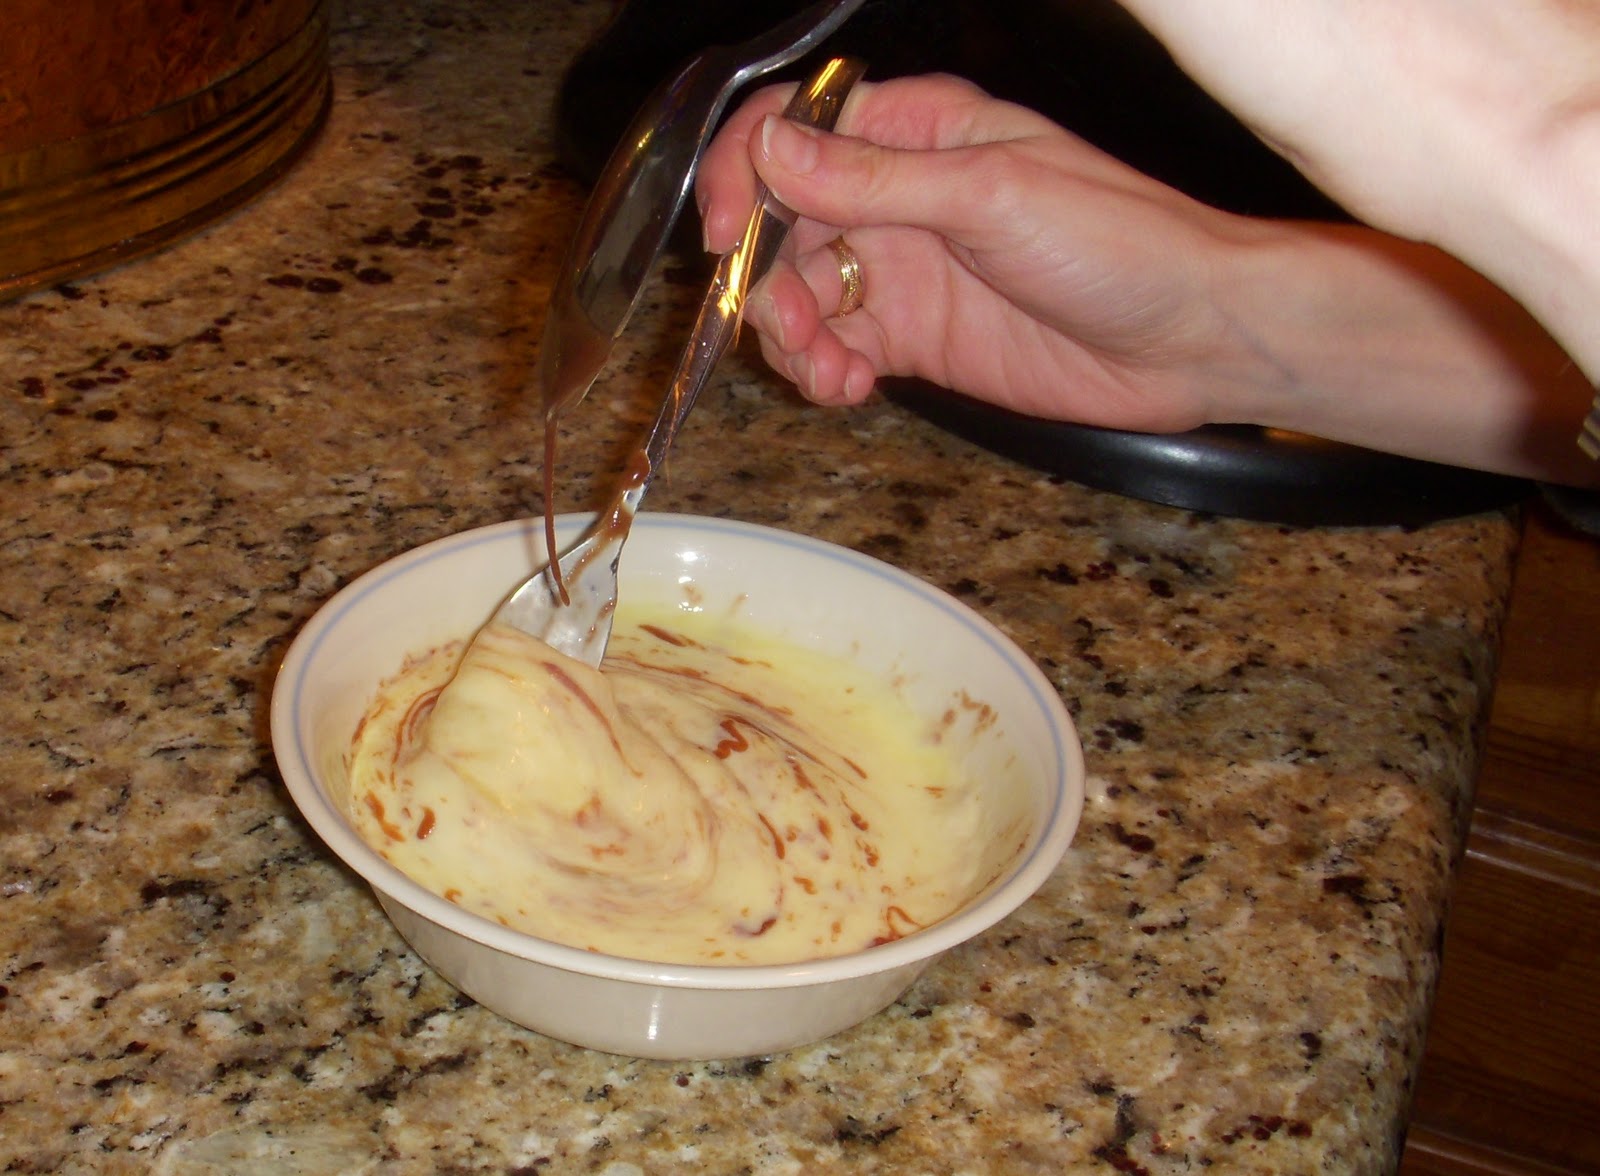
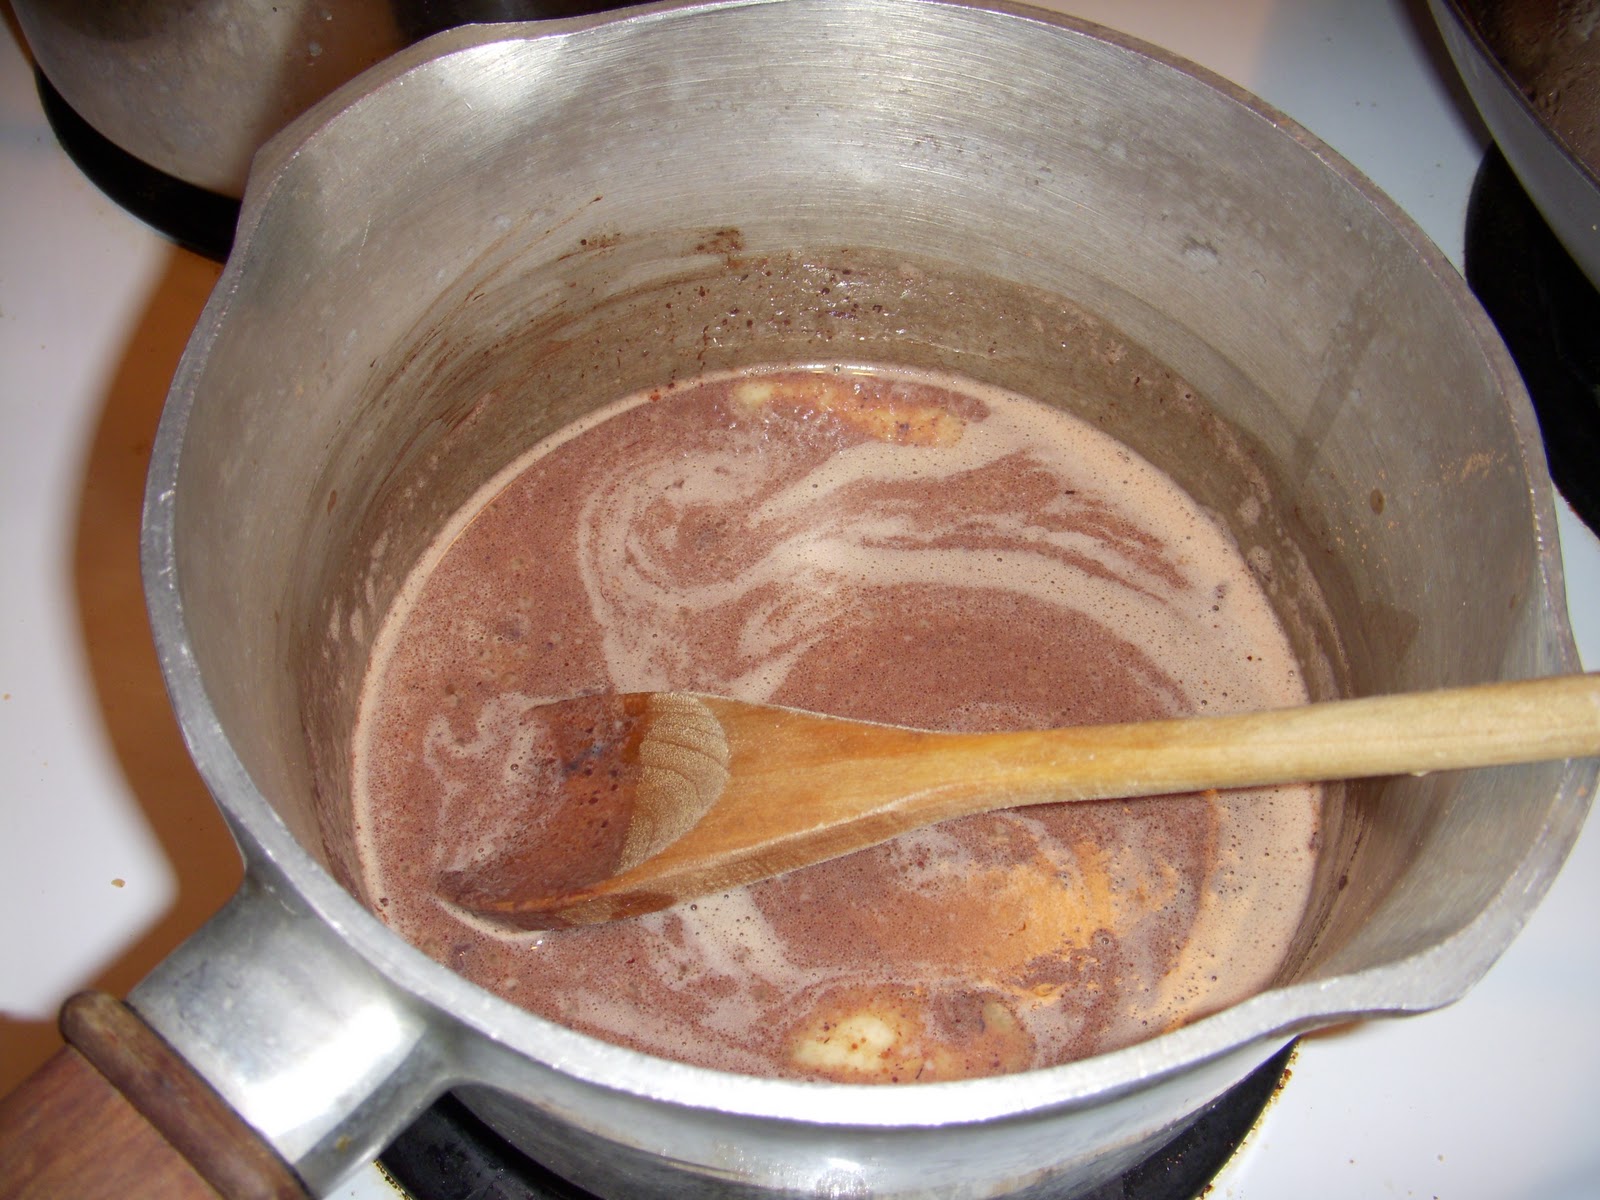
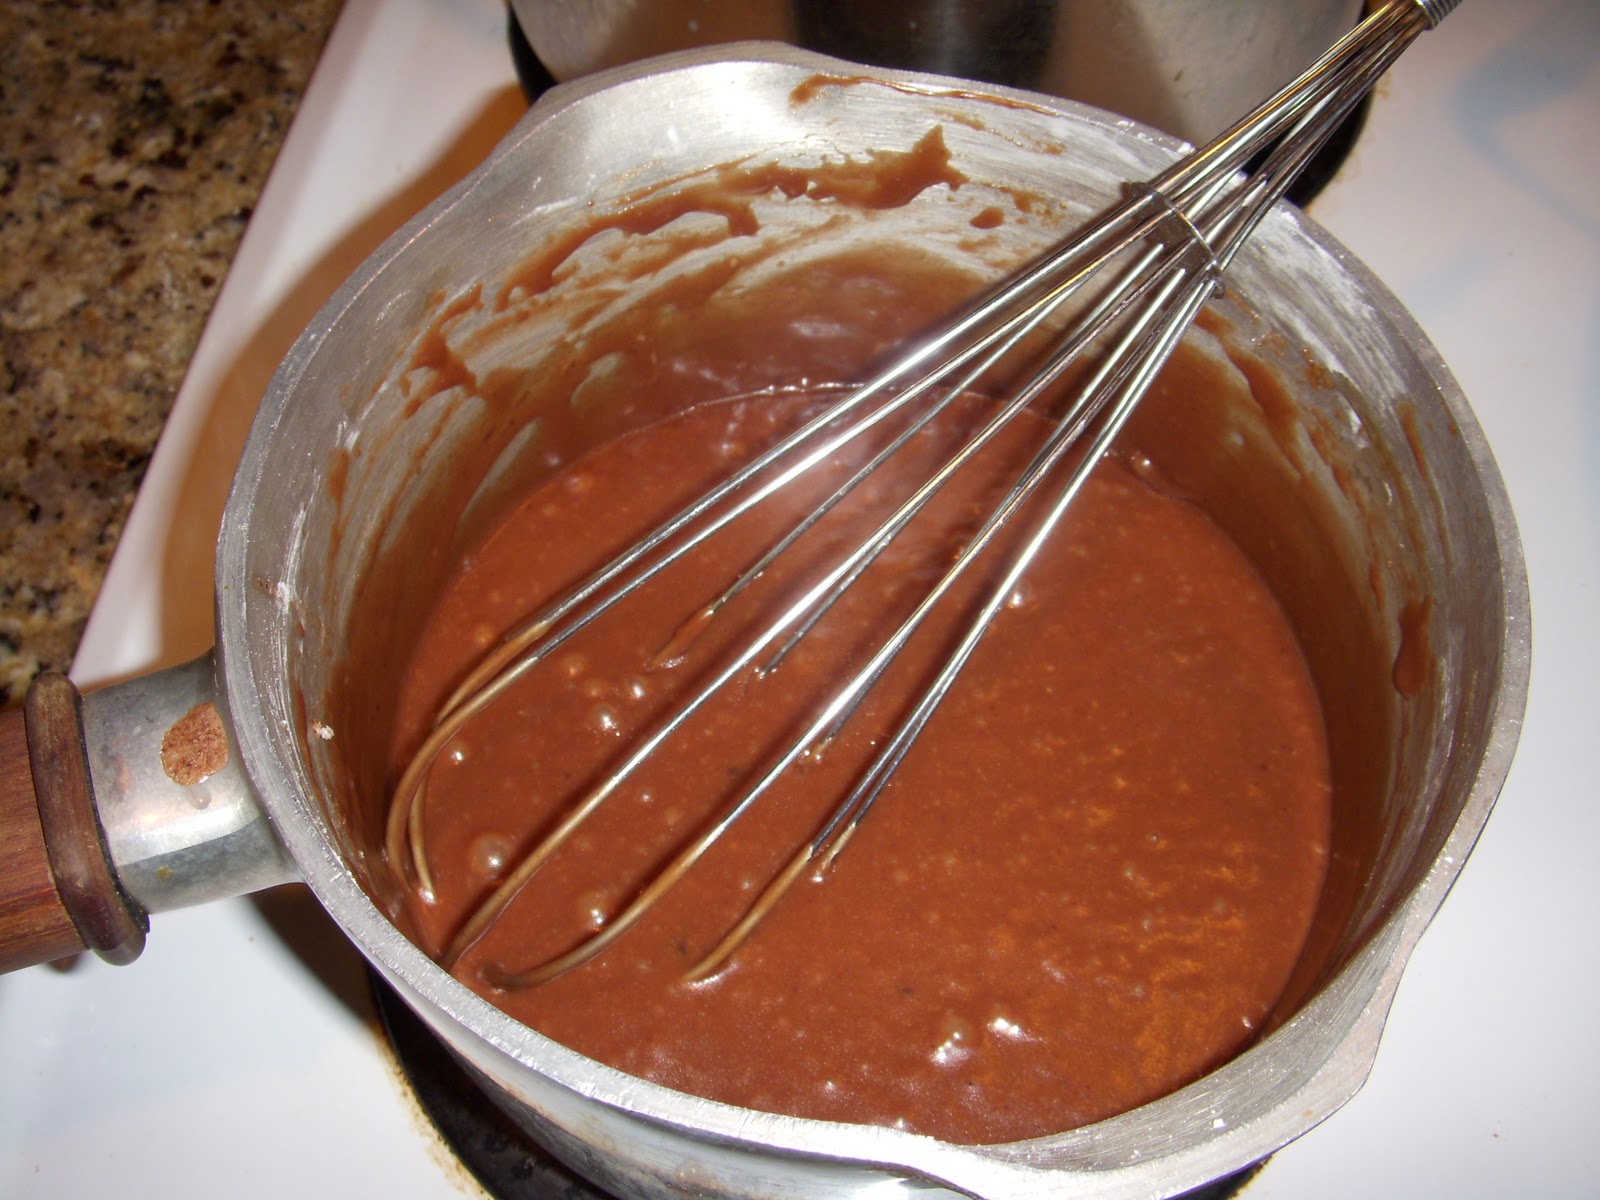
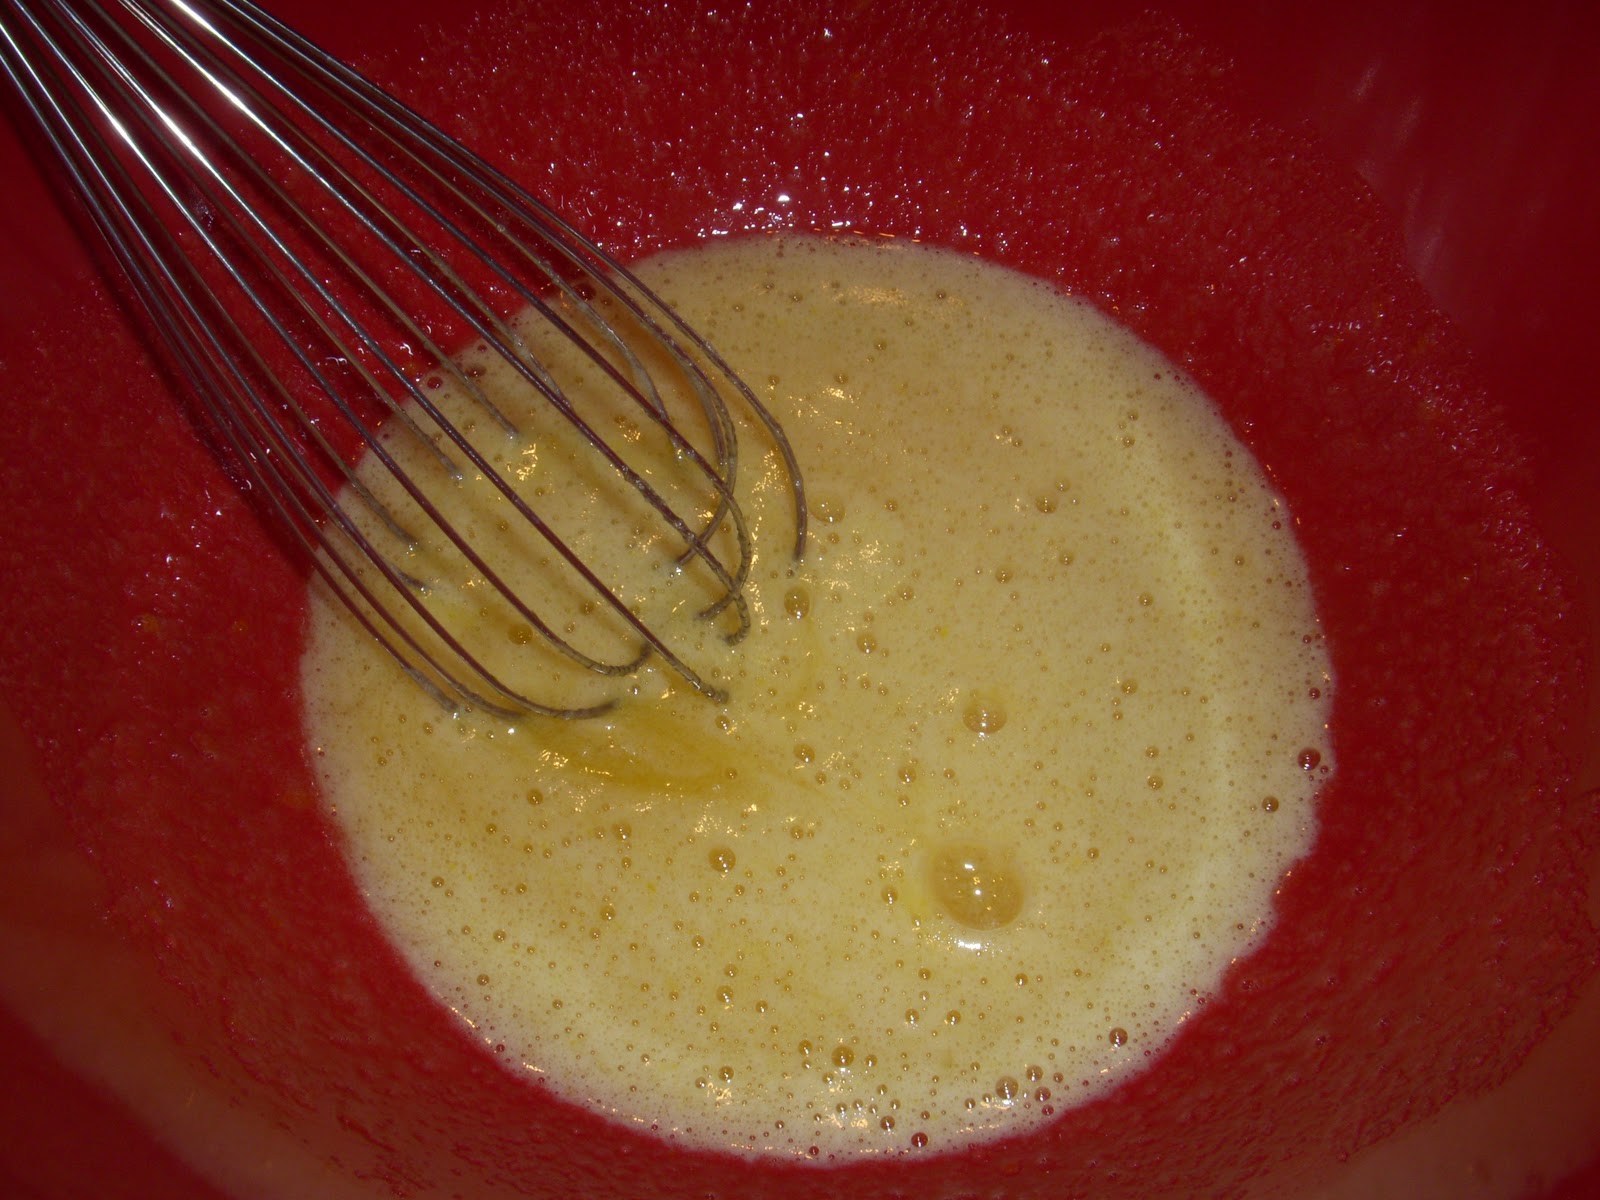
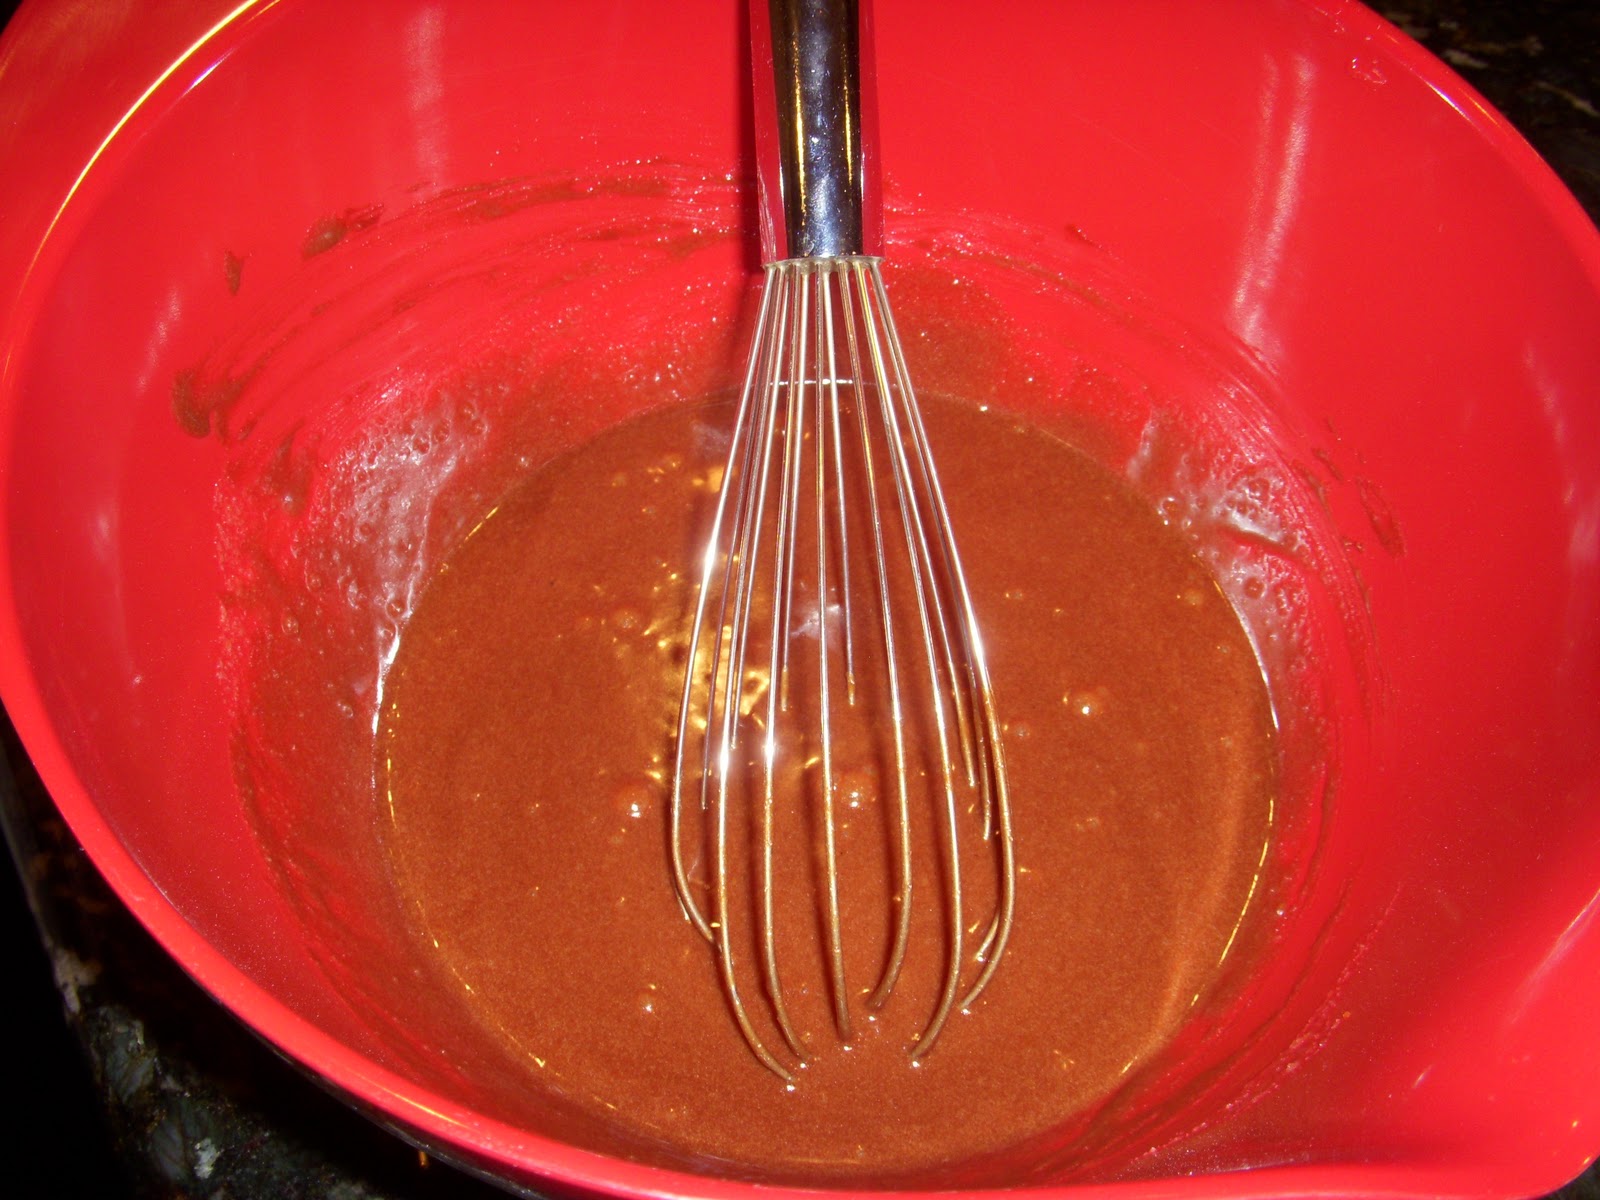
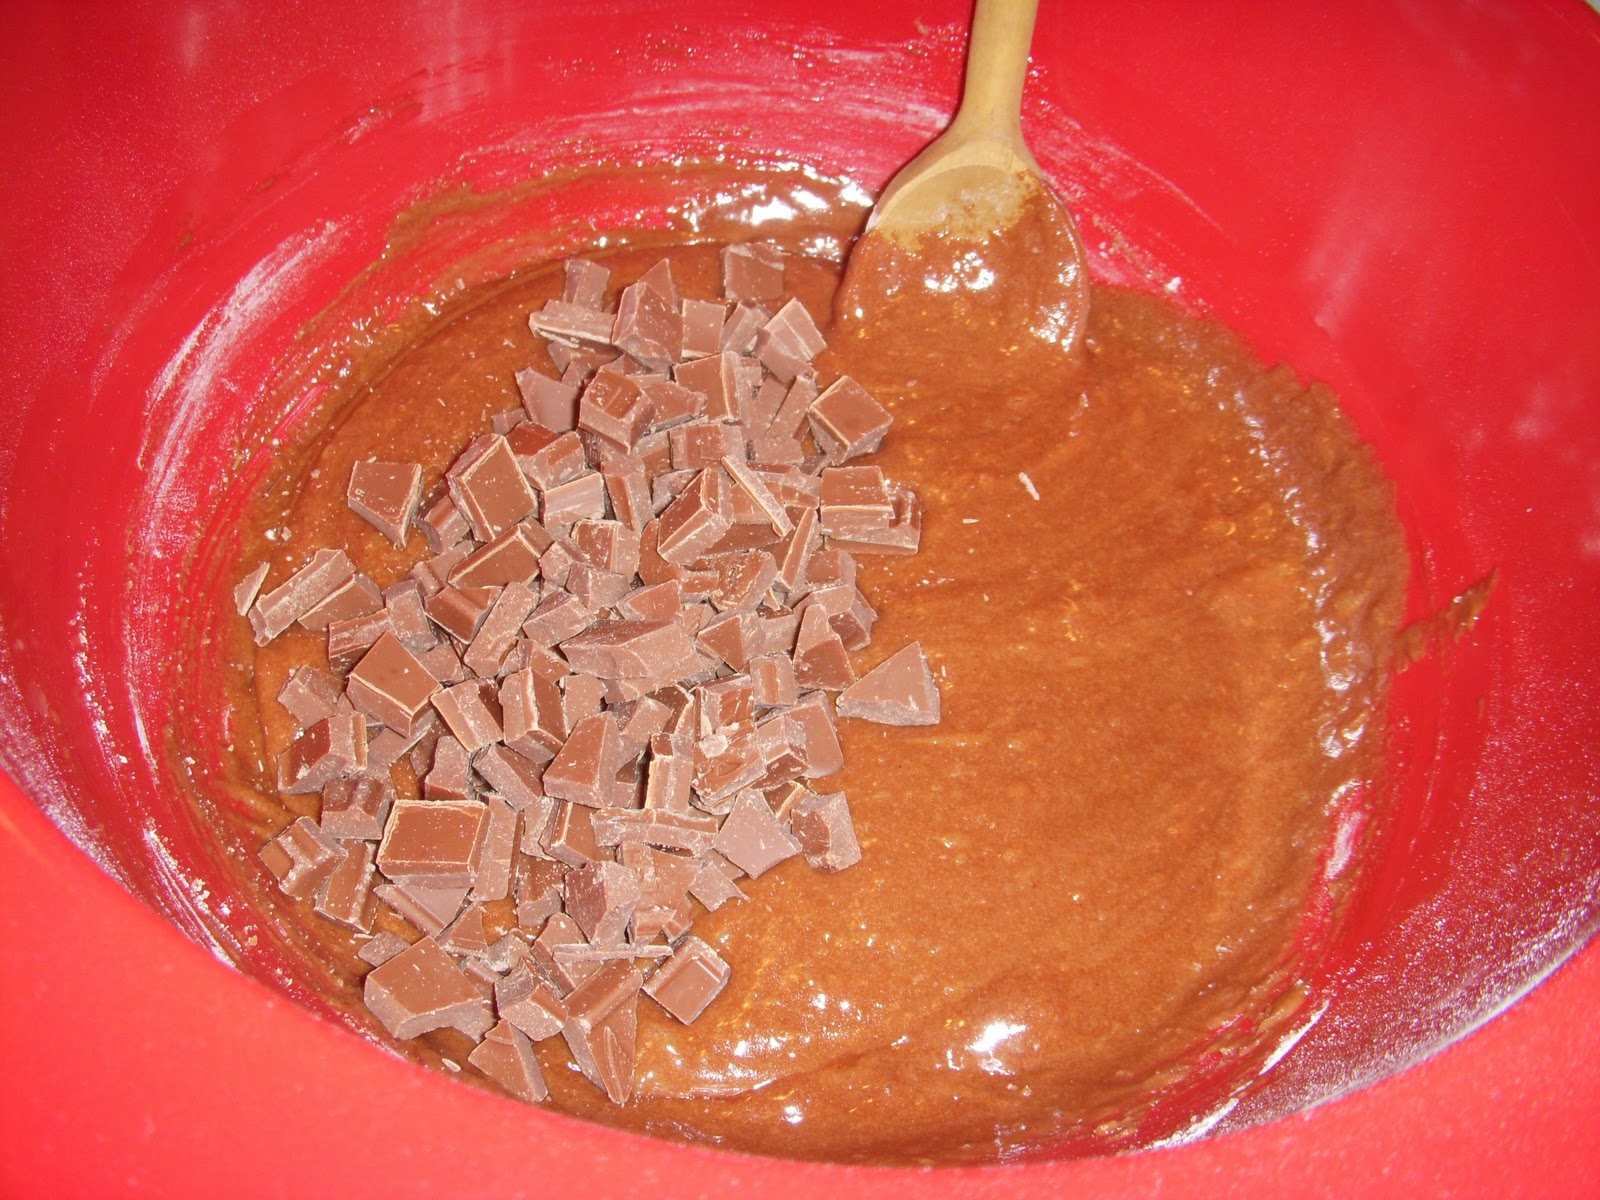
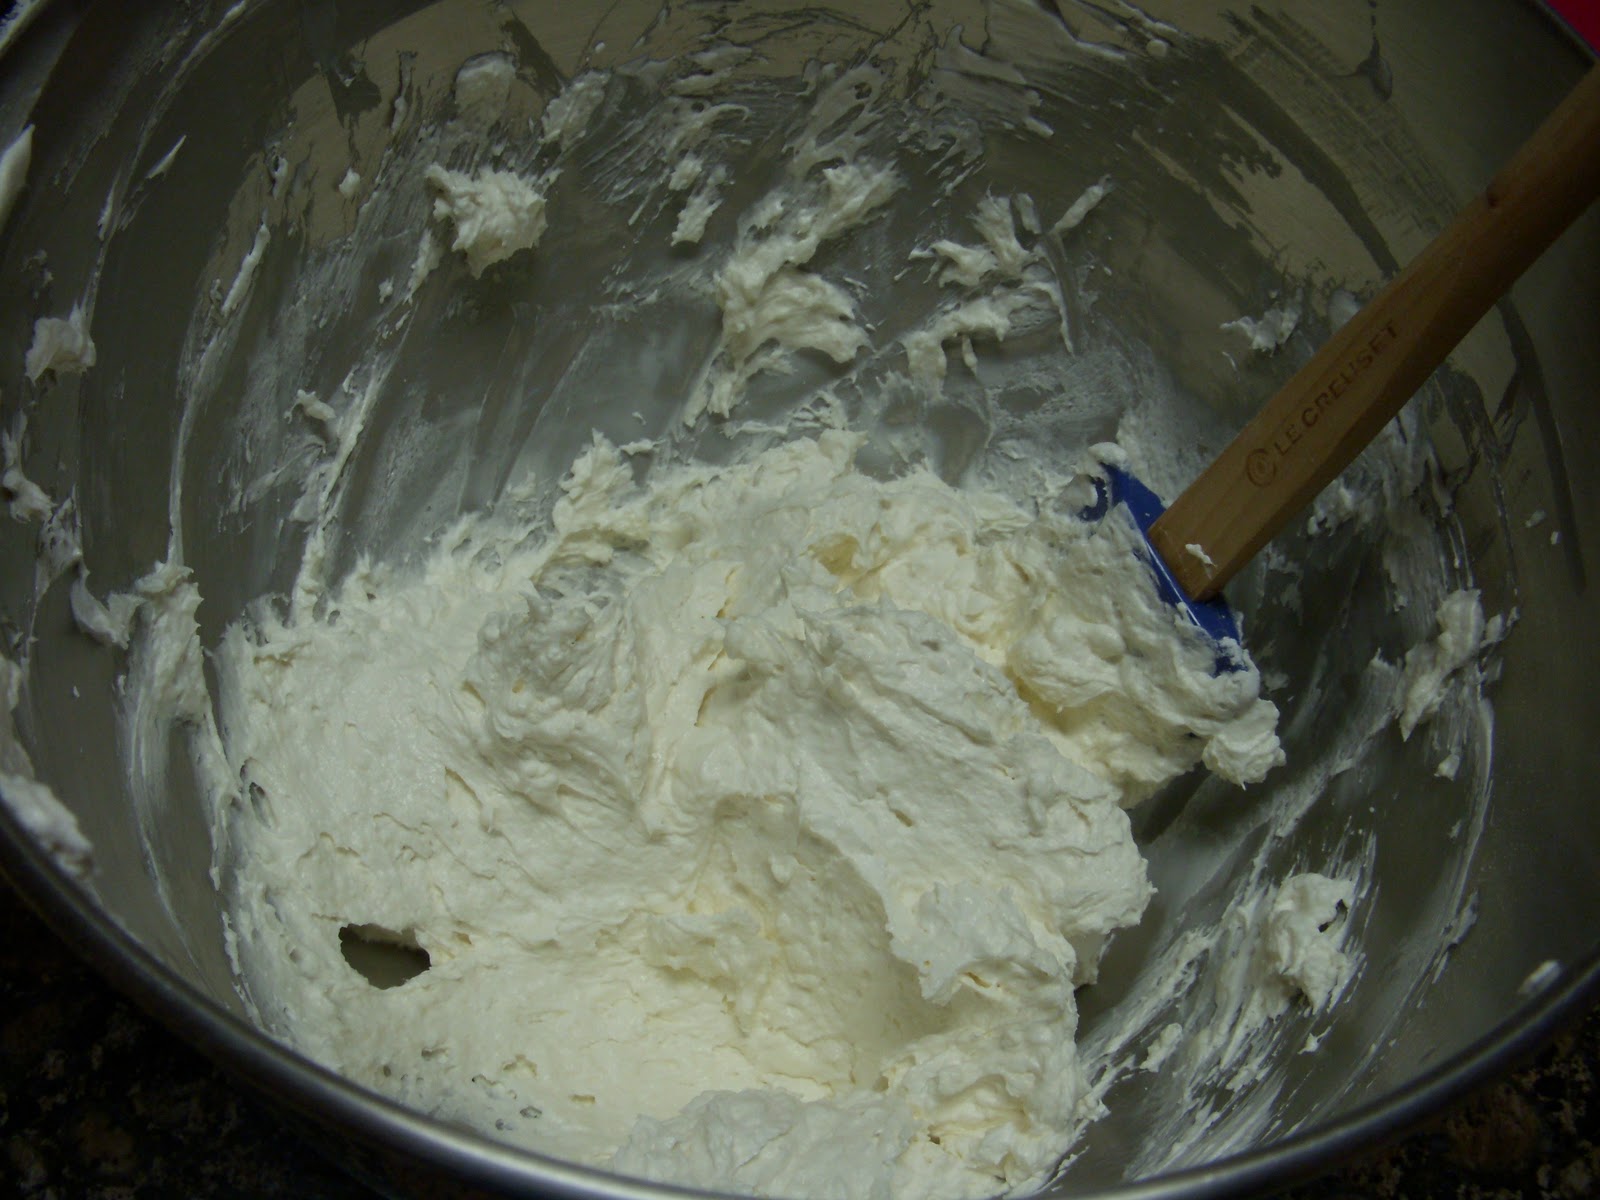
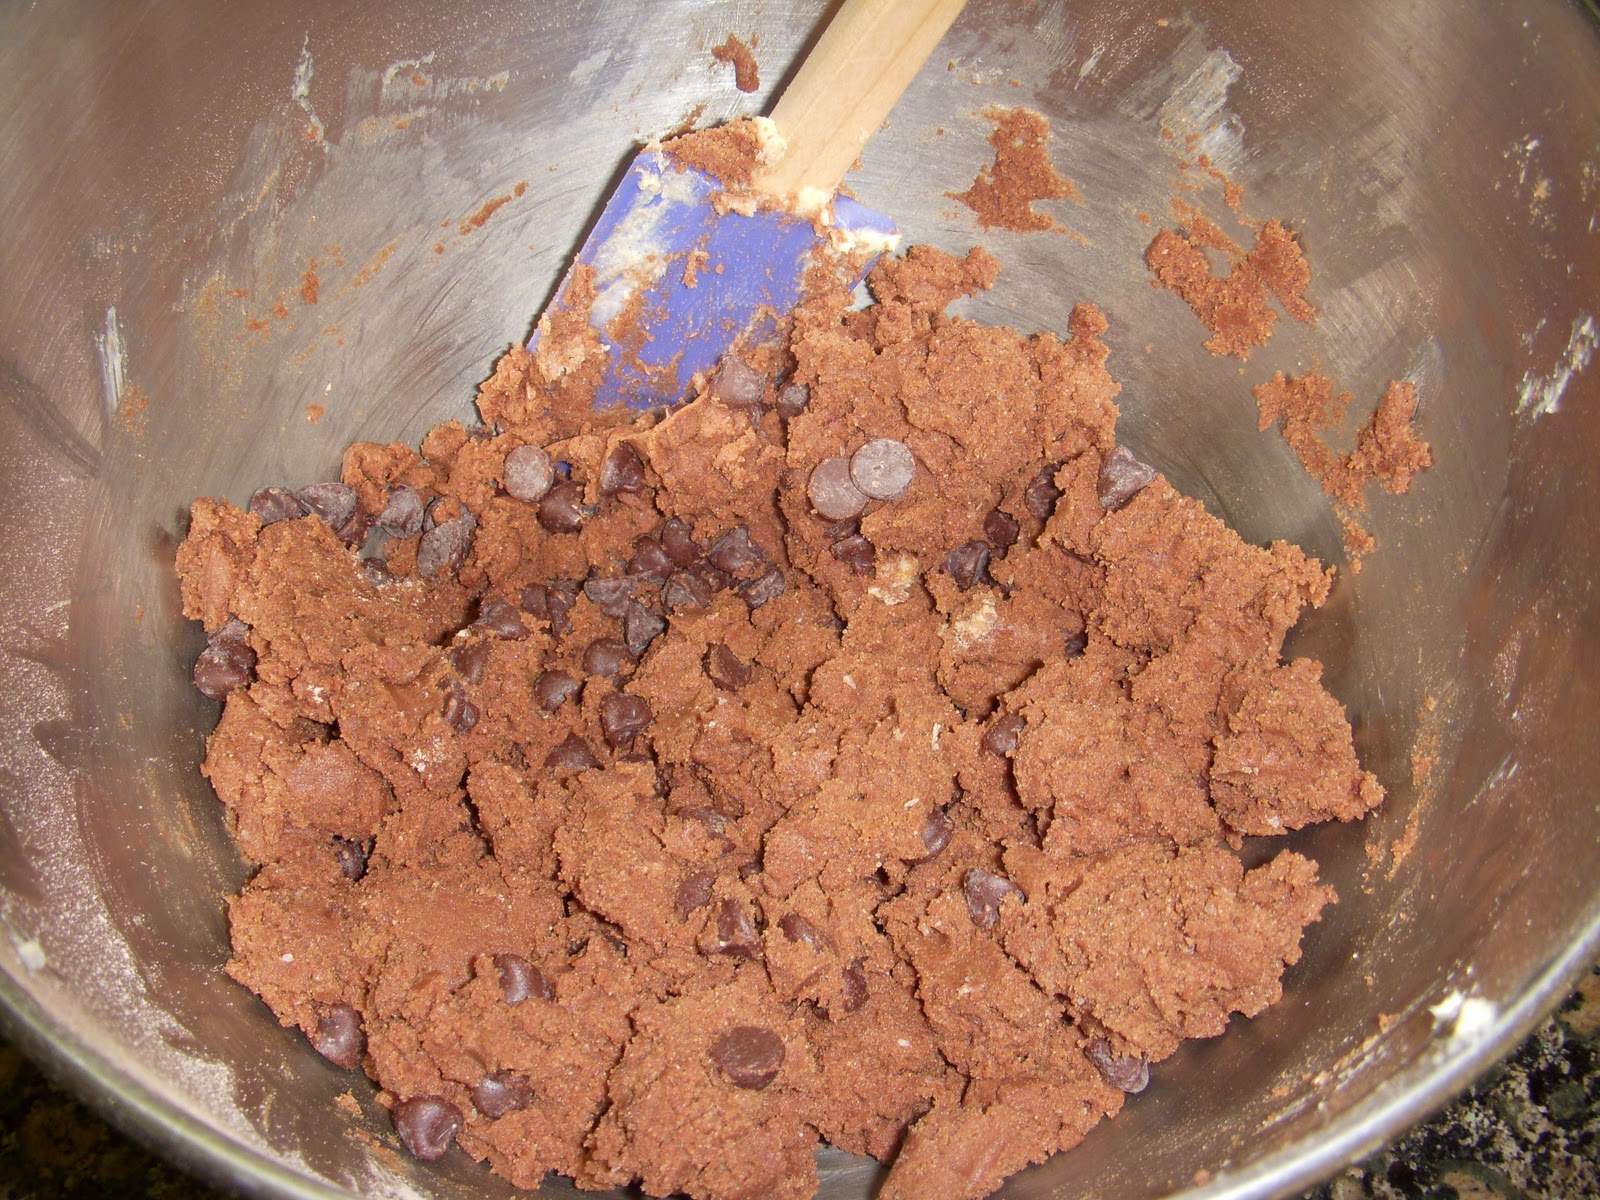
4.  In a separate, medium-size bowl, whisk the eggs to break up the yolks.  Whisk in the milk and vanilla.  Use the whisk to stir in the nuts, apricots, and coconut.
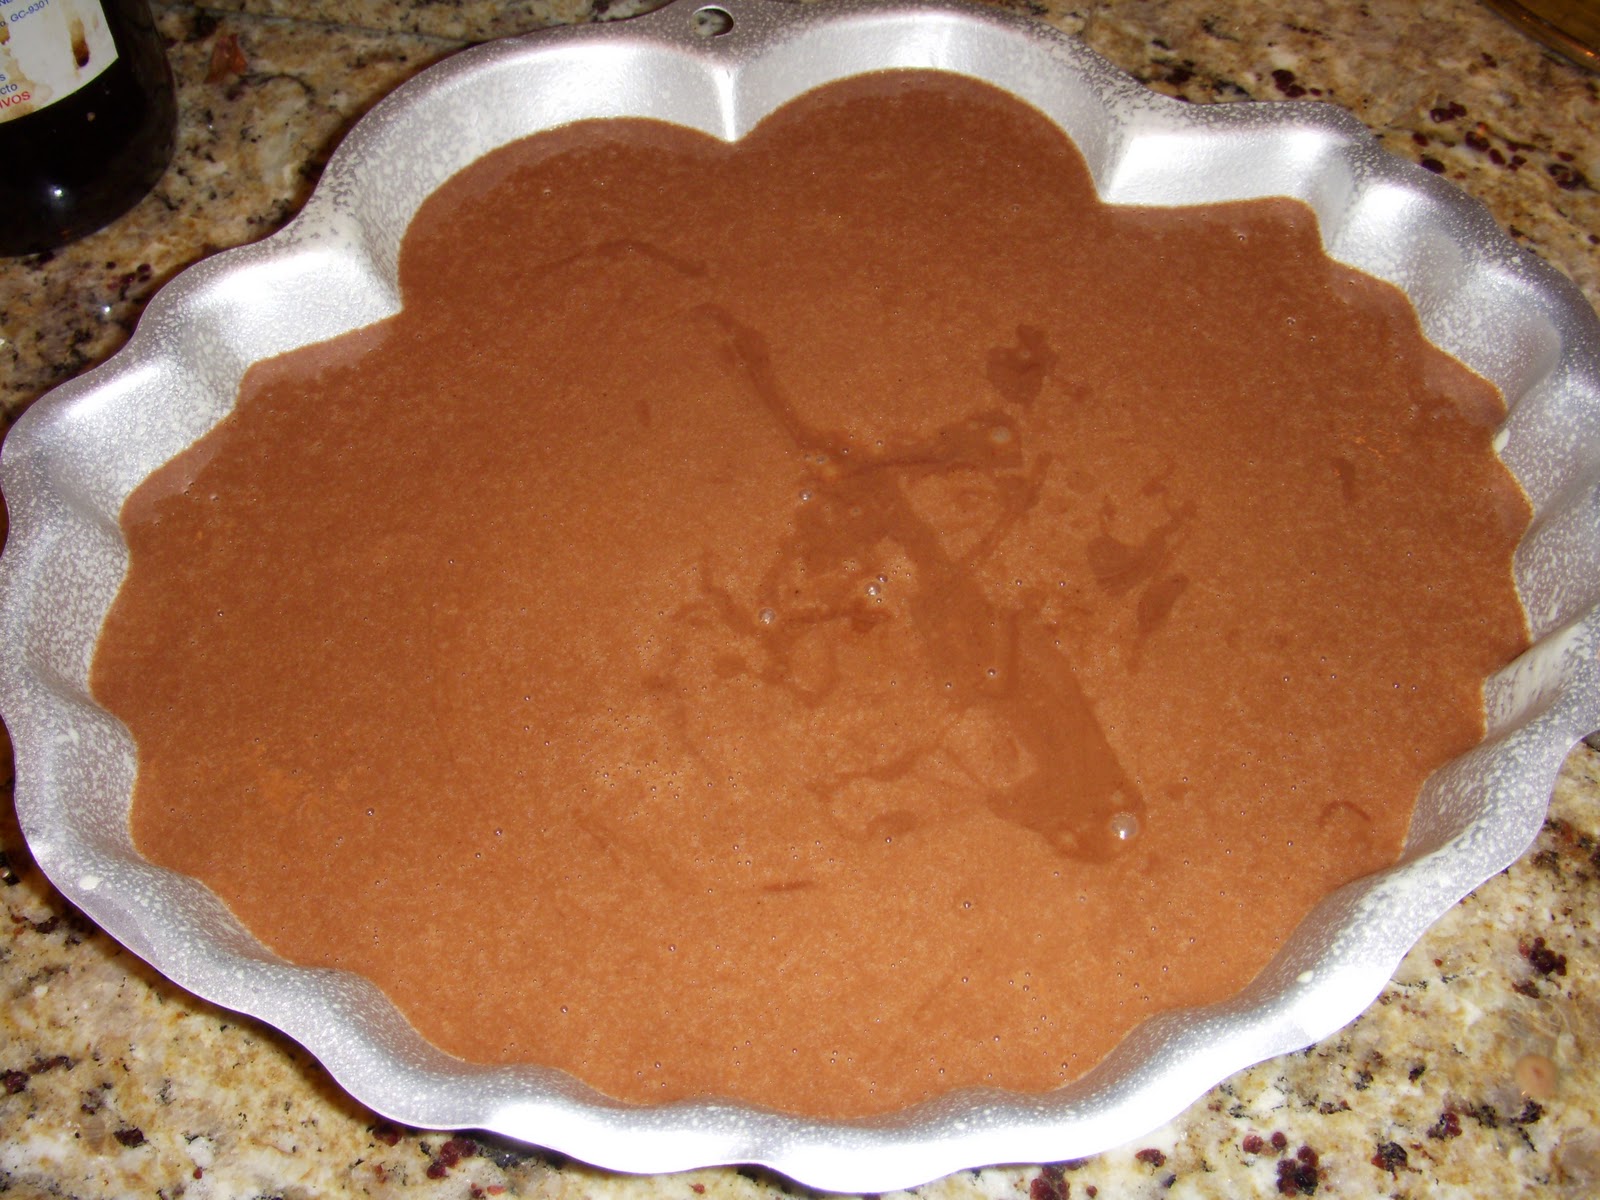
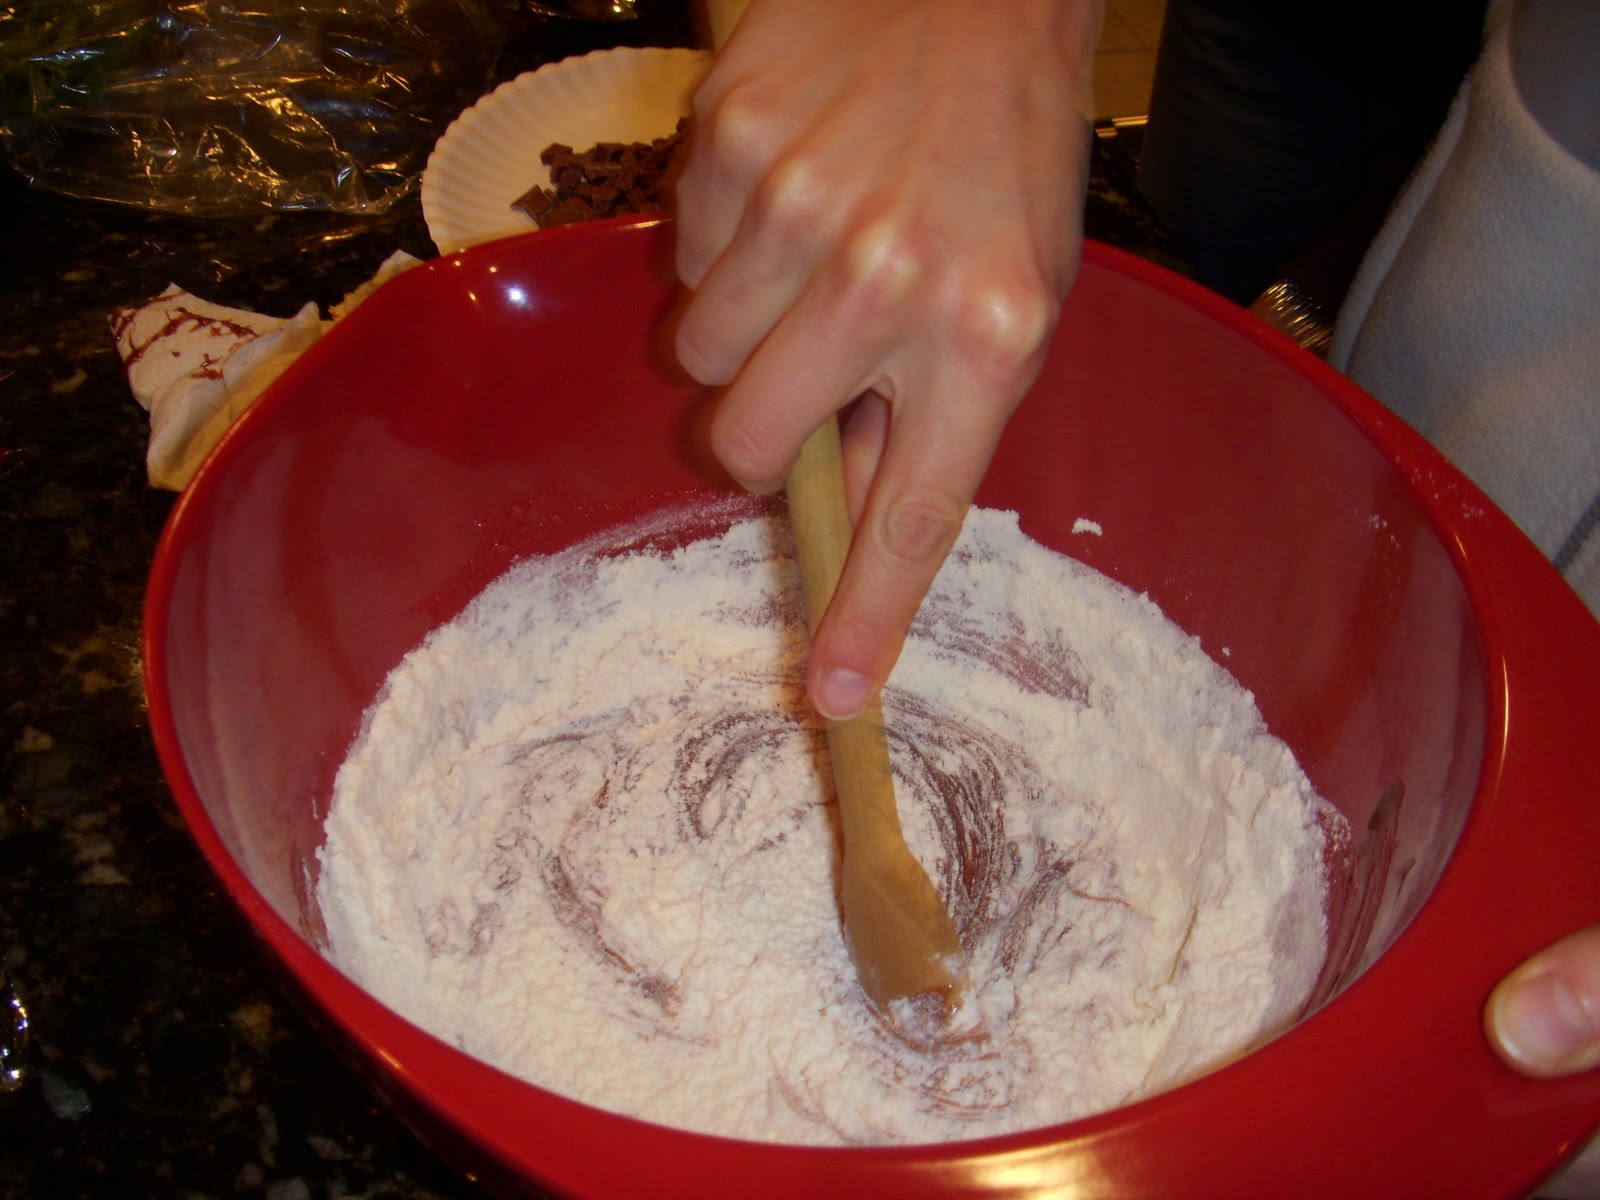
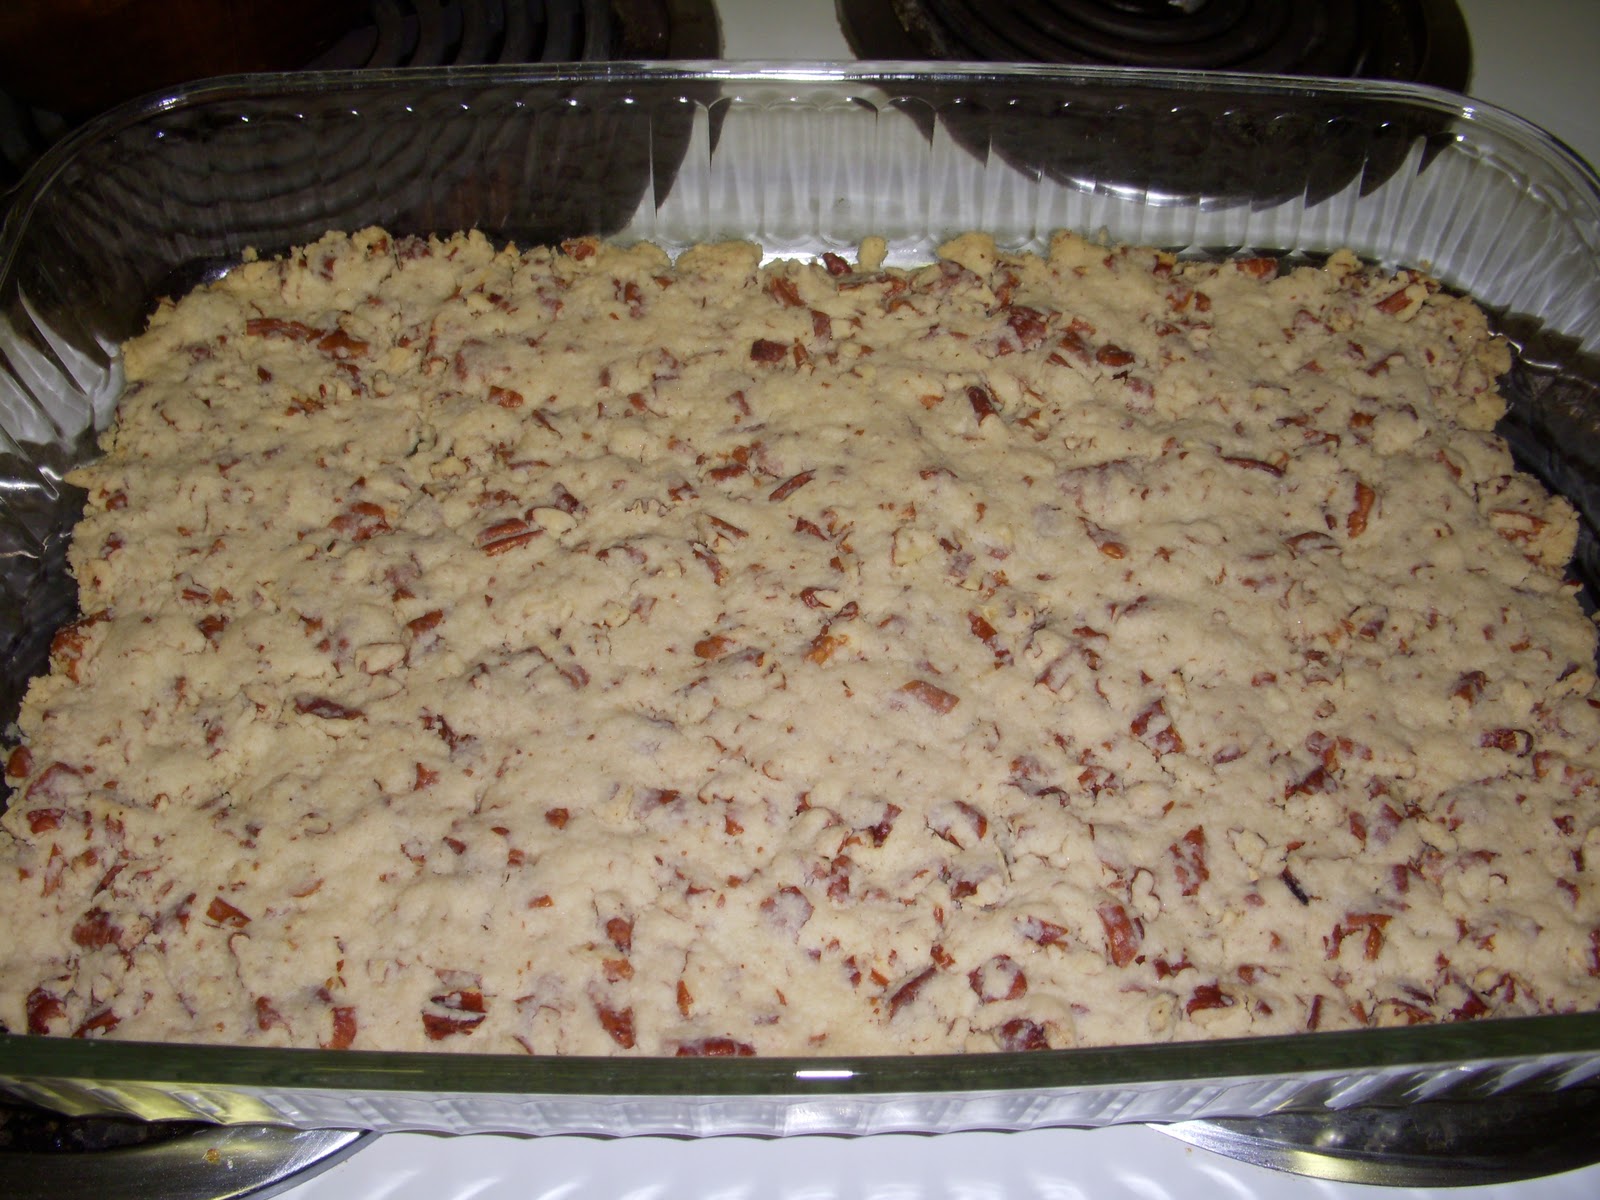
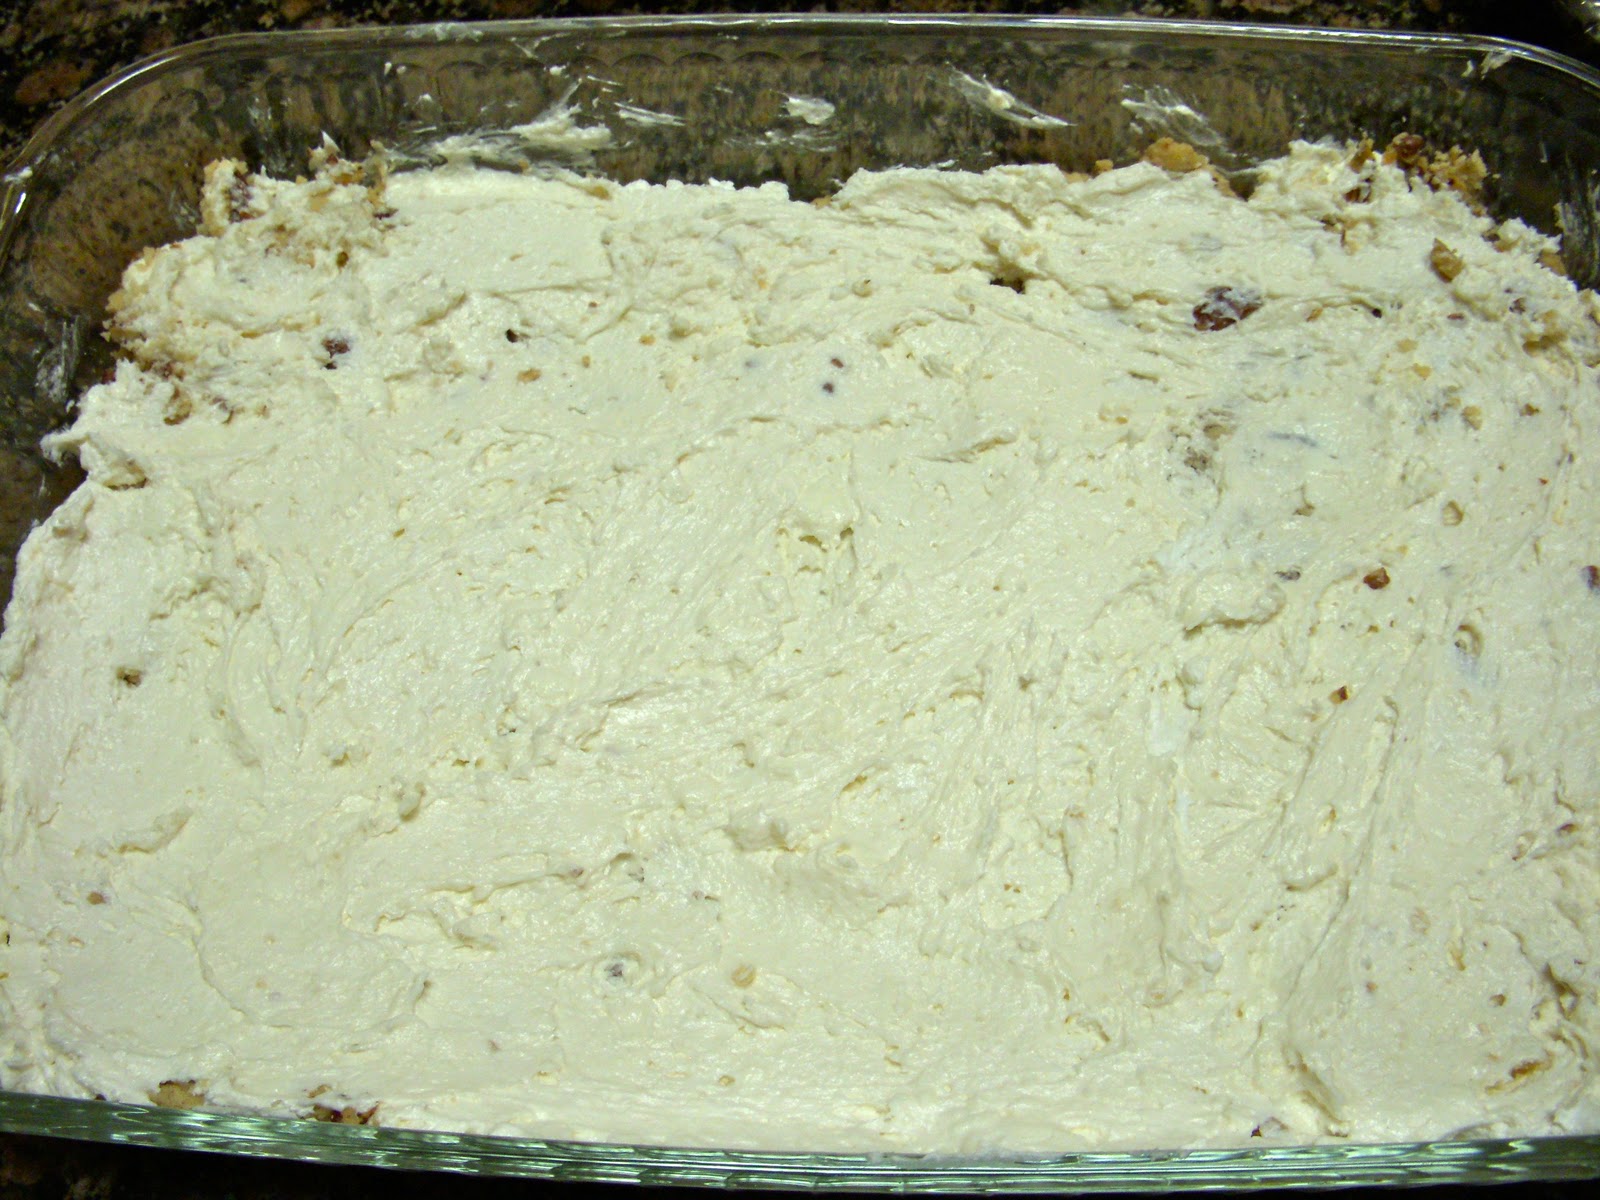
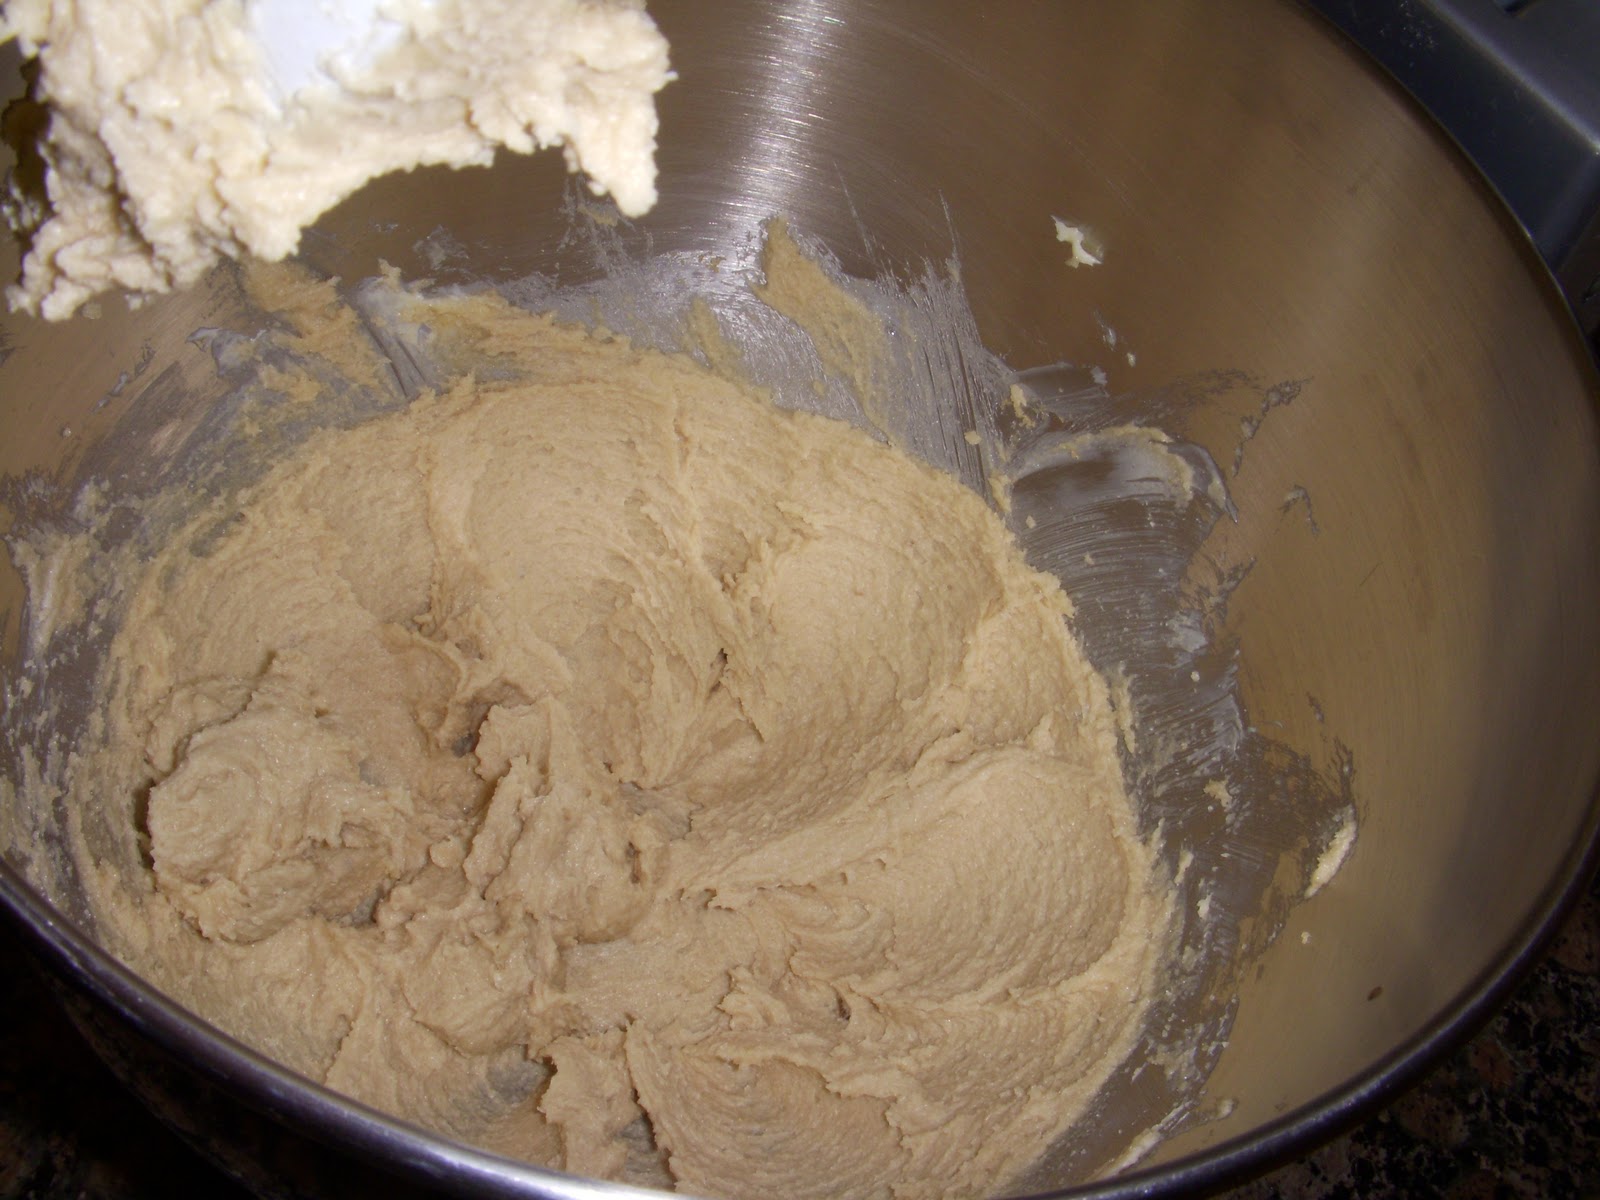
5.  Pour the wet ingredients on top of the flour-butter crumbs, and stir them with a wooden spoon until they come together and there is no flour visible.  Don’t work the dough a moment longer than necessary.
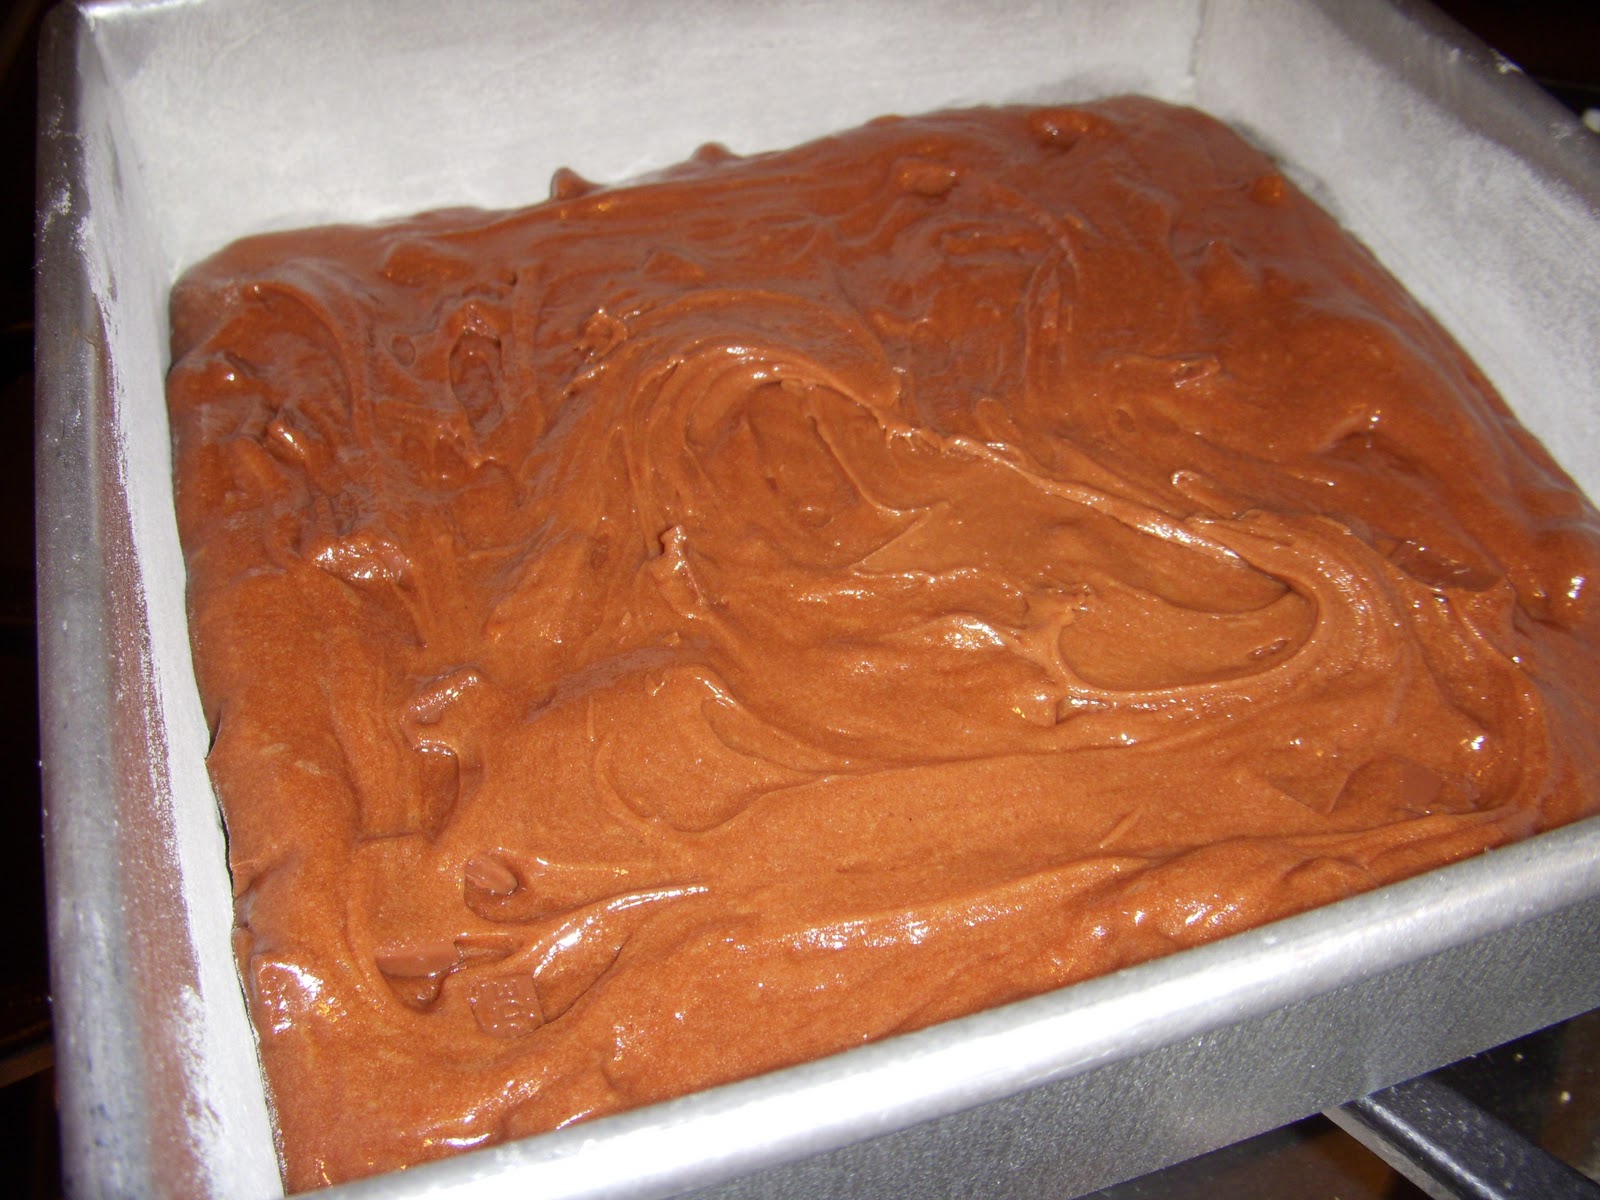
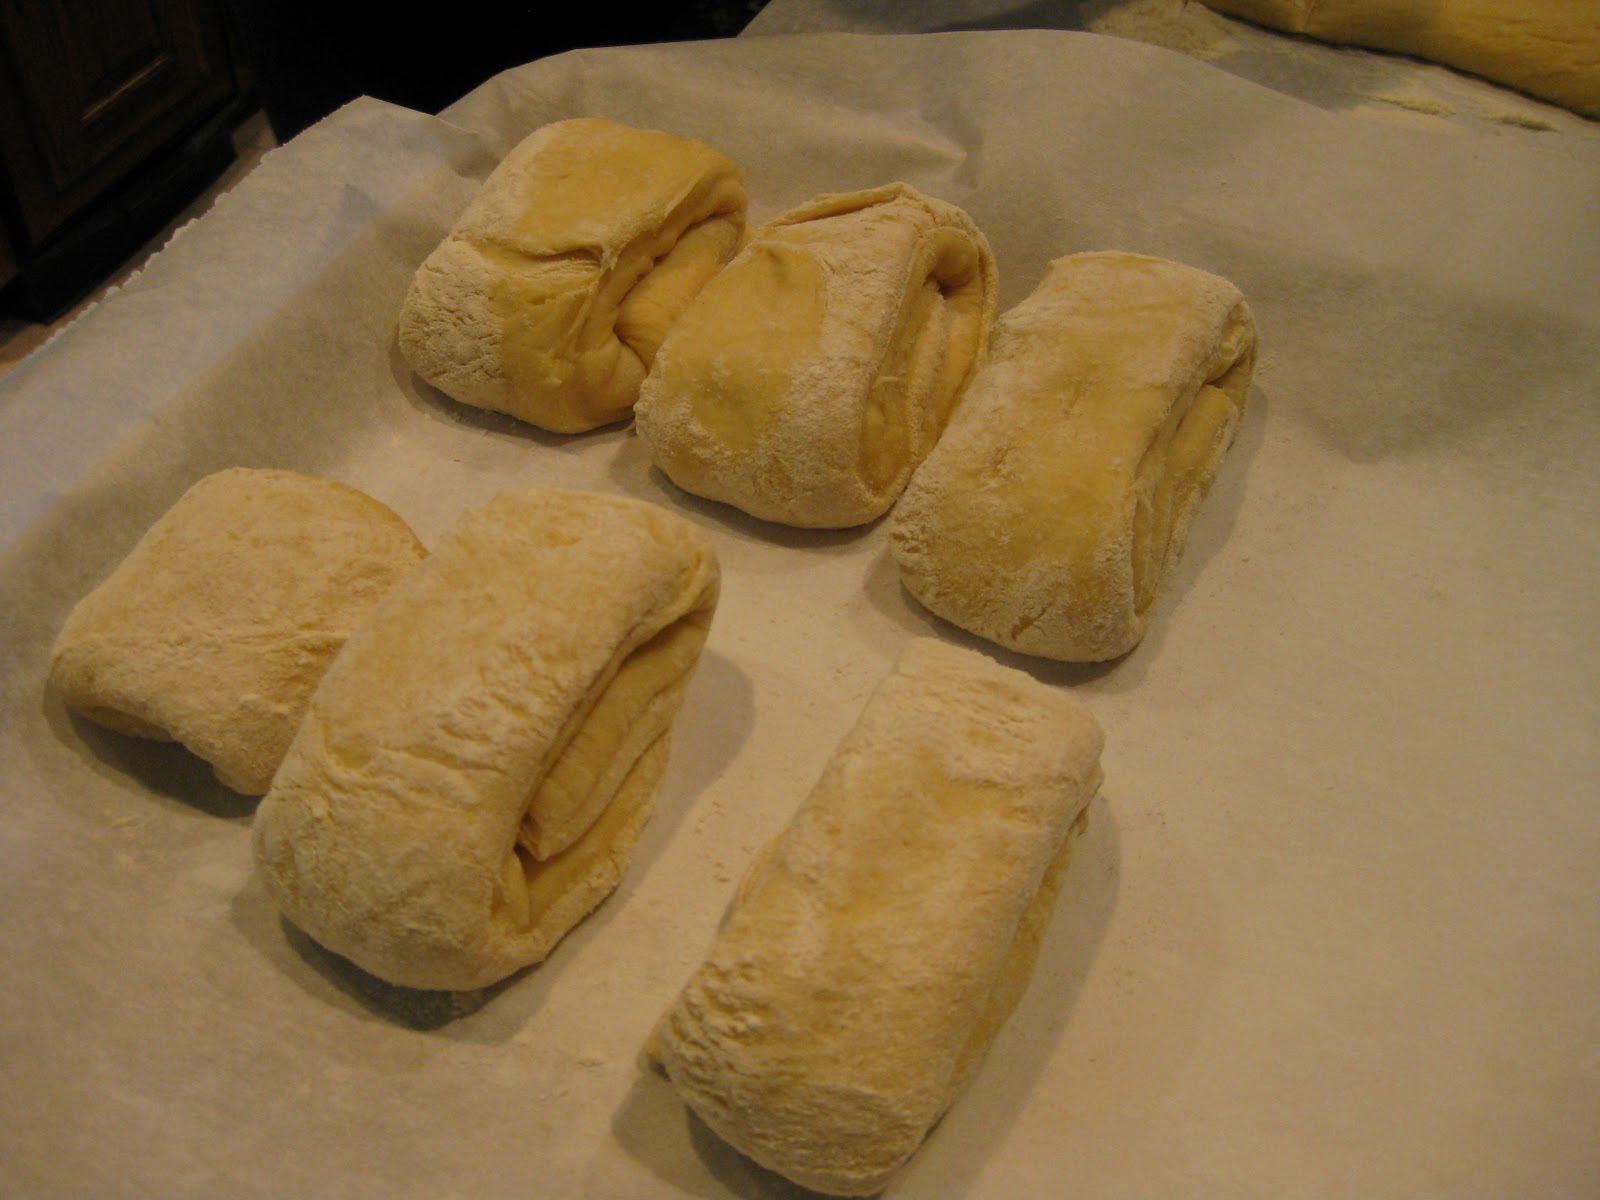
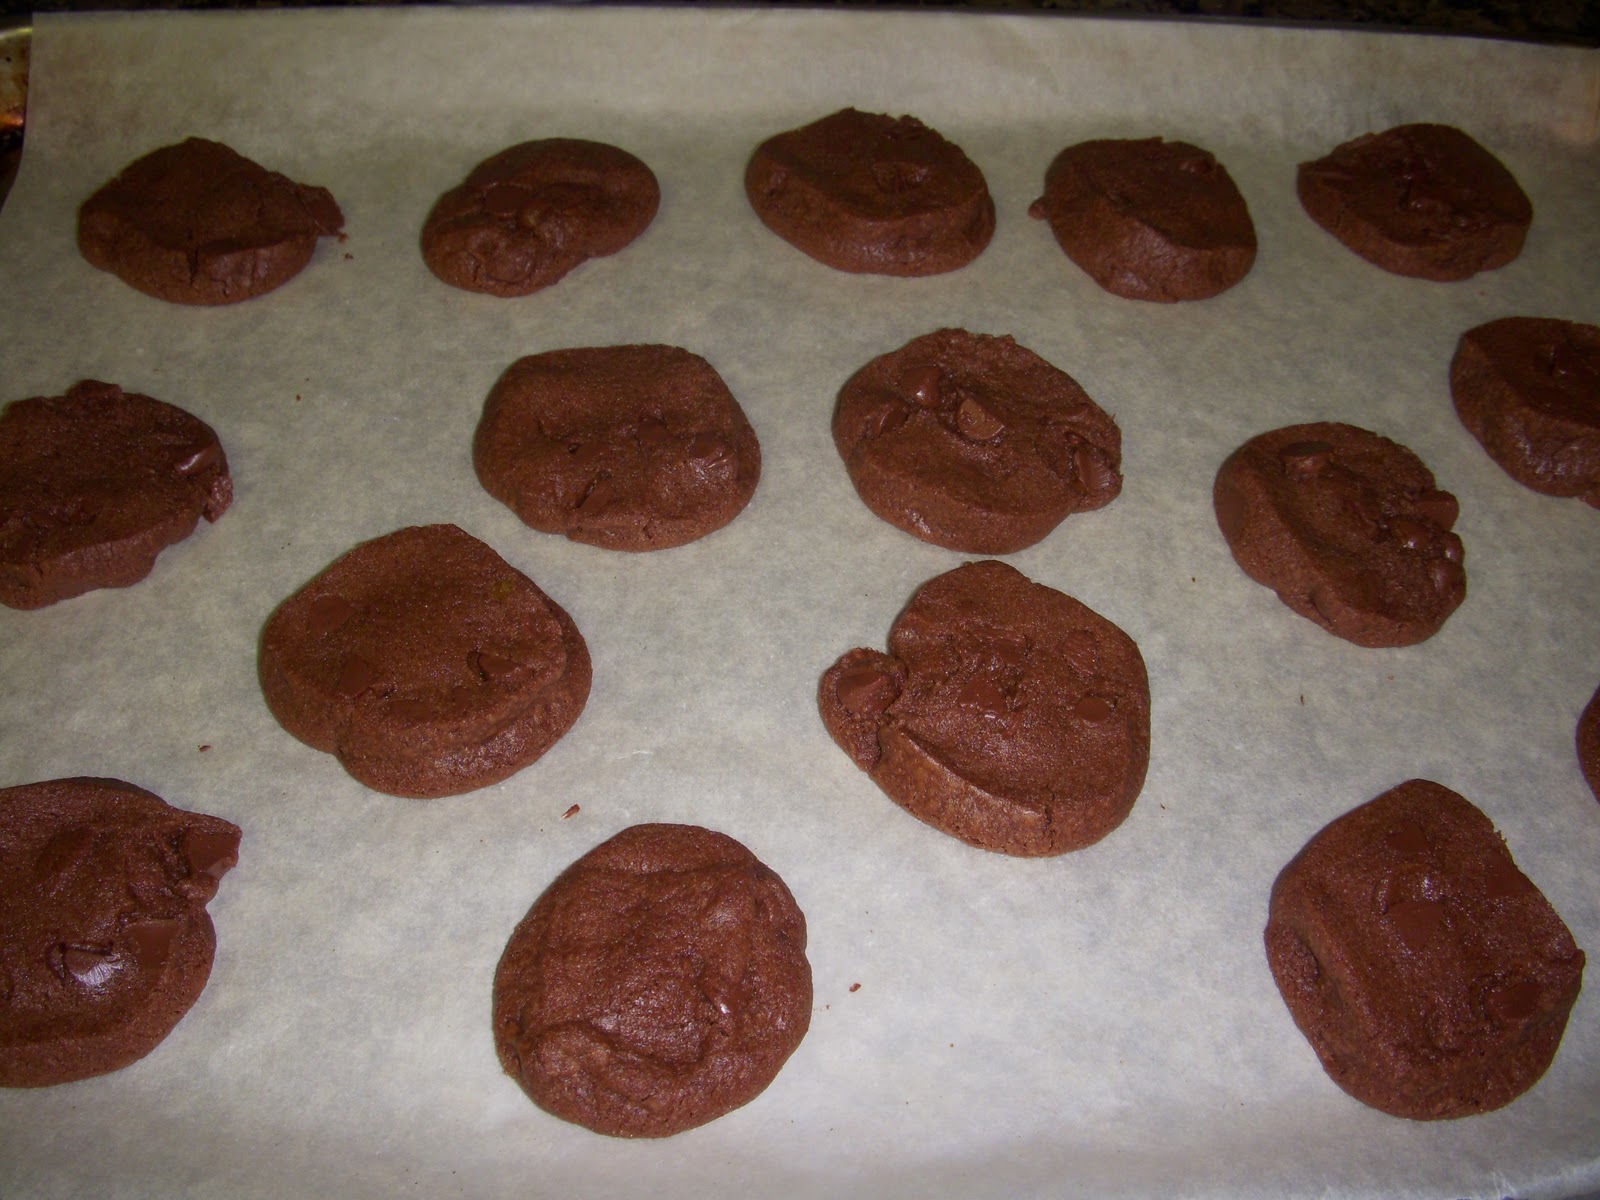
6.  Use a 1/2-cup measuring cup or your hand (eyeballing for size) to scoop up the dough.  Roll each piece of dough into a ball and place it on your prepared baking sheet, leaving 2 inches between pieces.  Press down on each dough ball with eh heel of your hand so that you have a fat disk (1-1 1/2 inches thick), like a hockey puck.
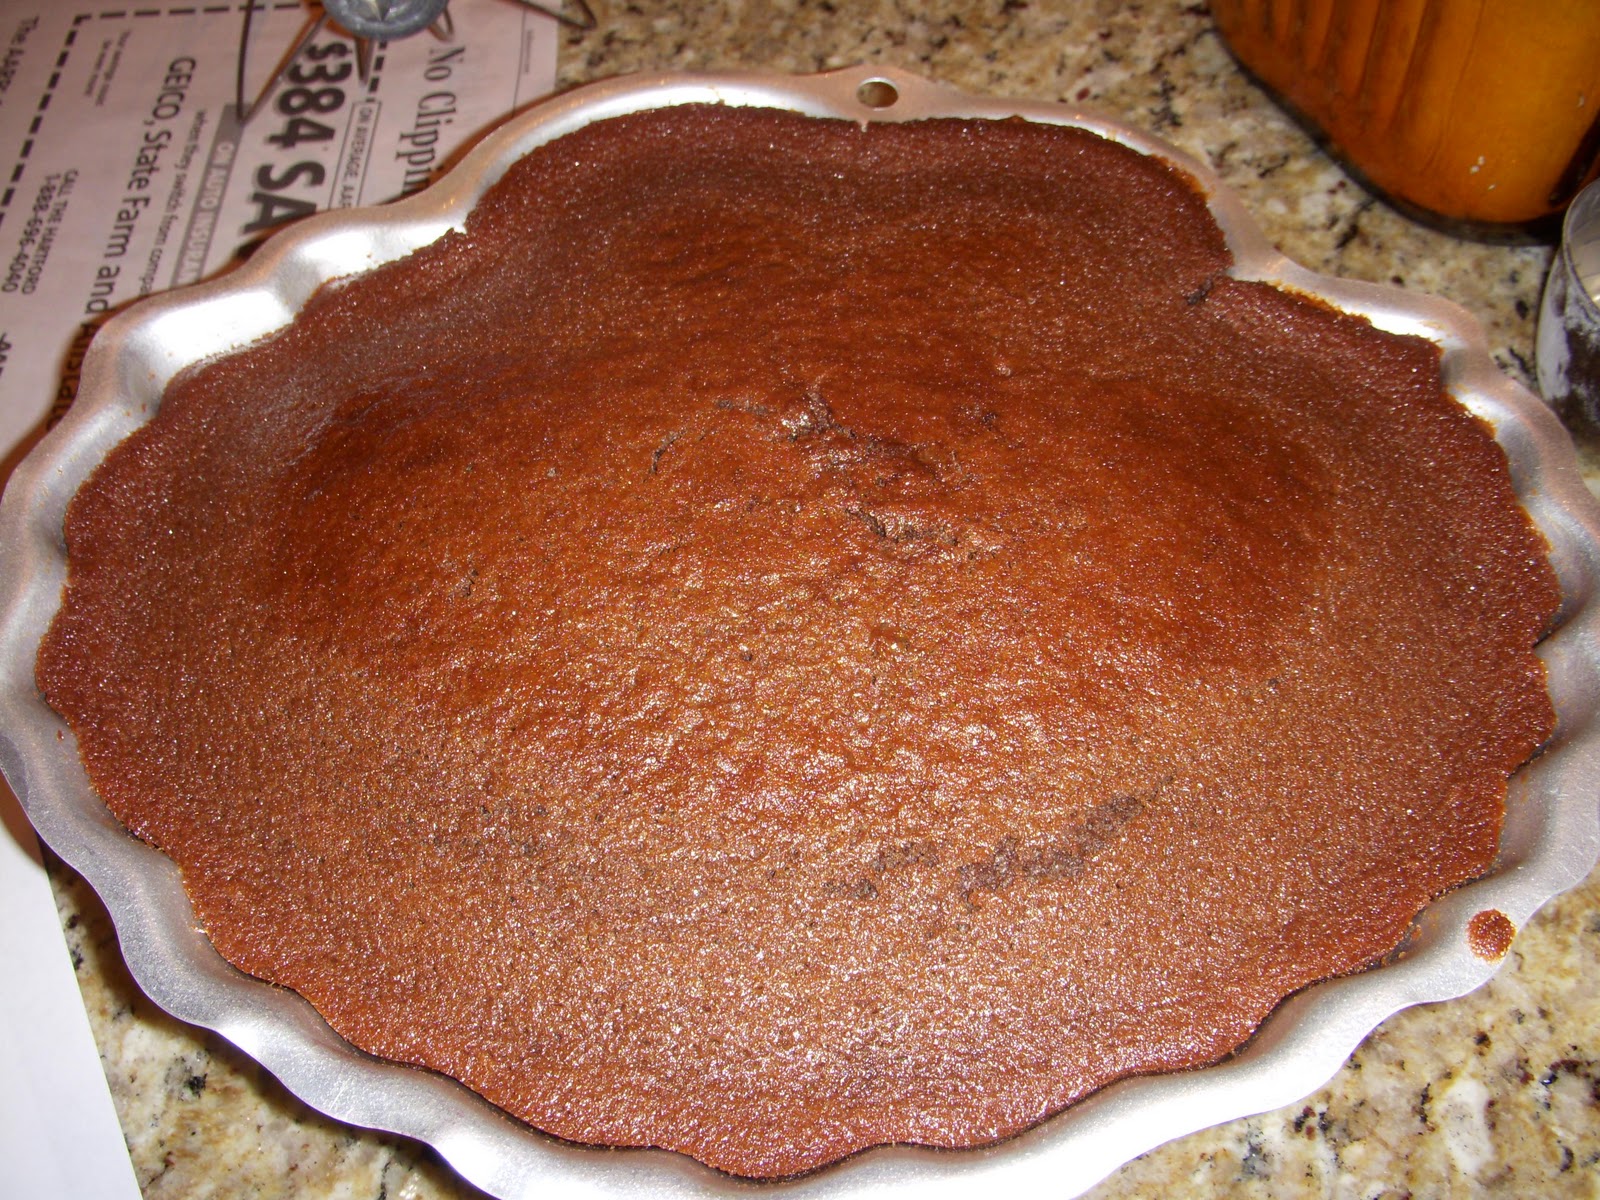
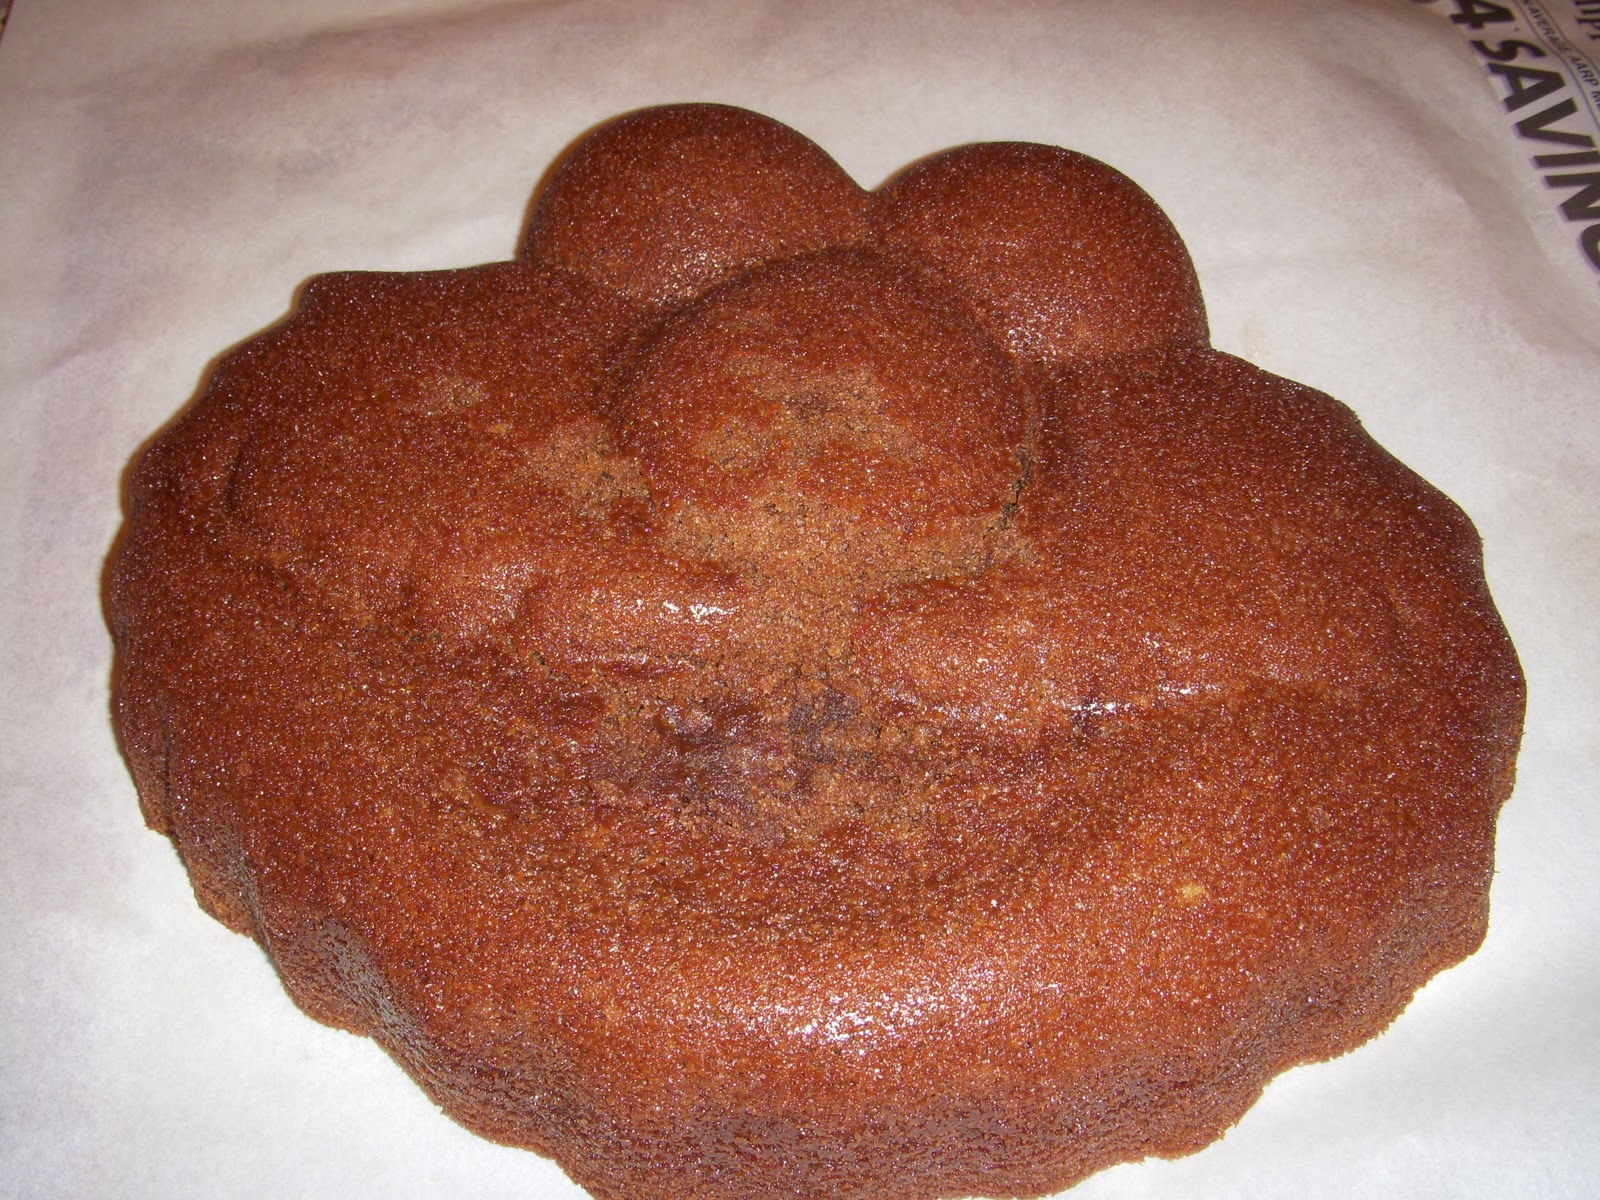
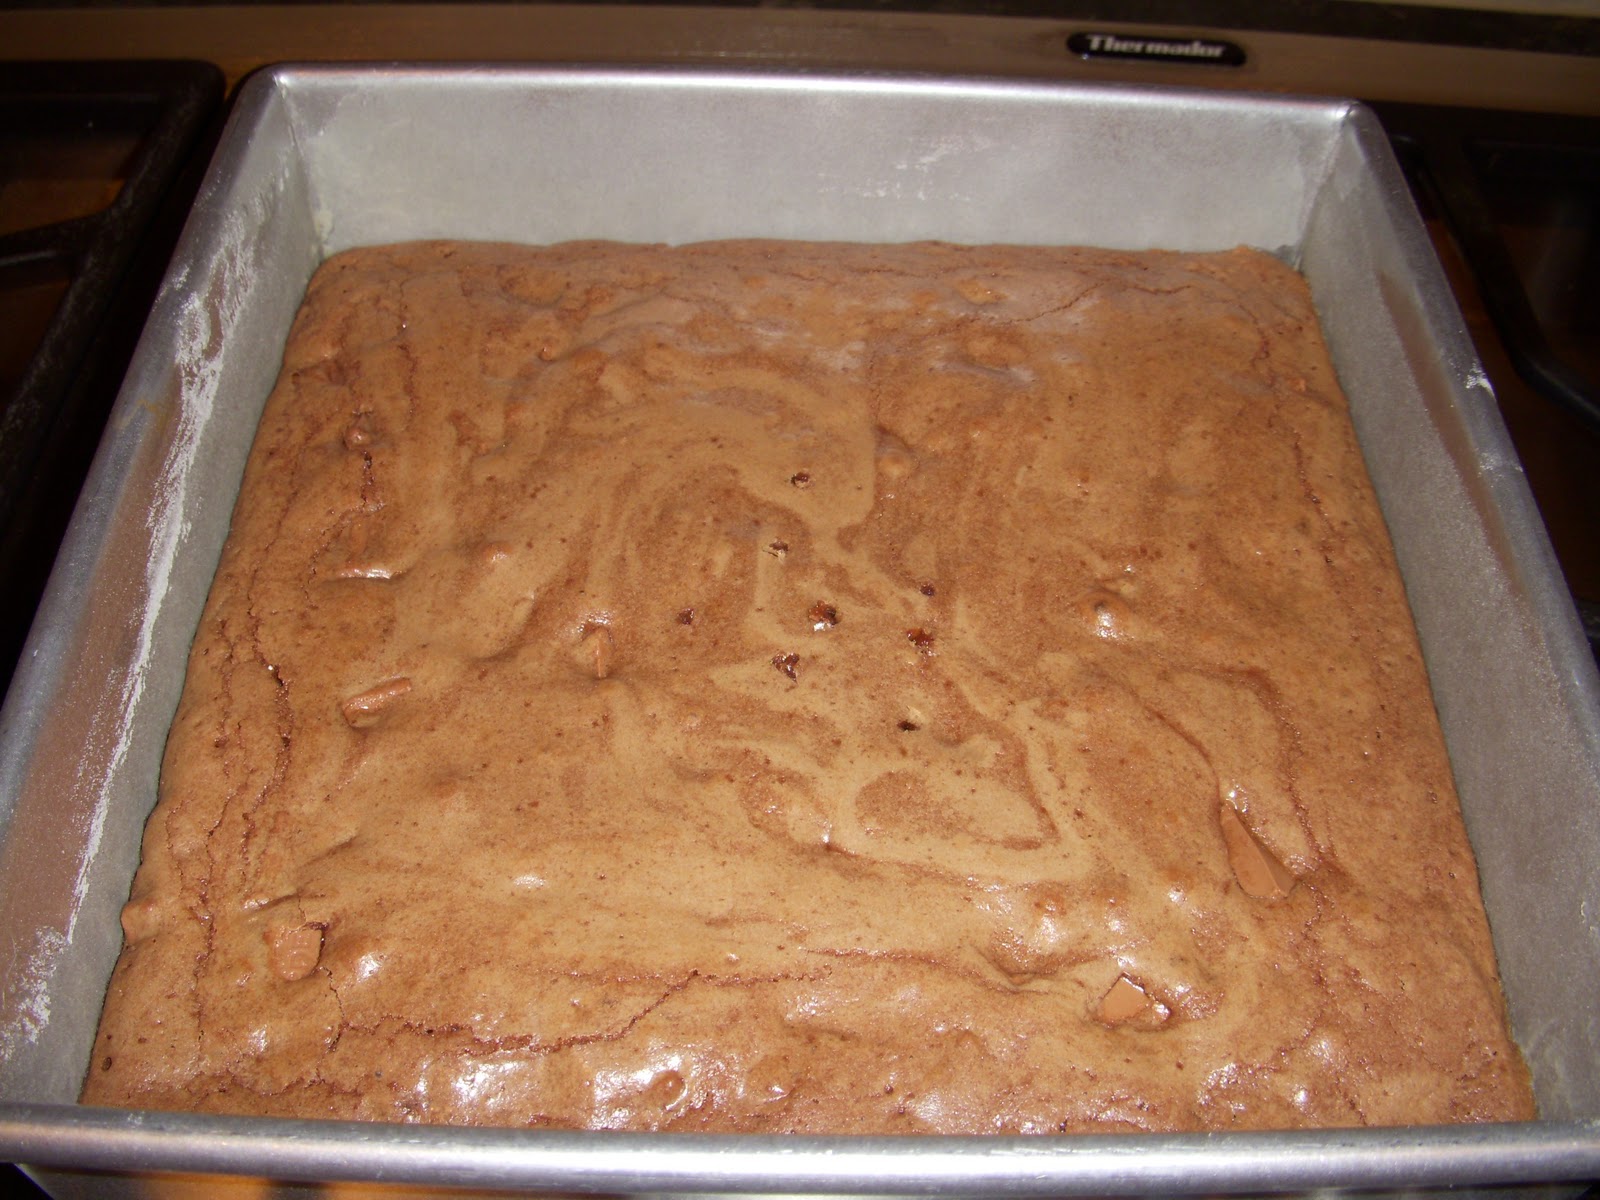
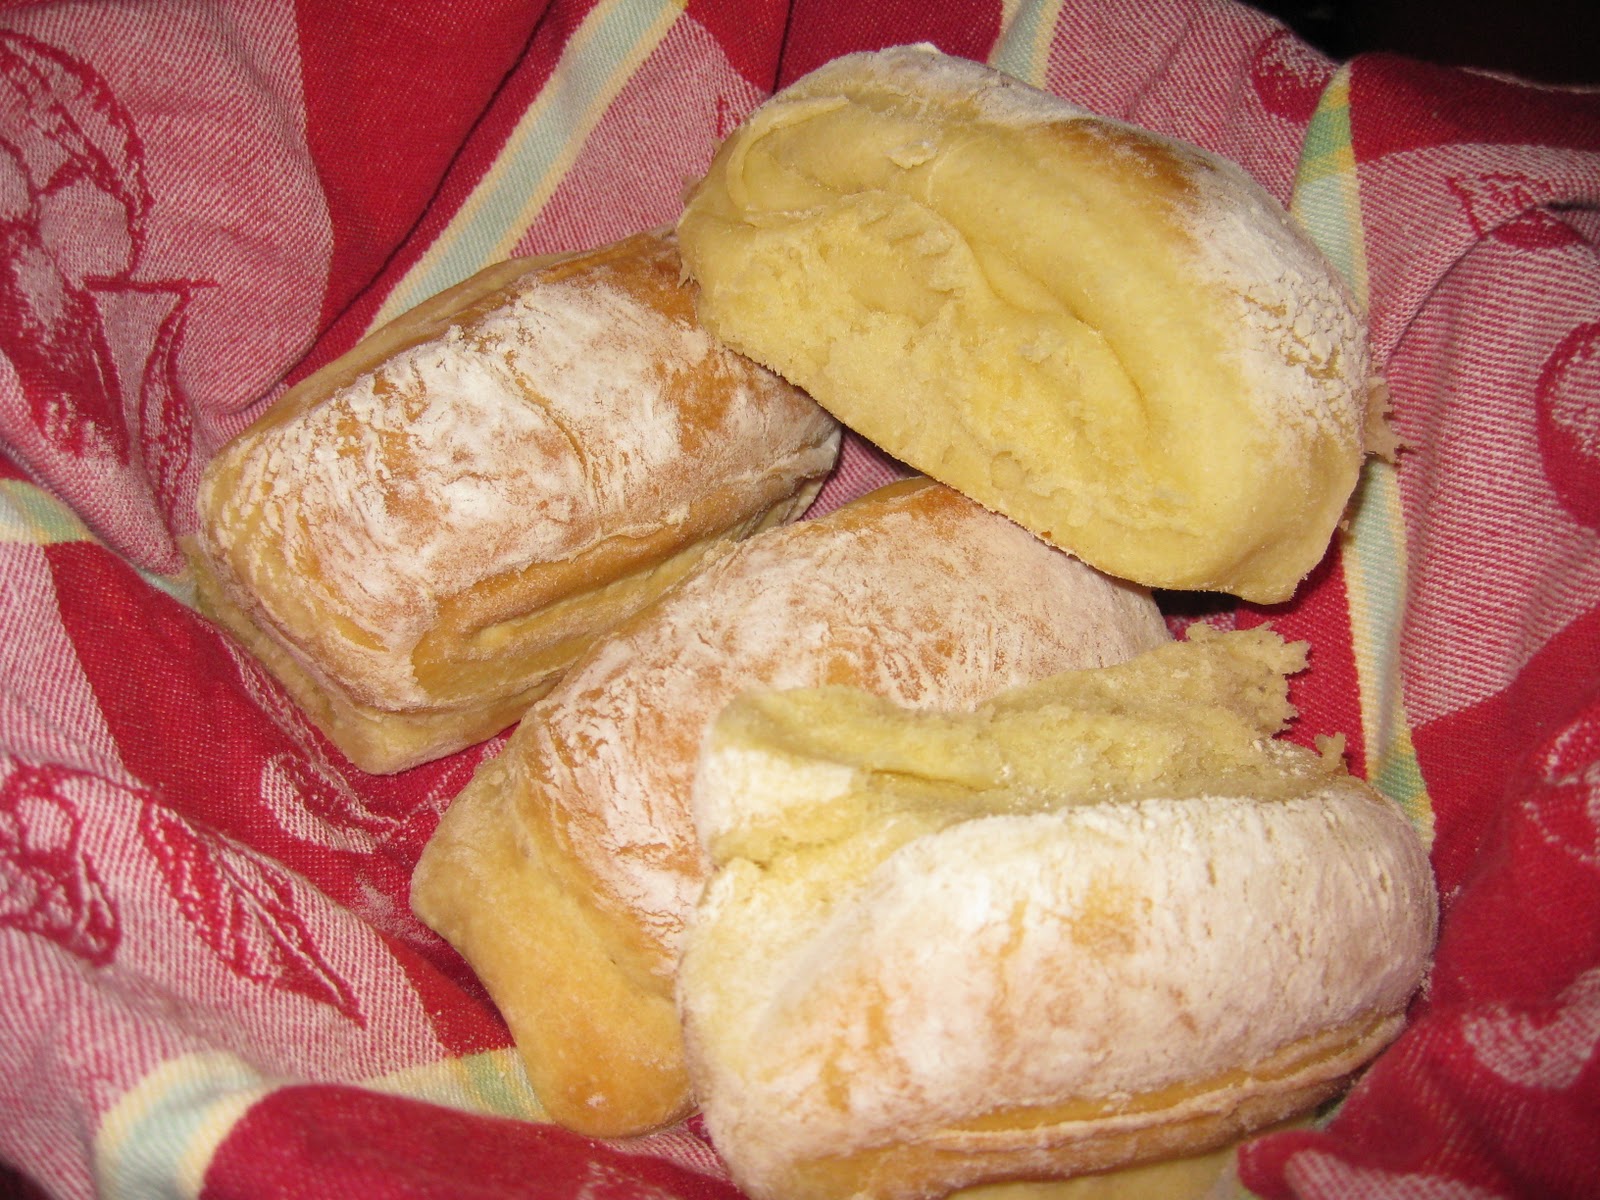
7.  Place the baking sheet on the center rack in the oven, and bake the scones for 20-25 minutes, until the tops are golden brown and a toothpick or small knife inserted into the center of one comes out clean.
8.  Remove the baking sheet from the oven, and place it on a wire rack to let scones cool for a few minutes. Lift the baking sheet off the rack, and use a metal spatula to transfer the scones from the baking sheet to the rack, or directly to whatever you’re serving the scones from.  Serve fresh from the oven or at room temperature.  
Yield:  8 scones
“Once Upon a Tart…” by Frank Mentesana and Jerome Audureau

Elmo Cake (using Mrs. Kelm’s Chocolate Cake recipe)

Happy Birthday to my little 2 year old nephew named Bear!  Yes, if you are wondering, his name really is “Bear”!  For Bear’s 2 year old birthday party, his mom (my sister-in-law, Leah) asked me if I would help her make an Elmo cake and I said yes.  How could I pass up an opportunity to bake?  Leah had already bought the cake pan, but needed a cake recipe and I had the perfect one….
The cake is called “Mrs. Kelm’s Chocolate Cake”, and it is my great aunt Jolene’s recipe that my family and I have used for my sister and I’s birthday cakes ever since I was 3 years old!  I remember my mom making me a Barney cake, and a purple ballerina cake, (my sister had a pink ballerina cake).  When my mom had finished decorating the cake, she would place it on the ground, and my dad would make my sister and I lie down right next to the cake to take a picture.  We probably have 22 years worth of “my cake and me” pictures!
As my sister and I grew older, my mom would still make this cake for us, but instead of making “ballerina” cakes, we just used a regular 9 x 13 inch pan.  Then, together, we would decorate the top by just writing “Happy Birthday Lauren or Brittany” and using different colored icing to make pretty flowers.  (Here is a picture of me turning 16 years old, holding Mrs. Kelm’s Chocolate Cake.)
So, that is the story of the “famous” Mrs. Kelm’s Chocolate Cake that is a birthday tradition in our family.  I’m excited I got to share that tradition with my sister-in-law, Leah.  I wasn’t able to attend Bear’s birthday, but Leah said the cake was a success and it was sooo moist and delicious!  Enjoy!
Sift flour, add sugar, and salt, and resift.

Bring to a boil the cocoa, butter, and water.  Pour over flour and sugar mixture.

Lightly beat eggs. It calls for two eggs, but when we cracked them, two yolks came out of one egg!  Now it looks like we have three!

Temper egg with chocolate mixture.

Pour egg and remaining ingrediens (baking soda, buttermilk, vanilla, and cinnamon) into chocolate mixture and combine.

Pour into a greased and floured 9 x 13-inch baking pan (or Elmo cake pan) and bake at 350 degrees for 35 to 40 minutes, or until a cake tester comes out clean.

During the last 5 minutes of baking, make chocolate icing.  Melt butter, cocoa, and milk in a sauce pan.  Mix and heat over low heat, do not boil.

Turn off heat and add a box of powdered sugar and vanilla.

Pour icing over warm cake.

Let cool completely.

Once cooled, begin decorating!  We started with Elmo’s mouth and nose.

Now for his eyes and red face.

Leah (left), me (right).

Adding the finishing touches!

Bear’s Elmo cake is complete!


Mrs. Kelm’s Chocolate Cake
Ingredients
Cake
2 cups flour
2 cups sugar
1 1/2 tsp salt
1 cup (2 sticks) unsalted butter
1 cup water
3 tbsp cocoa
2 eggs, well beaten
1 tsp baking soda
1/2 cup buttermilk
1 tsp vanilla
1 tsp cinnamon

Frosting
1/2 cup (1 stick) unsalted butter
3 tbsp cocoa
5 tbsp milk
1 box (1 lb.) powdered sugar
1 tsp vanilla
1/2 cup nuts, optional

Directions
For Cake:  
1.  Sift flour, add sugar, and salt, and resift.
2.  Bring to a boil butter, water, and cocoa.  Pour over flour and sugar mixture.  Add remaining ingredients and mix well.
3.  Bake in a greased and floured 9 x 13-inch pan for about 35-40 minutes at 350 degrees F.

For Frosting: Make during the last 5 minutes of cake baking time.
4.  Place 1 stick of butter, 3 tablespoons of cocoa, and 5 tablespoons of milk in a sauce pan.  Mix and heat over low heat, do not boil.
5.  Remove from heat and add one box of powdered sugar, 1 teaspoon of vanilla, and 1/2 cup of nuts (optional).  Mix well and frost cake.

Yield: one 9 x 13-inch cake or 12 servings

Milk Chocolate Brownies

This will kill your New Years Resolution diet, but I have to tell you, they may be worth it! We made these for our New Years dinner with my family and everyone loved them!  Personally, I am not a huge brownie fan because in my opinion, most brownies are too rich and taste too much like dark chocolate (I like milk chocolate only).  However, I can get by with a dumping a large scoop of vanilla ice cream over my brownie to calm the richness of the chocolate.
That being said, these brownies are sooo much better than your typical brownie because of the milk chocolate!  I have a huge sweet tooth, and these are nothing but sweetness in your mouth!  They taste like a cakey Hershey’s bar with the creamy and fudgy flavors creating a bliss of a dessert.  The secret ingredient is 1 ounce of unsweetened chocolate, which adds depth of flavor to the milk chocolate bar and milk chocolate chips.  You can serve them topped with vanilla ice cream and (what else?) maybe a drizzle of chocolate syrup, however I could even eat these brownies on their own.
This recipe is from one of my favorite cookbooks, “Fat Witch Brownies:  Brownies, Blondies, and Bars From New York’s Legendary Fat Witch Bakery” by Patricia Helding.  Fat Witch Bakery is a legendary bakery in New York City that I vow to visit someday!  I’ve made their Snow Witches (white chocolate brownies), which are on the top 10 list of Dallas Duo’s recipes for 2010.  Enjoy!
Melt chocolates and butter in a saucepan over low heat.

Remove from heat, and let cool.

Beat eggs, sugar, and vanilla in a large bowl.

Add cooled chocolate to egg mixture.

Add flour and salt and mix until just combined.

By hand, stir in milk chocolate chips/chunks.

Pour into a greased and floured 9 x 9-inch baking pan.

Bake for 25 minutes in a 350 degree oven, or until a toothpick comes out clean or with only crumbs, not batter on it.

Let cool for 1 hour.  Cut just before serving.

H-E-B’s Creamy Creations, Vanilla Ice Cream on top… YUMM!!!

Milk Chocolate Brownies
Ingredients
8 tbsp (1 stick) unsalted butter
1 ounce unsweetened chocolate, coarsely chopped to same-sized pieces
1/2 cup milk chocolate, coarsely chopped to same-sized pieces
2 large eggs
3/4 cup granulated sugar
1 tsp pure vanilla extract
1 cup unbleached flour
1/4 tsp salt
3/4 cup milk chocolate chips (we didn’t have chips, so we chopped a milk chocolate bar)
Directions
1.  Grease a 9-inch x 9-inch baking pan with butter.  Dust with flour and tap out the excess.  Preheat the oven to 350 degrees F.
2.  Melt the butter and the coarsely chopped milk and unsweetened chocolates in a small saucepan over low heat, stirring frequently.  Set aside and let cool to room temperature.
3.  Cream the eggs, sugar, and vanilla in a large bowl until smooth.  Add the cooled chocolate mixture and continue mixing until well combined.
4.  Measure the flour and salt and then sift together into the batter.  Mix gently until well combined and no trace of the dry ingredients remains.  Stir in the milk chocolate chips by hand.
5.  Using a spatula, spread the batter evenly in the prepared baking pan.  Bake for 25 minutes or until a toothpick inserted in the center comes out clean or with only crumbs, not batter, on it.
6.  Remove from the oven and cool on a rack for 1 hour.  Cut just before serving.
Yield:  12 to 16 brownies
“Fat Witch Brownies:  Brownies, Blondies, and Bars From New York’s Legendary Fat Witch Bakery” by Patricia Helding

Corn Bread Stuffing

Here is one more holiday recipe that I’m just now adding: Corn Bread Stuffing.  I know the holiday season is over, but if you are like my husband who thinks you can eat turkey and dressing any time of the year, then you might want to try this now!
This Corn Bread Stuffing recipe comes from the “Better Homes and Gardens New Cook Book, 1976”.  My mom has made this stuffing every Thanksgiving since I’ve been alive.  My husband fell in love with the recipe and requested that she make it for Christmas this year!  The recipe is pretty easy to make, and is moist, flavorful, and will be your “go-to” recipe for dressing.   Enjoy!
Combine bacon, reserved drippings, vegetable mixture, coarse corn bread crumbs, toasted bread cubes, sage, and broth; toss well.

Bake covered in a 1 1/2 qt baking dish at 350 degrees F for 30 minutes.

Serve with turkey or ham for your Thanksgiving or Christmas dinner.  Or, for those who really love this (my husband), serve it all-year round!
Corn Bread Stuffing
Ingredients
1/2 lb bacon (8-10 slices)
1/4 cup bacon drippings
1 cup chopped celery
1/4 cup chopped onion
1/2 cup water
3 cups coarse corn bread crumbs, (Perfect Corn Bread is a great recipe to use)
6 slices toasted bread, cubed
1/2 tsp rubbed sage
1 cup chicken or turkey broth
Directions
1.  In skillet, cook bacon till crisp; drain, reserving 1/4 cup drippings.  Crumble bacon; set aside.
2.  To skillet, add celery, onion, and water.  Cover; cook till barely tender, about 7 minutes.
3. Combine bacon, reserved drippings, vegetable mixture, coarse corn bread crumbs, toasted bread cubes, sage, and broth; toss well.
4.  Bake covered in a 1 1/2-quart casserole dish at 350 degrees F for 30 minutes.
Yield:  8 servings, or enough stuffing for an 8-pound turkey.
Better Homes and Gardens New Cook Book, 1976

Bean Ragout for Panko-Crusted Sea Bass

As you all know, Panko-Crusted Sea Bass is one of the top 10 most viewed recipes on Dallas Duo.  The recipe, (from an article in the”Dallas Morning News”) actually includes a bean ragout to be served with this sea bass, but I have never made it before.  I usually just serve the fish over a bed of brown rice.  Not today…I decided to be adventuresome and add some elegance to this wonderful dish and make the bean ragout this evening for dinner.  I don’t even know how to pronounce “ragout”, but it sounded very healthy and delicous!  Edamame (Japanese soybeans), fire roasted tomatoes, and white beans all are low fat and high in protein!

The bean ragout was tasty, but I expected it to have more of a kick and intense flavor to it.  However, by itself, this may be a little bland, I think it pairs wonderfully with the spicy, buttery, and intensely flavored sea bass.  If making the bean ragout with chicken or some other meat, I think I will substitute the fire roasted tomatoes with pico de gallo since I enjoy hot and spicy foods.

Enjoy!

Panko Crusted Sea Bass
Ingredients
2 (7-ounce) sea bass fillets
2 tbsp mayonnaise
1 tbsp Tony Chachere’s Original Creole Seasoning
1 cup panko (Japanese) breadcrumbs
1 tablespoon olive oil
3 scallions, sliced (green and white part)
1 cup shelled edamame (thawed, if frozen)
1/2 cup diced fire roasted tomatoes, including juices (can substitute pico de gallo)
1 (15-ounce) can Great Northern beans, drained
3 tbsp chicken broth
minced parsley (optional: I omitted)
2 tbsp butter
2 tbsp olive oil

Directions
1. Preheat oven to 375 degrees.
2. Coat fillets with mayonnaise and season generously with Creole seasoning.  Coat one side with panko crumbs and refrigerate until ready to sauté.
3.  Place a large saute’ pan or skillet over medium-high heat and add olive oil.  When hot, add the scallions and saute’ for about a minute.  Add edamame and tomatoes and cook about a minute or until hot.  Add the drained beans, chicken broth, and parsley (optional).  Season to taste with salt and pepper.  Transfer ragout to a serving bowl or plates.  Cover to keep warm.
4. Rinse the saute’ pan and place over medium-high heat, and add butter and oil. When hot, place fillets, panko-side down, in the pan and saute for about 2 minutes over medium heat or until panko coating is lightly browned.  Turn carefully and saute another 2-3 minutes..
6. Place saute’ pan in the oven for 6-7 minutes to finish cooking the fillets. (If using thin fillets, such as sole or tilapia, you can complete cooking in the saute pan for a total time of about 6 minutes).
7.  Reheat the bean ragout in the microwave on High (100 percent power) for 1 minute.  Serve the sea bass on the ragout.


Yield:  2 servings
“Dallas Morning News”

Parker House Rolls

Yum!  Although we’ve only made these twice (for Thanksgiving 2010 and Christmas 2010), these Parker House Rolls are my family’s and my favorite dinner roll.  They are buttery, soft, and steamy right out of the oven.  These rolls are huge in size, but everyone in my family still manages to have at least one and a half rolls!  We found this recipe in the “Food Network Magazine”, November 2010.  In the magazine, Alex Guarnaschelli, host of Alex’s Day Off, shows how to make buttery pull-apart rolls for Thanksgiving.
Parker House rolls originated in the 1870s at Boston’s Omni Parker House hotel.  “They’re delicious, and truly American,” Alex says.  Enjoy!
Prepare all the ingredients.  Once dough has doubled in volume, shape dough into a 16-by-8 inch rectangle, about 1/2 to 3/4 inch thick.

Cut the dough crosswise in 12 strips.  Fold strips into thirds, seam-side down onto the prepared baking sheet.

Bake for 18 to 20 minutes at 375 degrees F.

Brush with softened butter and sprinkle with salt, if desired.  Serve immediately.


Parker House Rolls
Serves: 24
Recipe from: Alex Guarnaschelli
Ingredients
  • 1 1/4-ounce packet active dry yeast
  • 1/2 cup sugar
  • 7 1/2 to 8 cups all-purpose flour, plus more for dusting
  • 12 tbsp (1 1/2 sticks) unsalted butter, melted and cooled, plus softened butter for brushing
  • 2 cups whole milk, at room temperature
  • 2 large eggs, at room temperature
  • 1 tbsp kosher salt, plus more for sprinkling
Instructions
  1. Bloom the yeast: Measure out 1/2 cup warm water and check the temperature: It should be between 110-120 degrees F (comfortable bathwater temperature). Sprinkle yeast into a large bowl, add the warm water and whisk in the sugar. Let sit 1 minute (it should bubble and froth slightly), then gently stir in 1 cup flour. Set aside near the stove while you prepare the dough.
  2. Make the dough: Mix the melted butter and milk in a mixer with the hook attachment on low speed. Add the eggs and mix until blended. Scrape in the yeast mixture and mix until incorporated. Add 6 1/2 cups flour and 1 tablespoon salt; mix until the dough forms a ball, 2 to 3 minutes, adding up to 1/2 cup more flour if the dough is too wet and sticky.
  3. Let it rise: Brush a large bowl with softened butter. Transfer the dough to the bowl, cover with a towel and let rise in a warm place, 2 to 2 1/2 hours. The dough should double in volume.
  4. Shape the dough: Preheat the oven to 375 degrees F and line a baking sheet with parchment paper. Dust a clean flat surface with flour and turn the dough out onto it. Flour your hands; gently press the dough into a 16-by-8-inch rectangle, about 1/2 to 3/4 inch thick (don’t use a rolling pin).
  5. Cut the dough: With the short side in front of you, cut the dough in half lengthwise with a floured knife. Then slice crosswise into 12 strips.
  6. Shape the dough: One at a time, fold each strip of dough unevenly in half so that the top part slightly overlaps the bottom half, then tuck the overhang underneath. Place the rolls seam-side down on the prepared baking sheet in 3 tightly packed rows. (If making in advance, wrap the baking sheet tightly in plastic wrap and freeze up to 3 weeks.)
  7. Bake the rolls: Bake until the rolls are bursting at the seams and golden brown, 18 to 20 minutes. (If frozen, bake 25 minutes at 325 degrees, then 10 minutes at 375 degrees F.) Remove from the oven and brush with softened butter. Sprinkle with salt and serve immediately.

Triple-Orange Ambrosial Salad

Growing up as a kid, I looked forward to this Orange Jell-O (as I called it) every Thanksgiving and Christmas.  As a kid, I was very picky and did not like the Ambrosial Salad, only the Jell-O part.  I thought sour cream was gross…the name “sour” did not sound very appetizing to me! haha 🙂  Now, all grown-up, I absolutely LOVE the Ambrosial Salad part…I could eat it by itself!  The incorporation of marshmallows, coconut, pineapple, and mandarin oranges are an absolutely wonderful combination.
Triple-Orange Ambrosial Salad is a light and luscious dessert that everyone will love.  It looks very elegant and fabulous displayed on a pretty clear or white platter .  My husband, who hates oranges even savors this salad!  Enjoy!
Triple-Orange Ambrosial Salad
Ingredients
2 cups boiling liquid (water or fruit syrup)
1 package (6 oz) orange-flavored gelatin
1 pint orange sherbet
2 cans (11 oz each) mandarin oranges, drained
1 can (13 1/2 oz) pineapple chunks, drained
1 cup flaked coconut
1 cup mini marshmallows
1 cup dairy sour cream or 1/2 cup whipping cream, whipped (we used sour cream)
Directions
1.  To make Jello: Pour boiling liquid over gelatin in bowl, stirring until gelatin is dissolved.
2.  Add orange sherbet; stir until melted.  Stir 1 can of mandarin orange segments (1 cup).
3.  Pour into 6-cup ring mold.  Chill until firm.
4.  To make Ambrosial Salad: Combine remaining orange segments, the pineapple, coconut, and marshmallows.  Fold in sour cream.
5.  Chill at least 3 hours.  Fill center of unmolded salad with fruit mixture.
Yield:  10-12 servings

4 Layer Pudding Dessert

Merry Christmas!!! I made this 4 Layer Dessert for Christmas and it was a hit in our family.  My parents had never tried this before, but loved it.  My sister, who is very strict in what she eats even had a slice!  Below, is a funny story about how this dessert means so much to my husband, Matt.

Paula’s 4 Layer Dessert is one of Matt’s all-time favorites!  When Paula, Matt’s mother, would come down to watch him play football at Texas A&M, she would bring this dessert for him and his two roommates, Chance and Trevor.

After a couple of trips to College Station, Trevor started craving Paula’s dessert and requested the recipe.  Trevor then started making this dessert for the three roommates.  One evening after Trevor made the 4 Layer Dessert, he and Matt went to lift weights.  By the time they arrived back home, Chance, the other roommate, had eaten the entire 9 x 13-inch pan, washed it, dried it, and put it back in its place.

When Matt and Trevor returned, they looked all over the kitchen for the dessert.  They had no clue where it had gone!  Eventually they found out what Chance had done, and were furious!  Still to this day the story is told over and over again.  Chance is quite a bit larger than Matt and Trevor, so they choose their fights wisely.  (Chance went on to play in the NFL for the Houston Texans.)  It is a tradition that whenever Matt’s roommates come visit, Paula’s 4 Layer Dessert is always on the menu!

Enjoy!

Cream together the butter, flour, and chopped pecans.

Press into 9 x 13 inch pan.  Bake for 15-20 minutes in a 350 degree F oven.

Beat together cream cheese, cool whip, vanilla, and powdered sugar.

Pour over cooled crust.

Whisk together instant chocolate and vanilla pudding mix with 3 cups cold milk for 2 minutes, until thick.  Pour over cream cheese layer.

Top with a layer of Cool Whip.

Garnish with Hershey’s chocolate bar shavings.

4 Layer Pudding Dessert
Serves: 10-12
Ingredients
  • 1/2 cup (1 stick) butter, softened
  • 1 cup flour
  • 1 cup chopped pecans
  • 8 oz. cream cheese, softened
  • 1 cup powdered sugar
  • 1 to 1 1/2 cups Cool Whip
  • 1 tsp vanilla extract
  • 1 large package (5.9 oz) instant Jell-O chocolate pudding
  • 1 small package (3.4 oz) instant Jell-O vanilla pudding
  • 3 cups cold milk
  • 8 oz Cool Whip
  • chocolate shavings
Instructions
  1. Preheat oven to 350 degrees F.
  2. Combine butter, flour, and pecans together and press into a 9 x 13 inch baking pan. Bake for 15 minutes, then cool.
  3. Combine cream cheese, powdered sugar, 1 to 1 1/2 cups Cool Whip, and vanilla extract together. Pour over cooled crust.
  4. Whip together chocolate and vanilla instant pudding mixes with cold milk according to package directions. Pour over cream cheese layer.
  5. Top pudding layer with Cool Whip.
  6. Garnish with Hershey’s chocolate bar shavings for decoration. Chill and keep refrigerated.

World Peace Cookies

These cookies are called World Peace Cookies.  I made them today for my dad’s Christmas party at work.  For those of you who don’t know, these are called chocolate sables, or French shortbreads because there is more brown sugar than white, and they are more chewy than most shortbreads.  They are light and sandy like a buttery cookie, but midnight chocolatey like you would expect from a fudge brownie.  The hint of fleur de sel, or fine sea salt makes these salty, and a perfect and addictive combination for these chocolatey cookies.
This recipe is from Dorie Greenspan, author of “Baking:  From My Home to Yours” cookbook.  She was given this recipe by Pierre Herme, who created this cookie for a restaurant in Paris called Korova.  Originally Dorie named these sables Korova Cookies, but her neighbor loved these cookies so much that he said, “in our house, we call them World Peace Cookies, because we’re convinced that a daily dose of the cookies is all that’s needed to ensure planetary peace and happiness”.
Enjoy!
Combine the flour, cocoa, and baking soda together.

Cream together the butter and sugars.  Beat until fluffy.

Beat in the vanilla and salt.

Pulse in the dry mixture.  Pulse 5 times.  If there is still flour on top, mix for another 30 seconds.  Stir in the chocolate chips.

Roll into logs.  Refrigerate for at least 3 hours.


World Peace Cookies

Ingredients
1 1/4 cups all-purpose flour
1/3 cup unsweetened cocoa powder
1/2 tsp baking soda
1 stick plus 3 tbsp (11 tablespoons) unsalted butter, at room temperature
2/3 cup packed light brown sugar
1/4 cup sugar
1/2 tsp fleur de sel or 1/4 tsp fine sea salt
1 tsp pure vanilla extract
5 ounces bittersweet chocolate, chopped into chips, or a generous 3/4 cup store-bought mini chocolate chips
Directions
1.  Sift together the flour, cocoa, and baking soda together.
2.  Working wit a stand mixer fitted with a paddle attachment, beat the butter on medium speed until soft and creamy.  Add both sugars, the salt, and vanilla extract and beat for 2 minutes more.
3.  Turn off the mixer.  Pour in the dry ingredients, drape a kitchen towel over the stand mixer to protect yourself and your kitchen from flying flour and pulse the mixer at low speed about 5 times, a second or two each time.  Take a peak- if there is still a lot of flour on the surface of the dough, pulse a couple of times more; if not, remove the towel.  Continuing at low speed, mix for about 30 seconds more, just until the flour disappears into the dough – for the best texture, work the dough as little as possible once the flour is added, and don’t be concerned if the dough looks a little crumby.  Toss in the chocolate pieces and mix only to incorporate.
4.  Turn the dough out onto a work surface, gather it together and divide it in half.  Working with one half at a time, shape the dough into logs that are 1 1/2 inches in diameter.  Wrap the logs in plastic wrap and refrigerate them for at least 3 hours.  (The dough can be refrigerated for up to 3 days or frozen for up to 2 months.  If you’ve frozen the dough, you needn’t defrost it before baking – just slice the logs into cookies and bake the cookies 1 minute longer.)
5.  Center a rack in the oven and preheat the oven to 325 degrees F.  Line two baking sheets with parchment paper or silicone mats.
6.  Using a sharp thin knife, slice the logs into rounds that are 1/2 inch thick.  (The rounds are likely to crack as you’re cutting them – don’t be concerned, just squeeze the bits back onto each cookie.)  Arrange the rounds on the baking sheets, leaving about 1 inch between them.
7.  Bake the cookies one sheet at a time for 12 minutes – they won’t look done, nor will they be firm, but that’s just the way they should be.  Transfer the baking sheet to a cooling rack and let the cookies rest until they are only just warm, at which point you can serve them or let them reach room temperature..
Yield:  36 cookies
“Baking:  From My Home to Yours” by Dorie Greenspan

Poppy Seed Chicken


This Poppy Seed Chicken recipe is great for a crowd and is so simple to put together.  The combination of soups are wonderful, and the salty crackers add an extra depth of flavor to this wonderful chicken dish.  This recipe calls for a package of egg noodles to serve the chicken with, but I’ve seen this dish served over rice as well.  Serve it with a toss salad or green peas.

My mom got this recipe from a long-time friend named Janice.  Enjoy!


Poppy Seed Chicken
Cook time:
Total time:
Serves: 6-8
Ingredients
  • 4 cups cooked diced chicken
  • 1 can Cream of Chicken soup
  • 1 can Cream of Celery soup
  • 8 oz. sour cream
  • 1 package cooked egg noodles
  • 2 tbsp poppy seeds
  • 1 sleeve Ritz crackers, crumbled
Instructions
  1. Preheat oven to 350 degrees F.
  2. Combine chicken, soups, sour cream, and cooked egg noodles together in a large bowl.
  3. Place mixture in casserole dish.  Top with poppy seeds and crumbled Ritz crackers.  Dot with butter.
  4. Bake for 30 minutes or until Ritz crackers are golden, and casserole is bubbly.