Celebrating Mom’s Birthday with a Hot Milk Sponge Cake!

Happy Birthday to my mom today!!!  She would kill me if I exposed her age, so I’m going to be respectful and not mention that. 🙂  In our family, our birthday tradition consists of the following: if it’s your birthday you get to choose the cake/dessert you want and where or what you want to eat.  This can range from anything like a fancy Seafood and Steak restaurant like  Truluck’s or as simple as your favorite home-cooked meal.
The time of year always seems to influence what our birthday desserts and dinners consist of.  Since today is June 26, and a few weeks into summer, my mom picked a light dessert with fruit. For her birthday this year, she requested a Hot Milk Sponge Cake.  It was one of my grandfather’s favorite desserts, and is probably the easiest cake I’ve ever made in my life.  I prepared, baked the cake from scratch, and cleaned up the kitchen in just about 45 minutes!  In addition to being super easy to make, this cake is delightfully light, airy, sweet, and a delicious summer dessert.  It yields itself to a creative presentation as well.  You can top this cake with fresh, seasonal berries and whipped cream, or even serve it with some sweet vanilla ice cream, or even lemon or lime curd.  
I would also consider this Hot Milk Sponge Cake pretty healthy.  Unlike pound cake (which gets its name from a pound of butter), this cake has only 2 tablespoons of butter and skim milk!  The rest of the cake includes typical ingredients such as flour, eggs, and sugar.  The sugar is the only “unhealthy” thing about this cake.  I guess you could make it with Splenda if you wanted (I’ve never used Splenda, so don’t ask me how it affects the taste.)
Enjoy this wonderful light and delicious summer cake! 
Sift together flour, baking powder, and salt.
Heat milk and butter in a small saucepan until butter is melted.

Beat eggs on high for 3 minutes.

Gradually add sugar and beat on medium speed for 4 to 5 minutes.

Add flour  mixture.  Finally add the hot milk and butter, and then vanilla.  Beat until combined.

Pour batter into greased and floured baking pan.

Bake at 350 degrees for 25 minutes, or until a toothpick comes out clean from the center.

Garnish with fresh strawberries and whipped cream.


Hot Milk Sponge Cake
Ingredients
1 cup sifted flour
1 tsp baking powder
1/4 tsp salt
1/2 cup milk
2 Tbsp butter
2 eggs
1 cup suar
1 tsp vanilla

Directions
1. Preheat oven to 350 degrees F. Grease and flour a 9 x 9-inch baking pan.
2. Sift together flour, baking powder, and salt.
3. Heat milk and butter in a small saucepan until butter melts.  Keep hot.
4. Beat eggs for 3 minutes on high speed in the bowl of an electric mixer fitted with a paddle attachment.  Gradually add sugar and beat on medium speed for 4 to 5 minutes.
5. Add sifted ingredients to egg mixture and mix.  Then add milk and vanilla and combine.
6. Pour batter into greased pan and bake for 25 to 30 minutes, or until a toothpick inserted in the middle comes out clean.  Let cake cool in a pan a wire rack.

Yield: one 9 x 9-inch pan
Better Homes and Garden New Cookbook, 1976 edition.

Brownies for Dinner!

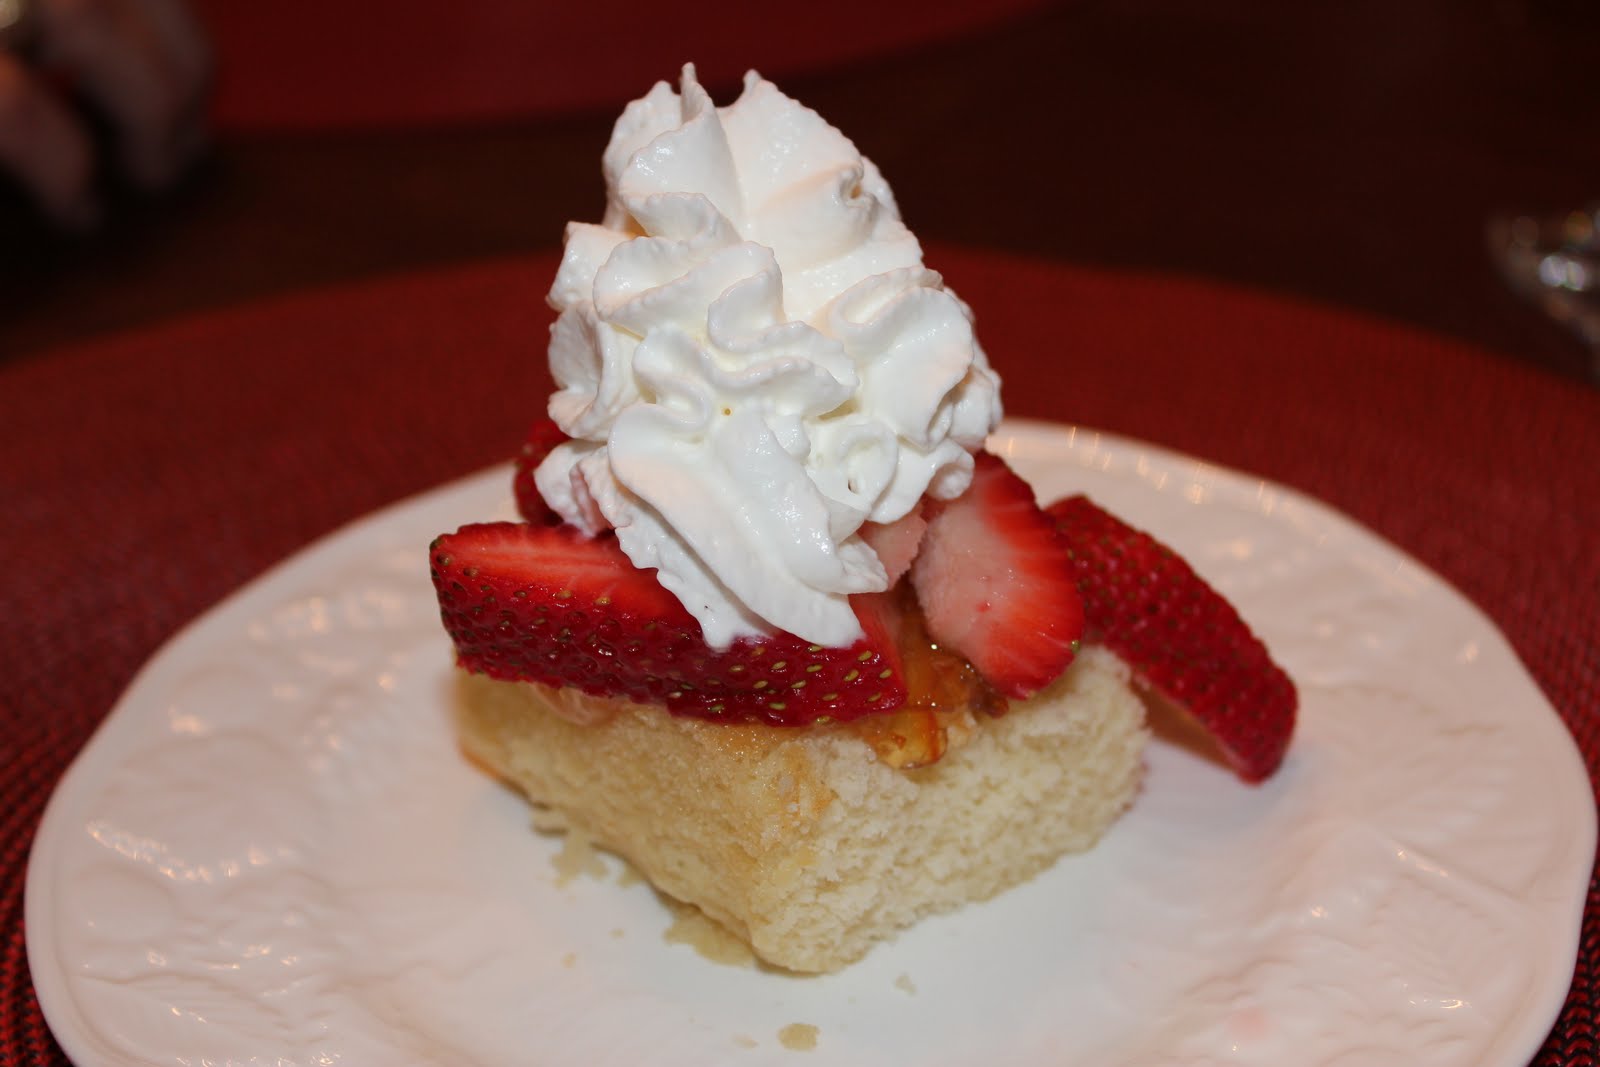
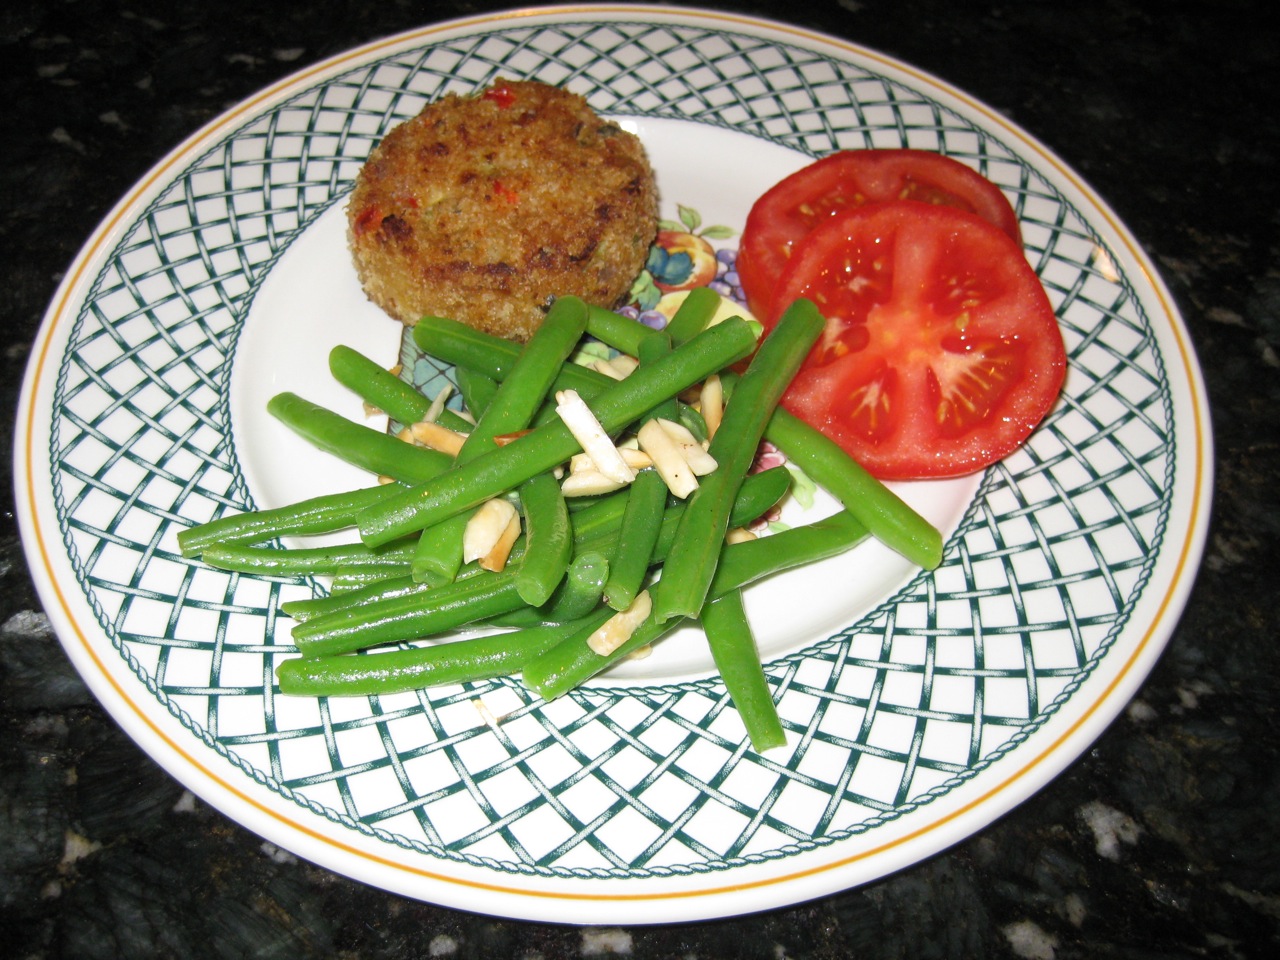
Well, I am very disappointed in myself…. I did not cook a single home-cooked meal this week (I guess my Father’s Day Lunch wore me out).  Shame on me!  Between Monday night kickball games, getting my car inspected, and my husband, Matt’s, late-night dinners for work, there was no opportunity for me to cook!

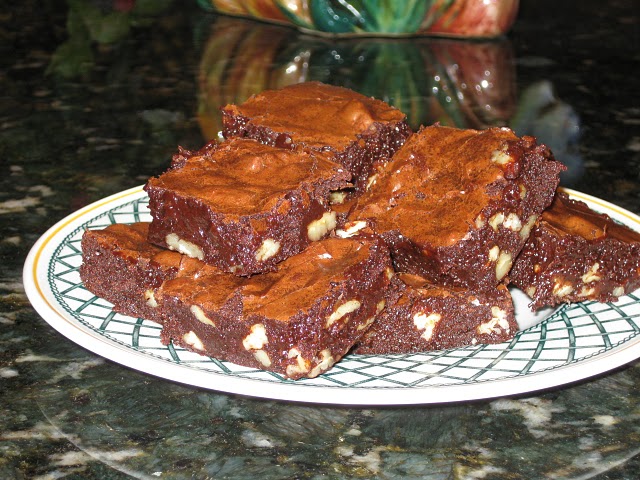
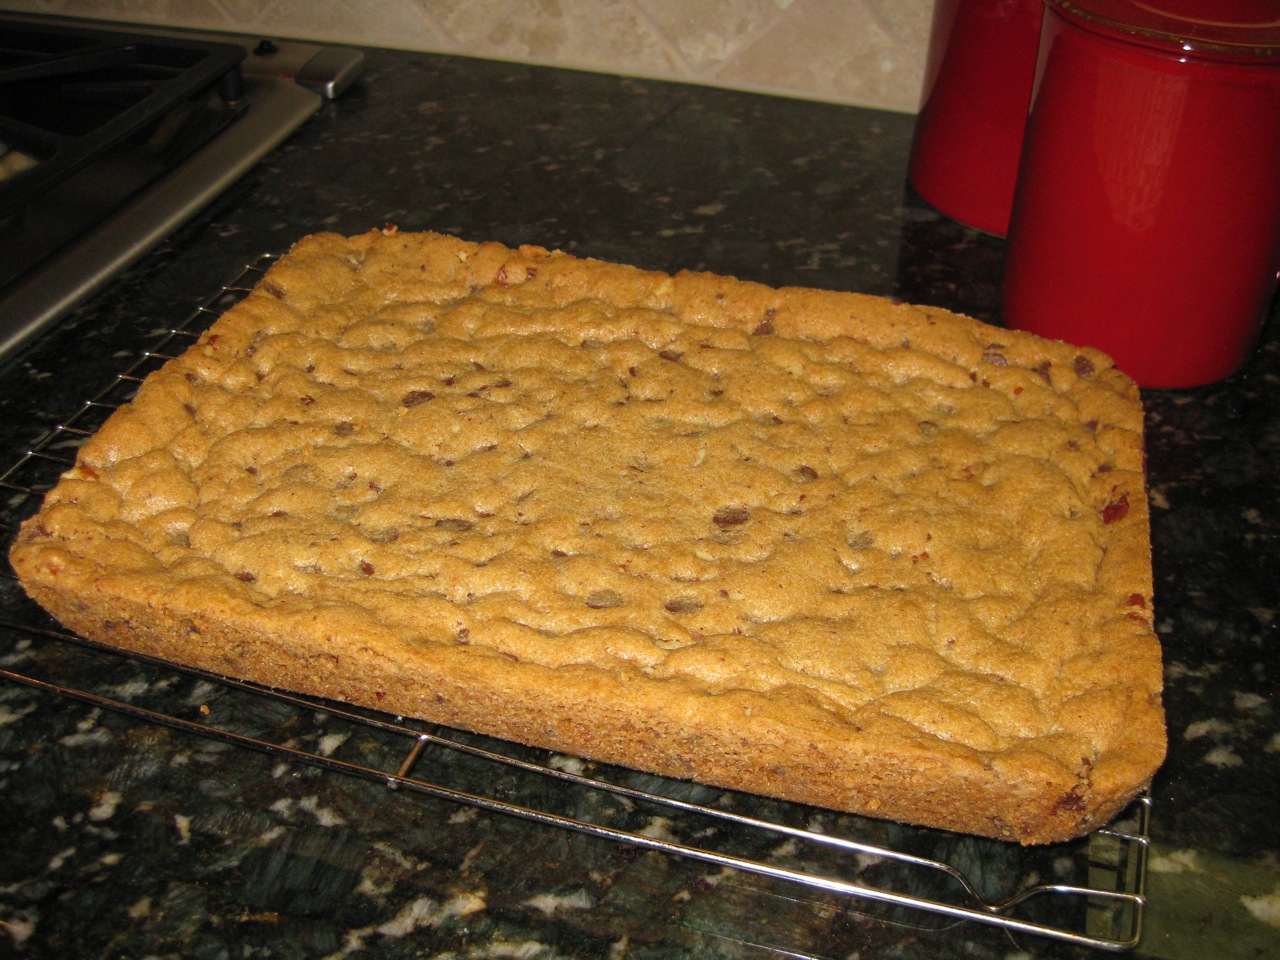
Tonight’s dinner was not special either…Matt went out to eat with his buddy while I squeezed in a 3 mile run after work.  Sooo, at this point, I was officially “deprived” of cooking/baking all week.  As a remedy, I decided to make Cocoa Brownies with Browned Butter and Walnuts, Matt’s favorite. In addition, the weekends are Matt’s “cheat days”, meaning that he will drink Coke, eat whatever food or dessert he wants, and not feel bad about it at all!  Come Monday, he’s back to his “diet” of eating healthy again.

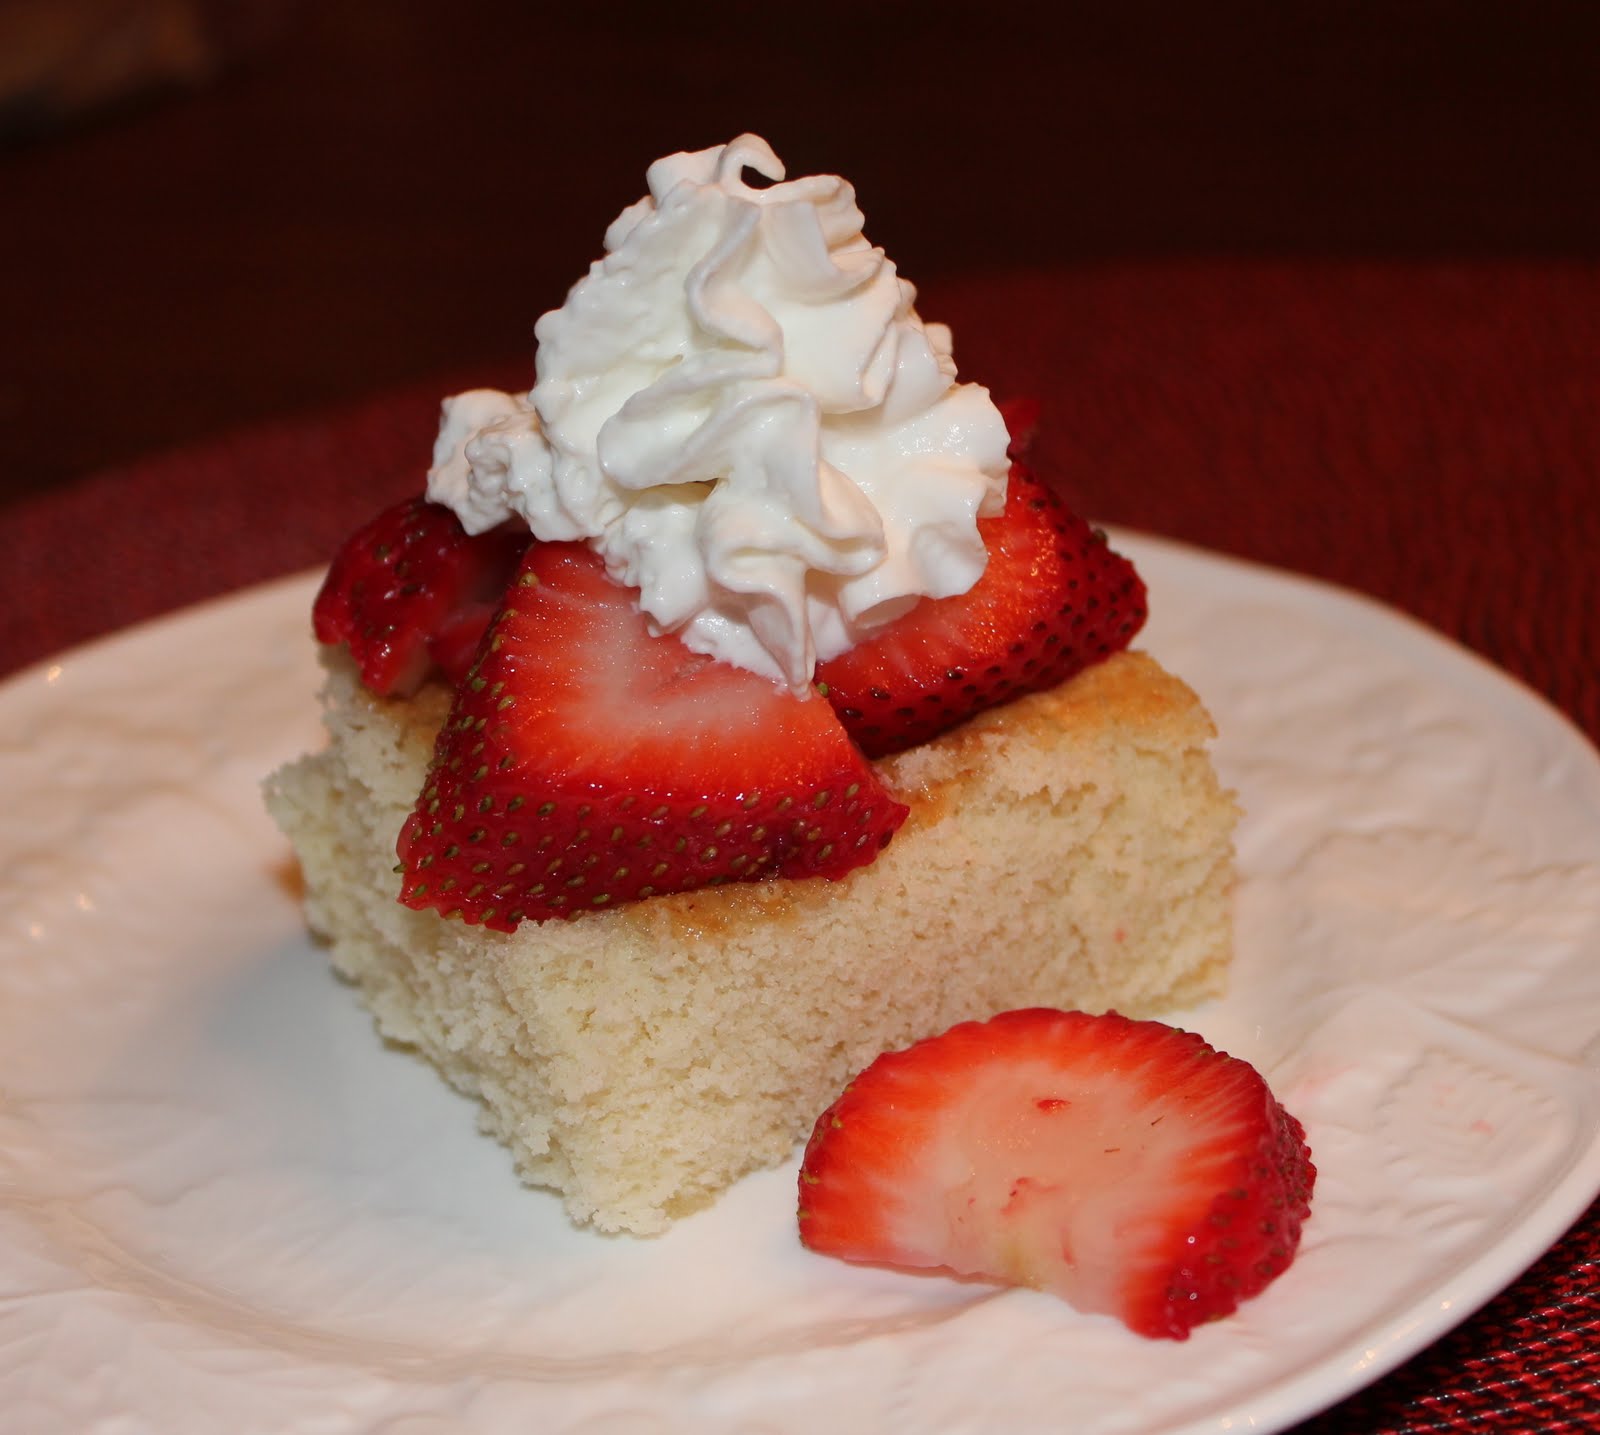
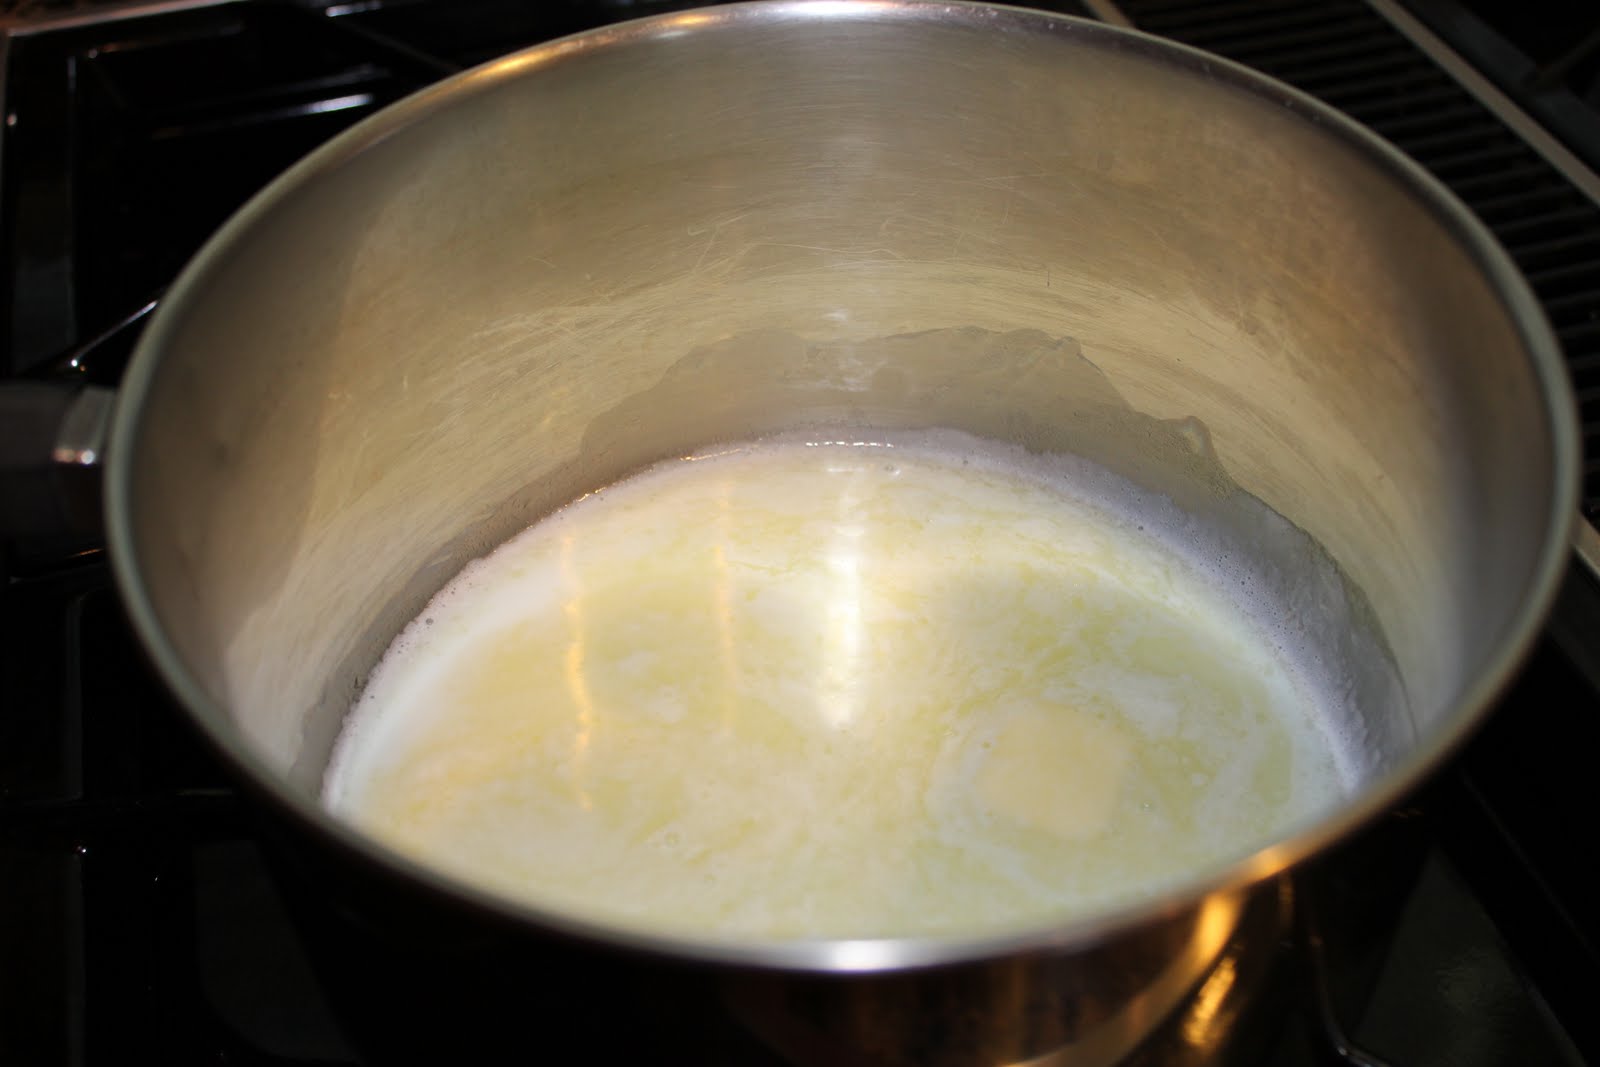
I must say, these are the BEST brownies in the world!  What makes them so good is the butter that is melted in a saucepan and then “browned” for 5 minutes to form little brown bits at the bottom of the pan.  It makes these brownies so rich, fudgy, and chocolatey.  The melted butter is something you could never pick out, but you will able to distinguish a distinctive and delightful additional flavor to these brownies.  Enjoy!

Cocoa Brownies with Browned Butter and Walnuts
Ingredients
Nonstick vegetable oil spray
10 Tbsp. (1 1/4 sticks) unsalted butter, cut into 1-inch pieces
1 1/4 cups sugar
3/4 cup natural unsweetened cocoa powder (spooned into cup to measure, then leveled)
1 tsp. vanilla extract
2 large eggs, chilled
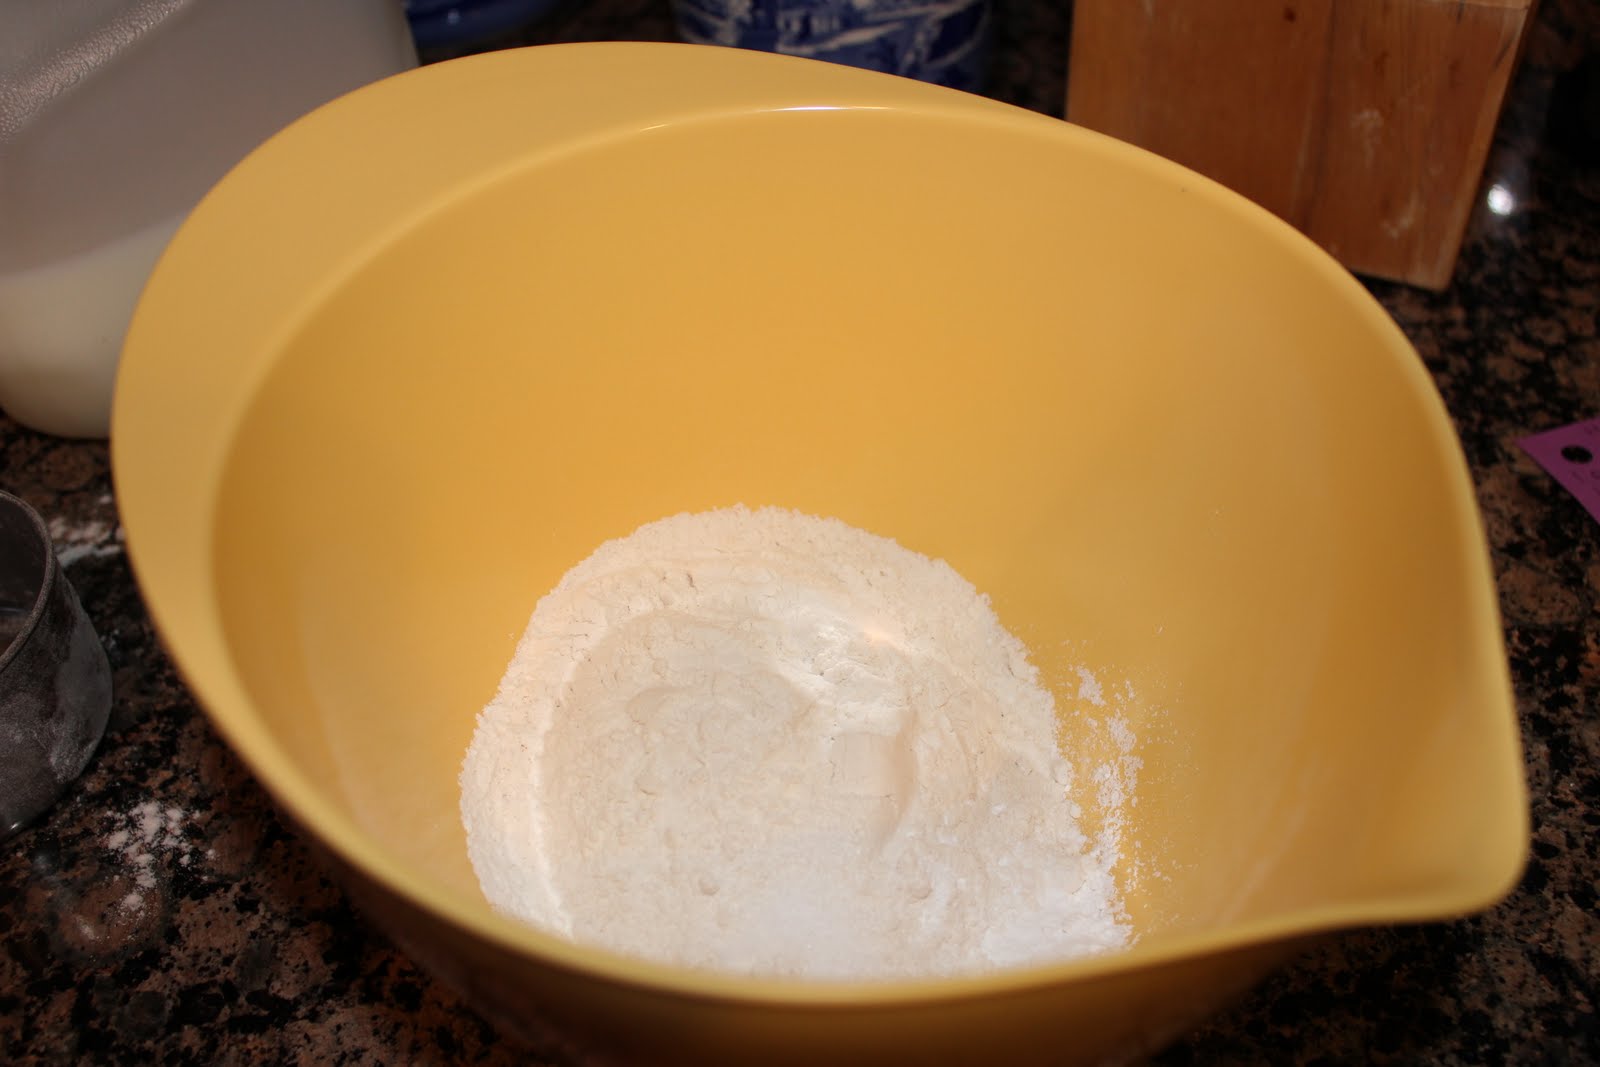
1/3 cup plus 1 Tbsp. unbleached all-purpose flour
1 cup walnut pieces
Directions
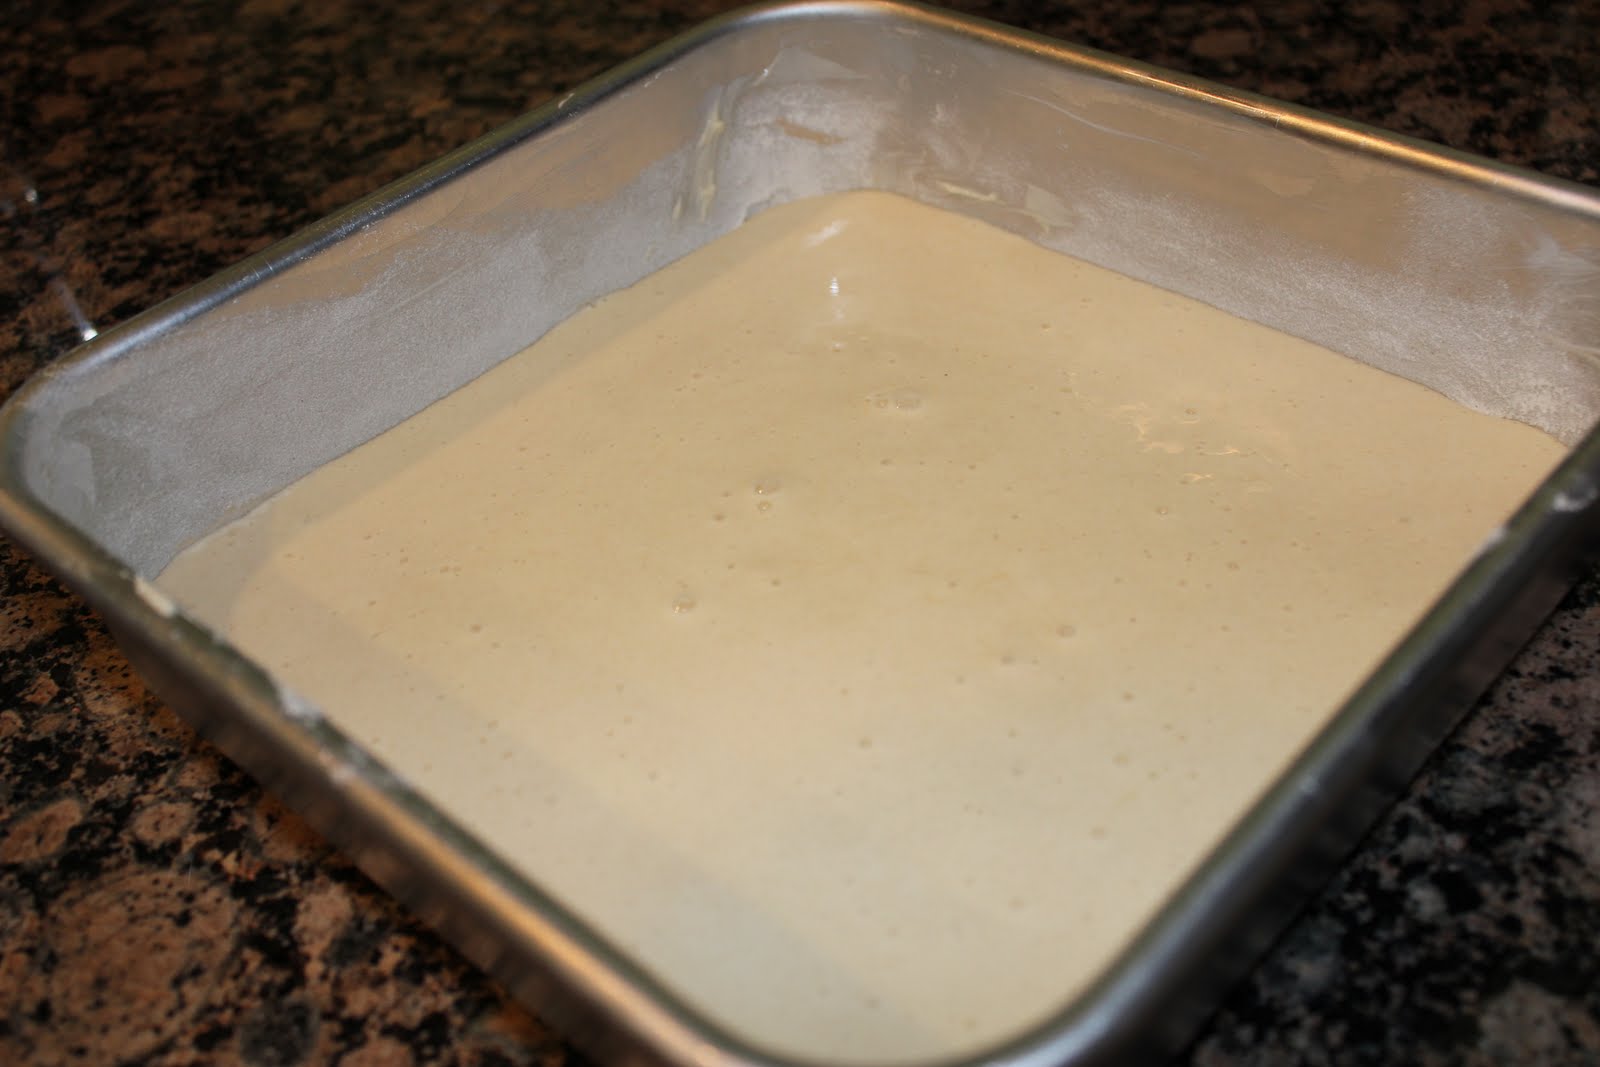
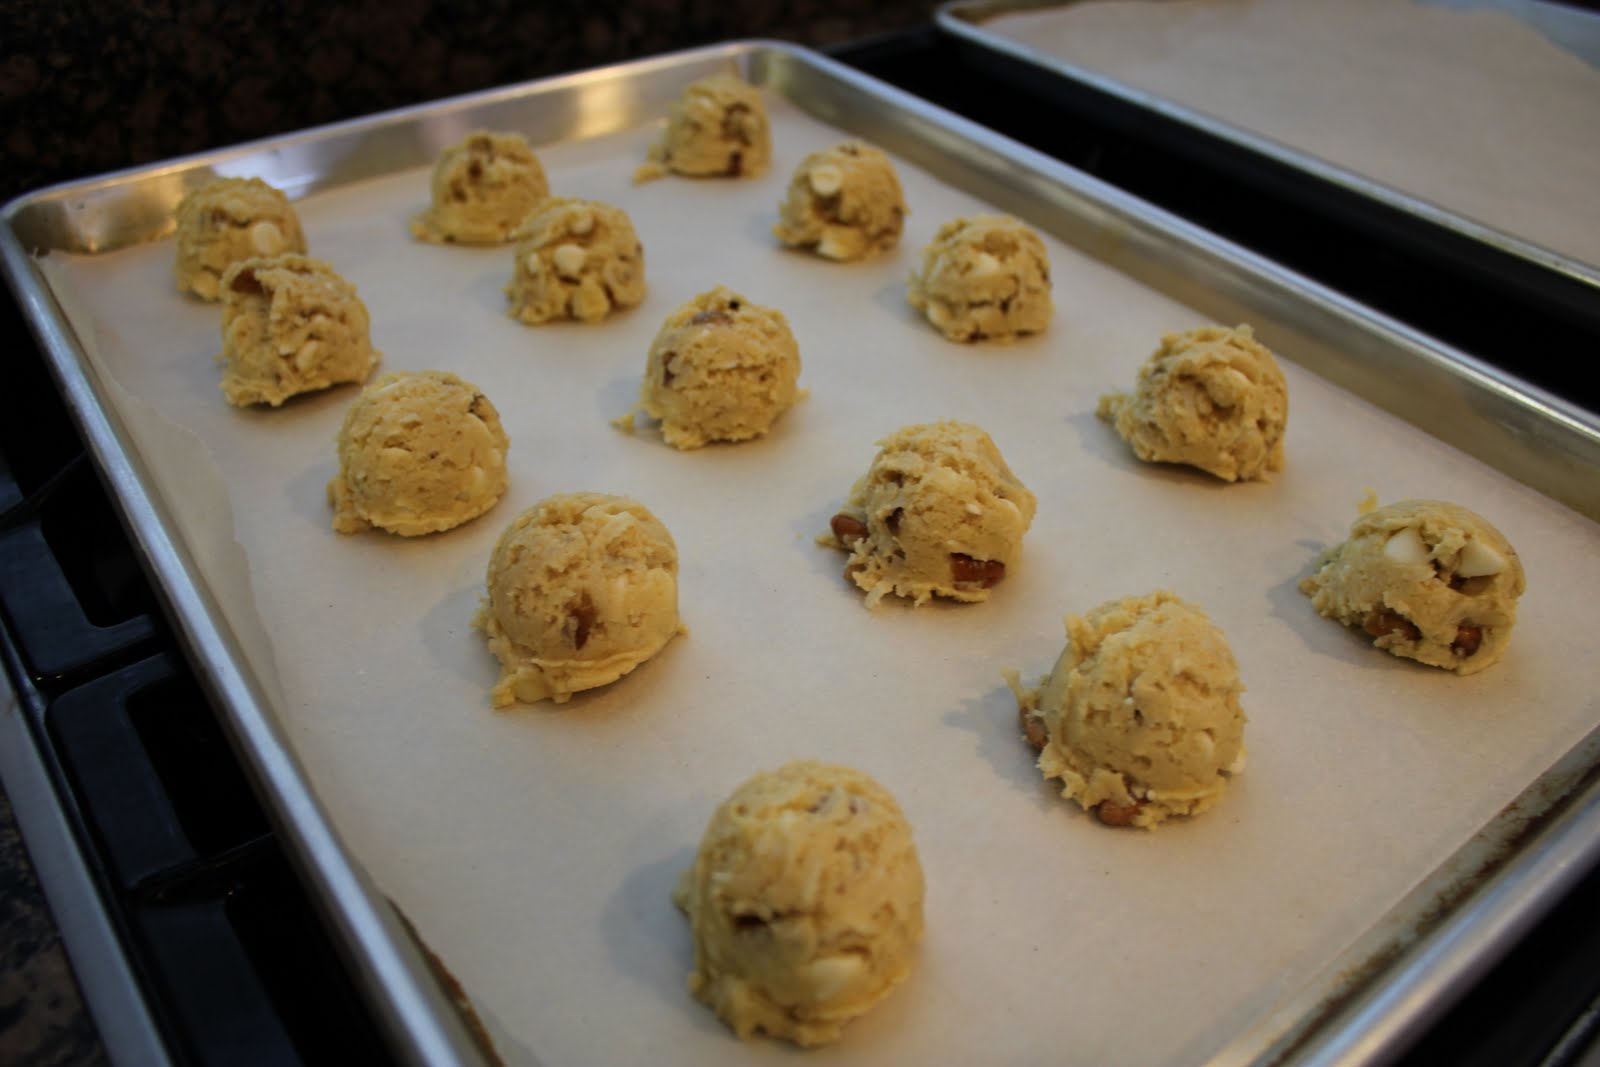
1.  Position rack in bottom third of oven; preheat to 325 degrees F.  Line a 8 x 8 x 2-inch metal baking pan lined with foil, pressing foil firmly against pan sides and leaving 2-inch overhang.  Coat foil with nonstick spray.
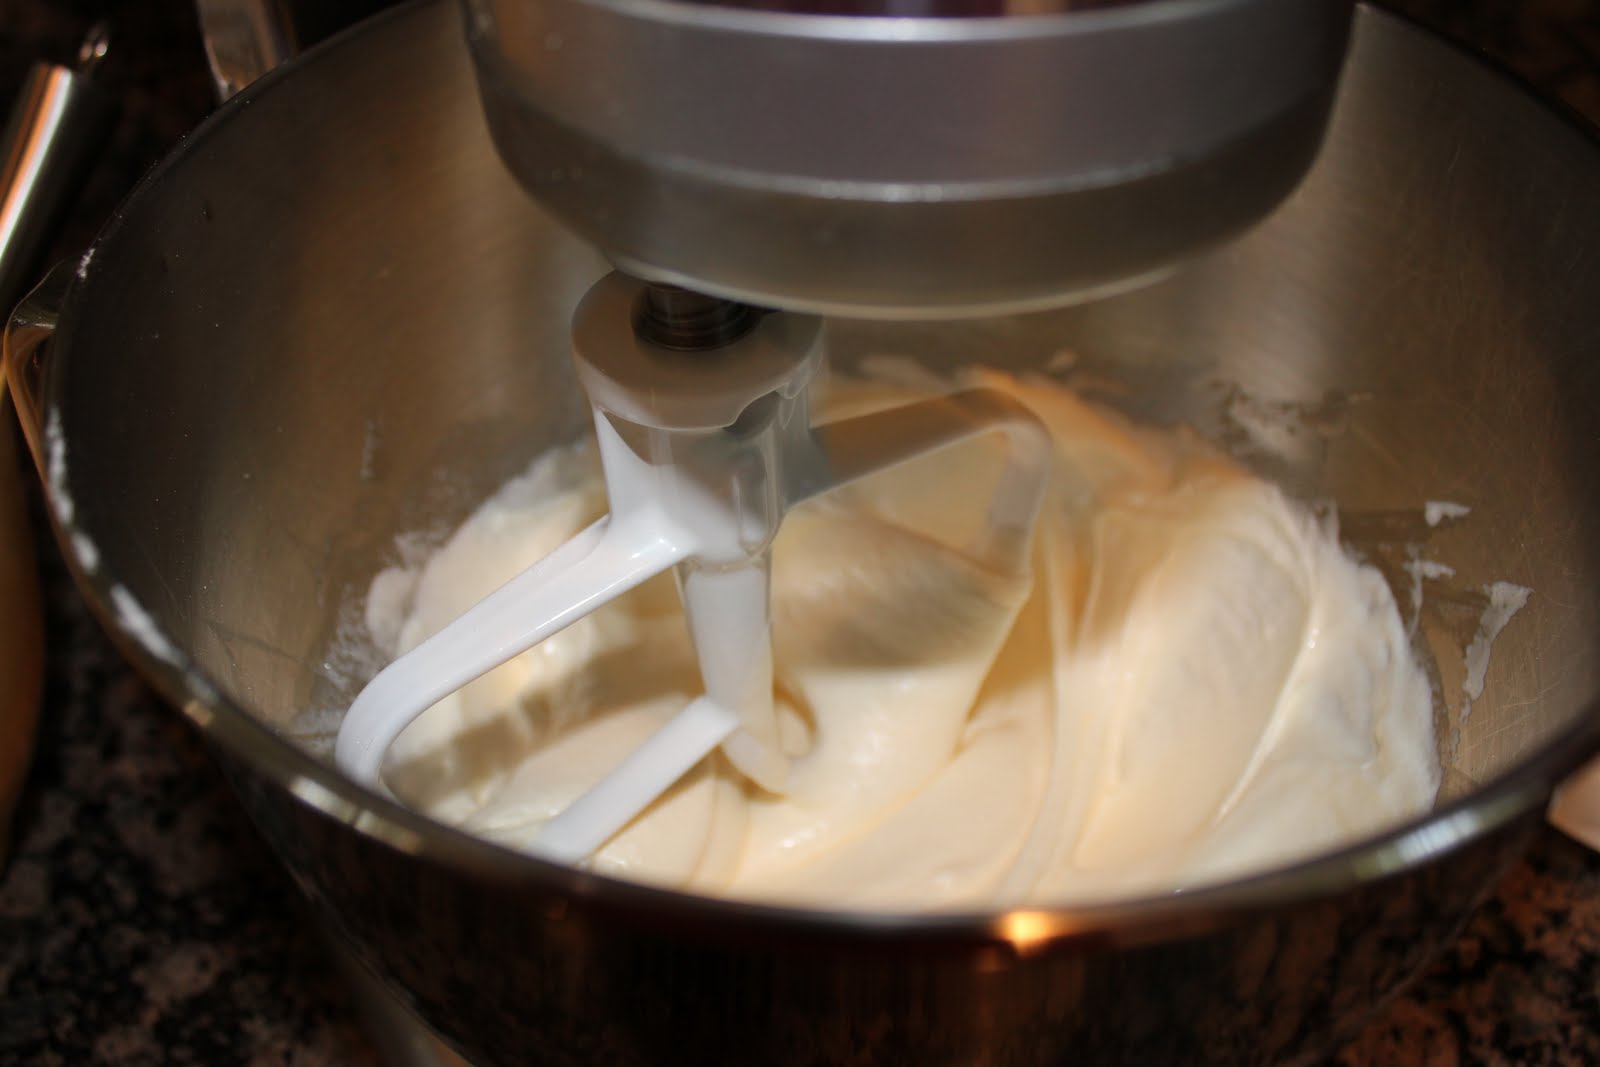
2.  Melt butter in medium saucepan over medium heat.  Continue cooking until butter stops foaming and browned bits form at bottom of pan, stirring often, about 5 minutes.  Remove from heat; immediately add sugar, cocoa, 2 teaspoons of water, vanilla, and 1/4 teaspoon (generous amount) of salt.  Stir to blend.  Let cool for 5 minutes (mixture will still be hot).
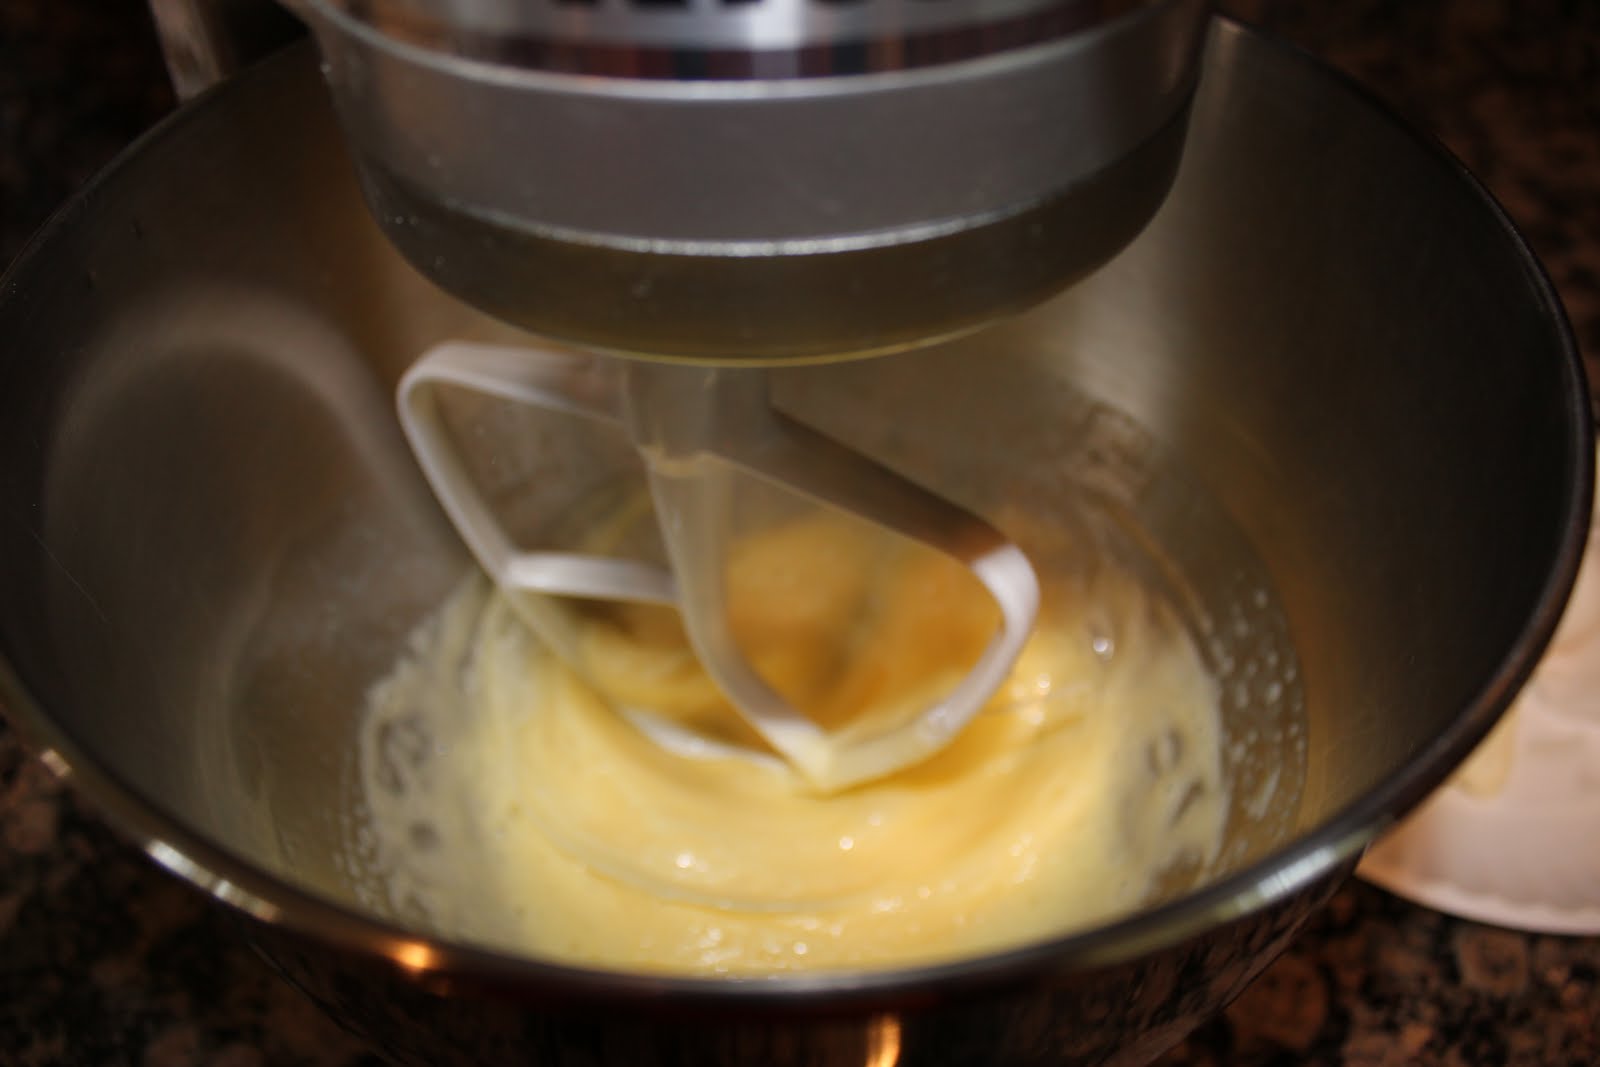
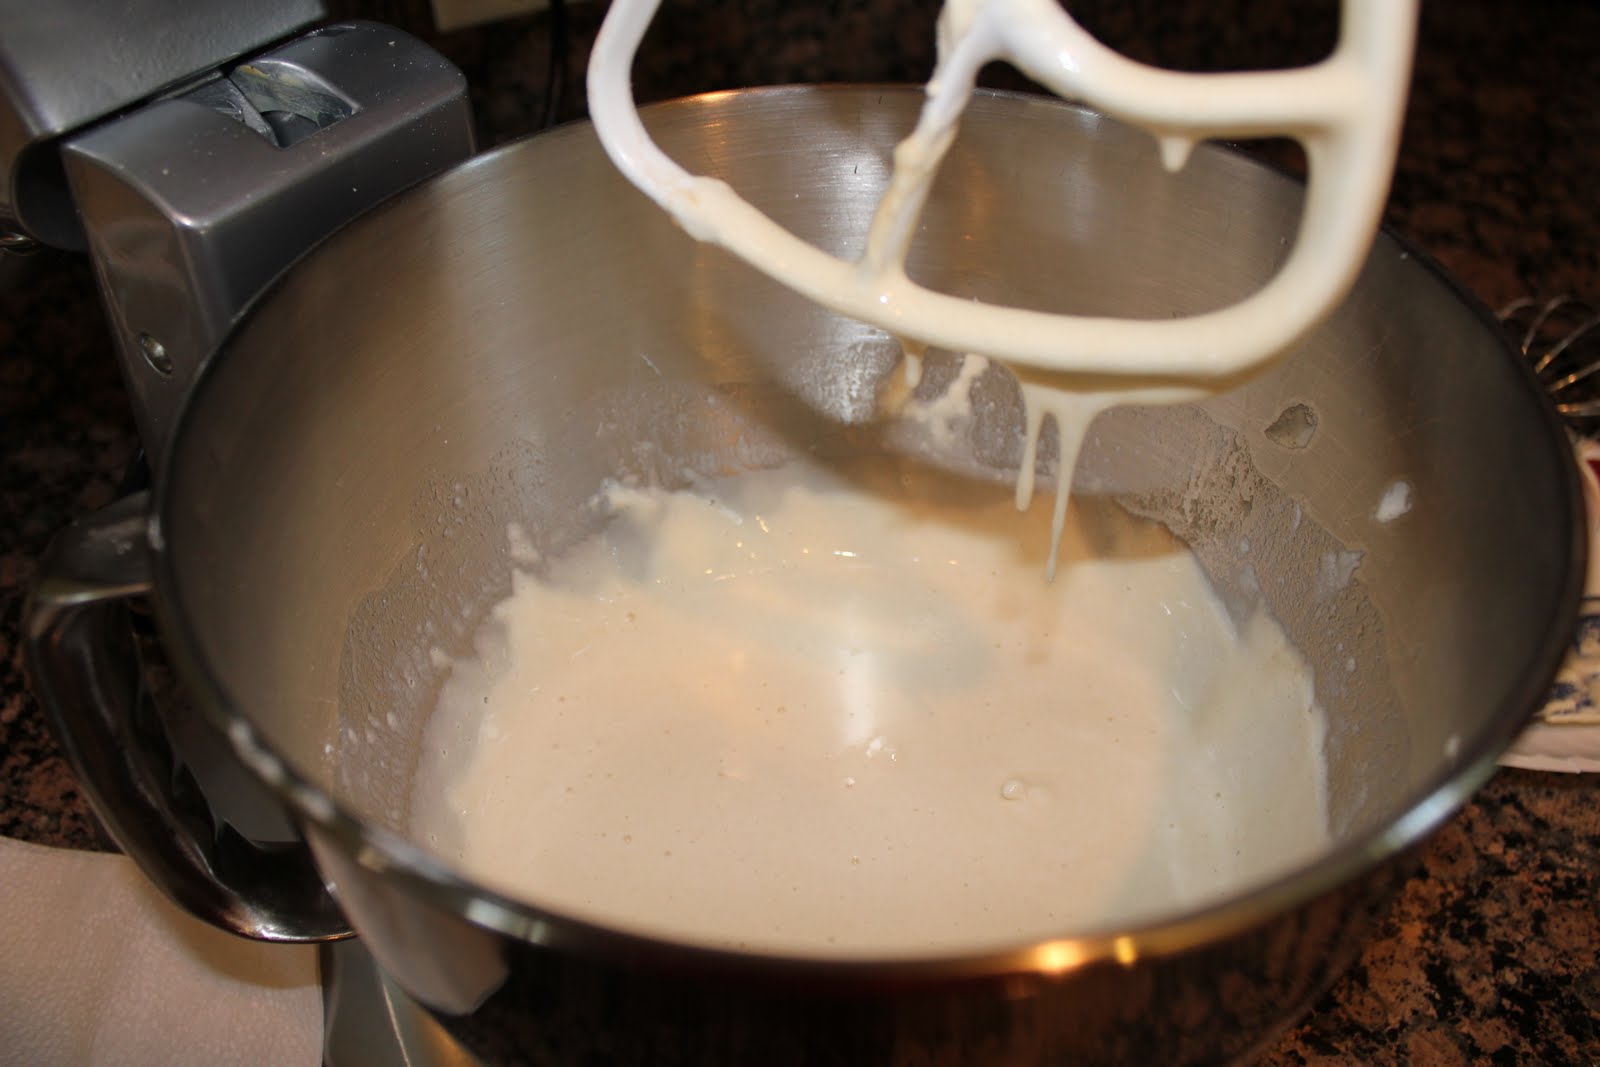
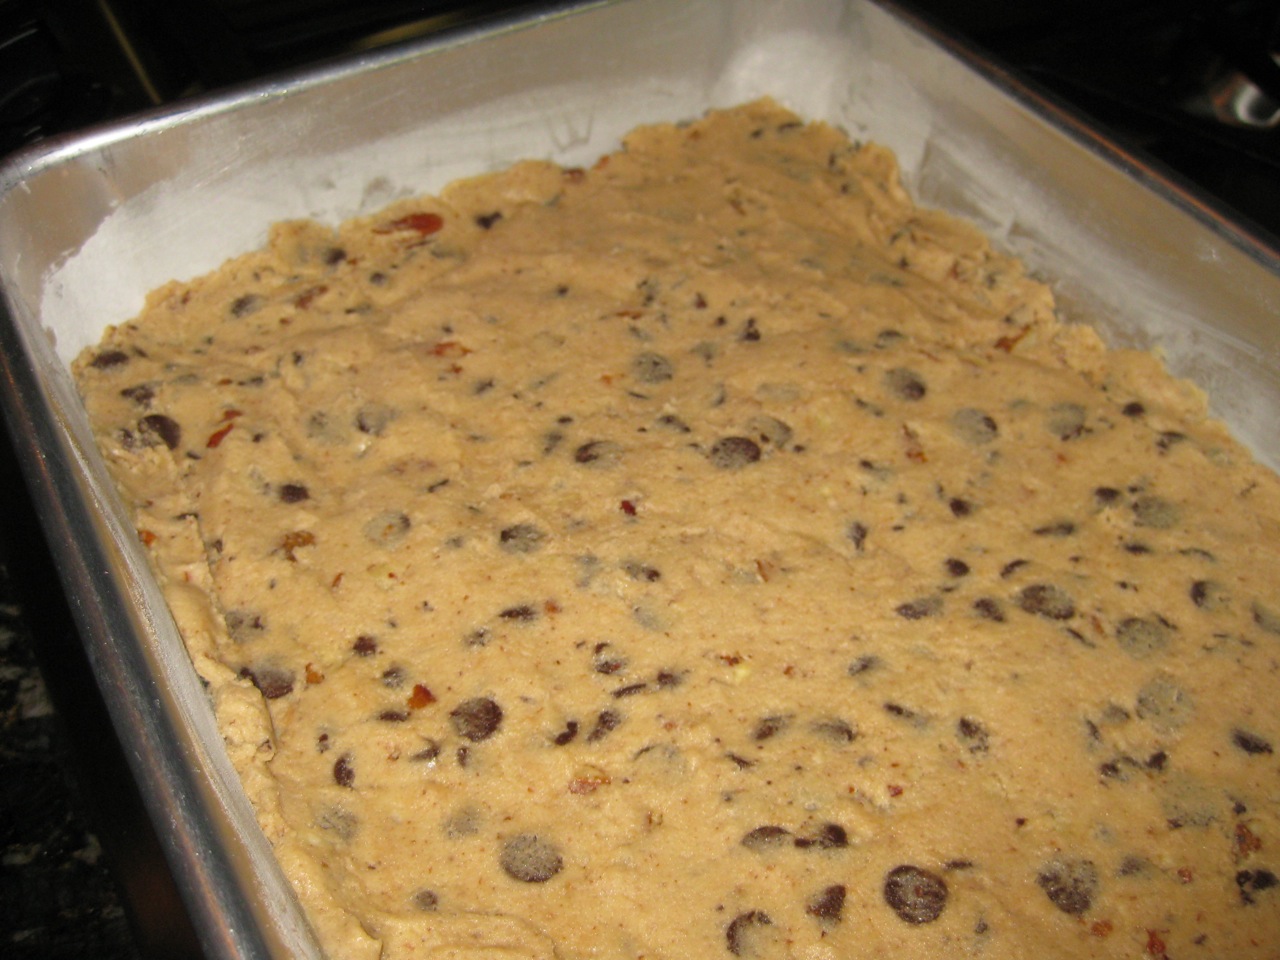
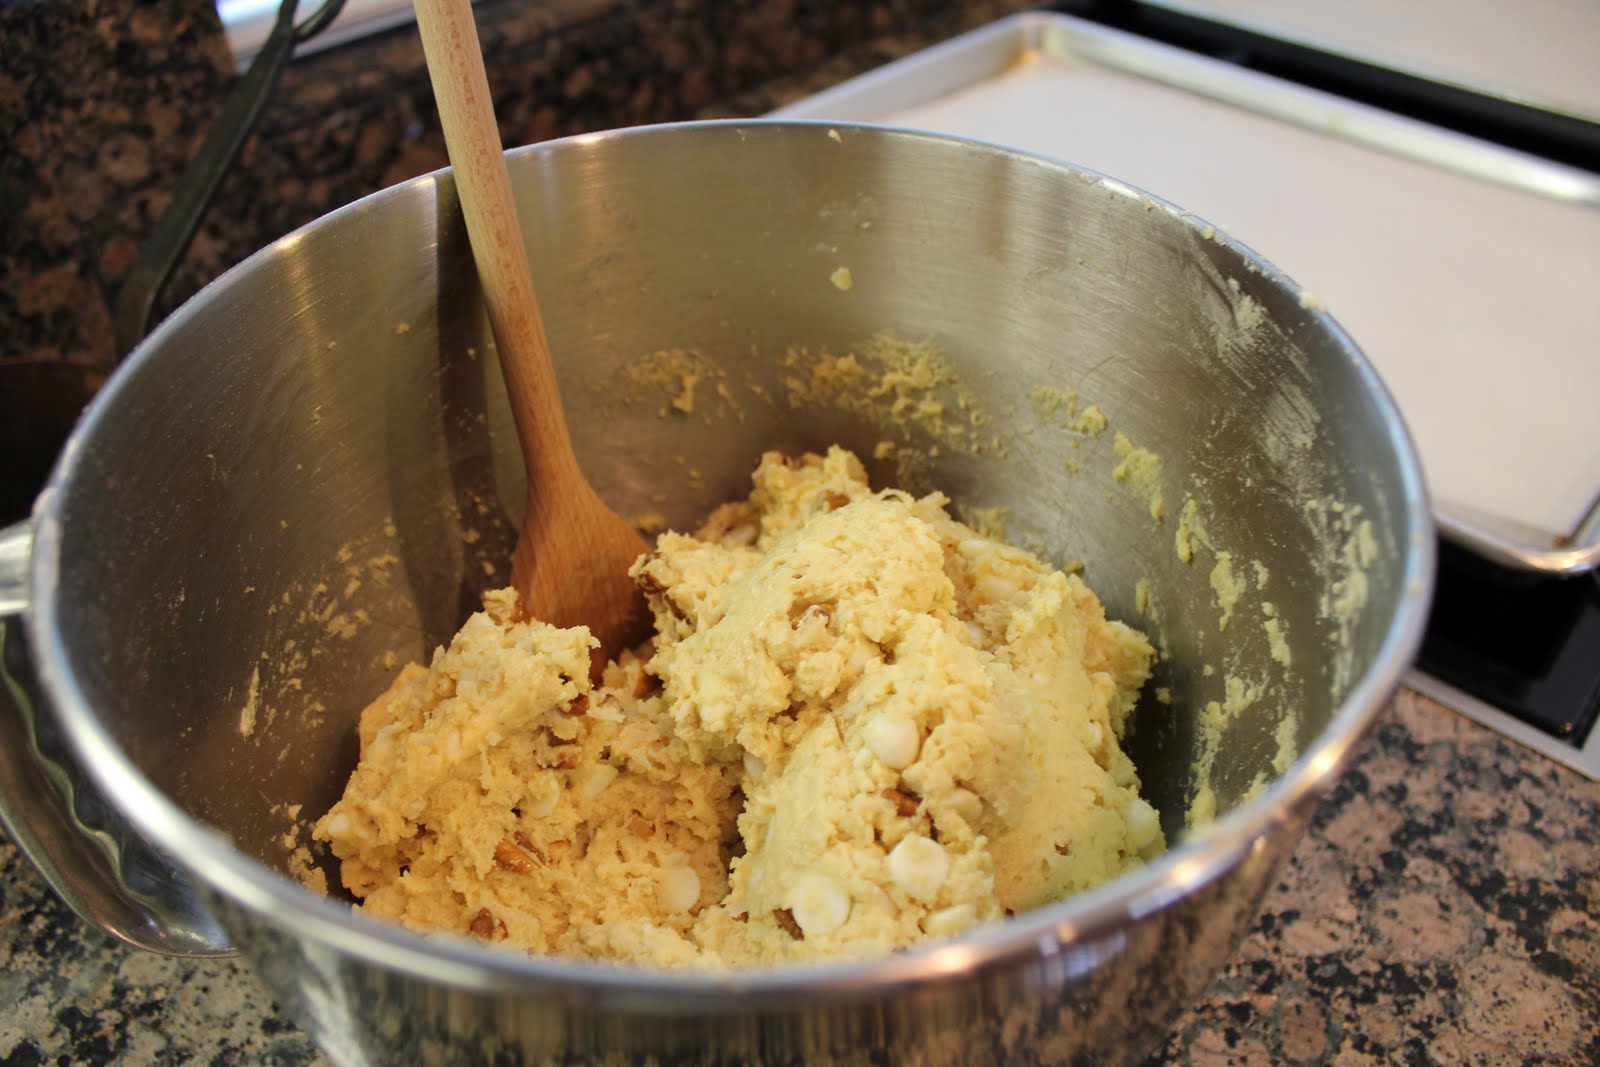
3.  Add eggs to hot mixture 1 at a time, beating vigorously to blend after each addition.  When mixture looks thick and shiny, add flour and stir until blended.  Beat vigorously 60 strokes.  Stir in nuts.  Transfer batter to prepared pan.
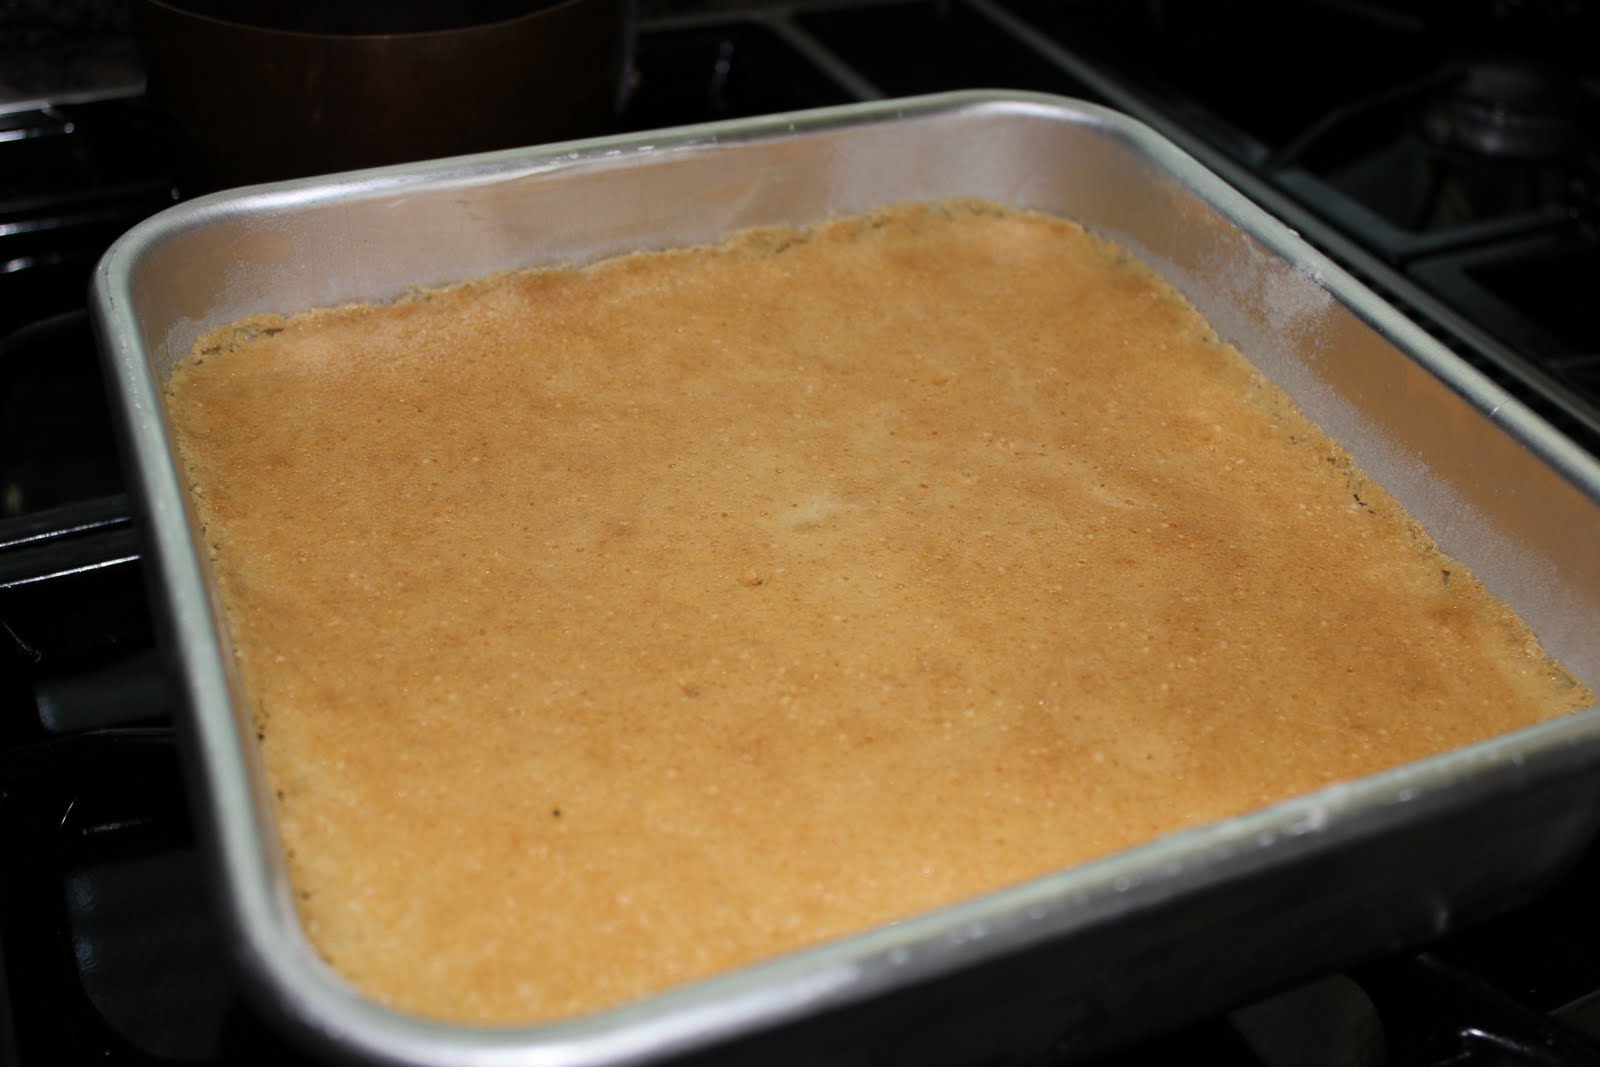
4.  Bake brownies until toothpick inserted into center comes out almost clean (with a few moist crumbs attached), about 25 minutes.  Cool in pan on rack.  Using foil overhang, lift brownies from pan.  Cut into 4 strips.  Cut each strip crosswise into 4 brownies.  
Do ahead: Can be made 2 days ahead. Store airtight at room temperature.
Yield:  16 brownies
Bon Appetit, February 2011

Pineapple Paletas

Happy First Day  of Summer!

With summer produce at it peak sweetness, why buy supermarket pops when you can make your own?  It is as easy as pureeing fruit, balancing it with sugar and a little citrus, and freezing it in a mold.  This recipe comes from the June 2011 issue of Bon Appetit.  The recipe that we chose first to try was the Pineapple Paletas… Mexican-style pops that are loaded with pieces of fresh fruit.  Luckily, I had some old Tupperware molds for pops.  I could only find one of the plastic tops, so I just covered the other molds with aluminum foil then poked the popsicle stick through the foil and placed them in the freezer.  A few hours later, we had delicious pineapple pops.  When my peaches are ripe, we are trying the Peach-Vanilla Cream Pops!  Enjoy!

Pineapple Paletas
Ingredients
3/4 c. sugar
4 cups (about 1 1/2 lb.) finely diced fresh pineapple, divided
1 Tbsp. fresh lime juice

Directions
1. Bring sugar and 1 cup water to boil in a small saucepan over high heat, stirring until sugar dissolves.  Chill syrup until cold, about 1 hour.
2. Puree syrup and 2 cups pineapple in a food processor until smooth.  Set a fine-mesh strainer over a medium pitcher;  strain, pressing on solids to extract puree.  Stir in lime juice and remaining 2 cups pineapple.  Divide among molds.  Cover;  insert ice-pop sticks.  Freeze until firm.  Dip bottoms of molds into hot water for 20-30 seconds to loosen pops.  Remove pops and serve.

Yield: 8-10 pops
Bon Appetit, June 2011

Father’s Day Lunch

Well, I hope all the fathers out there had a wonderful Father’s Day weekend!  Hopefully mine did!  I think he enjoyed a day filled with enchiladas, strawberry pretzel dessert, St. Louis Gooey Butter Cake, and a homemade chocolate chip cookie from McDermott Road Church of Christ this morning!  In addition, I got him a Dallas Mavericks NBA Championship t-shirt in one of his (and my) favorite colors, royal blue!  
In addition, we finally “christened” our dining room in our new house.  My husband and I normally just eat at our kitchen table, which seats four people, but today we had 5, plus it was a special occasion! I absolutely LOVE decorating table place settings for when I have guests.  As you can see, my favorite color is royal blue.  When my husband and I got married, I registered for Spode Blue Italian dinnerware.  I know most people just eat on white plates, but I love a pop of color, especially when it’s blue.  Later, I bought some really pretty yellow linen place mats and napkins to go with it, as you can see.

Anyways, back to cooking…. today’s Father’s Day Menu consisted of the following.  If you see any recipes worth trying, as always, let me know what you think of them!

Father’s Day Menu

Taco Salad with mixed green lettuce, tomatoes, red onions, ranch style beans, tortilla chips, and fat-free Catalina dressing

Seasonal Watermelon 

Chicken Enchiladas filled with poached chicken, onions, and Cheddar and Monterey Jack cheese. Topped with a sour cream sauce

Strawberry Pretzel Dessert with a graham cracker crust (instead of pretzels), a cool whip and cream cheese filling, and a strawberry gelatin topping

St. Louis Gooey Butter Cake with a yeast-bread like base and a gooey, rich, and sweet buttery topping

Click “Chicken Enchiladas” for the recipe.

 Click “Strawberry Pretzel Dessert” for recipe.


St. Louis Gooey Butter Cake recipe to be blogged soon…

Chocolate Chip Cookie Cake

Happy Father’s Day weekend!  Today I wanted to show you a recipe for Chocolate Chip Cookie Cake.   I thought it very fitting for this special weekend, because what “Dad” doesn’t like cookie cake?
My family is notorious for making cookies.  You can probably find 20 different cookie recipes on my blog!  In the back of my mind, I’ve always wondered how to bake a cookie cake without it getting too crispy or overdone?  I like my cookies gooey and soft, and always err on the side of underdone.  In Flo Braker’s cookbook, Baking For All Occasions, my mom discovered this cookie cake recipe and we were curious to try it.  The batter is like any regular cookie dough batter.  The only difference is the baking time.  Instead of baking cookies for 10 minutes in a 350 degree F oven, this cookie cake is baked for 30 to 40 minutes.  Honestly, I don’t know why you couldn’t transform your favorite cookie dough batter into a cookie cake?  Someone test it out and let me know!
I know a lot of people who hate “cake”, but love cookies.  I’m not a big fan of the “cake” myself…the only reason I eat it is for the icing!  Here, you can have the best of both worlds…cake and icing!  Decorate your cookie cake for Father’s Day, Birthdays, Congratulations, or just leave it plain like we did.
Either way, enjoy this Chocolate Chip Cookie Cake.

Chocolate Chip Cookie Cake
Ingredients
2 1/3 cup all-purpose flour
2/3 cup granulated sugar
2/3 cup light brown sugar
1 tsp salt
1/2 tsp baking soda
1 tsp ground cinnamon or 1/2 tsp ground cardamom
1 cup (2 sticks) unsalted butter, softened
1 large egg
1 tsp pure vanilla extract
2 cups semisweet chocolate chips
1 cup chopped walnuts, pecans, hazelnuts, or a combination

Directions
1.  Center a rack in the oven and preheat to 350 degrees F.  Butter a 9 x 13-inch pan and set aside.
2.  In a stand mixer fitted with a paddle attachment, combine the flours, sugars, salt, cinnamon (if using), and baking soda and mix on the lowest speed until just blended.  Add the butter and continue to mix until small, moist crumbs form that look similar to streusel, about 1 minute.  Add the egg and vanilla and beat on low speed until the mixture begins to form a cohesive dough.  Increase the speed to medium and add the chocolate chips and nuts.  Beat just until they are incorporated, 20 to 30 seconds.
3.  Spoon dollops of the thick dough evenly over the bottom of the baking pan with a rubber spatula.  To distribute the dough evenly, lay a sheet of plastic wrap or parchment paper over the dough and pat it evenly with your fingertips.
4.  Bake the cake until it is golden brown and feels more solid than soft when pressed in the center, 30-40 minutes.  Be careful not to overbake, it will firm as it cools.  Transfer to a wire rack and let cool in the pan for 30-35 minutes.
5.  Slip a thin metal spatula between the cake and the pan and run the spatula along the entire perimeter of the pan.  Lift the pan, tilt it slightly, and tap it on a counter to help release the cake.  Invert the cake onto a wire rack and lift it out of the pan.  Invert so it is right side up and let cool completely.

Yield: one 9 x 13-inch pan
Baking For All Occasions by Flo Braker

Cherry Clafouti

My mom and sister made this Cherry Clafouti a few weeks ago from Bon Appetit Magazine.  Unfortunately, I was either out of town or extremely busy, and never got to taste their wonderful creation.
Inspired by the simple cherry desserts from the Limousin region of France, this baked custard can be served warm or at room temperature.  Feel free to use pitted or unpitted cherries.  A scoop of ice cream would be perfect atop this dessert right after it comes out of the oven.  Clafouti, for those of you who have never had tried it, is a cross between a custard and bread pudding.  Elegant, sweet, and delicious.  Enjoy!

Cherry Clafouti
Ingredients
1 pound fresh cherries, stemmed and pitted, or frozen pitted cherries, thawed, drained
1 cup whole milk
1/4 cup heavy whipping cream
4 large eggs
1/2 cup all-purpose flour
1/2 cup sugar
3/4 tsp finely grated lemon zest
3/4 tsp vanilla extract
1/2 tsp kosher salt
Powdered sugar

Directions
1.  Preheat oven to 375 degrees F.  Butter cake pan or ramekins.  Arrange cherries in a single layer in pan.
2.  Combine milk and cream in a small saucepan; bring just to a simmer over medium heat.  Set aside.  Combine eggs, flour, sugar, lemon zest, vanilla, and salt in a medium bowl; whisk to blend.  Gradually whisk in hot milk mixture; whisk until custard in smooth. Pour custard over cherries in pan. If necessary, gently shake pan to allow custard to settle.
3.  Bake clafouti until custard is set and top is golden brown, about 30 minutes for ramekins and 45-55 minutes for cake pan.  Let cool 3 minutes, then run a knife around pan sides to loosen clafouti (if using cake pan.)  Dust top with powdered sugar; cut into wedges and serve.

Yield:  8 servings
Bon Appetit | June 2011

Mango Delight Smoothie

Here’s a healthy smoothie you need to try on a hot summer’s day here in Dallas! My mom made this the other night for dinner in her brand new Vitamix blender.  The recipe came with the instruction book in her new blender.
This Mango Delight Smoothie was cool, delicious, slightly tart, and overall sweet in flavor. My favorite fruits are actually apples and mangos, so this smoothie is right up my alley!  I would have loved to have this smoothie after our kickball game this evening when it was 95 degrees at 7:00 pm at night! What a cool and healthy treat I would have loved sipping on after our 7-6 win over an undefeated team that has not lost a game in 7 years!  Our kickball team broke their winning streak!
Enjoy


Mango Delight Smoothie
Ingredients
  • 1 medium orange, peeled, halved
  • 1/2 medium banana, peeled
  • 1/2 mango, peeled, pitted
  • 1/2 medium apple
  • 1 cup ice cubes
Instructions
  1. Place all ingredients into the Vitamix container (or blender) in the order listed and secure lid.
  2. Blend for 45 seconds, or until desired consistency.
Notes
Yield:  3 1/4 cups Source: Vitamix recipe book

CocoMac Dreams

As you all know, my favorite cookies are Dream cookies.  Dream cookies are different than your normal cookie because of the instant pudding mix added, or what I like to call, “the secret ingredient.”  I discovered Dream cookies in Linda J. Amendt’s 400 Sensational Cookies cookbook.  I’ve tried her Oatmeal Dreams, Chocolate Chip Dreams, Doodle Dreams, Toffee Pecan Dreams, White Chocolate Cranberry Dreams, and Double Chocolate Dreams.  Keep reading my blog, and you’re bound to see about 20 more variations of Dream cookies I plan on trying!
The Dreams I made today are called CocoMacs!  The coconut, macadamia nuts (I used pecans), and white chocolate make a rich and crunchy combination in these tender cookies.  They are the perfect cookie to make in the summertime.  All three ingredients make me think of Hawaii!  I made these cookies for tonight’s small groups at my church… lucky people, right?  Haha!  I wonder if I will have any leftovers???
Enjoy!
In a large bowl, whisk together flour, pudding mix, baking soda, powder, and salt.  Stir in coconut.

Beat sugars with butter and shortening.  Add eggs, then vanilla and almond extracts.  On low speed, add flour mixture, beating until just blended.  By hand fold in white chocolate chips and nuts.

Drop tablespoonfuls of dough onto prepared cookie sheet.  Bake at 375 degrees F for 8 to 10 minutes.

Slide parchment paper onto wire rack.  Cool for 5 minutes then transfer cookies to cooling rack.

Let cool completely.

CocoMac Dreams
Ingredients
2 1/3 cups all-purpose flour
1 package (3.4 oz or 102 g) instant vanilla pudding mix
1 tsp baking powder
1/2 tsp baking soda
1/4 tsp salt
2 cups sweetened flaked coconut
1/2 cup unsalted butter, softened
1/2 cup vegetable shortening
2/3 cup granulated sugar
1/3 cup packed light brown sugar
2 eggs
1 1/2 tsp vanilla extract
1/4 tsp almond extract
1 1/2 cups chopped white chocolate or white chocolate chips
1 cup chopped roasted unsalted macadamia nuts (I substituted pecans)

Directions
1.  Preheat oven to 375 degrees F. Prepare cookie sheets lined with parchment paper.
2.  In a bowl, whisk together flour, pudding mix, baking powder, baking soda and salt until well combined.  Stir in coconut.  Set aside.
3.  In a large bowl, using an electric mixer on medium speed, cream butter, shortening, granulated sugar and brown sugar until light and fluffy, about 2 minutes.  Add eggs one at a time, beating well after each addition.  Beat in vanilla and almond extract.  Scrape down sides of bowl.  On low speed or using a wooden spoon, gradually add flour mixture, beating just until blended.  By hand, fold in white chocolate and macadamia nuts.
4.  Using a cookie scoop or spoons, drop tablespoonfuls (15 mL) of dough about 2 inches (5 cm) apart on prepared cookie sheets. Bake one sheet at a time in preheated oven for 8 to 10 minutes or until edges start to turn lightly golden.
5.  Immediately slide parchment paper onto a wire cooling rack.  Cool cookies for 5 minutes, then transfer from parchment paper to cooling rack and cool completely.

Yield: 3 1/2 dozen cookies
400 Sensational Cookies by Linda J. Amendt

Tasty Turkey Burgers

As some of you may know, my family and I are in San Francisco this week on vacation.  As the saying goes “The coldest winter I ever spent was a summer in San Francisco.”  This quote could not be any more true! It is 54 degrees F right now, and has been 54 degrees all day long.  With Dallas reaching temperatures in the 100s, 50 degrees cooler is a VAST difference for me.  Unfortunately for me, I only packed two track suits, one pair of jean capri pants, and only one long sleeve shirt.  I’ve been so tempted to go buy a fleece jacket, but when I return to Dallas in two days, it seems pointless since I’ll soon be wearing shorts, flip flops, and sleeveless tops.
Lucky for you my readers, I found some free time here in San Francisco in which I could blog.  My dad and husband are currently at a San Francisco Giants game, while us girls (my mom, sister, and I) are at our hotel (Cavallo Point) watching the Mavs game and ordering room service (Go Mavs!  They won game 5 in the Finals!)
Today’s post is a recipe for Turkey burgers.  Since I’ve not tried these yet, my mom will be contributing to today’s post since she has made them numerous times and loves them!
Lauren’s favorite turkey burger with Feta cheese and arugula, makes for a great turkey burger with a Greek twist.  My favorite turkey burger are these Tasty Turkey Burgers from the Southern Living Farmer’s Market Cookbook.  We have made these burgers twice in the last few weeks because they are so good.  The first time we made them, we also cooked regular beef hamburgers and my husband thought the turkey burgers were the best.  They are moist… not dry like one might expect and I love the bell pepper flavor.  I toasted the buns on the grill, added mustard and topped the burger with pickles, tomatoes and lettuce.  Leftover burgers are even good eaten cold the next day.  If you like classic burgers, you can substitute 1 pound of ground beef for the turkey.  We have tried that and prefer the turkey. 
~The other half of Dallas Duo (mom)
Combine first 7 ingredients.  Shape into 4 equal-size patties.
Grill for 5 to 6 minutes per side over medium-high heat.  Grill buns.
Top with toppings of your choice: mustard, onions, lettuce, tomatoes, pickles, cheese, etc.


Tasty Turkey Burgers
Ingredients
1 lb. ground turkey  (for classic burgers, substitute 1 lb. ground beef)
1/2 cup Italian-seasoned breadcrumbs
1 large egg, beaten
1/4 cup finely chopped green bell pepper
1 Tbsp. minced dried onion
1/2 tsp. salt
1/2 tsp. freshly ground pepper
4 hamburger buns

Directions
1. Preheat grill to 350 to 400 degrees F (medium-high).  Combine first 7 ingredients.  Shape mixture into  4 equal-size patties.
2.  Grill, covered with grill lid, over medium-high heat 5 to 6 minutes on each side or until no longer pink in center.
3.  Grill buns, cut sides down, 2 minutes or until toasted.

Yield:  4 servings
Southern Living Farmer’s Market Cookbook:  A Fresh Look at Local Flavor