Monster Cookie Bars

These are the BEST monster cookie bars in the entire world! Literally 1-inch in thickness, these bars are chewy, gooey, moist and 10x better than regular ‘ole monster cookies.
The combination of peanut butter, chocolate chips, M&M’s, and oats creates the most decadent cookie bar you’ll ever put in your mouth!
For the past 4 years, my sister Brittany, was like the “team mom” for the Oklahoma State cross country team. She loves to bake and would make sweets for her boyfriend Colby and his teammates before each race.
If you didn’t know, Brit and Colby got married last weekend. As you could guess, many of Colby’s cross country teammates were his groomsmen. To keep the baking tradition alive, Brittany decided to make these monster cookies bars for Colby and the groomsmen as a “pre-race”, aka pre-wedding treat!
Right before the wedding, I mentioned to Brit that she should try to make monster cookie bars. She did some searching on her own and found this recipe through Marina’s blog over at Domesticated Duchess. What sold her on these bars was how thick they were!
Lucky for me, Brittany was thoughtful (perhaps because I pleaded…Lol) and saved 3-4 monster cookie bars for me to snack on. Thank goodness, because as I said earlier, they were AWESOME!
Enjoy!
Spread dough into a greased 9 x 13-inch pan.
Bake for 15-20 minutes in a 350 degree F oven.
Let cool. Then cut into bars.

Monster Cookie Bars
Ingredients
1 stick unsalted butter
1 cup granulated sugar
1 cup brown sugar
1 1/2 cups creamy peanut butter
3 eggs
2 tsp. baking soda
4 1/2 cups quick cooking oatmeal
1 package (12 oz.) chocolate chips
1 package (12 oz.) milk chocolate M&M’s

Directions
1. Preheat oven to 350 degrees F.
2. In an electric mixer, cream the butter and sugars until smooth. Beat in the eggs and baking soda. Then ddd the peanut butter and beat until smooth.
3. Mix by hand the oatmeal, one cup at a time. Slowly add in the M&M’s and chocolate chips.
4. Spread mixture into a well greased 9 x 13-inch pan and bake for 15-20 minutes. Do not over bake! (They will taste better just a little on the soft side.) Store in an airtight container.

Recipe from: Domesticated Duchess
Yield: about 20 bars

Renee’s Pesto Pasta Salad

The summer is quickly winding down as Dallas area kids go back to school next week, but before the fall season gets underway, you’ve got to try this wonderful pesto pasta salad! It’s a perfect salad that’s easy to make and light & refreshing for the hot summer months.
I don’t know about you, but quite of few of my summer weekends were spent at the lake house jet-skiing, getting a tan, and just relaxing by the water. Between the in-laws and Matt’s aunt and uncle, we were blessed to have had the opportunity to enjoy two Texas lake houses at two Texas lakes!
Whenever we visit my in-laws (Tony and Paula’s) lake house, the staple of “lake house” food includes
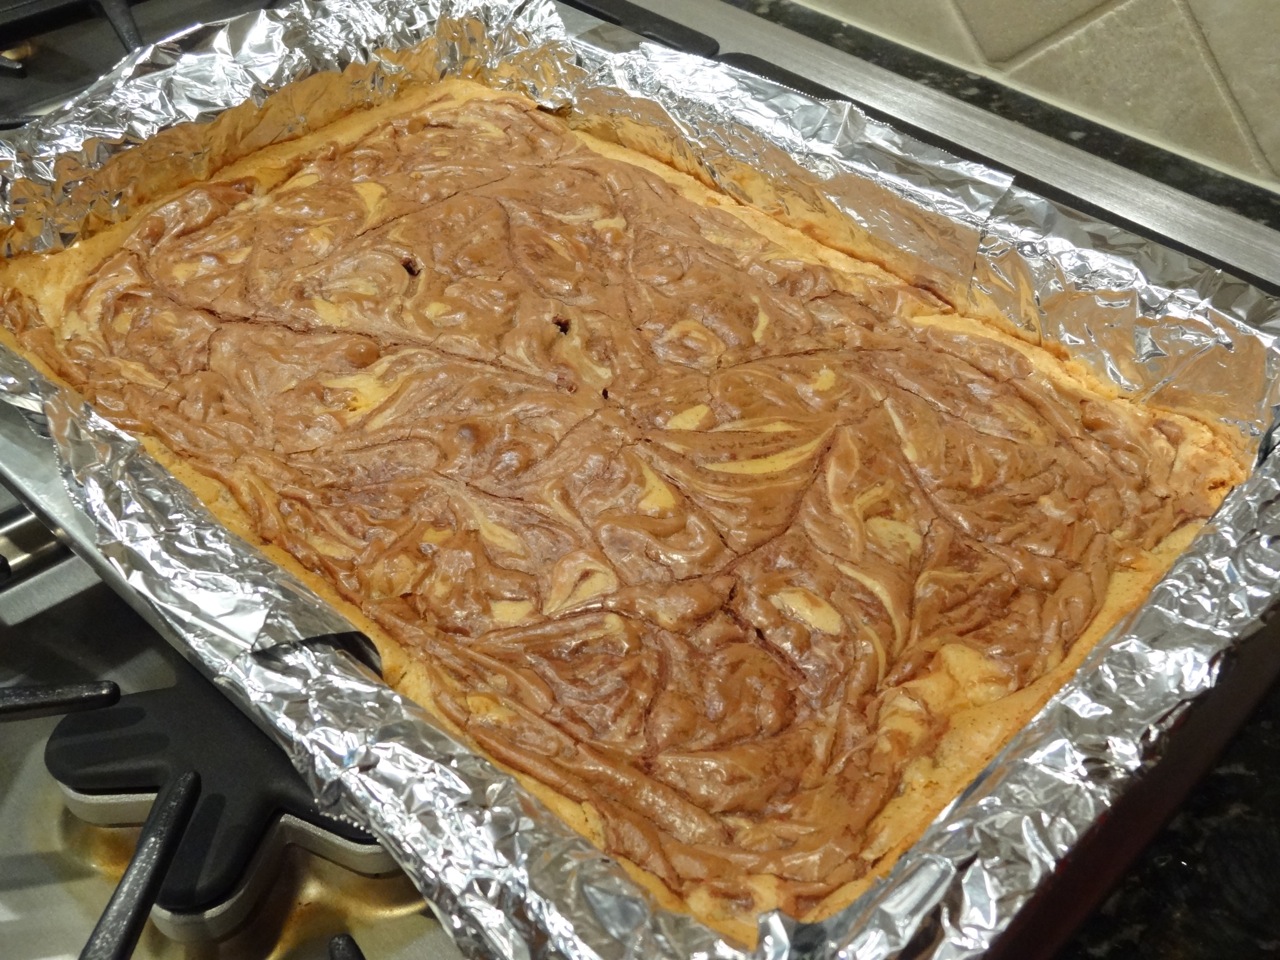
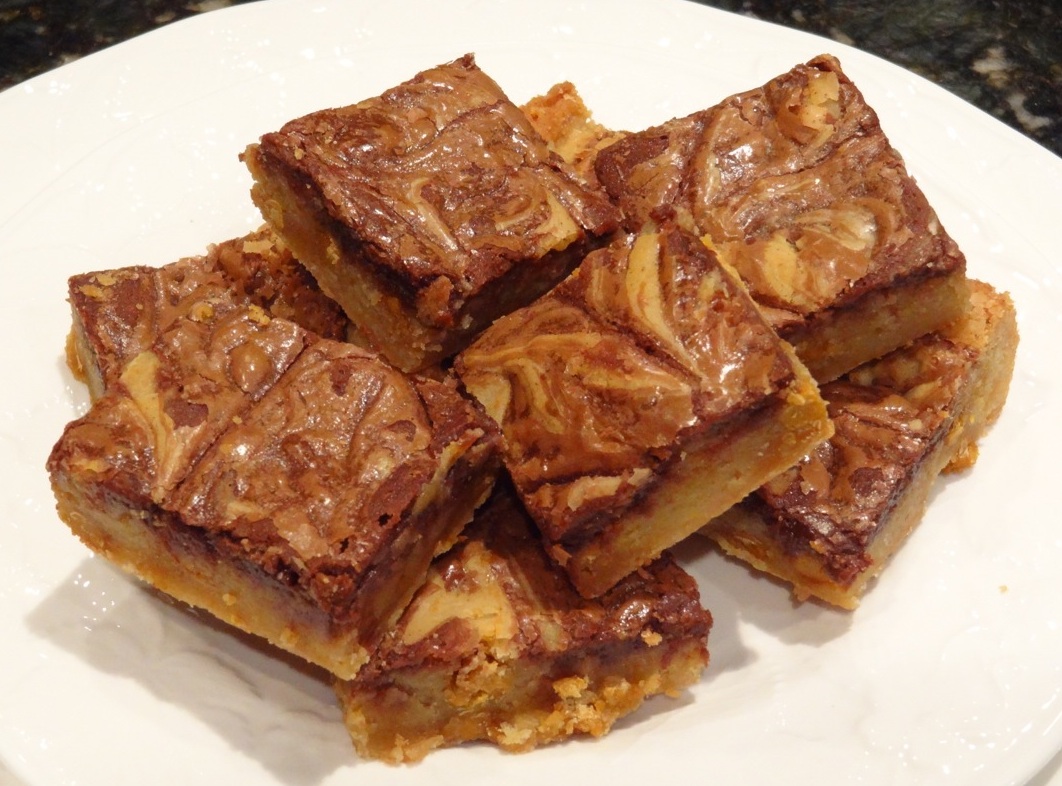
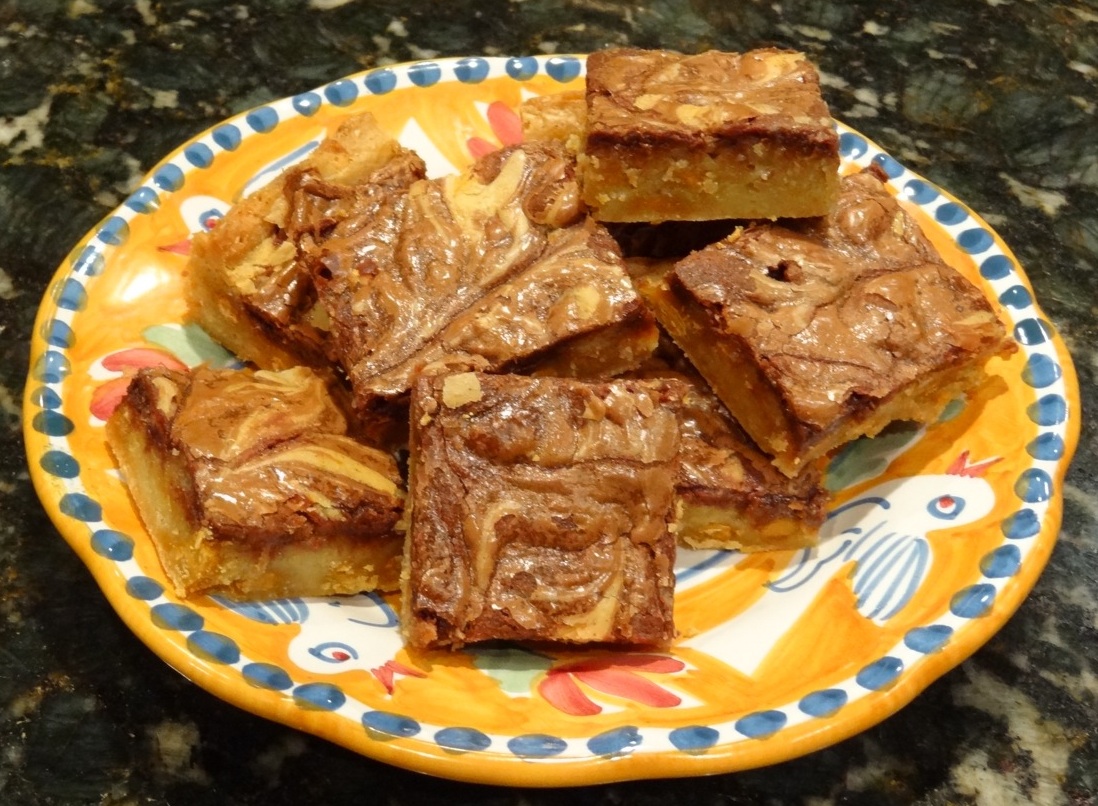
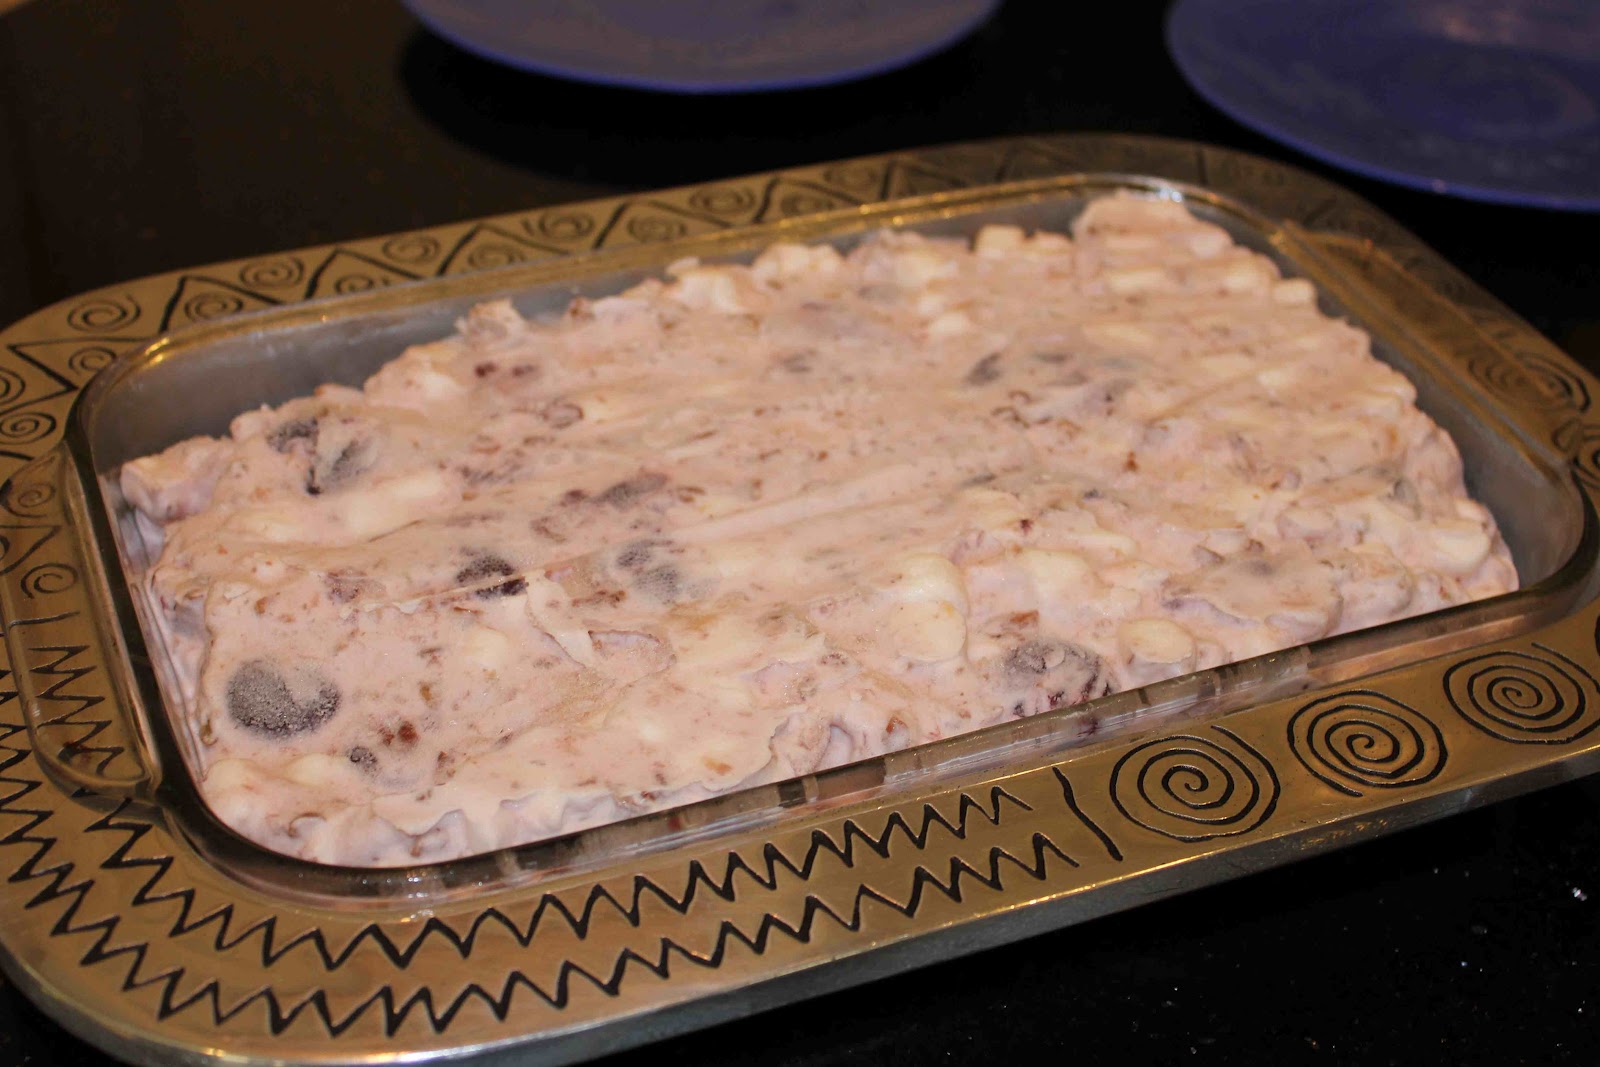
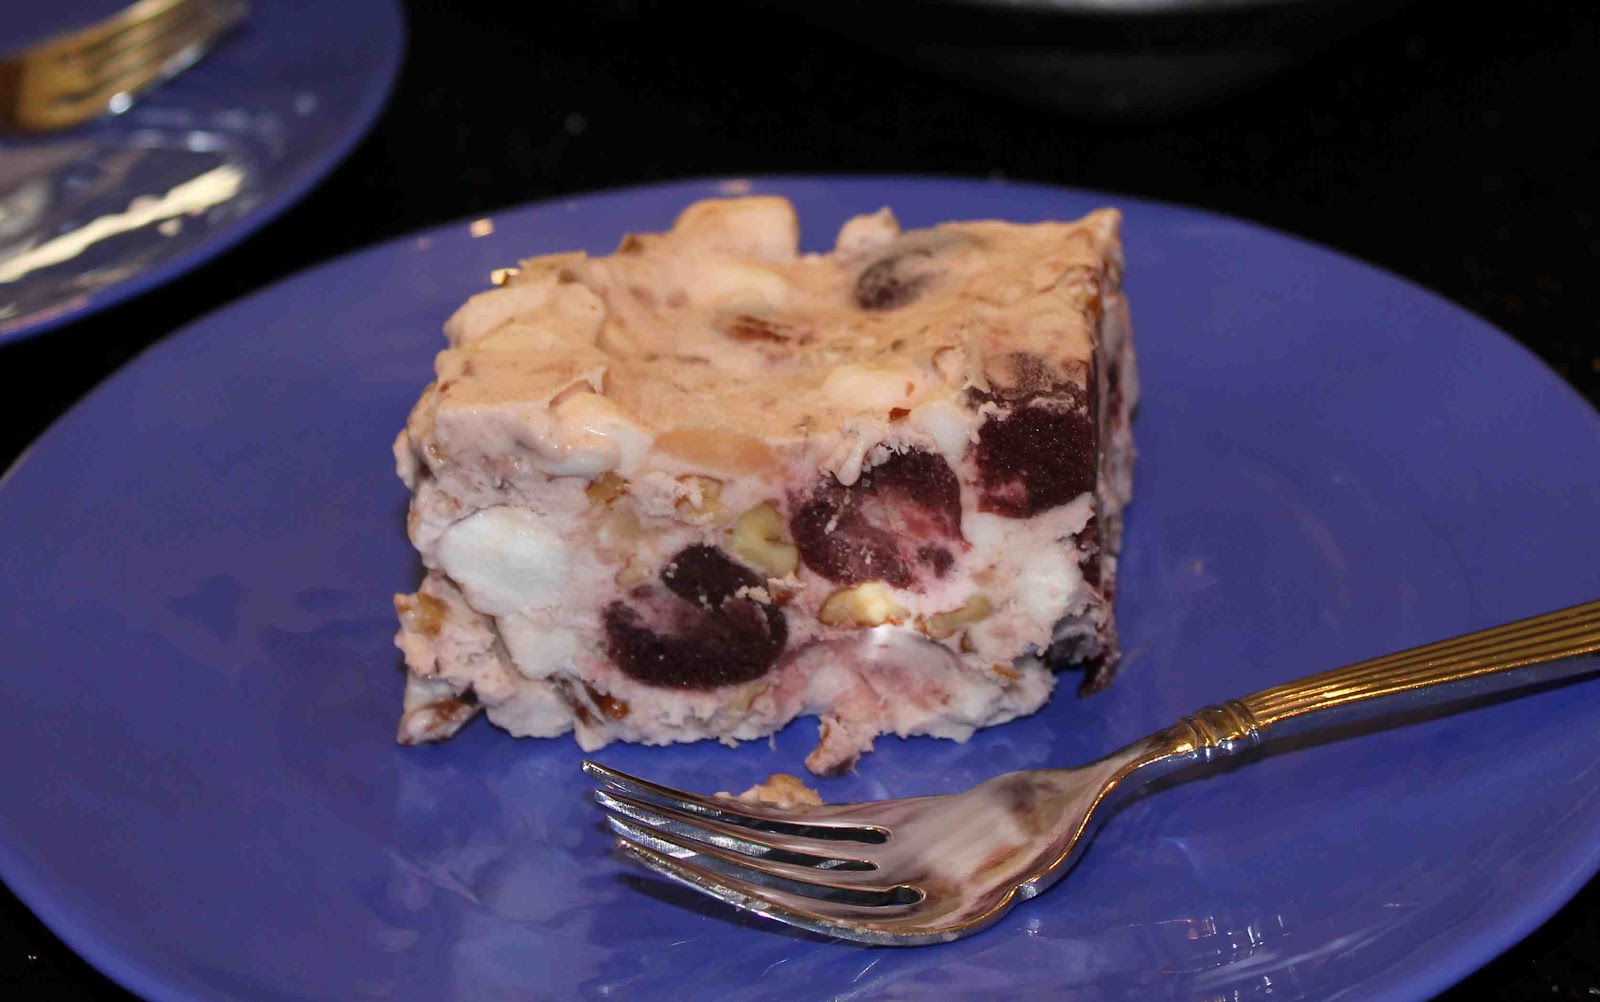
 4-layer dessert, banana pudding, Boog’s chocolate chip cake, handfuls of chocolate peanut butter M&Ms, Paula’s chicken salad, and burgers/hot dogs. Did you catch how many desserts that was!?! Haha….we LOVE sweets and anything Paula makes.
When we visited Matt’s aunt and uncle’s lake house, the theme was pasta salad! Aunt Renee is a great cook, and her type of cooking is right up my alley… simple yet elegant,  healthy, and delicious!  The night we arrived, she had made rosemary chicken, an Italian salad, roasted potatoes, and pesto pasta salad. She had actually made the pesto and pasta separately, and conveniently was able to serve very different meals using the same ingredients throughout the weekend. Here’s how:
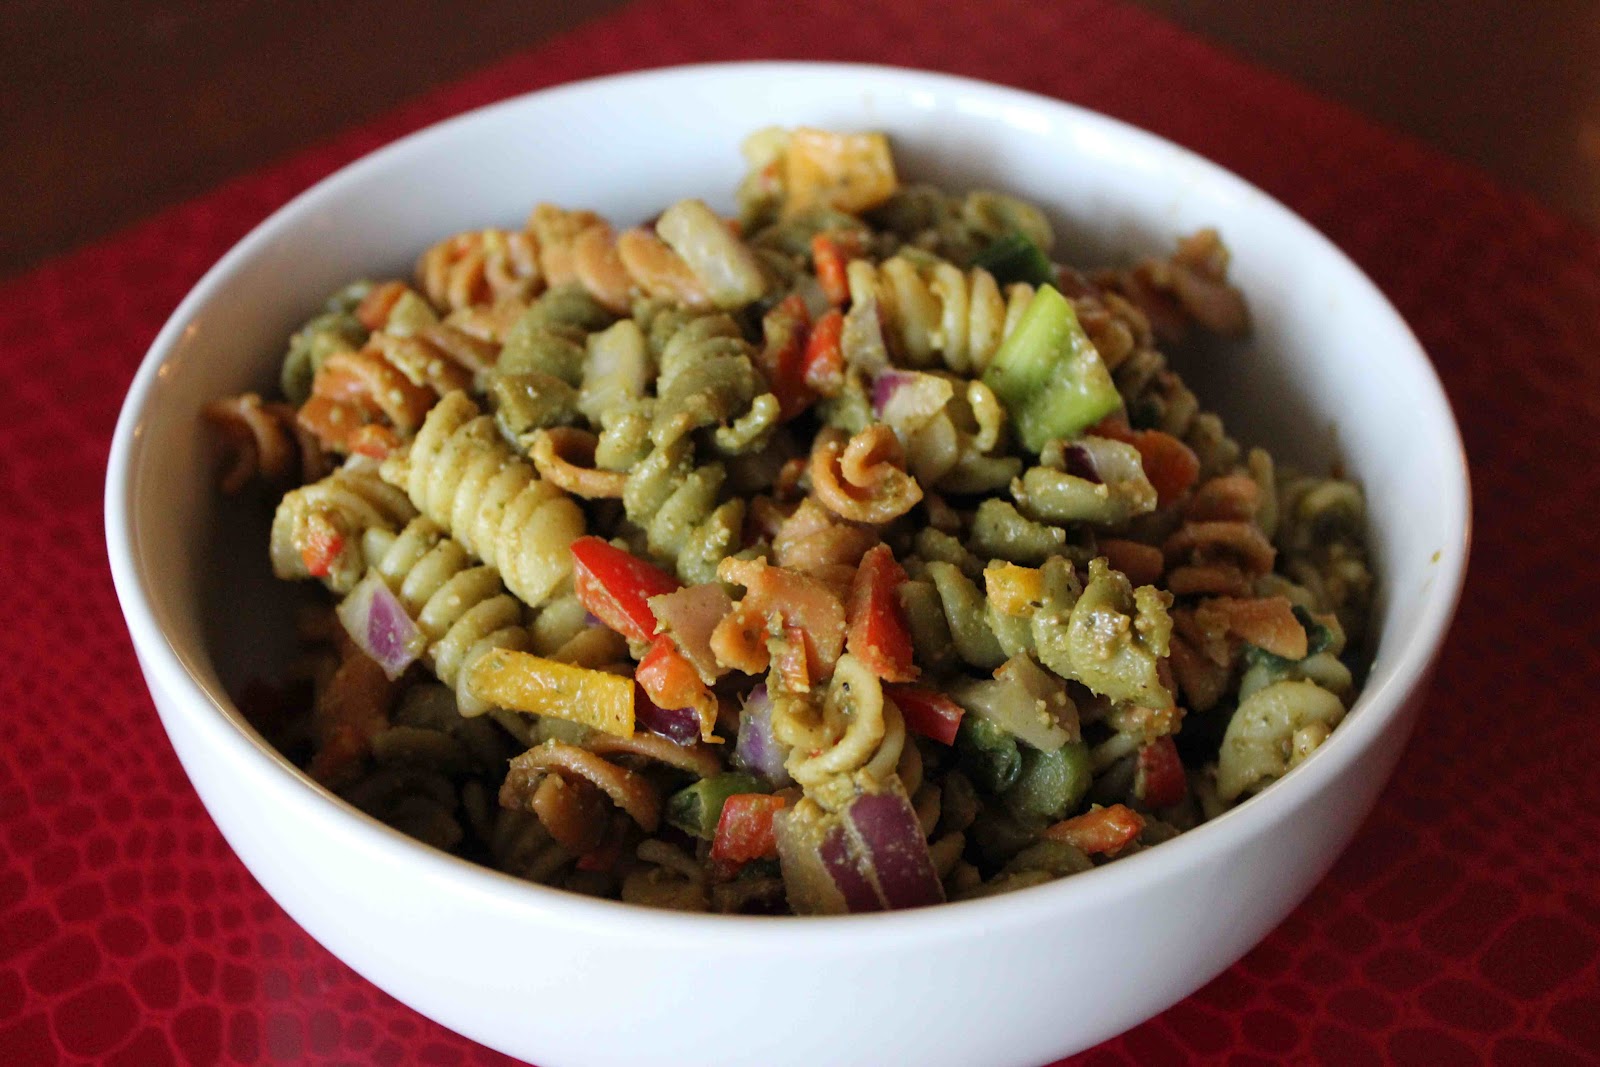
On the second day at the lake, we took the huge pot of cooked tri-colored pasta and added chopped onions, bell peppers, scallions, celery and pesto to create a filling salad for lunch served with oven roasted turkey and sausage.
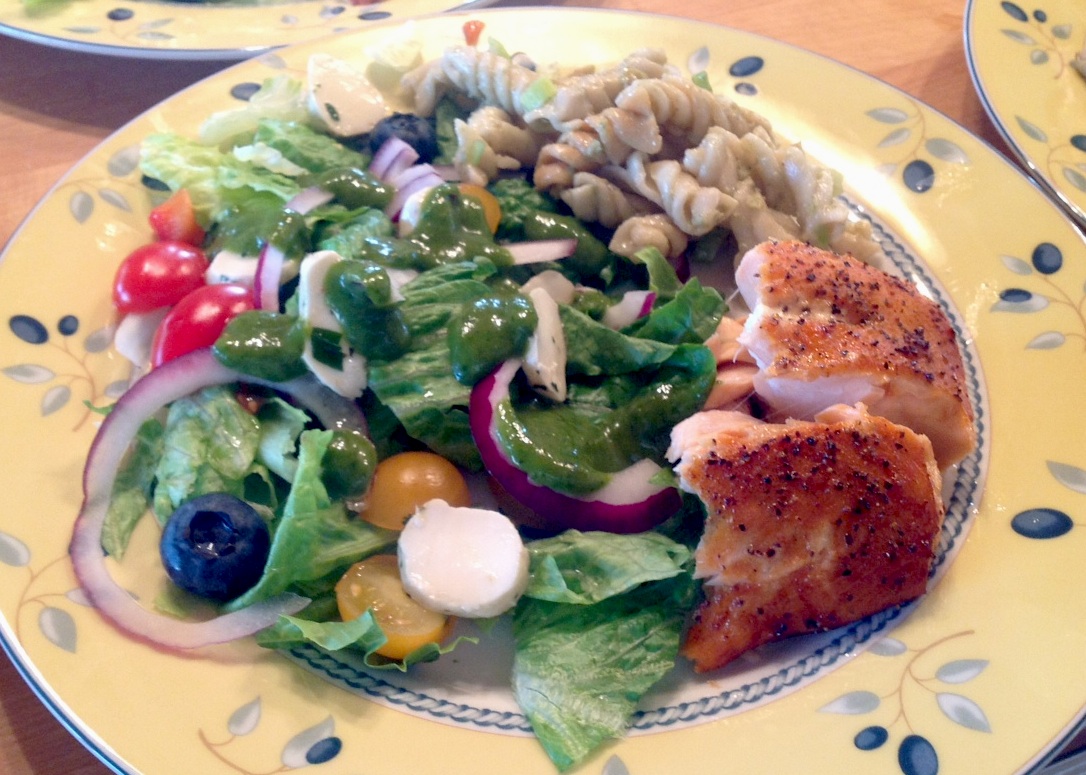
For dinner, we made salmon. What was neat about the Renee’s pesto was that she was able to create two types of sauces using the same base. One was a sweet pesto sauce that was served over the salmon and green salad. The other sauce was the traditional Italian-infused pesto with the nutty Parmesan, olive oil and pine nut flavorings that I just love. In addition, we also served leftover pesto pasta salad with the fish.
Salmon, pesto pasta salad, and a green salad with sliced red onions, chopped cherry tomatoes, blueberries, fresh mozzarella and sweet basil pesto sauce.
Breakfast the next morning was also a treat. Matt’s cousins made chocolate chip pancakes, while uncle Dale and aunt Renee made eggs benedict. In addition we had sliced tomatoes, provolone, Canadian bacon and more pesto sauce to create breakfast sandwiches. It was delicious!
As you can see, Renee’s homemade pesto and pasta salad lasted us a weekend for sure! If you can be creative with meals using the same ingredients, you’ll save money on grocery bills, not waste food, and enjoy gourmet food numerous days in a row!
Enjoy what’s left of your summer and be sure to try Renee’s homemade pesto and pesto pasta salad recipe. 🙂
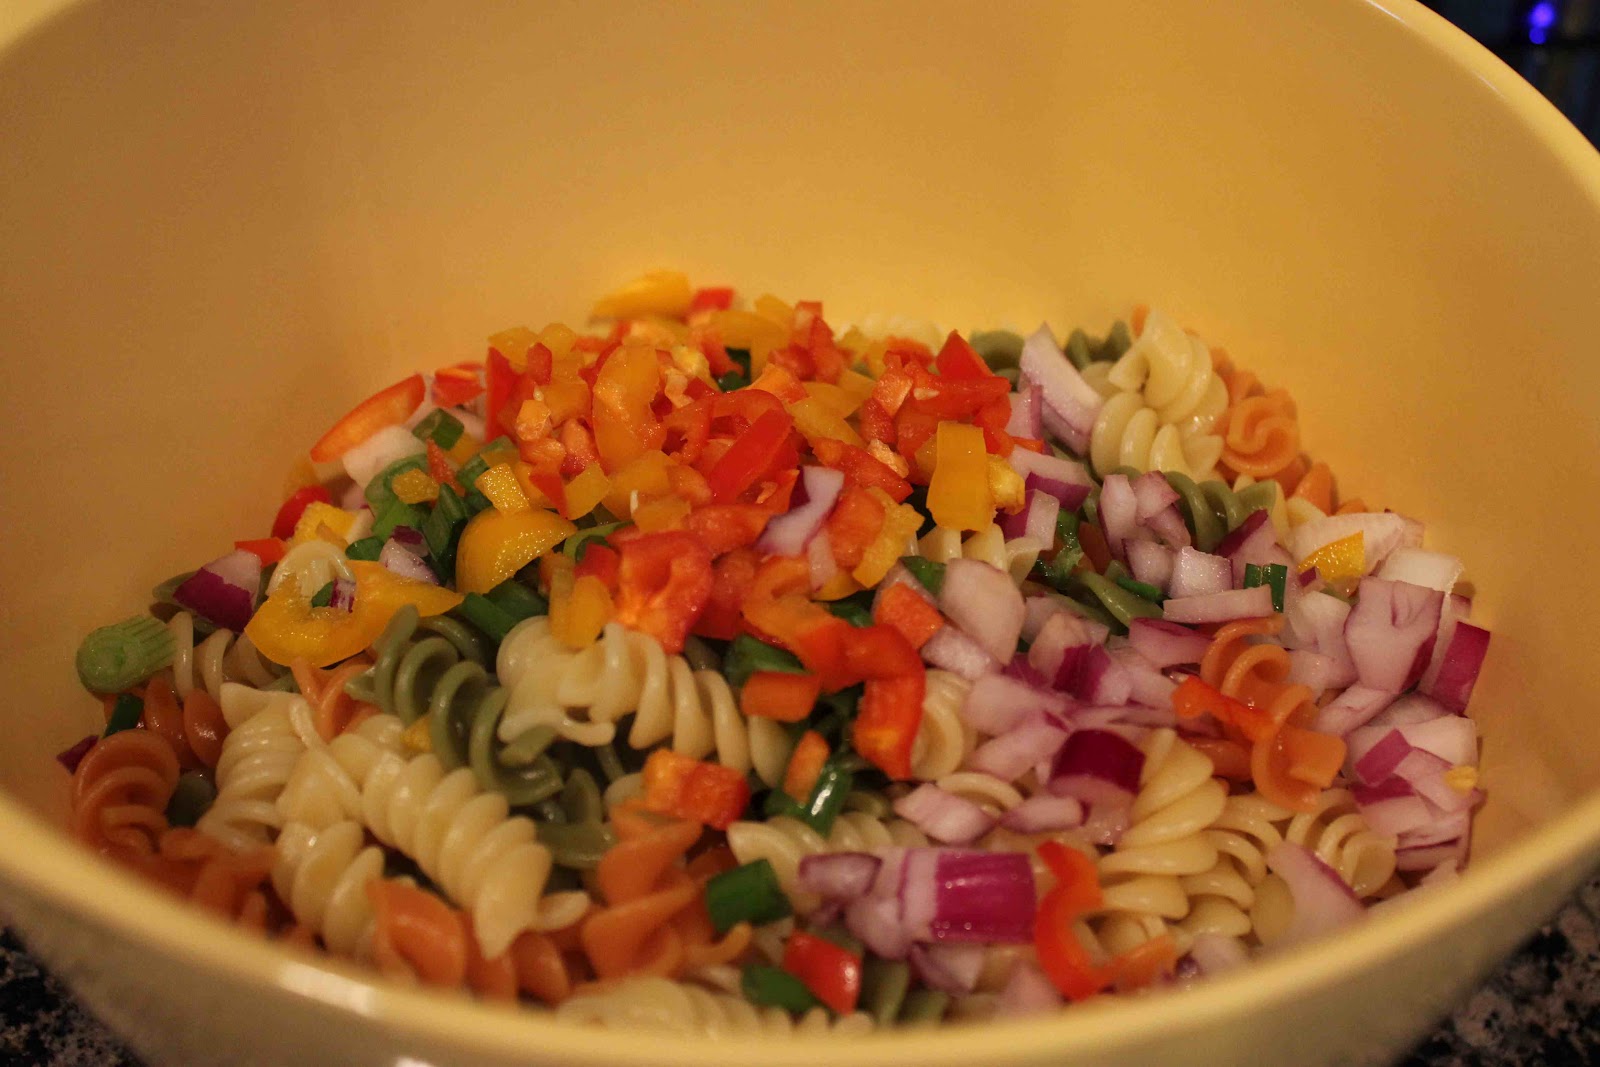
Add chopped red onions, celery, scallions, and peppers to cooked pasta.
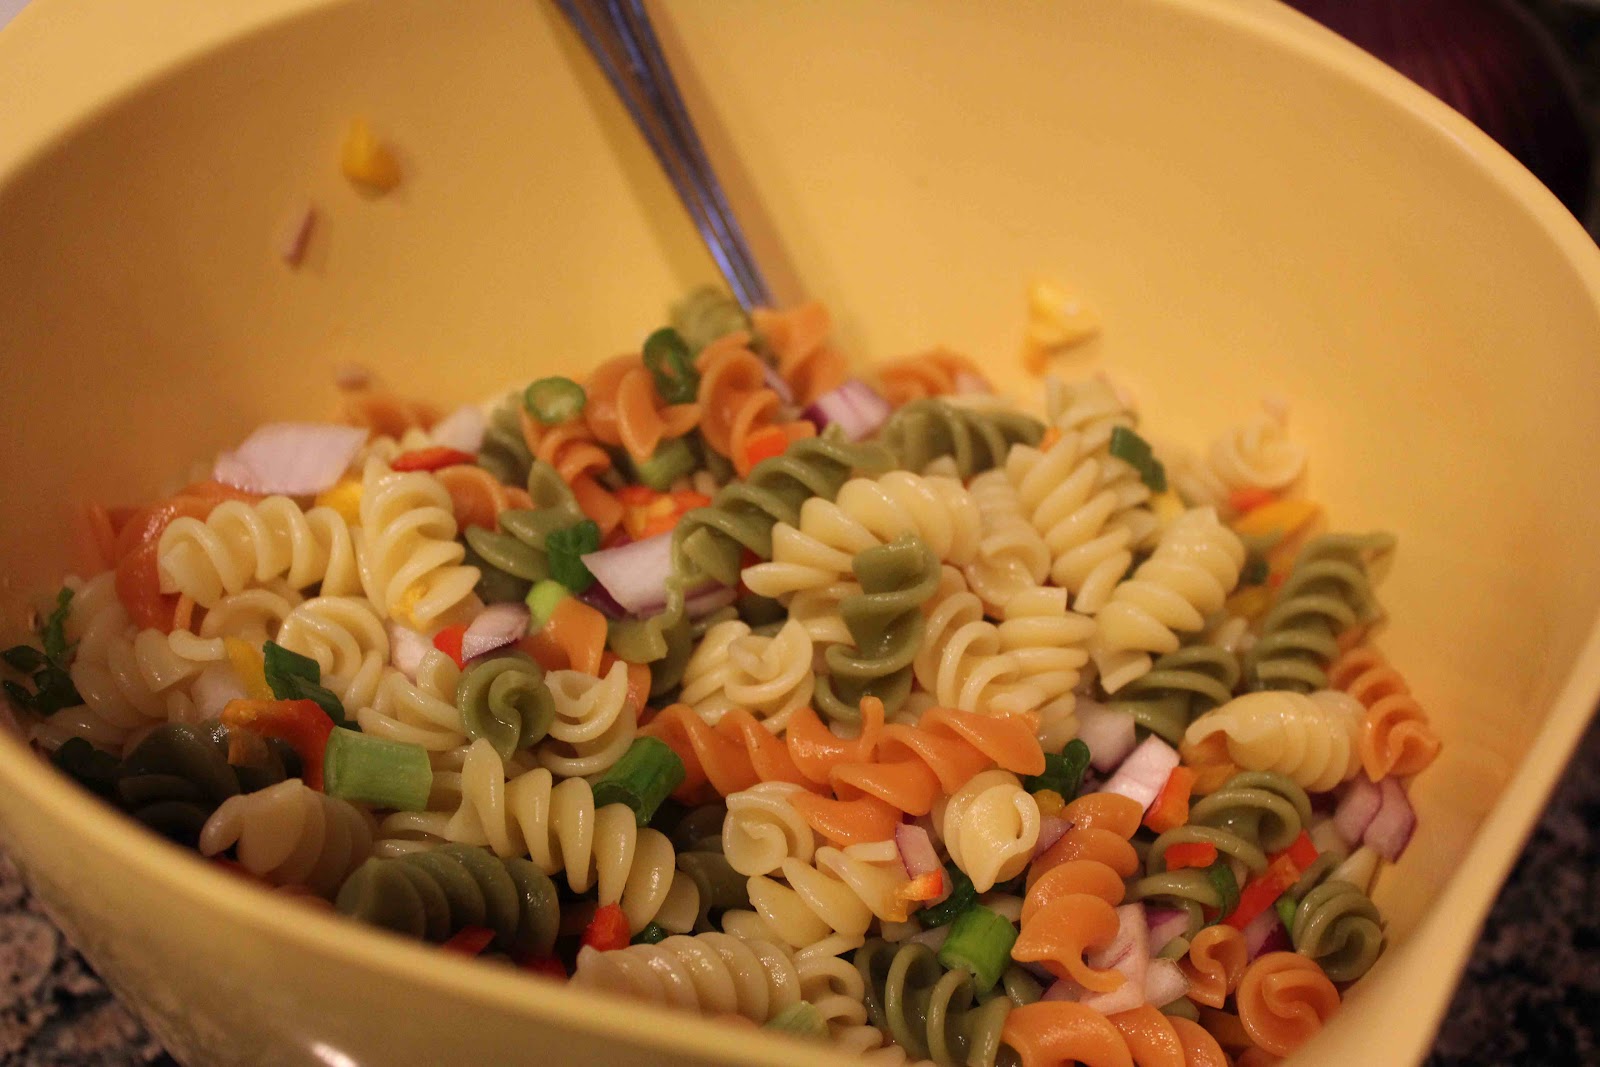
Combine all ingredients. Then add pesto sauce. Refrigerate until cold.
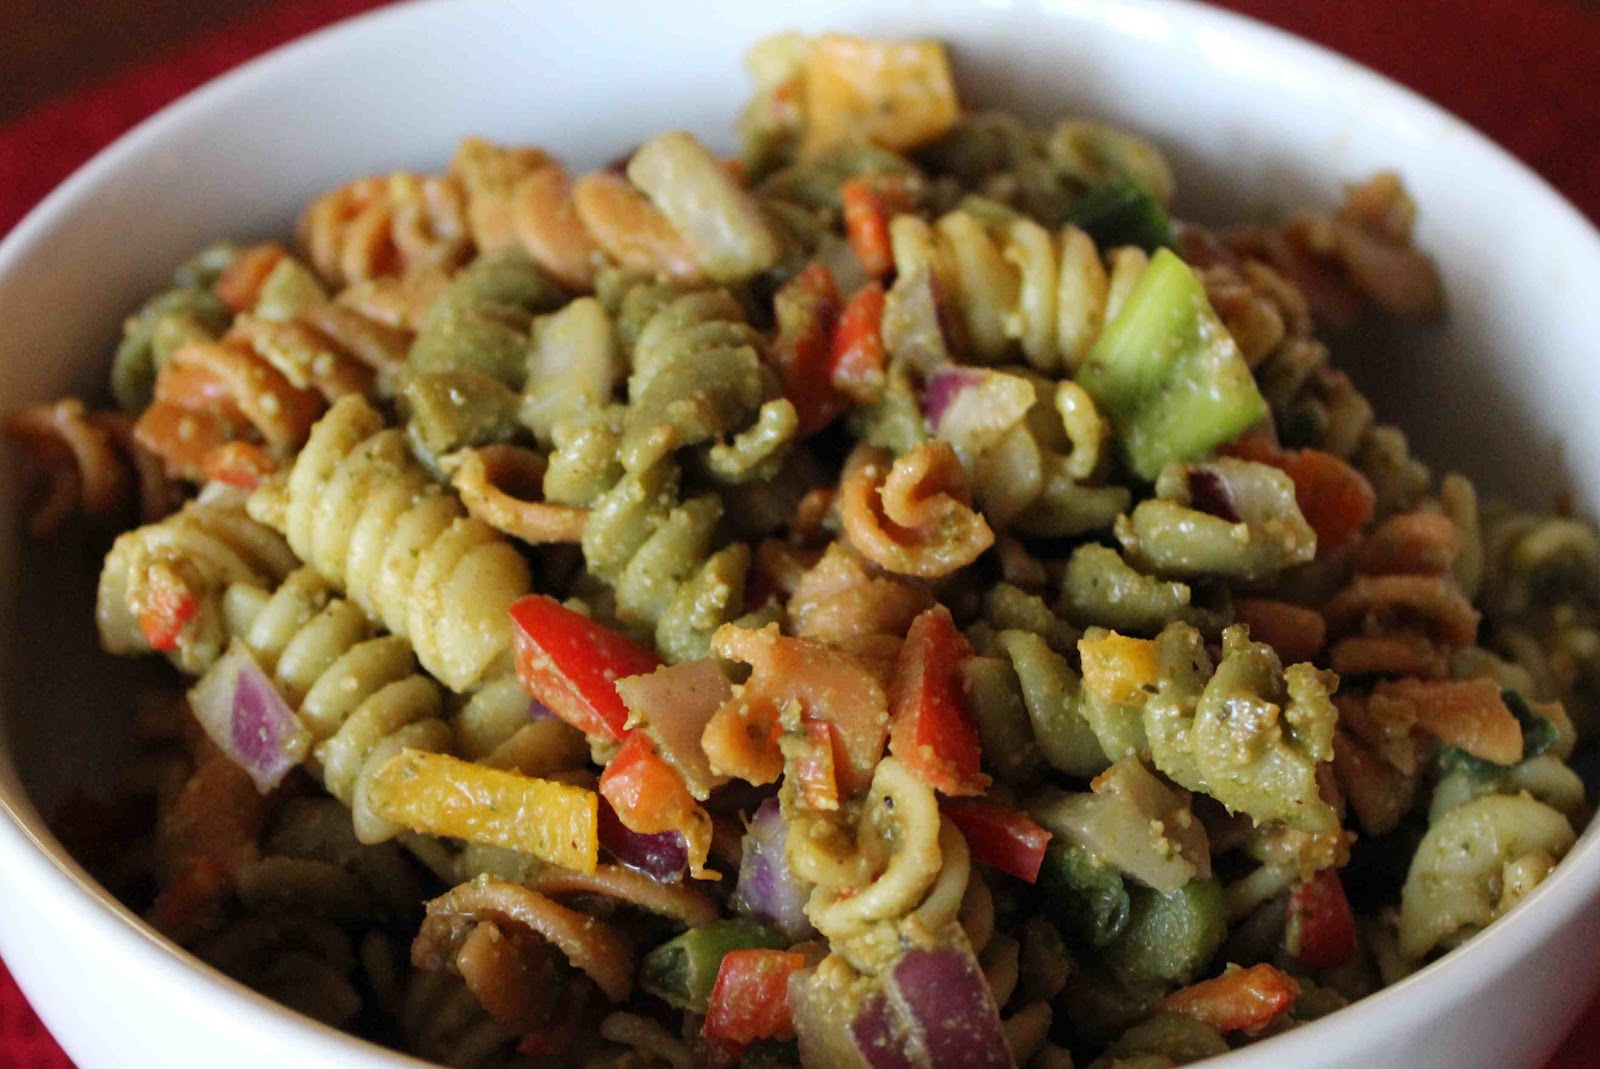
Serve salad cold, as an accompaniment to meat, fish, or poultry.

Renee’s Pesto Pasta Salad
Ingredients
*Ina Garten’s Pesto (or you could substitute store-bought pesto)
12 oz. tri-colored pasta
red bell pepper, diced
red or white onion, diced (I used red)
scallions, chopped

Directions
1. Cook pasta according to package instructions. Let cool.
2. Fold in peppers, onion, scallions, and pesto.
3. Place pasta salad in the refrigerator and chill for at least 2 hours.

Yield: 6 servings

*Ina Garten’s Pesto
Ingredients
1/4 cup walnuts
1/4 cup pignolis (pine nuts)
3 Tbsp. chopped garlic (9 cloves)
5 cups fresh basil leaves, packed
1 tsp. kosher salt
1 tsp. freshly ground black pepper
1 1/2 cups olive oil
1 cup freshly grated Parmesan

Directions
1. Place the walnuts, pignolis, and garlic in the bowl of a food processor fitted with a steel blade. Process for 15 seconds. 
2. Add the basil leaves, salt and pepper. With the processor running, slowly pour the olive oil into the bowl through the feed tube and process until the pesto is thoroughly pureed. 
3. Add the Parmesan and puree for a minute. Use right away or store the pesto in the refrigerator or freezer with a thin film of olive oil on top.

Yield: 4 cups

Note: Air is the enemy of pesto. For freezing, pack it in containers with a film of oil or plastic wrap directly on top of the air pressed out.

Garlic Pita Chips and Hummus

Looking for a quick, easy appetizer to serve at your next party or family get together? Have you thought about making hummus and homemade pita chips? Trust me, your guests not only will love this, but they’ll be begging you for the recipe!
The garlic pita chips could not be any easier to make. They literally will take you 5 minutes of prep time and 20 minutes of oven time. I will NEVER buy a prepackaged bag of pita chips again… not with the preserves, unnatural flavorings and excess salt. These homemade pita chips are fresher, contain less sodium and have ingredients that you can actually pronounce!
As for hummus, it seems to be the new craze lately, perhaps because its healthy (loaded with iron, vitamin C, folate and vitamin B6), or perhaps because its just plain tastes good! Made from cooked, mashed chickpeas, blended with tahini, olive oil, lemon juice, salt and garlic, hummus is a perfect sandwich spread or dip.
Last weekend I had my parents and sister over for some grilled chicken. Just an hour before they arrived, I had the brilliant idea of making these amazing Cooking Light garlic pita chips to accompany the 7+ flavors of Zilks Foods hummus I had in the fridge. Zilks was kind enough to send me a variety of natural, gluten-free hummus flavors from their headquarters in Austin. I had been snacking on the hummus all week, but with only 2 people in our house, I needed to spread the hummus love and share a little. 🙂
Anyways…ready to learn how to make homemade pita chips? Here we go…
Spray each side of pita bread with cooking spray.
Sprinkle with garlic salt and pepper and then cut each pita into 8 wedges. Place on a greased baking sheet.
Bake for 20 minutes at 350 degrees F or until golden brown.
That’s it, you’re done! Now time for some hummus!
Take your pick… Zilks has a ton of hummus flavors including Jalapeno & Cilantro Pesto; Roasted Red Pepper Pesto;  Basil Pesto;  Spinach & Artichoke;  Balsamic Roasted Garlic & Red Onion; Hatch Green Chili Pesto; Chipotle Sun-dried Tomato…. need I go on????
My favorite was the Balsamic Roasted Garlic & Red Onion… I never would have guessed that!
We had a great family night, and nearly demolished the hummus and pita chips. What did my husband (Matt) say, you ask? FYI – he can be picky and sometimes too honest for my liking!
Drumroll please………. he liked it!!!  Honestly I was blown away, because I had never before seen Matt, my extremely southern/country husband with a thick East Texas accent even put hummus in his mouth! My sister, mom, and dad approved as well.
For the hummus, you’ve got to try this brand called Zilks Foods. It’s an Austin-based company that prides themselves in clean, natural, great-tasting food. Their story is neat as well: the two partners, John Anderson and Bill McMeans “traded Wall Street and high finance insanity for Zilker Park and artisan food honesty.”
Not only do these guys sound smart, but when you buy their hummus, not only are you supporting an American-owned business, you’re support a local business in the Lone Star State of Texas!!! Talk about some state pride! Anyways, look for Zilks in your nearest Whole Foods Market or visit these guys on the web at www.zilksfoods.com and tell them I sent you!
Zilks Foods Hummus

Garlic Pita Chips
Ingredients
6 (6-inch) pitas
Cooking spray
1/2 tsp. garlic salt
1/4 tsp. freshly ground black pepper

Directions
1. Preheat oven to 350 degrees F.
2. Coat one side of each pita with cooking spray. Sprinkle pitas evenly with garlic salt and pepper.
3. Cut each pita into 8 wedges; arrange wedges in a single layer on a jelly-roll pan coated with cooking spray.
4. Bake at 350 degrees F for 20 minutes or until crisp.

Yield: 4 dozen chips
Recipe from: Cooking Light – Annual Recipes 2008

NUTRITIONAL INFORMATION: 80 Calories | 0g Fat | 3.5g Protein | 16.5g Carb | 0.5g Fiber | 120mg Sodium 

Banana Berry Muffins

If you’re a fruit lover, you’ll love these healthy banana berry muffins! Loaded with mixed berries, bananas, cottage cheese (or yogurt), and oats, you won’t have to feel guilty about eating these muffins for breakfast or a snack.

My sister and mom made them a few weeks ago, and when they brought some over for me to try, I absolutely fell in love! This recipe came from the blog,  Eighty Twenty in which the author posts 80% healthy recipes and 20% “just plain good” recipes. Go take a look if you haven’t already…I’ve already bookmarked quite a few recipes.

In terms of taste, these muffins are extremely moist (probably from the bananas). They are sightly sweet from the berries, and have a 4g of protein from the cottage cheese and egg whites. Drizzle them with Colorado honey (my favorite) or a pat of butter, and you’ve got a perfect snack. In addition, I’m pleased to announce these muffins have NO butter…instead they’re packed with heart-healthy ingredients you should probably be getting more of.

Enjoy and let me know what you think!

Banana Berry Muffins
Ingredients
1 cup whole wheat flour
1/4 cup white flour
1/4 cup rolled oats
1 tsp. baking powder
1/2 tsp. baking soda
1 cup mashed bananas
1/2 cup sugar
1/4 cup low fat plain yogurt or small curd cottage cheese
1 egg white
1 tsp. pure vanilla extract
1 1/4 cup frozen mixed berries

Directions
1. Preheat oven to 365 degrees F. In a large bowl, combine sugar, mashed bananas, cottage cheese, egg white, and vanilla extract. In another bowl, combine flours, oats, baking powder, and baking soda.
2. Add dry ingredients to wet ingredients and stir for about 10-15 strokes, just until dry ingredients are moistened. Fold in 1 cup frozen berries.
3. Place muffin liners in a muffin tin (regular size). Fill each muffin cup 3/4 full with batter. To the top of each muffin, add a couple of remaining frozen berries. Sprinkle the top of each muffin with a dash of sugar.
4. Bake for 15-18 minutes, or until toothpick inserted into the center comes out clean. Allow to cool 5 minutes before serving.

Yield:
Recipe from: Eighty Twenty

NUTRITIONAL INFORMATION: 144 Calories | 1g Fat | 4g Protein | 19g Carbohydrates | 4g Fiber

Nutella-Swirl Blondies

These blondies are sooo good. My mother-in-law, Paula could not keep from eating them.  While not a huge chocolate or butterscotch fan (two key ingredients in these Nutella-Swirl Blondies), Paula LOVES these bars! Maybe it’s because she could taste the cream cheese swirled into the Nutella mixture?!?! Haha….she is a sucker when it comes to cream cheese.

My mom and sister made blondies last week after having seen them in All You magazine. None of us have ever heard of All You, but that didn’t matter…when we see something that looks delicious, it doesn’t matter where it comes from!

If you’re looking for an extremely rich bar with just a touch of chocolate, these are for you. The butterscotch chips and brown sugar crust make for an extremely decadent dessert. You really only need one small bar to satisfy your sweet tooth. For those chocolate lovers, these are not “death by chocolate.” Instead, the Nutella provides a subtle dark chocolate flavor that pairs surprisingly well with the butterscotch.

Enjoy and let me know what you think!

Spread butterscotch mixture into pan.
Drop spoonfuls of Nutella over batter.
Use the tip of a sharp knife to swirl in Nutella.
Bake for 25-30 minutes on a 375 degree F oven. Let cool in pan.
After cooled, cut into squares and serve.
Nutella-Swirl Blondies
Ingredients
1 1/2 cups packed light brown sugar
16 Tbsp. (2 sticks) unsalted butter, cut into small pieces
2 large eggs plus 1 large egg yolk
1 tsp. vanilla extract
2 1/4 cups all-purpose flour
1/2 tsp. baking powder
1/4 tsp. salt
1 1/2 cups butterscotch chips
4 oz. cream cheese, at room temperature
3/4 cup Nutella
Directions
1. Preheat oven to 375 degrees F.
2. Grease 9-by-13-inch baking pan and line with foil, letting ends of foil hang 3 inches over the 2 long edges. Grease foil.
3. Combine sugar, and butter in a large pan over medium heat. Cooking, stirring often, until butter has melted and sugar has dissolved (mixture will not look combined). Remove from heat and let cool slightly. Whisk in 2 whole eggs and vanilla.
4. In a bowl, whisk flour with baking powder and salt. Gradually add flour mixture to sugar mixture; mix until smooth. Fold in butterscotch chips. Spread evenly in pan.
5. Using an electric mixer on medium speed, beat cream cheese with egg yolk and Nutella until smooth. Drop spoonfuls of Nutella mixture over batter in pan and use the tip of a small knife to swirl it in, making a decorative pattern. Do not scrape bottom of pan.
6. Bake until blondies are just set in the center and a toothpick inserted into center comes out clean, 25 to 30 minutes. Let cool in pan on a wire rack, then cover and refrigerate until thoroughly chilled, at least 2 hours. Run a sharp knife along edges of pan to loosen, then remove blondies from pan using foil handles. Cut into squares and serve at room temperature.
Yield: 24 blondies
Recipe from: All You
NUTRITIONAL INFORMATION (1 blondie):
301 Calories | 17g Fat | 52mg Chol. | 1g Fiber | 3g Protein | 36g Carb. | 69mg Sodium

Frozen Cherry Salad

As mentioned, I write a resident recipe column for our monthly neighborhood magazine. For the month of August, we wanted to featured a cool and refreshing dish for us Texans to enjoy during the hottest month of the year! Here’s the article:

About ten years ago, neighborhood resident Marie was hosting the ladies luncheon from her investment group during the hot summer month of August and wanted to share something cold and delicious. After thumbing through dozens of cookbooks, she discovered this recipe, and it has become a summer regular. Since it is frozen, it keeps for several weeks in the freezer, covered. Enjoy!

Frozen Cherry Salad
Ingredients
2 (1 pound) cans royal ann cherries, drained
1 (8 1/2 oz.) can crushed pineapple
3 cups miniature marshmallows
1 cup chopped pecans
Juice of 1/2 lemon
1/4 cup mayonnaise
1 cup whipping cream, whipped
Pinch of salt

Directions
1. Mix first five ingredients with mayonnaise. Whip whipping cream and fold it and the salt into the mixture.
2. Pour into a square serving dish and place in freezer.
3. When frozen, cut into squares and serve on pretty salad plates.

Aspen Saturday Market

Aspen Saturday Market

Have you ever been to a fresh farmer’s market or a Saturday market? If the answer is no, you really need to go visit one! Everything is homemade or locally grown. No preserves, no chemicals, and no mass-production. The vegetables and fruit are fresher, sweeter, and juicer. The meat is tender and fresh. The jewelry, artwork, and crafts are unique and one-of-a-kind.

One of my favorite markets is Aspen Saturday Market. One of my favorite venders is one that has tables upon tables of fresh breads, scones, muffins, cookies and tarts!!! Last time we were in Aspen, we ordered a blueberry and cranberry scone, whole-wheat oat and poppyseed bread, a magic bar, and a soft pretzel the size of a loaf of french bread! It was all very delicious!

In addition, we love the local Colorado honey. They even have samples for you to try!

Our favorite vendor… can you guess why?

Delicious and freshly baked pastries, muffins, tarts, quiches, scones and breads! 
Pastries, donuts, fritters, cinnamon rolls, and cookies … yes please!
Blueberry scone (top) and cranberry scone (bottom)
Whole wheat bread
Finally, there’s this pasta vendor called Pappardelle’s Pasta. The company was founded in Denver in 1984 and had a vision to bring exquisite, fresh pastas in an array of flavors never before experienced by Americans. At that time in the United States, “plain” was the only flavor of pasta available.
What kind of flavors can you expect from Pappardelle’s?  There’s mushroom; basil & garlic; chocolate & raspberry; fanciful fruit blend; Italian pesto pasta blend; Southwestern pasta blend; whole wheat chipotle lime; basil tangerine; should I go on??? See the complete list here because I’m only just scratching the surface!
Photo from: Highlands Ranch Foodie
Saturday markets are a blast, and if you live in Dallas, you’re in luck! Dallas has a great farmer’s market that has been here for the past six decades! It is called Dallas Farmer’s Market and is open seven days a week, 8:00 am to 6:00 pm, 362 days of the year (according to their website)! You can buy locally grown tomatoes, sweet potatoes, peaches, watermelons, and even flowers & shrubs from farmers living within 150 miles of Dallas.
Check it out next time you have a free weekend in Dallas!

Homemade Pop-Tarts

When you were a kid, did you ever eat those rectangular-shaped pre-baked extra sugary and extra-thin pastries known as Kellogg’s Pop Tarts? I know I did! While Pop-Tarts (to me) don’t taste like anything spectacular, they were quite addicting and I enjoyed trying all the different flavors when I was a kids. My favorite was some sort of berry flavor that had purple and teal striped frosting!
While pop-tarts were fun and colorful, we all know that PillsburyToaster Strudels really were the pastries that tasted better! I loved squirting the white vanilla icing on the piping hot flaky crust. However, my icing never looked as pretty as the ones did on the box.
Now that I’m all grown-up, its time to act like an adult, get in the kitchen, and make some pop-tarts from scratch! While dubbed “pop-tarts”, these homemade pastries taste more like toaster strudels.
The crust is buttery and flakey, the filling sweet and delicate, and the icing decadent. It’s like eating a homemade pie in your hand. We made two different fillings: raspberry and apple-cinnamon brown sugar. Both flavors were excellent. I can’t tell you which one I like better… it depends on what mood I’m in! Enjoy!!!

Homemade Pop-Tarts
Ingredients
*1 recipe Pate Brisee (below)
1 egg, lightly beaten
1 cup (340g) raspberry jam
1 cup (140g) confectioners’ sugar
1/4 tsp. vanilla extract
2-3 Tbsp. water
Rainbow sprinkles for sprinkling (optional – we didn’t have any)

Directions
1. Position a rack in the center of the oven, and heat the oven to 350 degrees F.
2. Remove the dough from the refrigerator and divide it in half. Press each half into a rectangle. On a lightly floured surface, roll out each half into a 28-by-11-inch rectangle. Using a pairing knife, lightly score one rectangle into eight 3 1/2-by-5 1/2-inch rectangles (each about the size of an index card).
3. Brush the top surface of the entire scored rectangle with the egg. Spoon 2 tablespoons of the jam in a mound in the center of each scored rectangle. Lay the second large dough rectangle directly on top of the first. Using fingertips, carefully press down all around each jam mound, so the pastry sheets adhere to each other.
4. Using a knife, a pizza roller (easier), or a fluted roller (easier and prettier), and following the scored lines, cut the layered dough into 8 rectangles. Place the rectangles, well spaced, on a baking sheet.
5. Bake for 40 to 45 minutes, or until the tops of the pastries are evenly golden brown. Let cool on the baking sheet on a wire rack for about 30 minutes.

*Pate Brisee
Ingredients
1 3/4 cups (245g) unbleached all-purpose flour
1 Tbsp. sugar
1 tsp. kosher salt
1 cup (2 sticks) cold unsalted butter, cut into 12 pieces
2 egg yolks
3 Tbsp. cold milk

Directions
1. Using a stand mixer fitted with a paddle attachment, mix together flour, sugar and salt for 10-15 seconds, or until combined. Scatter the butter over the top. Mix on low speed for 1 to 1 1/2 minutes, or just until the flour is no longer bright white and and holds together when you clump it and lumps of butter the size of pecans are visible throughout. 
2. In a smal bowl, whisk together the egg yolks and milk until blended. Add to the flour mixture all at once. Mix on low speed for about 30 seconds, or until the dough just barely comes together. It will look really shaggy and more like a mess than a dough.
3. Dump the dough out onto an unfloured work surface, then gather it together into a tight mound. Using your palm and starting on one side of the mound, smear the dough bit by bit, starting at the top of the mound and then sliding your palm down the side and along the work surface, until most of the butter chunks are smeared into the dough and the dough comes together. Do this once or twice on each part of the dough, moving through the mound until the whole mess has been smeared into a cohesive dough with streaks of butter.
4. Gather up the dough, wrap tightly in plastic wrap and press down to flatten into a disk about 1 inch thick. Refrigerate for at least 4 hours before using. The dough will keep in the refrigerator for up to 4 days or in the freezer for up to 1 month.

Yield: 8 pastries
Recipe from: Flour: Spectacular Recipes from Boston’s Flour Bakery + Cafe by Joanne Chang

Same recipe, different flavors……..
Replace the raspberry jam with Apple, Cinnamon, and Brown Sugar Filing, and replace the Simple Vanilla Glaze with Cinnamon Glaze. (See the recipe below).


Apple, Cinnamon, and Brown Sugar Filling (makes about 1 cup)
Ingredients
3 Tbsp. unsalted butter
2 Granny Smith apples, peeled, cored, and thinly sliced (about 2 cups/240g)
1/2 cups (110g) packed light brown sugar
1 egg, lightly beaten
1/2 tsp. ground cinnamon
1/8 tsp. kosher salt
1/2 cup (70g) unbleached all-purpose flour

Directions
In a medium saucepan, melt the butter over high heat. Add the apples and toss around with a heat-resistant spatula for 2-3 minutes, or until they just start to soften. Add the sugar and continue to toss for another 3-4 minutes, or until the sugar has melted and mixed with the apples. Remove from heat and transfer the apple mixture to a medium bowl. Let cool for about 30 minutes, or until no longer hot to the touch.Add the egg, cinnamon, salt and flour to the apple mixture and mix with a rubber spatula until they are thoroughly and evenly incorporated. Let cool completely before using.

Cinnamon Glaze (makes 1/2 cup)
Ingredients
1 cup (140g) confectioners’ sugar
2 Tbsp. plus 2 tsp. water
1/4 tsp. ground cinnamon

Directions
In a small bowl, whisk together the sugar, water and cinnamon to make a smooth, pourable glaze. (The glaze can be made ahead and stored in an airtight container at room temperature for up to 1 week.)

Fresh Fruit Salad with Honey Ginger Lime Dressing

Here’s a very colorful fruit salad, perfect as a side dish for all your summer grilling. The dressing has a perfect balance of sweet and tangy from the unique blend of honey, ginger and lime.

Matt didn’t “rave” about this fresh fruit salad, but he didn’t complain either. If you’re looking to really impress your guest with a colorful table setting, you’ve got to make this. I thought it was good, and perfect for summertime. My only complaint… after only a day, the peaches turned brown, like you would expect bananas to do. Therefore, make this fruit salad just prior to serving time.

Enjoy!

Fresh Fruit Salad with Honey Ginger Lime Dressing
Ingredients
1 1/2 Tbsp. honey
1 Tbsp. fresh lime juice
1/4 tsp. minced peeled fresh ginger
2 cups sliced peeled peaches (about 2)
1 cup blueberries
1 cup seedless green grapes, halved

Directions
1. Combine first 3 ingredients in a small bowl; stir with a whisk.
2. Combine peaches, blueberries, and grapes in a bowl. Drizzle juice mixture; toss gently to coat. Chill at least 1 hour.

Yield: 8 servings (serving size: 1/2 cup).
Recipe from: Cooking Light June 2007

NUTRITIONAL INFORMATION: 53 Calories | 0.2g Fat | 0.7g Protein | 13.8g Carbohydrates | 1.3g Fiber | 1mg Sodium | 6mg Calcium

Happy National Pecan Pie Day!

Happy National Pecan Pie Day! I don’t know who makes up these “holidays”, but they’re fun to celebrate, especially when you can make this Toffee Chocolate Chip Pecan Pie recipe that my Aunt Robin made for Thanksgiving a few years ago. The pie is to die for, so get to your kitchen and start baking!

As you all can probably figure, I’m from Texas, and sometimes people say us Texans talk funny. So, I want to ask you…which nut pronunciation do you use for “pecan”?  Is it National Peh-Kahn, Pih-Can, Pee-Can or Pee-Kahn Day? 

I say peh-kahn, but my extremely Southern, East Texas, country and twangy mother-in-law (Paula) would probably say pee-can!!  (Oops, I was wrong…I just talked to Paula and she pronounces it peh-kahn.)

Anyways, I want to hear from you! How do you say “pecan”? Leave a comment in the section below!

P.S. You’ve got to try this Toffee Chocolate Pecan Pie!