White Chocolate Covered Red Velvet Cake Balls

red velvet

How was everyone’s Valentine’s Day? Hopefully you enjoyed some quality time with your sweetheart. 🙂 I know I did. Matt and I went to our favorite sushi restaurant called RA, walked around the Shops of Legacy and then had a relaxing evening at the house.

I debated posting these white chocolate covered red velvet cake balls because for one, I sort of cheated… I used a cake mix and canned frosting, which is very uncharacteristic of me. I grew up where all of our desserts were made from scratch… brownies, cookies, cakes, you name it. We NEVER bought the mixes.

This time, I wanted to make something quick and easy and was not in the mood to go “all-out” and make a cake from scratch. Fortunately, these cake balls were AWESOME! I made some for the guys at work for and they loved them. Matt loved them, and so did my friends  at dinner last night.

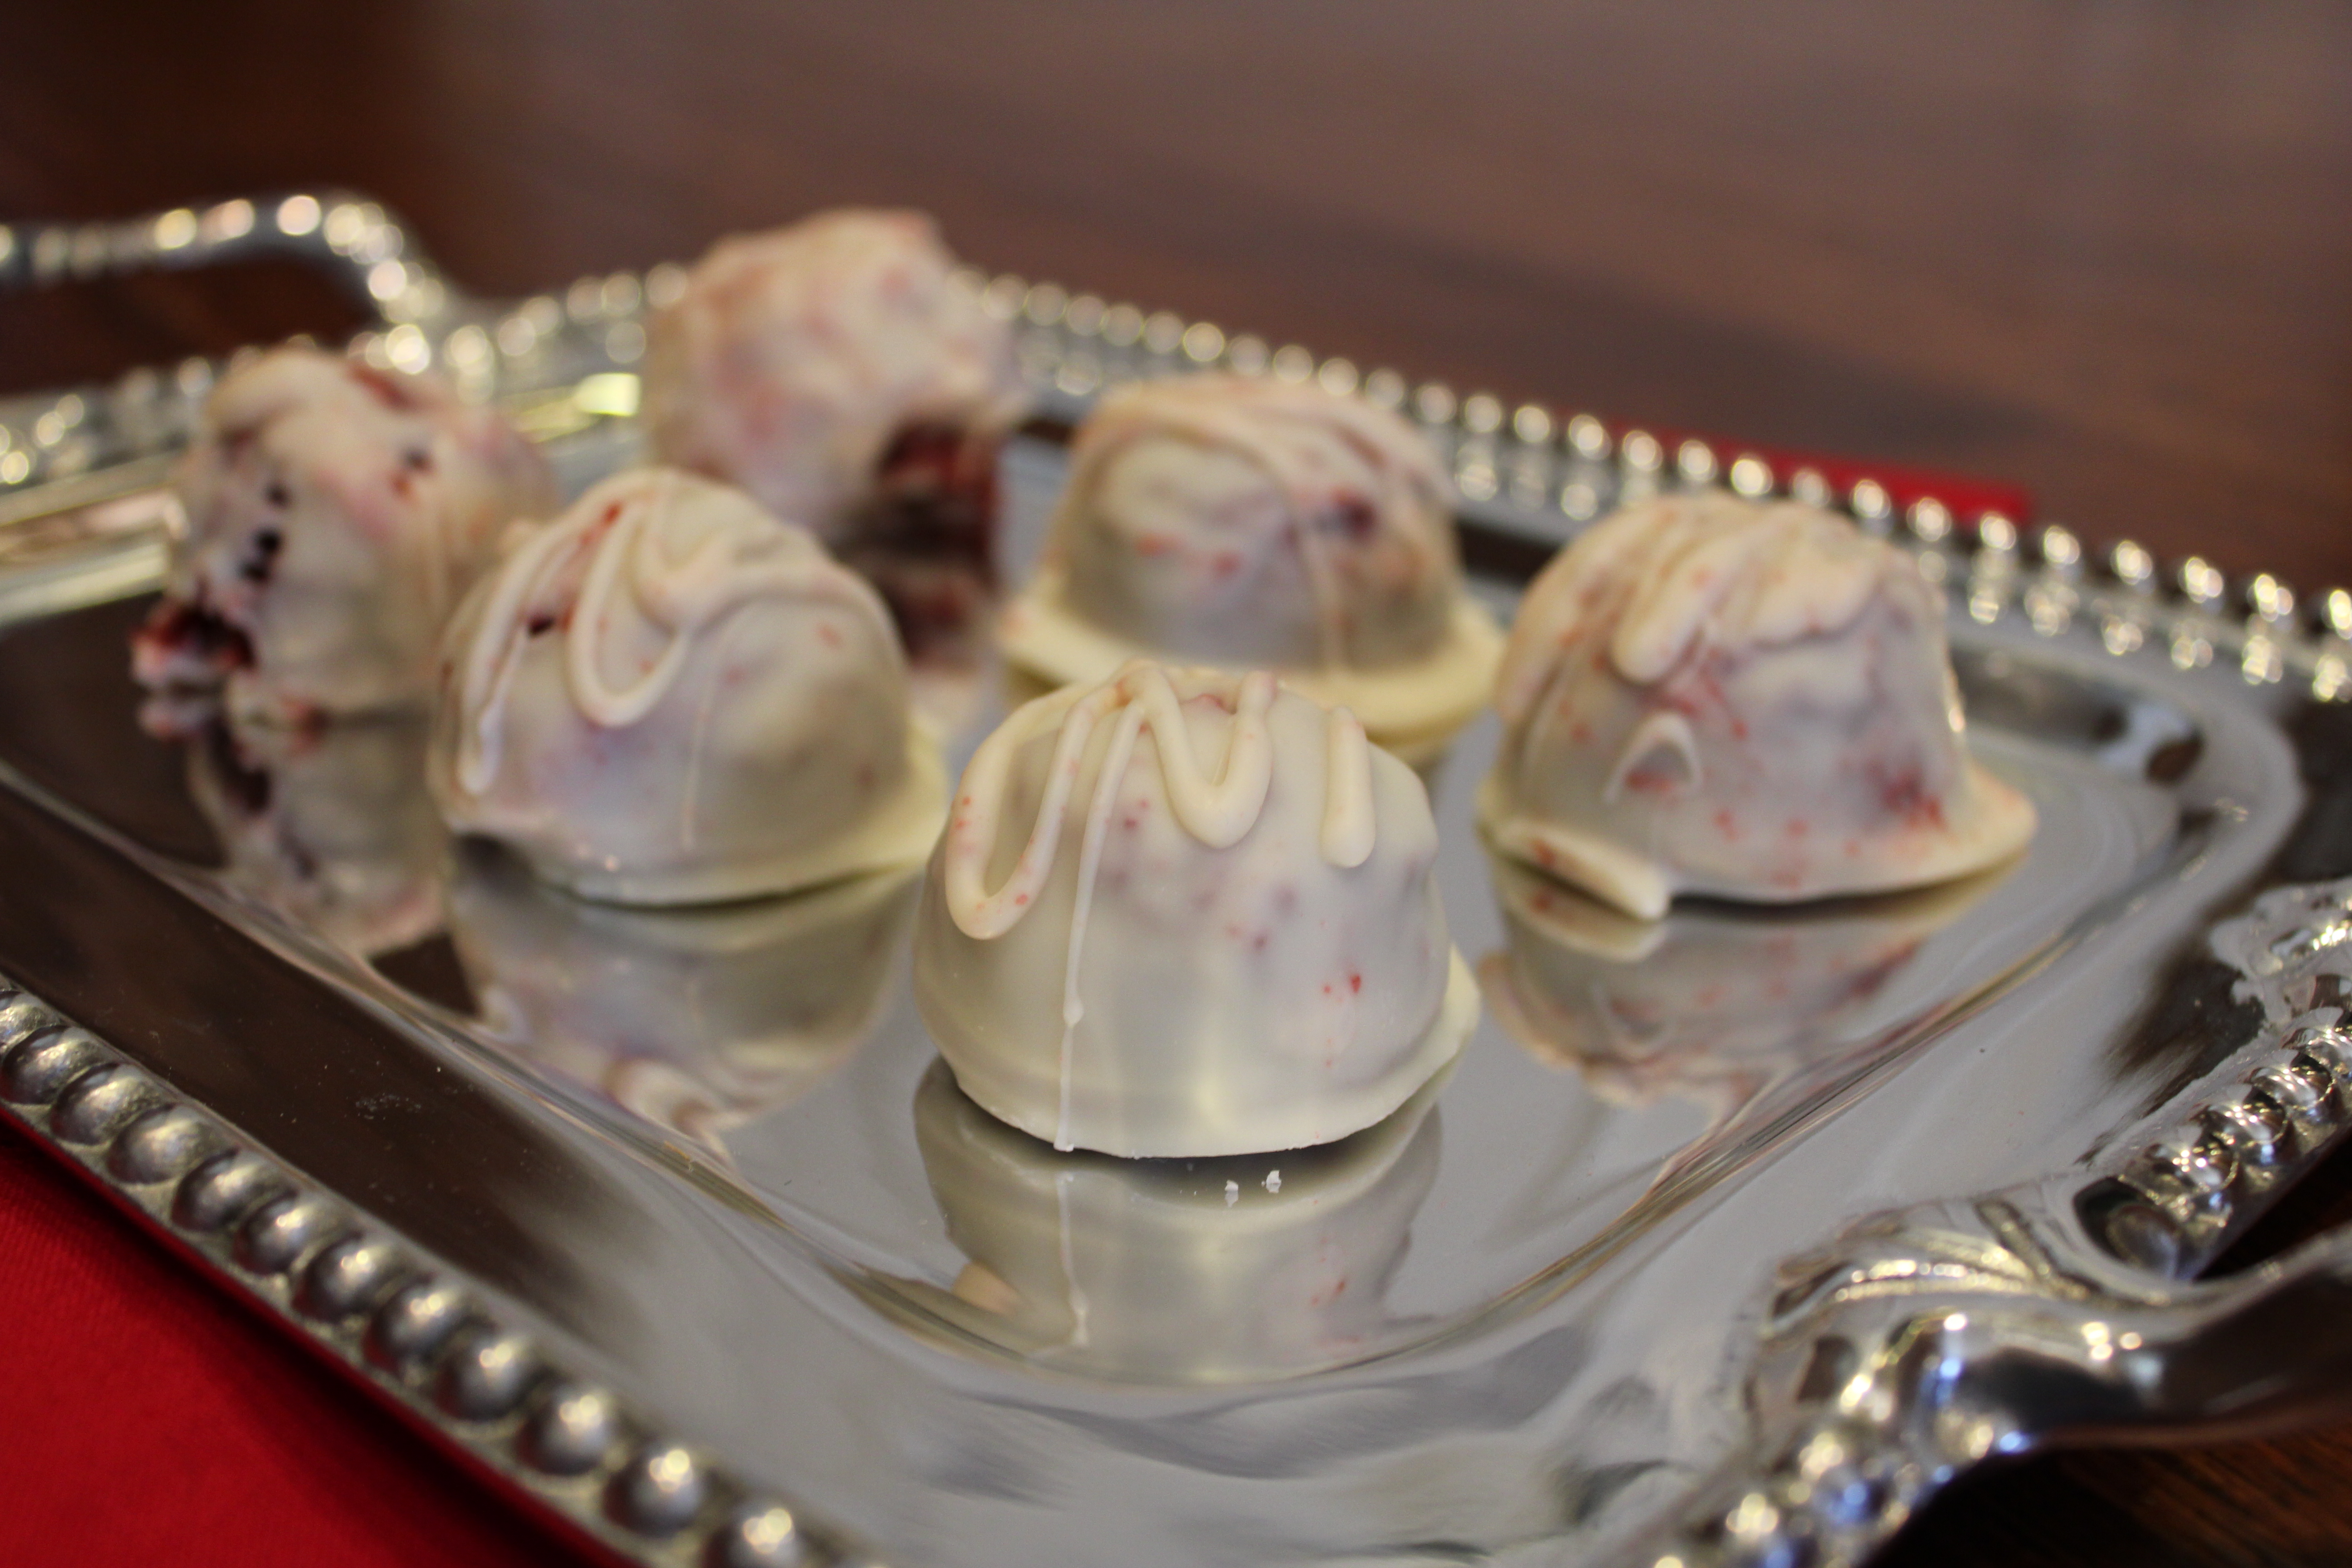
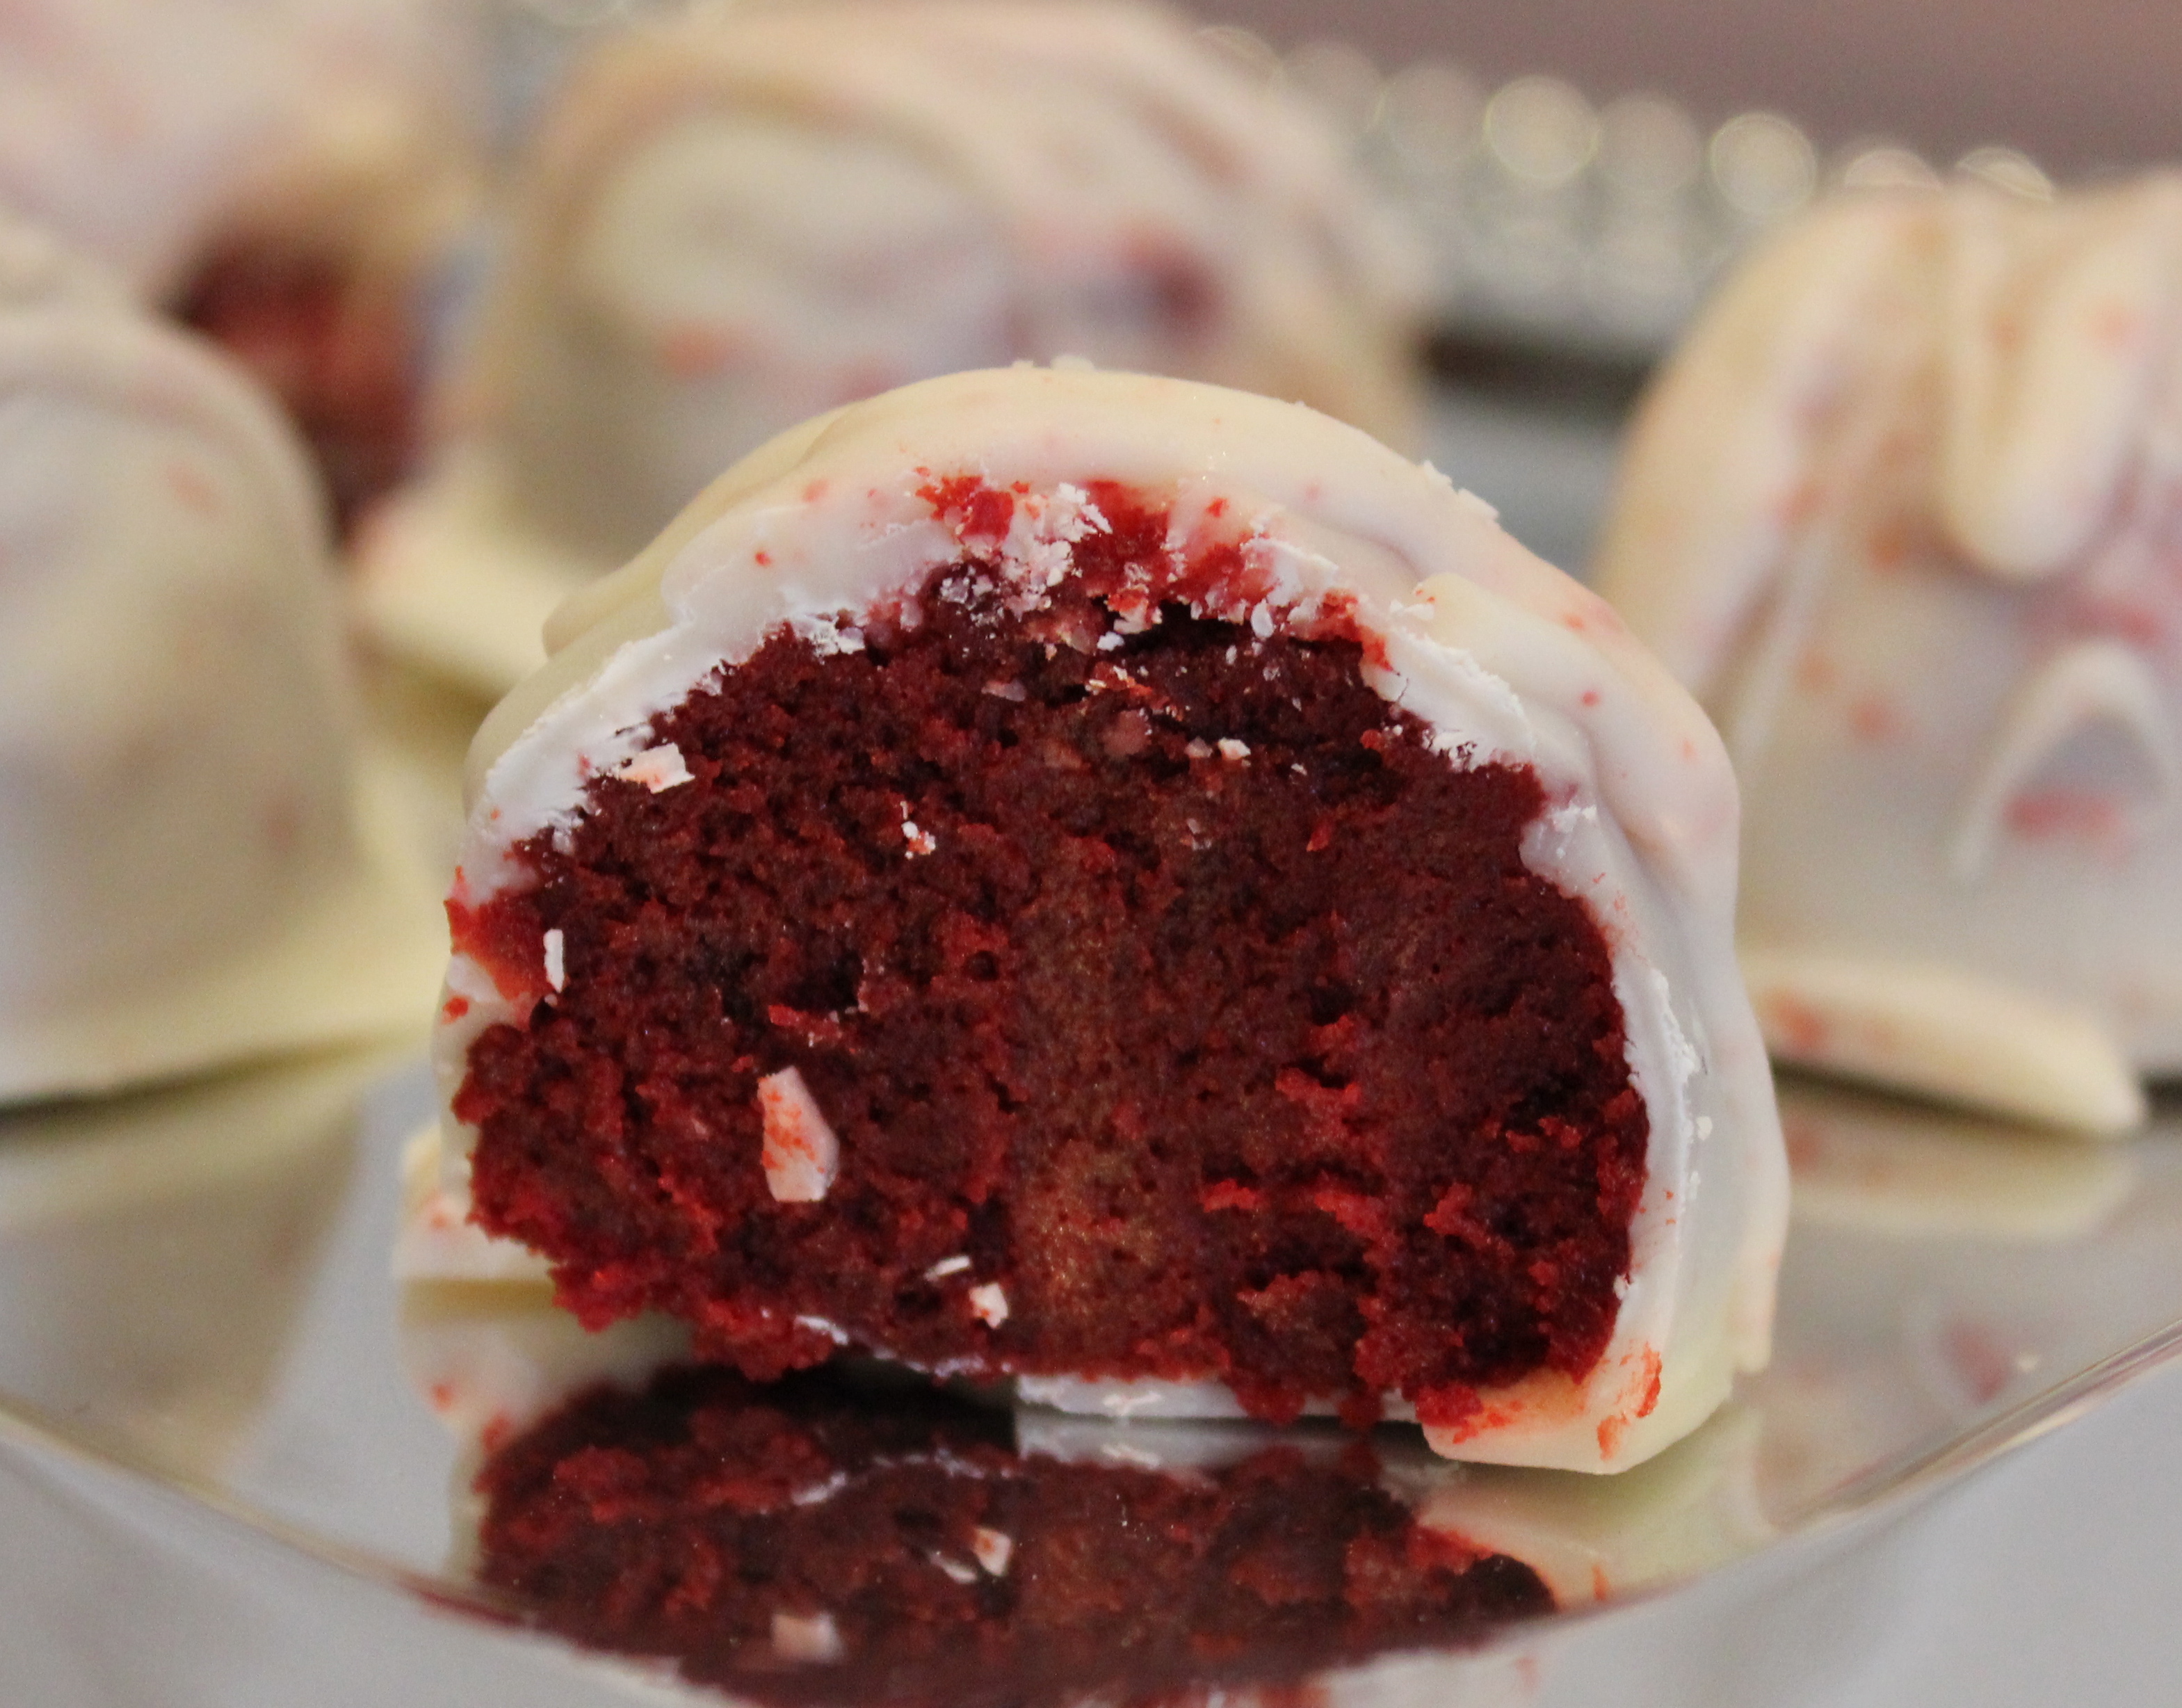
This was also my first time to make cake balls. I’ve made truffles before (Oreo Cheesecake Truffles and White Chocolate Oreo Truffles), but never cake balls. The only trouble I had with these was rolling the cake balls into the melted chocolate. Unfortunately, bits of red cake mixture came off and blended with the frosting. It kind of looks like I used red sprinkles! I think since the white chocolate was warm, it caused small bits of the cake to bleed into the chocolate. If you use milk chocolate, you will probably not even notice. Since I’m a perfectionist, I thought about throwing the cake balls away in the trash since they weren’t “perfect”. I’m glad I didn’t because they tasted delicious.

Have a great Saturday and if you’re lucky enough to have Presidents Day off, enjoy the looong weekend!

IMG_3029
Crumble cake and mix with cream cheese frosting.
IMG_3032
Roll into balls and refrigerate until firm.
IMG_3046
Roll in melted white chocolate and then serve once the chocolate has set up.

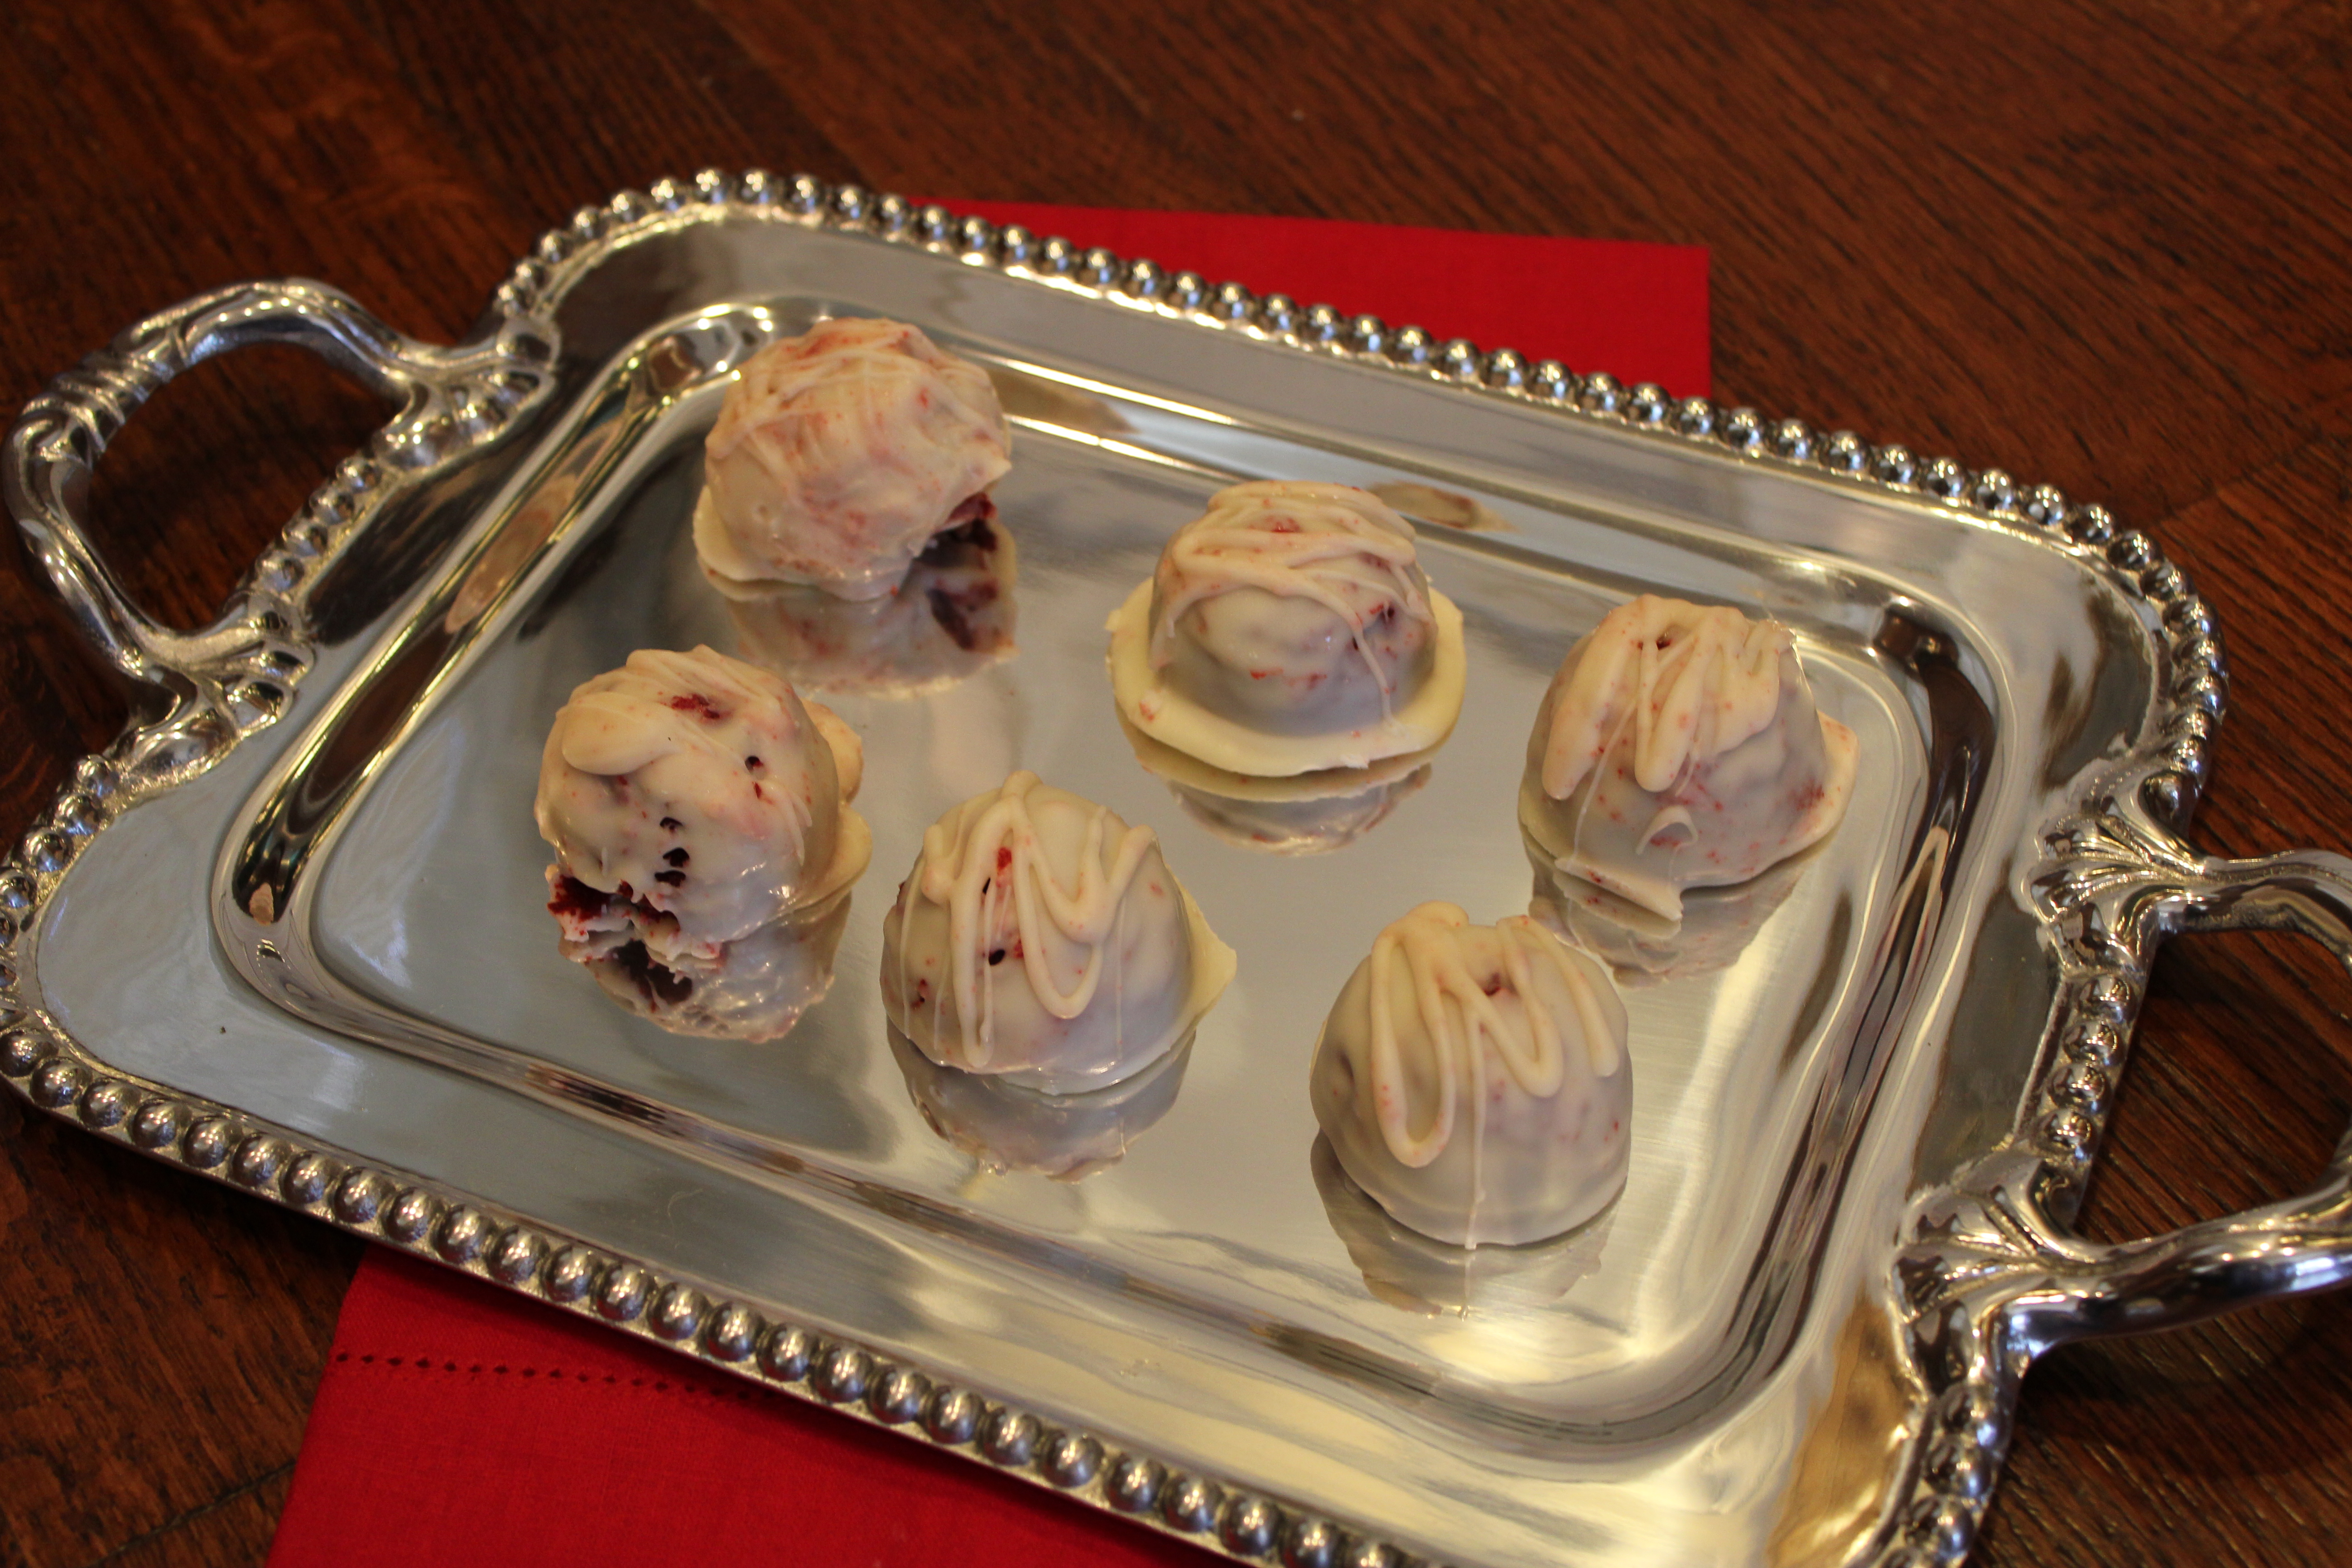
Like the pretty silver tray? My aunt Jolene in Houston gave it to last week as an early birthday present! It’s so elegant and I just LOVE it. The tray from the BEATRIZ BALL Collection, and is “made by hand, one at a time, using the ancient art of sand casting: pouring a premium quality of alloy of molten aluminum into sand molds, and then going through four levels of polishing.” It’s a perfect piece for entertaining and is super durable.
IMG_3049IMG_3053

IMG_3053 - Version 2 White Chocolate Covered Red Velvet Cake Balls
INGREDIENTS
1 box Duncan Hines Red Velvet Cake Mix
1 can cream cheese frosting (14 oz.)
1 package vanilla (white chocolate) almond bark

DIRECTIONS
1. Cook cake as directed on box for a 9 x 13-inch cake.
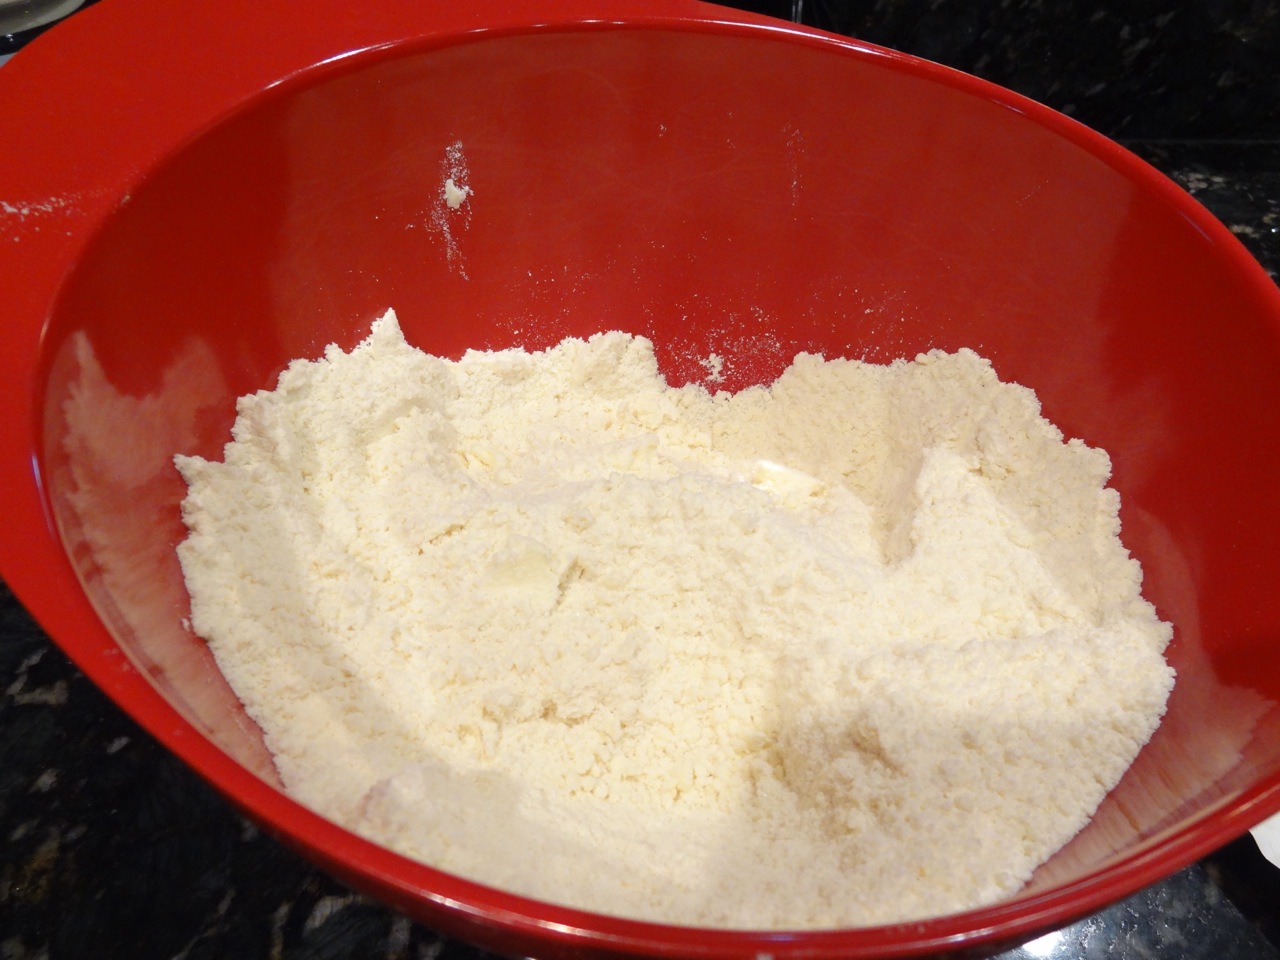
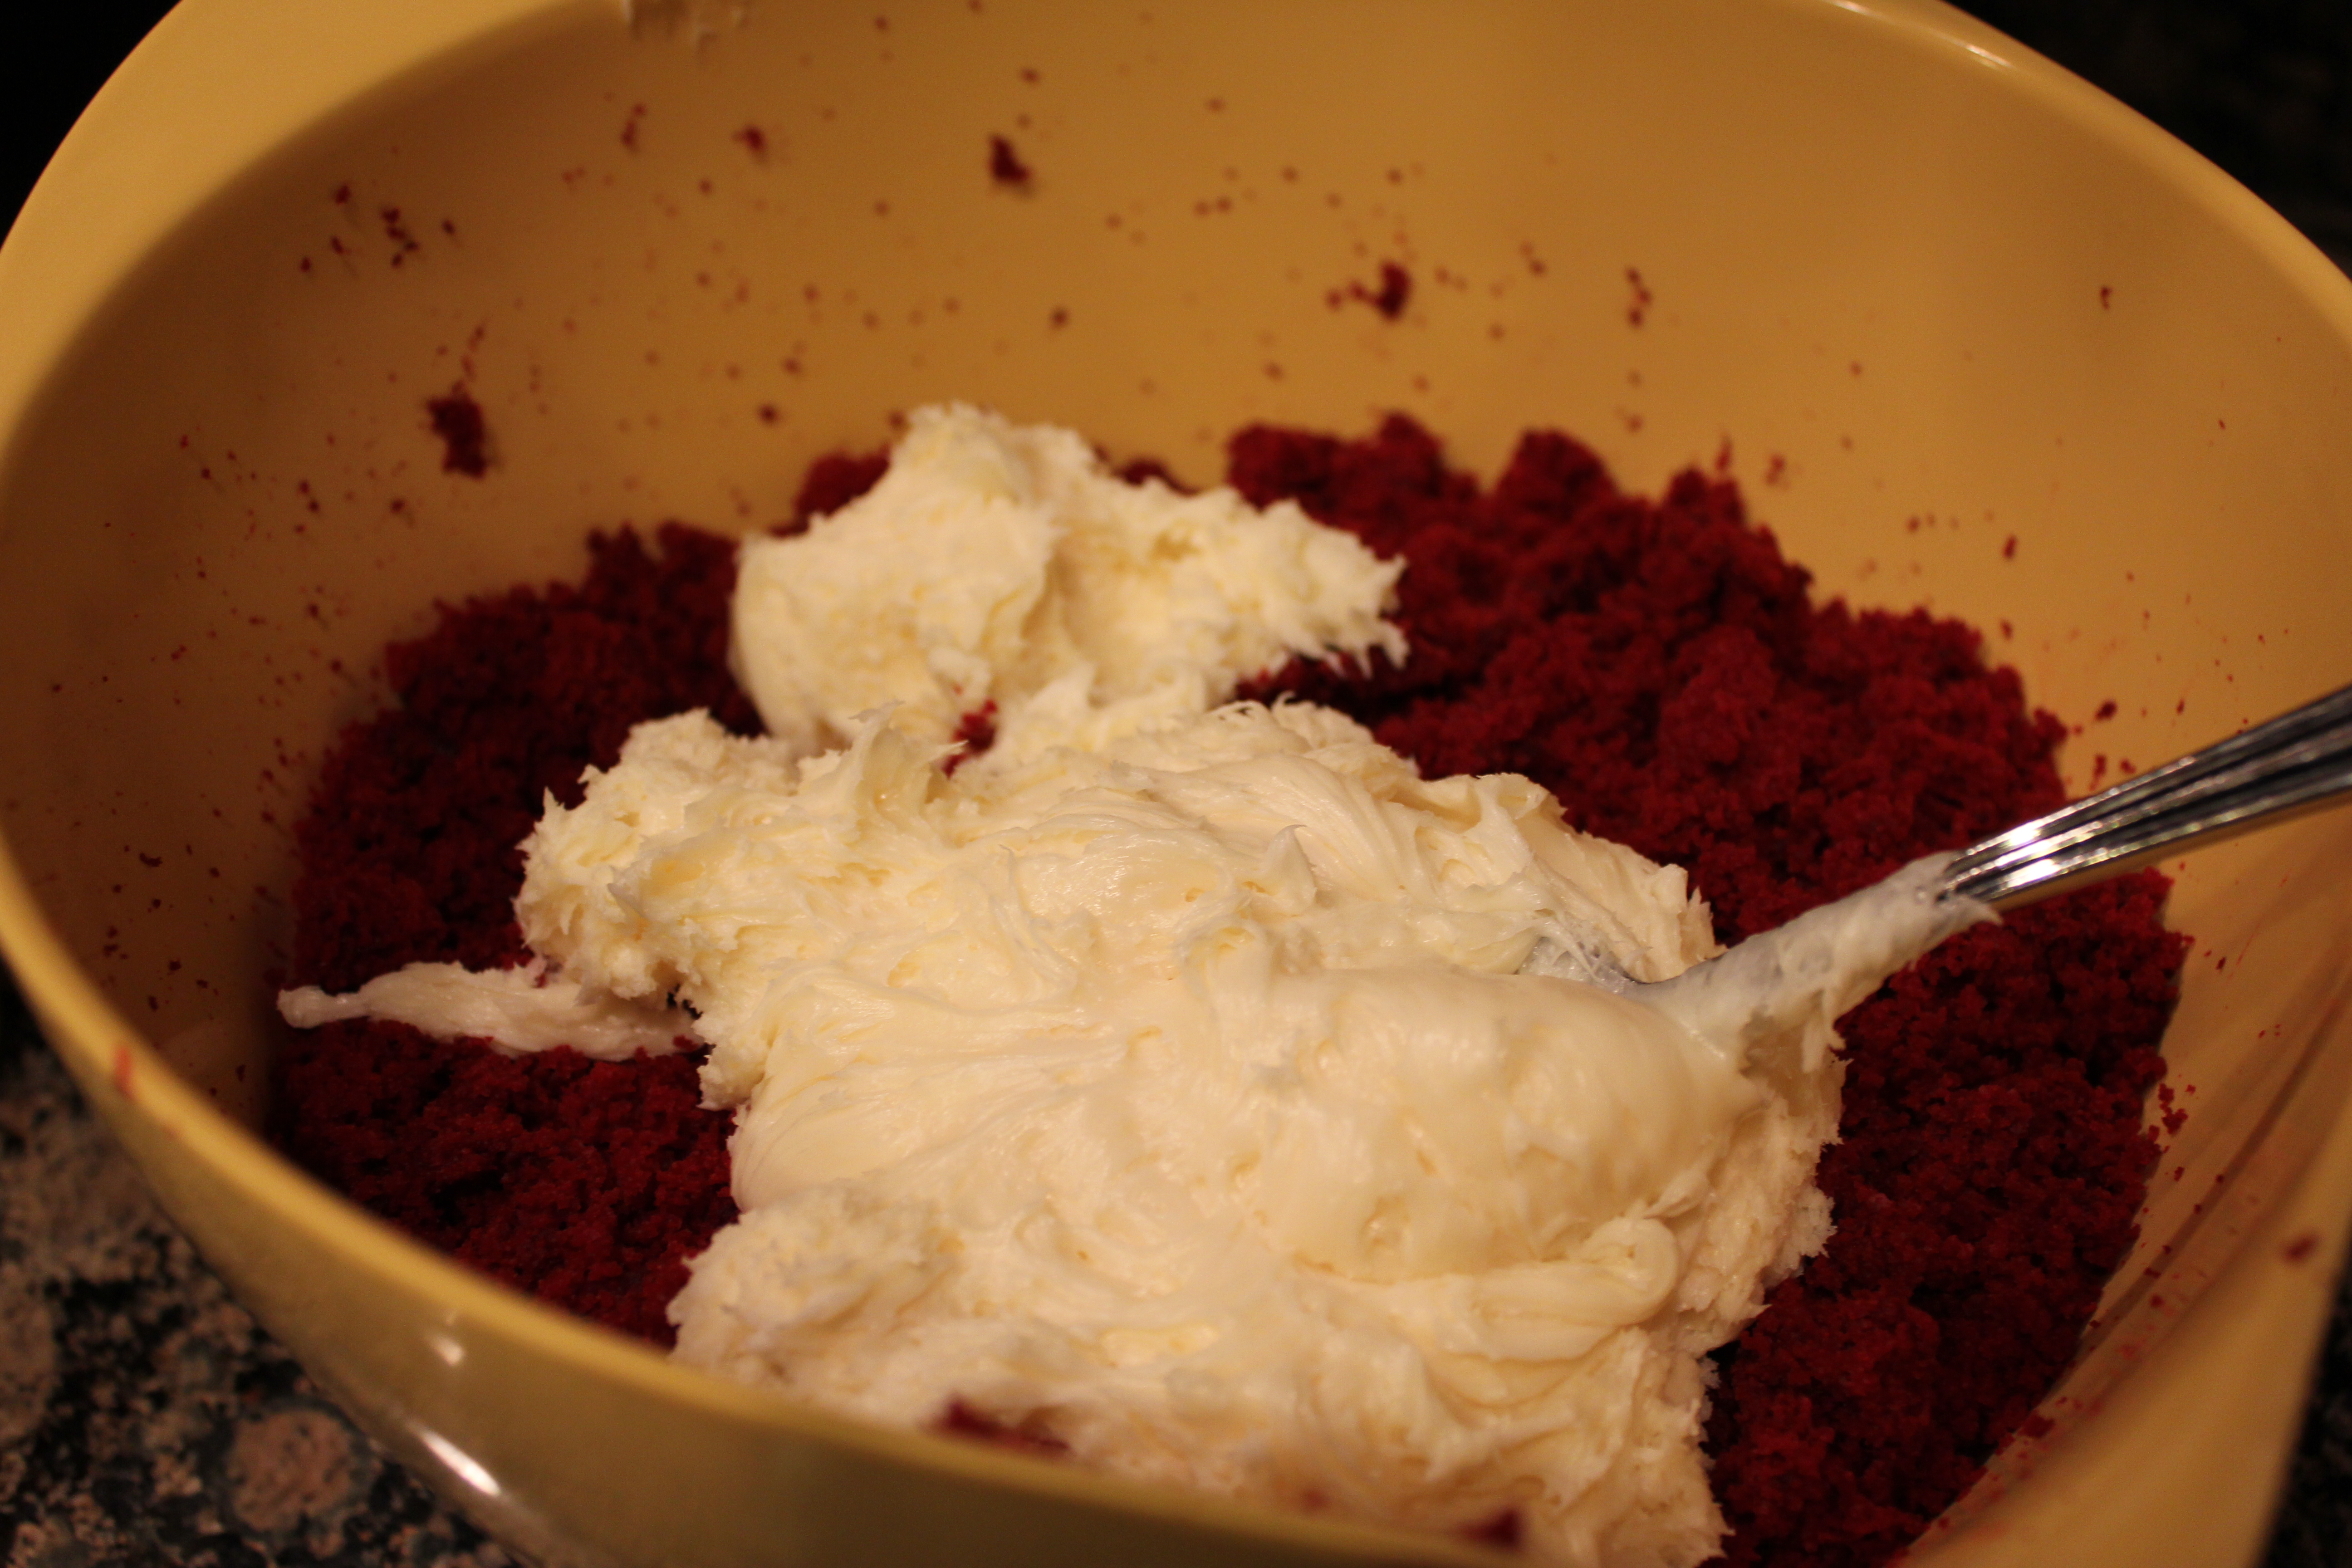
2. After cake is cooked and cooled completely, crumble into a large bowl.
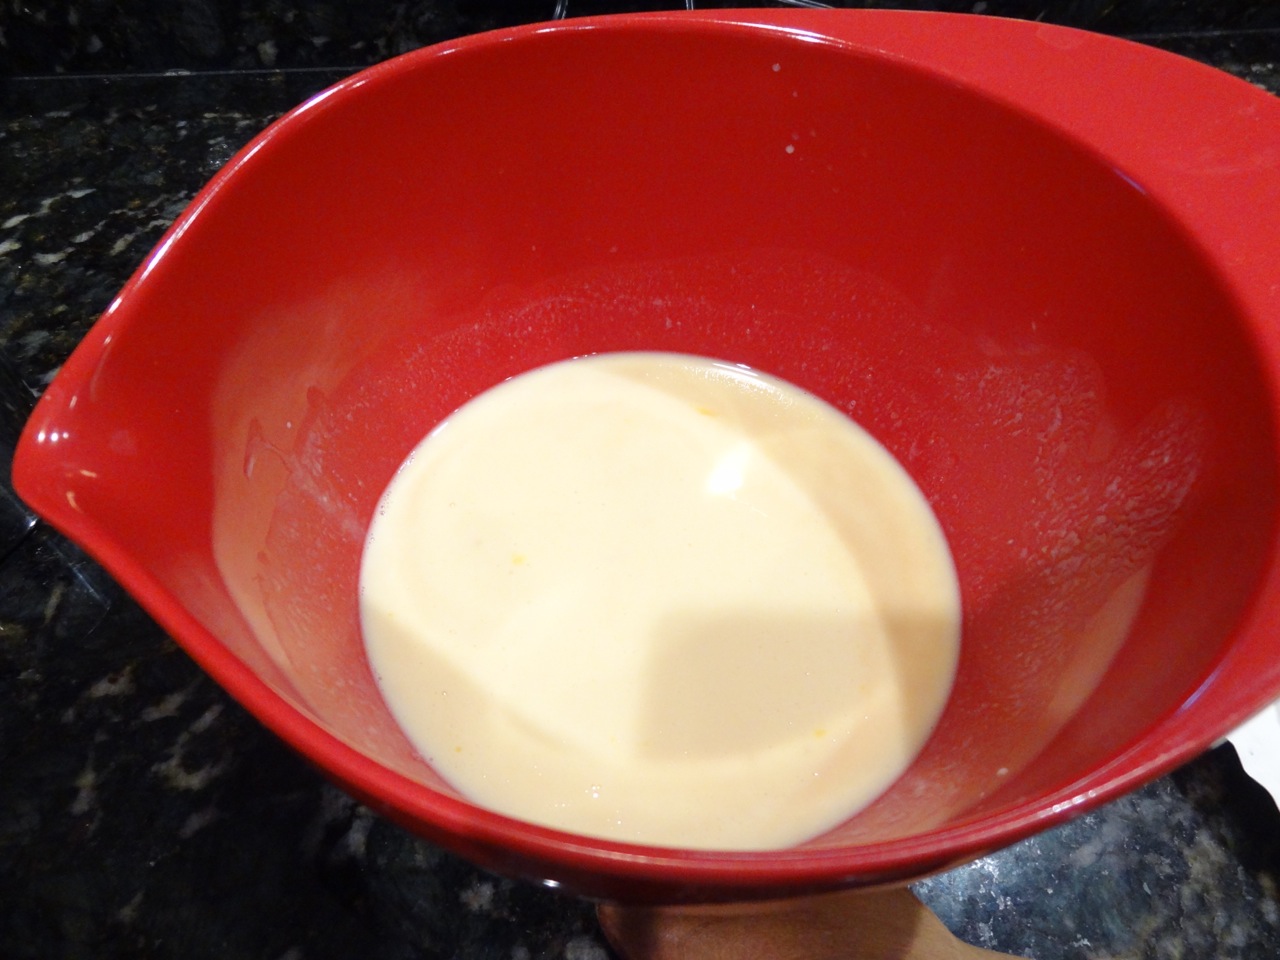
3. Mix thoroughly with 1 can cream cheese frosting.
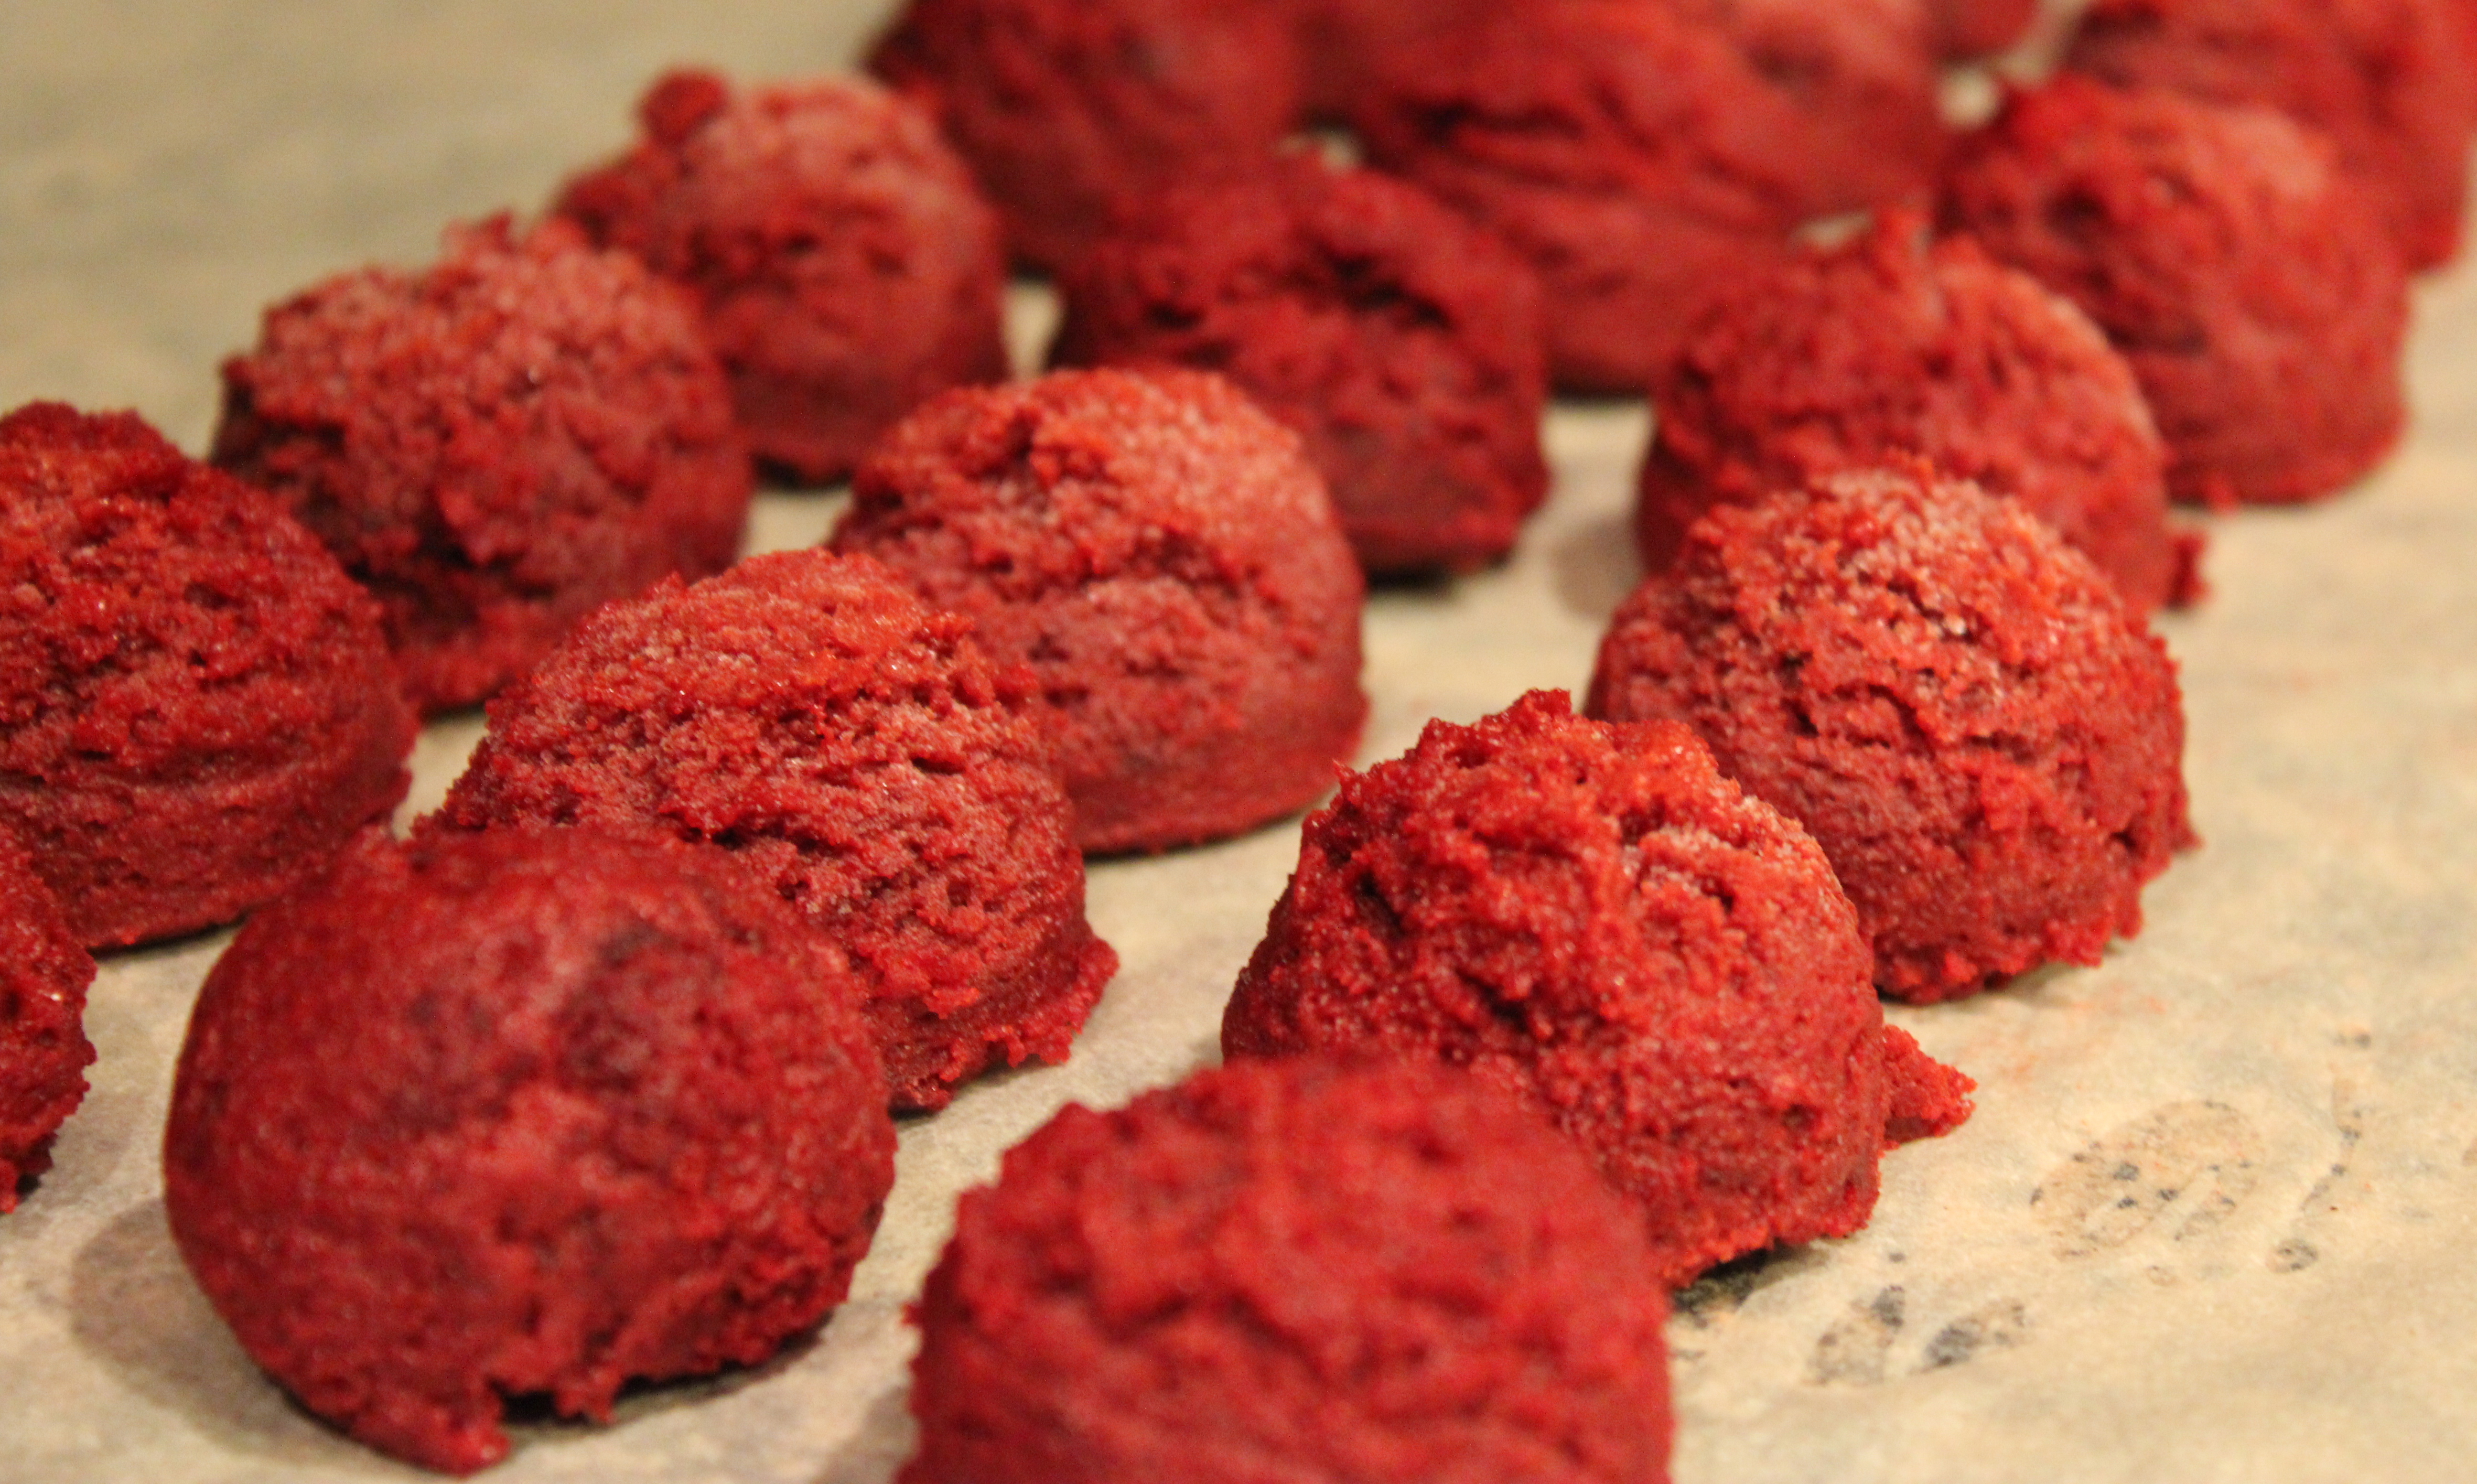
3. Roll mixture (I used a mini ice-cream cream scoop) to form about 40 quarter-sized balls. Chill for several hours. You can speed up the process by putting them in the freezer.
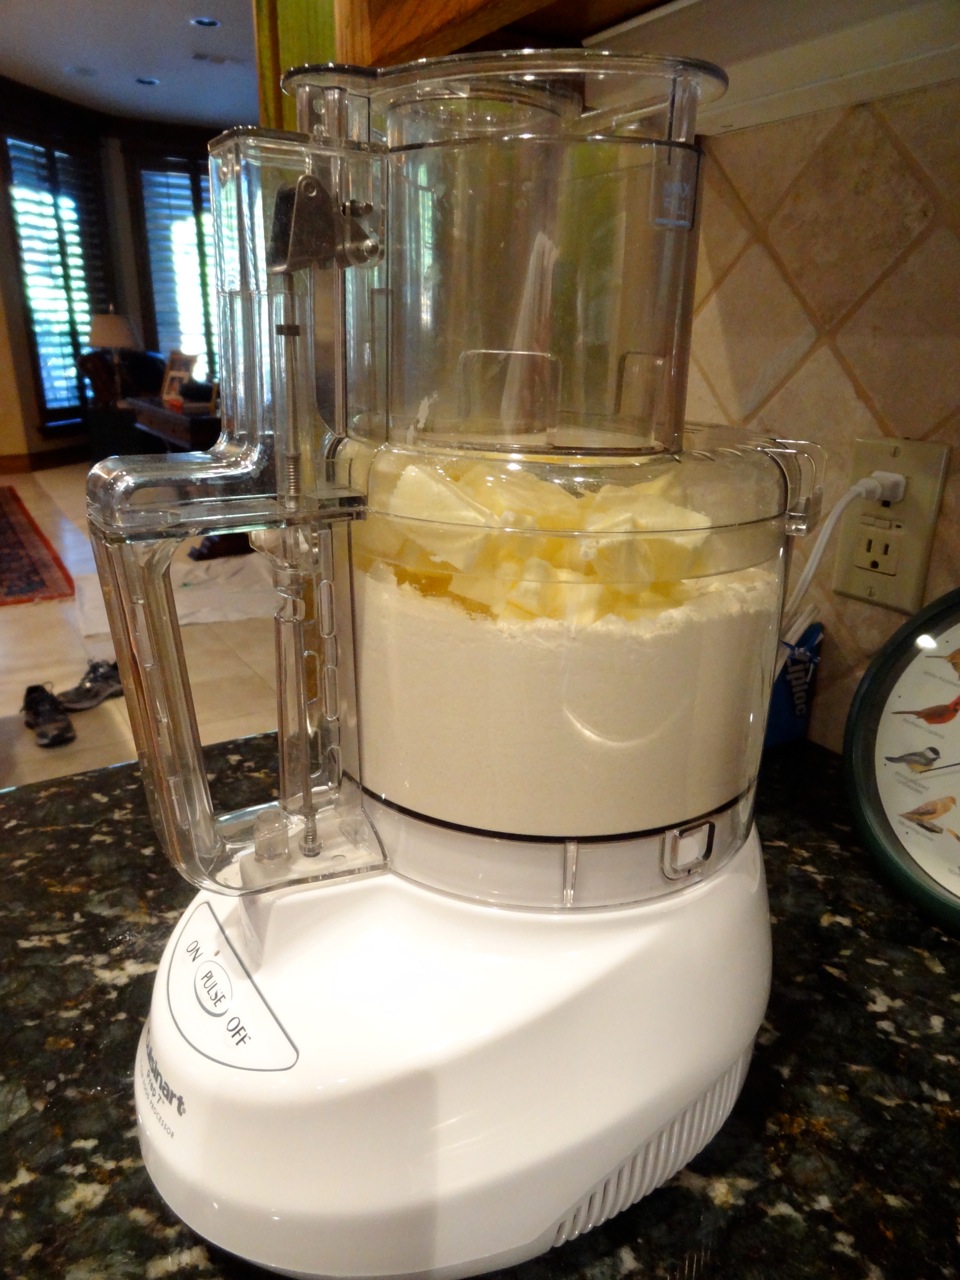
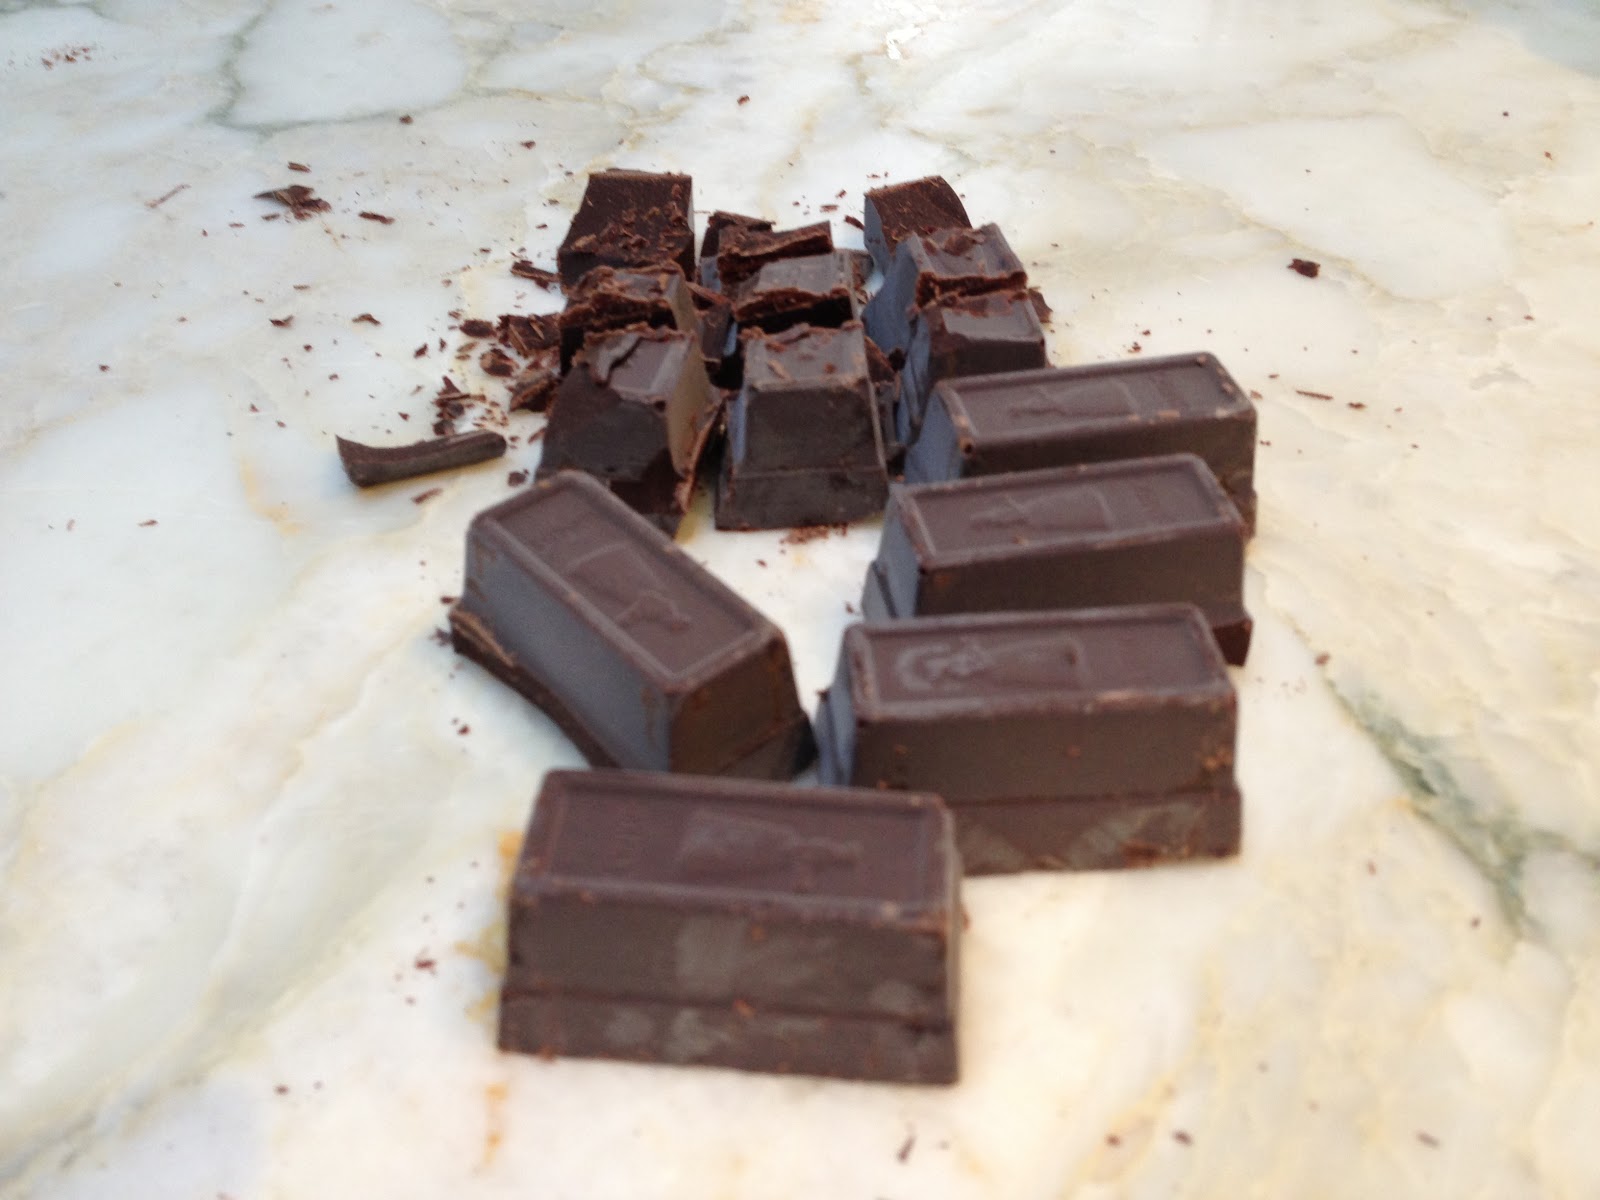
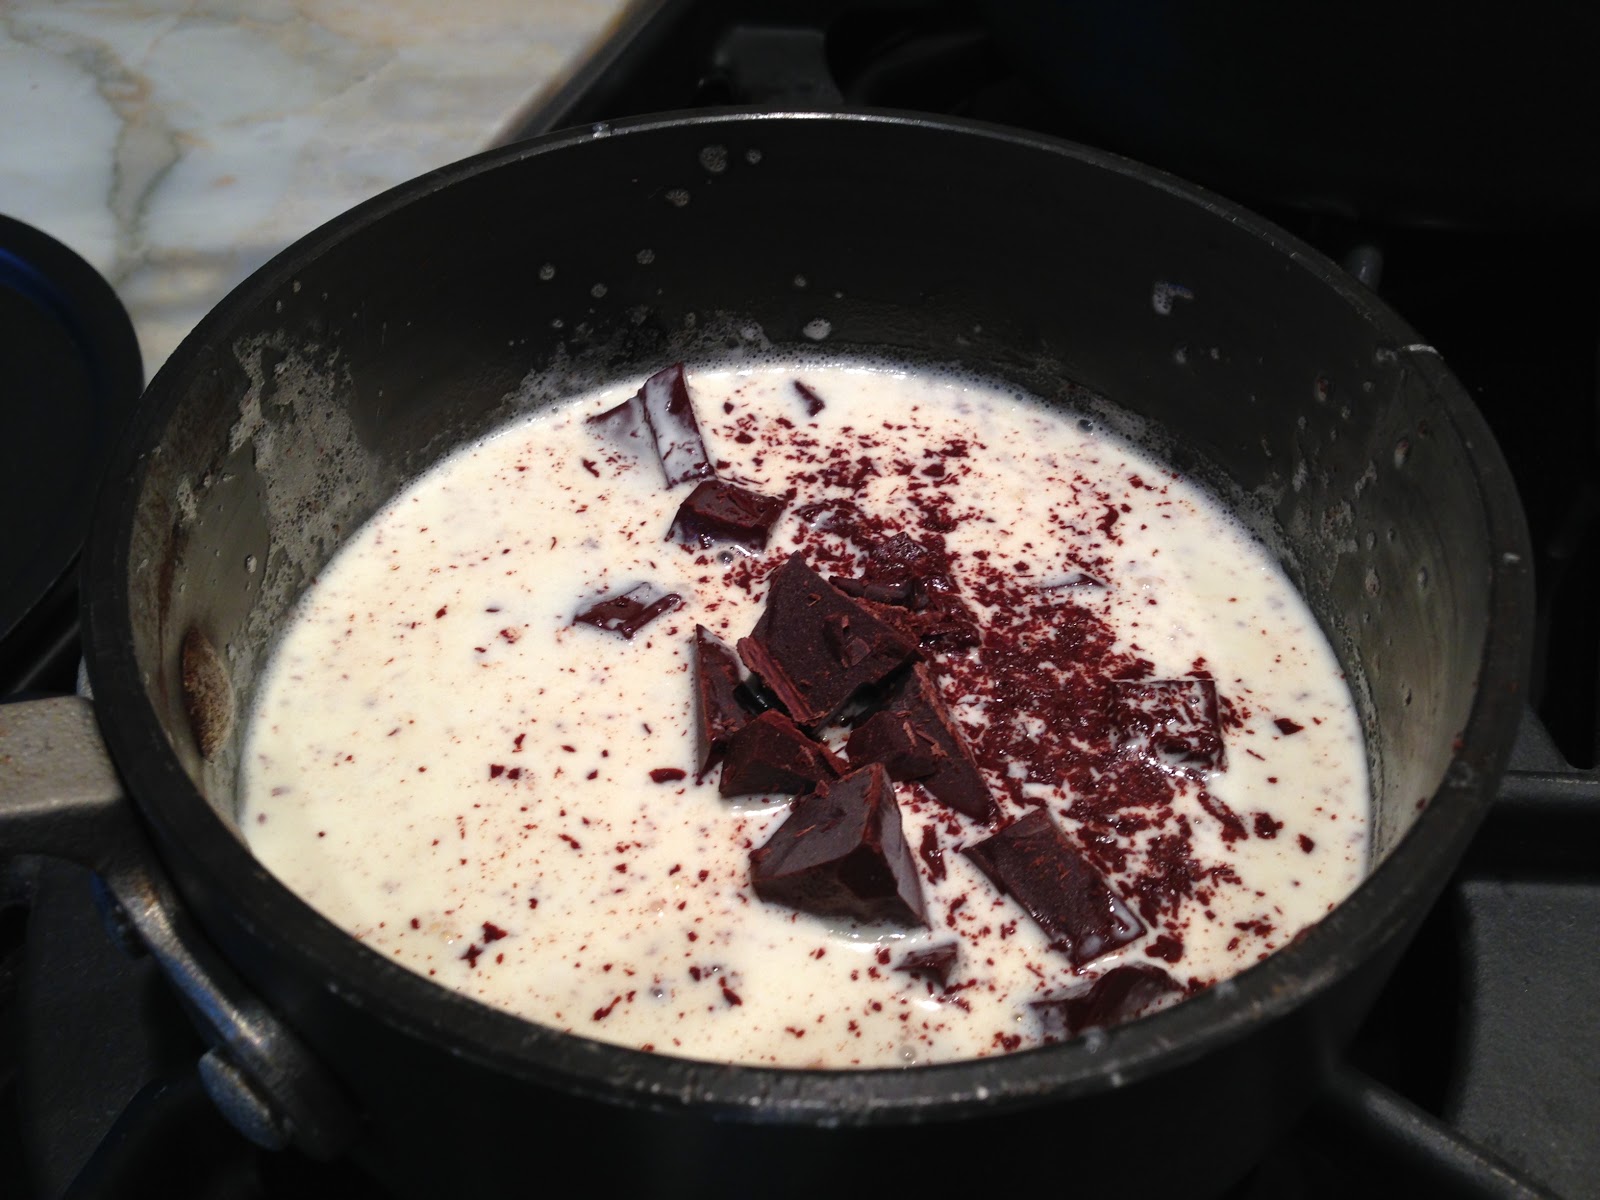
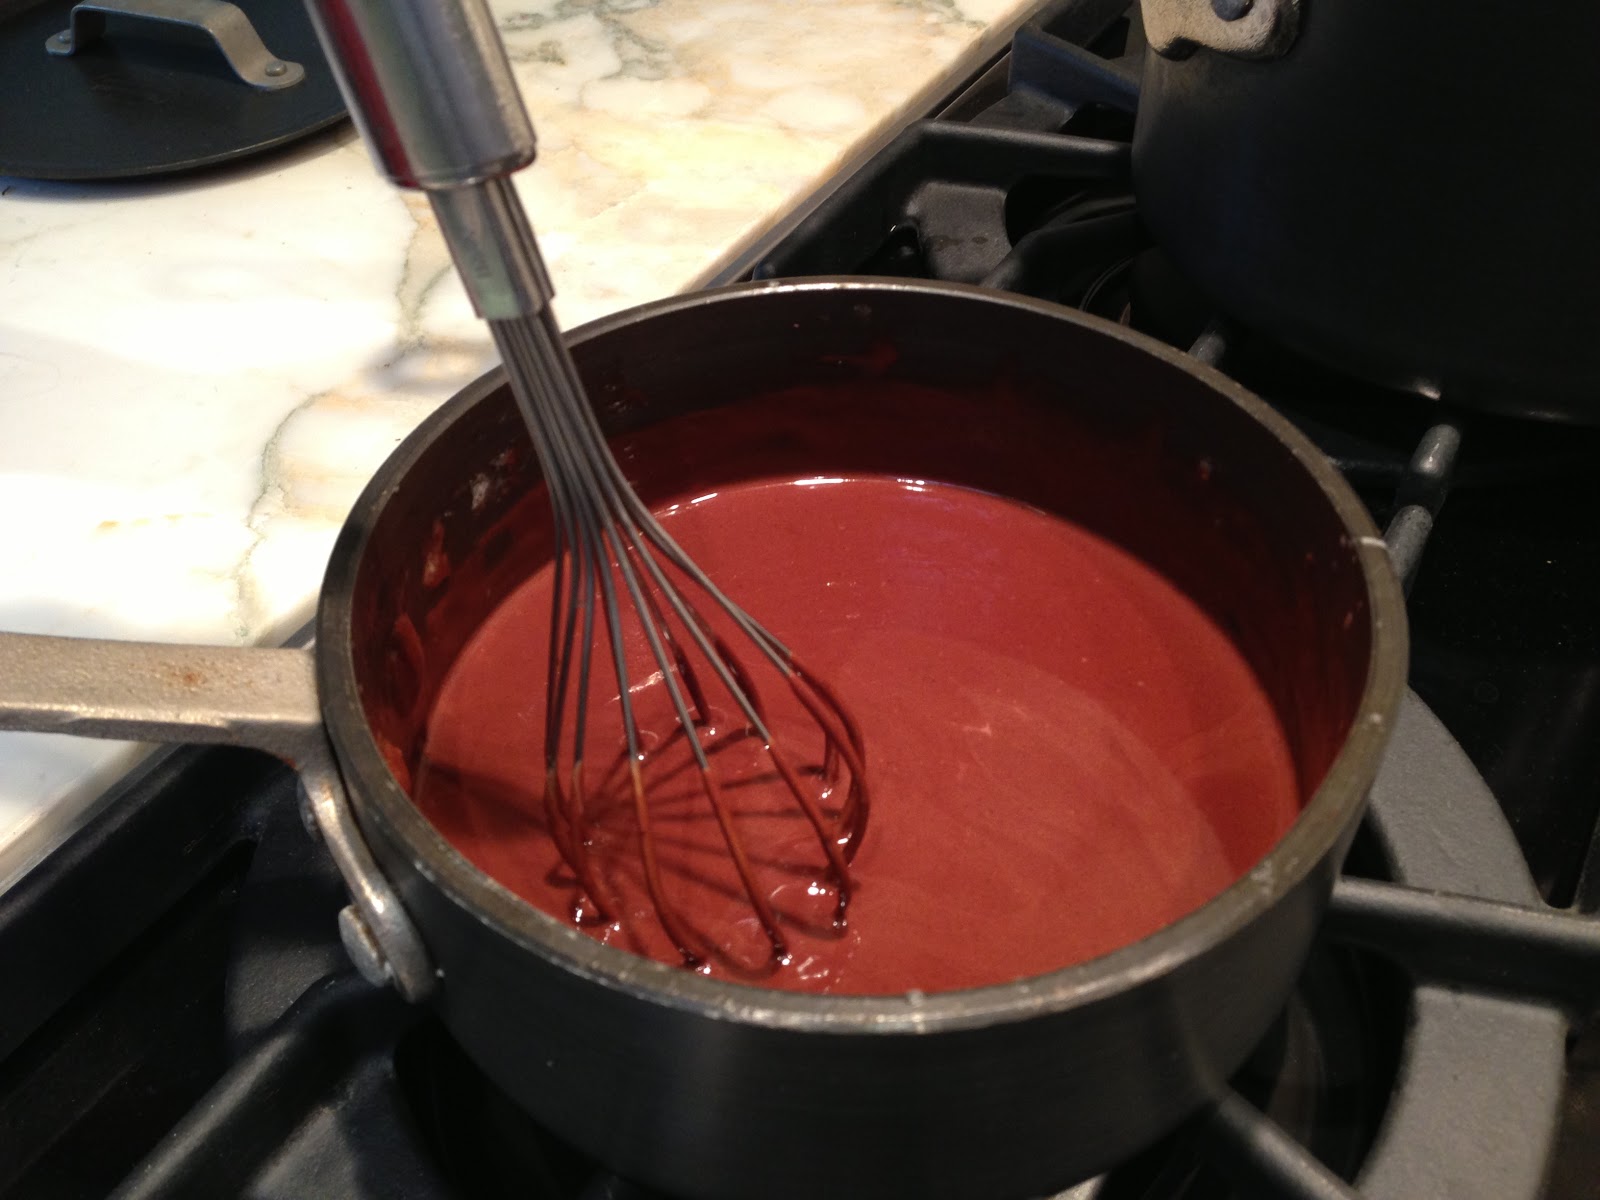
4. Melt chocolate according to package directions. (I melted the chocolate in the oven for about 12 minutes at 250 degrees F.)
5. Roll balls in chocolate and lay on wax paper until firm. This can get messy. The best way is to use a spoon to dip and roll the balls in chocolate and then tap off the extra.

*Tip: Melt only few pieces of chocolate bark at a time because the bark starts to cool and thicken very quickly.

Homemade Coconut Cranberry LĂ„RABARS

IMG_3023 copy

If you have an obsession with LĂ„RABARS, you’re going to love these! LĂ„RABARS, the all-natural fruit and nut bar is know for its simple and pure ingredient list. Usually each bar contains about 4 ingredients: nuts, dates, fruit, and spices. Since the ingredient list is so simple, I went on the search to duplicate them.

These homemade coconut cranberry raw bars are winners for sure! The recipe, from Raw Food Society BC, is super easy to make and very tasty.

As an athlete (okay, not really – I’m a runner that runs for fun), I always like to have wholesome granola bars as a snack. Most granola bars are loaded with tons of carbs and too much sugar. The great thing about these homemade LĂ„RABARS is that they are packed with protein (almonds and cashews) and get their sweetness from the coconut and dried cranberries.

Enjoy and happy working out to all of you!

IMG_3014 copy

IMG_3016 copy

IMG_3022 copy

Homemade Coconut Cranberry LÄRABARS
Ingredients
1/2 cup almonds
1/2 cup cashews
1 cup dates
1/2 cup dried cranberries
1 cup shredded coconut
2 Tbsp. coconut oil

Directions
1. In a food processor combine the nuts, dates, and cranberries.
2. Process until the dough is sticky and the pieces of nuts and fruit are all similar sized pieces.
3. Add coconut oil and process to combine. Add the shredded coconut and pulse until just combined. Be careful not to over-process at this point.
4. Shape into equal-sized, or roll into bite-sized balls and wrap in parchment paper or plastic wrap.These raw bars should keep in the refrigerator or freezer in an airtight for up to a month.

Yield: 8 servings
Recipe from: Raw Food Society BC

Banana Blueberry Bread

As mentioned before, I write a food column for our monthly neighborhood magazine. For the month of February I featured my neighbor’s banana blueberry bread, which is out of this world good! (She was gracious enough to bake Matt and I an extra loaf of bread!) Below is an excerpt from my column:

Feeding a family of seven can be tough, especially when five kids are involved. Fortunately for Chas, her entire family LOVES this banana blueberry bread. It’s quick, easy to make and simple to double or triple the recipe when you have lots of mouths to feed!

“If you’re looking to lighten up this recipe, feel free to use a sugar substitute such as Splenda. The look may be slightly altered, but the taste is just as good,” says Chas. Enjoy!

Chas presenting her banana blueberry bread. The loaf in the middle contains Splenda, so it looks a little different…BUT tastes just as good!


Banana Blueberry Bread
Ingredients
1 1/4 cup sugar
1/2 cup butter, softened
2 eggs
1 1/2 cups mashed very ripe bananas
1/2 cup buttermilk (substitute 1 1/2 tsp. lemon juice and enough milk to make 1/2 cup)
1 tsp. vanilla
2 1/2 cups all-purpose flour
1 tsp. baking soda
1 tsp. salt
1 cup fresh or frozen blueberries

Directions
1. Position oven rack to the lowest rung. Heat oven to 350 degrees F. Grease bottoms of 2 (8×4-inch) loaf pans or 1 (9×5-inch) loaf pan. Or use aluminum so you can give them as gifts.
2. In a large bowl, combine sugar and butter. Stir in eggs until well mixed. Stir in bananas, buttermilk and vanilla and beat with a spoon until smooth.
3. Stir in flour, baking soda and salt just until moistened. Fold in blueberries.
4. Divide batter evenly between two 8-inch pans or all in the 9-inch pan.
5. Bake 8″ loaves for about an hour and 9″ loaf about 1 hour, 15 minutes, or until toothpick inserted in center comes out clean. Cool in pans on a wire rack for 10 minutes.

Yield: 2 (8×4-inch) loaves or 1 (9×5-inch) loaf
Recipe from: my neighbor – Chas

Lemon-Scented Blueberry Cupcakes

How are those New Years Resolutions treating you? We’re just 12 days into the new year, and hopefully you’ve stayed strong and are on the right track to a great 2013!
If you have a sweet tooth, these blueberry cupcakes might be right up your alley. They recipe is from Cooking Light, and they’ve received outstanding reviews. The combination of blueberries and lemon juice is perfect. The texture is more muffin-like than cupcake-like, but nonetheless they were tasty. The lemon-scented cream cheese frosting was amazing! You would never know that you’re eating 1/3 less-fat cream cheese. For a homemade look, use a small flat spatula… like I did. If you want to get fancy, pipe the frosting into a pastry bag fitted with a star tip for a fun, swirled appearance.
So go ahead…  satisfy that sweet tooth with these light and scrumptious cupcakes. Enjoy!
Sift together flour, sugar, baking powder, salt and soda.
Combine melted butter and egg. Add buttermilk, milk and lemon rind. Then add buttermilk mixture to flour mixture.
Fold blueberries into batter.
Bake at 350 degrees F for 25 minutes.
In a stand mixer, combine cream cheese, butter, rind, vanilla and salt. Gradually add powdered sugar and stir in juice.
Spread frosting over cupcakes and garnish with blueberries.

Blueberry Cupcakes with Lemon Cream Cheese Frosting
CUPCAKES
6.75 ounces (1 1/2 cups) plus 2 Tbsp. all purpose flour, divided
10 Tbsp. granulated sugar
1 1/2 tsp. baking powder
1/4 tsp. salt
1/8 tsp. baking soda
1/4 cup butter, melted
1 large egg
1/2 cup low-fat buttermilk
1/2 cup 2% reduced-fat milk
1 tsp. grated lemon rind
3/4 cup blueberries

FROSTING
1/4 cup (2 ounces) 1/3-less fat cream cheese, softened
2 Tbsp. butter, softened
1 tsp. grated lemon rind
1 tsp. vanilla extract
1/8 tsp. salt
1 1/2 cups powdered sugar, sifted
2 tsp. fresh lemon juice

Directions
1. Preheat oven to 350 degrees F.
2. Place 12 paper muffin cup lines in muffin cups.
3. To prepare cupcakes: Weigh or lightly spoon 6.75 ounces flour (about 1 1/2 cups) into dry measuring cups; level with a knife. Measure 1 tablespoon flour; level with a knife. Sift together 6.75 ounces flour plus 1 tablespoon flour, granulated sugar, baking powder, 1/4 teaspoon salt, and baking soda in a large bowl.
4. Combine melted butter and egg in another large bowl; stir with a whisk. Add buttermilk, milk and 1 teaspoon rind to butter mixture; stir with a whisk. Add buttermilk mixture to flour mixture, stirring just until moist. Toss blueberries with remaining 1 tablespoon flour. Fold blueberries into batter.
5. Spoon batter into prepared muffin cups. Bake at 350 degrees F for 25 minutes or until a wooden toothpick inserted into center comes out clean. Cool in pan 5 minutes on a wire rack; remove from pan. Cool completely on wire rack.
6. To prepare frosting: Place cream cheese, 2 tablespoons butter, 1 teaspoon rind, vanilla and 1/8 teaspoon salt in a bowl; beat with a mixer at medium speed just until blended. Gradually add powdered sugar (do not over beat). Stir in juice. Spread frosting evenly over cupcakes. Cover and store in refrigerator.

Yield: 12 servings (serving size: 1 cupcake)
Recipe from: Cooking Light Way to Bake: The Complete Visual Guide to Healthy Baking – delicious recipes, freshly healthy ingredients, smart tools & techniques

NUTRITIONAL INFORMATION: 236 Calories | 7.7g Fat | 3.7g Protein | 38.7g Carbohydrate | 0.7g Fiber | 38mg Cholesterol | 230mg Sodium | 71mg Calcium

Cherry-Buttermilk Scones

My mom and cherries are like two peas in a pod….she absolutely LOVES them! When cherries are in season, my mom will simply pop them into her mouth just like you would grapes. 
Recently we all went shopping at McKinney’s downtown historic square. There we bought some Amaretto Cherry Preserves from a cute kitchen shop and all we could think about afterwards was making scones and biscuits so we could try out our cherry preserves!
When we arrived home, that’s exactly what we did…. we made cherry-buttermilk scones! If you’ve never eaten a scone, it’s time to try one. They remind me of a flaky biscuit, except that they are sweet. They are super easy to make and we just love them!
The amaretto cherry preserves went perfect with our scones, but you could also top them with a pat of butter served alongside a cup of tea like the British do! “Quite lovely,” as the Brits would say. Enjoy!
Pulse butter and dry ingredients.
Transfer dry ingredients to a large bowl.
Whisk eggs, buttermilk and vanilla.
Pour wet ingredients into dry and add dried cherries.
Stir until just combined.
Use 1/2 cup measuring cup to scoop scones onto baking sheet.
Bake for 25-30 minutes or until golden brown.
Serve warm.

Cherry-Buttermilk Scones
Ingredients
4 cups unbleached all-purpose flour
1 Tbsp. baking powder
1 tsp. baking soda
1/2 tsp. salt
2/3 cup sugar
20 Tbsp (2 1/2 sticks) cold butter, cut into 1/4-inch cubes
2 large eggs
1 cup cold buttermilk
1 Tbsp. vanilla extract
1 cup dried cherries

Directions
1. Position your oven racks so one is in the center of your oven. Line baking sheets with parchment paper. Preheat oven to 400 degrees F.
2. Dump the dry ingredients into the bowl of a food processor. Pulse a few times to mix.
3. Add the butter all at once, and run the food processor for 15 seconds. Switch to pulse, and continue pulsing until there are no chunks left and the mixture looks like moist crumbs. Be careful not to over-mix the ingredients. Remove the blade from the food processor, and dump the crumbs into a big bowl.
4. In another small bowl, whisk the eggs to break up the yolks. Whisk in the buttermilk and vanilla. Stir in the cherries.
5. Pour the wet ingredients into the bowl with the ‘crumbs’ and stir with a wooden spoon. Stop as soon as no flour is visible. You don’t want to work the dough a moment longer than necessary.
6. Use a half-cup measuring cup or your hands to scoop the batter out, and plop it onto the baking sheet, leaving 2 inches between the scones.
7. Place the baking sheet on the center rack in the oven, and bake the scones for 25-30 minutes, or until the tops are golden brown and a small knife or toothpick inserted into the center of one comes out clean.
8. Remove the baking sheet from the oven, and place it on a rack to cool for a few minutes. Use a spatula to transfer the scones to the rack or serving dish. Serve fresh out of the oven or at room temperature.

Yield: 10 scones
Recipe adapted from: Once Upon a Tart by Frank Mentesana and Jerome Audreau

Cinnamon Sugar Doughnuts

I hope everyone enjoyed the holidays as I write my first post of 2013! I myself enjoyed spending time with family, and just taking a week to relax. As you can image, I did some baking on my time off. 
If you’ve never eaten a homemade doughnut, it’s something you ought to try! It doesn’t get much better than eating a freshly baked, hot one straight out of the oven. I do have to give my mom and sister credit on these doughnuts as they did a majority of the baking while I went out on a long run. Don’t worry though, I was kind enough to dust the finished doughnuts with a decadent cinnamon-sugar topping – the best part I might add!
If you don’t have a doughnut pan, you will need to go buy one at the store in order to make these. The pans cost only $10, so don’t worry, you won’t be breaking the bank. Shout out to Sur la Table, one of my favorite cooking stores and the place where we bought our Wilton doughnut pans!
The recipe comes from Ina Garten’s newest cookbook, Barefoot Contessa Foolproof. Ina has lots of great recipes in her book, so I would definitely recommend it. The great thing about Ina’s doughnut recipe is that they are NOT greasy….they are baked! They’re great with a cup of hot chocolate for dessert or with coffee for your morning breakfast. I like them better as the cinnamon-sugar topping melts into the doughnut.
You can also sprinkle powdered sugar on these to change it up a bit. Enjoy!

Cinnamon Sugar Baked Doughnuts
Ingredients
Baking spray with flour, such as Baker’s Joy
2 cups all-purpose flour
1 1/2 cups sugar
2 tsp. baking powder
1 tsp. ground cinnamon
1/2 tsp. ground nutmeg
1/2 tsp. kosher salt
1 extra-large egg, lightly beaten
1 1/4 cups whole milk
2 Tbsp. unsalted butter, melted
2 tsp. pure vanilla extract
FOR THE TOPPING
8 Tbsp. (1 stick) unsalted butter
1/2 cup sugar
1/2 tsp. ground cinnamon
Directions
1. Preheat oven to 350 degrees F.  Spray 2 doughnut pans well.
2. Into a large bowl, sift together the flour, sugar, baking powder, cinnamon, nutmeg, and salt. In a small bowl, whisk together the egg, milk, melted butter, and vanilla. Stir the wet mixture into the dry ingredients until just combined.
3. Spoon the batter into the baking pans, filling each one a little more than three-quarters full. Bake for 17 minutes, until a toothpick comes out clean. Allow to cool for 5 minutes, then tap the doughnuts out onto a sheet pan.
4. For the topping, melt the 8 tablespoons of butter into an 8-inch sauté pan. Combine the sugar and cinnamon in a small bowl. Dip each doughnut first in the butter and then in the cinnamon sugar, either on one side or both sides.
Yield: 12 doughnuts

Chocolate Melting Cakes: West Texas Edition

I hope everyone had a wonderful Christmas. Matt and I missed out on a white Christmas here in Dallas, but had a great time visiting our aunt, uncle and cousins in Midland.
My aunt Renee is an awesome cook. If you don’t believe me, just take a look at these chocolate melting cakes. The cakes are super easy to prepare and a great recipe if you want to make these the day before your guests arrive. We doubled this recipe and had more than enough to serve the 10 of us for our day after Christmas dinner.
I don’t think I have to convince you that these chocolate melting cakes make for a gorgeous presentation…. they are a crowd pleaser for sure. Enjoy and Happy New Years Eve!!
Chop chocolate into small pieces.
Heat cream until bubbles appear around the edge. Add chocolate. Let stand several minutes.
Stir until chocolate has melted.
Beat the egg yolks, sugar and vanilla until slightly thickened and pale yellow.
Melt buter and remaining chocolate. Add to egg yolk mixture.
Fold in almonds and egg whites.
Spoon half the batter in prepared muffin cups. Place a frozen ganache cube in center of each.
Top with remaining chocolate batter. Freeze until solid, at least 1 hour.
Bake for 20-25 minutes in a 375 degree F oven (decrease baking time if using standard 12-cup muffin pan).
Dust with confectioners’ sugar.
Garnish with berries and Reddi-wip.
Cut into the cake and watch as the chocolate melts out!
Chocolate Melting Cakes
Ingredients
14 ounces bittersweet chocolate, divided into 2 ounces and 12 ounces
6 Tbsp. heavy cream
6 Tbsp. unsalted butter
5 large eggs, separated
10 Tbsp. sugar, divided into 6 tablespoons and 4 tablespoons
1/2 tsp. vanilla extract
3/4 cup ground almonds
Confectioners’ sugar for dusting
Strawberries or raspberries for garnish
Directions
1. Chop 2 ounces chocolate into small pieces. Heat cream in a small saucepan until bubbles appear around the edge. Drop chocolate pieces into cream, let stand several minutes, and stir until smooth. Pour ganache into squares of a plastic ice cube tray. Free until solid.
2. Grease an extra large, 6-cup muffin pan (we used a standard 12-cup  muffin pan). Melt butter and remaining chocolate in double boiler. Stir until smooth, and let cool slightly. In a medium bowl, combine egg yolks, 6 tablespoons sugar, and vanilla. Beat with an electric mixer until slightly thickened and pale yellow (5 to 8 minutes).
3. Add chocolate-butter mixture and combine. Fold in almonds. In a separate bowl, beat remaining sugar with egg whites until stiff; fold into the egg yolk-chocolate mixture. Spoon 3 tablespoons (1 1/2 Tbsp. if using a standard muffin pan) of batter into each cup of the muffin pan. Place a frozen ganache cube in the center of each. Spoon remaining batter over tops, making sure ganache cubes remain centered and are completely covered. Freeze until solid, at least 1 hour.
4. When ready to bake, preheat oven to 375 degrees F. Bake for 20 to 25 minutes (decrease the baking time if using a 12-cup muffin pan). Let cool 5 to 10 minutes. Carefully invert the muffin pan over a clean towel and remove cakes with a spatula.
5. To serve, dust with confectioners’ sugar. Garnish with berries.
*Note: If frozen ganache cubes are difficult to remove from the ice cube tray, dip the bottom of the tray in hot water.
Yield: 6 extra-large cakes or 12 standard-sized cakes

Lucky Black-Eyed Peas

Happy New Years (a few days early)! Since 2013 is just around the corner, its time you get your lucky black-eyed pea recipe on the menu for Monday night!

This recipe was given to me by one of my neighbors. As you know, I write a monthly Resident Recipe column for our neighborhood, and this one was featured in our December 2012 magazine. Here’s the article:

Shelley was never a huge fan of black-eyed peas, but when you live in the south, you don’t have much choice. Eating black-eyed peas on New Years Day is good luck and is supposed to bring prosperity.

Shelley’s salad takes regular canned black-eyed peas to the next level. She makes this salad every New Years Day, and people who say they don’t like black-eyed peas LOVE this salad! 

Lucky Black-Eyed Peas
Ingredients
MUSTARD HONEY VINAIGRETTE
1/4 cup Balsamic Vinegar
2 tsp. honey
2 tsp. Dijon mustard
1/2 tsp. tabasco sauce
2 cloves minced garlic
Fresh milled pepper
3/4 cup vegetable oil

SALAD
2 (14 oz.) cans black-eyed peas, drained
1 1/2 cups thinly sliced celery
1 red pepper – 1/2″ diced cubes
1 yellow pepper – 1/2″ diced cubes
2/3 cup chopped red onion
2/3 cup chopped parsley

Directions
1. Prepare Honey Mustard Vinaigrette: Whisk together the balsamic vinegar, honey, Dijon mustard, Tabasco, garlic and pepper. Whisk in the vegetable oil. (It can be made a day in advance.)
2. Prepare Salad: Mix salad ingredients and gently toss with vinaigrette. Refrigerate 1-4 hours.
3. Add parsley just before serving, reserving a little to sprinkle on top for garnish.

*Note: Can be served on a bed of greens for decoration. Salad tastes better the next day.

Yield: 4-6 servings
Recipe from: my neighbor, Shelley

Sorry Alton, your Stovetop Mac-n-Cheese is Terrible

For those of you who might not believe it, I DO mess up sometimes in the kitchen. Not everything I make turns out good. Case in point, this stove top mac-n-cheese recipe. While it looks gorgeous, Matt and I were not impressed by the flavor. Looks CAN deceive!! 
For those that have made Alton Brown’s stove top mac-n-cheese and liked it, please forgive me if you’re reading this post because I thought this recipe was TERRIBLE!
While the texture and consistency were perfect, the flavor from the cheddar cheese sauce was way too tart/sharp. Mac and cheese is supposed to be creamy and cheesy and not tart by any means.  I’m not sure if it was because I used sharp cheddar only or if it was because of the hot sauce, or if there was to much mustard.
  • Have you made stovetop mac and cheese before? 
  • If so, how did yours turn out?
If you’re looking for a GOOD macaroni and cheese recipe, you should try some of my favorites below:

Whisk egg, milk, salt, pepper, hot sauce, and mustard. 
Cook pasta to al dente.
Drain and add 4 tablespoons of butter.
Stir until butter melts.
Add egg mixture and cheese. Cook on low until cheese melts and the mac & cheese has thickened.


Stove Top Mac-n-Cheese (in case you want to try it)
Ingredients
1/2 pound elbow macaroni (I used small shells)
4 Tbsp. butter
2 eggs
6 ounces evaporated milk
1/2 tsp. hot sauce
1 tsp. kosher salt
Fresh black pepper
3/4 tsp. dry mustard
10 ounces sharp cheddar, shredded

Directions
1. In a large pot of boiling water, cook the pasta to al dente and drain. Return to the pot and melt in the butter. Toss to coat.
2. Whisk together the eggs, milk, hot sauce, salt, pepper, and mustard. Stir into the pasta and add the cheese. Over low heat continue to stir for 3 minutes or until creamy.

Yield: 6-8 servings
Recipe from: Alton Brown

Strawberry Santas and a Very Merry Christmas

Merry Christmas Eve! As a kid, I always enjoyed Christmas Eve better than Christmas Day.  The reason?  Our family opens presents on Christmas Eve! Our grandparents would come in town, we’d eat light sandwiches for dinner and start opening gifts at 7:00 or 7:30.  Santa would come that night and we’d open the presents from him on Christmas Day. What do you do on Christmas Eve/Day?
Now for the treats… when I saw these cute little Strawberry Santas on Pinterest, I just had to make them! They are super festive, tasty and pretty easy to assemble. They would also be a perfect appetizer on Christmas Eve night. Enjoy!!

Strawberry Santas
Ingredients
1 lb. large strawberries 
1 package (8 ounces) cream cheese, softened
6 Tbsp. powdered sugar
1/2 cup Cool Whip
1 tsp. pure vanilla extract
Directions
1. Rinse strawberries and cut around the top of the strawberry. Remove the top, (enough for a hat). Clean out the whole strawberry with a paring knife, if necessary (some of them are hollow already). Prep all the strawberries and set aside.
2. In a mixing bowl, beat cream cheese, powdered sugar, Cool Whip and vanilla until creamy. Add cream cheese mix to a piping bag or Ziploc with the corner snipped off. Fill the strawberries with cheesecake mixture.
3. Once strawberries are filled, top with the ‘hats’. Decorate according to photo.
4. If not serving immediately, refrigerate until serving.
Yield: 4-6 people