Zucchini Muffins

Zucchini MuffinsHAPPY ST. PATRICK’S DAY!!!  In all actuality, I did not make these muffins because of the Irish holiday…however, it just so happens that zucchini is green in color, so it makes for quite a fitting blog post. 🙂

Last week, Julie, a coworker and also one of my best friends, had made mention that she loves Starbucks’ Walnut Zucchini Muffins. Unfortunately, Starbucks discontinued making them, and replaced them with a Morning Glory Muffin instead, if I’m not mistaken.

It got me thinking… I’ve NEVER eaten a zucchini muffin!

After having Julie reassure me that a muffin filled with zucchinis could actually taste good,  (remember, zucchinis are vegetables) I thought I’d give them a whirl this weekend to see what I thought.

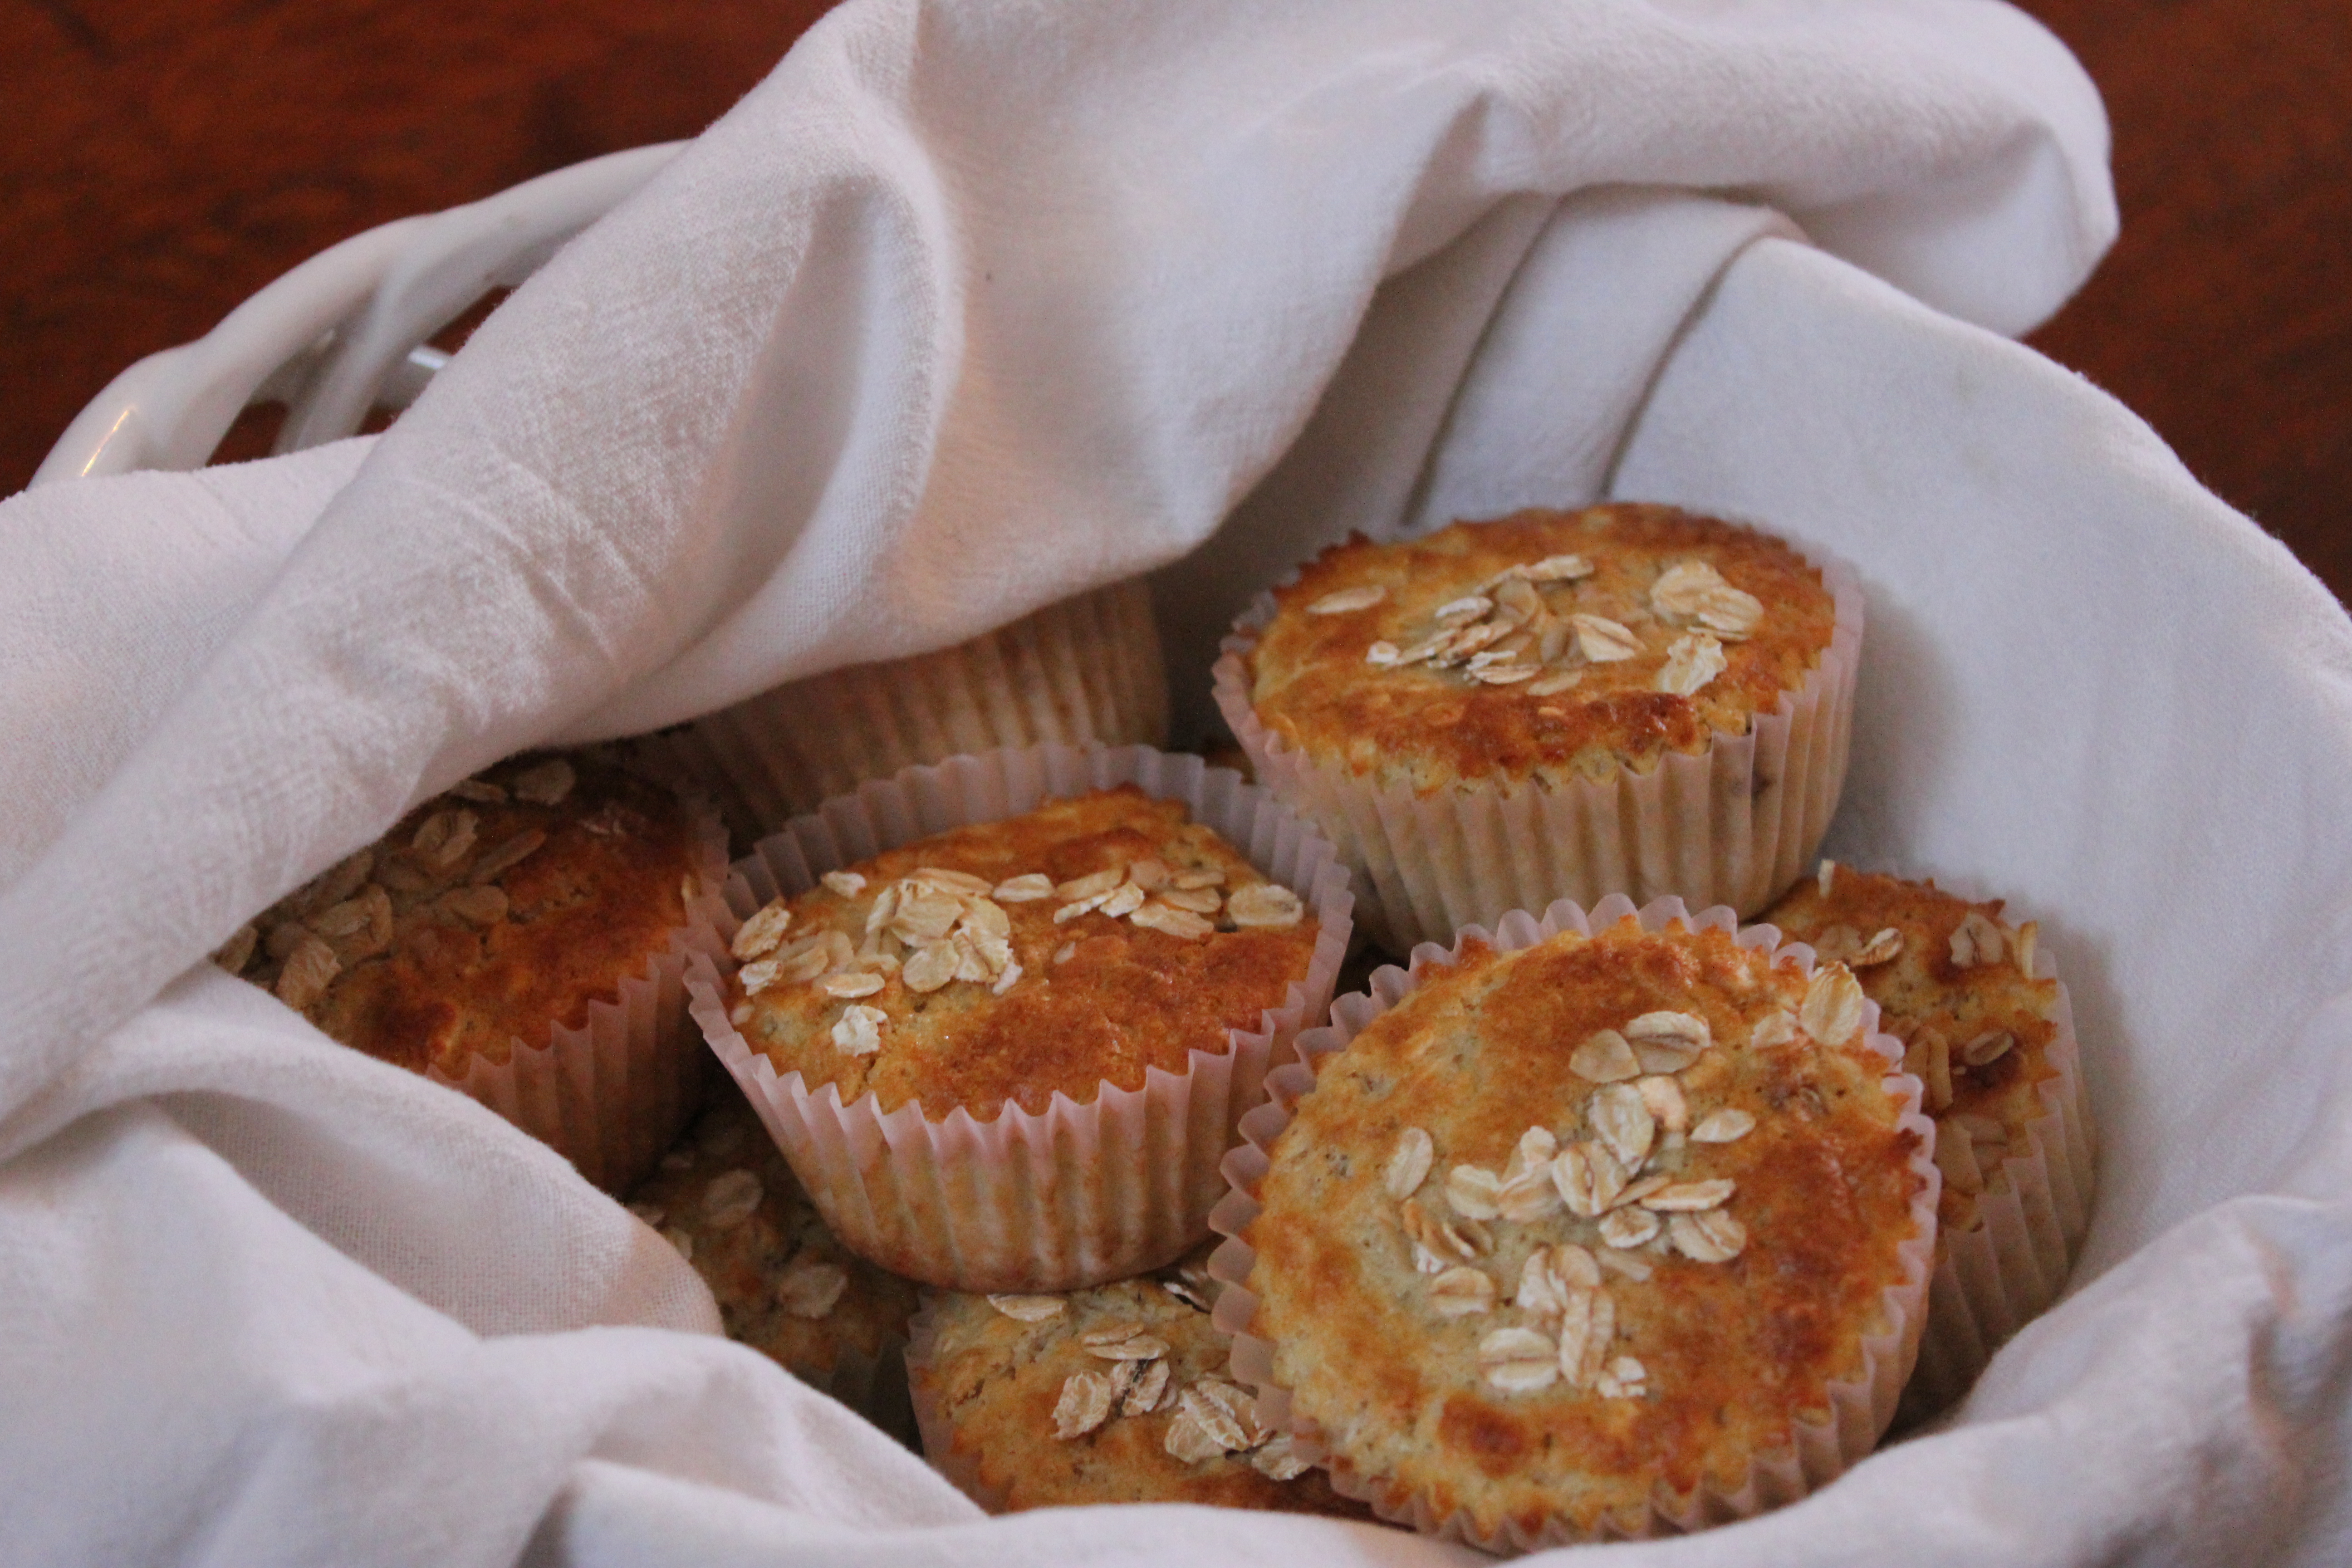
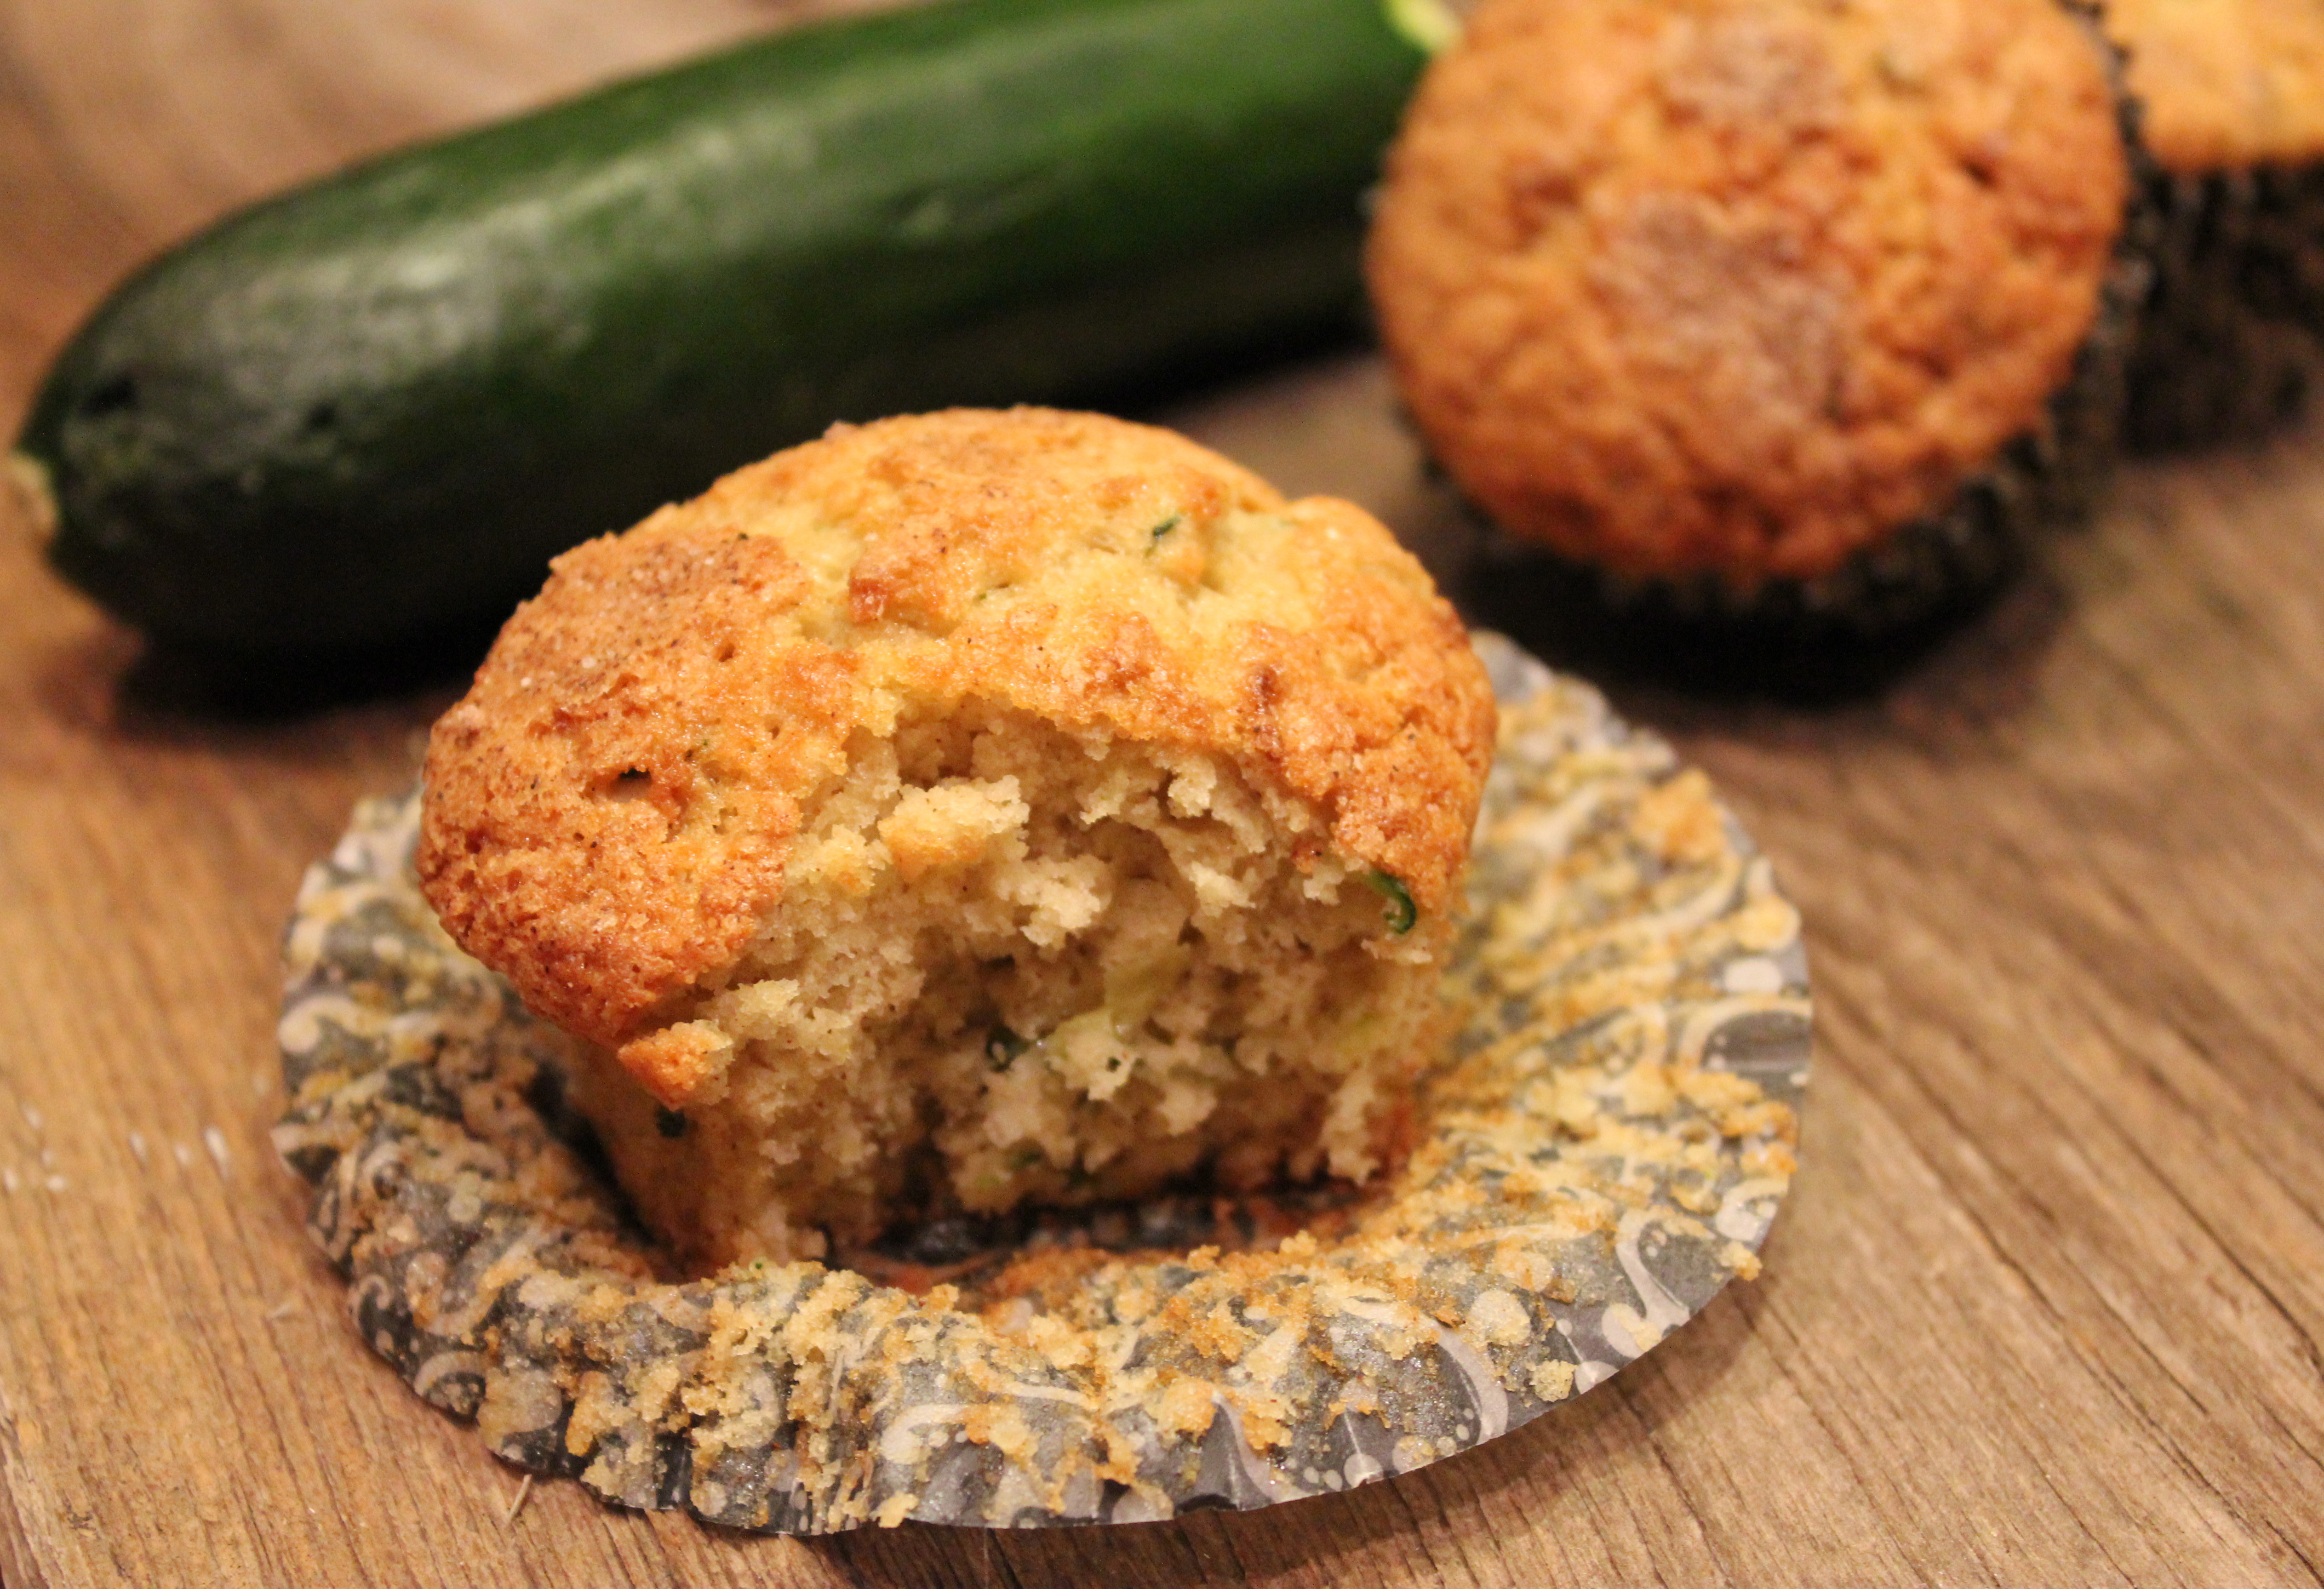
SUCCESS is all I can say. 🙂

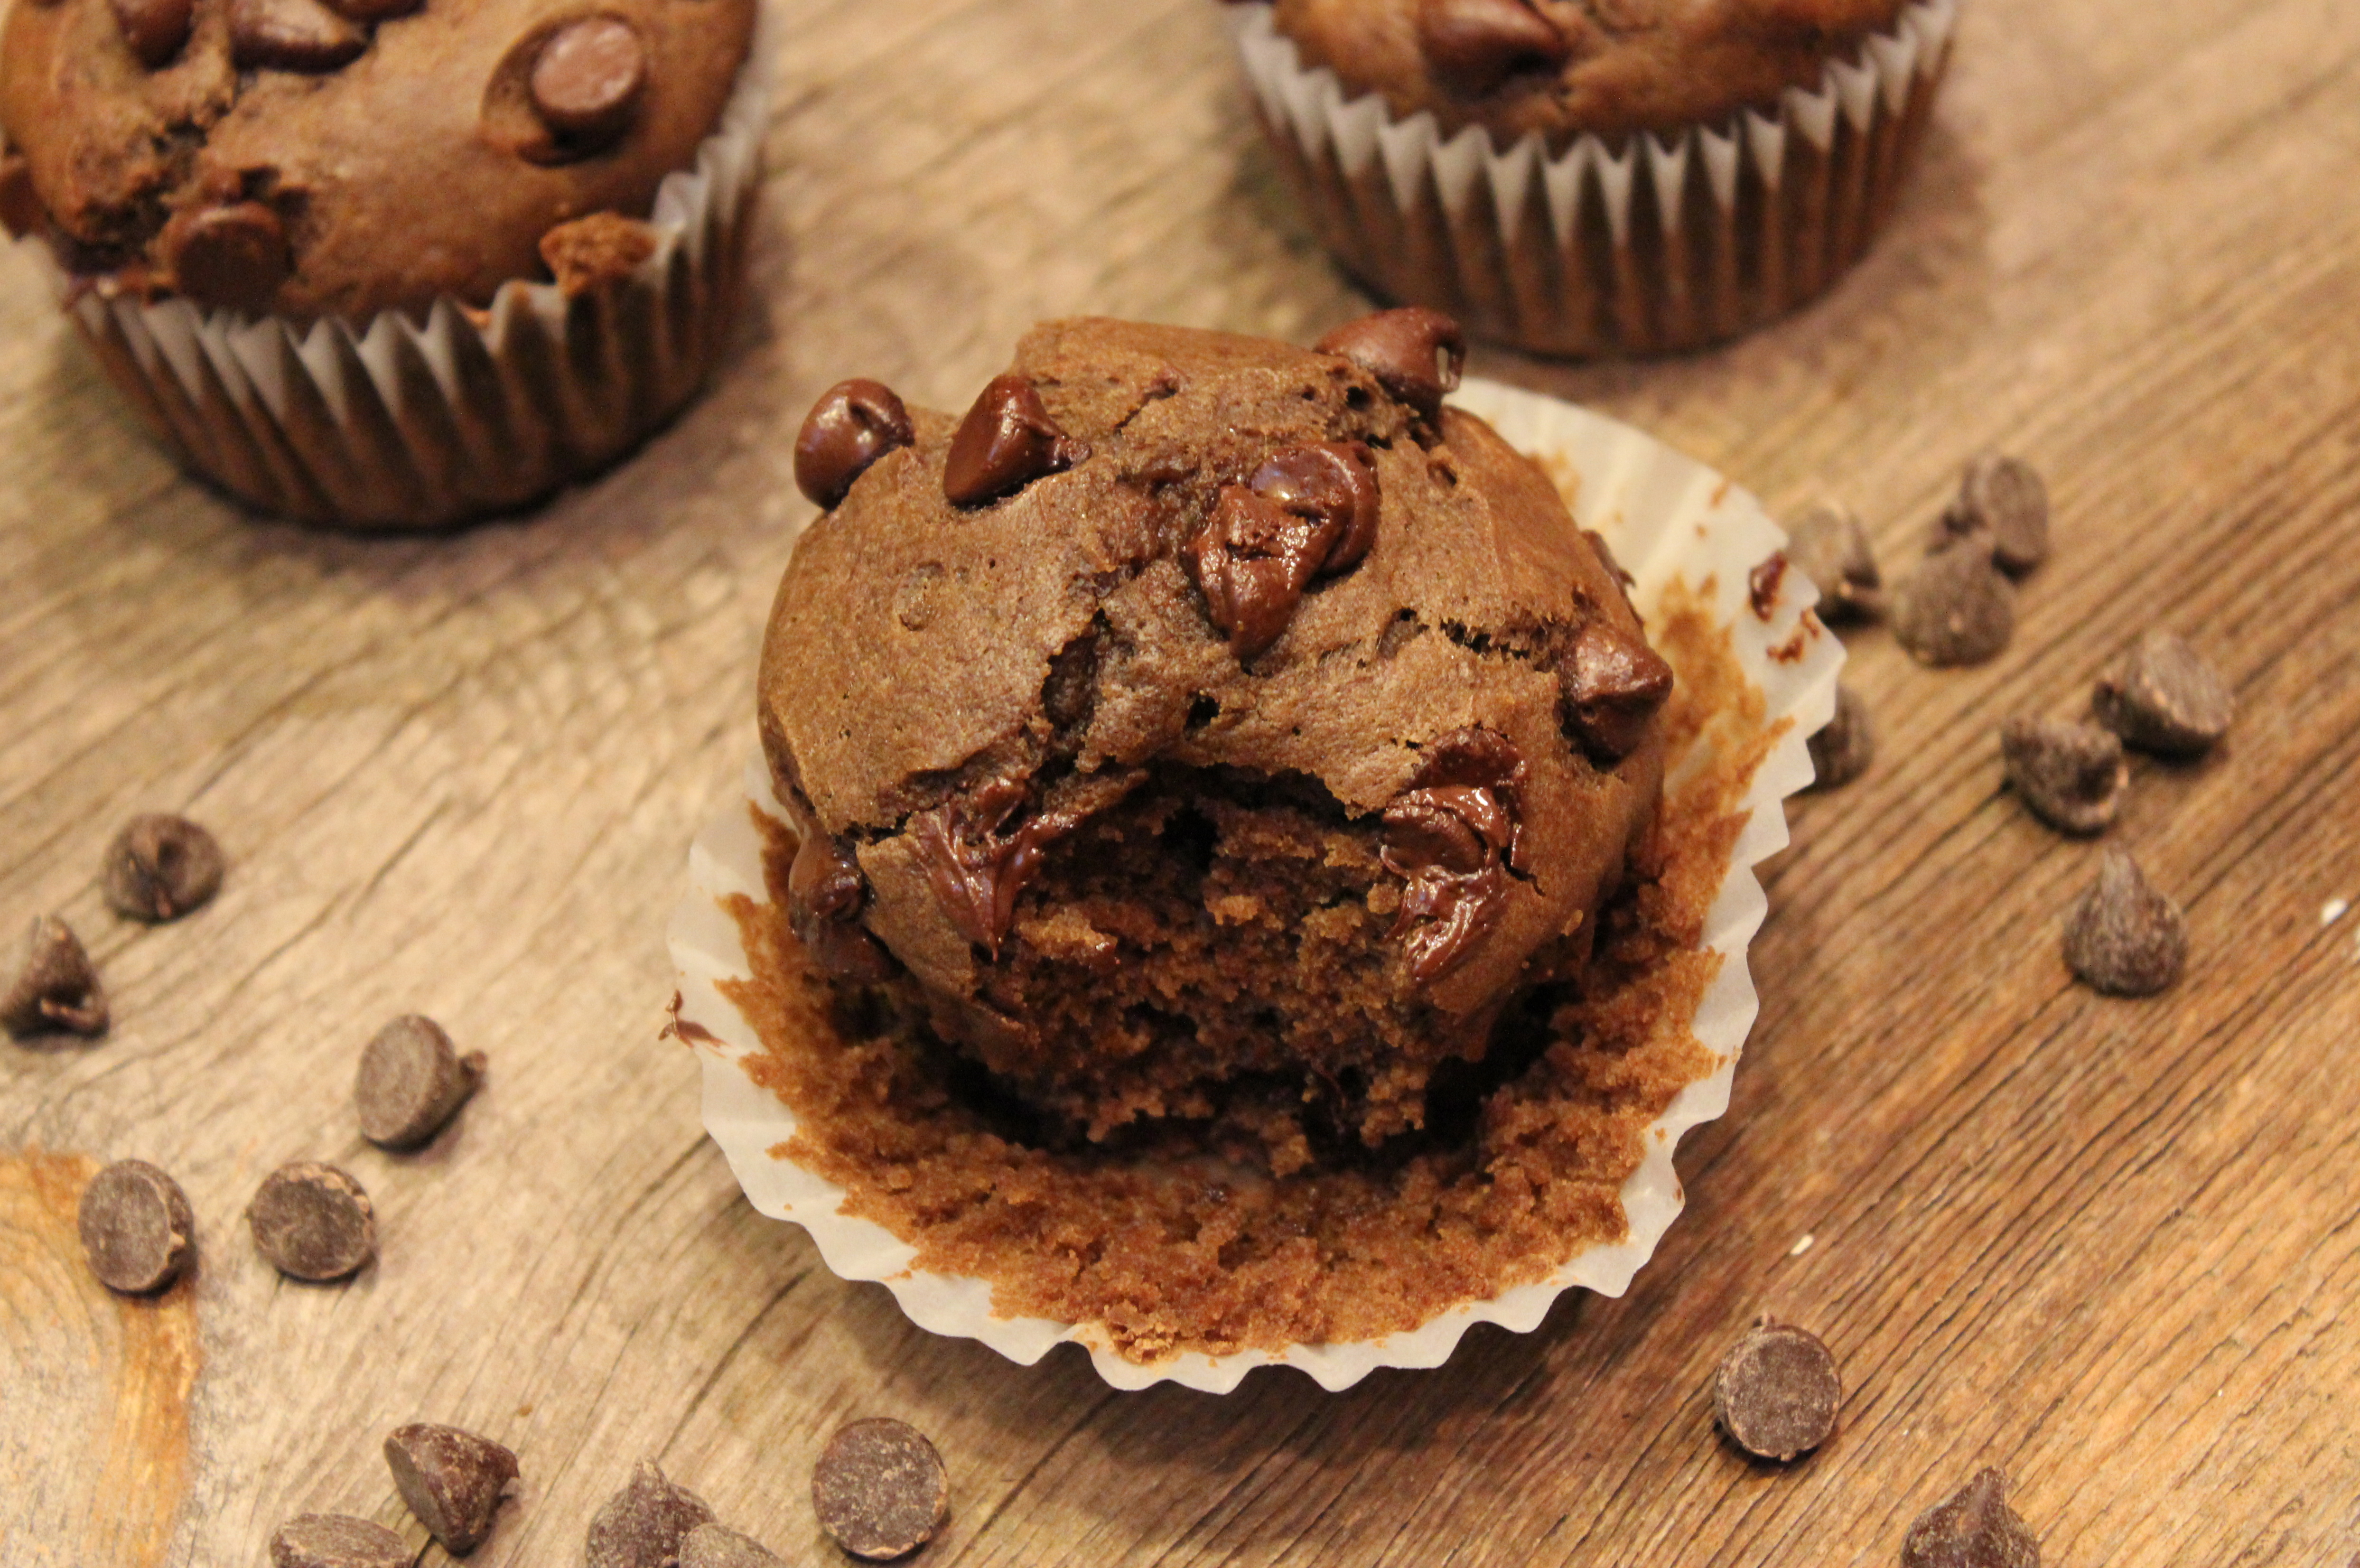
The combination of brown sugar, cinnamon and nutmeg make for a warm, delicious and sweet muffin that pairs extremely well with the zucchini.

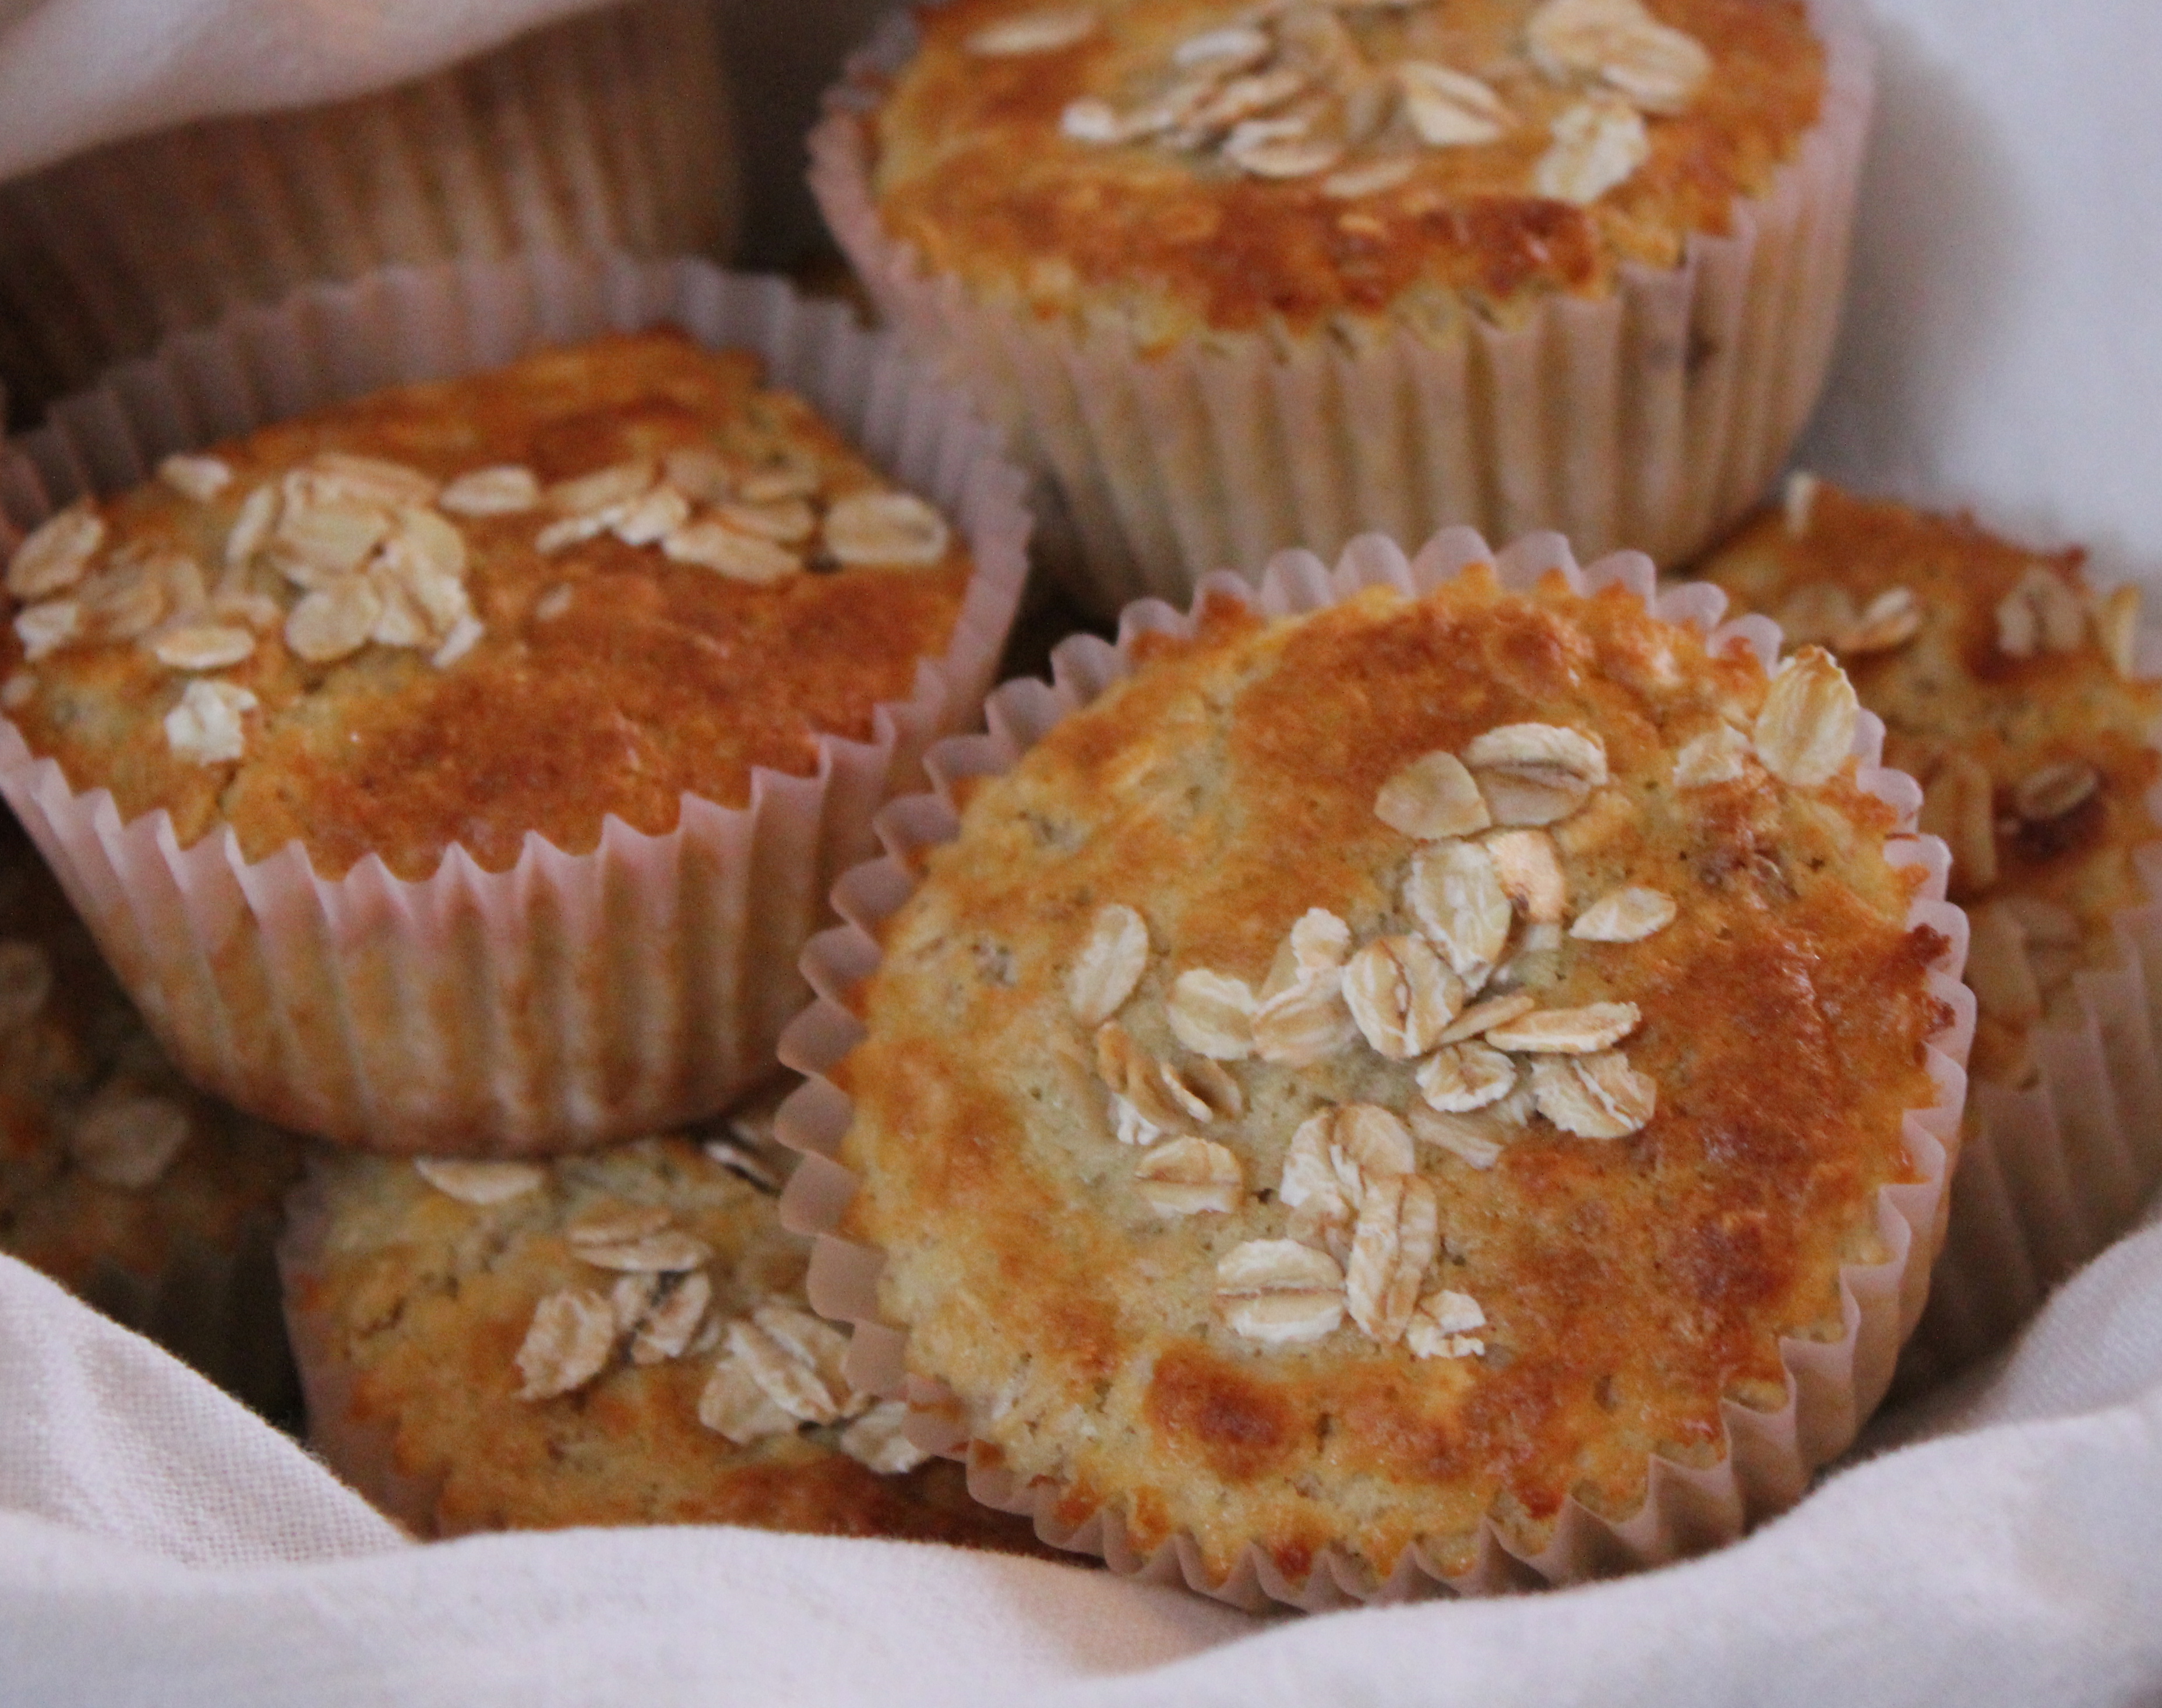
Extra cinnamon-sugar is sprinkled on the top of the muffins to add a little crunch on top, for those folks with cinnamon-toast crunch cravings!

Matt loved these and asked me if they were healthy. (You can tell he likes something when he asks about the calorie and fat count… it means he wants a second or even third helping!)

So, are they healthy? Well….sort of. They do have 1 1/2 cups of zucchini in them. However they contain quite a bit of sugar. You could probably use a sugar substitute if you’re looking to cut back on calories.

I will say, I scoured the web for the best looking zucchini muffin recipe and this one from Eat, Live, Run looked the best. While another Pinterest photo of a zucchini muffin caught my eye, it called for 2 sticks of butter – a big fat “NO” for me. I’m not much of a butter fan, just ask my mother-in-law Paula! 🙂

Ready to get started??

IMG_3274

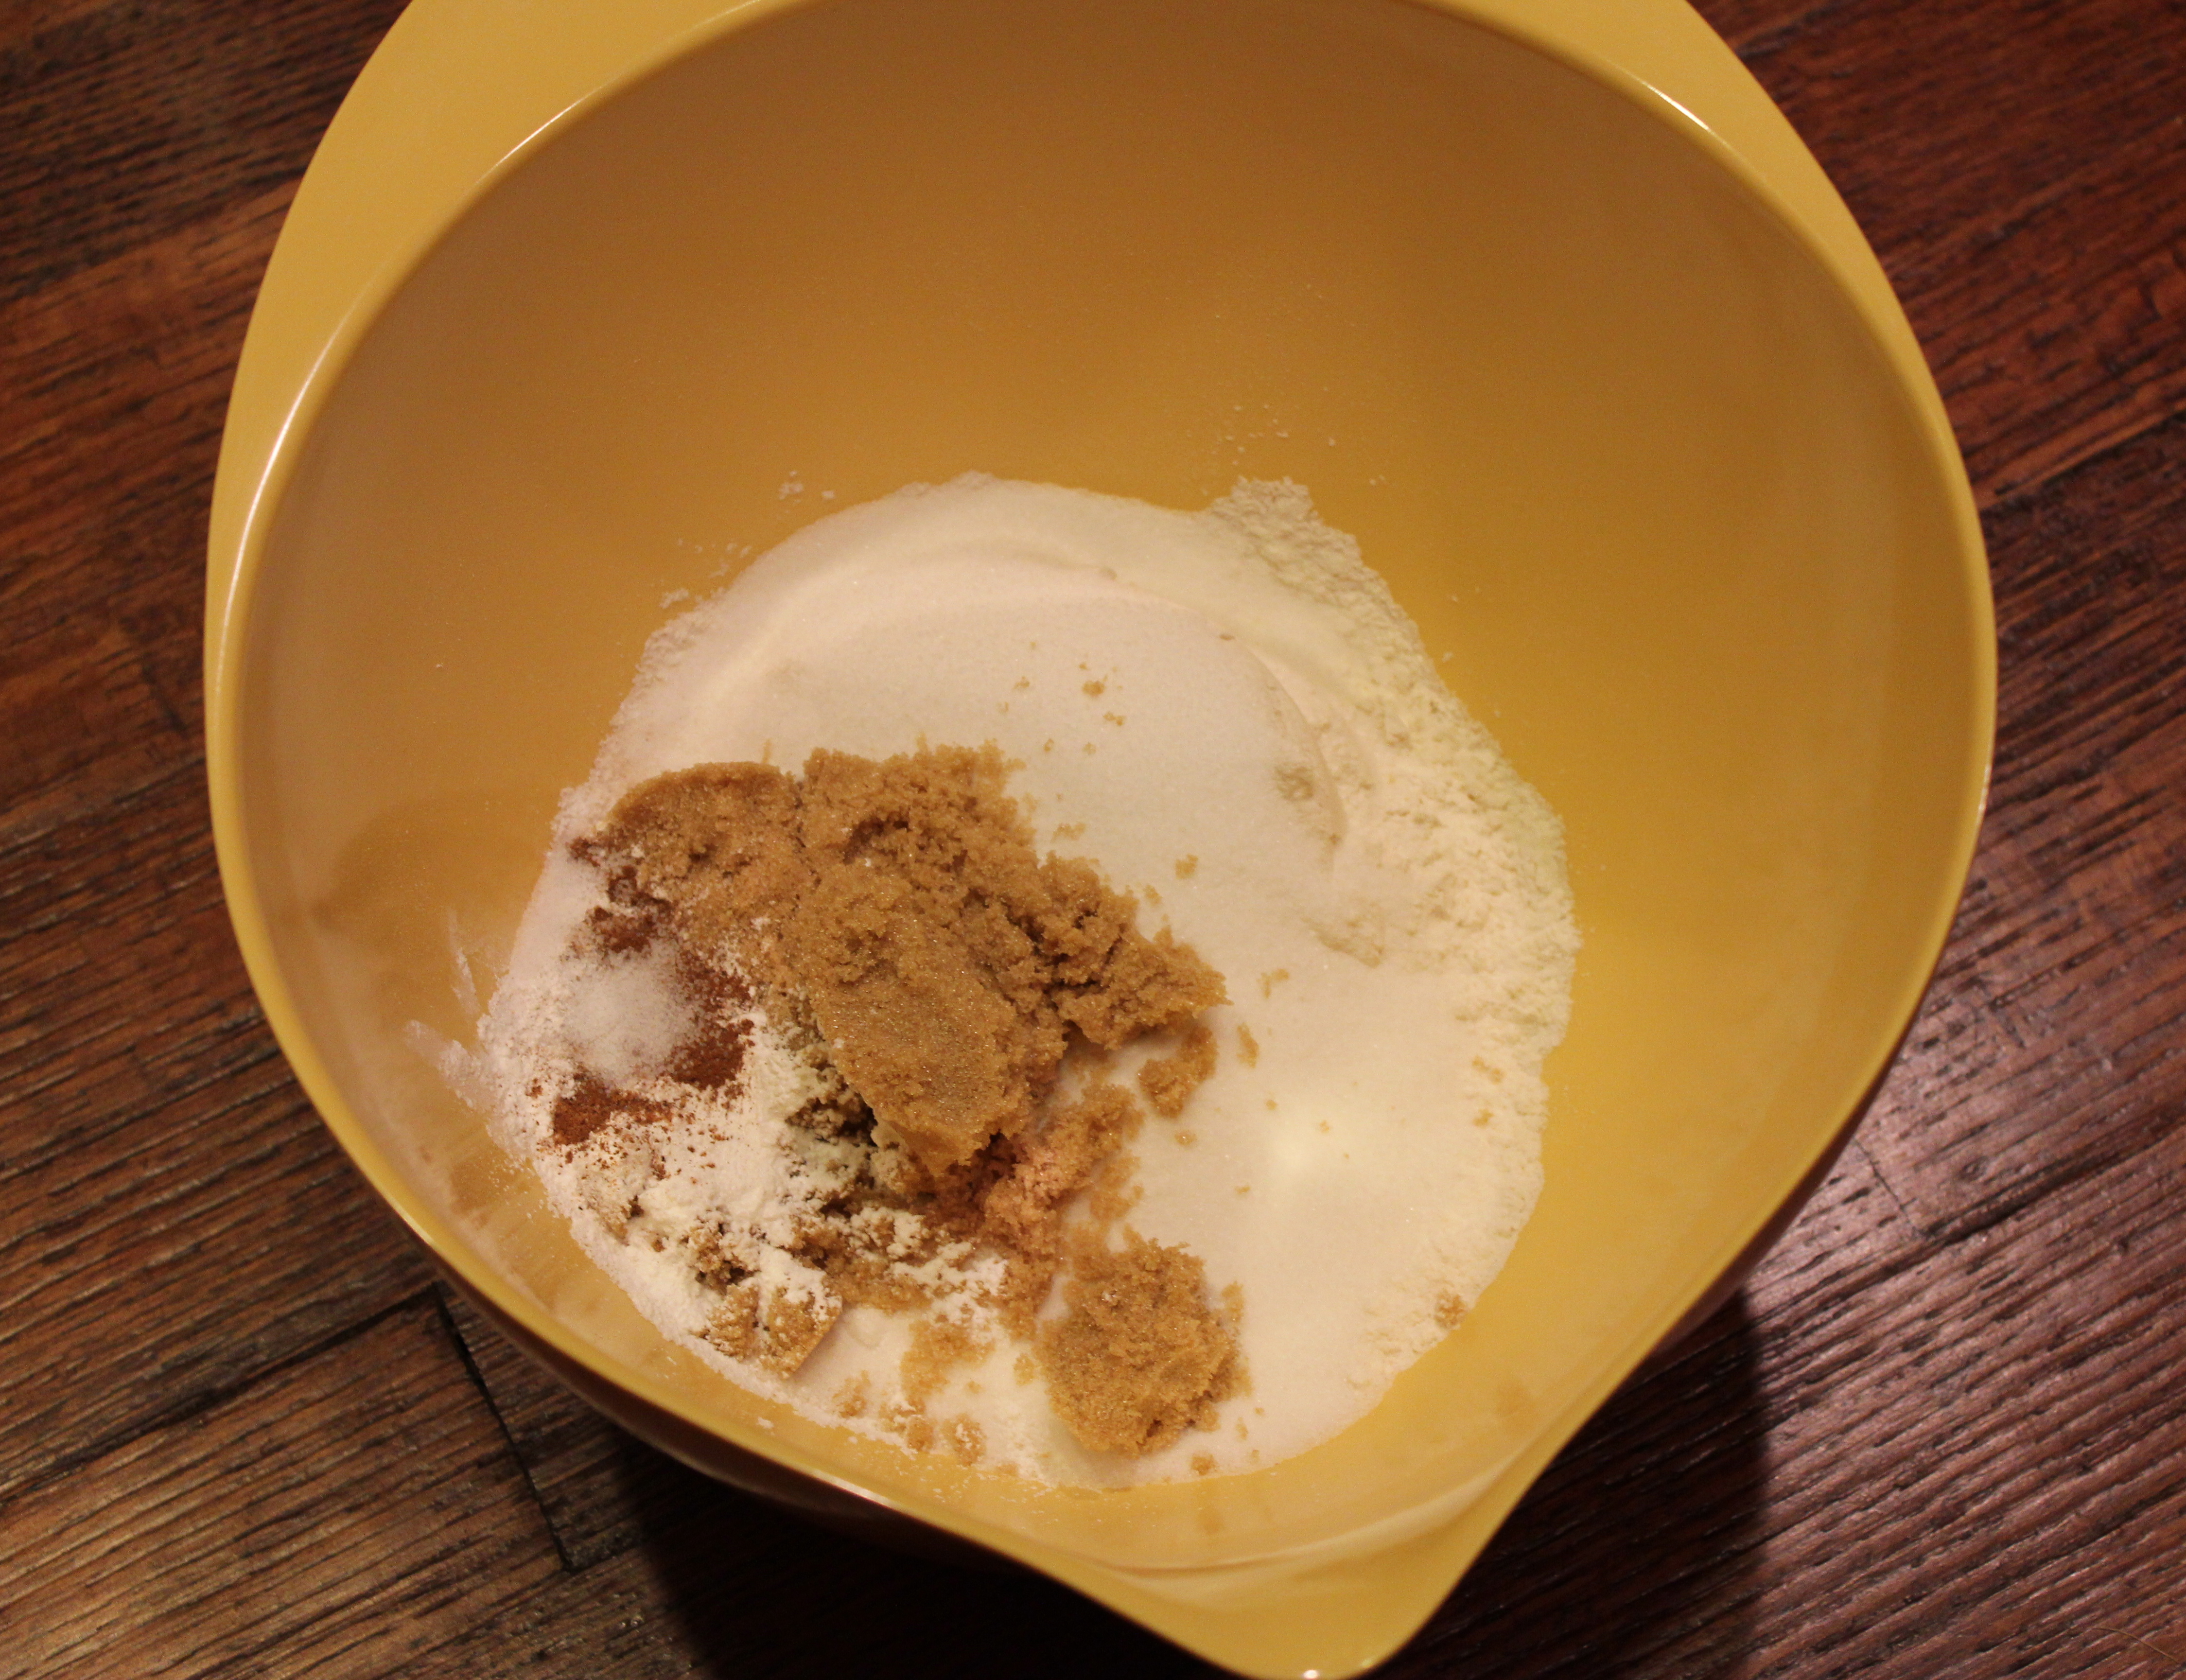
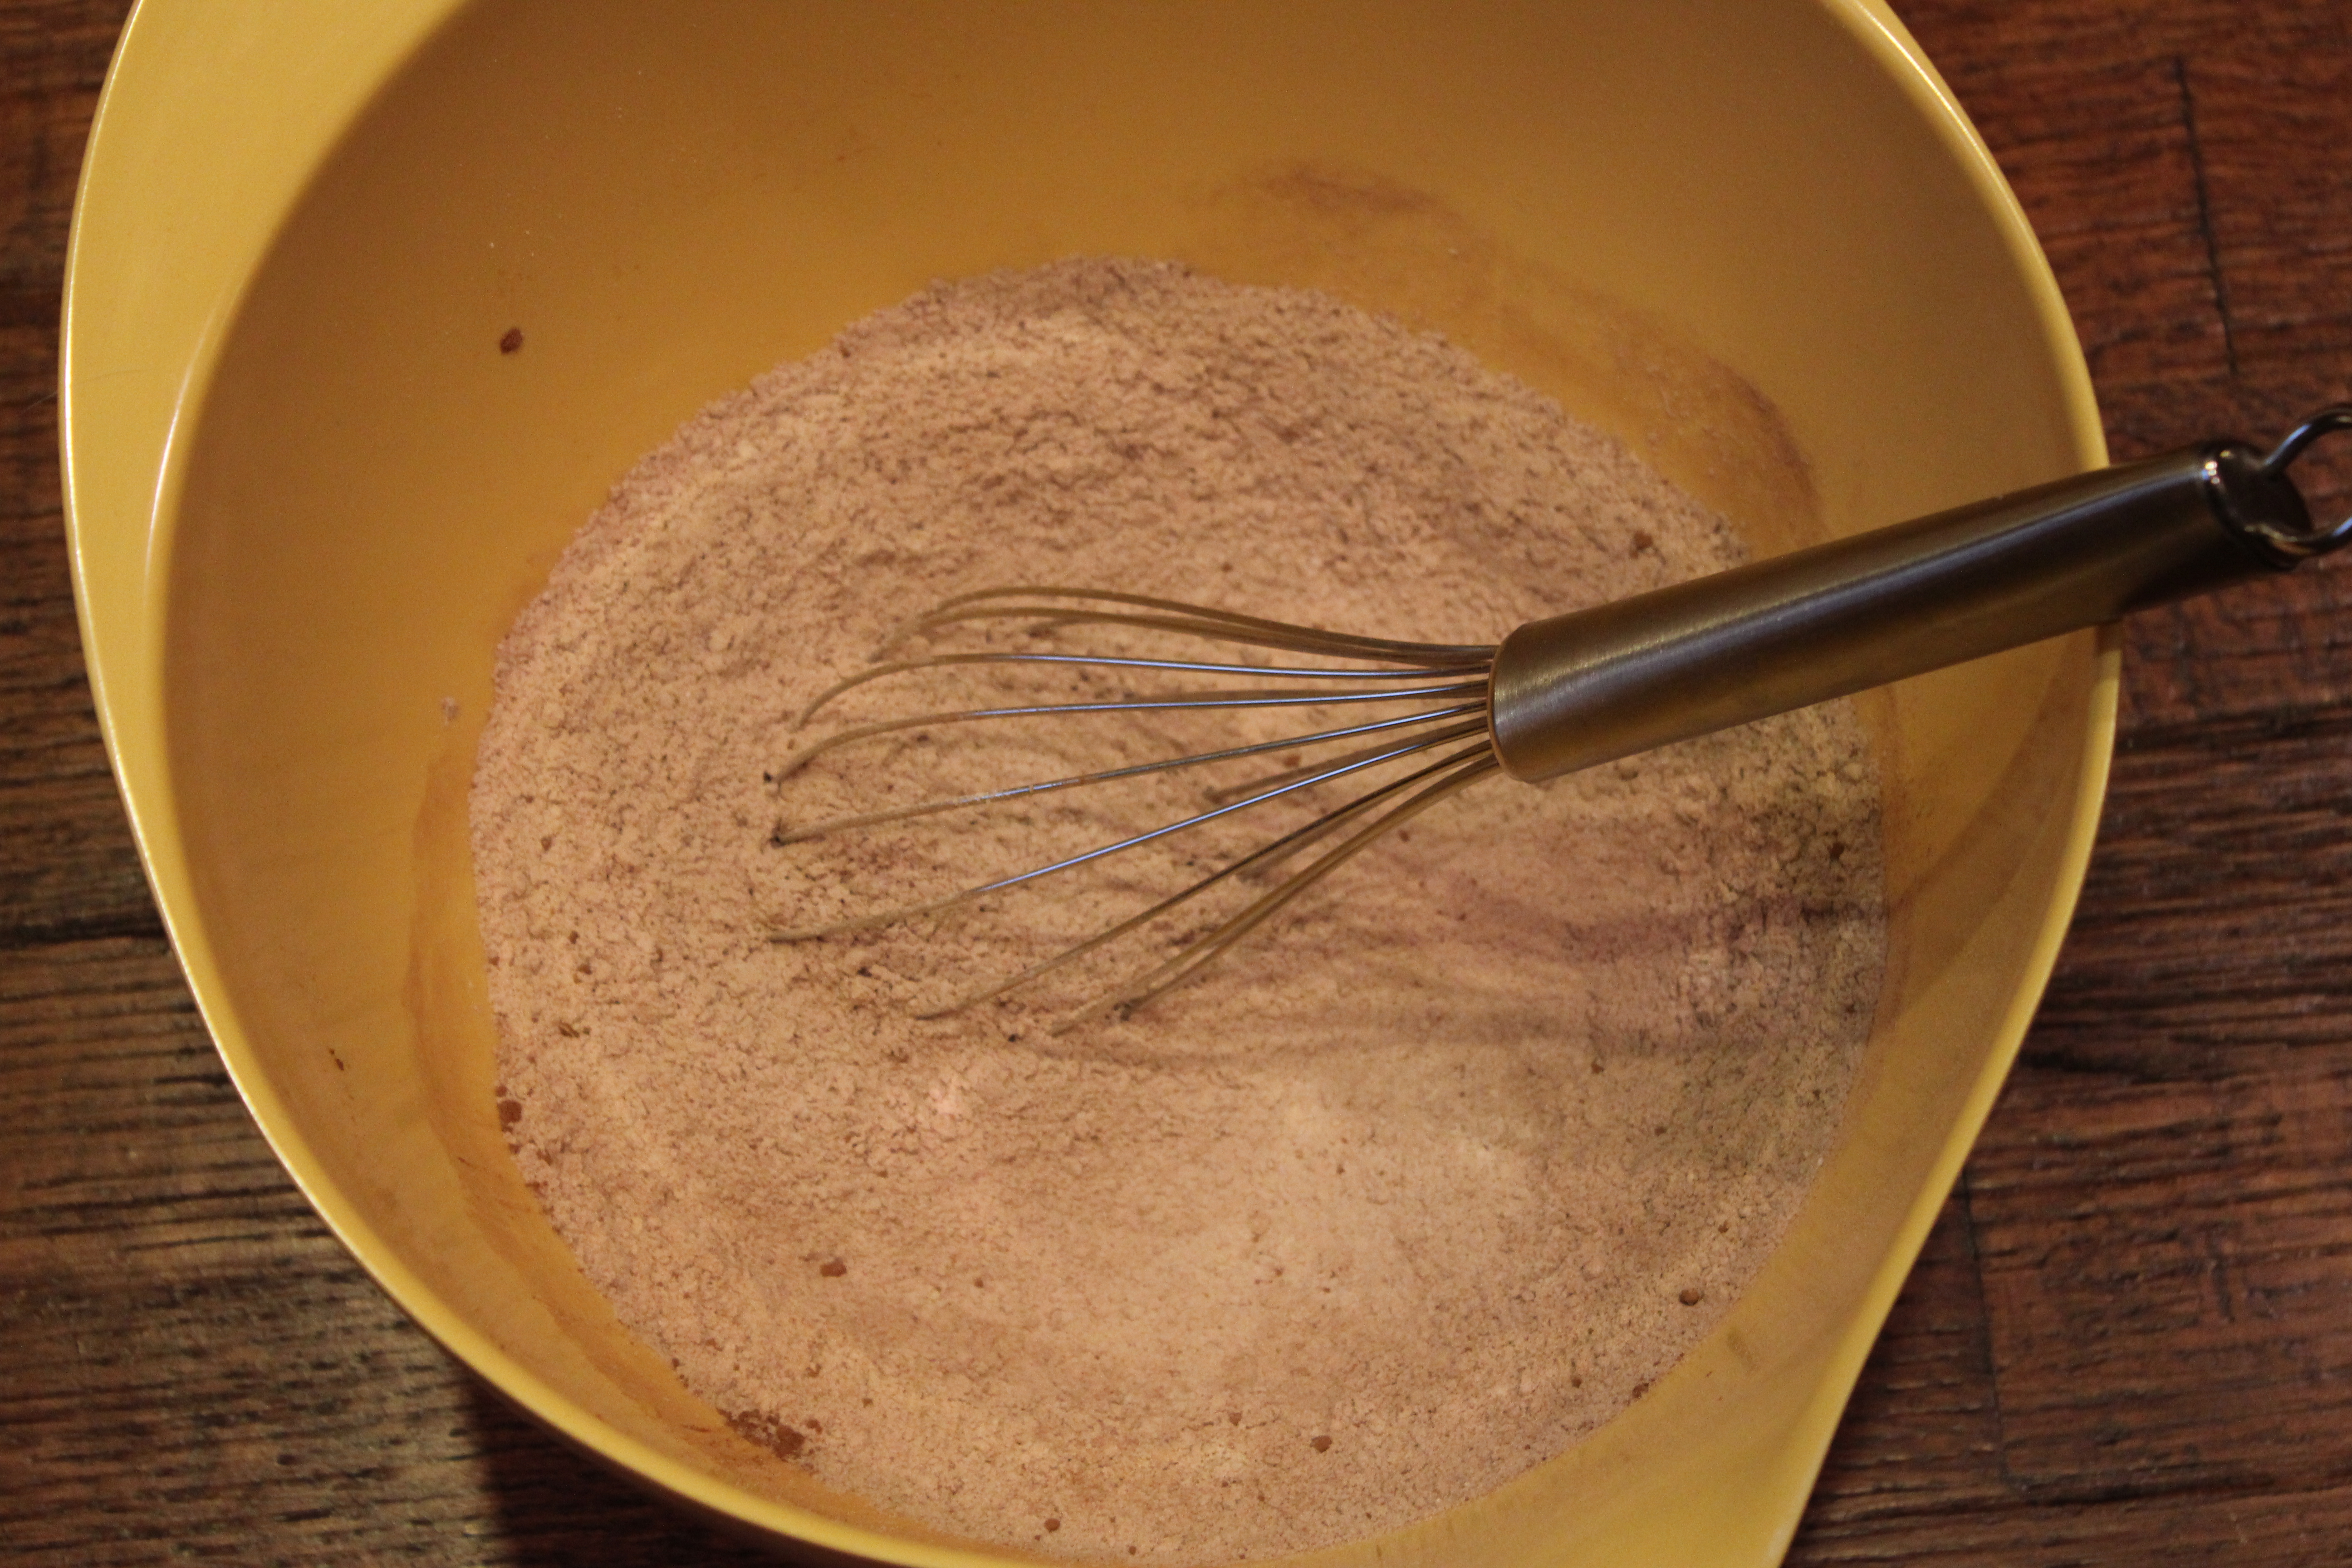
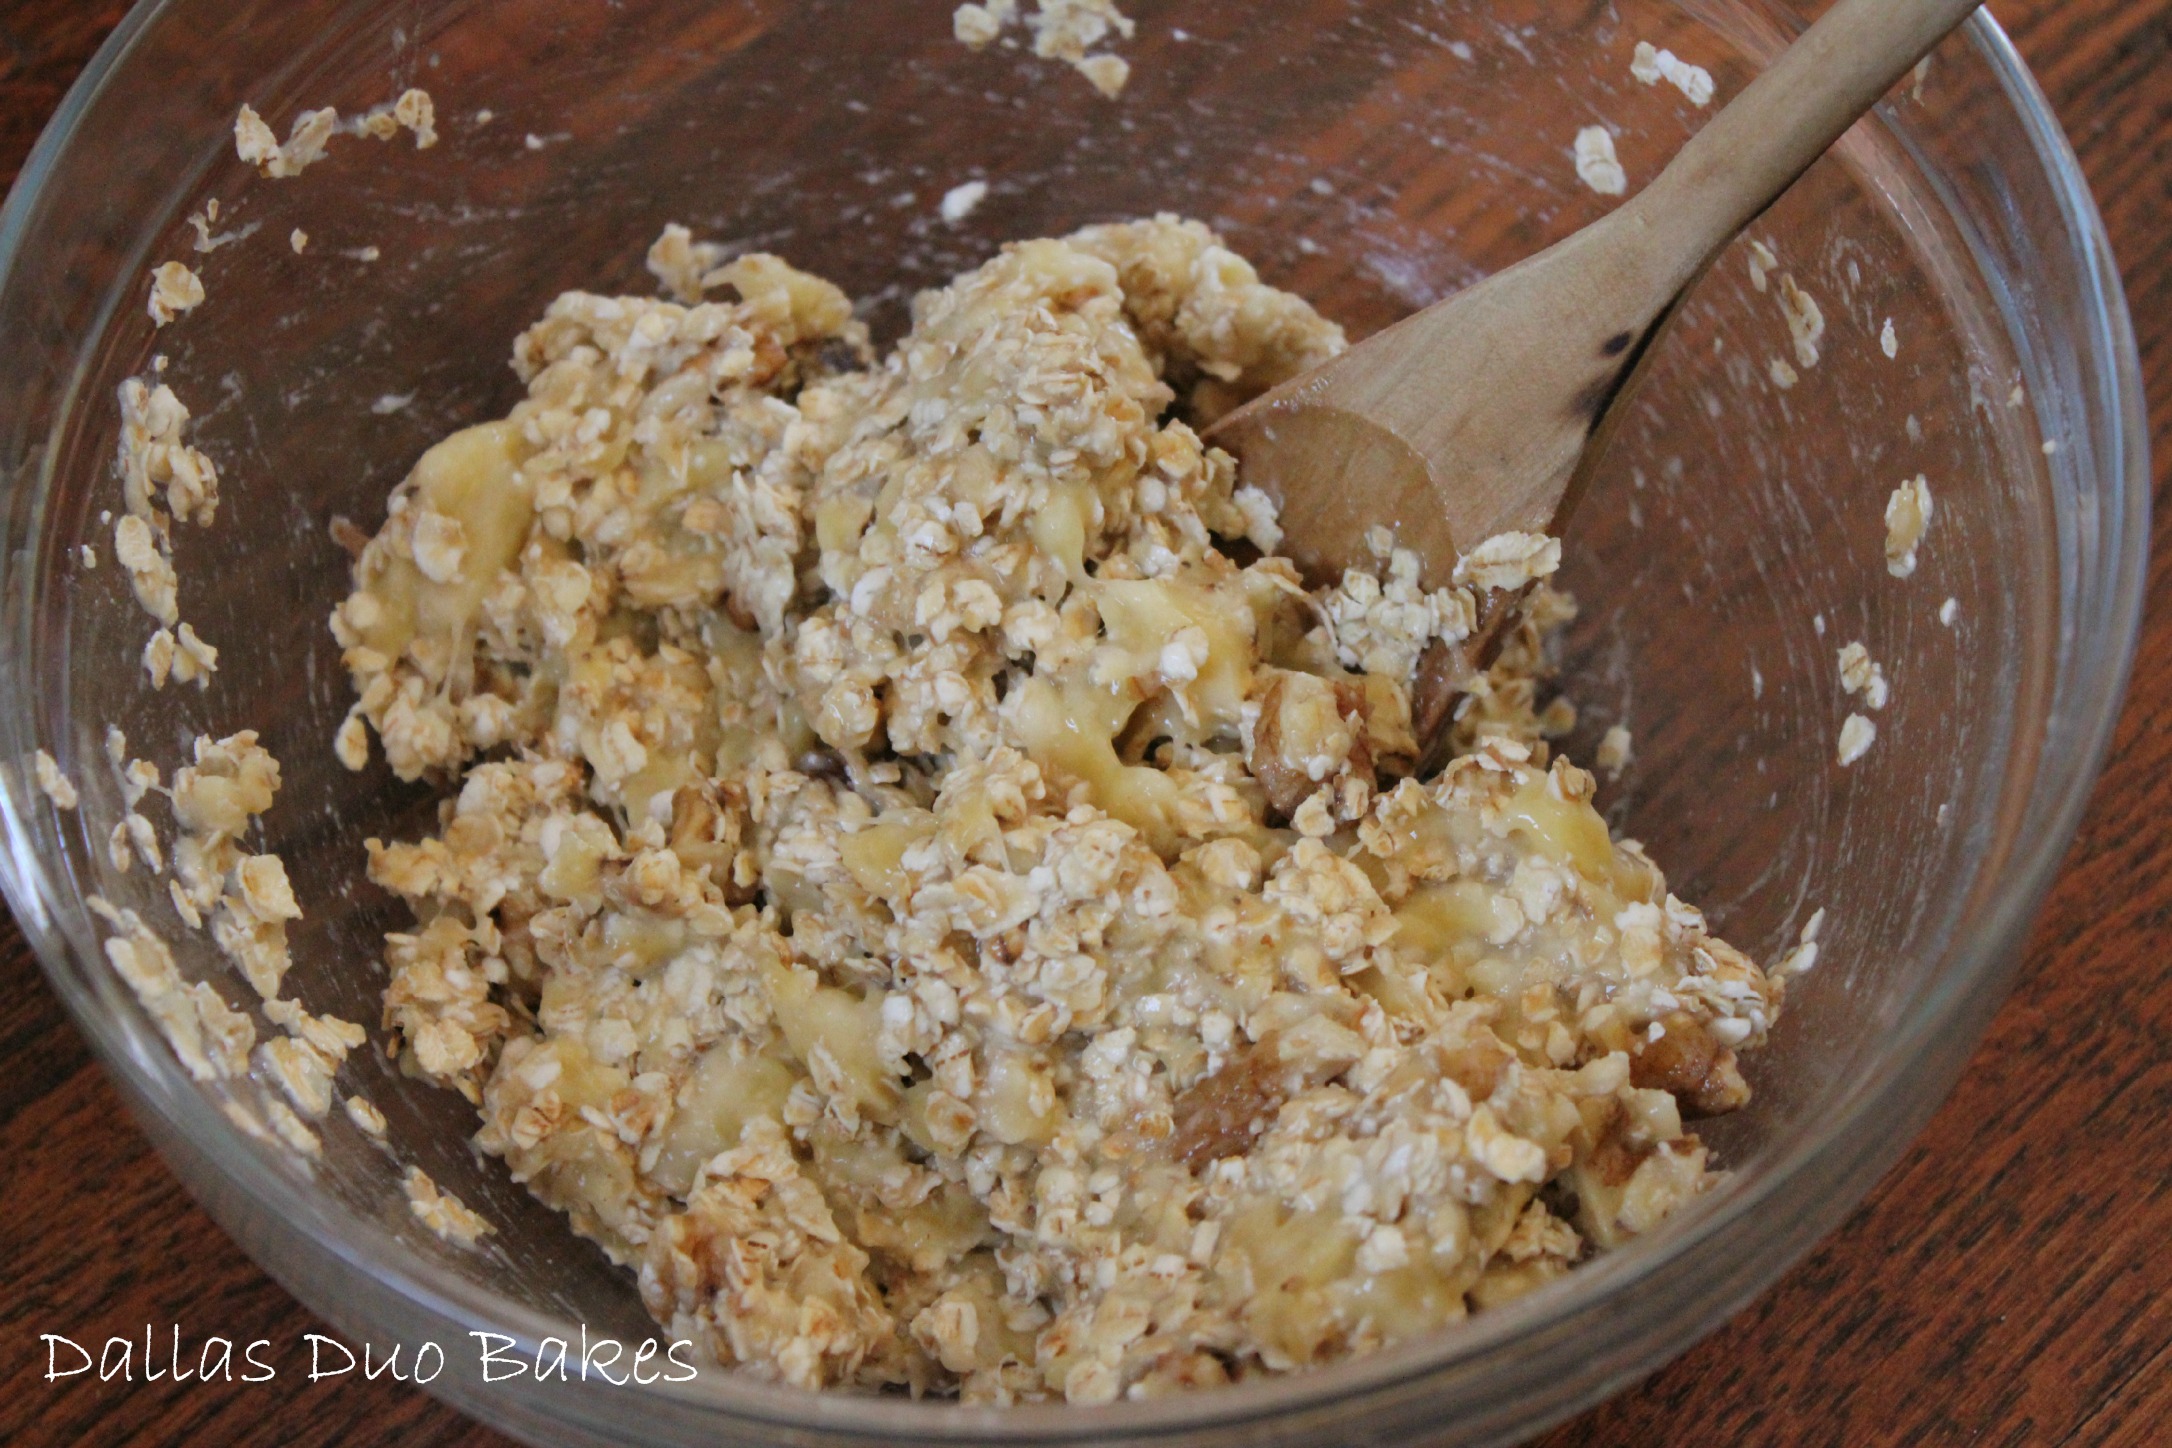
Combine flour, sugars, salt powder, cinnamon and nutmeg.
IMG_3276

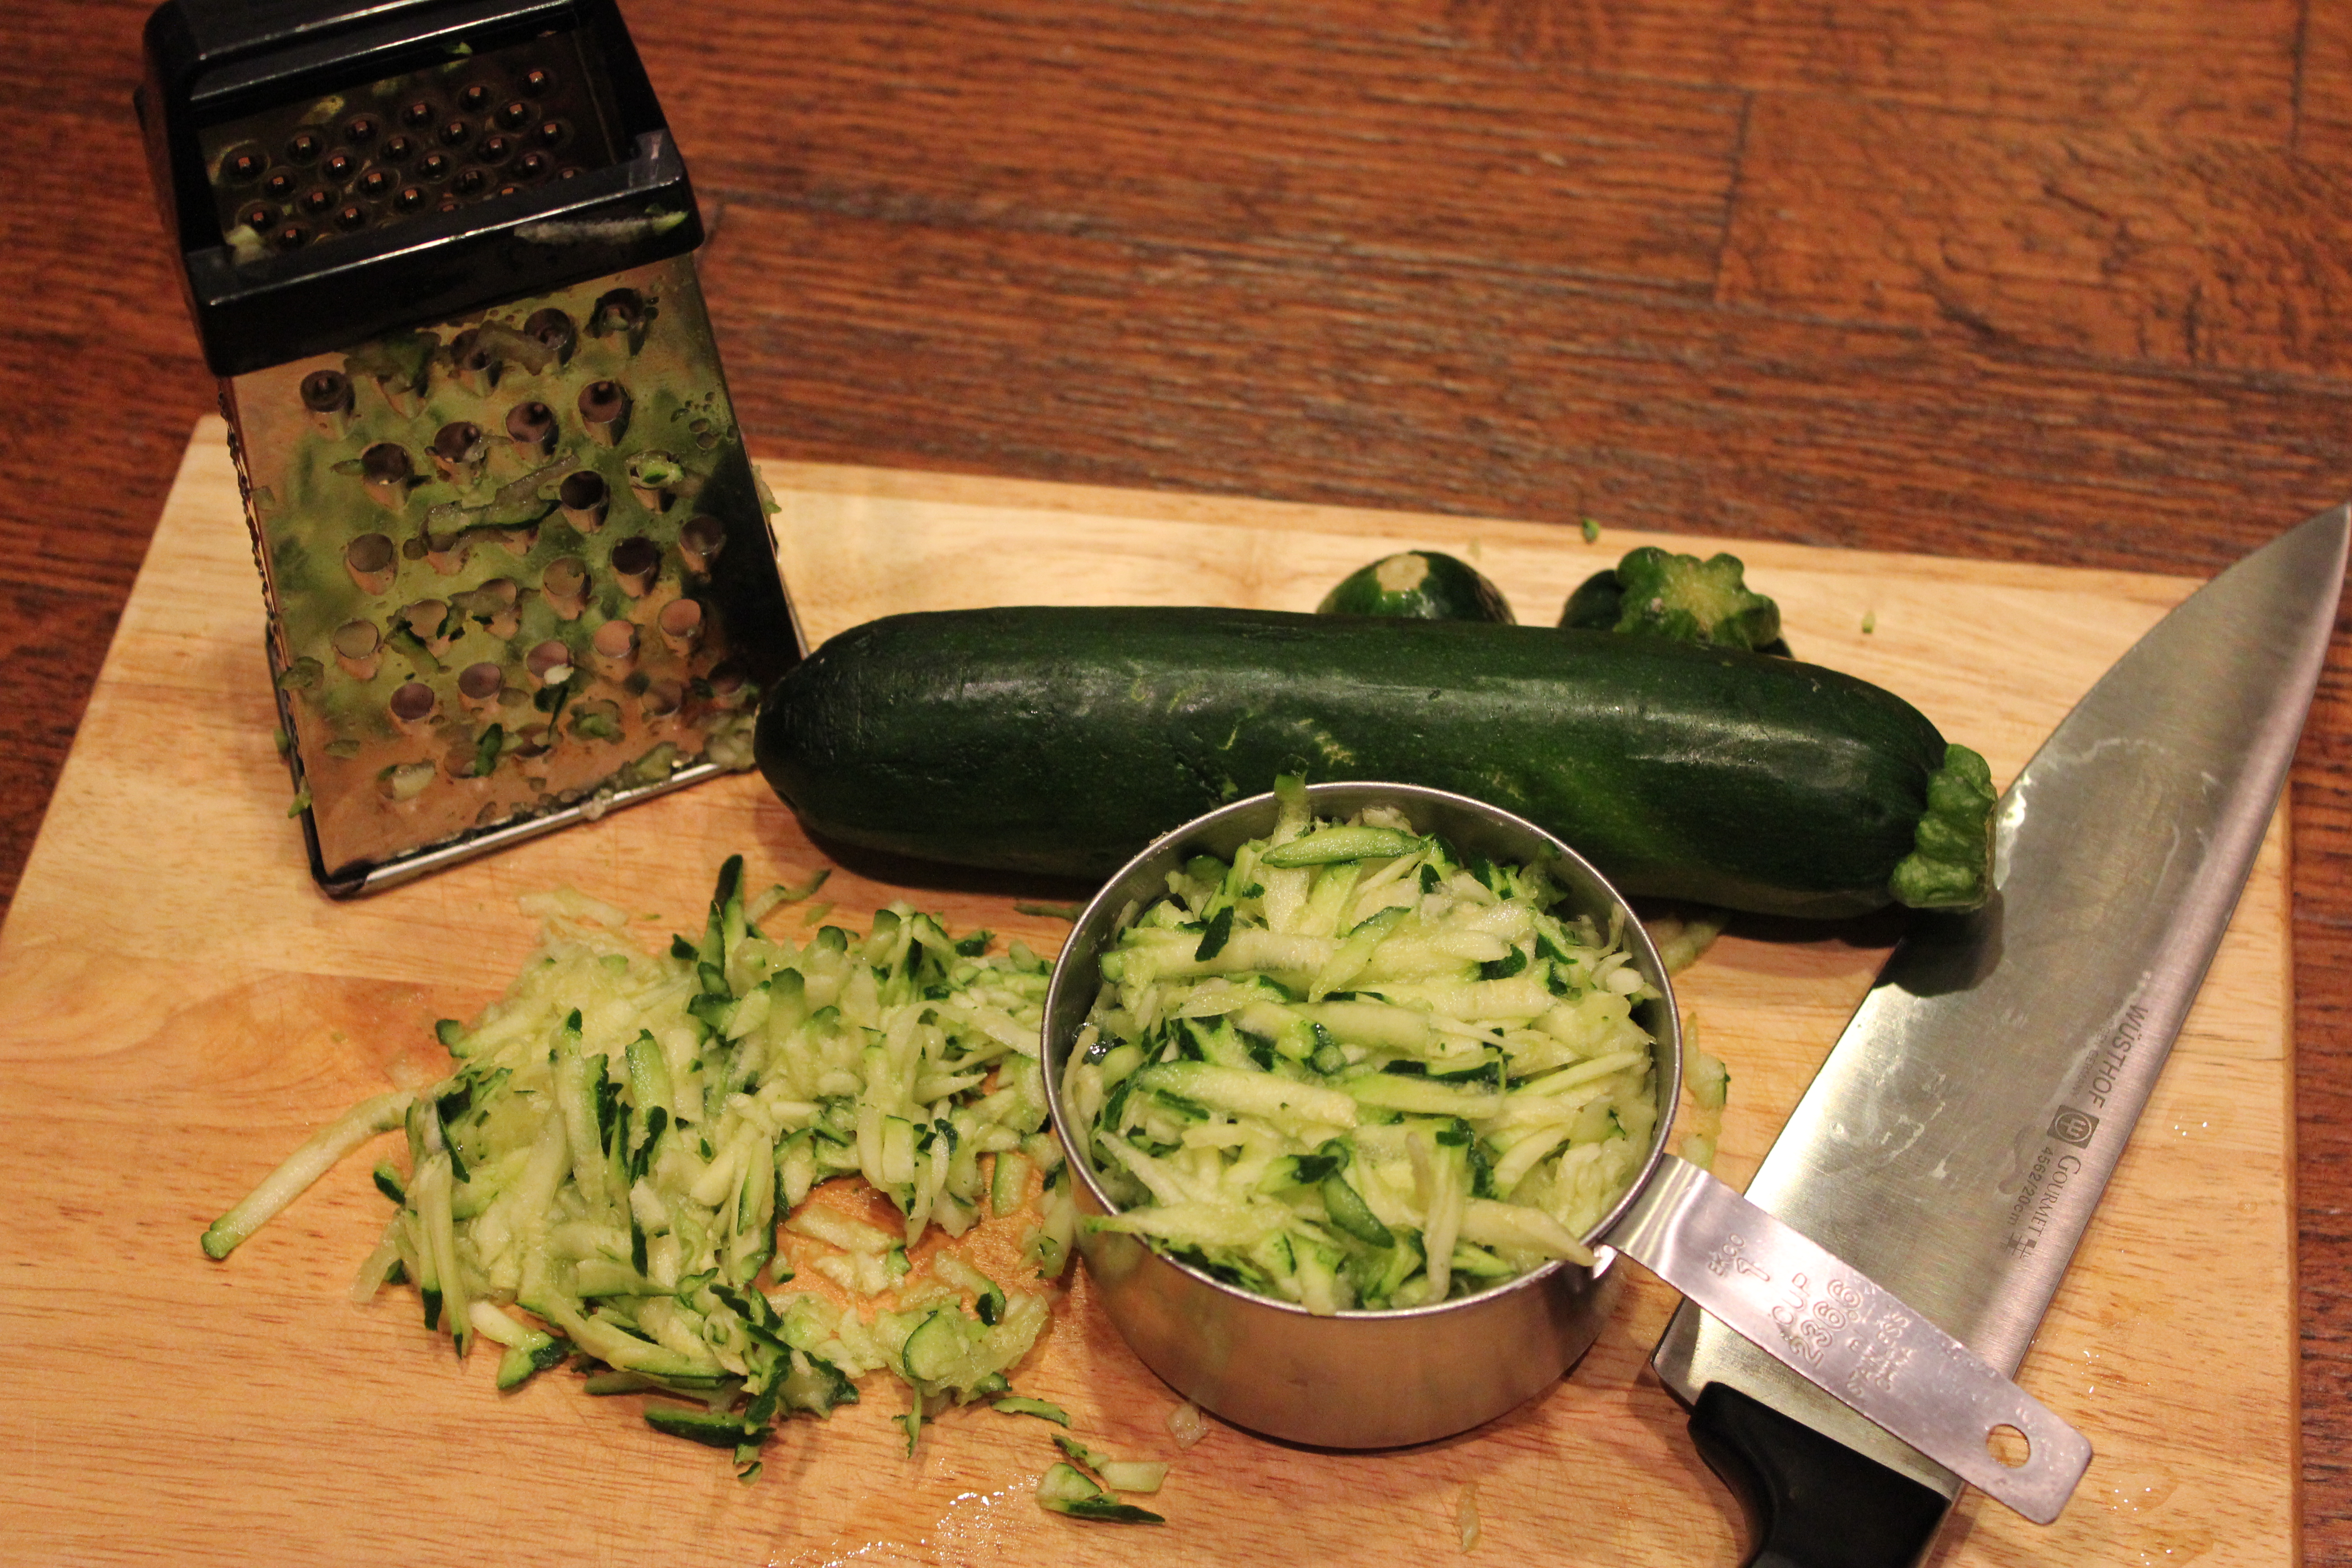
Grate 1 1/2 cups worth of zucchini.

IMG_3278

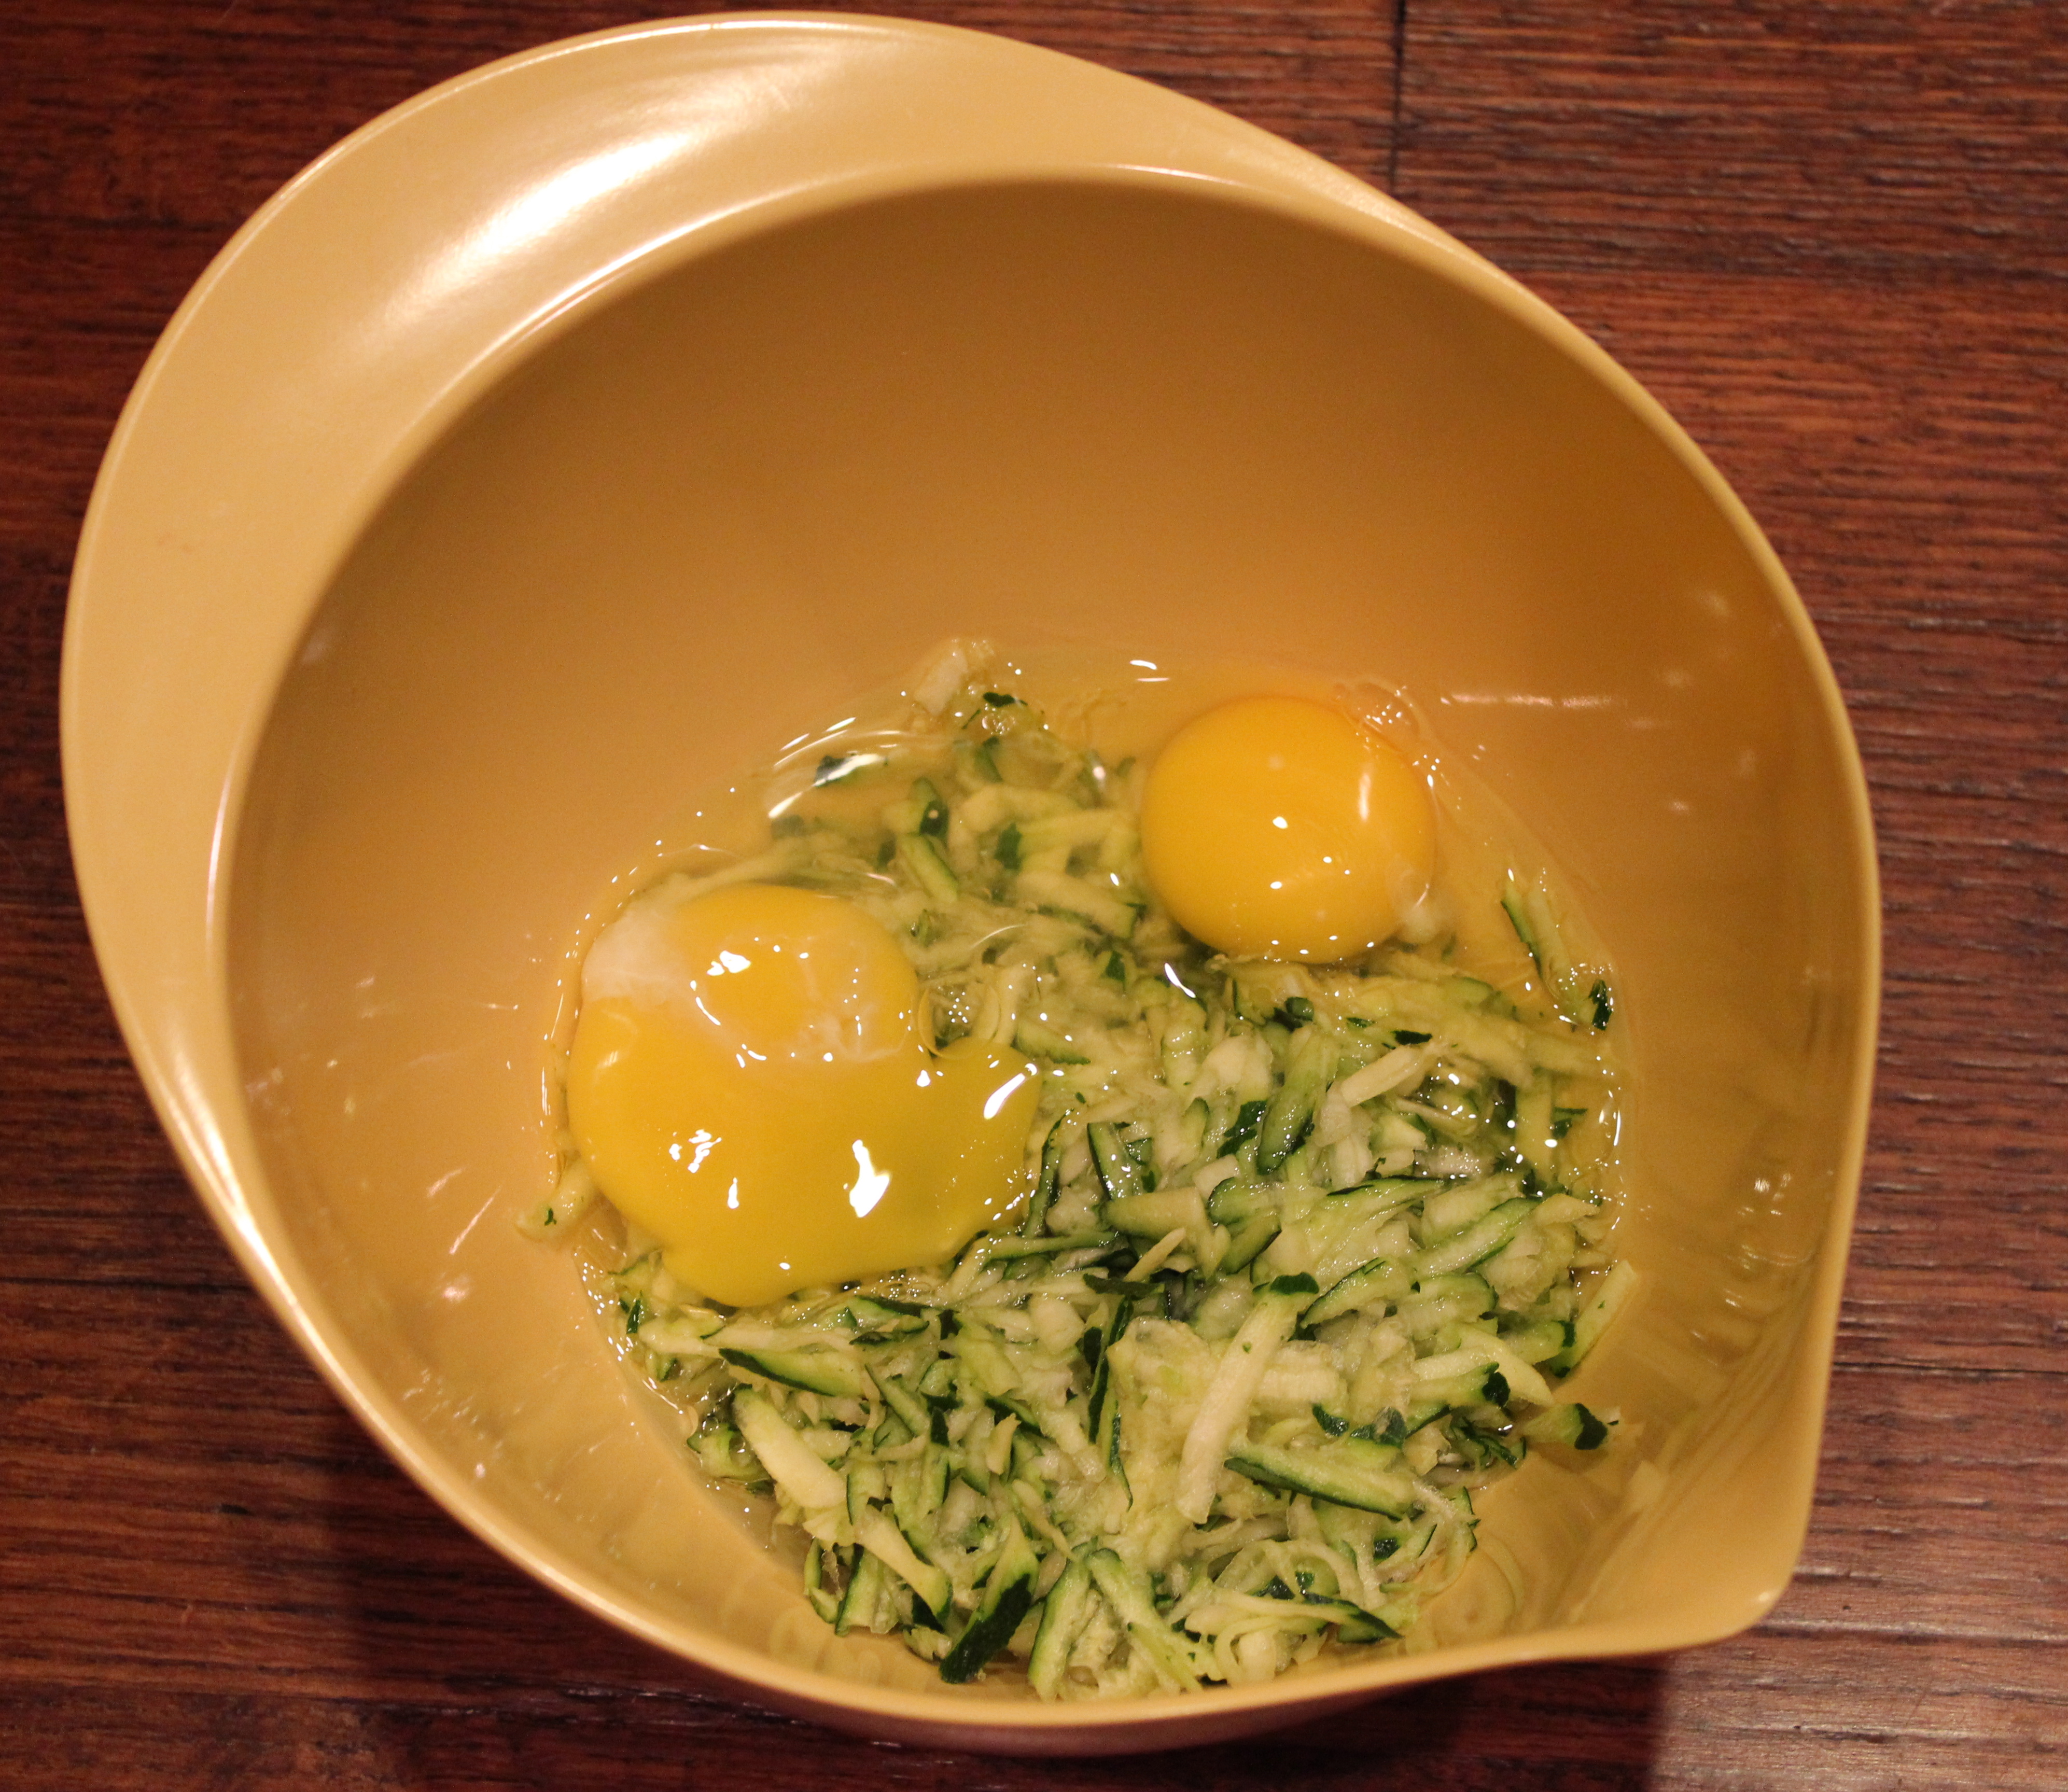
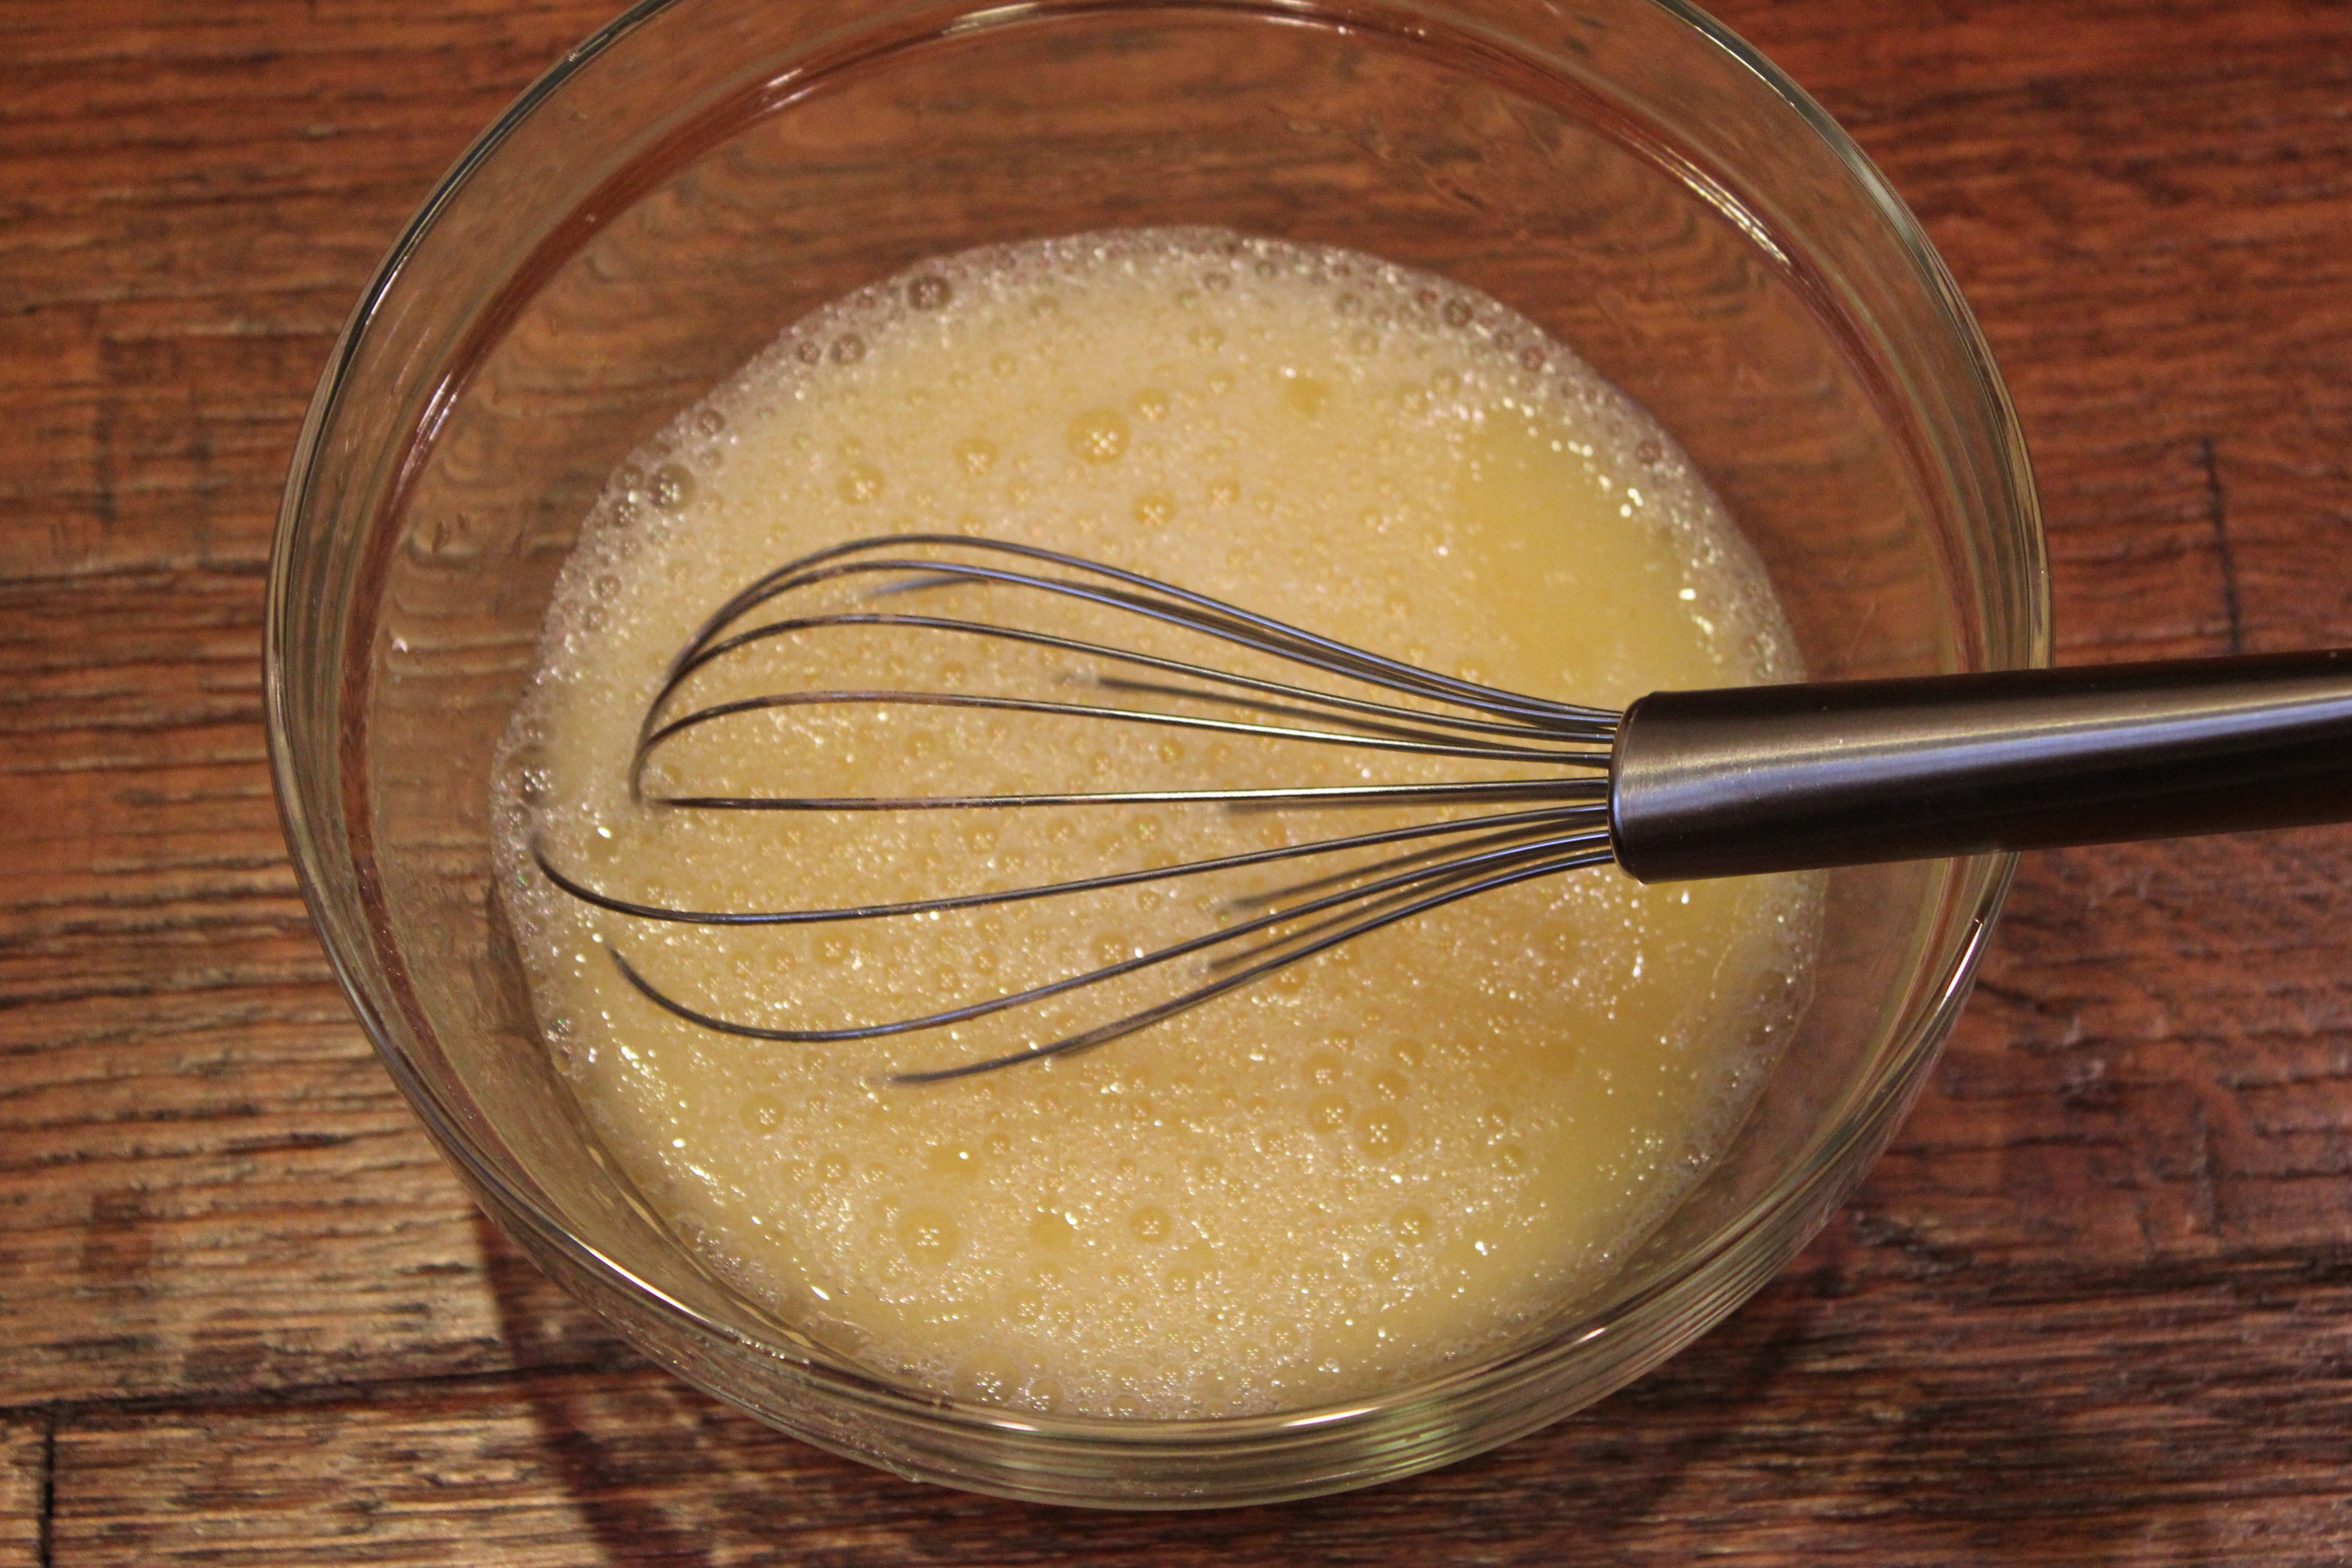
Combine eggs, vanilla, oil and zucchini.

IMG_3280

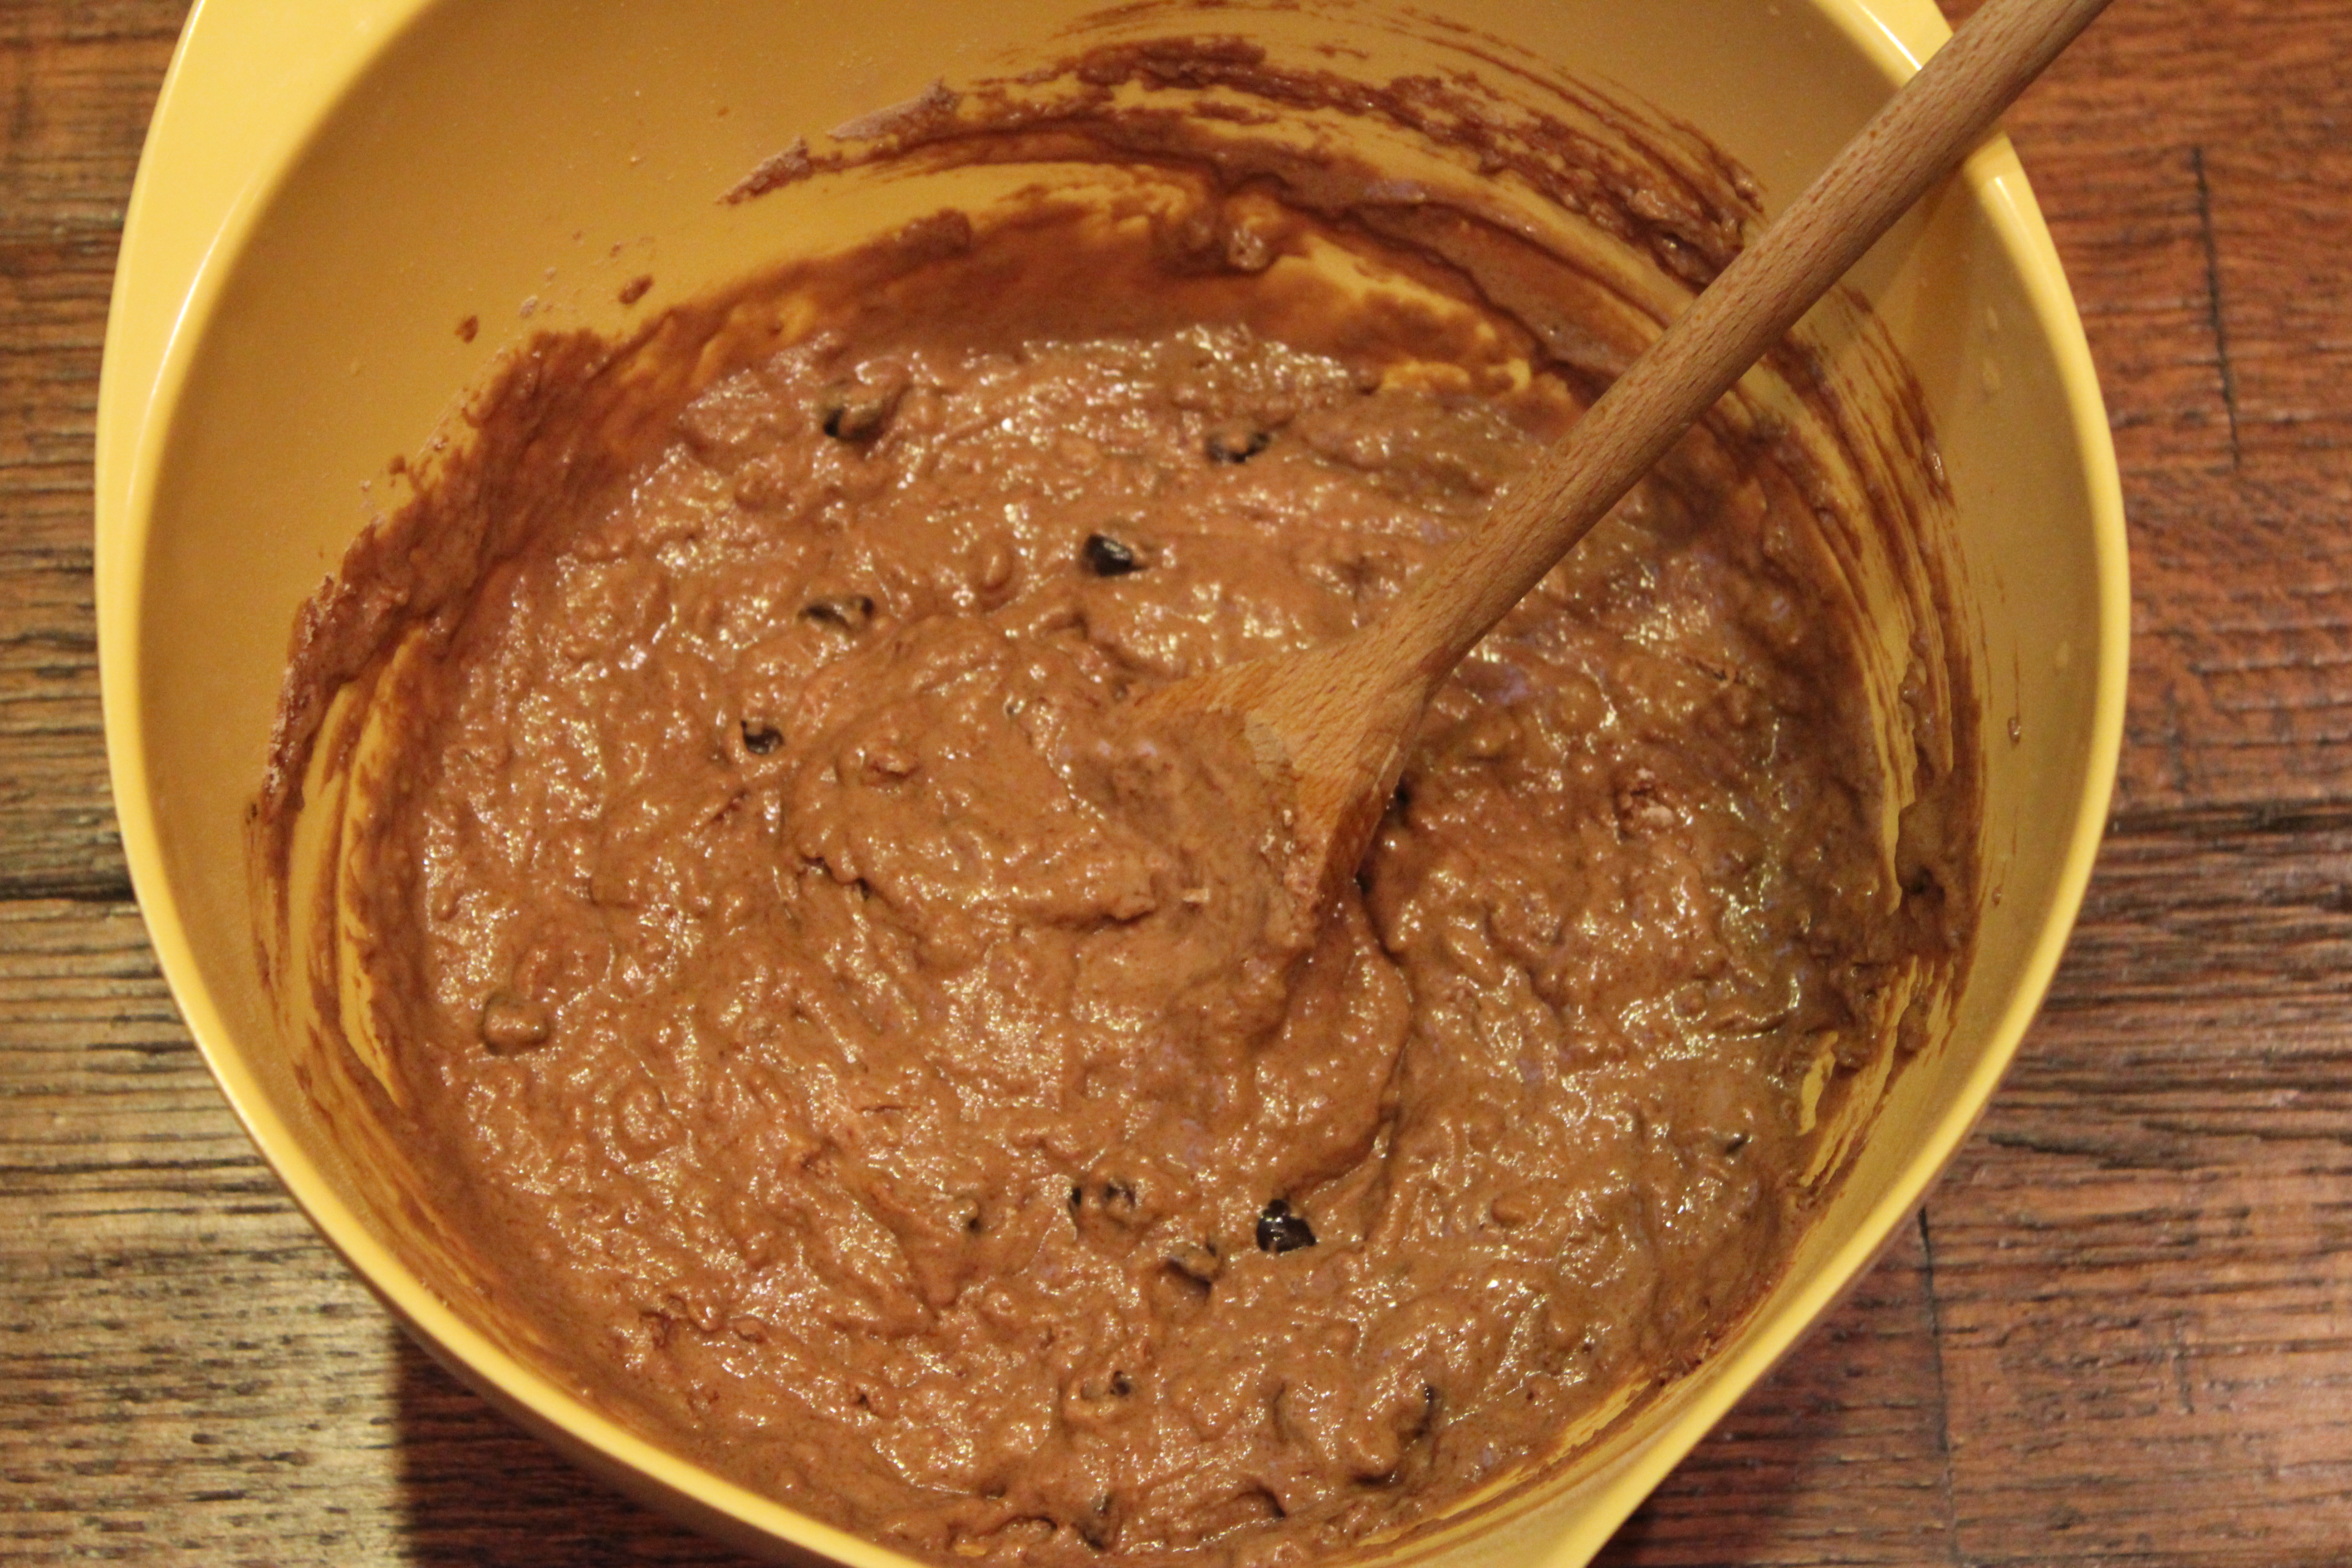
Fold zucchini mixture in with dry mixture and be careful not to overwork the batter.

IMG_3284

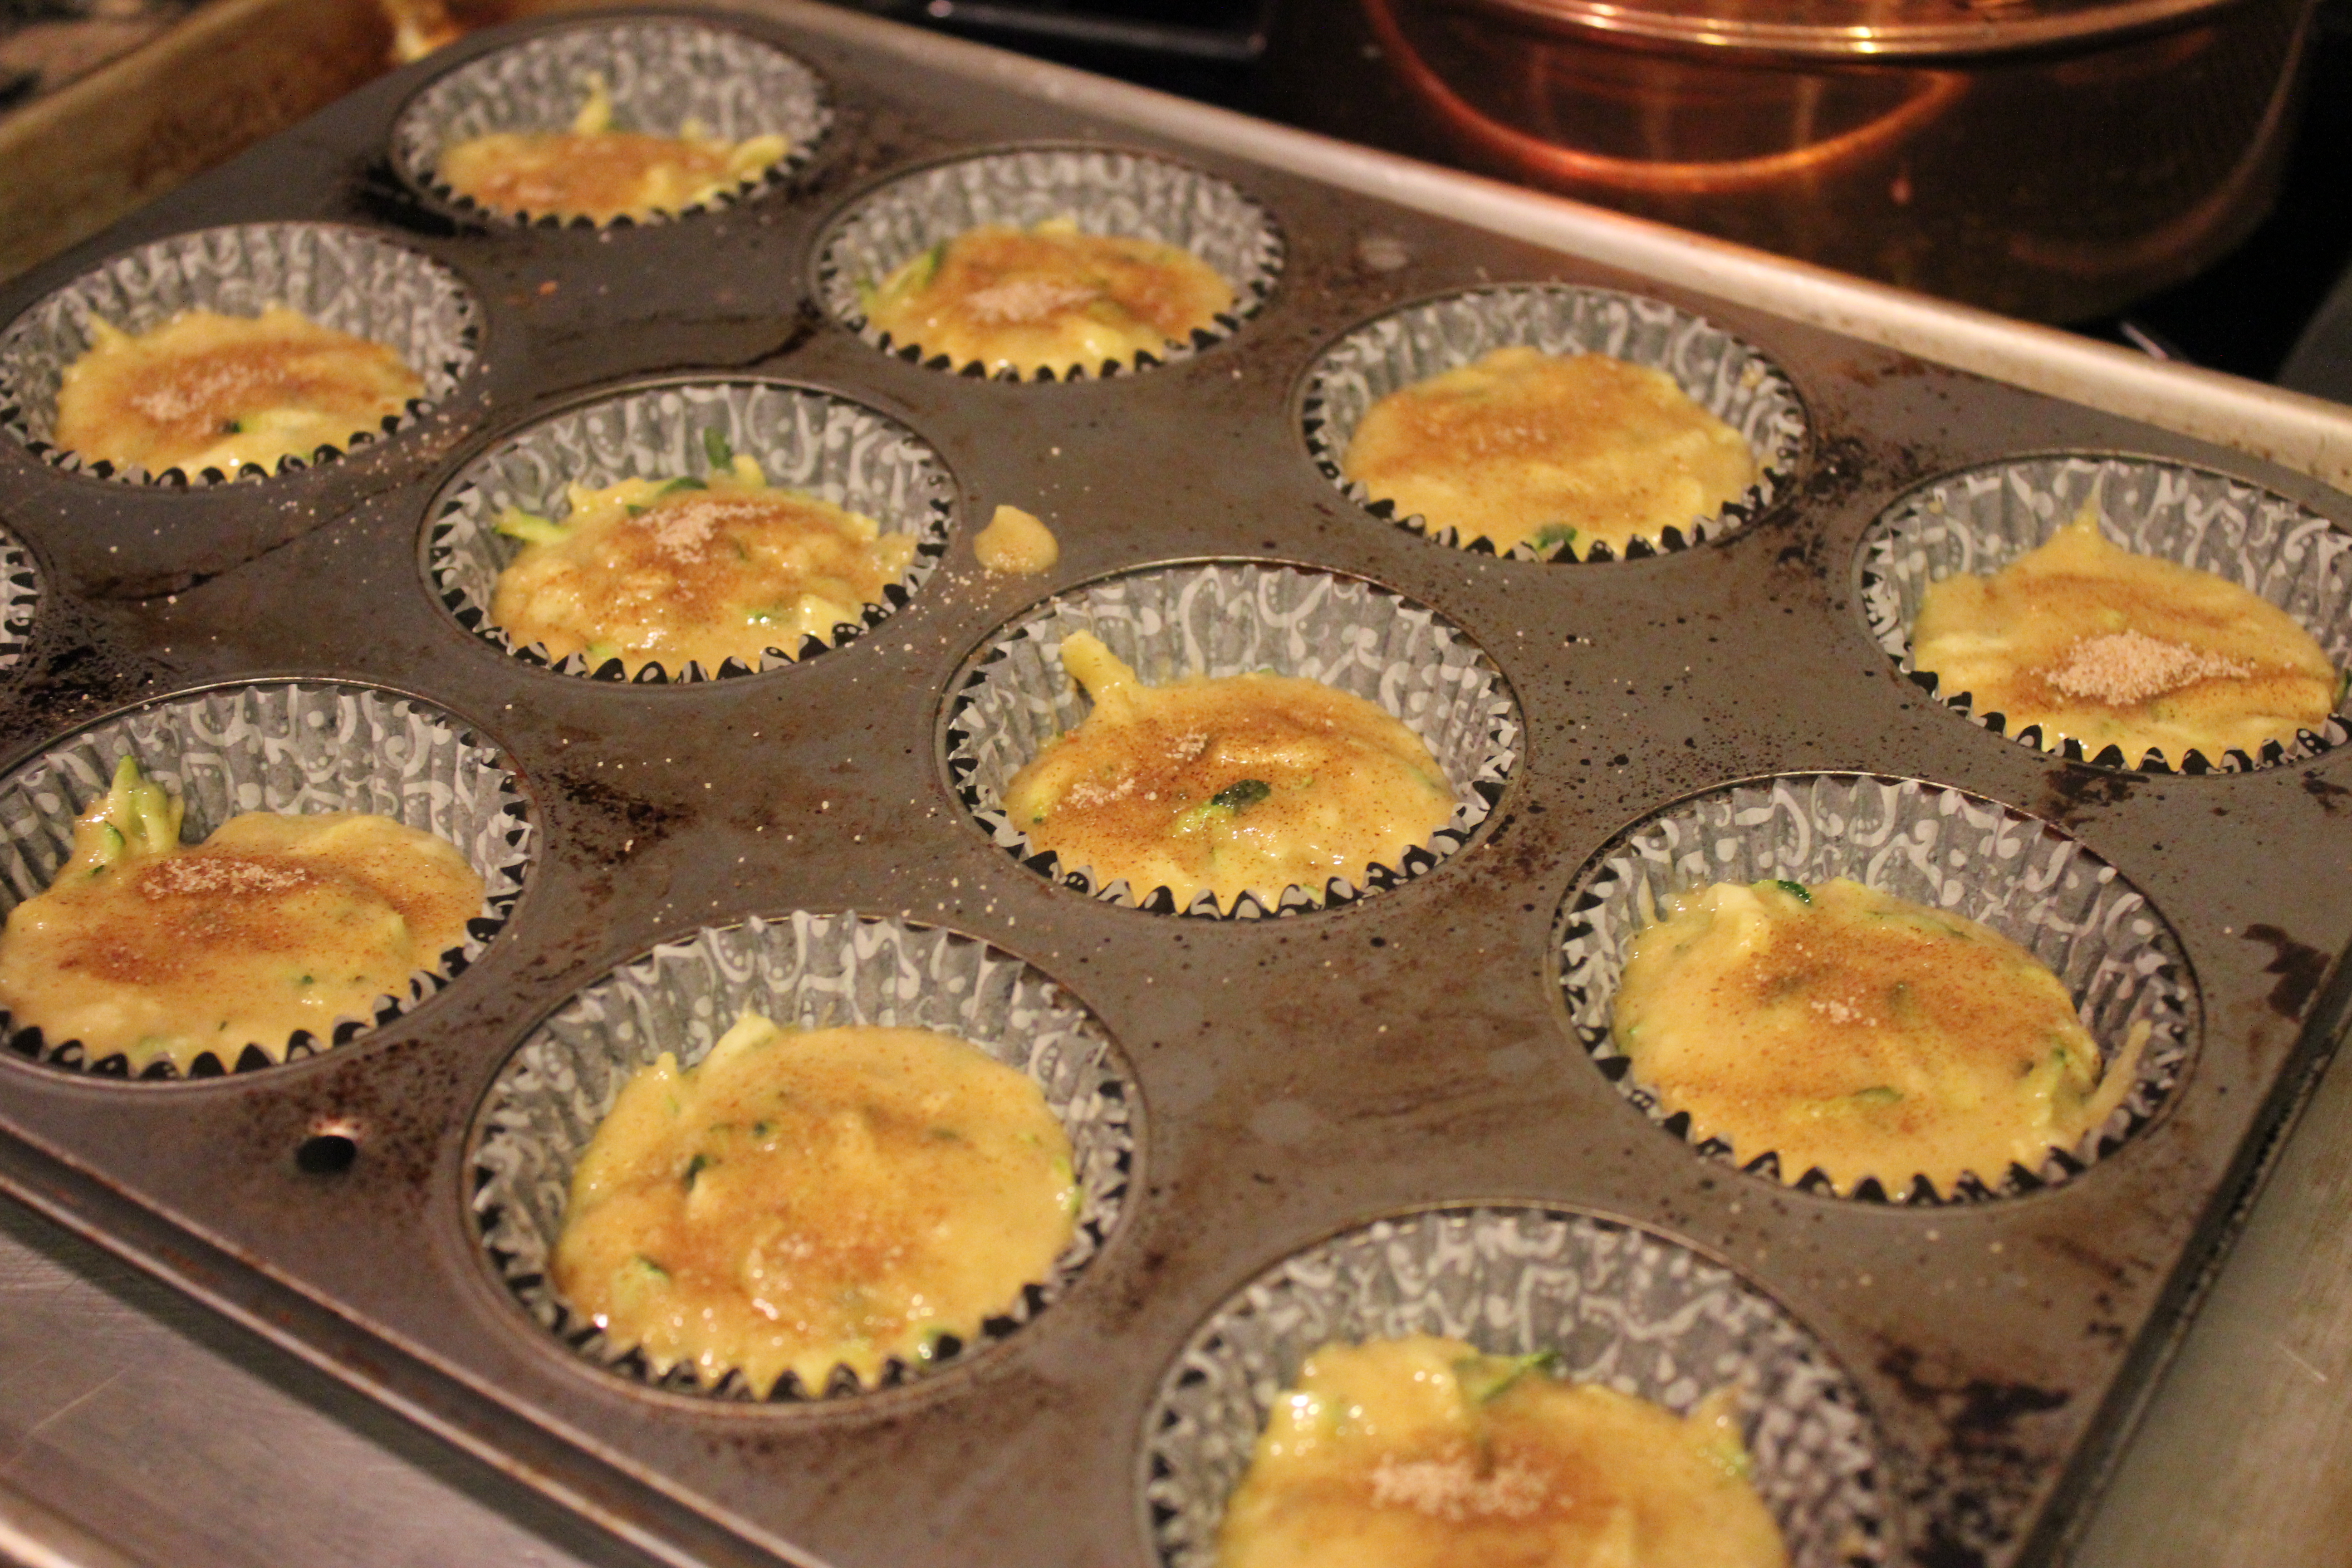
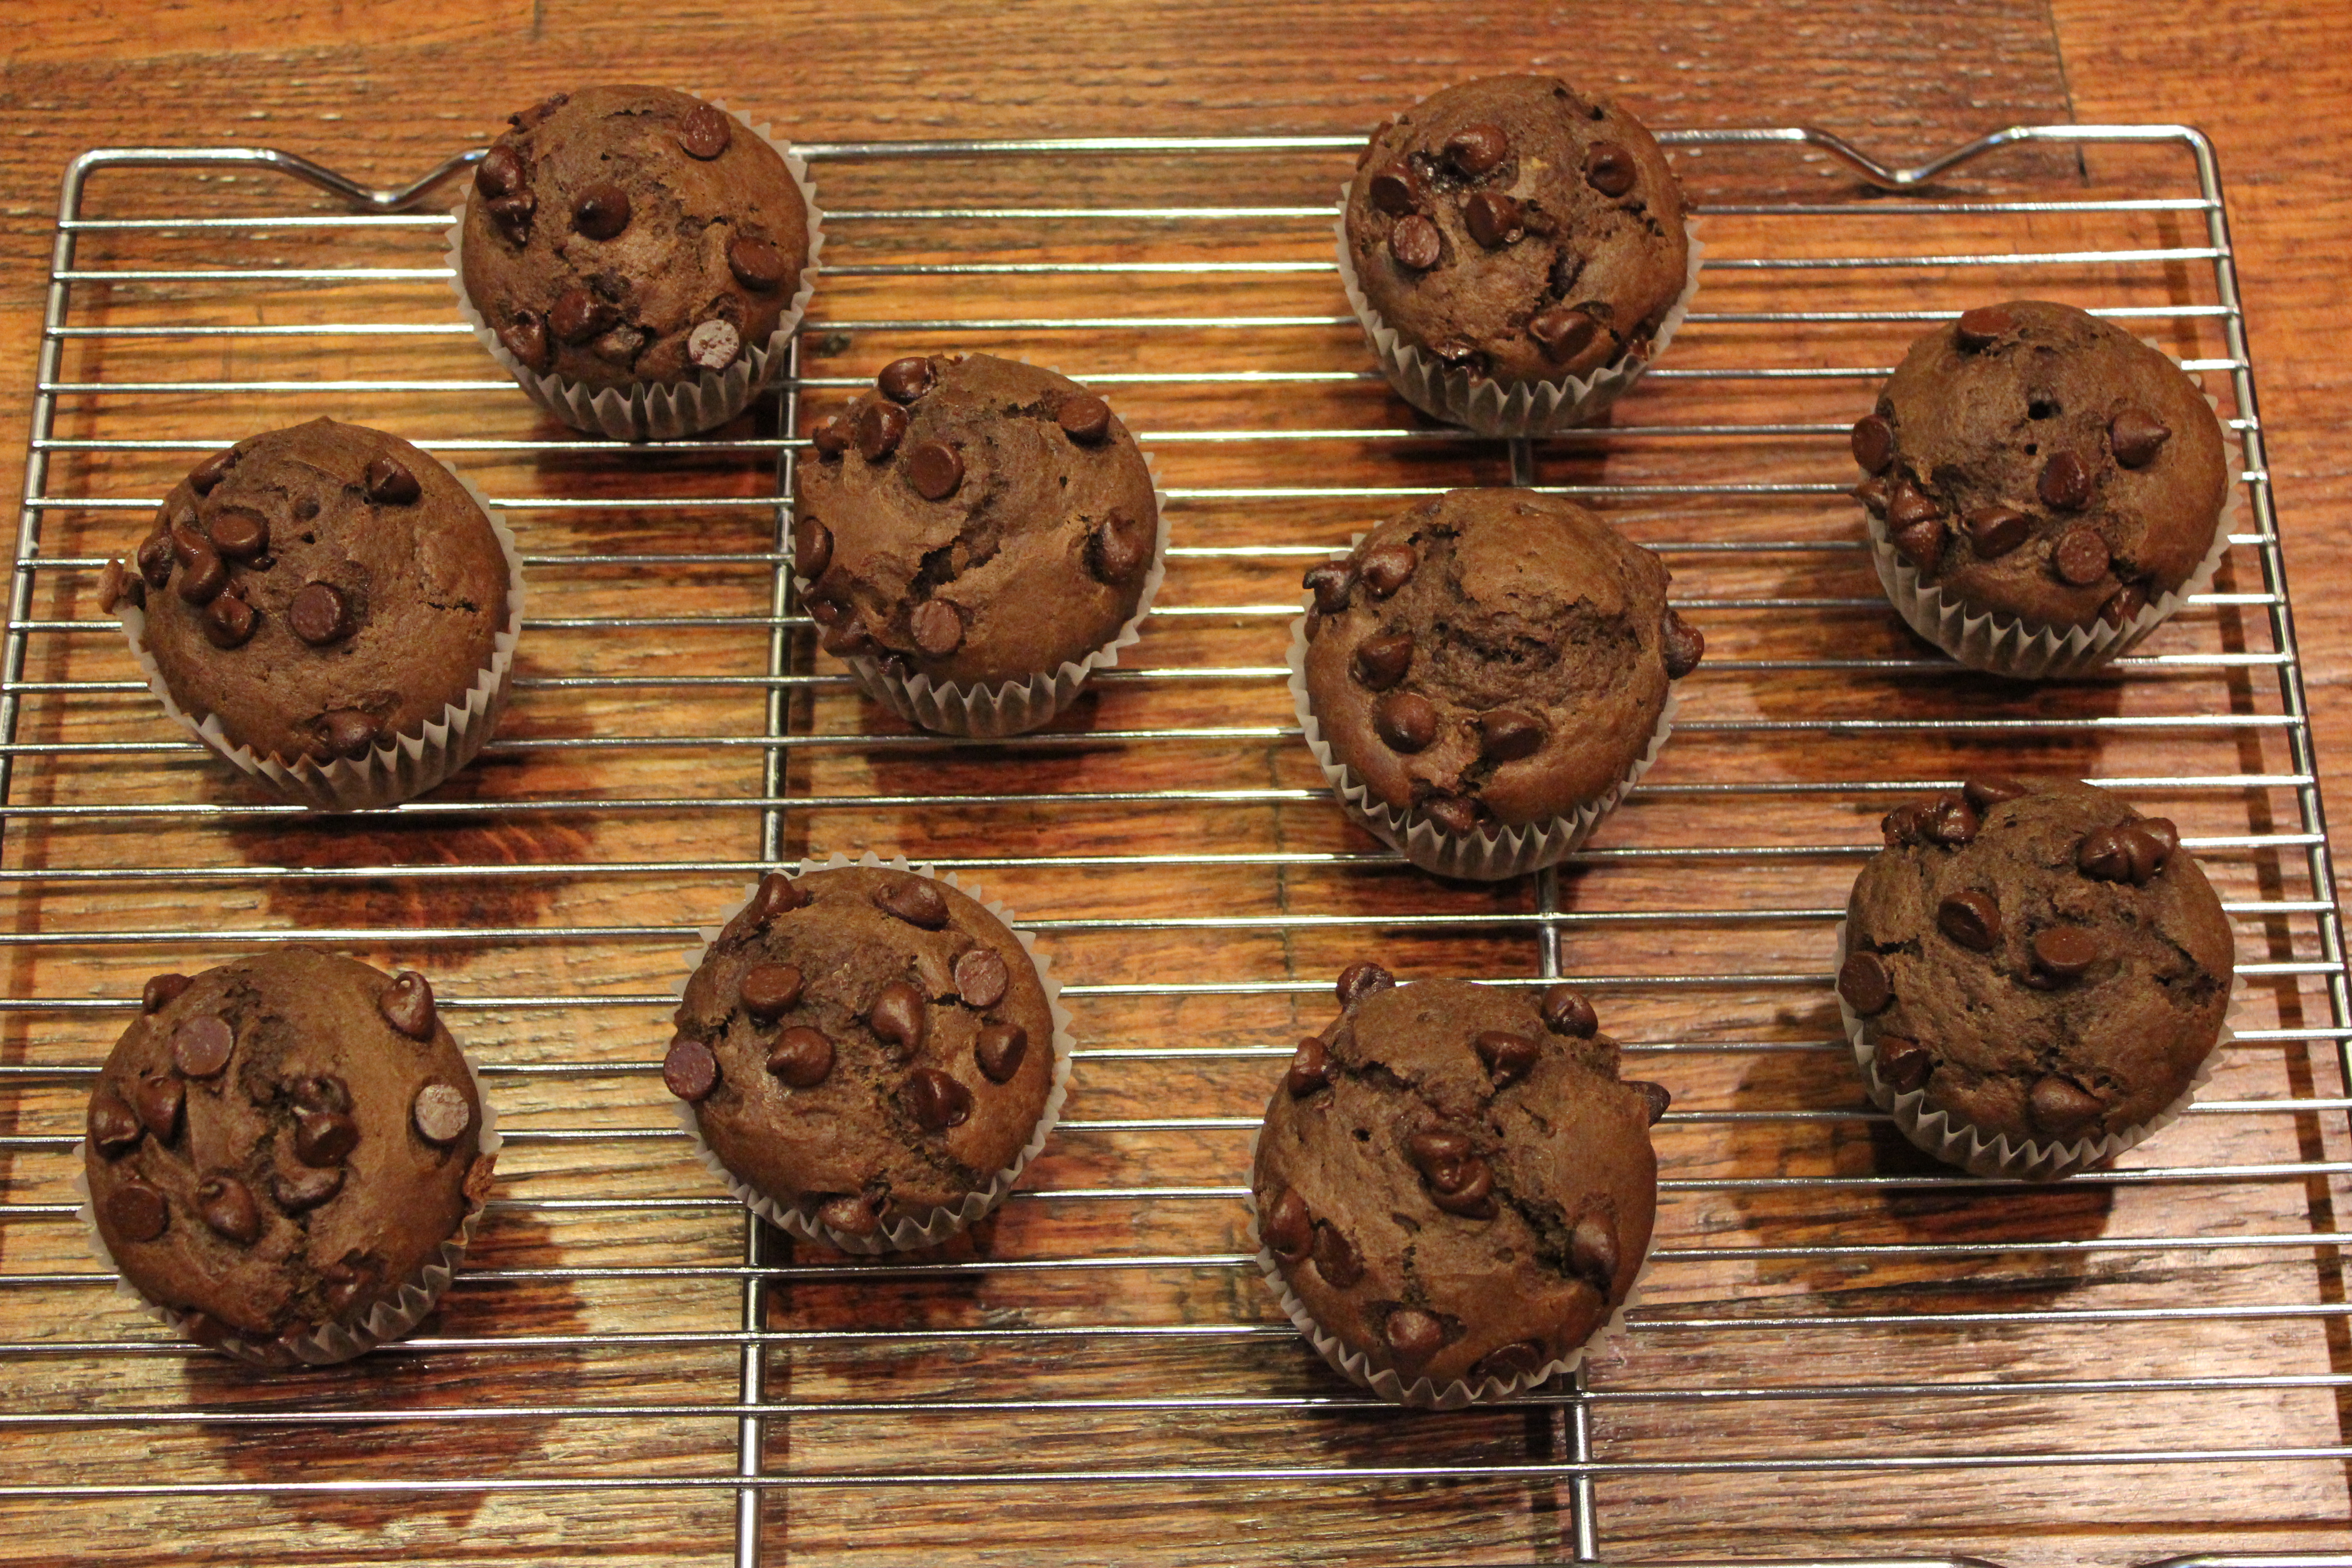
Fill paper muffin liners 3/4 full with batter.

IMG_3286

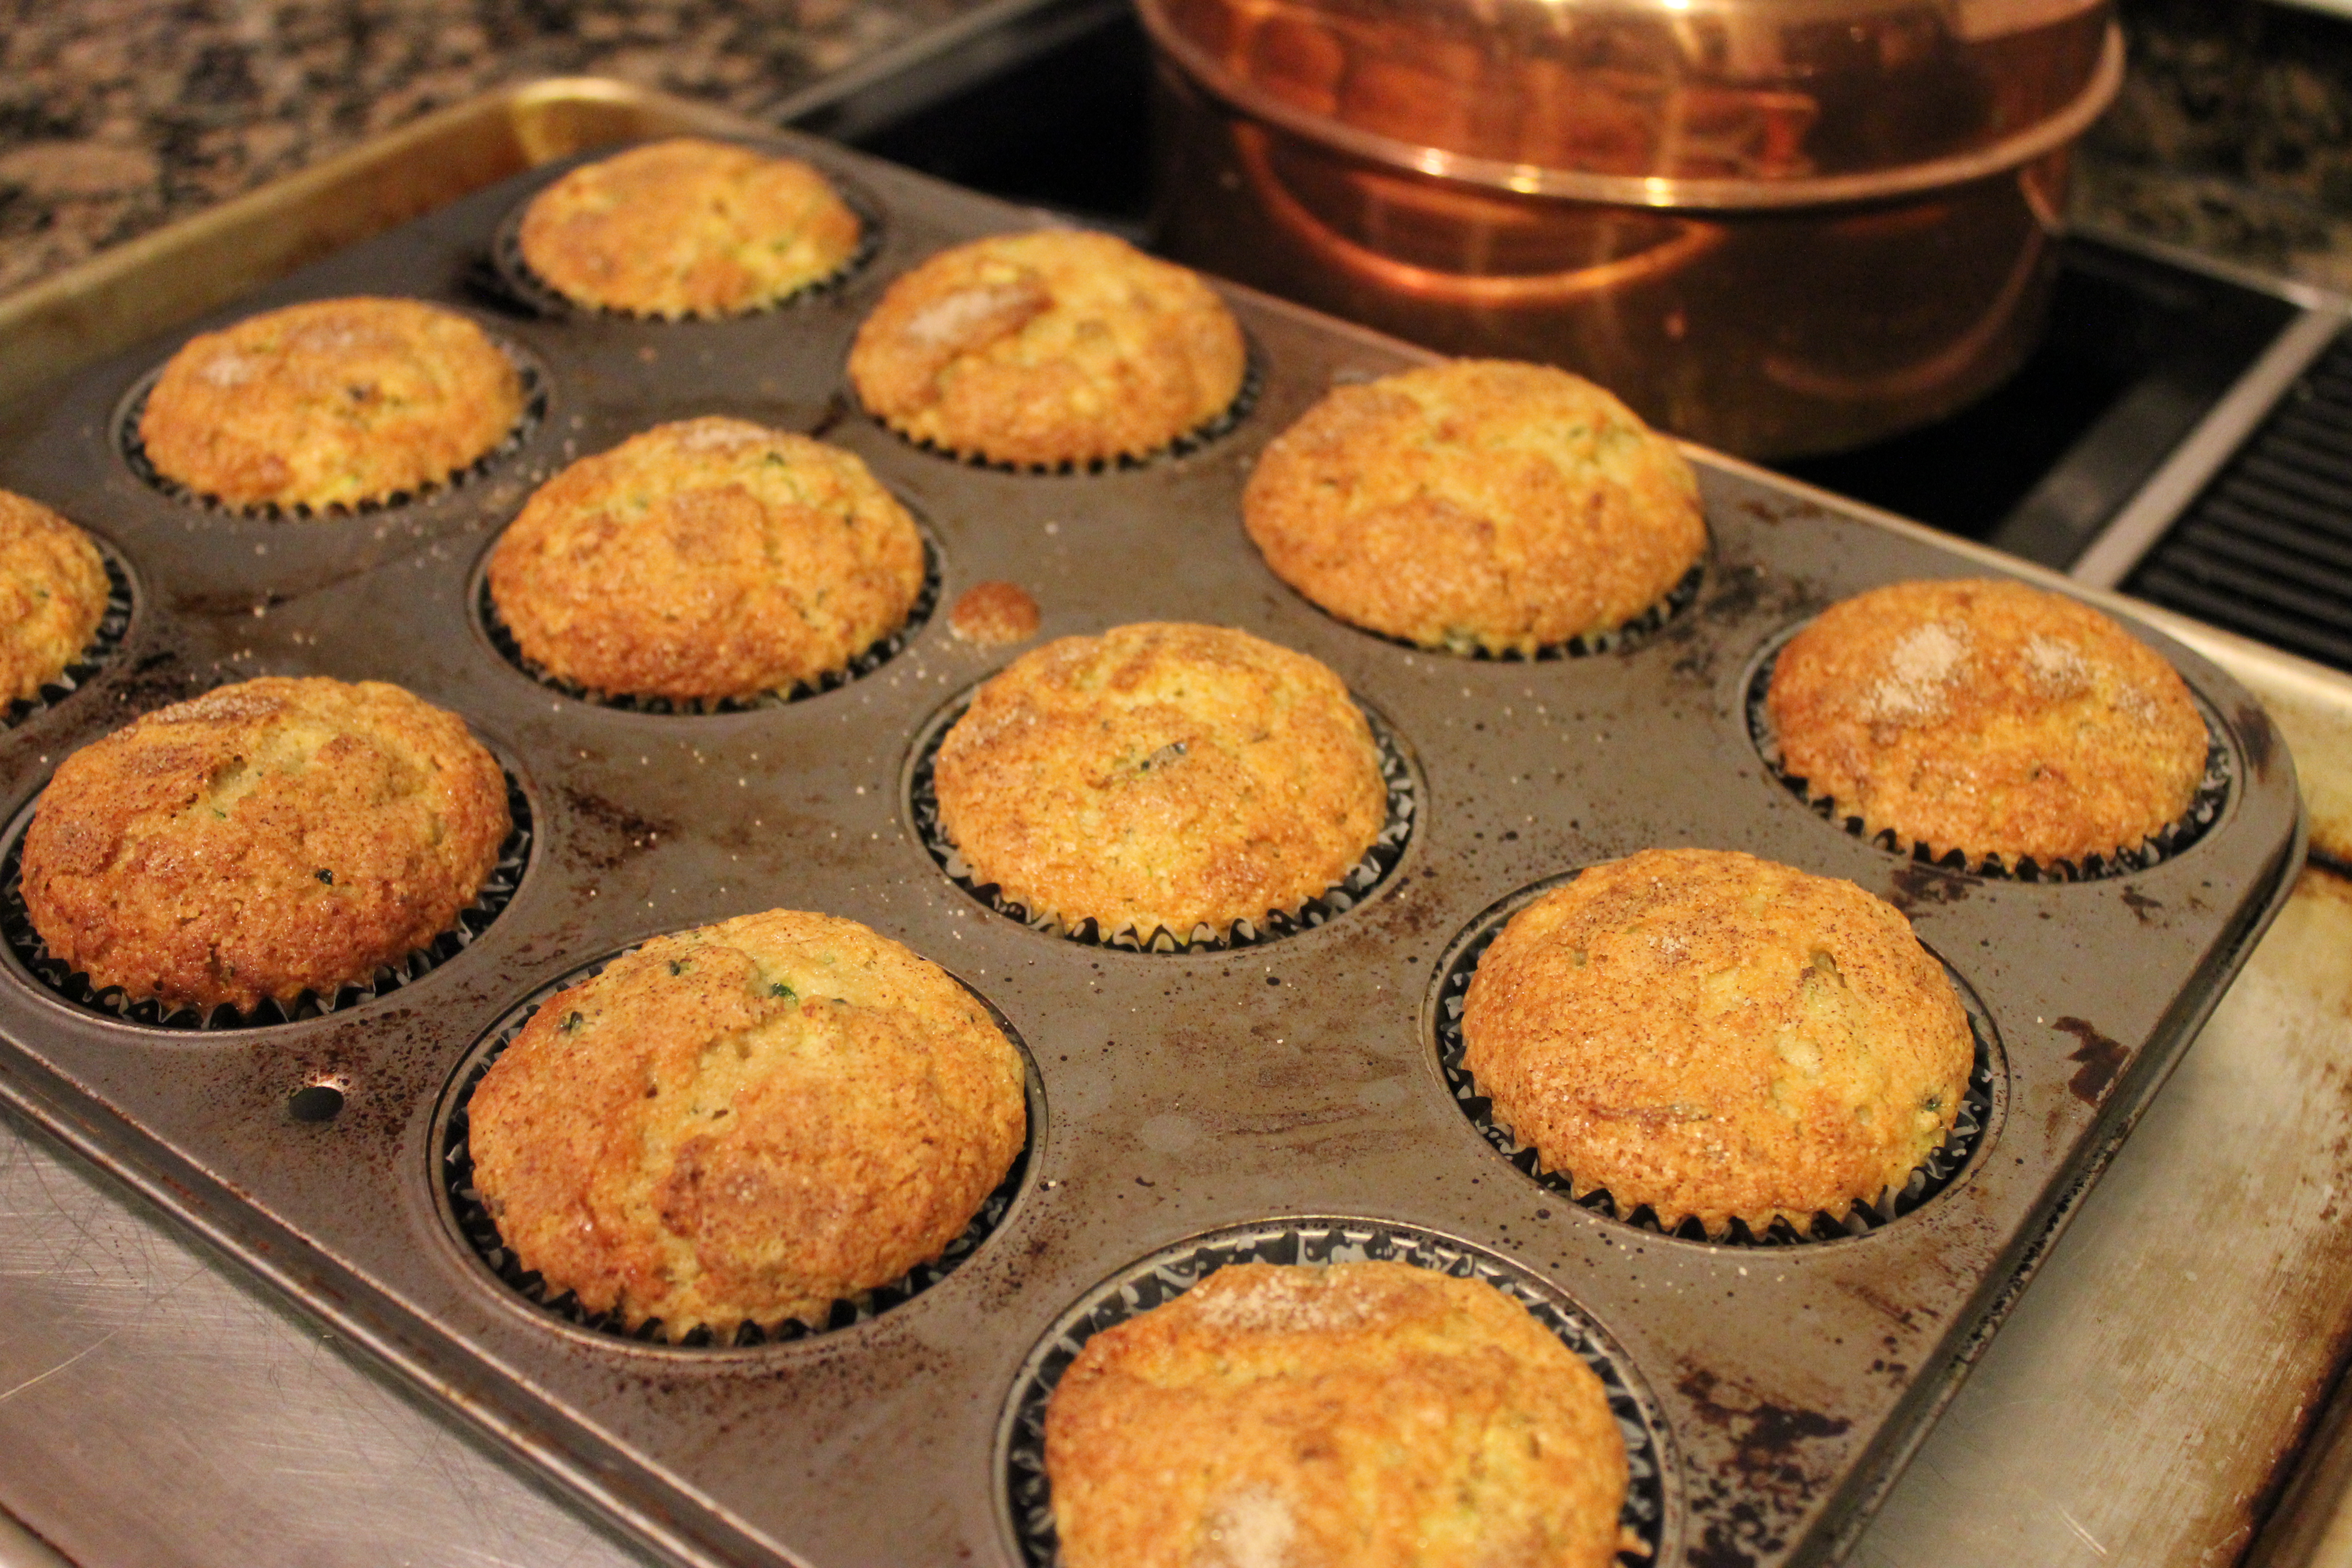
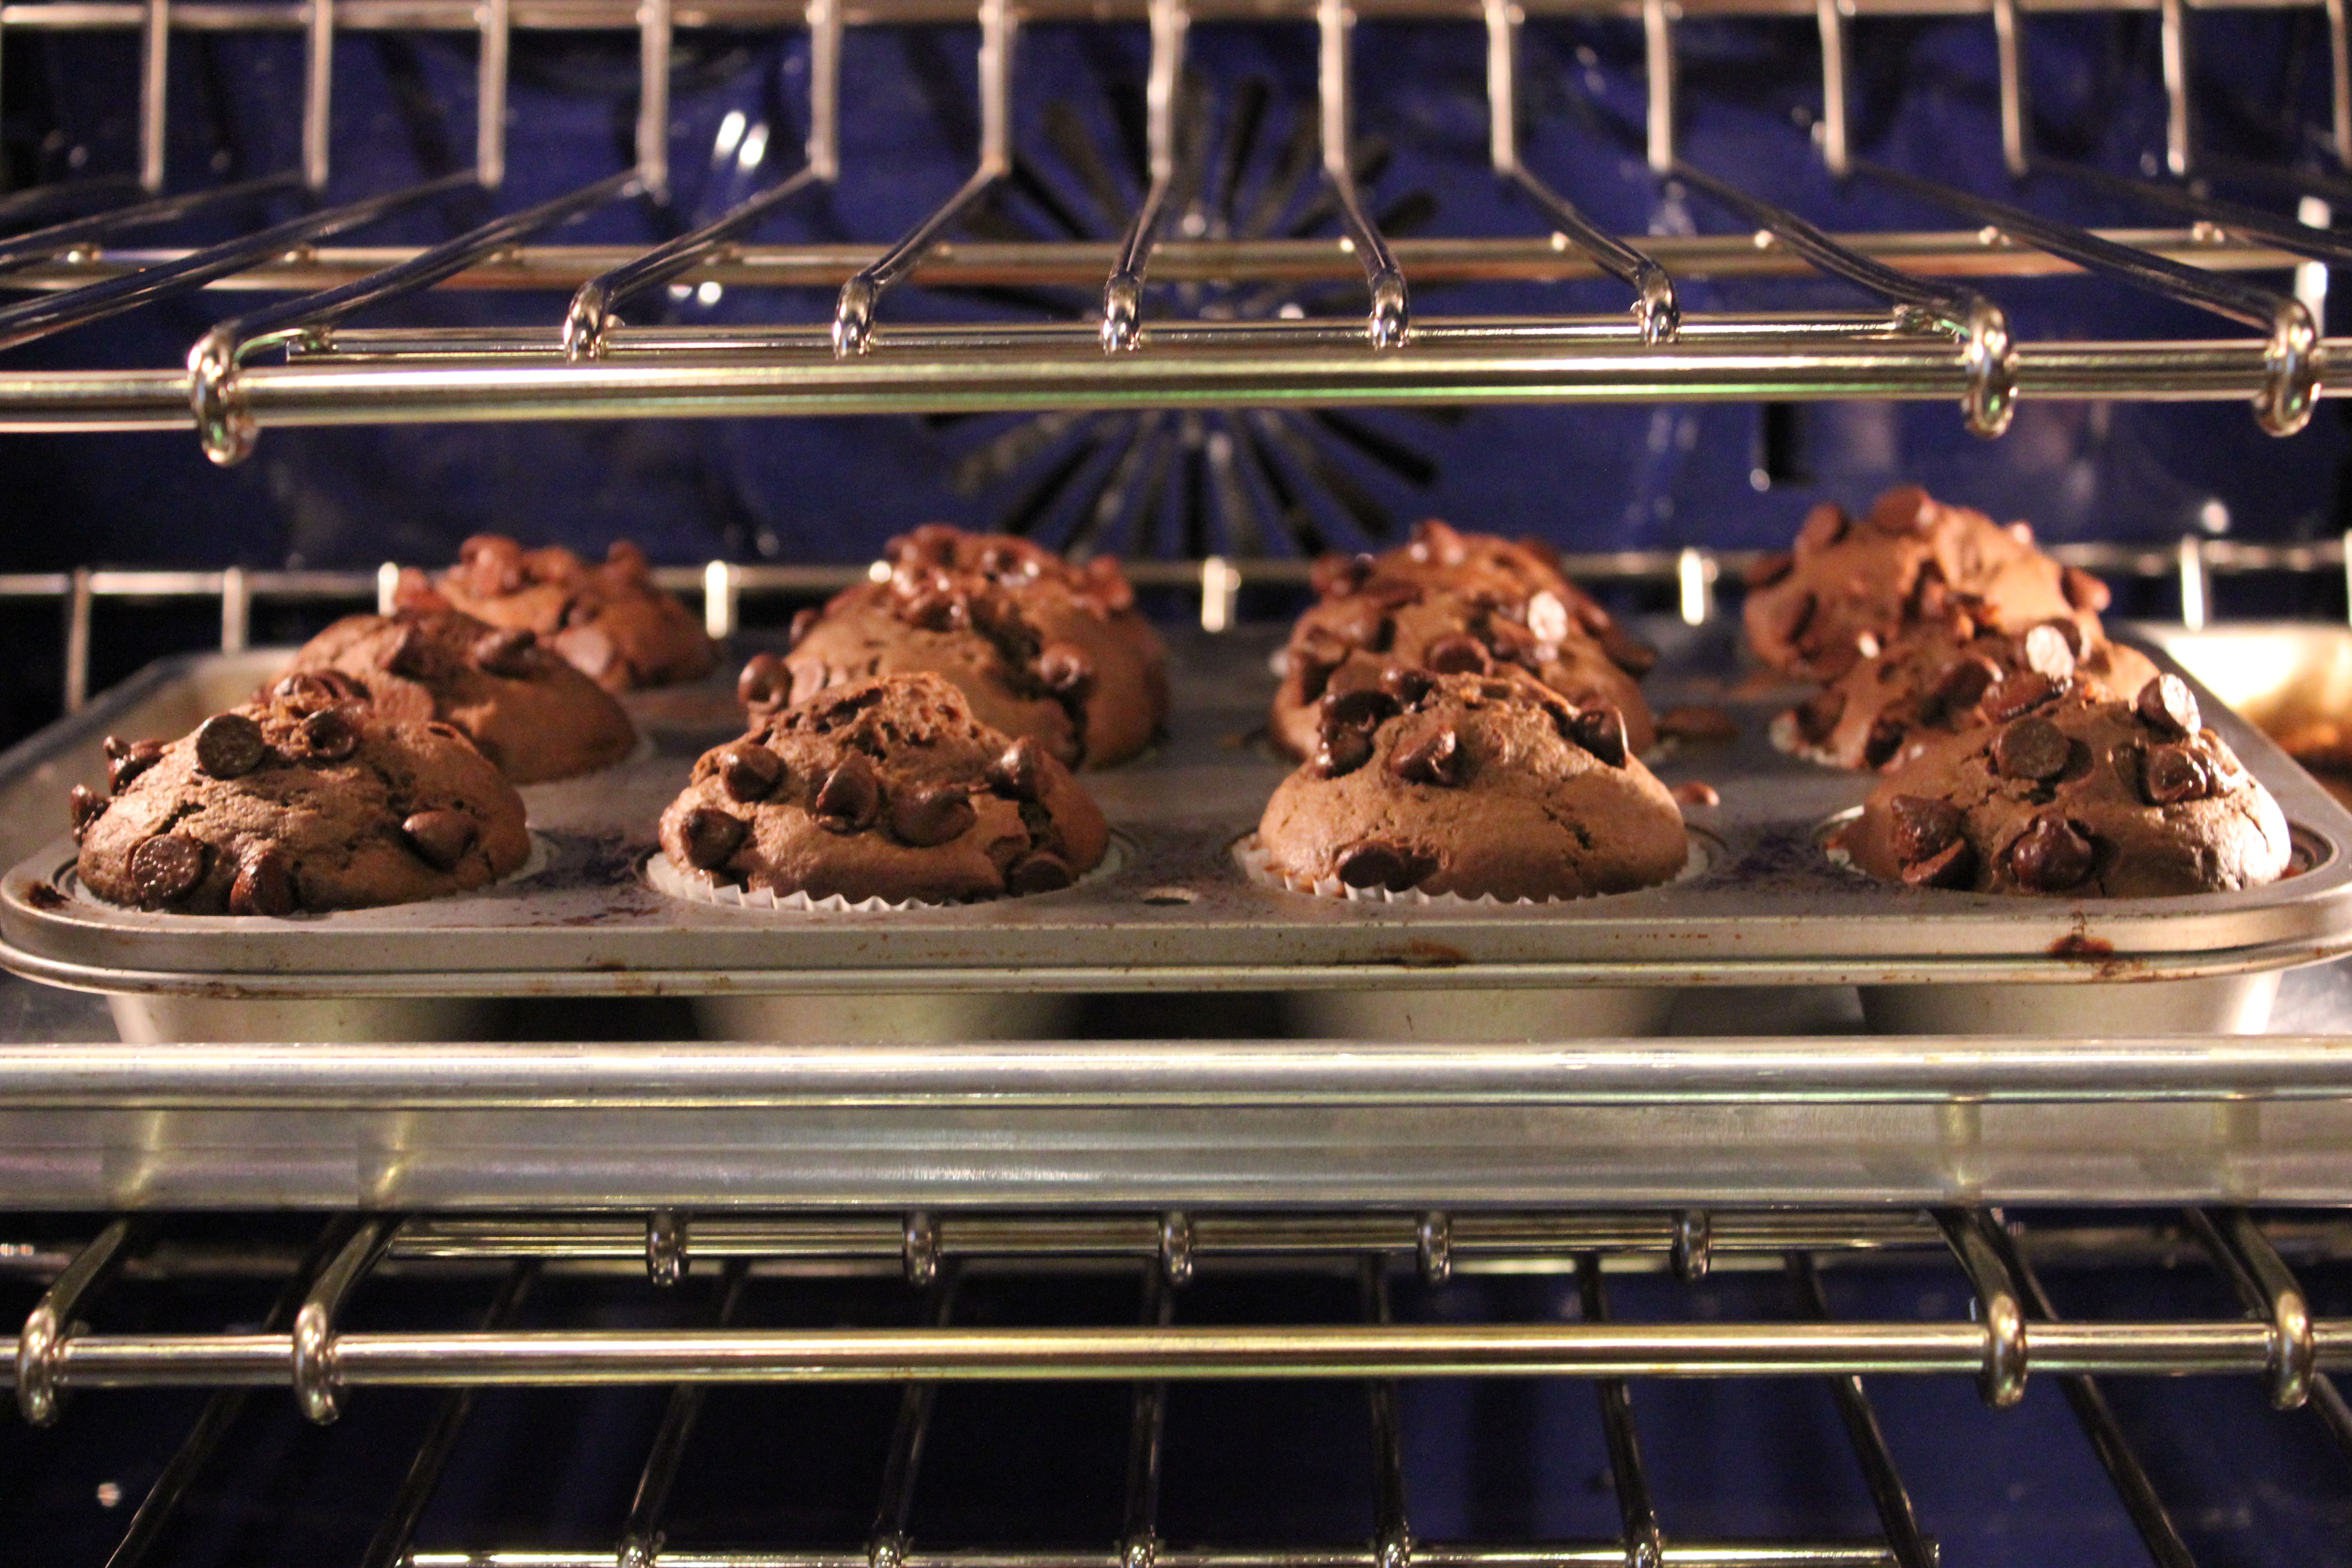
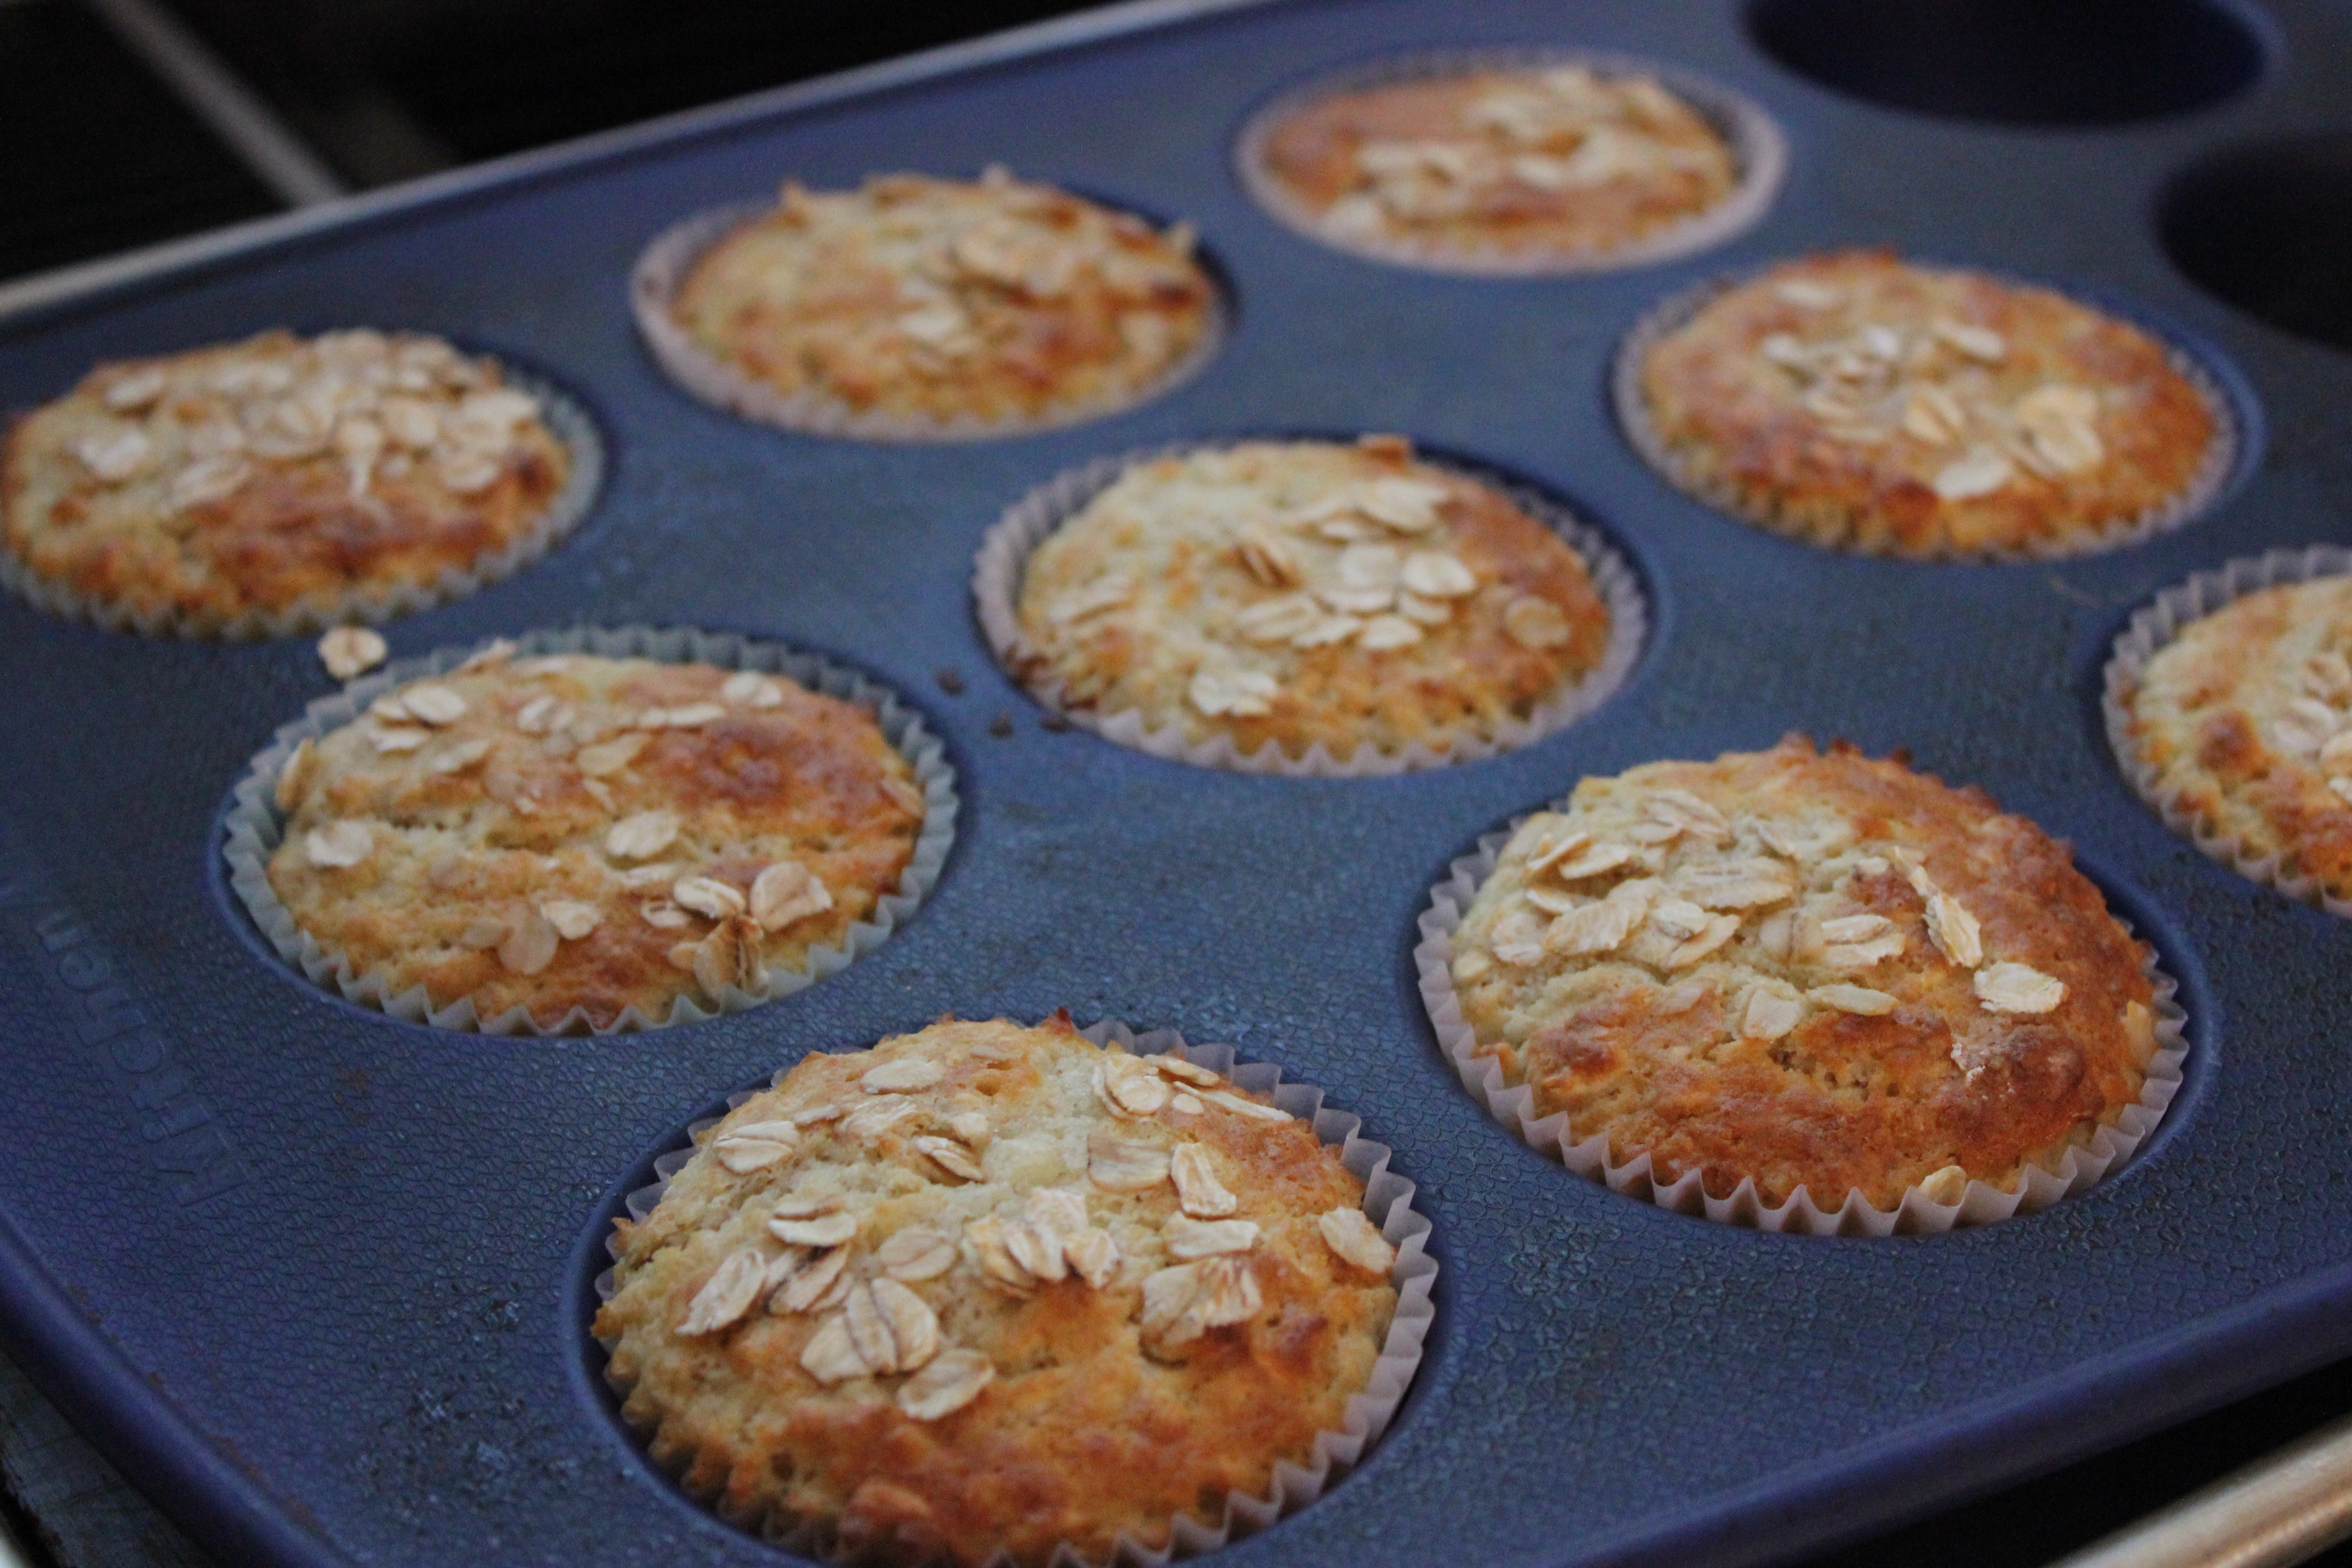
Bake for 25 minutes at 375 degrees F or until a toothpick inserted in the center of the muffin comes out clean.
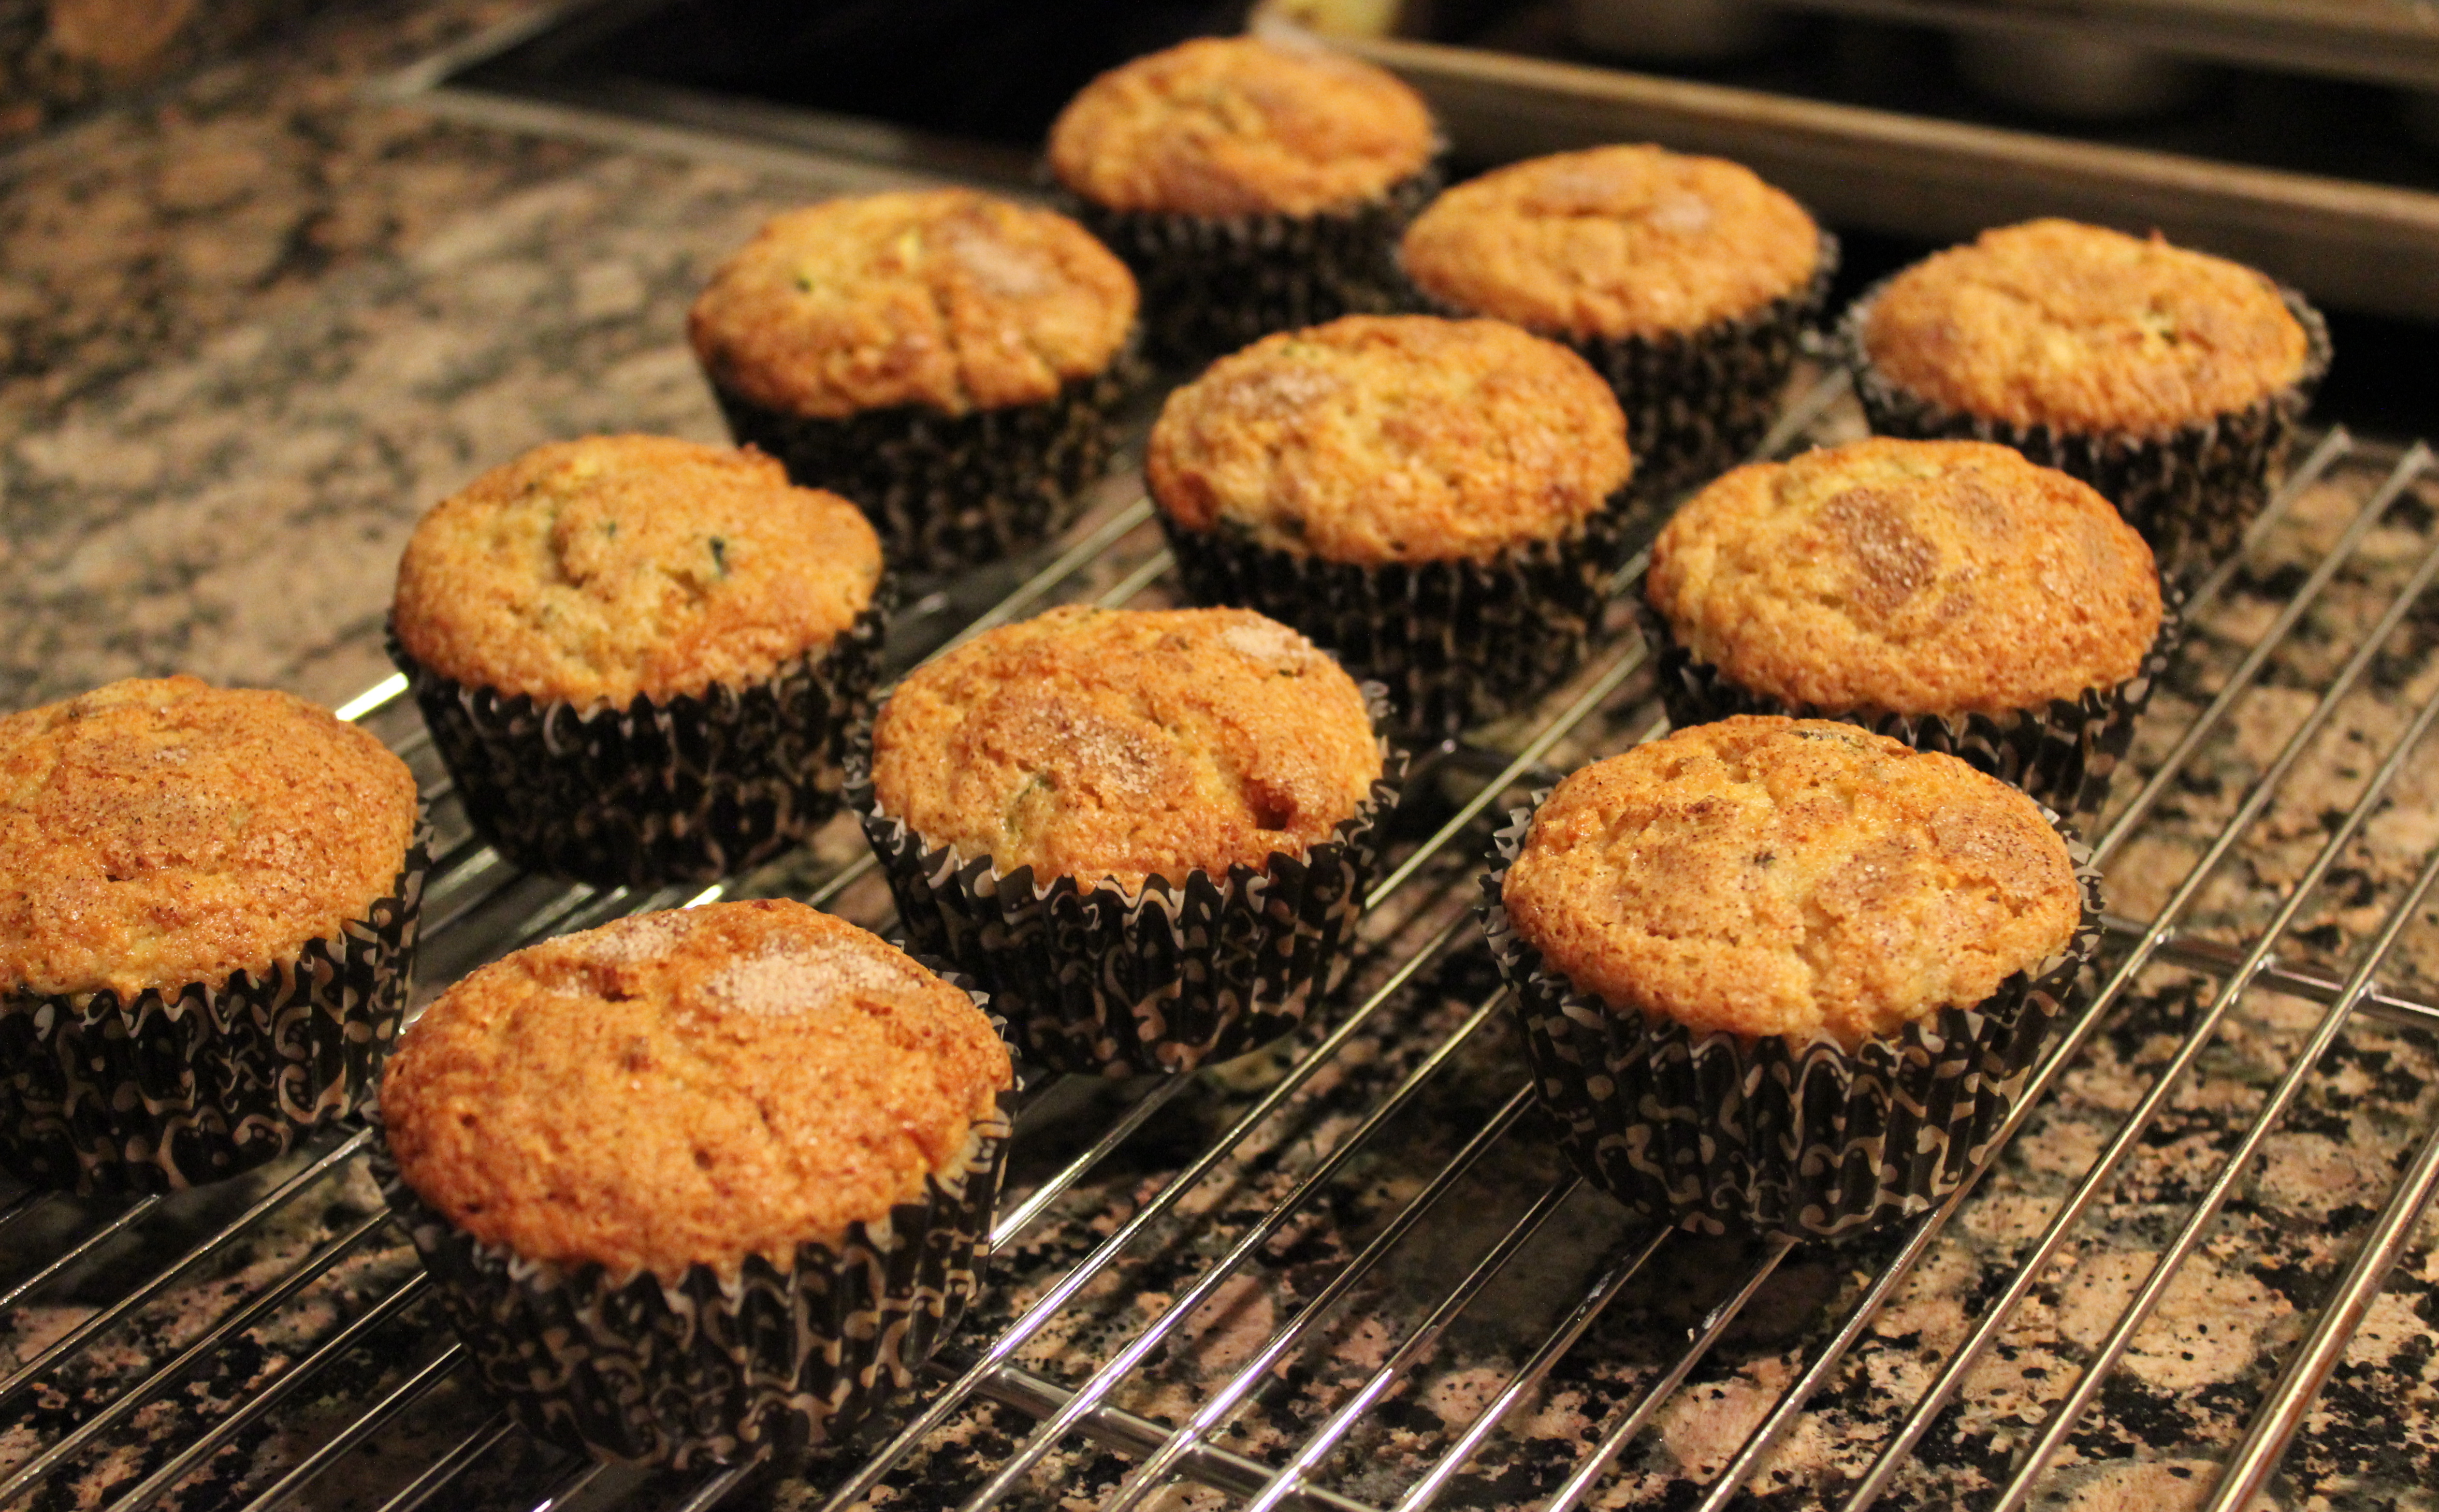
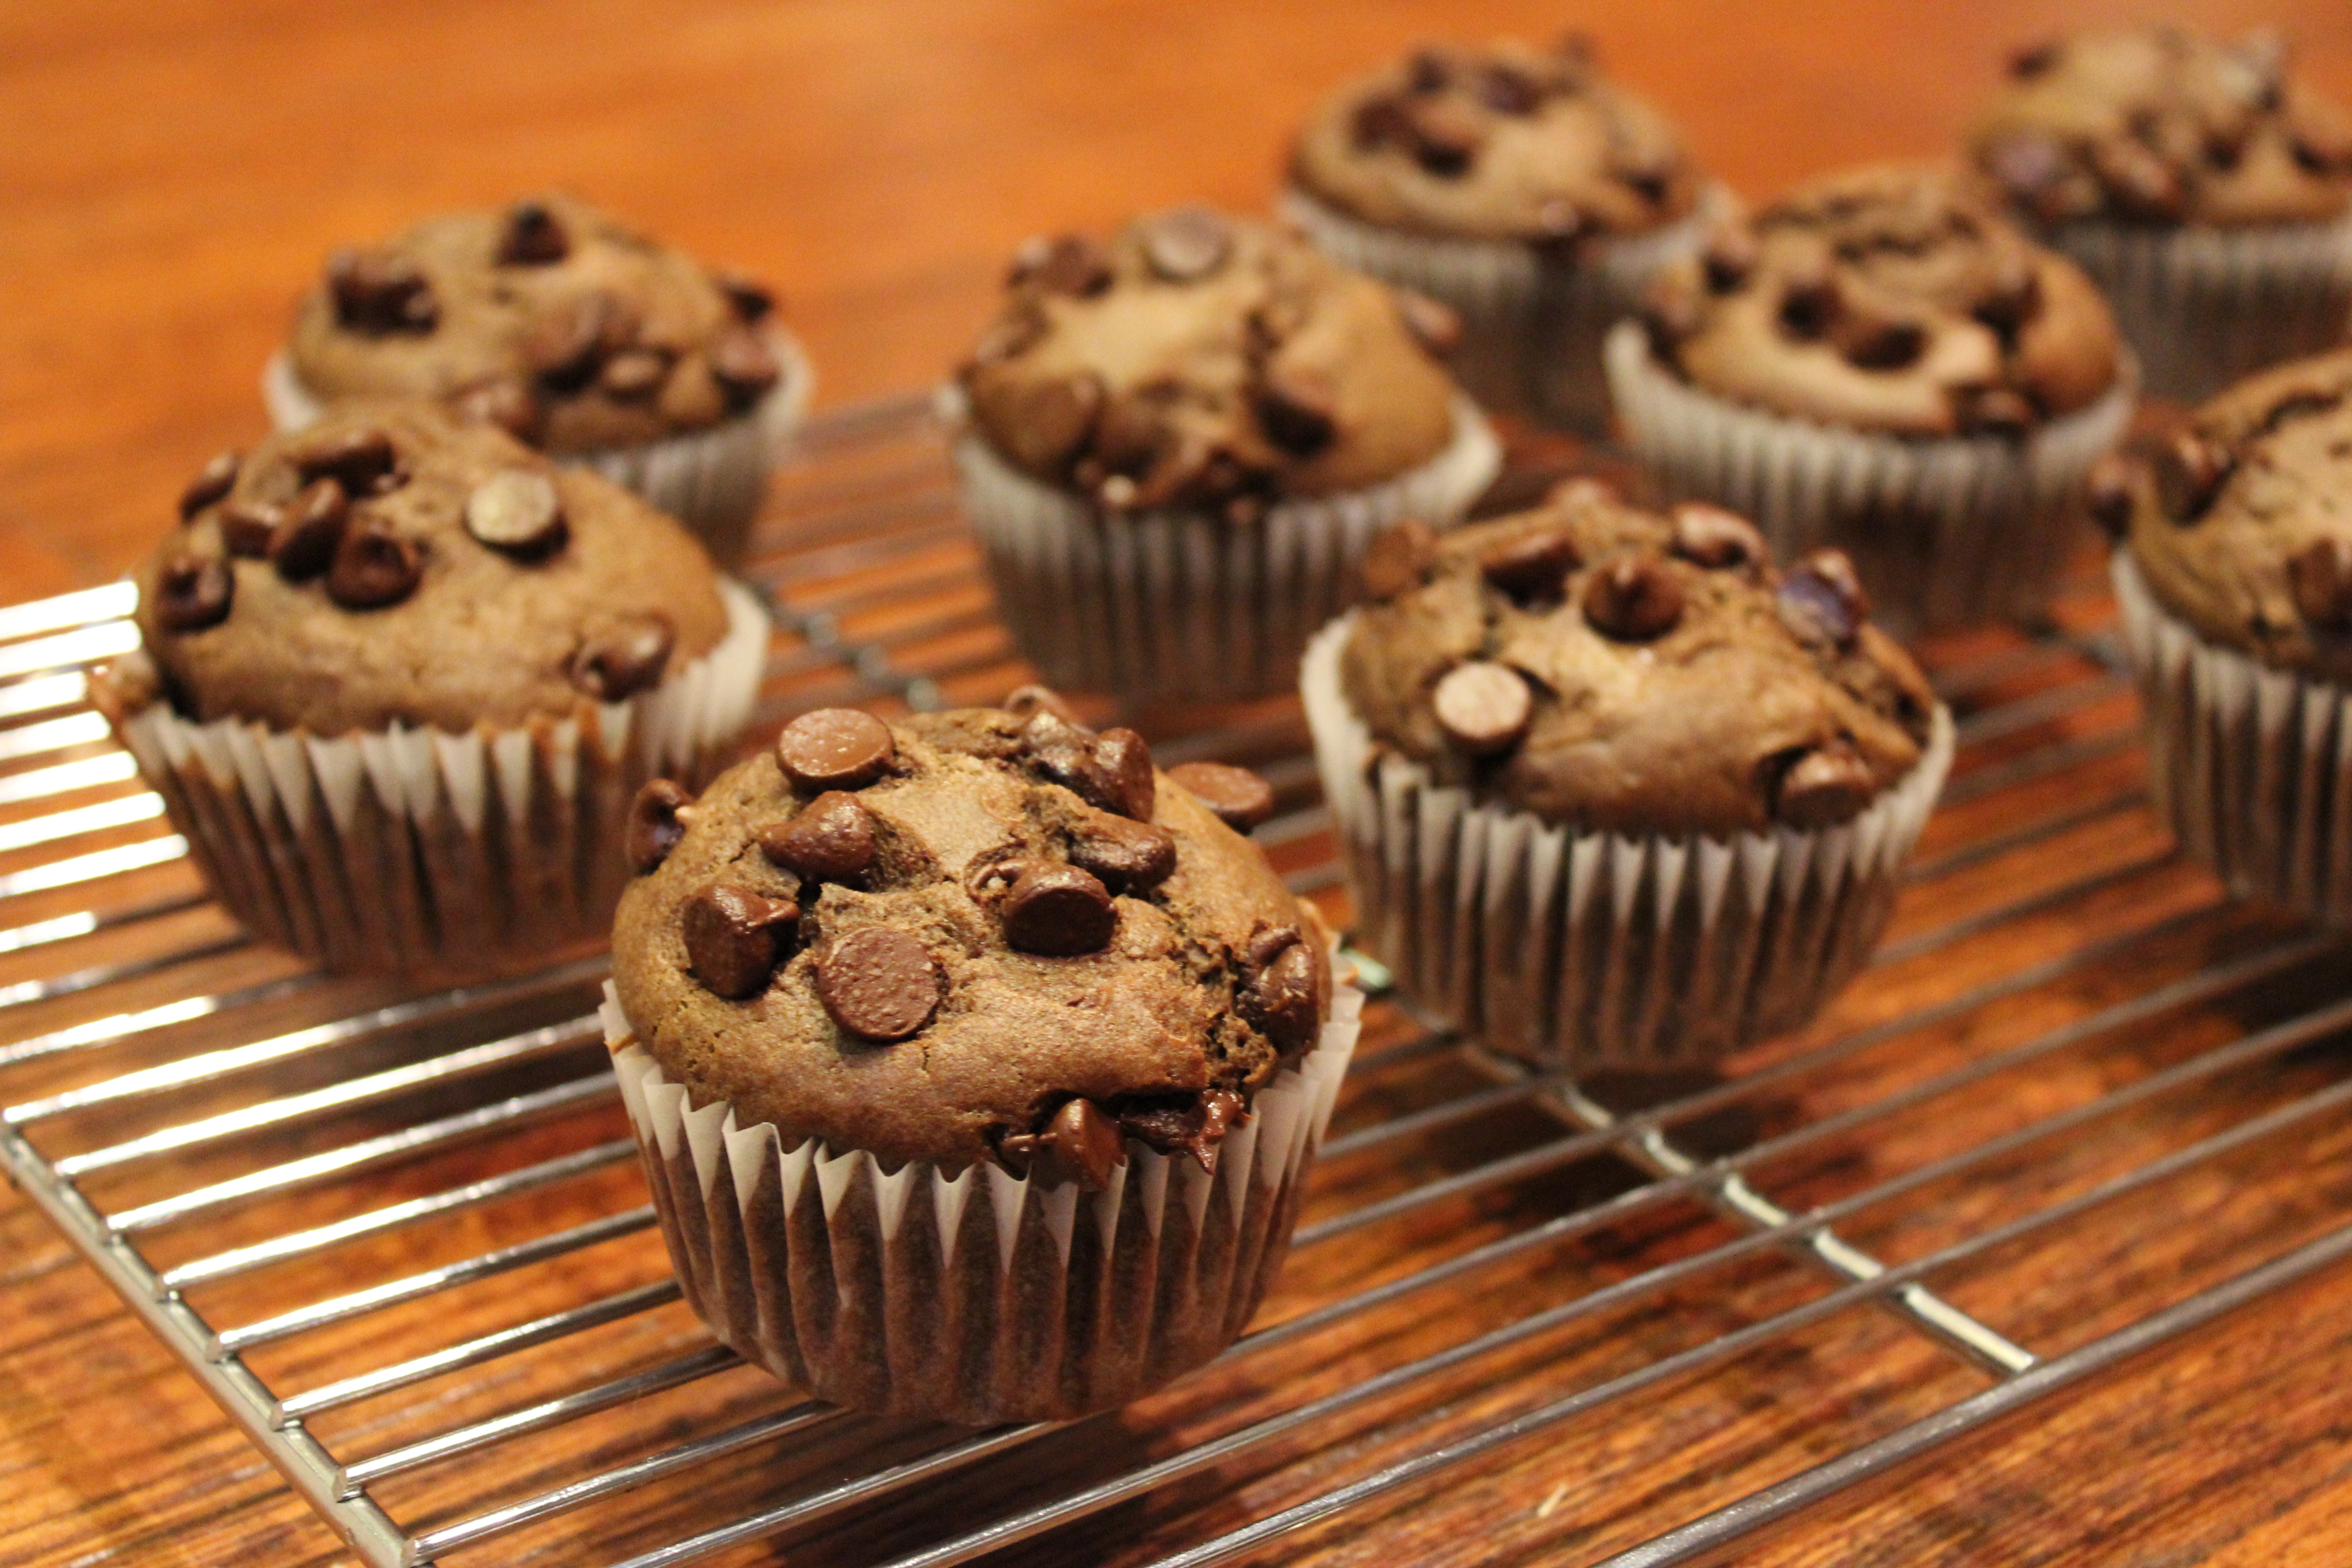
Zucchini Muffins

Let cool slightly.

Zucchini Muffins

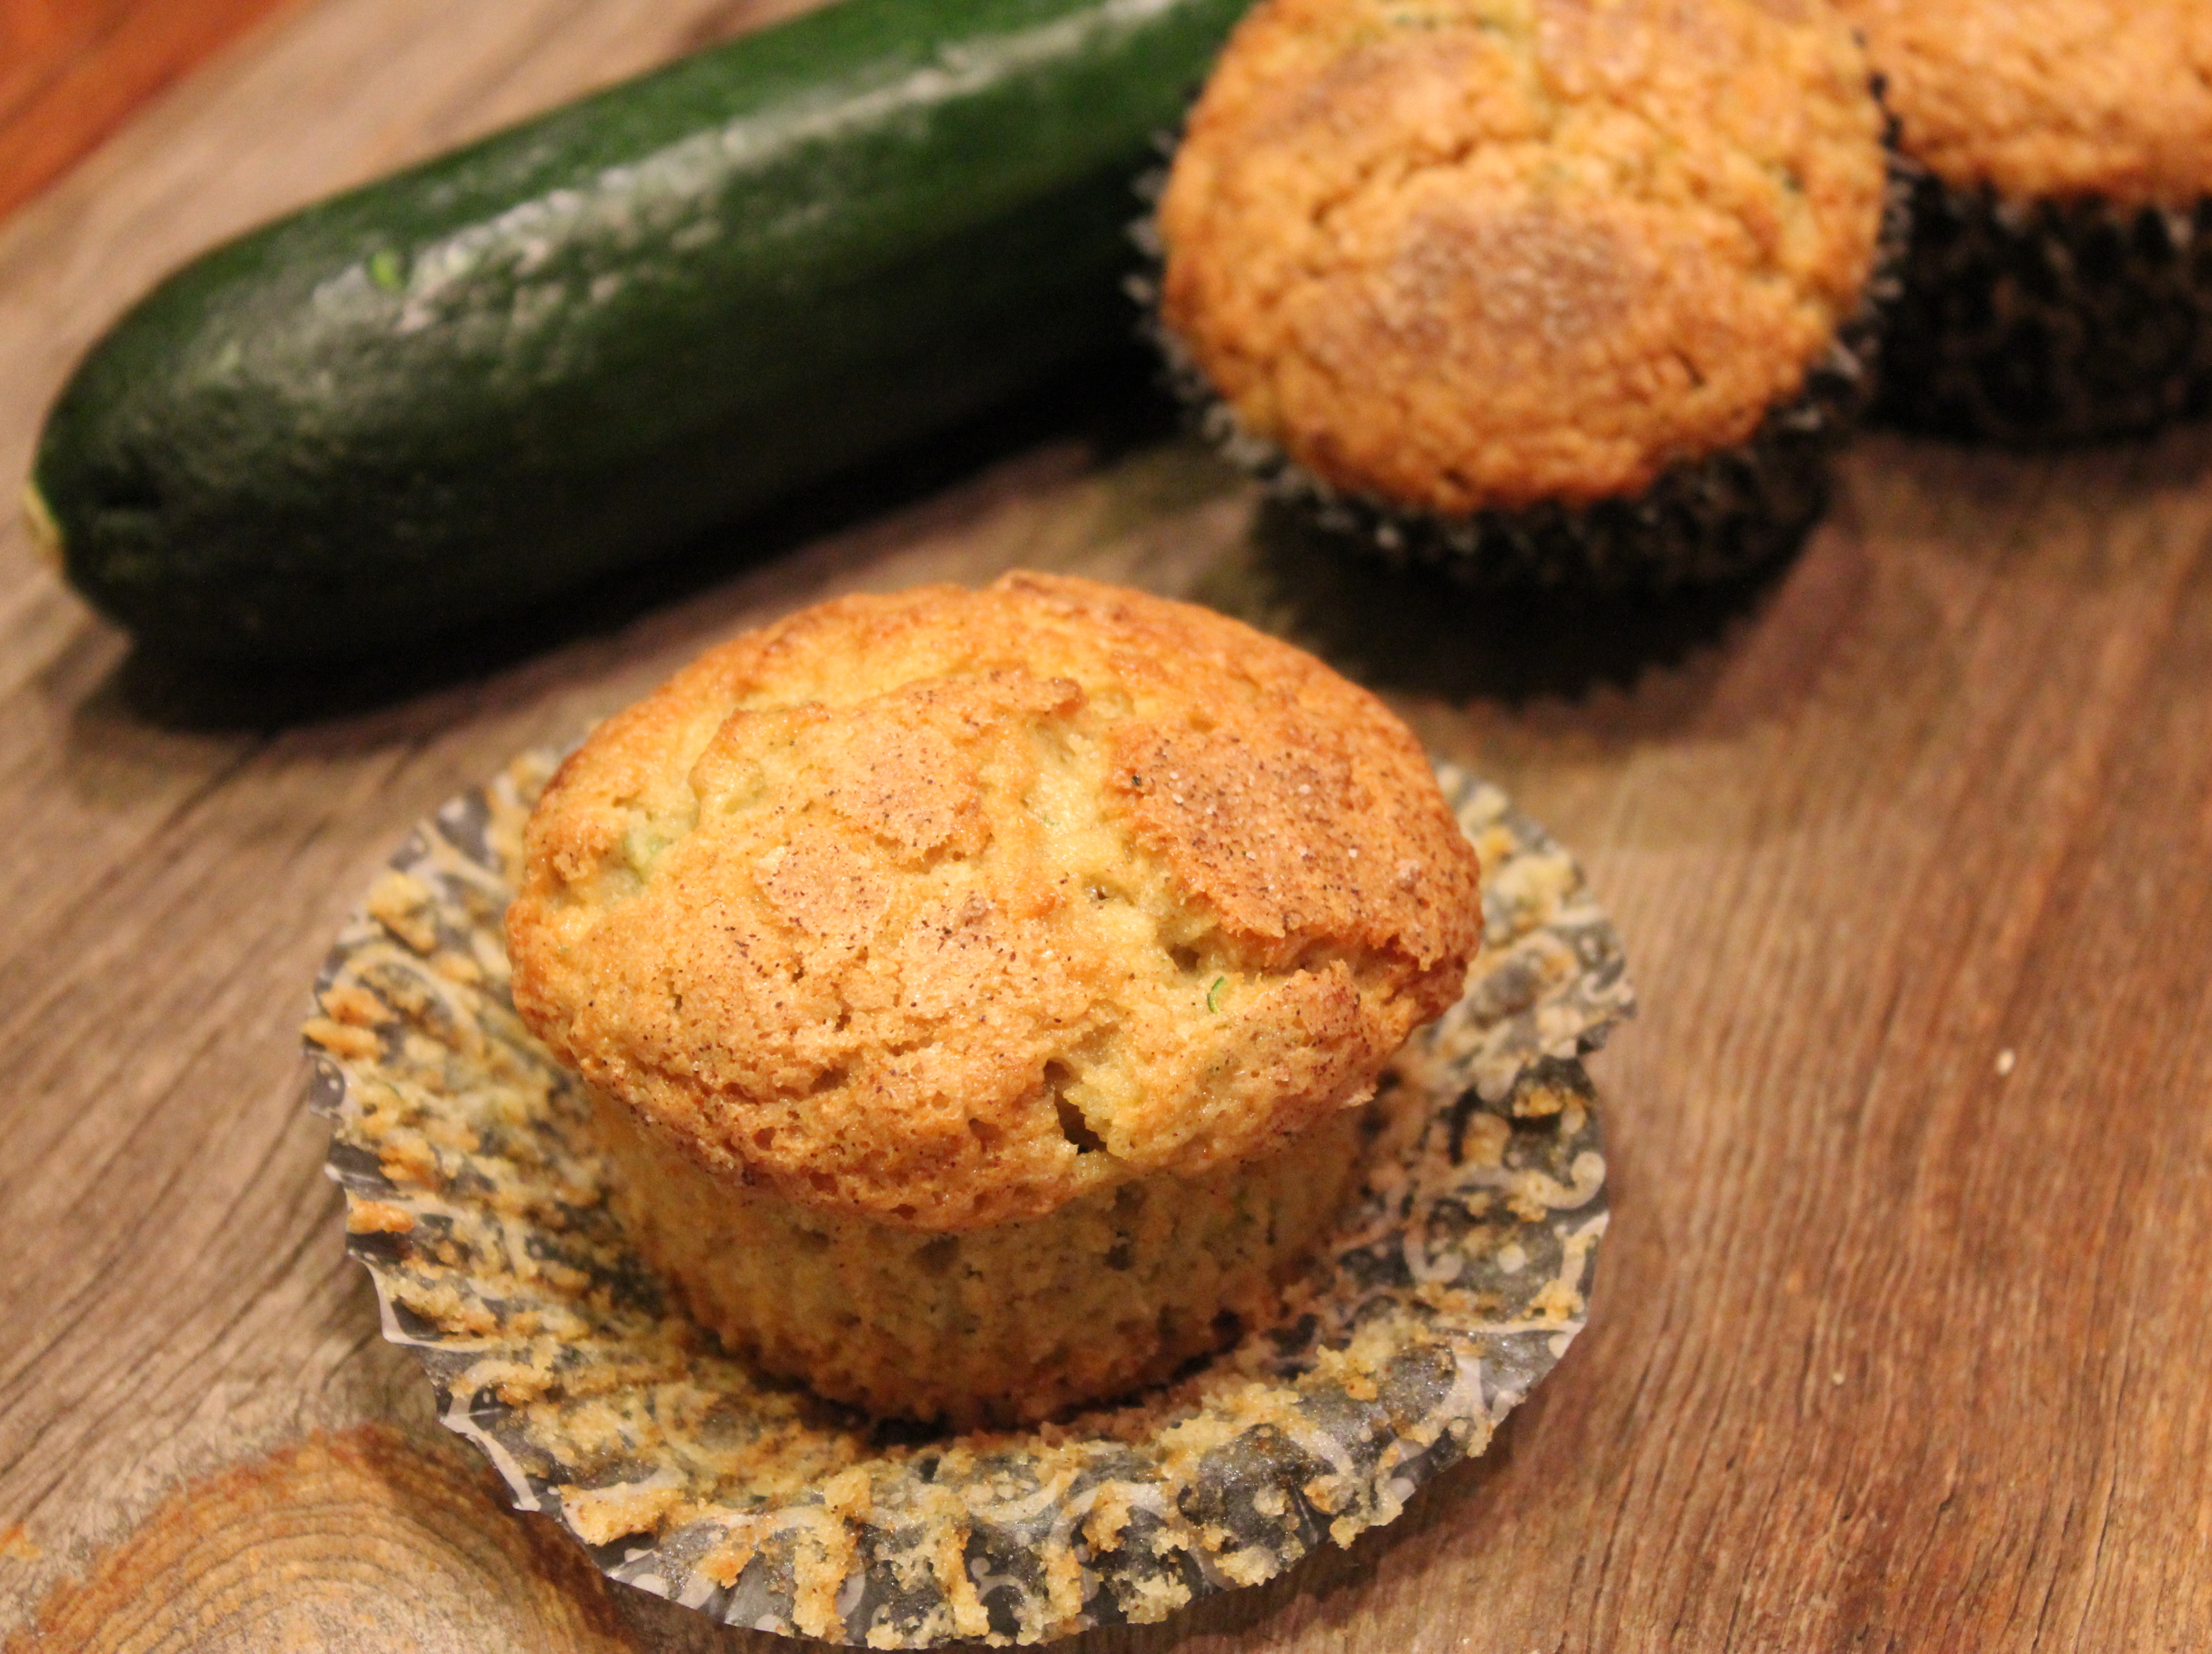
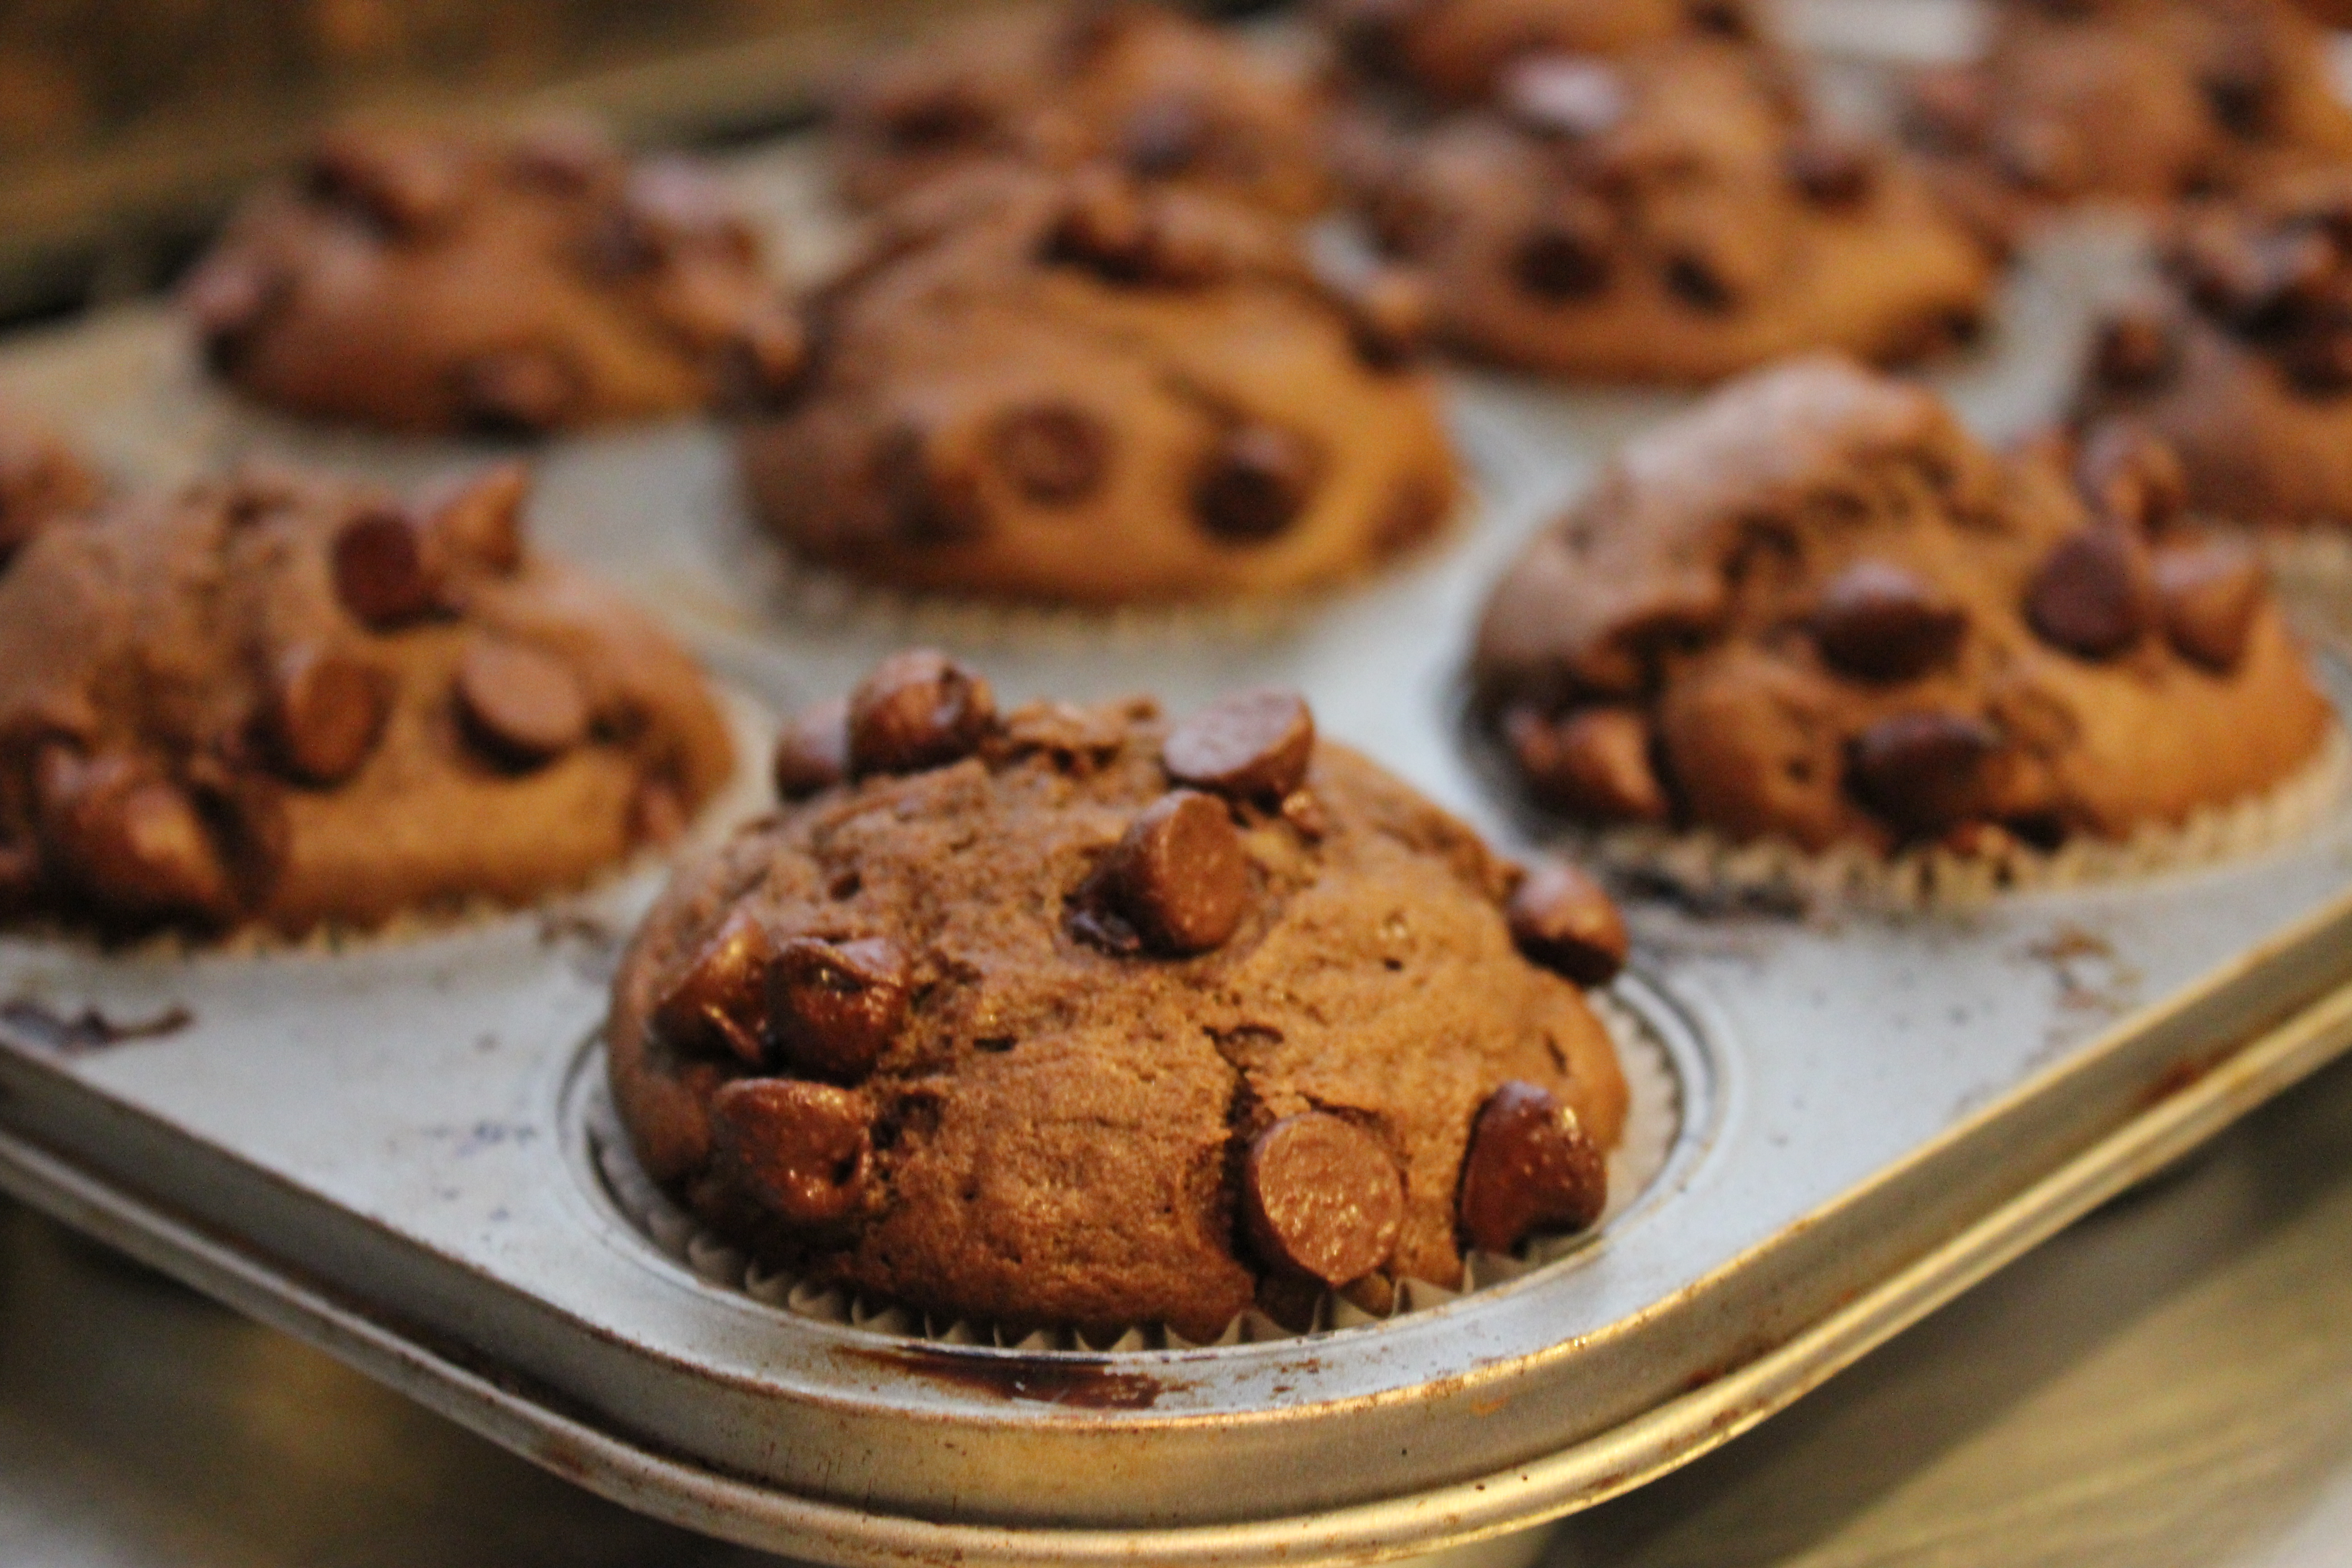
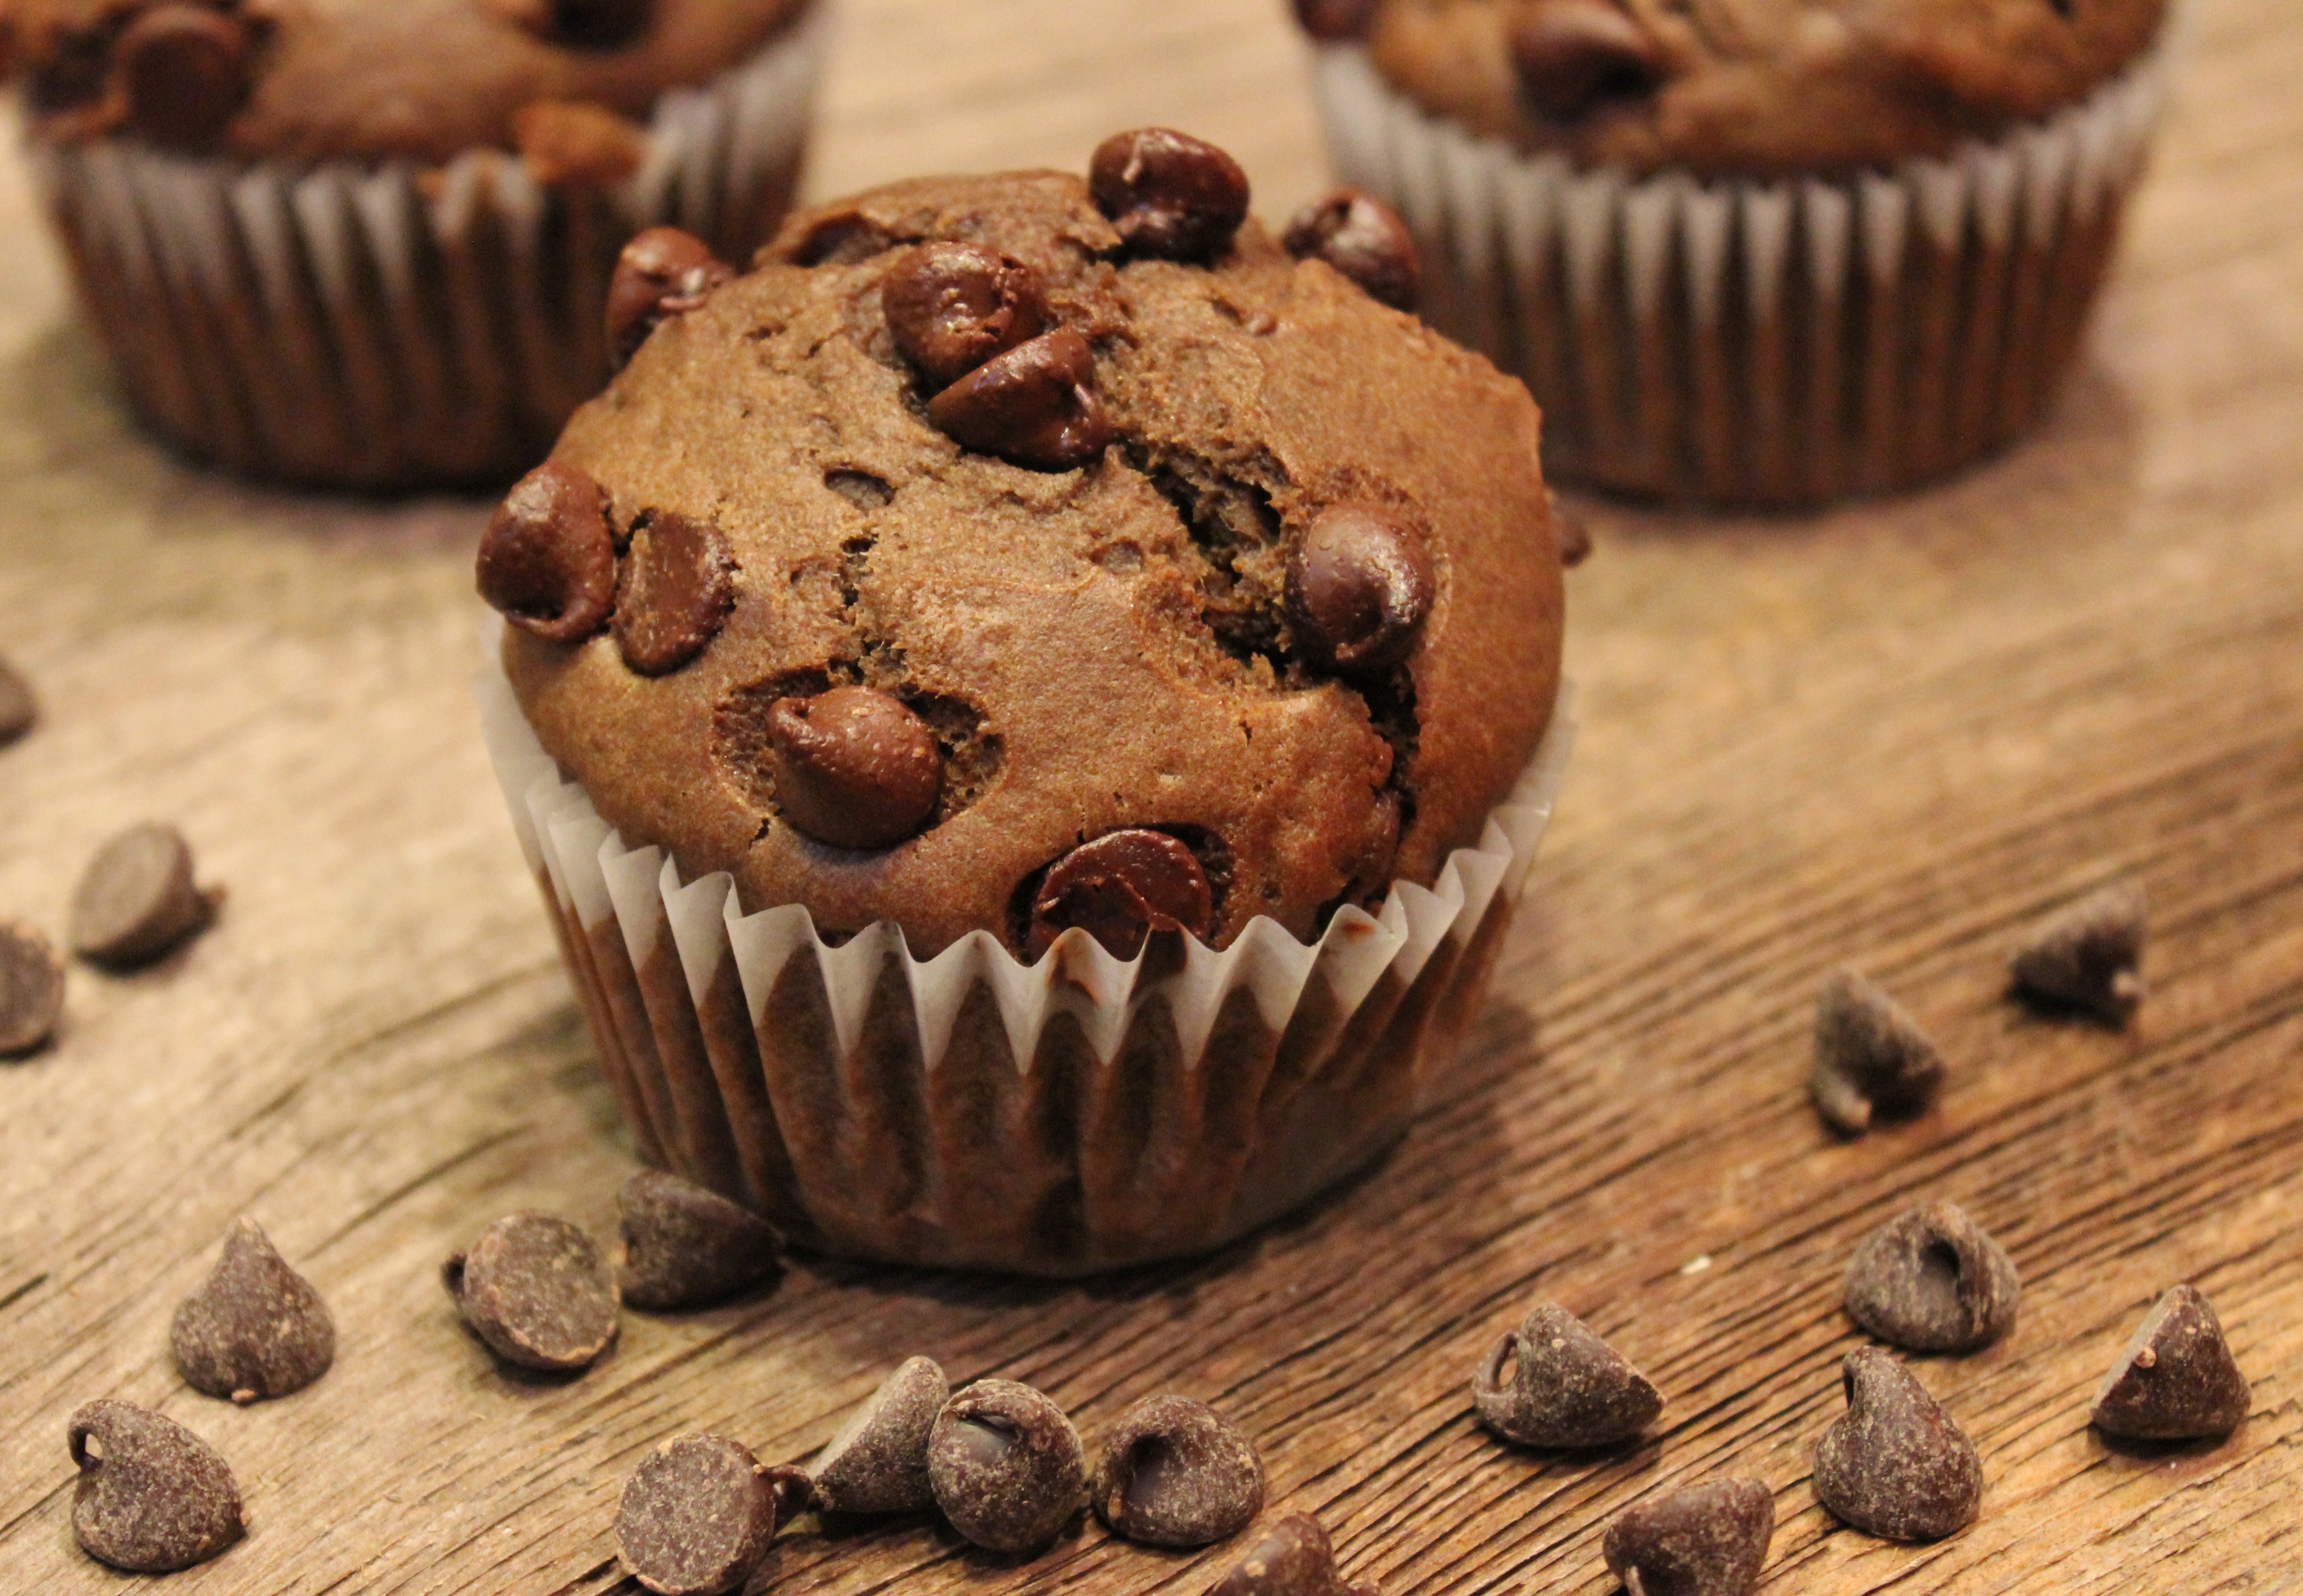
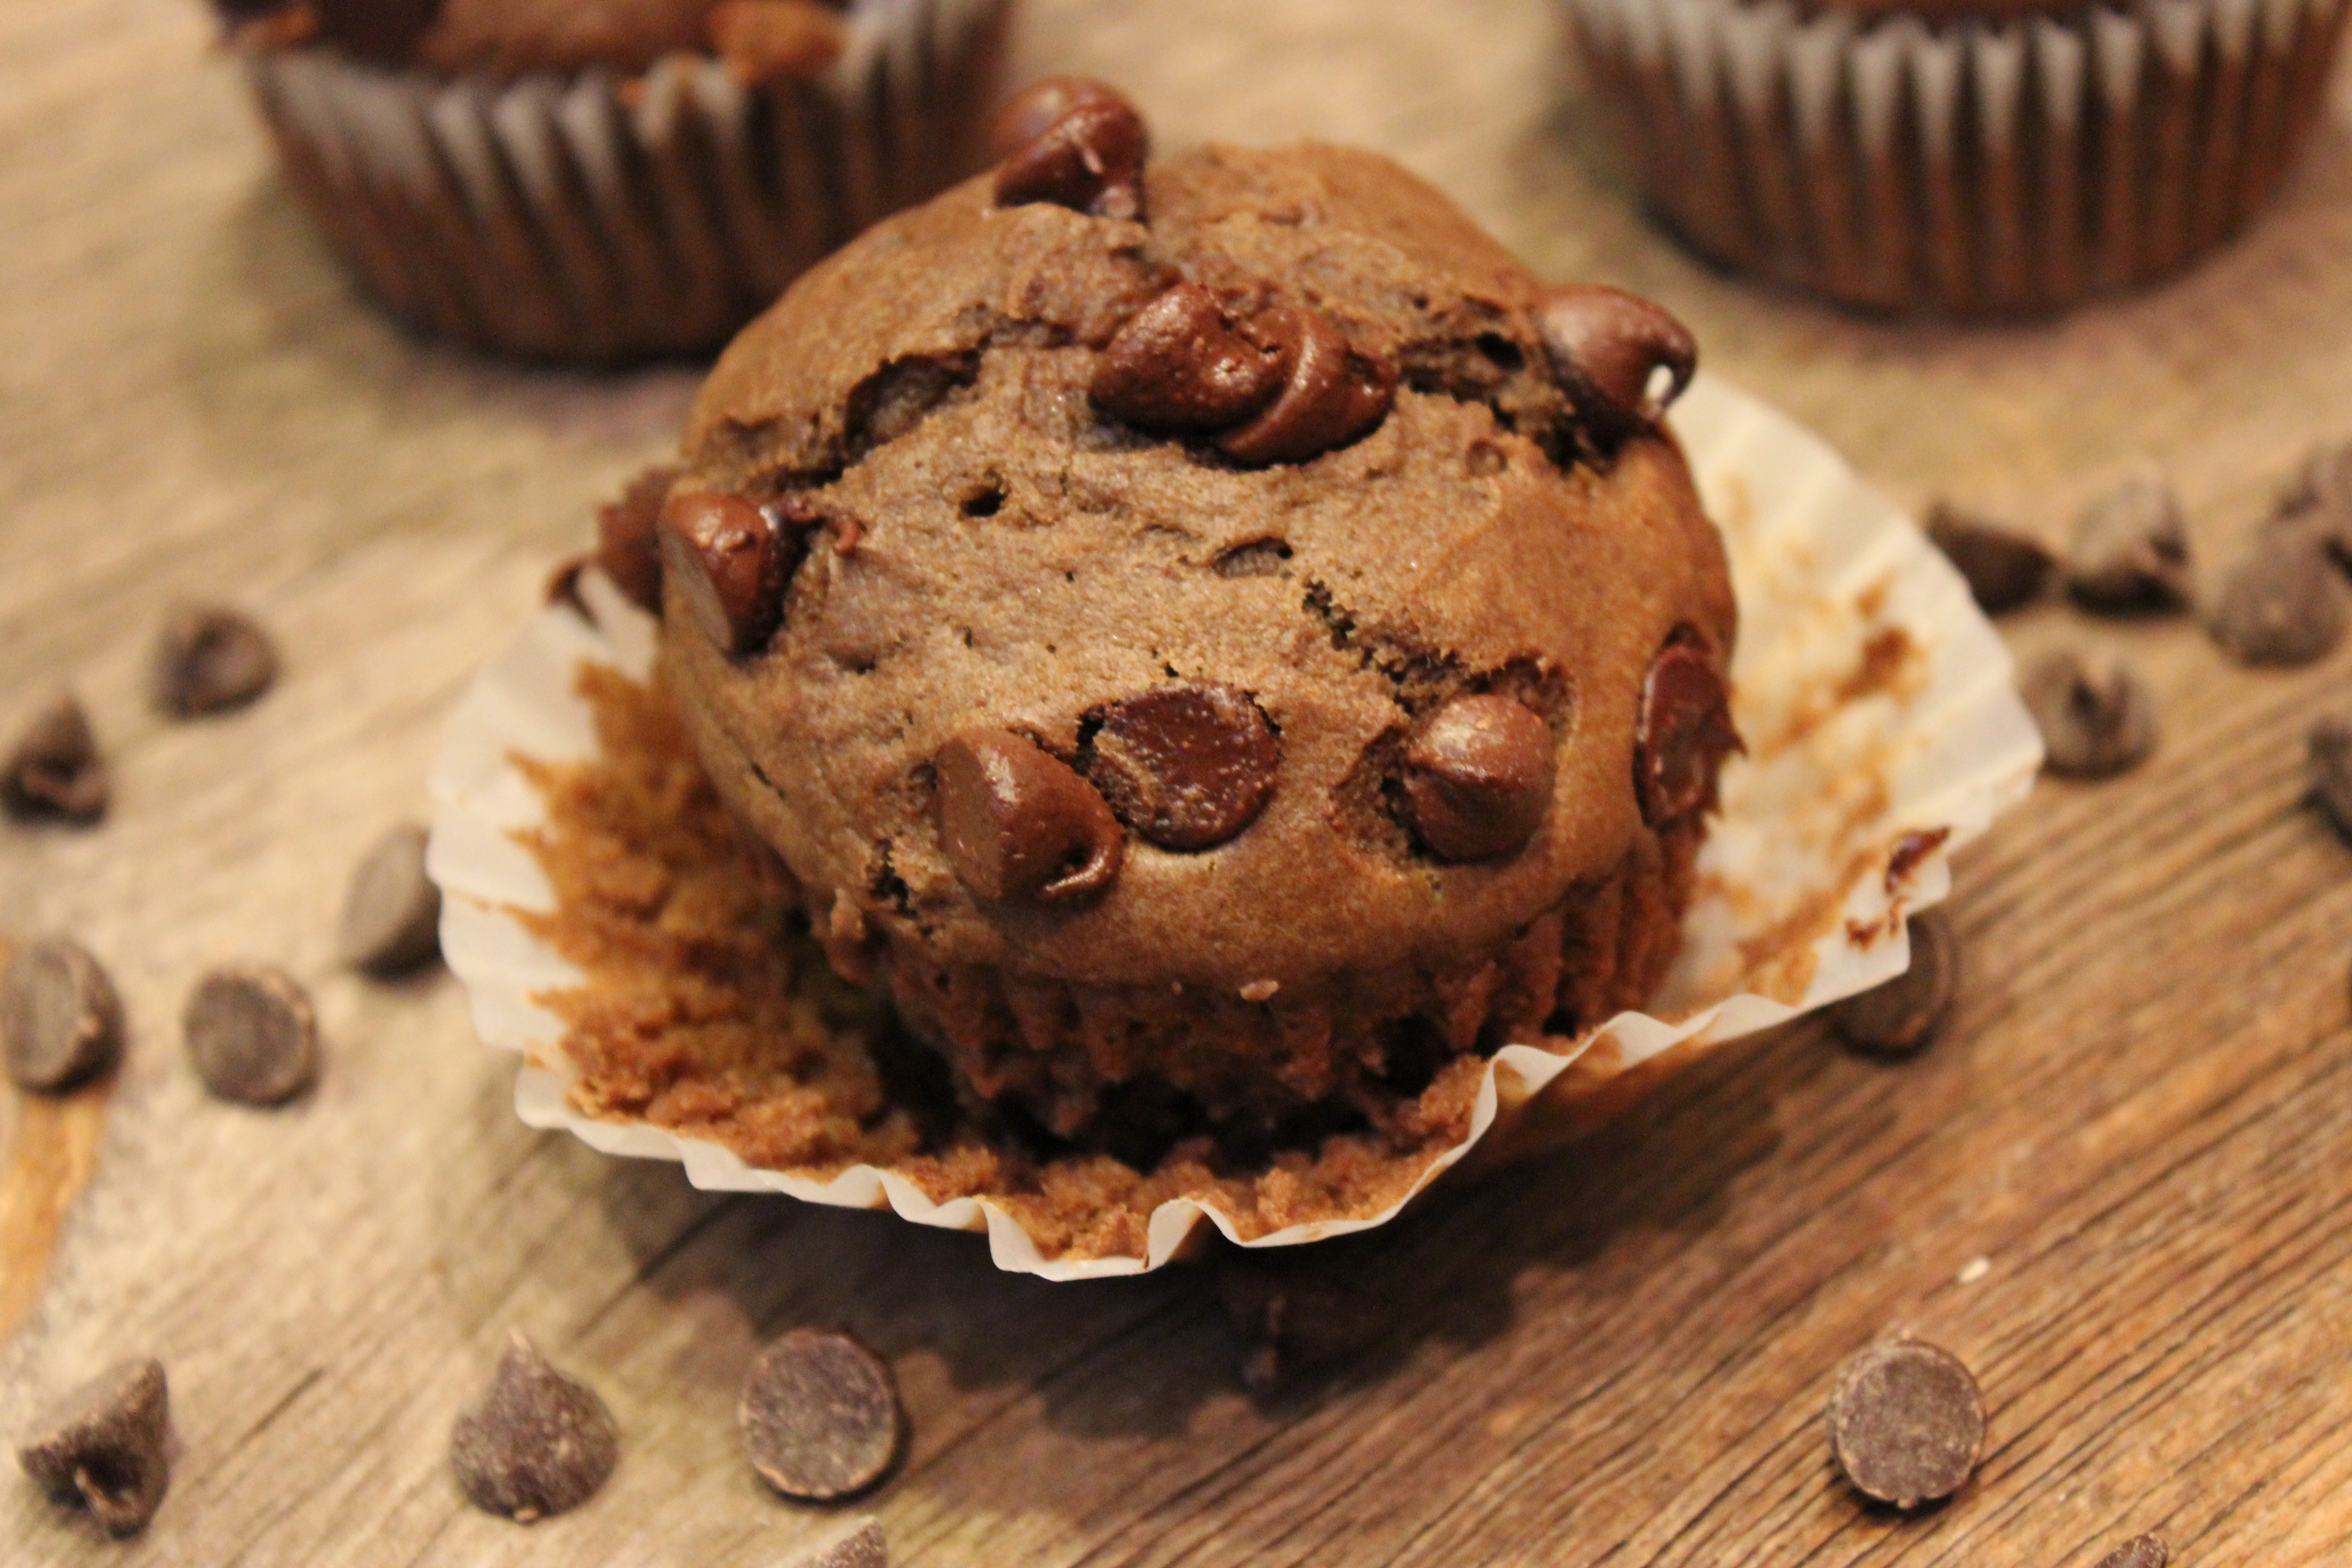
Look at that lovely muffin! Take a big bite and enjoy. I like to drizzle mine with a little bit of honey. I hear honey is good for your immune system. :0

Zucchini Muffins

Zucchini Muffins
Serves: 12
Ingredients
  • 1 1/2 cups all-purpose flour
  • 1/2 cup white sugar
  • 1/2 cup packed brown sugar
  • 1 1/2 cups grated zucchini (about two small-medium sized zucchinis)
  • 1/2 tsp. salt
  • 2 eggs
  • 1/2 tsp. cinnamon
  • 1/4 tsp. nutmeg
  • 1 tsp. vanilla extract
  • 1/3 cup canola oil
  • 2 tsp. baking powder
  • Cinnamon and sugar for sprinkling on top
Instructions
  1. Preheat oven to 375 degrees F. In a large bowl, whisk together the flours, sugars, salt, baking powder, cinnamon and nutmeg. Set aside.
  2. In a medium bowl, combine the grated zucchini, eggs, vanilla, and oil. Stir well to combine and then gently stir into the flour mixture. Be careful not to overwork this – it will lead to dense muffins.
  3. Fill paper-lined muffin tins about 3/4 of the full with batter and then sprinkle cinnamon and sugar on each. Bake for about 25 minutes or until golden and a toothpick inserted in center of muffin comes out clean.
Notes
Source: Eat, Live, Run

Mint Oreo Stuffed Chocolate Chip Cookies for St. Patty’s Day!

Mint Oreo Stuffed Chocolate Chip OreosSt. Patrick’s Day is just around the corner, and if you’re like me you’re really feeling the itch to pinch someone if they aren’t wearing green!

While green clothing is easy to pull off, green food is a little more difficult.  That is unless you want to eat green peas! While I posted a link on my Facebook page for Irish Soda Bread, it wasn’t exactly festive enough in color for me, so I headed out to the grocery store last night to find something GREEN to make for the big day!

I had all intentions of making Mint Chocolate Chip Cheesecake Brownies from Sally’s Baking Addiction, but unfortunately Kroger did not have peppermint extract and I was not about to grocery store hop to try and find it.

Instead, I searched Kroger for something green and discovered Cool Mint OREOs! I adapted Picky Palate’s traditional Stuffed Oreo Chocolate Chip Cookies to make mine have a green OREO  creme filling when you took a big bite into the cookie…. my solution for a St. Patrick’s Day treat!!!

IMG_3229 If you want to impress your friends, make these cookies.

They are one hunk of a cookie. They look hard to make and it looks like you spent a lot of effort baking these.

Good News: The recipe is VERY simple. Start by making cookie dough, just like you would for any chocolate chip cookie recipe.

IMG_3231 Instead of making one cookie dough ball, make two. Then flatten the cookie dough balls around the OREO… kind of like an ice cream sandwich.
IMG_3236
Make sure you cover the edges so you don’t see the OREO.
IMG_3238
Place all the cookies on a parchment-lined baking baking sheet and pop into the oven at 350 degrees for 11 minutes.
IMG_3243
Notice the two smaller, flatter looking cookies? Matt asked that I make him two plain cookies, without the OREO. I know… he’s weird. 🙂
IMG_3246
Let cookies cool and enjoy with a tall glass of milk!

WARNING…. these cookies are bigger and better than normal. Essentially you are eating two chocolate chip cookies and an OREO, so these are not healthy by any means. (It’s okay; we all need a cheat day now and then!)

My boss tried one and was blown away by the size of these. He was about to take two cookies, but decided to be good and start out with only one. Halfway through he started to get full and questioned himself if he could finish it or not!

Rich, sweet, cookie dough goodness. Bring these out on special ocassions and enjoy!
Mint Oreo Stuffed Chocolate Chip Oreos

Mint Oreo Stuffed Chocolate Chip Cookies for St. Patty’s Day!
Serves: 2 dozen extra large cookies
Ingredients
  • 2 sticks softened butter
  • 3/4 cups packed light brown sugar
  • 1 cup granulated sugar
  • 2 large eggs
  • 1 Tbsp. vanilla extract
  • 3 1/2 cups all-purpose flour
  • 1 tsp. kosher salt
  • 1 tsp. baking soda
  • 10 ounce bag semi-sweet chocolate chips
  • 1 package Cool Mint OREO cookies
Instructions
  1. Preheat oven to 350 degrees F. In a stand mixer cream butters and sugars until well combined. Add in eggs and vanilla until well combined.
  2. In a separate bowl mix the flour, salt and baking soda. Slowly add to wet ingredients along with chocolate chips until just combine.
  3. Using a cookie scoop take one scoop of cookie dough and place on top of an Oreo cookie. Take another scoop of dough and place on bottom of Oreo cookie. Seal edges together by pressing and cupping in hand until Oreo cookie is enclosed with dough.
  4. Place onto parchment or silpat lined baking sheet and bake cookies 11 minutes or until cookies are baked to your liking.
  5. Let cool for 5 minutes before transferring to a cooling rack.
Notes
Adapted from: Picky Palate

Chocolate-Chocolate Chip Muffins

chocolate chip muffins

Thanks to Cooking Light, you can “have  your cake and eat it too.” CL is one of my most favorite websites for finding quick and healthy recipes that actually taste good.

From comfort food to chocolate-chocolate chip muffins, you can still enjoy good food while cutting back on the calories.

If you’re a lover of all things chocolate, especially when it comes to breakfast, you must give these muffins a whirl. Not only are they super easy to whip up, they actually taste pretty good.

The texture reminds me more of a cupcake than a muffin. With that said, they are NOT cupcakes…. they are muffins. So, what’s the difference  between a chocolate cupcake and a chocolate muffin?

CUPCAKES:

  • sweet
  • tender
  • rich with eggs and butter
  • dessert item, not an everyday breakfast
  • always topped with frosting

MUFFINS:

  • not too sweet
  • relatively healthy
  • dryer and slightly more dense in texture than cupcakes
  • breakfast or snack item

IMG_3172

These muffins literally take 12 minutes to prepare. Simply whisk together all the dry ingredients.
IMG_3173 Then whisk together the wet ingredients in a small bowl.

IMG_3175

Add the wet ingredients to the dry mixture and combine. Don’t forget to add in your chocolate chips.

chocolate chip muffin

Pour the batter in 12 individual muffin liners and throw them in the oven.

chocolate chip muffin

15 minutes later and you can enjoy a nice, pipping hot, extra chocolatey muffin.

chocolate chip muffin

Don’t they look good?

chocolate chip muffin

chocolate chip muffin

Forgive me for taking so many pictures. I just can’t get enough of them!

chocolate chip muffin

chocolate chip muffins

Take a big bite and enjoy with a tall glass of milk!

chocolate chip muffin

Chocolate-Chocolate Chip Muffins
Prep time:
Cook time:
Total time:
Serves: 12
Ingredients
  • 7.9 ounces all-purpose flour (about 1 3/4 cups)
  • 1/2 cup packed brown sugar
  • 1/4 cup unsweetened cocoa
  • 1 teaspoon baking powder
  • 1 teaspoon baking soda
  • 1/4 teaspoon salt
  • 1 cup warm water
  • 1/4 cup vegetable oil
  • 1 tablespoon red wine vinegar
  • 1 teaspoon vanilla extract
  • 1 large egg, lightly beaten
  • 1/2 cup semisweet chocolate chips, divided
  • Cooking spray
Instructions
  1. Preheat oven to 400°.
  2. Weigh or lightly spoon flour into dry measuring cups; level with a knife. Combine flour and next 5 ingredients (through salt) in a large bowl, stirring with a whisk. Make a well in center of mixture. Combine 1 cup water and next 4 ingredients (through egg) in a bowl, stirring well with a whisk. Stir in 1/4 cup chocolate chips. Add oil mixture to flour mixture, stirring just until moist.
  3. Place 12 muffin-cup liners in muffin cups, and coat liners with cooking spray. Divide batter evenly among prepared muffin cups. Sprinkle remaining 1/4 cup chocolate chips evenly over batter. Bake at 400° for 15 minutes or until a wooden pick inserted in center comes out clean. Cool for 5 minutes in pan on a wire rack.
Serving size: 1 Calories: 191 Fat: 7.6g Saturated fat: 1.9g Carbohydrates: 29g Sodium: 197mg Fiber: 1.5g Protein: 3.1g Cholesterol: 15mg
Notes
Source: adapted from Cooking Light

Citrus Salad with Orange Vinaigrette

Citrus Salad Summer’s not the only season for fresh produce-packed salads. There’s plenty of cold weather produce to enjoy in the winter. From tangy cranberries and citrus fruits to robust greens and hardy root vegetables, you’ll be surprised by how many foods truly are “in season” right now.

Cooking Light has a great seasonal produce guide that you can check out here:

If you love fruit, there’s not much you can complain about in this citrus salad.

Sliced pears, sectioned oranges and grapefruit, and plump seedless grapes make up all the wonderful fruits in this salad. Add a handful of walnuts or pecans for crunch, and a sweet, citrus orange vinaigrette, and you’ve got yourself the perfect salad.

I actually made this for Christmas dinner this year. Everyone loved it. Plus, it pairs well with just about any main course from juicy steaks to grilled chicken to pork chops and even ham.

Enjoy!

citrus salad

Citrus Salad with Orange Vinaigrette
Recipe Type: Side
Cuisine: American
Serves: 6
Ingredients
  • 1/4 cup white wine vinegar
  • 2 tsp. orange zest
  • 3 Tbsp. fresh orange juice
  • 1 Tbsp. sugar
  • 1/2 tsp. salt
  • 1/2 tsp. pepper
  • 3/4 cup olive oil
  • 2 Tbsp. chopped walnuts or pecans
  • 1 (5 oz.) bag mixed baby greens, thoroughly washed
  • 2 navel oranges, peeled and sectioned
  • 1 large grapefruit, peeled and sectioned
  • 1 pear, peeled and sectioned
  • 1 cup seedless red grapes
Instructions
  1. FOR THE VINAIGRETTE: Whisk together first 6 ingredients (white wine, orange zest, orange juice, sugar, salt and pepper) in a small bowl; add oil in a slow steady stream, whisking until blended.
  2. FOR THE SALAD: Preheat oven to 350 degrees F. Bake nuts in a single layer in a shallow pan 6-8 minutes or until toasted and fragrant.
  3. Place greens in a large bowl. Add orange sections, grapefruit sections, sliced pear, and grapes. Drizzle with 1/4 cup Orange Vinaigrette, tossing gently to coat. Sprinkle toasted nuts over salad, and serve immediately with remaining vinaigrette.
Notes
Source: “Farmers Market Cookbook: A Fresh Look at Local Flavor” by Southern Living


Riso alla Pitocca (Traditional Chicken and Rice)

chicken and riceLike chicken? Check.

Like risotto? Check.

Like Italian food? Check.

Then you should really like Riso alla Pitocca, Italian for traditional chicken and rice and from Lidia Matticchio Bastianich’s cookbook, Lidia’s Favorite Recipes. If you’re looking for foolproof Italian dishes, you’re might want to buy her book!

chicken and rice

I love this recipe because while it sounds simple, the combination of fresh ingredients create an irresistible and authentic Italian dish.

Chopped onions, carrots and celery create bold and bright colors to this dish. The chicken makes this dish savory, and the wine, chicken broth and cheeses create a unique complexity of flavors that cannot be beat.

chicken and rice

Once you get your pestata (crushed onion, carrot, celery and garlic) and chicken cooked, add the liquid ingredients and rice and bring to a boil. Then let is cook for 14 minutes and you’re pretty much done.

All that’s left is to stir in the butter, parsley and my favorite ingredient… Parmigiano-Reggiano!

chicken and rice

Did I mention my parents’ cat likes this dish? Their cat is kind of weird…. she actually likes people food! I’ve never seen a cat that acts as much like a dog as this one does. Its actually kind of cute and makes me love her even more.

Enjoy!

cat

Riso alla Pitocca (Traditional Chicken and Rice)
Recipe Type: Main
Cuisine: Italian
Serves: 4-6
Ingredients
  • 1 1/2 pounds boneless, skinless chicken thighs (we used chicken breasts)
  • 1 cup onion cut into 1-inch chunks
  • 1 cup carrot cut into 1-inch chunks
  • 1 cup celery, cut into 1-inch chunks
  • 2 plump cloves garlic, peeled
  • 1/2 cup extra-virgin olive oil
  • 1 Tbsp. kosher salt
  • 1 fresh bay leaf
  • 1 cup dry white wine
  • 5 cups hot chicken or turkey stock, plus more if needed
  • 2 cups Italian short-grain rice, such as Arborio or Carnaroli
  • 2 Tbsp. butter, cut into pieces
  • 3 Tbsp. chopped fresh Italian parsley
  • 1/2 cup grated Grana Padano or Parmigiano-Reggiano cheese, plus more for passing
Instructions
  1. Trim any excess fat from the chicken thighs, and cut the thighs into 1-inch chunks. Use a food processor to mince the onion, carrot, celery, and garlic into a fine textured pestata (means “to crush” or “to grind” in Italian).
  2. Pour the olive oil into a saucepan and set over medium-high heat. Stir in the pestata, and season with 1 teaspoon of the salt. Cook for about 5 minutes, stirring frequently, until the pestata has dried. Toss in the chicken pieces and the bay leaf, and sprinkle with remaining salt. Tumble the chicken in the pan until browned and caramelized all over, about 4 minutes.
  3. Raise the heat, pour in the white wine, and cook, stirring and scraping up the browned bits in the pan, until the wine has almost completely evaporated. Pour in the hot stock, stirring, and add the rice.
  4. Bring to a boil over high heat, then cover and reduce the heat to keep the riso bubbling gently. Cook for about 14 minutes, or until both the rice and the chicken chunks are fully cooked and the consistency is creamy.
  5. Turn off the heat, drop in the butter pieces, and stir vigorously until thoroughly combined; then stir in the parsley and 1/2 cup of grated cheese. Spoon the riso into warm pasta bowls, and serve immediately, passing additional grated cheese at the table.
Notes
Source: Lidia’s Favorite Recipes by Lidia Matticchio Bastianich and Tanya Bastianich Manuali

Crock Pot Chicken Tacos

IMG_3140 Two thumbs up are in order for my FIRST-EVER crock pot meal!

Hard to believe, right? Growing up my mom never used or even owned a crock pot. Now that I have a crock pot (“thanks Paula for the wonderful Christmas gift!”), I’ll be slow cooking all time!

I will admit, I was a little scared prior to using the crockpot. I’m a little fearful of fire . In my younger days I caught salmon on fire while broiling it in the oven.  Actually it was the excess olive oil on the foil that caught on fire.

That being said, that’s nothing compared to the Easy Mac I caught on fire in the microwave when I was in eighth grade… not so easy now is it?? How did it it catch on fire you ask? I forgot to add water.

Last but not least, my CHI flat  iron caught on fire two years ago. Black smoke starting coming out of the on/off switch. When I took it back to Ulta, the sales associate said, “What, you don’t want to look smokin’ hot!!” I had to laugh at that one.

Lucky for me, no fires were were started with this slow cooker. I was extra careful to watch it,  just in case something were to happen. 🙂

IMG_3130

This meal doesn’t get any easier. Simply throw your chicken breasts into the pot. Add the taco seasoning. Add the salsa. Turn on the heat. And wait…..

In the meantime, you could go for a nice run, work from home, run some errands, eat a a snack, get on Facebook…. 🙂 IMG_3132 After a few hours, you can check on the chicken. When it is done, shred it with two forks and return it to the pot. IMG_3137 I found that the chicken got even more tender when I returned it to the slow cooker. Meanwhile, preheat your oven. Get the taco shells ready, your tomatoes, green onions and other toppings chopped, and set your table because dinner is about to be served.

Super easy, right? Matt even gave his approval! IMG_3140

QUESTION TIME: 

Have you ever caught food on fire? If so, what was it? 

Crock Pot Chicken Tacos
Serves: 4-6
Ingredients
  • 2 lbs. chicken breasts
  • 1 packet taco seasoning
  • 16 ounce jar salsa (I used Tostitos)
  • Corn taco shells
  • Taco toppings: shredded cheddar cheese, pico de gallo, green onions, lettuce
Instructions
  1. Lay chicken breasts in a single layer in bottom of crock pot. Sprinkle on taco seasoning then pour in salsa. Lift chicken breast halves to get salsa underneath. Cook on low for 4-5 hours, or high for 2-3 hours, or until chicken breasts are tender. Shred then mix with some or all of the cooking liquid.
  2. Preheat oven to 425 degrees F. Add shredded chicken in the bottom of tacos shells then top with cheese. Bake on a foiled-lined baking sheet for 2-3 minutes, or until cheese is melted. Top with desired toppings.
  3. Serve with Spanish rice and refried beans.
Notes
Source: Iowa Girl Eats


Oatmeal Muffins

IMG_3124

Wholesome. Chewy. Delicious. If you like oatmeal, you should love these muffins!

They really do taste like a bowl of oatmeal in muffin form. Filled with dried apricots, craisins and/or dates will add a nice bit of sweetness, but if you’re like Matt you might just want to eat them plain – sans the dried fruit.

IMG_3119

Fun story:  The first time I made these for Matt, he didn’t like them.

He took one bite and made a funny face and said “What’s in these?” I told him the ingredients and said they were “healthy” muffins, not the fat-filled, overly sugary cakey muffins you would normally expect.

He took another bite and LOVE them. I figured he would. Matt loves just about anything with oats in them!

IMG_3123

I don’t want you to get discouraged… these muffins are really really good. However, you know that feeling you get when you bite into something expecting one thing and it’s actually something else? It throws you off!

Case in point… I love Perrier. One time I picked up a glass of water, thinking it was plain ole tap water. After taking a sip I discovered it was Perrier. I wasn’t expecting the fizziness from the sparkling water and it took me for surprise, in a bad way. The same thing happened with Matt and these muffins.

Enjoy your Saturday. Whip up a batch of these oatmeal muffins and let me know what you think!

IMG_3127

Oatmeal Muffins
INGREDIENTS
3/4 cup all-purpose flour
1 cup uncooked regular oats
1/2 cup chopped dates (I used chopped dried apricots and dried cranberries)
1/4 cup sugar
1 tbsp baking powder
1/2 tsp salt
3/4 cup milk
3 tbsp butter, melted
1 large egg, lightly beaten
Oats, optional

DIRECTIONS
1. Preheat oven to 425 degrees F. Lightly grease or line a muffin pan with paper-lined muffin cups.
2. Combine first 6 ingredients in a large bowl; make a well in the center of the mixture.
3. Stir together milk, butter, and egg; add to dry ingredients. Stir just until moistened.
4. Spoon batter into muffin pans, filling two-thirds full. Sprinkle with oats, if desired.
5. Bake for 15 minutes. Remove from pans immediately.

Yield: 8 muffins
Recipe from: Southern Living Comfort Food: A Delicious Trip Down Memory Lane

Banana Oatmeal Bites

IMG_3087(2)

Bananas. Walnuts. Oats. Yep, that’s right; only three ingredients!

I love snack food. Probably my biggest weakness is snacking, almost to the point of ruining my dinner. You don’t have to feel bad about snacking on these banana oatmeal bites, though… they are super healthy.

IMG_3074

Whipping up a batch of these healthy snack bites is quick and easy too. One bowl, one spoon, and one baking sheet is all you need.

IMG_3078

Potassium from the bananas, healthy whole grains from the oats, protein and healthy fat from the nuts. What else could you ask for in a healthy snack bite!

IMG_3080

Roll them into balls and place on a cookie sheet. The only hard part is waiting 10-15 minutes for them to bake. I’m getting hungry already!

IMG_3082

Combination between a cookie, snack bite and banana bread. Soft, chewy, perfection! Thanks to Gina @ Skinnytaste for this recipe. I am seriously going to make these again.
IMG_3085

Did I mention drizzling these with a touch of honey? Sooo good. Enjoy!

IMG_3087

Banana Oatmeal Bites

INGREDIENTS
2 medium ripe bananas, mashed
1 cup uncooked quick oats
1/4 cup crushed walnuts or pecans

DIRECTIONS
1. Preheat oven to 350 degrees F. (I used a convection oven and thus set the temperature to 325 degrees F).  Spray a non-stick cookie sheet with cooking spray or use a Silpat.
2. Combine the mashed bananas and oats in a bowl. Fold in the walnuts and place a tablespoons of each on the cookie sheet.
3. Bake for 12-15 minutes. (I baked the cookies for 10 minutes in the convection oven).

Yield: 12-16 cookies
Source: Gina at Skinnytaste

NUTRITIONAL INFORMATION – Servings: 8 | Size: 2 cookies | Calories: 93 | Fat: 3.5g |Carb: 15g | Fiber: 2g | Protein: 2g | Sugar: 4.5g | Sodium: 0.4g

Meatless Mondays: Browned Butter Gnocchi

IMG_2984

As you can guess, Matt was not home when I made this Meatless Monday dish of browned butter gnocchi with broccoli and pine nuts. I say that because I would consider this dish “fancy”, a word that Matt does not like to classify his food with. 🙂 Matt is from the country and hence, likes good ‘ole southern comfort meals with lots of meat!!

I on the other hand, like trying new foods, especially ones with a touch of sophistication. While I hate mashed and baked potatoes, I LOVE gnocchi. (The gnocchi I used actually contains potatoes!) For those of you who don’t know, gnocchi is an Italian type of pasta, resembling thick, soft dumplings. Gnocchi can be made from ricotta, flour and egg, potatoes, or other similar ingredients.

If you’re like me, you’ll really enjoy this dish with the chewy gnocchi, sweet broccoli and crunchy nuts. The red pepper flakes and pecorino Romano cheese add a nice flavor to the already lightened-up sauce. Enjoy!

IMG_2974
Cook gnocchi according to package directions. Add broccoli during last minute of cook time.
IMG_2977
Brown butter in large skillet. Add drained gnocchi and broccoli. Add freshly ground pepper, red pepper flakes and pine nuts.
IMG_2978
Off the heat and stir in Pecorino Romano cheese.
IMG_2979
Stir to combine and cheese melts.
IMG_2982
Serve immediately and enjoy.

Browned Buttered Gnocchi with Broccoli and Pine Nuts
INGREDIENTS
2 (16-ounce) packages prepared gnocchi
5 cups chopped broccoli florets
2 Tbsp. unsalted butter
2 Tbsp. extra-virgin olive oil
1/4 tsp. freshly ground black pepper
1/2 tsp. red pepper flakes
4 Tbsp. pine nuts, toasted
1.5 ounces shaved fresh pecorino Romano cheese (about 1/3 cup)
2 tsp. grated Parmesan cheese

DIRECTIONS
1. Cook gnocchi in a large Dutch oven according to package directions. Add broccoli during last minute of cooking; cook 1 minute. Drain.
2. Heat large skillet over medium heat. Add butter and oil; cook 7 minutes or until butter browns. Add gnocchi mixture and pepper to pan; toss to coat. Turn off the heat and add pine nuts and Pecorino Romano cheese.
3. Spoon about 1 1/2 cups gnocchi mixture into each of 6 shallow bowls. Sprinkle with Parmesan cheese.

Yield: 6 servings

Skillet Chicken Tortilla Casserole

IMG_3005

Perfect on a cold winter night, this dish is the ultimate comfort food. The chipotle peppers in adobo sauce give it a nice southwestern flair that reminds you of being in the south… for me that’s Texas!

Good news for those of you with picky husbands out there; Matt loved this! No complaints this time from the East-Texas country boy, who can be just a little too honest when it comes to food. 🙂

The chipotle peppers turn up the heat in this dish, combined with the tender chicken, melting cheese, and fresh tomatoes and herbs. Unlike some southwestern-inspired casseroles that call for cans upon cans of that sodium-engulfed cream of chicken or cream of mushroom soup, this casserole was light, relatively healthy, and comforting all at the same time.

Cooking doesn’t have to be hard, especially when you only need one skillet to do so! This casserole was just as good as it looked. Enjoy!

IMG_3000
Saute onion, garlic, chipotle peppers. Stir in chicken broth. Simmer and add chicken and tortilla chips. Cook for 10-15 minutes.
IMG_3002
Shred your chicken then add it back to the pan, along with the diced tomato, parsley, cheese and remaining tortilla chips. Sprinkle with cheese.
IMG_3003
Place under broiler for 2 minutes or until cheese is melted and browned on top.

Skillet Chicken Tortilla Casserole
INGREDIENTS
2 boneless, skinless chicken breast
1 Tbsp. canola oil
3 Tbsp. minced red onion
2 garlic cloves, minced
2 Tbsp. minced chipotle peppers in adobo sauce
2 cups low-sodium chicken broth
4 1/2 cups tortilla chips, broken into pieces
1 tomato, cored, seeded, and chopped
4 oz low-fat Monterey Jack and Cheddar, shredded
2 Tbsp. chopped fresh parsley
salt and pepper to taste

DIRECTIONS
1. Add oil to a 10-inch oven-safe skillet and set over medium-high heat. When the oil shimmers, add the chicken breasts and brown well on both sides, about 6-7 minutes total (the chicken won’t be cooked through yet). Remove the chicken to a plate and tent to keep warm.
2. Add the onion, garlic, and chipotle peppers to the pan and cook until just fragrant, about 1 minute. Stir in 1 3/4 cups of chicken broth, scraping the bottom of the pan to release any browned bits. Bring the mixture to a simmer, then mix in half the tortilla chips.
3. Reduce the heat to medium and nestle the chicken into the pan. Cook for 10-15 minutes, or until the chicken is cooked through (160-165 degrees F on an instant read thermometer). Remove the chicken to a plate and allow it to cool slightly. When you can handle it, shred into bite-sized pieces.
4. Preheat your broiler and place an oven rack about 6 inches from it.
5. Add the shredded chicken, tomato, 1/2 cup of the cheese and 1 tablespoon of the parsley to the skillet, stirring to incorporate (if the mixture seems a little dry, stir in the remaining 1/4 cup chicken broth). Add the remaining tortilla chips and gently mix to combine.
6. Sprinkle the remaining cheese over the top of the casserole and place under the broiler for about 2-3 minutes, or until the cheese has melted and browned. Remove and let cool for 5 minutes then garnish with the remaining parsley and serve.

Yield: 3-4 servings